imported_Dave KG
New member
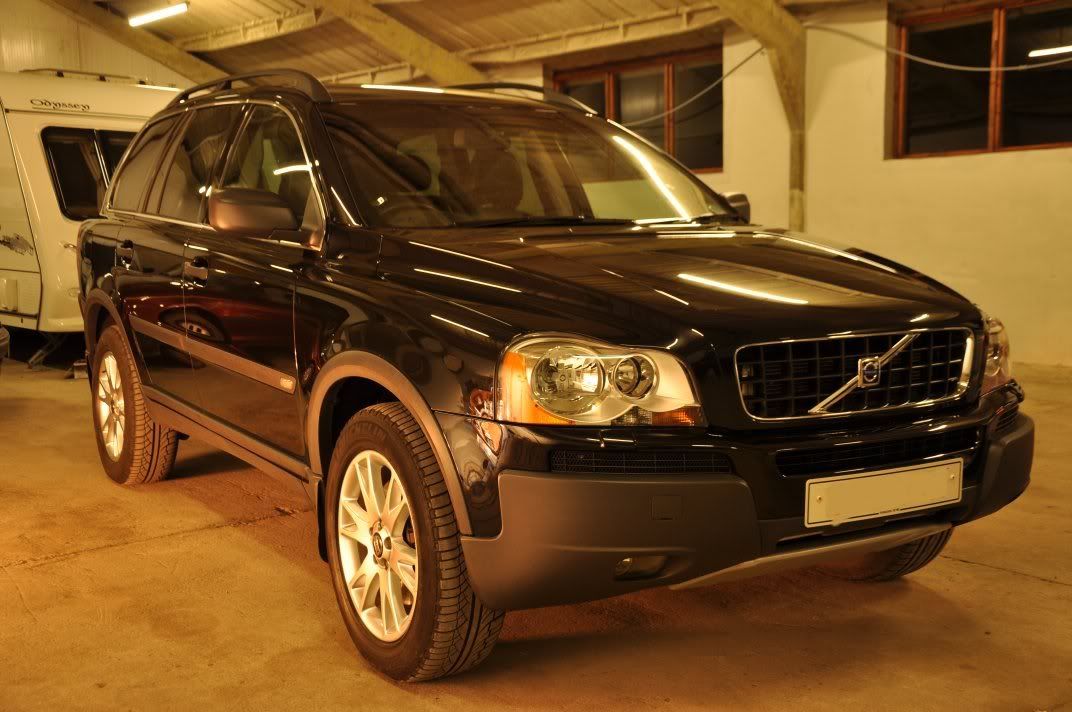
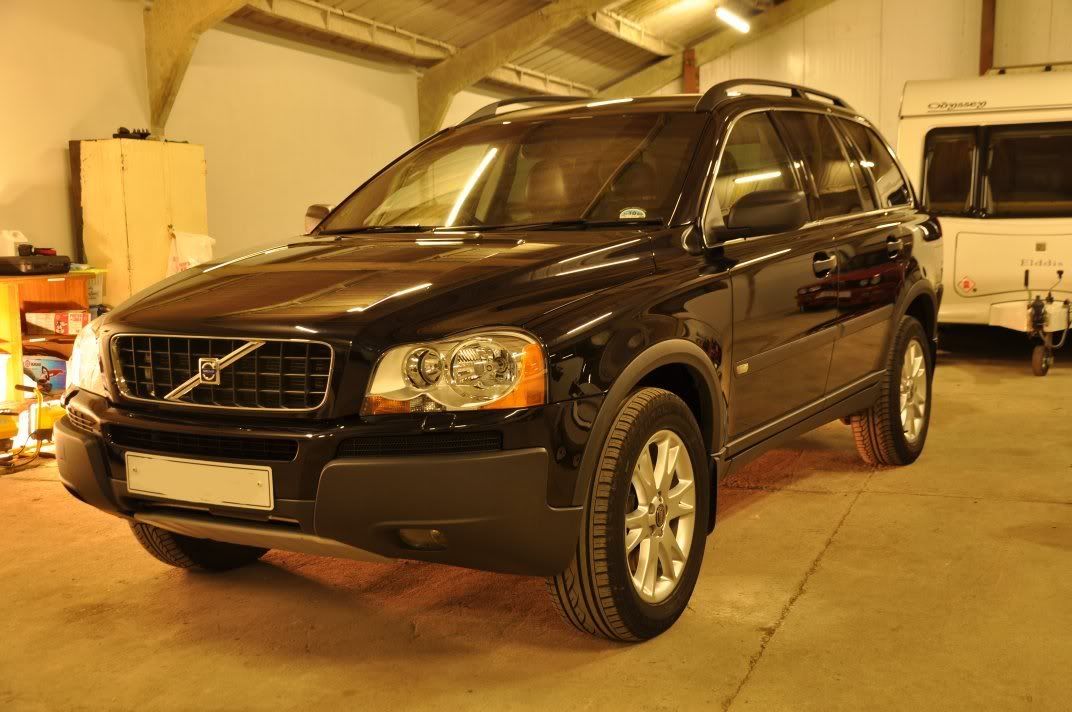
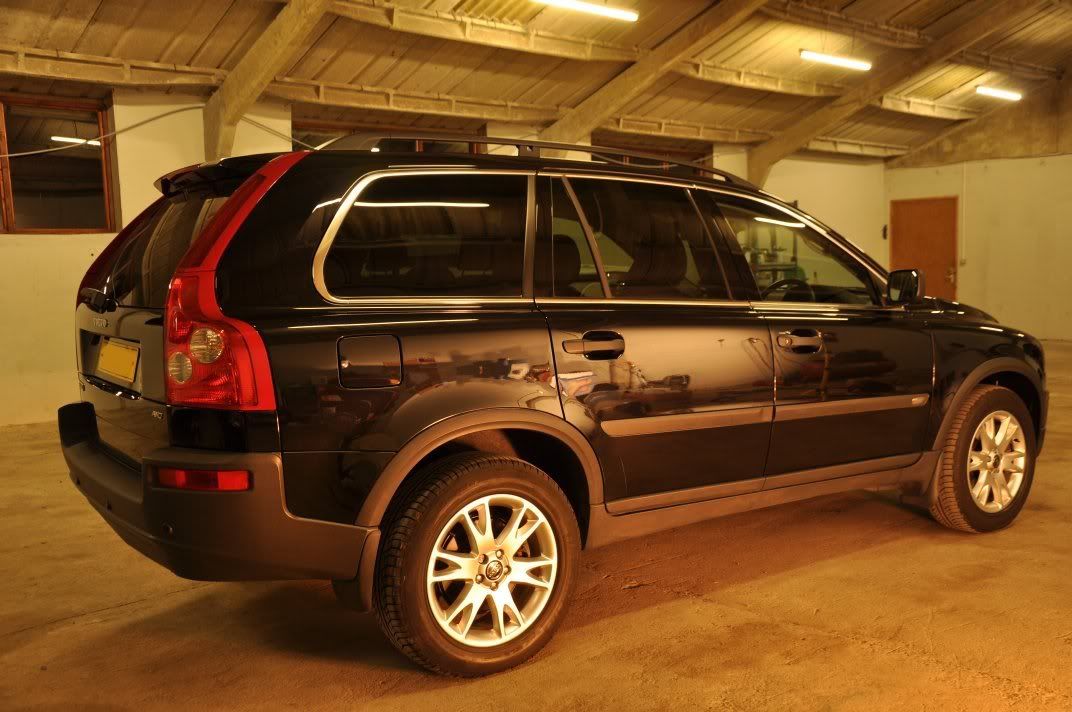
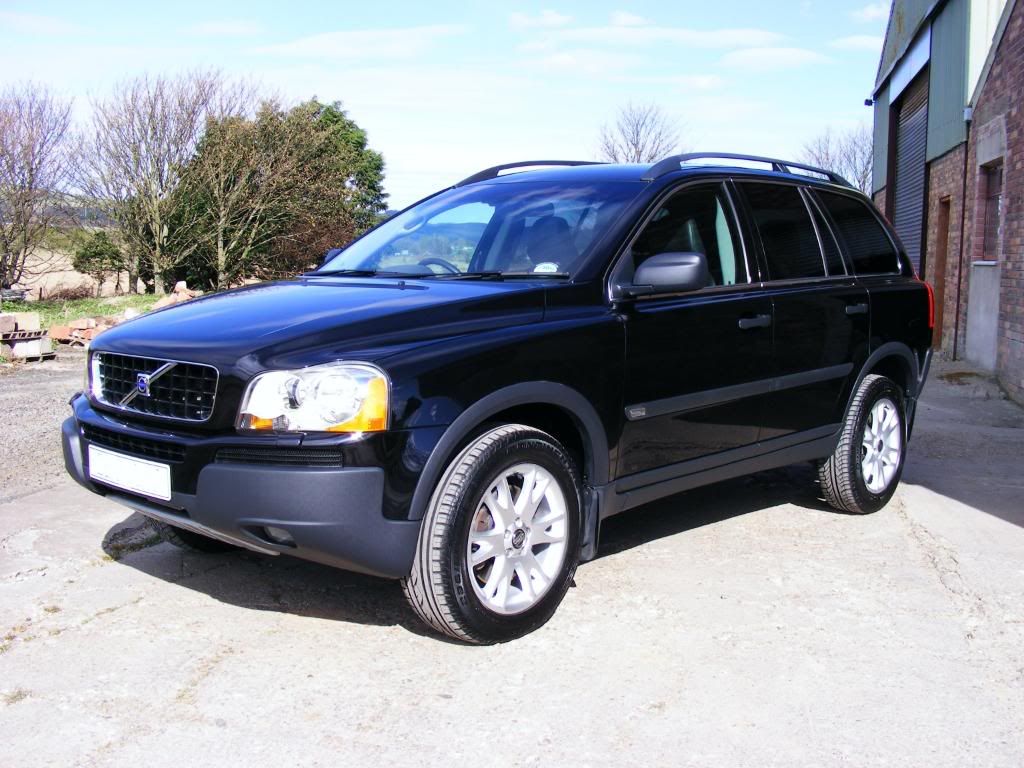
Familiar paint arrived in the unit on Friday afternoon - black sapphire Volvo (same as my own S60). Only much more of it on this car!! :lol:
Bryan worked on Friday to prepare this car for the paintwork correction stage with the washing, decontamination and claying stage... It was then readied for Saturday night night-shift for Stu and myself to correct and protect the finish")
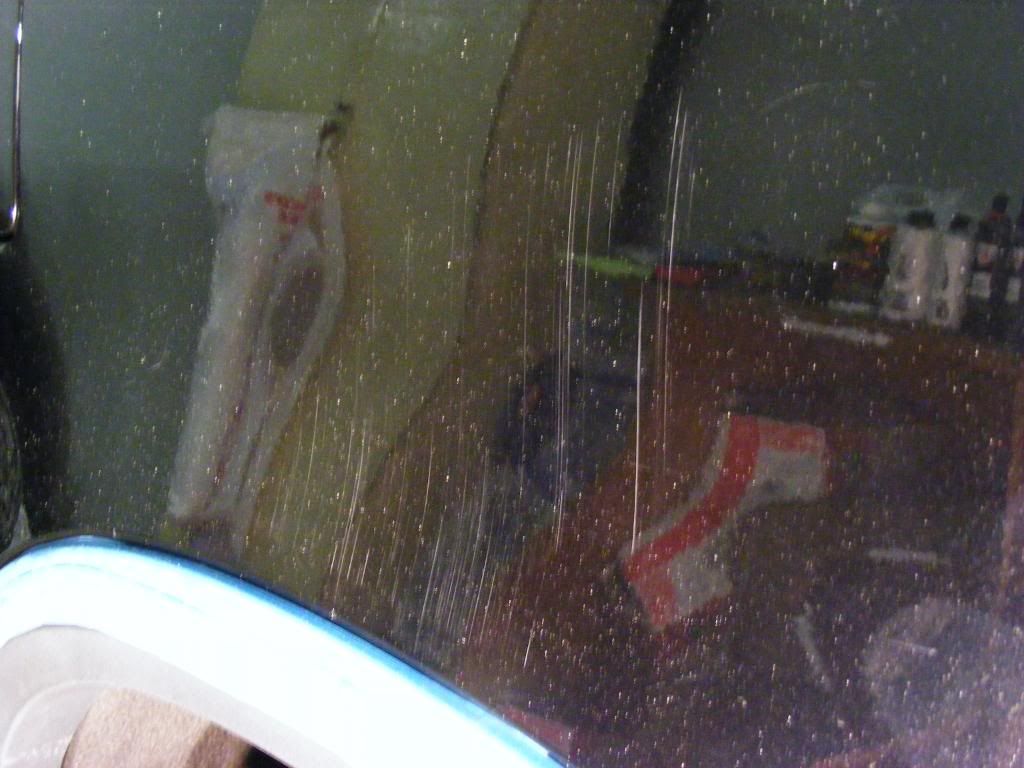
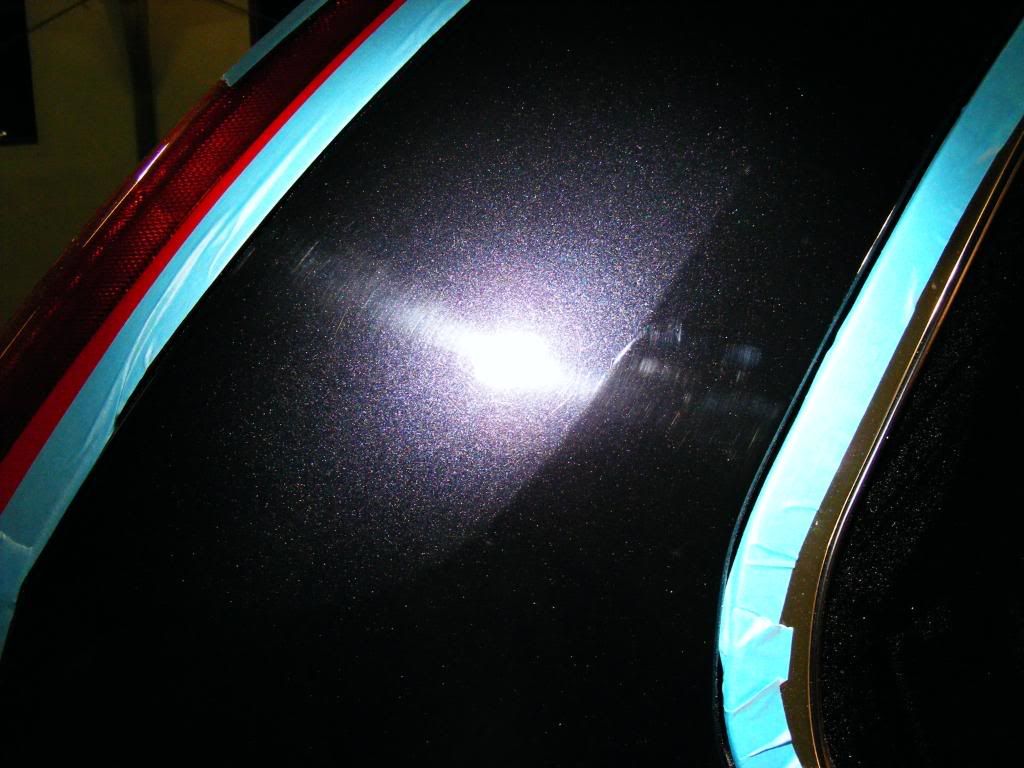
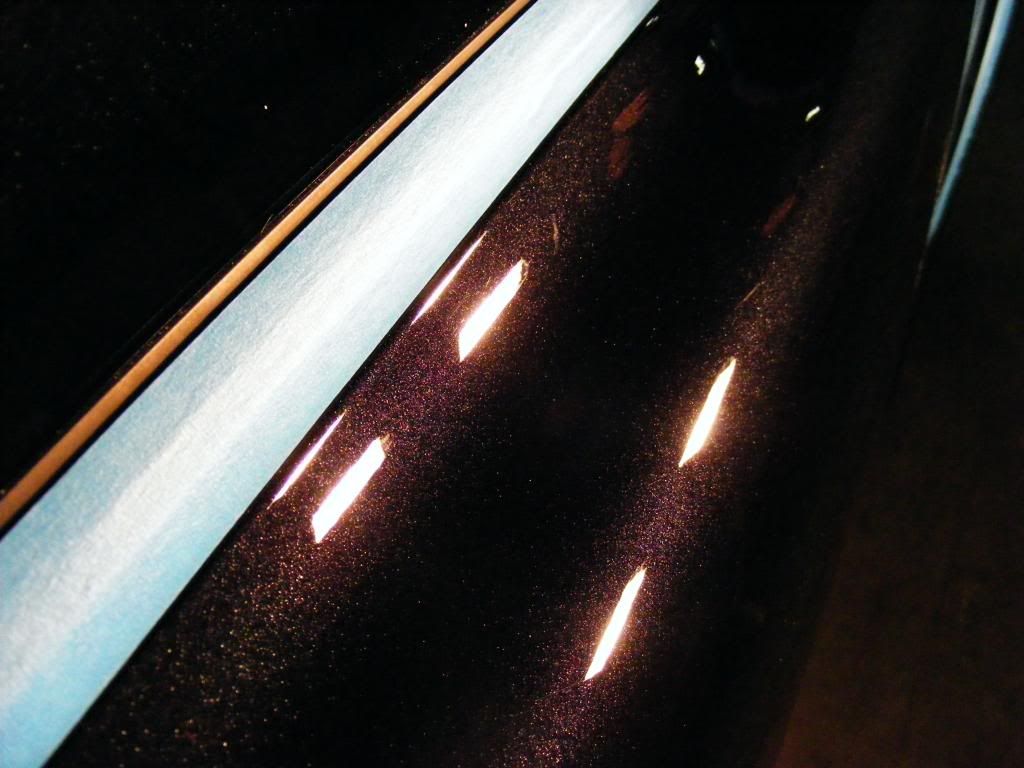
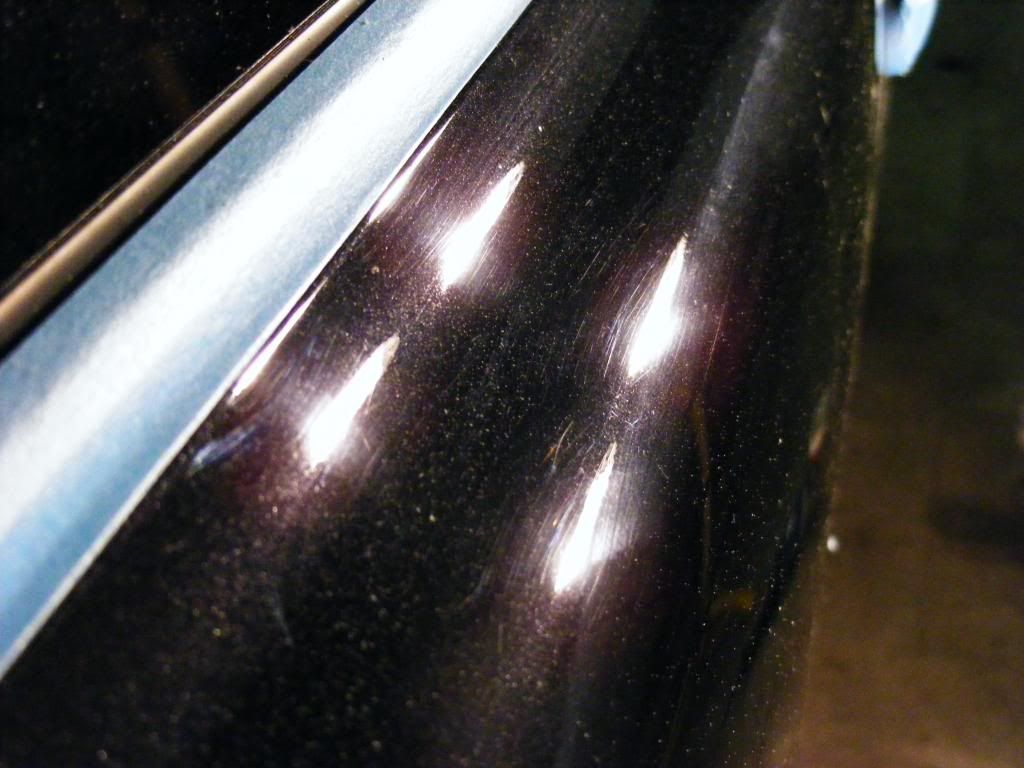
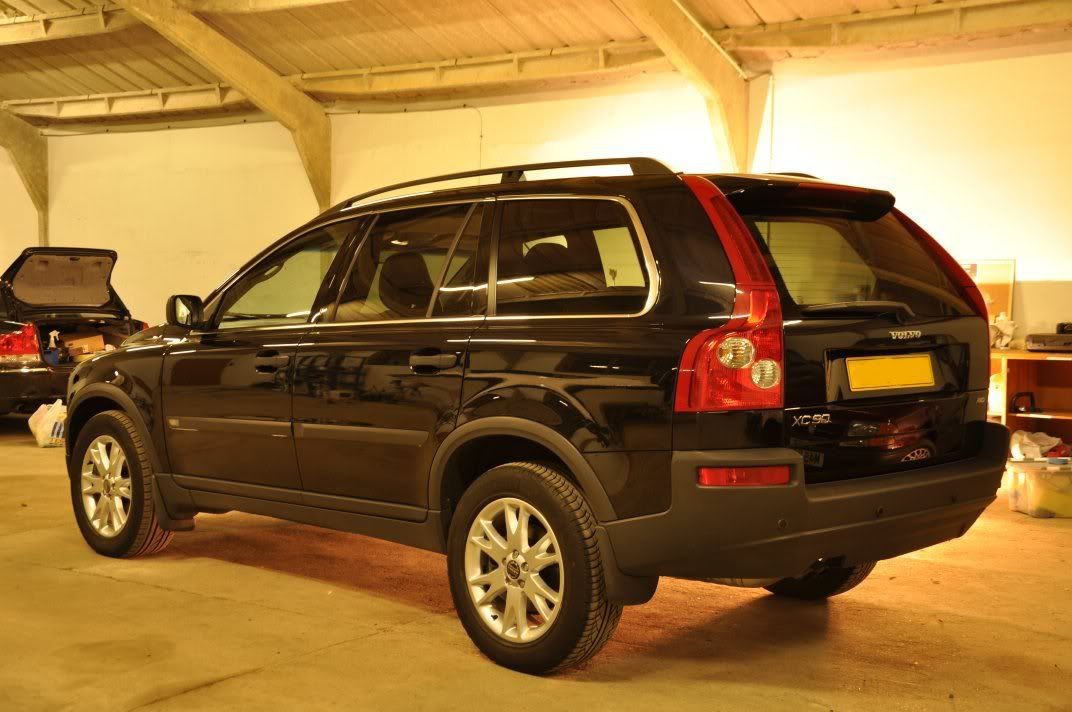
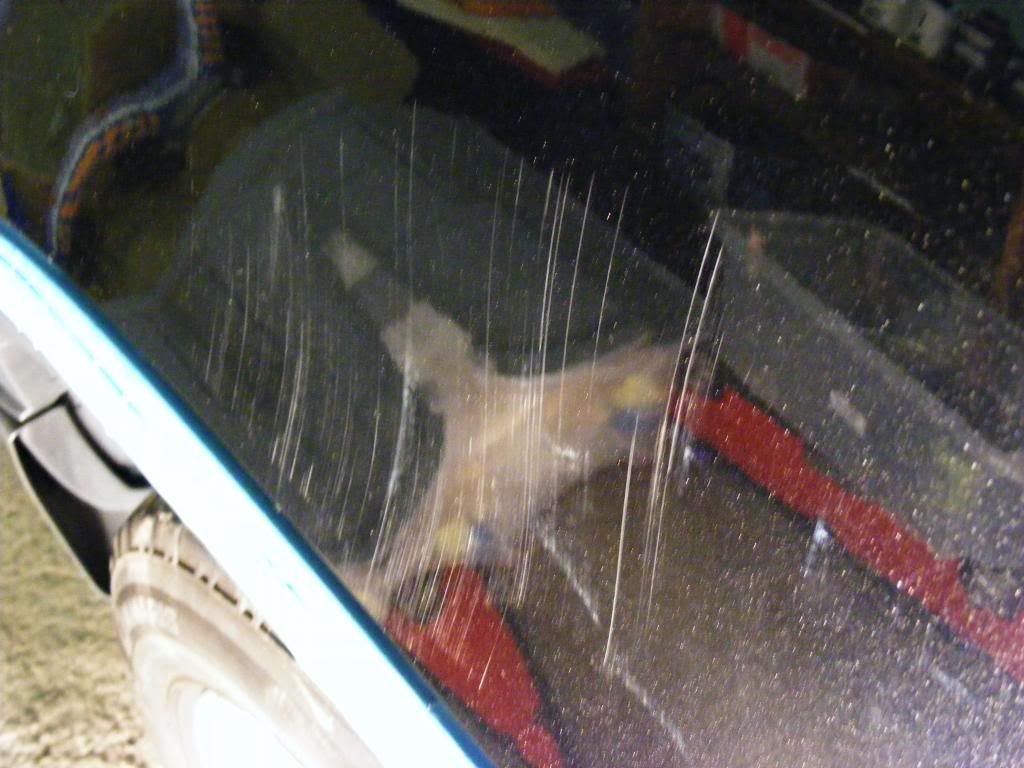
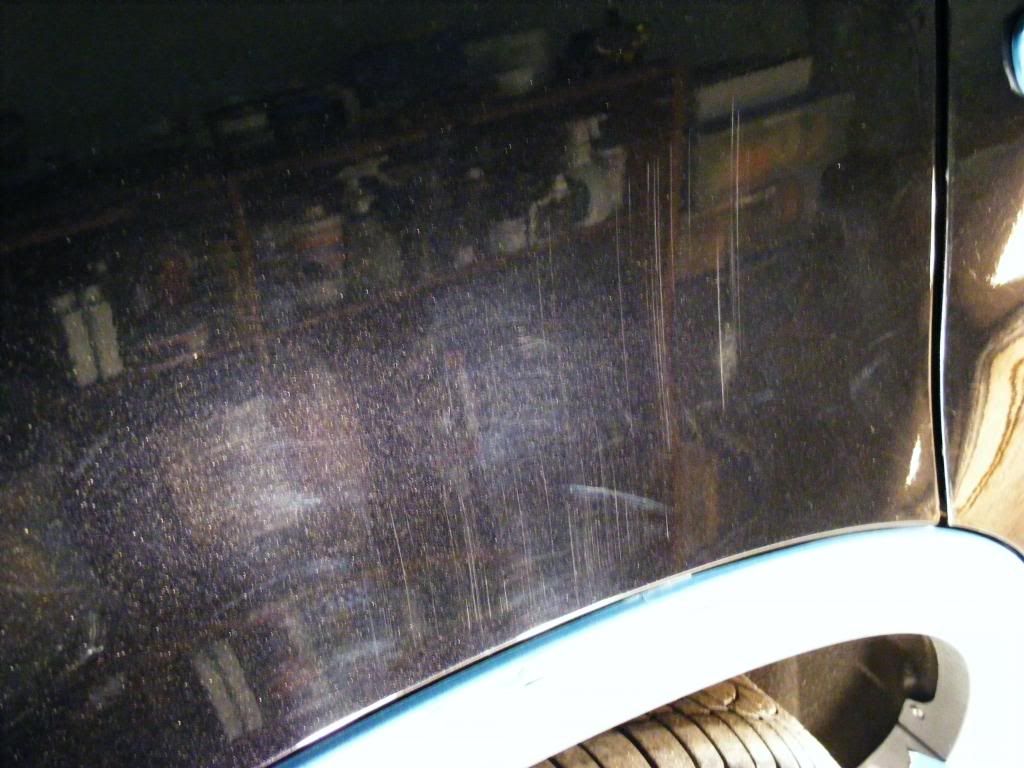
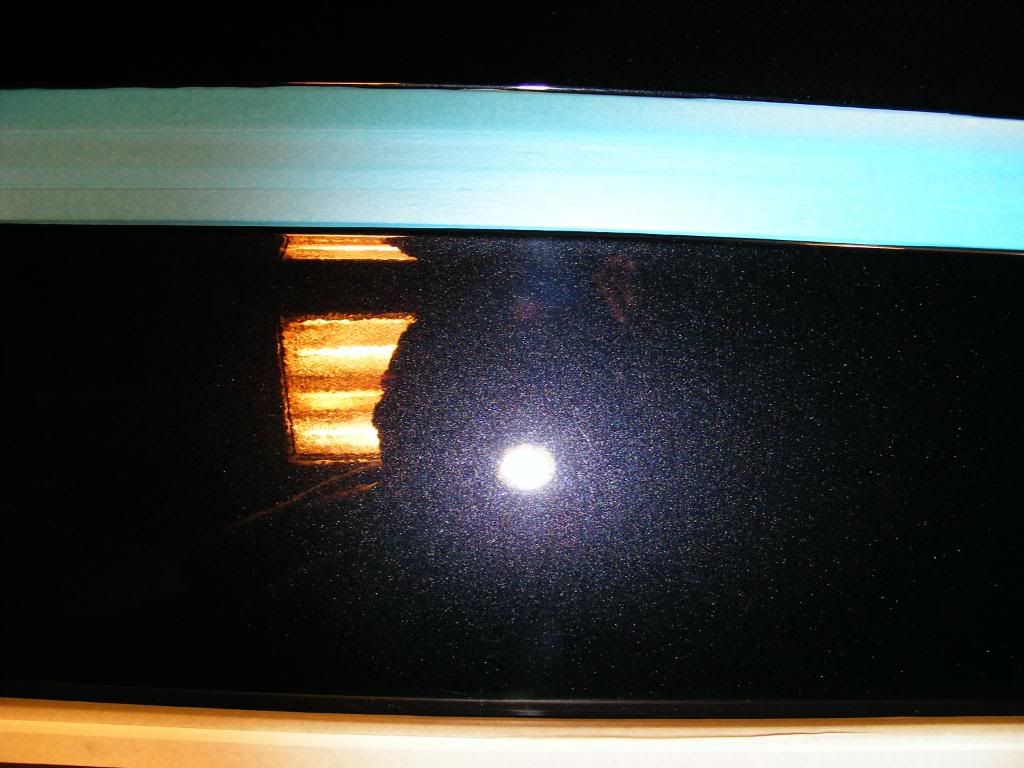
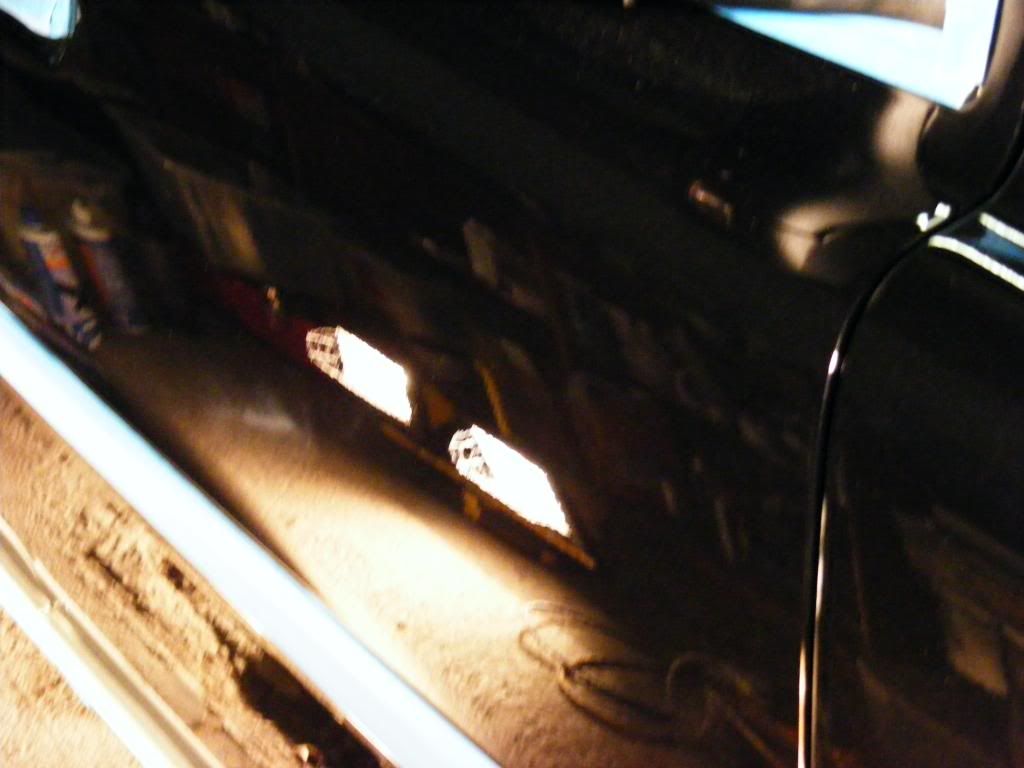
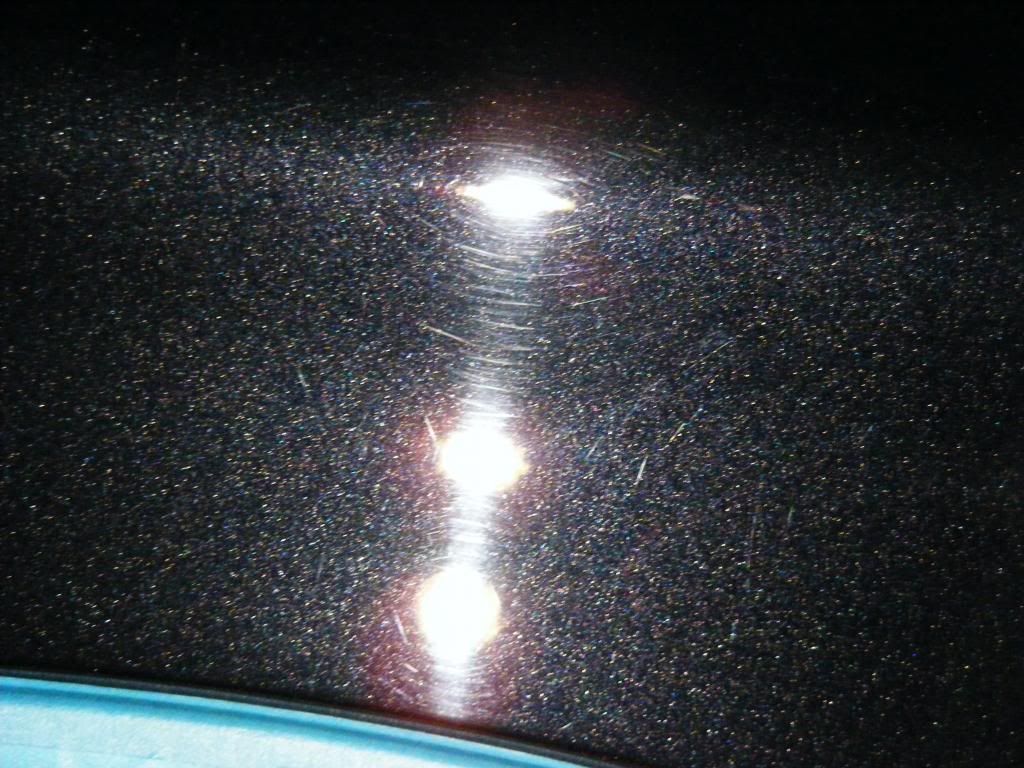
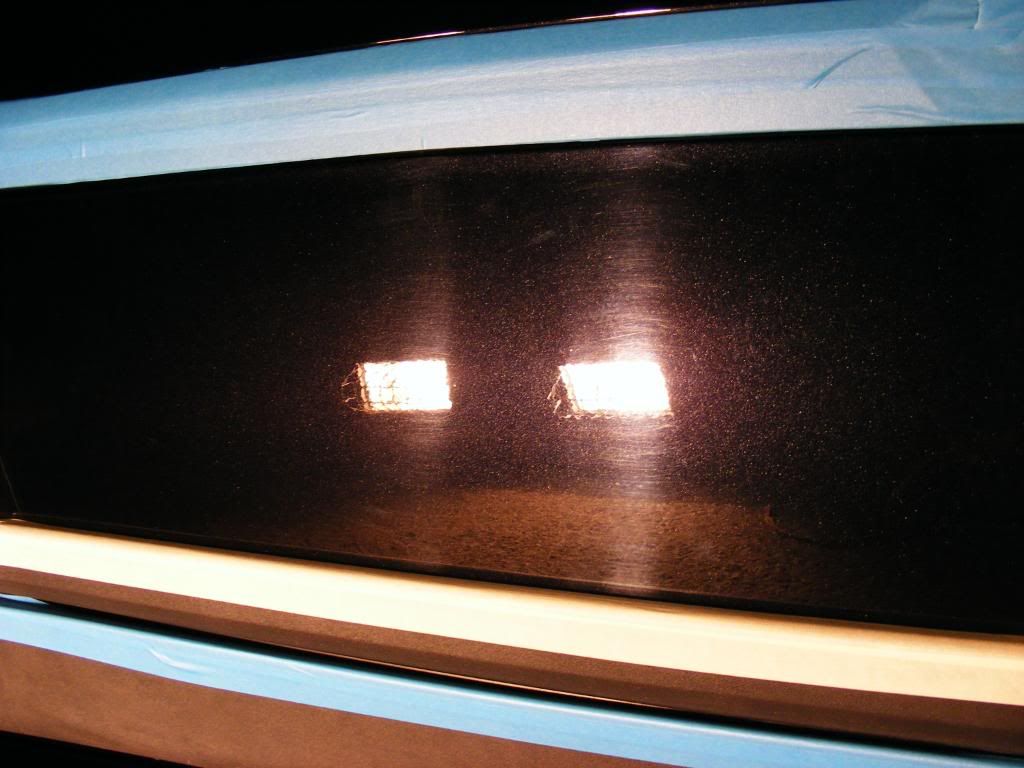
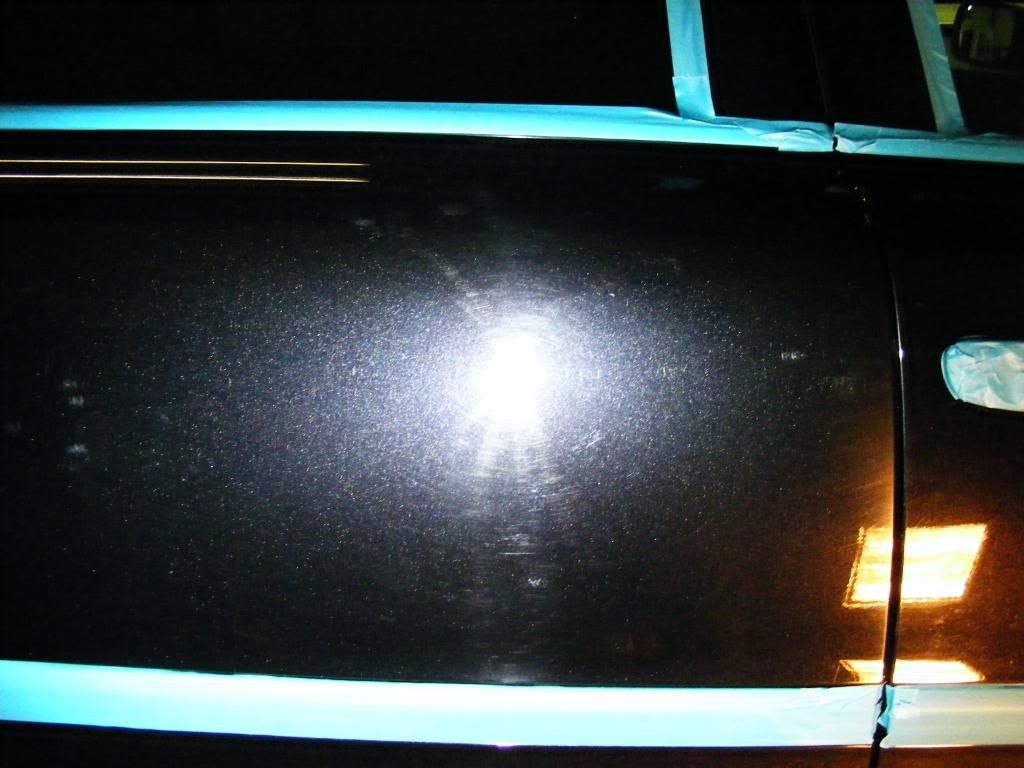
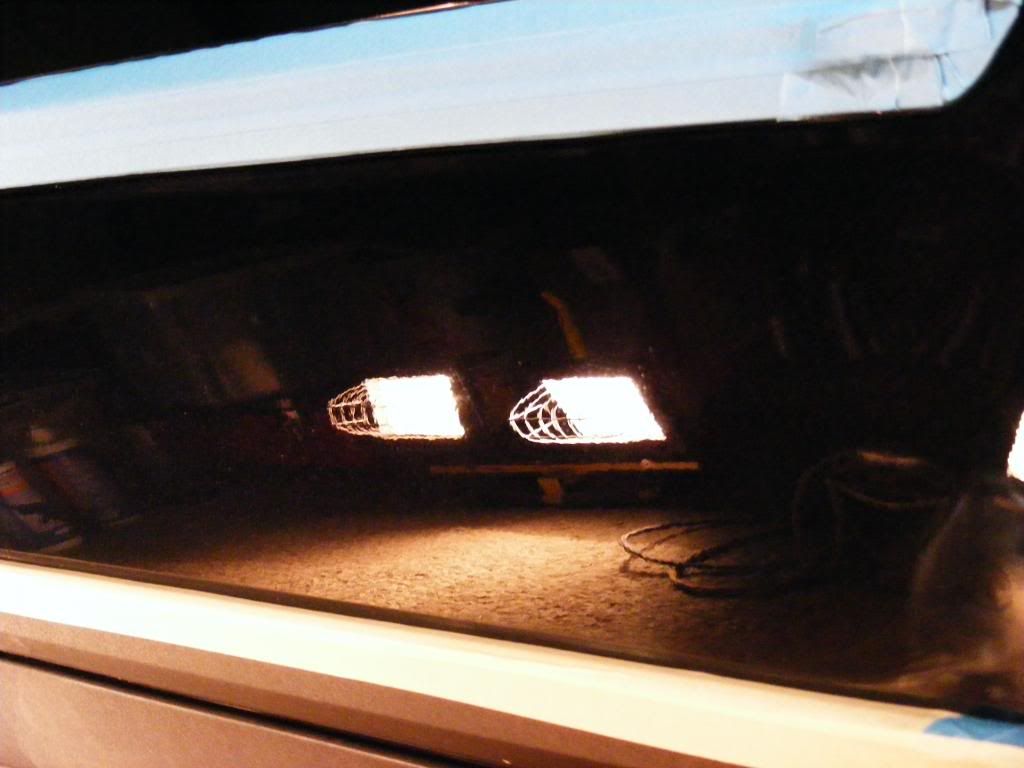
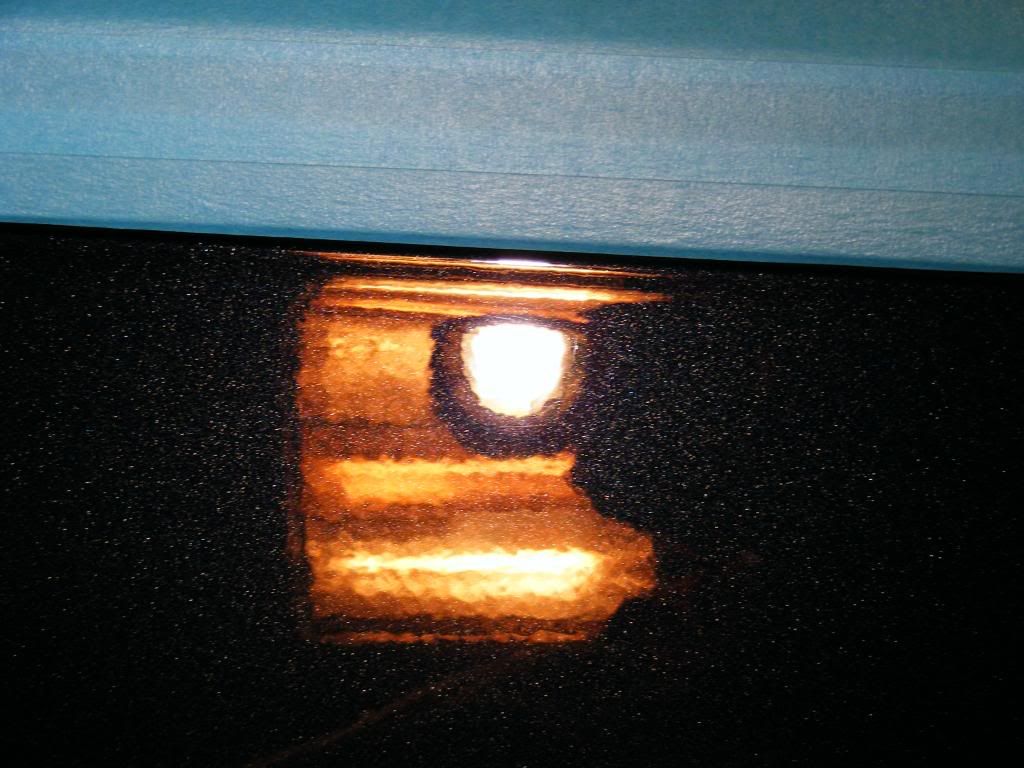
For a now four year old car, the paintwork was in pretty good condition with only really medium swirls and the odd deeper mark...

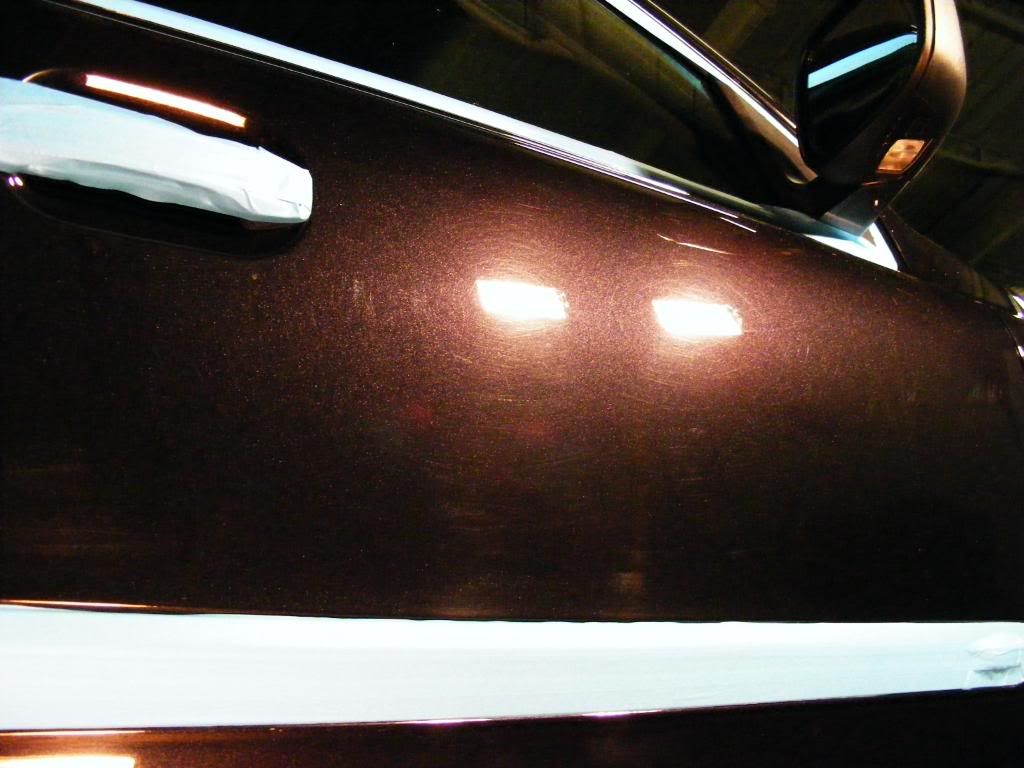
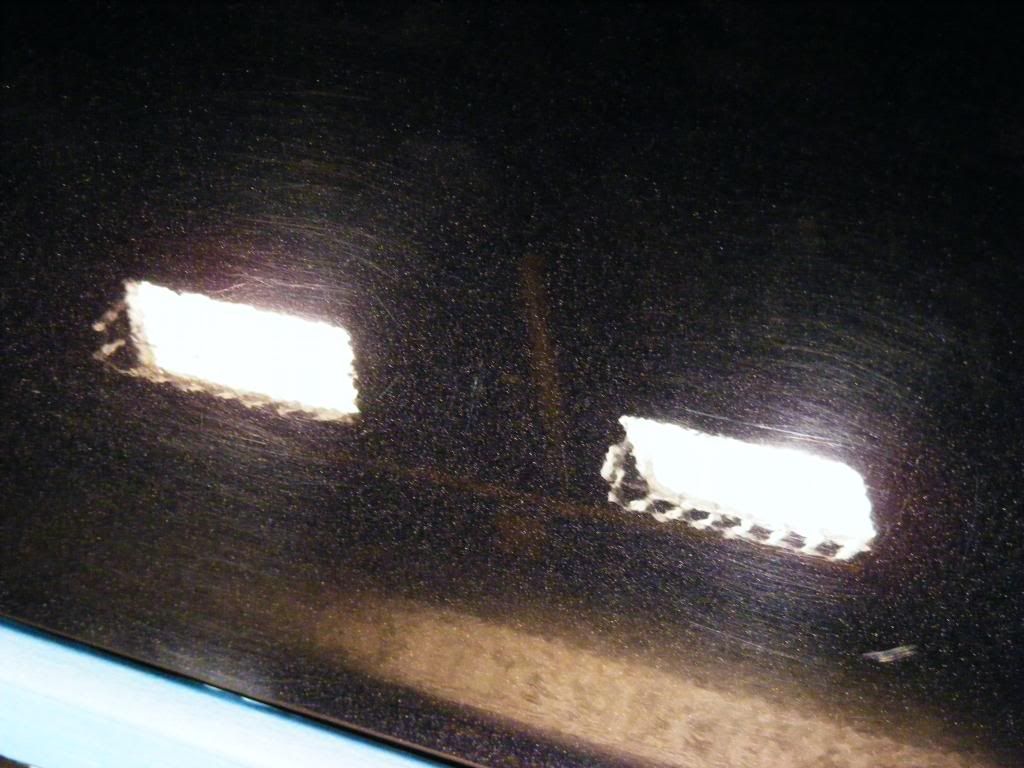
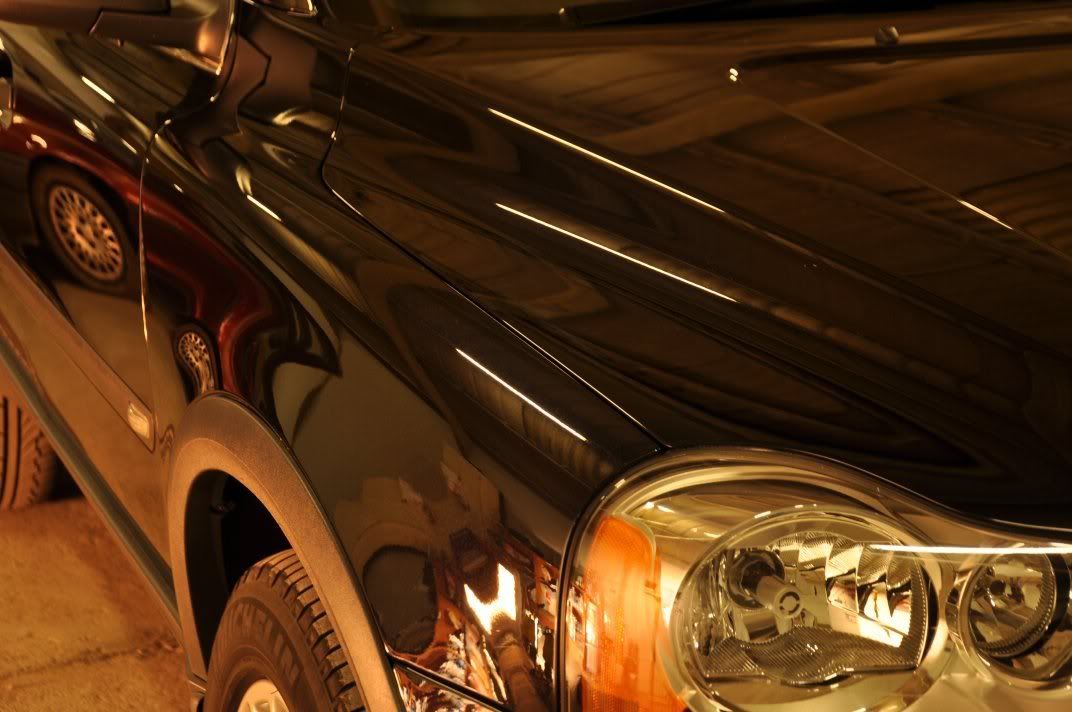
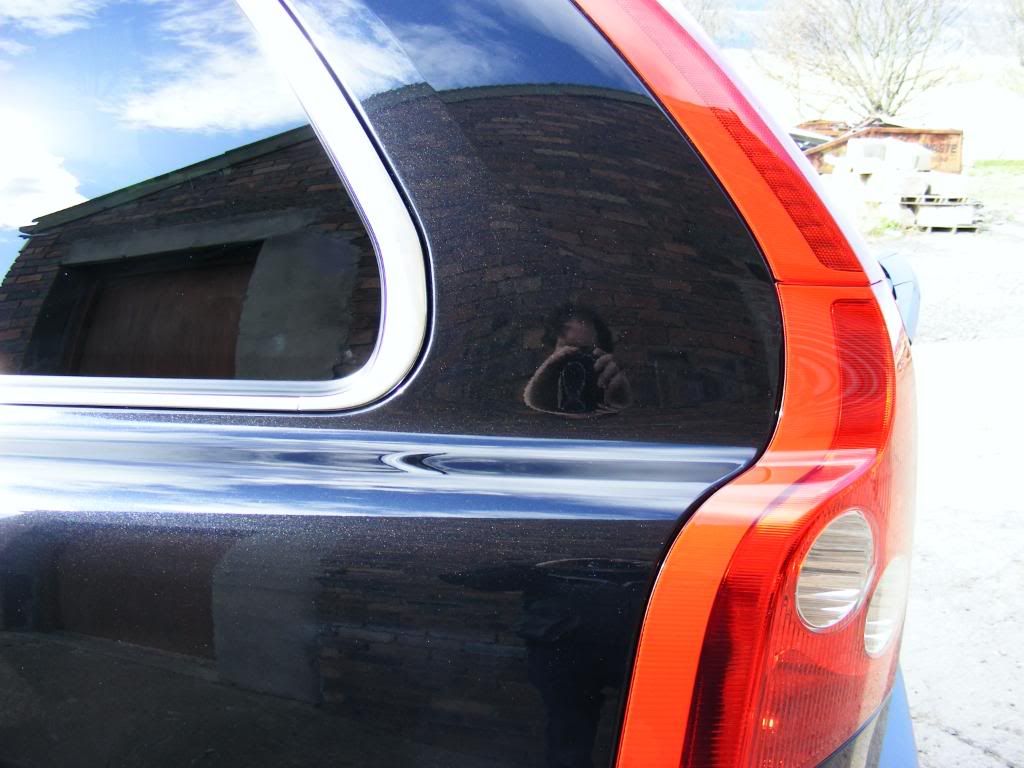
Also, some deeper scratches in select areas around the car requiring special attention...
Assessment of the paint thickness on this vehicle showed a consistent 110 - 140um of paint, normal for Volvo paint out of the factory on the Phase-2 generation of cars. Working up through the range of Menzerna polishes, assessing correction and paint removal, I settled on the new Menzerna PO203S Power Finish on a Meguiars W8006 polishing pad, applied using the classic Zenith Point technique as follows:
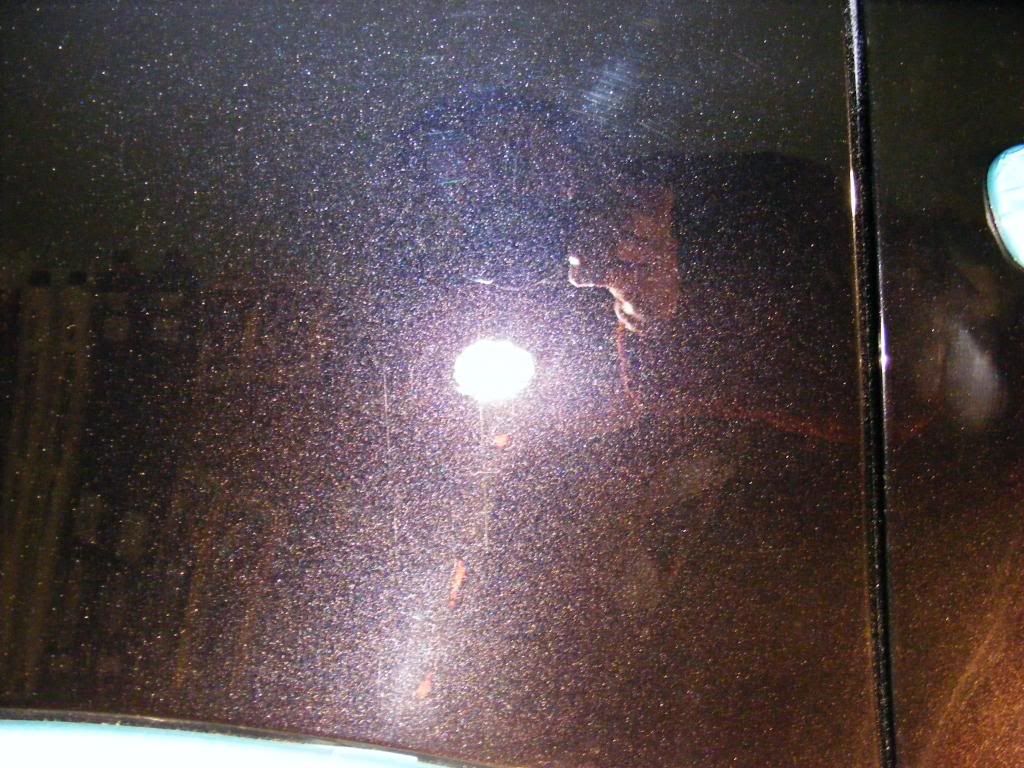
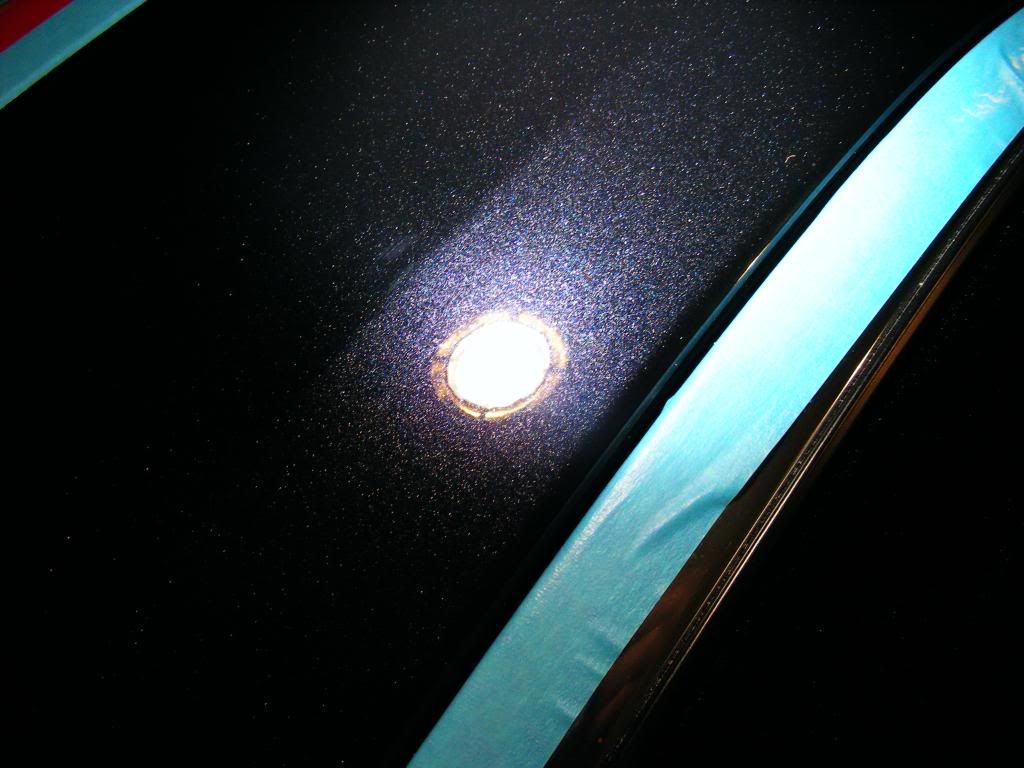
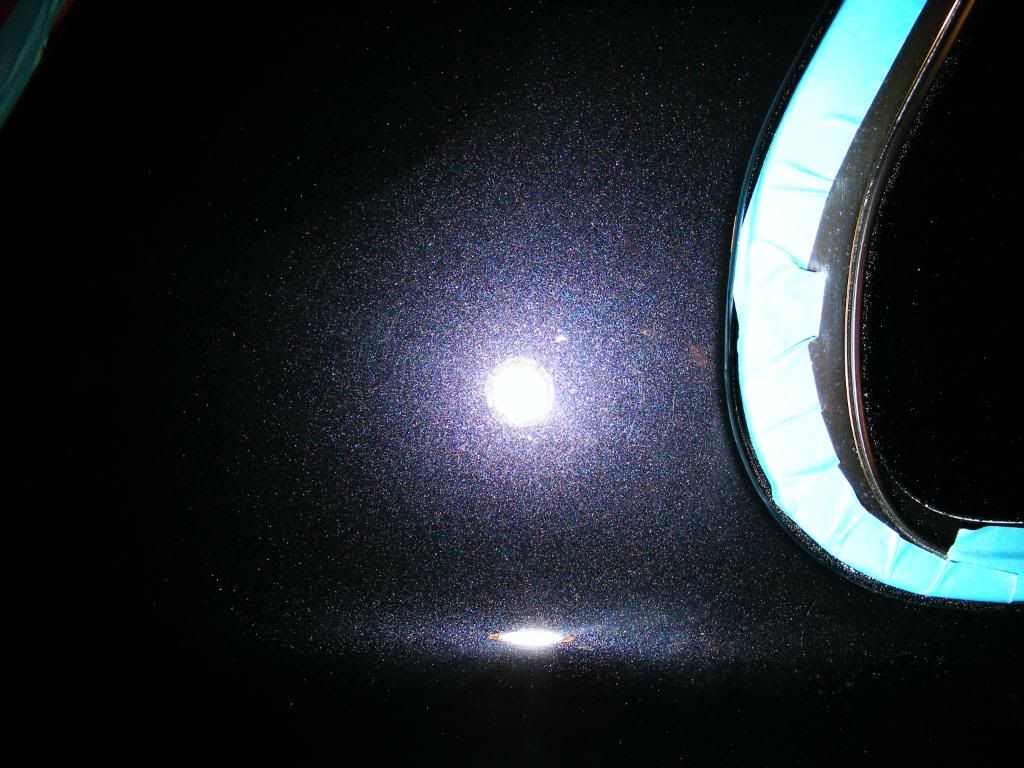
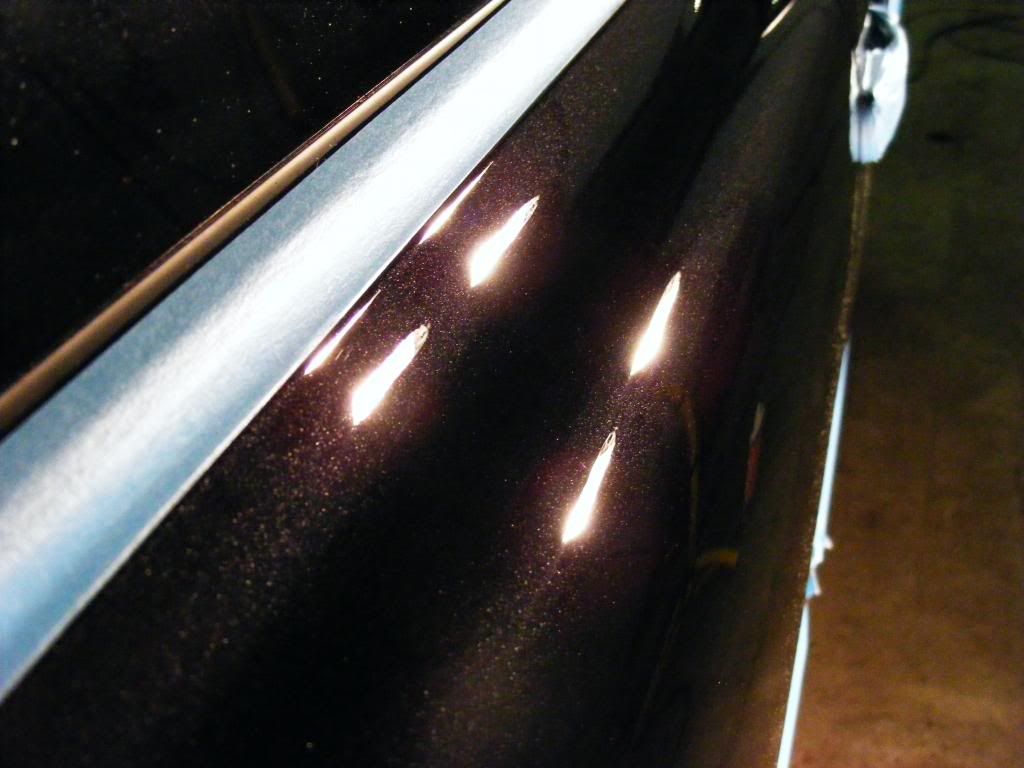
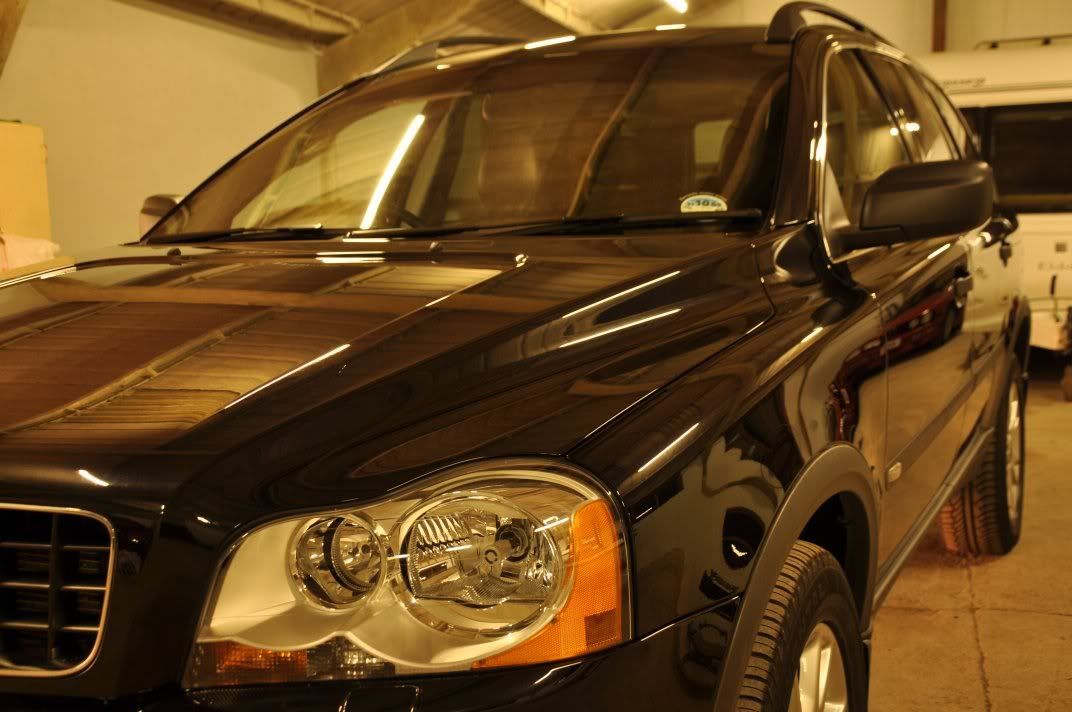
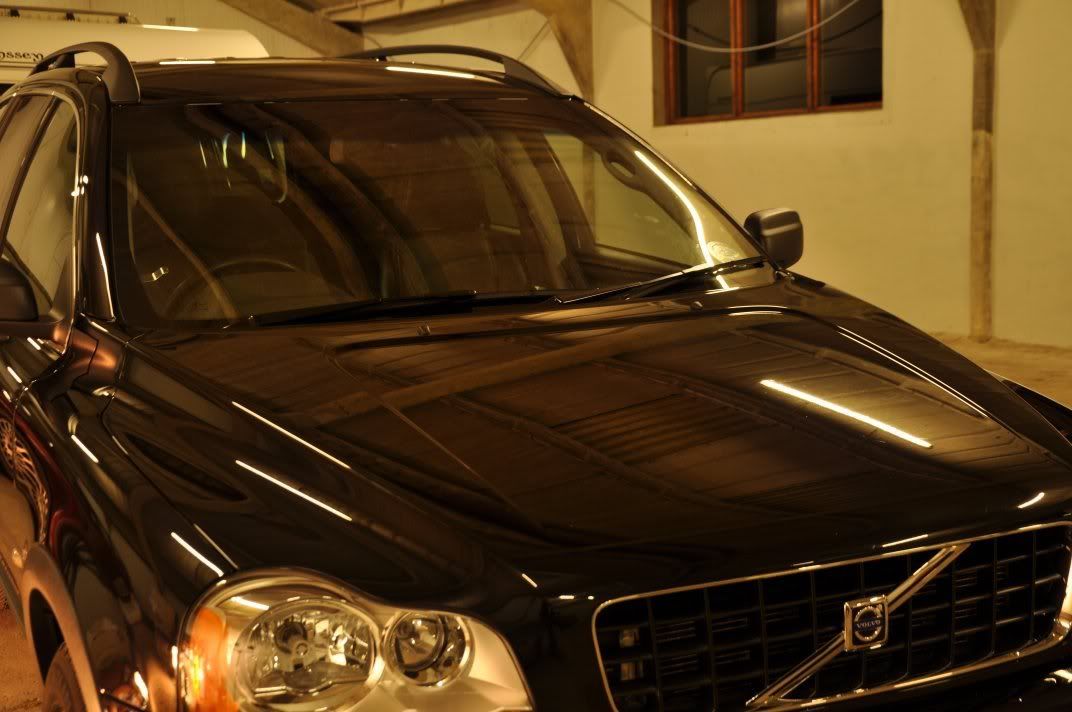
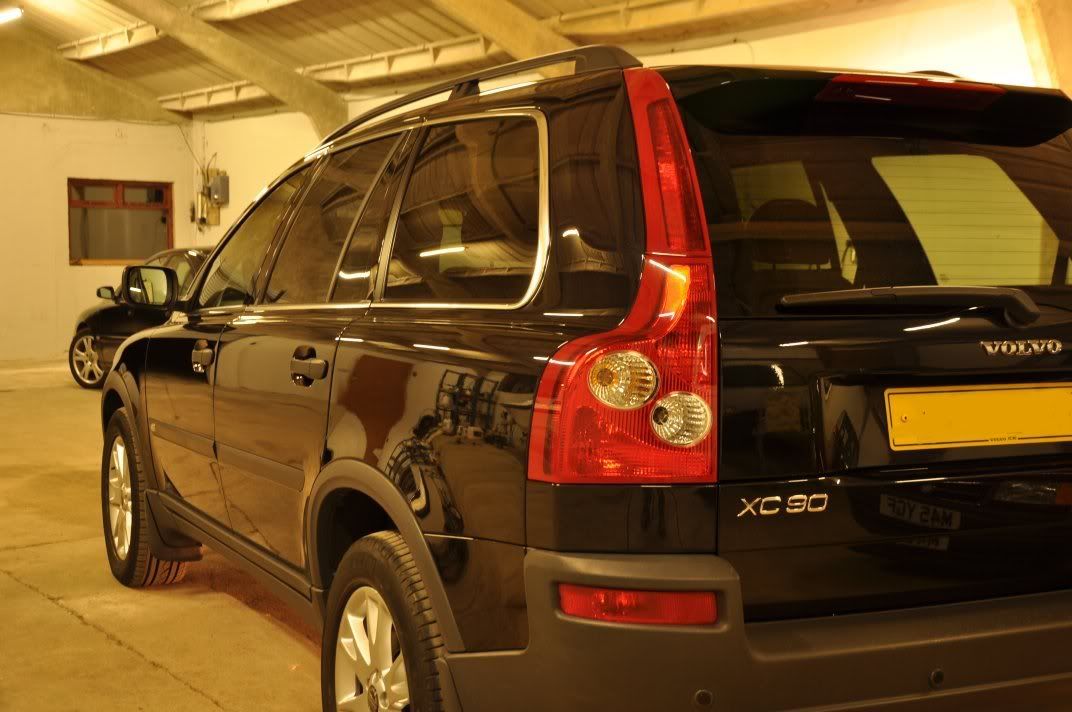
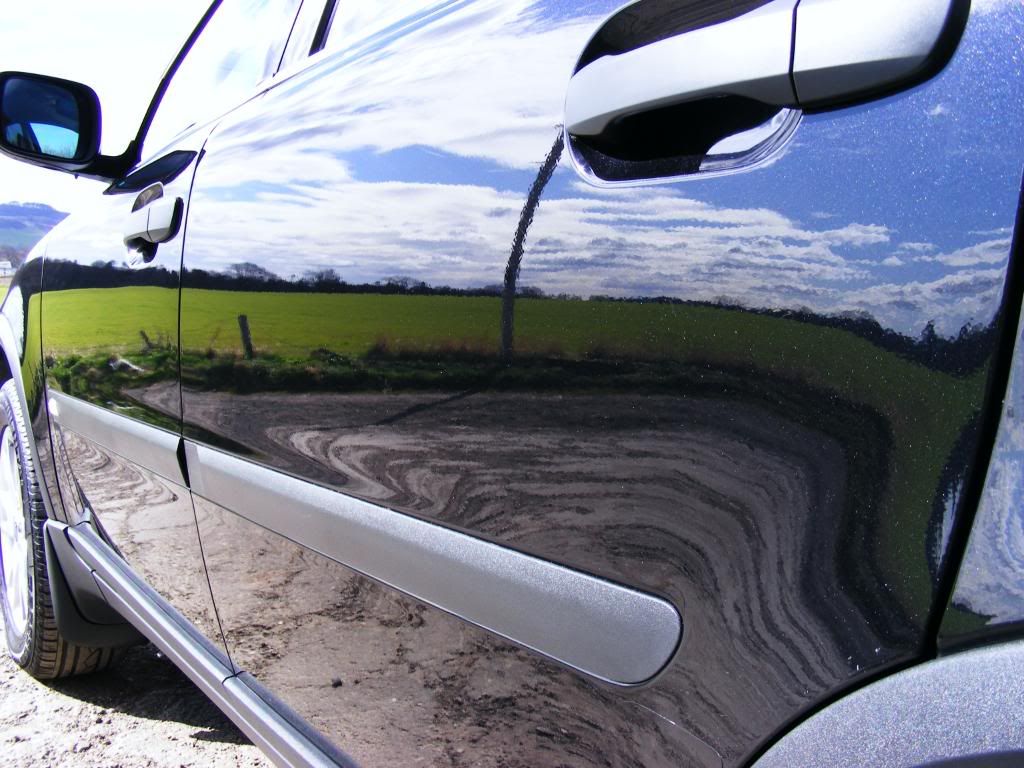
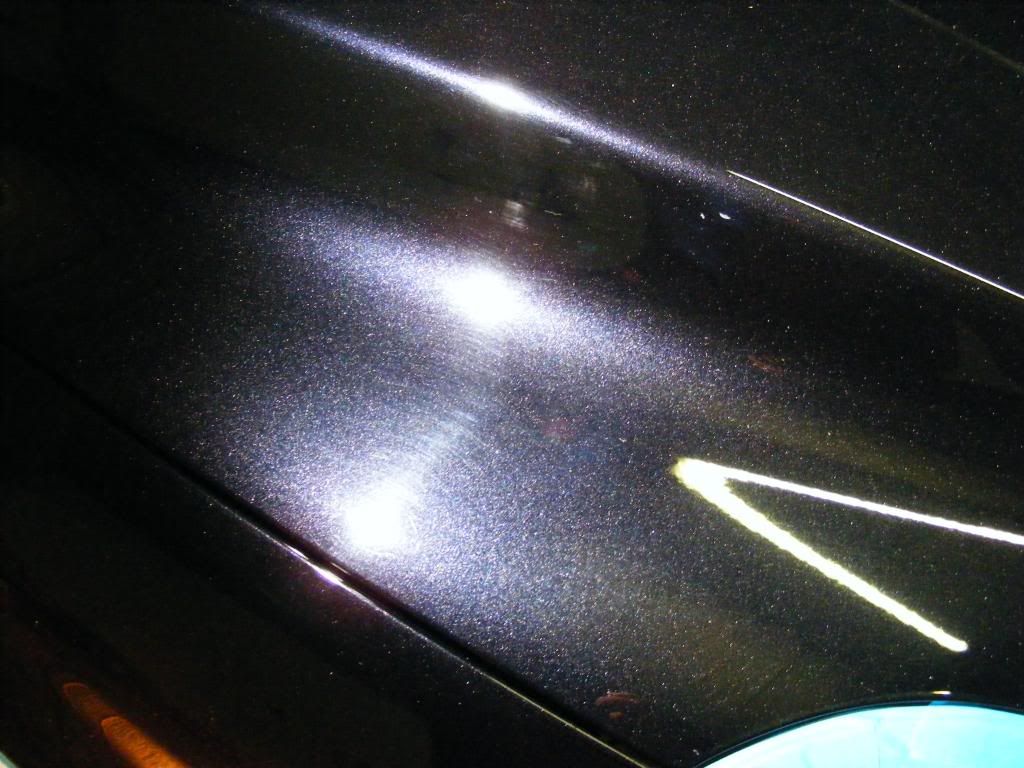
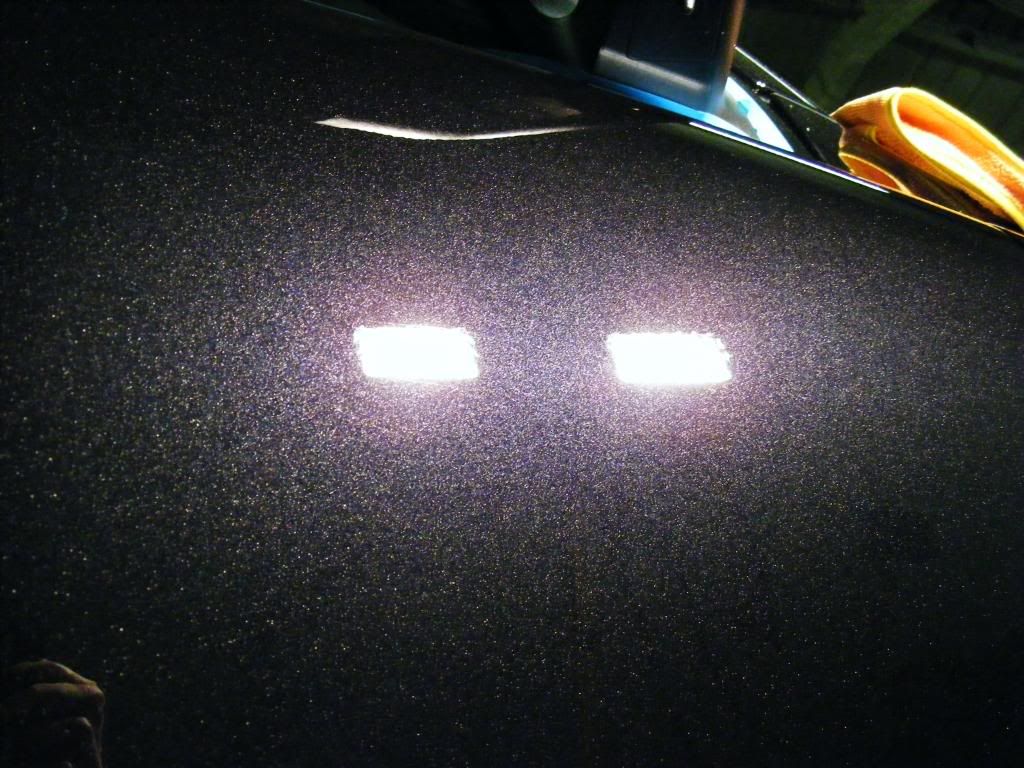
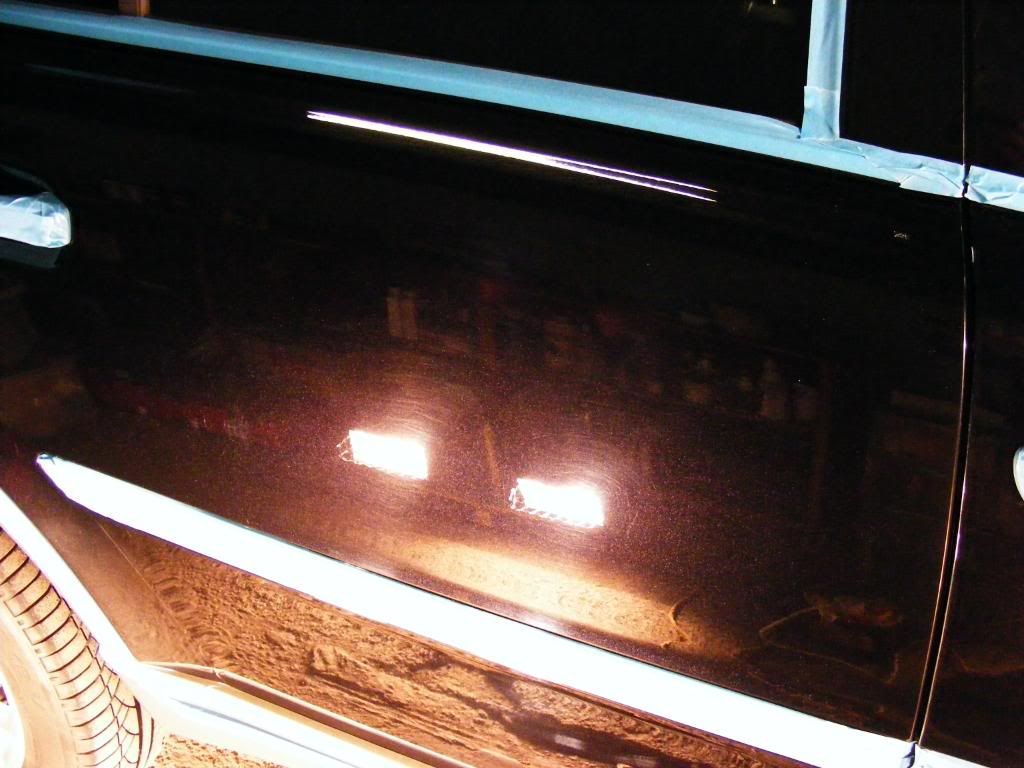
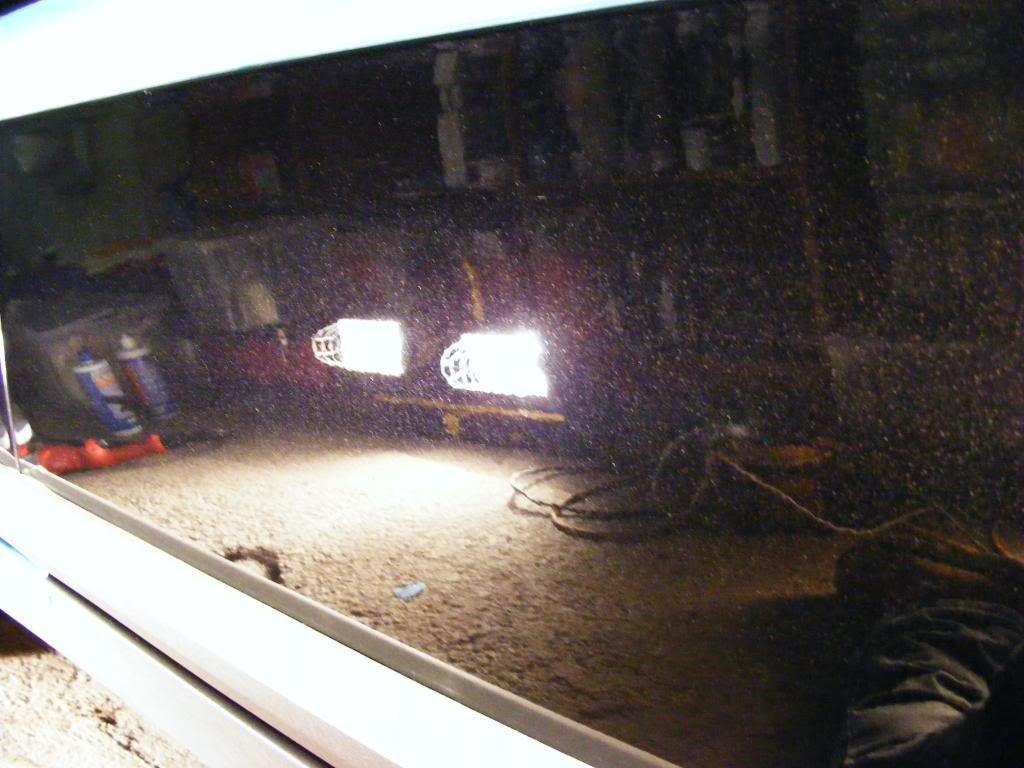
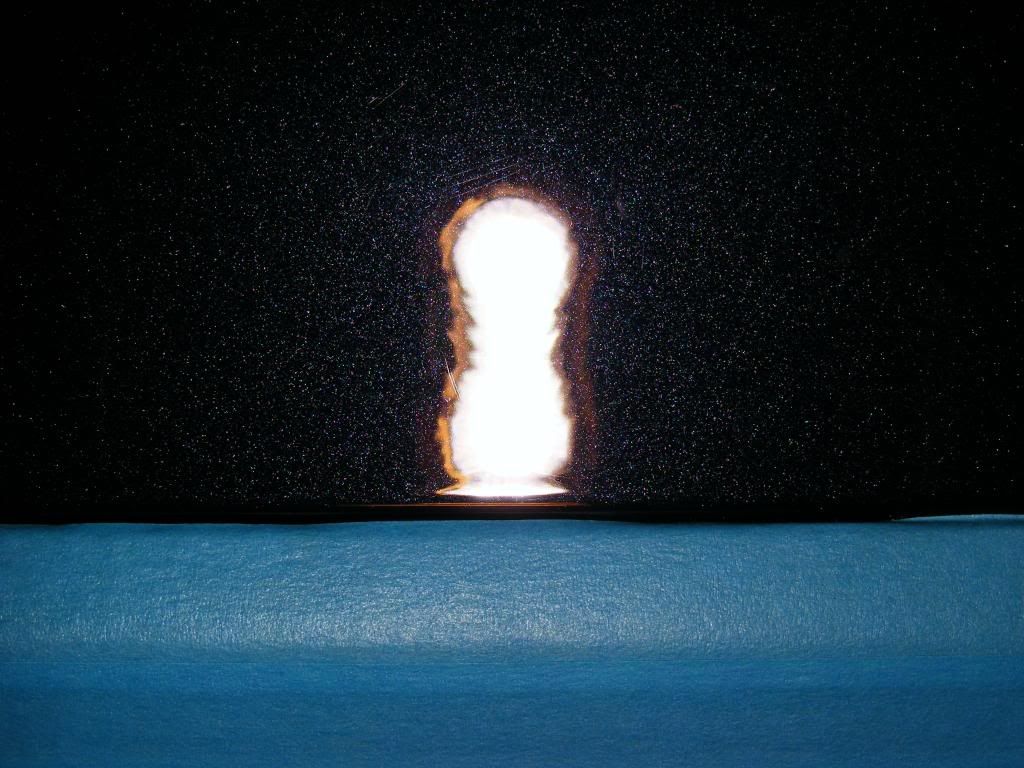
This generated the desired levels of correction and sharpness and clarity in the finish allowing the metallic flake to ping through beautifully:

Paint removal rates were assessed as follows:
Assessment was removal rates were between 2 and 3um of paint tops, inside the error of the gauge and certainly nothing to worry about on this car when considering the future life of the paint finish which to me is a crucial consideration as part of any detail. I prefer the above method to the laser pen spot method as the averages take into account variances across the region which a single reading does not account for.
Onto the more specific pictures...
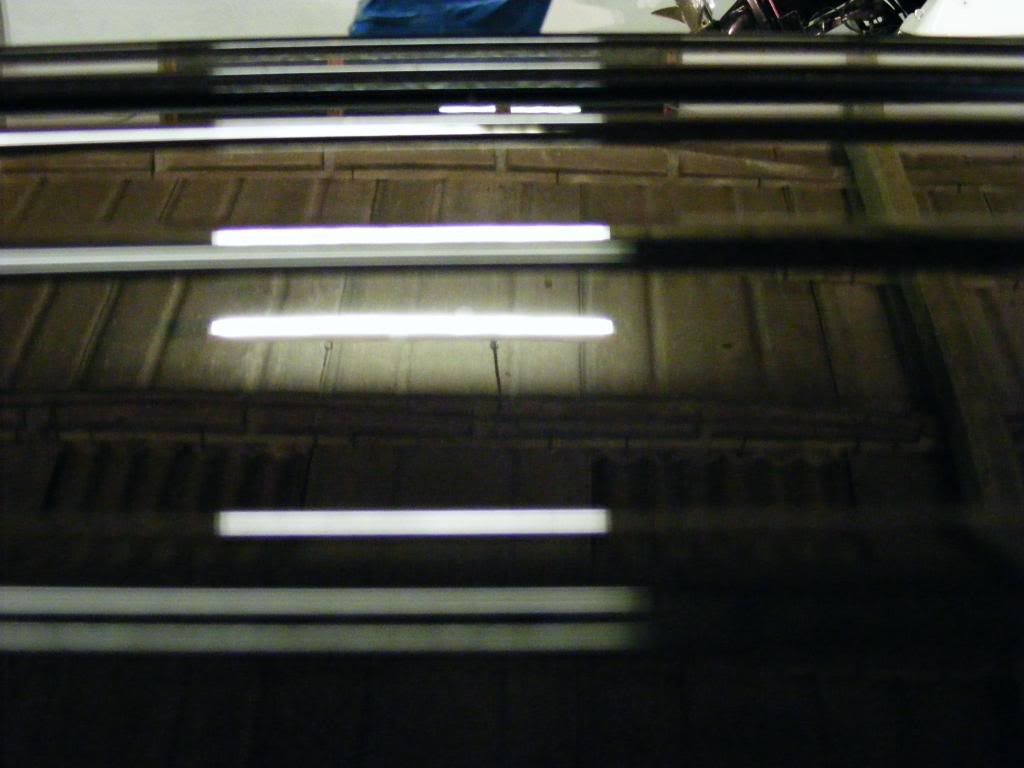
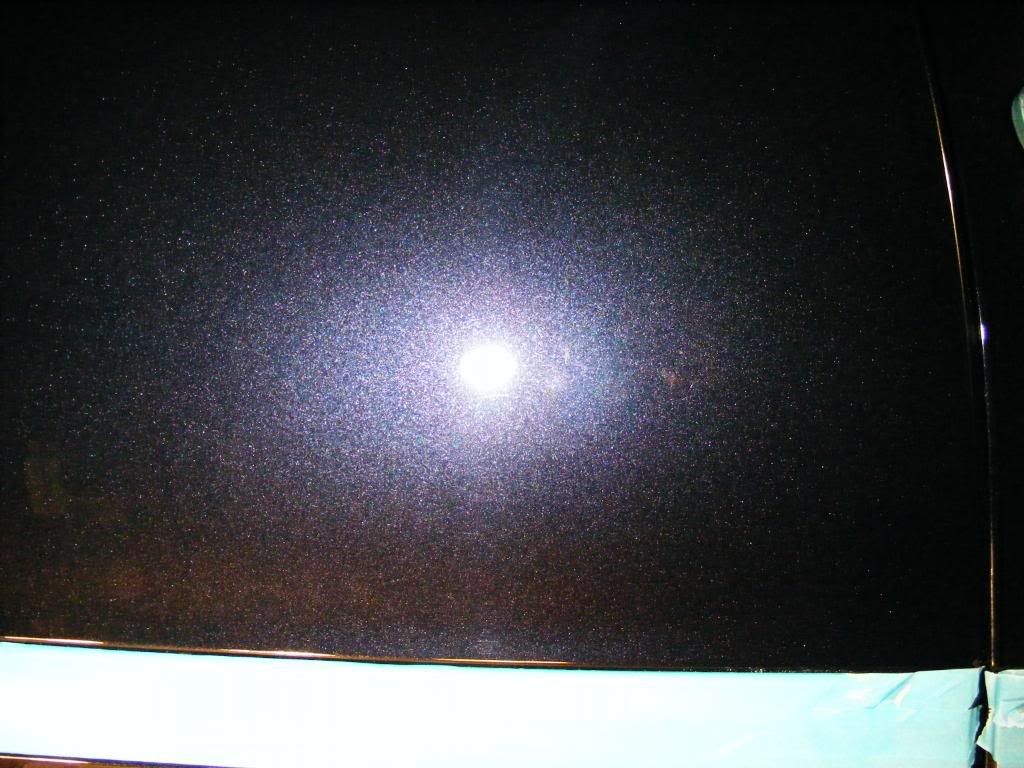
Before

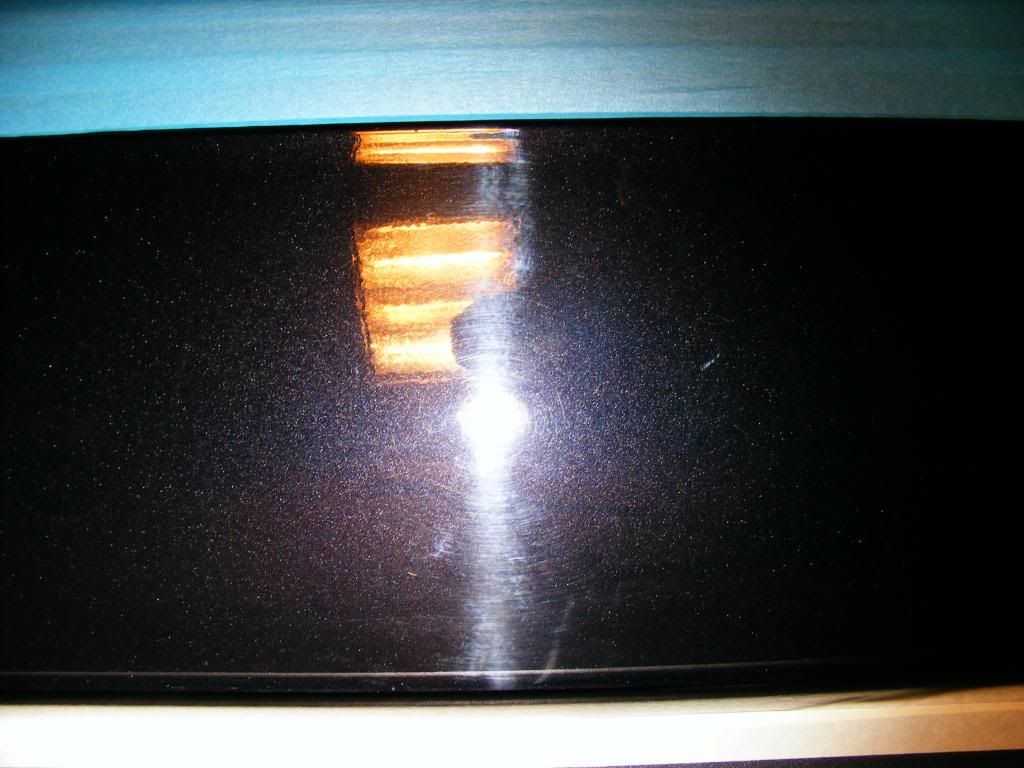
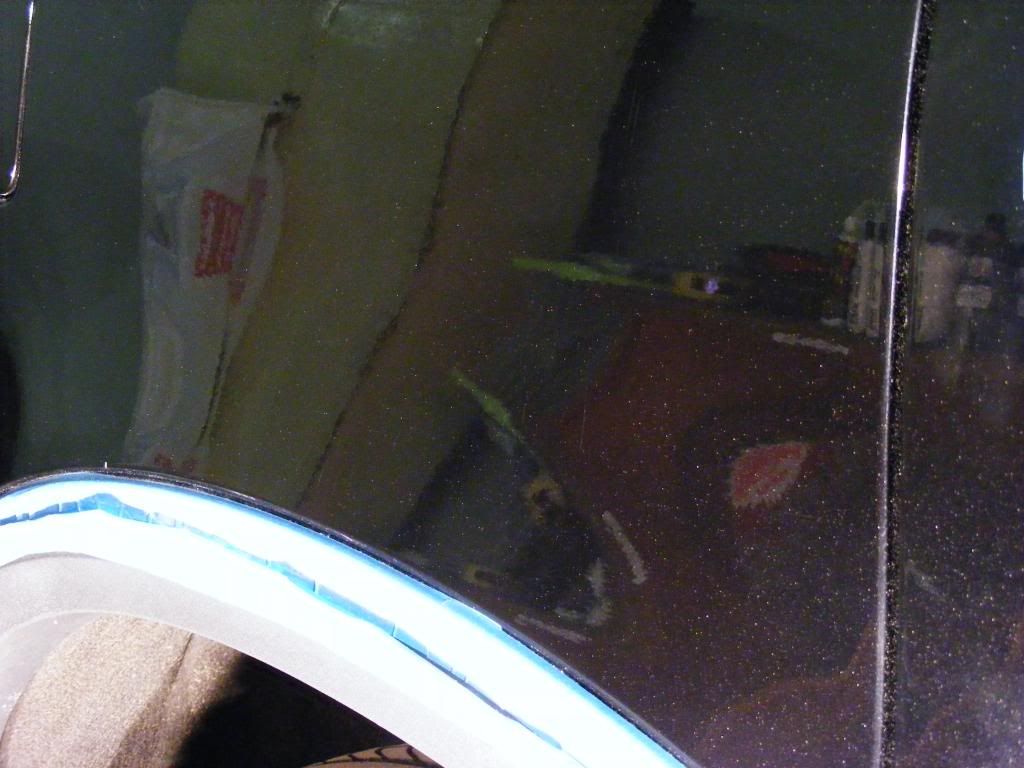
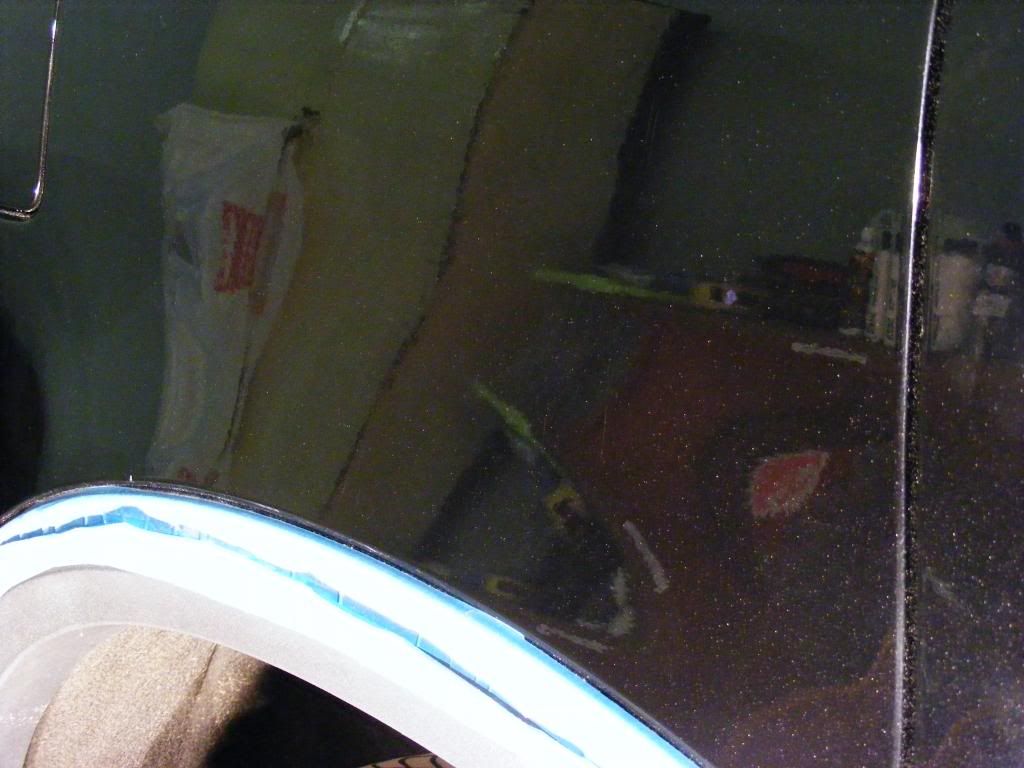
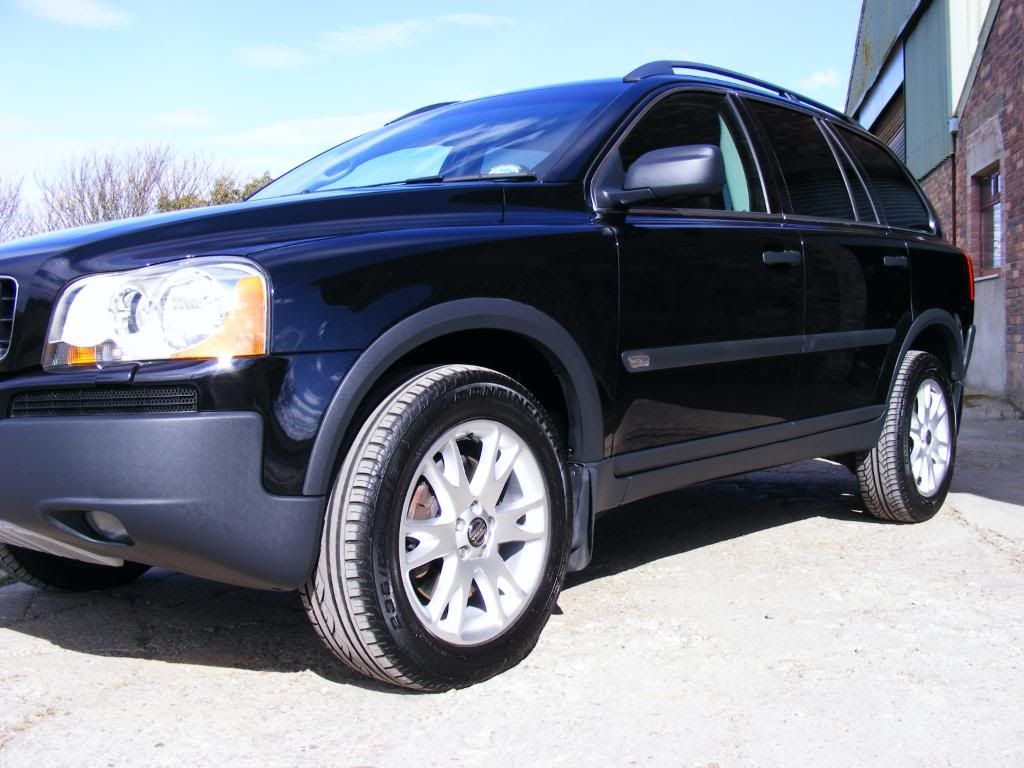
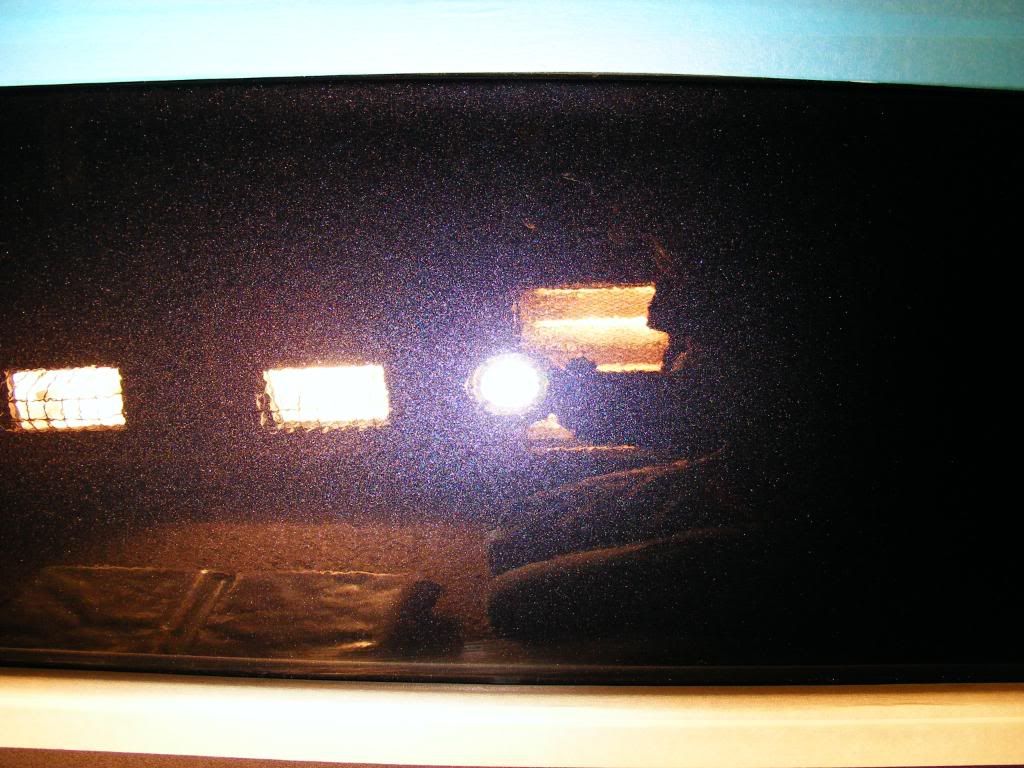
After
Bryan worked on Friday to prepare this car for the paintwork correction stage with the washing, decontamination and claying stage... It was then readied for Saturday night night-shift for Stu and myself to correct and protect the finish
For a now four year old car, the paintwork was in pretty good condition with only really medium swirls and the odd deeper mark...
Also, some deeper scratches in select areas around the car requiring special attention...
Assessment of the paint thickness on this vehicle showed a consistent 110 - 140um of paint, normal for Volvo paint out of the factory on the Phase-2 generation of cars. Working up through the range of Menzerna polishes, assessing correction and paint removal, I settled on the new Menzerna PO203S Power Finish on a Meguiars W8006 polishing pad, applied using the classic Zenith Point technique as follows:
- Spread at 600rpm
- Begin working at 1200rpm, couple of passes
- Work at 1800rpm until residue goes clear
- Refine at 1200rpm for a couple of passes
- Burnish at 900rpm for a couple of passes
This generated the desired levels of correction and sharpness and clarity in the finish allowing the metallic flake to ping through beautifully:
Paint removal rates were assessed as follows:
- Find a "landmark" on the paint (stone chip, contour...)
- Measure approx 30 paint thickness readings over 1" square around the area and calculate average thickness
- Polish as above
- Repeat readings (approx 30) on same 1" square region, around landmark
- Subtract latter average from former average to calculate amount removed
Assessment was removal rates were between 2 and 3um of paint tops, inside the error of the gauge and certainly nothing to worry about on this car when considering the future life of the paint finish which to me is a crucial consideration as part of any detail. I prefer the above method to the laser pen spot method as the averages take into account variances across the region which a single reading does not account for.
Onto the more specific pictures...
Before
After