imported_Dave KG
New member
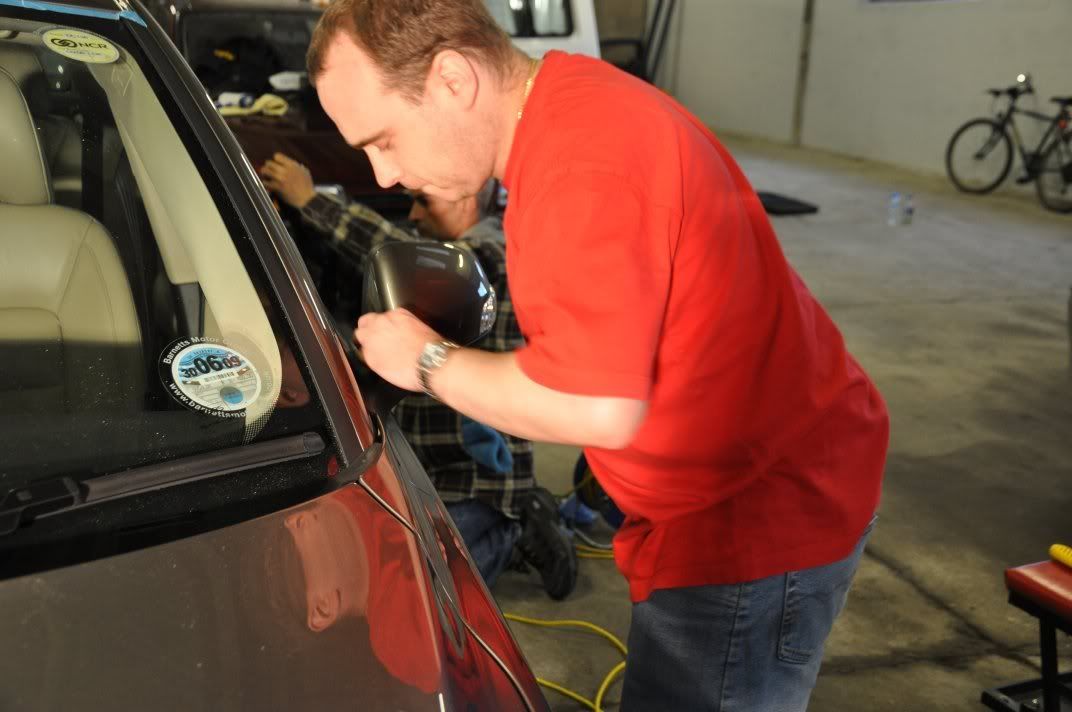
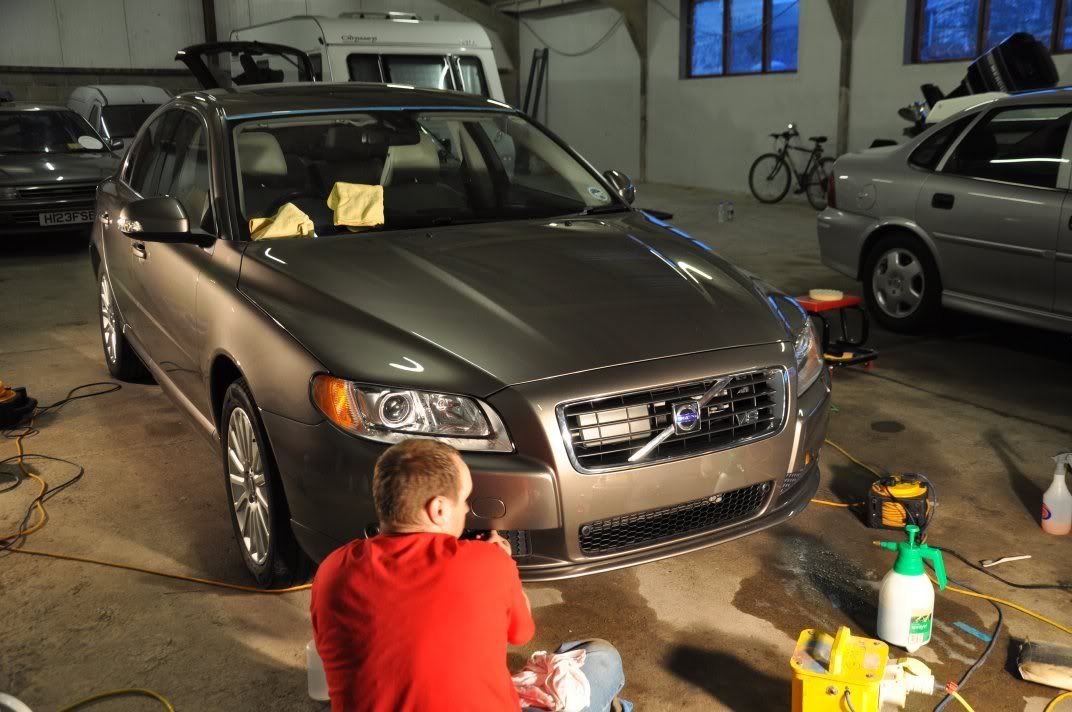
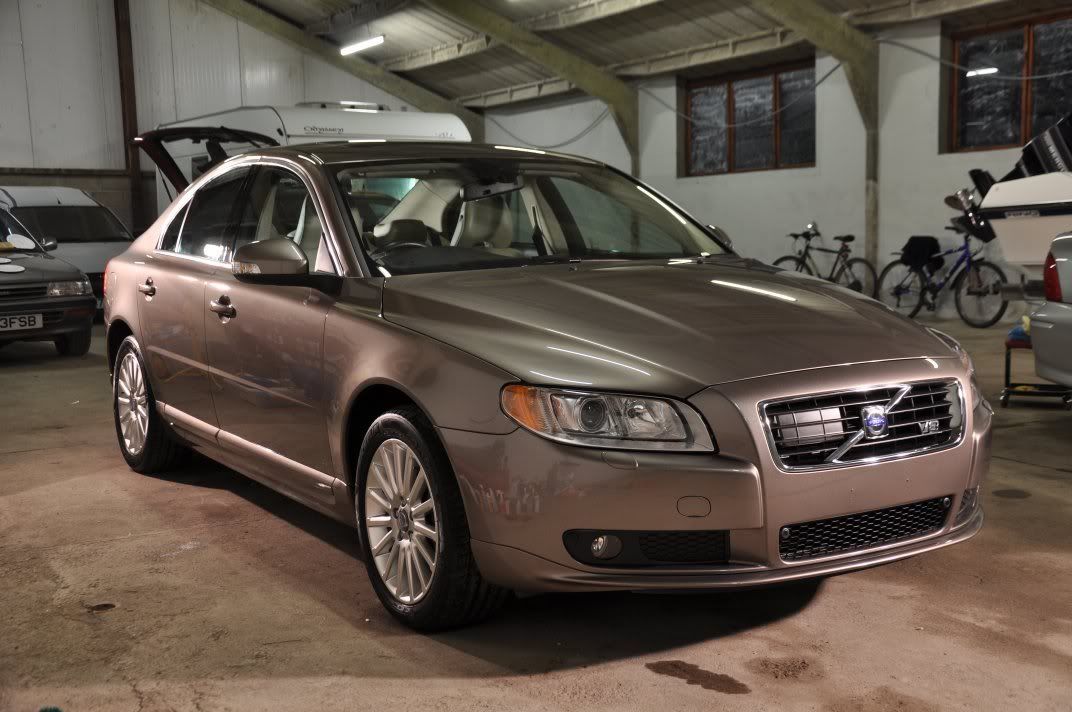
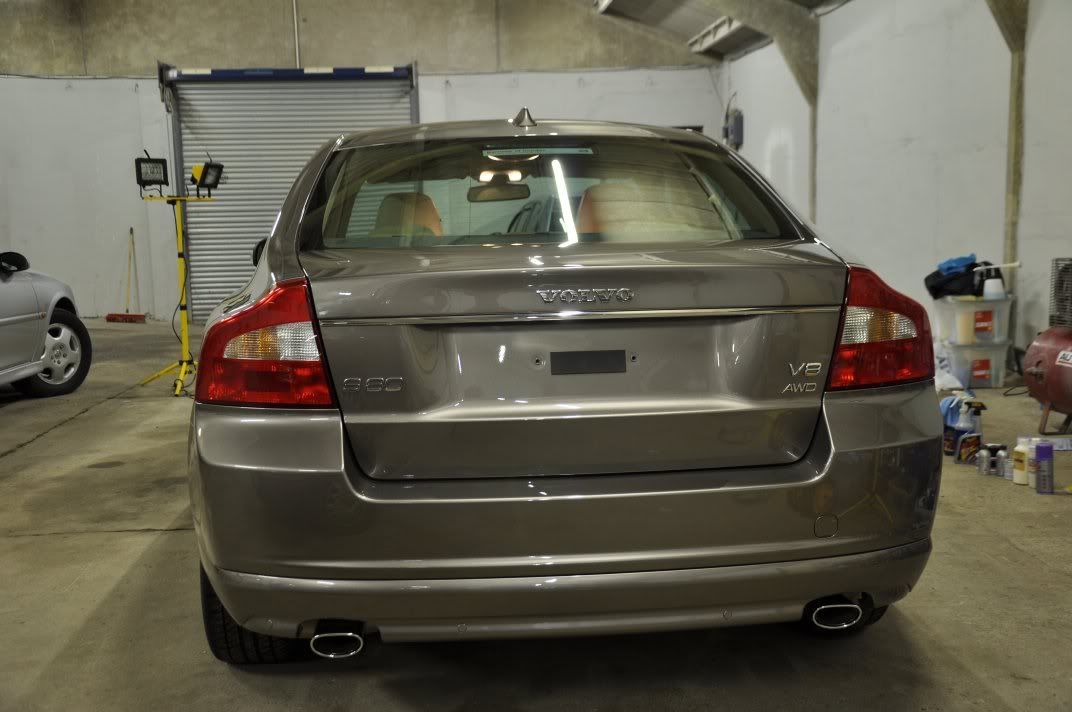
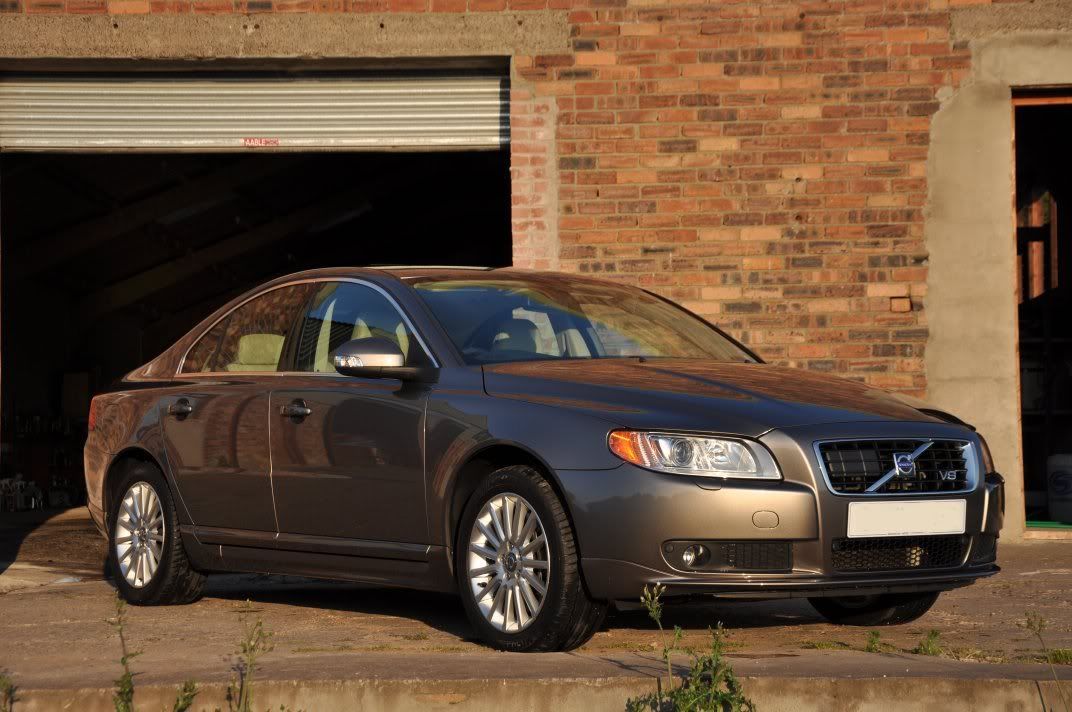
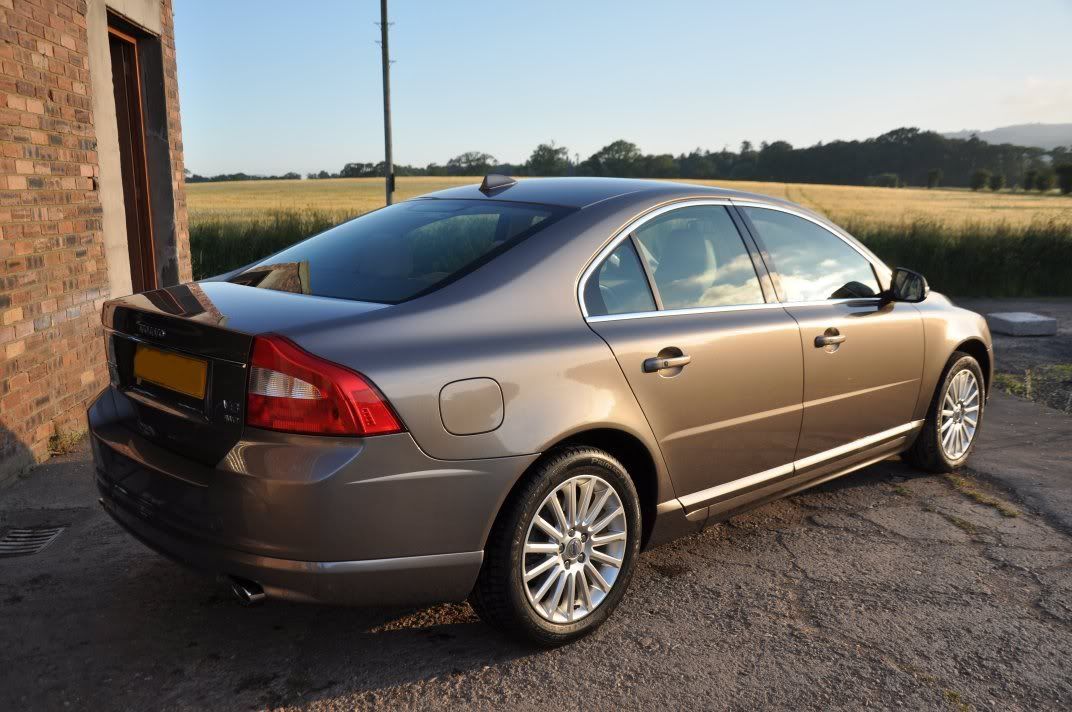
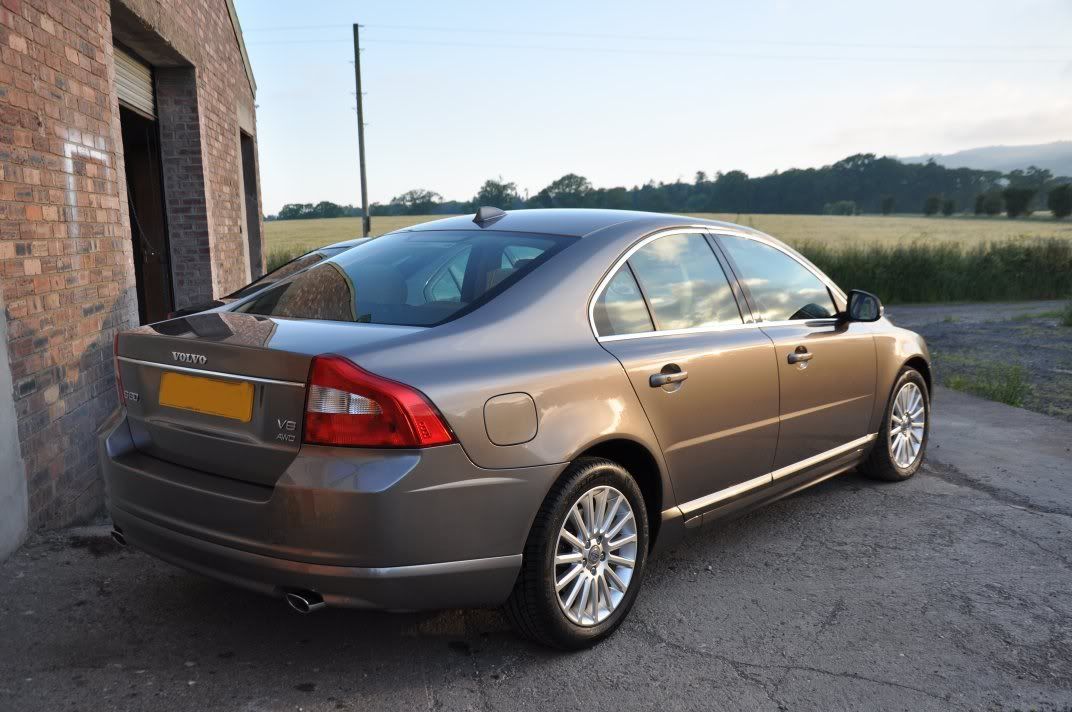
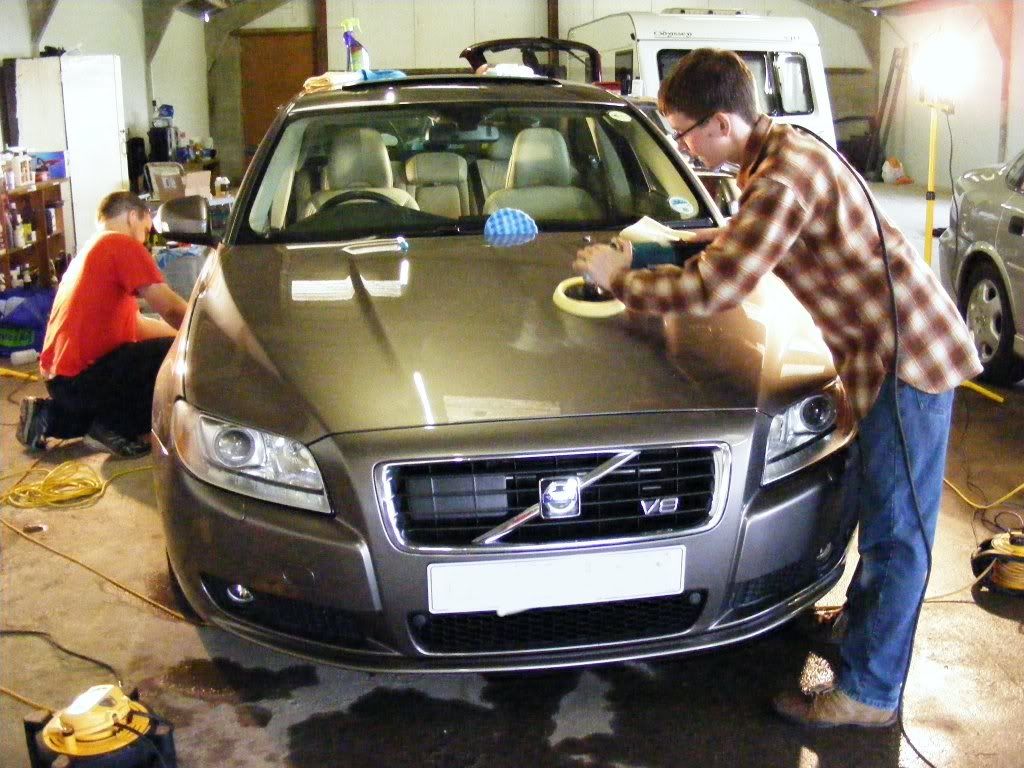
As a thank you for being my advanced driving observer, I offered to detail Iain's Volvo S80 V8... But as part of the fun of detailing, we organised a small team to work on the car: myself, Gordon (caledonia), Iain himself, and Craig. The plan was to do a full detail on the car, and enjoy the day at the same time with some good detailing banter 
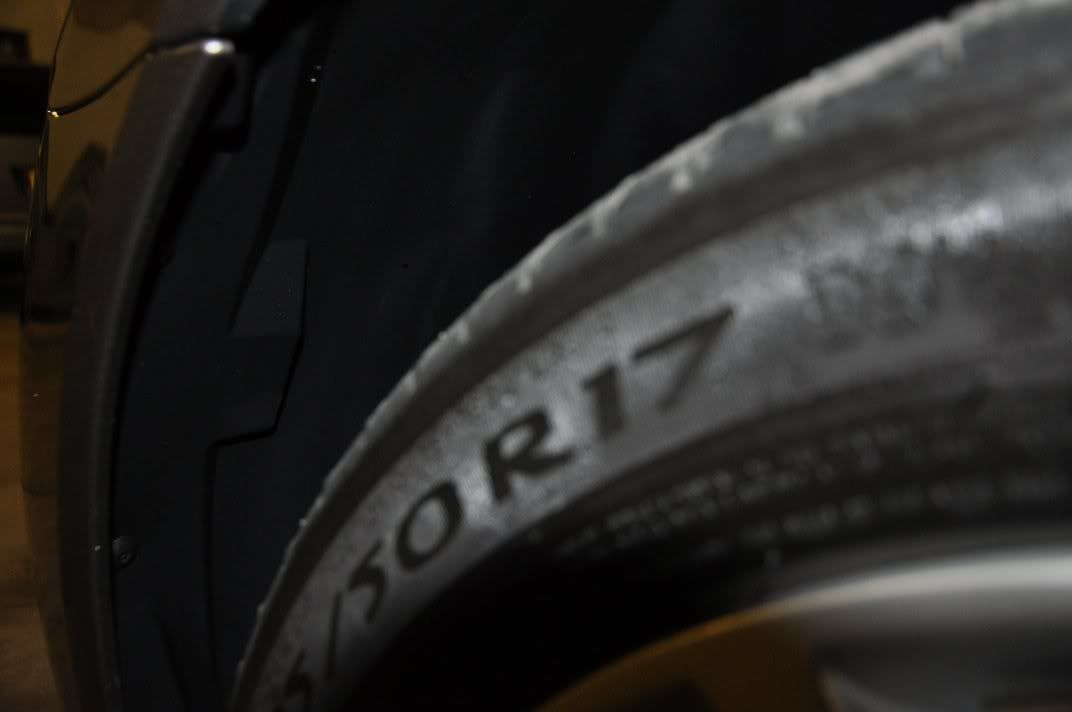
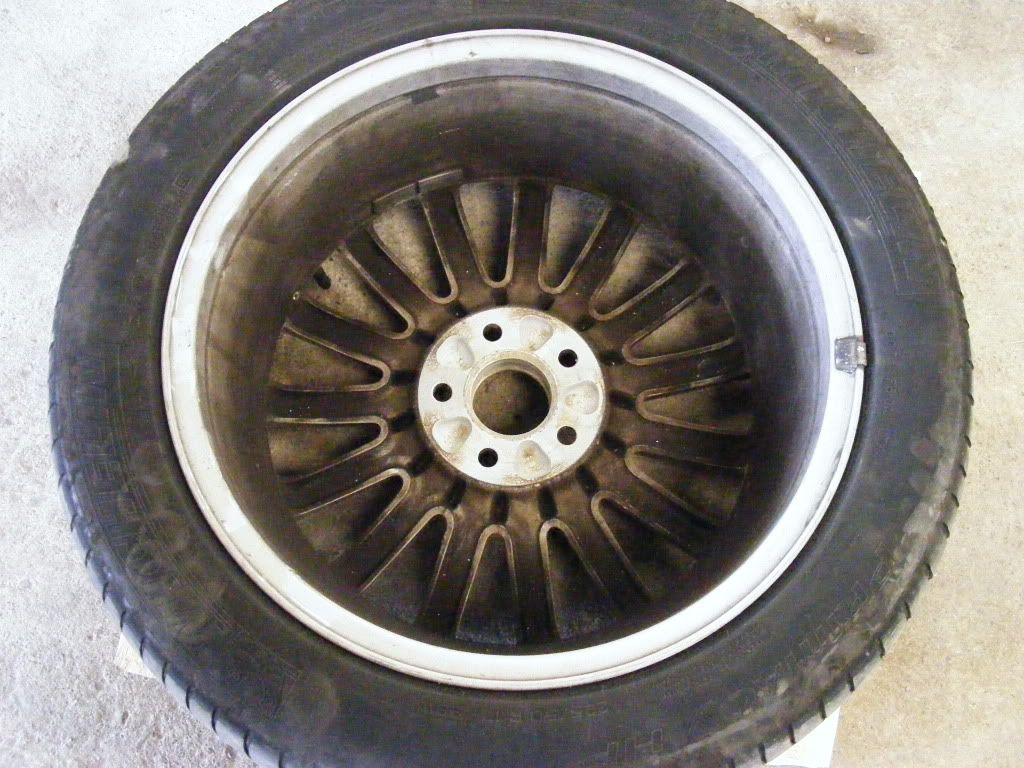
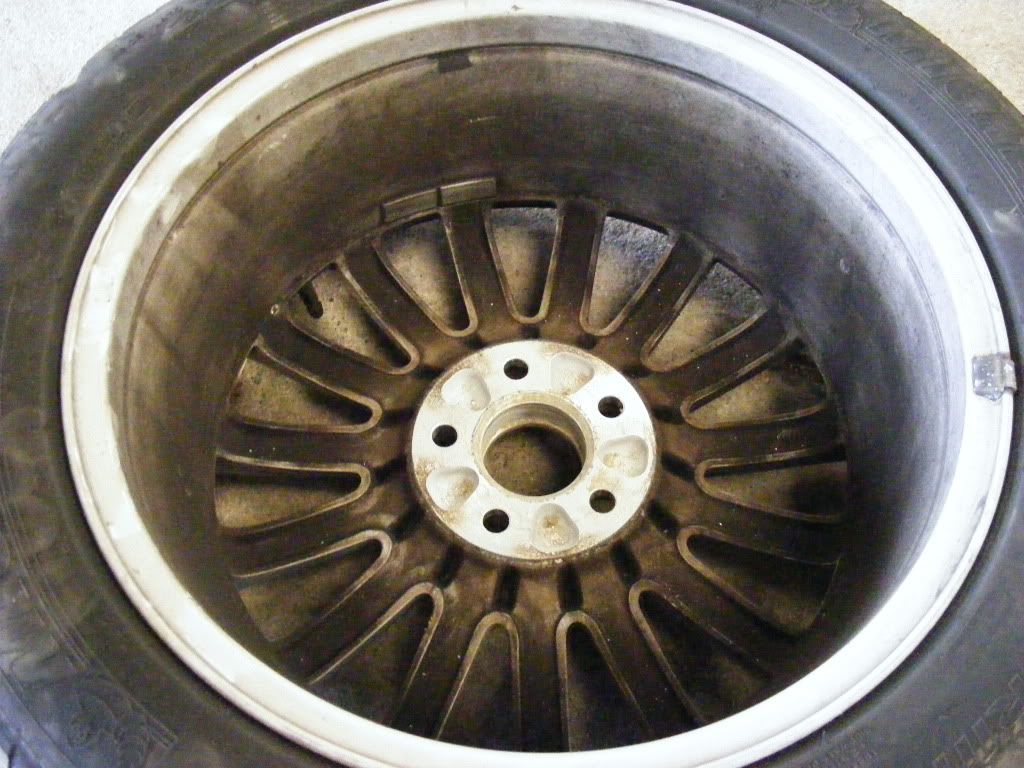
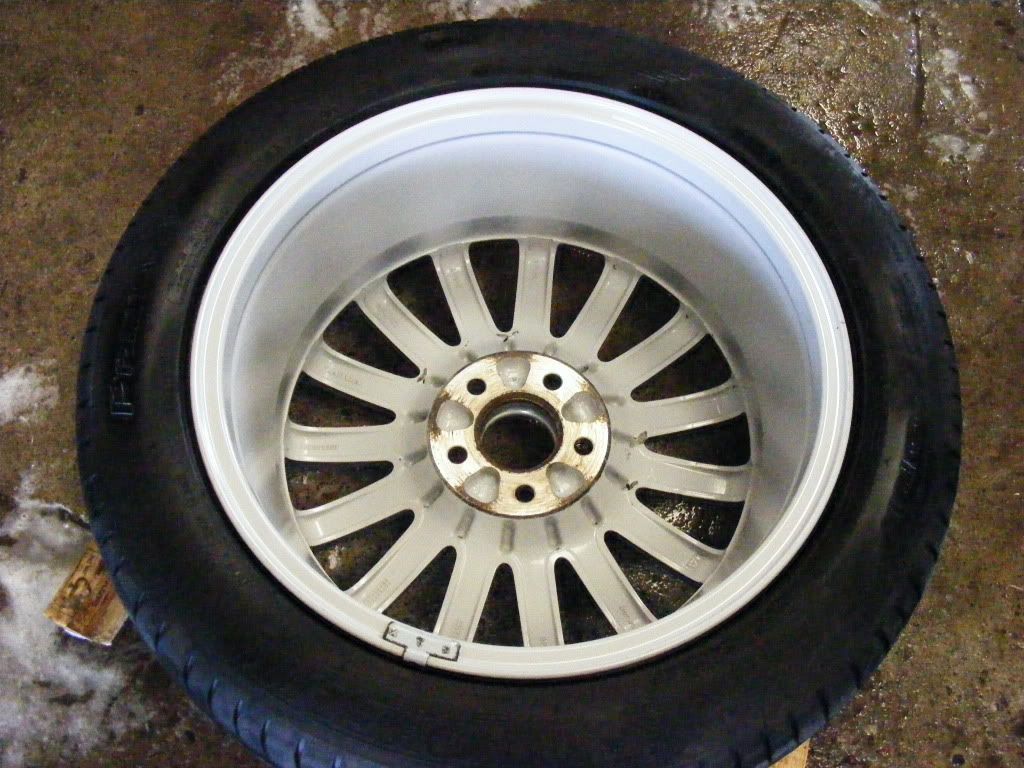
First thing was first on this car... starting on the wheels. Outsides of the wheels looked very nice and clean, but it was a different story on the insides when they were removed and carefully placed on sleepers so as not to mark the alloy:
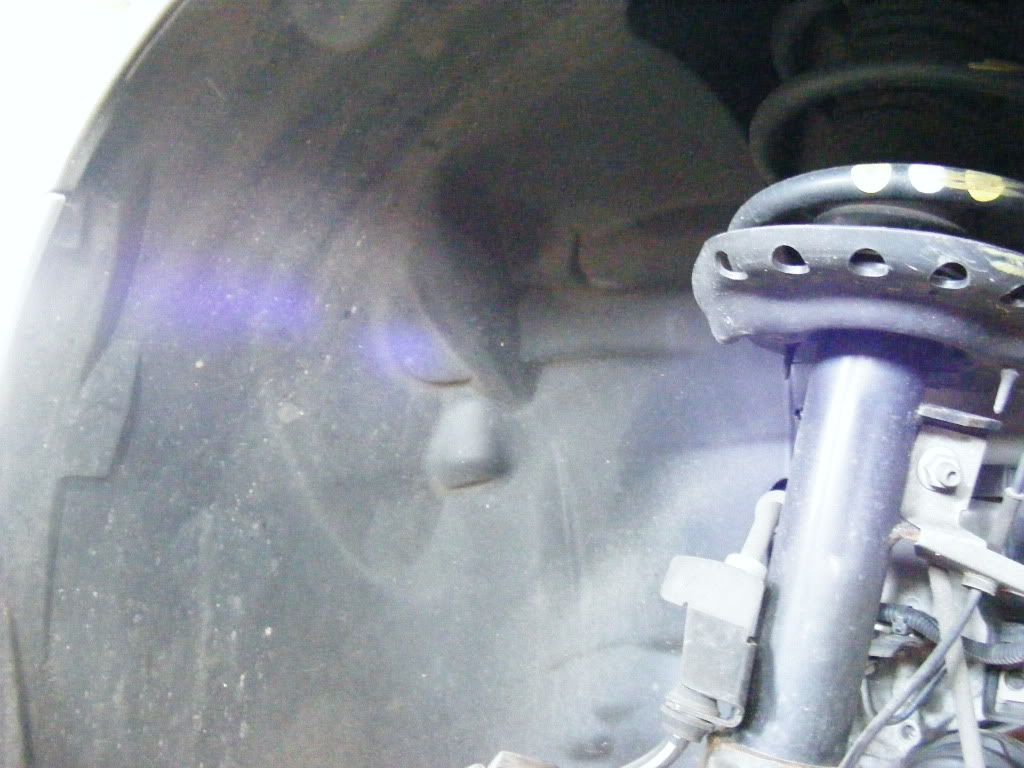
The wheel arches needed a little bit of attention too, but nothing major...
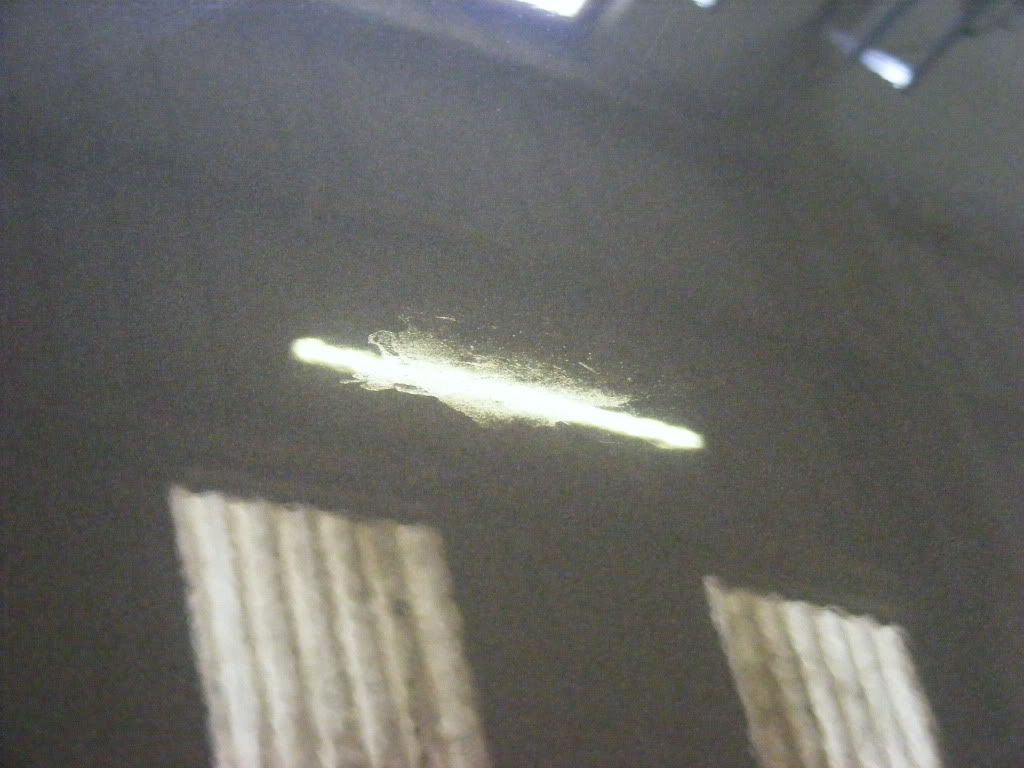
Large region of tar on inside of the alloy...

After washing the insides of the alloy with Bilberry cut 2:1 first off, Wheel Brightener used on the worst parts (where safe of course, as being highly alkaline you have to be sure that the wheel you are using it on can handle it, and that you avoid things like plastic centre caps (removed here)). We see the tar spots, being sorted out with some Tardis:

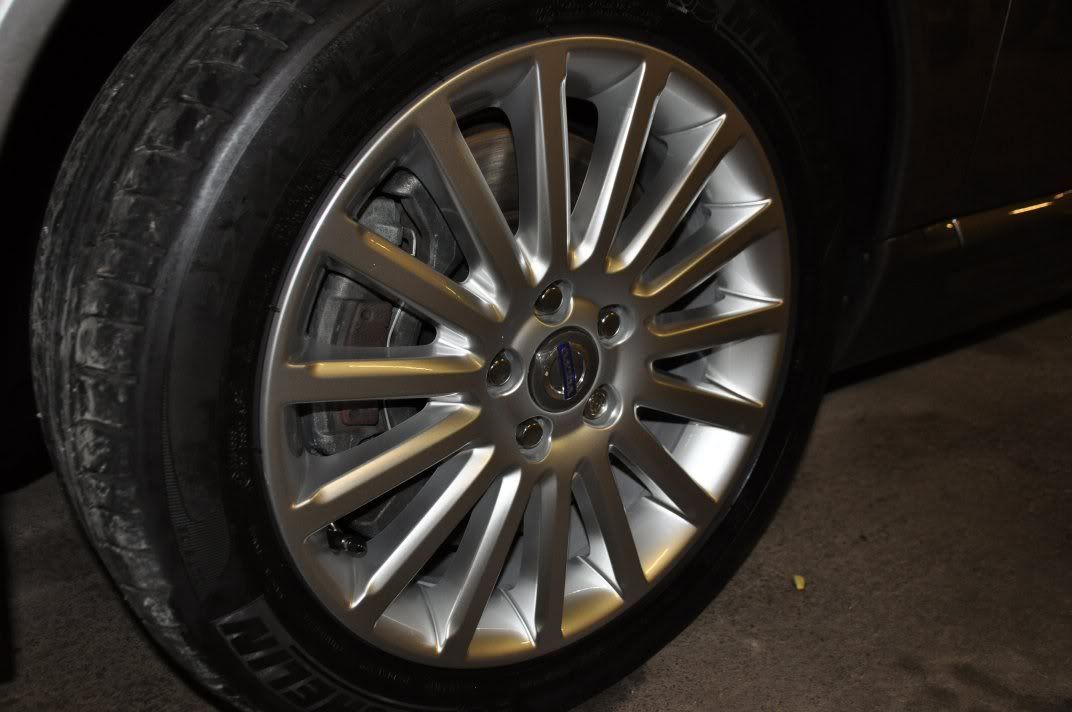
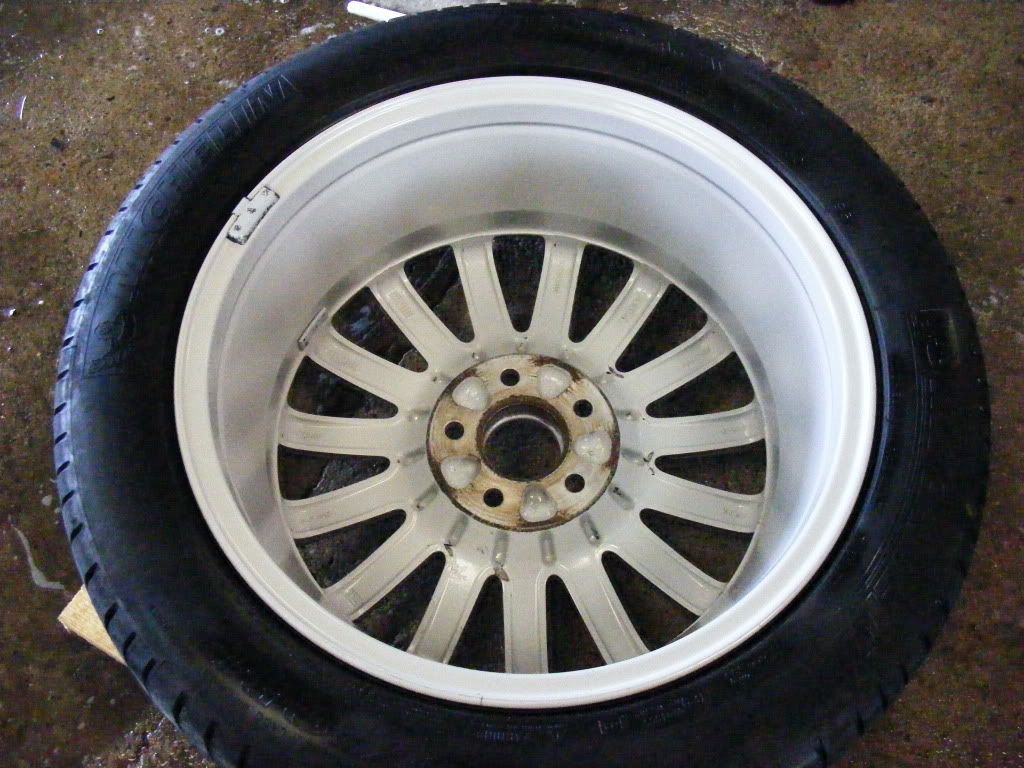
It took about 4 - 5 hours all told working on the wheels and arches, ensuring we got the best possible finish on them. Protection was FK1000P. End results on the insides...
Through the spokes...

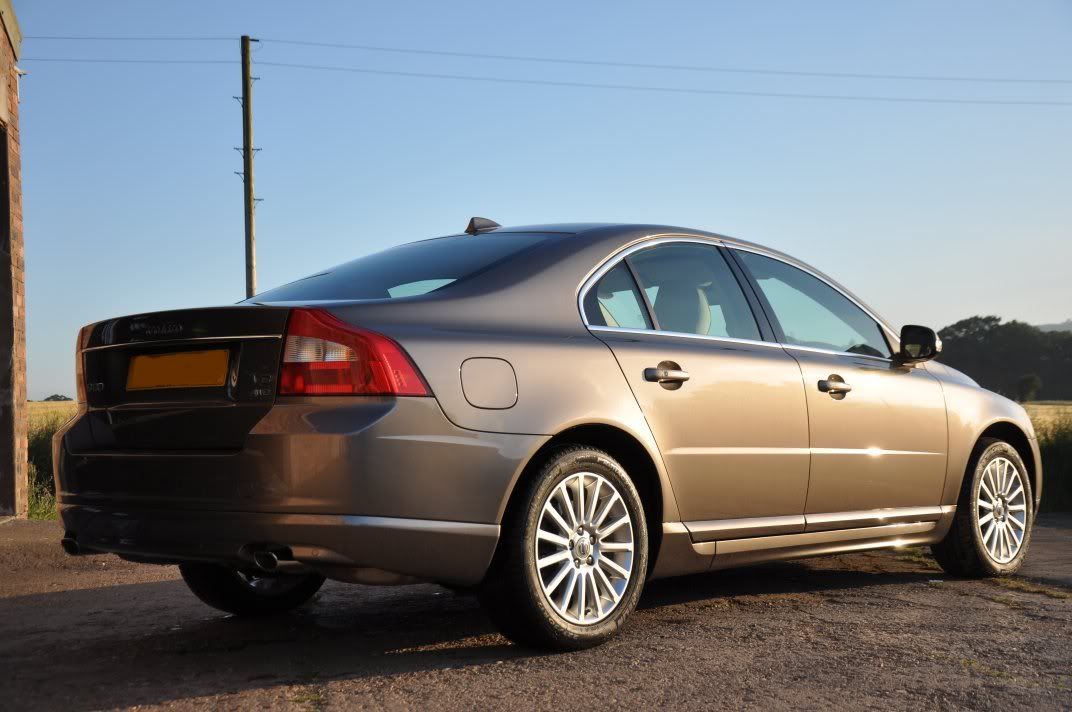
And back on the car...

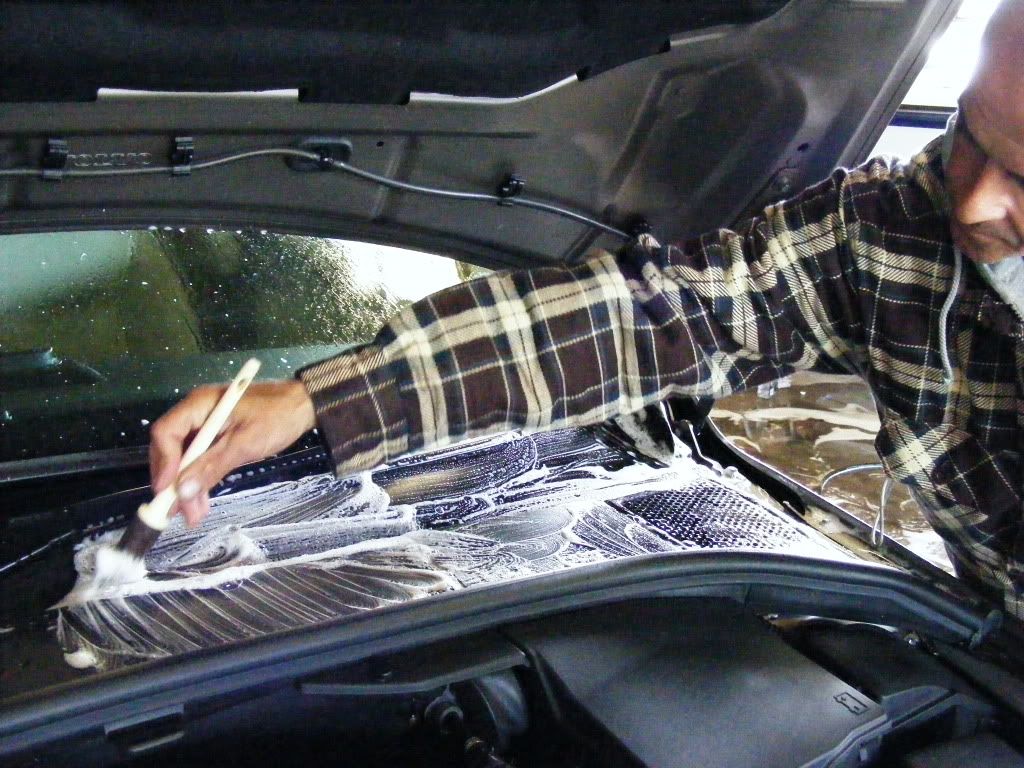
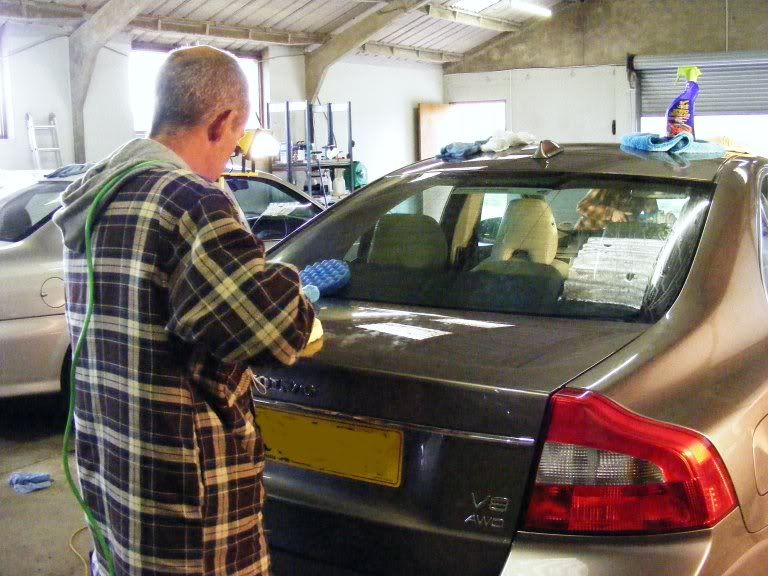
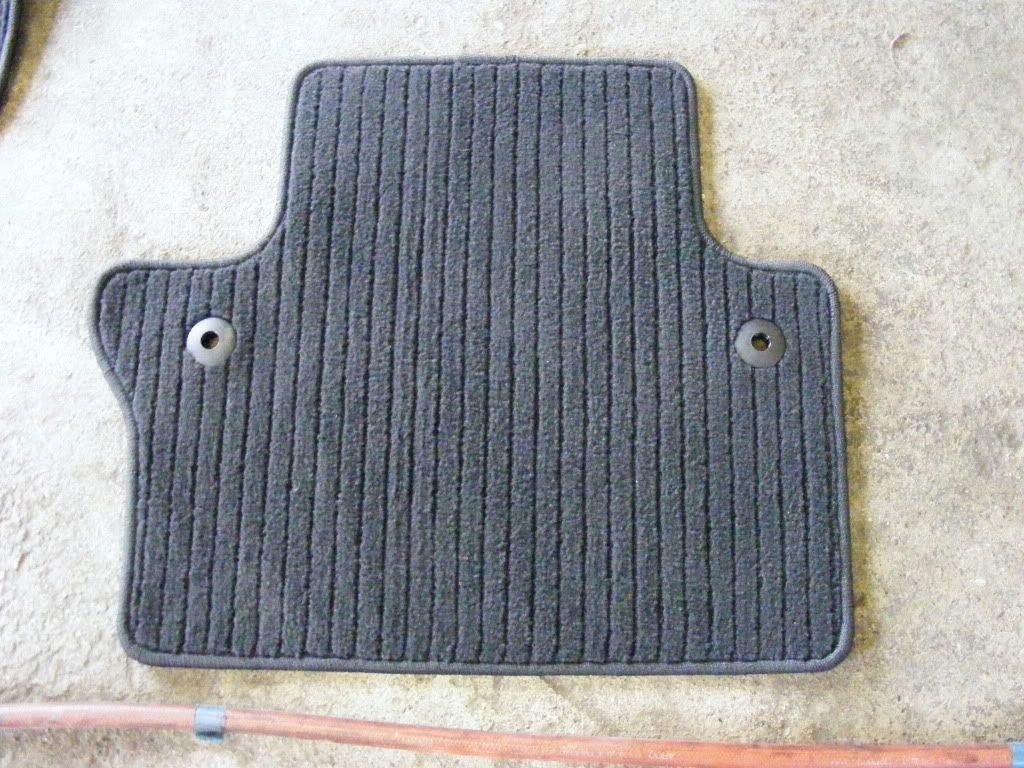
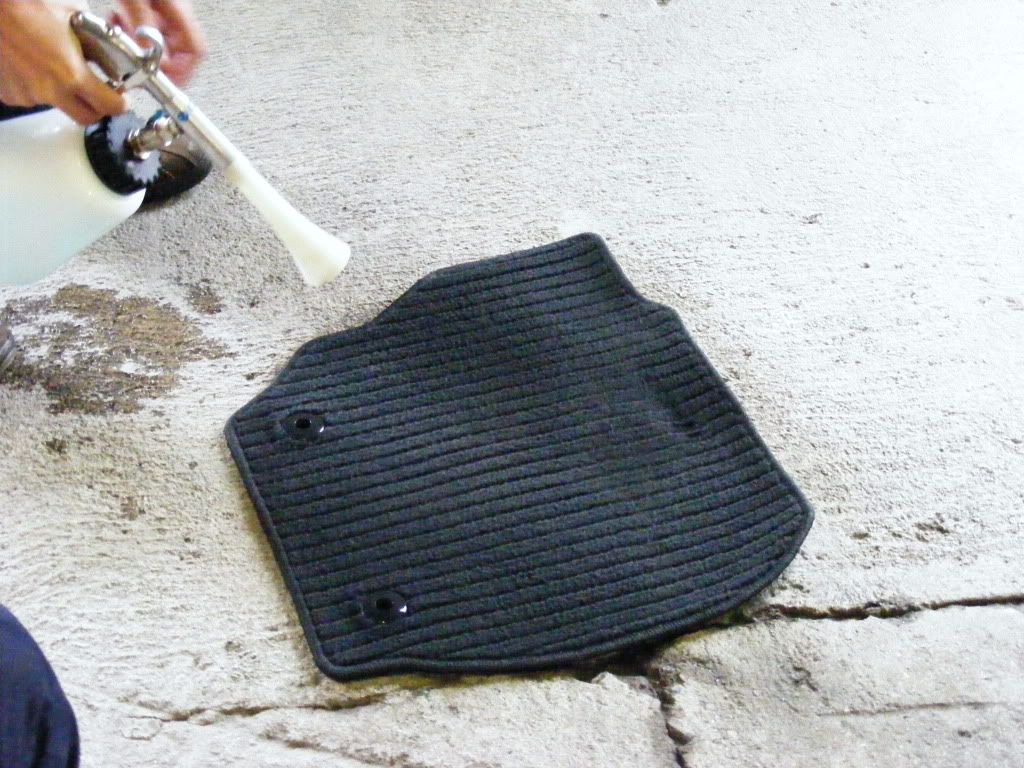
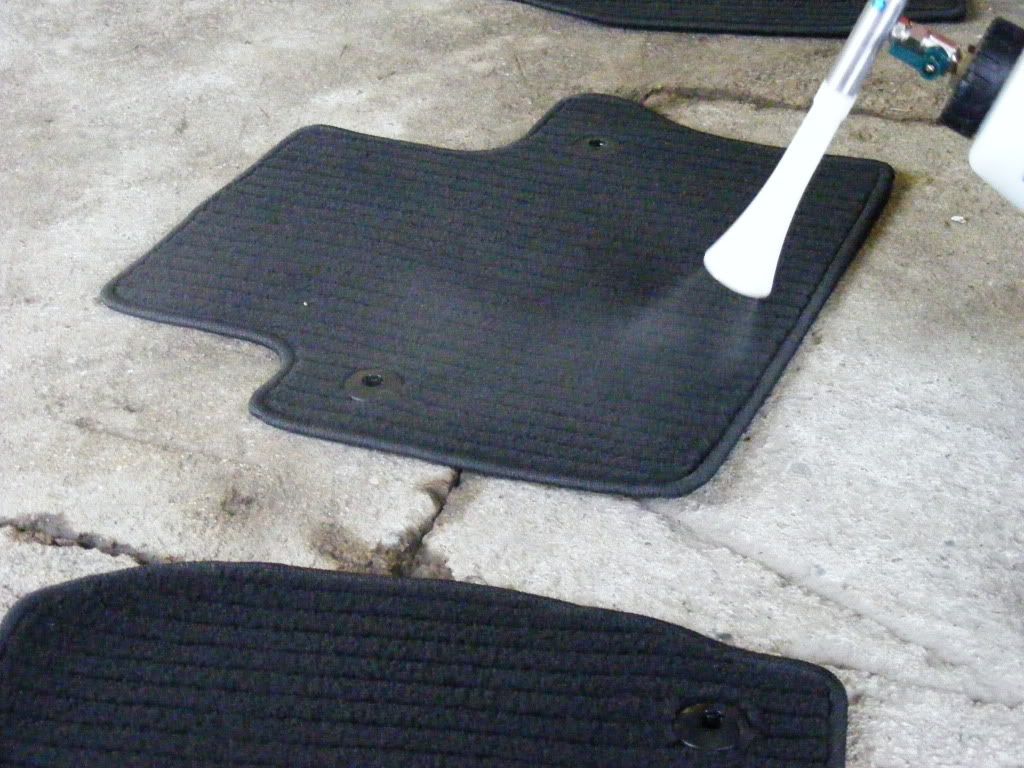
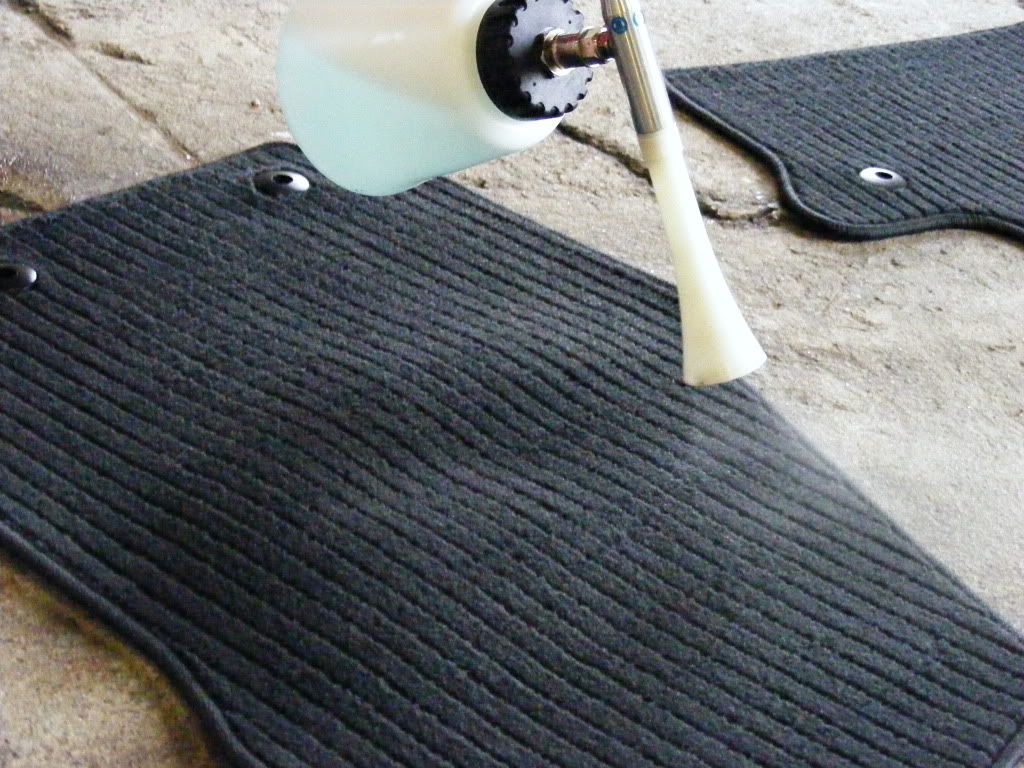
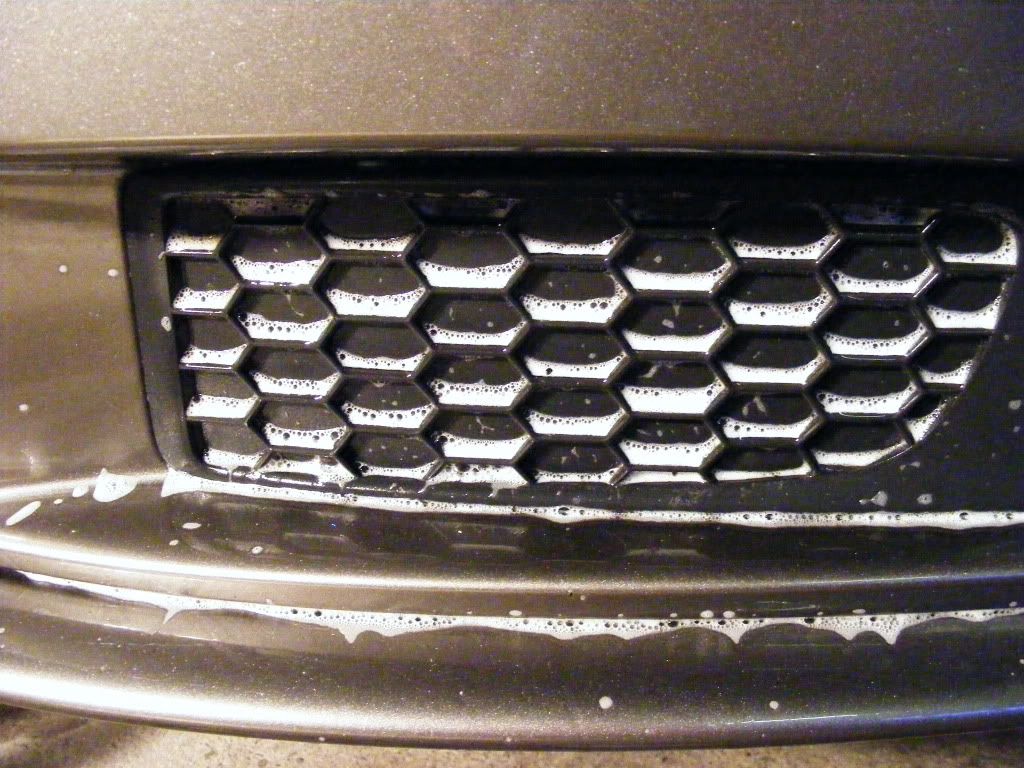
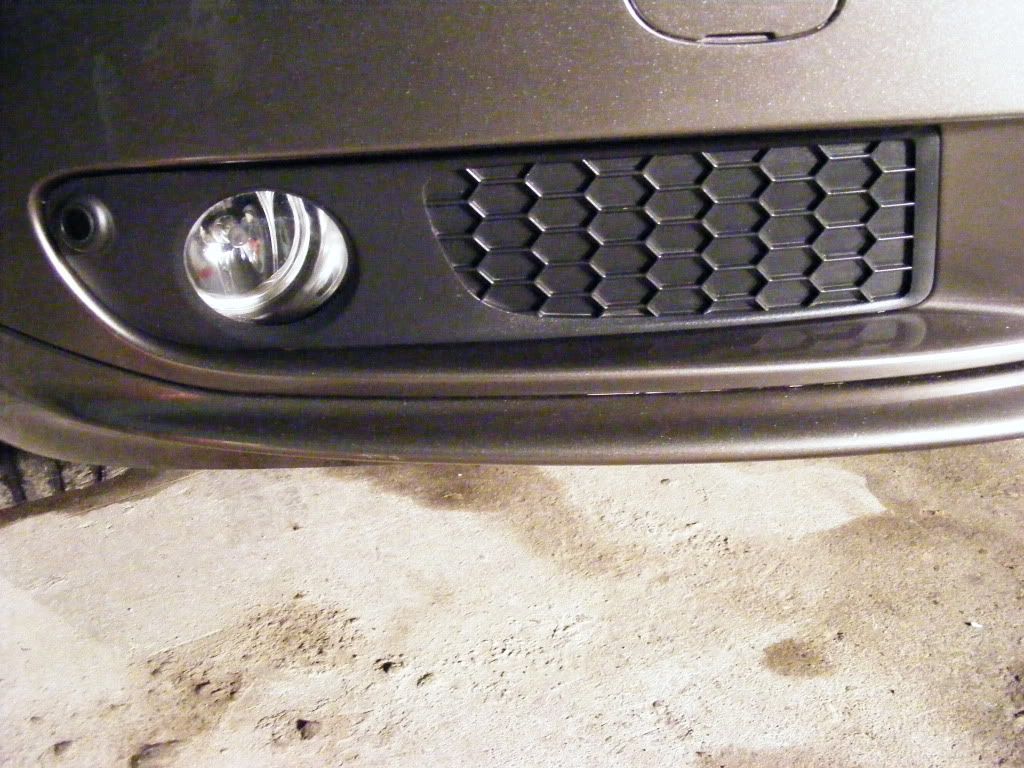
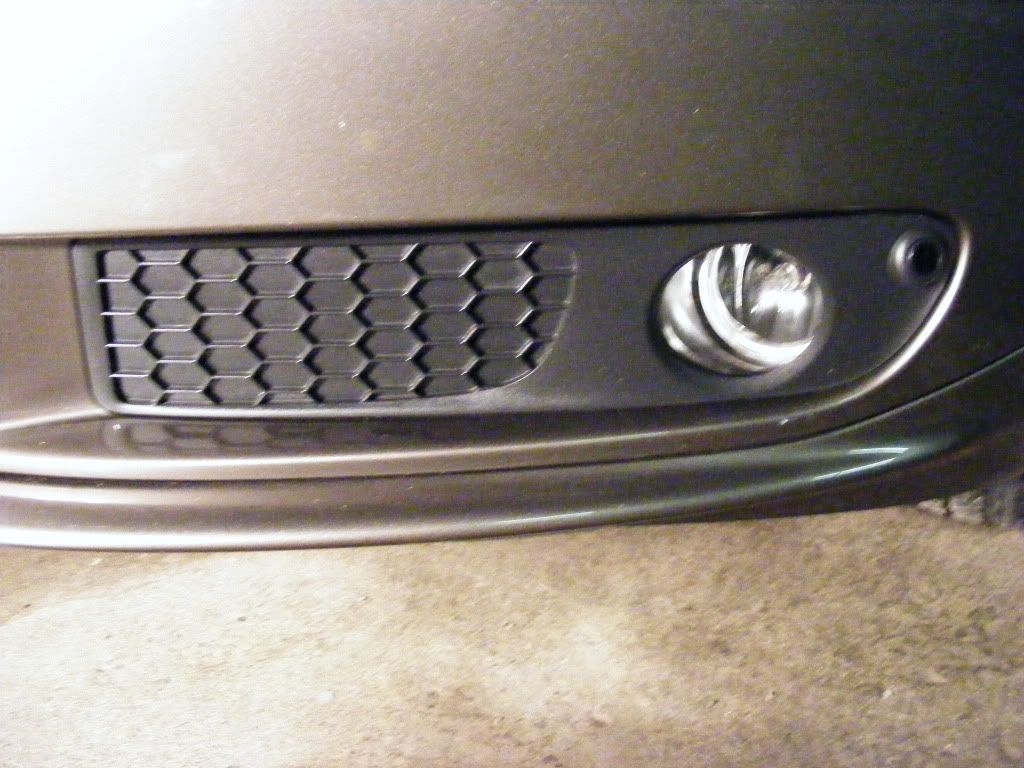
Gordon used APC on the plastics and rubbers round the car to thoroughly clean them") :
:

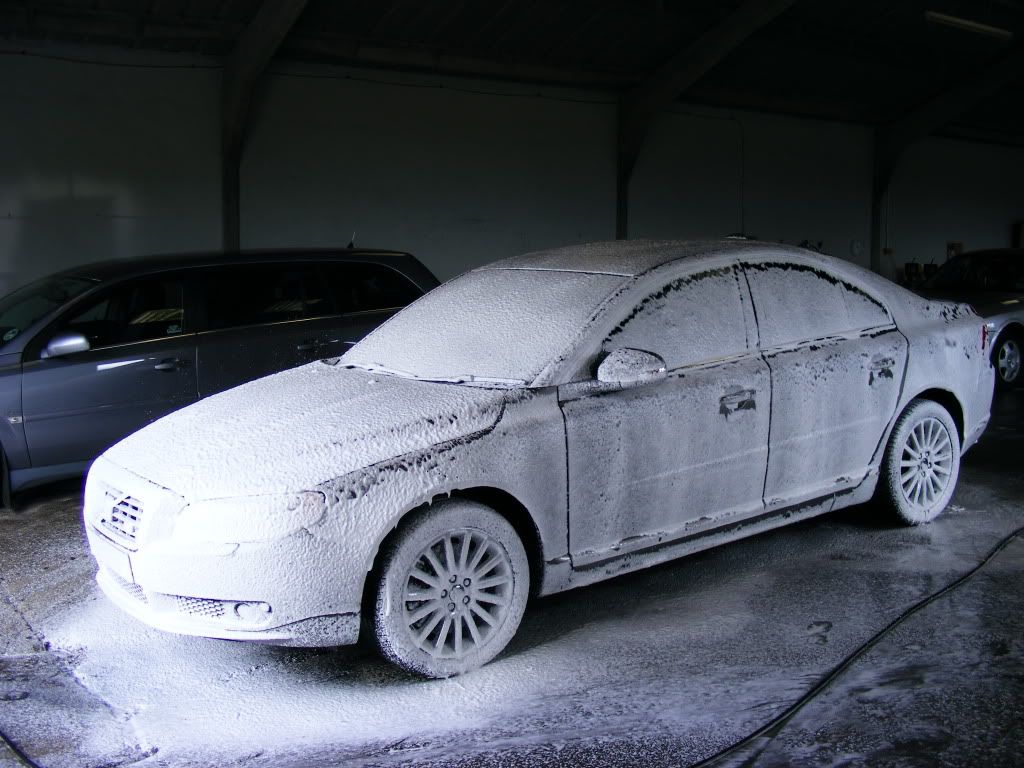
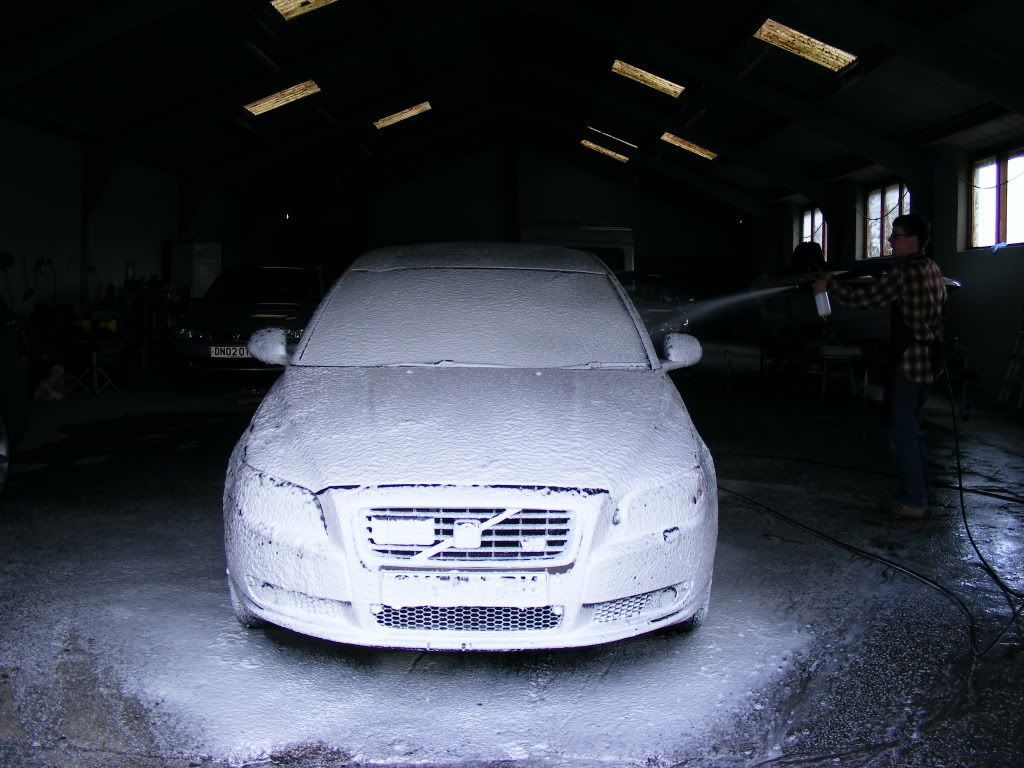
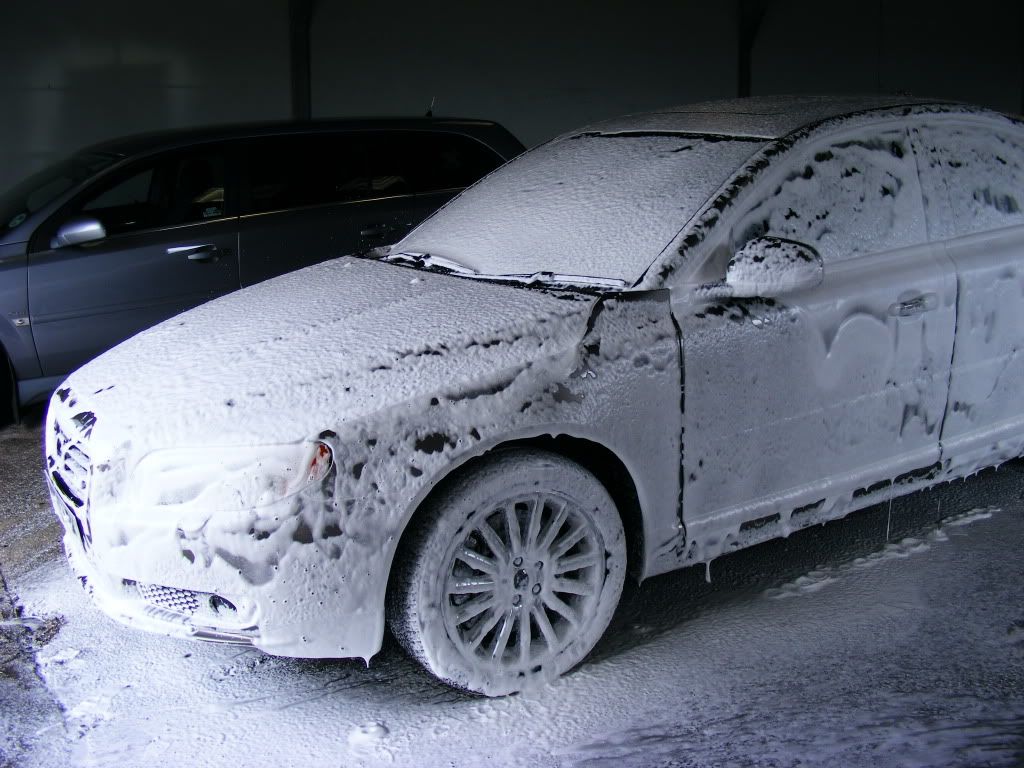
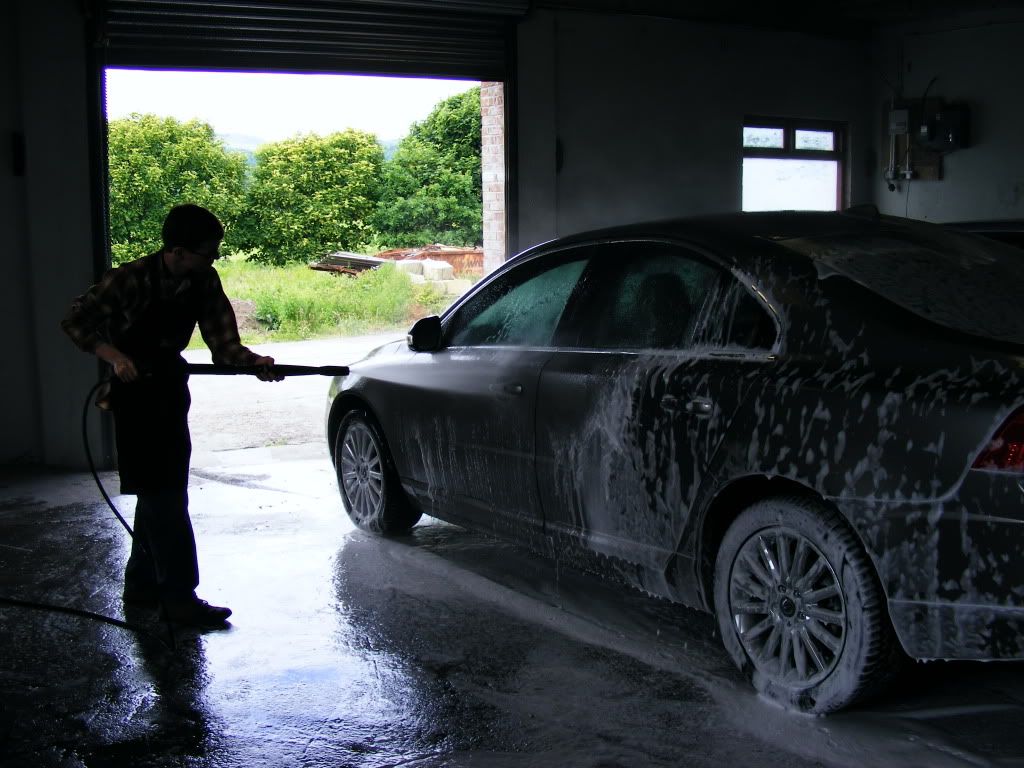
Once the wheels and arches were complete it was time to foam and rinse the car, one of my favourite parts of the washing process, the foam lance - still a certainly child like amusement to its use!
Rinsed off...
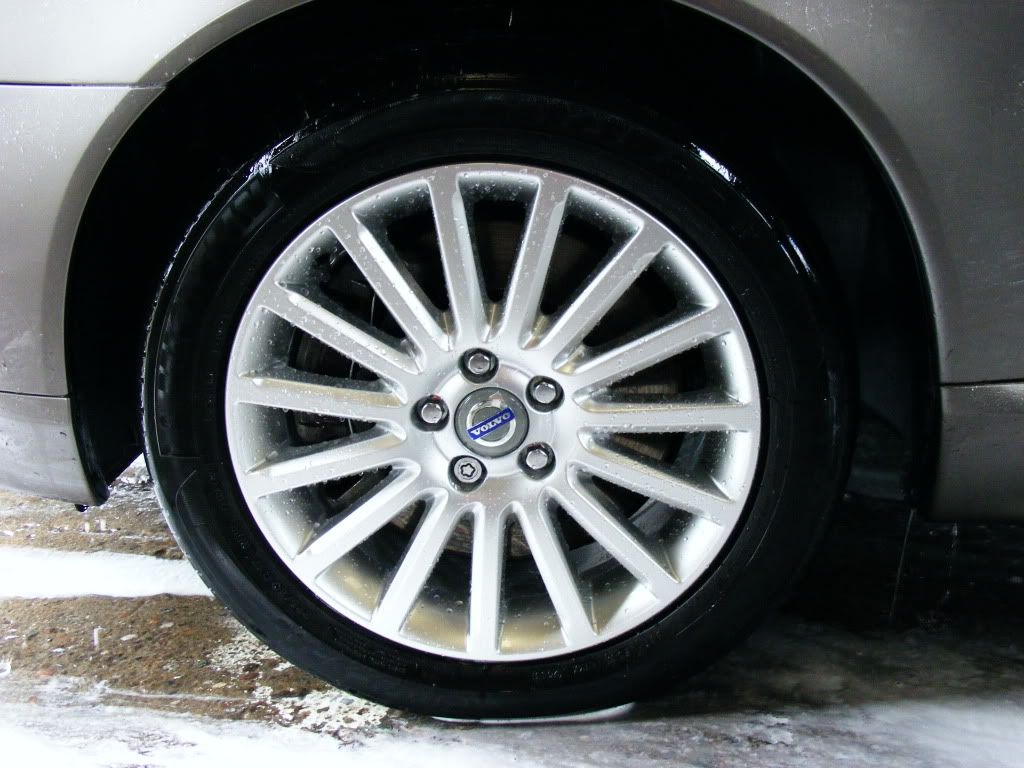
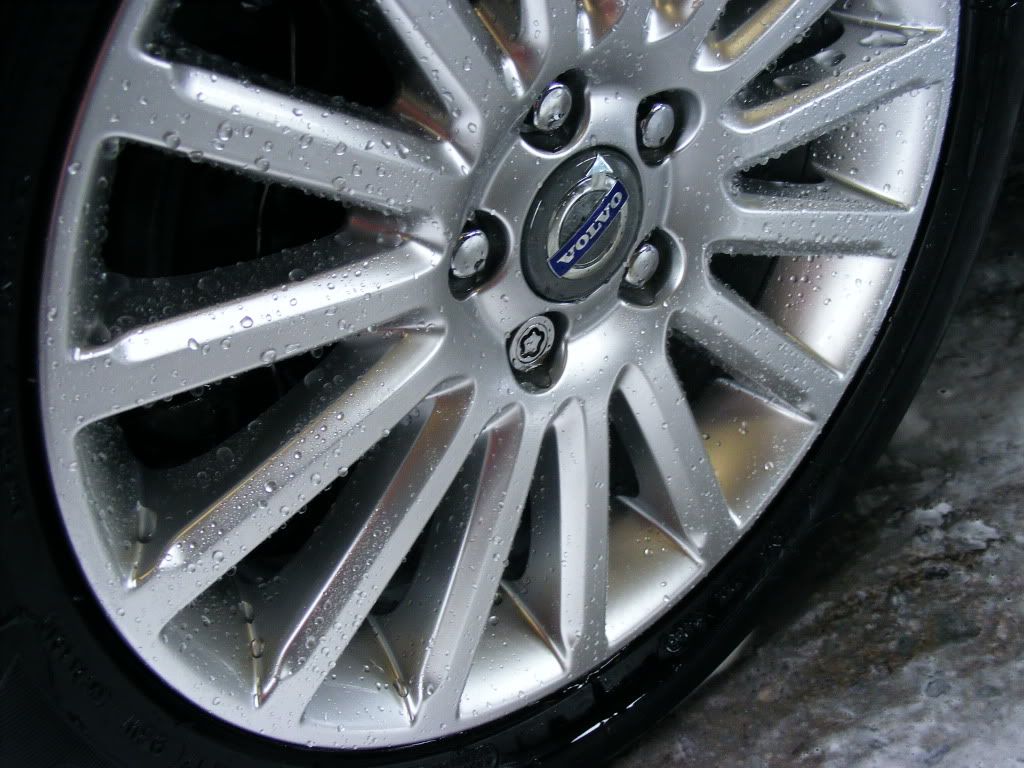
Water beading nicely on the freshly protected wheels...
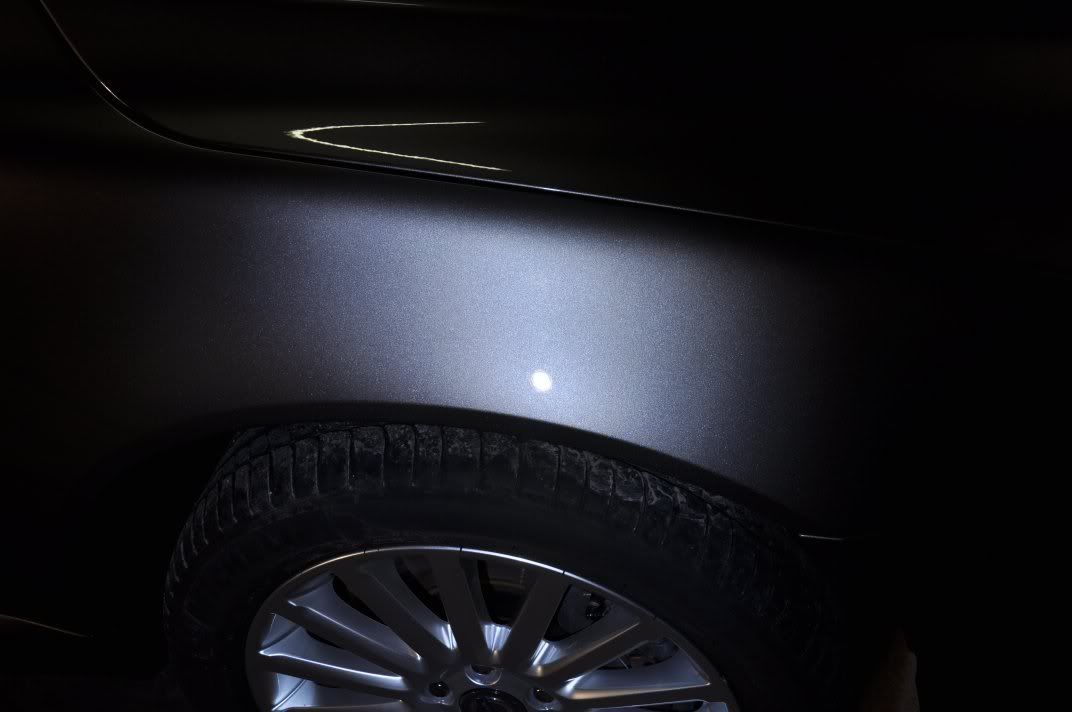
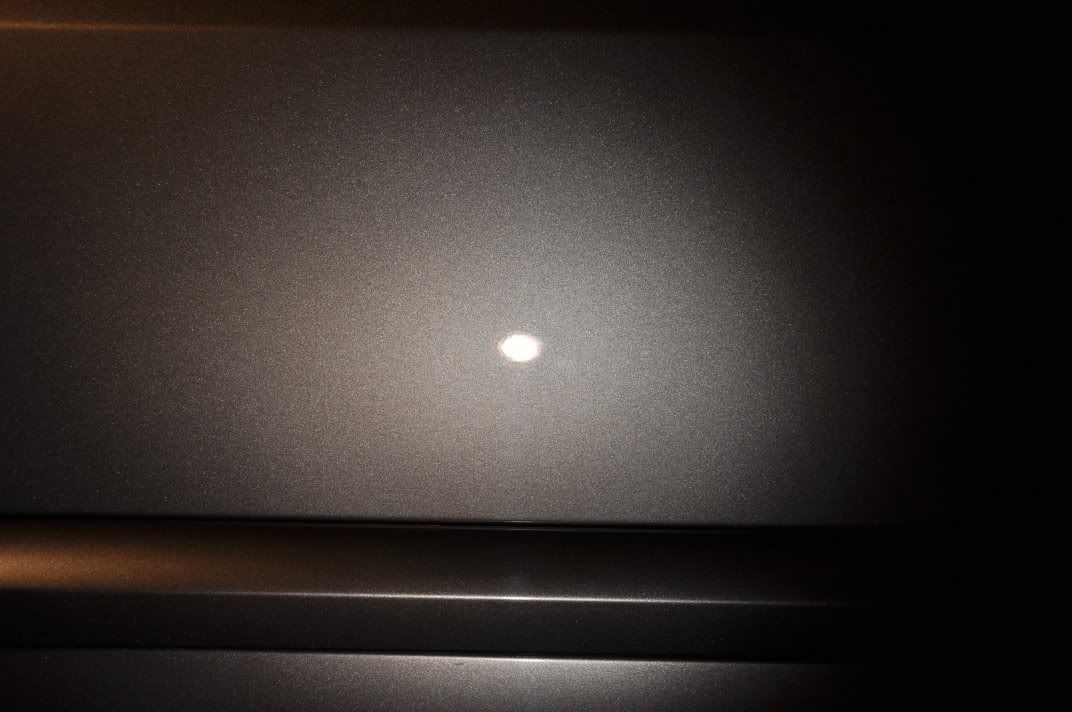
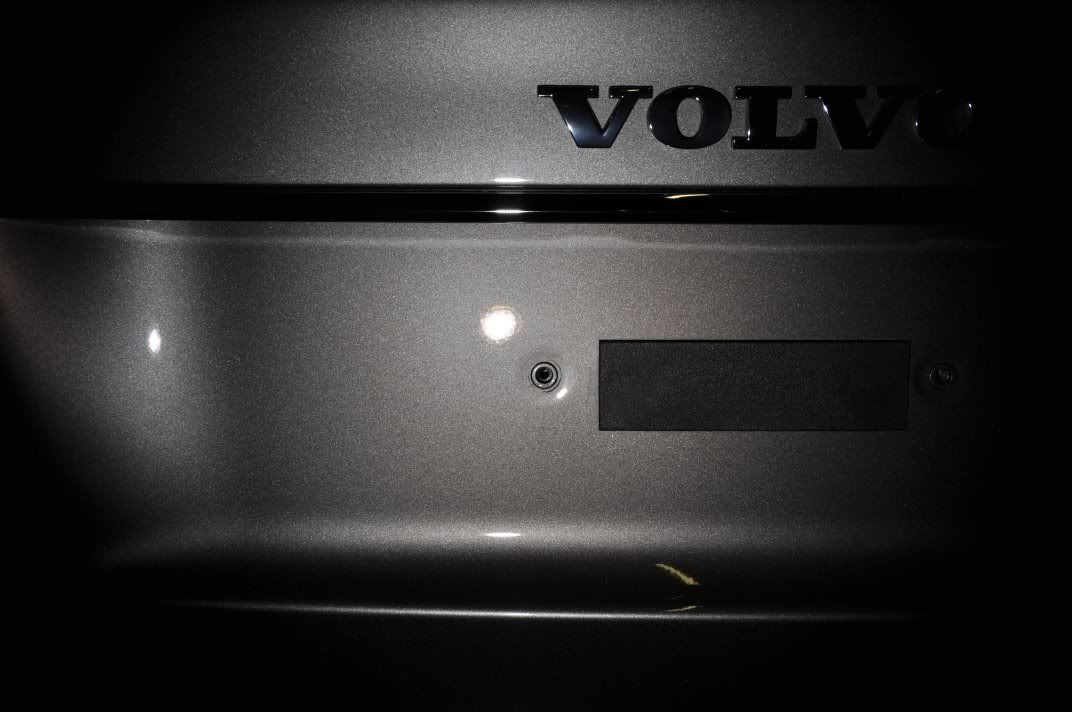
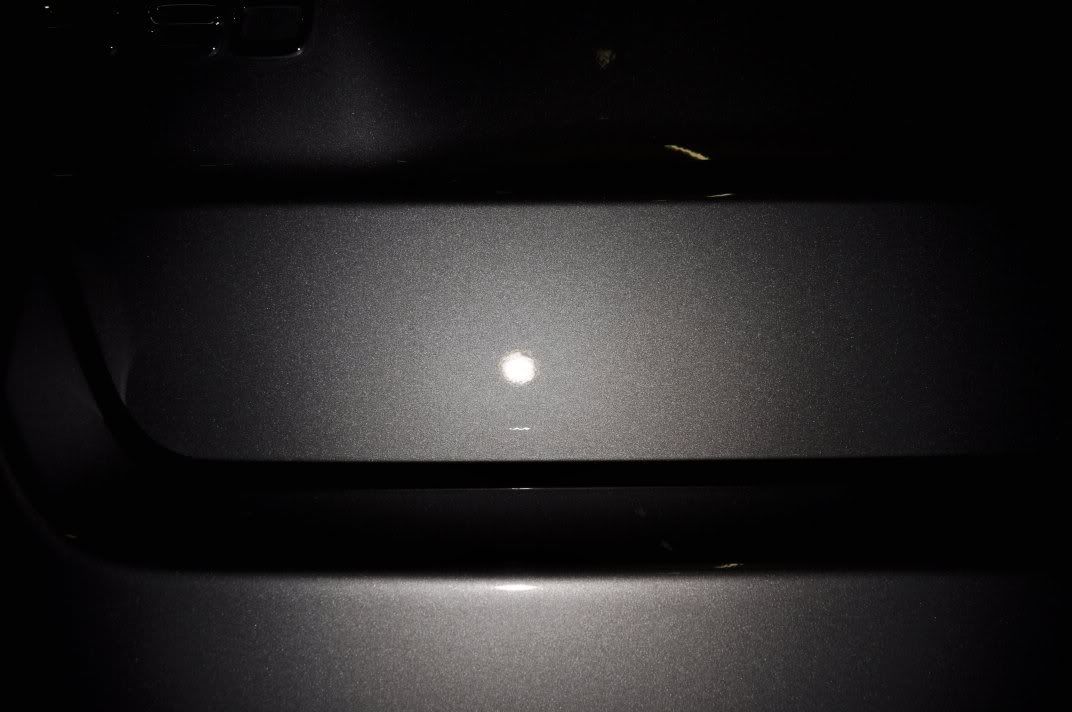
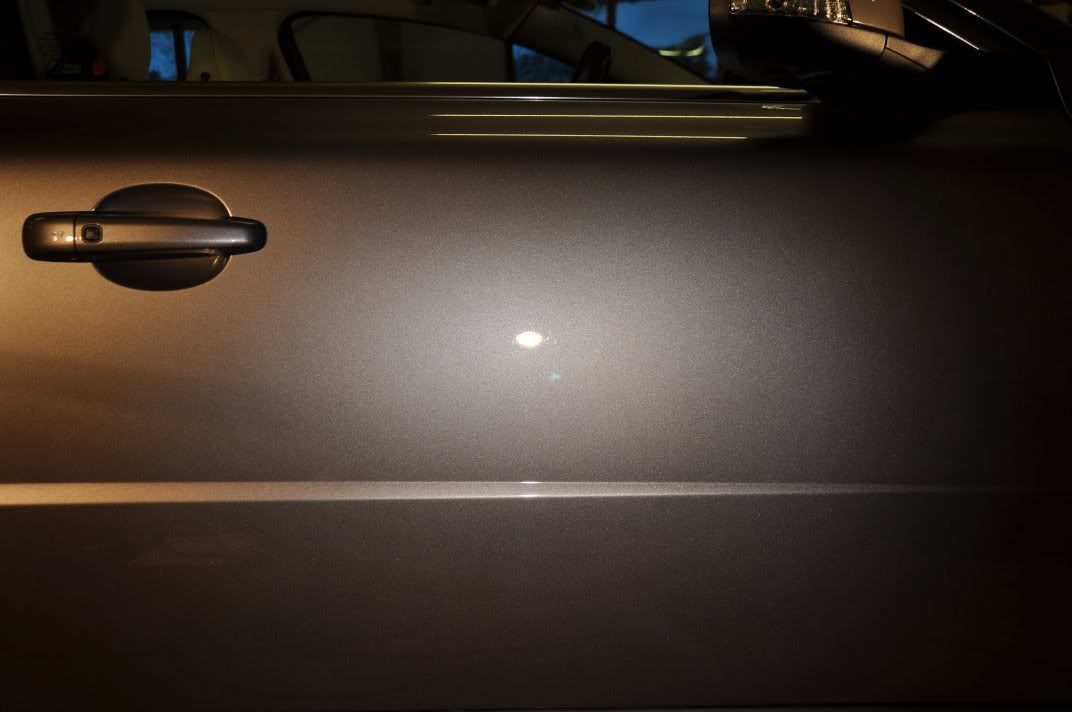
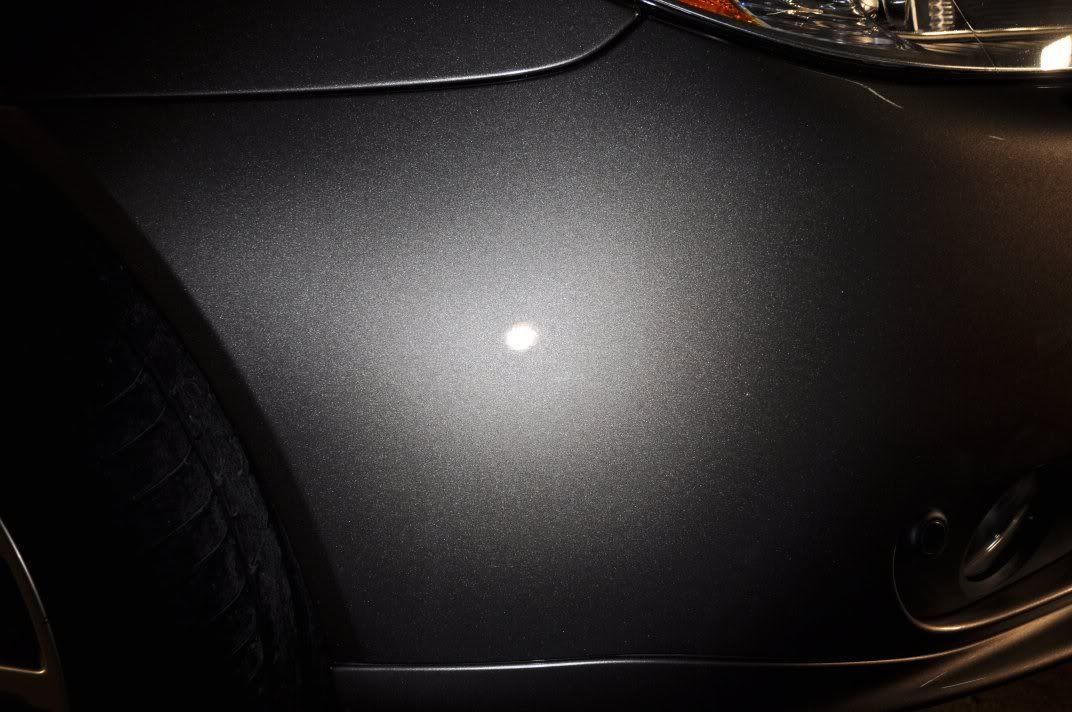
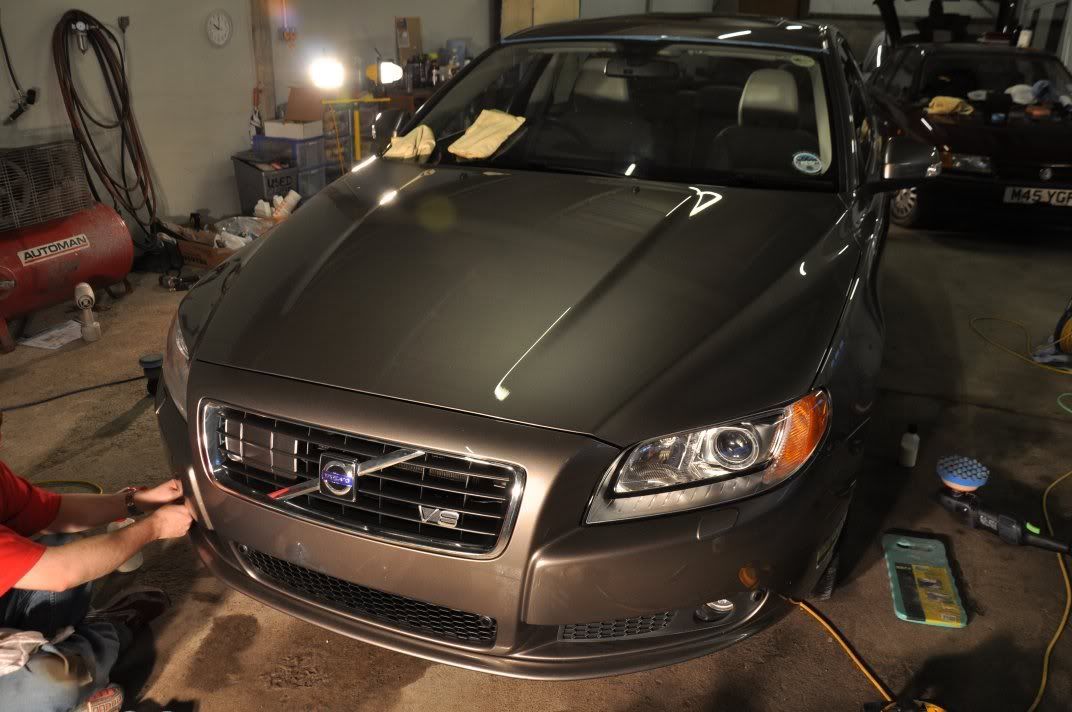
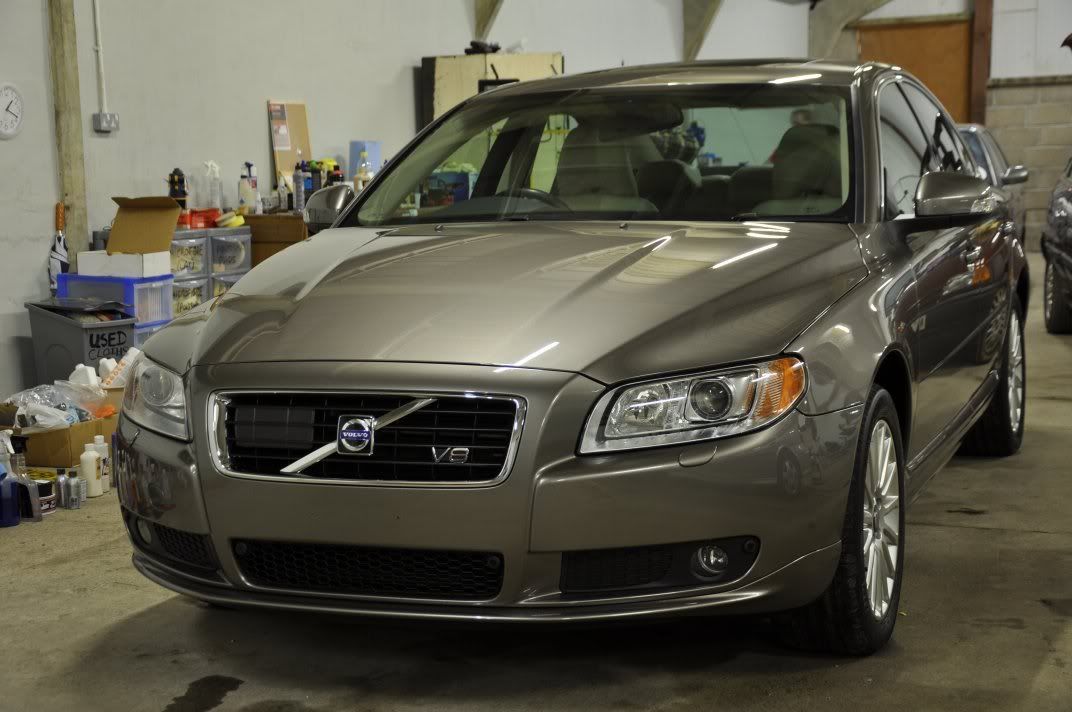
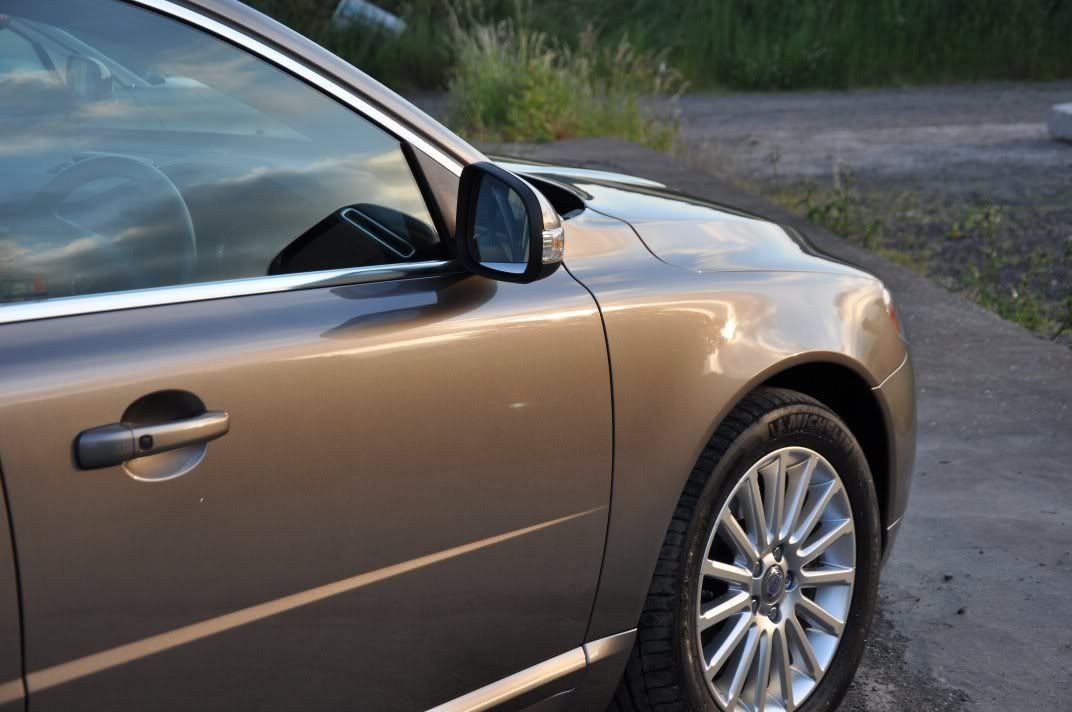
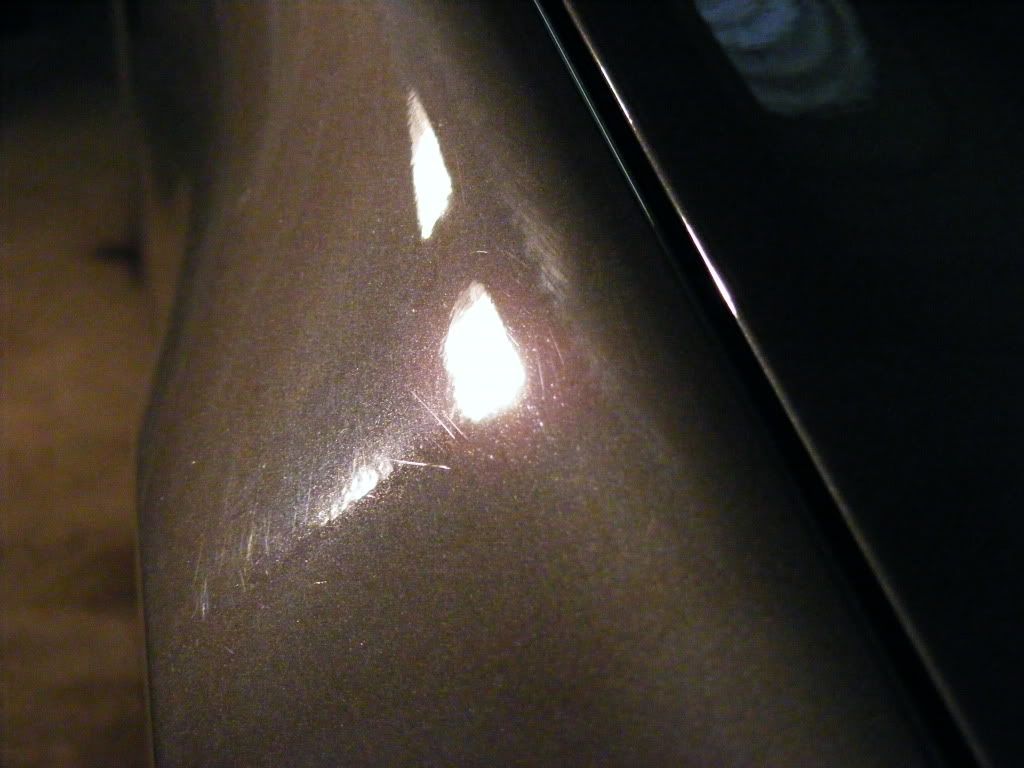
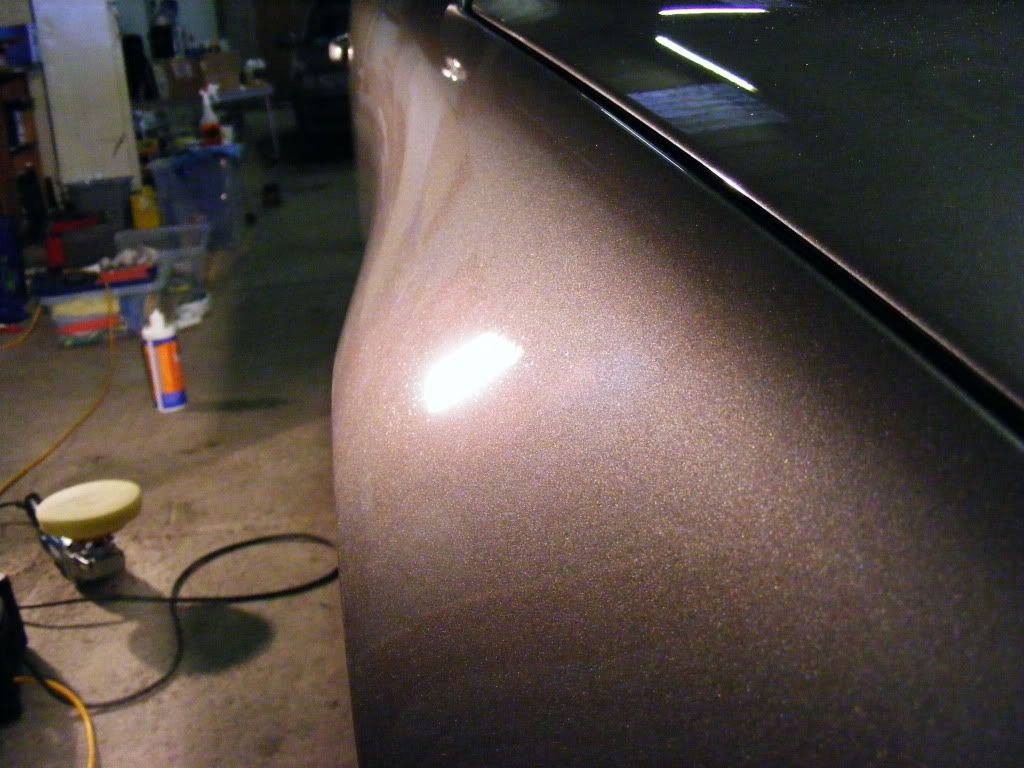
After claying with Bilt Hamber soft clay, it was time to assess the paint... The results of the assessment very promising - the paint was in very good condition save for a little etching:
but the general finish was very good indeed as far as swirls go...
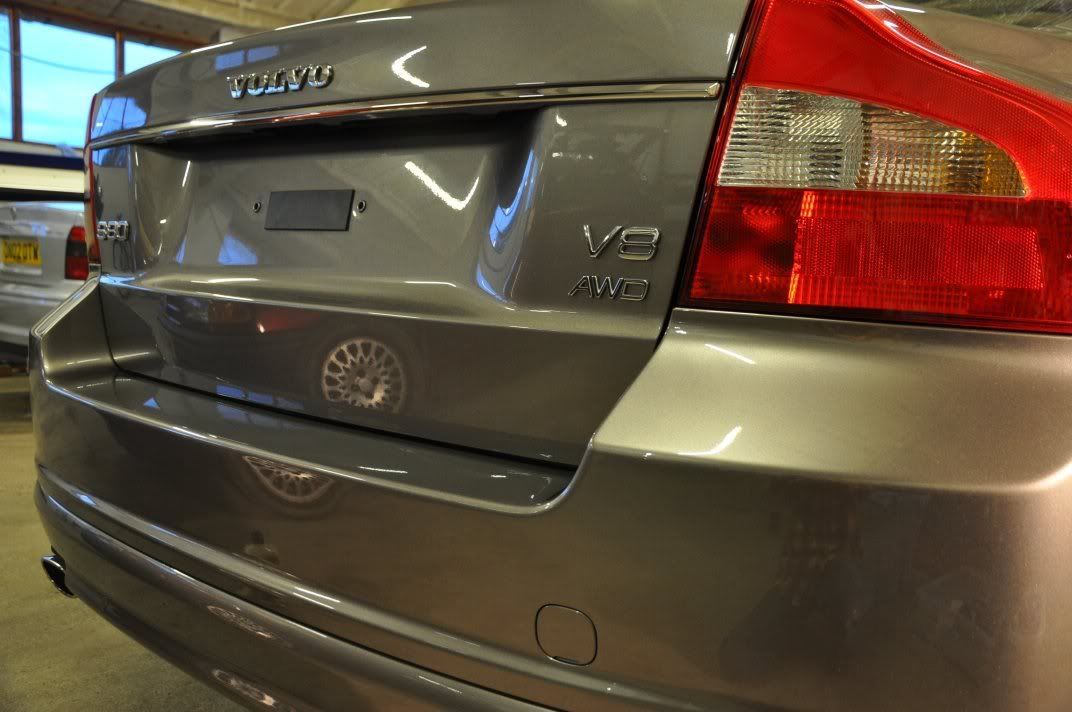
 . The aim of the paint correction work here was to enhance the clarity of the paint, bring the flake out a little more and remove any deep RDS that were also on the paint.
Technique and polishes used: Menzerna PO85RD3.02 Intensive Polish applied as follows:
Rotary:
DA:
First thing was first on this car... starting on the wheels. Outsides of the wheels looked very nice and clean, but it was a different story on the insides when they were removed and carefully placed on sleepers so as not to mark the alloy:
The wheel arches needed a little bit of attention too, but nothing major...
Large region of tar on inside of the alloy...
After washing the insides of the alloy with Bilberry cut 2:1 first off, Wheel Brightener used on the worst parts (where safe of course, as being highly alkaline you have to be sure that the wheel you are using it on can handle it, and that you avoid things like plastic centre caps (removed here)). We see the tar spots, being sorted out with some Tardis:
It took about 4 - 5 hours all told working on the wheels and arches, ensuring we got the best possible finish on them. Protection was FK1000P. End results on the insides...
Through the spokes...
And back on the car...
Gordon used APC on the plastics and rubbers round the car to thoroughly clean them
:
Once the wheels and arches were complete it was time to foam and rinse the car, one of my favourite parts of the washing process, the foam lance - still a certainly child like amusement to its use!
Rinsed off...
Water beading nicely on the freshly protected wheels...
After claying with Bilt Hamber soft clay, it was time to assess the paint... The results of the assessment very promising - the paint was in very good condition save for a little etching:
but the general finish was very good indeed as far as swirls go...
Technique and polishes used: Menzerna PO85RD3.02 Intensive Polish applied as follows:
Rotary:
- Spread at 600rpm
- Begin working at 1200rpm, ensuring the residue nicely spread out and the polish is working
- Work at 1800rpm until residue goes clear, medium pressure over the head of the machine. Fast machine movements were found to work best on this paint, keeping heat a bit lower but still achieving the desired results
DA:
- Spread at speed 2
- Begin working at speed 5 with medium pressure, pad rotating at a couple of cycles per second
- Finish working at speed 6, when residue goes clear, machine stopped.


")