Kevin Brown
New member
I completed this detail almost exactly three years ago. Already posted on DW, TID, MOL. I hope you all don't mind that this truck wasn't recently detailed. Thanks!
We all like to read about detailing, especially when it’s done to exotic cars. Reality is, most of us work on common vehicles, and I am no exception. Although I do get to work on some really trick rides, I’ve washed & detailed thousands of daily drivers.
Recently, I spent some time detailing a Toyota Tundra. It had logged 77k miles in about 1-1/2 years, and was used as a work truck. The owner decided to have it cleaned up, as it was no longer going to be used in the field. A friend of mine asked if I could do the truck. The owner of the truck has given my friend lots of work, so it was important that the truck be done right. Here’s some pics of the detail.
I did not plan on doing a write-up... I took pictures for my own reference.
Consequently, I didn’t get all the shots I should have (such as a finalized engine). I think you’ll get the idea, though.
The truck was used off-road quite a bit. Dirt and tar are plentiful.

More dirt PLUS a lot of bugs litter the radiator area.

The engine looks as if it’s ten years old.

The wheels are hammered, and feature bush & dirt scratches, with a dose of tar.

Hood area matches the rest of the truck: Dirty.

Making our way to the interior, more of the same.

Doorjambs, carpet and the rest will need thorough cleaning.

Removal of the kickpanels reveal electronics I don’t want to get wet!

Doorpanels were removed to properly clean the backsides, speakers, & grills.
Window rubbers and felts are much easier to access this way, too.

Shot of the door panel.

Gauges are dirty and the plastic fascia very scratched.

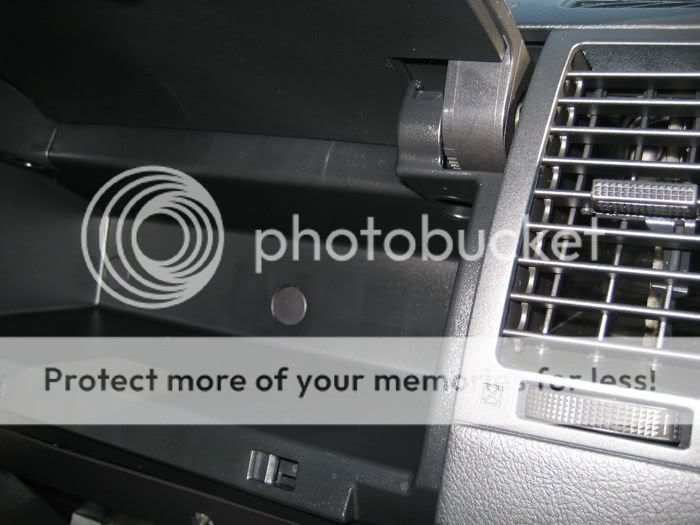
Under the dash reveals a grimy a/c area and airbag.

A pile of easy to remove parts that will be thoroughly cleaned and reinstalled.

Air vents are pretty loaded with dirt and old interior dressing.

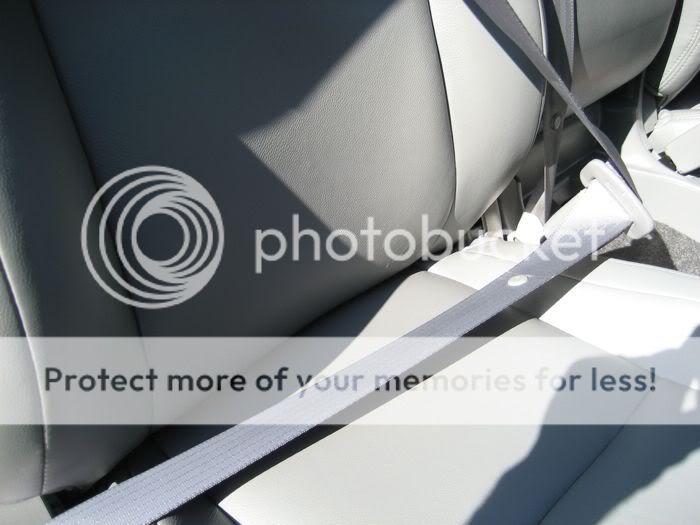
Driver’s seat removed.
The center console and carpet were much easier to clean, too.

See? Incredibly, the carpet was not too bad in the rest of the truck.

That's where that cookie went!

Exterior- Needs a lot of attention.

M105 applied by hand will tackle the areas which cannot be machine polished.


There were MANY scratches- Some required 2500 grit sanding.


Some scratches were very deep. This one was only partly removed.
It was hard to locate it once the polishing was done, as the scratch-edges were smoothed...

Lots of heavy scuffs that were completely removed via M105.


A test spot helps dial-in the polishing system. M105. Okay, that way easy.

This scratch was deep. It really stood out, so I had to sand it with 2500.

Gonna have to leave it like this and polish to an acceptable finish.


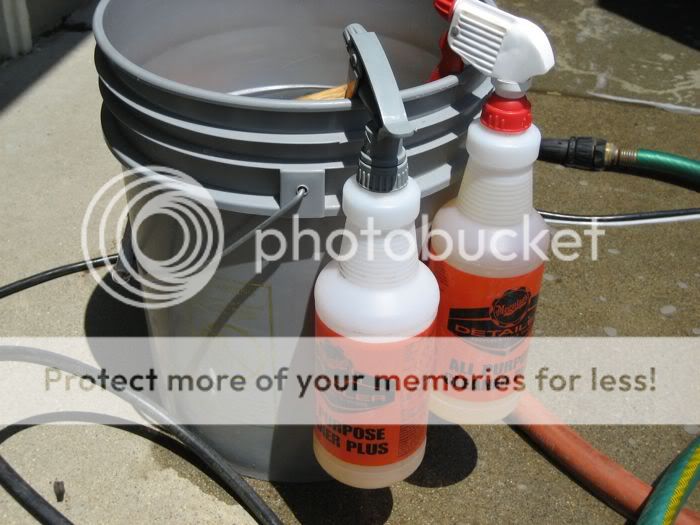
Meguiar’s Detailer D103 All Purpose Cleaner Plus was used throughout the interior.
No extractor, here... Just APC+, water, brushes, and a Craftsman wet/dry vac.
Towels and a warm summer day handle the drying duties.
Carpets are rinsed until dirt & APC+ is removed.
Door sills are cleaned easily.
Meguiar’s M40 Vinyl/Rubber Cleaner & Conditioner applied for beauty & protection.

Small parts are cleaned. Electronic buttons, such as this were cleaned sans water.
A dry towel & horsehair brush to clean. G134 Exterior Trim Coating to dress.
No water, so it’s safer to use around electronics (versus traditional dressings).

My helper, Annie, is not much help.

We all like to read about detailing, especially when it’s done to exotic cars. Reality is, most of us work on common vehicles, and I am no exception. Although I do get to work on some really trick rides, I’ve washed & detailed thousands of daily drivers.
Recently, I spent some time detailing a Toyota Tundra. It had logged 77k miles in about 1-1/2 years, and was used as a work truck. The owner decided to have it cleaned up, as it was no longer going to be used in the field. A friend of mine asked if I could do the truck. The owner of the truck has given my friend lots of work, so it was important that the truck be done right. Here’s some pics of the detail.
I did not plan on doing a write-up... I took pictures for my own reference.
Consequently, I didn’t get all the shots I should have (such as a finalized engine). I think you’ll get the idea, though.
The truck was used off-road quite a bit. Dirt and tar are plentiful.
More dirt PLUS a lot of bugs litter the radiator area.
The engine looks as if it’s ten years old.
The wheels are hammered, and feature bush & dirt scratches, with a dose of tar.
Hood area matches the rest of the truck: Dirty.
Making our way to the interior, more of the same.
Doorjambs, carpet and the rest will need thorough cleaning.
Removal of the kickpanels reveal electronics I don’t want to get wet!
Doorpanels were removed to properly clean the backsides, speakers, & grills.
Window rubbers and felts are much easier to access this way, too.
Shot of the door panel.
Gauges are dirty and the plastic fascia very scratched.
Under the dash reveals a grimy a/c area and airbag.
A pile of easy to remove parts that will be thoroughly cleaned and reinstalled.
Air vents are pretty loaded with dirt and old interior dressing.
Driver’s seat removed.
The center console and carpet were much easier to clean, too.
See? Incredibly, the carpet was not too bad in the rest of the truck.
That's where that cookie went!
Exterior- Needs a lot of attention.
M105 applied by hand will tackle the areas which cannot be machine polished.
There were MANY scratches- Some required 2500 grit sanding.
Some scratches were very deep. This one was only partly removed.
It was hard to locate it once the polishing was done, as the scratch-edges were smoothed...
Lots of heavy scuffs that were completely removed via M105.
A test spot helps dial-in the polishing system. M105. Okay, that way easy.
This scratch was deep. It really stood out, so I had to sand it with 2500.
Gonna have to leave it like this and polish to an acceptable finish.
Meguiar’s Detailer D103 All Purpose Cleaner Plus was used throughout the interior.
No extractor, here... Just APC+, water, brushes, and a Craftsman wet/dry vac.
Towels and a warm summer day handle the drying duties.
Carpets are rinsed until dirt & APC+ is removed.
Door sills are cleaned easily.
Meguiar’s M40 Vinyl/Rubber Cleaner & Conditioner applied for beauty & protection.
Small parts are cleaned. Electronic buttons, such as this were cleaned sans water.
A dry towel & horsehair brush to clean. G134 Exterior Trim Coating to dress.
No water, so it’s safer to use around electronics (versus traditional dressings).
My helper, Annie, is not much help.


")