OakesDetail
New member
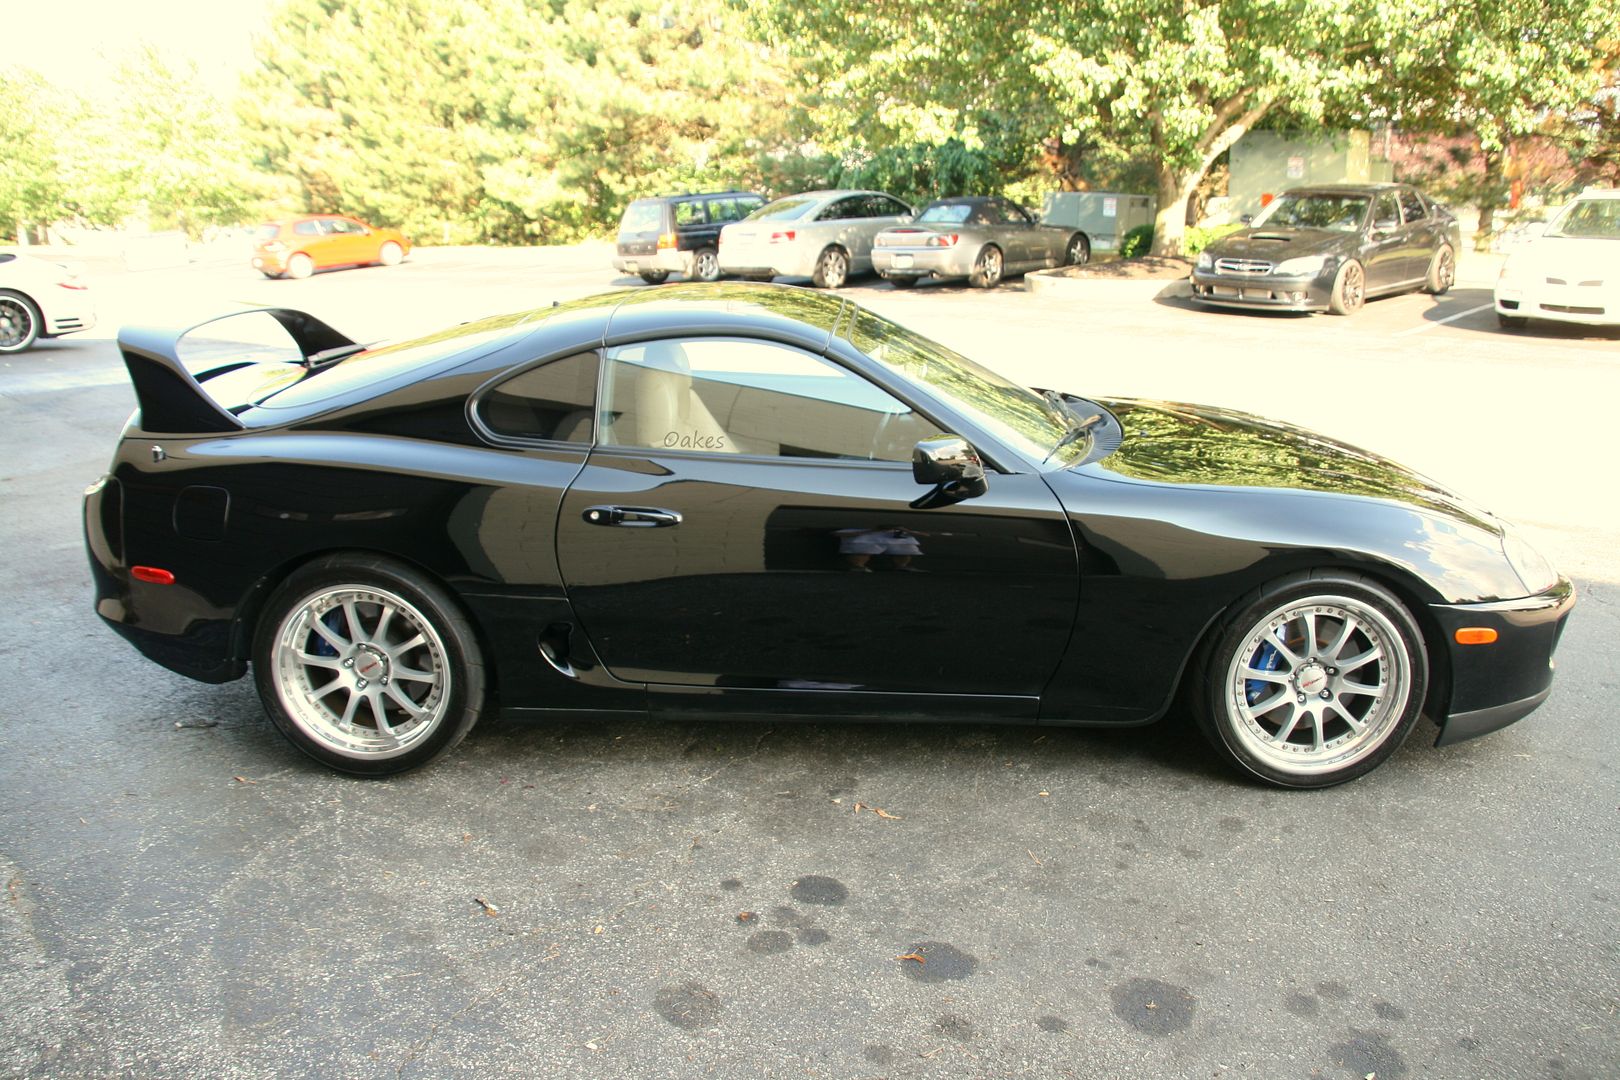
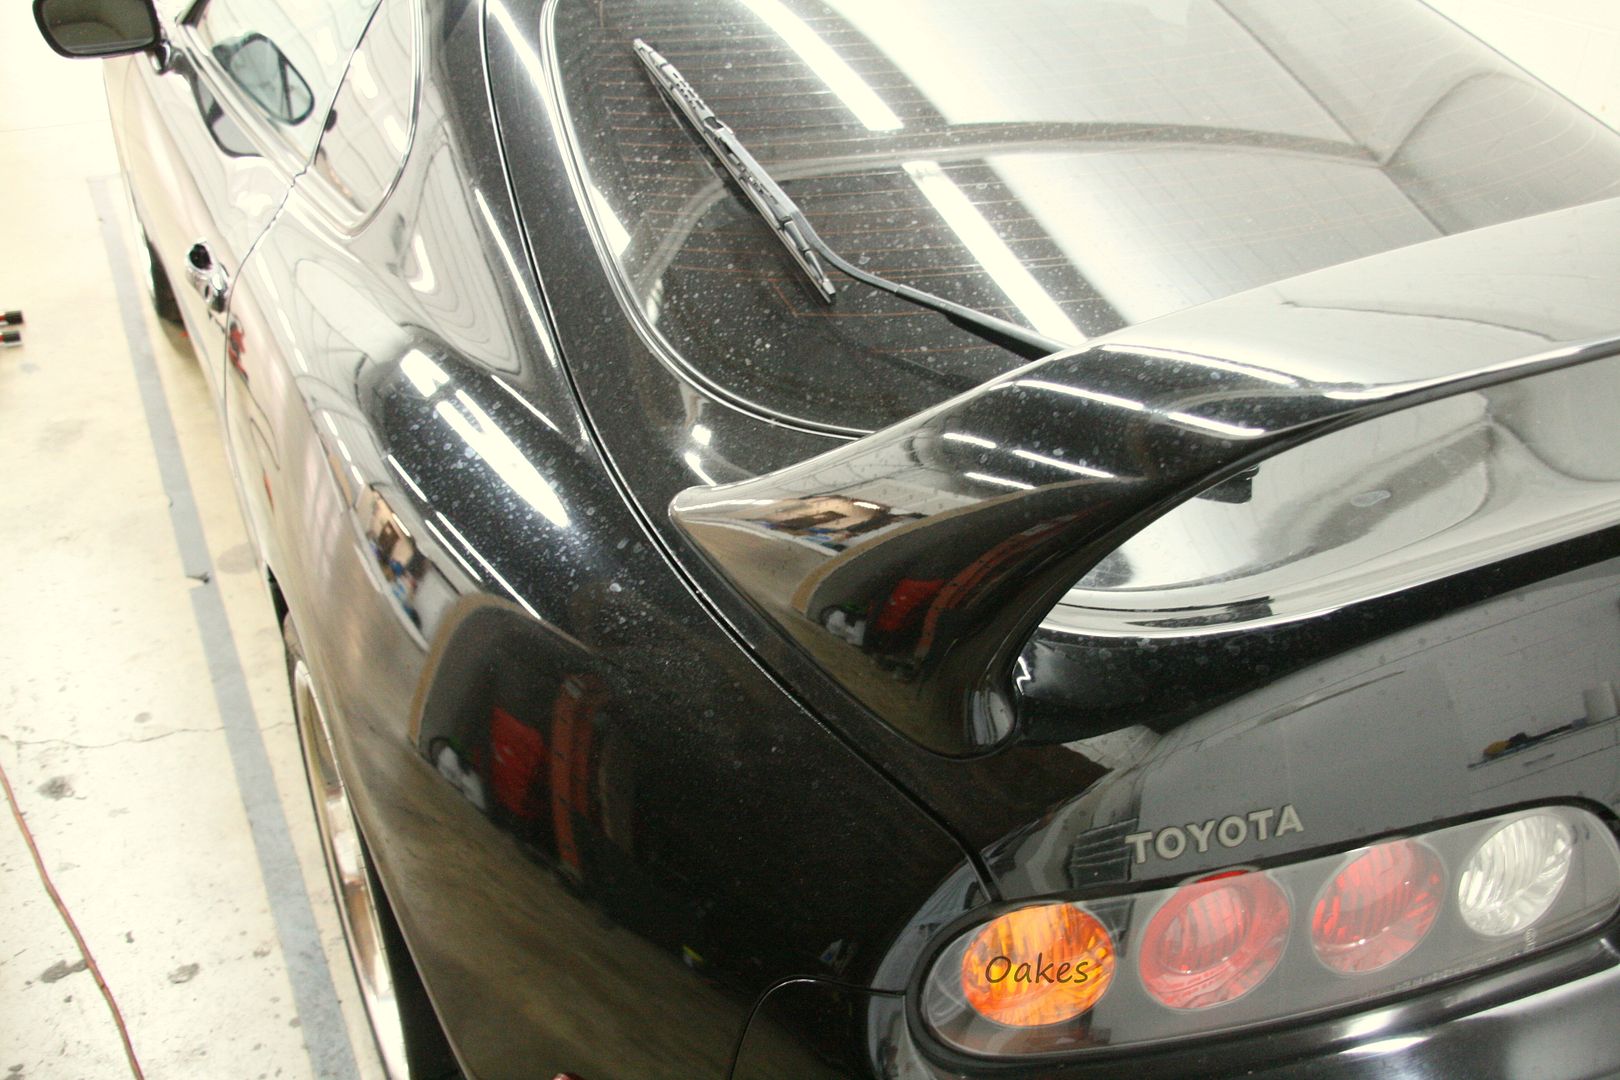
One of the most iconic cars in existance today, as we all very well know, has come through my doors. An example from 1995, mostly original paint and set up perfectly for that fun back road warrior and track day monster.
After seeing my work on other Supras as well as various exotics, the owner contacted me to hopefully bring this car back to life, cosmetically. Over the course of nearly 42 hours the beauty came back and she now shines like she's been in a bubble for the last 17 years.
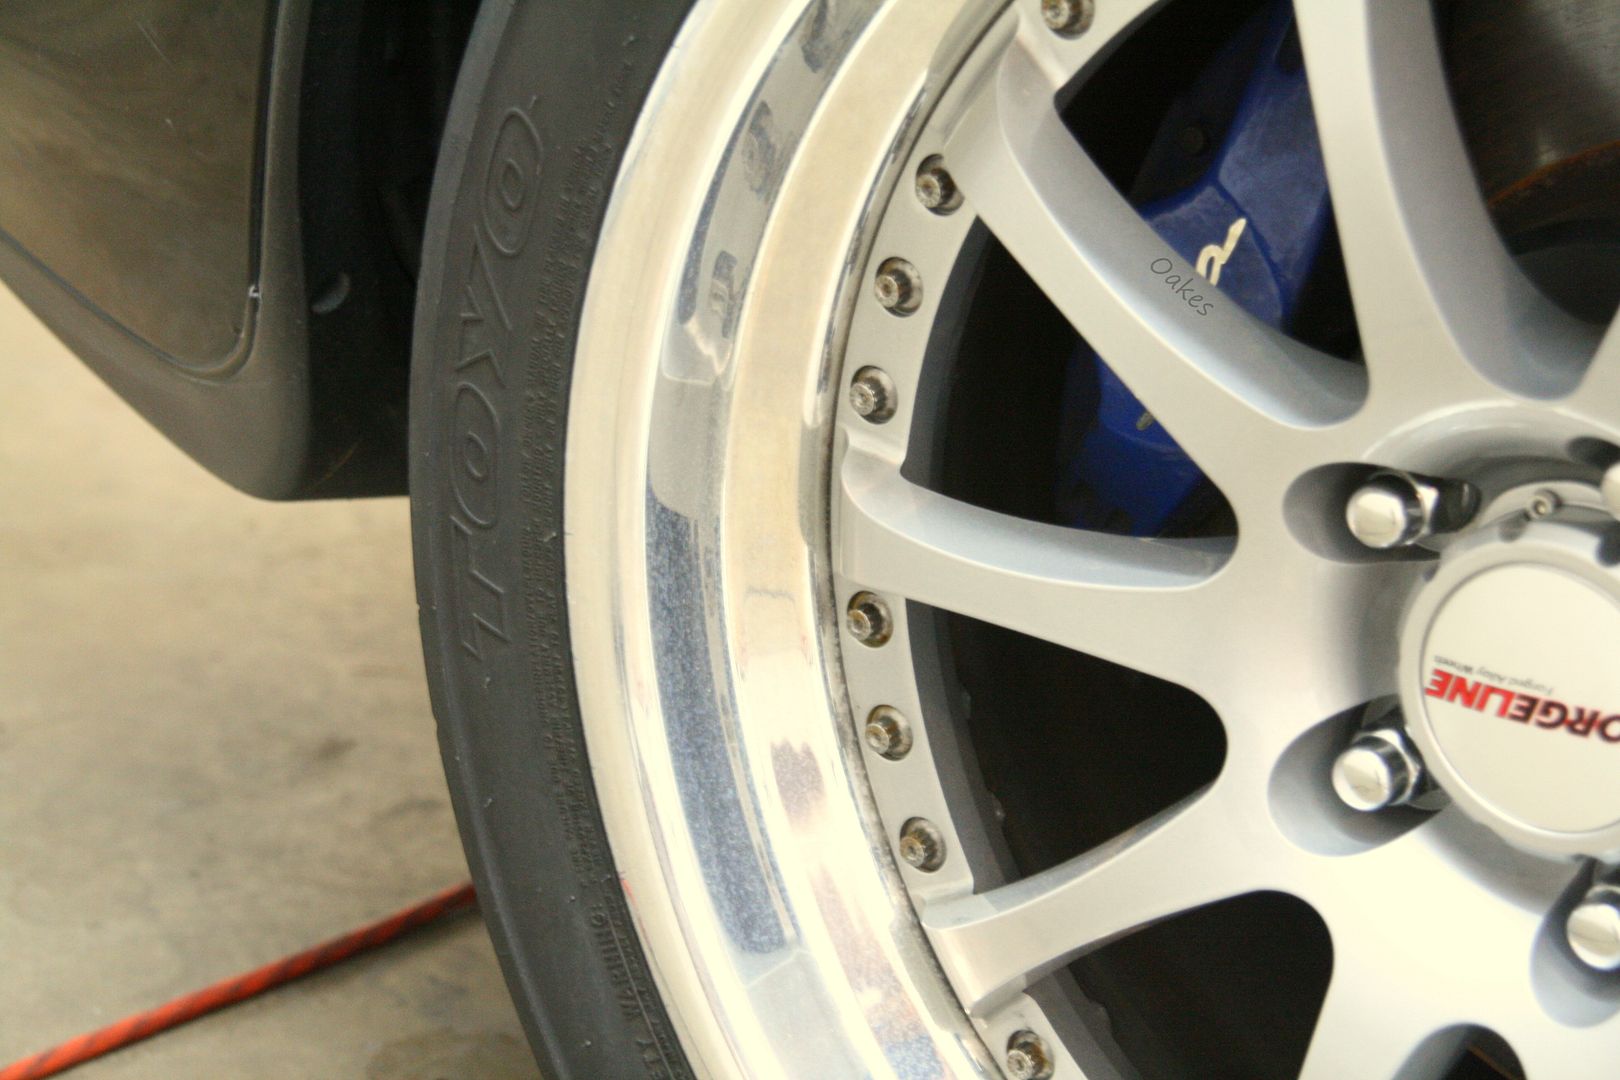
As usual, the pictures do the talking here. From the full correction to the polishing of it's Forgeline wheels, I'll start it off with how she arrived!


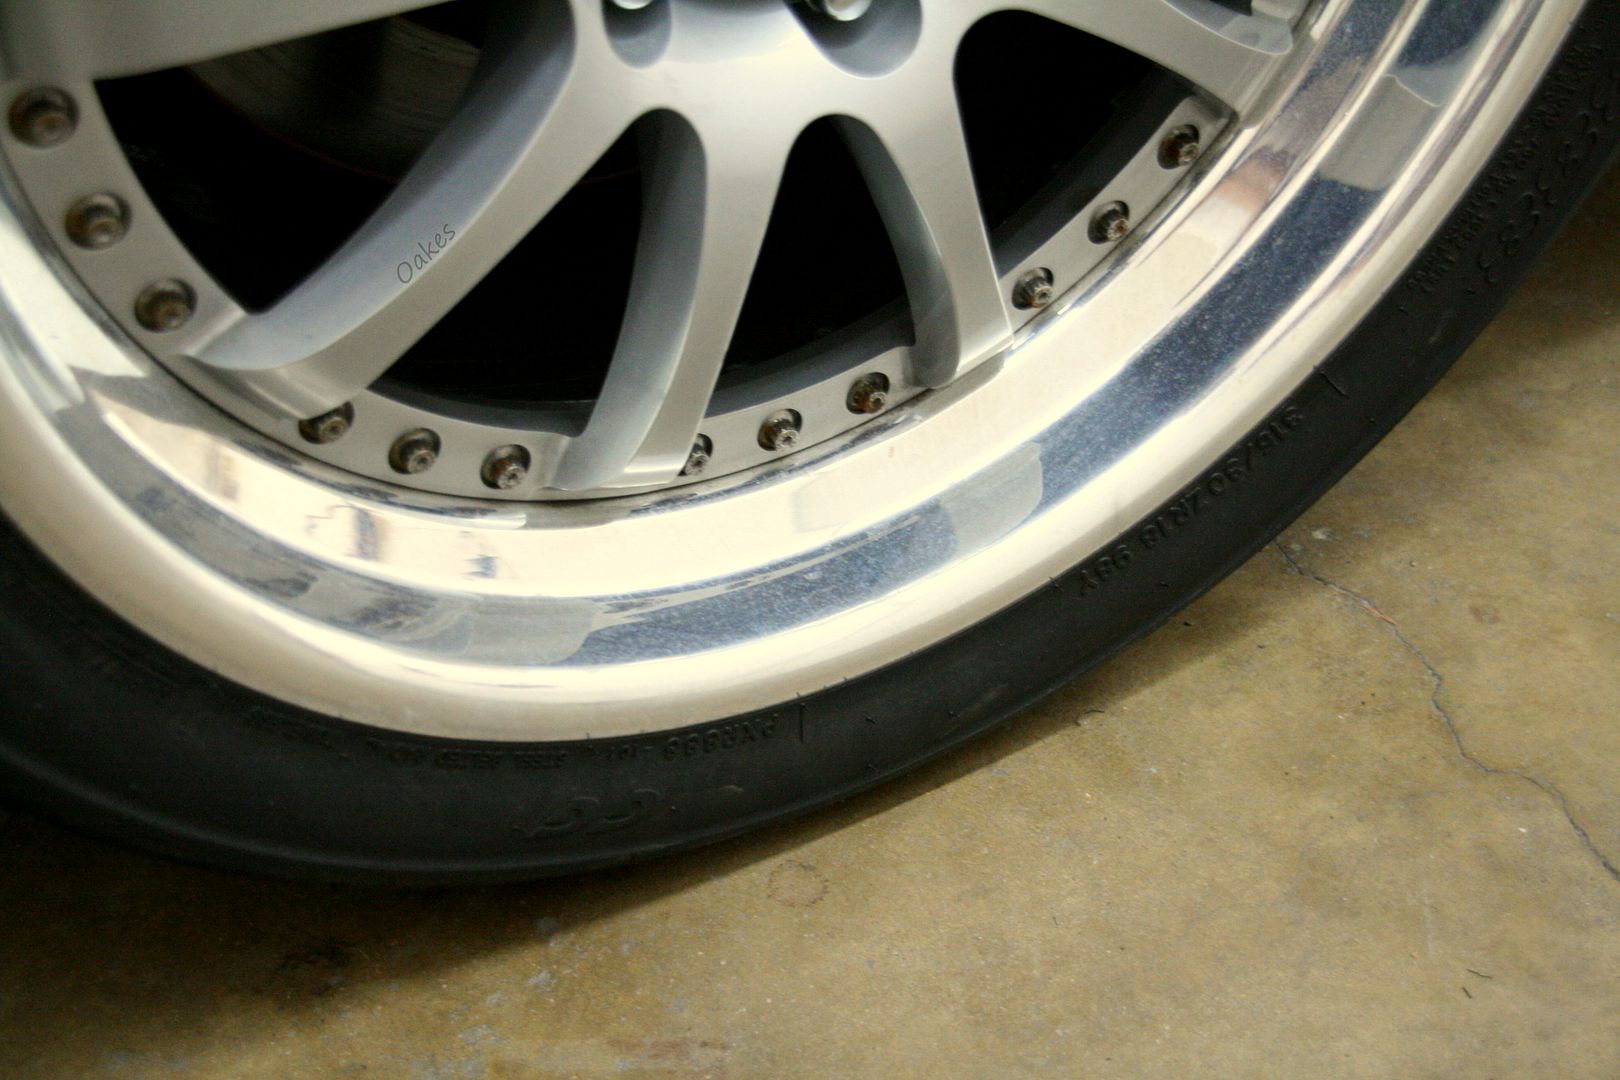
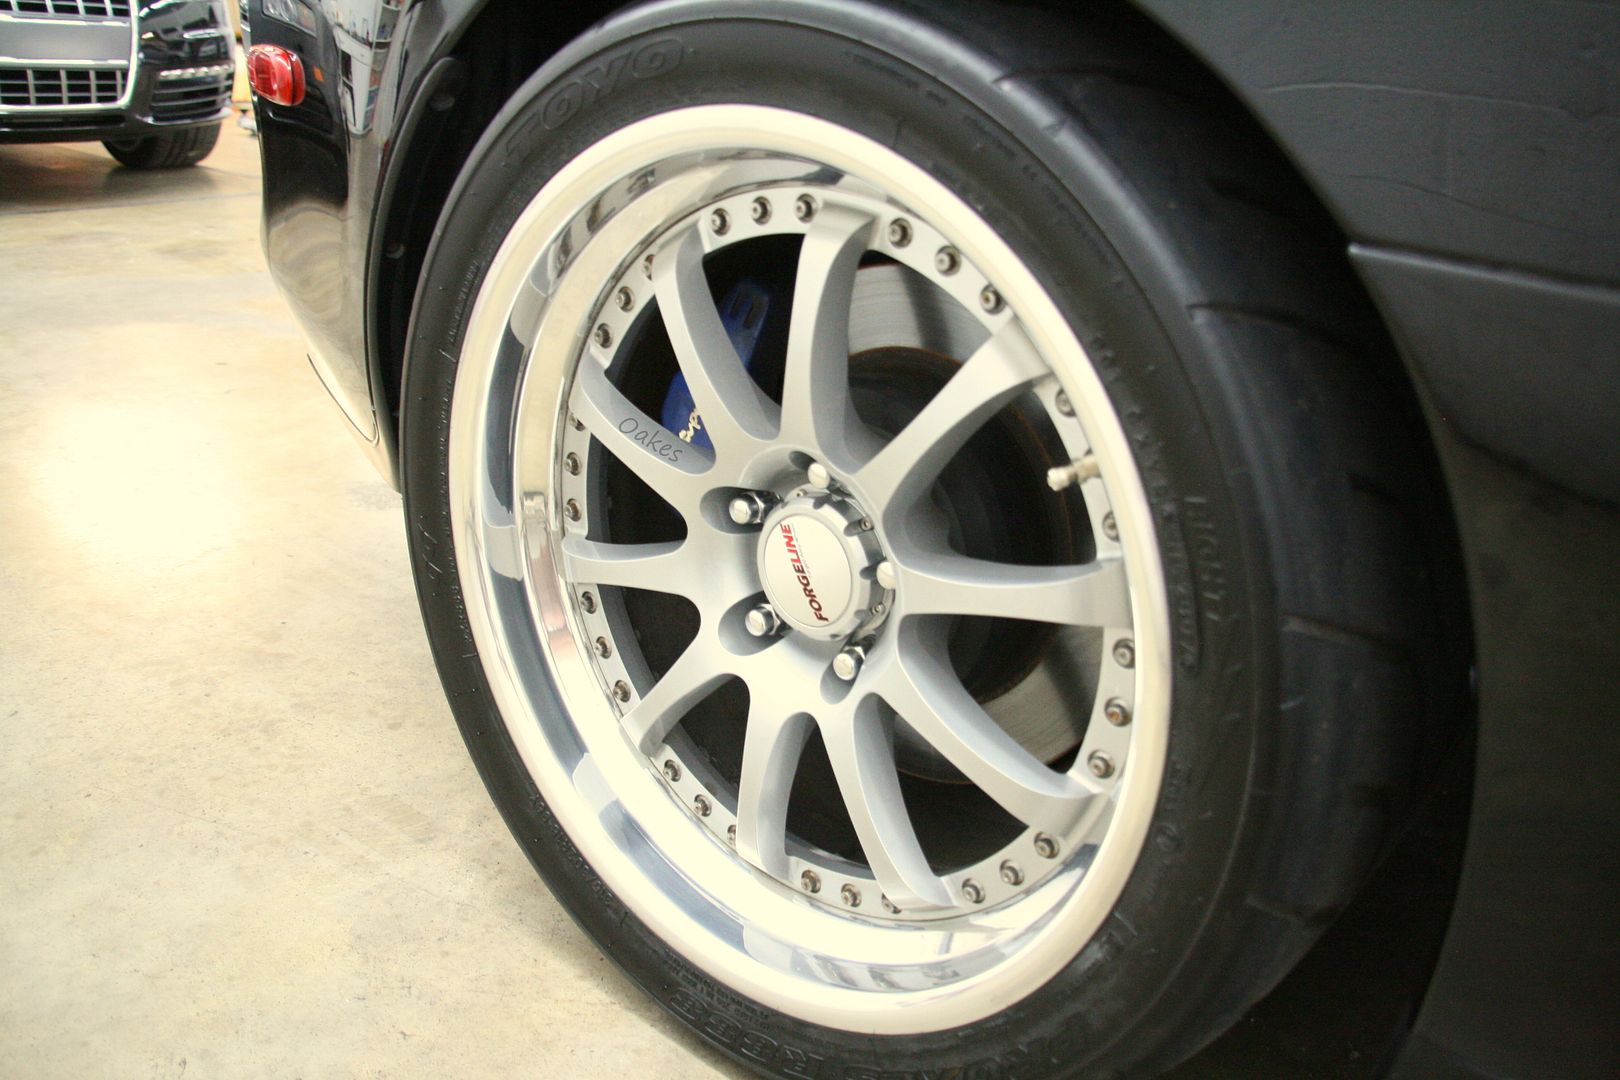
As you can see, clearly has seen it's use and the elements, started off with the wheel polishing to bring the luster back to the polished lips. Here's how the looked before
5.
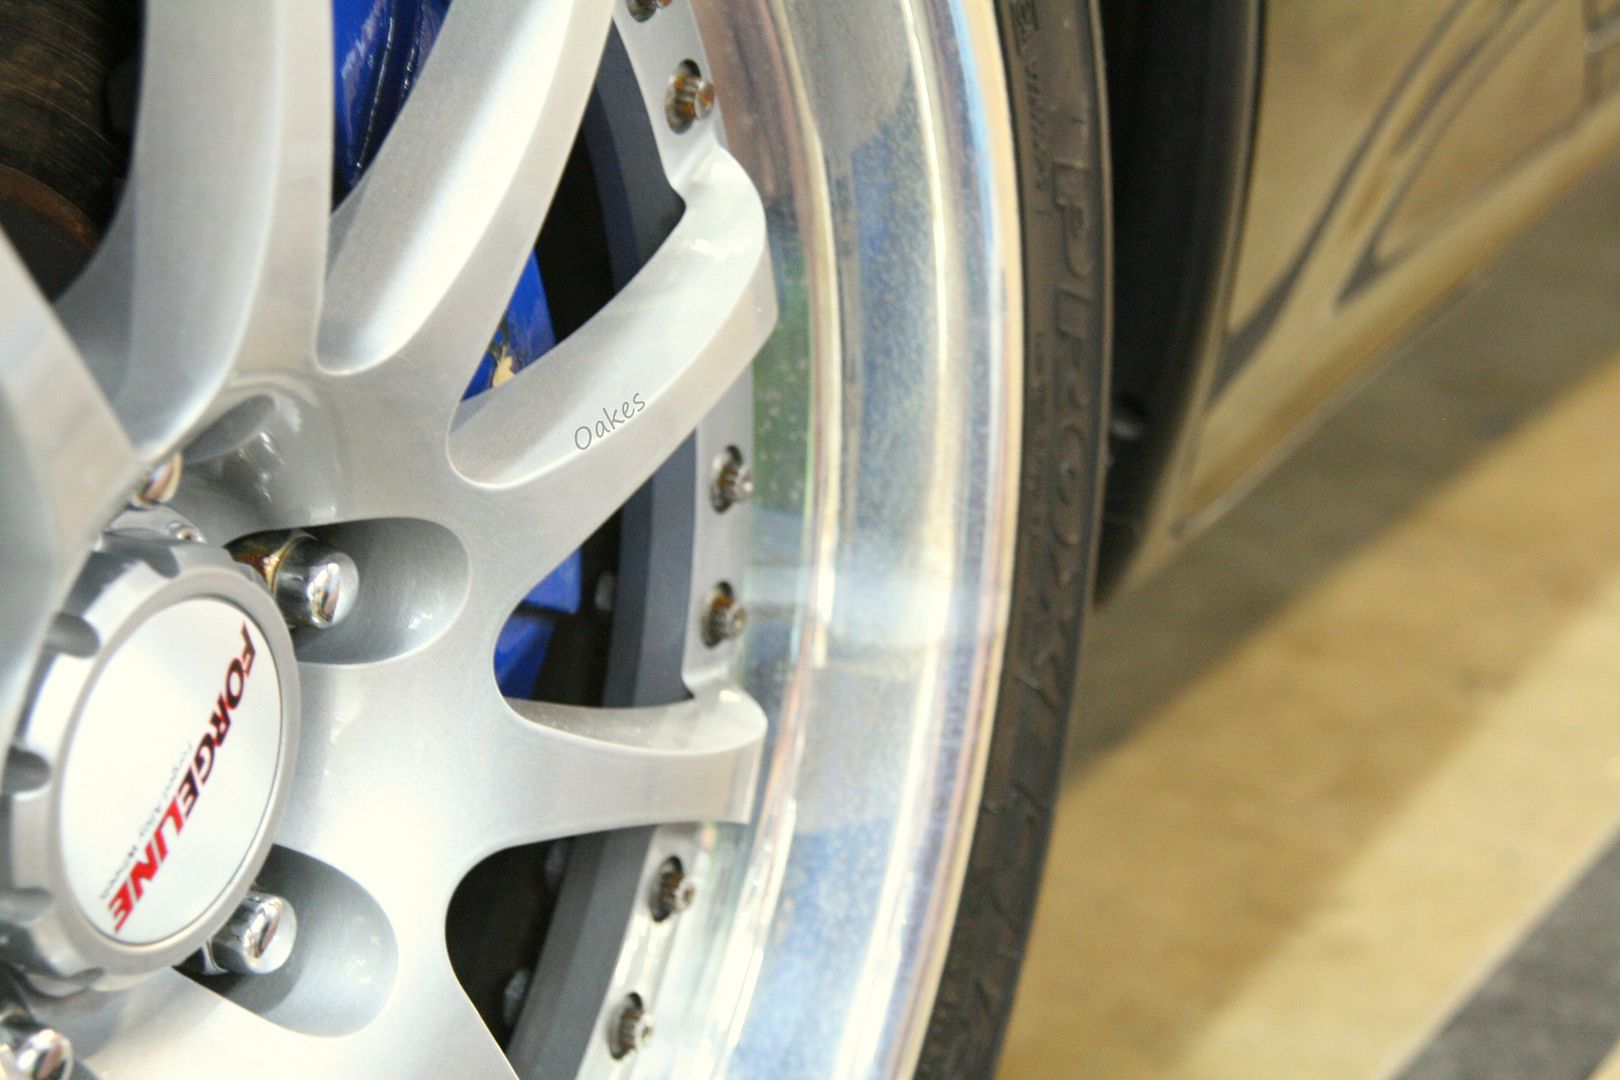
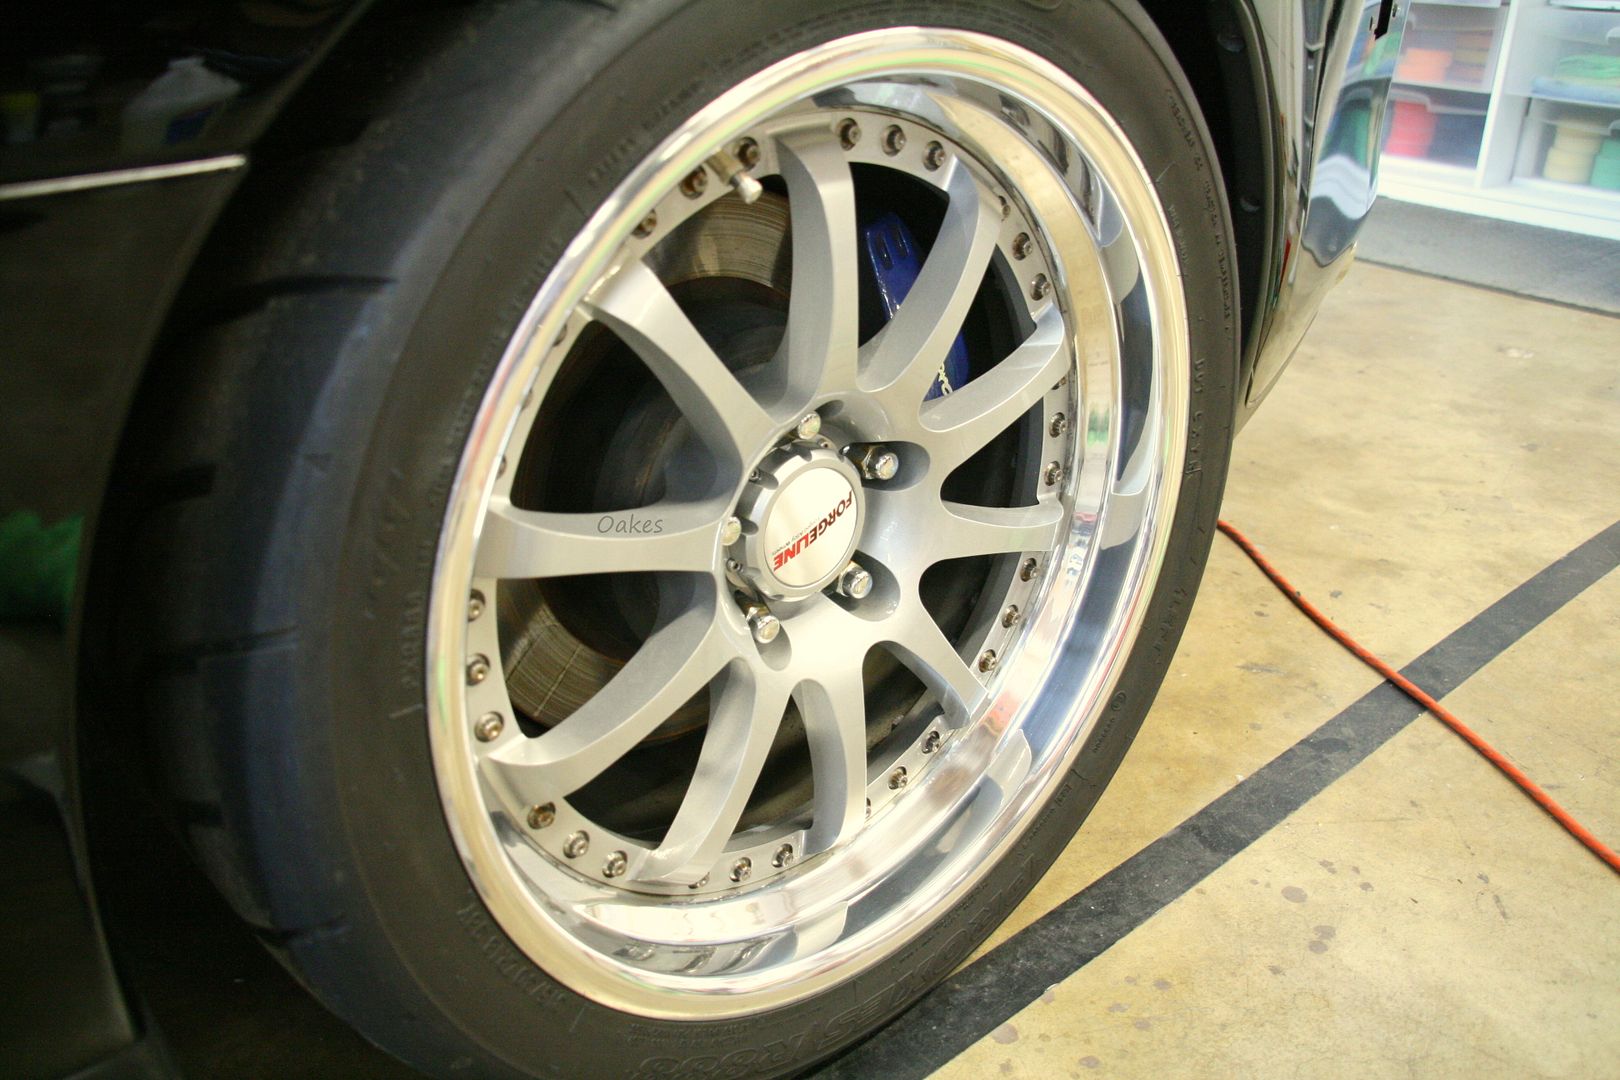
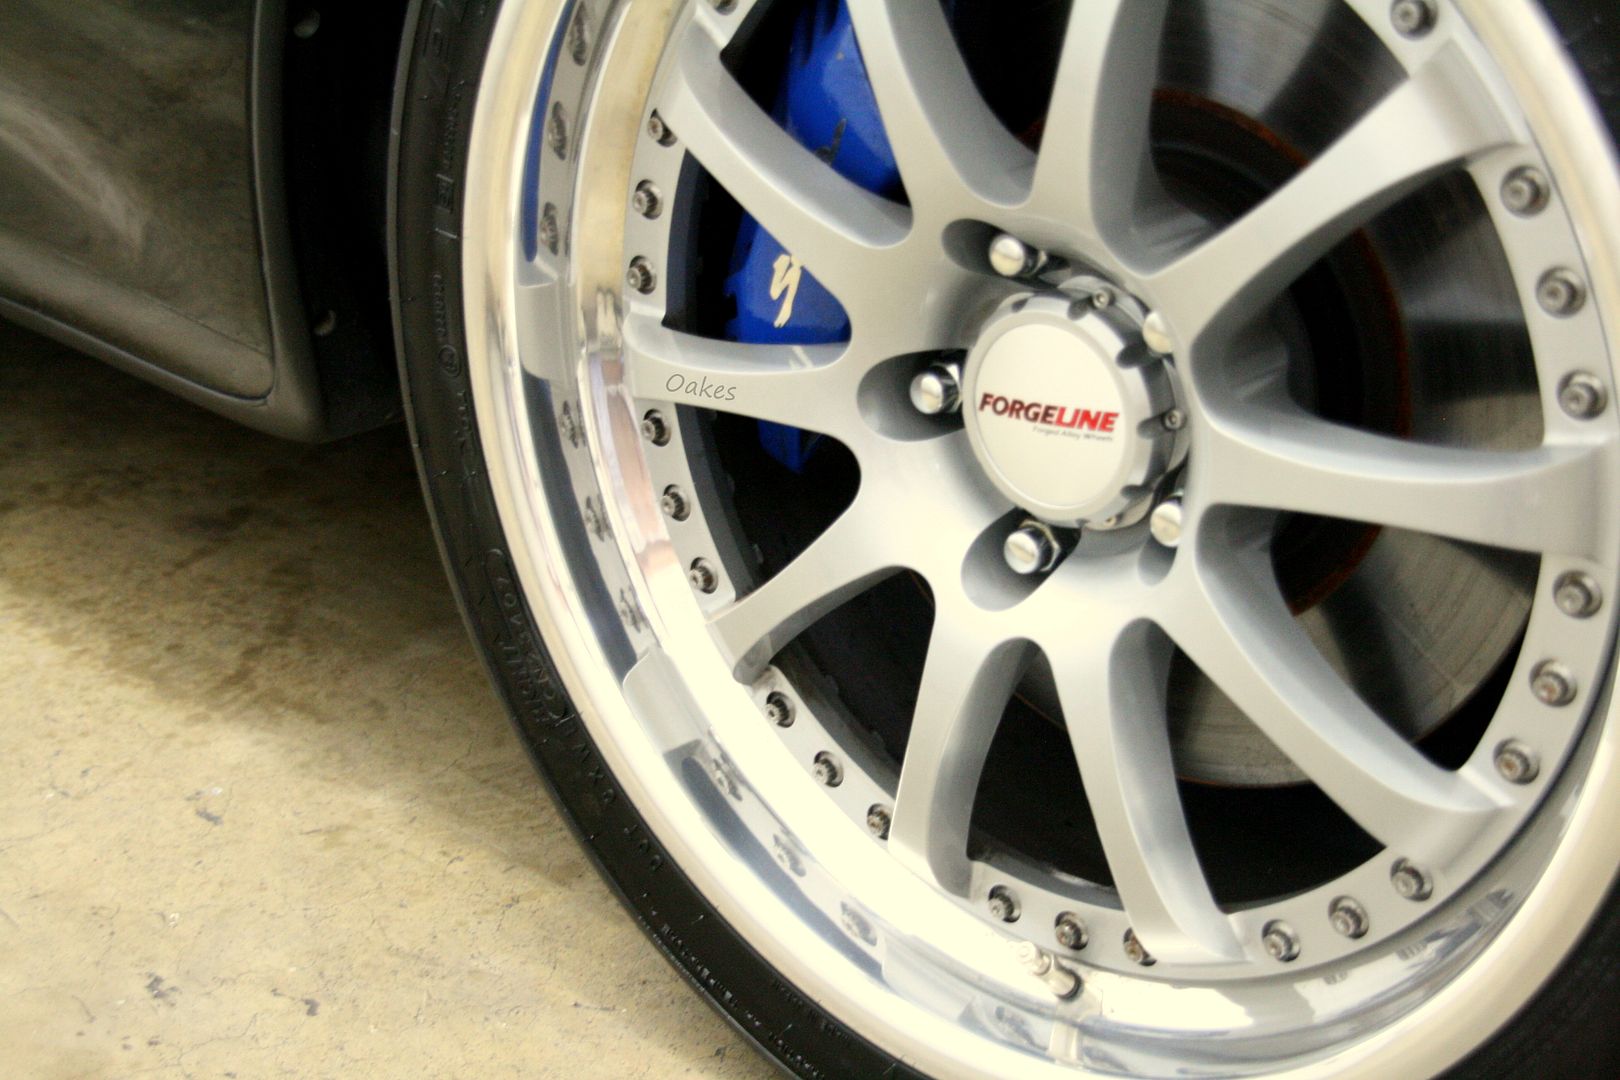
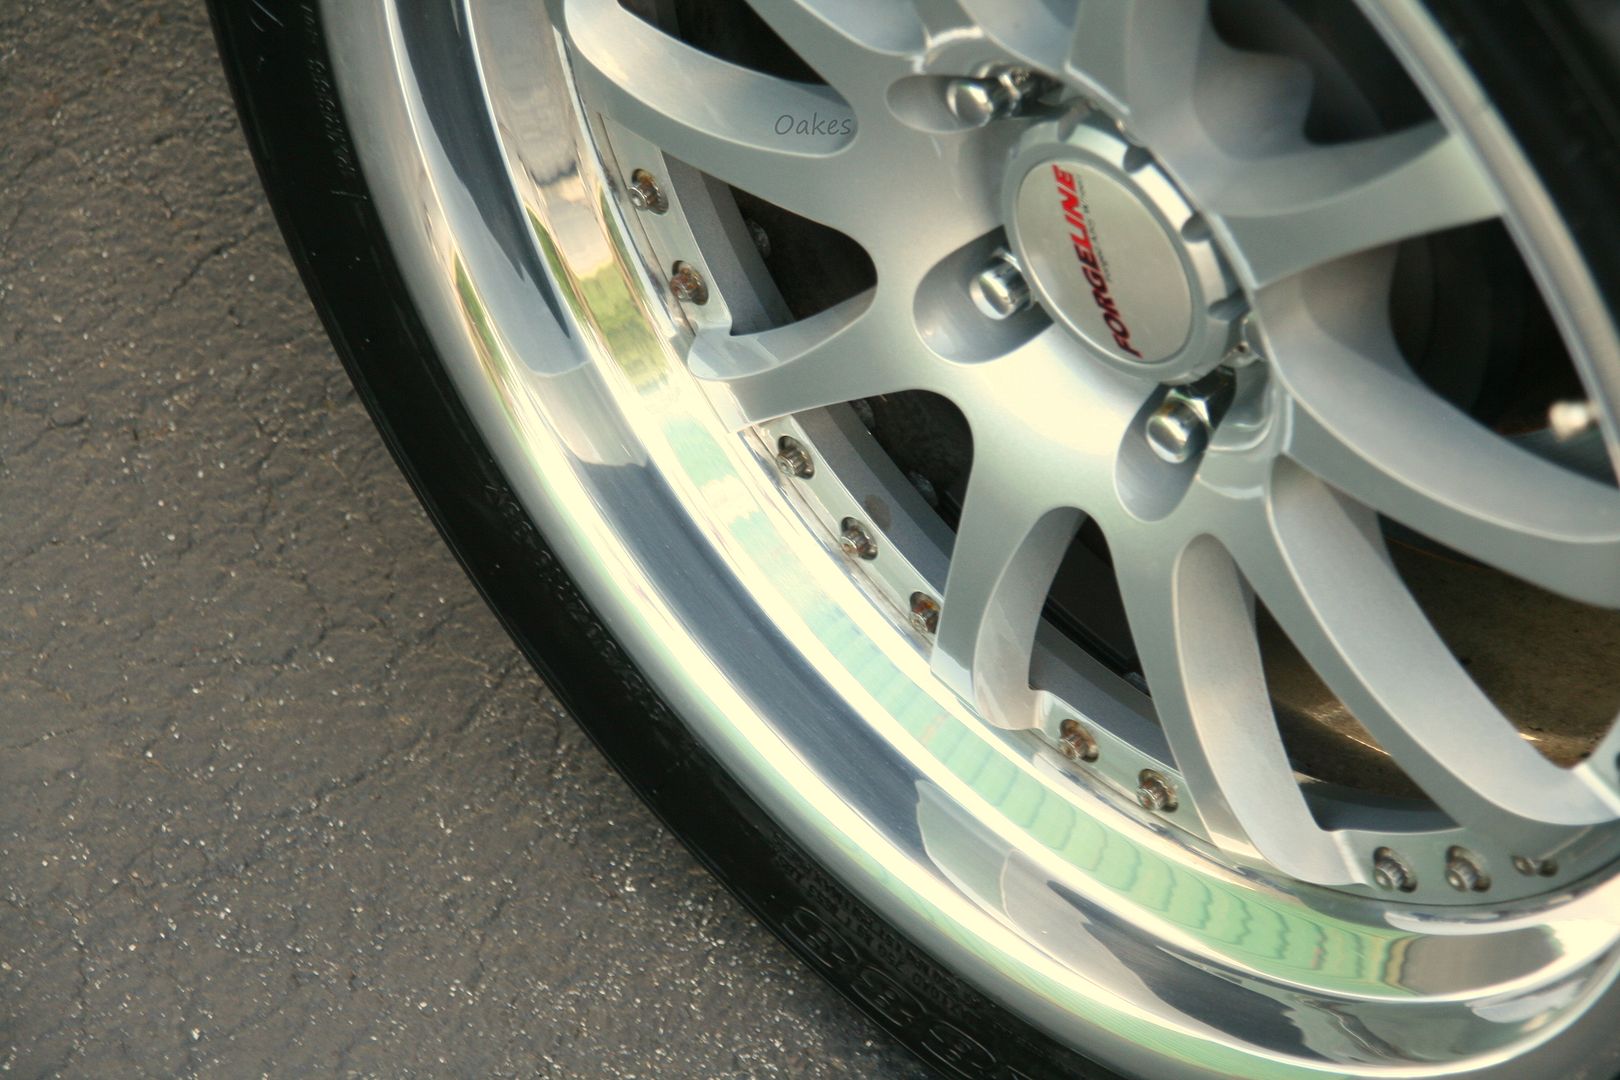
After a few hours of hand polishing and finishing

10.
After the wheels were wrapped up, the body was all masked off, headlights were polished and ceramic coated, as well as the wing removed after it was polished and sealed.
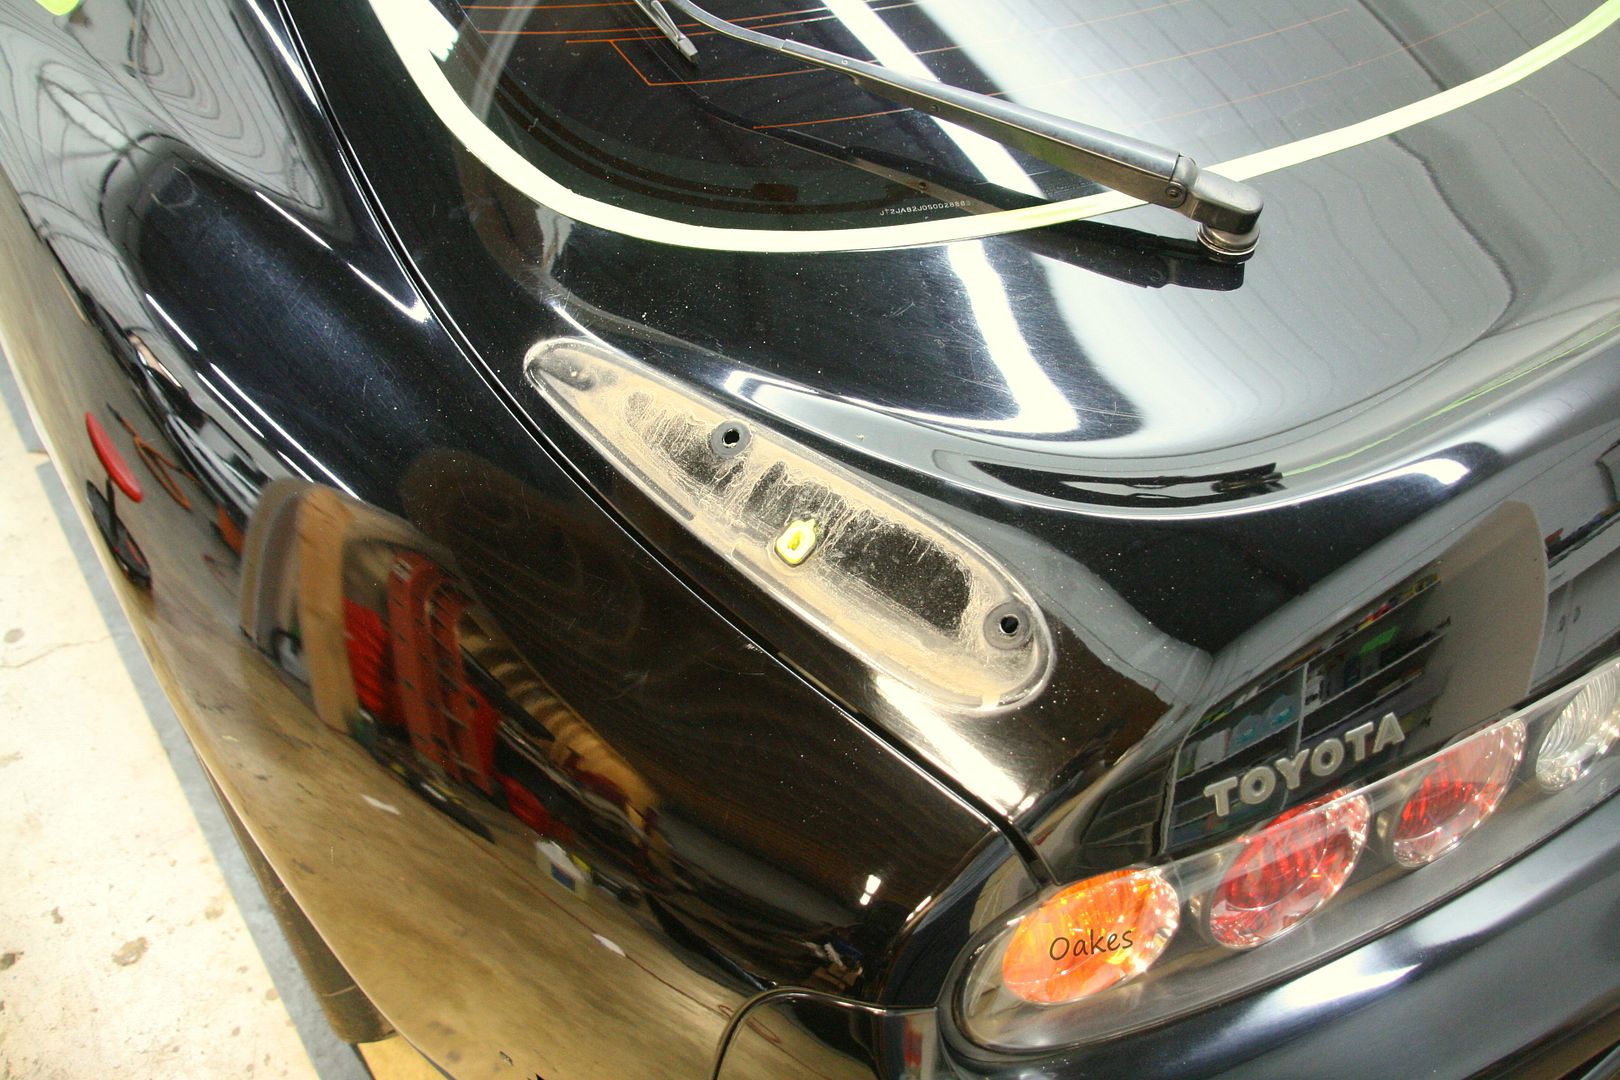
As you can see, the wing had its fair shair of dirt and debris piled under, but otherwise no rust of corrosion which is always a plus! The condition of the paint however was less than desirable...
15.

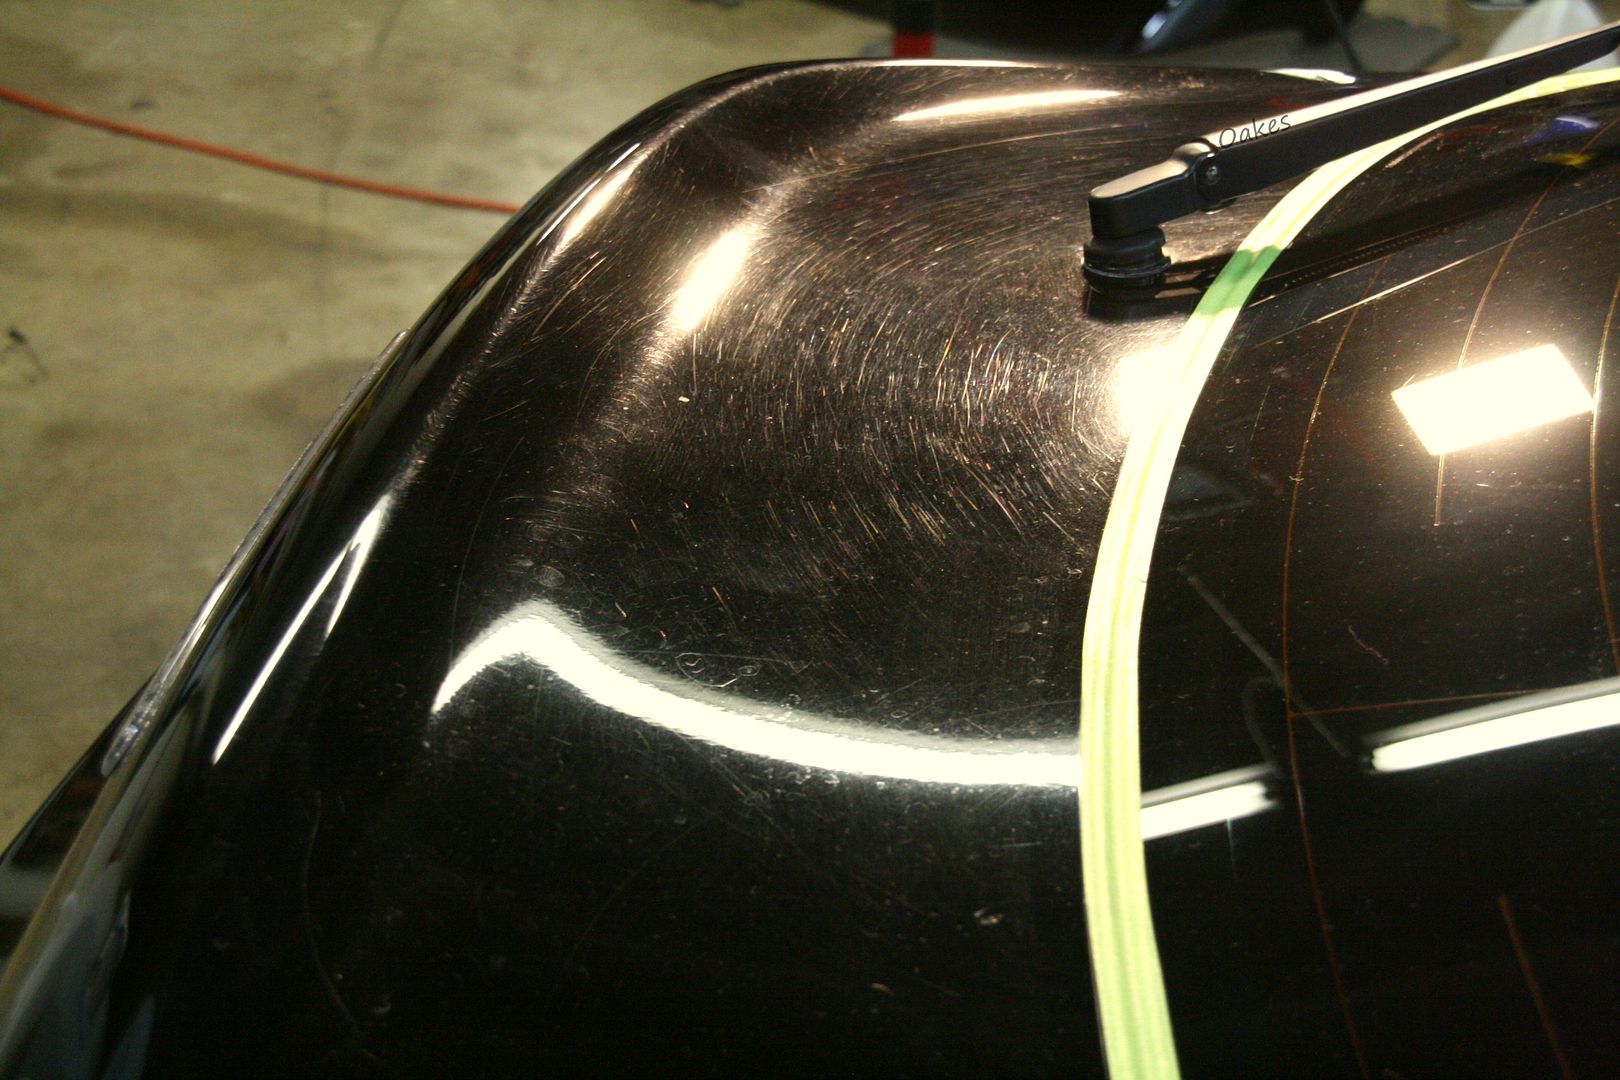
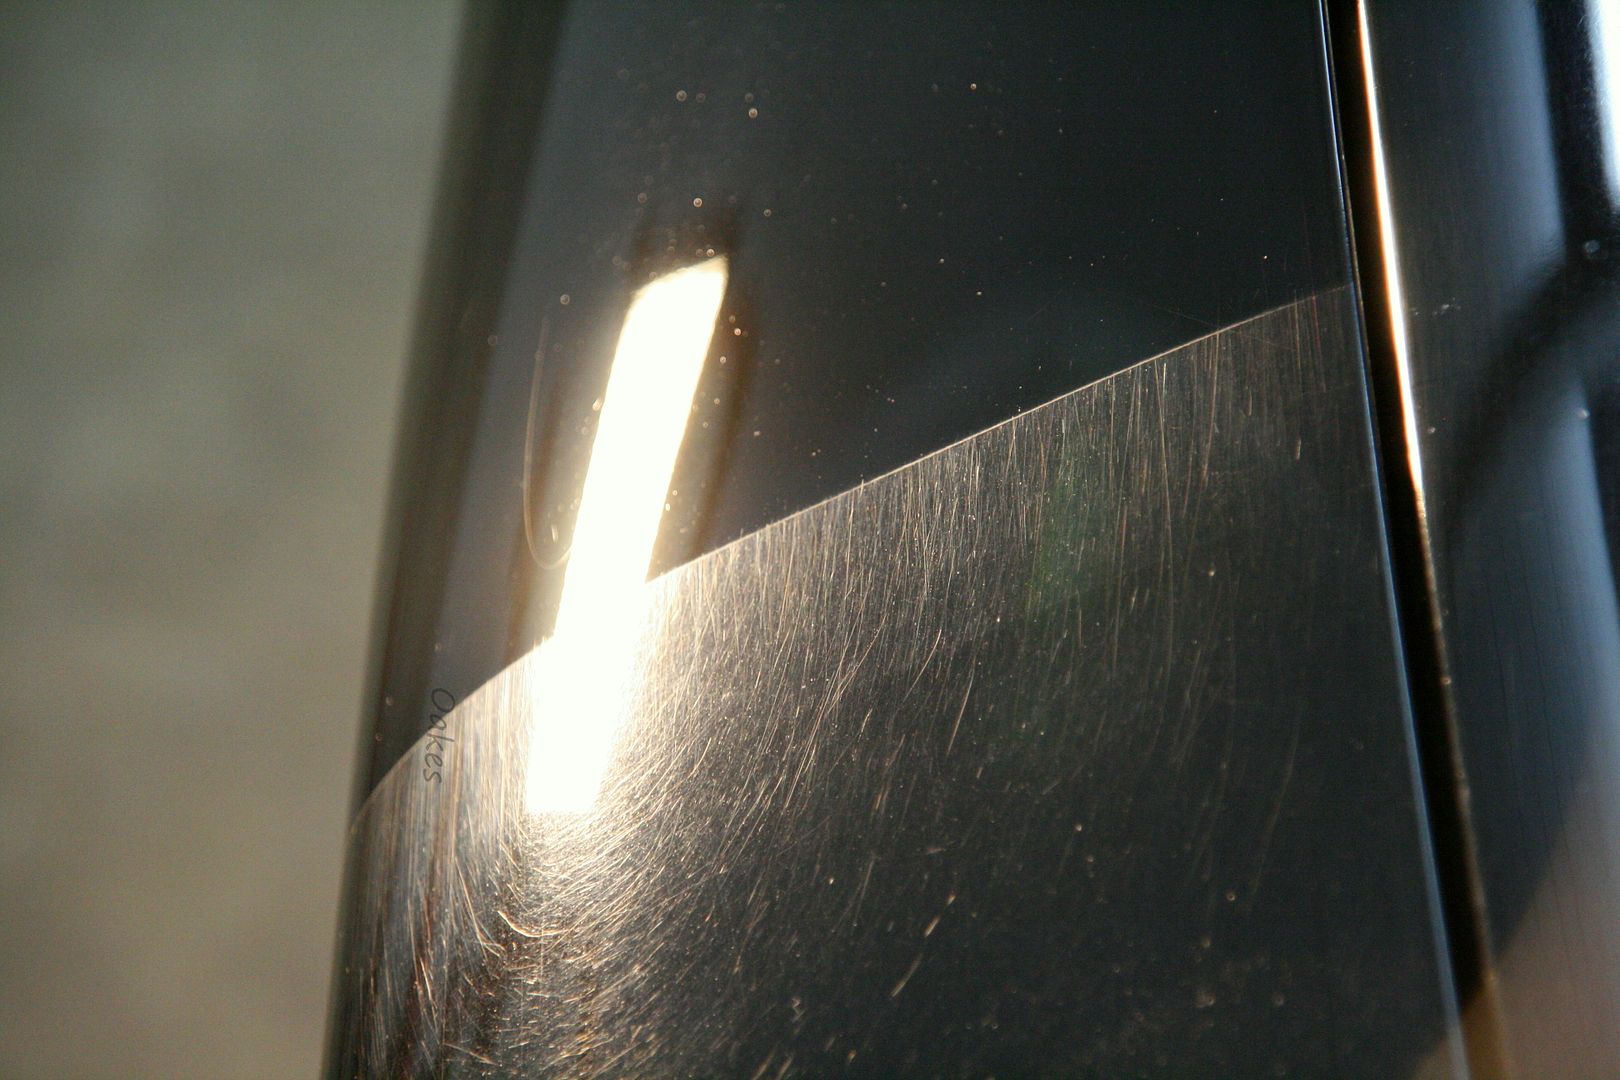
Black, White, and Red Supras were single stage paint, the metallic colors were more commonly a base/clear. Being a single stage, the car is much more subject to oxidation and sun damage, as well as being softer to marring and swirling.
After approximately 400 paint readings throughout the vehicle ranging anywhere from 75 microns to 400 microns in the repainted sections. I was going to have to change my process in each section so as to not be more aggressive than I needed to be. This is essential with any correction, more so with single stage cars as you can burn through it MUCH easier than a base/clear.
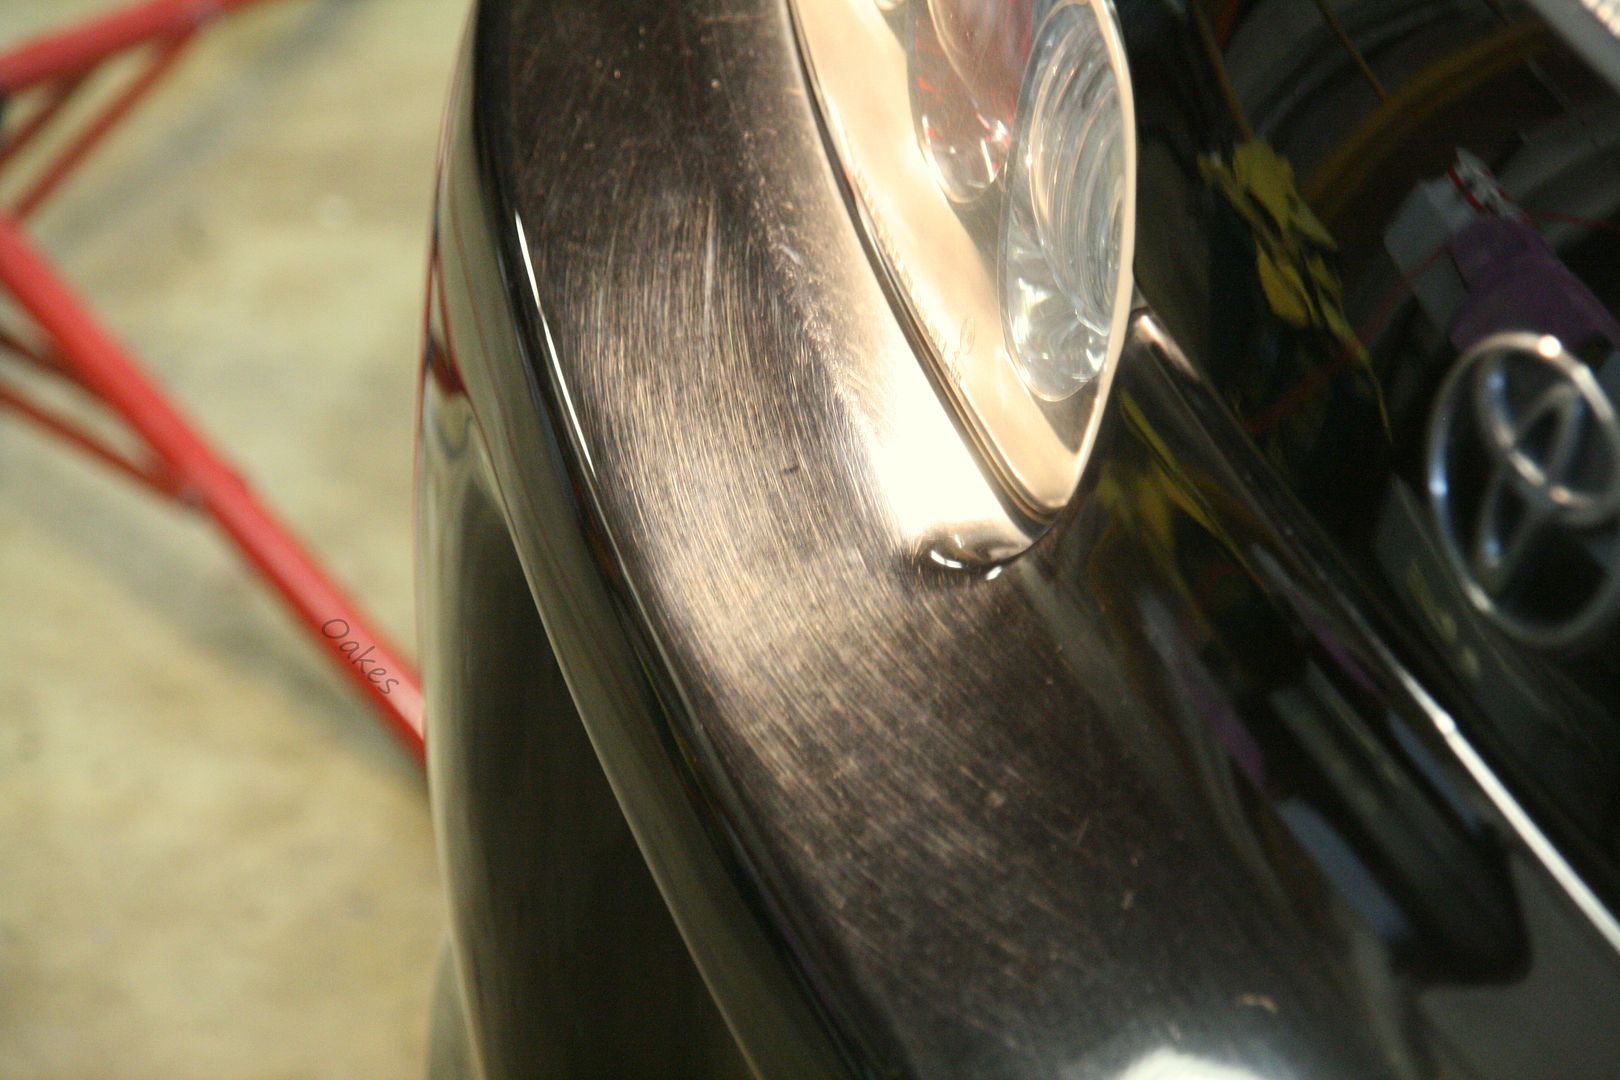
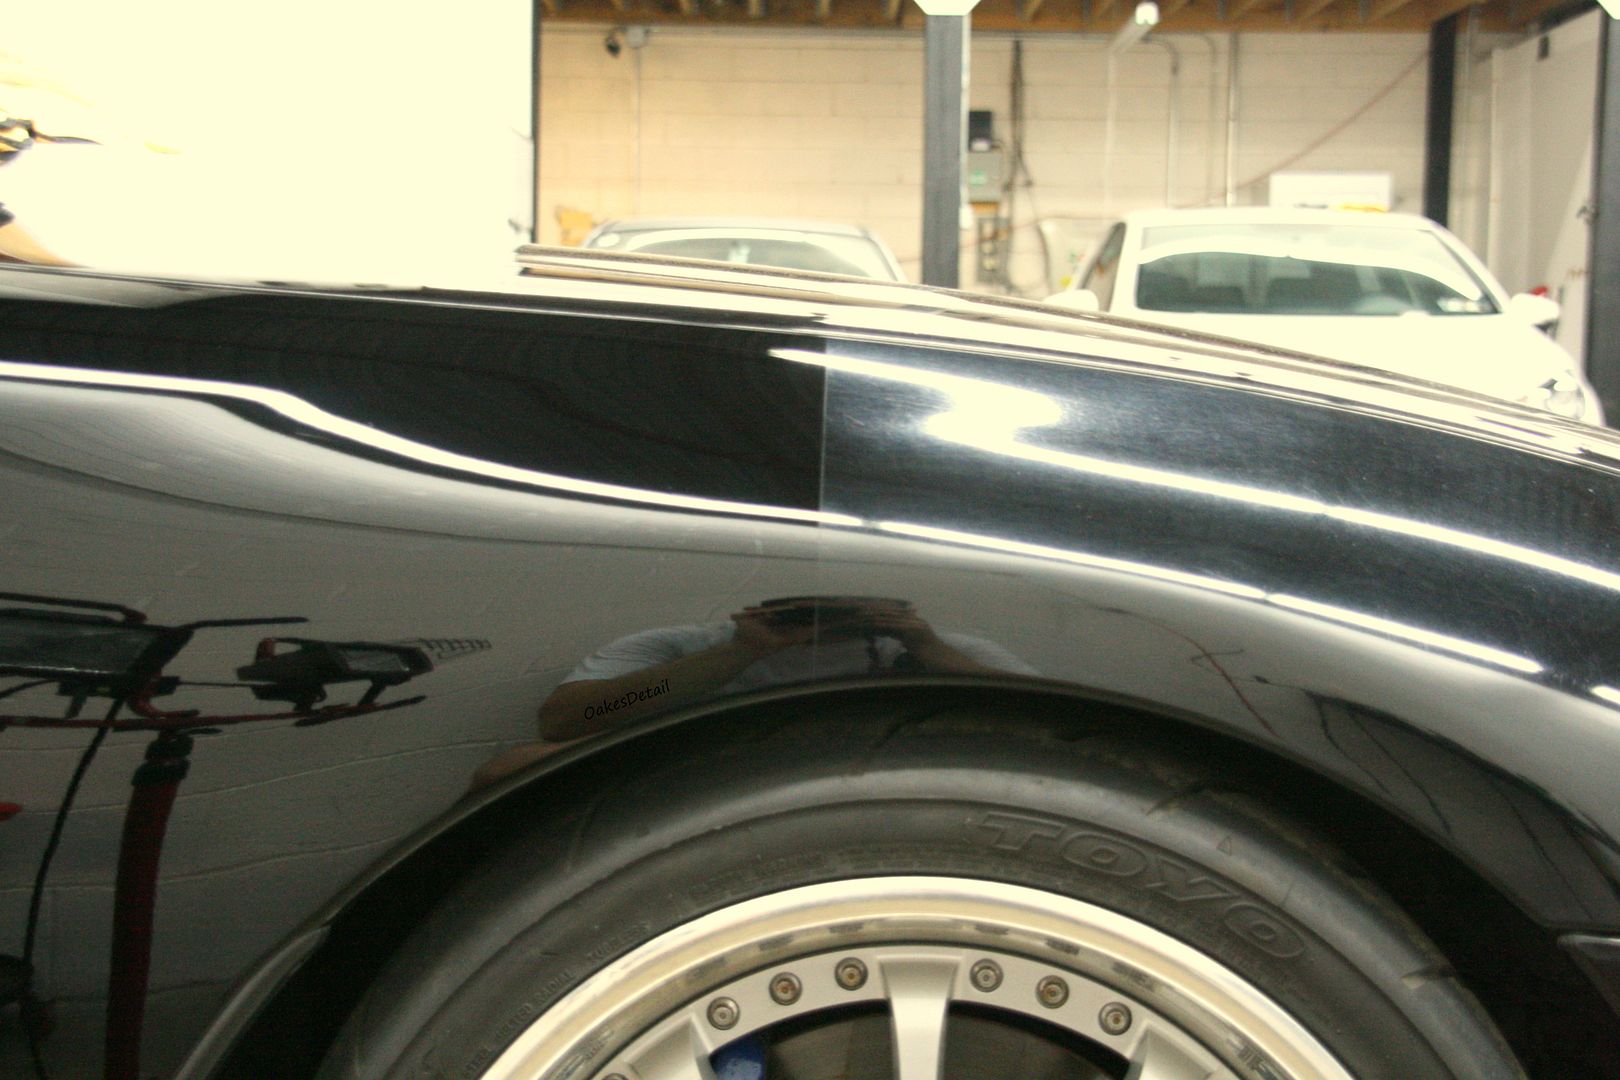
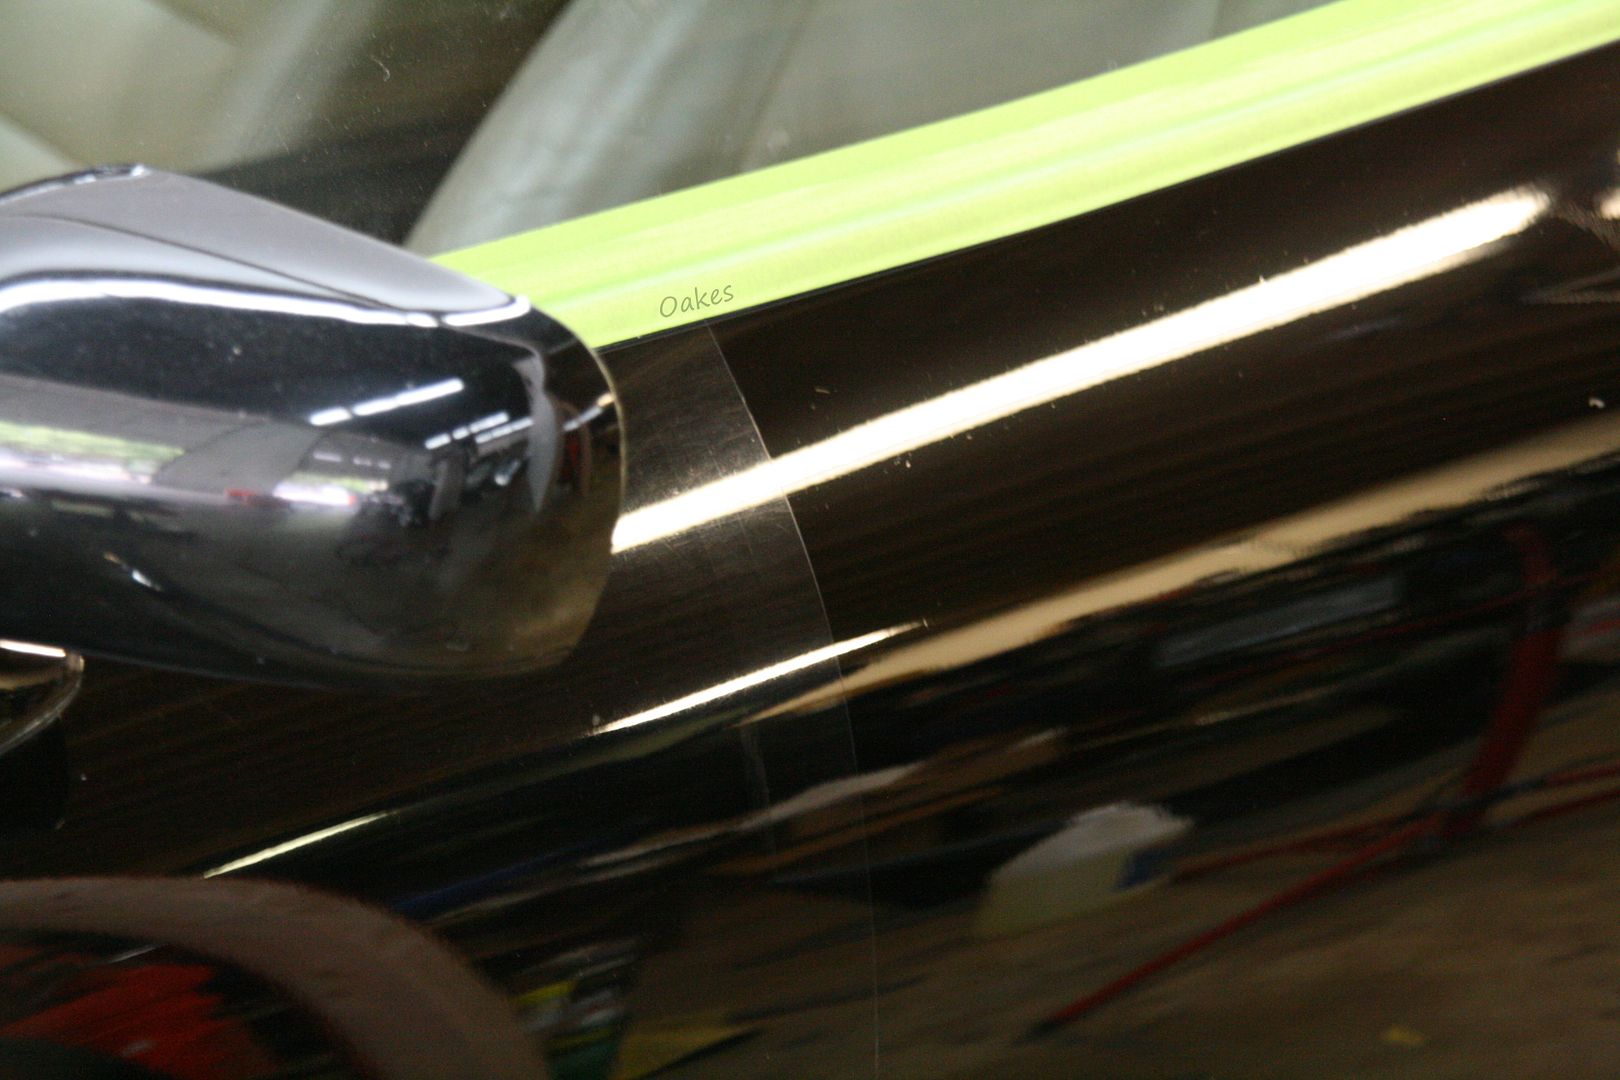
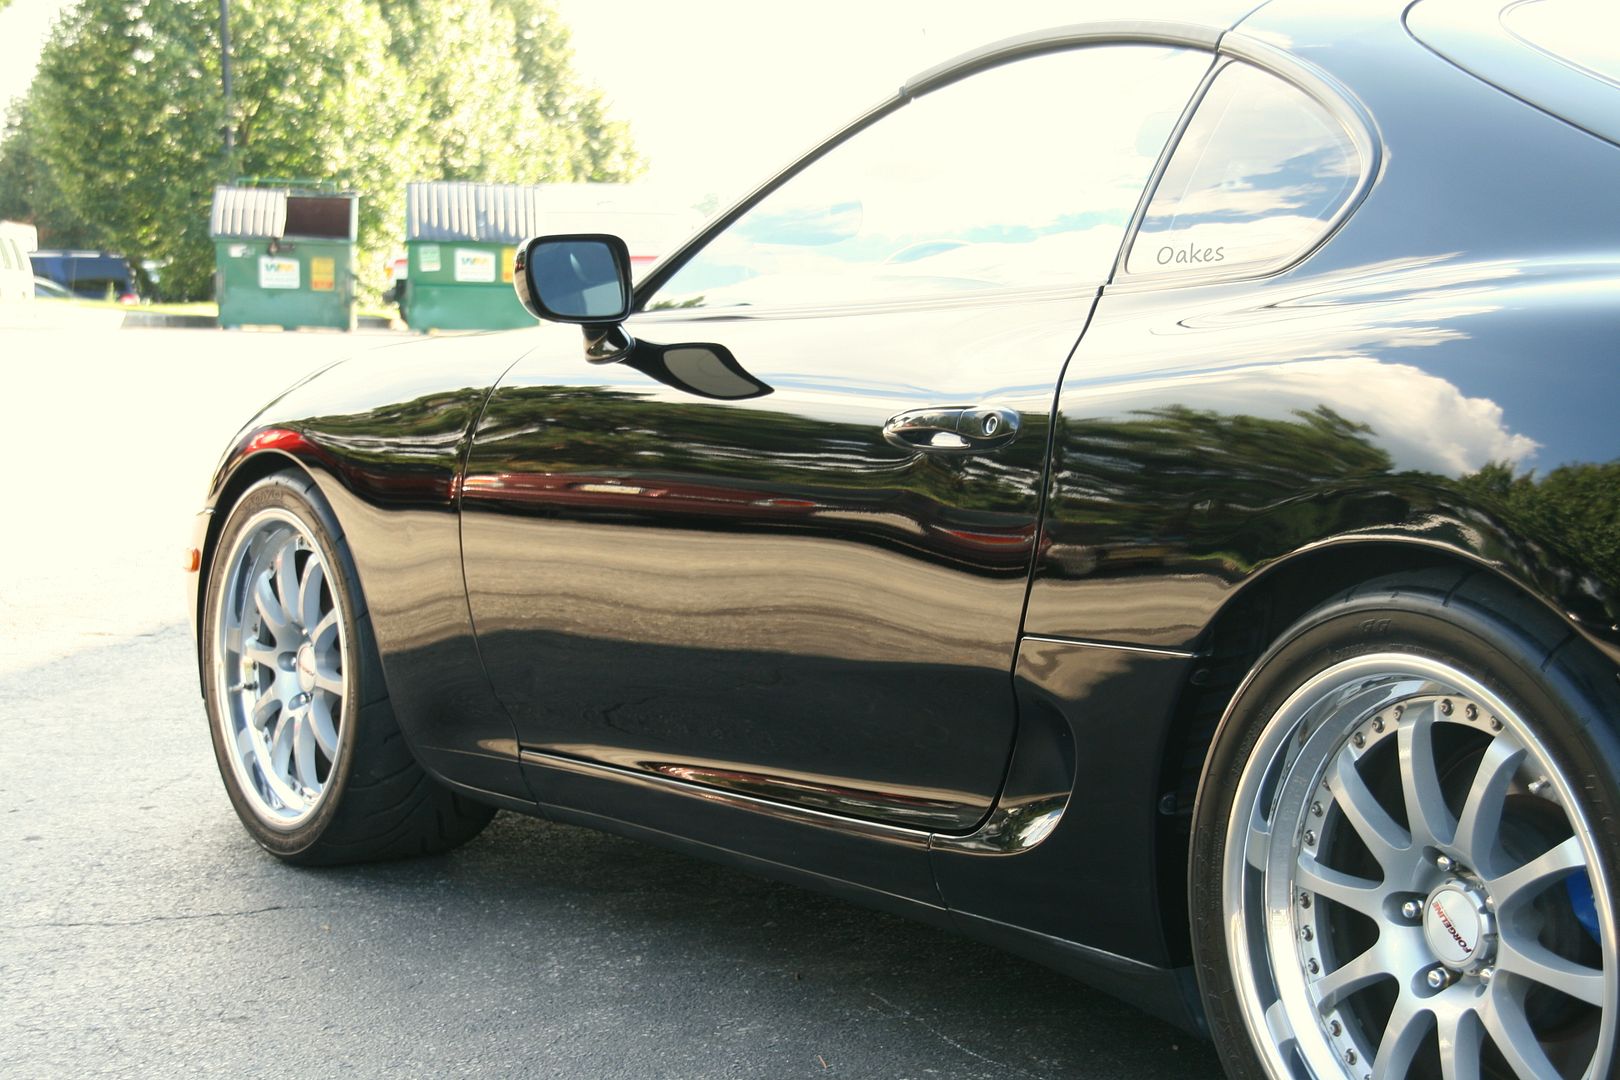
Once I performed my test spots and had my plan of attack lined up, I set up a few 50/50 shots to show the true difference with as minimal paint loss as possible, largest micron difference after correction was three microns removed. First on the fender...
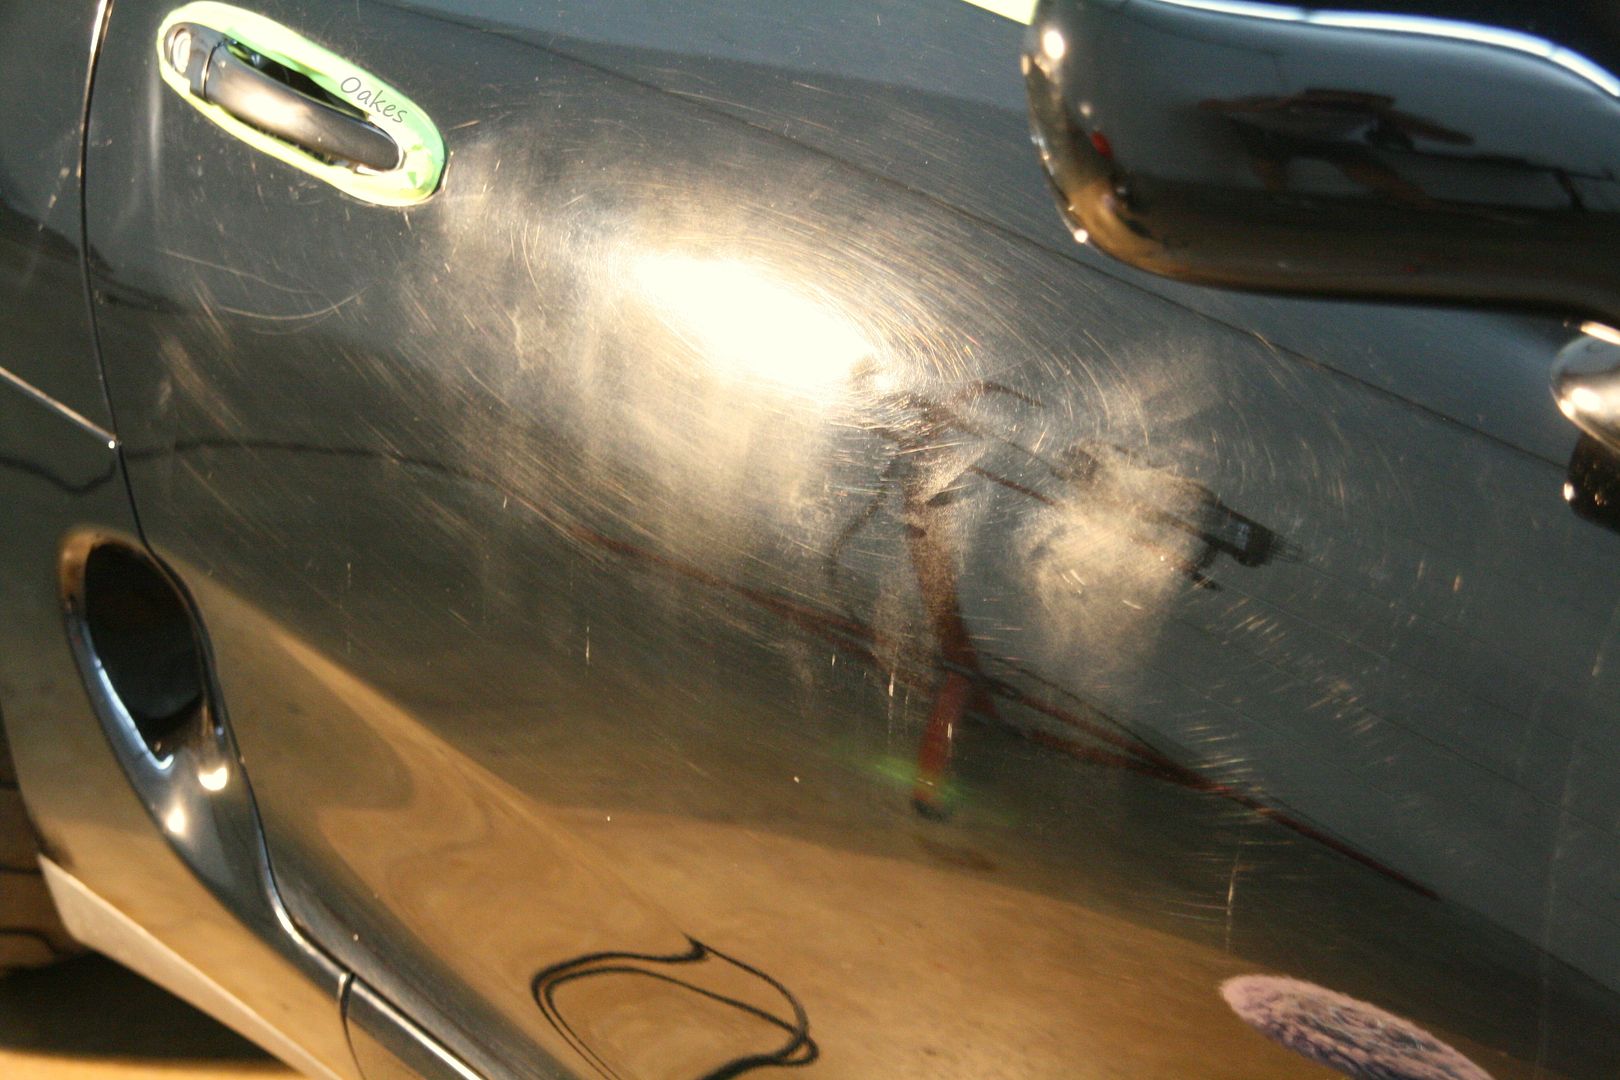
Next on the drivers side door, which was still original paint
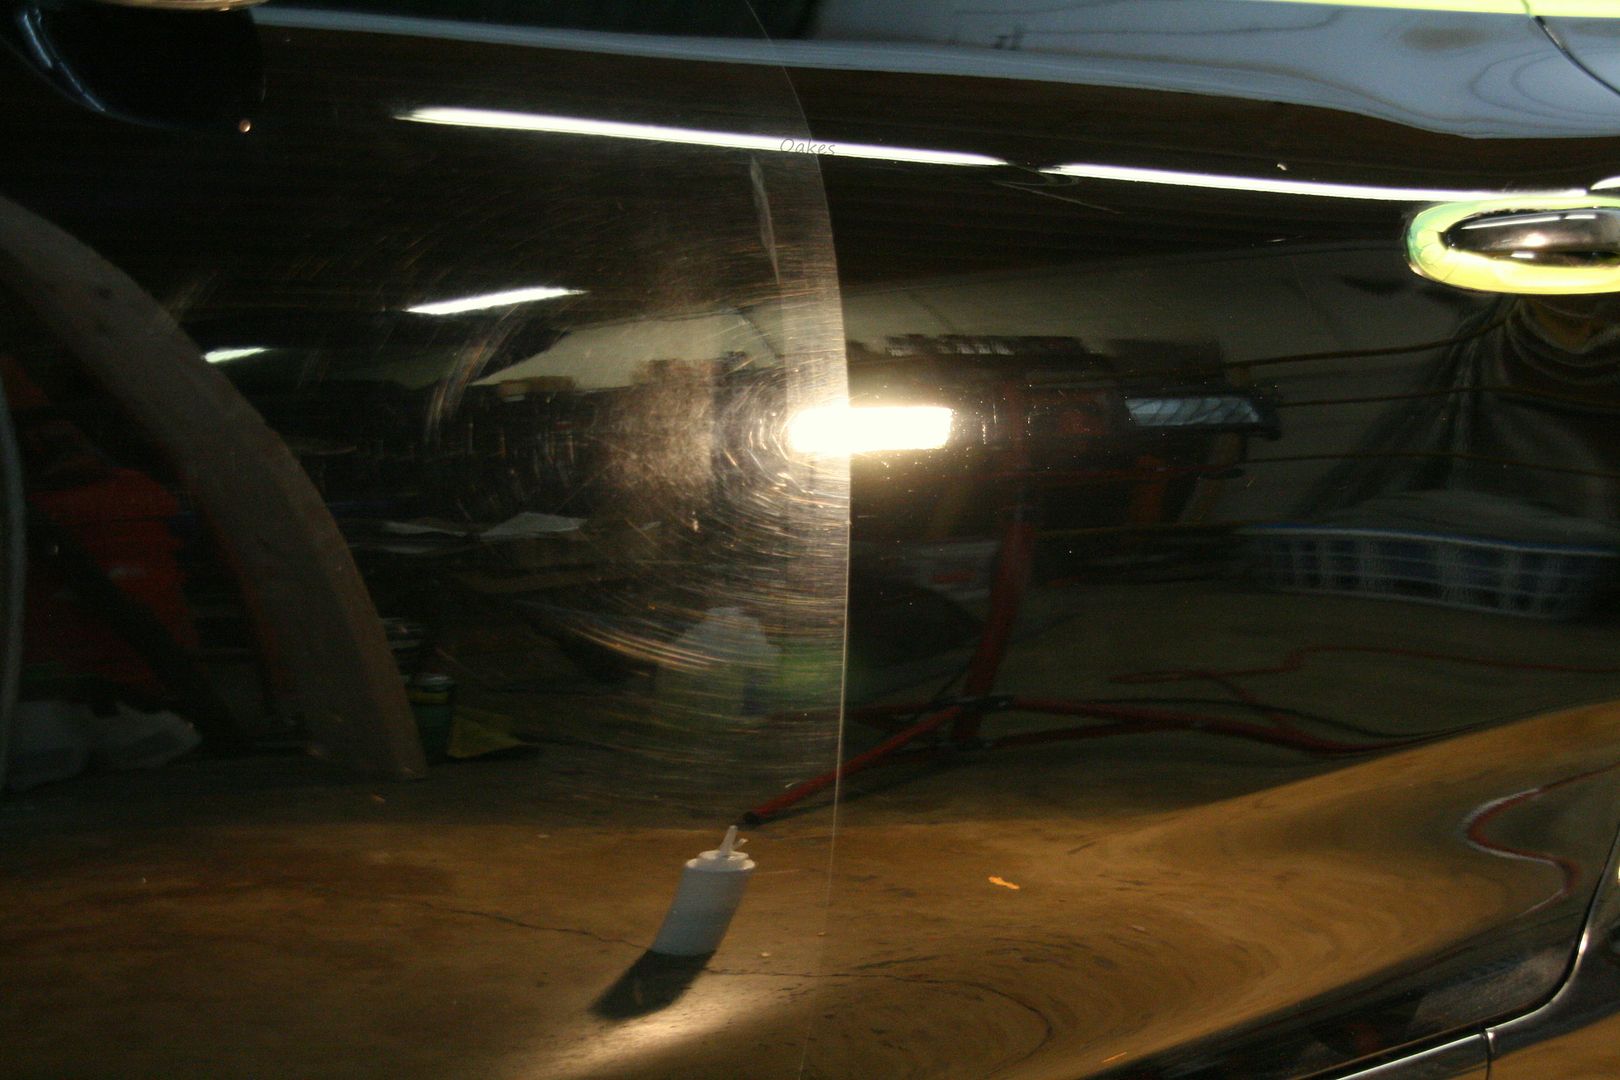
20.
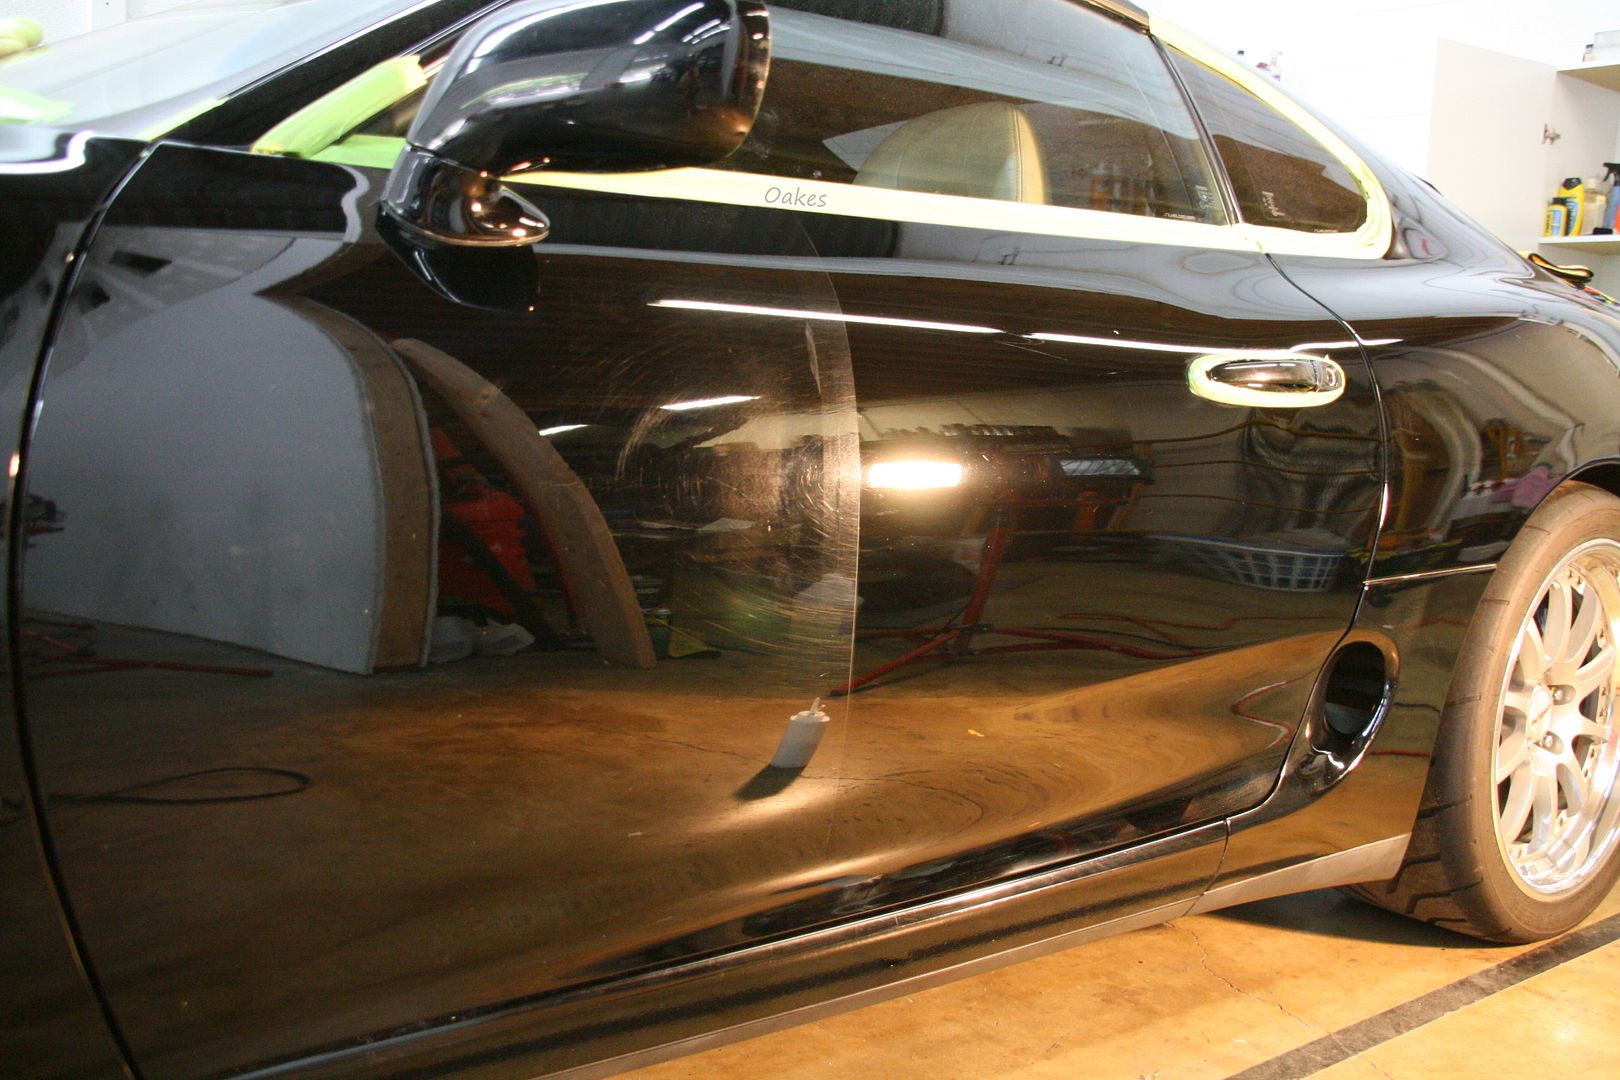
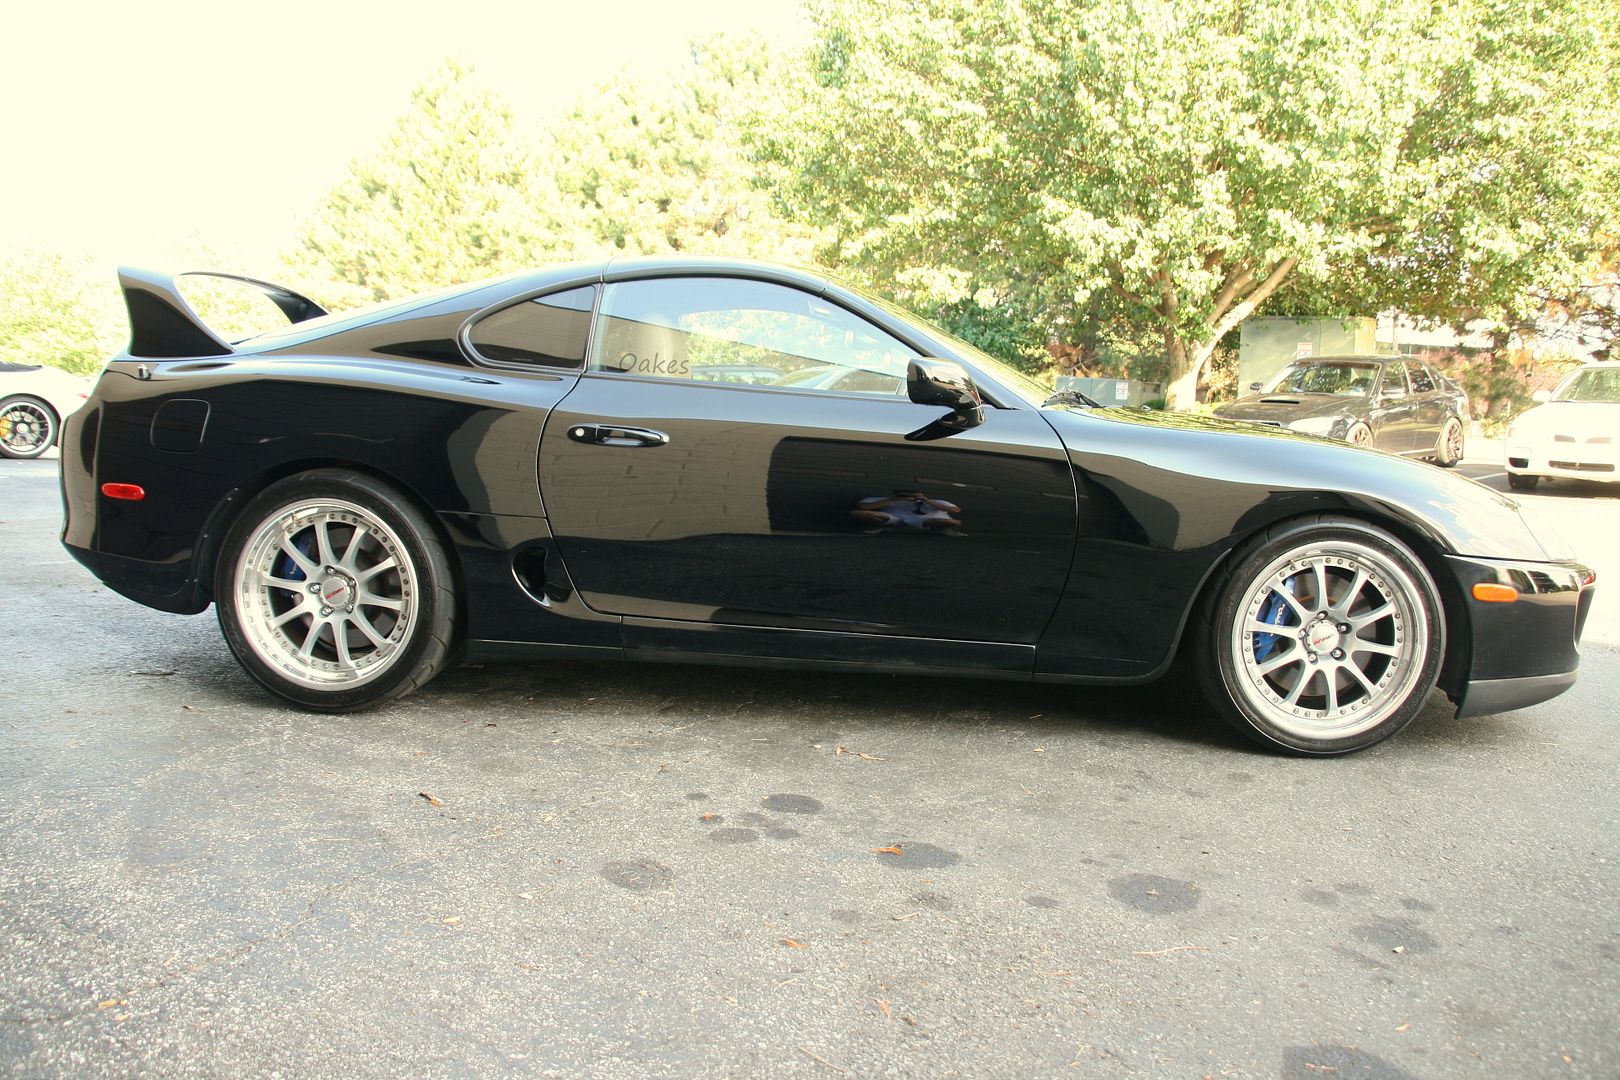
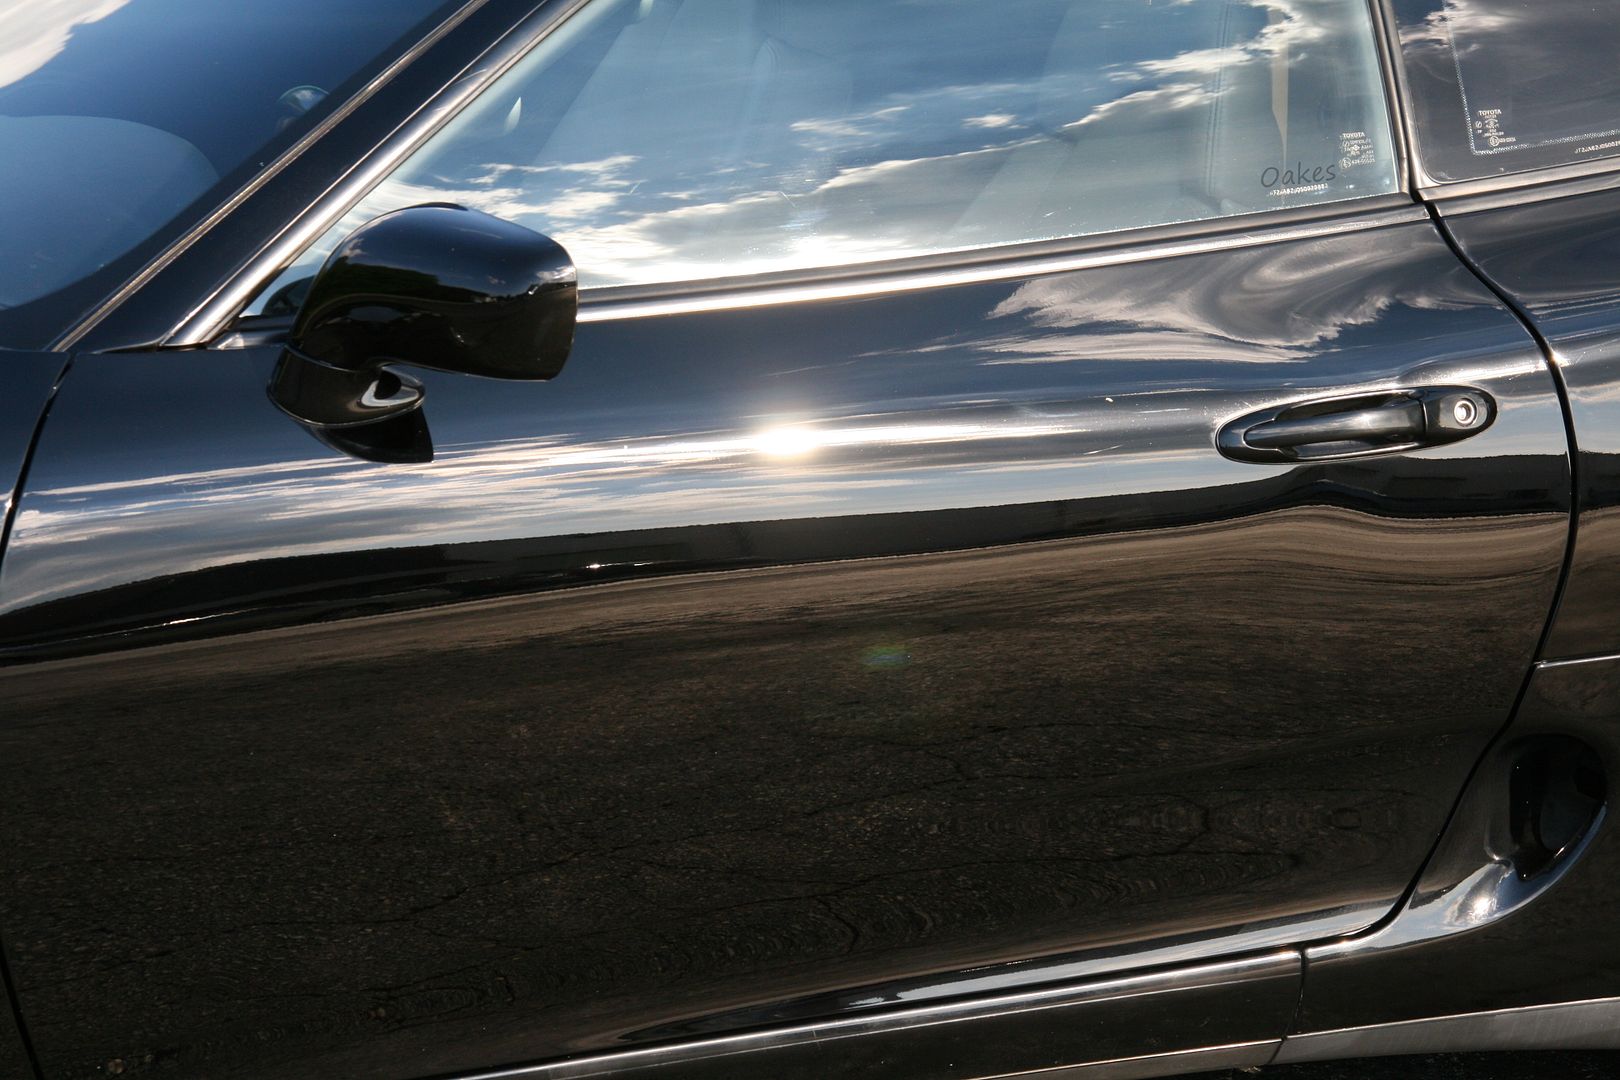
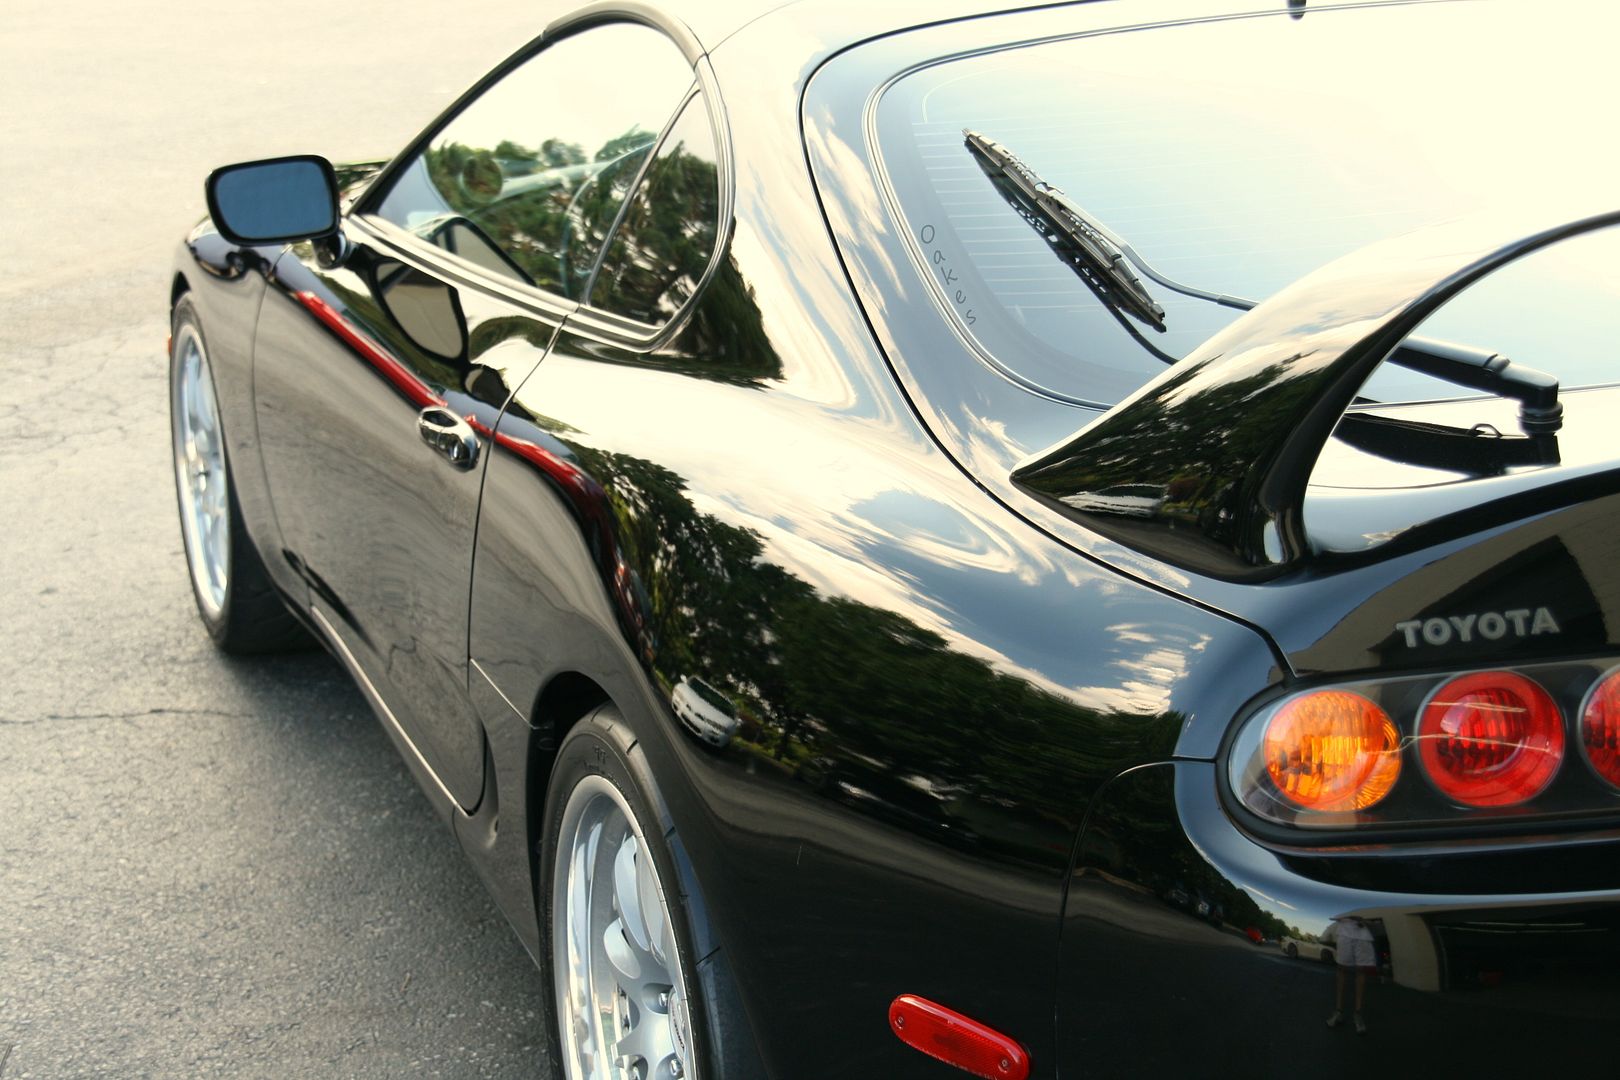
As you can see, the difference are rather dramatic and swirl/hologram free. Pulled the car outside from some finished sun snaps to really show the paints new condition!
25.
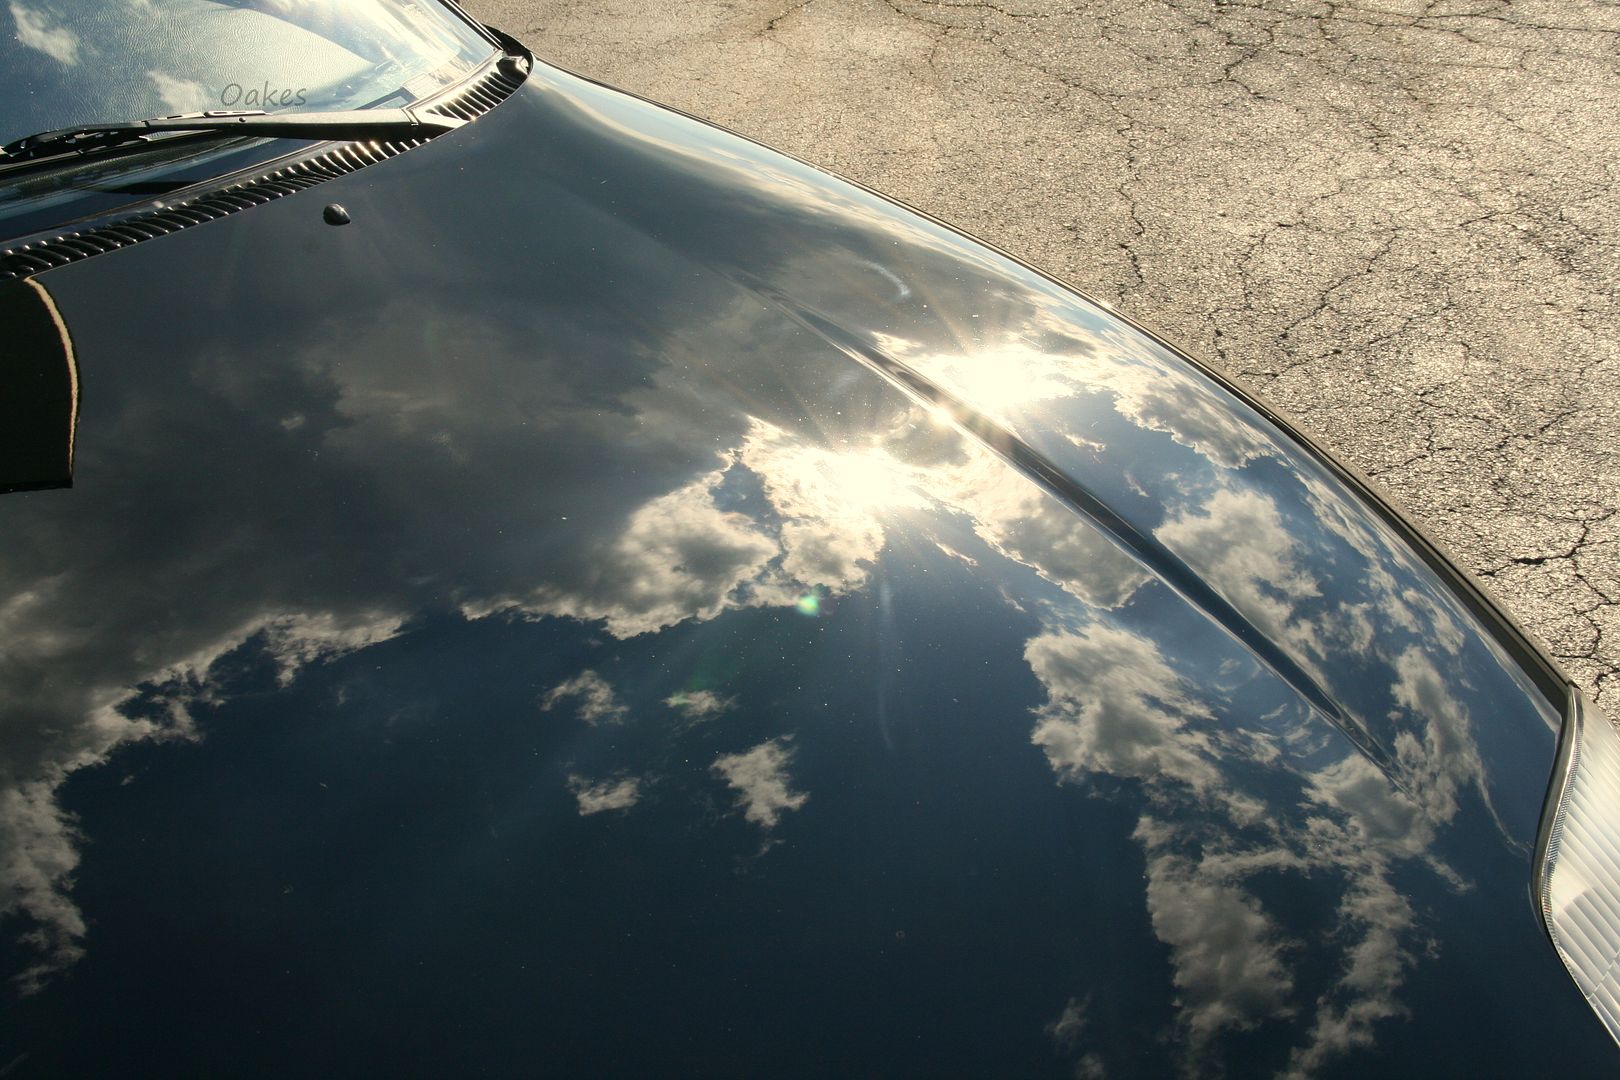
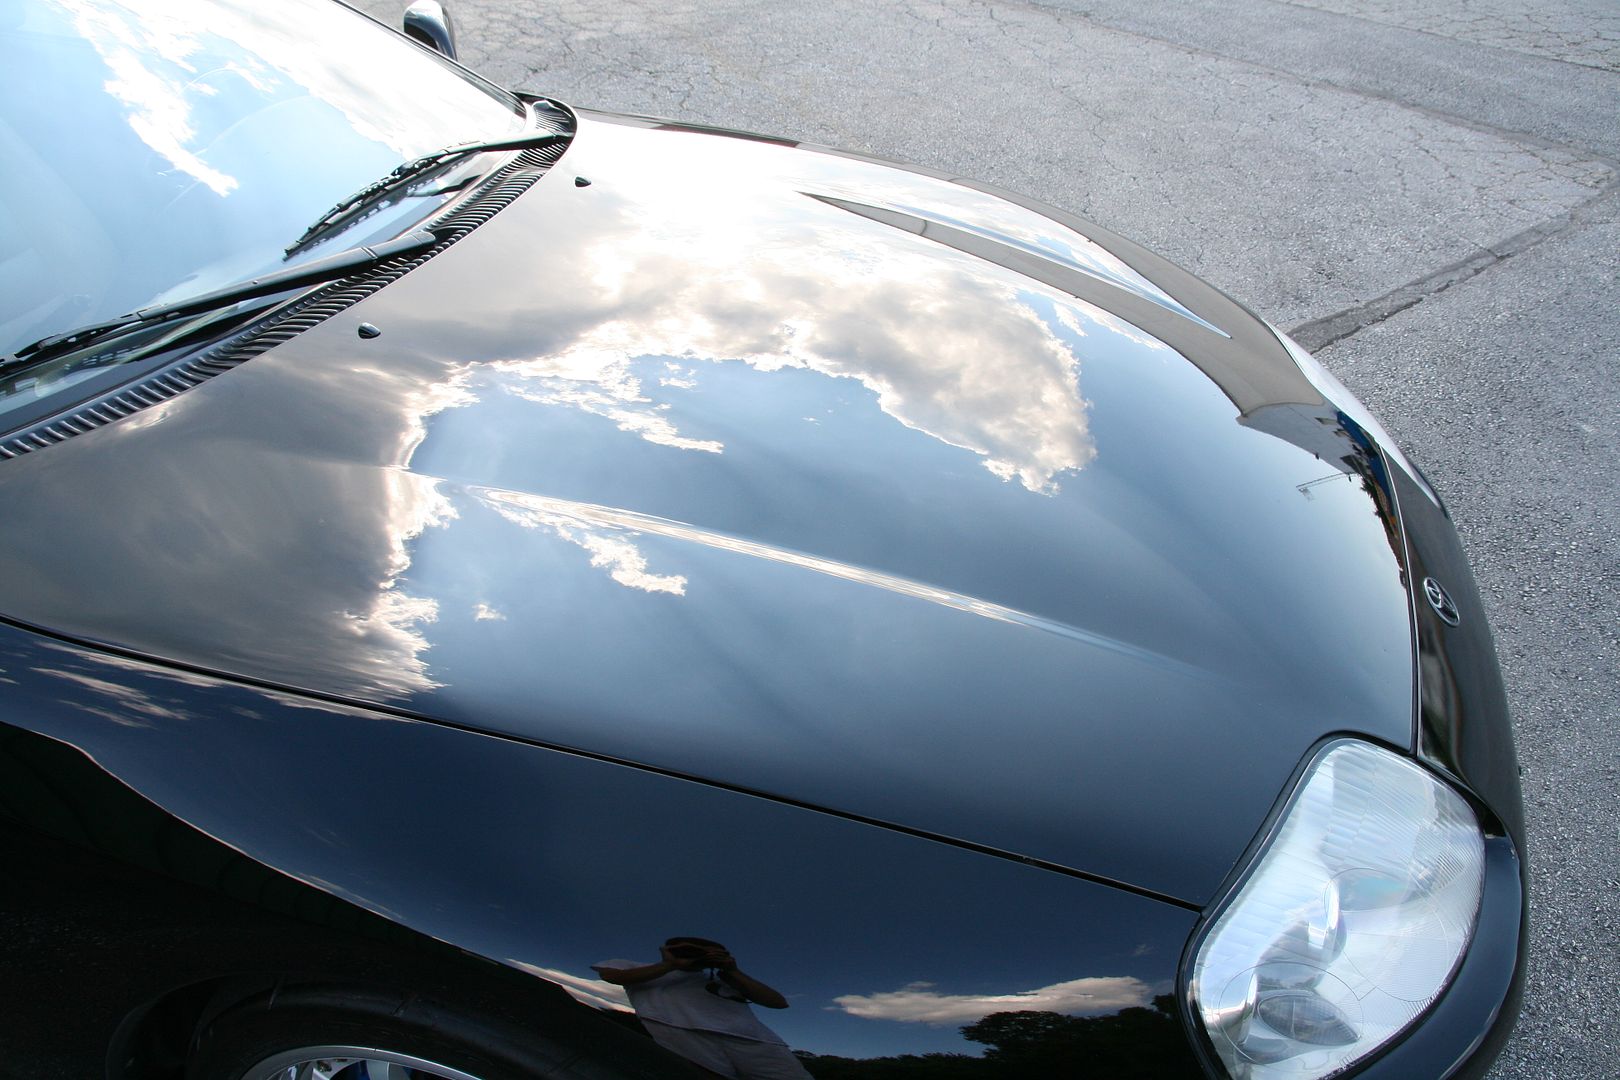
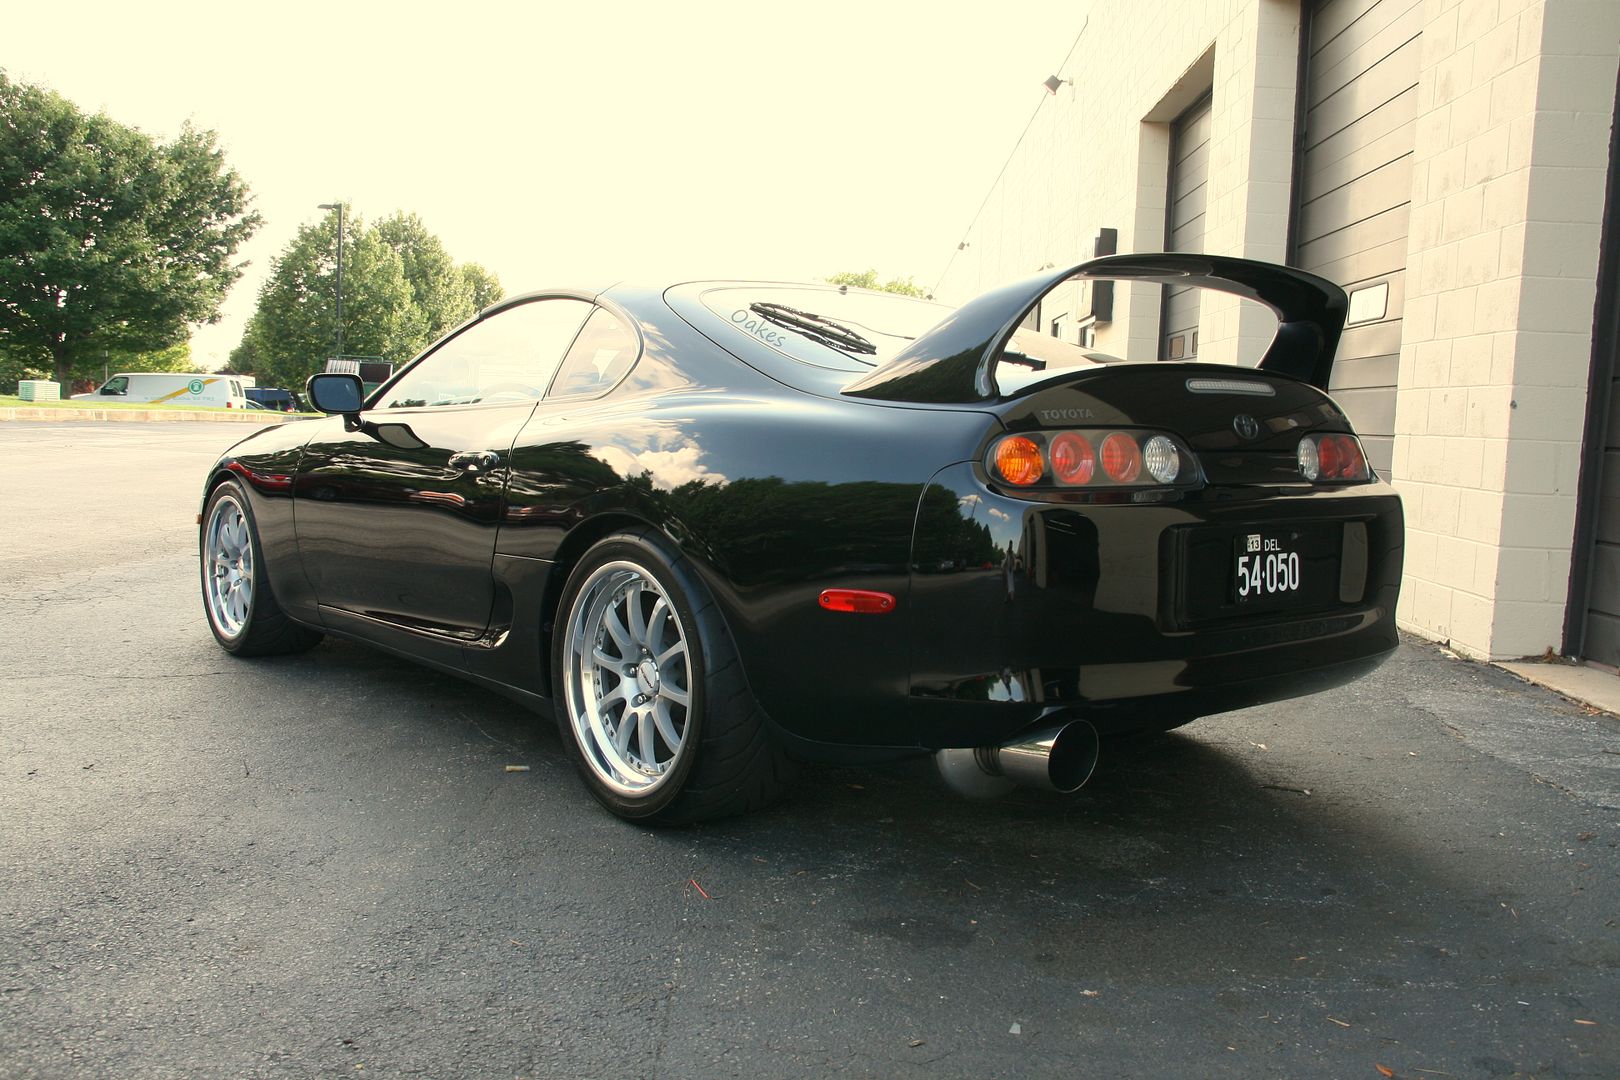
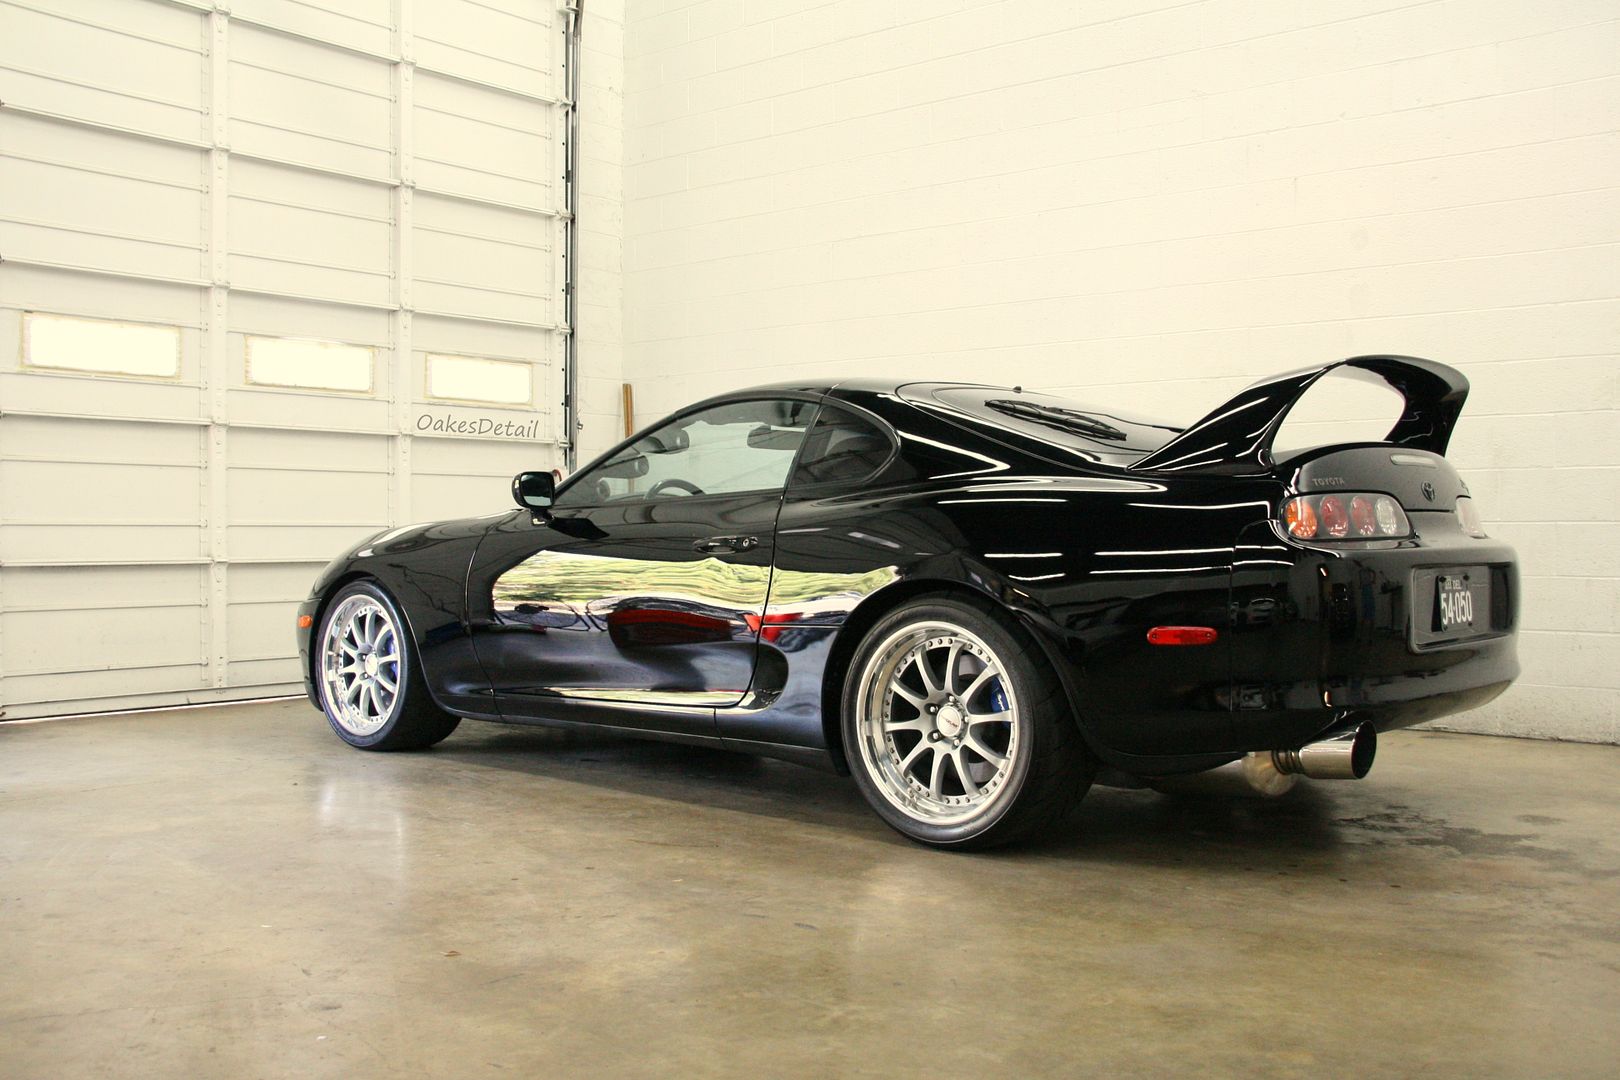
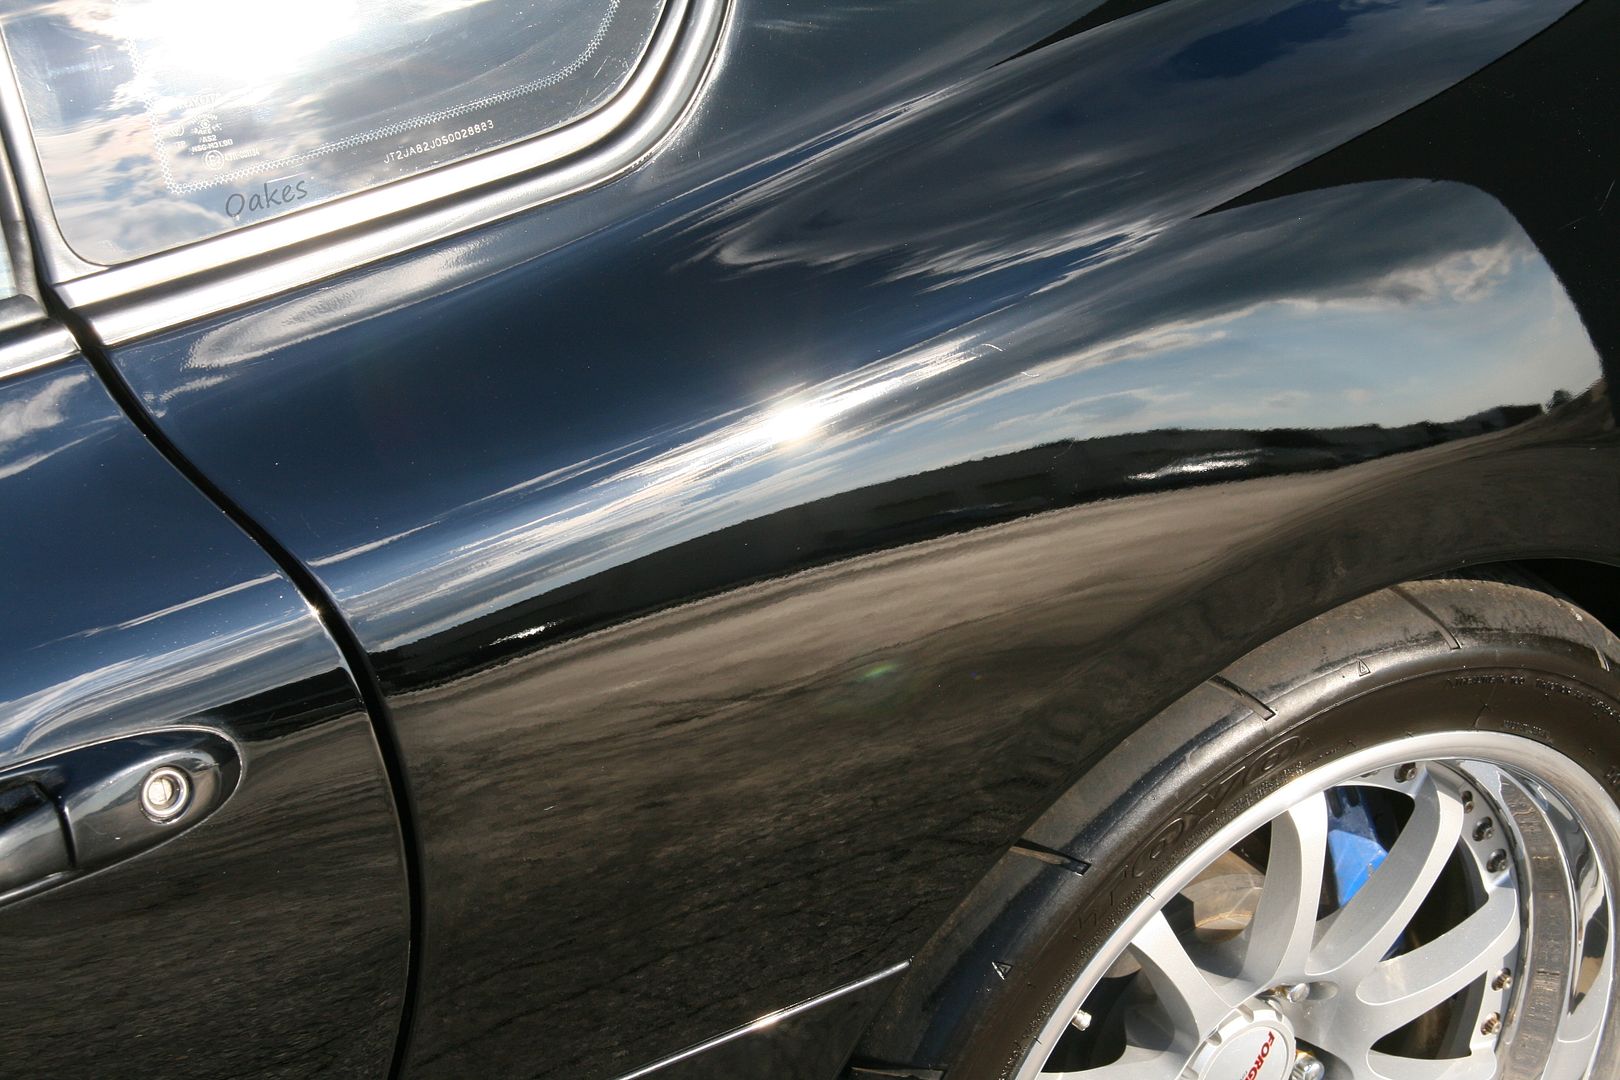
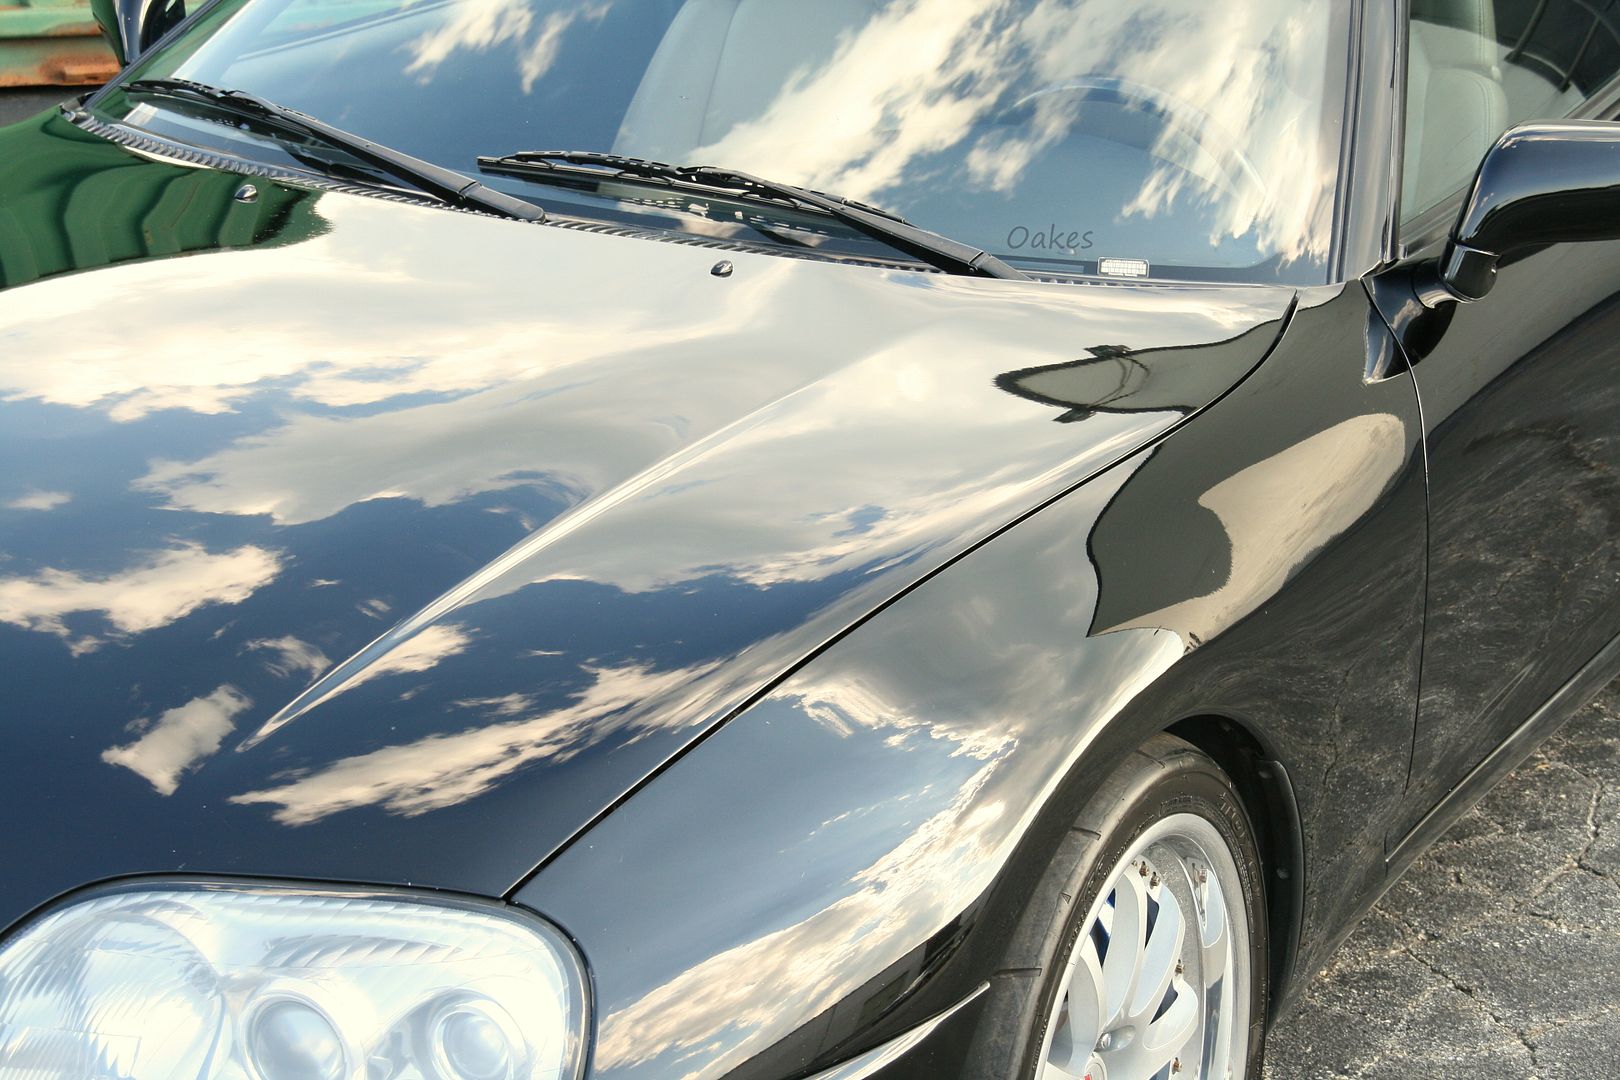
I of course made an effort to grab some photos of the gloss and depth of the paint in comparison to when it arrived
30.
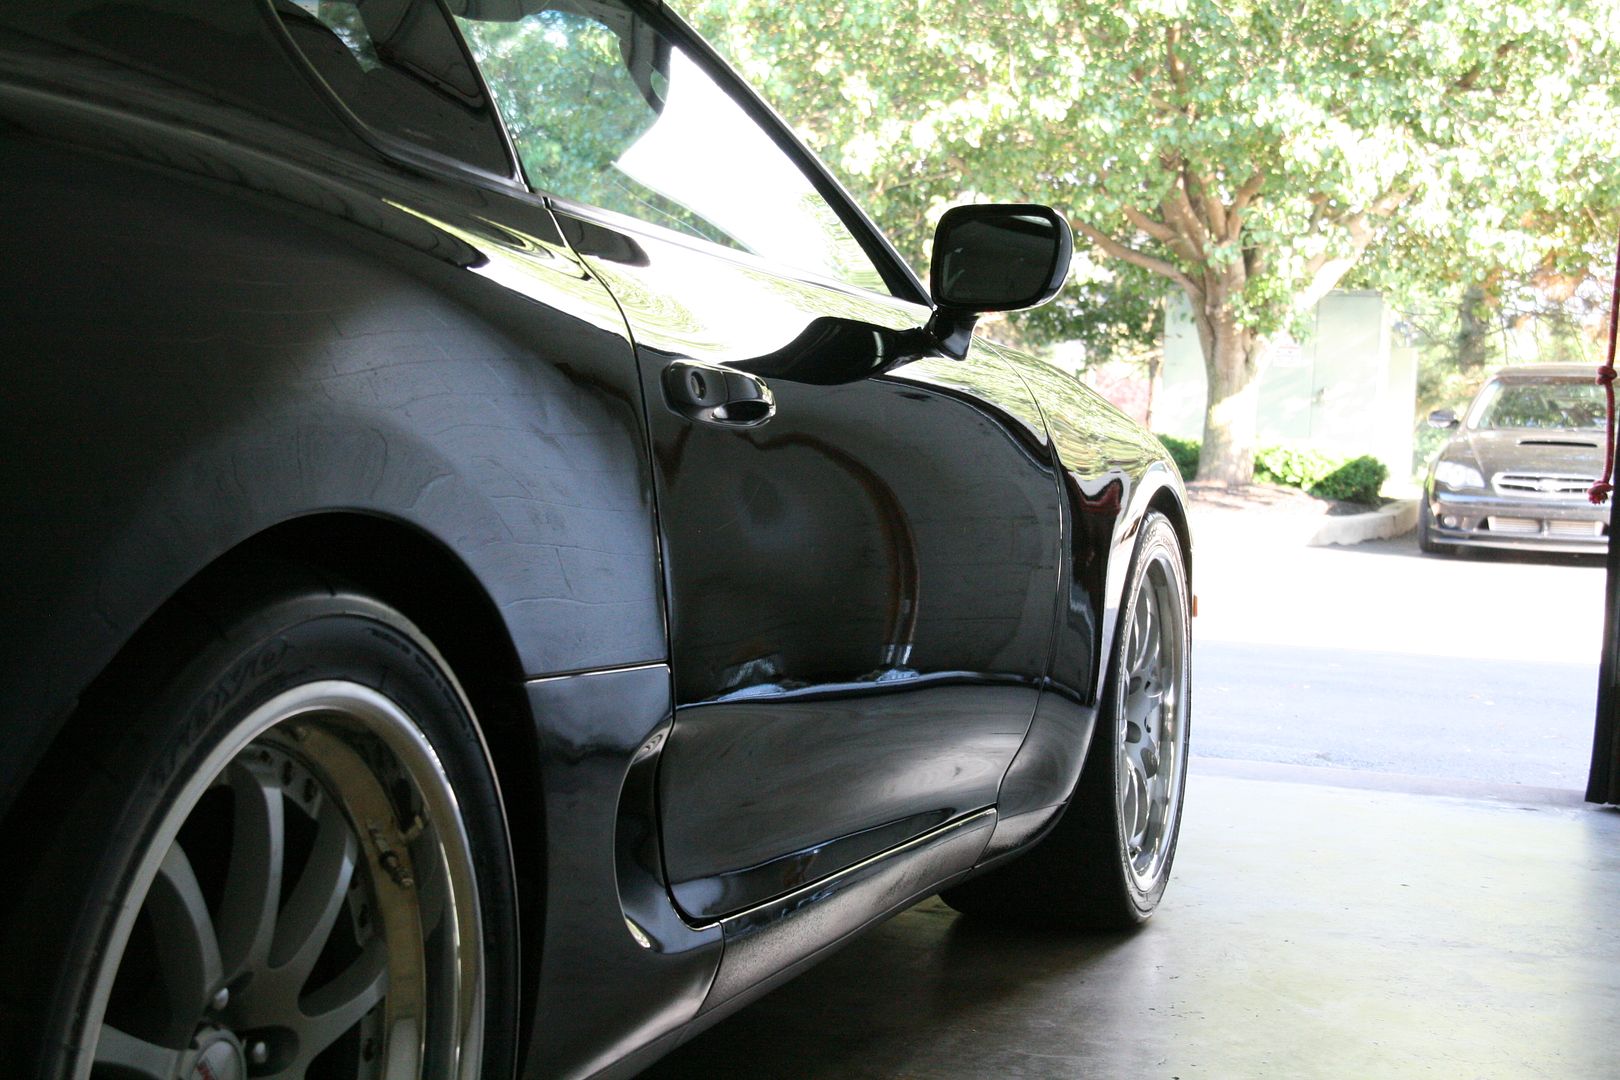
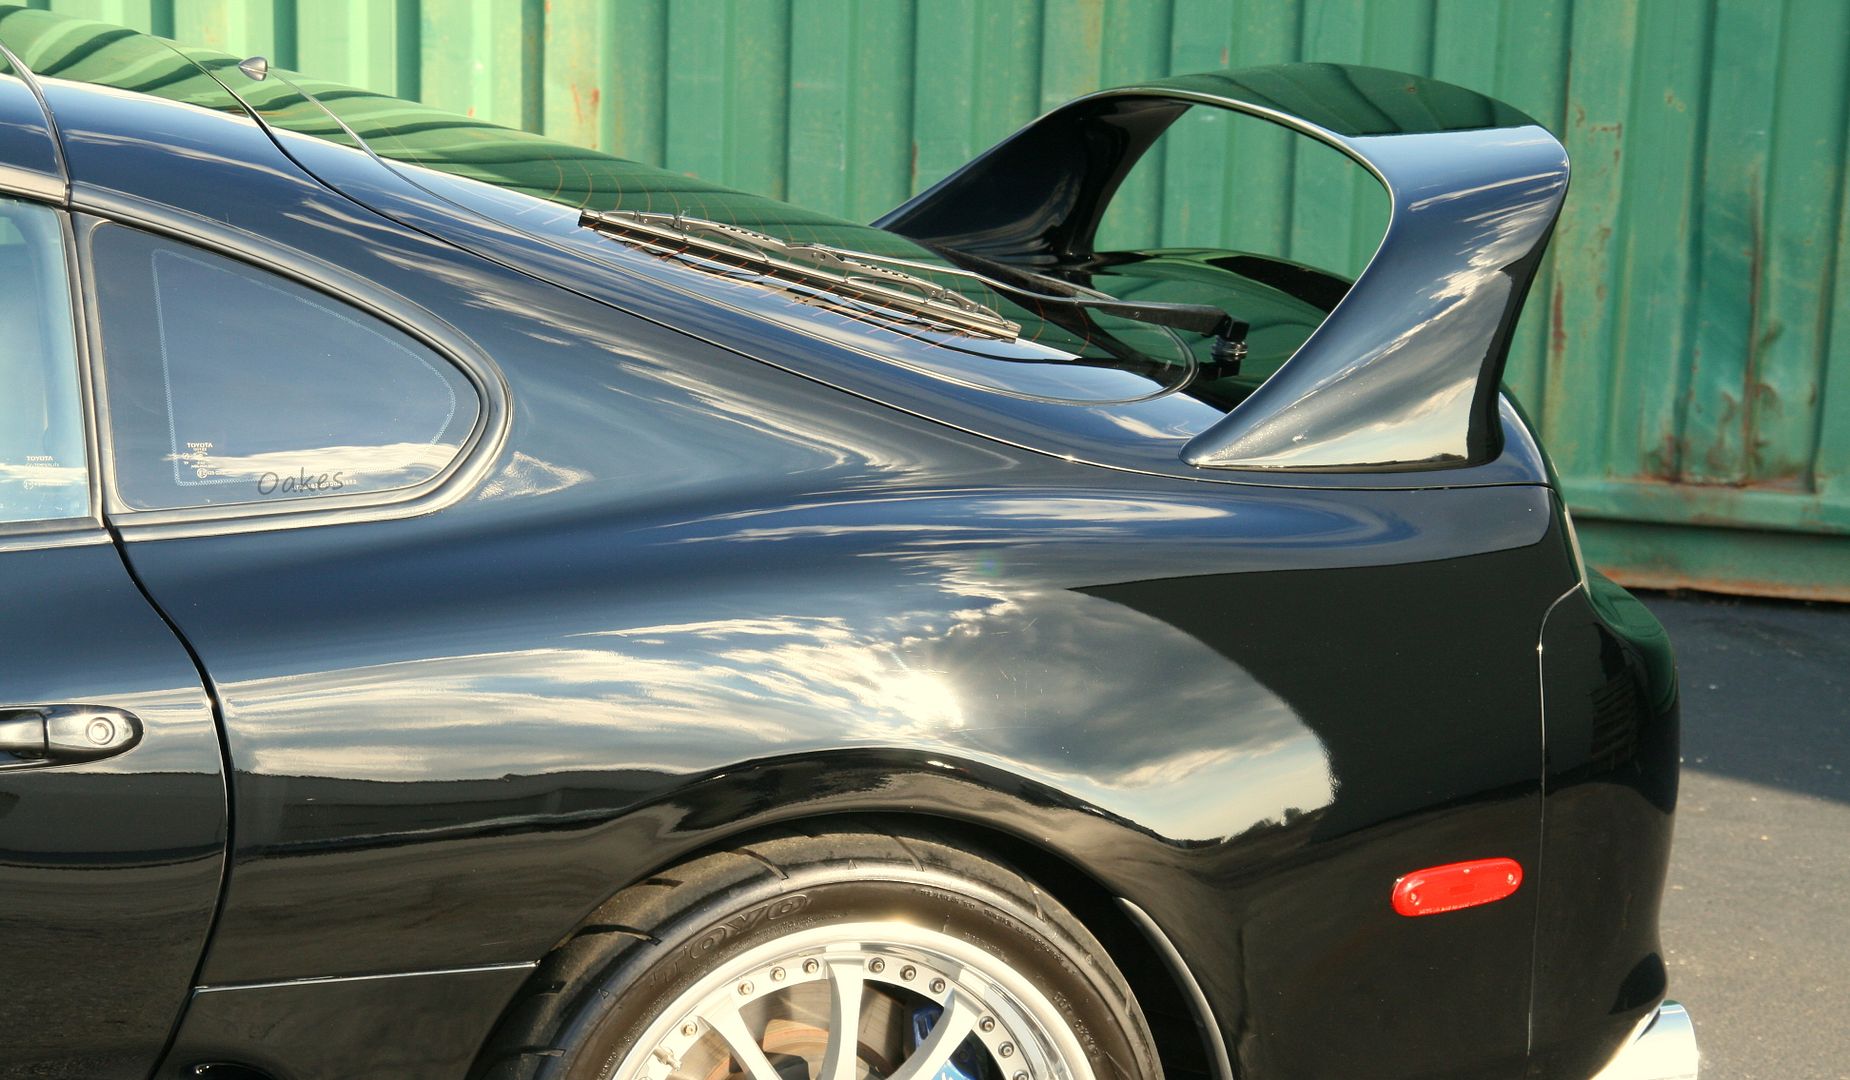
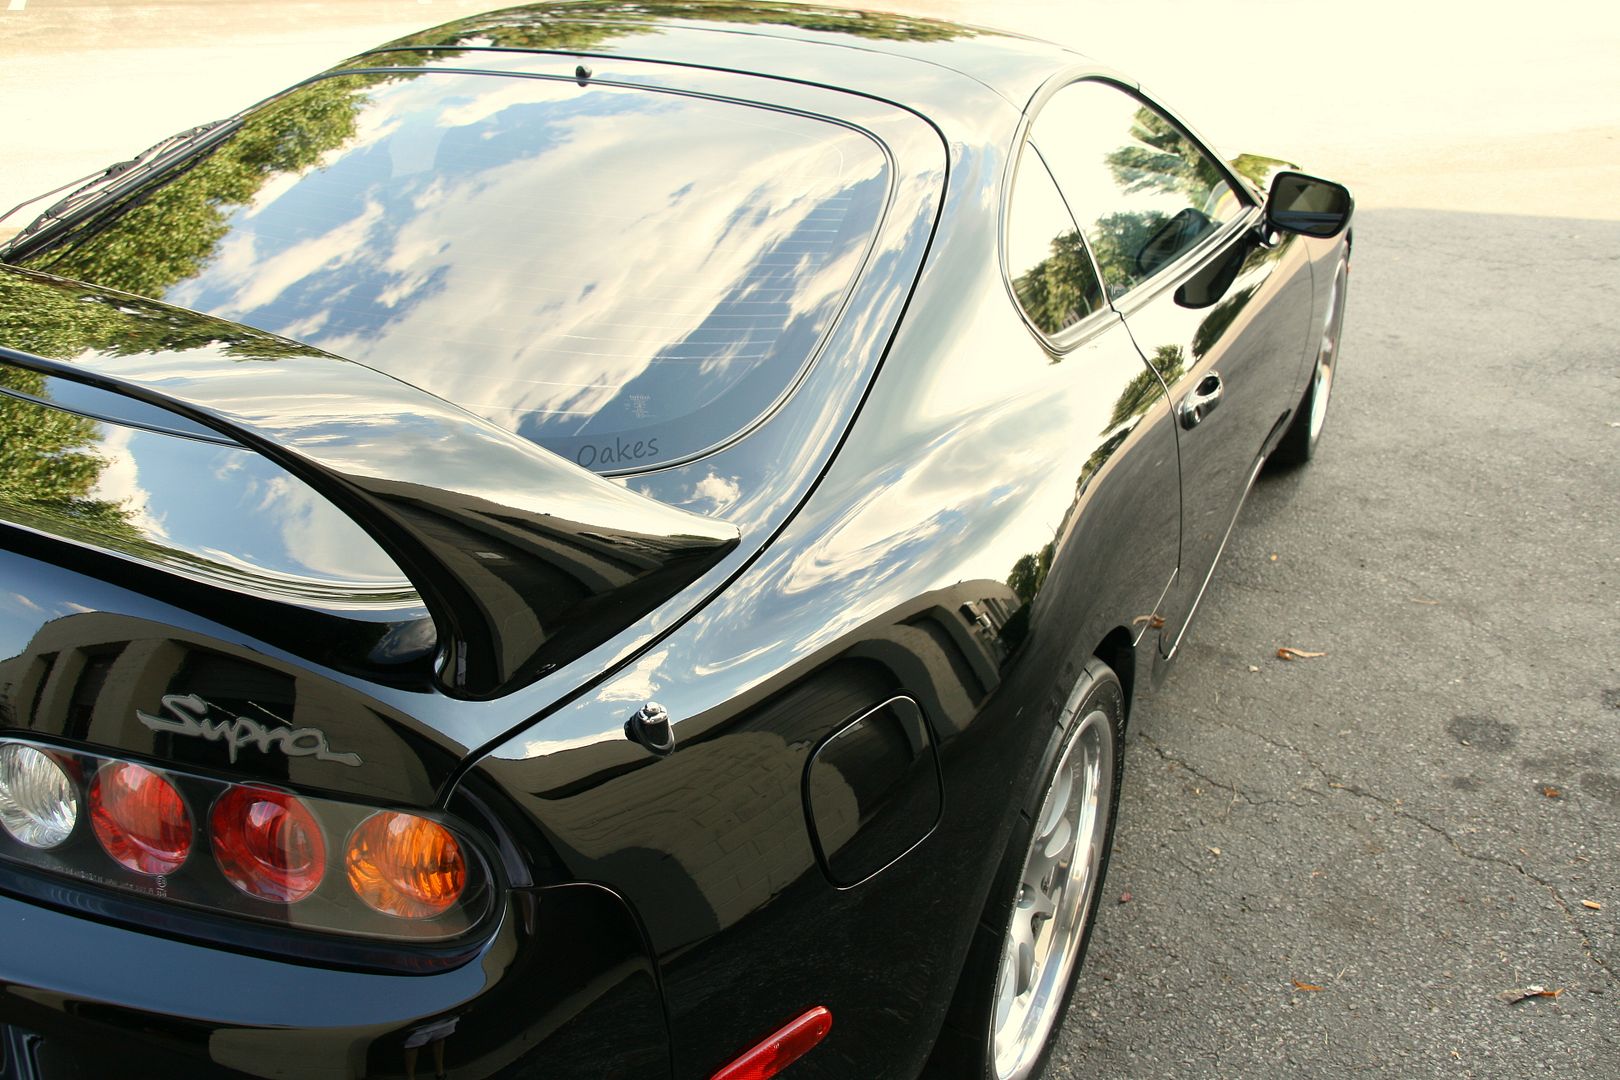
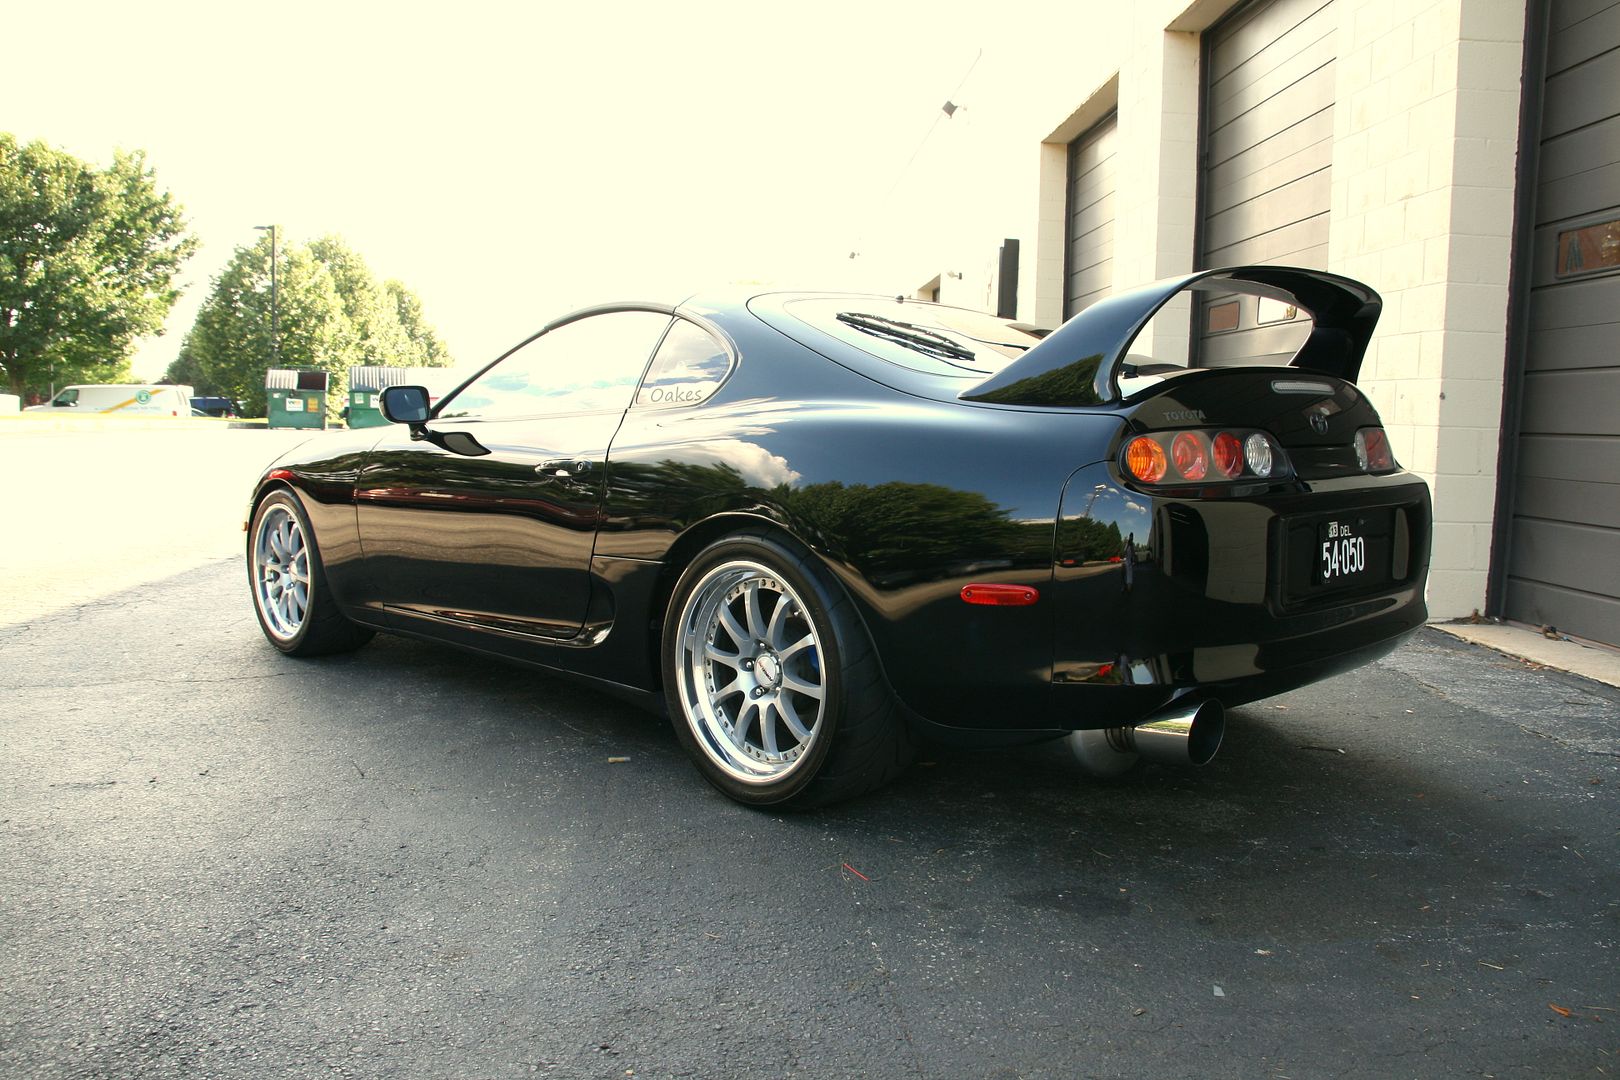
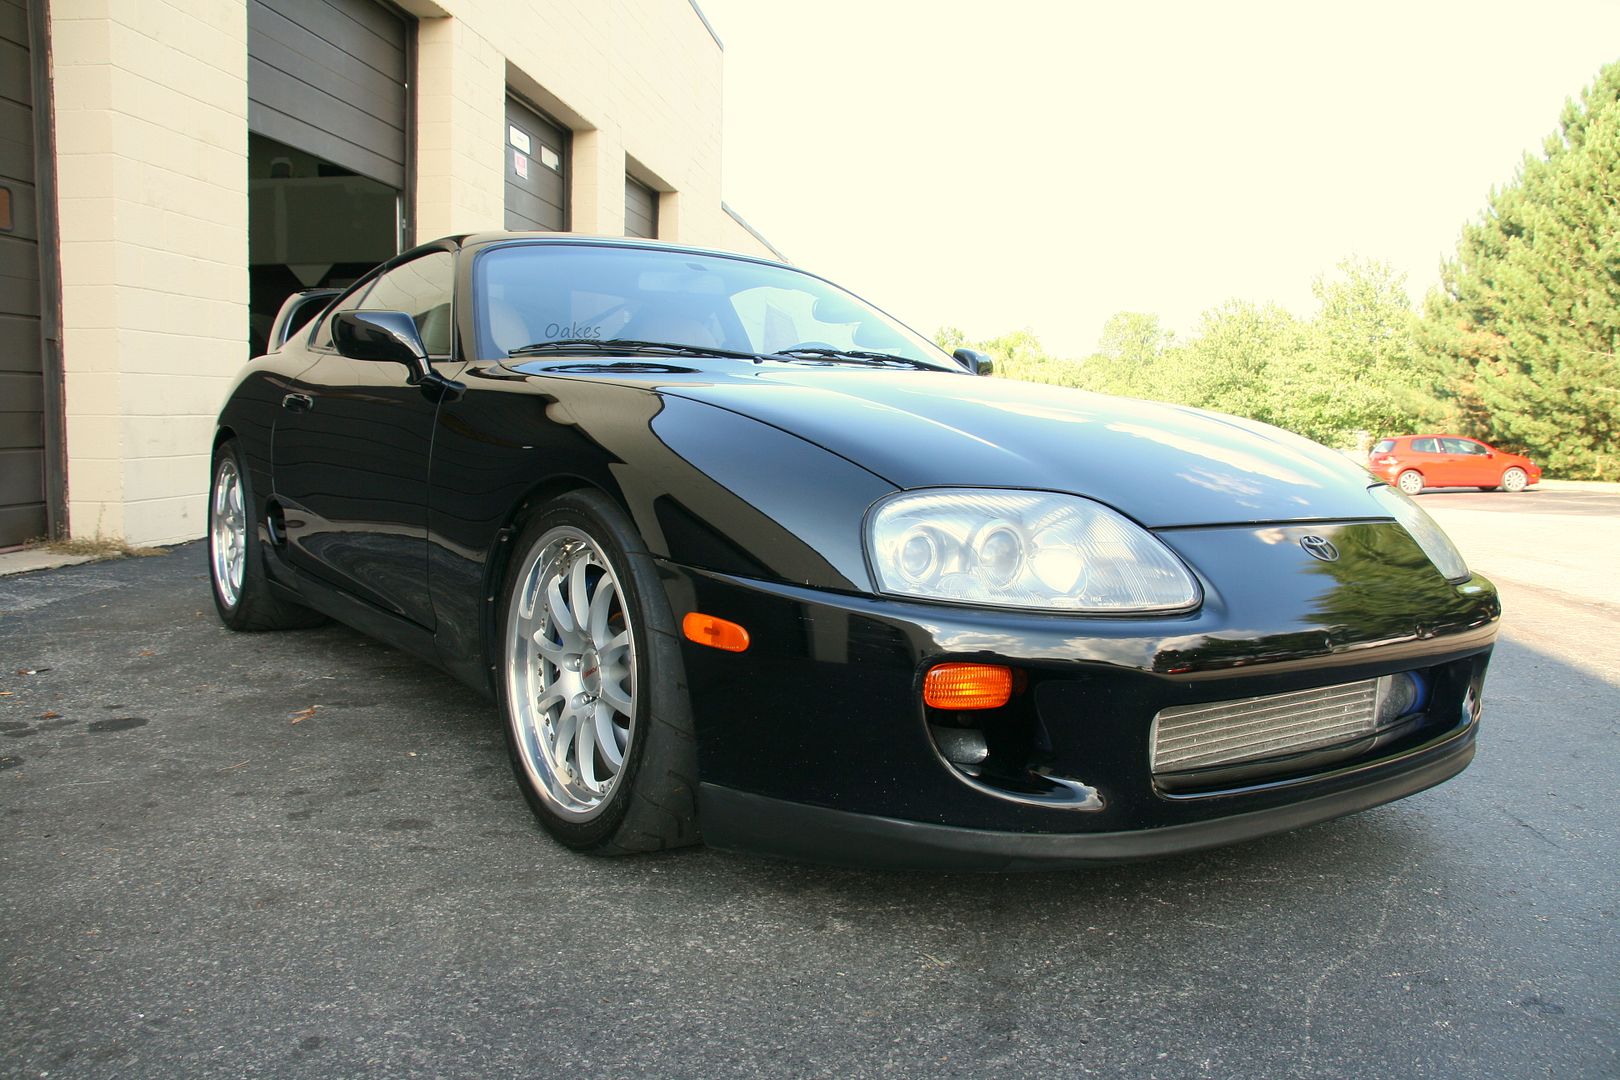
Here are the finished overall profile photos of the vehicle all finished up. All the plastic under body pieces and chin spoiler were deep cleaned and sealed with protectant

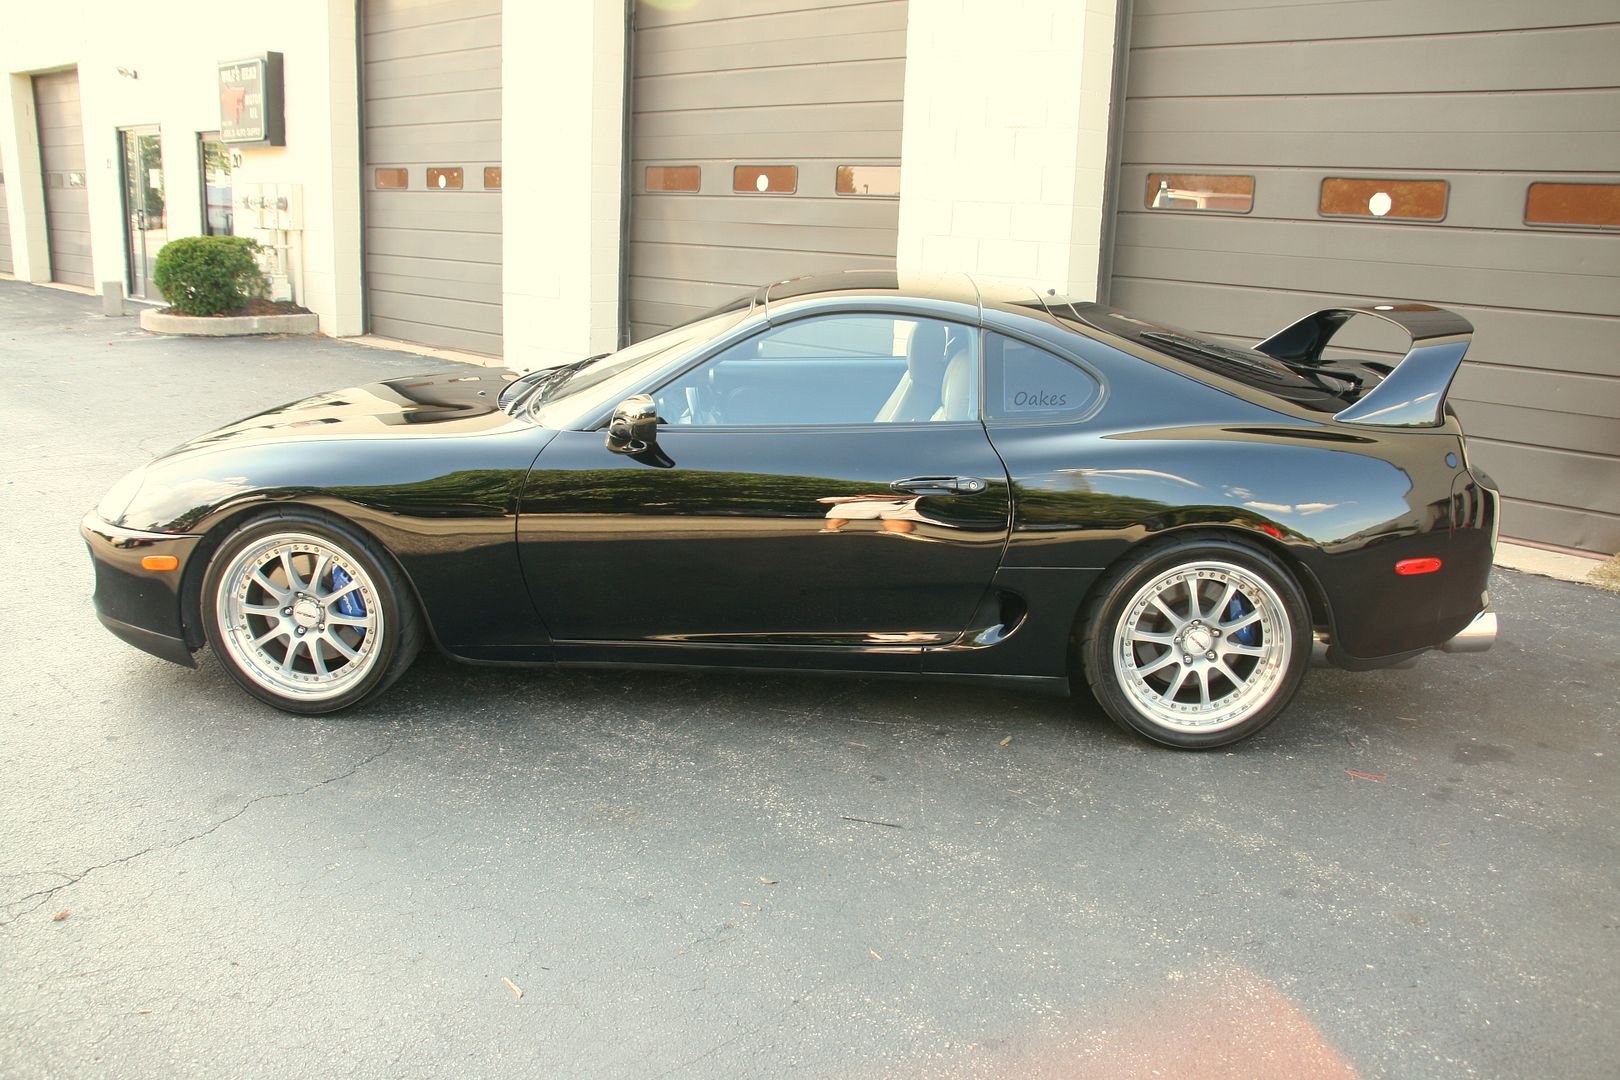
35.
After seeing my work on other Supras as well as various exotics, the owner contacted me to hopefully bring this car back to life, cosmetically. Over the course of nearly 42 hours the beauty came back and she now shines like she's been in a bubble for the last 17 years.
As usual, the pictures do the talking here. From the full correction to the polishing of it's Forgeline wheels, I'll start it off with how she arrived!
As you can see, clearly has seen it's use and the elements, started off with the wheel polishing to bring the luster back to the polished lips. Here's how the looked before
5.
After a few hours of hand polishing and finishing
10.
After the wheels were wrapped up, the body was all masked off, headlights were polished and ceramic coated, as well as the wing removed after it was polished and sealed.
As you can see, the wing had its fair shair of dirt and debris piled under, but otherwise no rust of corrosion which is always a plus! The condition of the paint however was less than desirable...
15.
Black, White, and Red Supras were single stage paint, the metallic colors were more commonly a base/clear. Being a single stage, the car is much more subject to oxidation and sun damage, as well as being softer to marring and swirling.
After approximately 400 paint readings throughout the vehicle ranging anywhere from 75 microns to 400 microns in the repainted sections. I was going to have to change my process in each section so as to not be more aggressive than I needed to be. This is essential with any correction, more so with single stage cars as you can burn through it MUCH easier than a base/clear.
Once I performed my test spots and had my plan of attack lined up, I set up a few 50/50 shots to show the true difference with as minimal paint loss as possible, largest micron difference after correction was three microns removed. First on the fender...
Next on the drivers side door, which was still original paint
20.
As you can see, the difference are rather dramatic and swirl/hologram free. Pulled the car outside from some finished sun snaps to really show the paints new condition!
25.
I of course made an effort to grab some photos of the gloss and depth of the paint in comparison to when it arrived
30.
Here are the finished overall profile photos of the vehicle all finished up. All the plastic under body pieces and chin spoiler were deep cleaned and sealed with protectant
35.