massive interior detailing - preparing for his new owner by KC
sorry guys
kindly ignore the post title
the title should read as
massive interior detailing - preparing for his new owner by KC
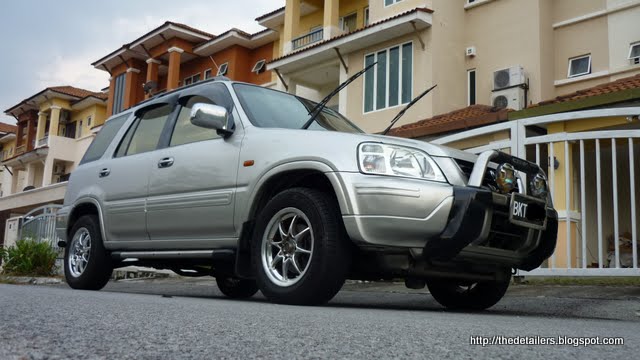
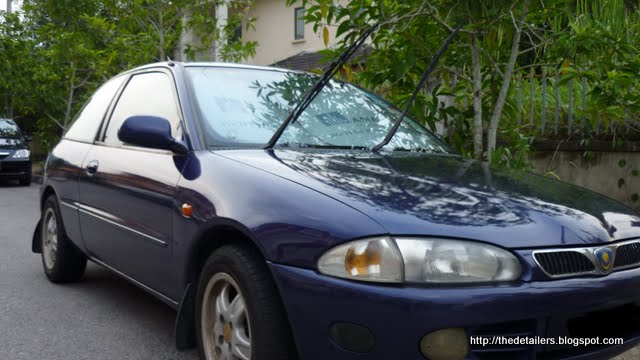
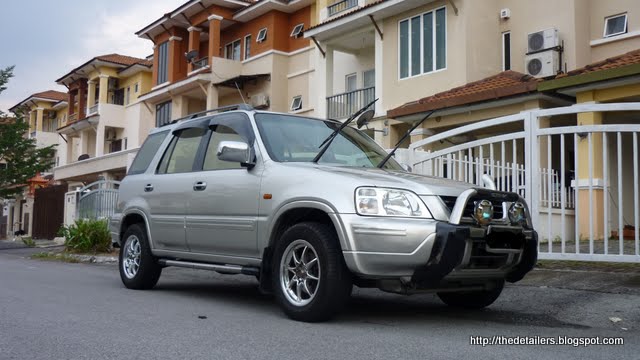
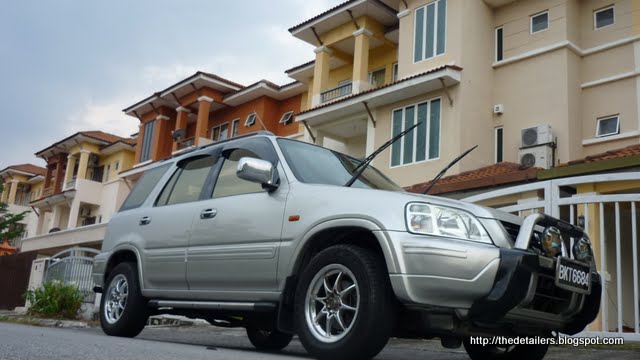
One of my Church friend brought a 2nd hand 1st generation CRV, after seeing my ?dare you to view? thread?
He decided must get his full corrected & detailed only by me?..
Initially I am a bit resisting?..as I just recover from a very severe food poisoning & diarrhea (15 time purging since thurs till fri??sat I did a full day correction extreme make over?.from an intense hot day?where I have so much heat rash & sun burn ??on a merz ?another extreme make over?
It wasn?t easy but a man got to do what a man got to do & I just loves to do it
Here is the process I went thru
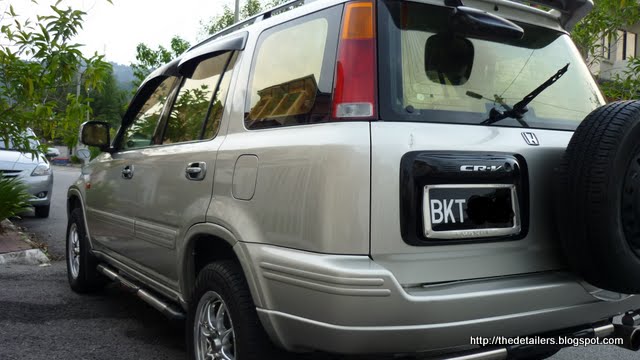
from this
to this
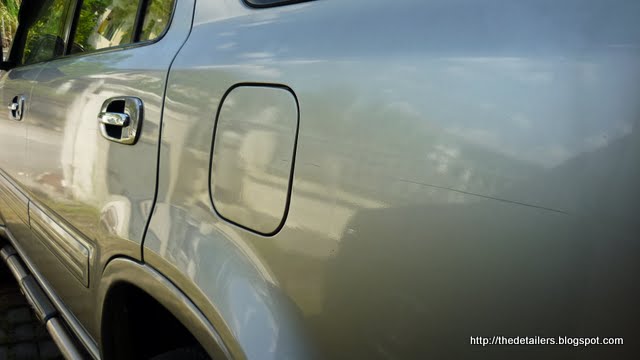
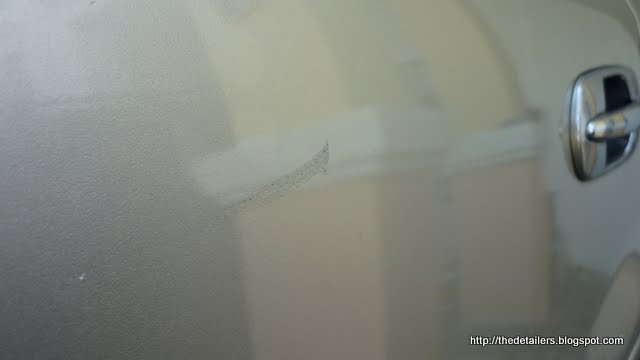
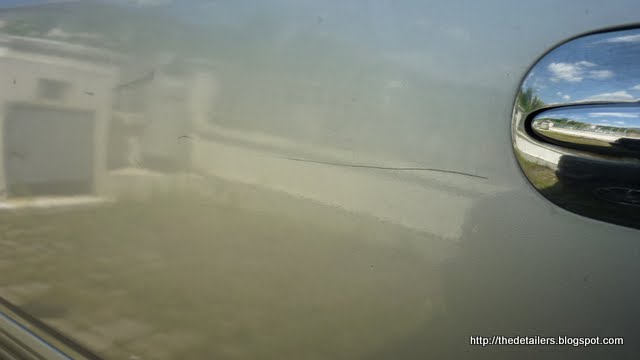
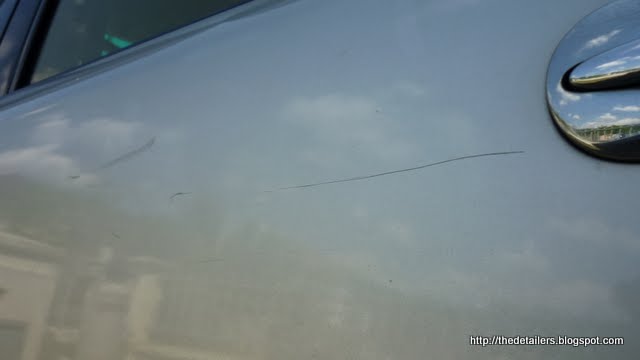
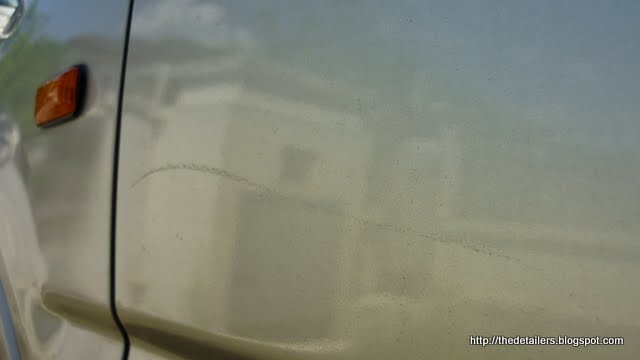
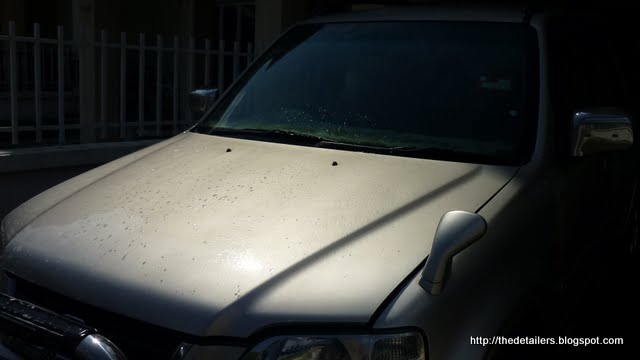
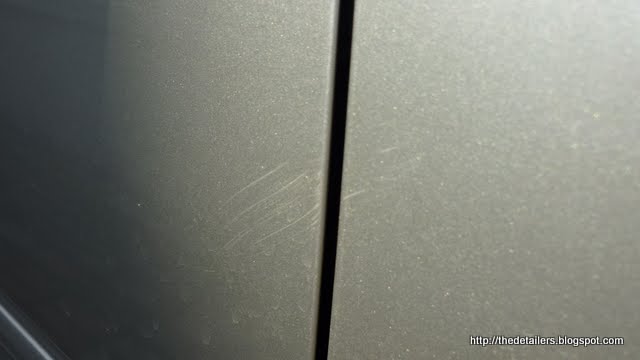
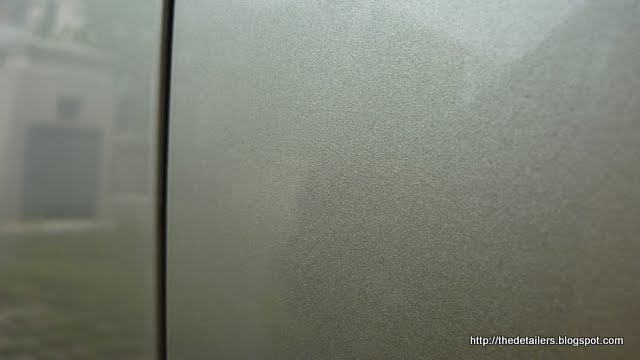
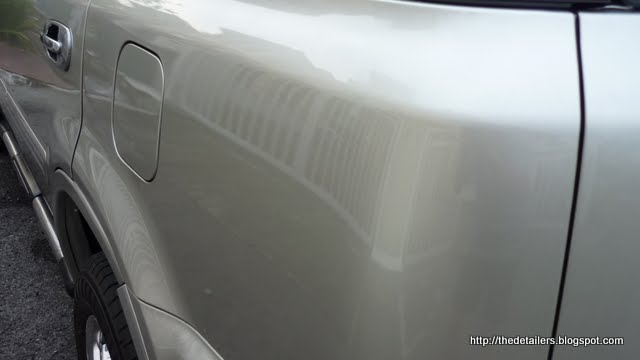
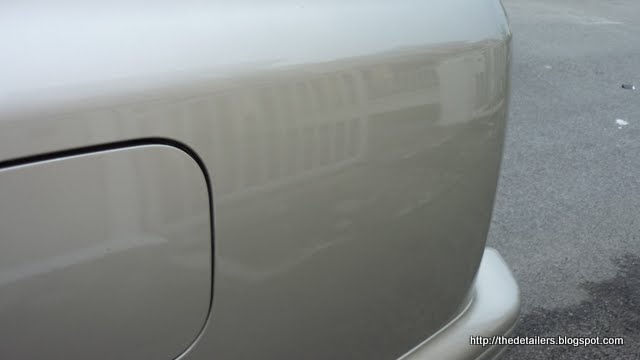
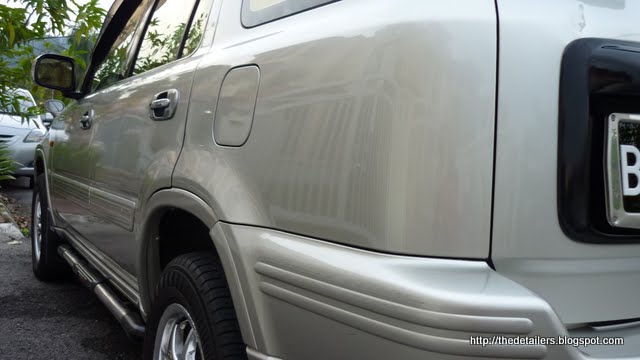
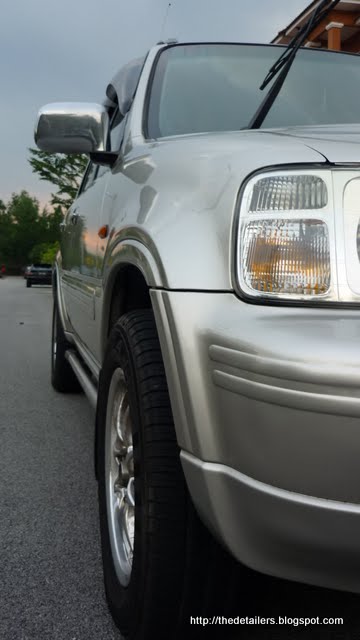
over all pic doesn?t look so bad?but
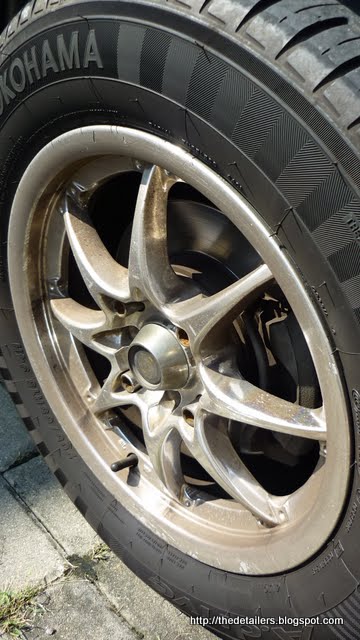
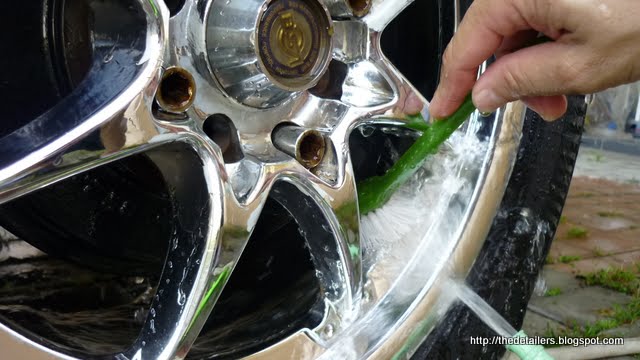
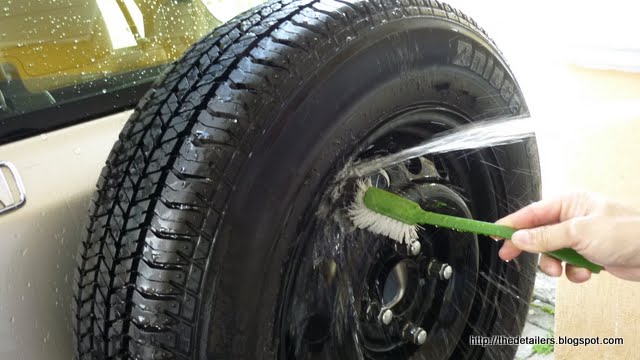
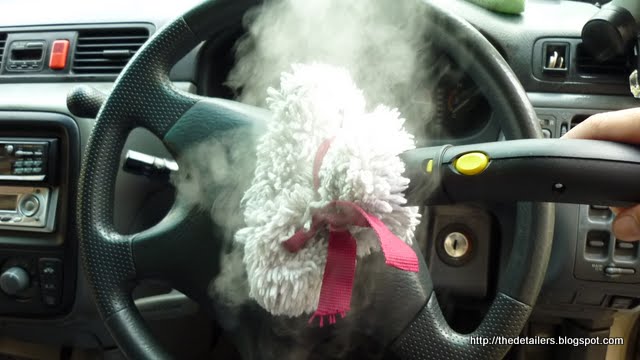
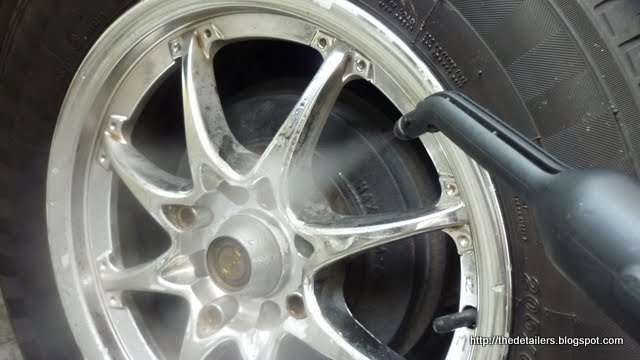
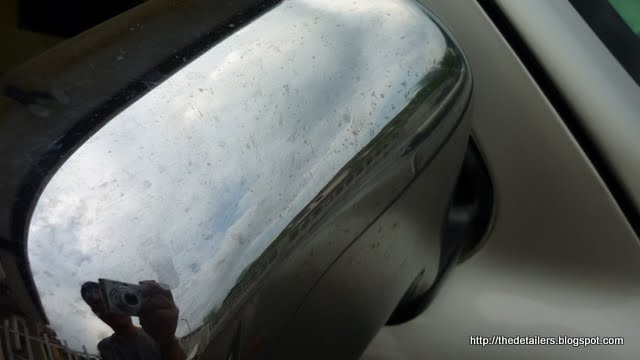
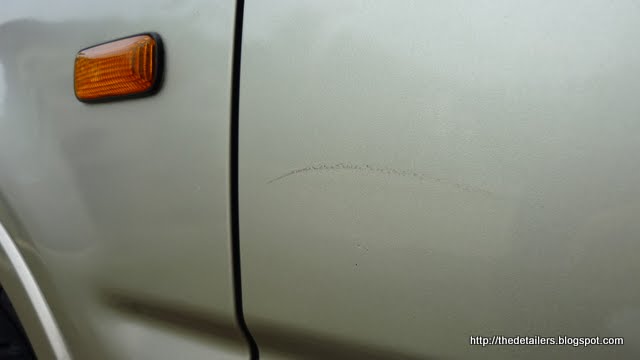
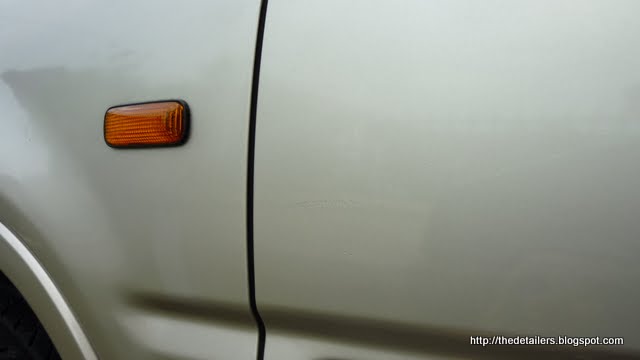
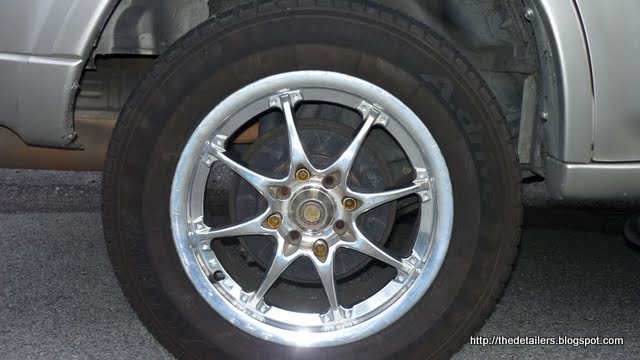
wheel pic before detailing
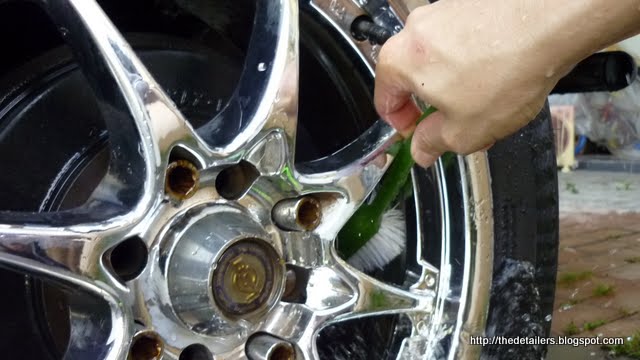
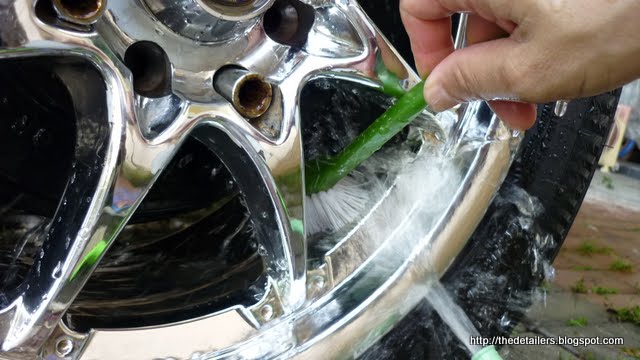
inner brushing
rinsing off
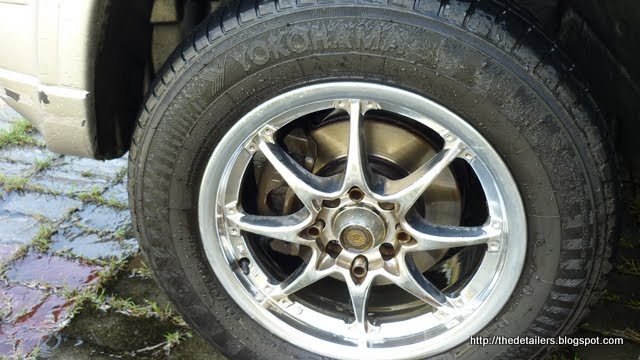
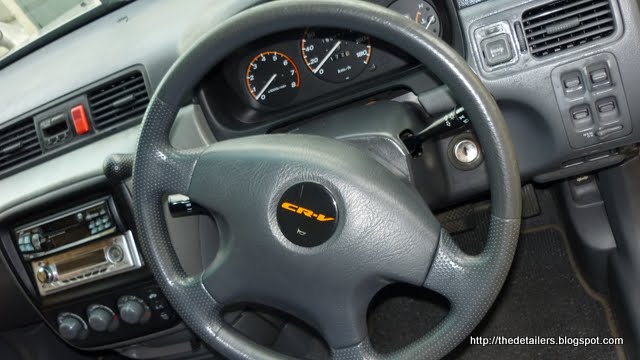
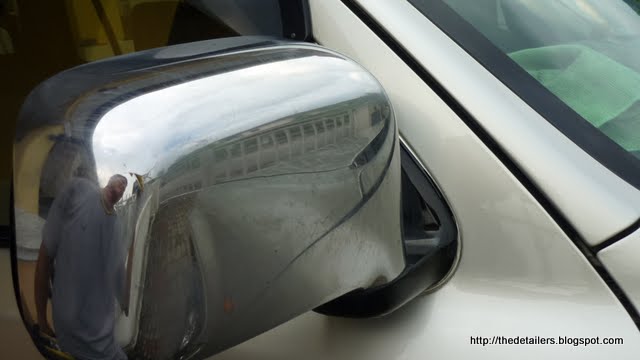
tada a well clean rims
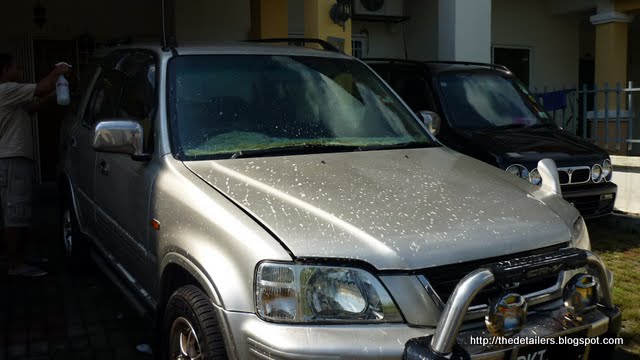
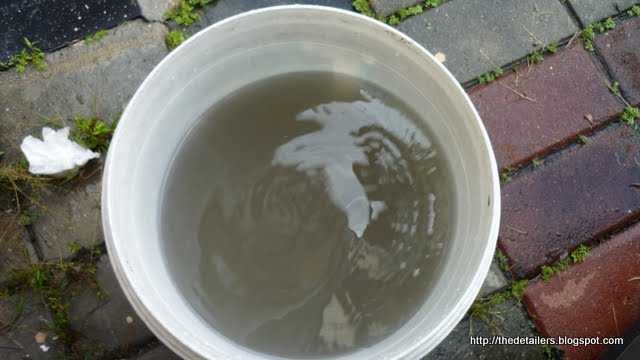
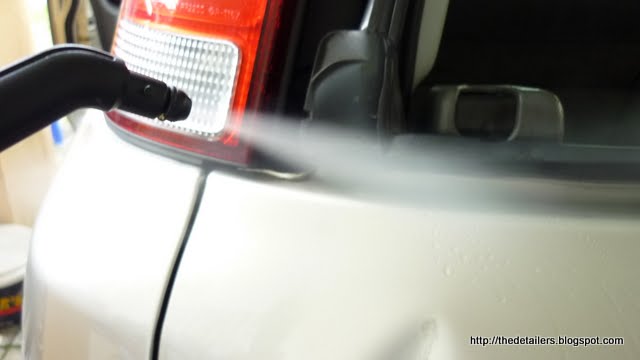
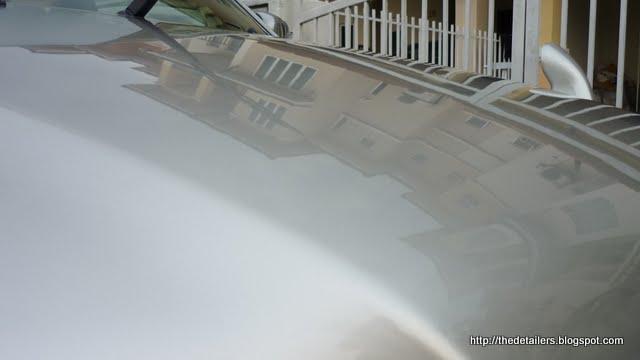
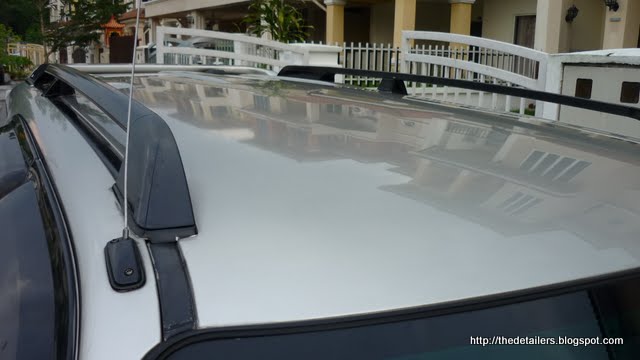
its time to clean this is ride..a thorough cleaning is required to get the contamination
agitation
brushing off..while agitation
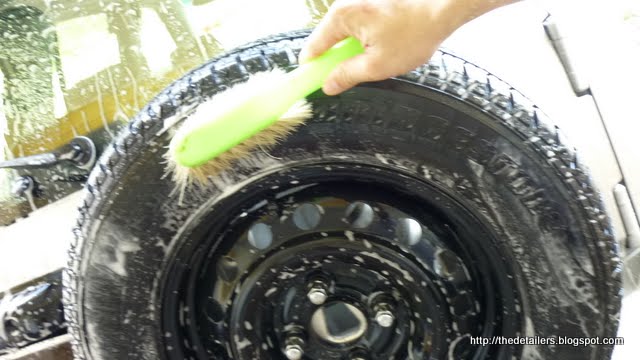
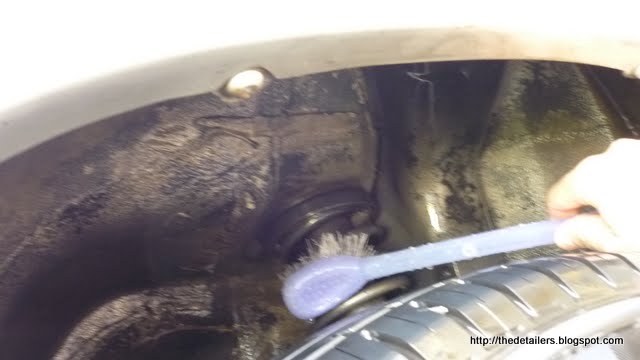
back, spare wheels cleaning
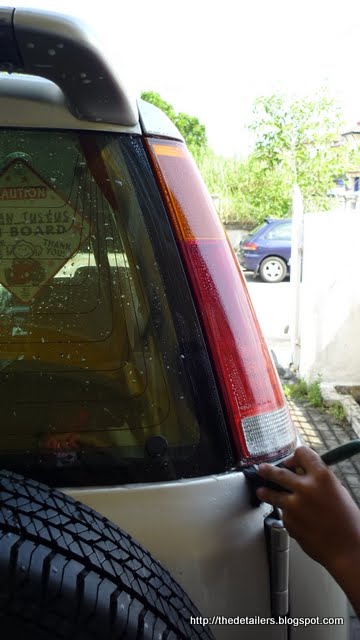
rinsing
more brushing & rinsing
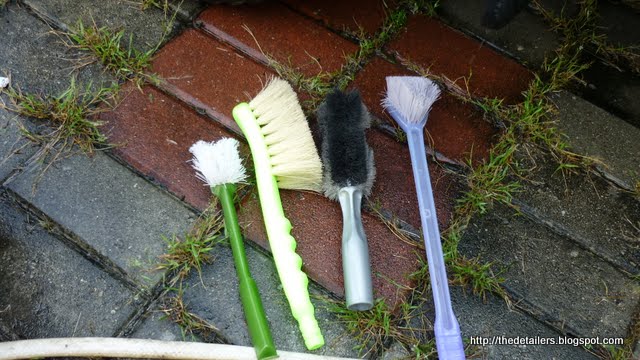
various brushes help me to complete the task well
more brushing & scrubbing
light scrub
pics after rinsing
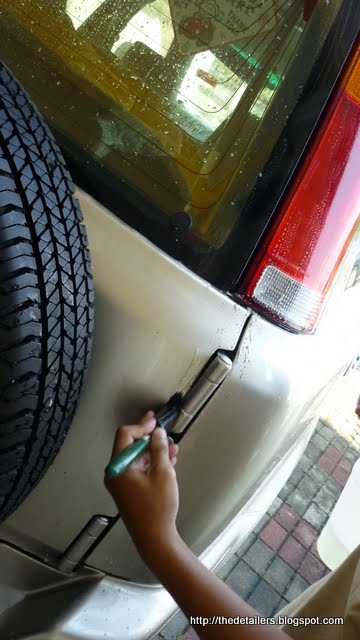
wheel arch scrubbing
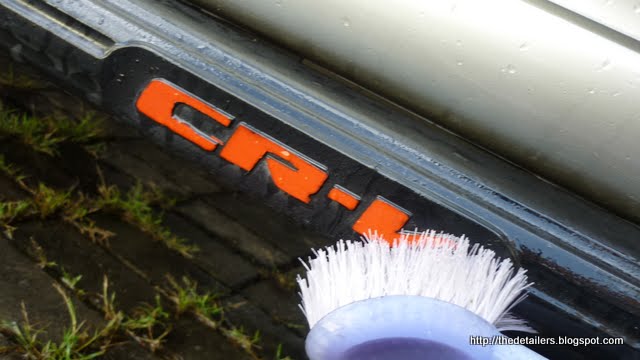
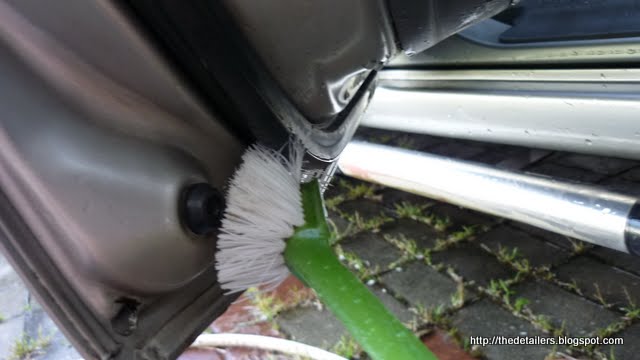
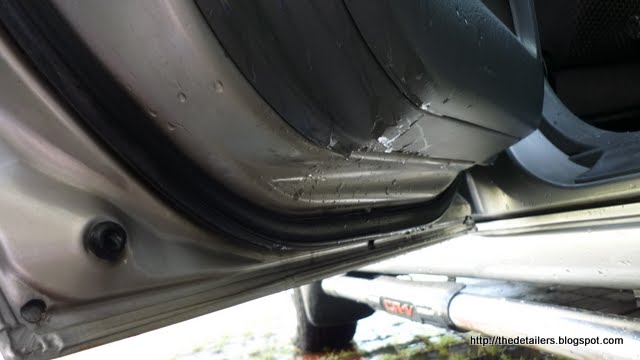
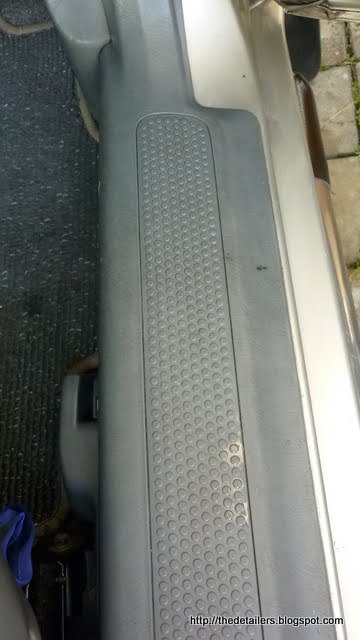
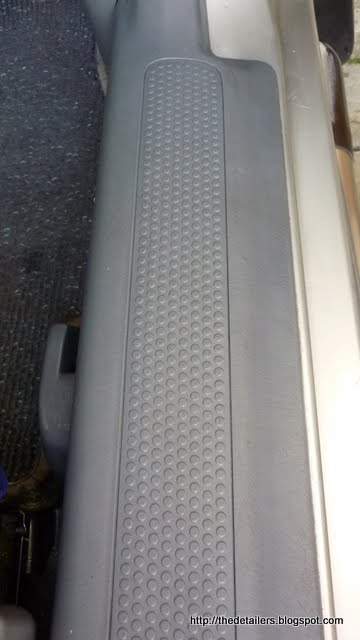
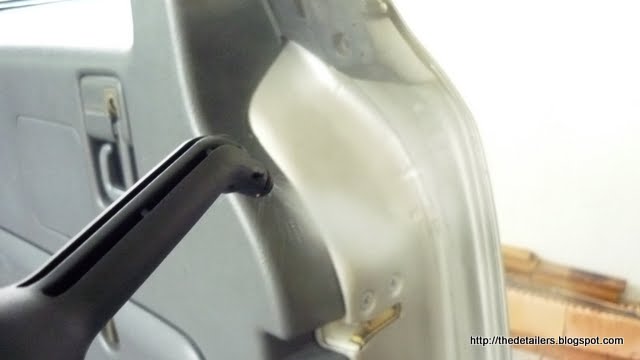
door jams cleaning
+++++++++++++++++++++++++++++++++++++++++++++++++++++++++++++++++
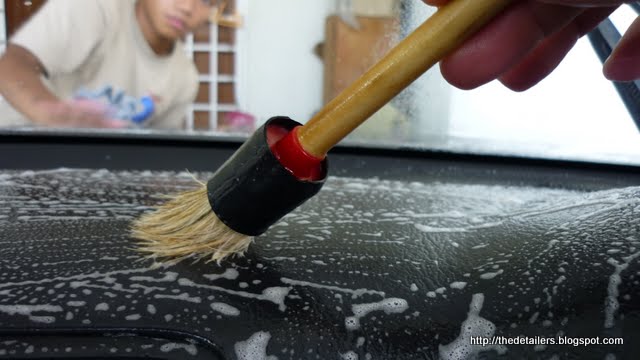
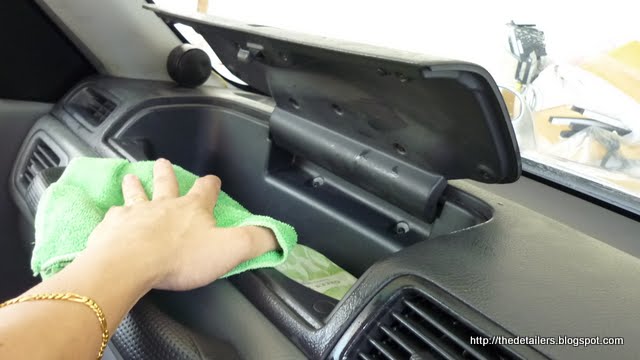
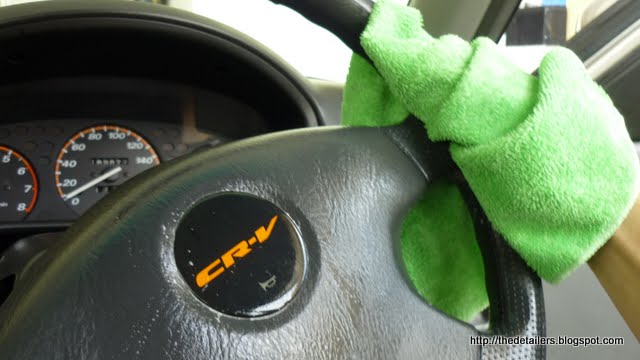
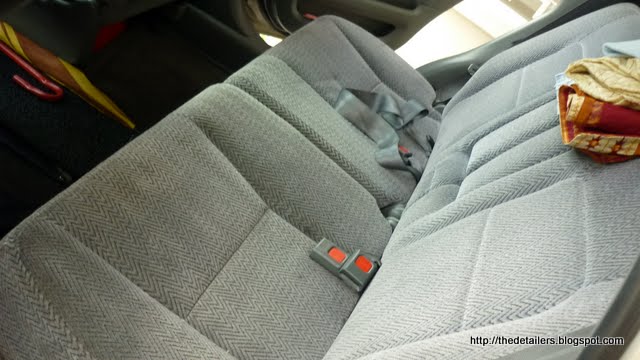
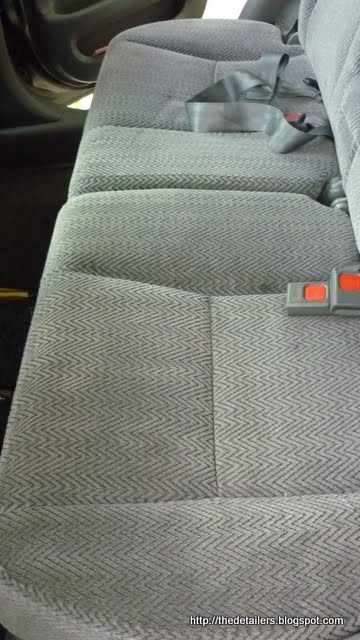
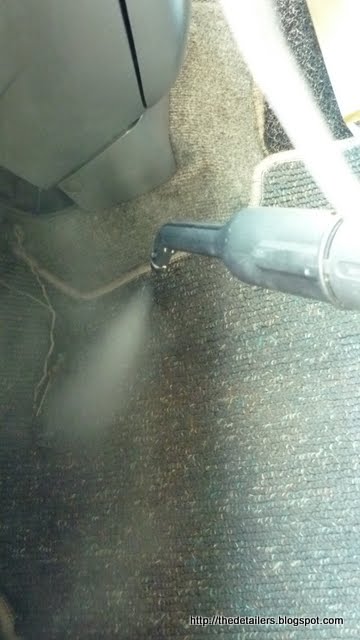
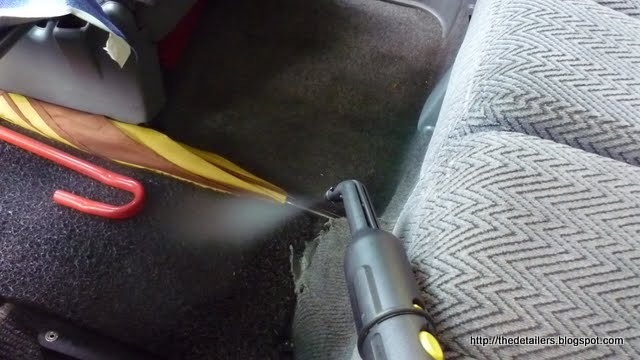
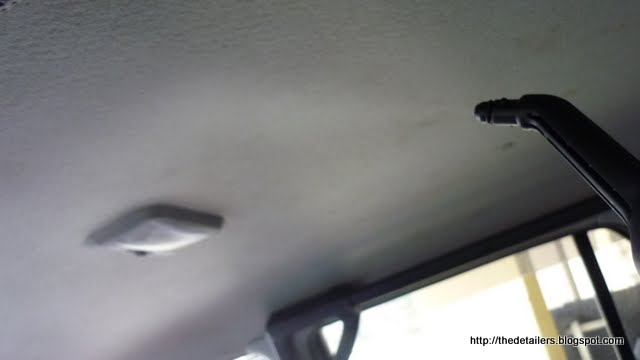
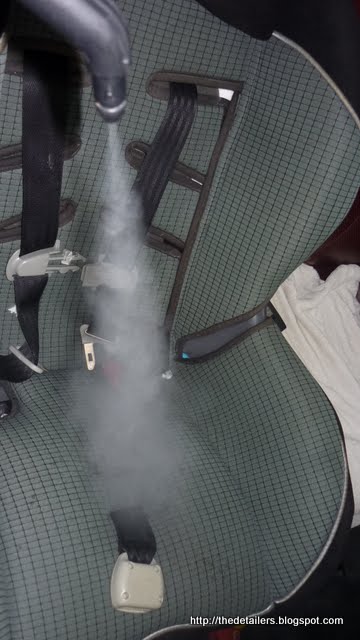
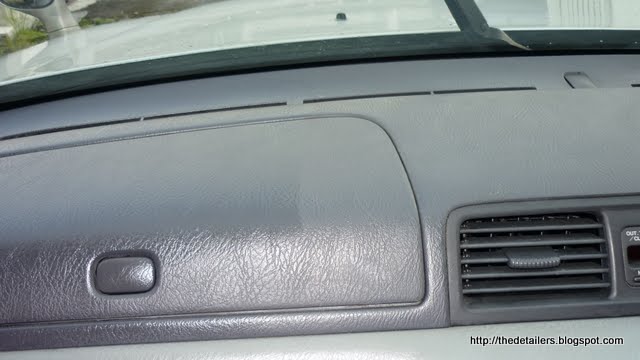
interior cleaning
where I step into another treacherous adventure
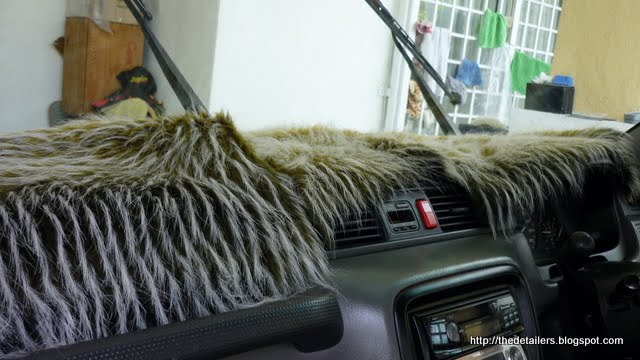
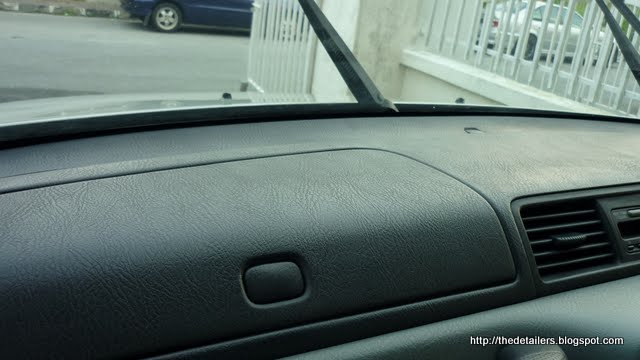
I was wonder why must u put some dog fur on the dash board
so I called my friend & ask?shall I remove it?.yes if you can, initially he too want to remove but after
seeing the double sided , he decided?to call it off?& I open another can of worms
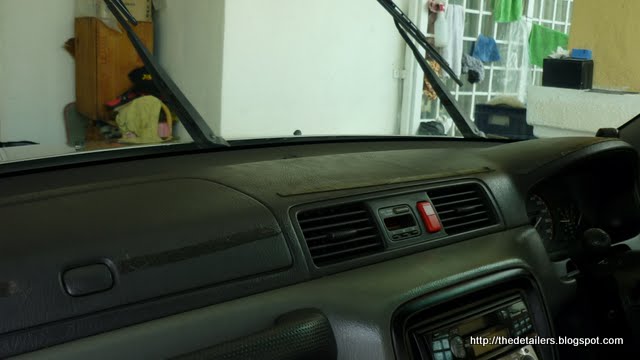
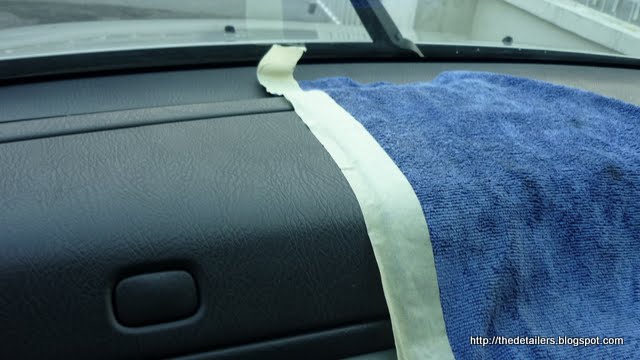
tada ?.just to remove this double sided tape took me almost 40 minutes
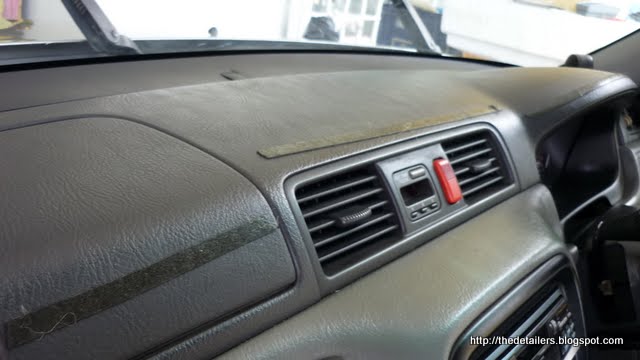
some parts of the vinyl dash look smeared?. Effect from the double sided tape & heat
+++++++++++++++++++++++++++++++++++++++++++++++++++++++++++++++++
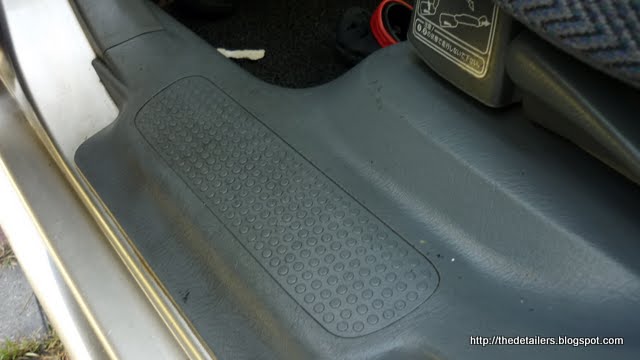
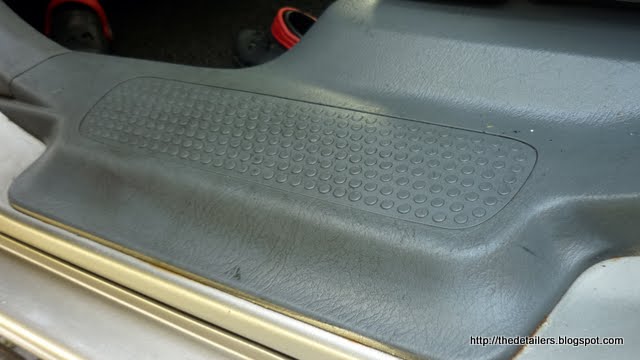
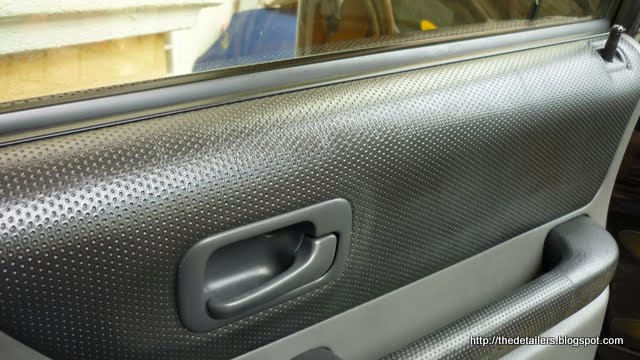
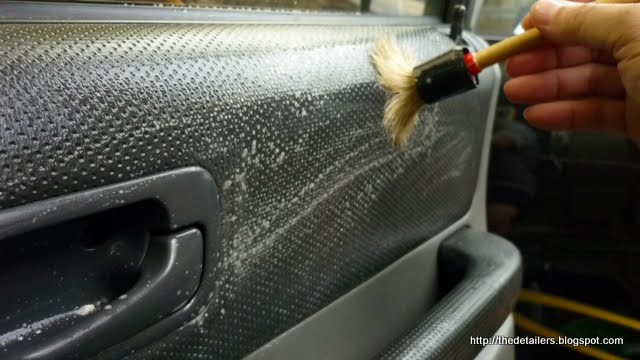
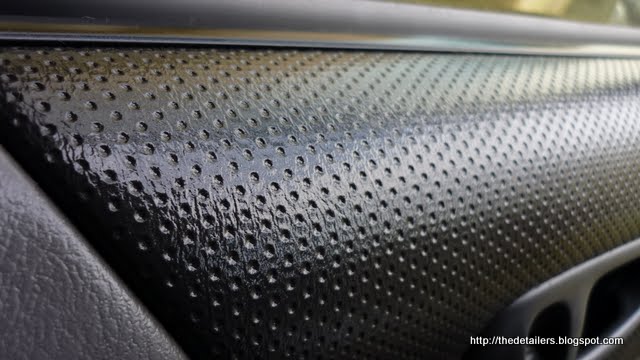
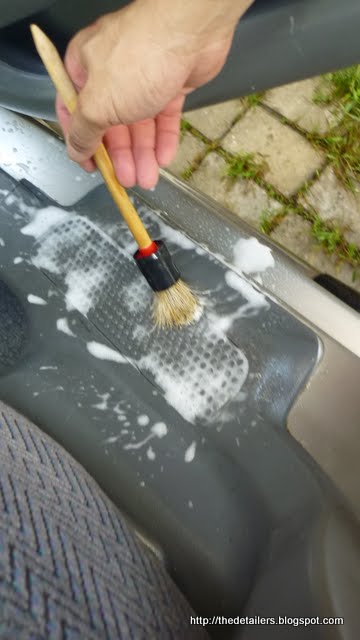
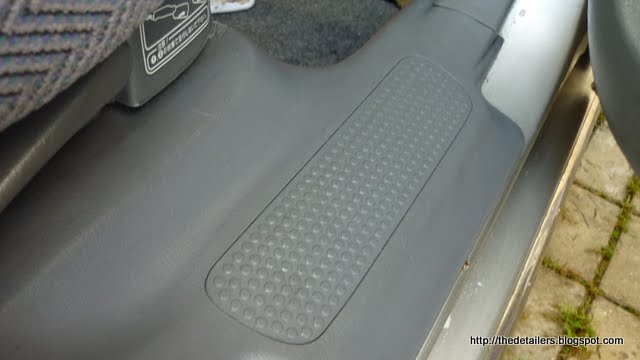
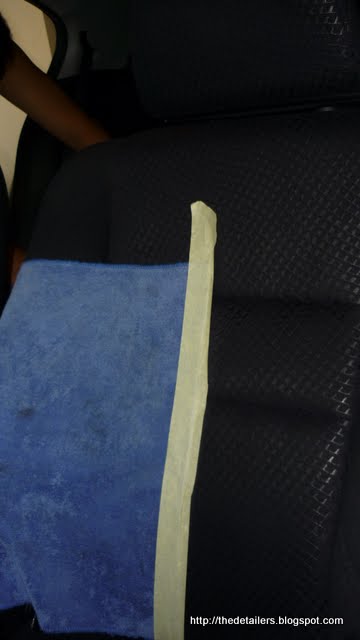
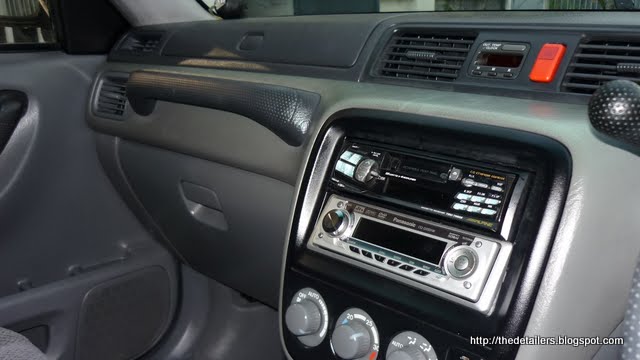
Door trims massive cleaning
Look glossy?oily?????...& crazy
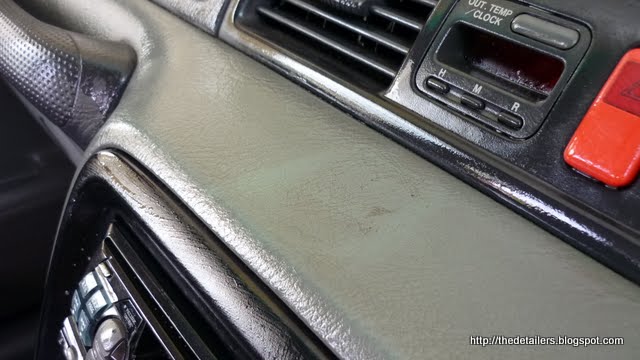
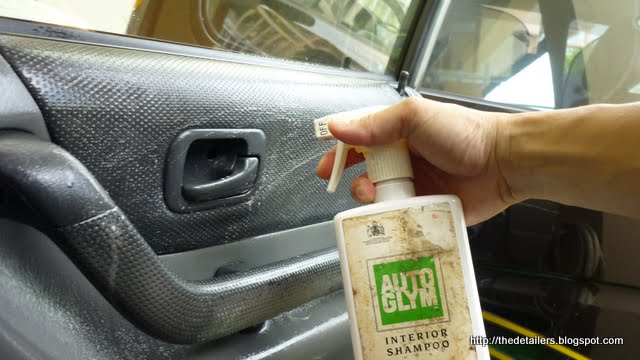
My friend thought of asking the car wash to help his to detail interior?.& he paid RM 10?wow that?s is more than washing the car?so they did what they do??
Applying the most glossy look dressing?..tire shines??on interior??????...well good effect but ????BUT is this the right thing to do here
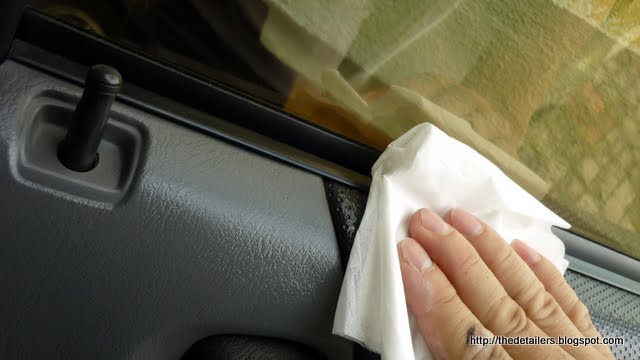
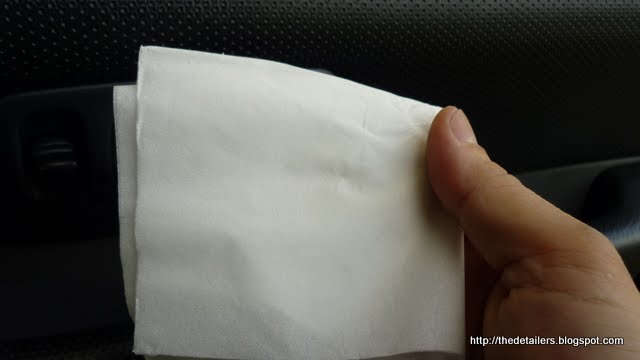
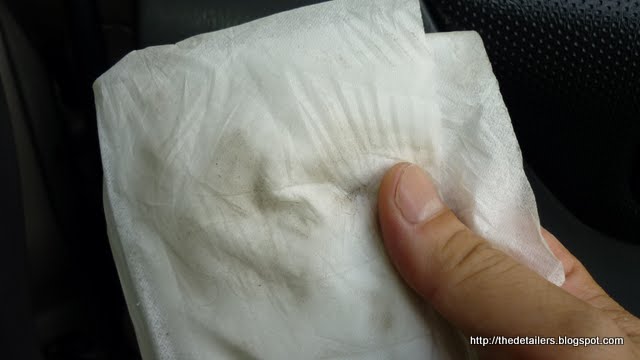
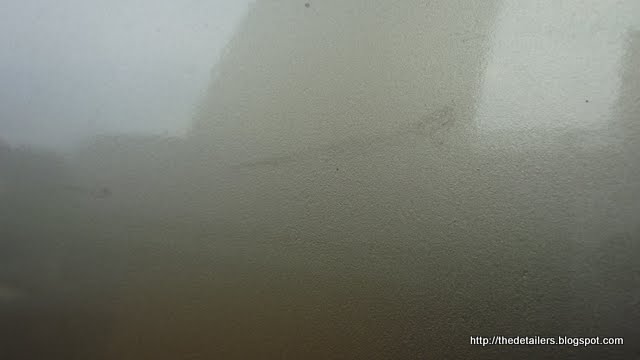
Wipe test ?.tissue paper
before
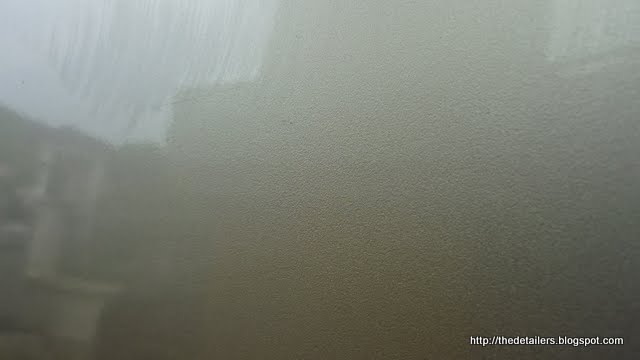
see it for yourself
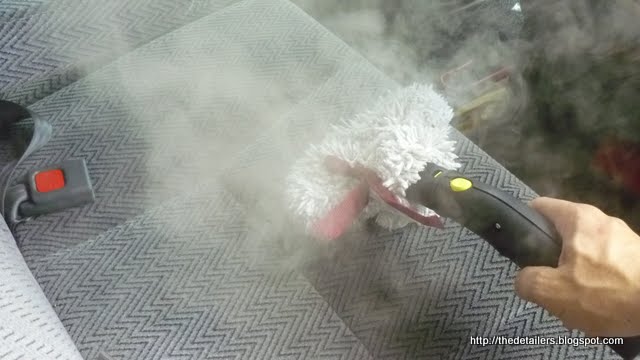
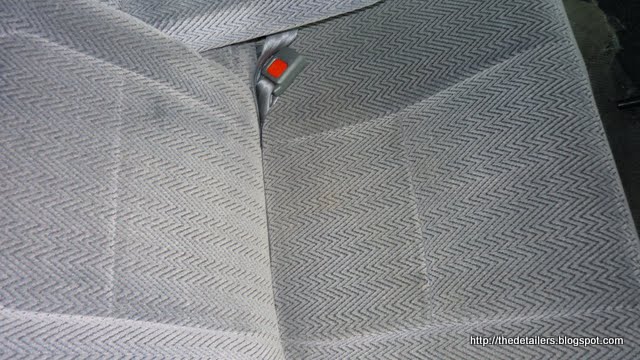
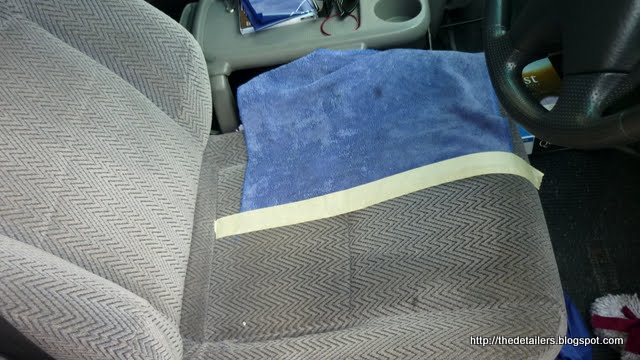
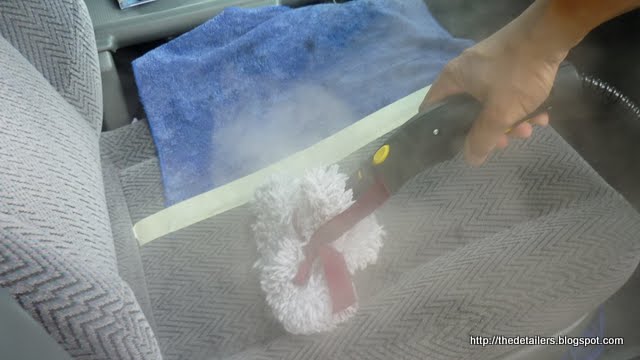
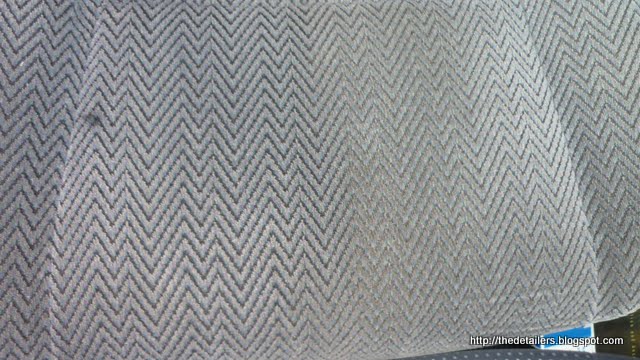
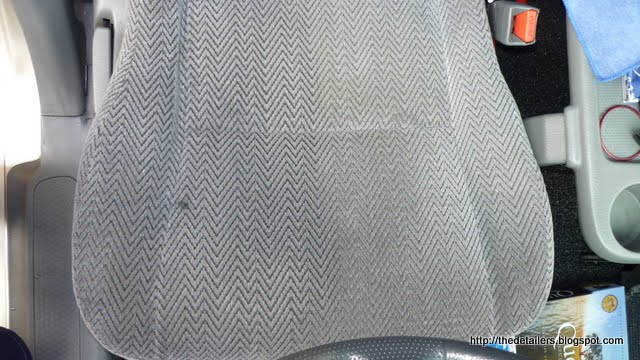
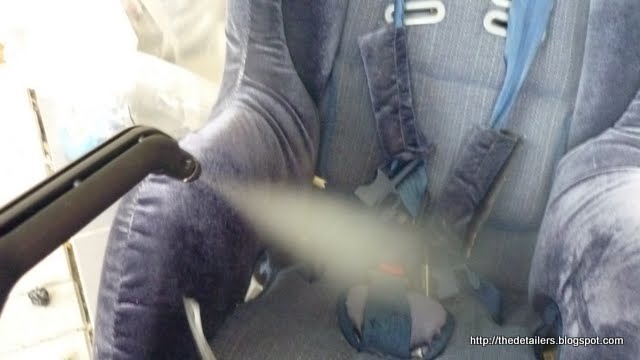
Moving on to the interior with the help of Johson Swiss carpet/fabric cleaner product?PH neutral
tada
imagine you are? wearing a long white sleeves ?.what will be are he free decorative
cleaning begin ? took me another 2 hours to remove
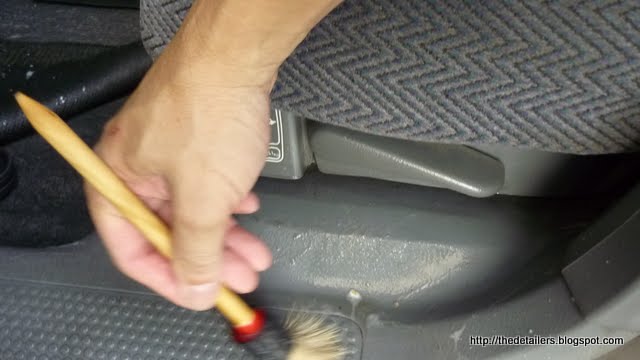
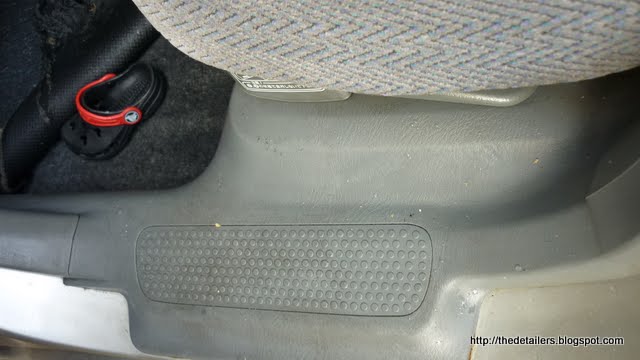
OSREN Multi Purpose Cleaner agitation & brushing off
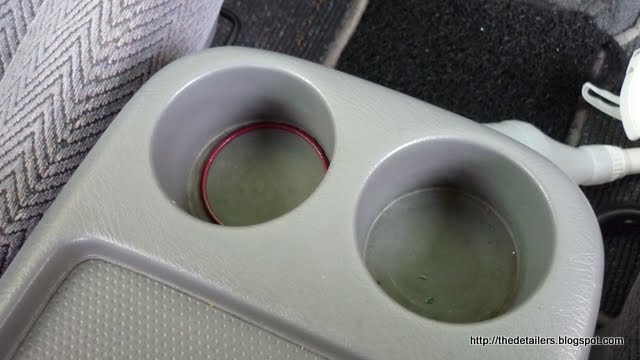
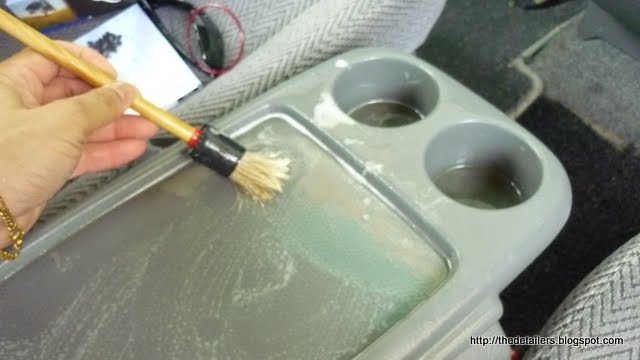
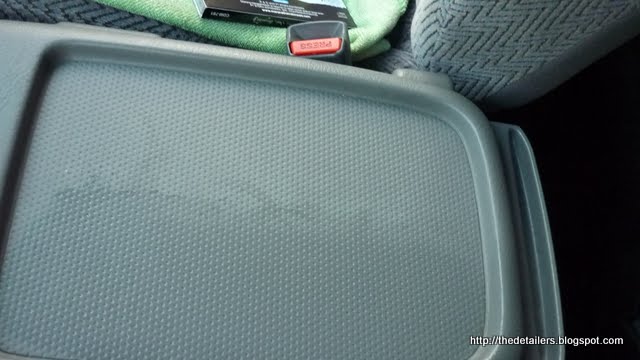
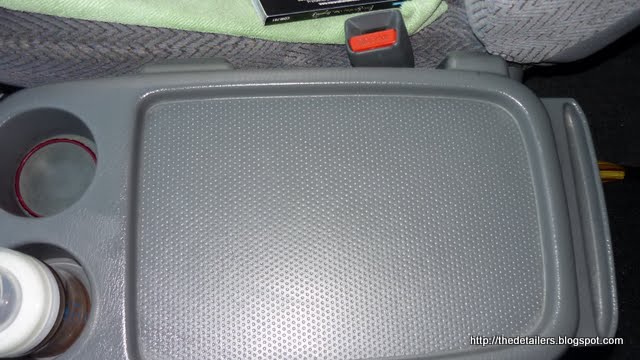
moving to the centre console & cup holder area
the console box which was hidden beneath the dog fur?.massive cleaning continues
brushing off those slimmy & oily sticky wheels dressing on the wheels
they applied at the wrong wheels
")


") If I were doing something like fixing a paint chip, these two products would come in hand to, so there's that justification.
If I were doing something like fixing a paint chip, these two products would come in hand to, so there's that justification.