Flannigan
New member
This past week we had another Tesla Model S come through the garage, and I must admit, I could really get used to working on these cars often! This one was booked for a full paint correction and application of Opti-Coat Pro for long lasting protection.
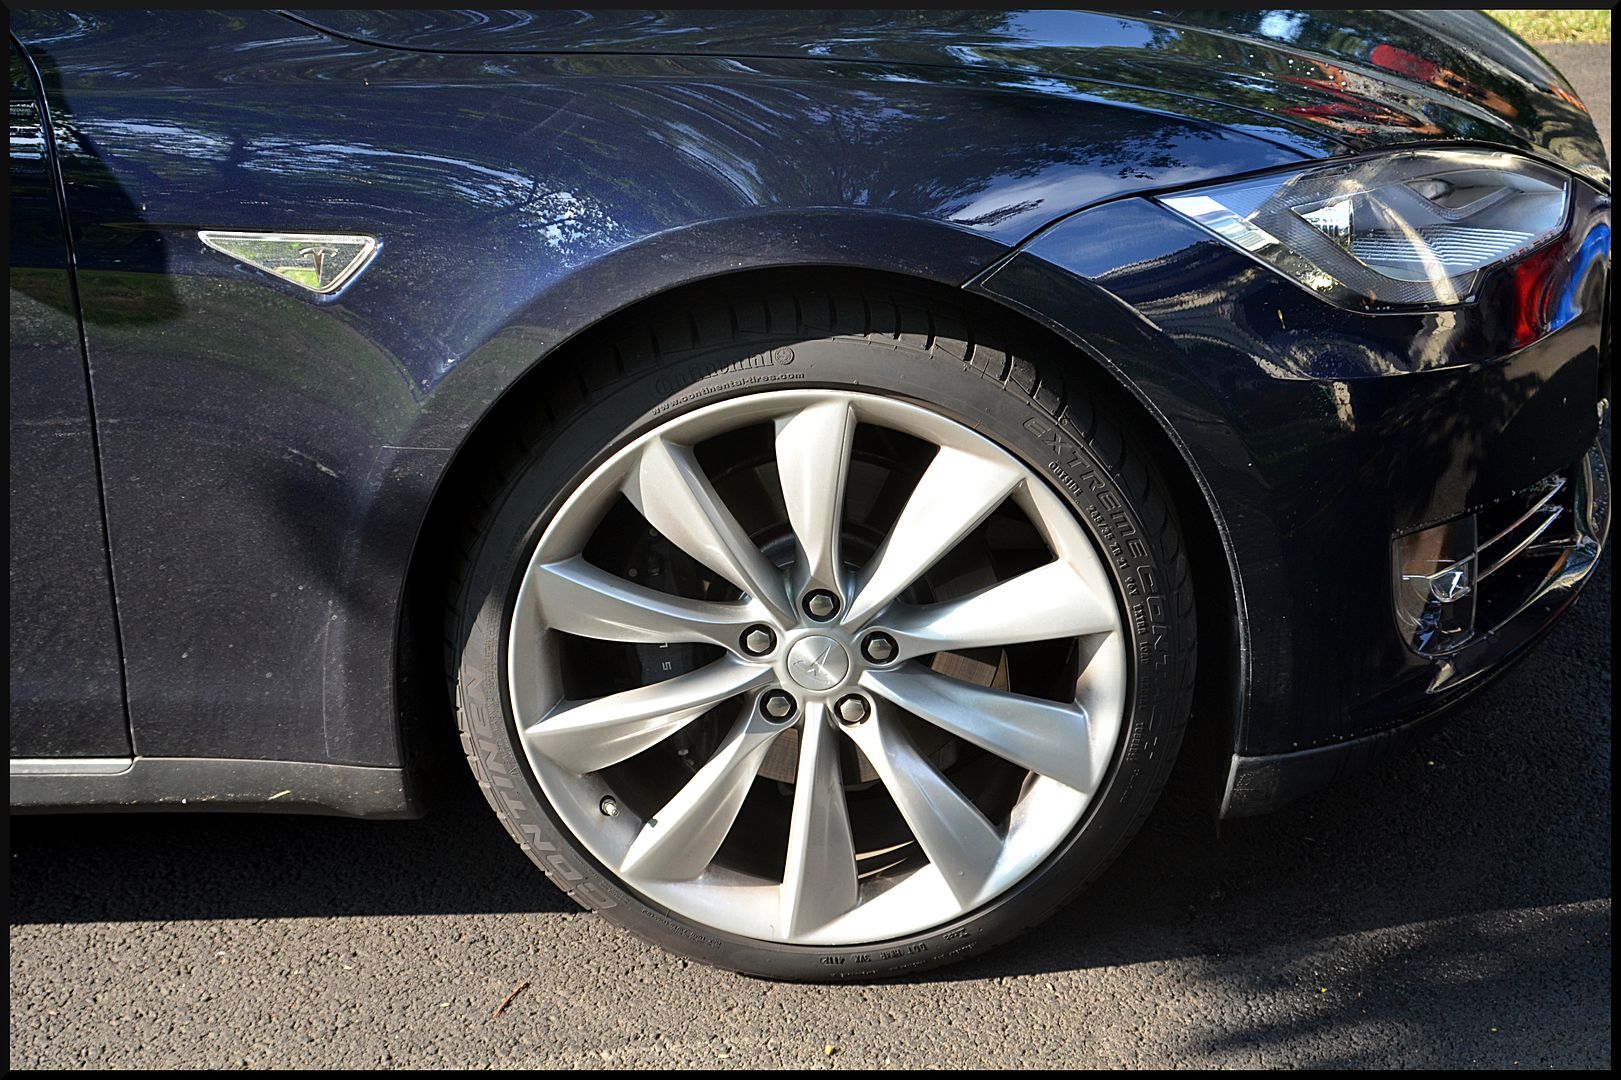
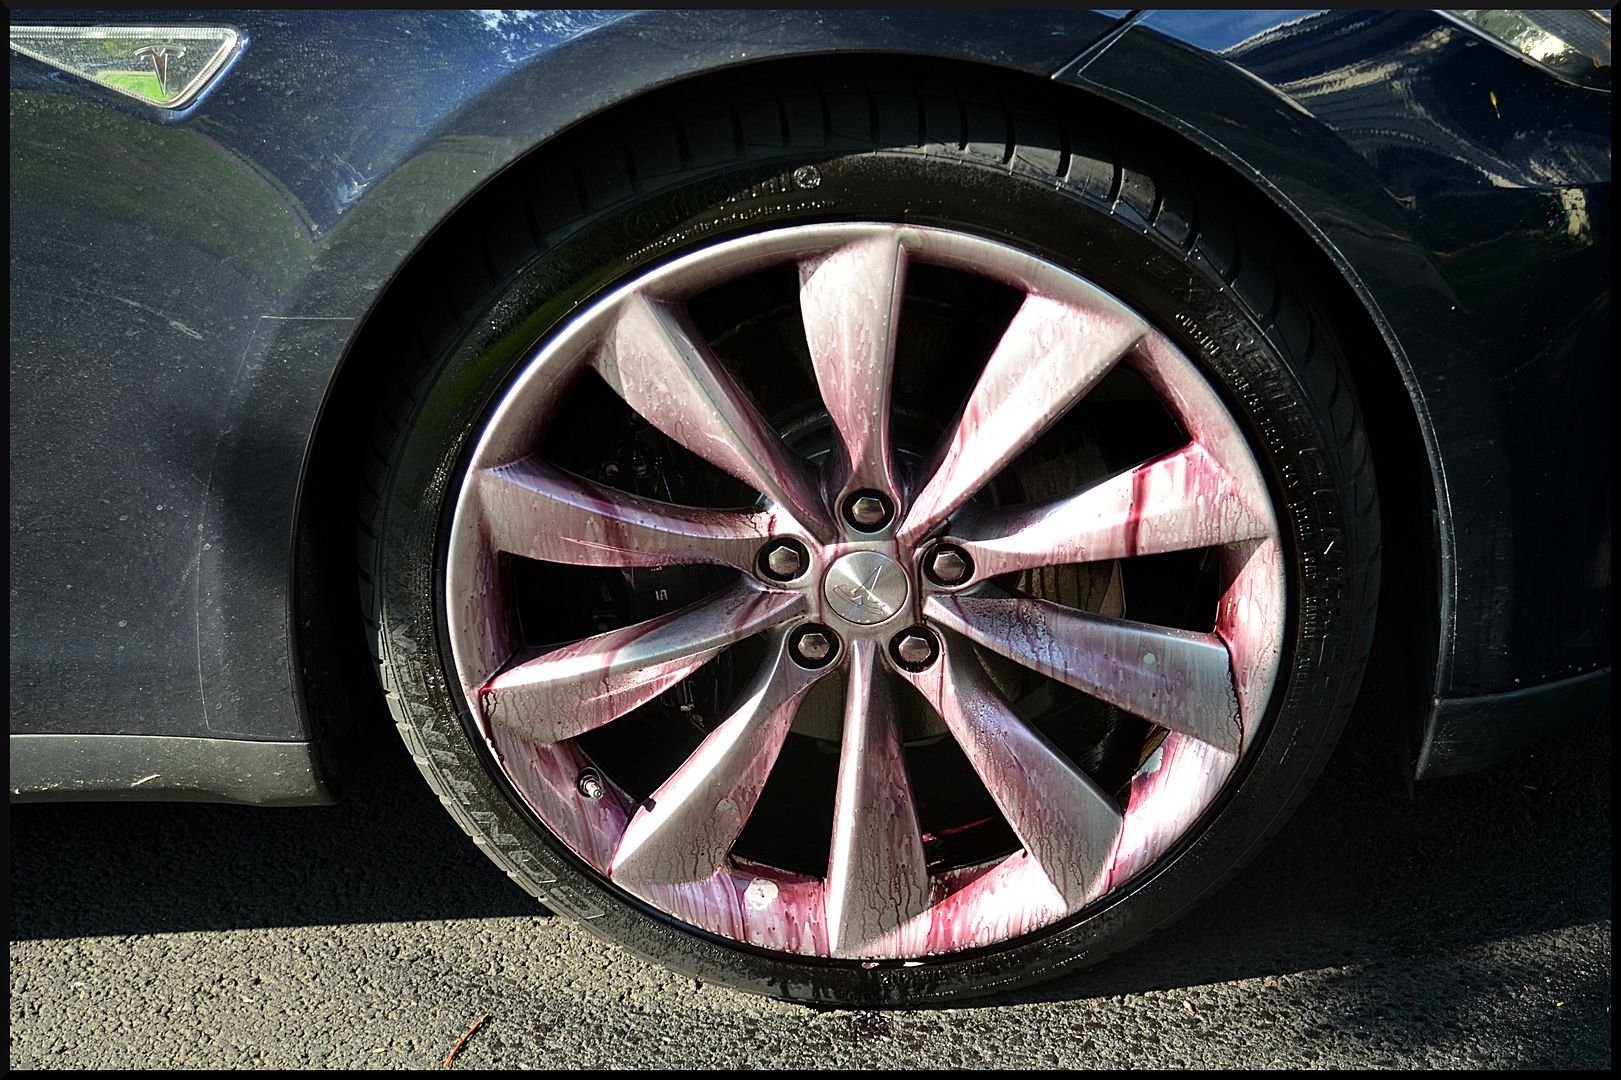
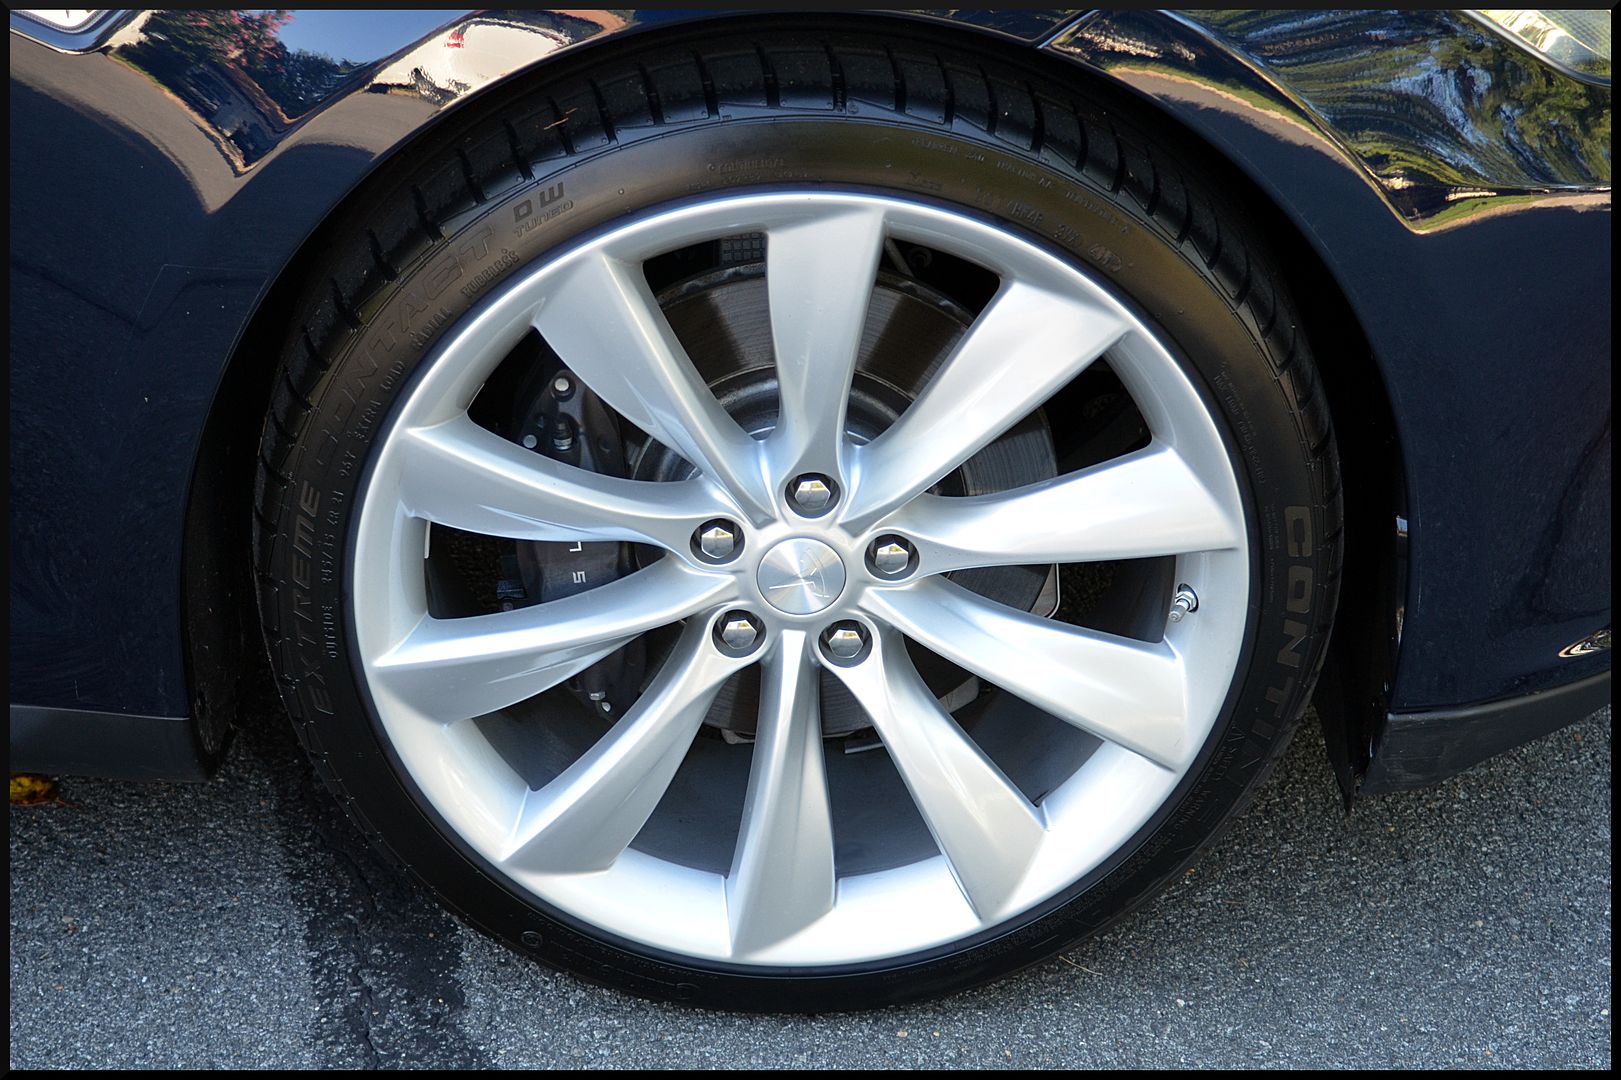
We started with the wheels. Iron X was used to clean the wheels along with various Wheel Woolie brushes. APC+ was used on the tires and wheel wells, the tires were dressed with CarPro PERL, and the wheel wells were dressed with Hyperdressing.
Before:
During:

After:
After the wheels were addressed we started with the rest of the exterior. It was washed with CG Mr. Pink, clayed with a CarPro clay block, and then Iron X was used to take care of any left over iron contaminants.
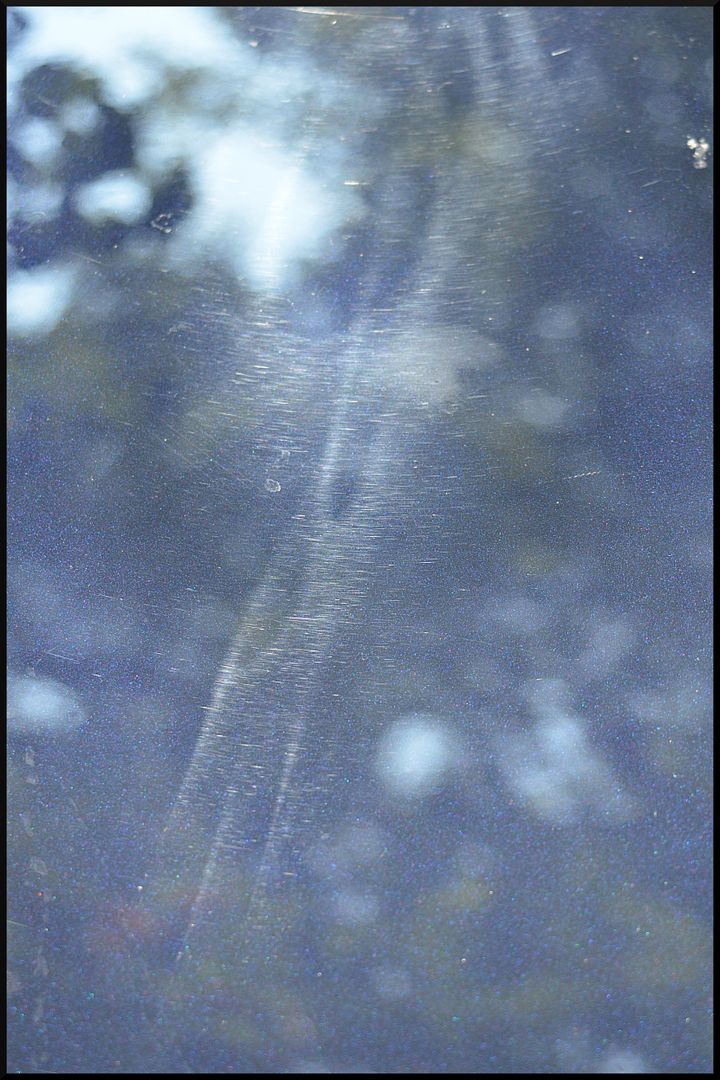
Now we could see the true condition of the paint, and it wasn't pretty. It seems this vehicle was "detailed" once before, and they didn't quite have a grasp on how to properly use a rotary buffer.
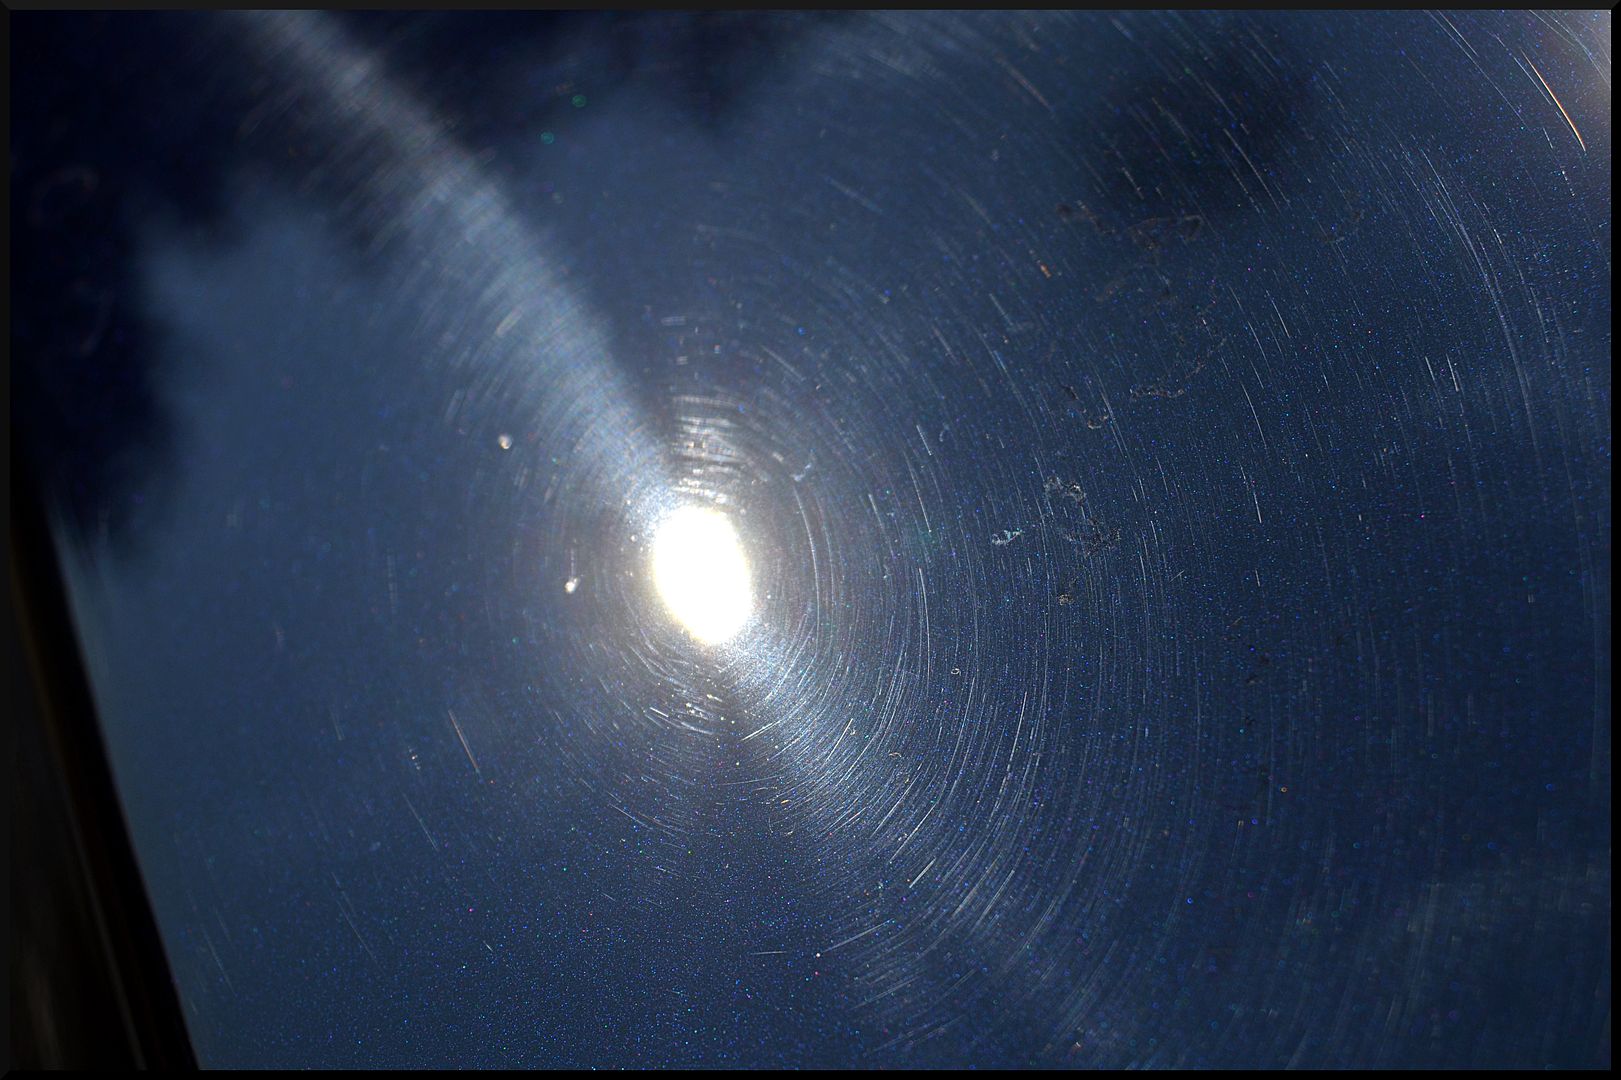
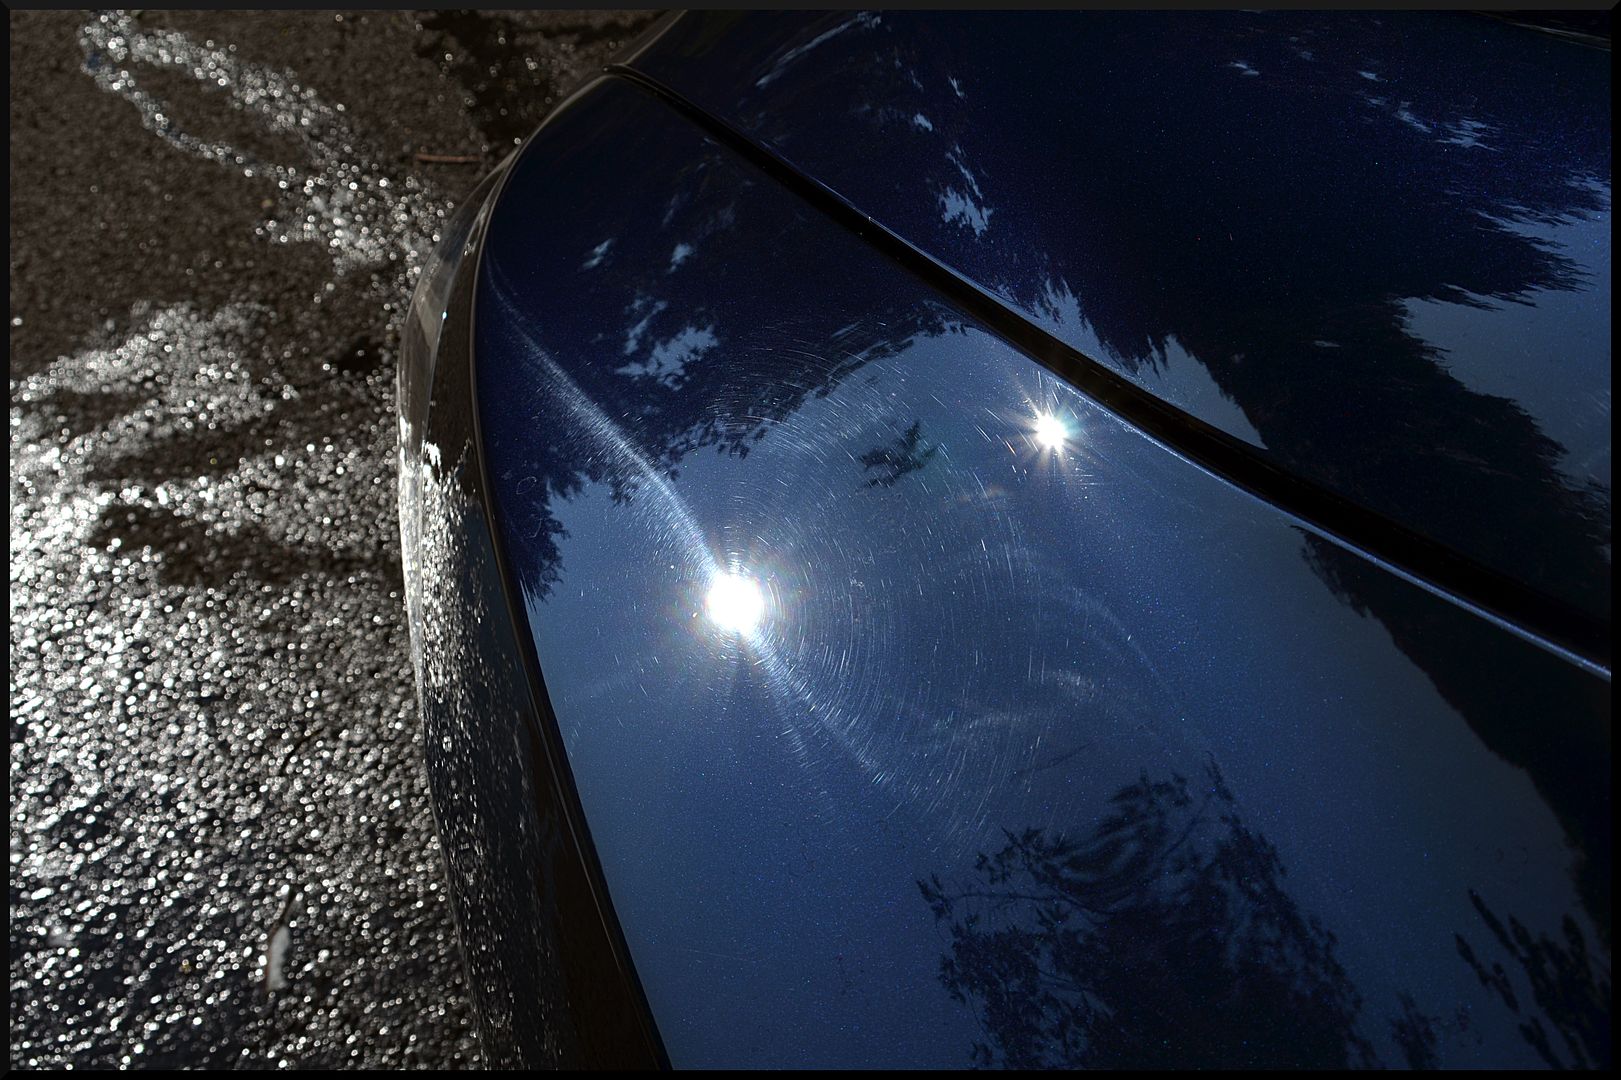
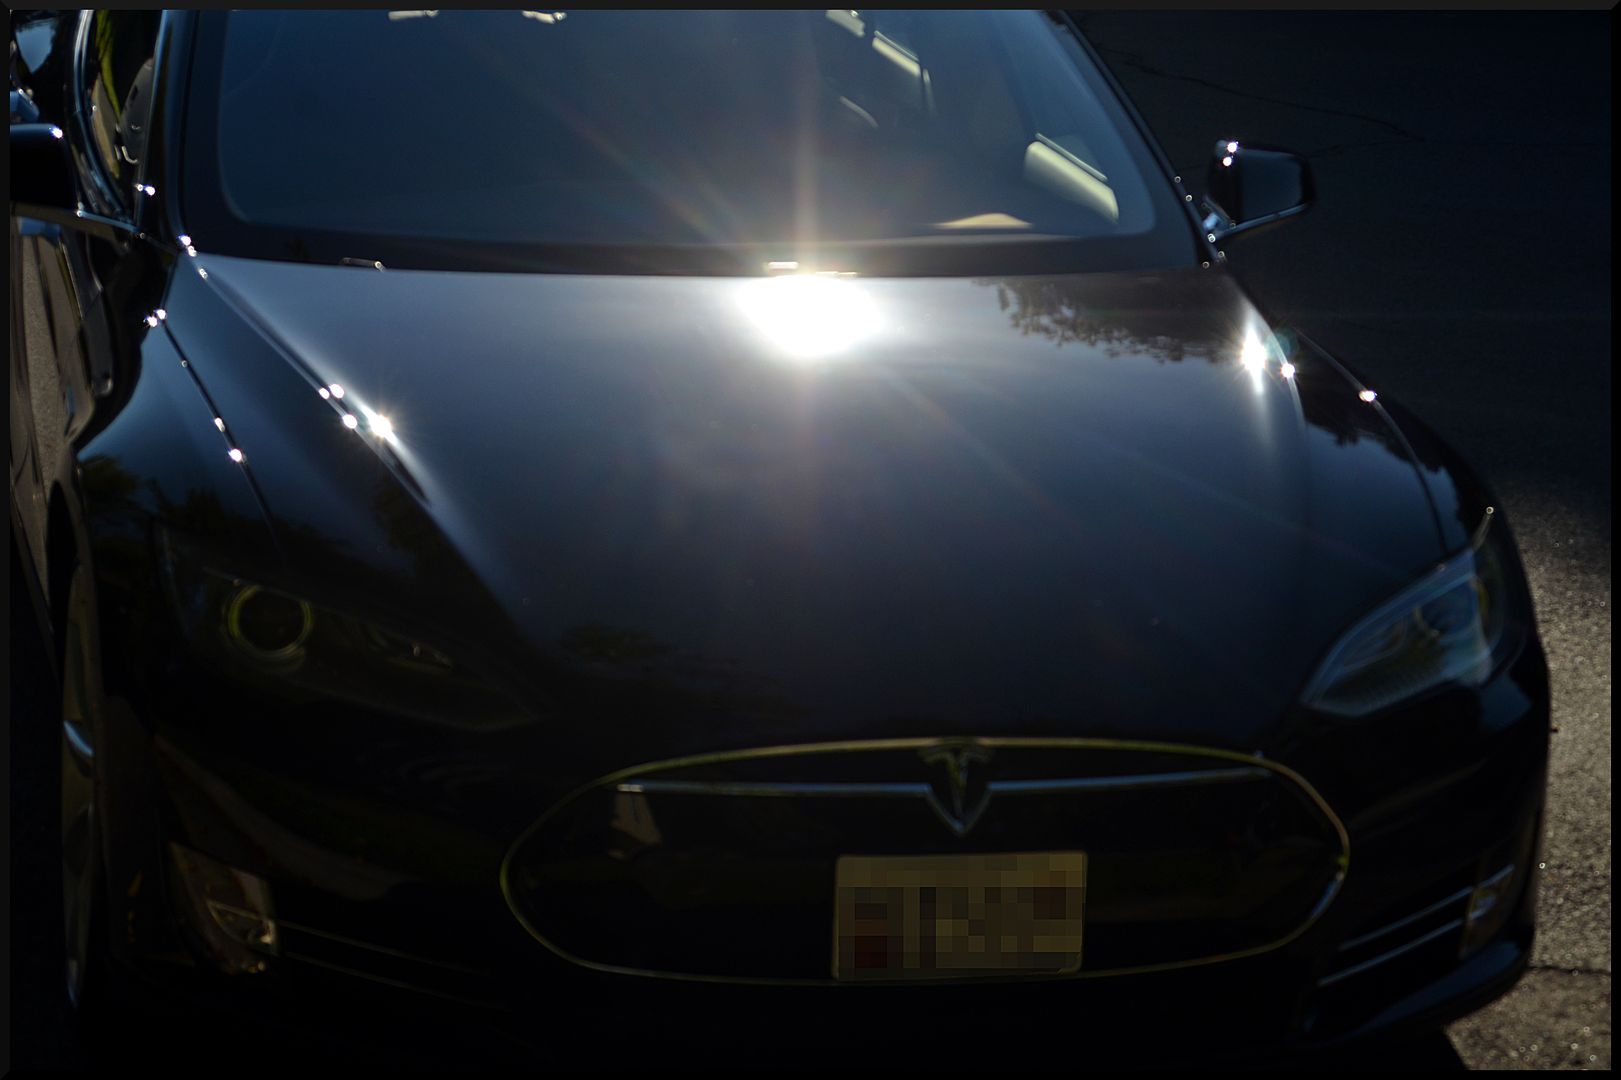
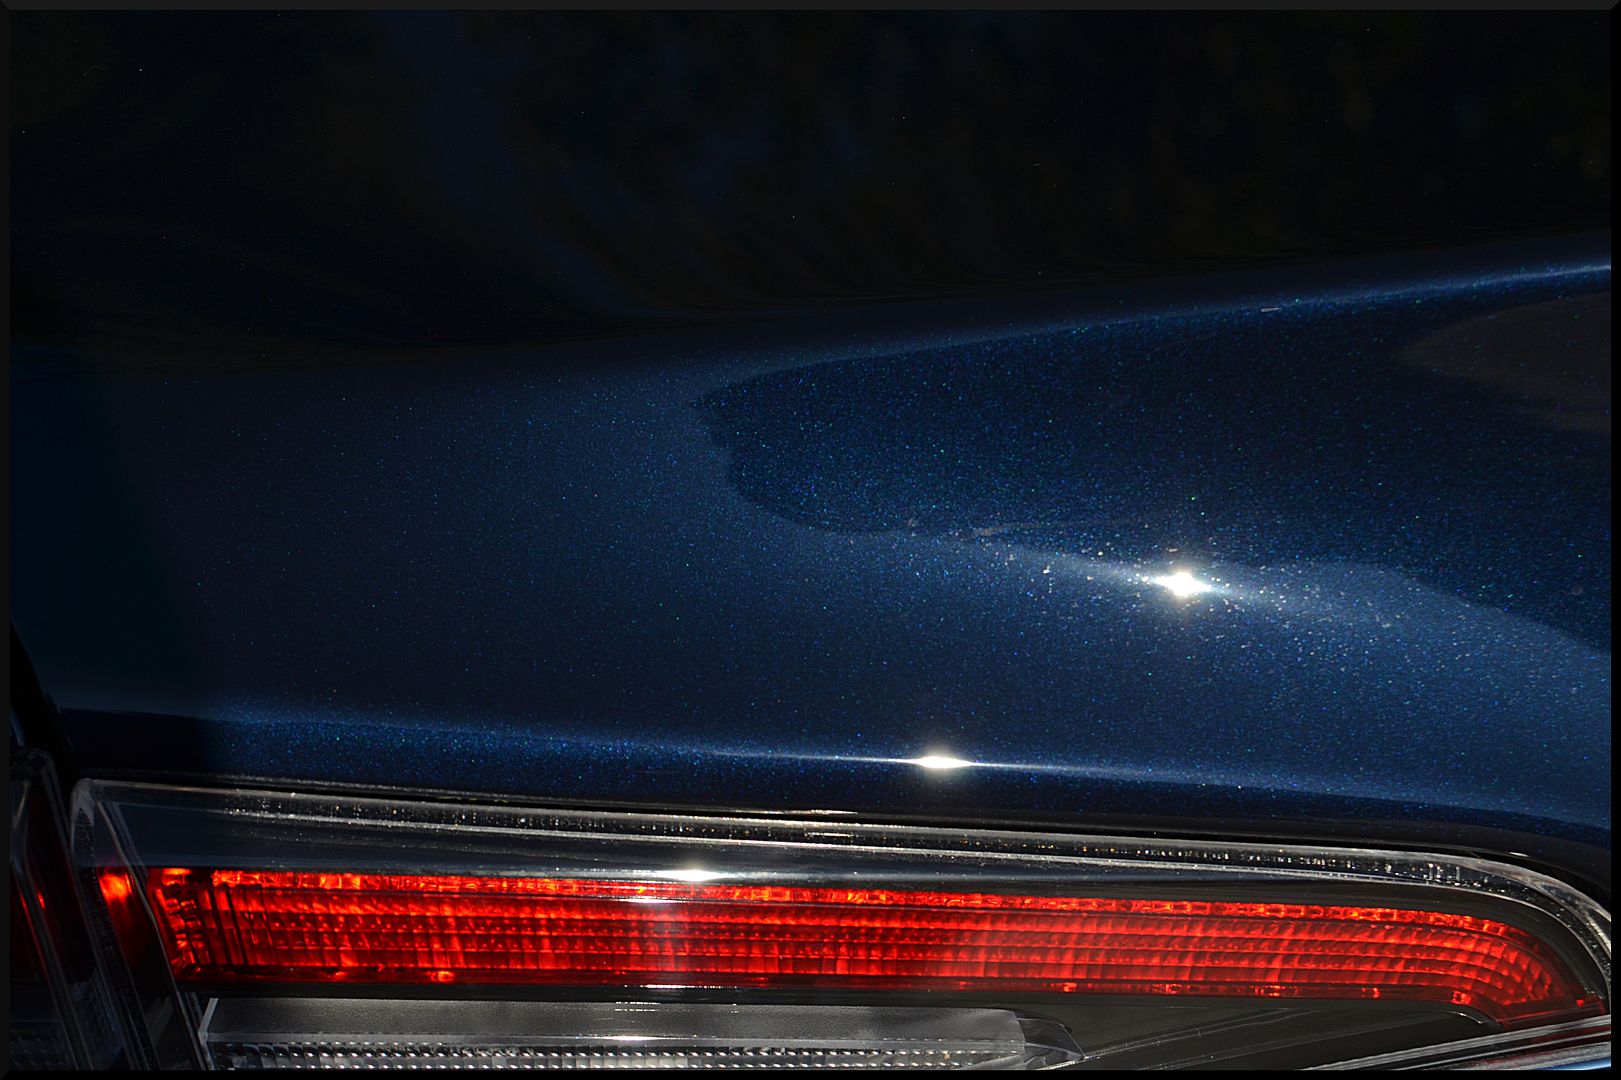
Notice all of the nasty holograms. These were all over the vehicle, and caused by using a rotary polisher improperly.
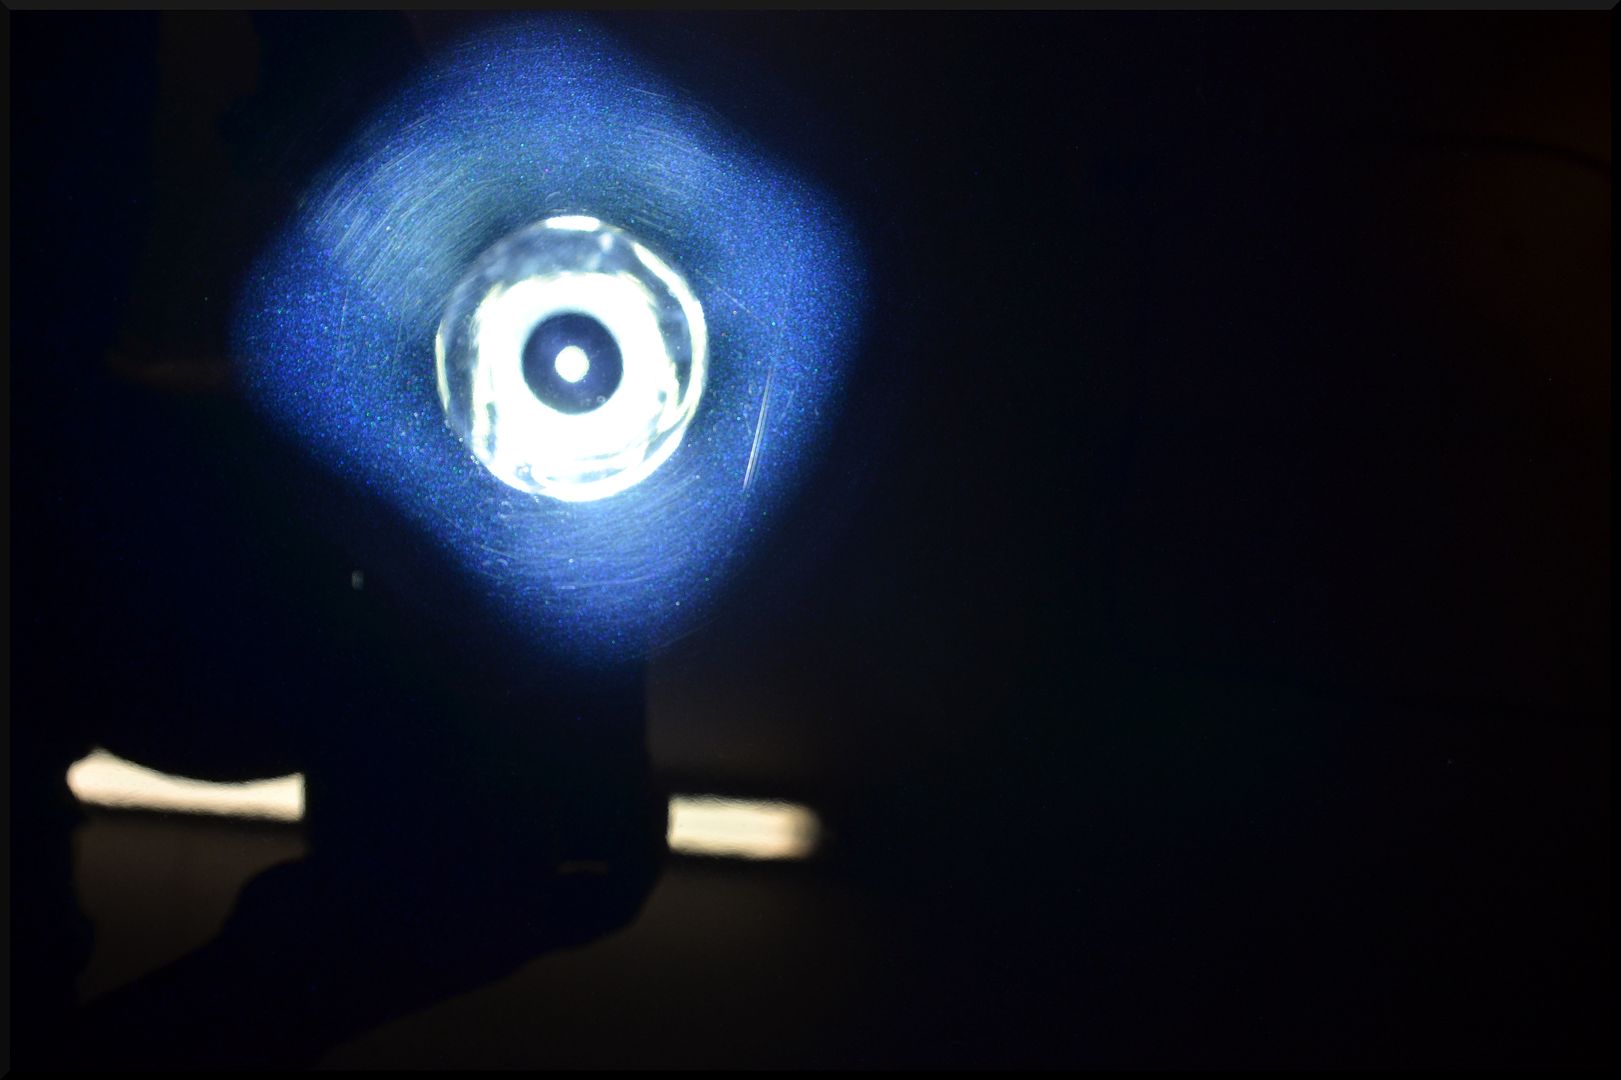
After a little testing we came up with a 3 step approach to get this vehicle looking perfect prior to applying Opti-Coat. We started with FG400 on an MF pad, followed by Sonax PF, and finished with a finishing polish from CarPro that we have been testing. Here is a 50/50 look at the difference.
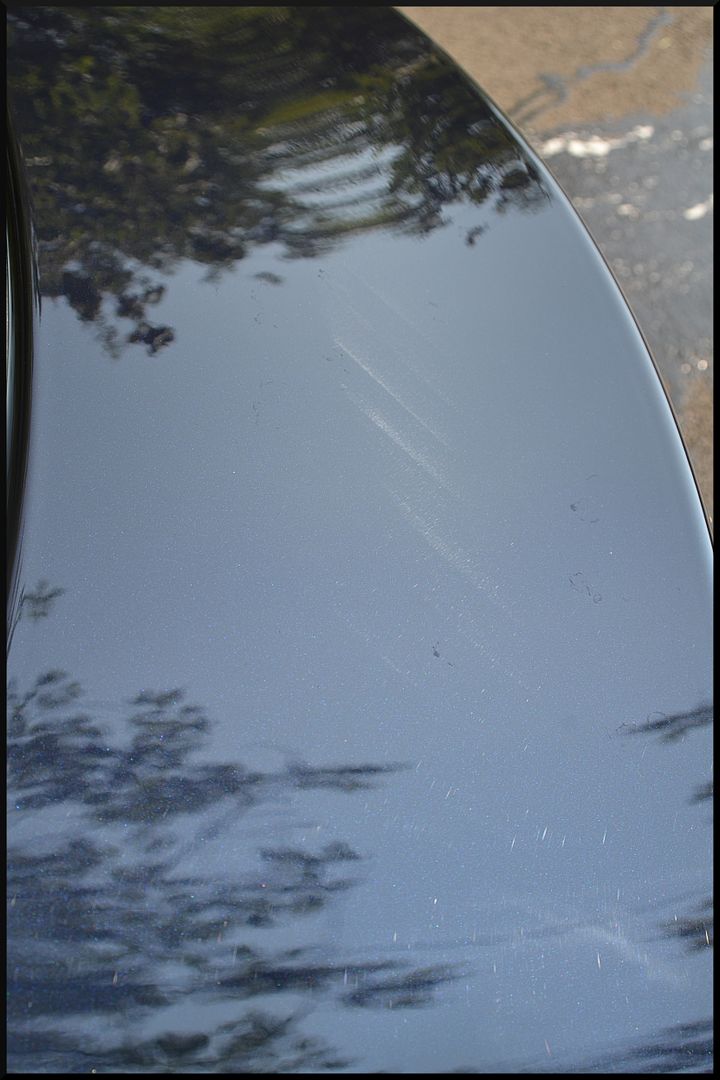
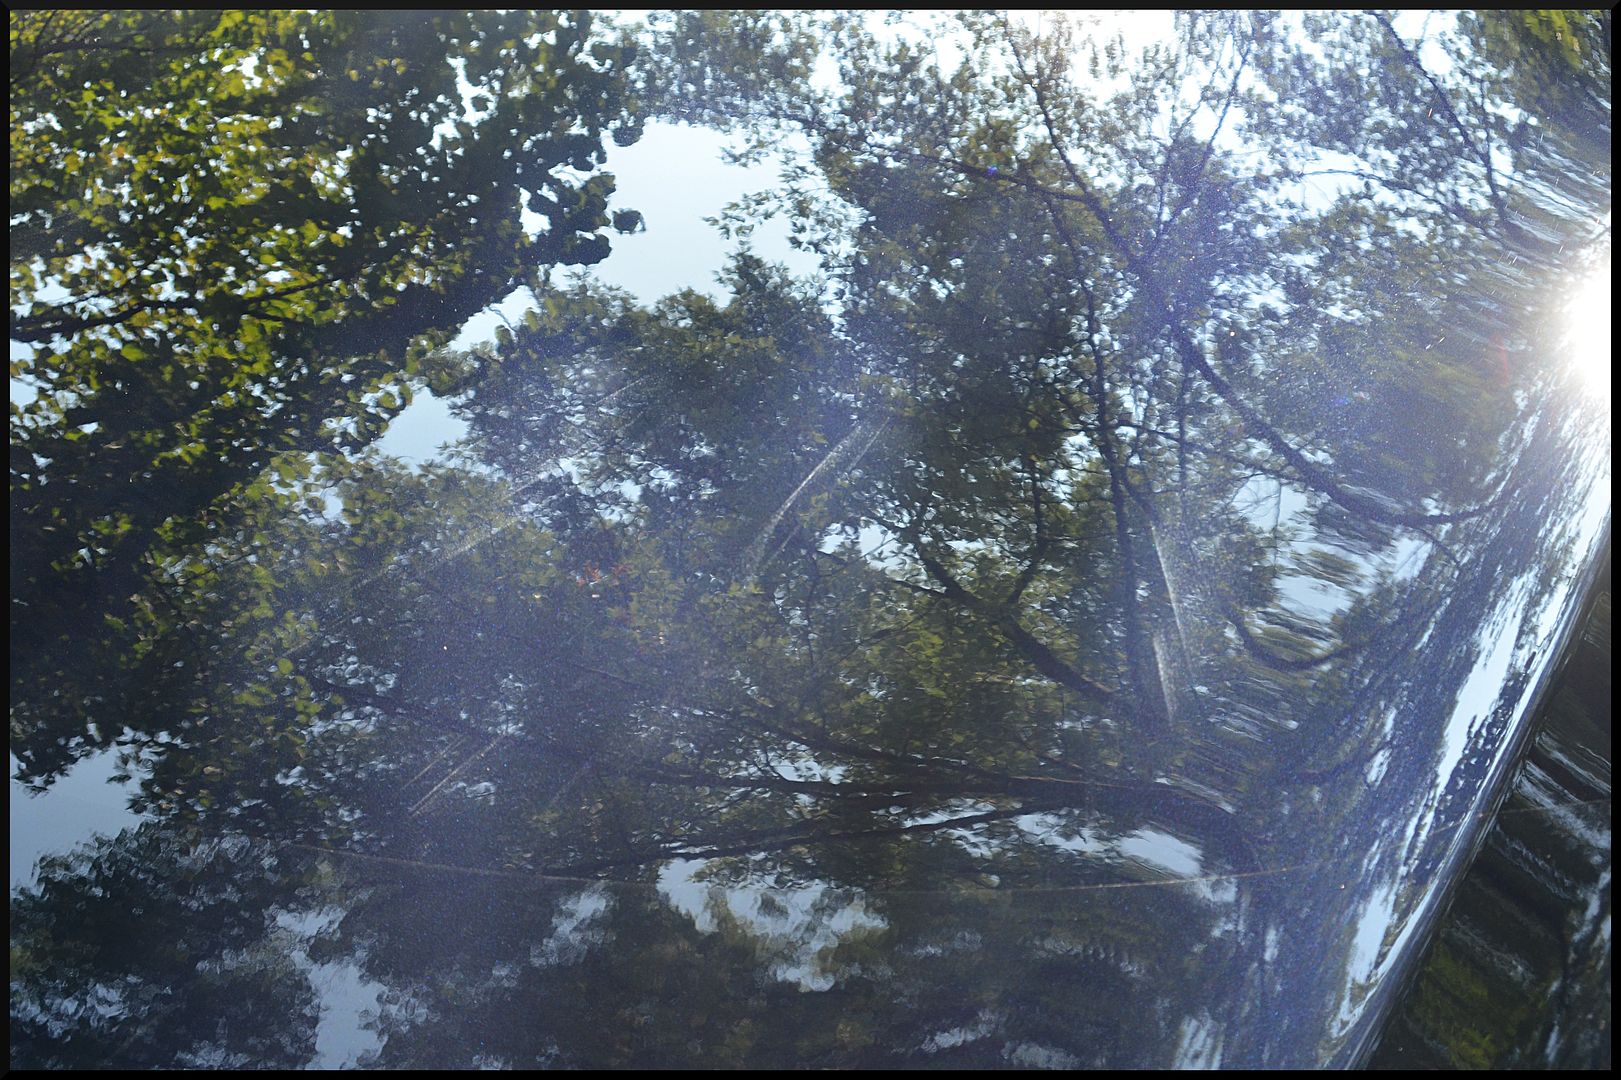
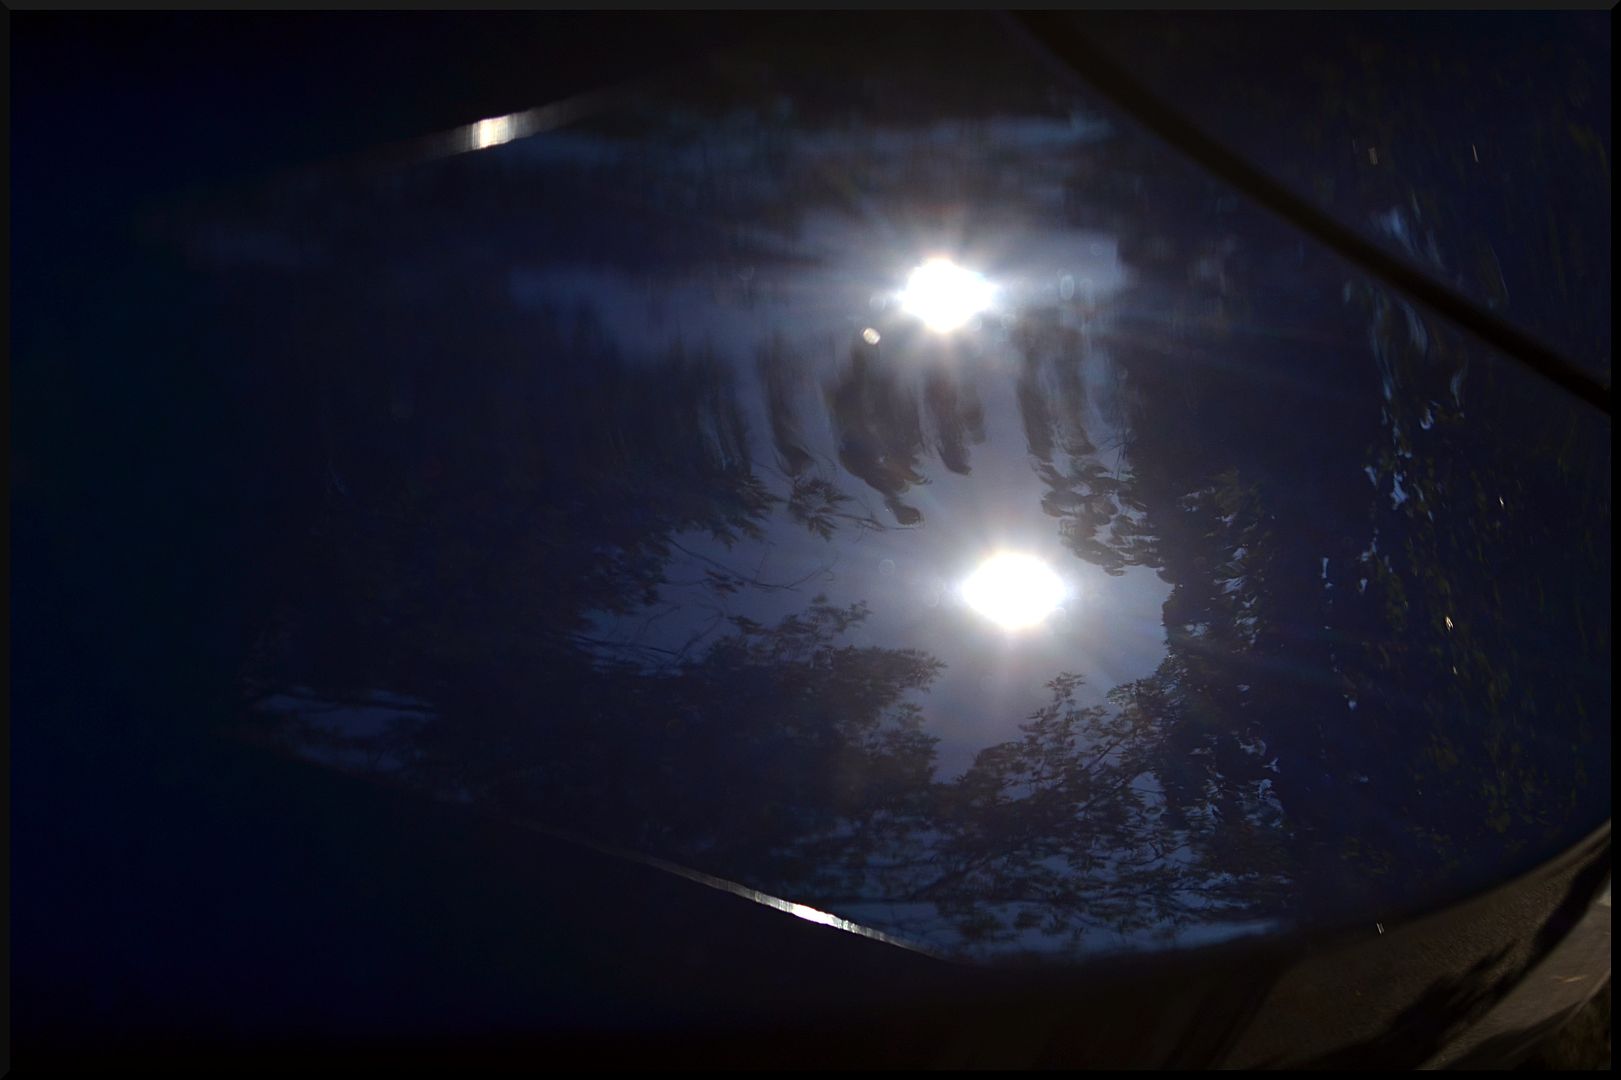
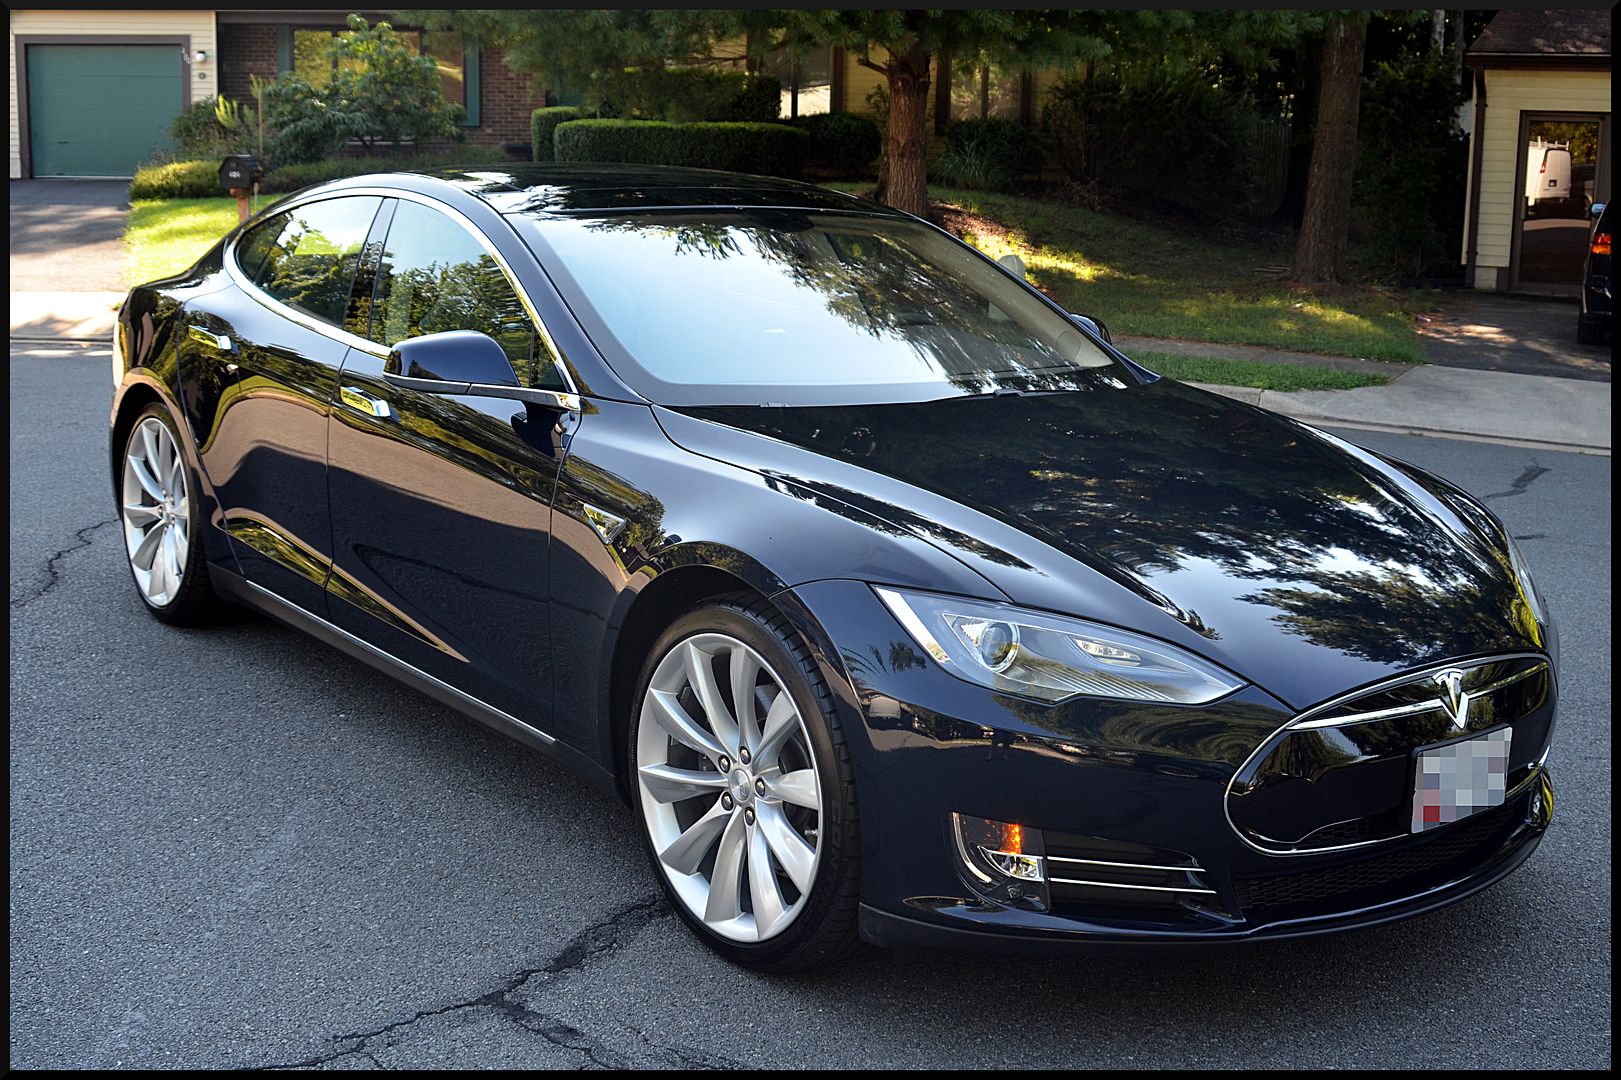
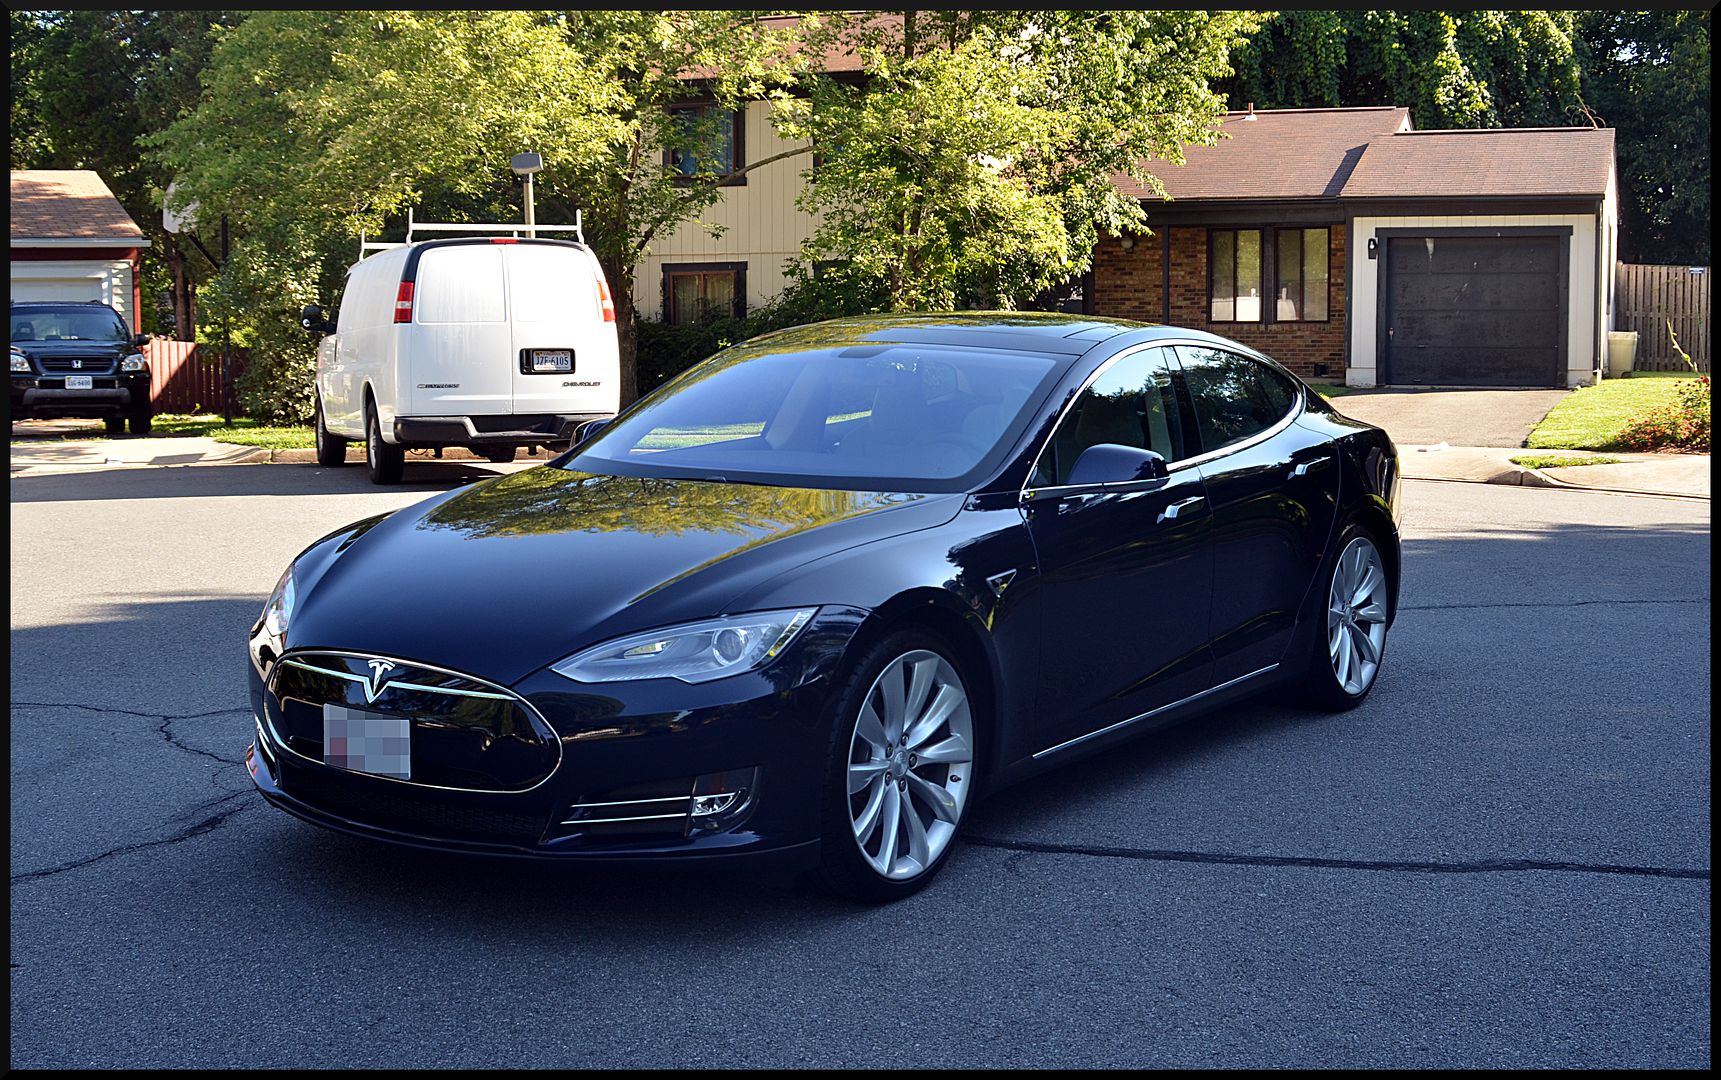
And here is how the rest turned out.

After the correction steps we washed the vehicle, dried with the Masterblaster, then wiped it down twice with CarPro Eraser to prep for the Opti-Coat Pro. We then applied the Opti-Coat Pro to the paint, wheels, trim, and glass.
That about does it. We had a ton of time into this job, but it was well worth the work considering the end result. Thanks for checking out our write up and we appreciate your feedback!
-Dave
We started with the wheels. Iron X was used to clean the wheels along with various Wheel Woolie brushes. APC+ was used on the tires and wheel wells, the tires were dressed with CarPro PERL, and the wheel wells were dressed with Hyperdressing.
Before:

During:


After:

After the wheels were addressed we started with the rest of the exterior. It was washed with CG Mr. Pink, clayed with a CarPro clay block, and then Iron X was used to take care of any left over iron contaminants.
Now we could see the true condition of the paint, and it wasn't pretty. It seems this vehicle was "detailed" once before, and they didn't quite have a grasp on how to properly use a rotary buffer.


Notice all of the nasty holograms. These were all over the vehicle, and caused by using a rotary polisher improperly.


After a little testing we came up with a 3 step approach to get this vehicle looking perfect prior to applying Opti-Coat. We started with FG400 on an MF pad, followed by Sonax PF, and finished with a finishing polish from CarPro that we have been testing. Here is a 50/50 look at the difference.

And here is how the rest turned out.


After the correction steps we washed the vehicle, dried with the Masterblaster, then wiped it down twice with CarPro Eraser to prep for the Opti-Coat Pro. We then applied the Opti-Coat Pro to the paint, wheels, trim, and glass.


That about does it. We had a ton of time into this job, but it was well worth the work considering the end result. Thanks for checking out our write up and we appreciate your feedback!
-Dave