Tailored Automotive Detailing: Porsche 912 Targa
Once a 100 point car, this Porsche was one of the many auction vehicles that suffered from storms in Arizona in January. While it was a tragedy for many owners, buyers, restorers, and collectors, this car manged to escape with less than serious damage. Although, it lost its status of perfection, a good repaint was ordered to put it back into the owners collection.
Prior to delivery I was called up to "close the deal" and get it ready for presentation to the owner.
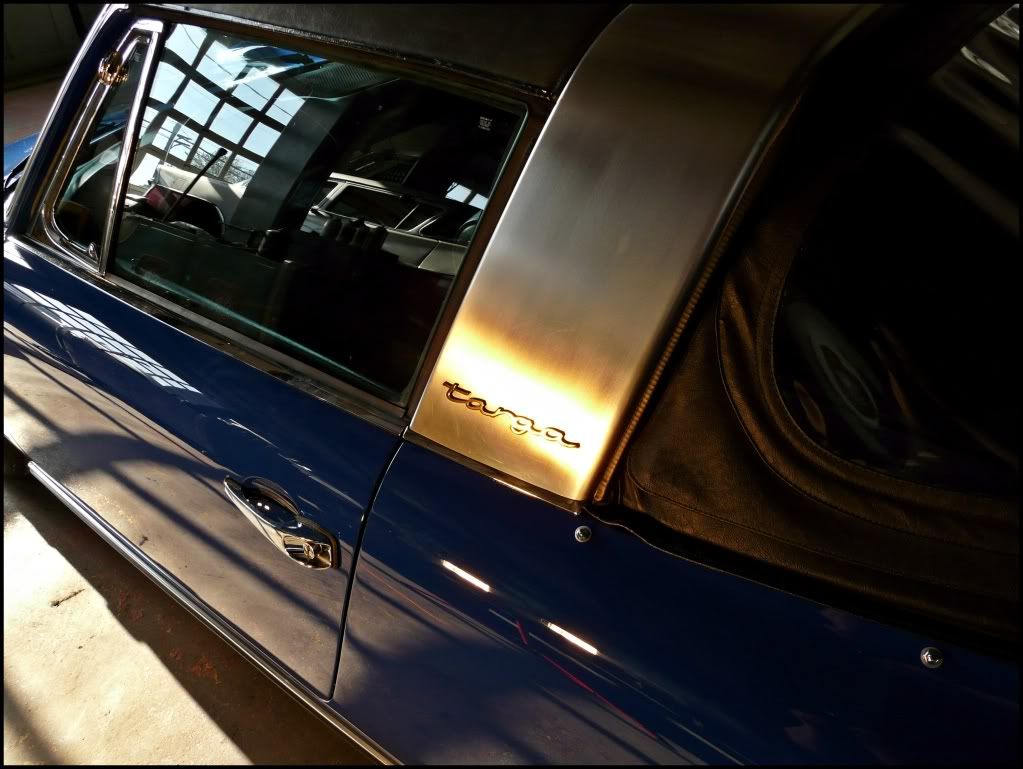
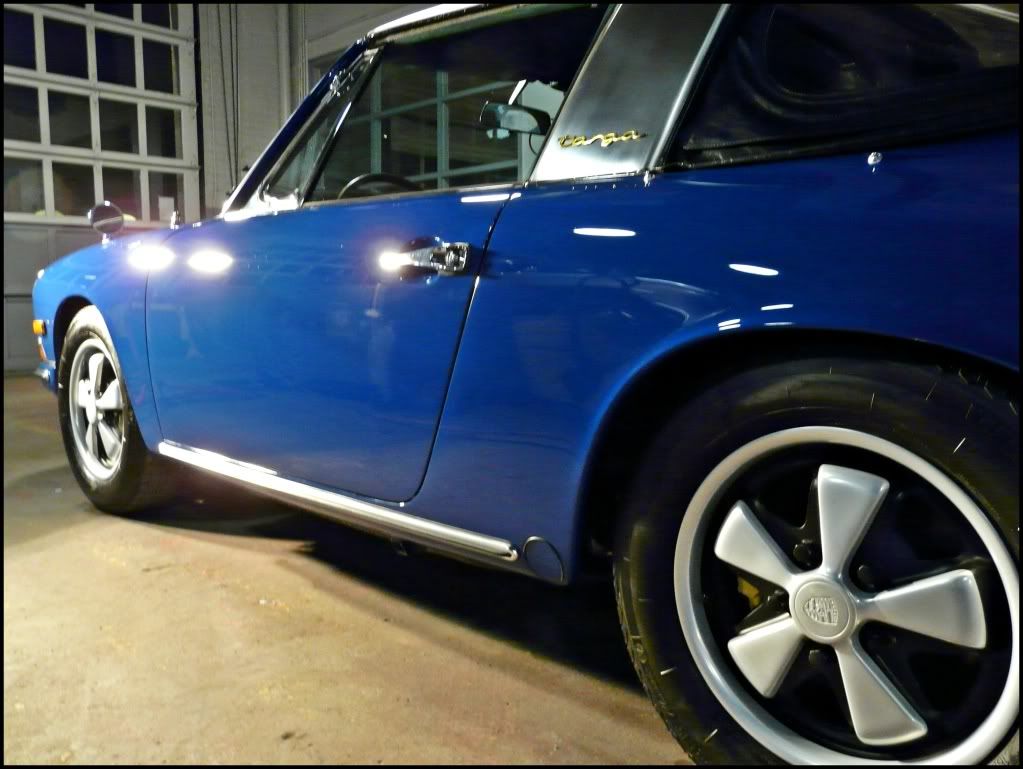
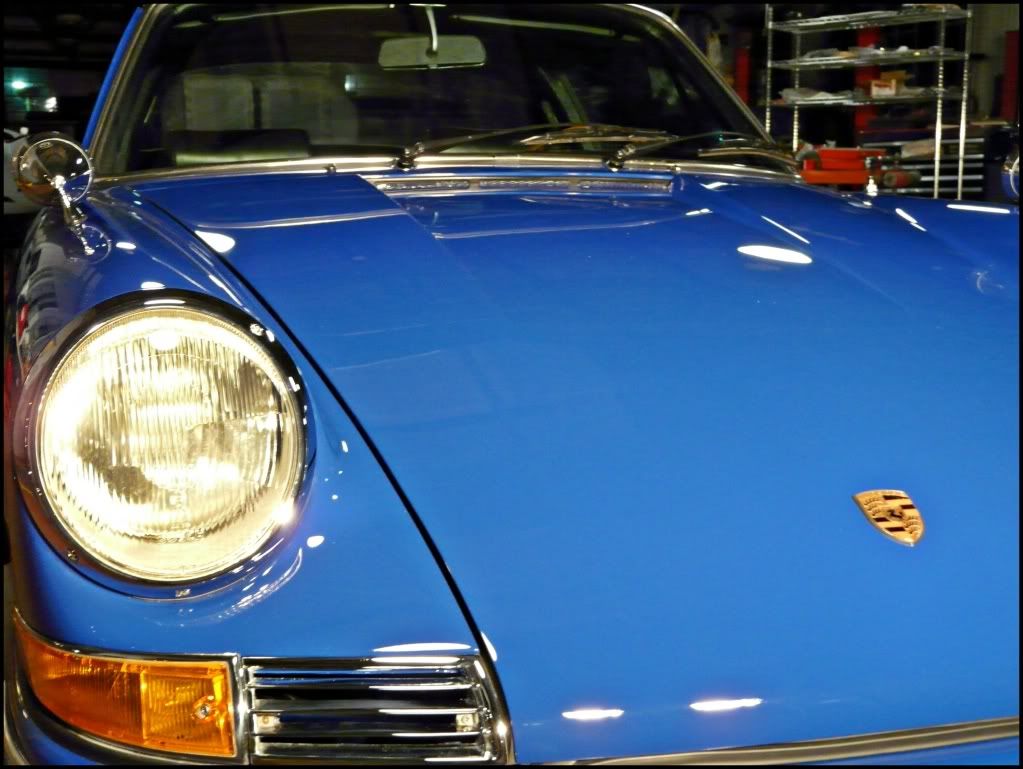
As I looked the car over, I determined it needed some vinyl and rubber cleaning/dressing and the paint needed finshing. There was sufficient micromarring to bring about concern from me, especially knowing that it was going to be in a private showroom under many different kinds of lights.
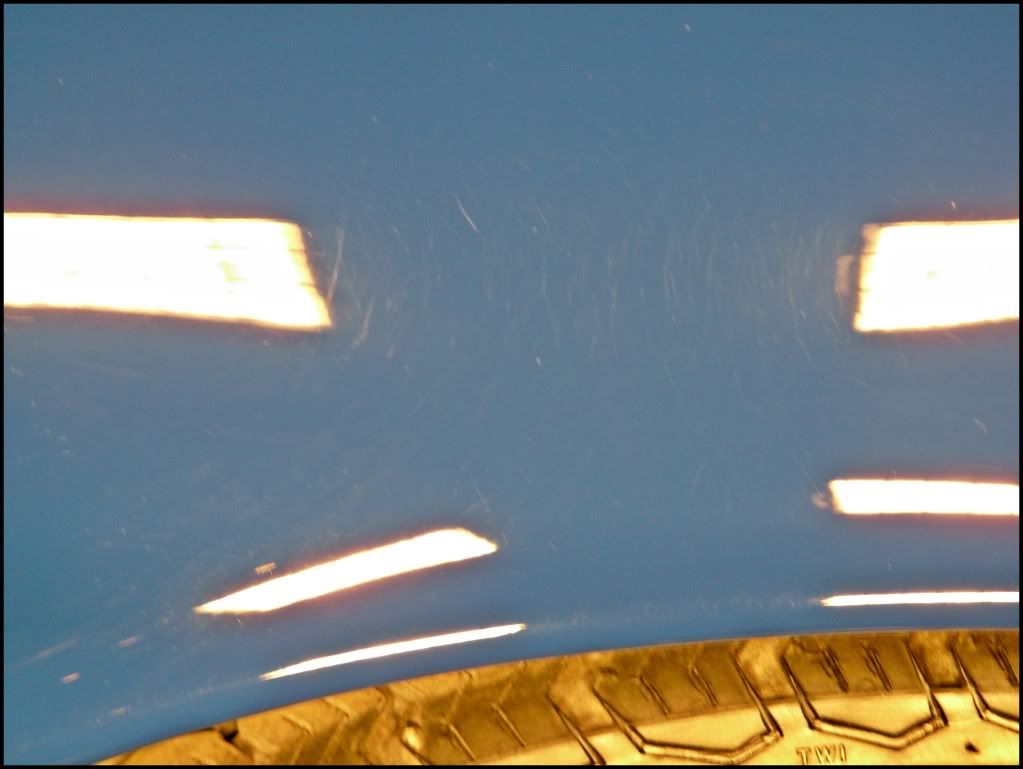
Being painted within the last month, the paint was still soft and no LSP was going to be applied, so I had to not only be careful in the selection of my pad/polish combo, but I also knew there was going to be no help from an LSP to hide the any imperfections.
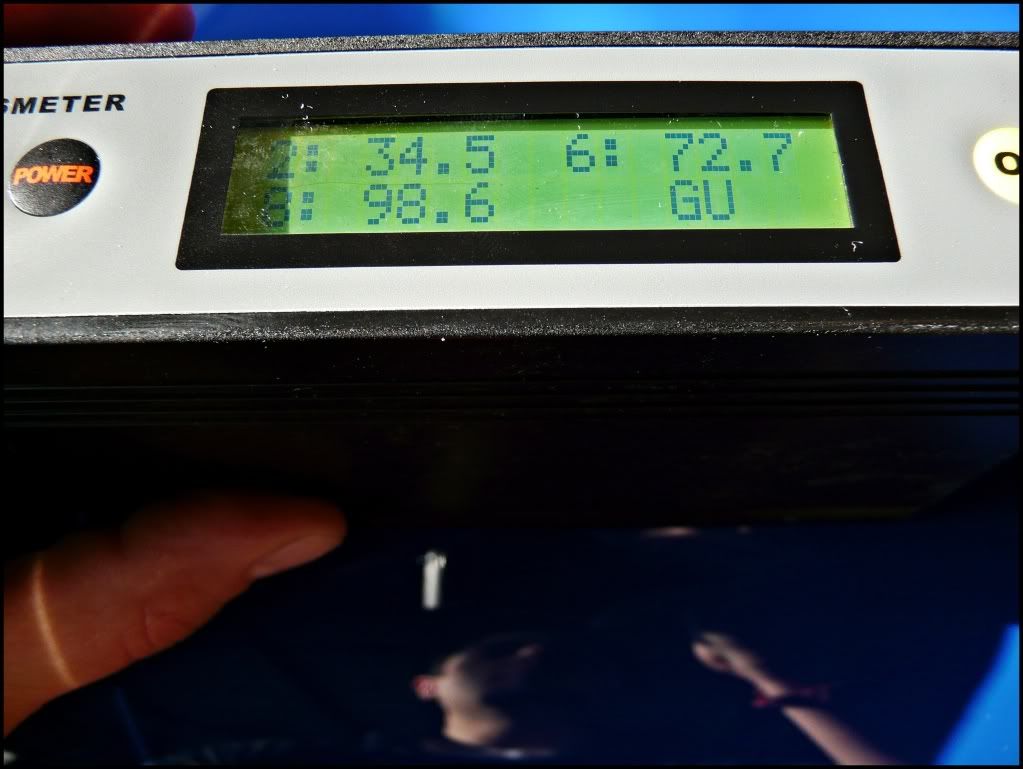
After some prep work and tests, I decided on Menzerna PO106FF and a Blue LC pad. That combo not only raised the gloss several points on my meter, but it left the finish absolutely perfect.
After massaging the paint for several hours to achive the look I was after and wiping it down with IPA to ensure I wasn't just filling, I cleansed the Targa top and the tires with ONR. After letting it dry I dressed anything Black with Poor Boys Natural Dressing and a final wipe with an MF to ensure even application.
I finalized my work by spraying some Chemical Guys Fade to Black in the wheel wells, dressing the tires with some Zaino Z-16, and wiping the stainless steel with Never Dull and a final wipe with a MF.
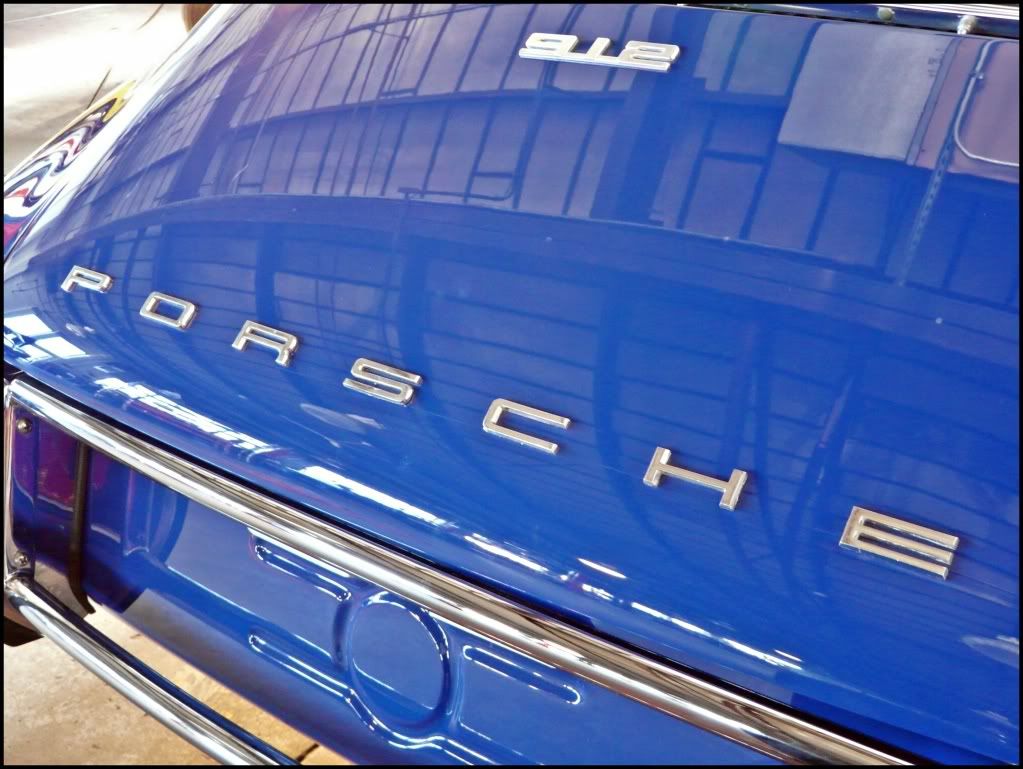
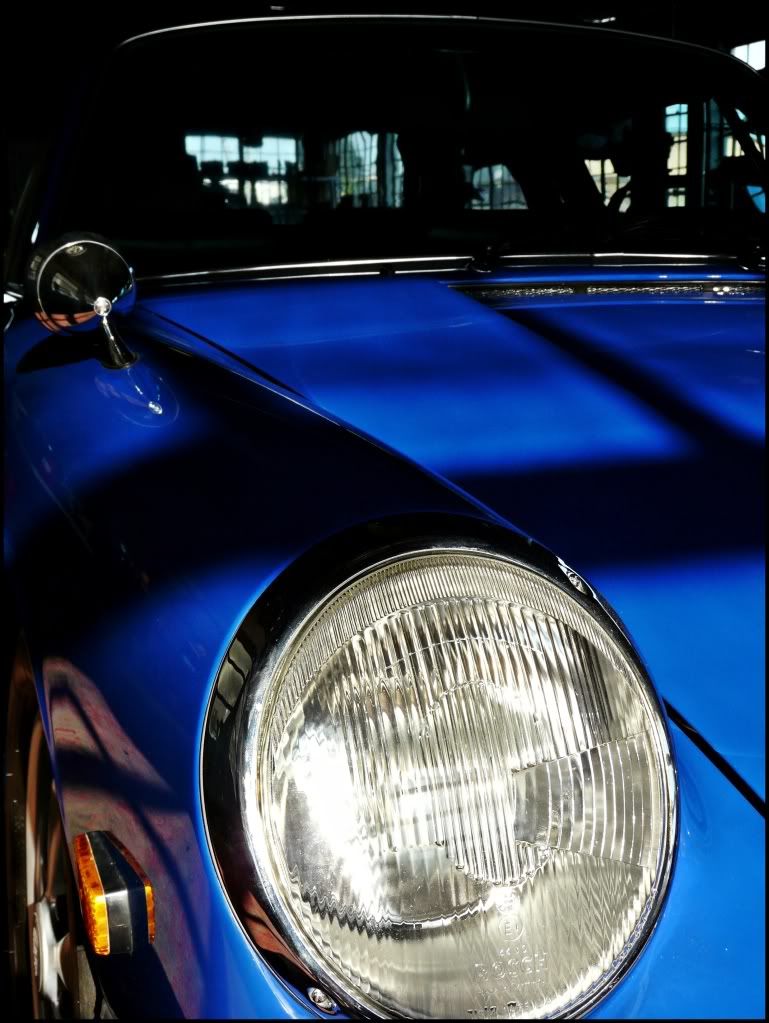
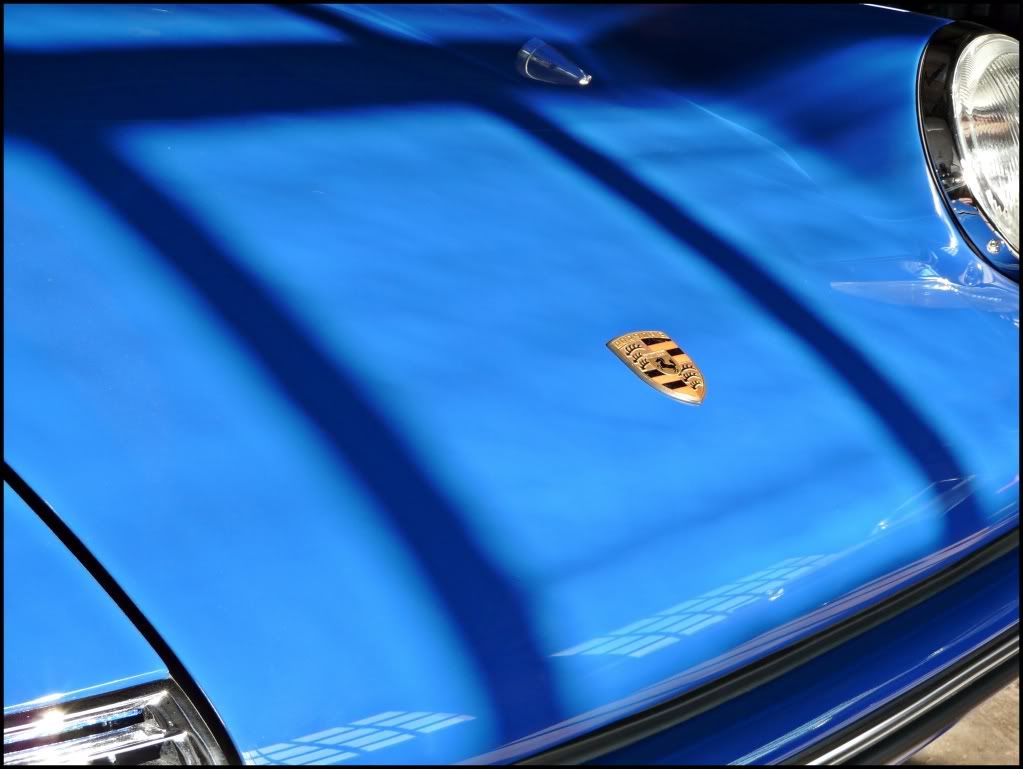
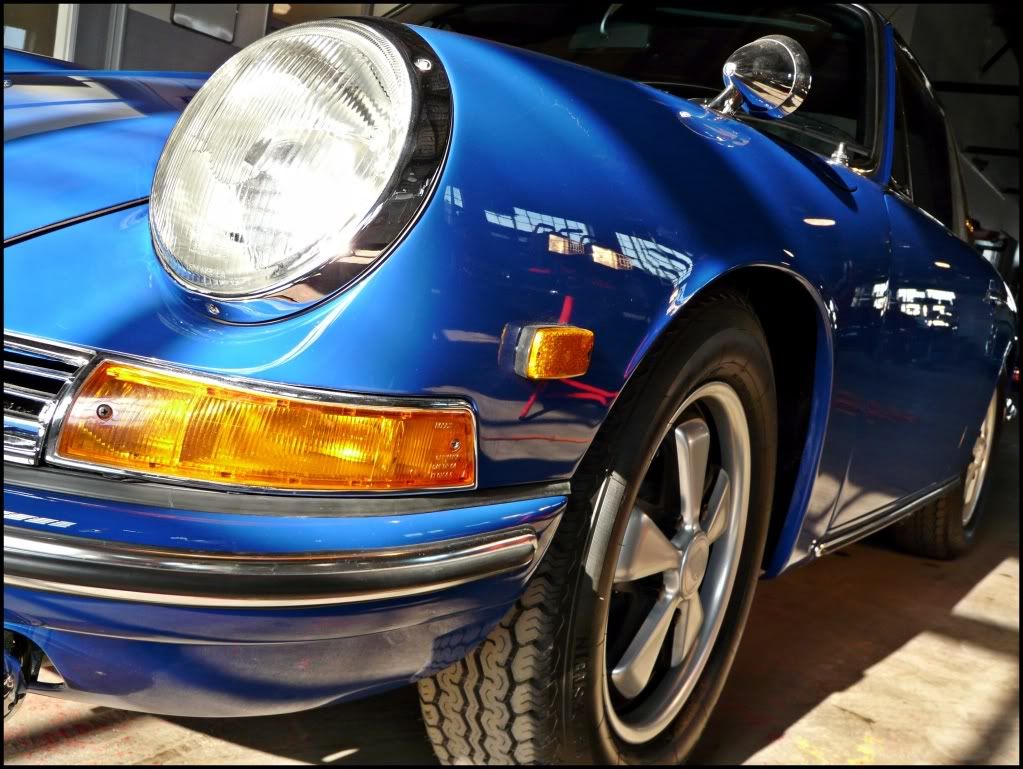
Here are some final shots:
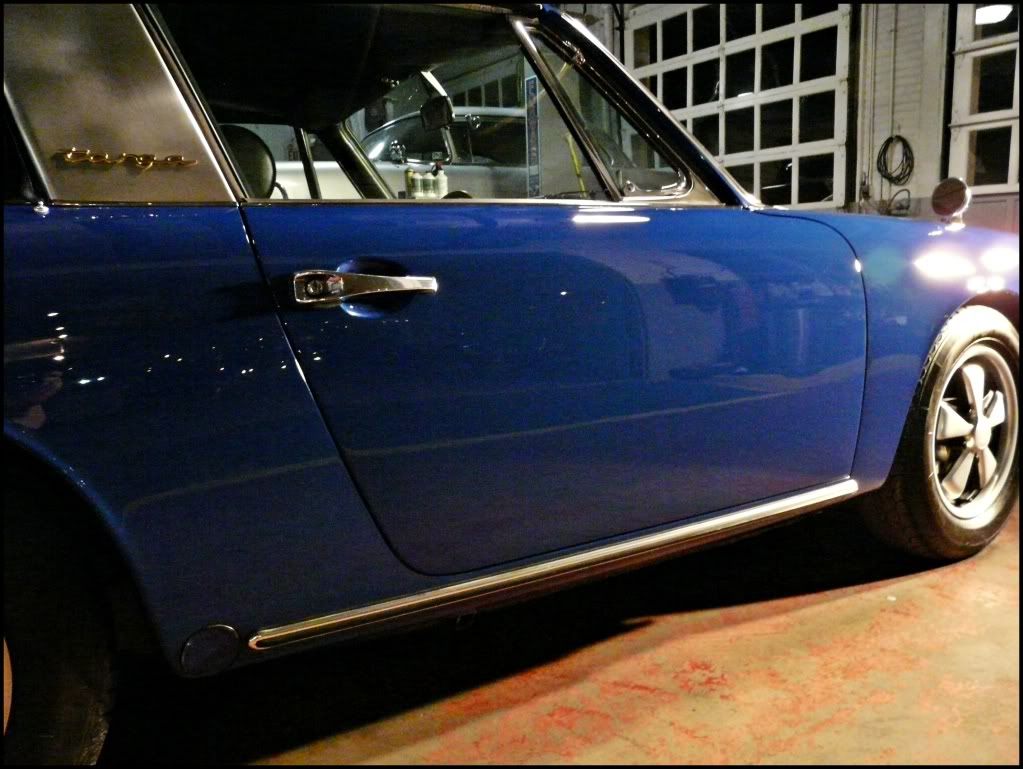
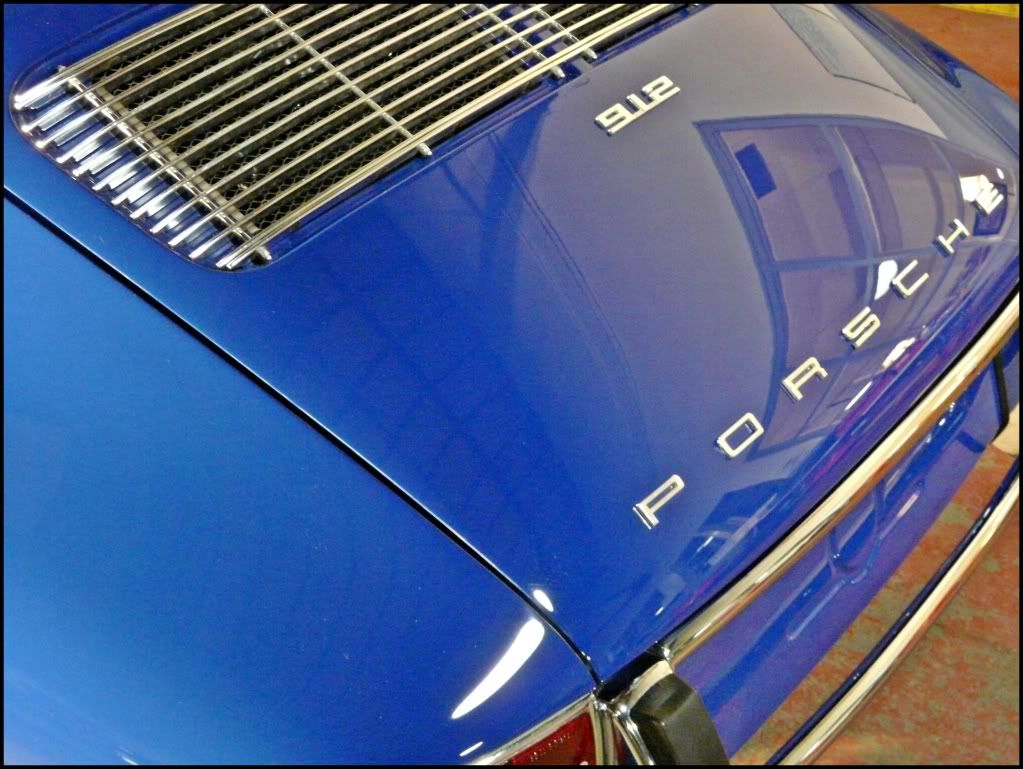
While not a trendous transformation, it was rewarding to bring out the remaing 5 percent for the owner. It was also very rewarding for me to work on my childhood dream car. Thanks for taking the time to check out the writeup. :xyxthumbs
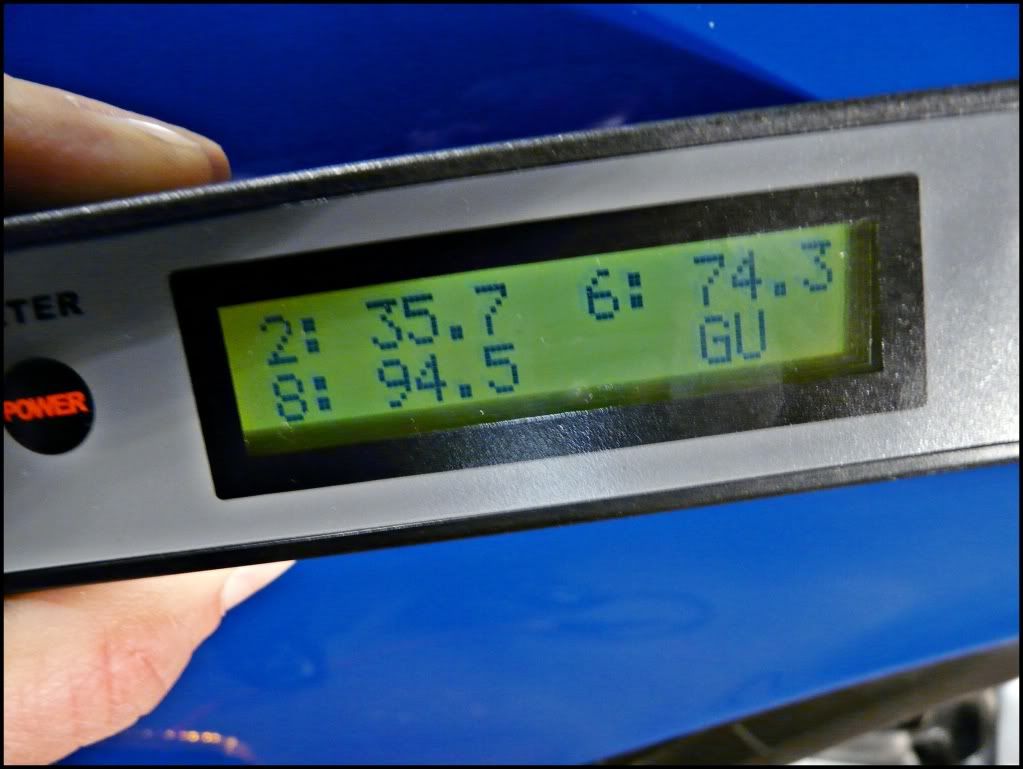
 I did mention to them that 60 degree is the angle most commonly seen by the human eye. I actually corresponded a little with John after this detail, to get a better understanding of how to best use the meter and its readings. Looks like we're both learning although he has had his a bit longer.