So, my sister has been studying abroad in Europe for the last semester and should be home later this month. As a little surprise, i decided to work on her severely neglected Toyota that's been sitting in front of my parents house for a few months. Hopefully when she returns she can avoid ripping off the front end on a guardrail like she did last time i detailed it.
Of course, last time i detailed it i didn't have this spiffy new porter cable and a host of new polishes, so it had that fresh wax over swirly mess look. So, some of you have doubtlessly spotted my ulterior motive on trying my hand with my PC and new products on a car that's not mine. Well, you got me. I'm not a saint. A lot of her friends are hot too.
Here's what i have to work with
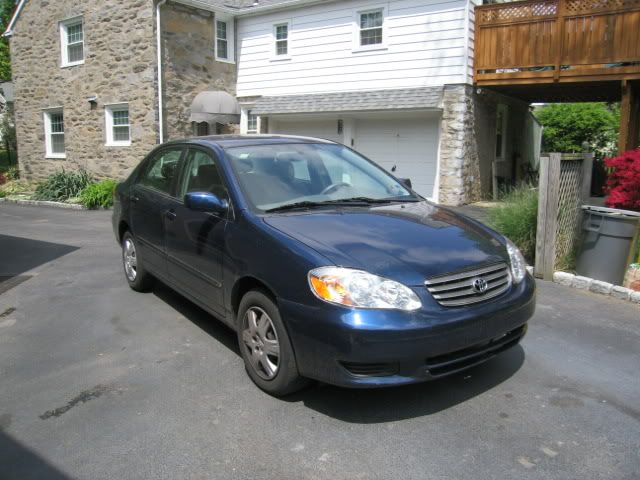
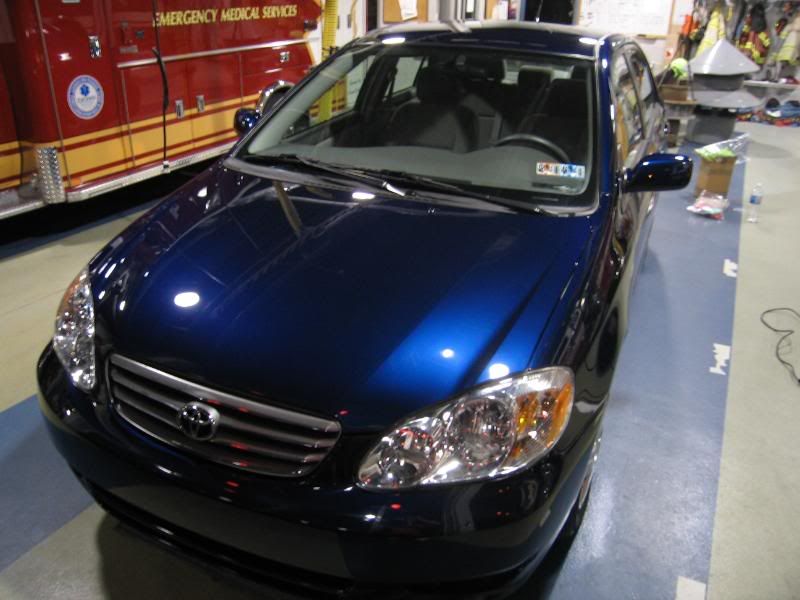
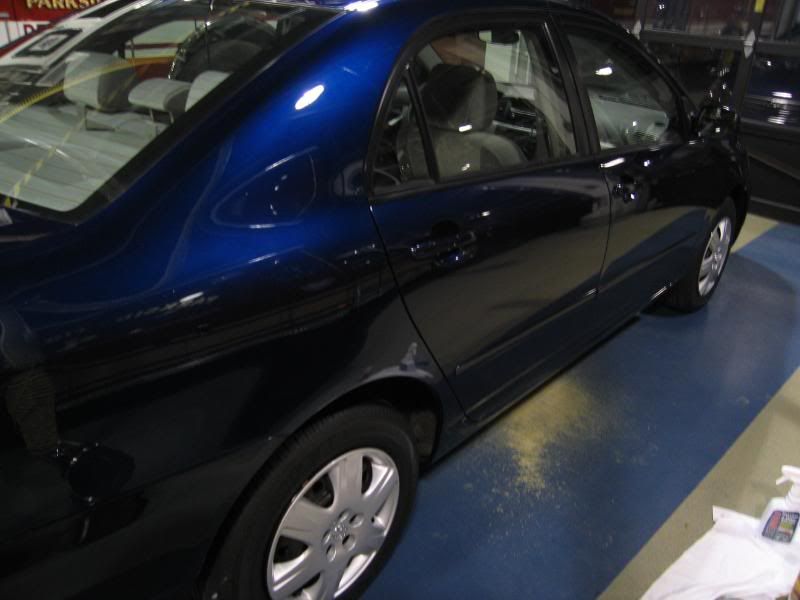
The distance shot belies the horror
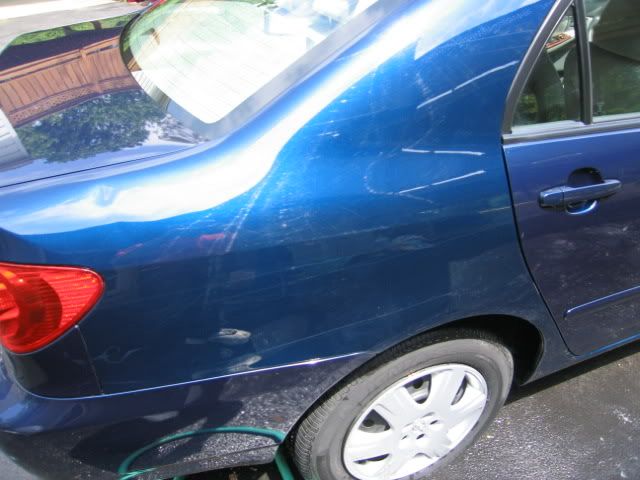
holy crap! I'll do my best on this panel. Apparently, this is the body panel to key the **** out of at her college.
So, i gave the car a bath to see what lies under the caked on dirt
swirly
So, i started to clay and my clay lube was flashing off the hood under the sun and there was already a coat of pollen forming. Time to take this show on the road and get into a garage
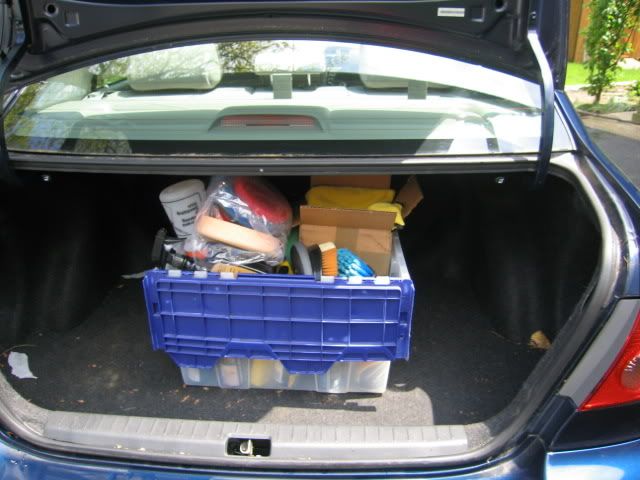
Packed my ****.

You wish you had access to a garage this cool. Big overhead lighting, big portable halogens off the trucks, tons of work room, power comes down from the ceiling.
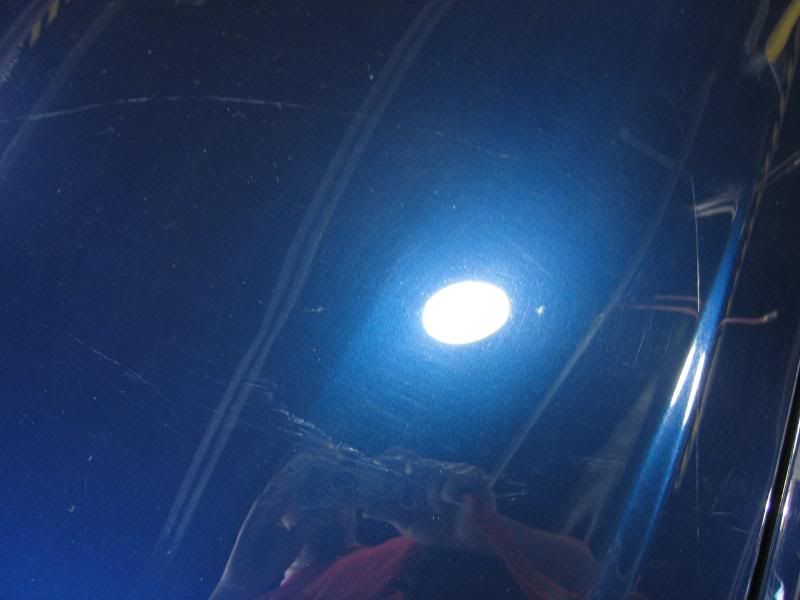
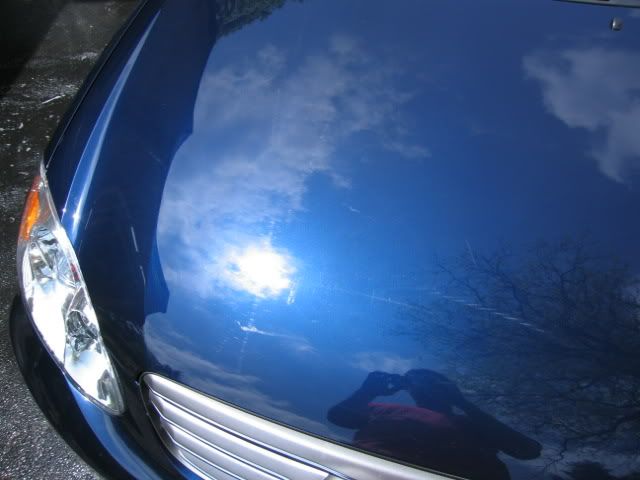
Another look at the hood. Bad swirls, bad RDS. god awful messy paint contamination

this isn't as good a shot of the panel of hell, but you can see the extent of the swirls in the camera flash. The entire car is like that.
so, i clayed and got to polishing. For clay I'm using a chemical guys clayblock, which i love because I'm a klutz and drop clay all the time. This i can just wash off and it works as well as anything.
I started on the right side of the hood with XMT360 on a white pad and got exactly bupkis. My strongest combo, XMT3 and an CCS Orange 5.5" pad was getting the paint swirl free, but leaving some of the RDS, muted by still there. I'd have to live with it. I realized that overestimating corrective abilities of product and pad combo's on a PC must be a newb mistake. I've since ordered XMT4 and a greater variety of pads. No bother, my sister will be thrilled with the results anyway.

not a great shot, but you can see the improvement on the right side of the hood.
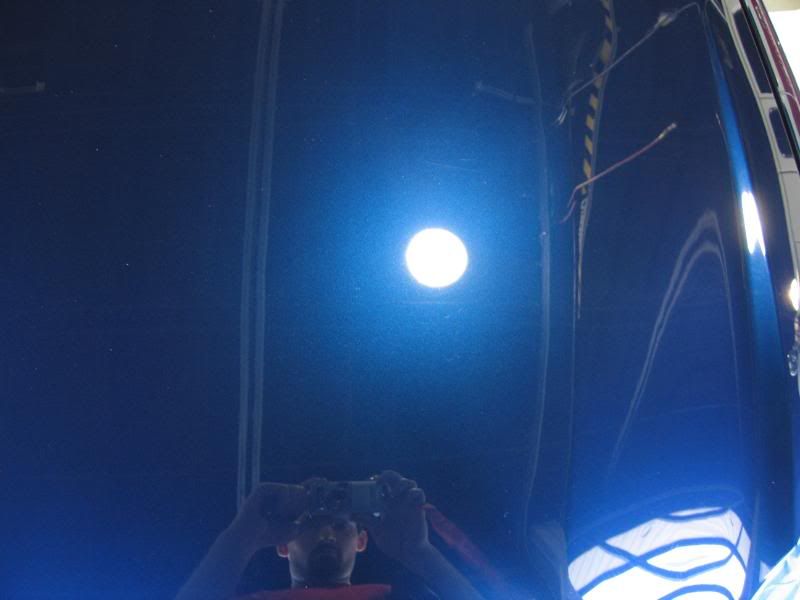
The results. A few RDS's left, but a remarkable improvement nonetheless. The paint was LSP ready after the XMT3/CCS Orange combo. Thanks to the entire Autopia community for the resources provided on this sight. I really got the PC use down quick after all the research, and apparently, the XMT line is fairly newb proof. Minimal dusting, easy working, good results.
Following polishing i went over the car with some quick detailer then topped with collinite 845. This car needs all the protection it can get once my sister gets home.
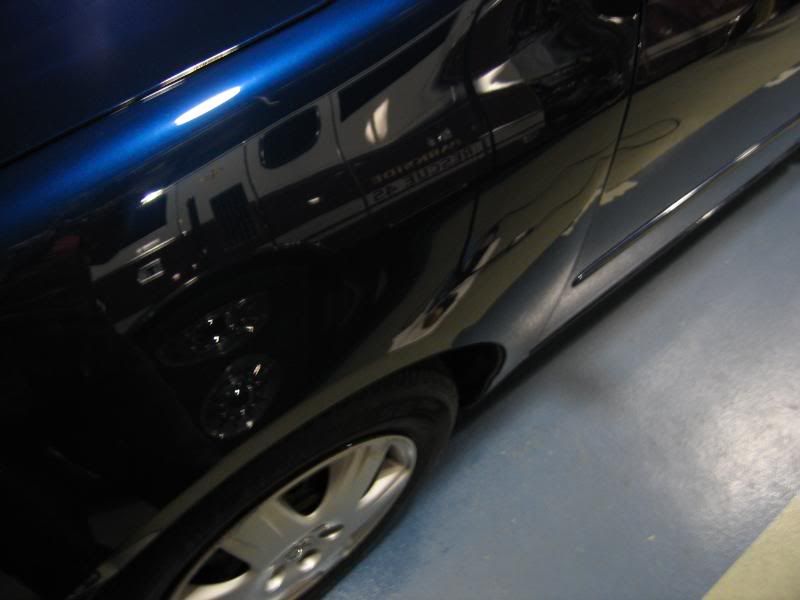
firetruck in front fender
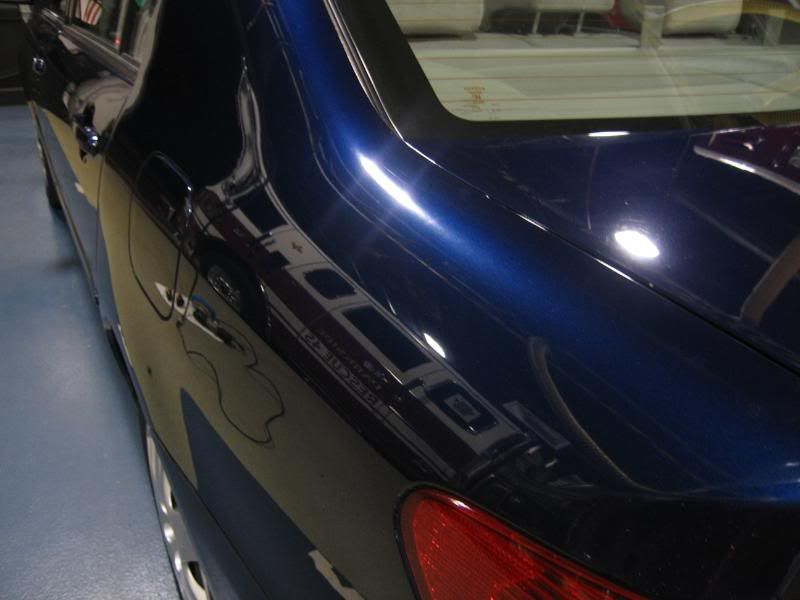
more firetruck reflections. Some will notice there appears to still be some scratches on the trunk, i'm going to have to remind my sister that the trunk lid is not a table to toss your crap on. Best I could do with the products i had.
The former body panel of the apocalypse. Ended up really muting the scratches.
Thanks again to the Autopia community.
Of course, last time i detailed it i didn't have this spiffy new porter cable and a host of new polishes, so it had that fresh wax over swirly mess look. So, some of you have doubtlessly spotted my ulterior motive on trying my hand with my PC and new products on a car that's not mine. Well, you got me. I'm not a saint. A lot of her friends are hot too.
Here's what i have to work with
The distance shot belies the horror
holy crap! I'll do my best on this panel. Apparently, this is the body panel to key the **** out of at her college.
So, i gave the car a bath to see what lies under the caked on dirt
swirly
So, i started to clay and my clay lube was flashing off the hood under the sun and there was already a coat of pollen forming. Time to take this show on the road and get into a garage
Packed my ****.
You wish you had access to a garage this cool. Big overhead lighting, big portable halogens off the trucks, tons of work room, power comes down from the ceiling.
Another look at the hood. Bad swirls, bad RDS. god awful messy paint contamination
this isn't as good a shot of the panel of hell, but you can see the extent of the swirls in the camera flash. The entire car is like that.
so, i clayed and got to polishing. For clay I'm using a chemical guys clayblock, which i love because I'm a klutz and drop clay all the time. This i can just wash off and it works as well as anything.
I started on the right side of the hood with XMT360 on a white pad and got exactly bupkis. My strongest combo, XMT3 and an CCS Orange 5.5" pad was getting the paint swirl free, but leaving some of the RDS, muted by still there. I'd have to live with it. I realized that overestimating corrective abilities of product and pad combo's on a PC must be a newb mistake. I've since ordered XMT4 and a greater variety of pads. No bother, my sister will be thrilled with the results anyway.
not a great shot, but you can see the improvement on the right side of the hood.
The results. A few RDS's left, but a remarkable improvement nonetheless. The paint was LSP ready after the XMT3/CCS Orange combo. Thanks to the entire Autopia community for the resources provided on this sight. I really got the PC use down quick after all the research, and apparently, the XMT line is fairly newb proof. Minimal dusting, easy working, good results.
Following polishing i went over the car with some quick detailer then topped with collinite 845. This car needs all the protection it can get once my sister gets home.
firetruck in front fender
more firetruck reflections. Some will notice there appears to still be some scratches on the trunk, i'm going to have to remind my sister that the trunk lid is not a table to toss your crap on. Best I could do with the products i had.
The former body panel of the apocalypse. Ended up really muting the scratches.
Thanks again to the Autopia community.


")