dmw2692004
New member
This customer came to me as an enthusiast who wanted to add some gloss to the finish of his Evo. We decided that a one-step/two step polish would suit his needs nicely. I must say, this car is one of the cleanest evo’s I have seen around here. Overall the car was well maintained and had light marring from washing. M205 flexed some impressive muscle during this detail. I was truly impressed on its ability to remove marring, then finish down nearly perfect!
Process/Products Used:
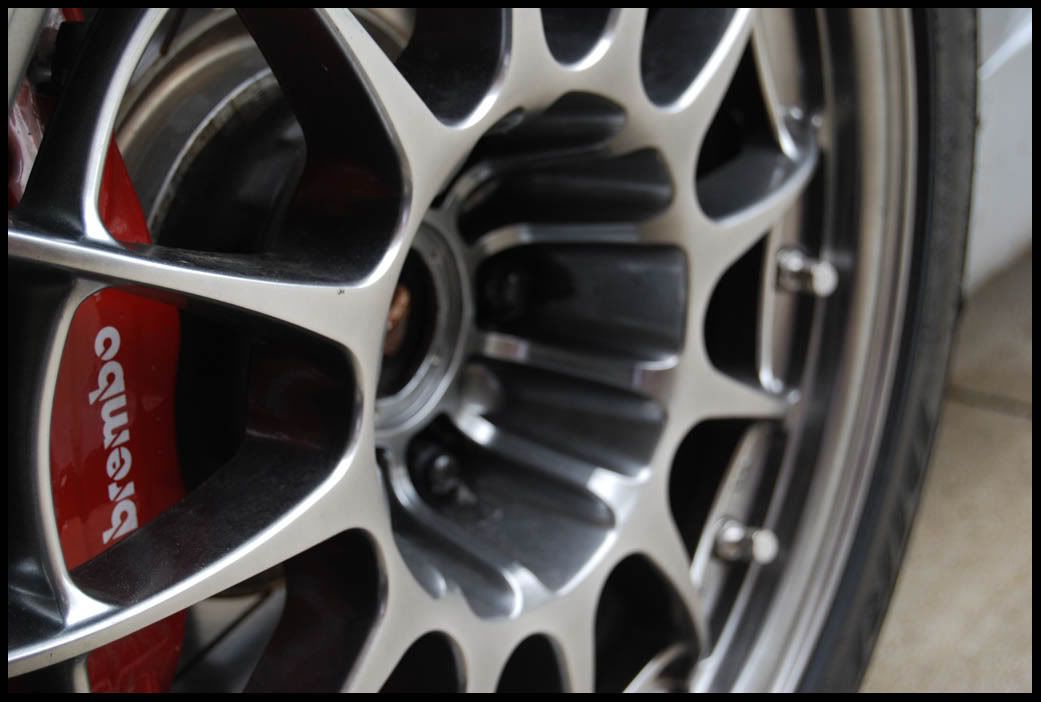
1)Wheels and barrels with Megs All Wheel Cleaner, APC, and various Brushes
2)Wheel wells with APC and various brushes
3)Foamed with Megs Deep Crystal and APC
4)Washed with Megs Deep Crystal Wash, two bucket method, and microfiber mitts
5)Rinsed
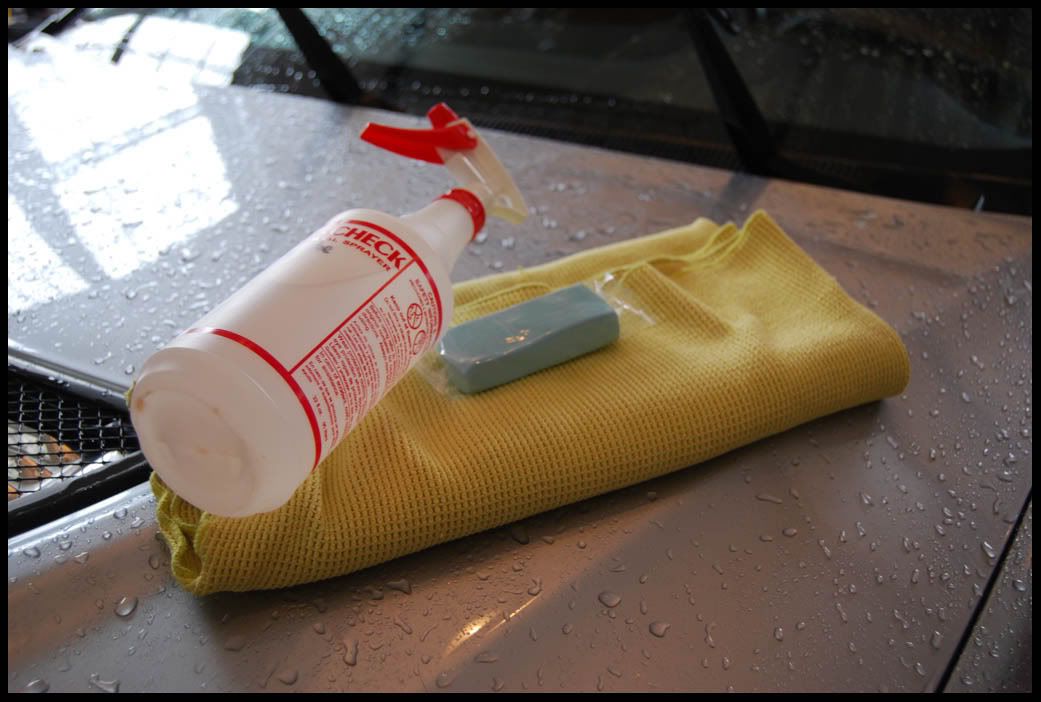
6)Clayed while still wet with Detail Image Medium Grade Clay and ONR QD mix
7)Dried with waffle weave and plush microfibers
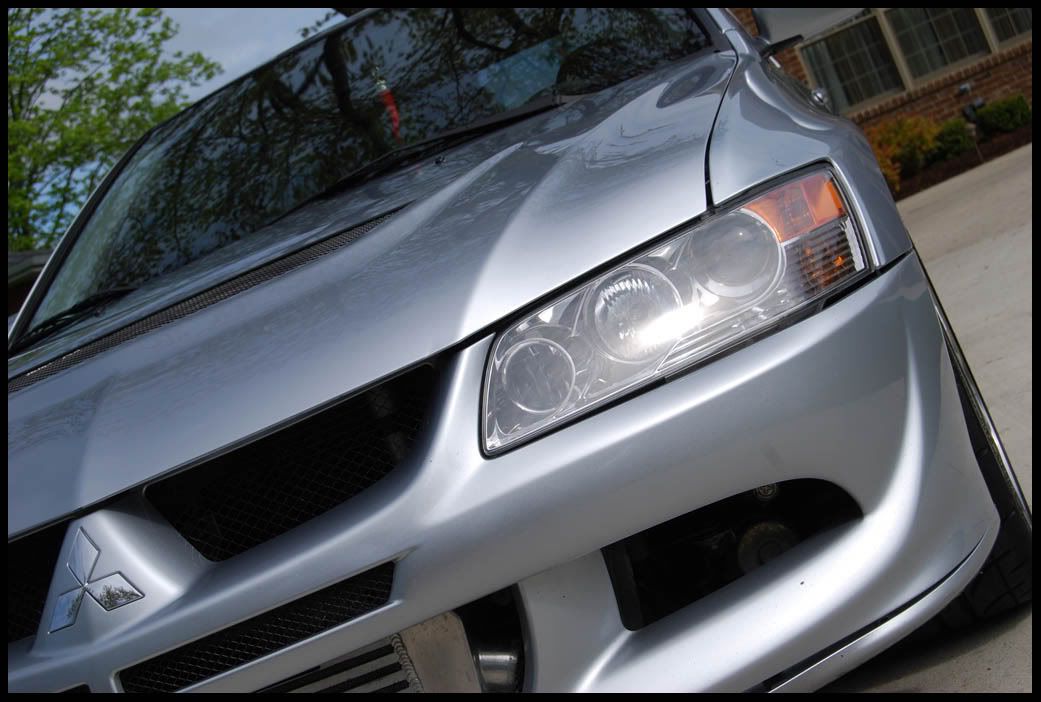
8)Head lights and front end polished w/M205, White LC 3.5” pad, rotary
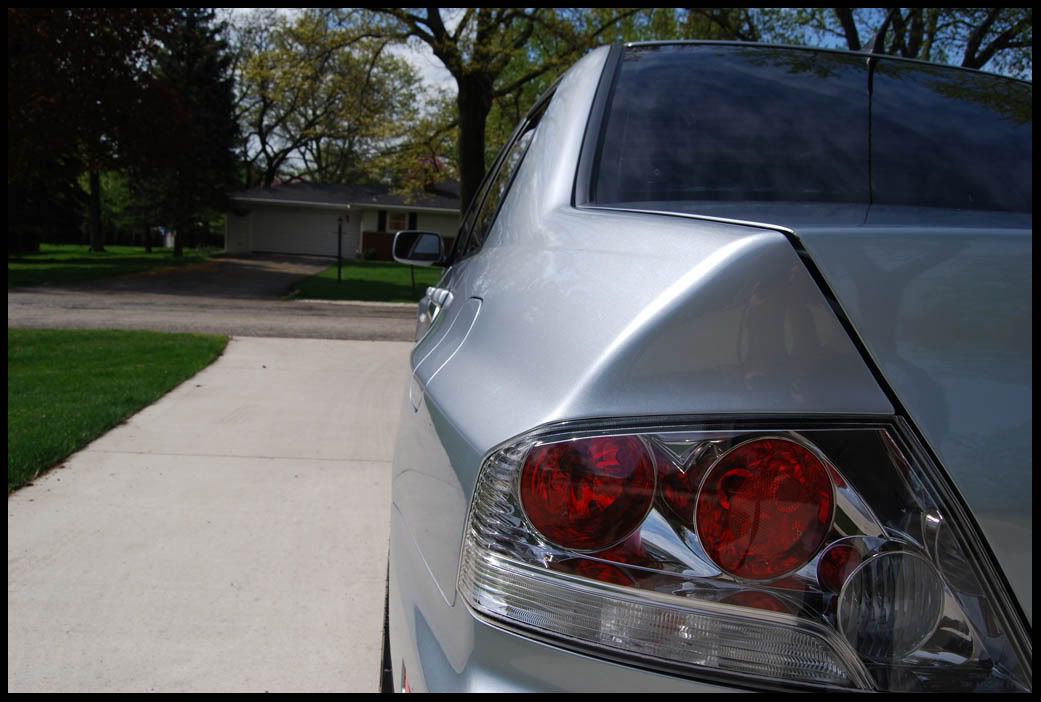
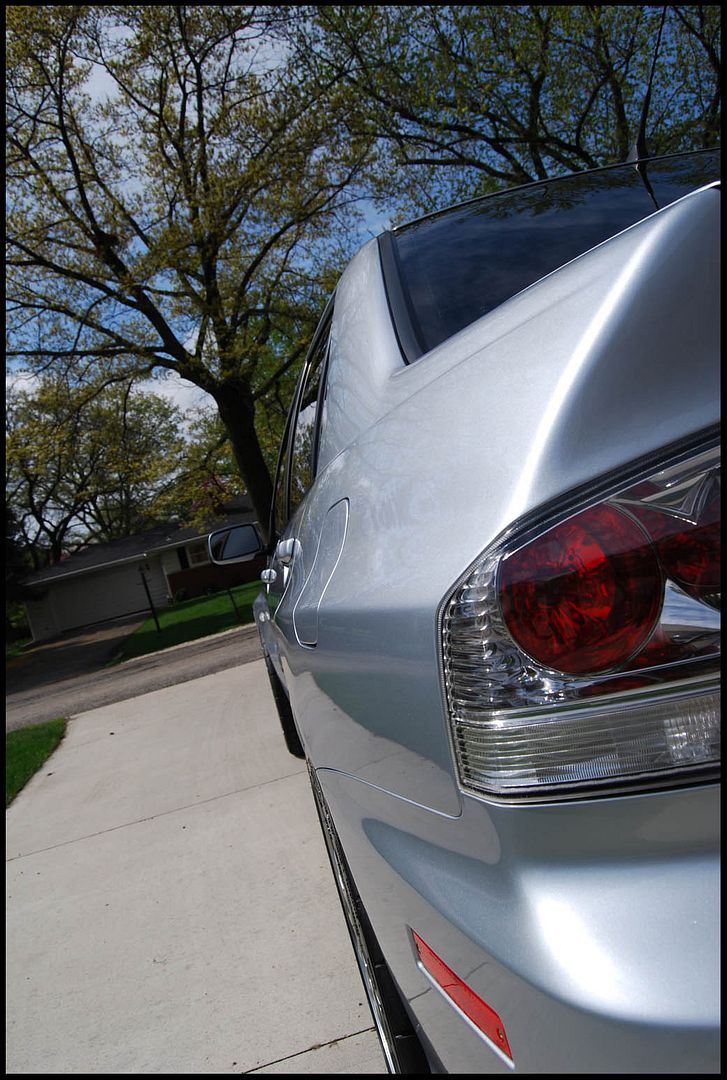
9)Tail lights and rear end polished w/M205, White LC 3.5” pad, rotary
10)Front end polished w/M205, White LC 3.5” pad, rotary
11)All rubber trim, door handles, plastic, and thin edges masked off
12)Small/hard to get to areas polished with M205, LC Orange 3.5” pad, rotary
13)The rest of the car(except for hood, see next) polished with M205, LC Orange 7.5”, rotary
14)The hood was recently bought to replace a carbon fiber one. It had a few noticeable deep scratches that required wet-sanding. There were also many RIDs all over the hood, and other various defects that needed a bit more attention. I wanted to get the hood into the same shape that the rest of the car was in.
a)Megs Uni-Grit 2500
b)Megs Uni-Grit 3000
c)PFW 3.5” pad with M105 via rotary, two passes
d)Hood polished with PFW 7.5”, M105 via rotary, one pass
e)Hood polished with LC 7.5” Orange, M205, one pass
f)Hood polished with LC 7.5” White, M205, one pass
16)Foamed with Megs Deep Crystal
17)Rinsed
18)Dried with plush microfibers
19)Opti-Seal applied with a Megs foam applicator
20)P21s applied with a Megs foam applicator
21)Windows cleaned with Invisible Glass
22)Tires got Megs Hot Shine tire coating
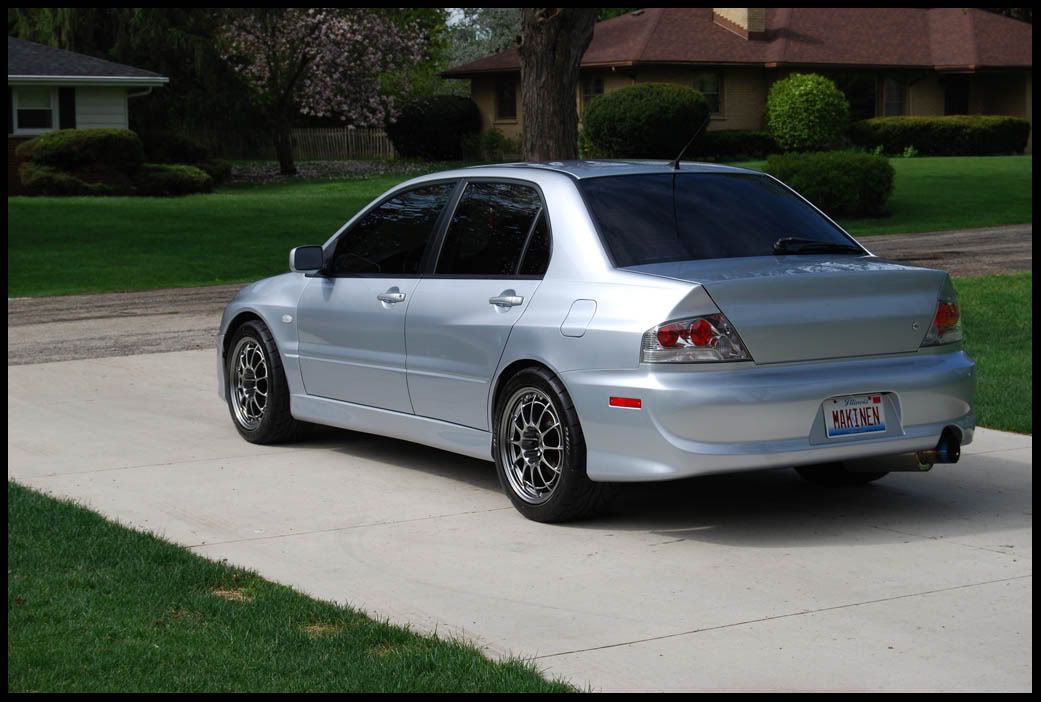
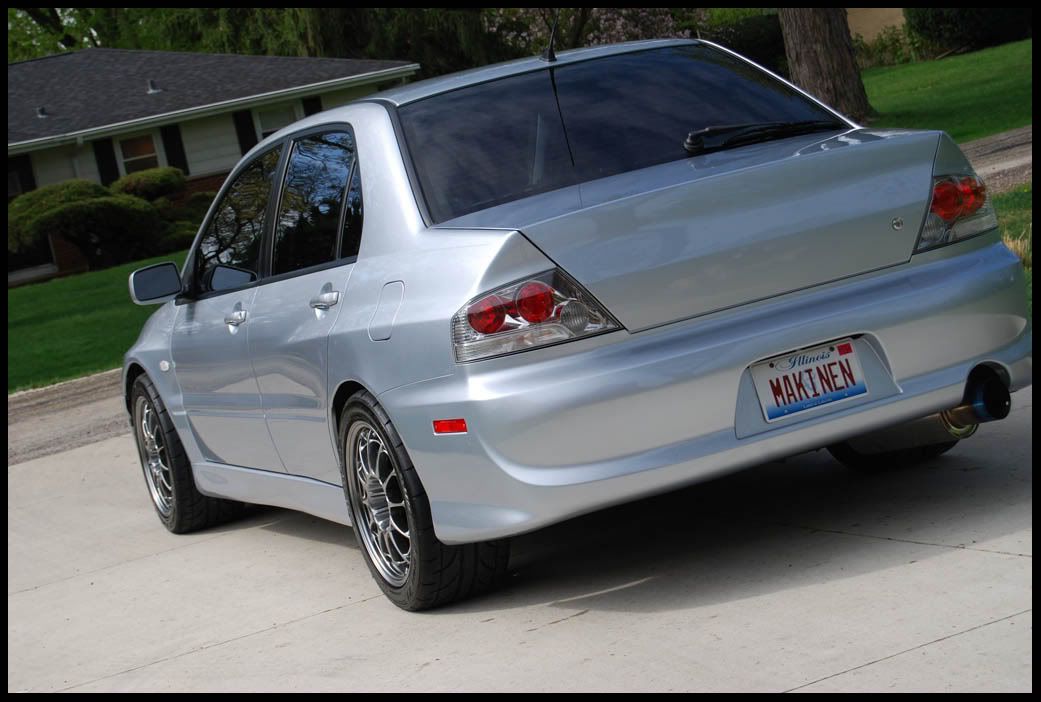
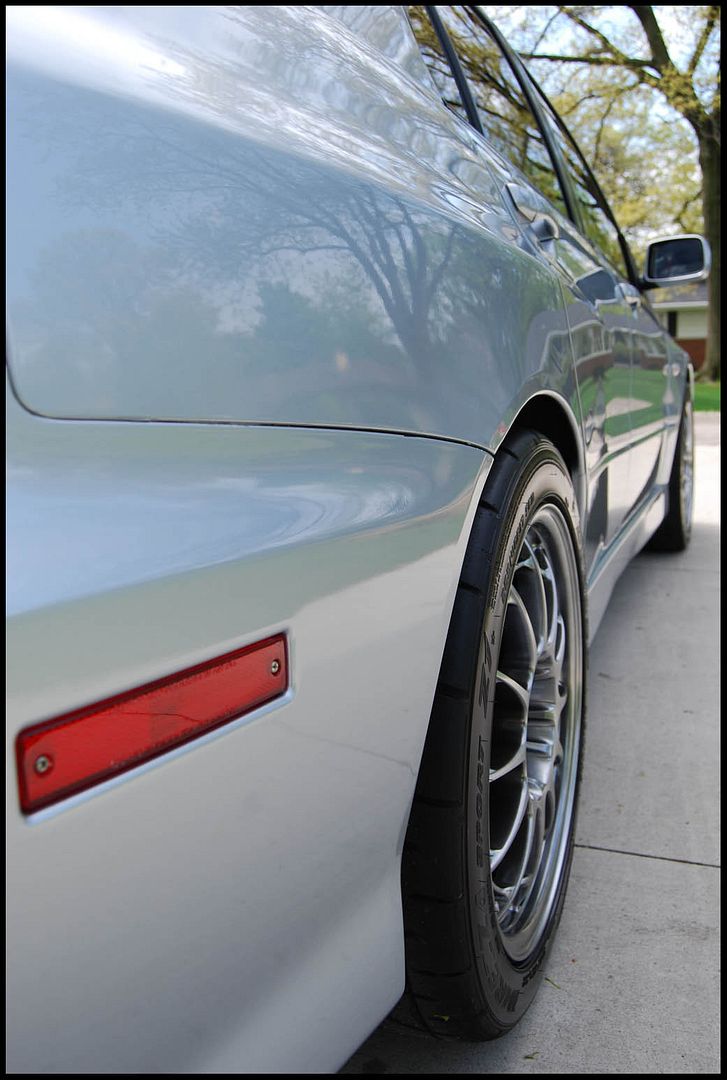
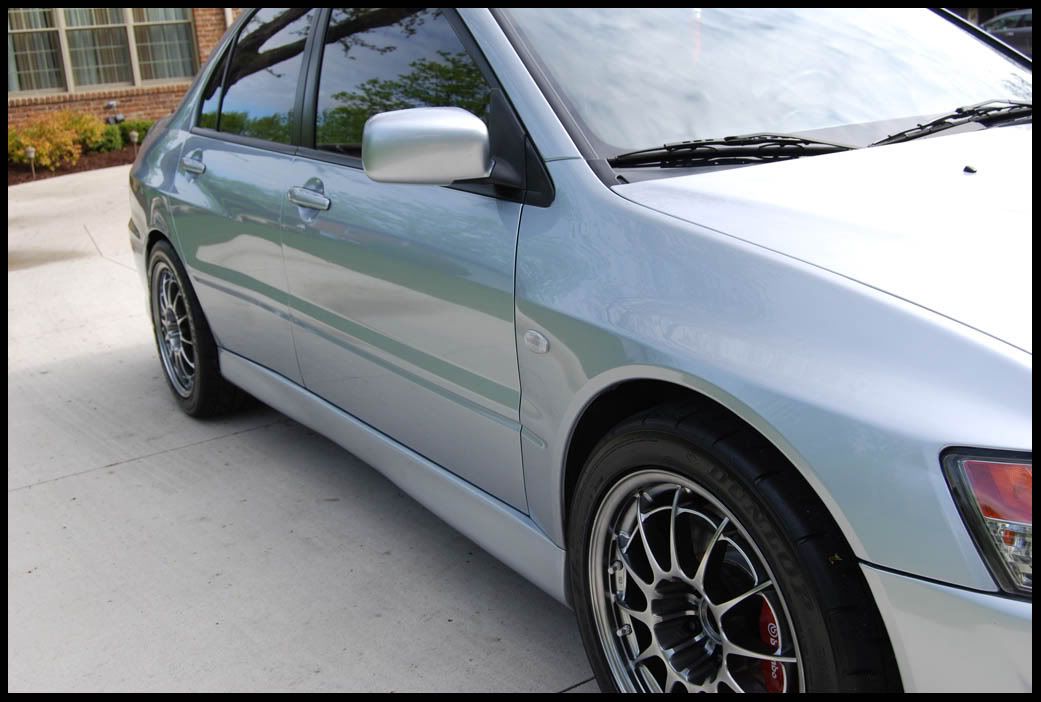
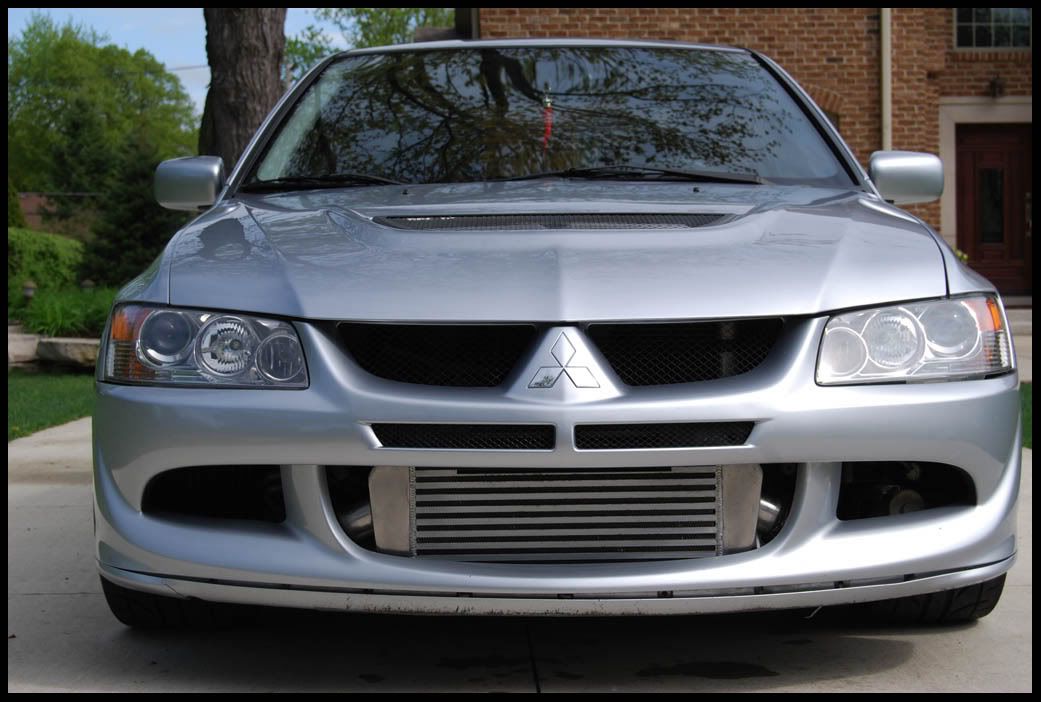
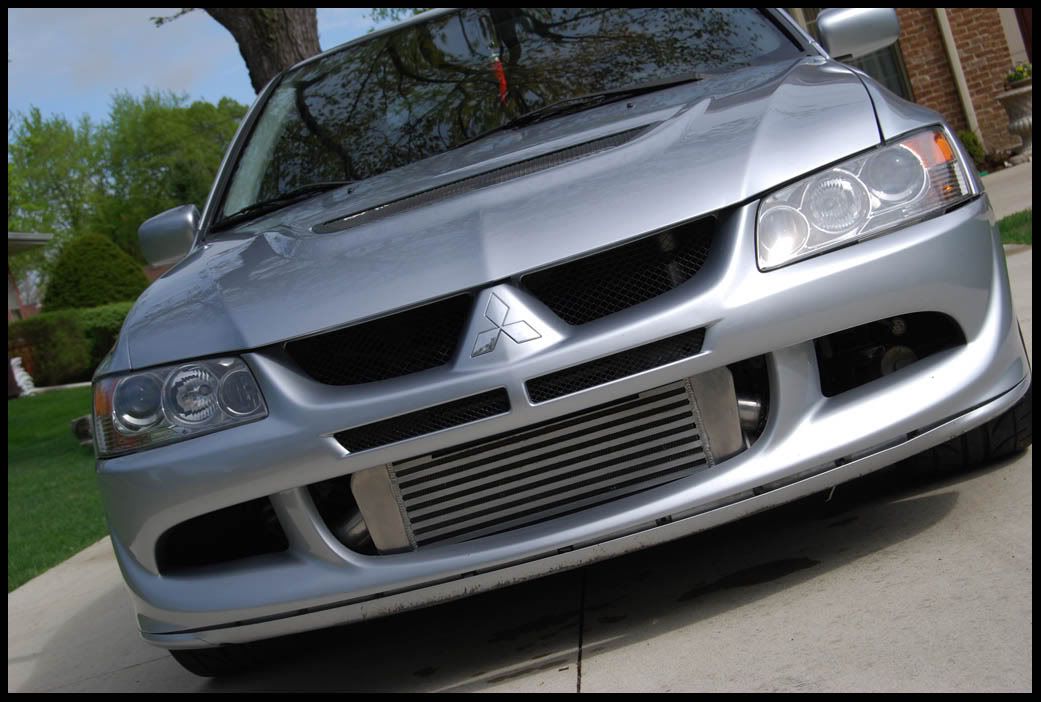
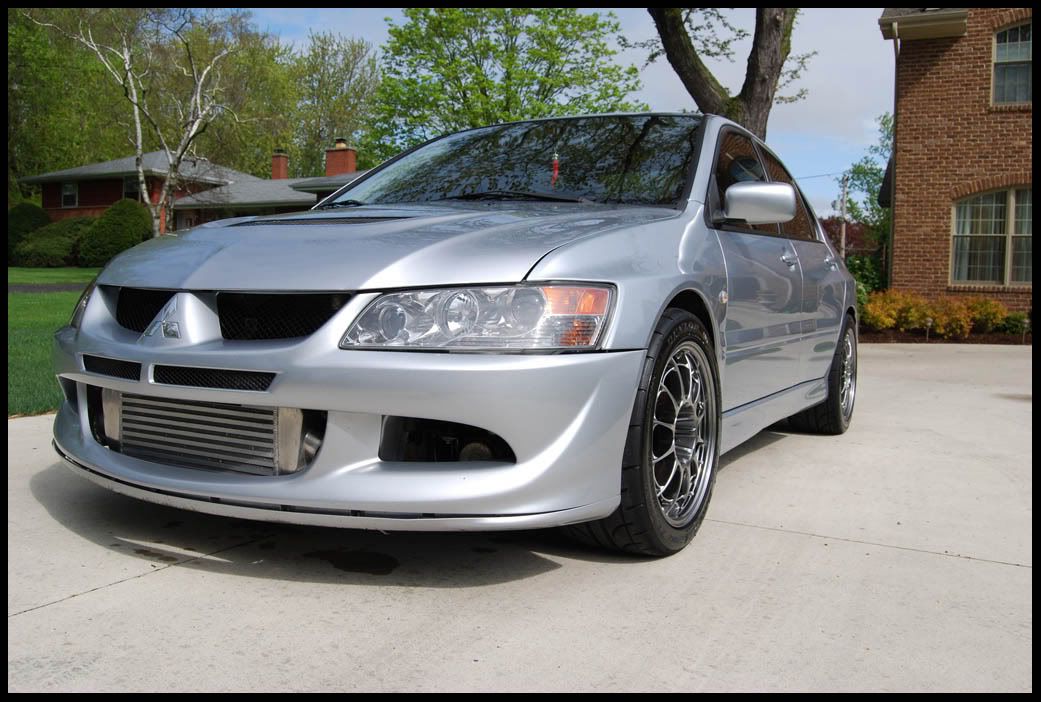
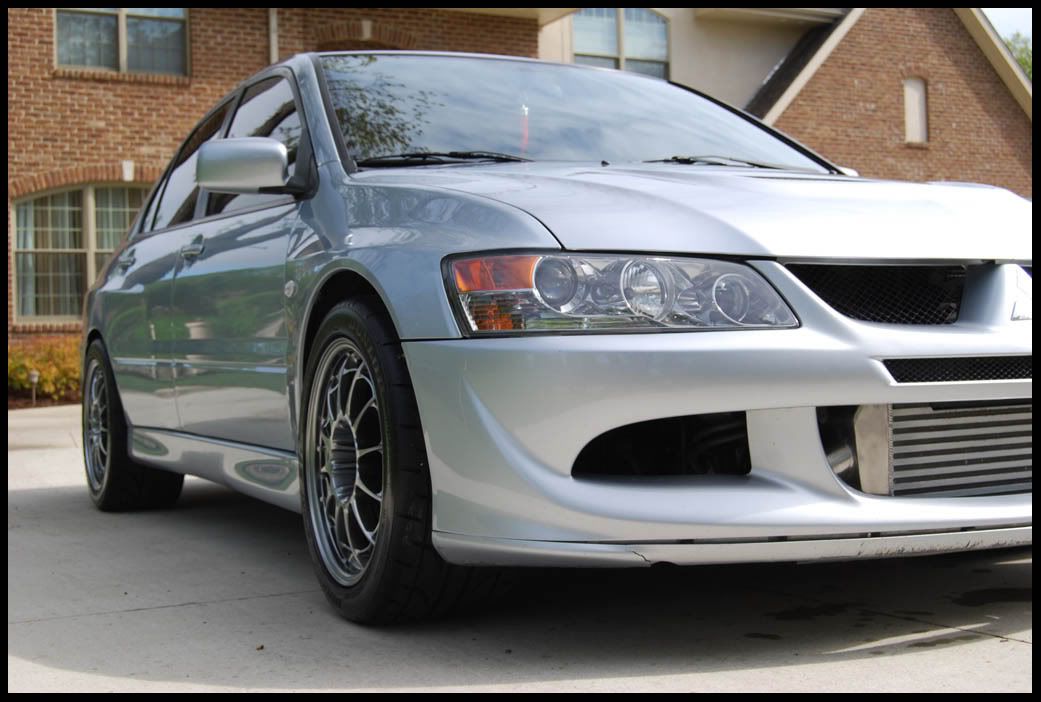
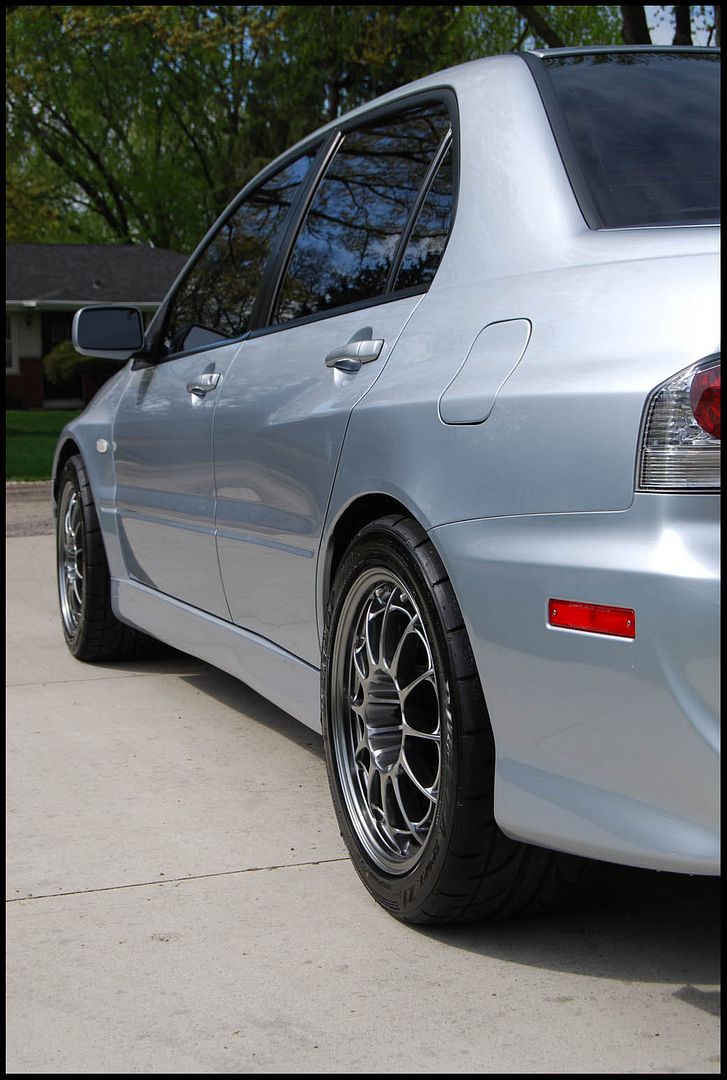
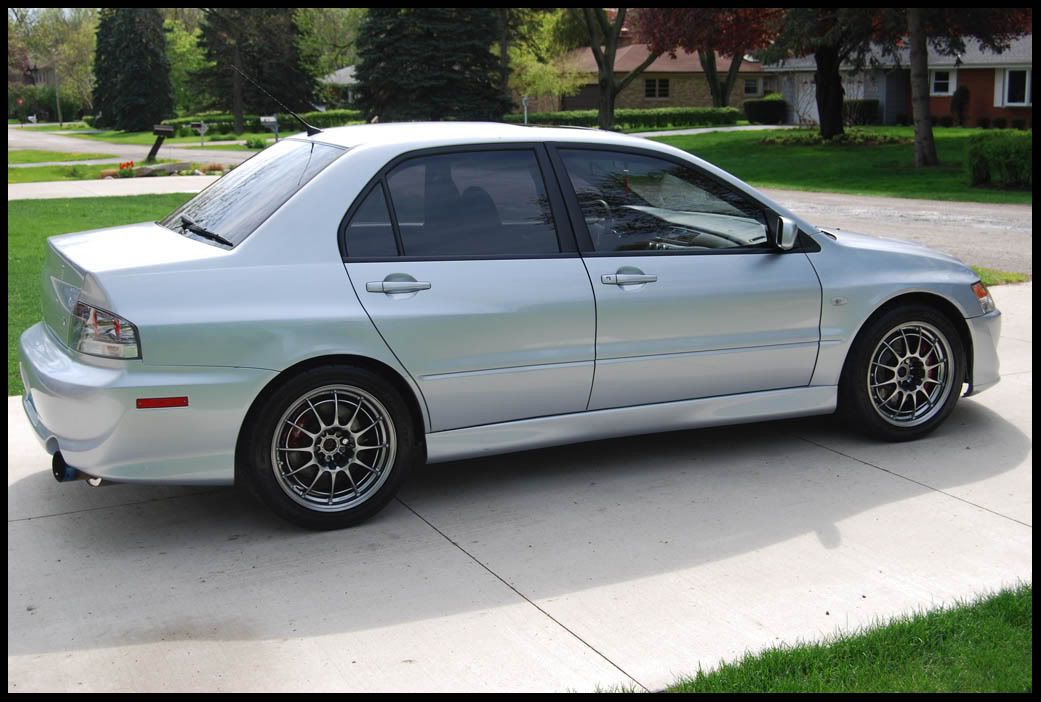
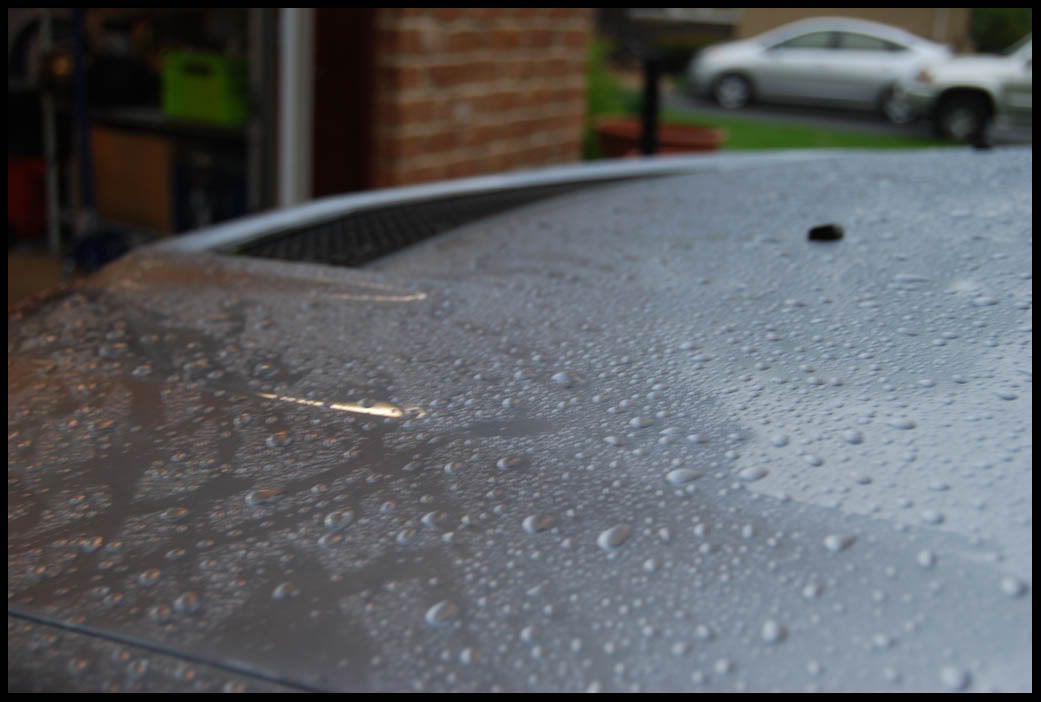
The car upon arrival:
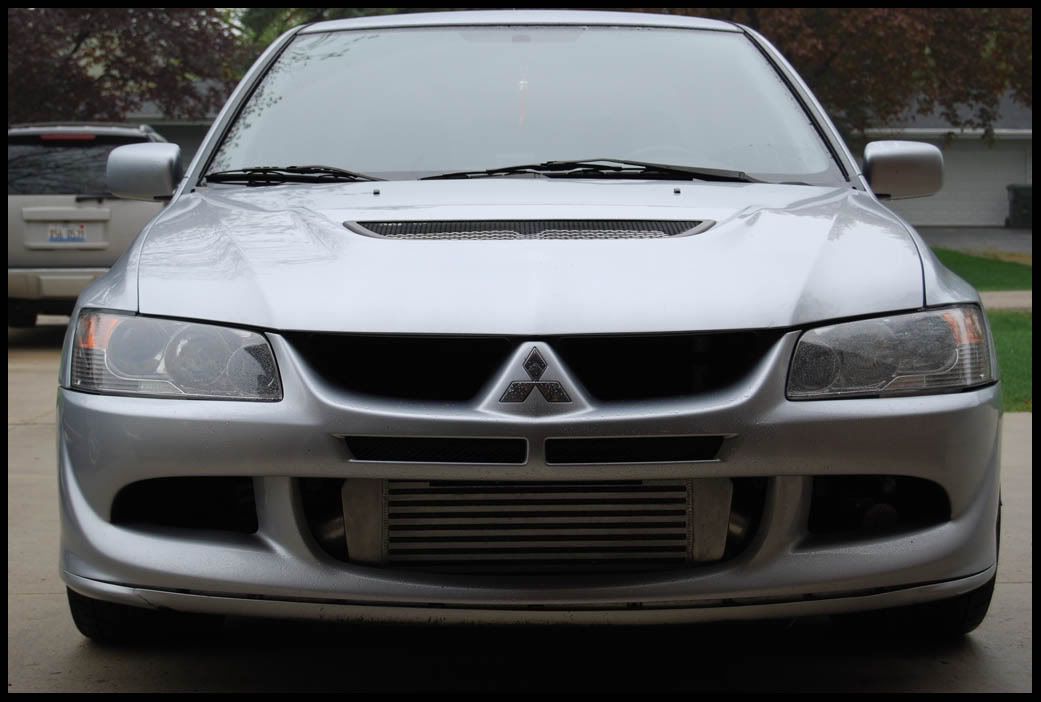


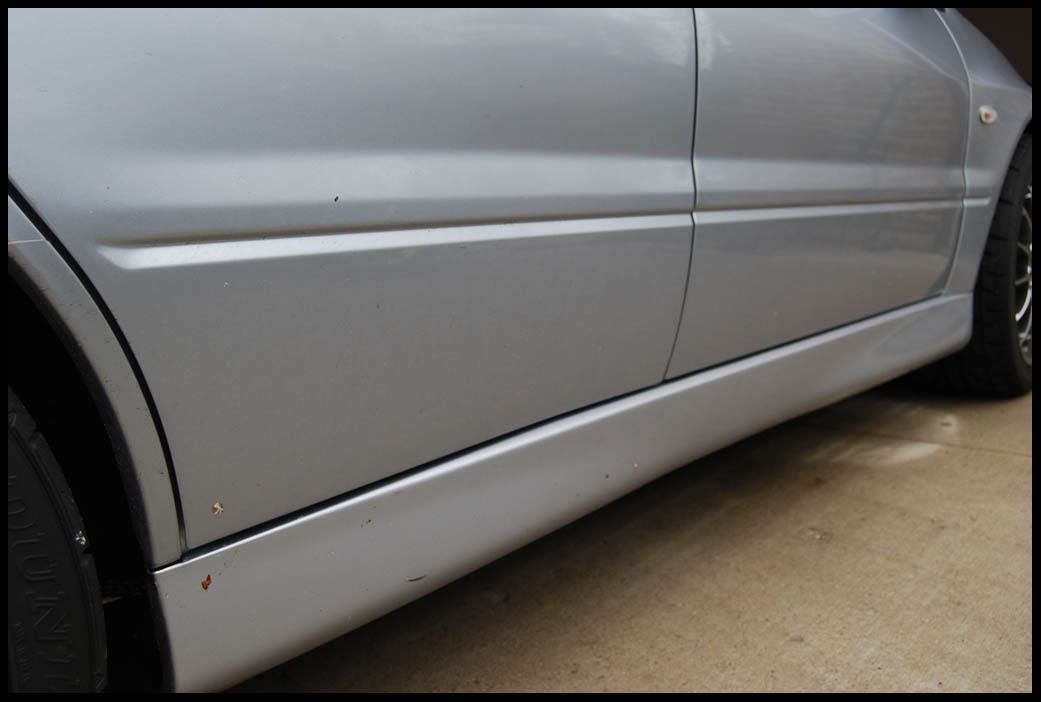
It was really hard to capture any dirt on camera because of the color/overcast. Overall the car was not bad at all, just light road grime. The owner has obviously taken pretty good care of it.
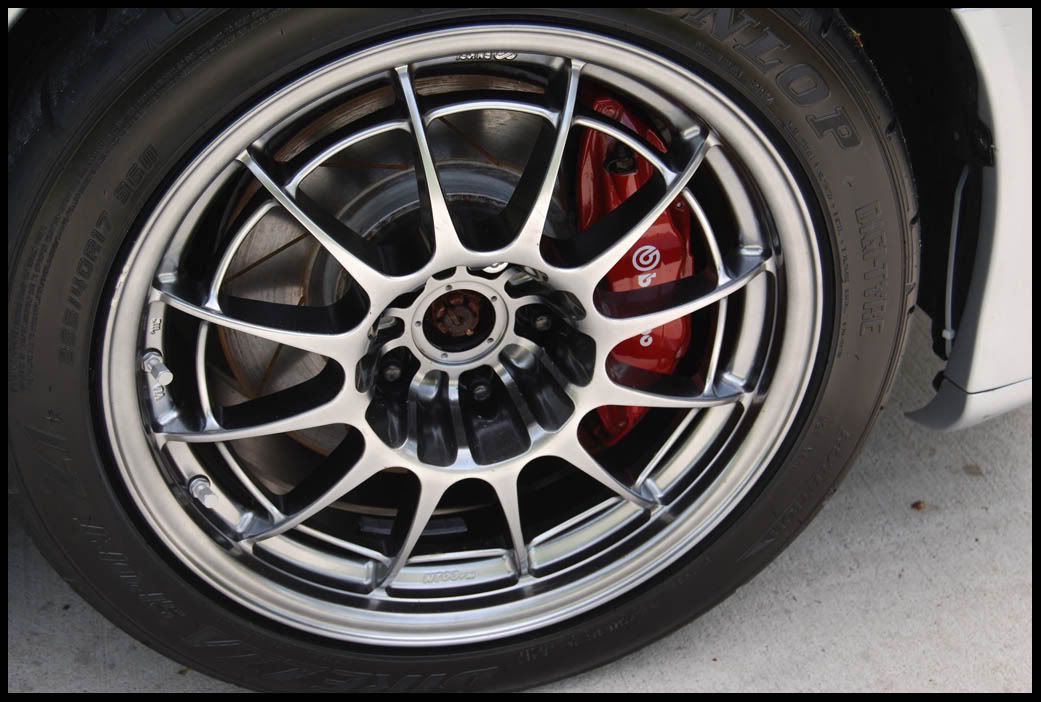
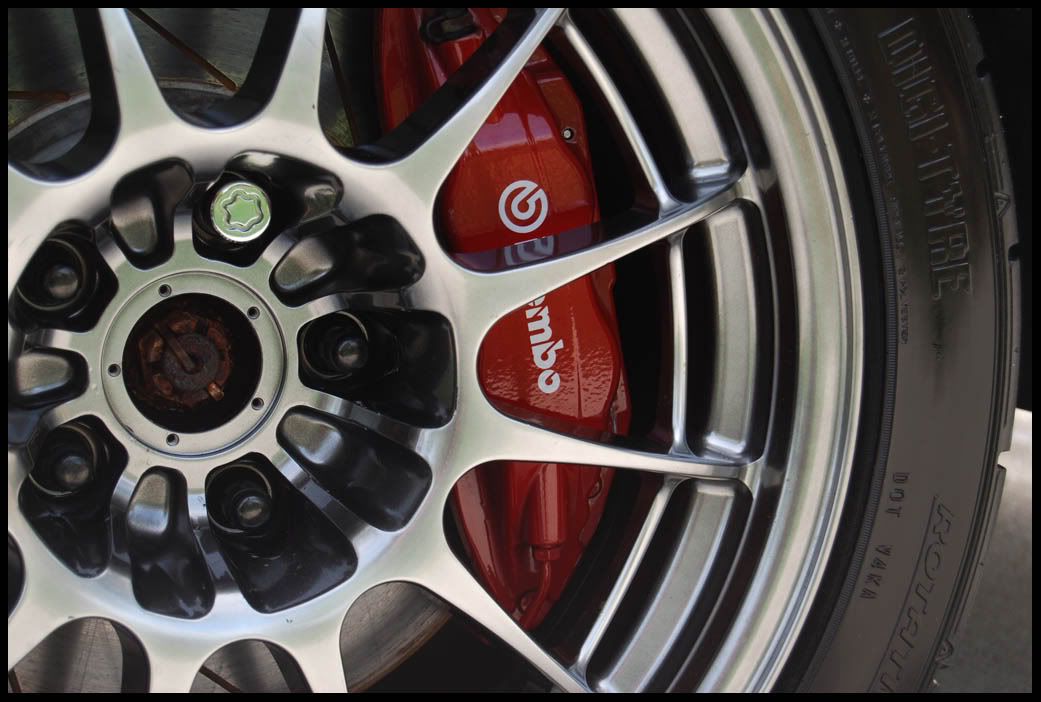
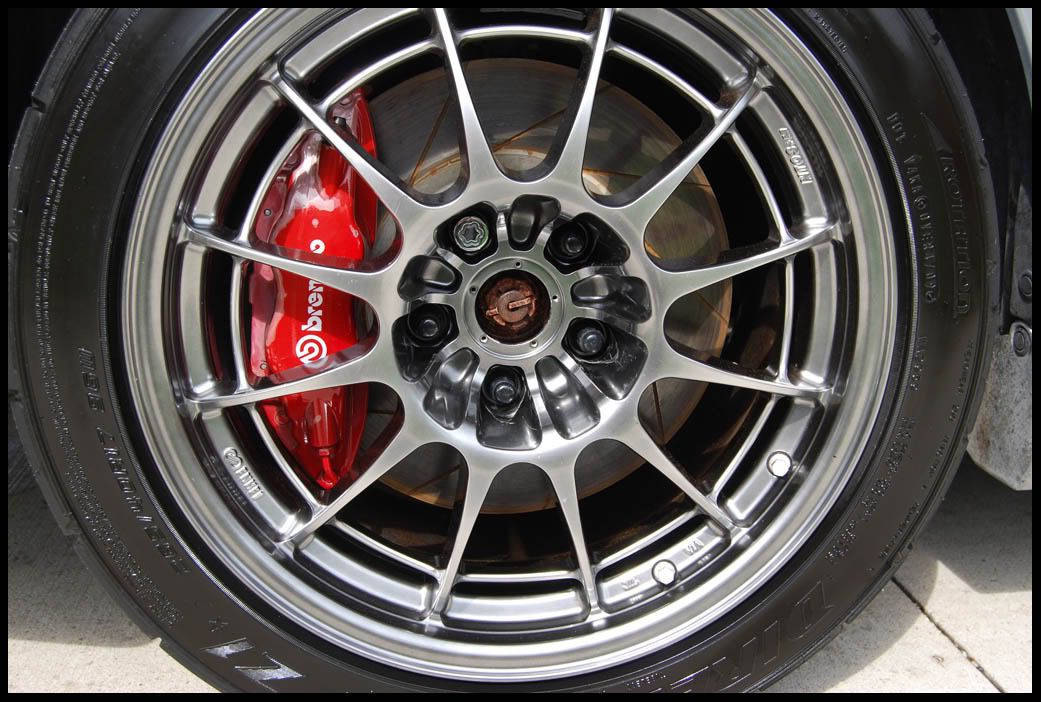
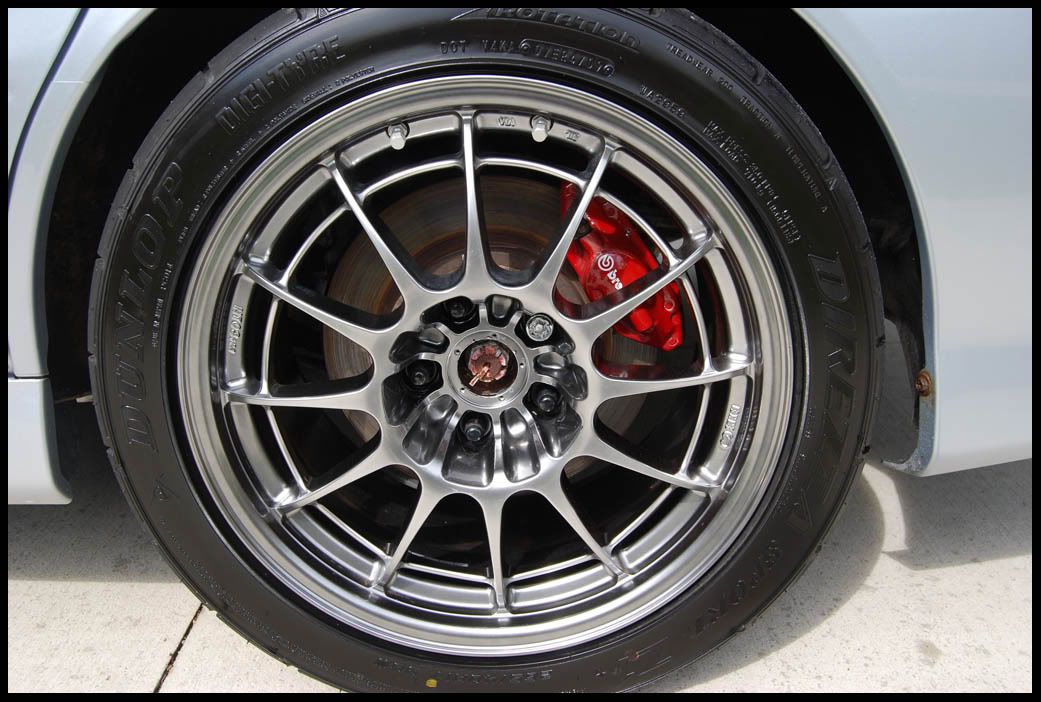
Products used to clean the wheels:
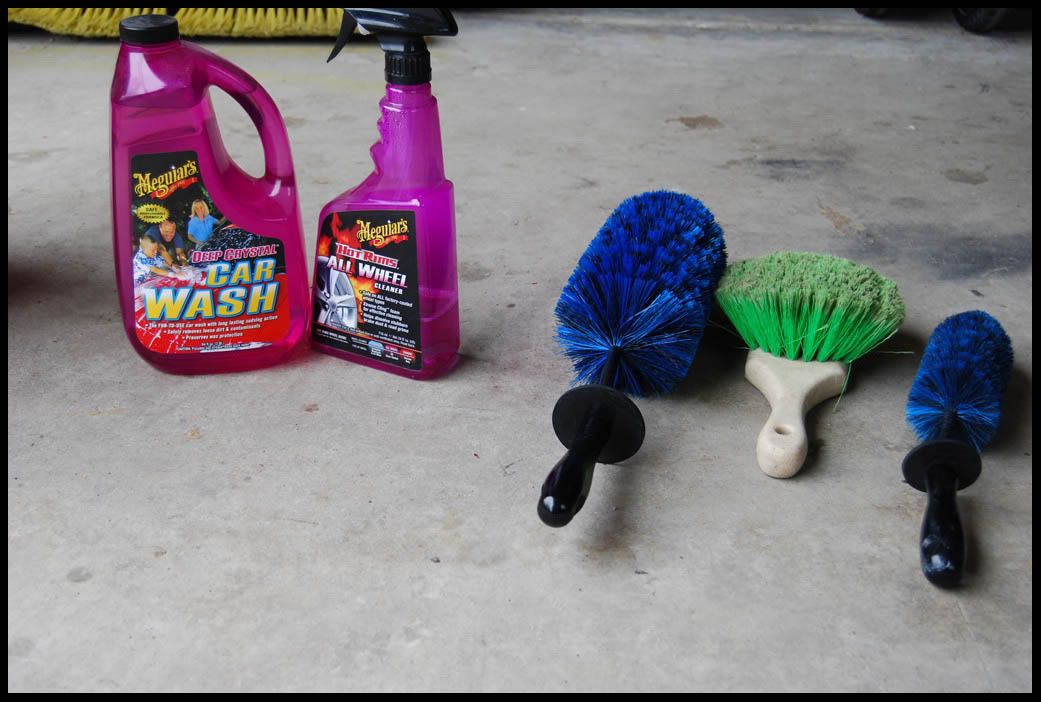
Megs All Wheel Cleaner Dwelling:

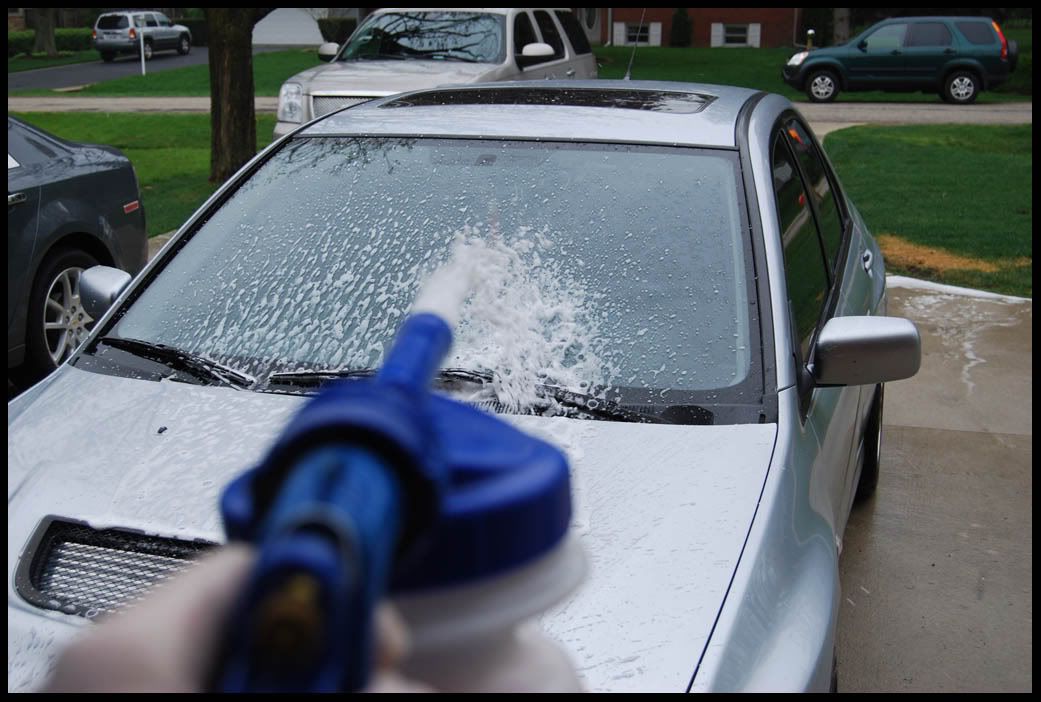
Foaming and testing a foam gun I bought online for $30, it was mediocre, it didn’t create a think foam even with the wash mixed strongly and it tended to dissipate quickly. It served its purposed and loosened up the dirt, debris and bugs that were stuck the car, as well as leaving a lot of lubrication on the surface for washing:
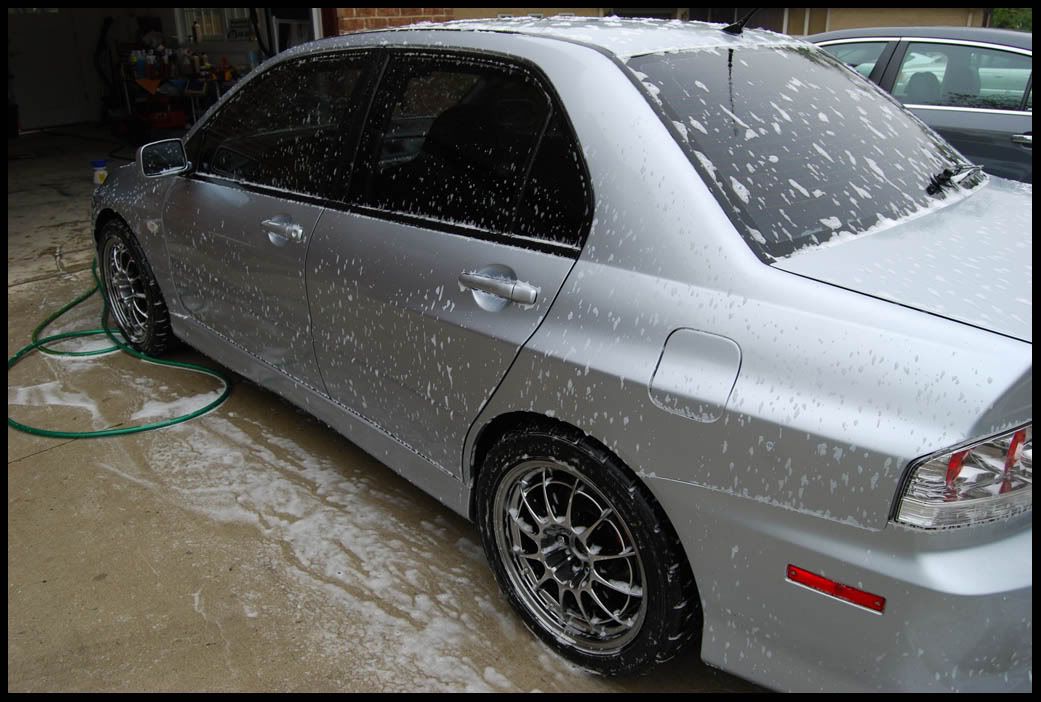
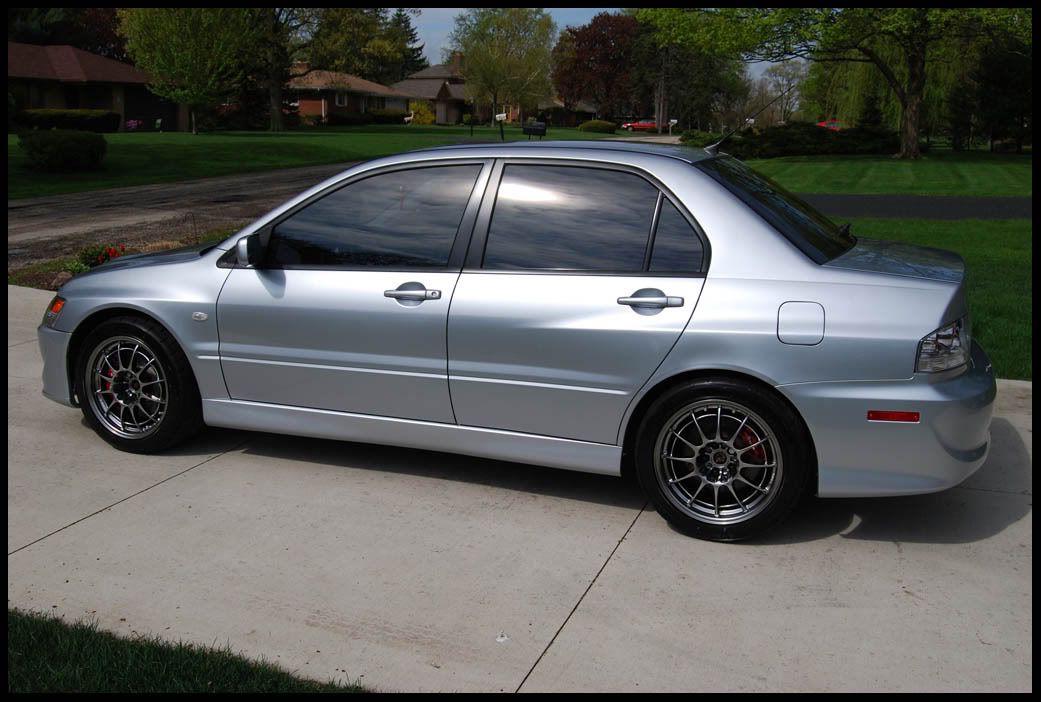
After wash/ready to clay:
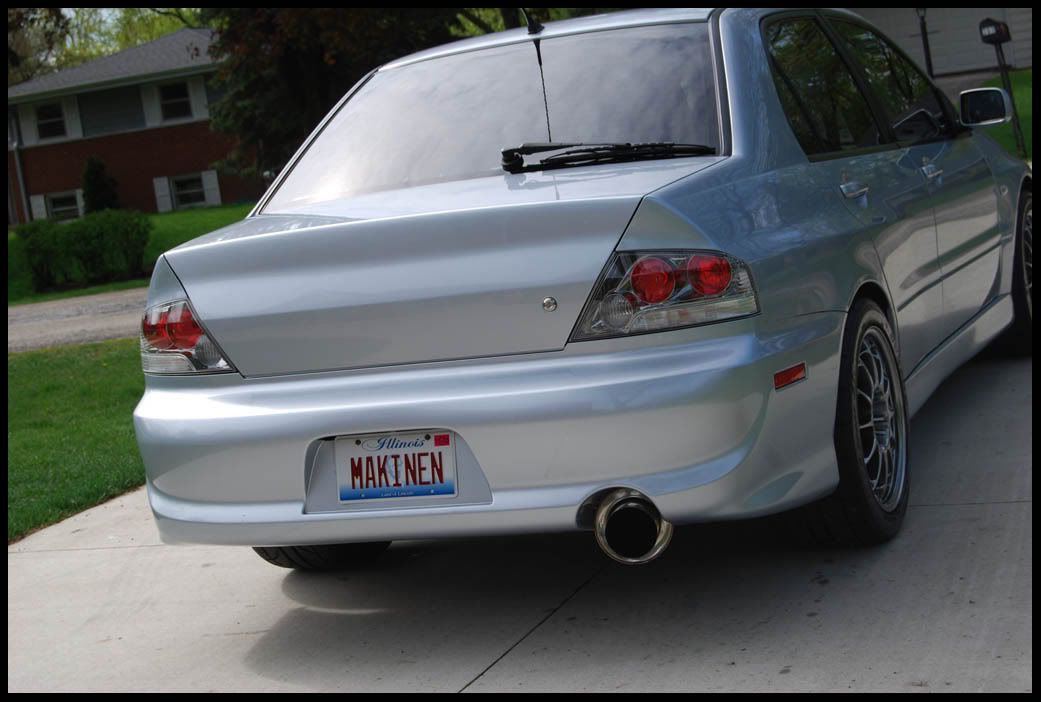
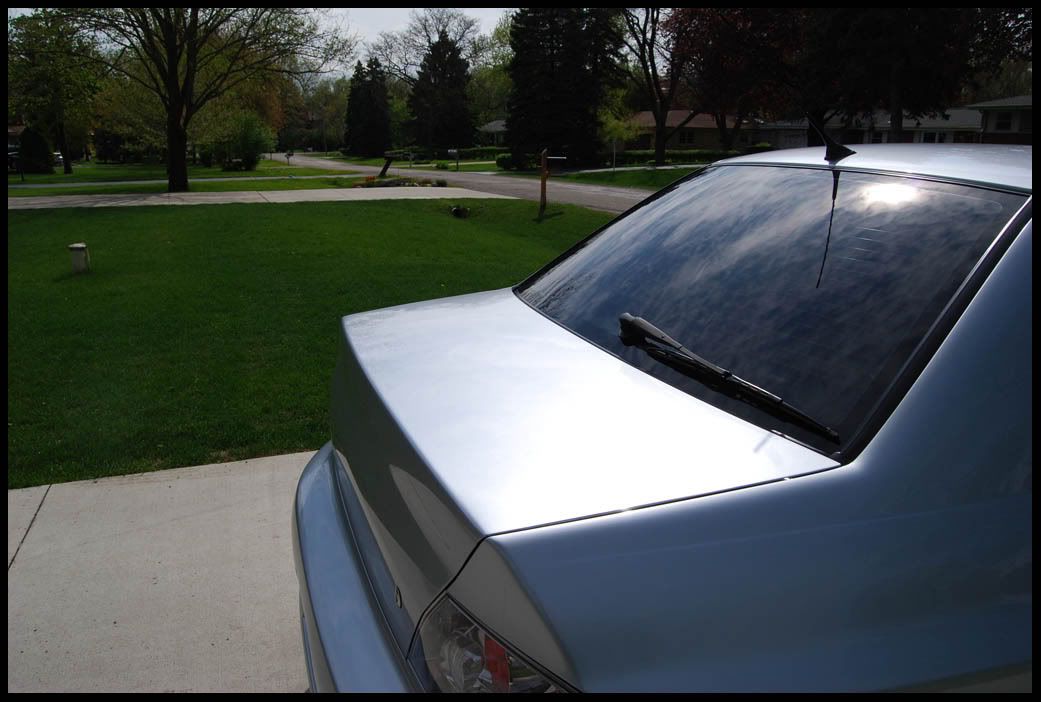
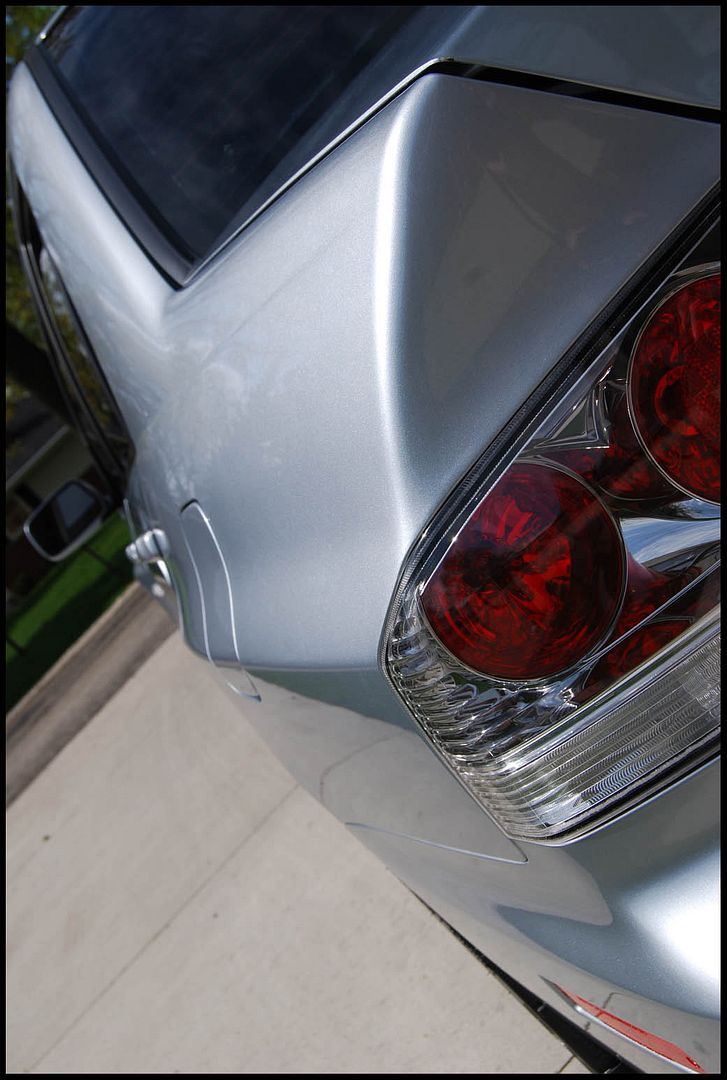
This was the worst part of the car, the trunk/rear end area:

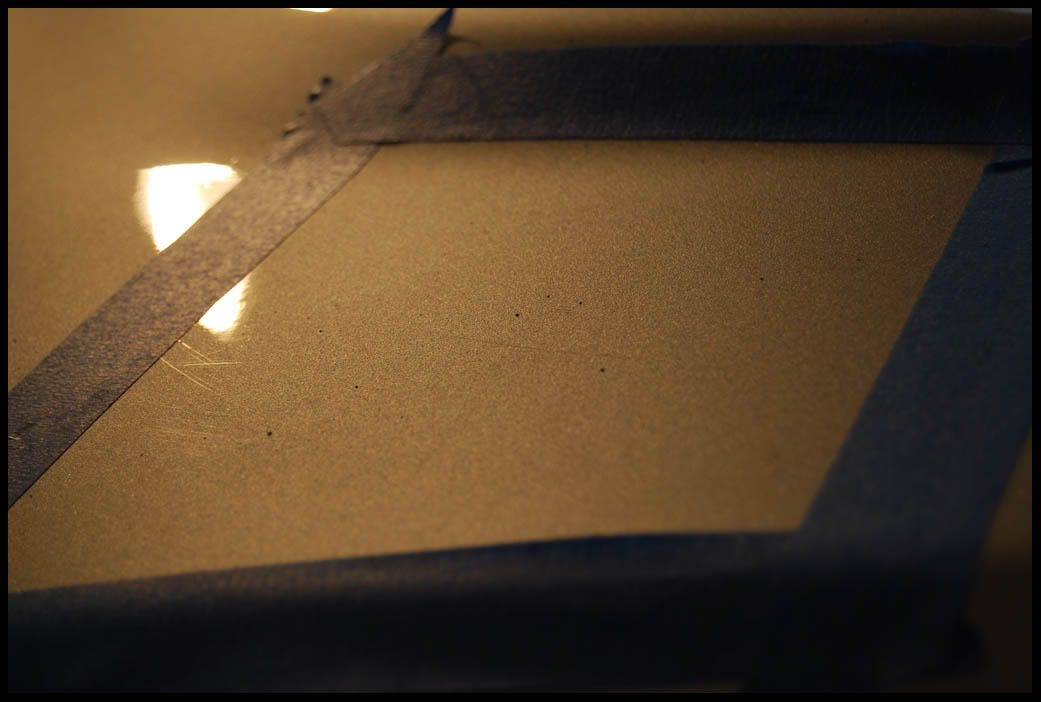
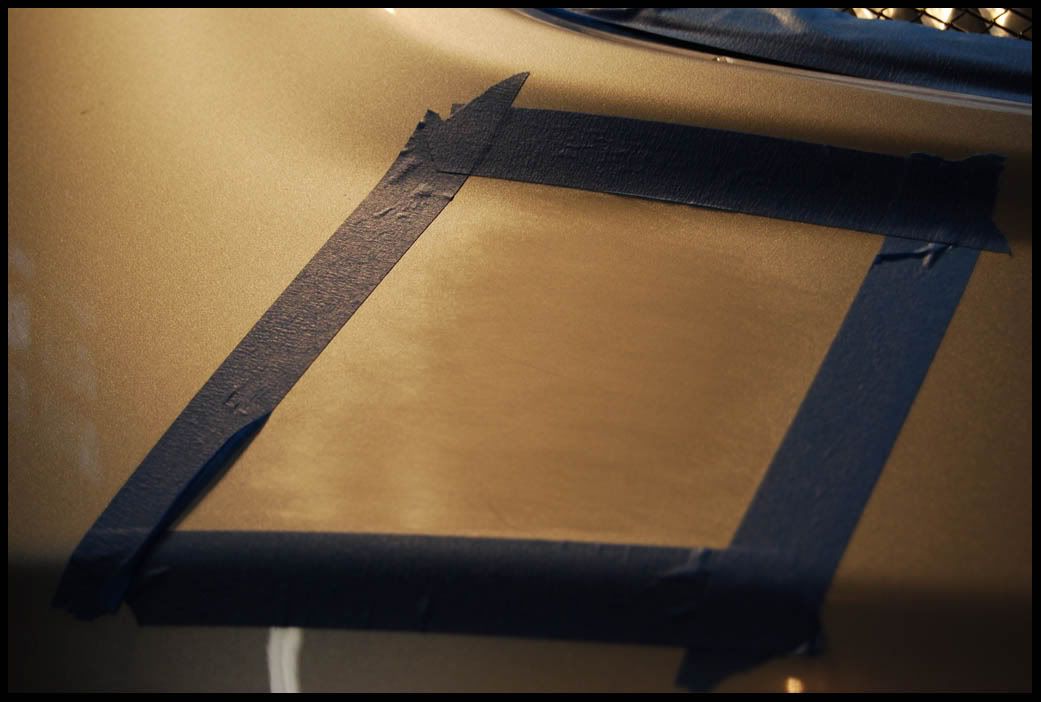
Taped and ready for polishing:

Polished by hand using M205 and a microfiber applicator:

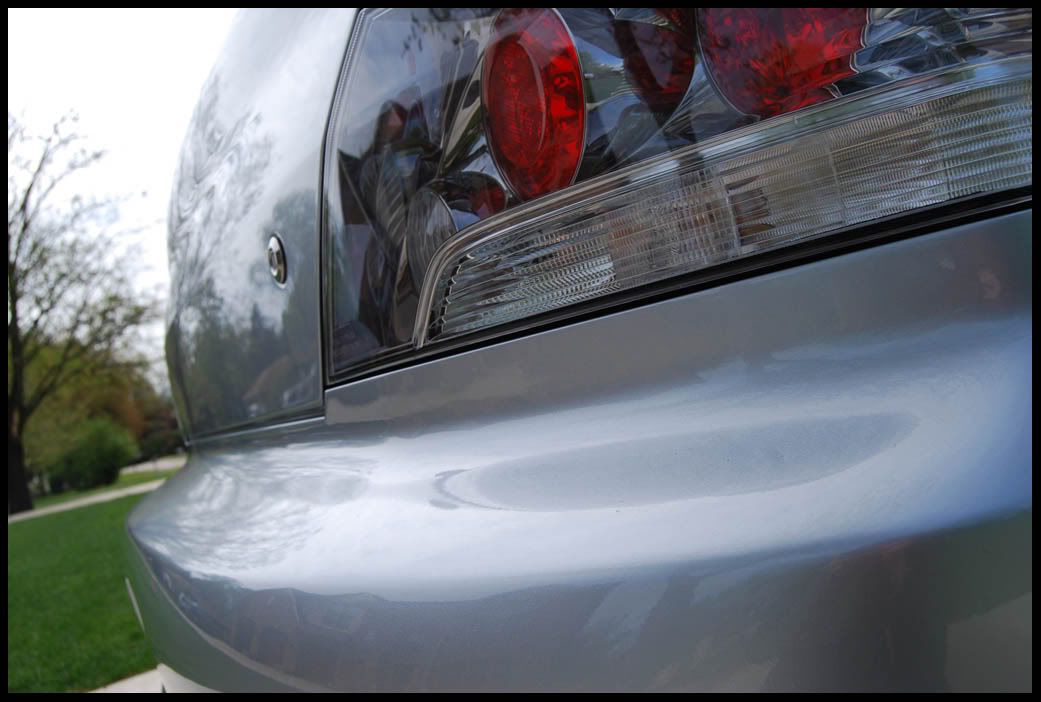
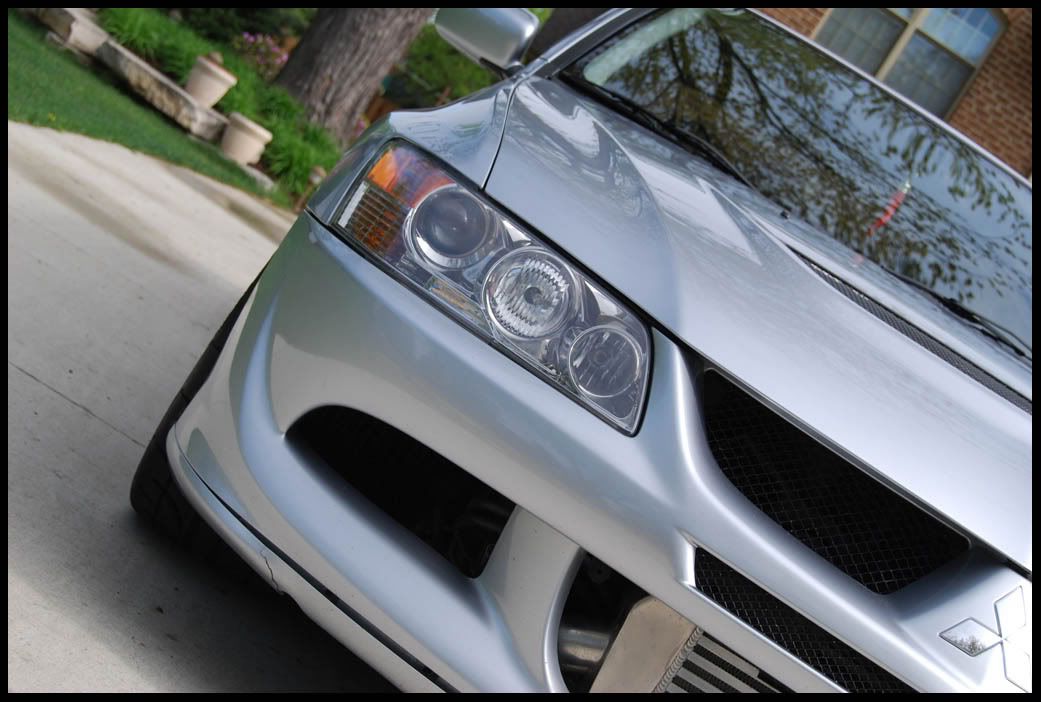
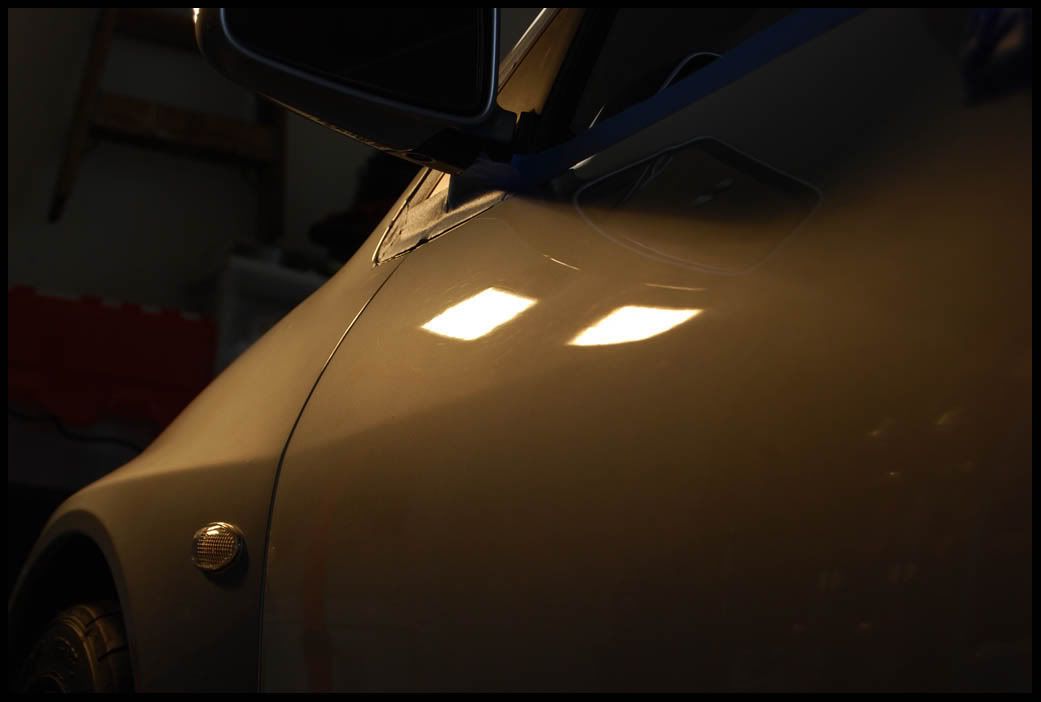
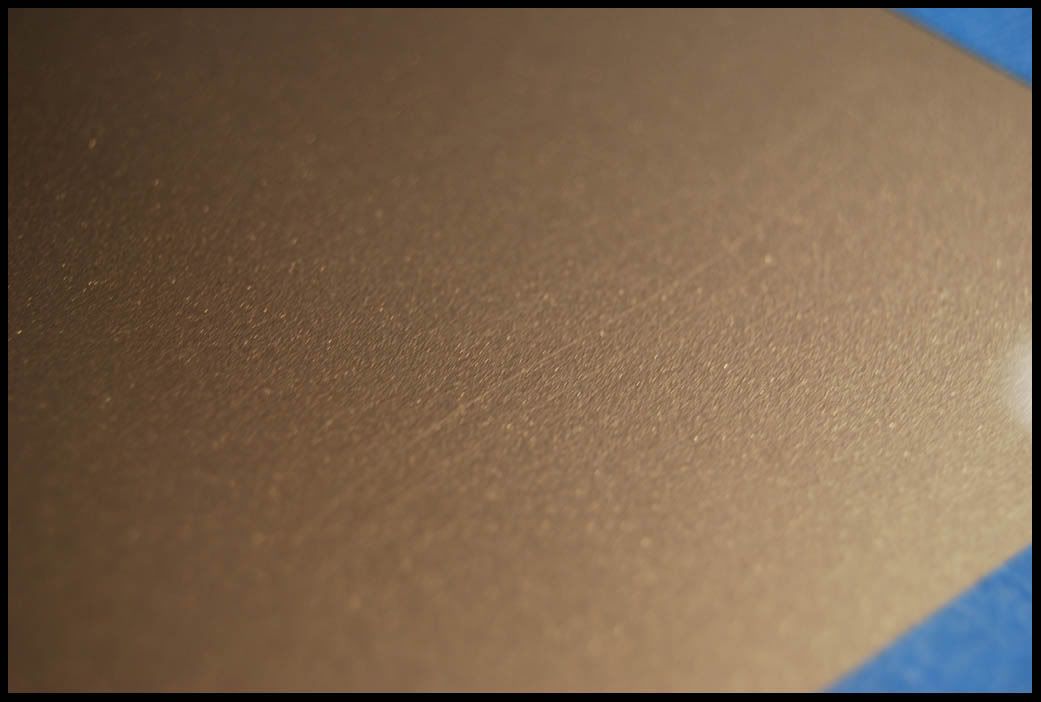
Before M205:
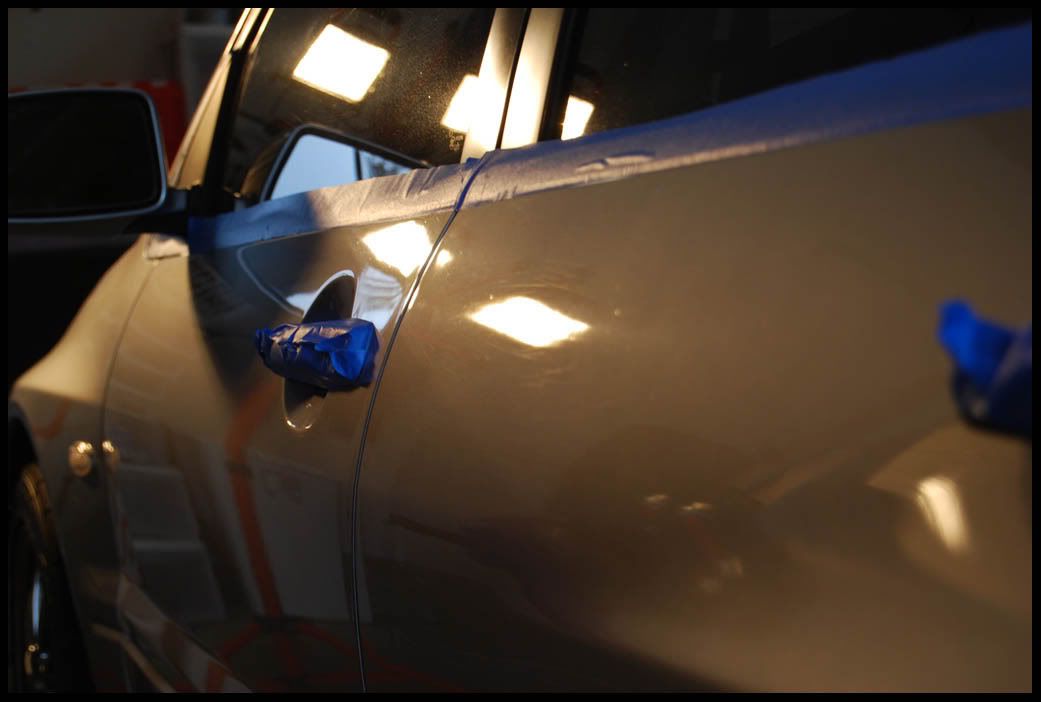
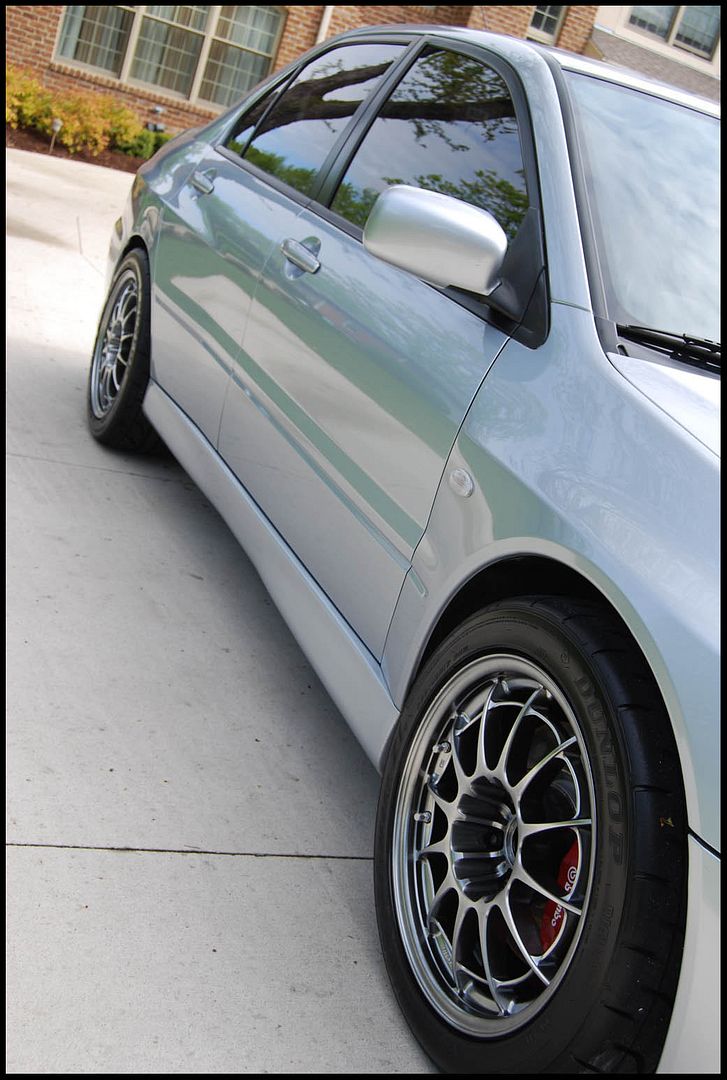
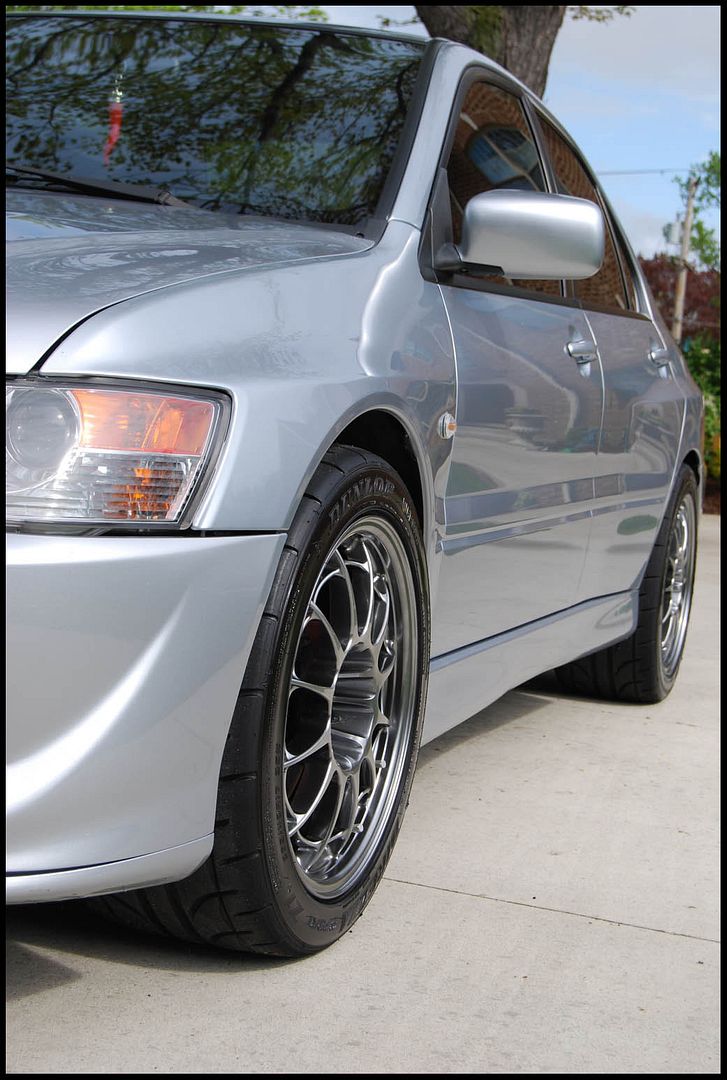
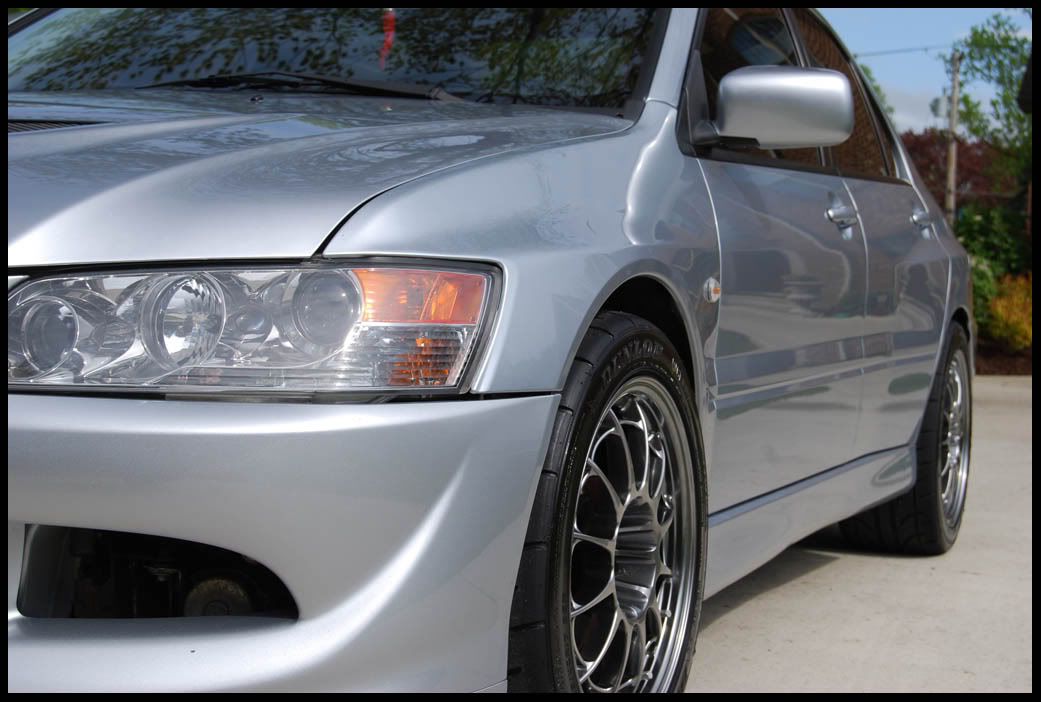
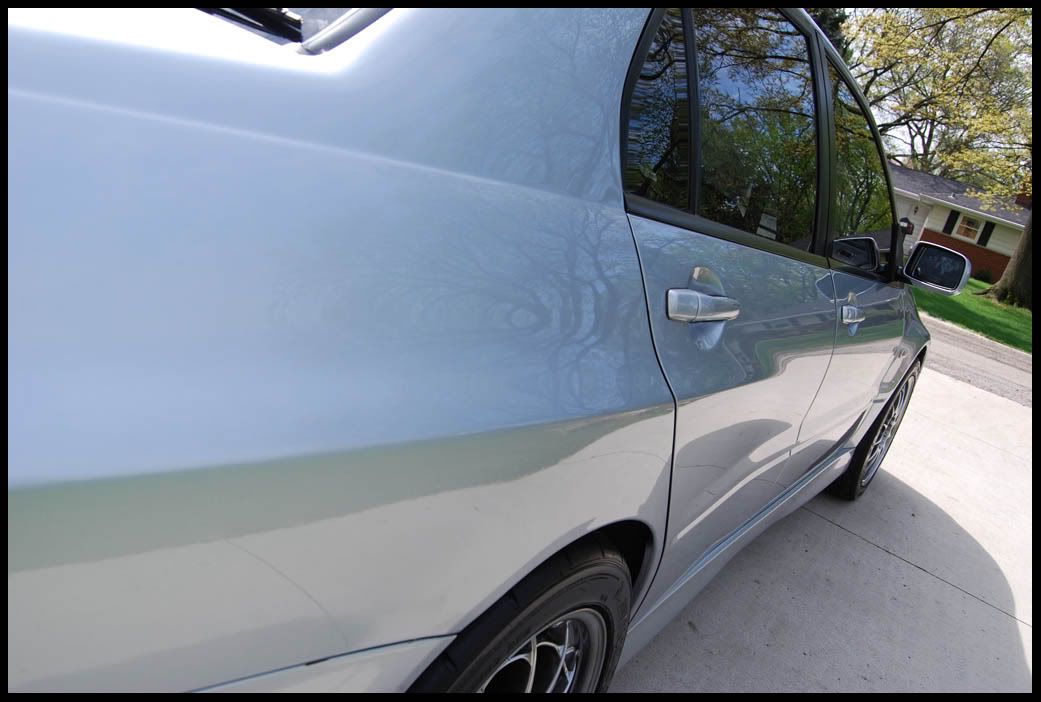
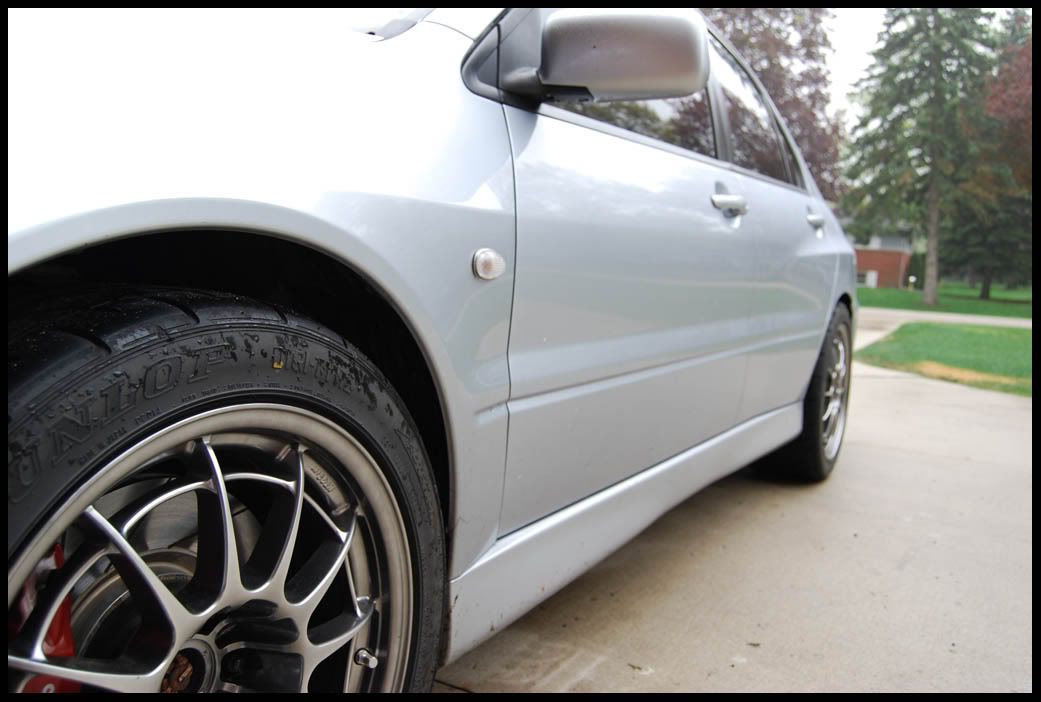
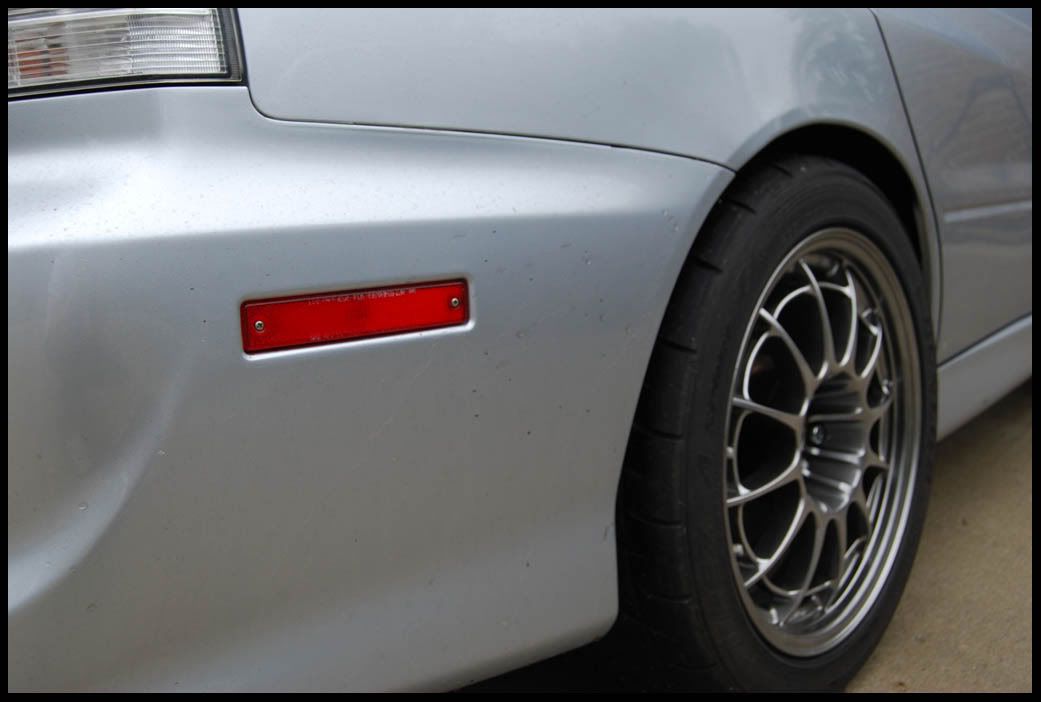
Drivers side door/quarter panel after M205


Passenger side door after M205:
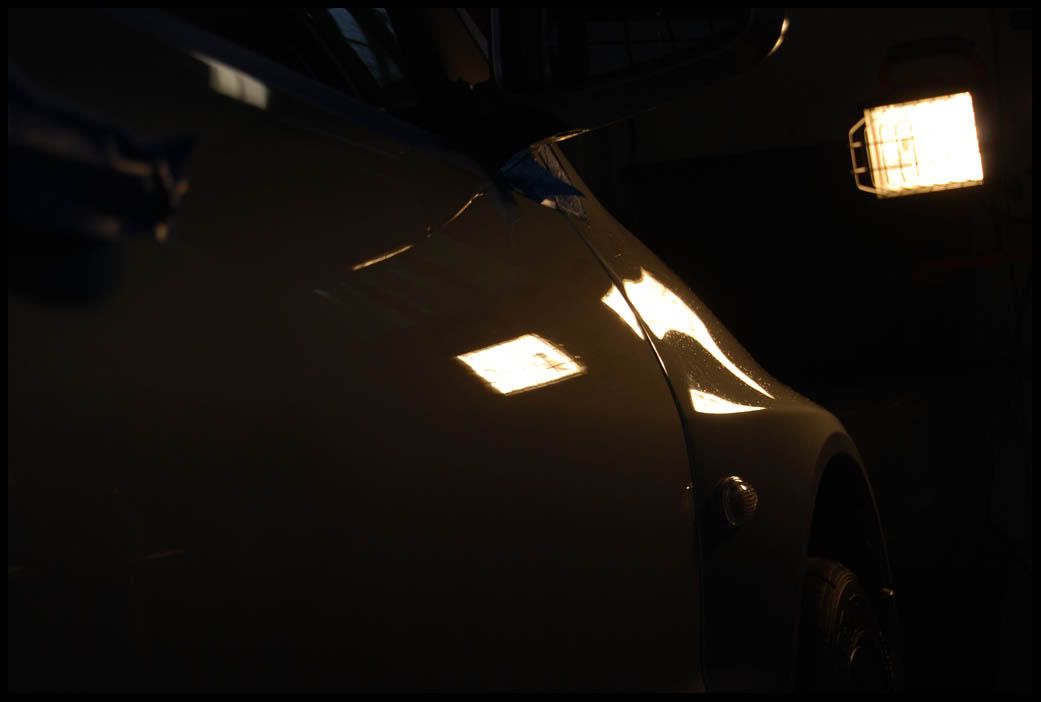
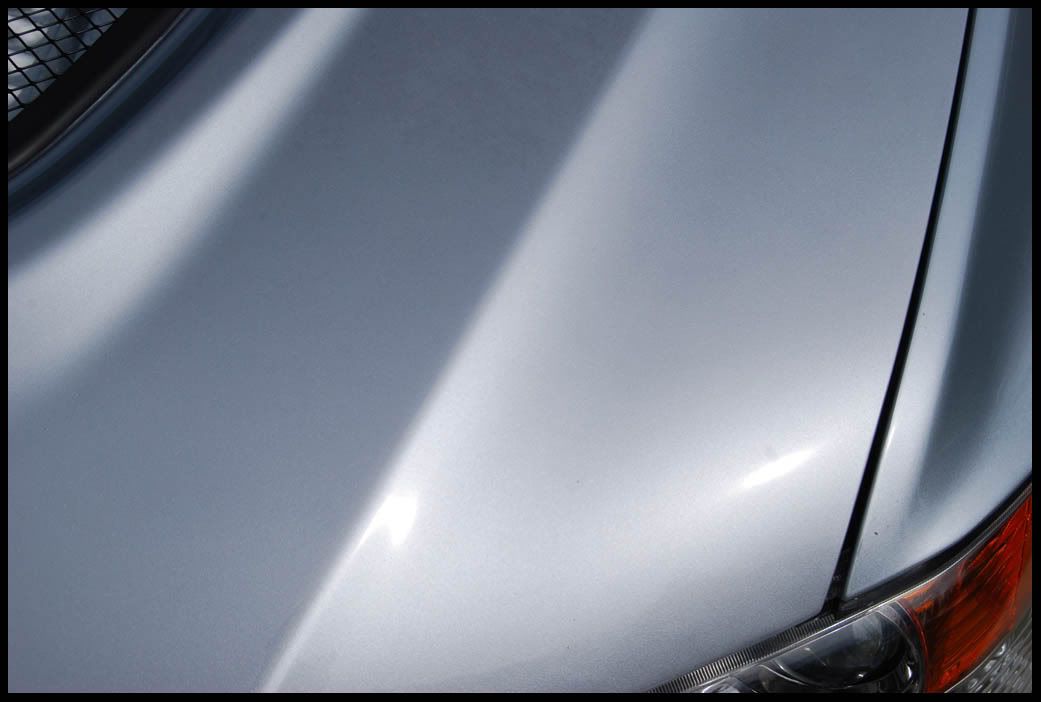
By the time I got to the hood, it was already getting dark outside. I had masked off the areas after claying but forgot to take pictures. I tried to get a good shot of the scratches, but the silver was playing games with me:
Wet sanded:

PFW made a huge mess by shedding and dusting all over the car:
Rinsed:
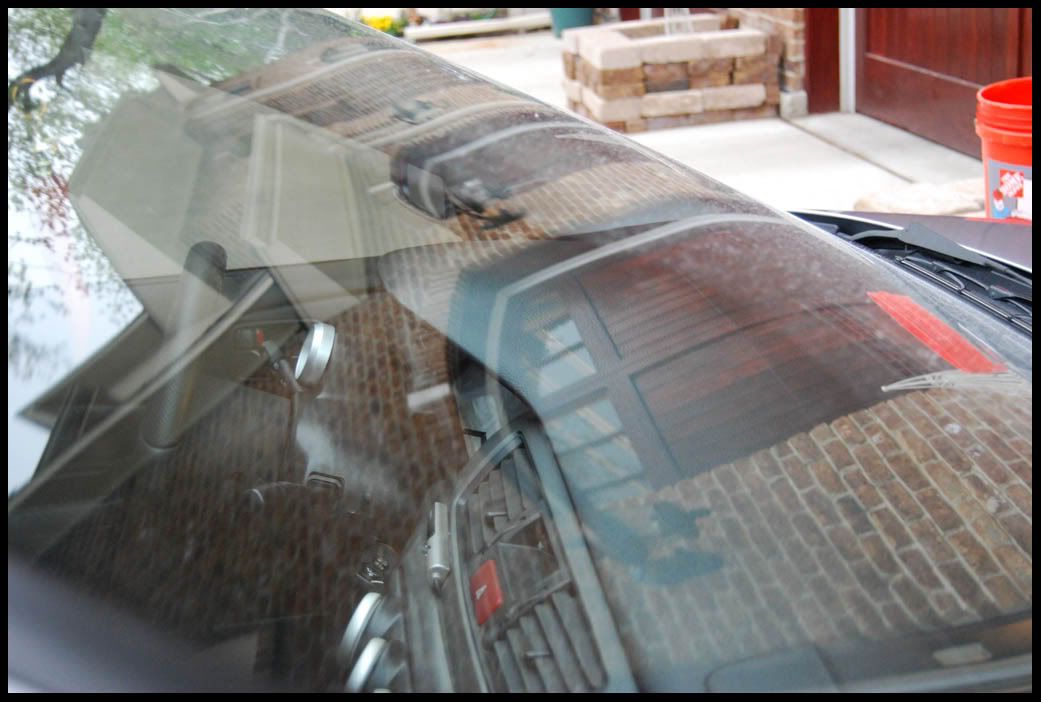
After Opti-Seal, ready for LSP:

Process/Products Used:
1)Wheels and barrels with Megs All Wheel Cleaner, APC, and various Brushes
2)Wheel wells with APC and various brushes
3)Foamed with Megs Deep Crystal and APC
4)Washed with Megs Deep Crystal Wash, two bucket method, and microfiber mitts
5)Rinsed
6)Clayed while still wet with Detail Image Medium Grade Clay and ONR QD mix
7)Dried with waffle weave and plush microfibers
8)Head lights and front end polished w/M205, White LC 3.5” pad, rotary
9)Tail lights and rear end polished w/M205, White LC 3.5” pad, rotary
10)Front end polished w/M205, White LC 3.5” pad, rotary
11)All rubber trim, door handles, plastic, and thin edges masked off
12)Small/hard to get to areas polished with M205, LC Orange 3.5” pad, rotary
13)The rest of the car(except for hood, see next) polished with M205, LC Orange 7.5”, rotary
14)The hood was recently bought to replace a carbon fiber one. It had a few noticeable deep scratches that required wet-sanding. There were also many RIDs all over the hood, and other various defects that needed a bit more attention. I wanted to get the hood into the same shape that the rest of the car was in.
a)Megs Uni-Grit 2500
b)Megs Uni-Grit 3000
c)PFW 3.5” pad with M105 via rotary, two passes
d)Hood polished with PFW 7.5”, M105 via rotary, one pass
e)Hood polished with LC 7.5” Orange, M205, one pass
f)Hood polished with LC 7.5” White, M205, one pass
16)Foamed with Megs Deep Crystal
17)Rinsed
18)Dried with plush microfibers
19)Opti-Seal applied with a Megs foam applicator
20)P21s applied with a Megs foam applicator
21)Windows cleaned with Invisible Glass
22)Tires got Megs Hot Shine tire coating
The car upon arrival:
It was really hard to capture any dirt on camera because of the color/overcast. Overall the car was not bad at all, just light road grime. The owner has obviously taken pretty good care of it.
Products used to clean the wheels:
Megs All Wheel Cleaner Dwelling:
Foaming and testing a foam gun I bought online for $30, it was mediocre, it didn’t create a think foam even with the wash mixed strongly and it tended to dissipate quickly. It served its purposed and loosened up the dirt, debris and bugs that were stuck the car, as well as leaving a lot of lubrication on the surface for washing:
After wash/ready to clay:
This was the worst part of the car, the trunk/rear end area:
Taped and ready for polishing:
Polished by hand using M205 and a microfiber applicator:
Before M205:
Drivers side door/quarter panel after M205
Passenger side door after M205:
By the time I got to the hood, it was already getting dark outside. I had masked off the areas after claying but forgot to take pictures. I tried to get a good shot of the scratches, but the silver was playing games with me:
Wet sanded:
PFW made a huge mess by shedding and dusting all over the car:
Rinsed:
After Opti-Seal, ready for LSP: