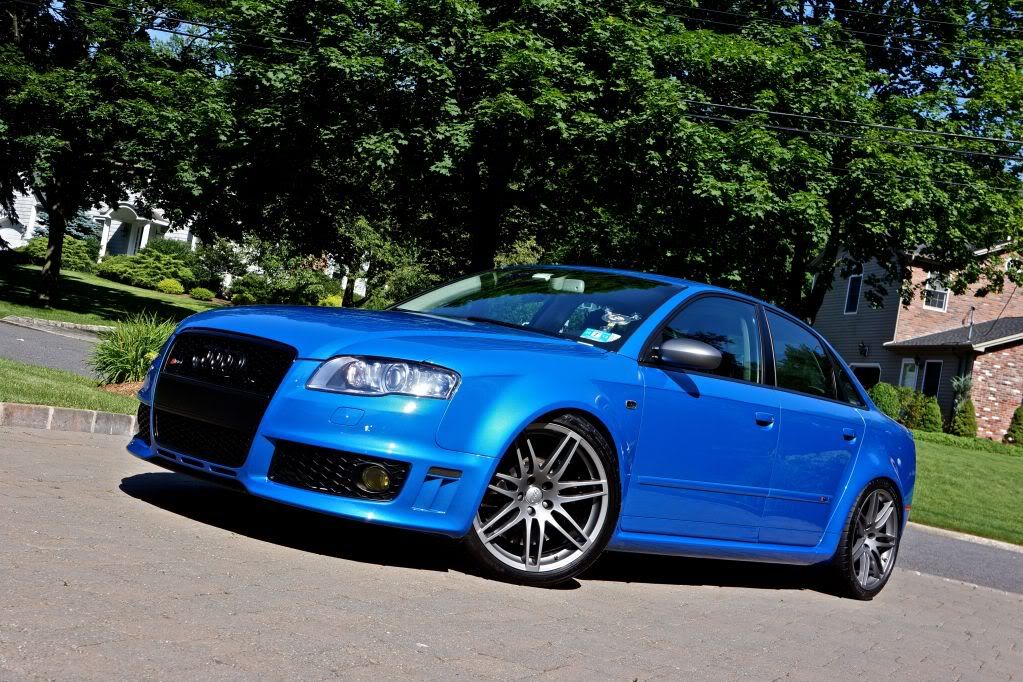
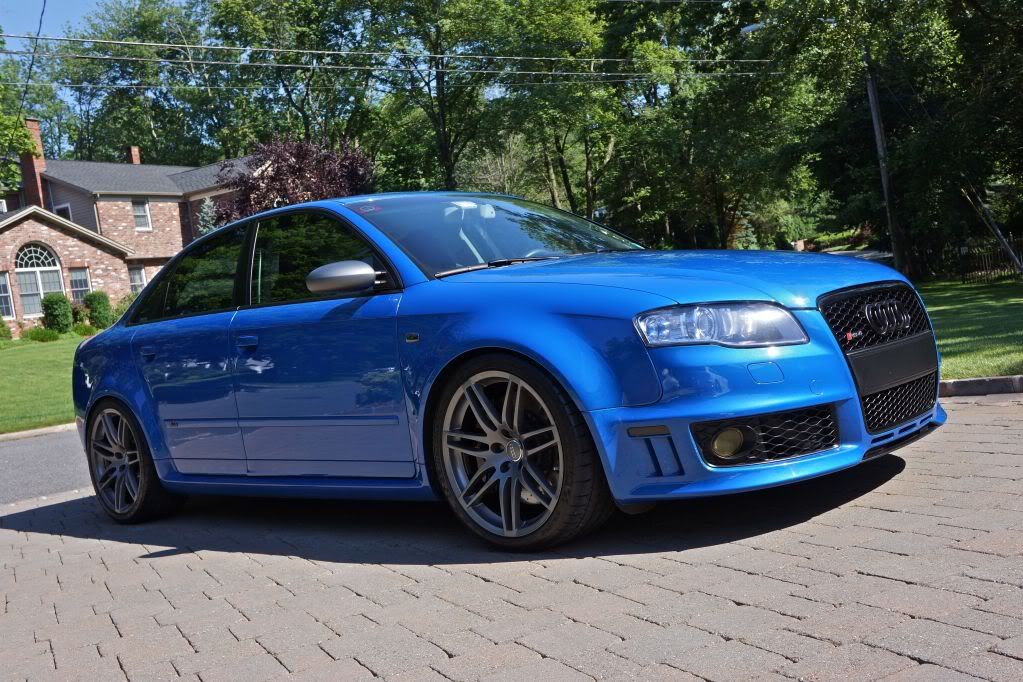
Audi RS4 full correction and detail with clear film removal. This car is driven hard and the owner has modified it (rather meticulously) with only the best. Last thing to do was get the paint up to par with a proper detail and correction.
Wheels and wash process:
Sonax FE
Optimum Powerclean
Citrus Wash
Iron X
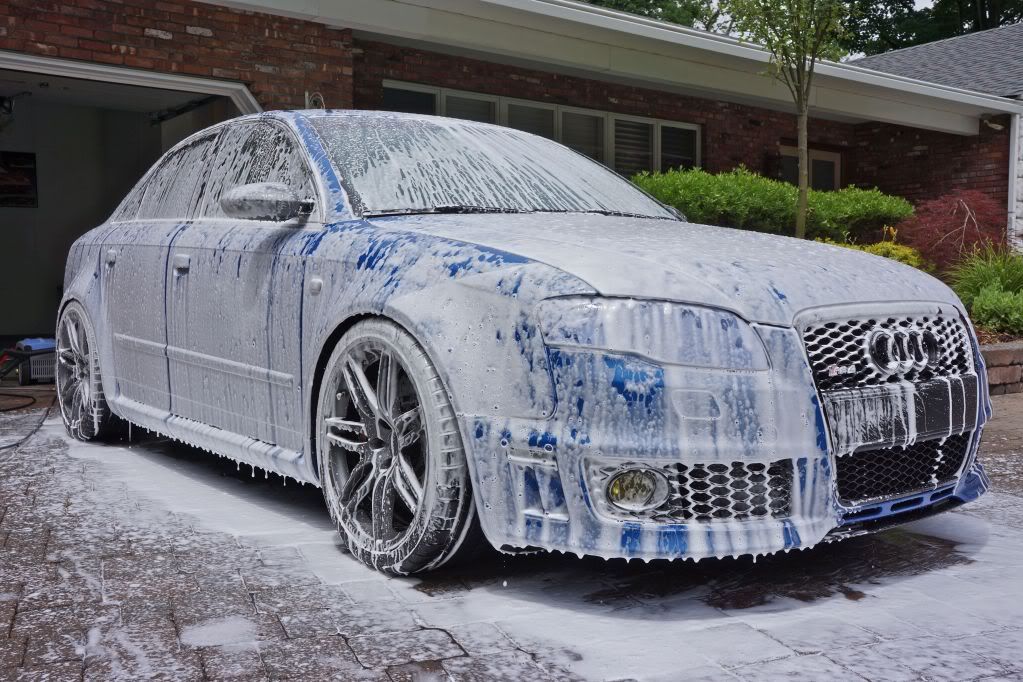
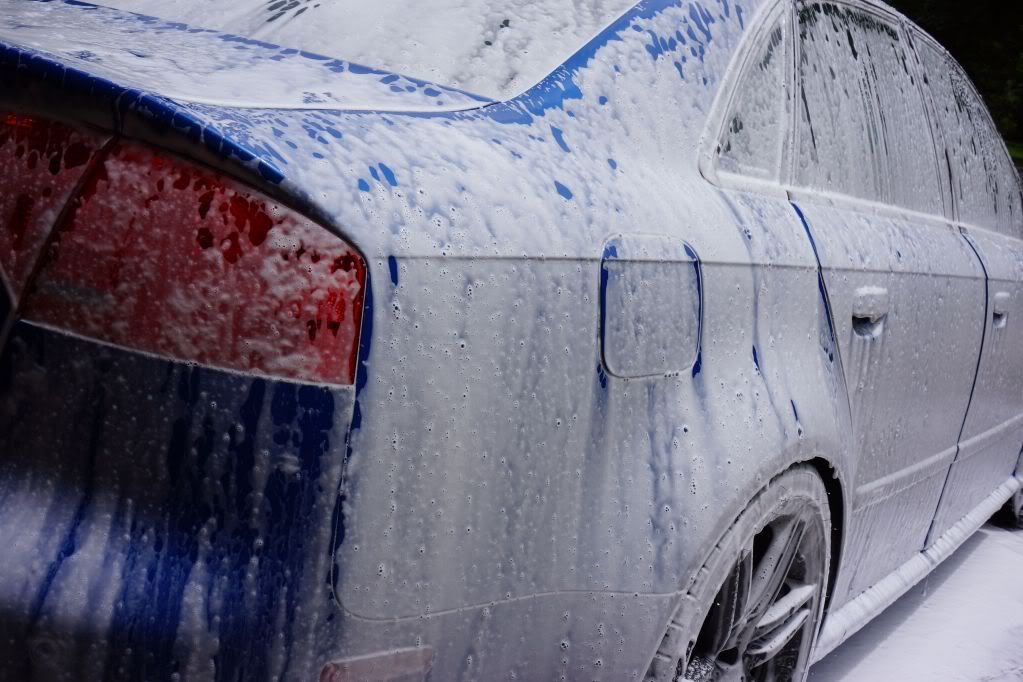
Nanoskin autoscub on the DA @ speed 1
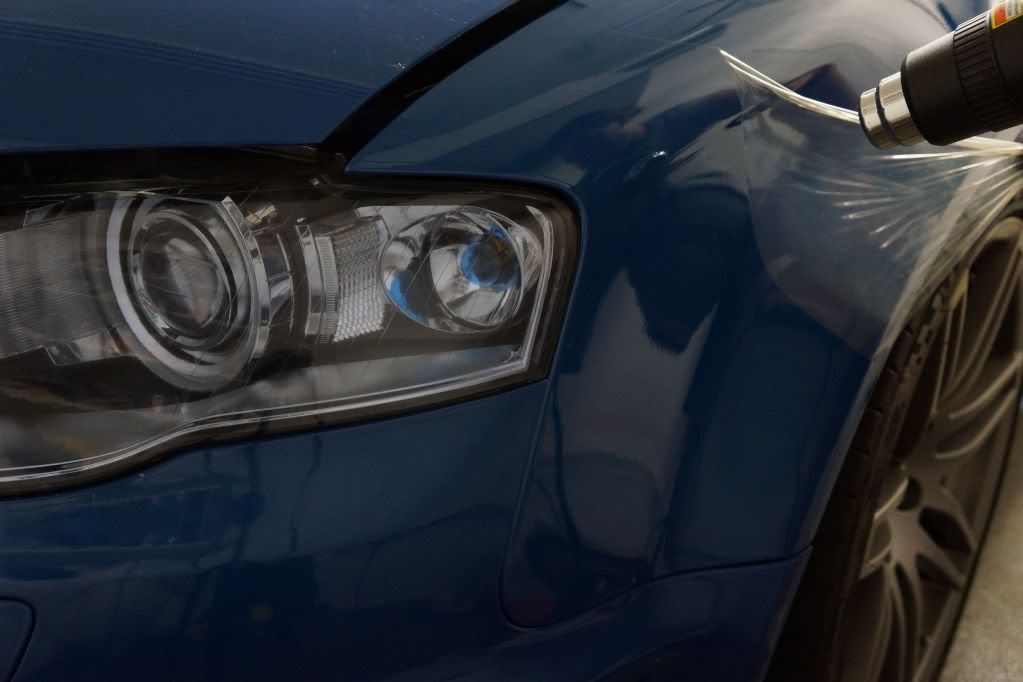
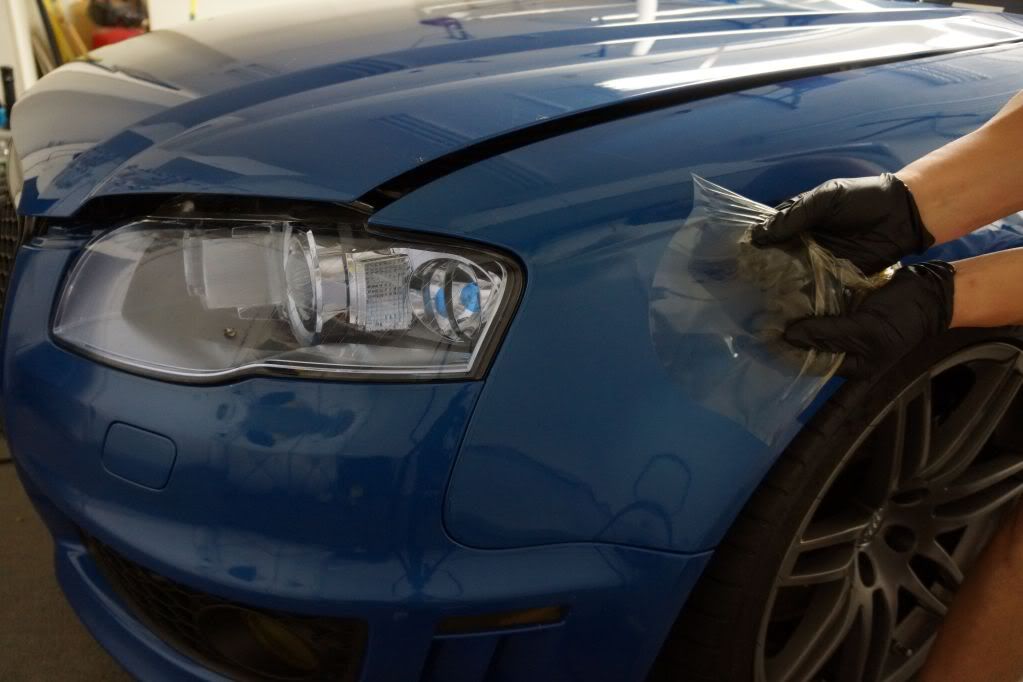
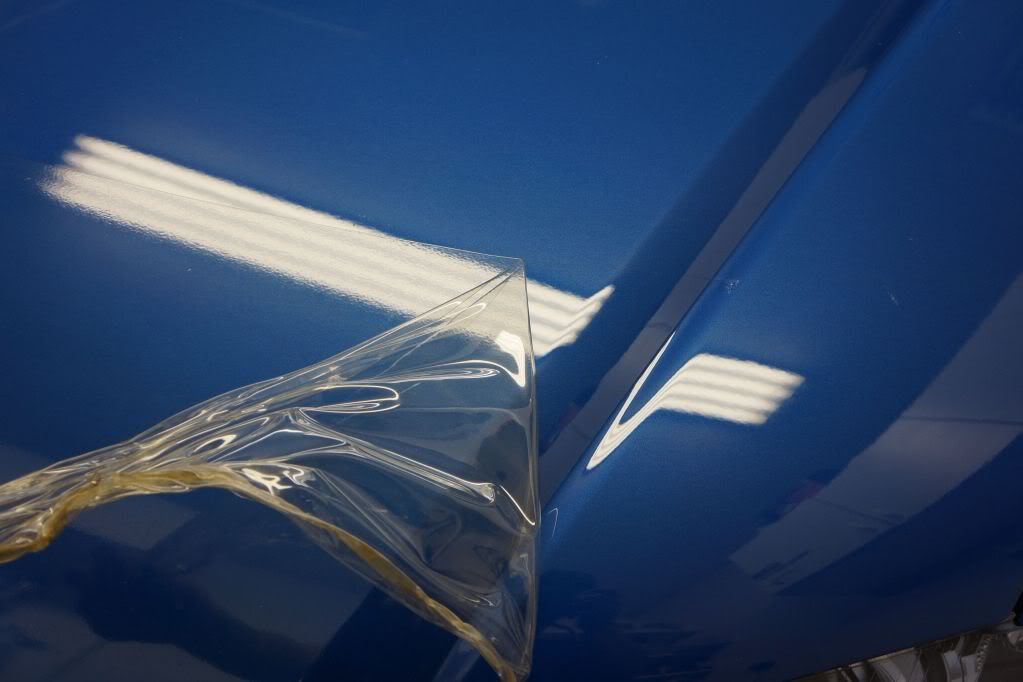
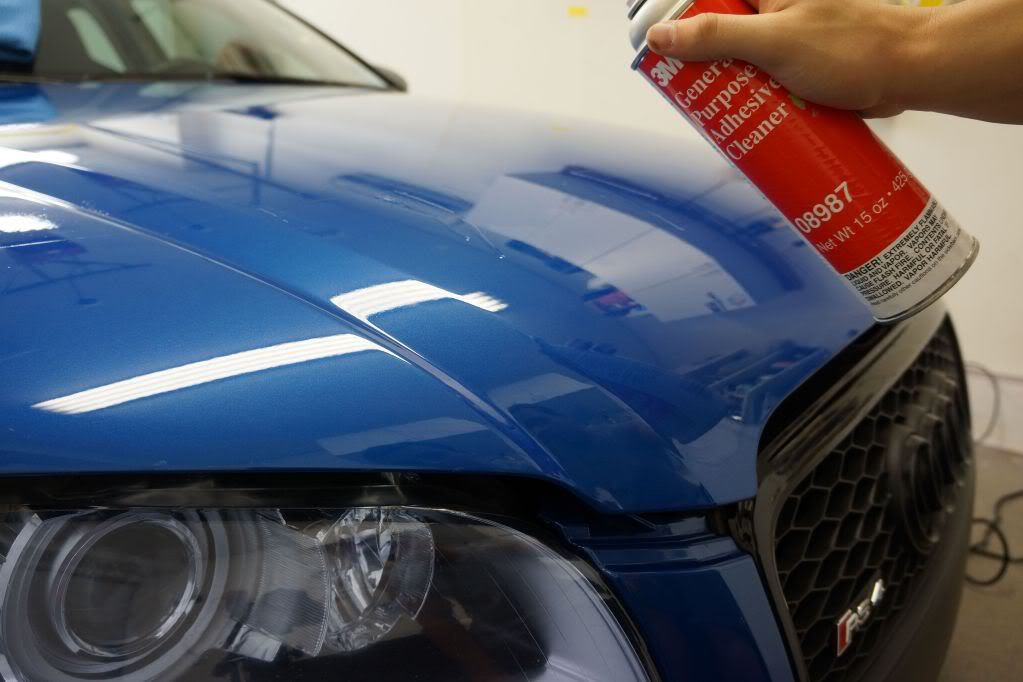
Onto film removal, this was done carefully and with the use of a heat gun and plenty of nitrile gloves. Your fingertips and knuckles will be torn up otherwise, there is no way around it. After removing all the film the paint underneath was also Nanoskin'd and then wiped with adhesive remover until everything was gone and smooth before polishing

Masked trim before polishing, RS4 optioned with the titanium package (no alu trim)
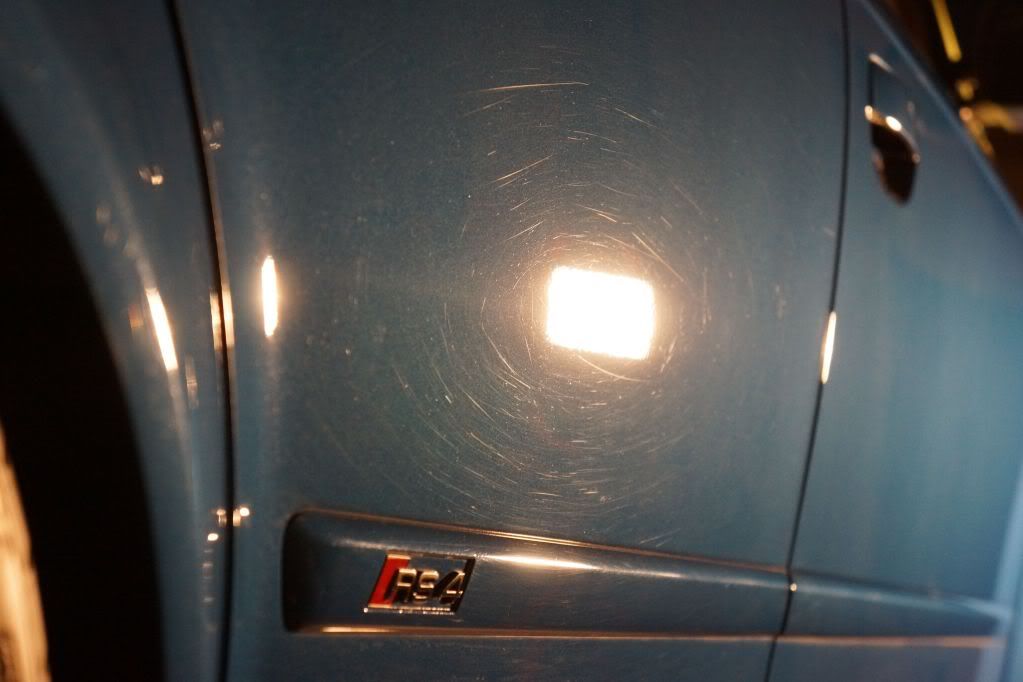
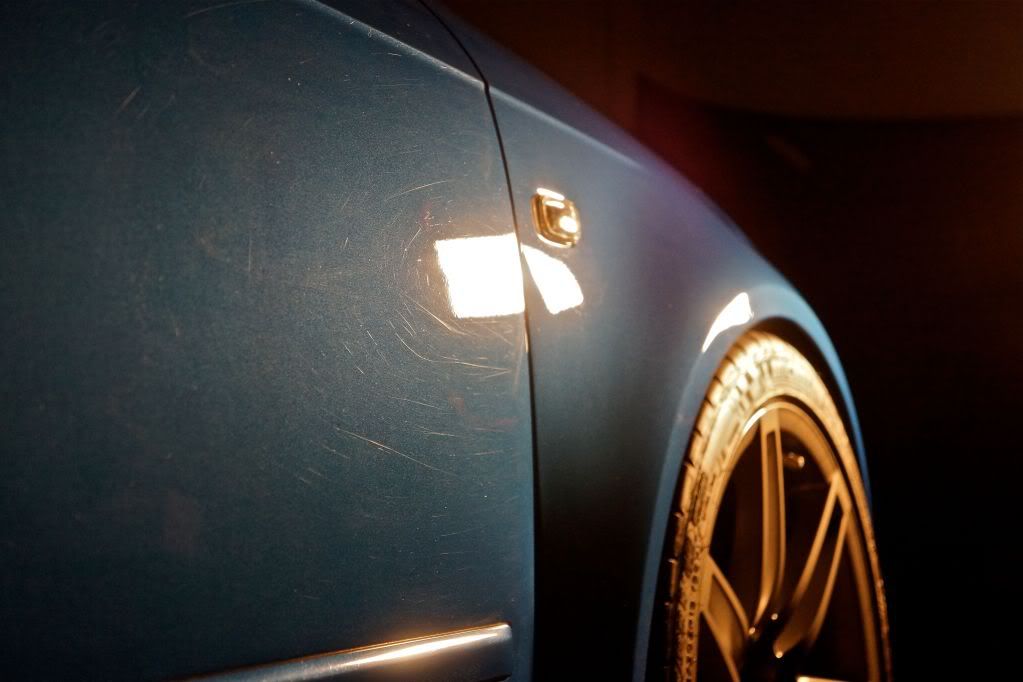
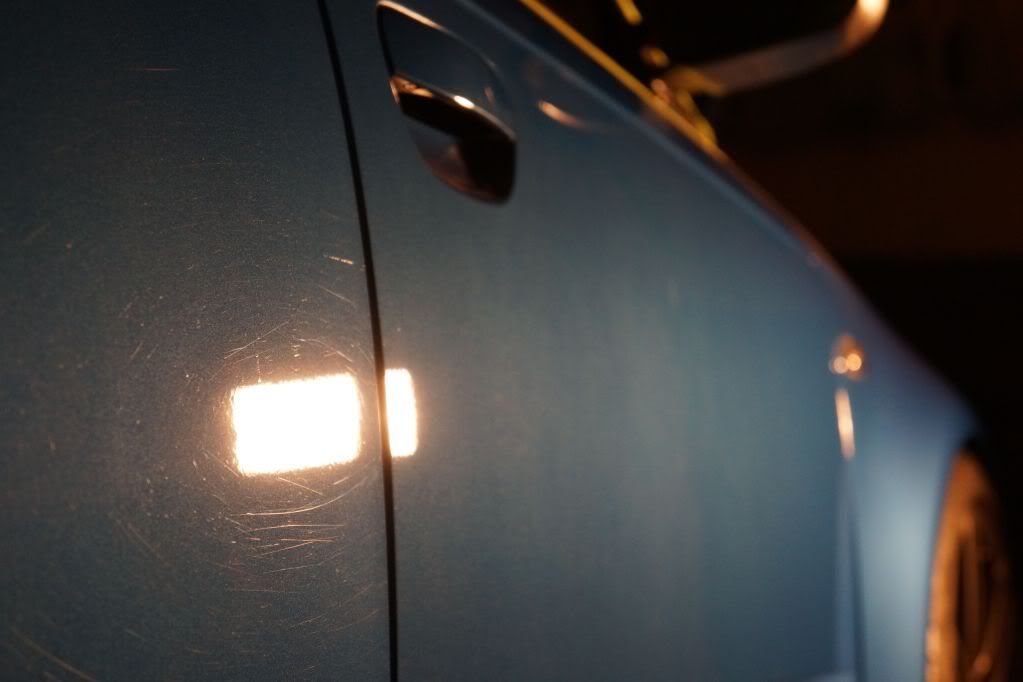
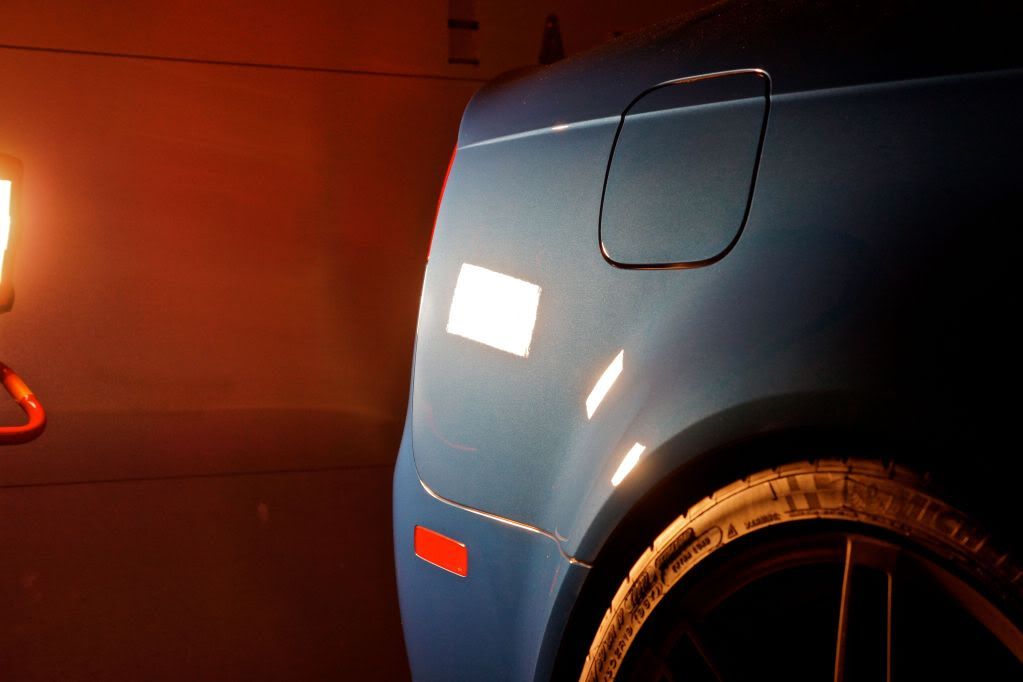
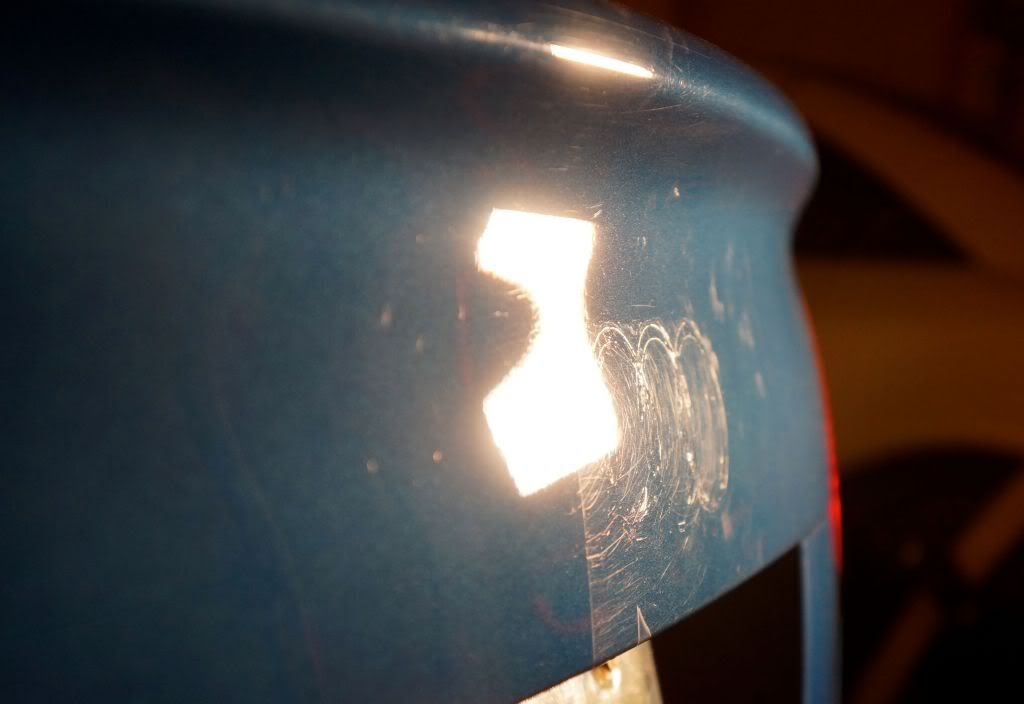
Healthy paint readings after inspection with both LED and halogen lights. Lots of wash marring and some deep marks, this scared me a bit only because this is a very hard clear coat car and it takes a lot to instill swirls, luckily everything was reversible... with the right pad and polish
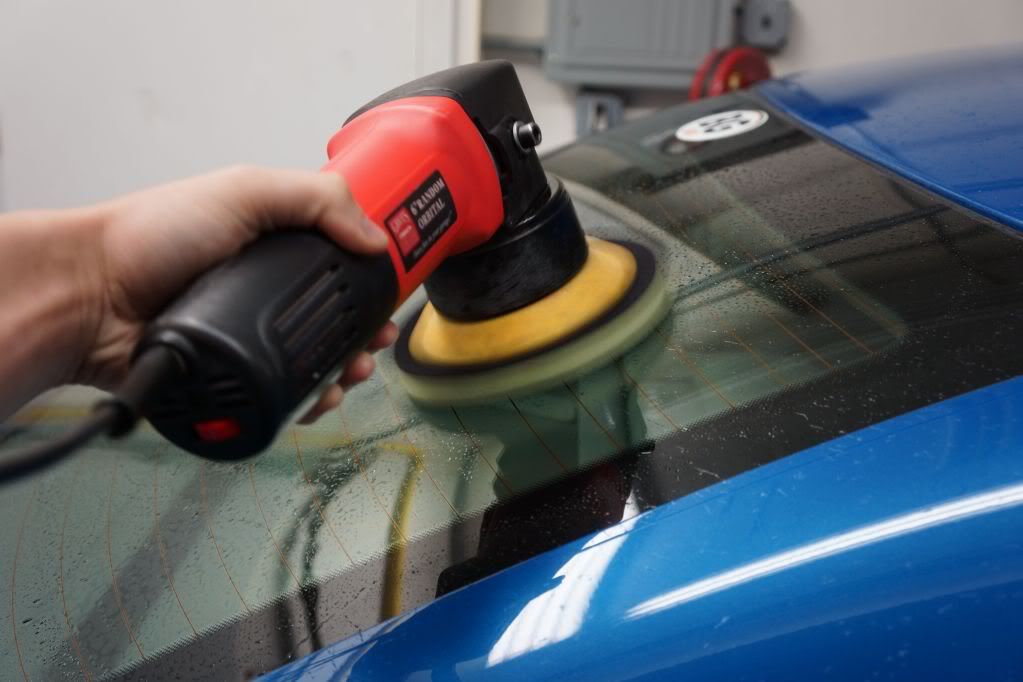
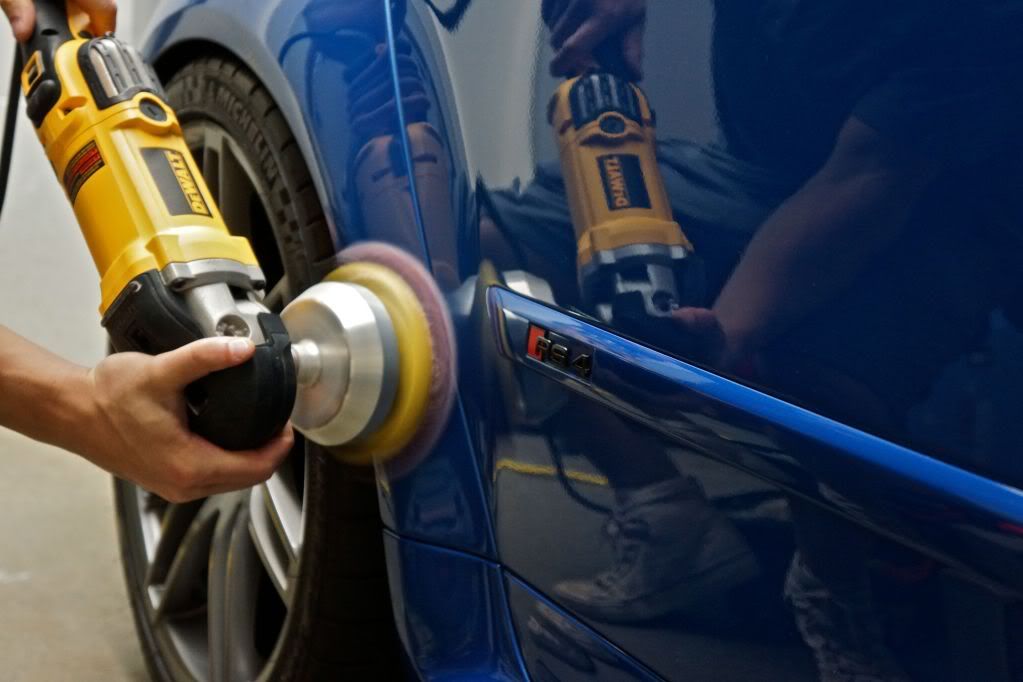
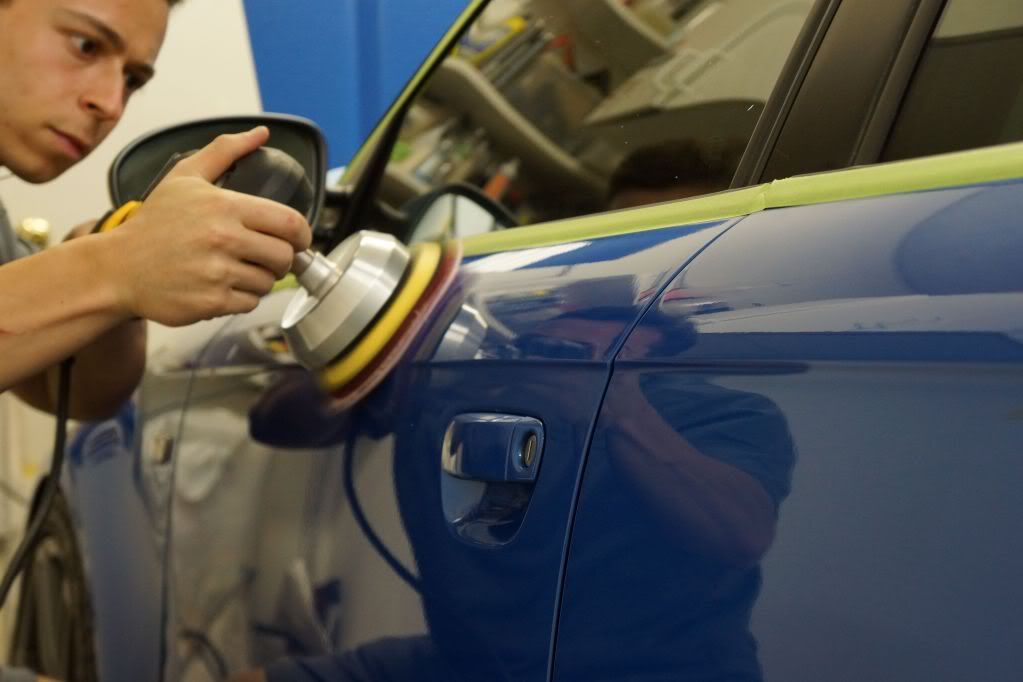
Correction was carried out using both Meguiars and Menzerna. M105 for the initial compounding stage followed by Powerfinish for polishing. All final polishing work was completed with the old reliable and track proven PO85rd on a blue foam pad.
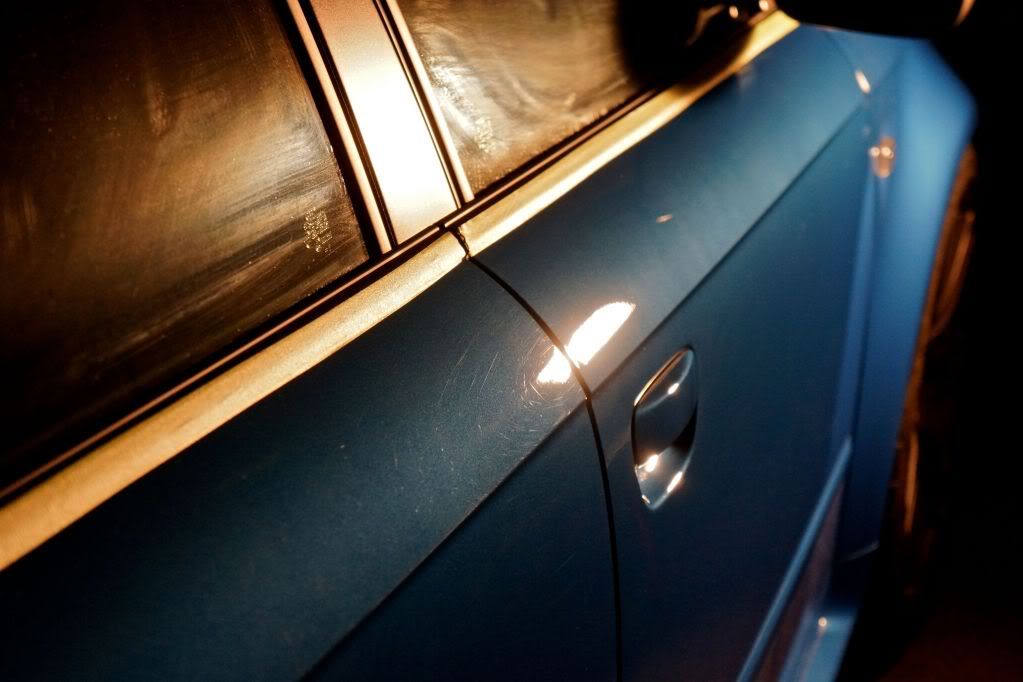
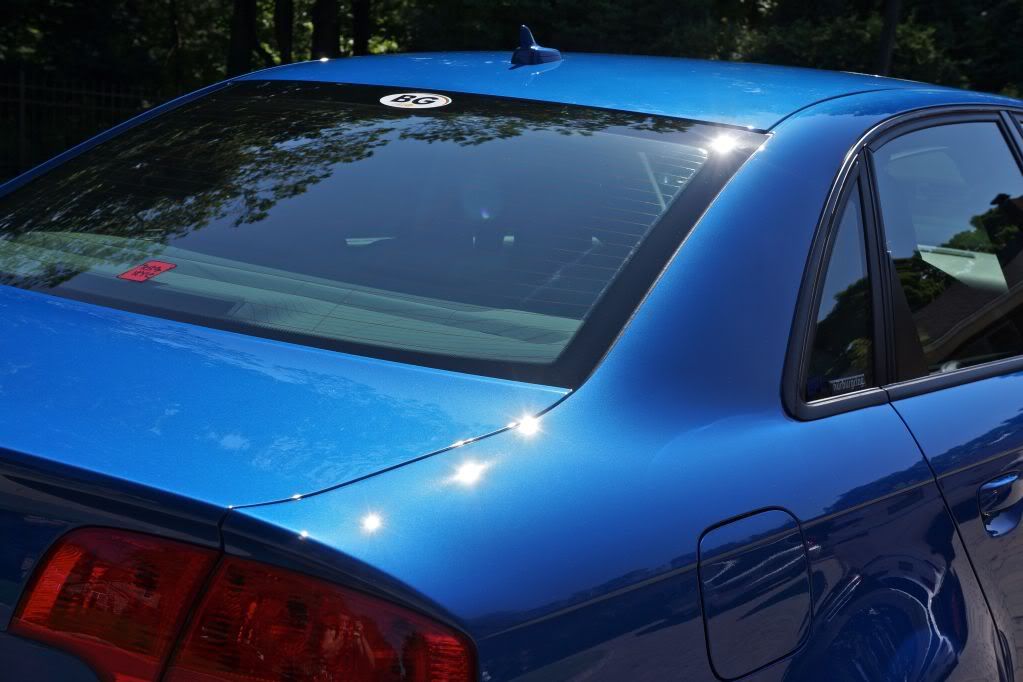
Under the lights...
50/50
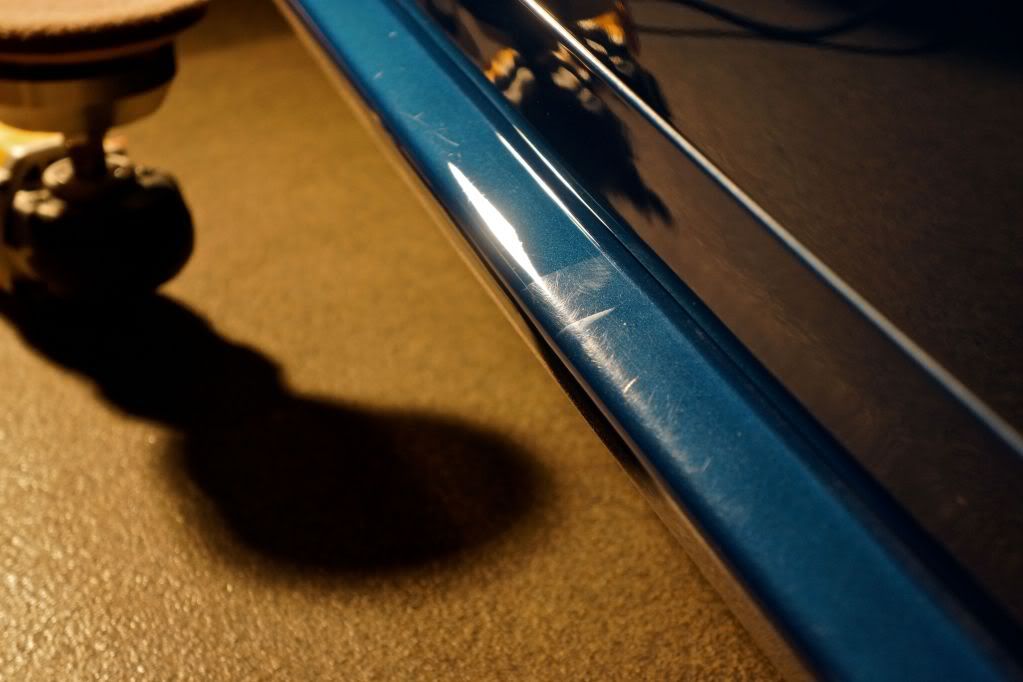
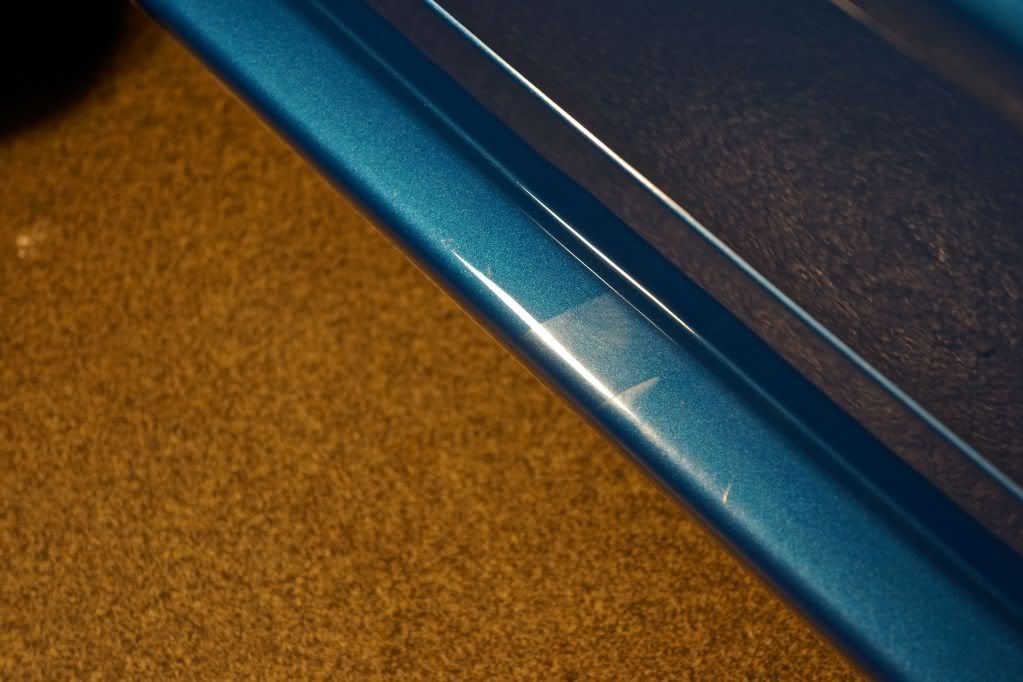
Side skirts as per usual took a beating, you can see the difference in gloss and depth before and after. Sprint blue hides a lot naturally but it can get kicked up a couple notches with correction work
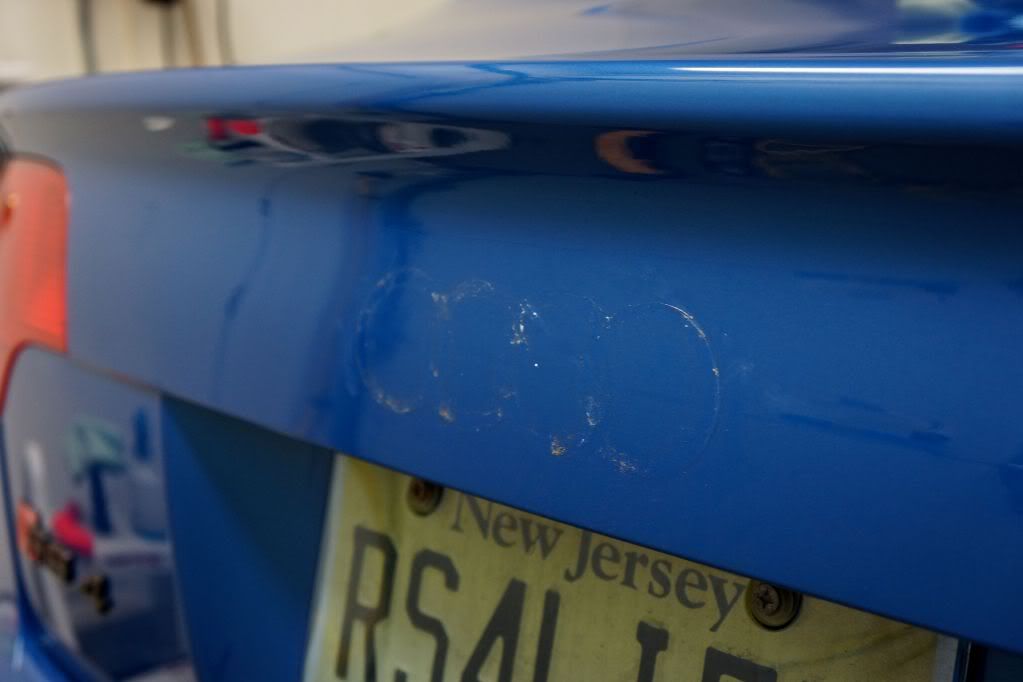
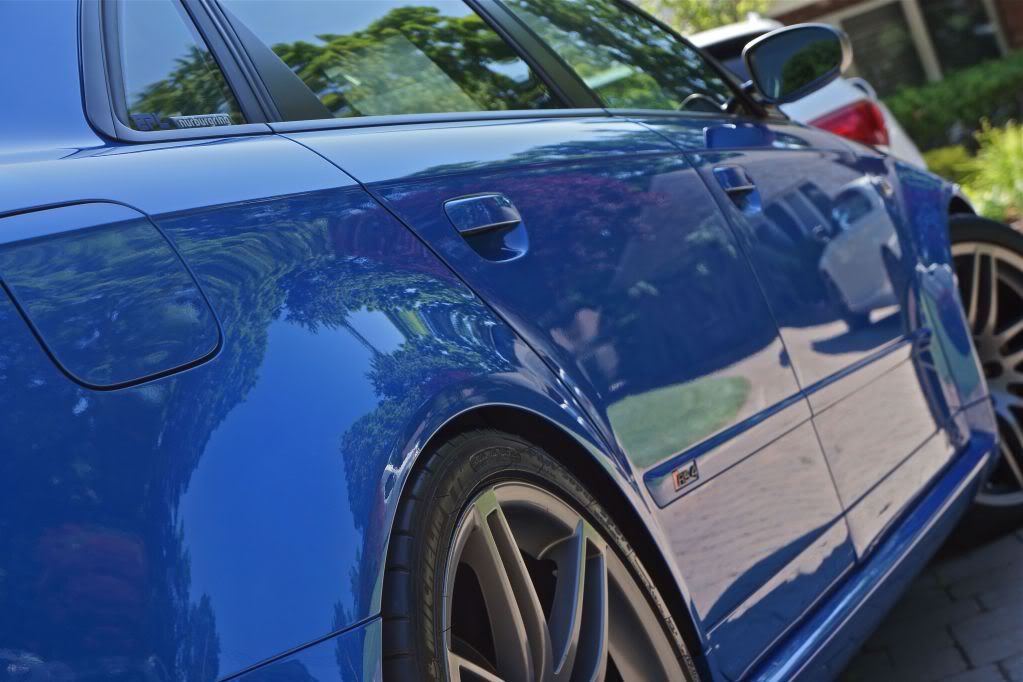
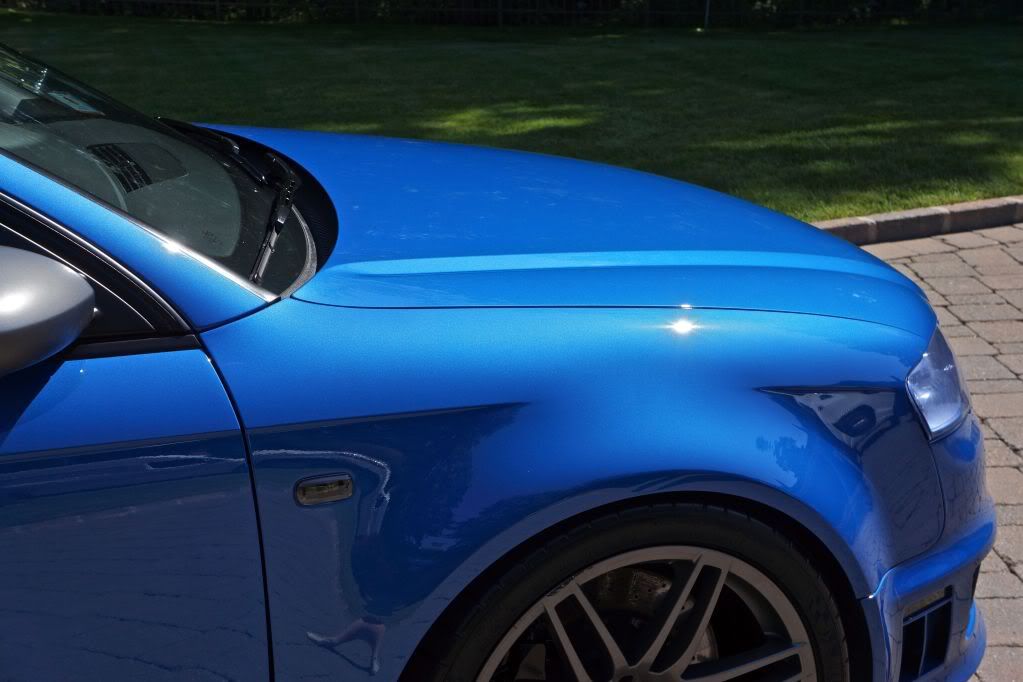
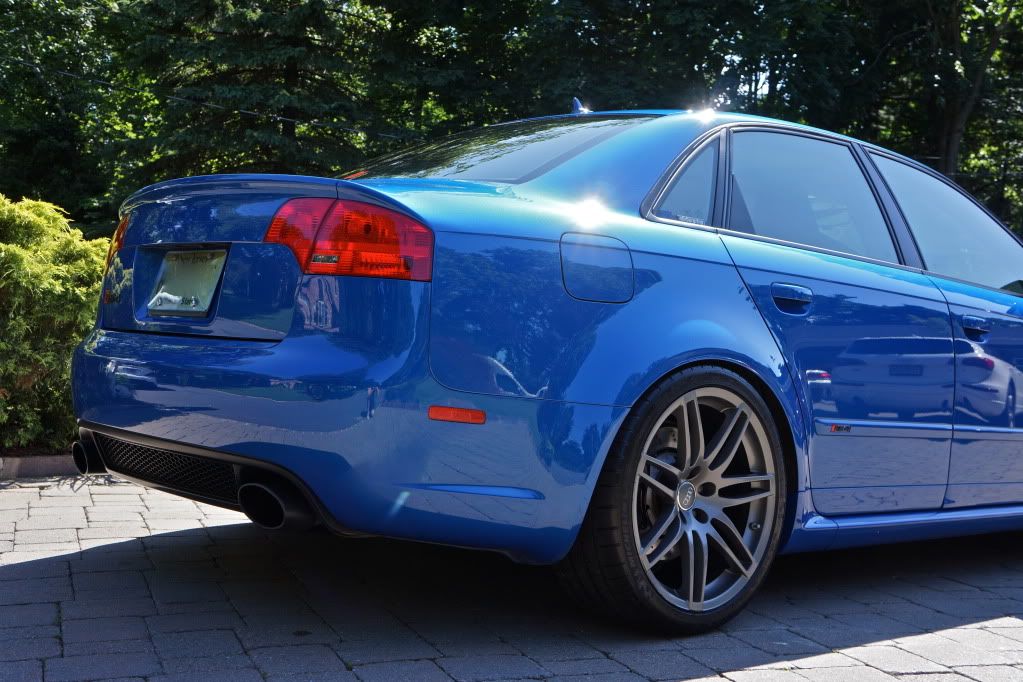
Original badge needed to be replaced, after removing it and correcting the area the owner decided it looked cleaner badge-less, it just seem to fit better with the cars stance as is
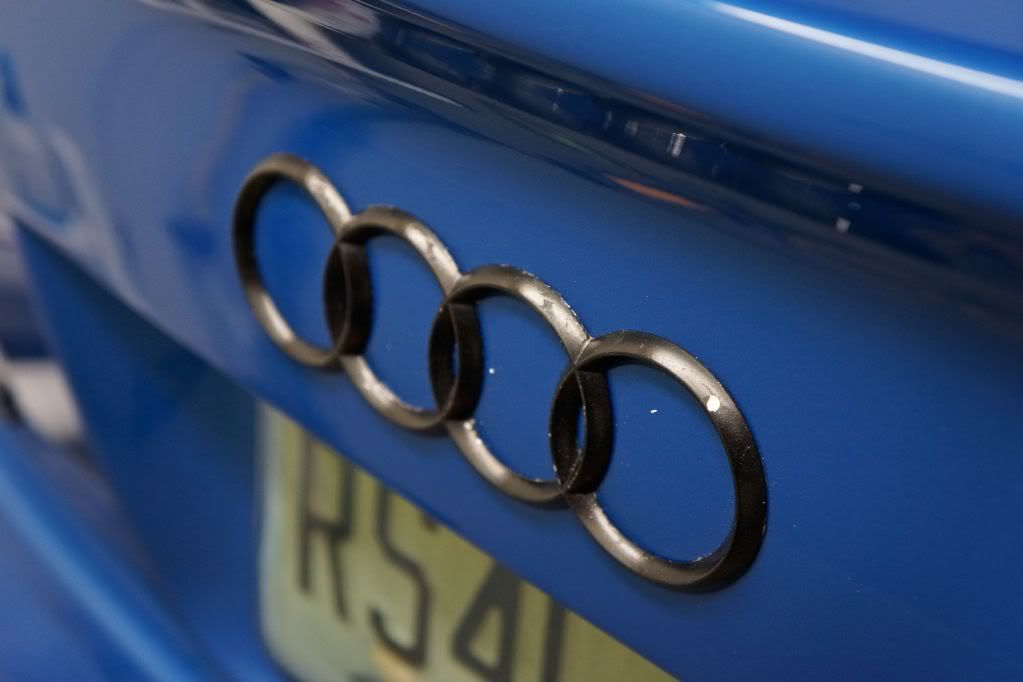
Badge removed
50/50
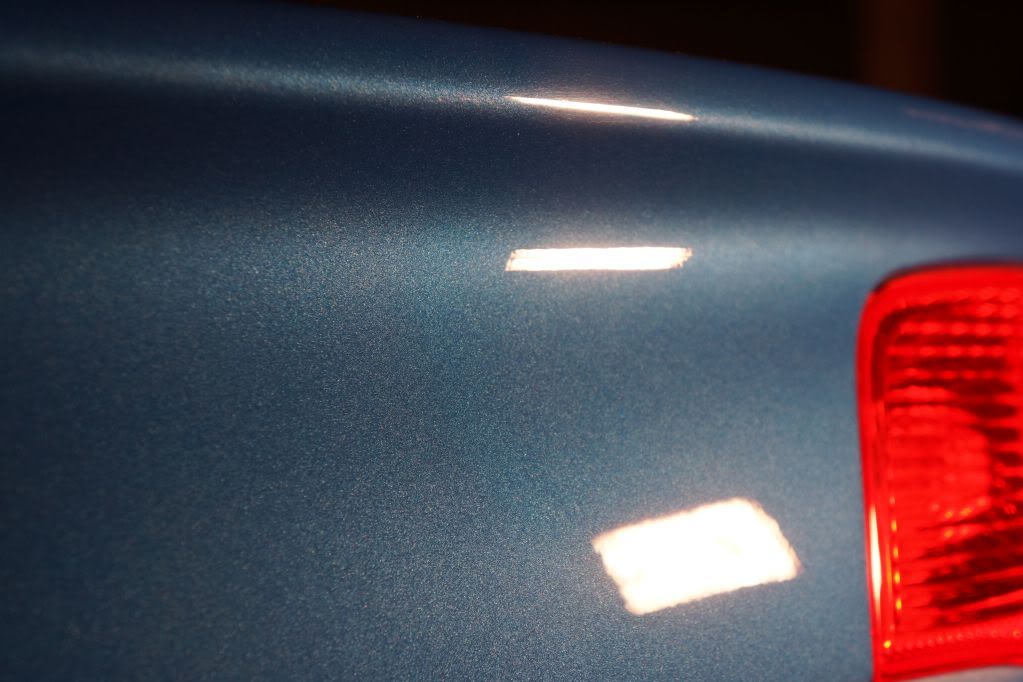
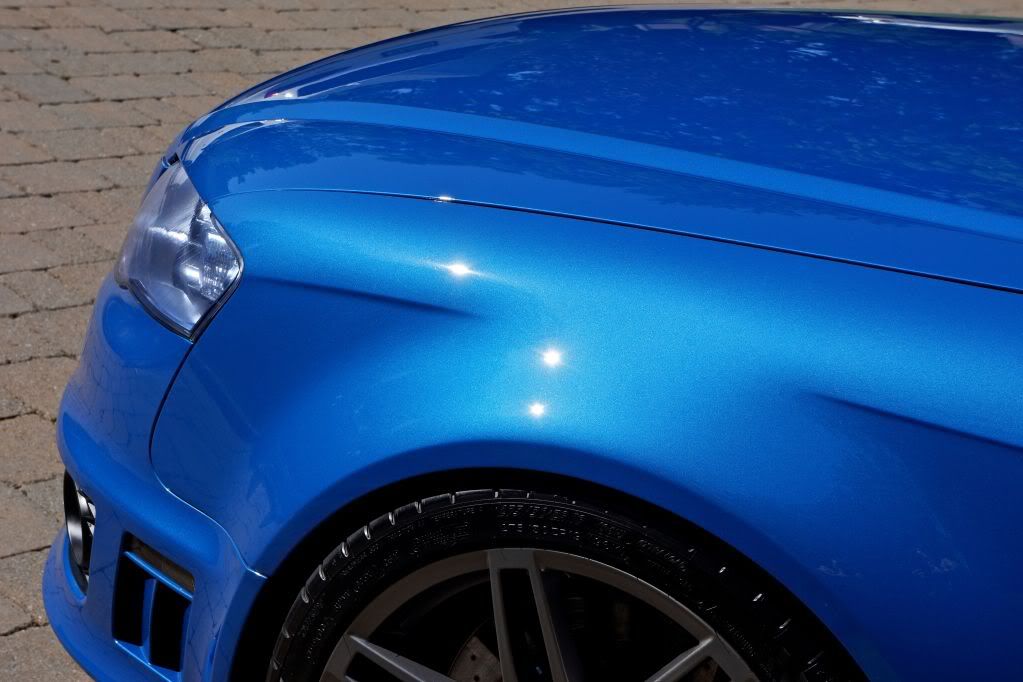
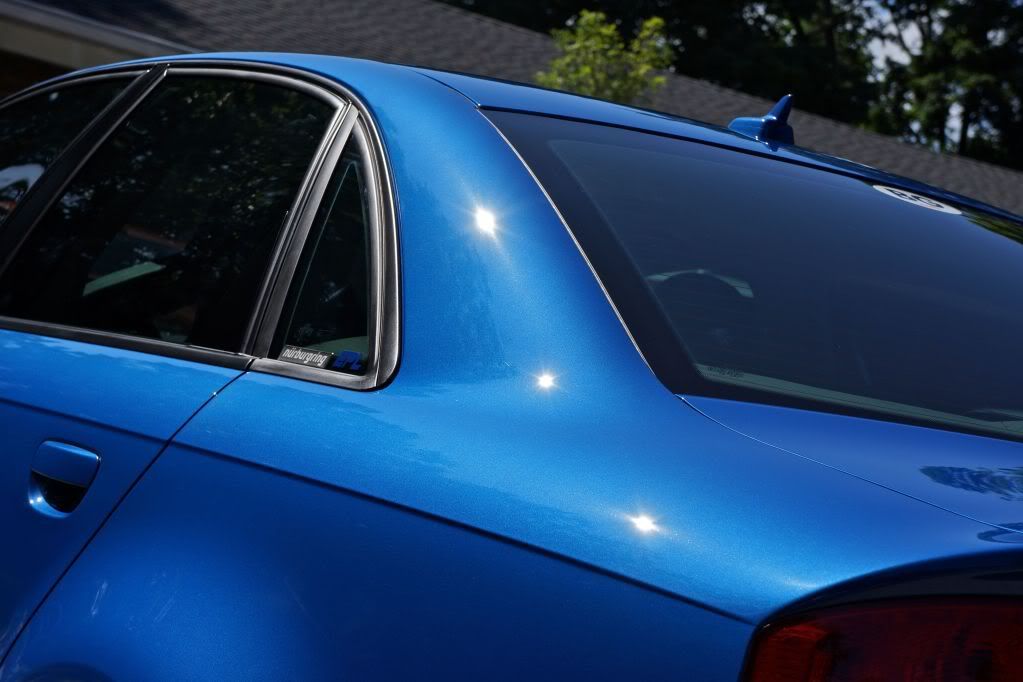
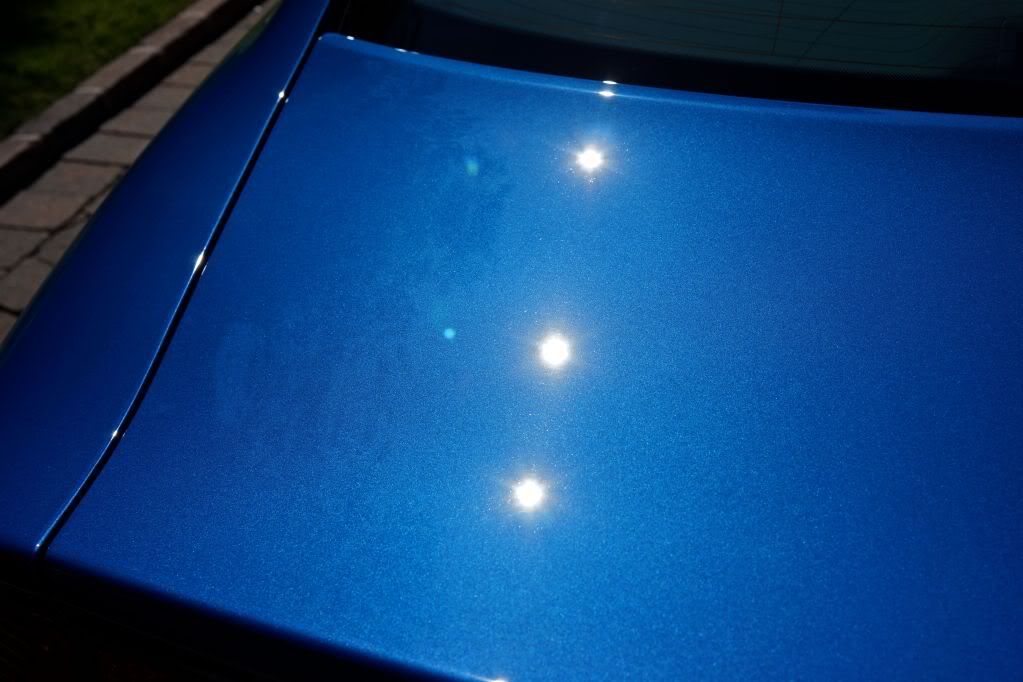
Flake back in spades after final polishing
After polishing the finish was cleaned further with IPA and Eraser before 2 coats of Body Wrap. I won't leave anything to chance when using some of the more boutique sealants and of course paint coatings the finish must be 100% clean before application. Worth the extra effort
Total time 2.5 days
Thanks for reading :usa
All the best,
Dave
Street Dreams Detail
Wheels and wash process:
Sonax FE
Optimum Powerclean
Citrus Wash
Iron X
Nanoskin autoscub on the DA @ speed 1
Onto film removal, this was done carefully and with the use of a heat gun and plenty of nitrile gloves. Your fingertips and knuckles will be torn up otherwise, there is no way around it. After removing all the film the paint underneath was also Nanoskin'd and then wiped with adhesive remover until everything was gone and smooth before polishing
Masked trim before polishing, RS4 optioned with the titanium package (no alu trim)
Healthy paint readings after inspection with both LED and halogen lights. Lots of wash marring and some deep marks, this scared me a bit only because this is a very hard clear coat car and it takes a lot to instill swirls, luckily everything was reversible... with the right pad and polish
Correction was carried out using both Meguiars and Menzerna. M105 for the initial compounding stage followed by Powerfinish for polishing. All final polishing work was completed with the old reliable and track proven PO85rd on a blue foam pad.
Under the lights...
50/50
Side skirts as per usual took a beating, you can see the difference in gloss and depth before and after. Sprint blue hides a lot naturally but it can get kicked up a couple notches with correction work
Original badge needed to be replaced, after removing it and correcting the area the owner decided it looked cleaner badge-less, it just seem to fit better with the cars stance as is
Badge removed
50/50
Flake back in spades after final polishing
After polishing the finish was cleaned further with IPA and Eraser before 2 coats of Body Wrap. I won't leave anything to chance when using some of the more boutique sealants and of course paint coatings the finish must be 100% clean before application. Worth the extra effort
Total time 2.5 days
Thanks for reading :usa
All the best,
Dave
Street Dreams Detail
")