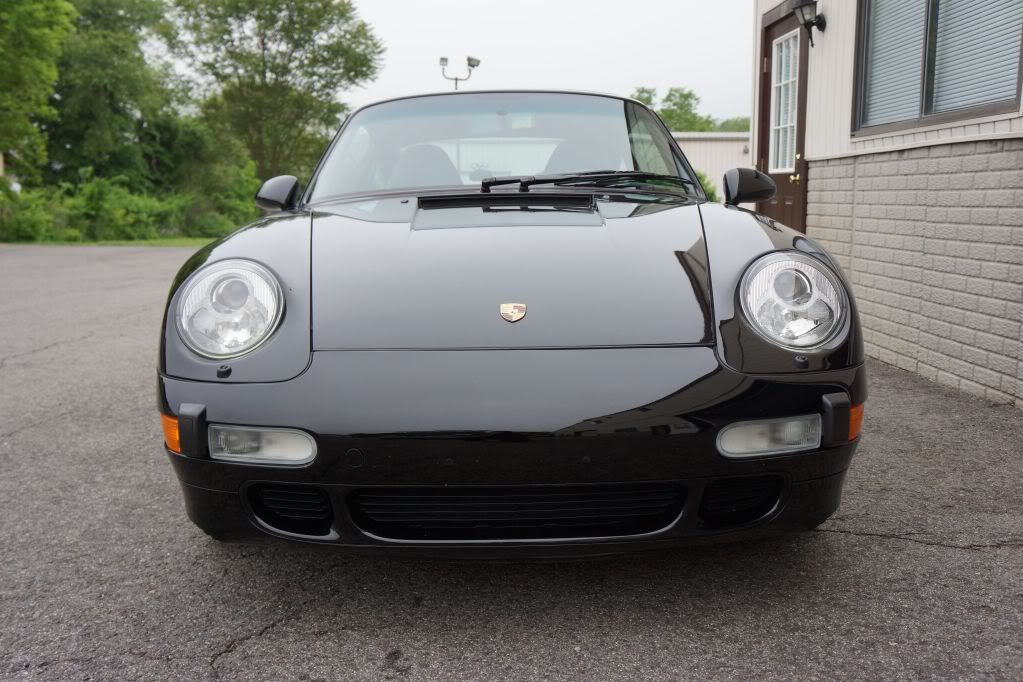
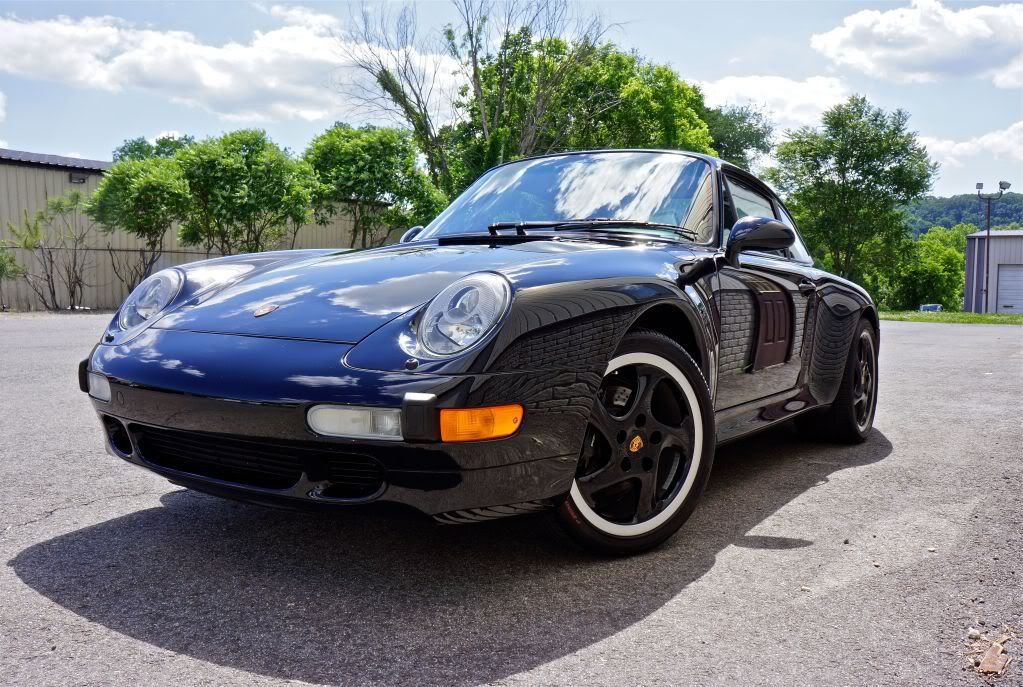
1997 Porsche 993 S
This is fairly low mile car and mechanically in excellent shape. The paint finish did need some extensive correction work to remove swirls, RIDS and clouded clear film. This 993 was worked on over the course of 4 days, about 20hours of which dedicated solely to the paint correction process. The goal was to make this 15 year old Porsche look like it had never been driven (or wiped down, touched, breathed on...:thumb
") I've adored the 993 since the day it came out so I pulled out all the stops to see that this particular car looked flawless when finished.
I've adored the 993 since the day it came out so I pulled out all the stops to see that this particular car looked flawless when finished.Process outline:
-Strip dealer applied wax/glaze/tire dressing
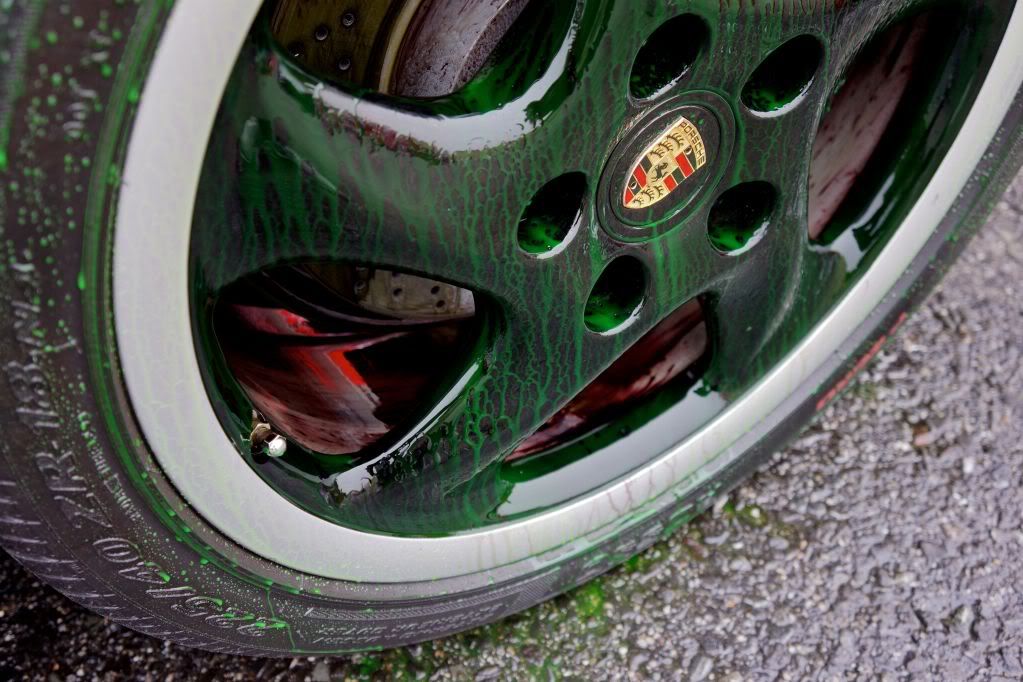
-Decontaminate the finish and wheels
-Remove original clear film from hood, bumpers, lights and front fenders
-Correct heavy RIDS, swirls, marring, water marks and holograms
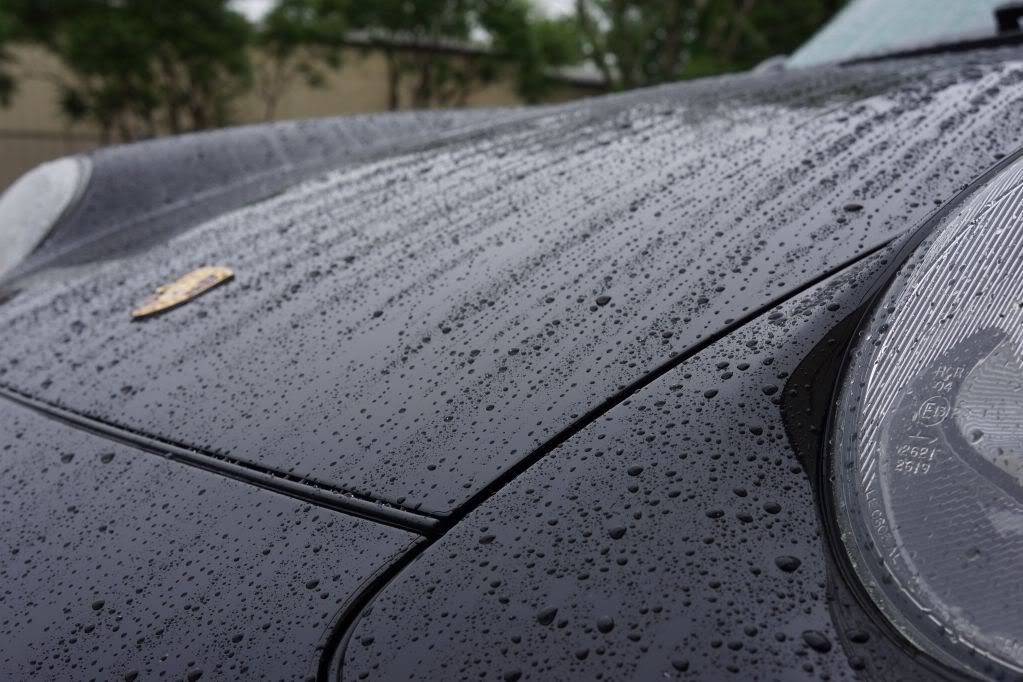
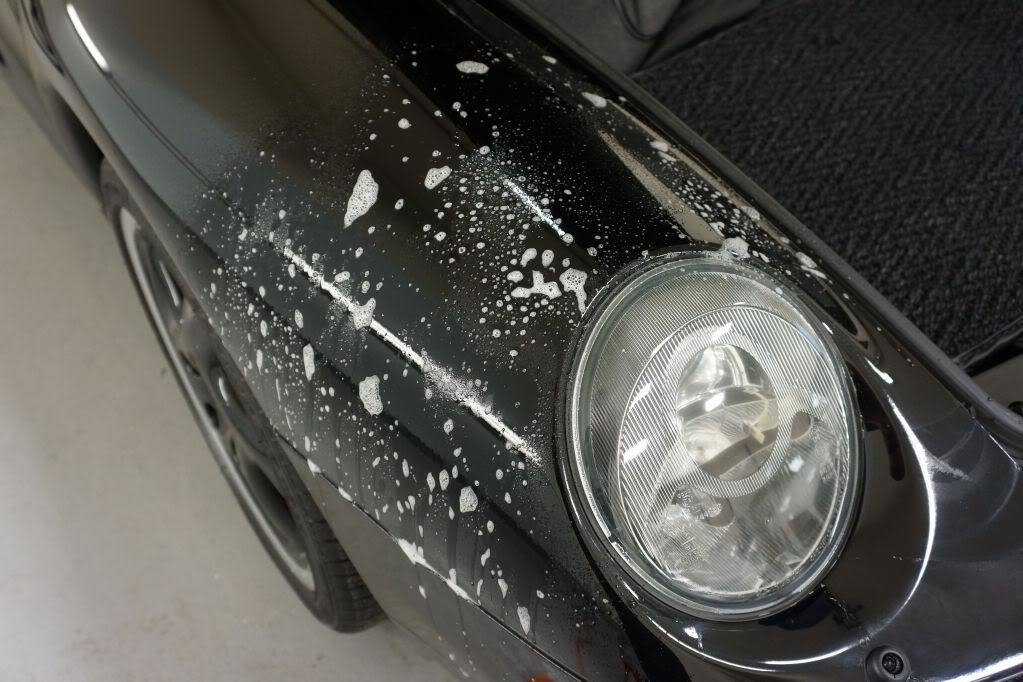
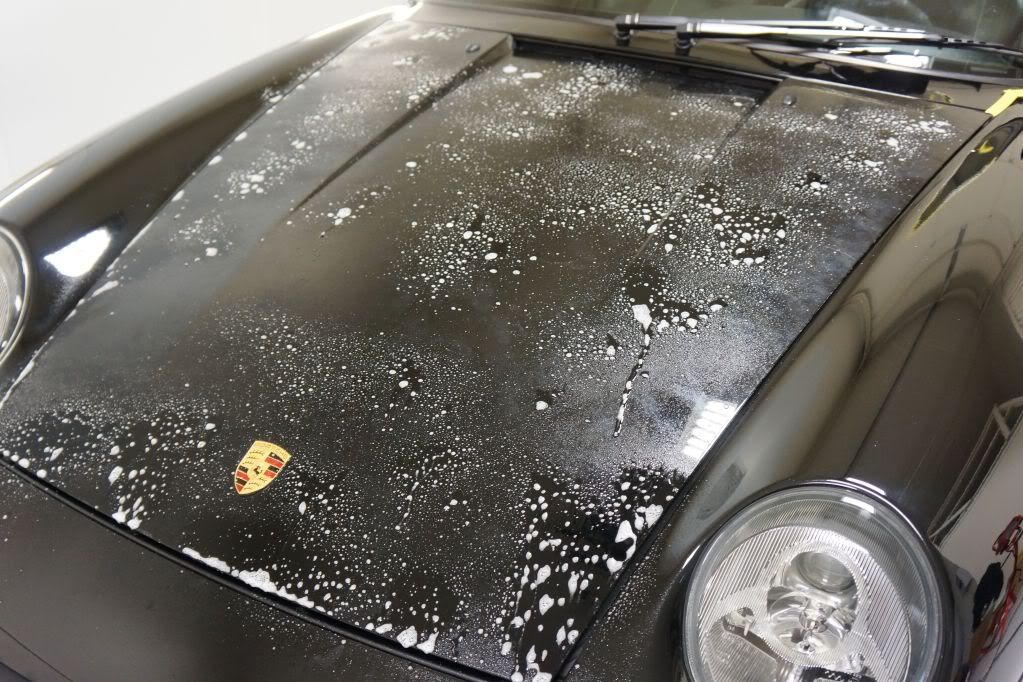
Water beading and sheeting nicely after the initial rinse down. Citrus soap and a bit of gentle degreaser were mixed together and then I washed with the 2 bucket method and a detailersdomain uber wash sponge. Even after the wash the finish was not 100% stripped and some light beading remained. For decontamination I used the Nanoskin Autoscrub on the DA machine at speed 1. The more I use the nanoskin the more I like it, its a very efficient way to clay/decon a car. For smaller areas traditional putty clay was used by hand. After claying multiple IPA wipedowns were done to prep the finish to masking and then the polishing process.
Thick "gel like" substance coating the tires
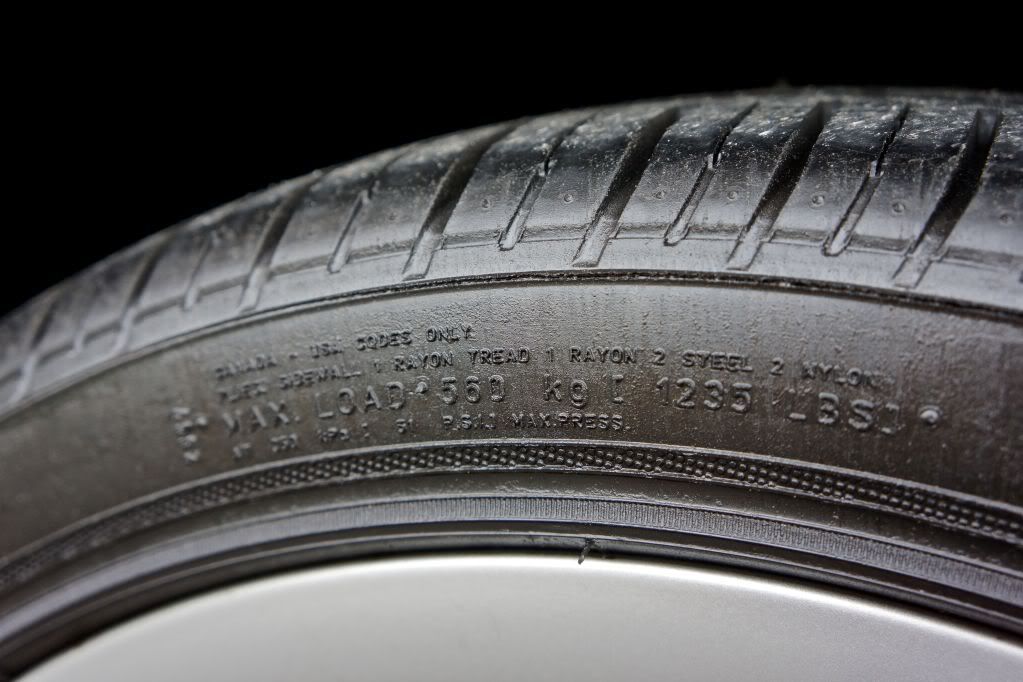
Wheels cleaned using Sonax FE sprayed onto the wheel dry and left to sit for about 10 minutes (on a cloudy cool day you can let Sonax work in for 3-4 extra minutes) Tires were degreased and stripped of its thick gel like substance, wheel wells/brake calipers also scrubbed clean
* Paint film removal process
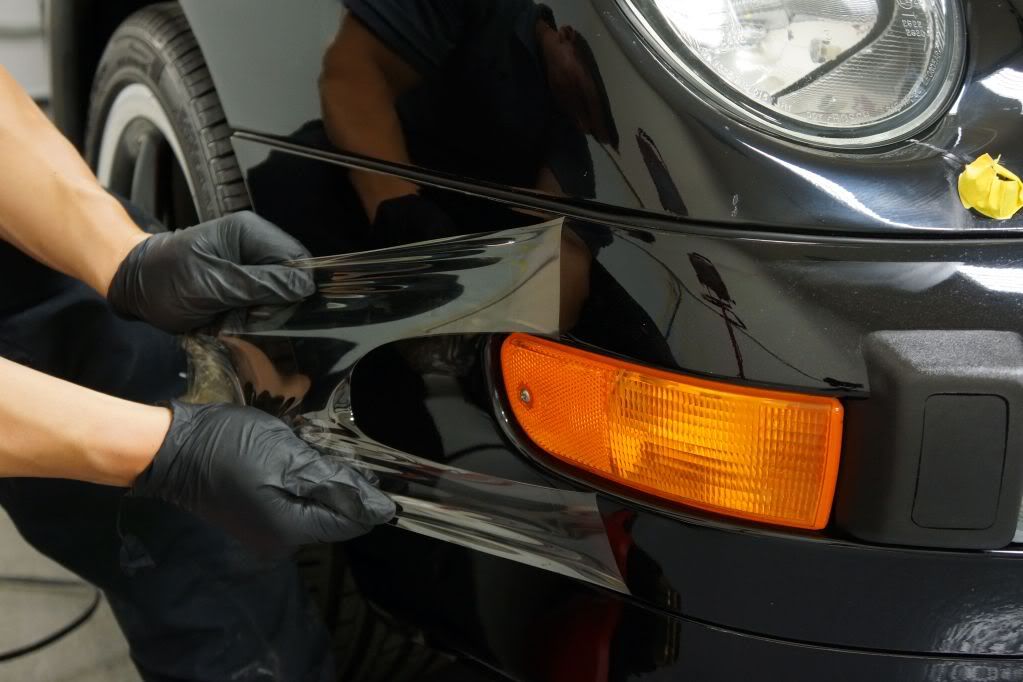
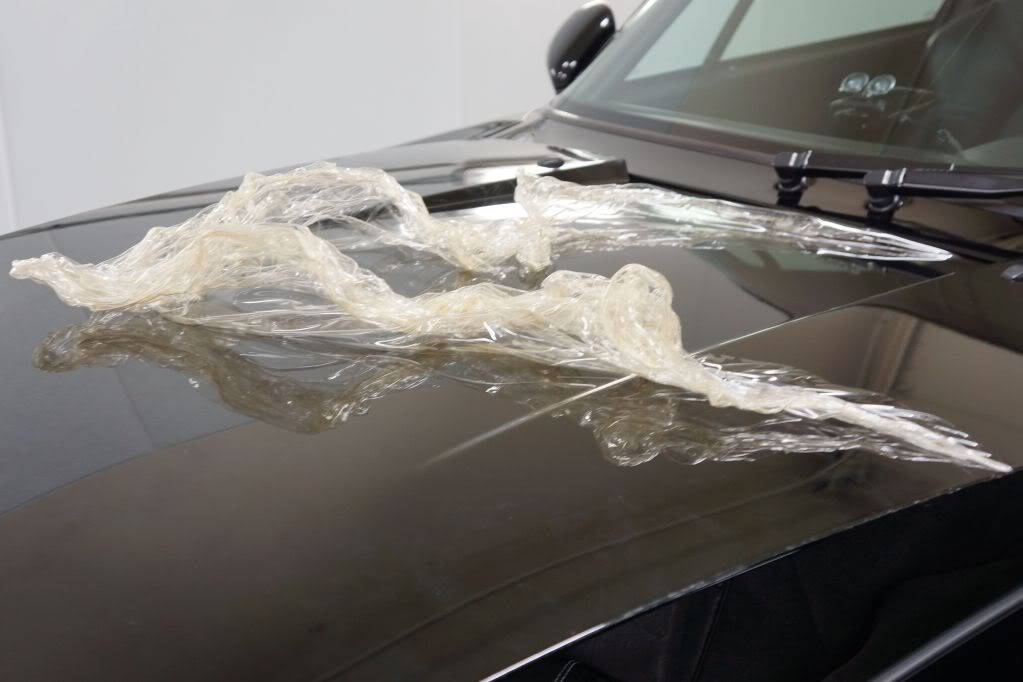
Before starting paint correction the old paint protection film needed to be removed. Bumpers, hood, mirrors, fenders and headlights all had clear film protection. The removal was done using a heat gun on the low setting and gently heating up the edges of the film, lifting it and pulling the film TOWARDS my body at a low angle. This allow the film adheasive to "pop" and lift itself off the finish cleanly. You will inevitably get some adhesive residue left on the paint and around edges. Trying to remove the film by ripping it off or pulling/peeling it away from your body will result in the film tearing and adhesive being left all over the car.
Pulling the film towards me after heating up a 7-8" section with the heat gun. This is much easier to do with 2 people as one can help steady a heat gun and the other can pull the film. Working alone has it's downsides :shrug:
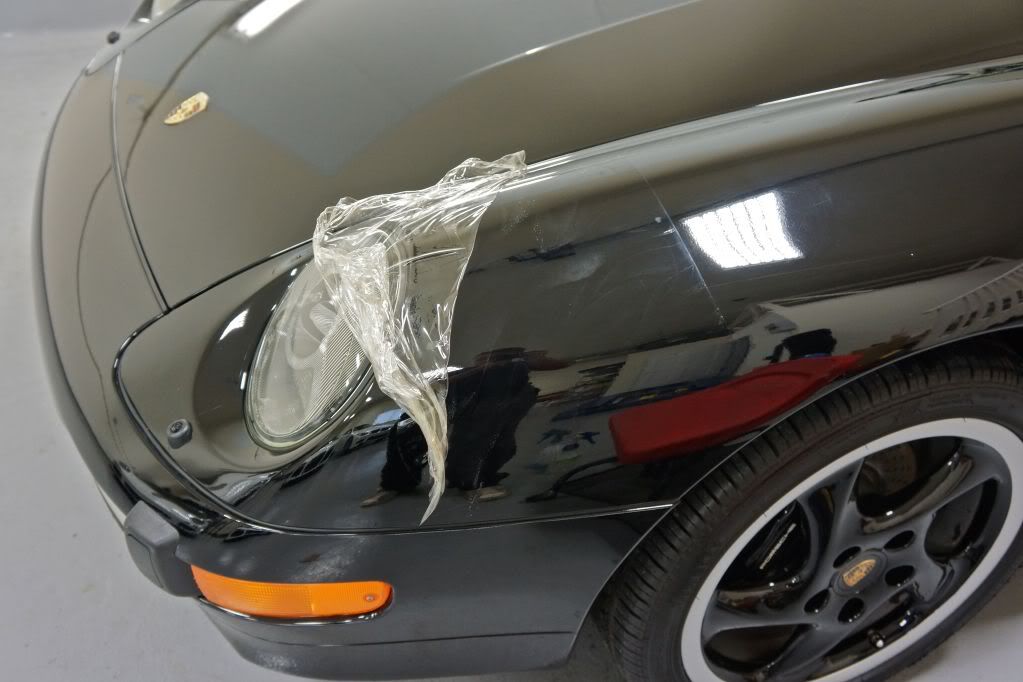
After the film was removed I soaked the panel with adhesive and rubber remover. I normally use this to clean up track cars rubber marks but it worked great for breaking down some of the residue left over
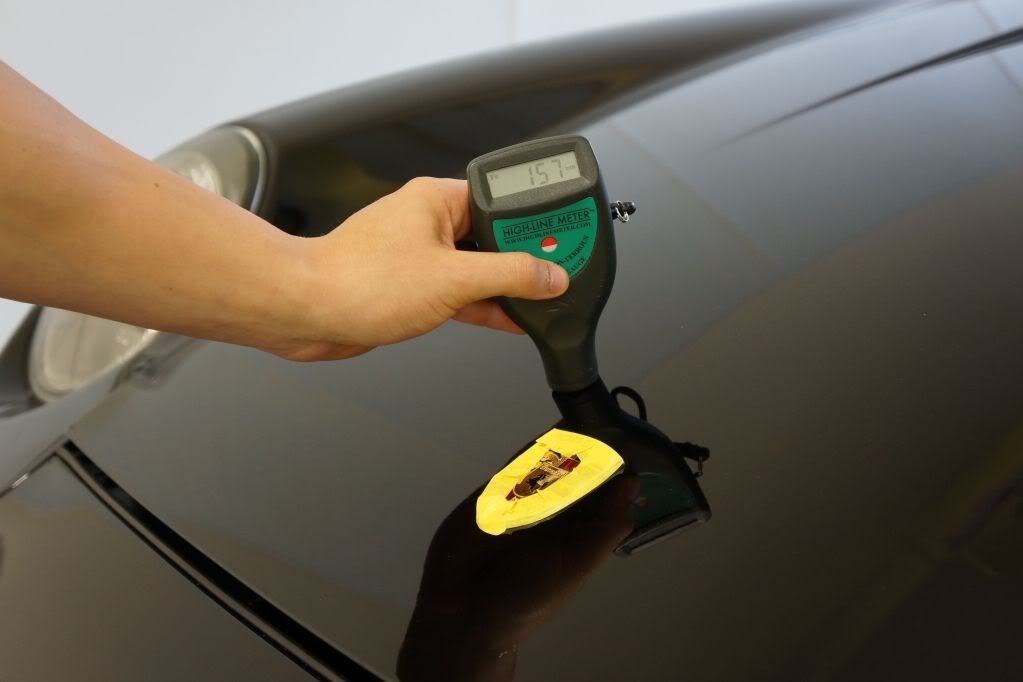
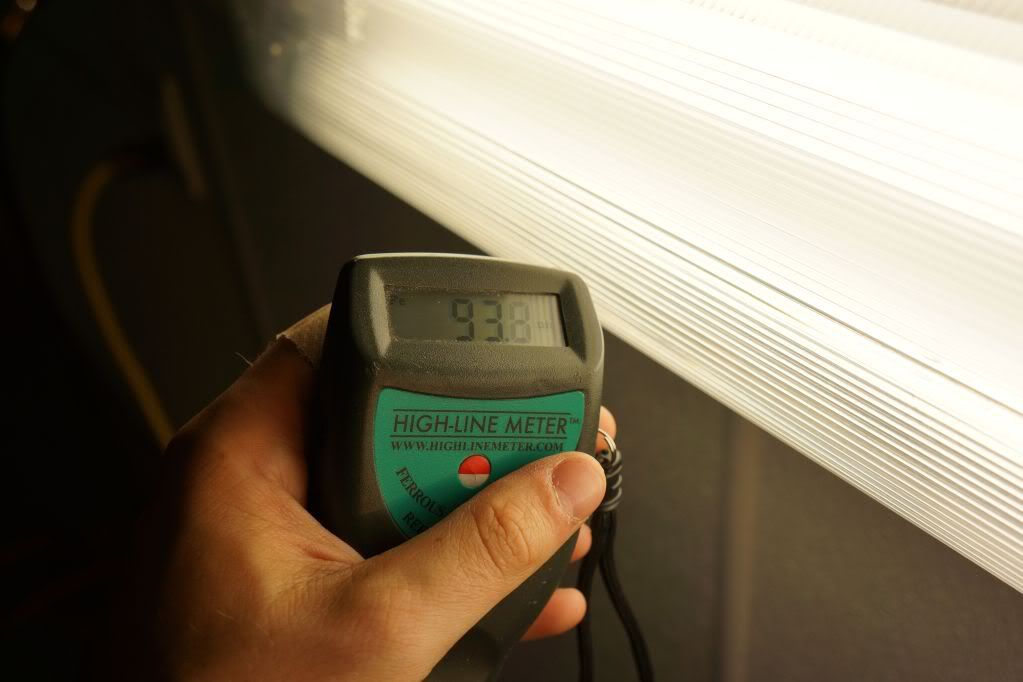
After the film was removed the car was masked and paint readings were taken. Older 911's in general do not have high paint readings to start and I expected a range from about 120microns+
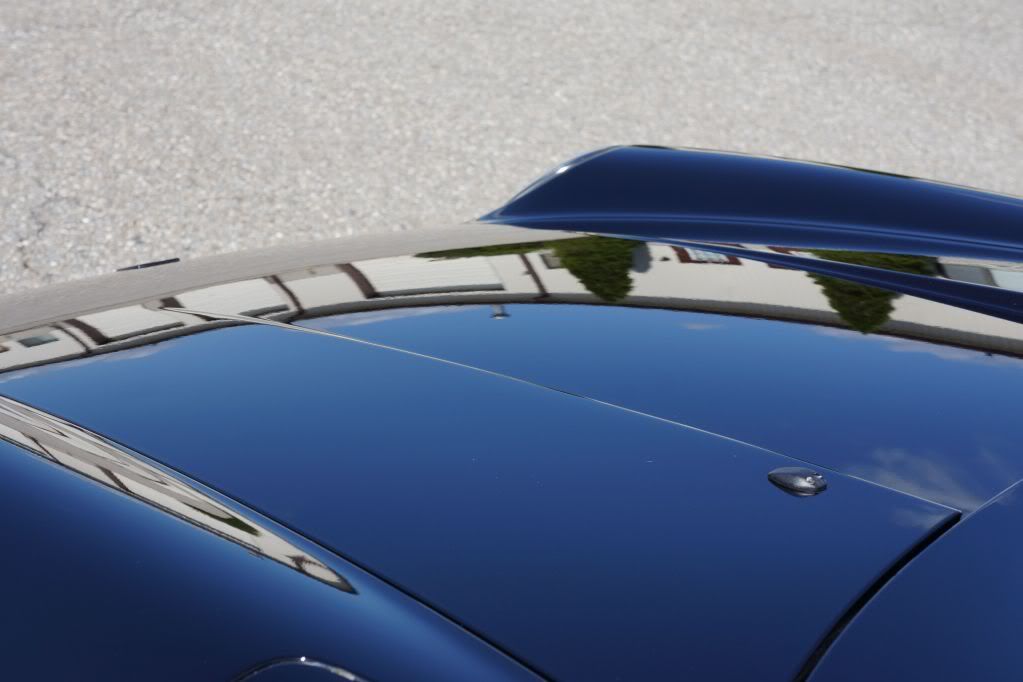
The finish showed many readings in the low 90 micron range. Extreme caution was taken when polishing these areas (roof, A pillars) to ensure quality correction without thinning the clear to a dangerous level
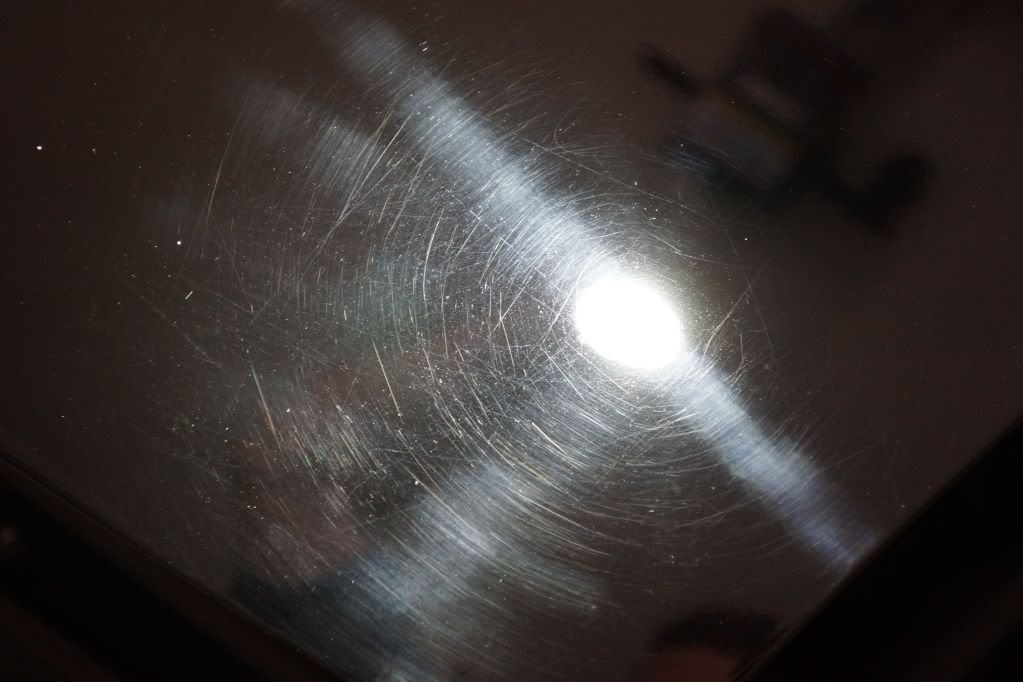
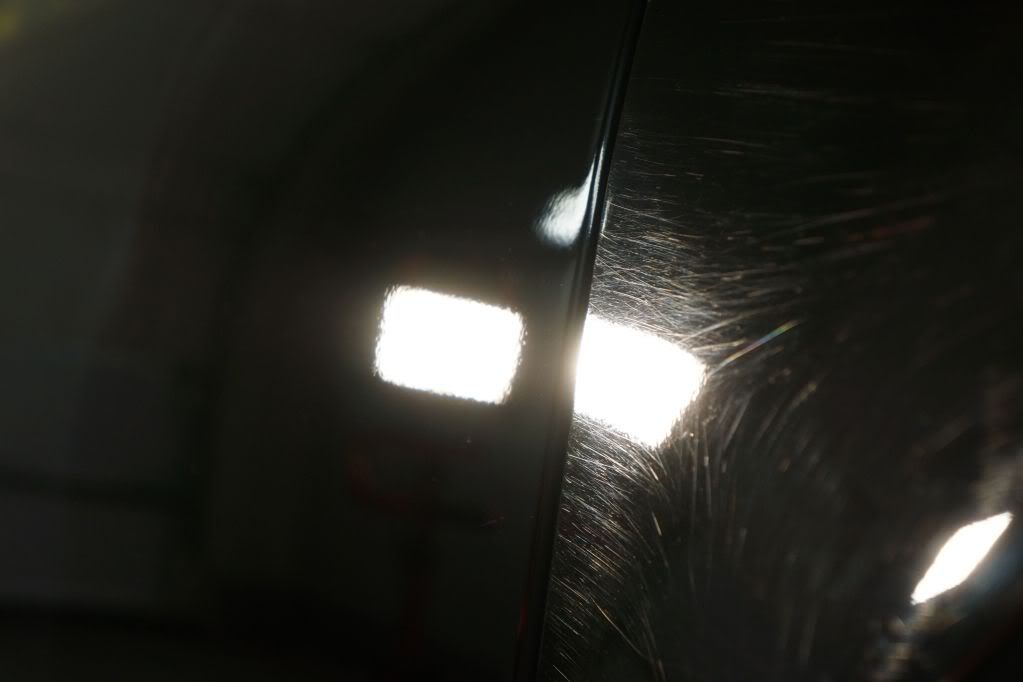
... and not so good
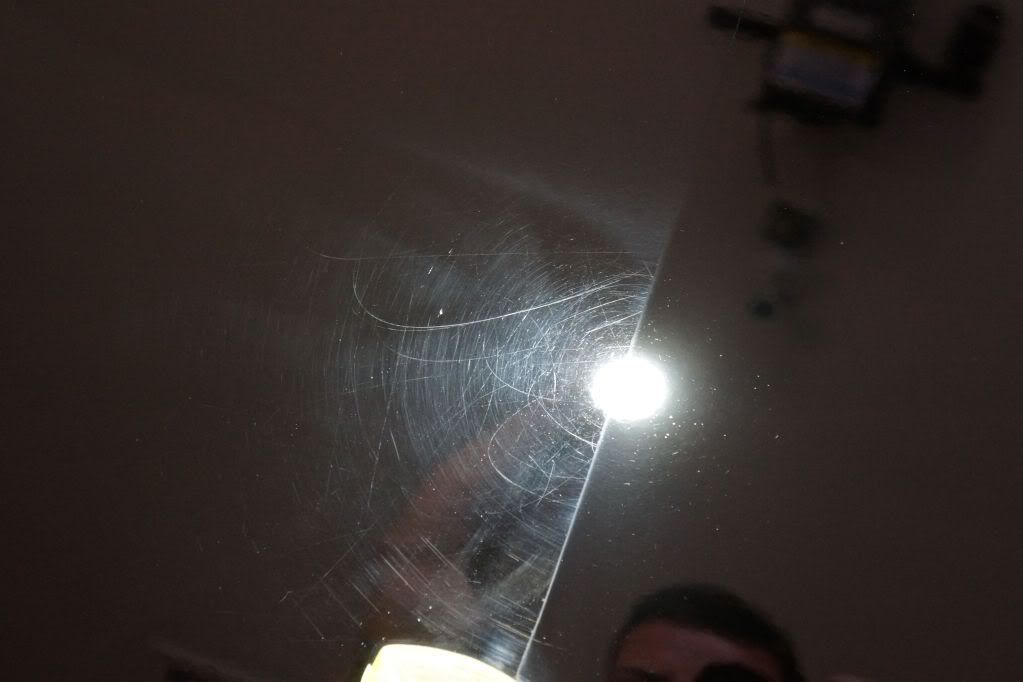
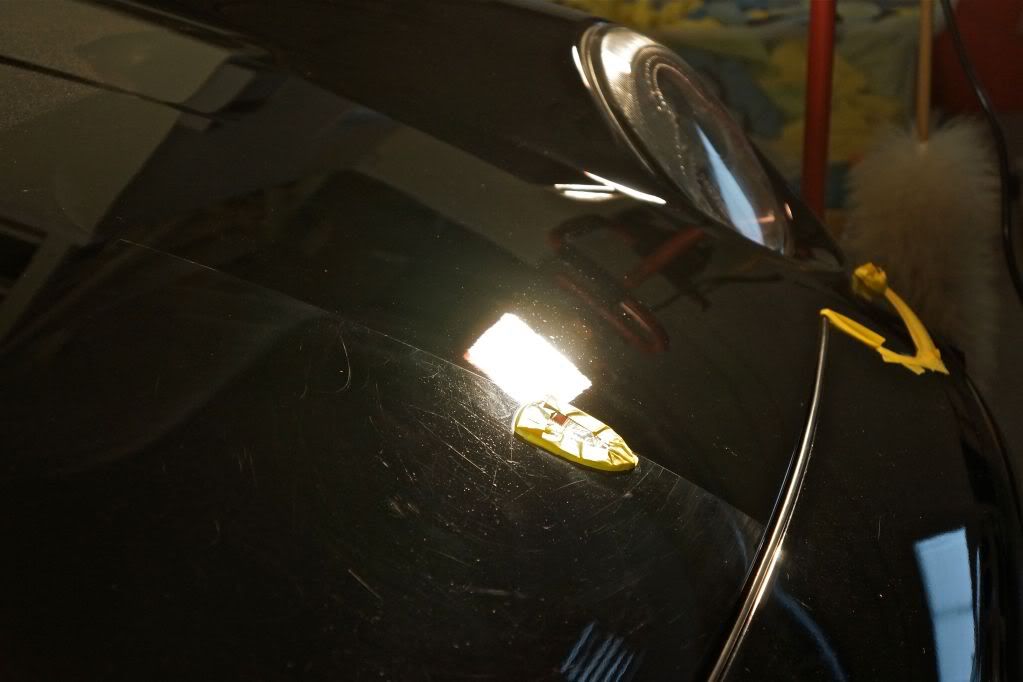
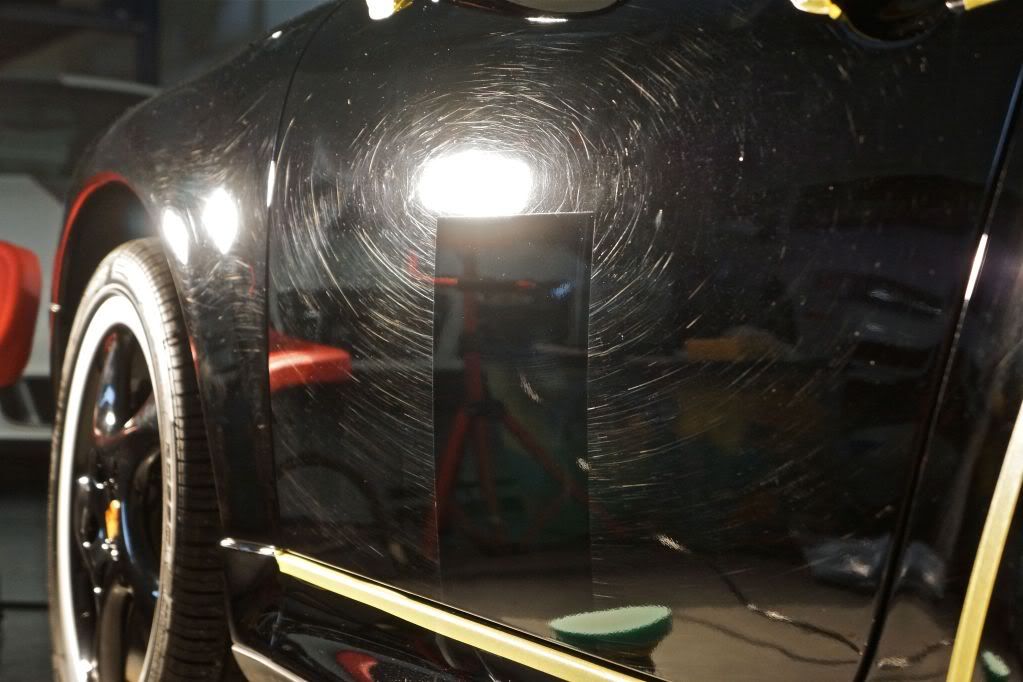
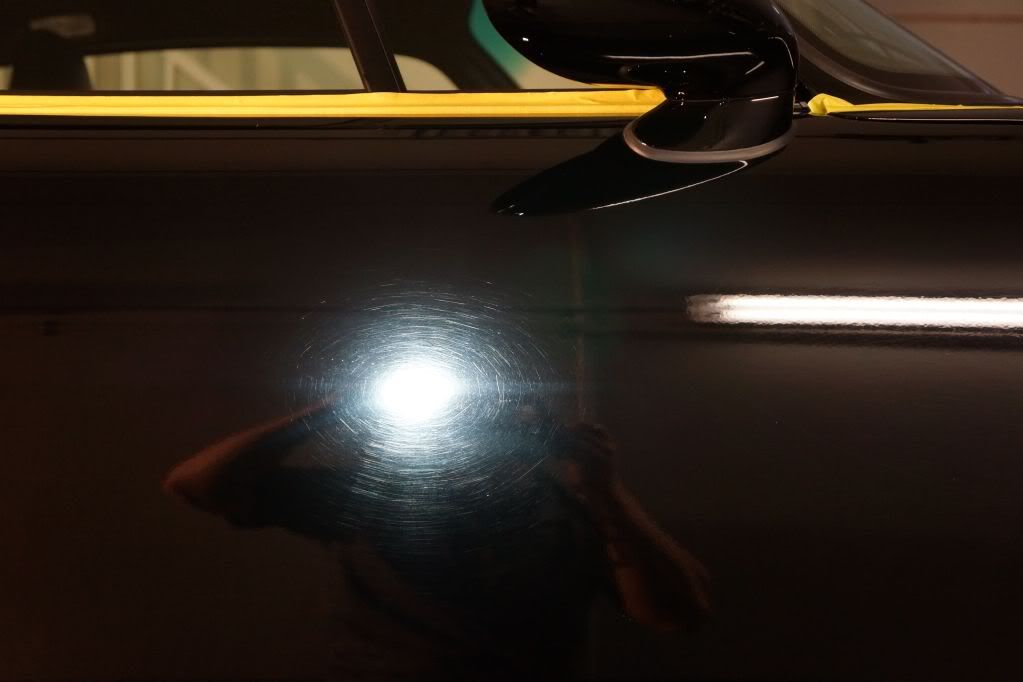
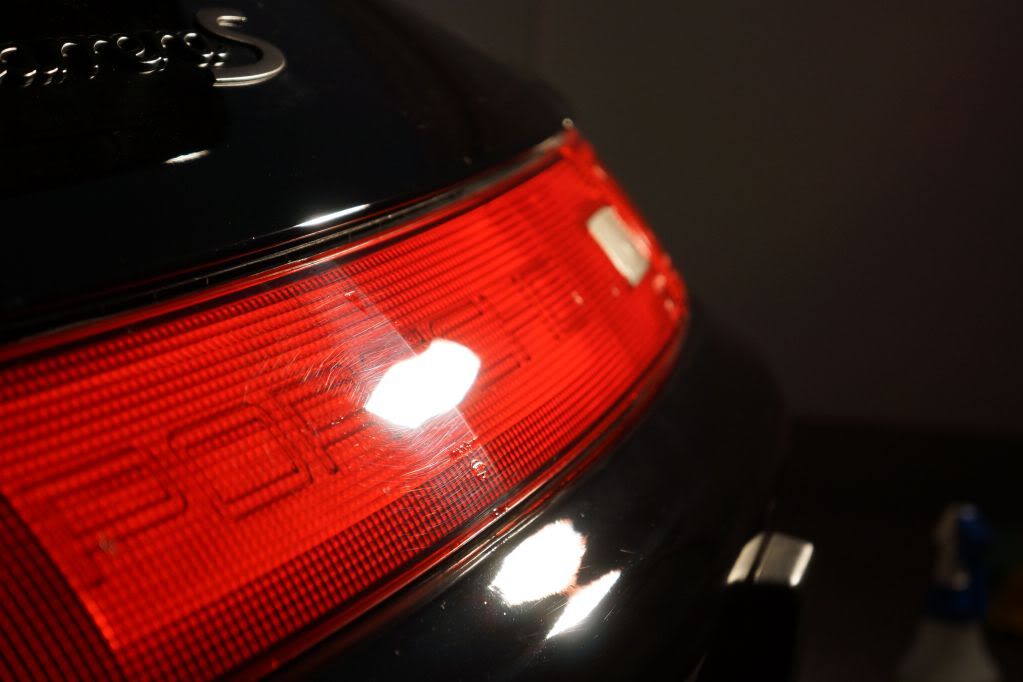
The finish under LED and halogens looked pretty terrible (thats being gentle) the amount of heavy RIDS and high concentration of swirls leads me to say this car has been wiped down dry many times in addition to some poor washing. In terms of defects there was a little bit of everything going on here, the most important and time consuming part of the correction was handling the deeper rids which require multiple passes using M101 and M105.
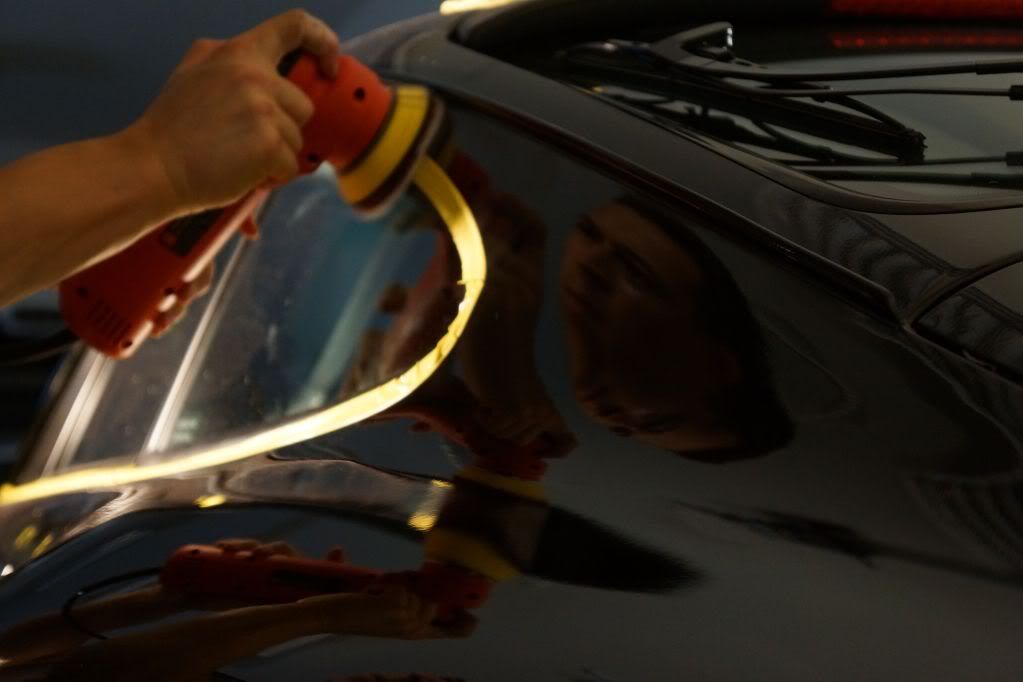
Polihsing and light cutting were carried out using Menzerna P203s and final finishing was done with micro polish PO87MC
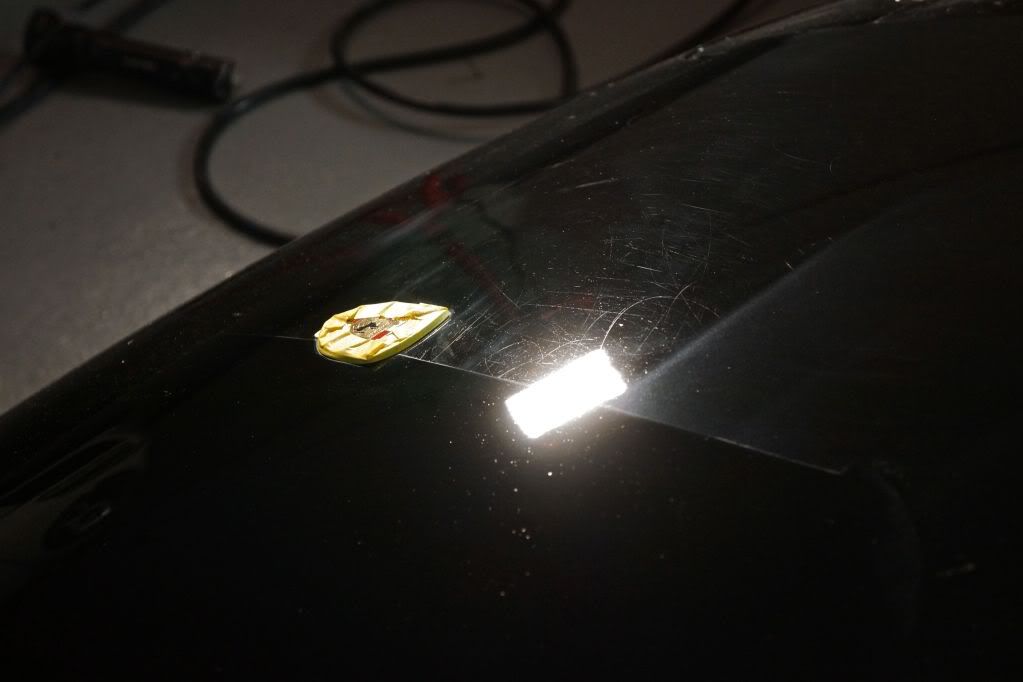
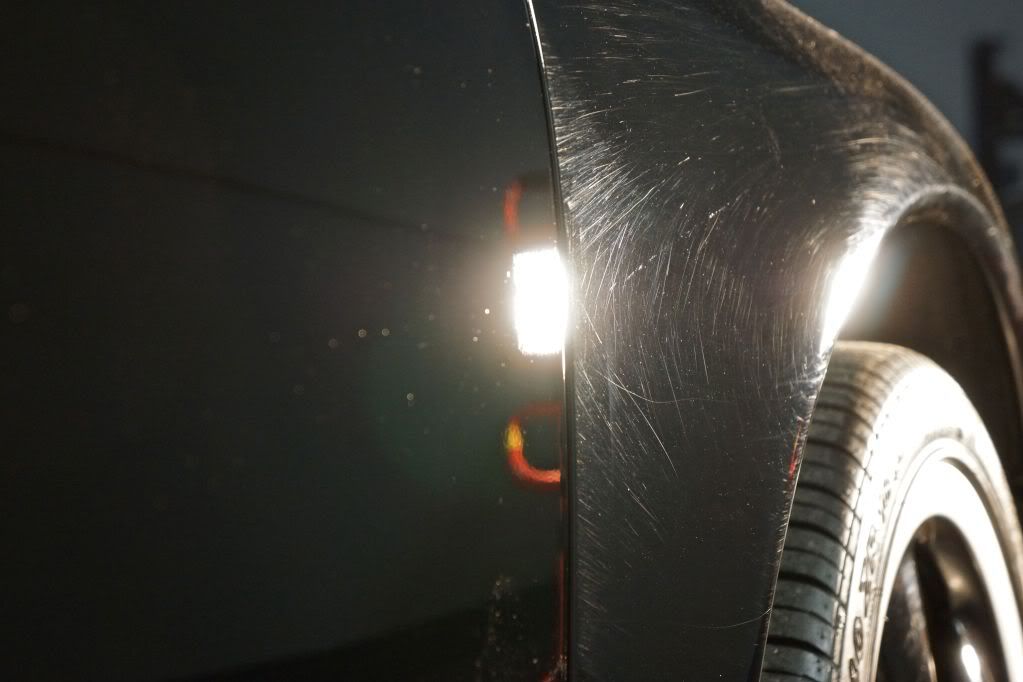
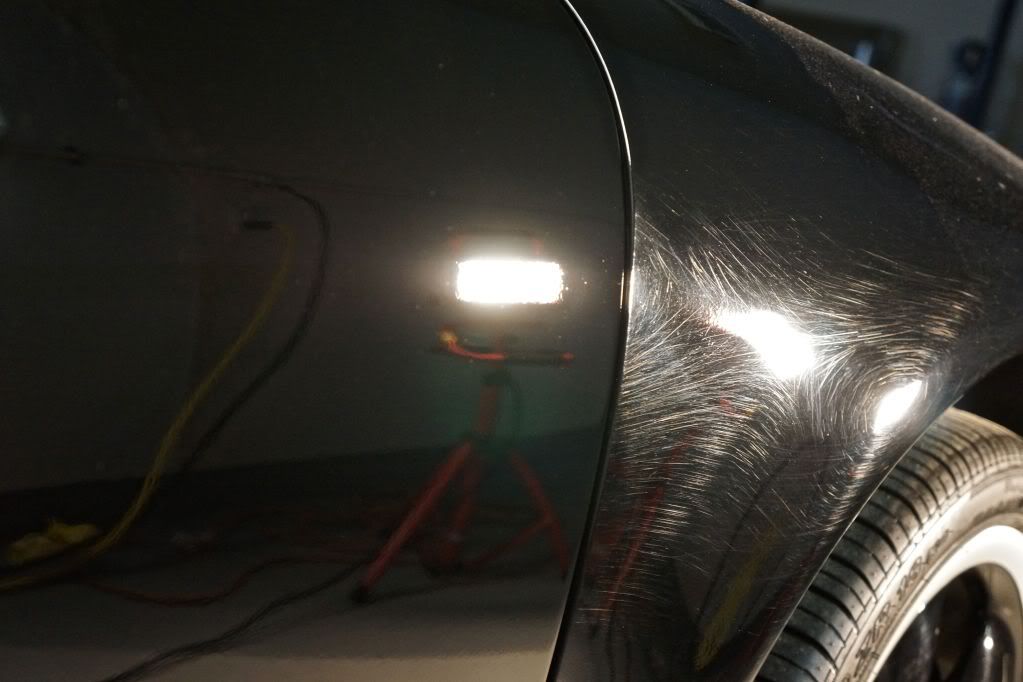
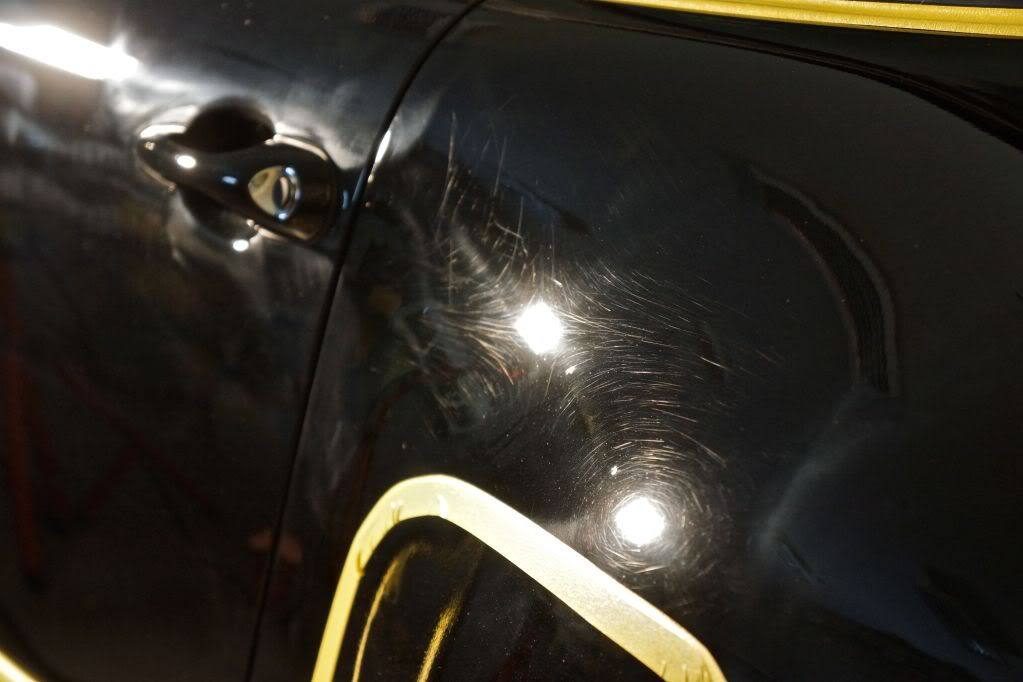
The damage..

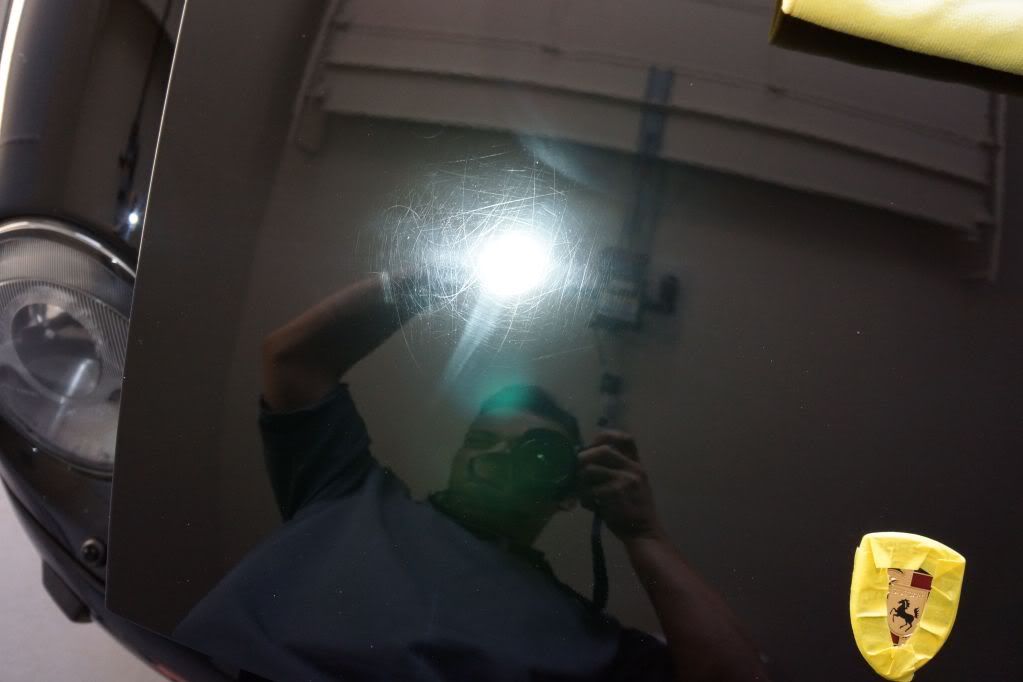
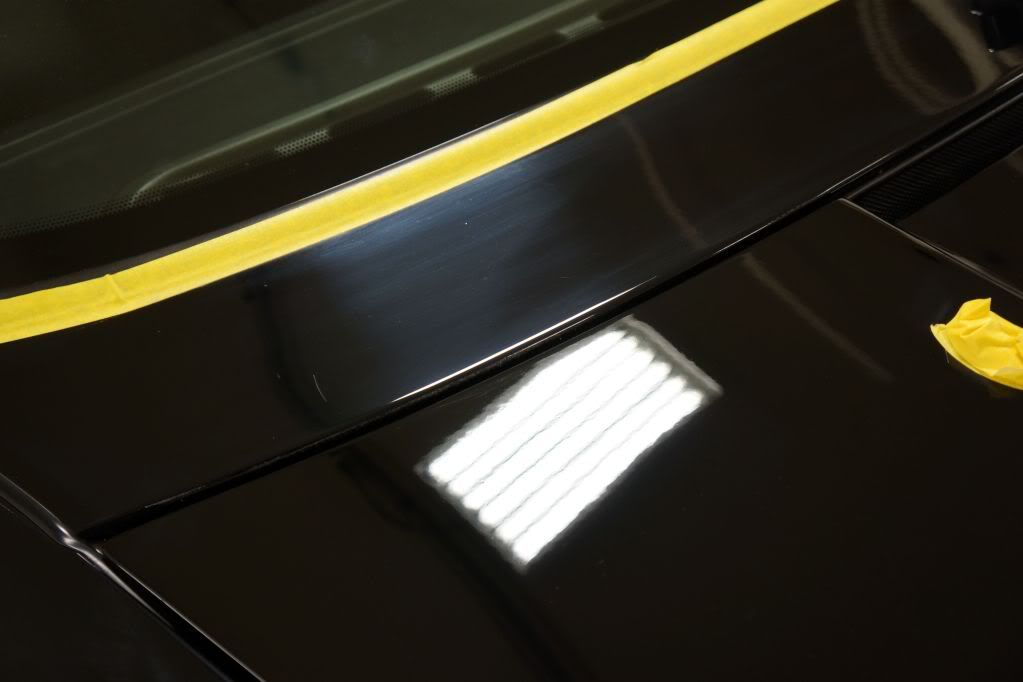
After a good bit of time finding the proper combination I began working my way through the cutting stage, here are some 50/50s taken after compounding and light cutting, zero finishing work was done at this point
Good difference in color and jetness, top panel near cowl left unpolished, hood polished
Moving onto the rest of the car, same level of defects seen on every panel
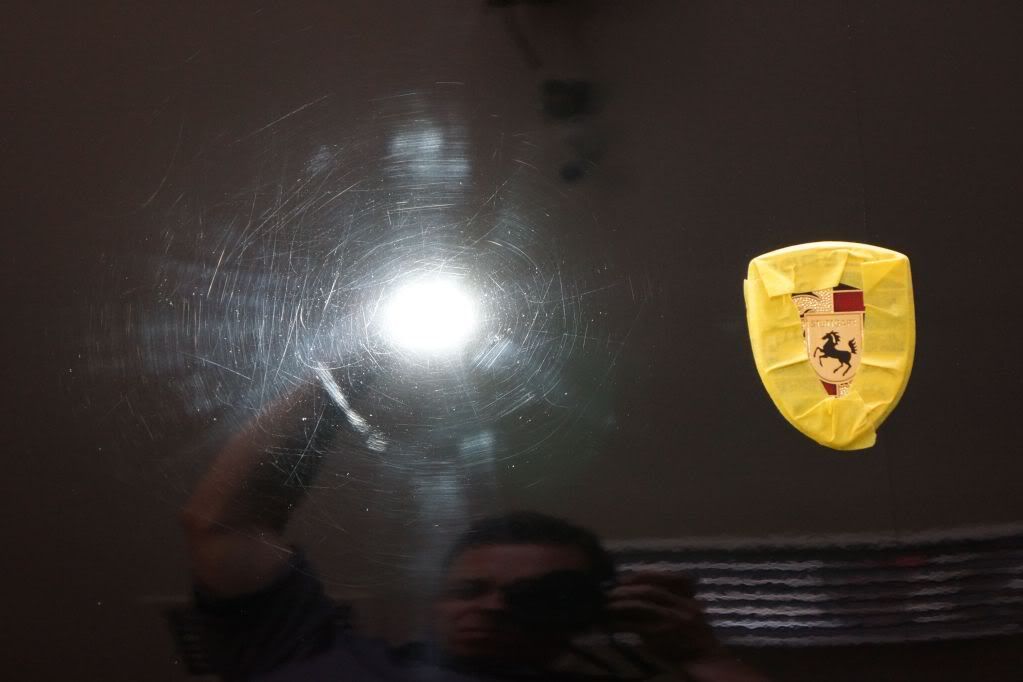
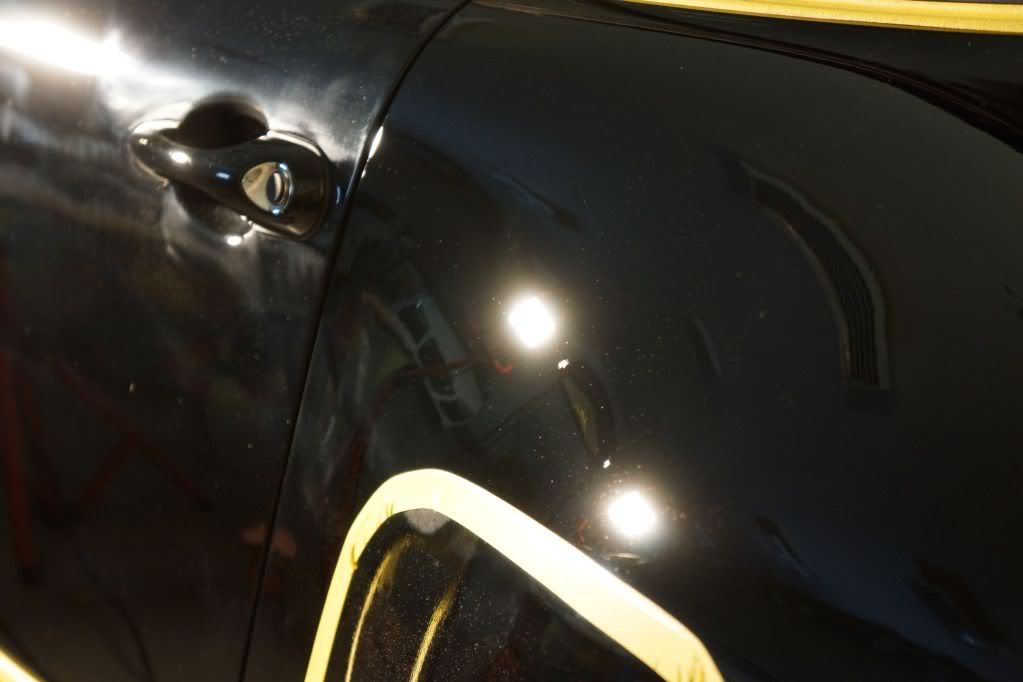
I understand sometimes looking at pictures of a black car under LED lights will highlight more than the average person could see with natural light so here is what the finish looks like with no additional lighting. You can actually see the lines in the paint and level of defect.
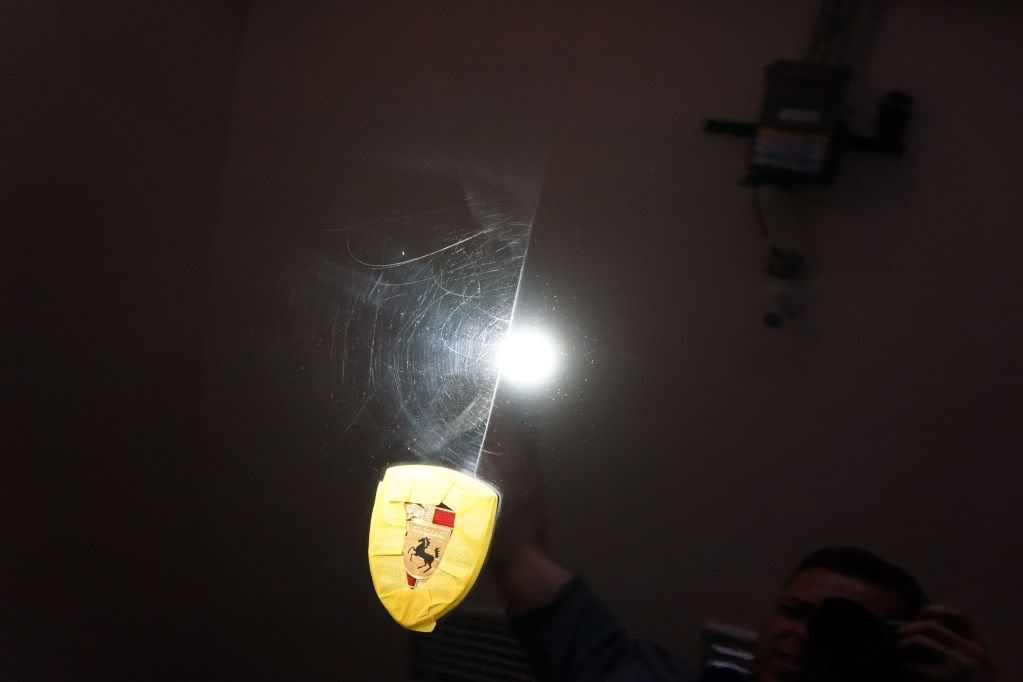
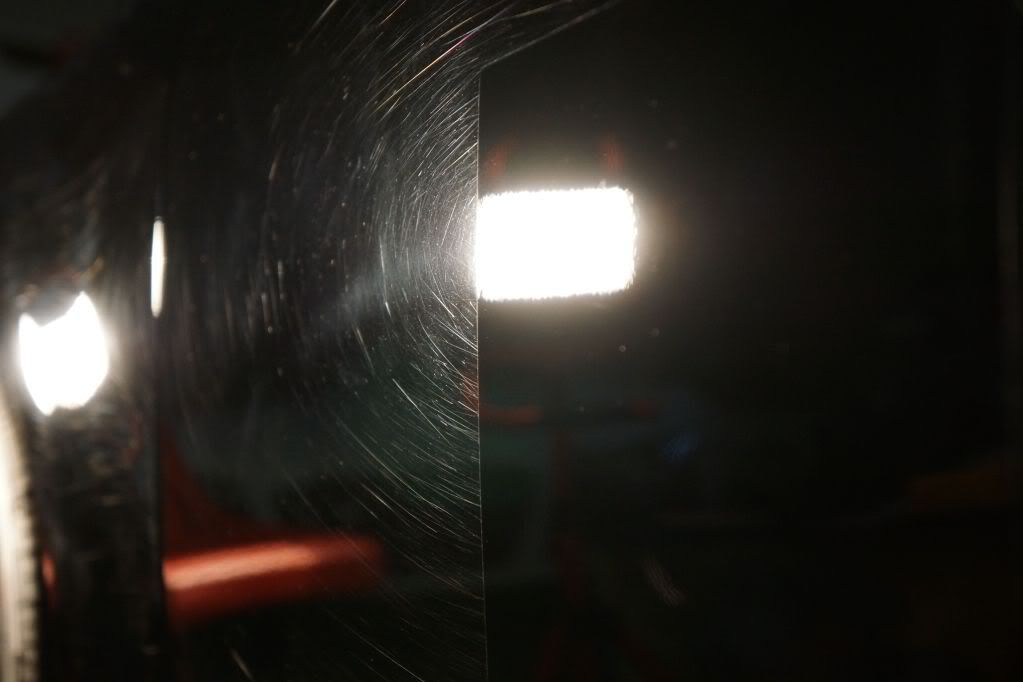
and one with a halogen backlight
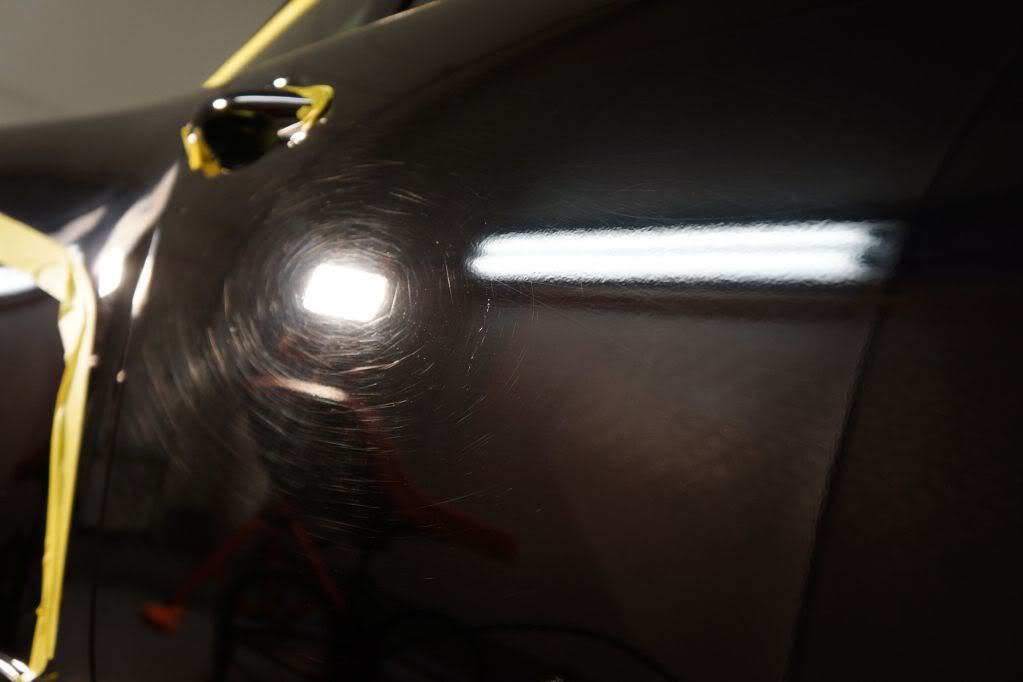
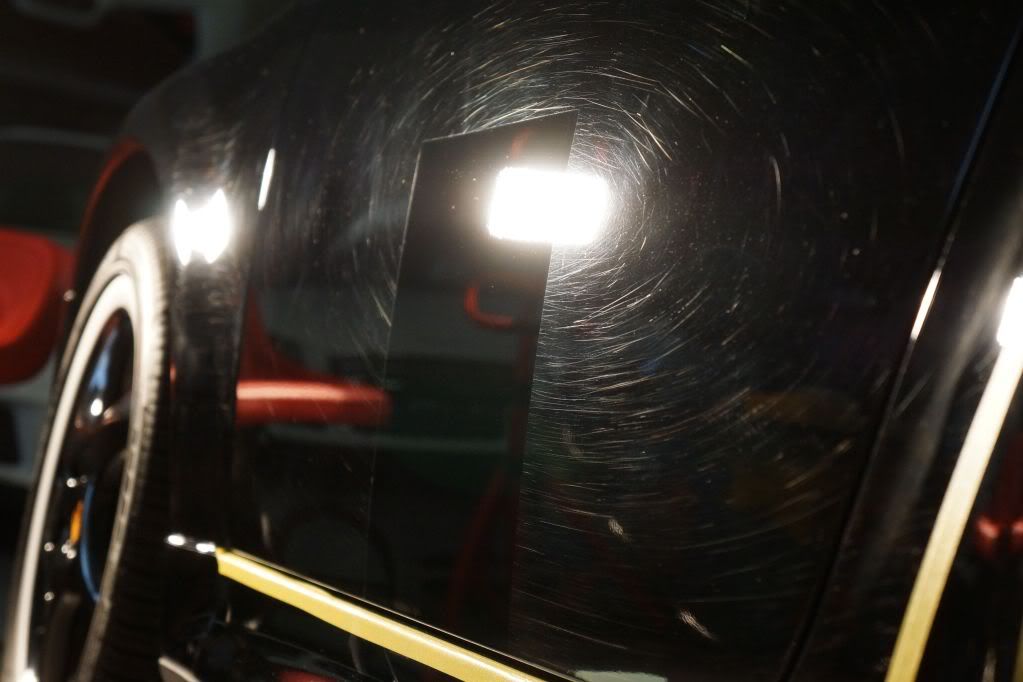
and dead on with the LED at max brightness
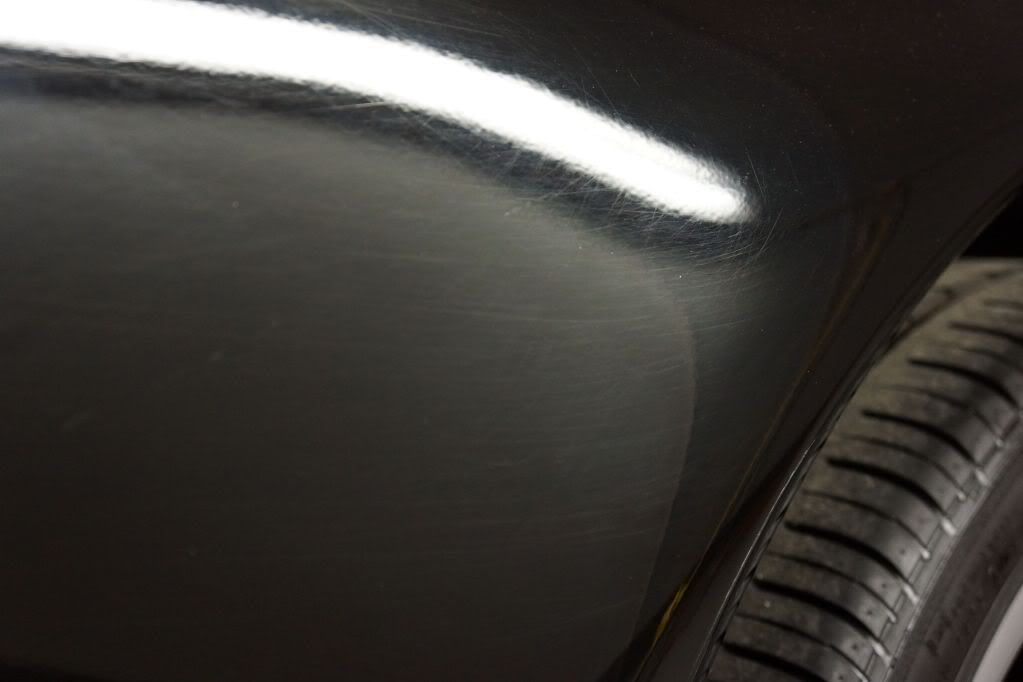
Front fender..

Some 50/50s
Closeup
Door 50/50 closuep after compounding

3" pads working the tighter areas of the car
Driver side rear quarter before
After all cutting and finishing stages were finished the car was gently dusted and wiped down with Eraser to remove any polishing oils and prep the finish to the LSP.
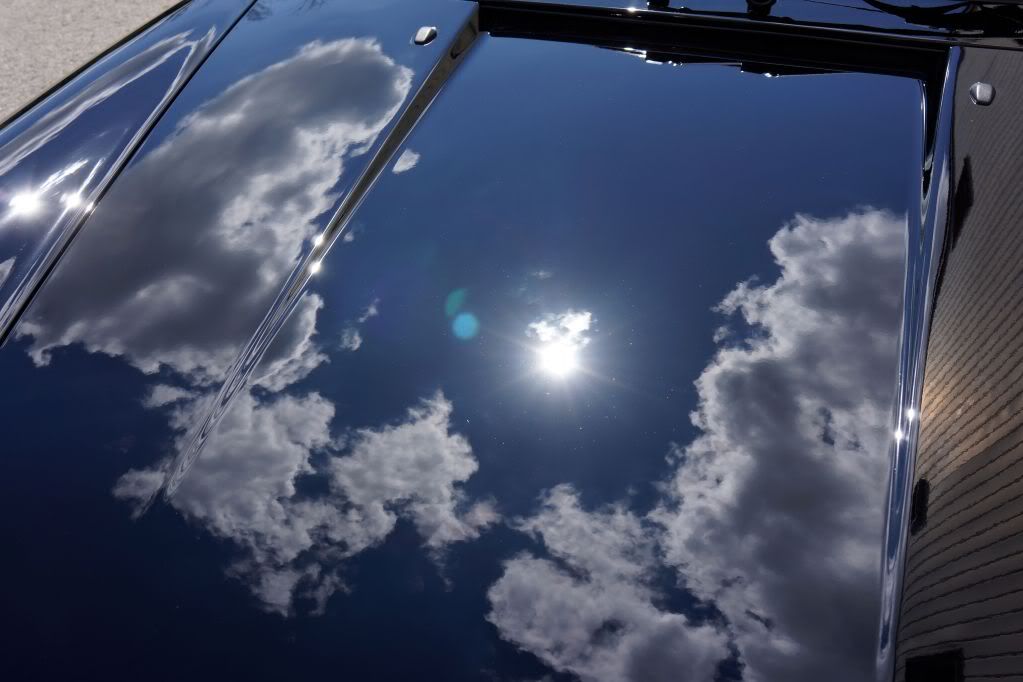
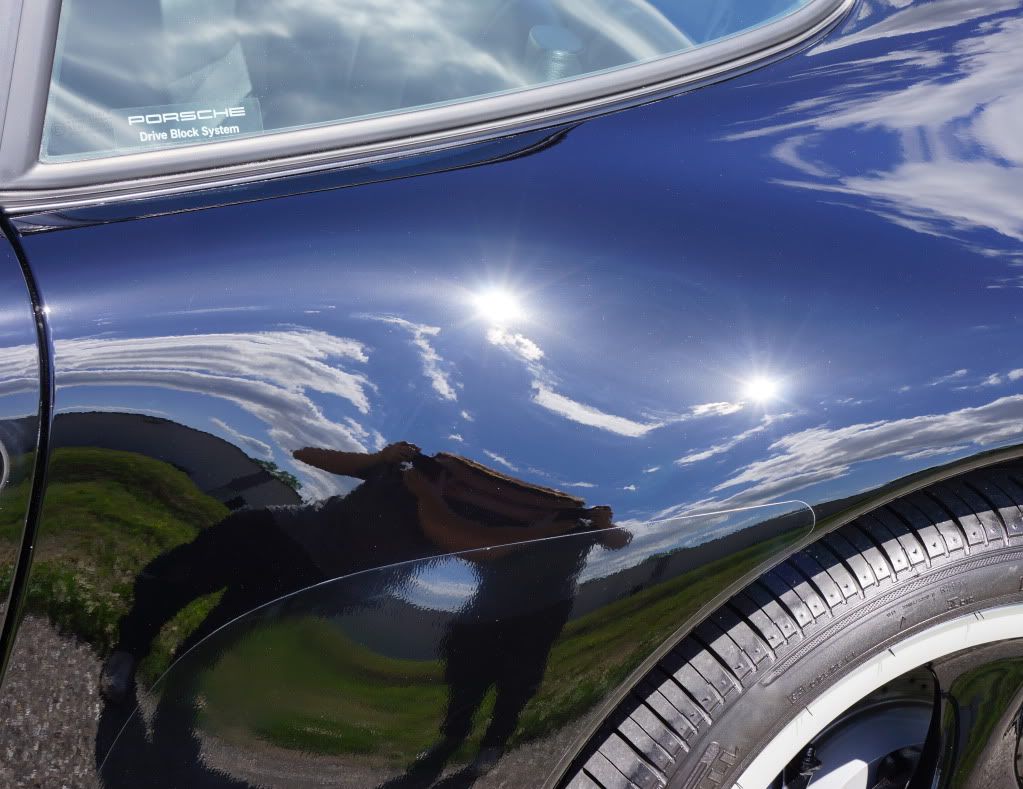
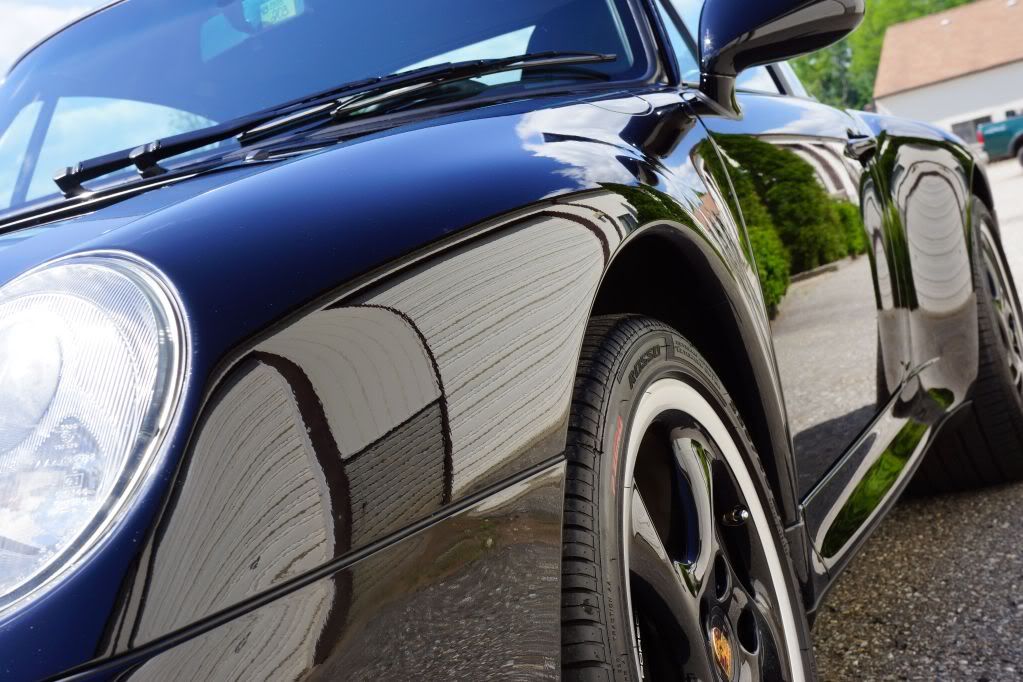
This is the car outside after polishing, no wax or sealant yet
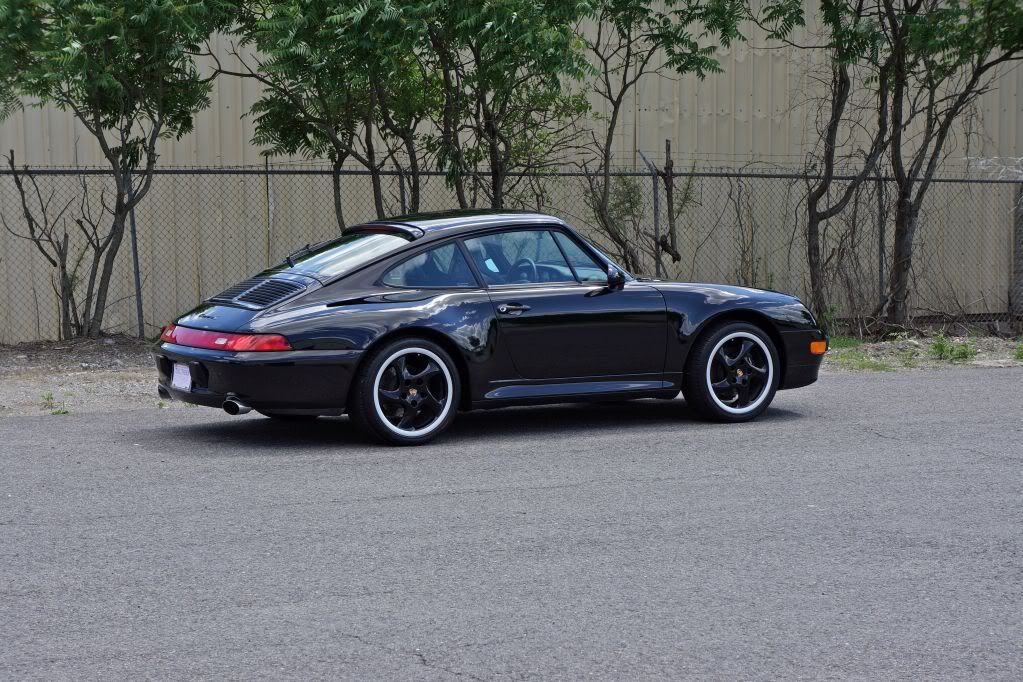
That was the end of day 3, day 4 the rest of the car was finished and protection applied... luckily plenty of sun for after shots as well
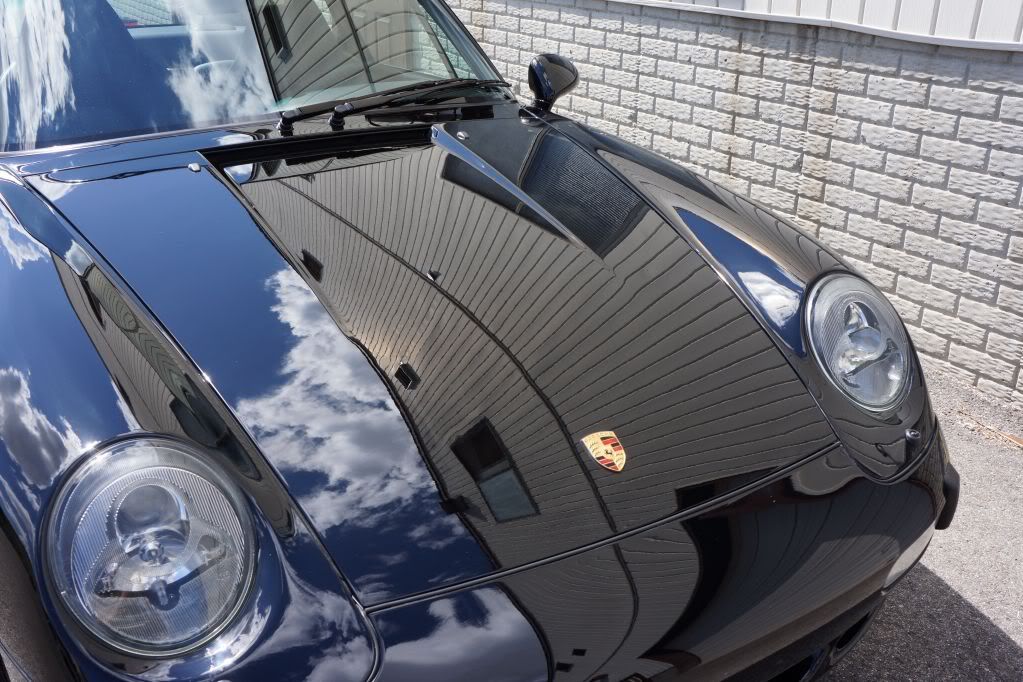
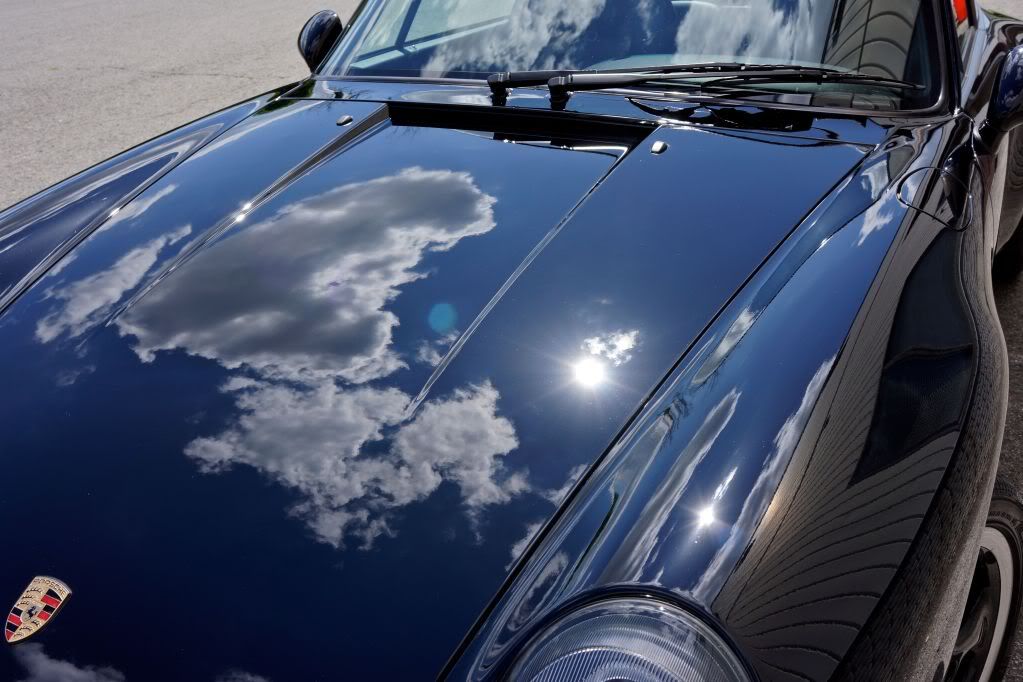
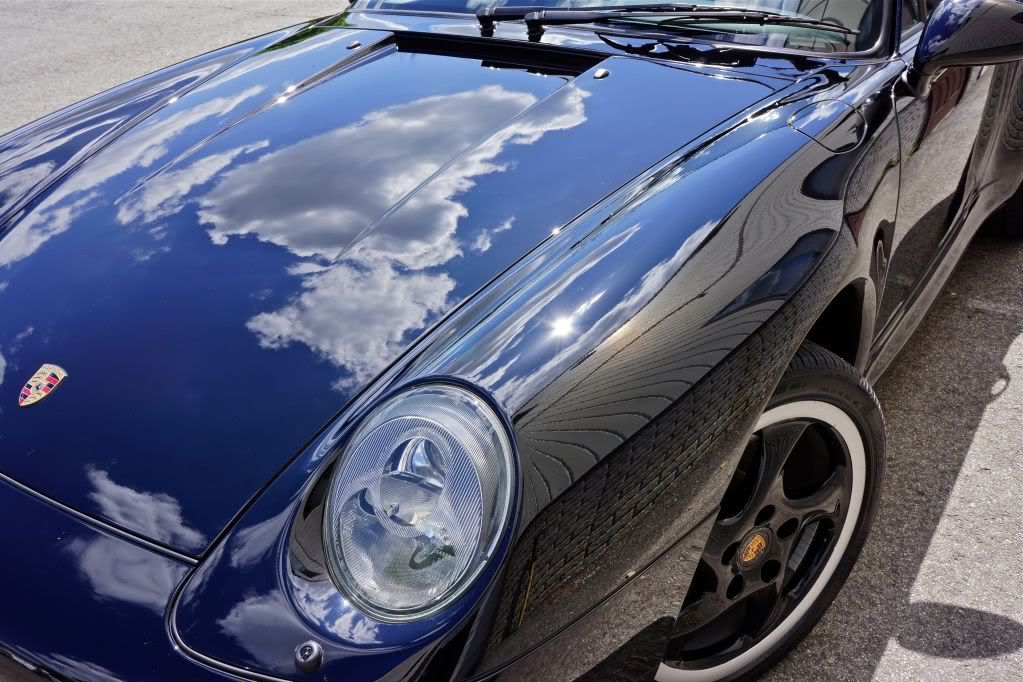
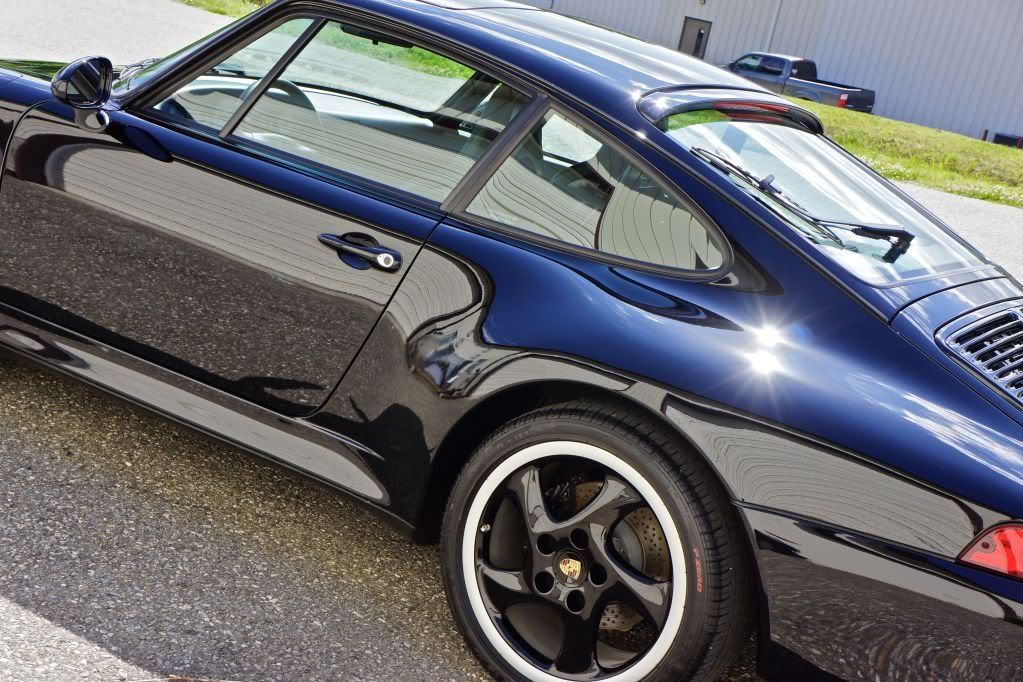
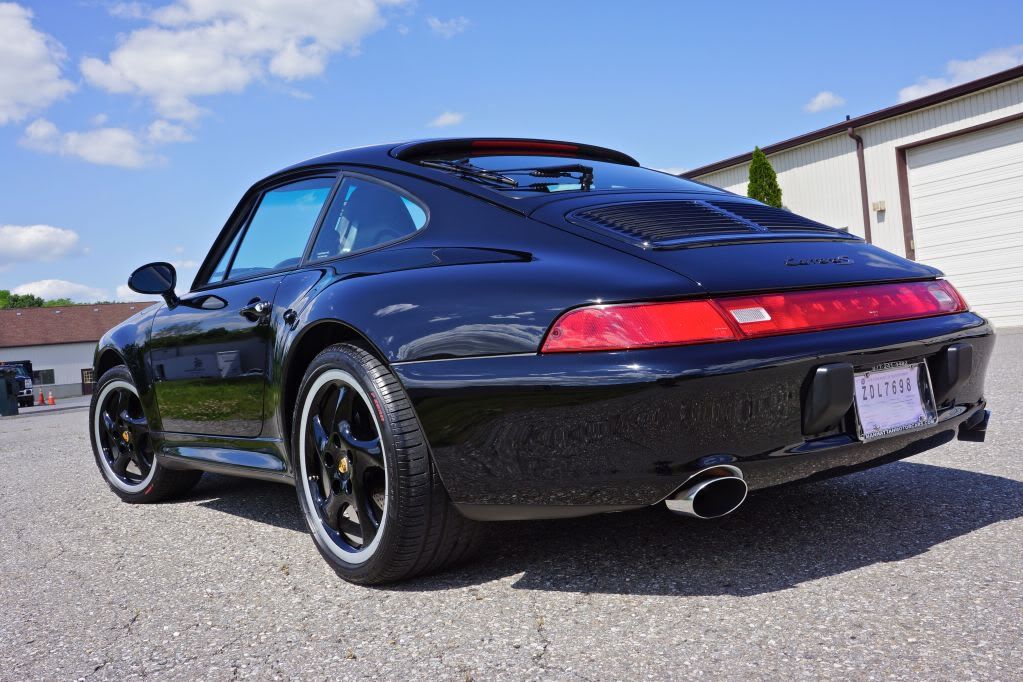
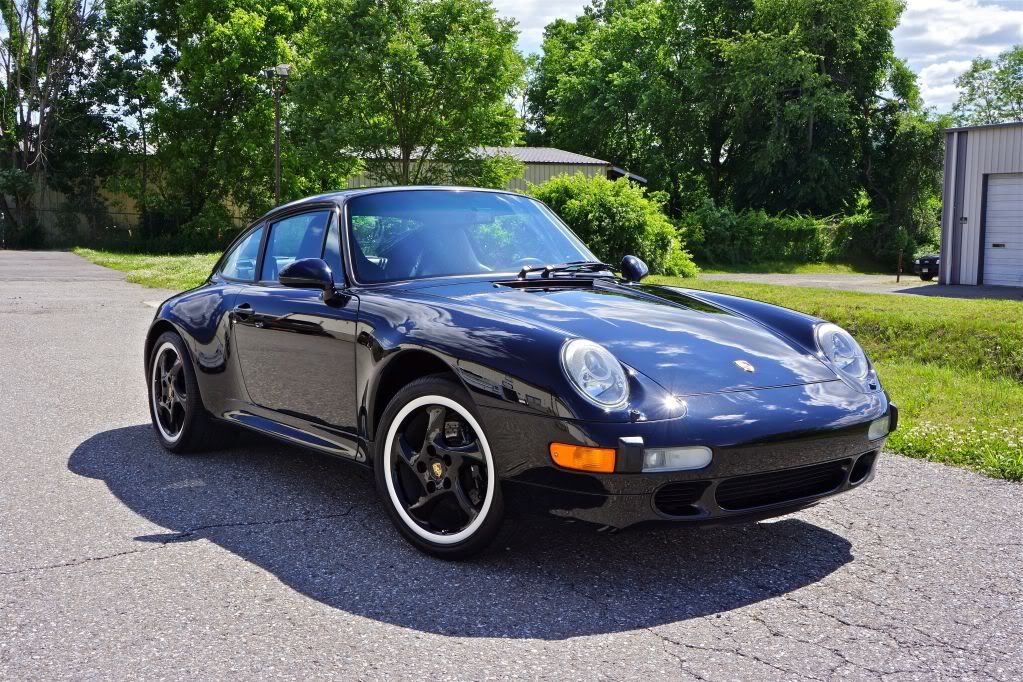
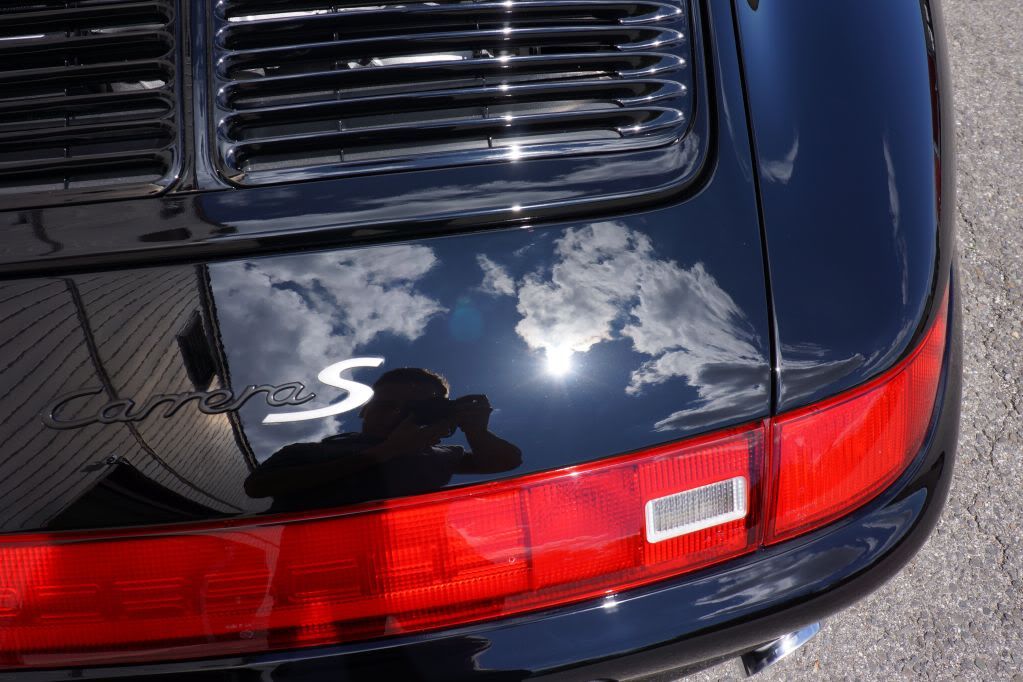
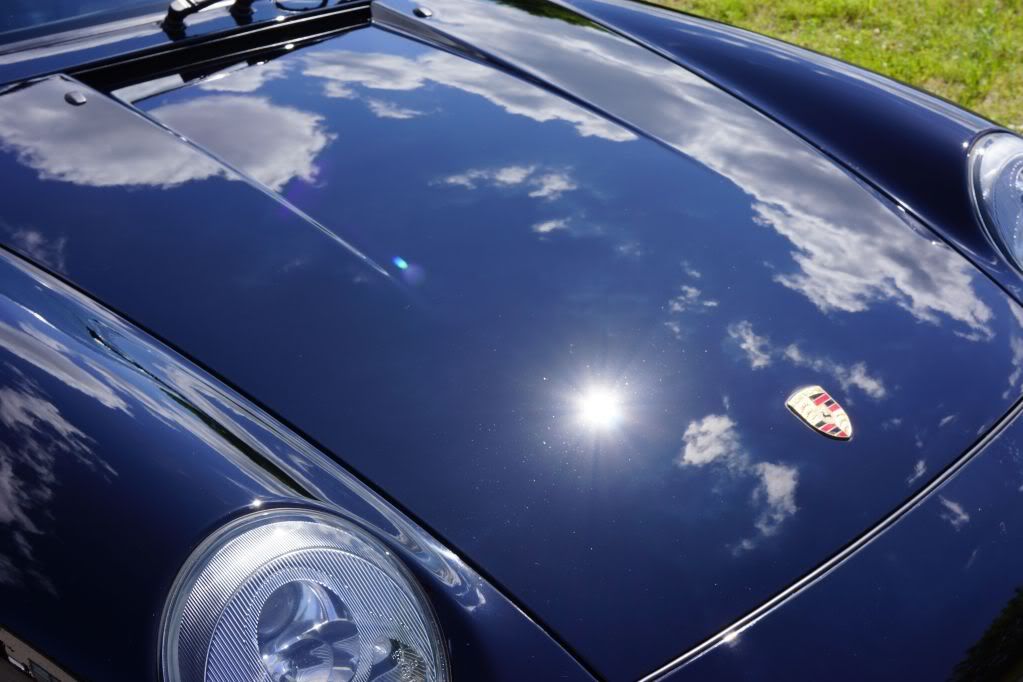
Final shots..
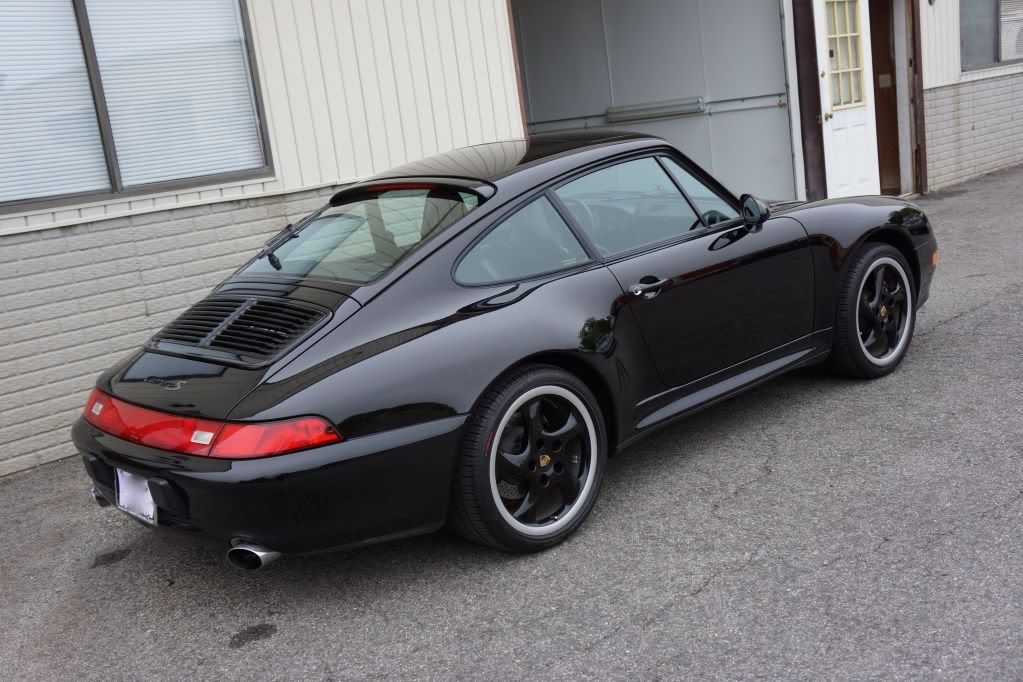
Sure does look nice in the garage..
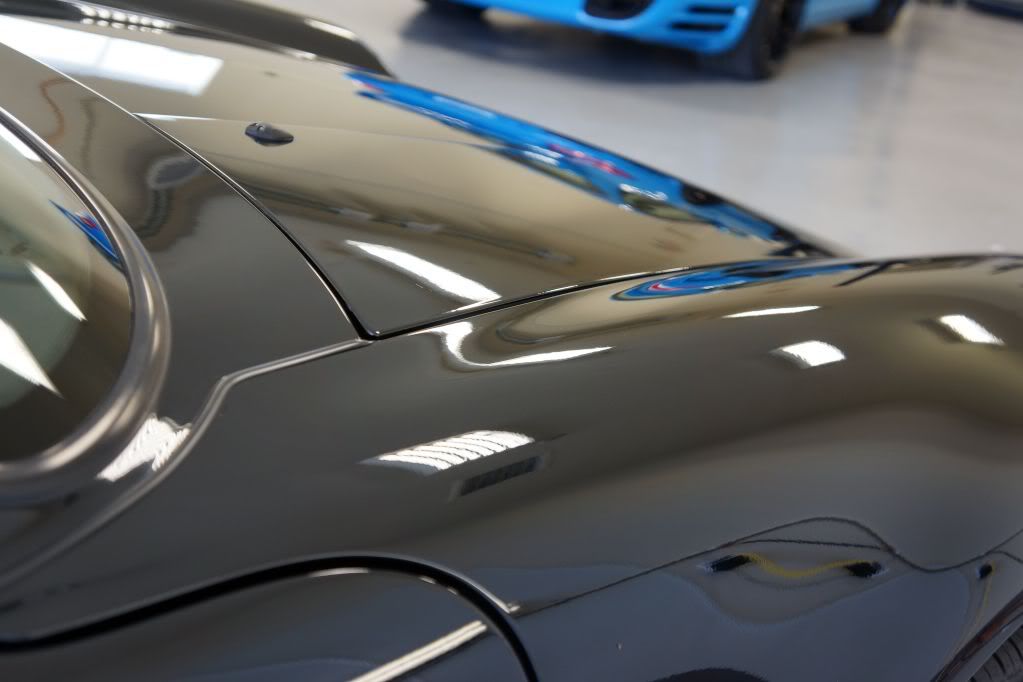
But outside it looked even better!

That's all thank you for taking a moment to read the writeup!
All the best,
Dave Saunders
Street Dreams Detail