It finally happened, Street Dreams has re-located to San Diego California!
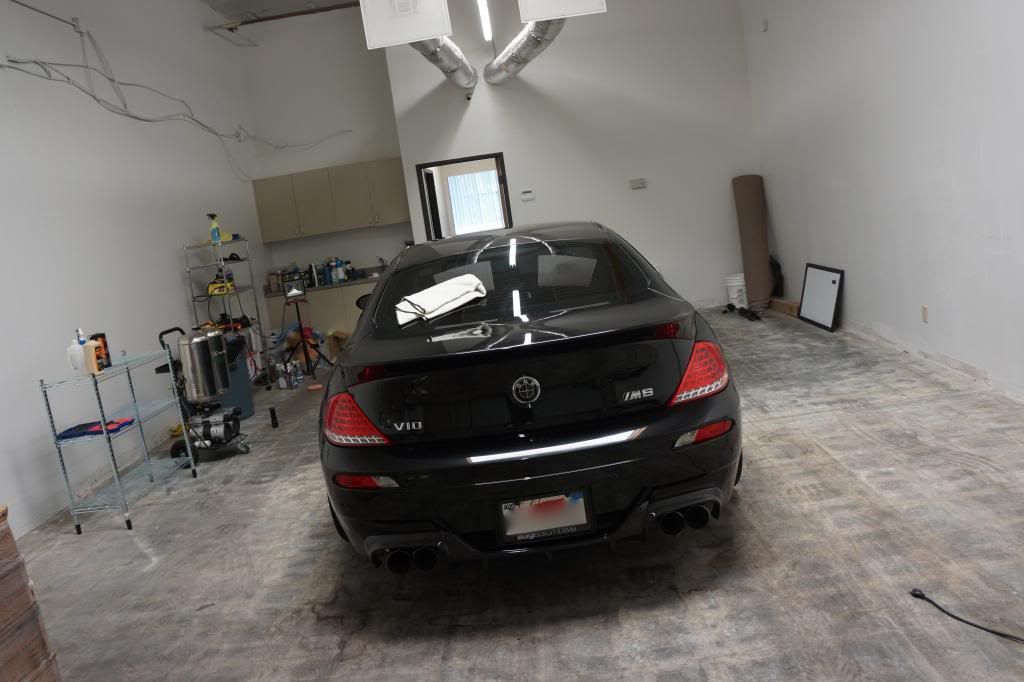
Its been a very busy few months winding down my business in New Jersey, moving and setting up shop in San Diego. Still plenty of work to do but I am happy to be officially back on the forums posting and sharing. This M6 was the very first car which came in my shop and while the shop itself may not be fully dialed in just yet (lighting and flooring to be installed) I made sure the BMW was.
Issues with the car:
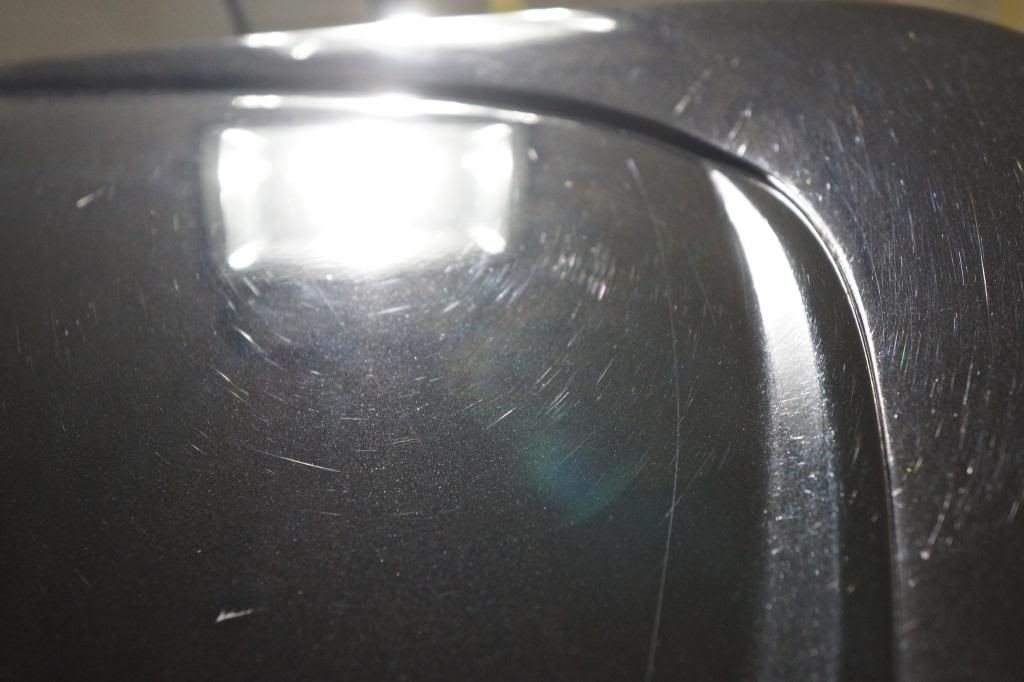
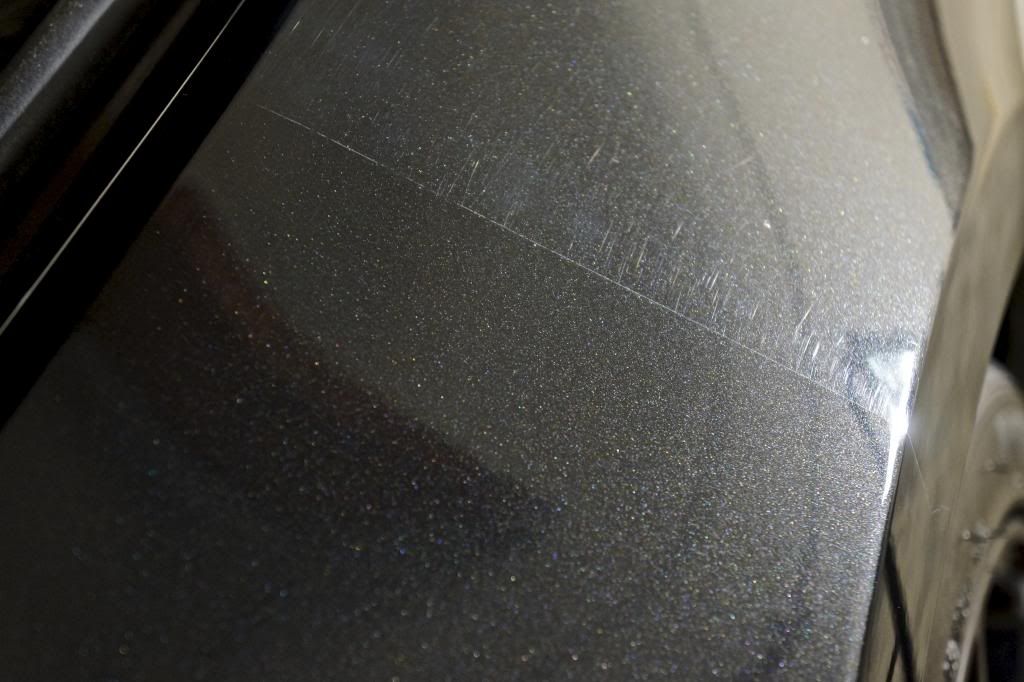
Heavy swirls, RIDS and marring
Re-painted front bumper, unfinished with sanding marks
Poorly finished carbon splitter and rear valence
Lack of depth and clarity
No metallic flake pop
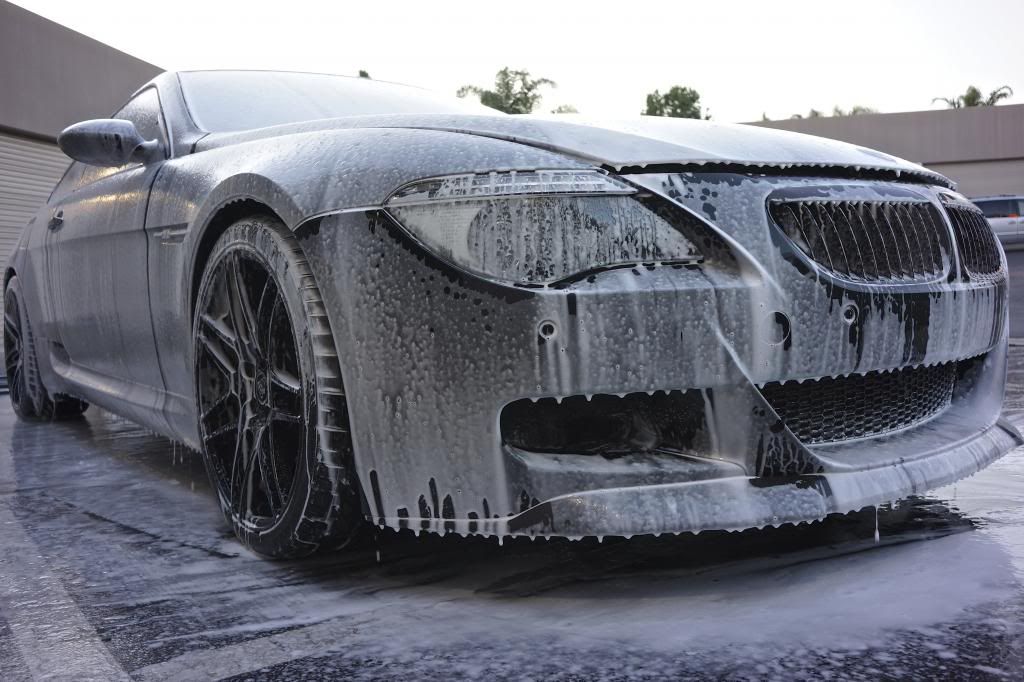
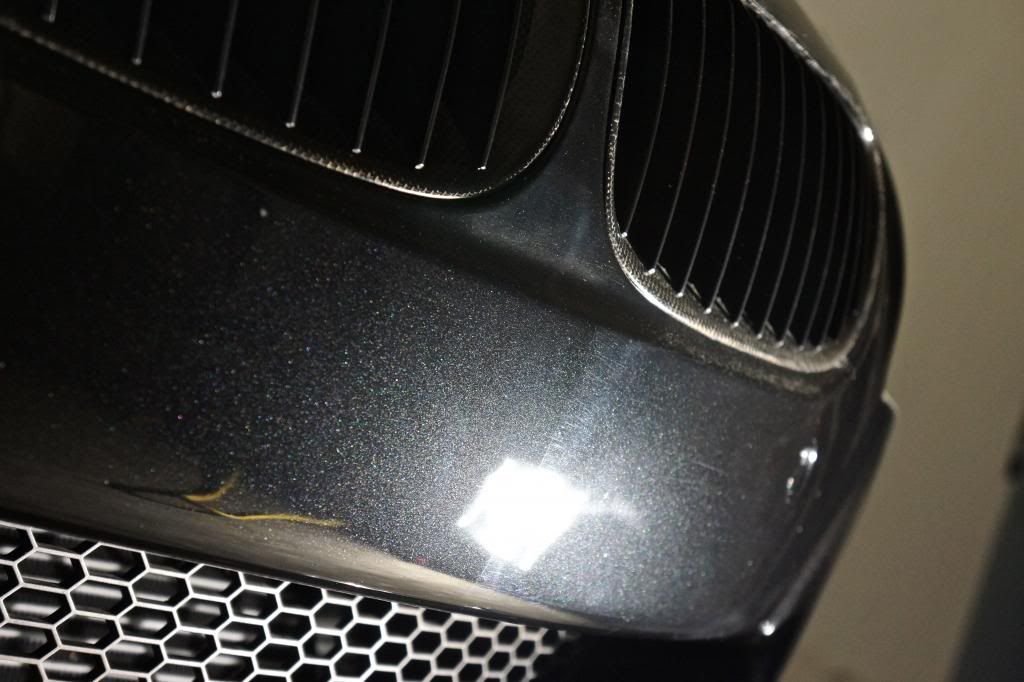
Front bumper showing shoddy re-paint with heavy orange peel

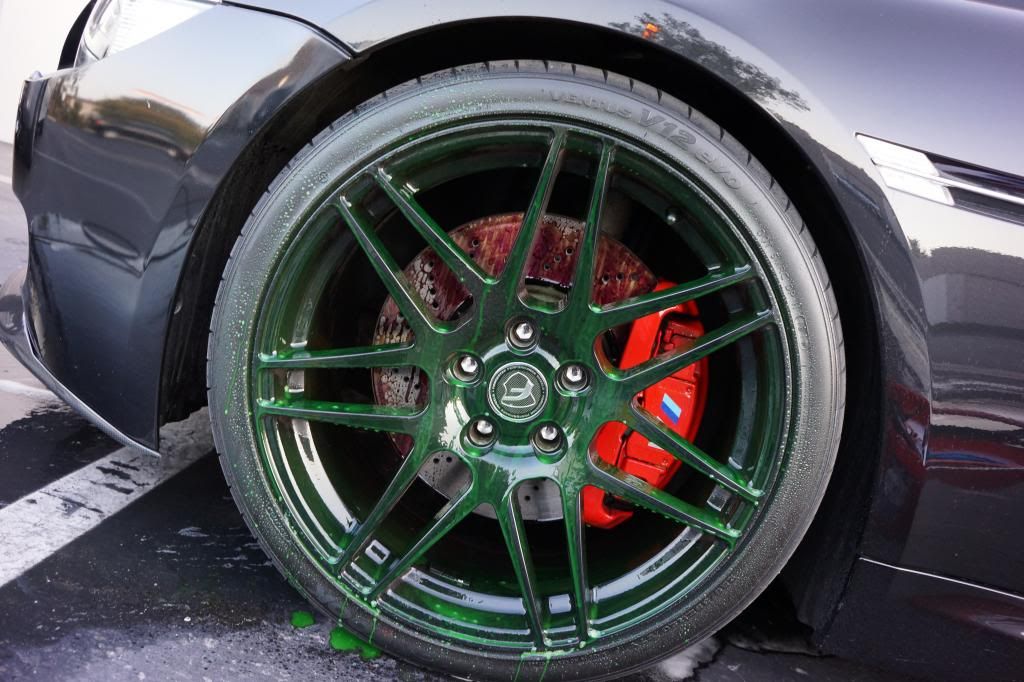
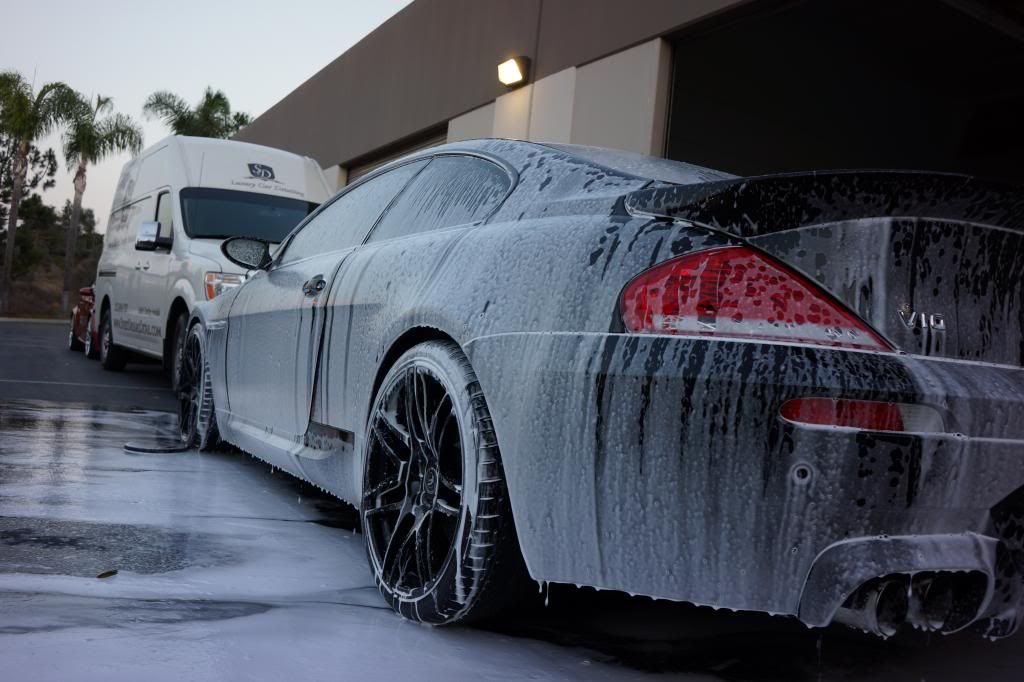
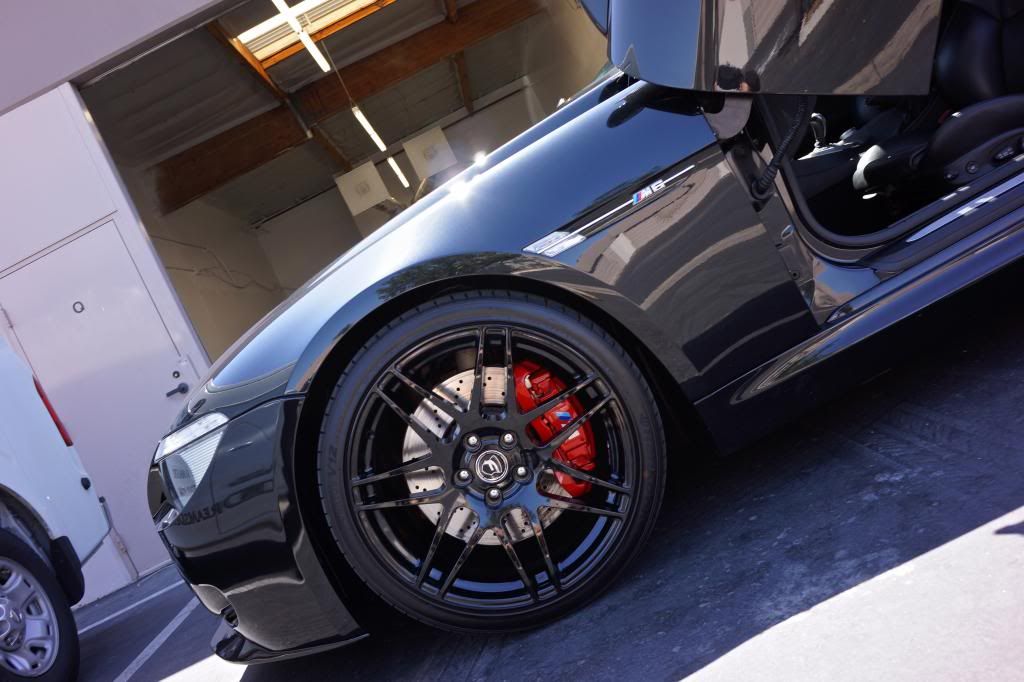
Sonax wheel cleaner sprayed on dry and left to sit for about 10 minutes before agitation. Wheels tires and wells de-greased and cleaned
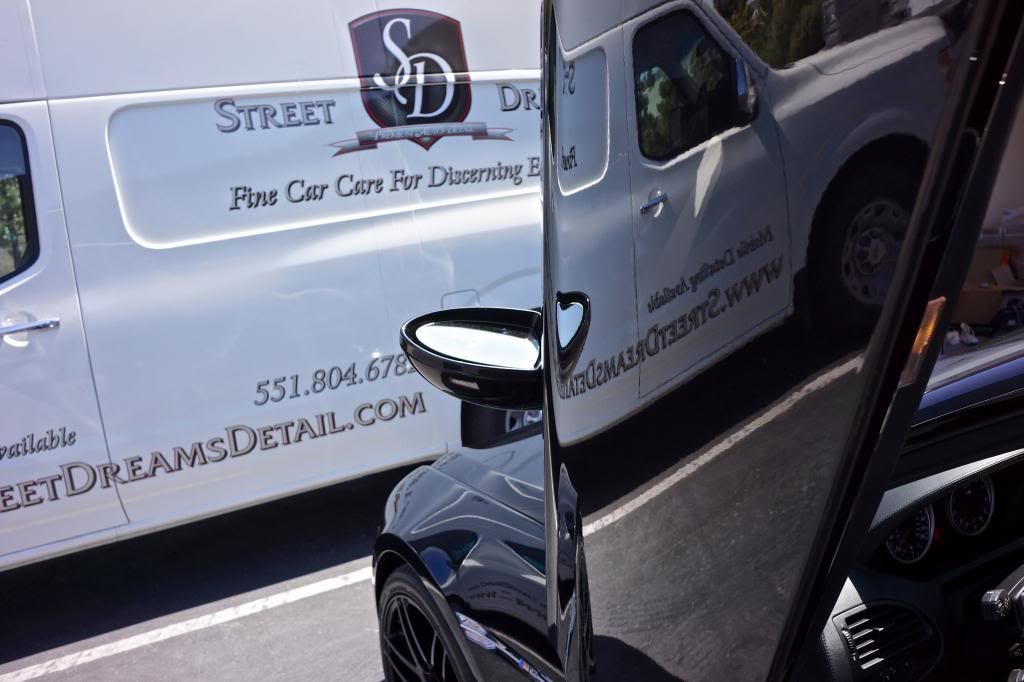
Yes the Street Dreams detail truck made the pilgrimage also, cannot wait to carve up the canyon roads in the NV Hi-top
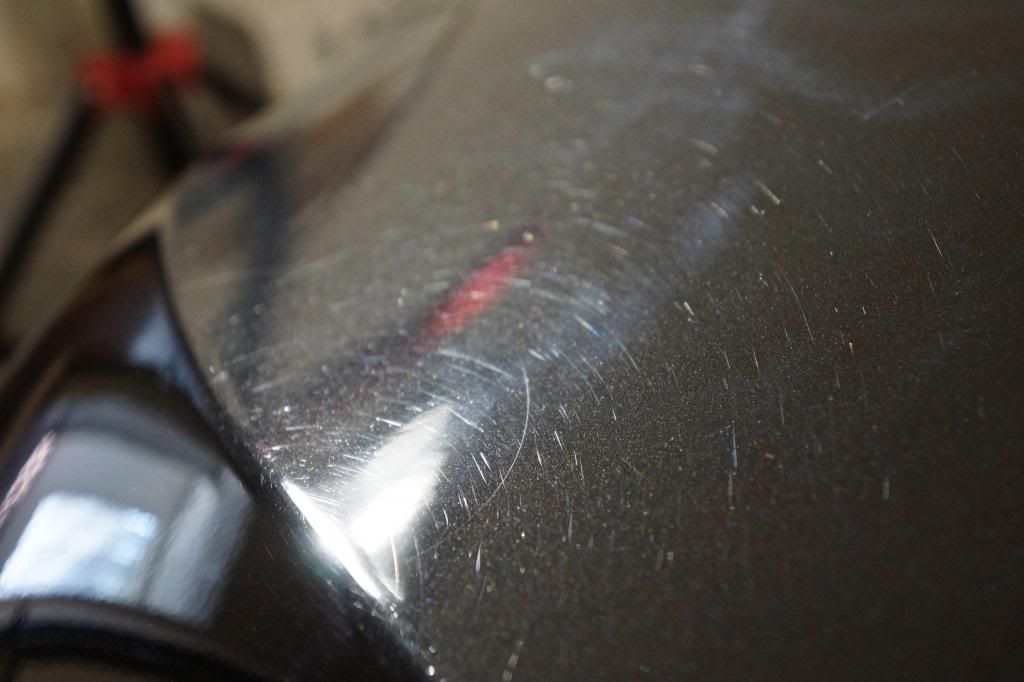
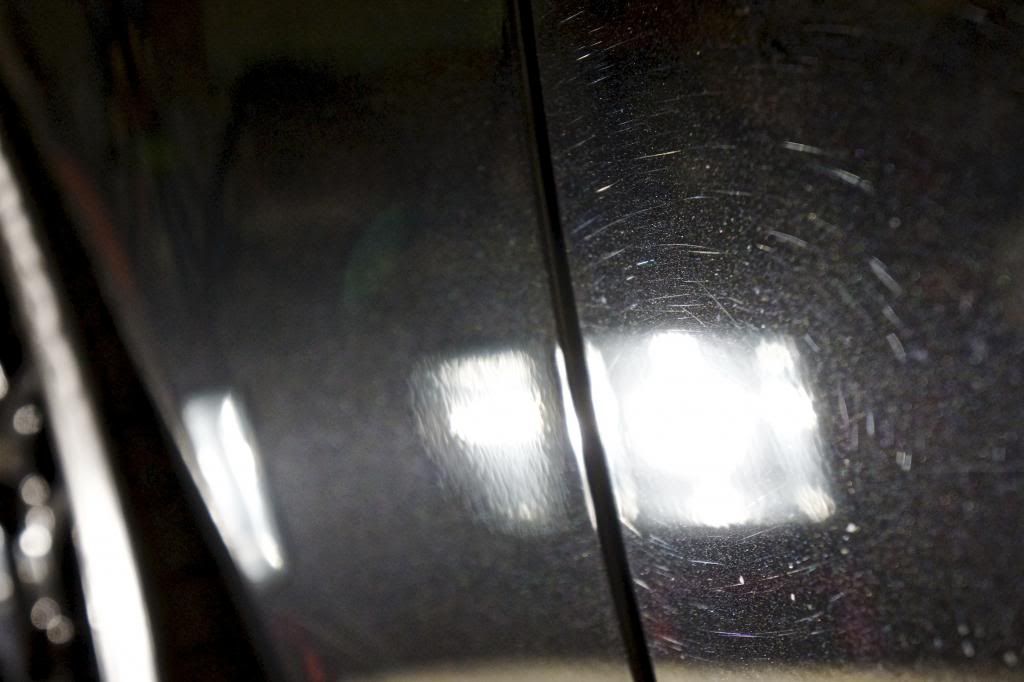
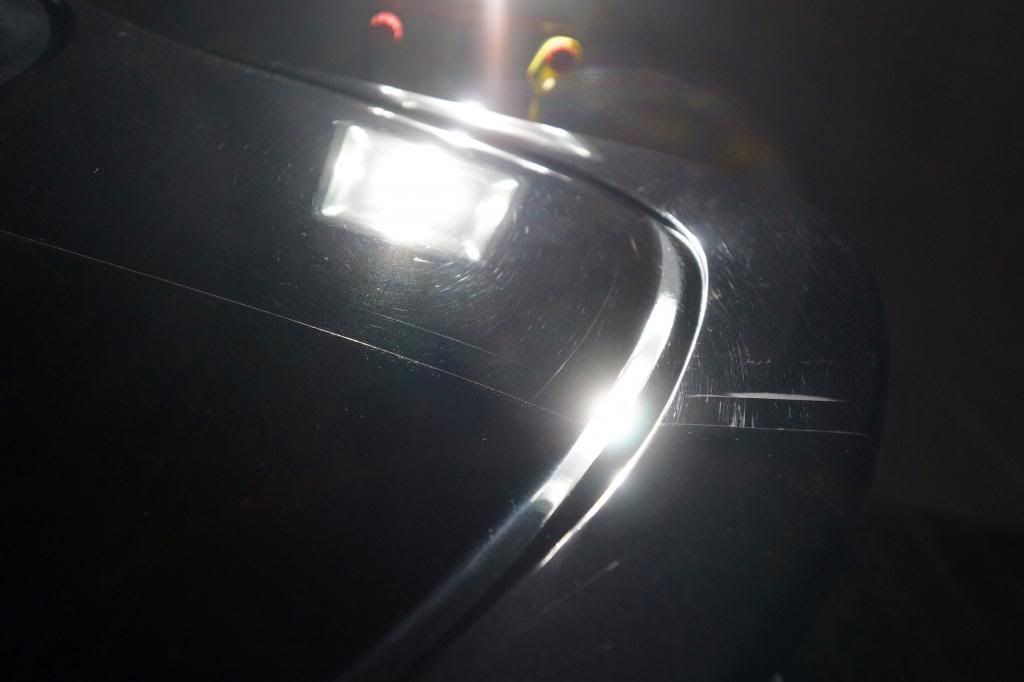
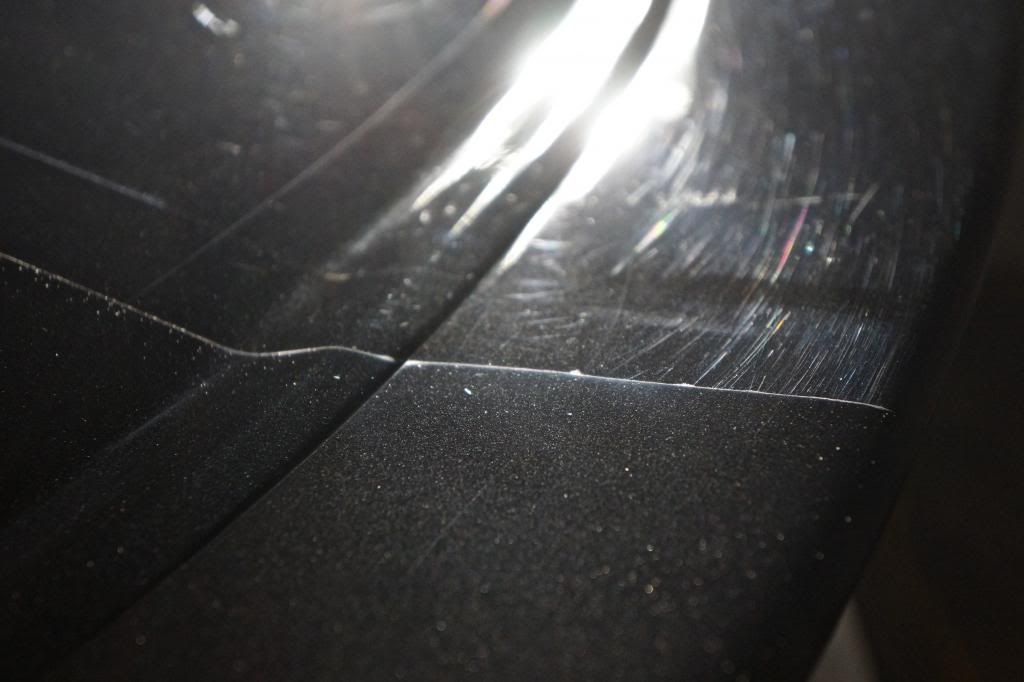
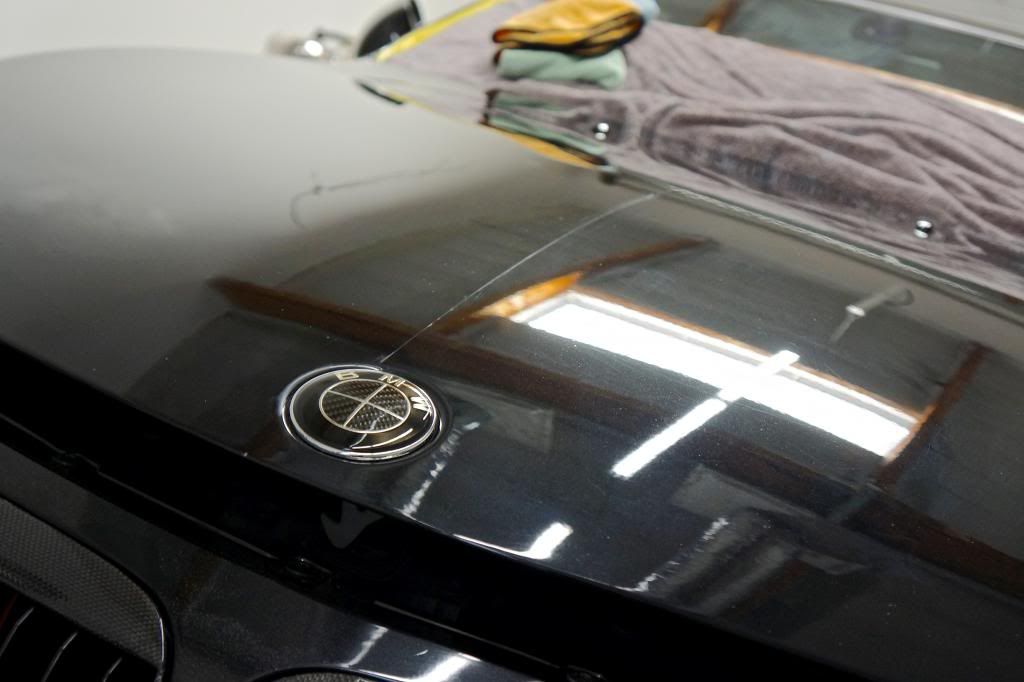
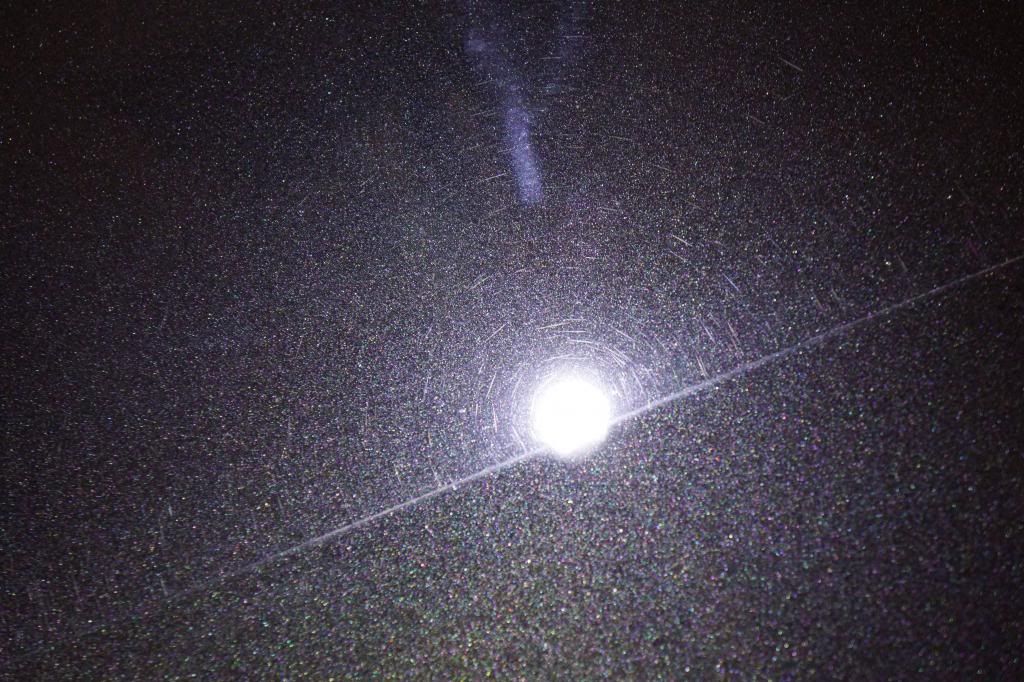
After the rest of the prep, decon and claying the finish was cleaned with IPA and inspected under LED lights both standing and by torch, here is what the finish looked like
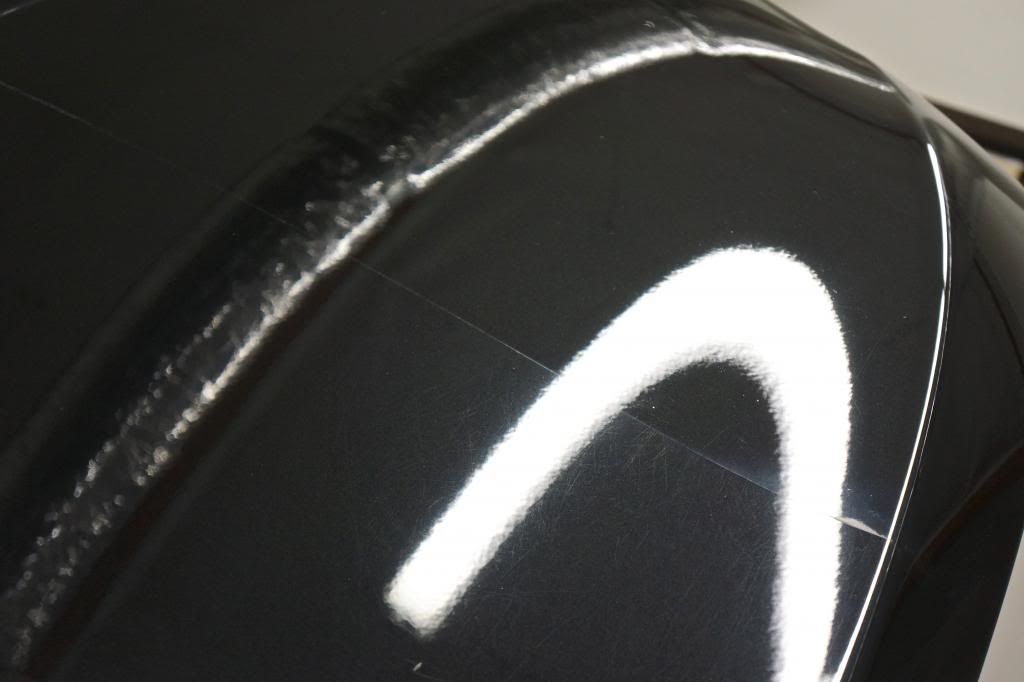
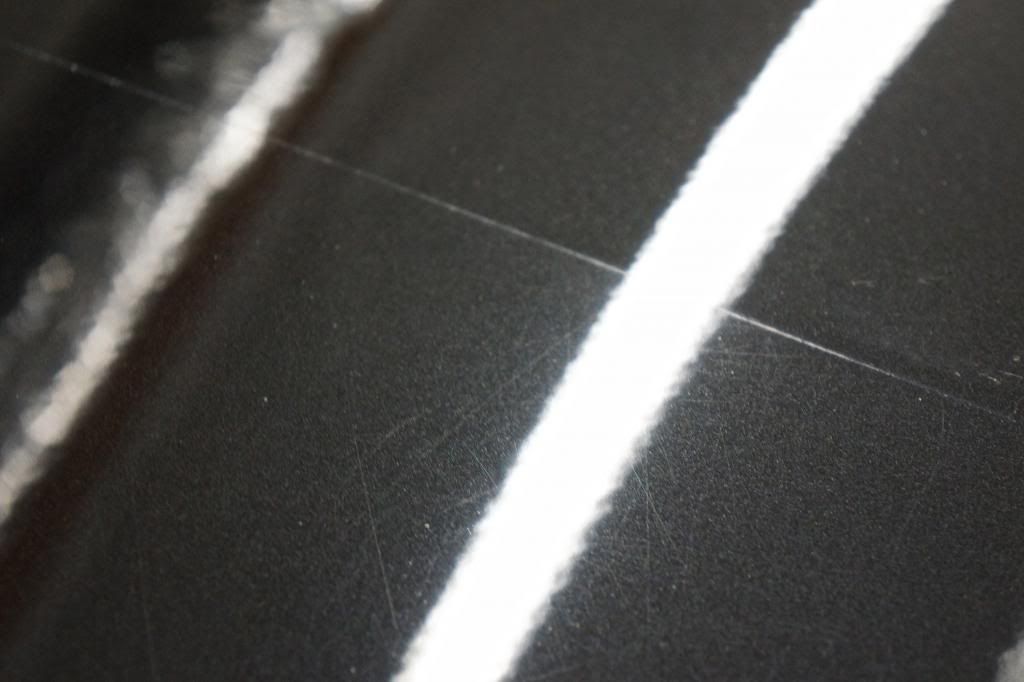
Heavy swirls and marring with some very deep gouges
Onto paint correction various products used including Menzerna FG400 and Megs 101
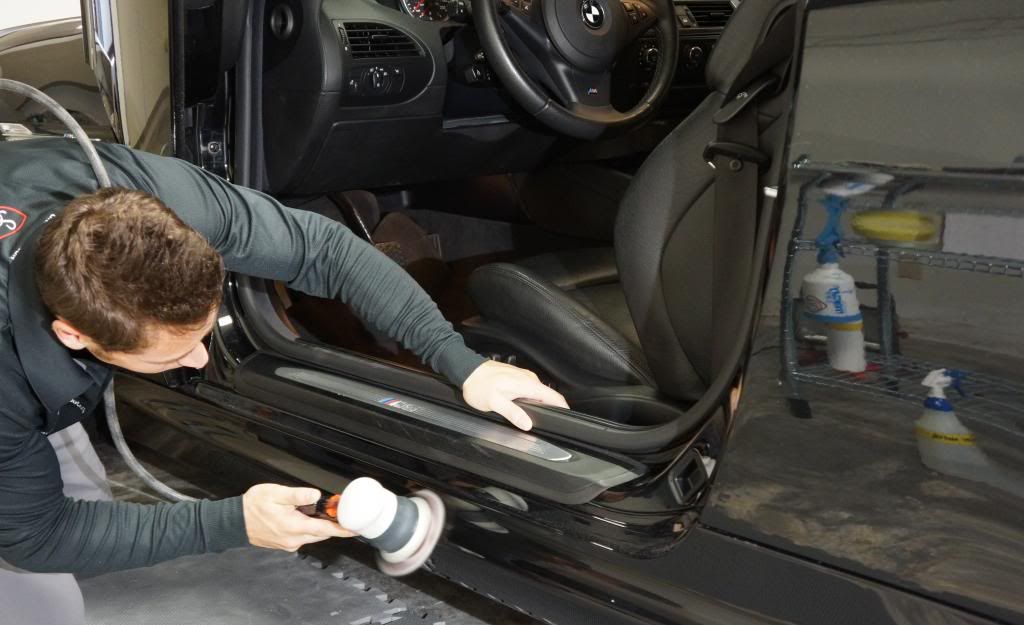
Working on rockers with the 75'..
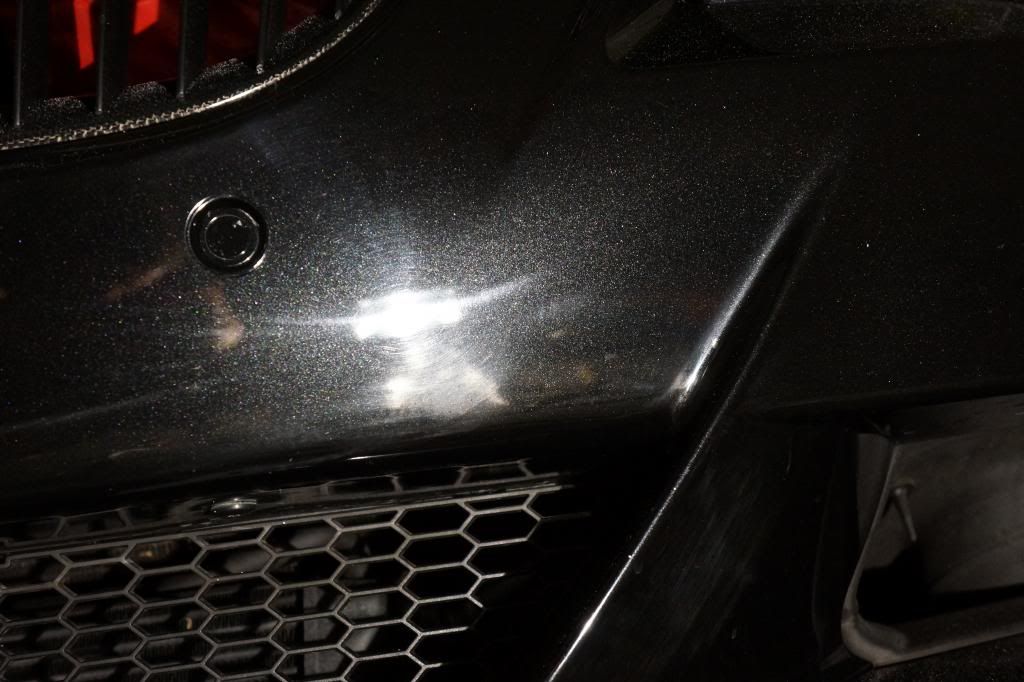
Front bumper was lefty mostly unfinished from the body shop
Below you can see sanding marks left over from shoddy re-fininishing work, fixed now..
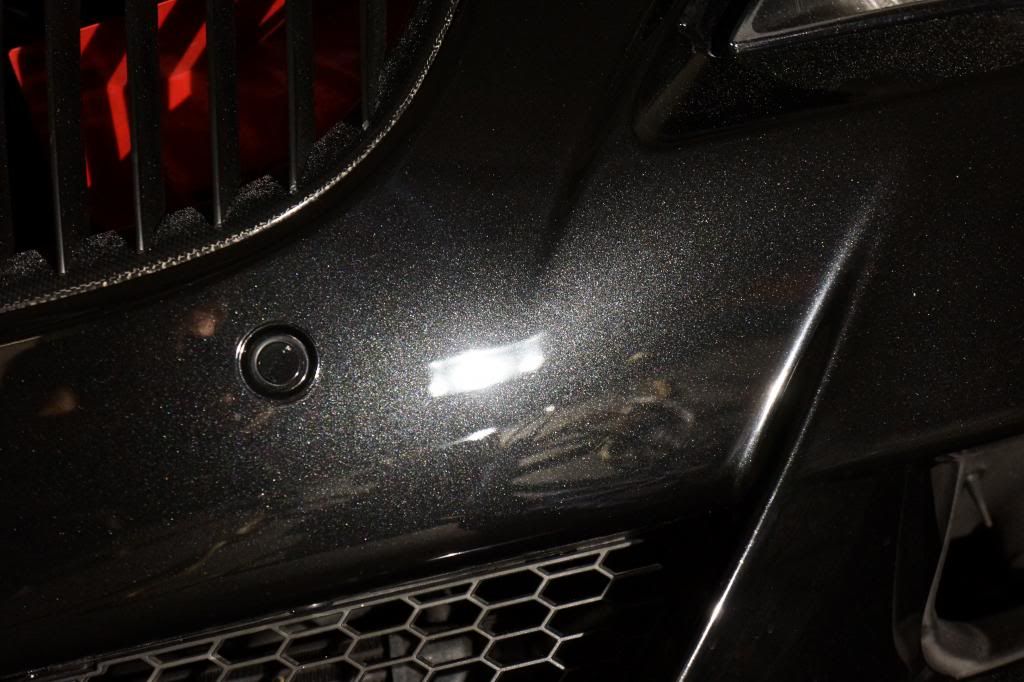
After correction
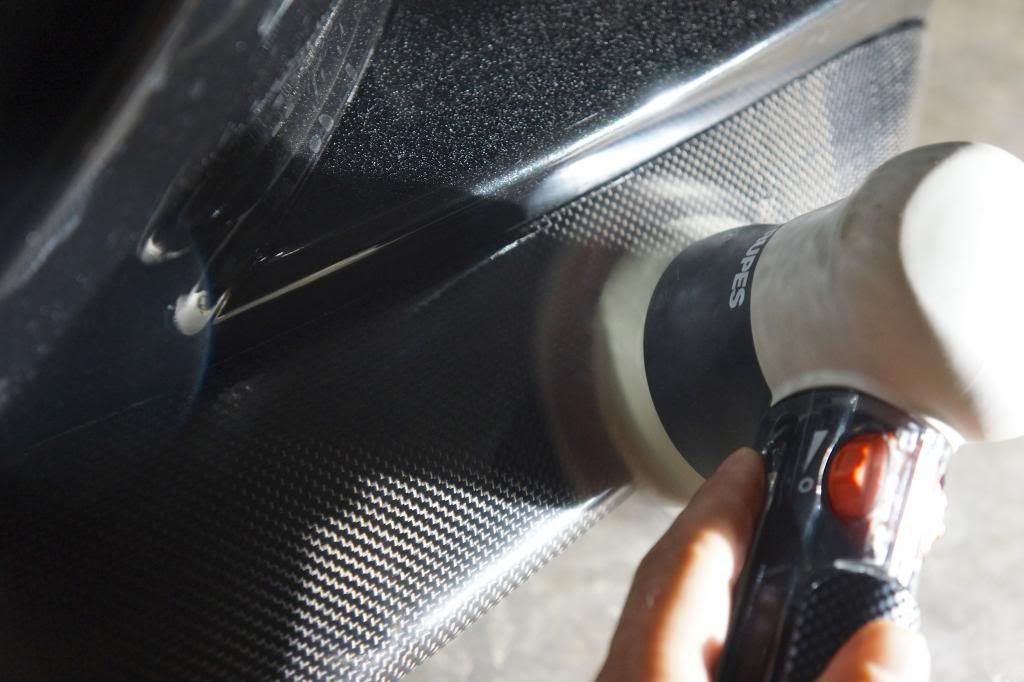
Both front and rear carbon pieces came delivered poorly finish so they never really had a chance to.. shine
Before haze
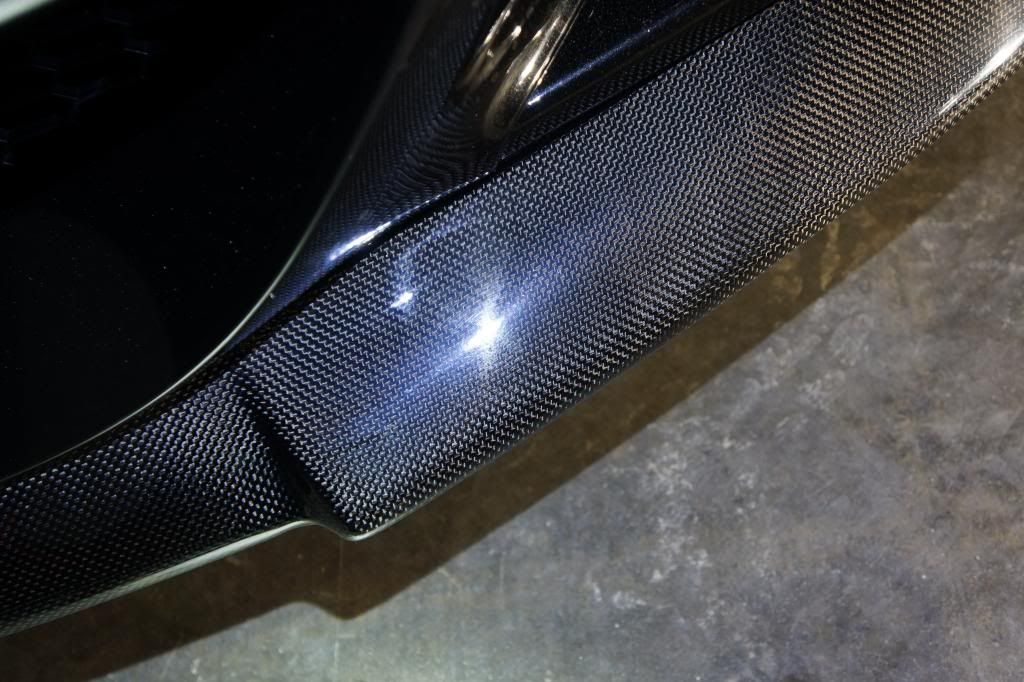
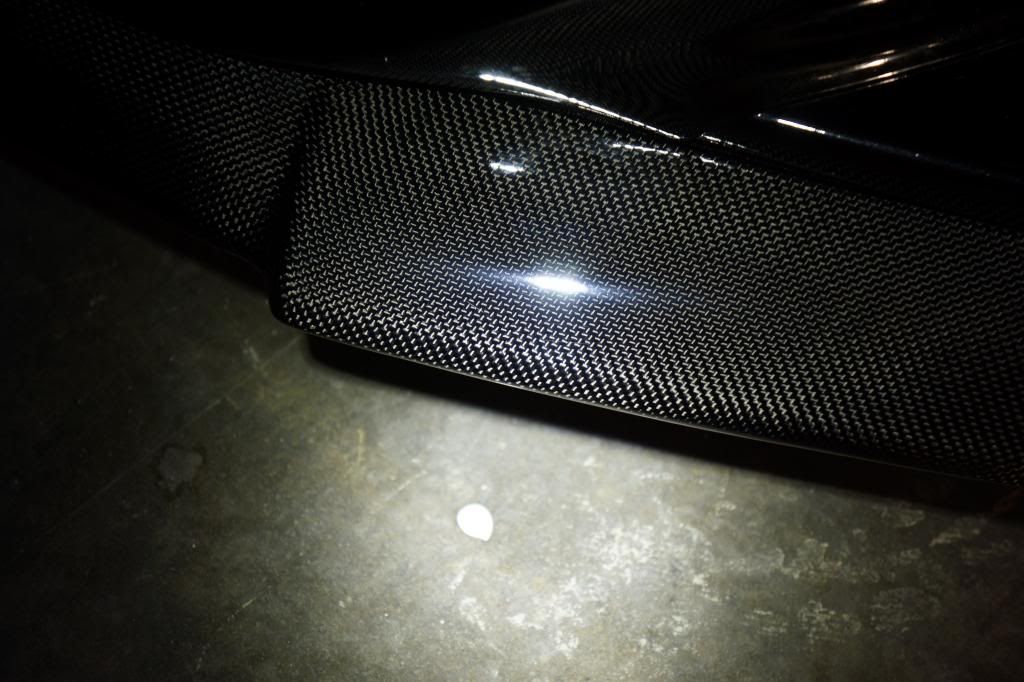
After, crisp and clear weave like carbon should be
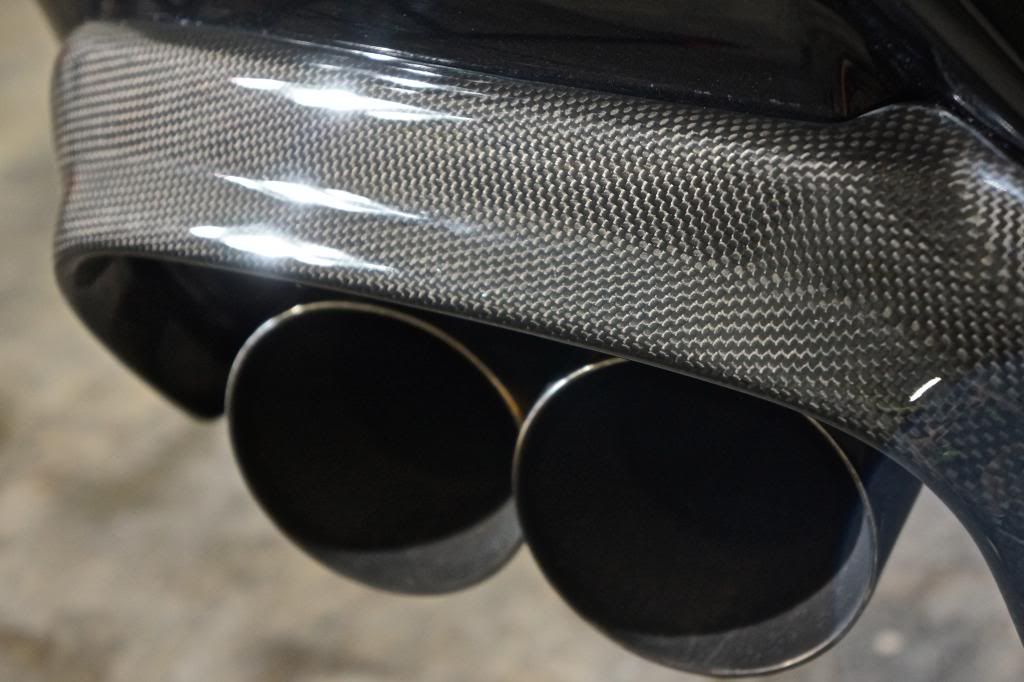
Rear valence also poorly finished and cloudy
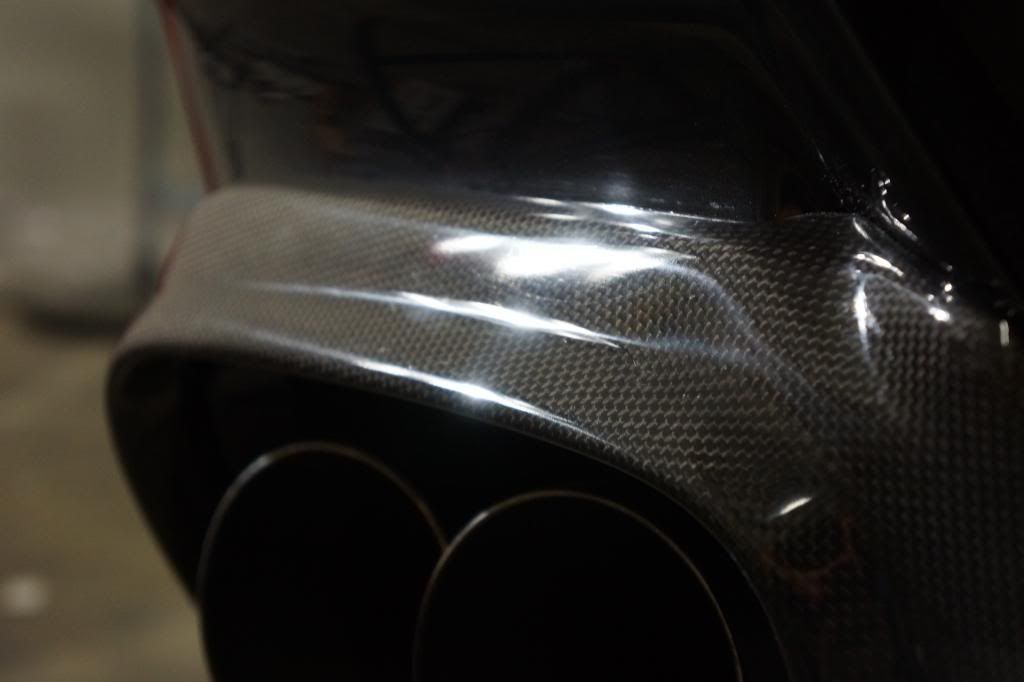
Before
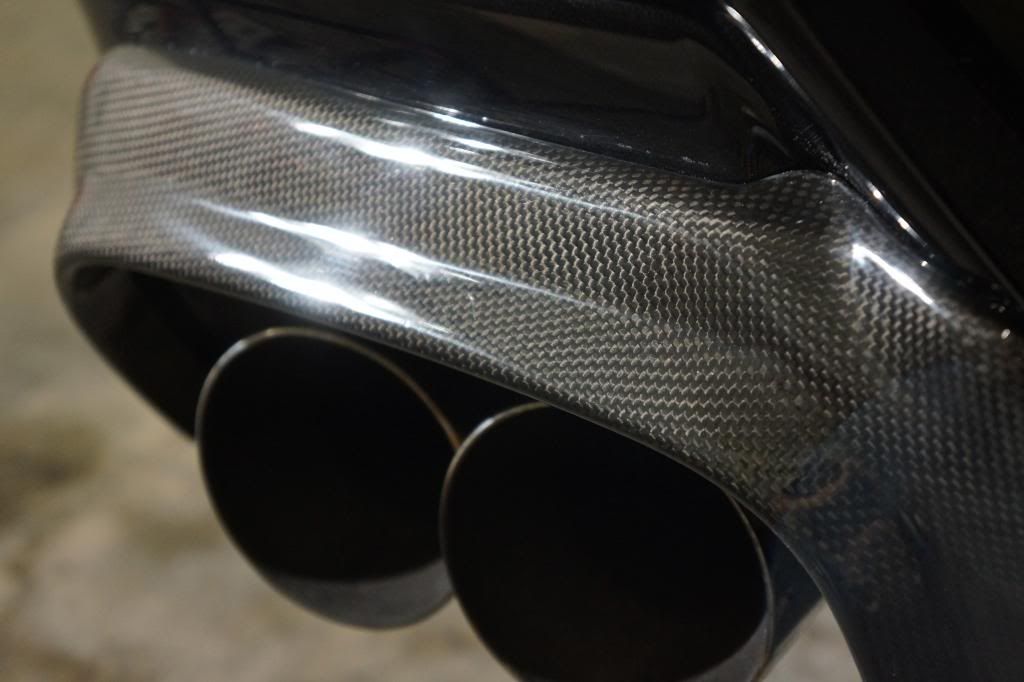
After
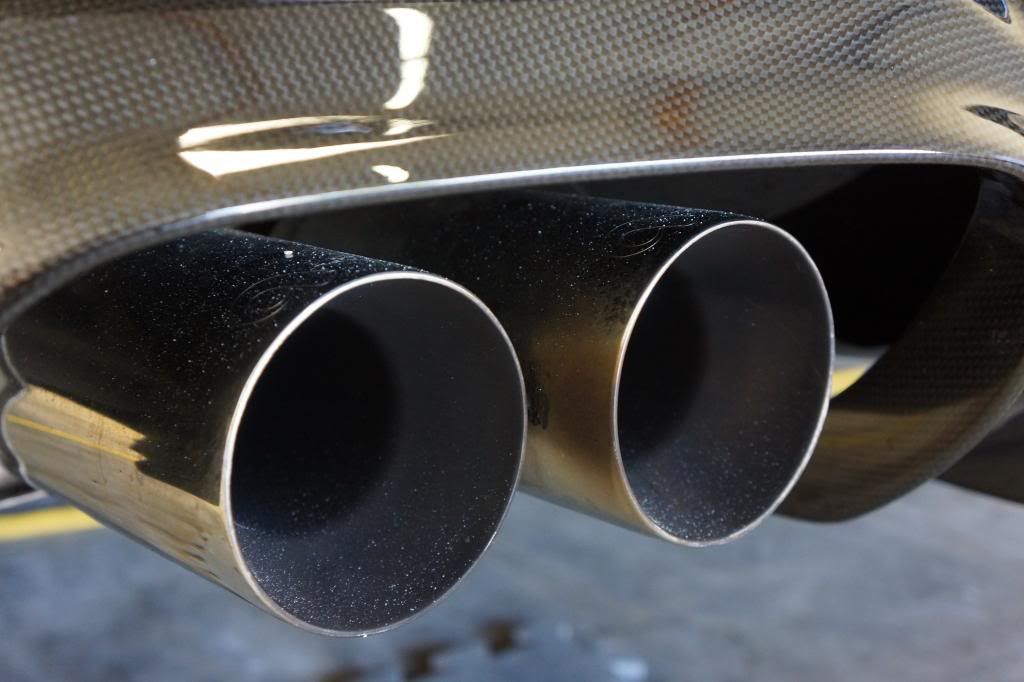
Exhaust tips needed some work too..
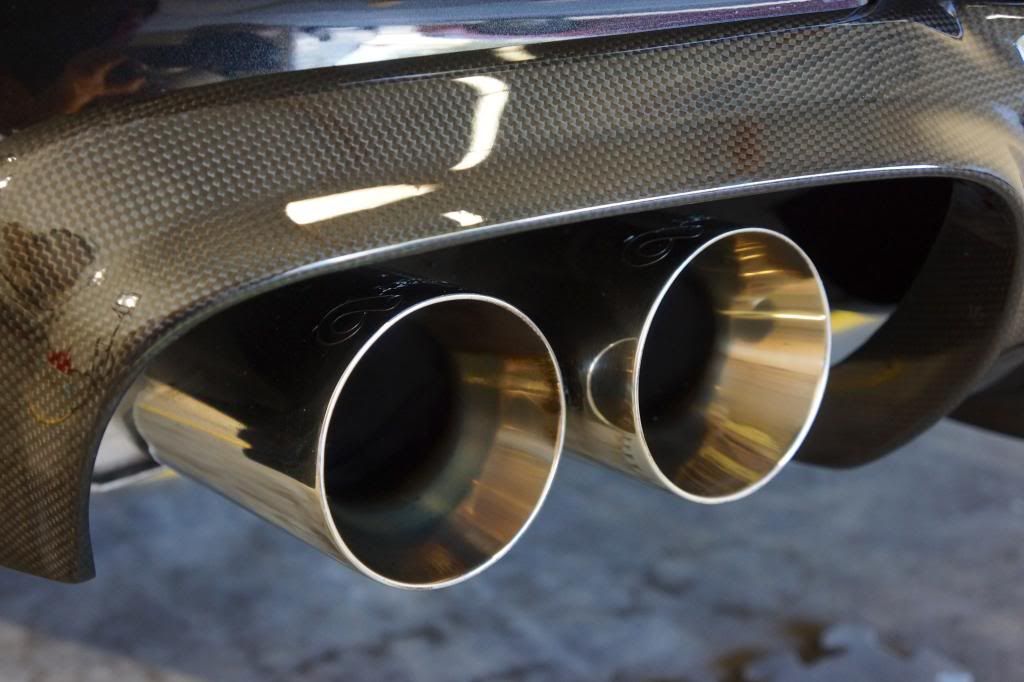
All better..
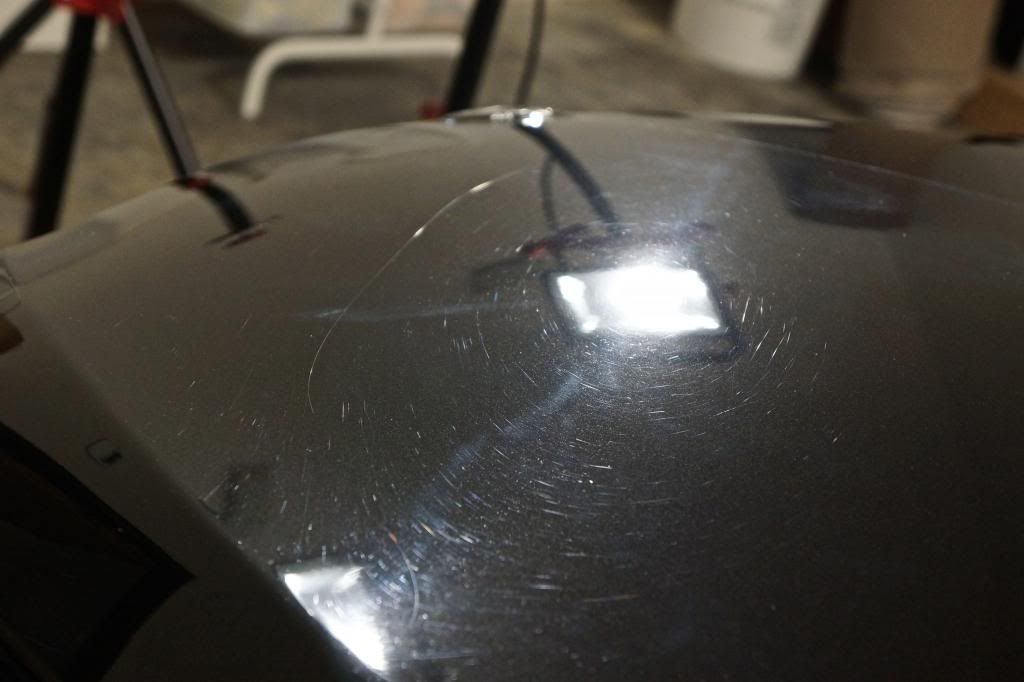
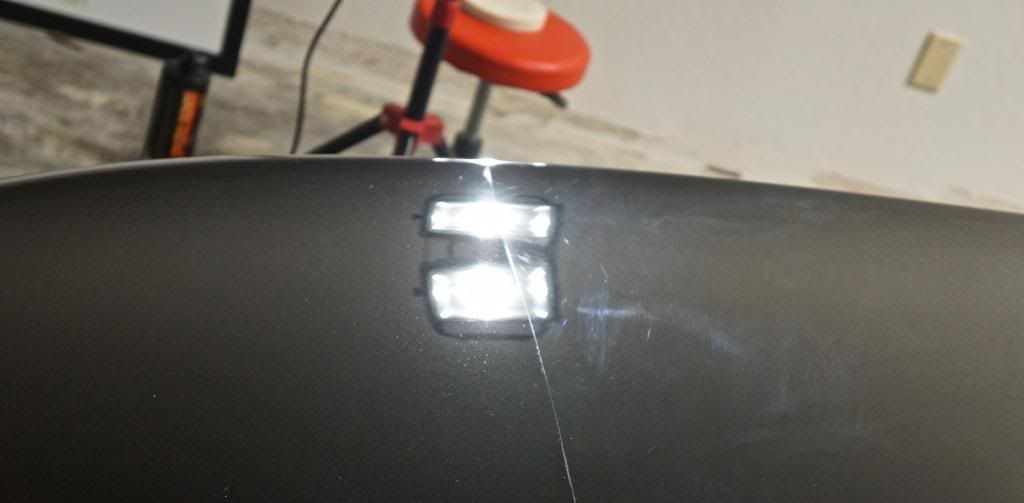
The trunk was one of the worst areas on the car, long RIDS and very heavy swirls

No extra light needed, even a single bulb fluorescent can show the difference in color from the polished side vs. the unpolished side
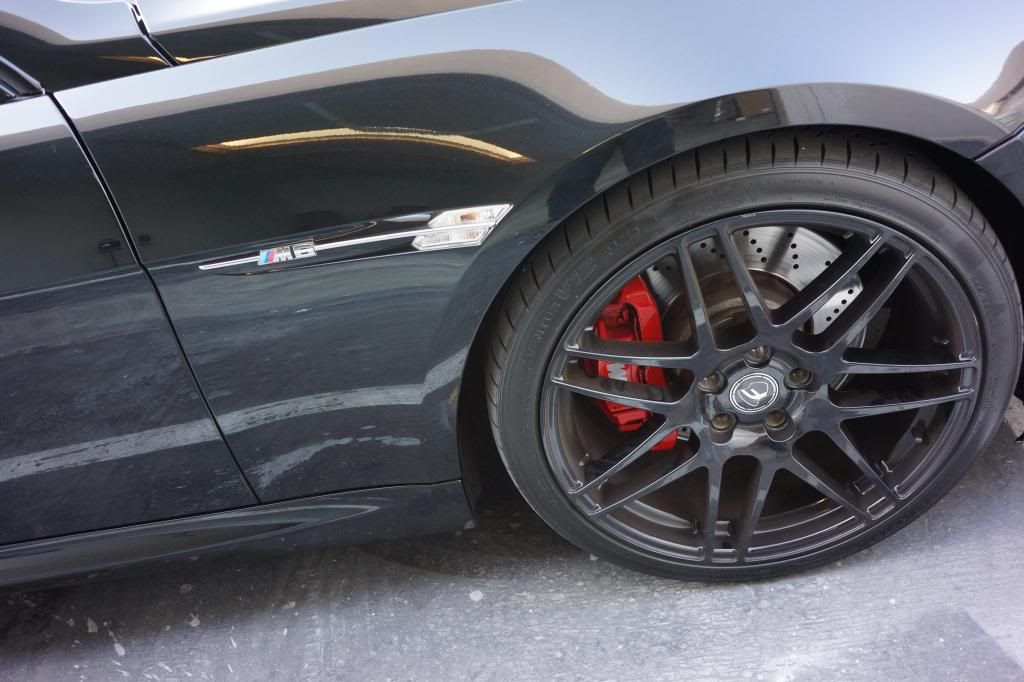
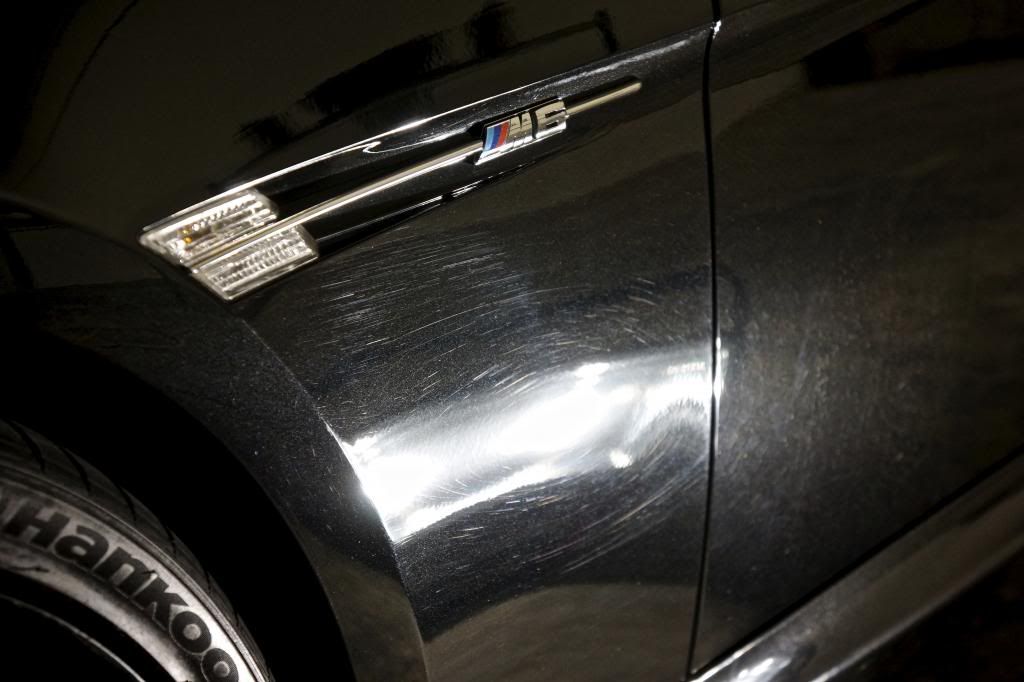
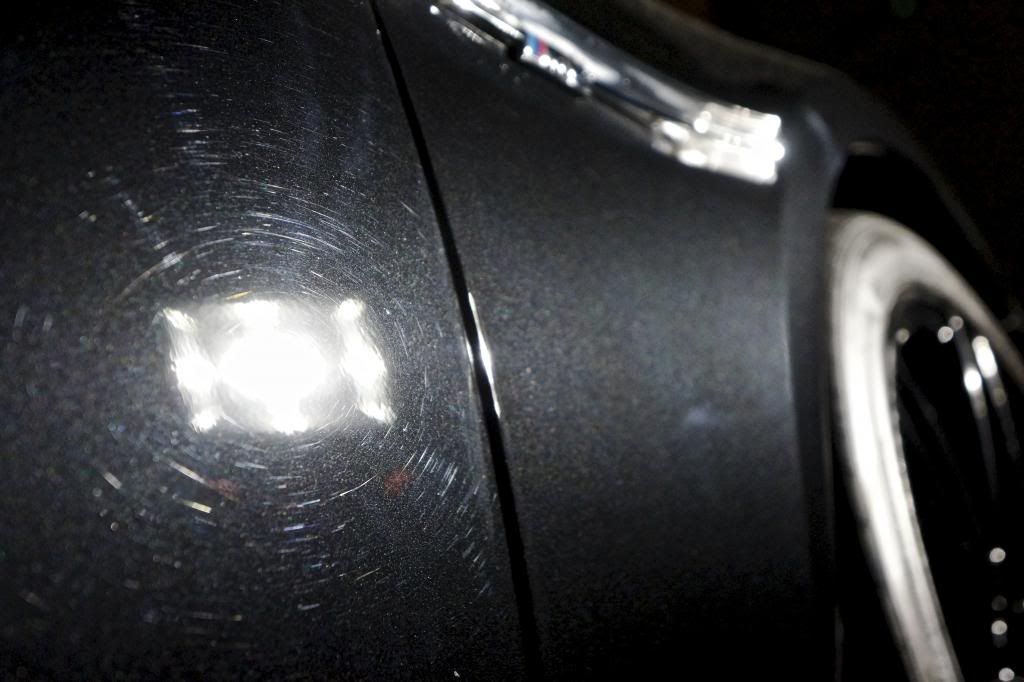
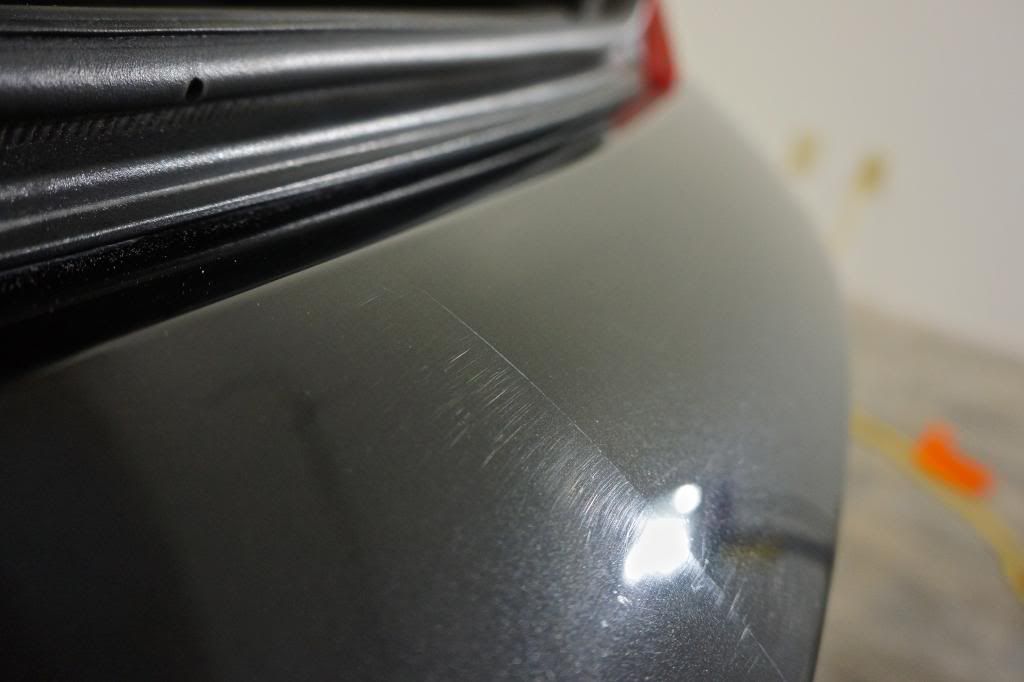
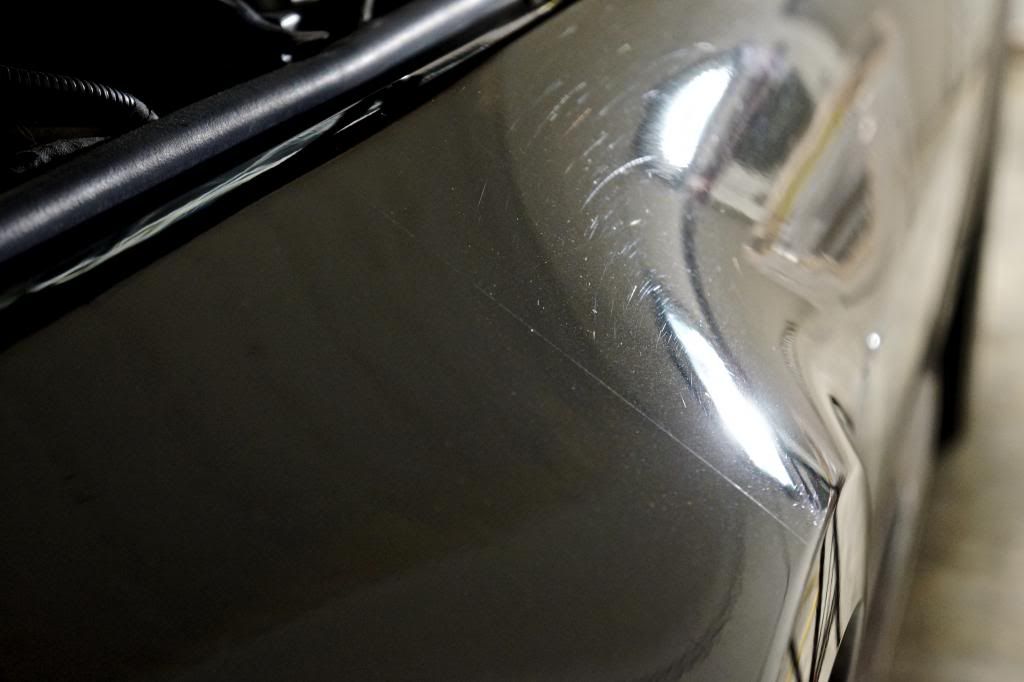
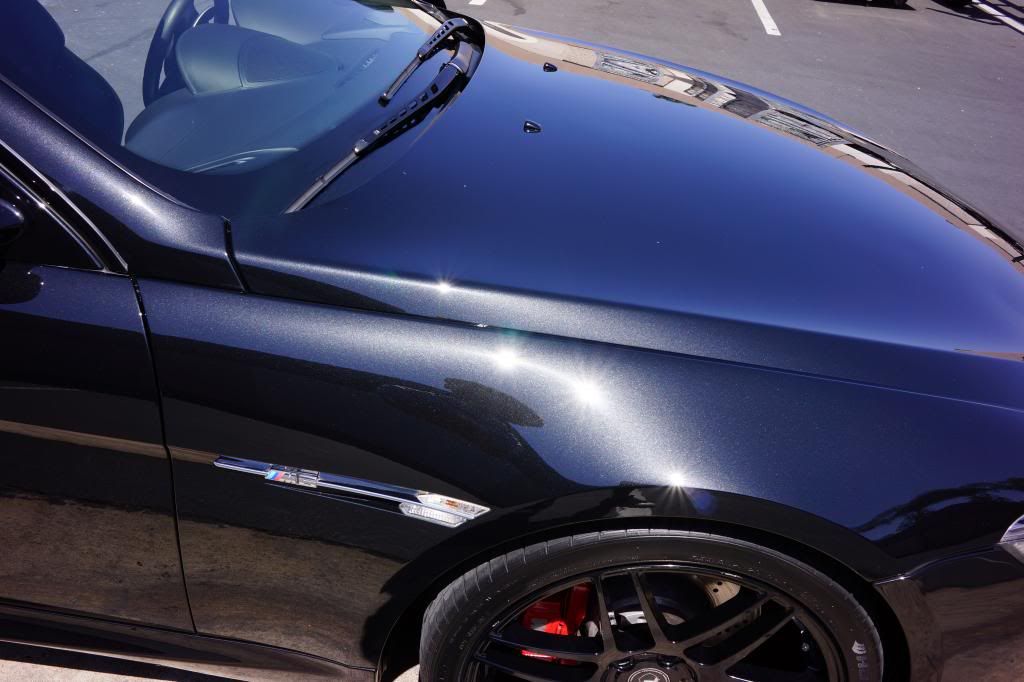
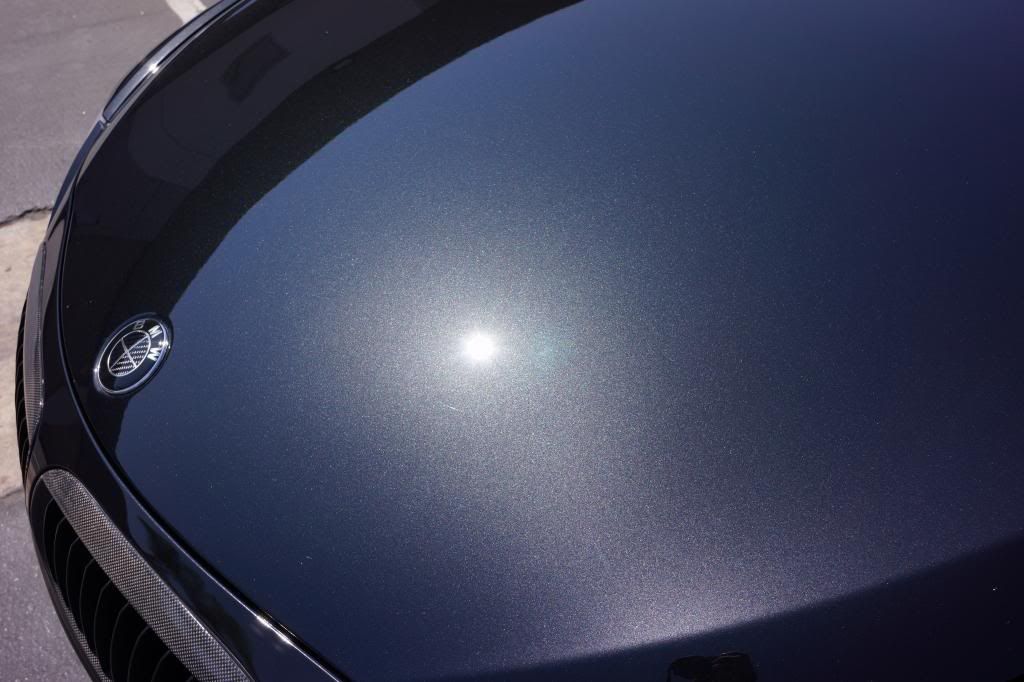
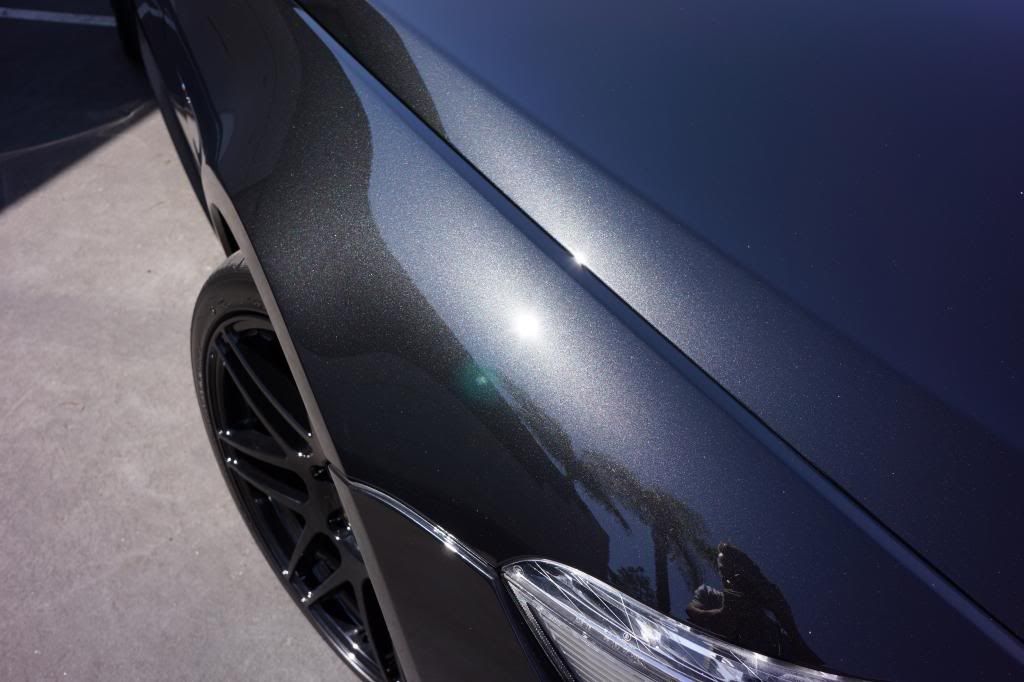
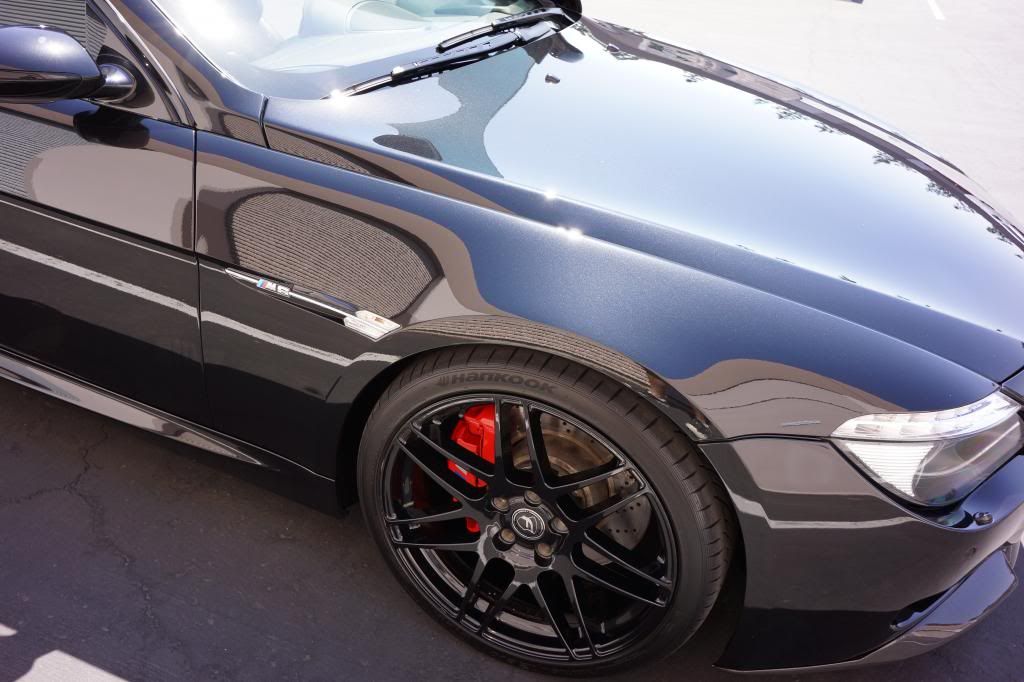
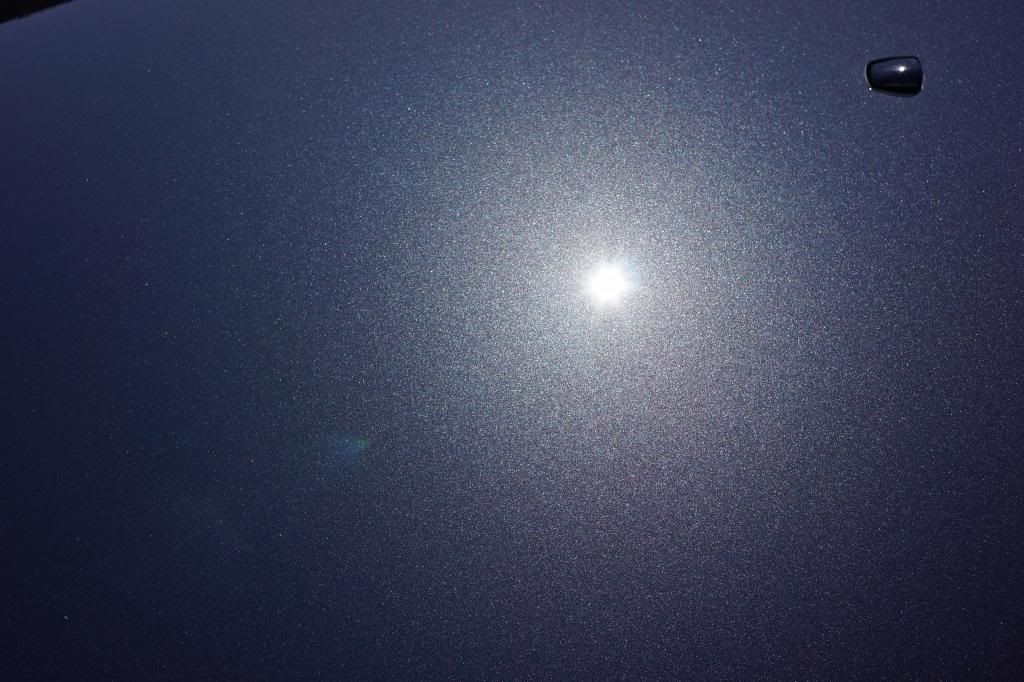
Front fender work, again lack of clarity really knocked down the metallic flake. Black Sapphire metallic should be bursting with flake..
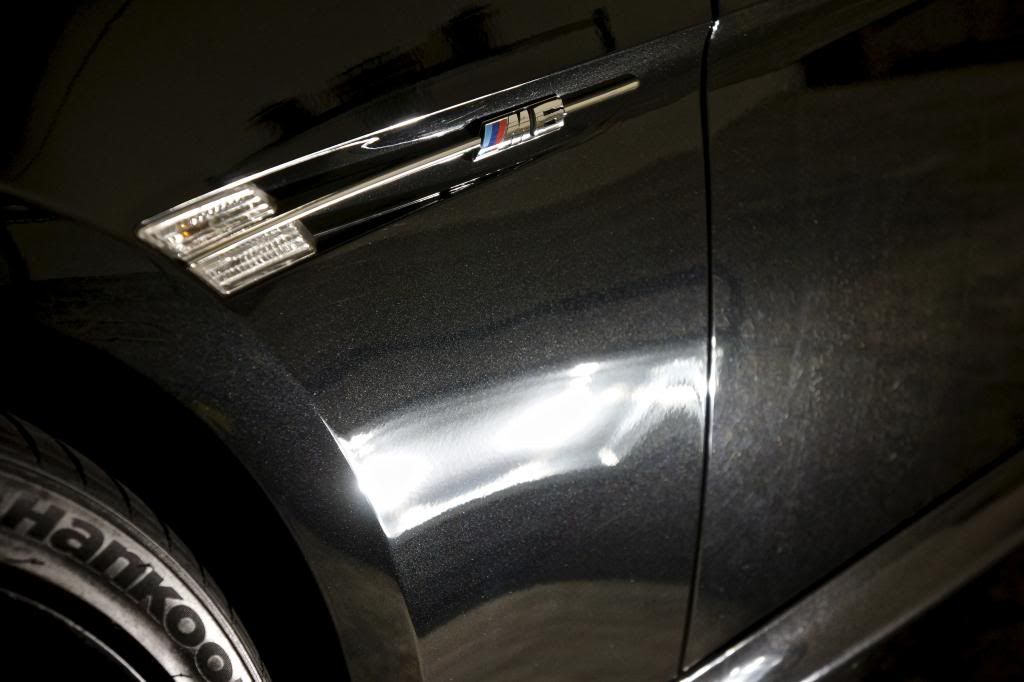
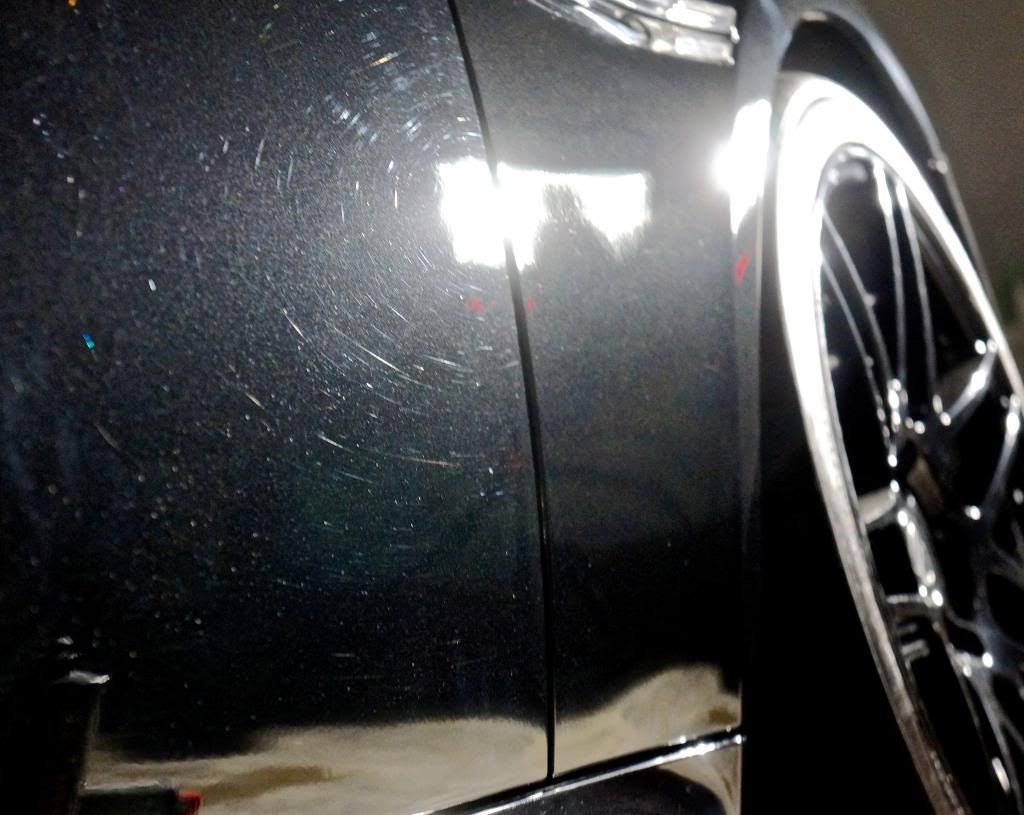
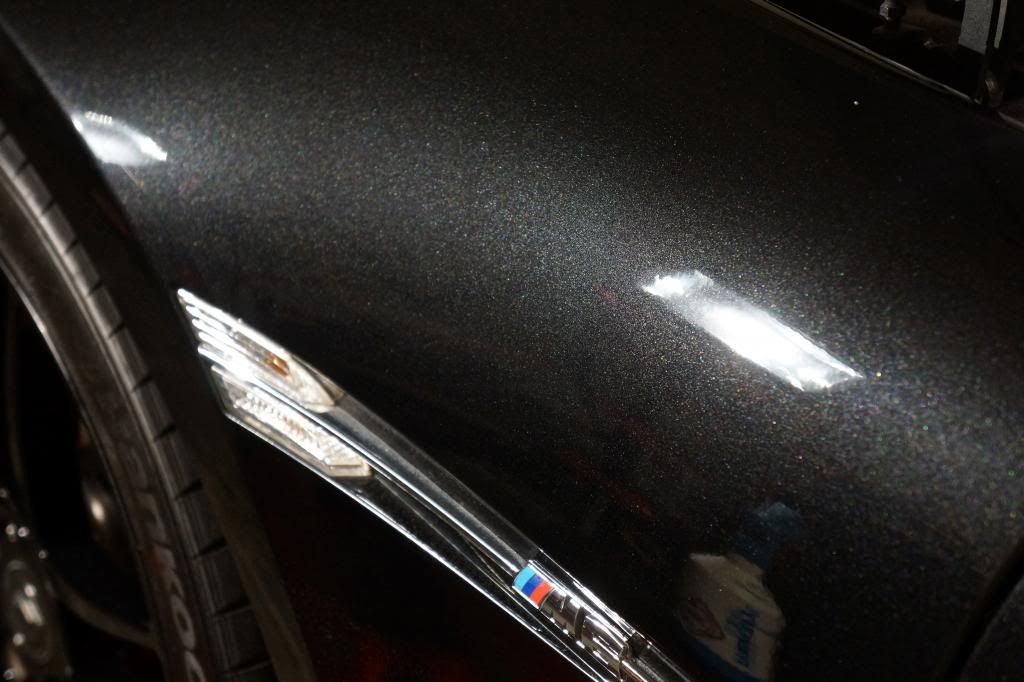
How BSM is supposed to look closeup with LED standing lights.. zero haze, zero marring after polishing step
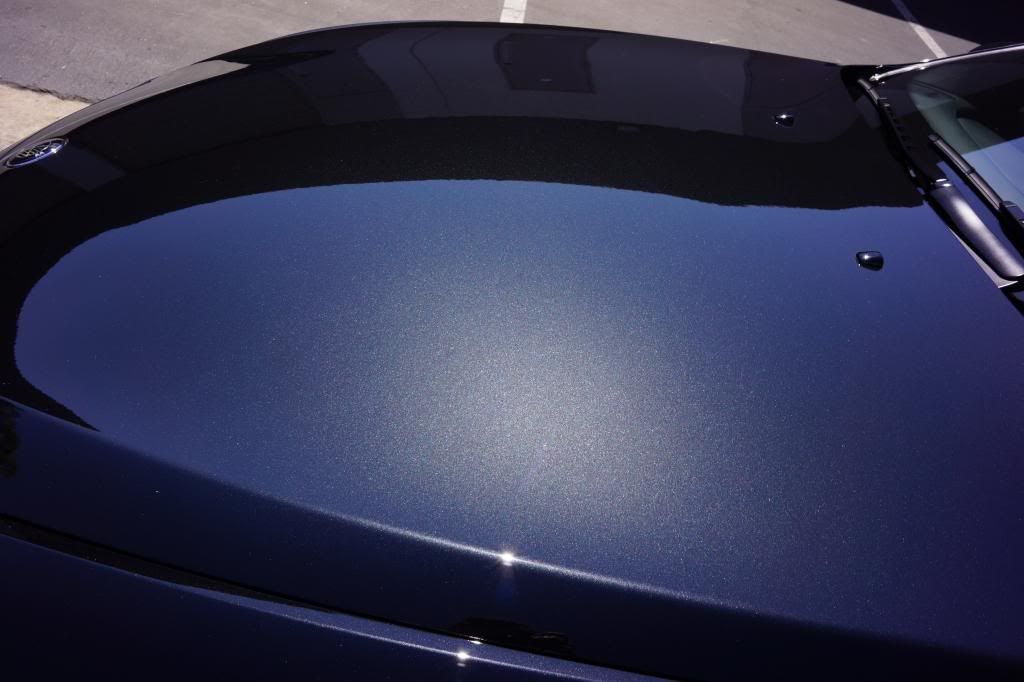
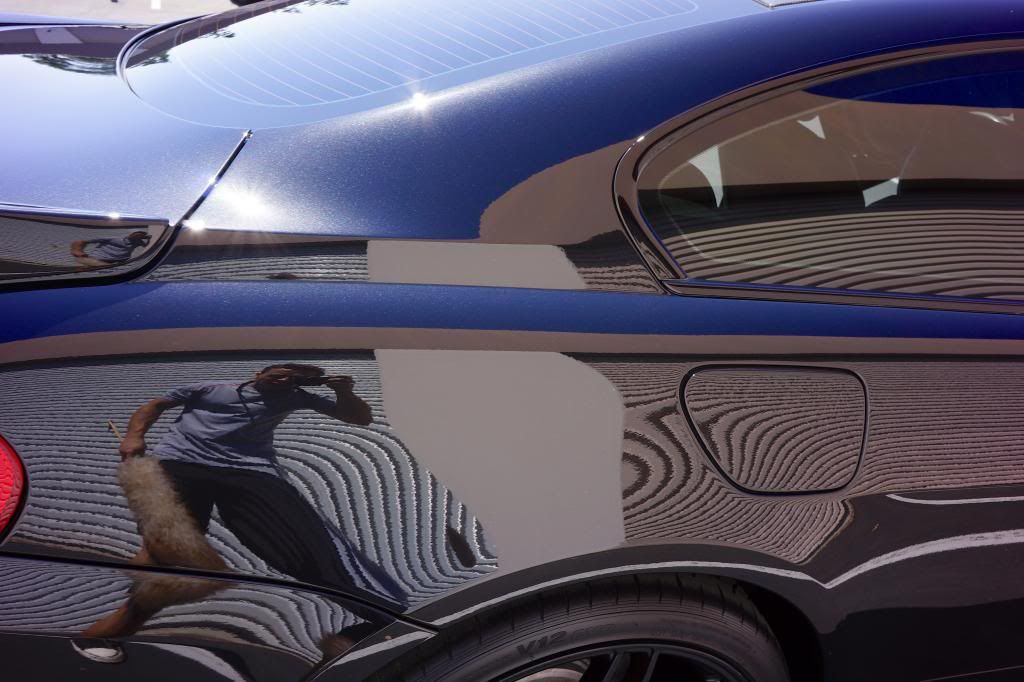
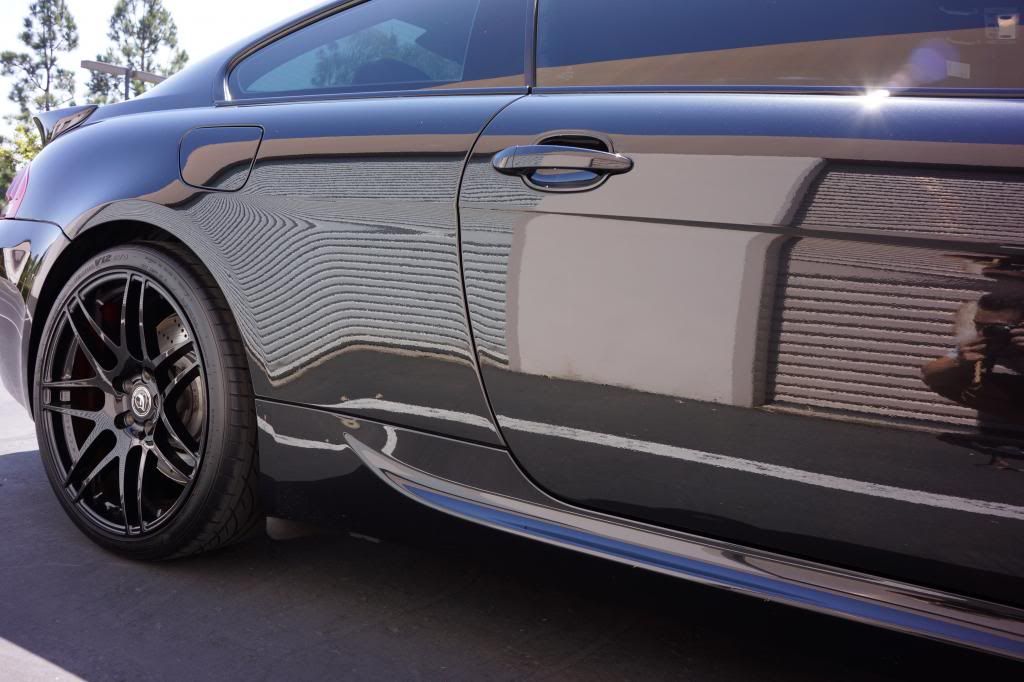
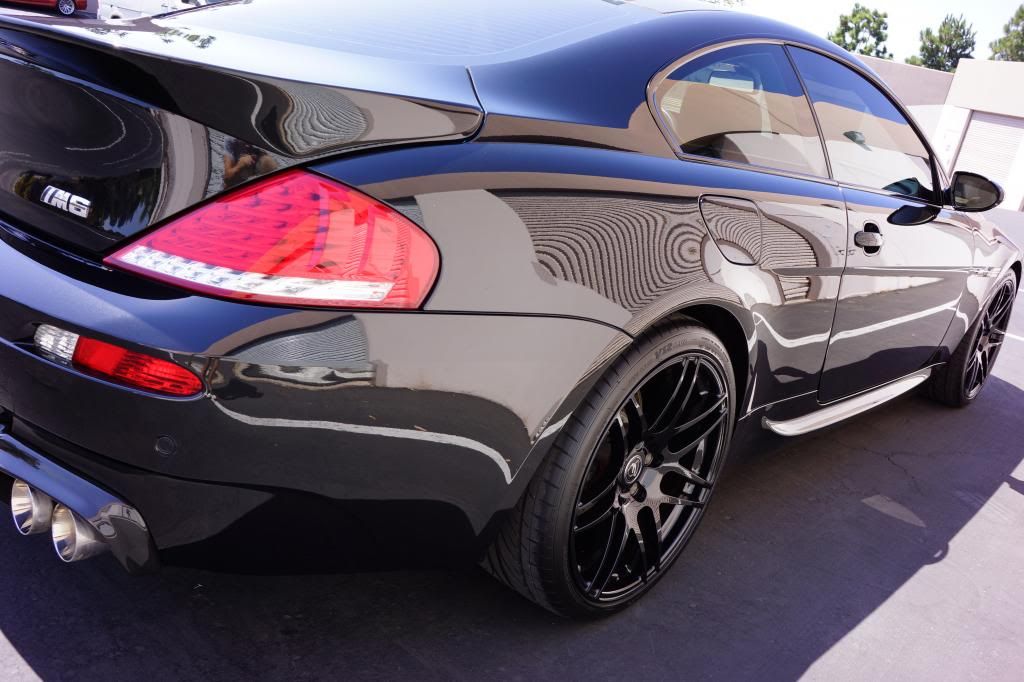
After all the correction work was finished I wiped down the car with Eraser and pulled it outside to inspect my work before applying Opti Coat
It does not matter what final LSP you use or what coating product you choose as long as your prep and polishing work was done properly, out in the sun with no LSP after alcohol or eraser wipedown will show the true work..
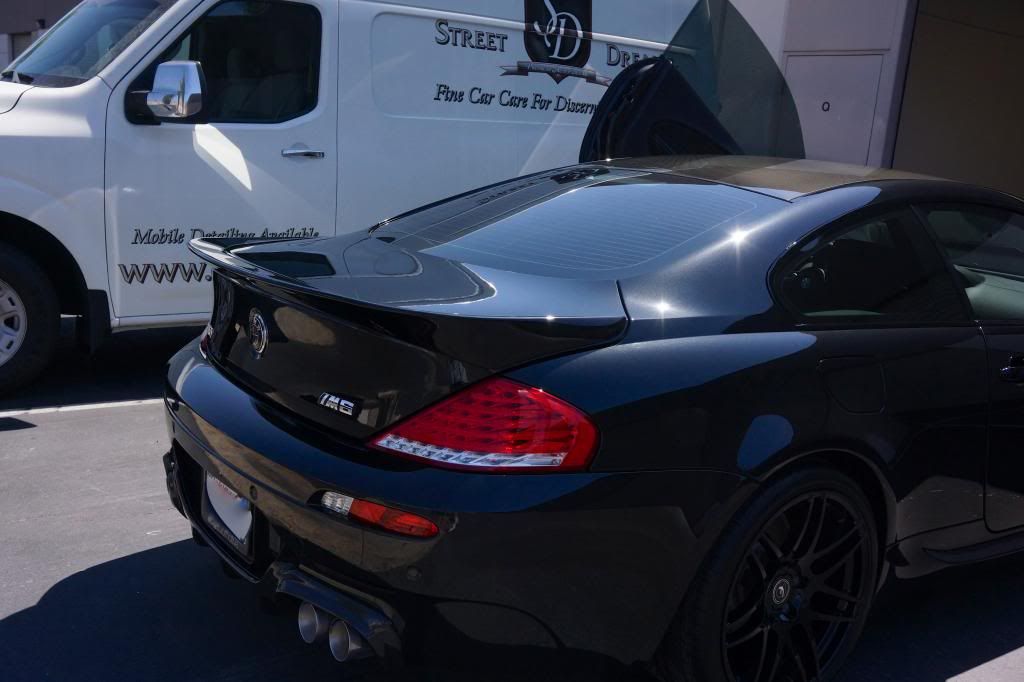
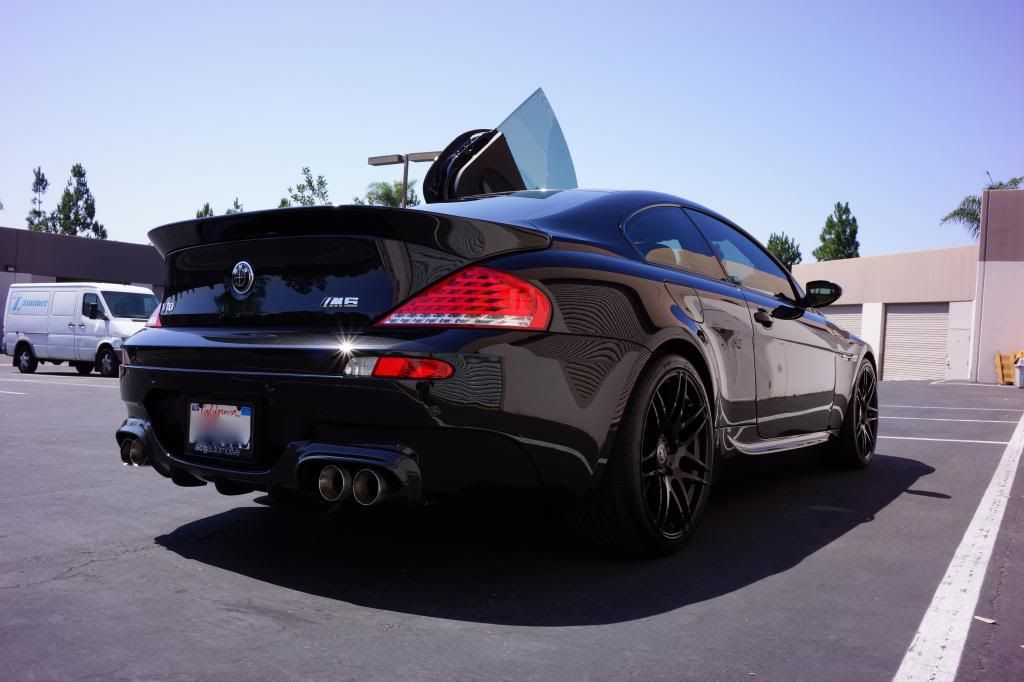
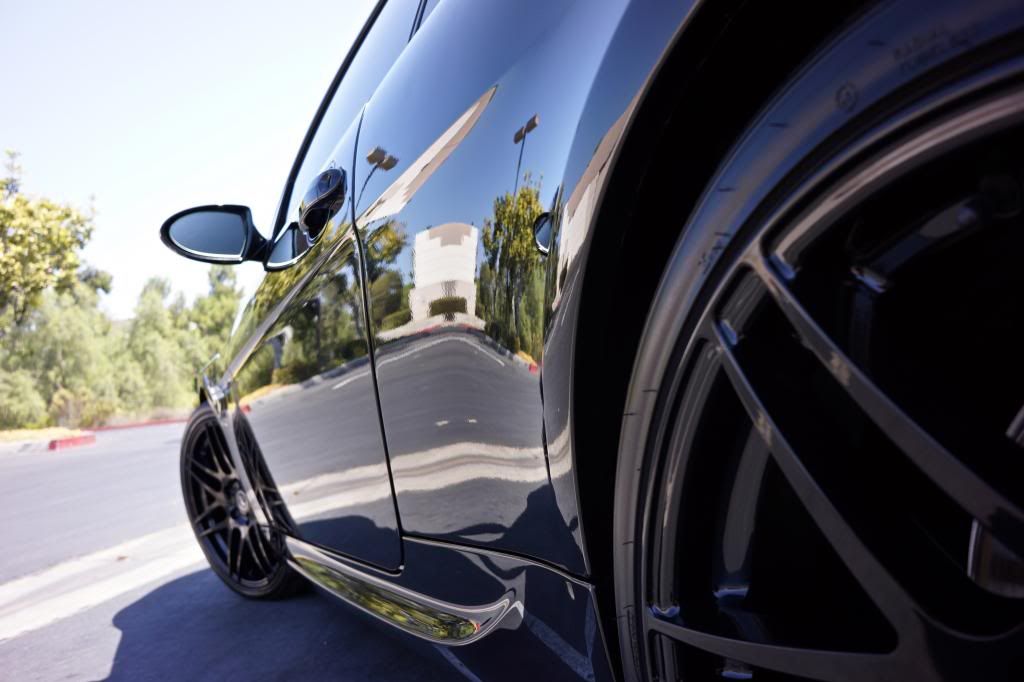
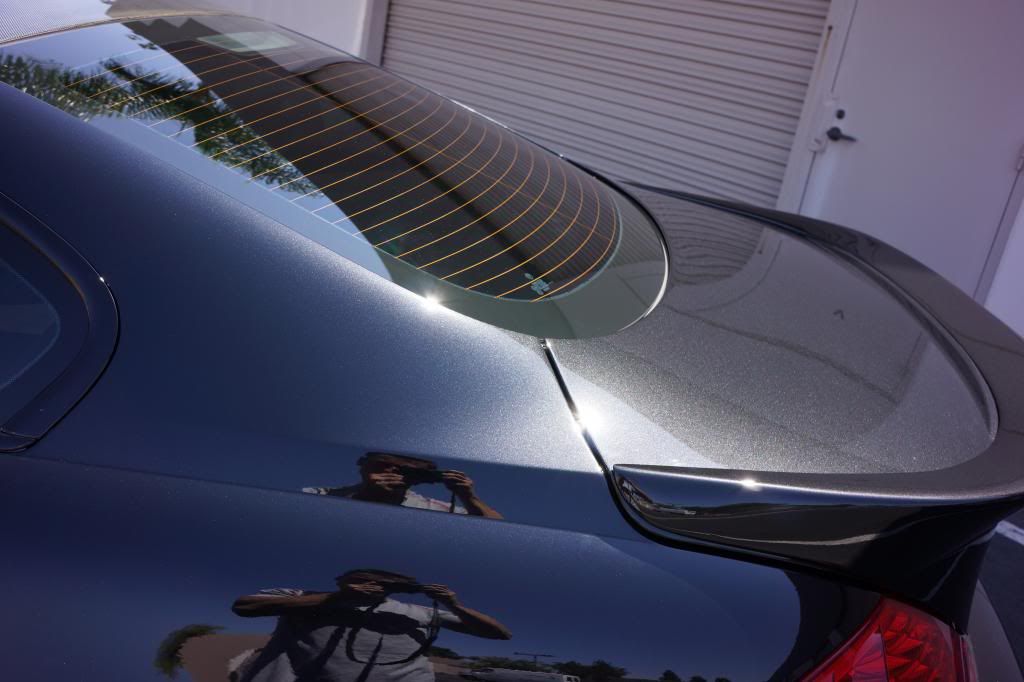
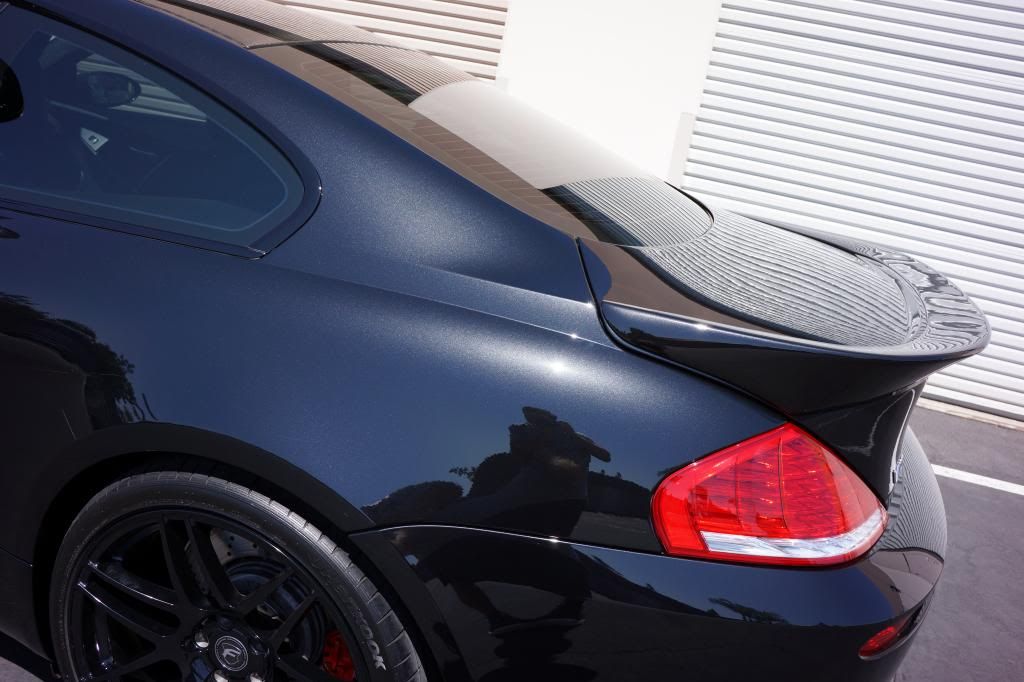
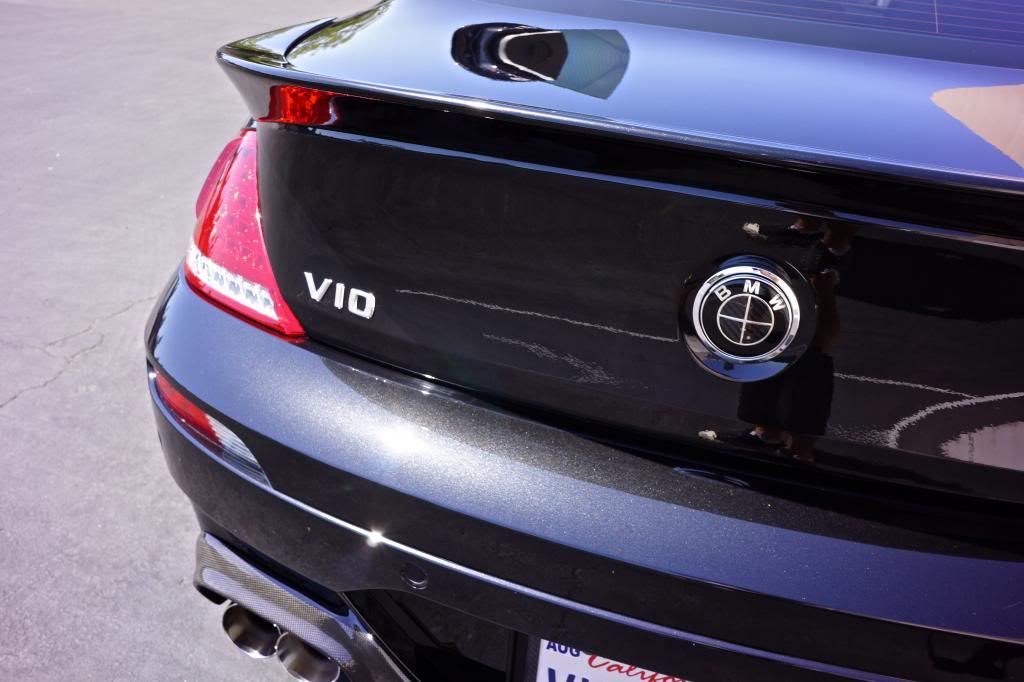
Final shots
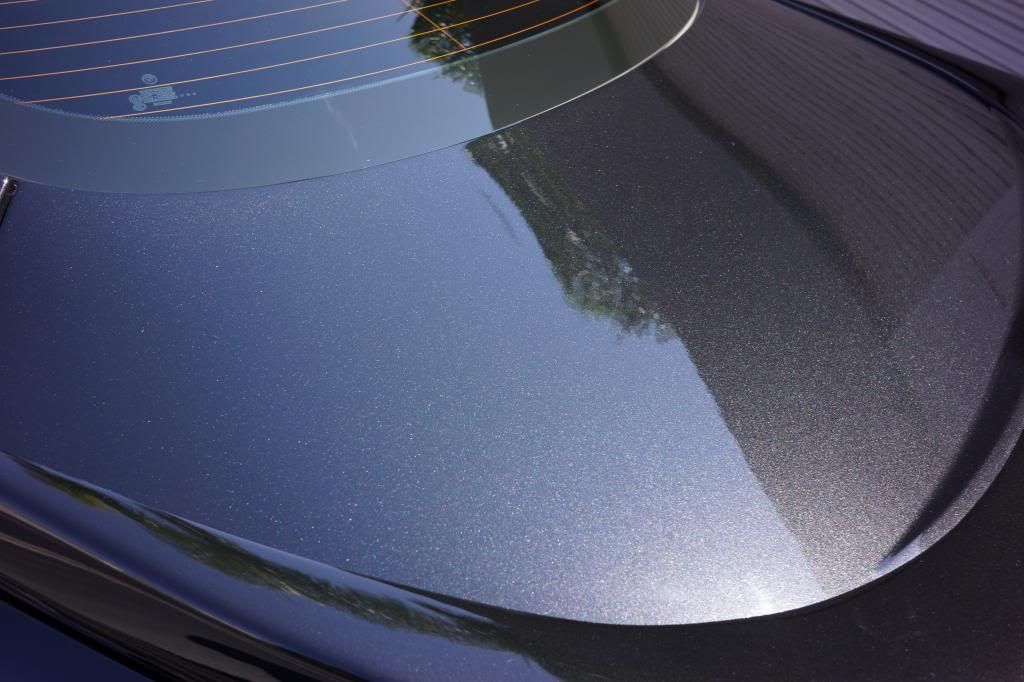
Remember what that hood looked like earlier? ..

Thanks for reading!
Regards,
Dave
Street Dreams San Diego
Its been a very busy few months winding down my business in New Jersey, moving and setting up shop in San Diego. Still plenty of work to do but I am happy to be officially back on the forums posting and sharing. This M6 was the very first car which came in my shop and while the shop itself may not be fully dialed in just yet (lighting and flooring to be installed) I made sure the BMW was.
Issues with the car:
Heavy swirls, RIDS and marring
Re-painted front bumper, unfinished with sanding marks
Poorly finished carbon splitter and rear valence
Lack of depth and clarity
No metallic flake pop

Front bumper showing shoddy re-paint with heavy orange peel


Sonax wheel cleaner sprayed on dry and left to sit for about 10 minutes before agitation. Wheels tires and wells de-greased and cleaned


Yes the Street Dreams detail truck made the pilgrimage also, cannot wait to carve up the canyon roads in the NV Hi-top

After the rest of the prep, decon and claying the finish was cleaned with IPA and inspected under LED lights both standing and by torch, here is what the finish looked like
Heavy swirls and marring with some very deep gouges

Onto paint correction various products used including Menzerna FG400 and Megs 101


Working on rockers with the 75'..

Front bumper was lefty mostly unfinished from the body shop

Below you can see sanding marks left over from shoddy re-fininishing work, fixed now..

After correction

Both front and rear carbon pieces came delivered poorly finish so they never really had a chance to.. shine
Before haze


After, crisp and clear weave like carbon should be

Rear valence also poorly finished and cloudy

Before

After

Exhaust tips needed some work too..

All better..

The trunk was one of the worst areas on the car, long RIDS and very heavy swirls


No extra light needed, even a single bulb fluorescent can show the difference in color from the polished side vs. the unpolished side


Front fender work, again lack of clarity really knocked down the metallic flake. Black Sapphire metallic should be bursting with flake..


How BSM is supposed to look closeup with LED standing lights.. zero haze, zero marring after polishing step

After all the correction work was finished I wiped down the car with Eraser and pulled it outside to inspect my work before applying Opti Coat
It does not matter what final LSP you use or what coating product you choose as long as your prep and polishing work was done properly, out in the sun with no LSP after alcohol or eraser wipedown will show the true work..

Final shots


Remember what that hood looked like earlier? ..


Thanks for reading!
Regards,
Dave
Street Dreams San Diego