Finished this McLaren last week. Car was booked for a full paint correction and required over 2 days to be fully corrected and properly detailed.
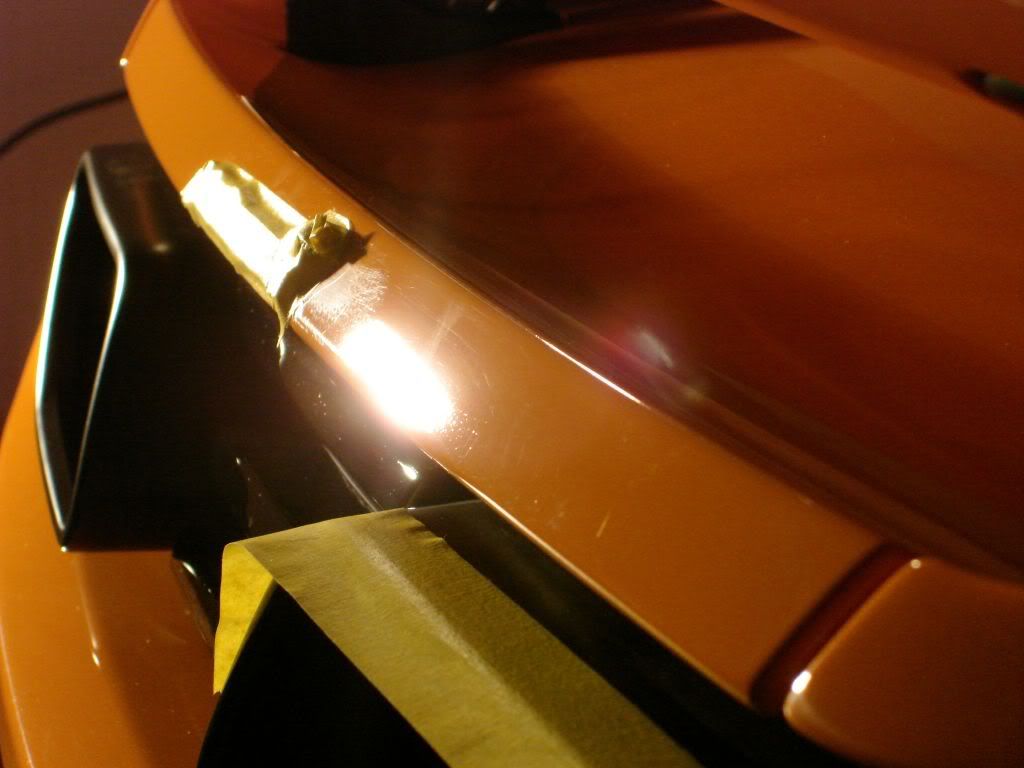
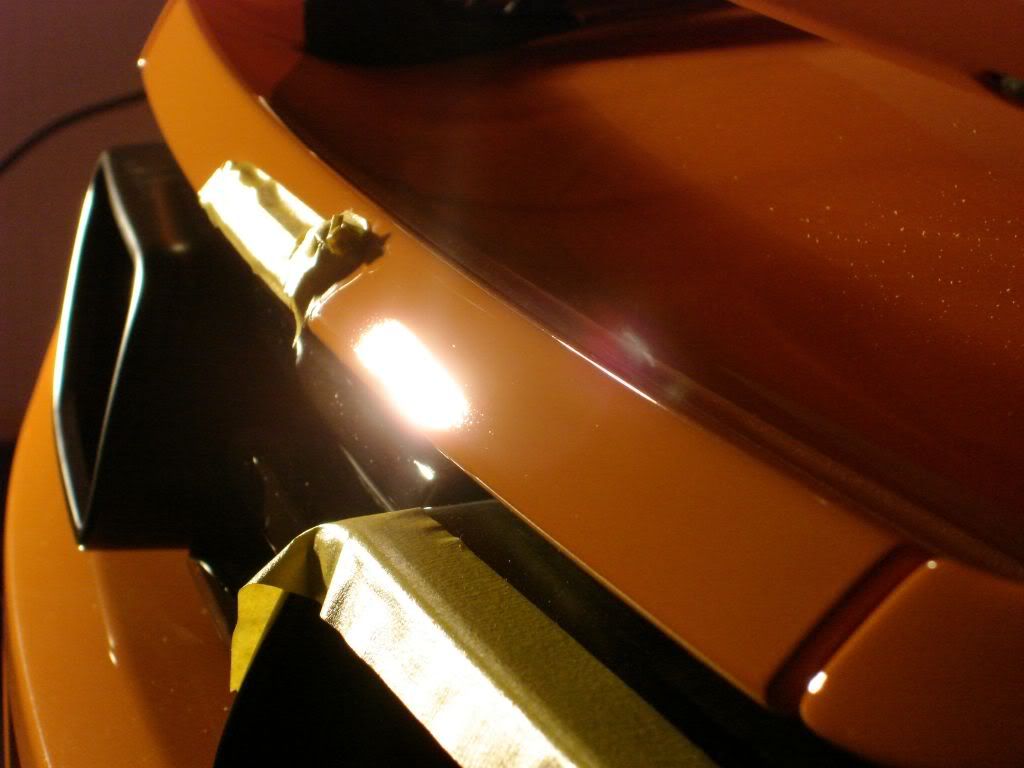
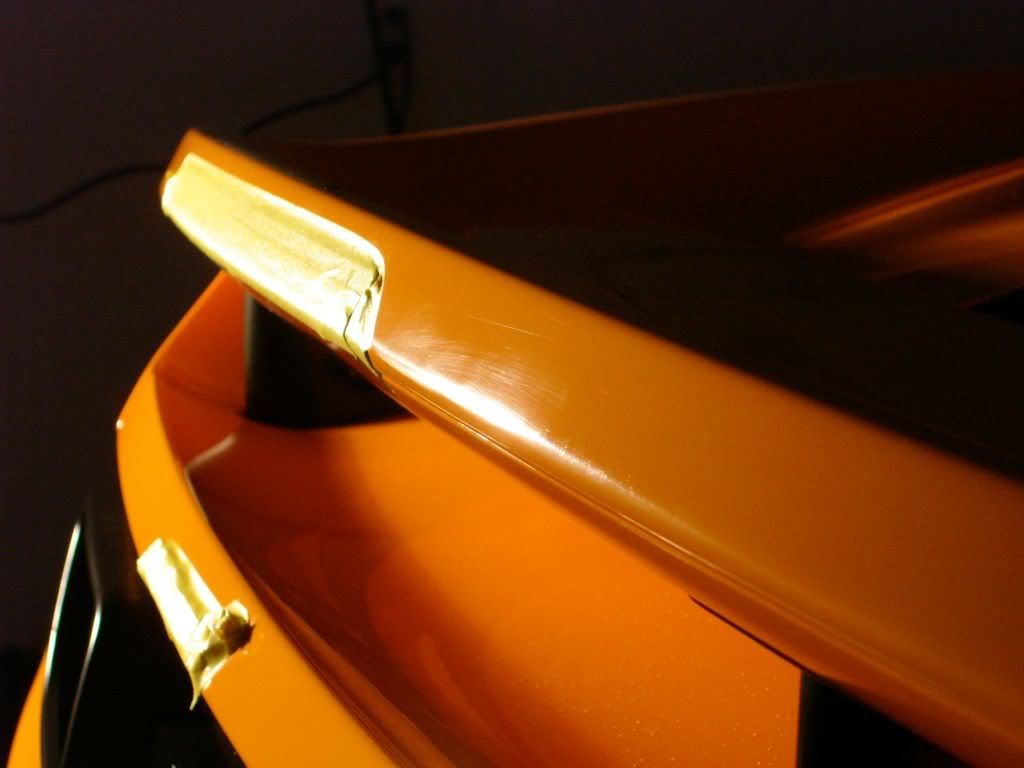
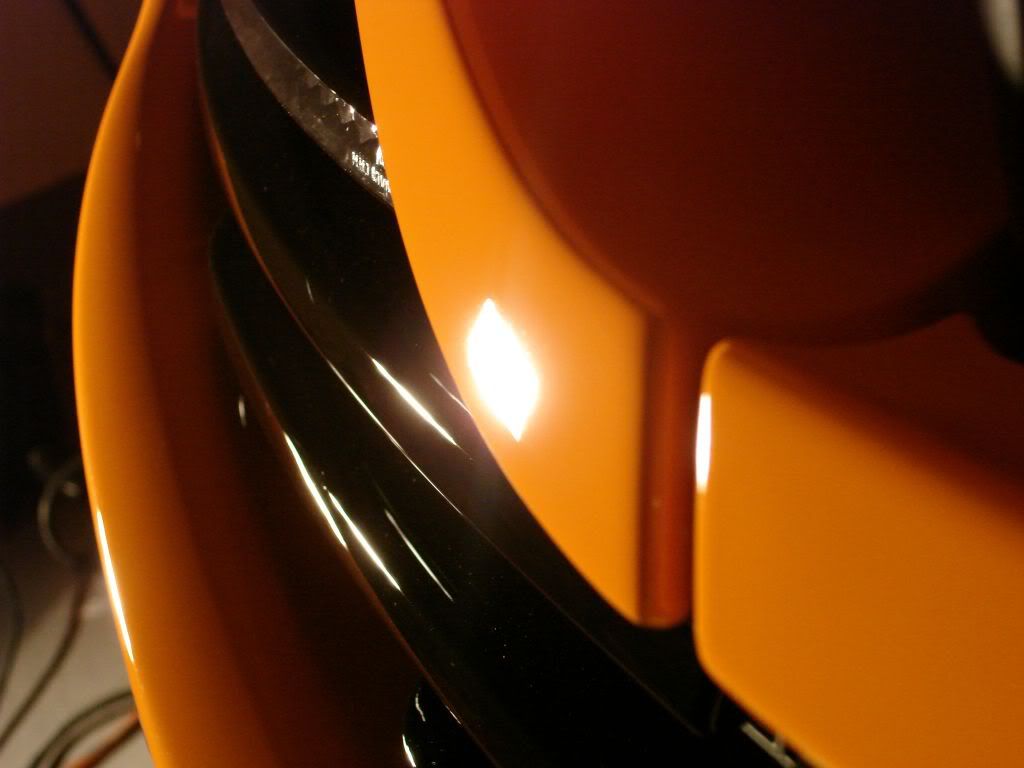
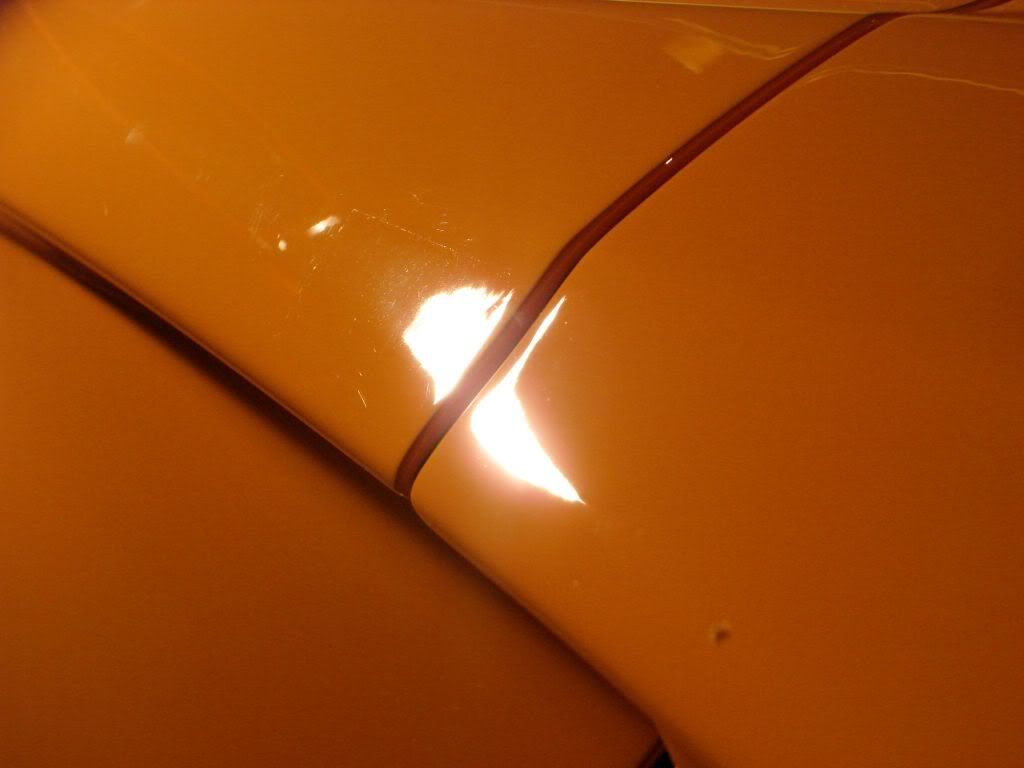
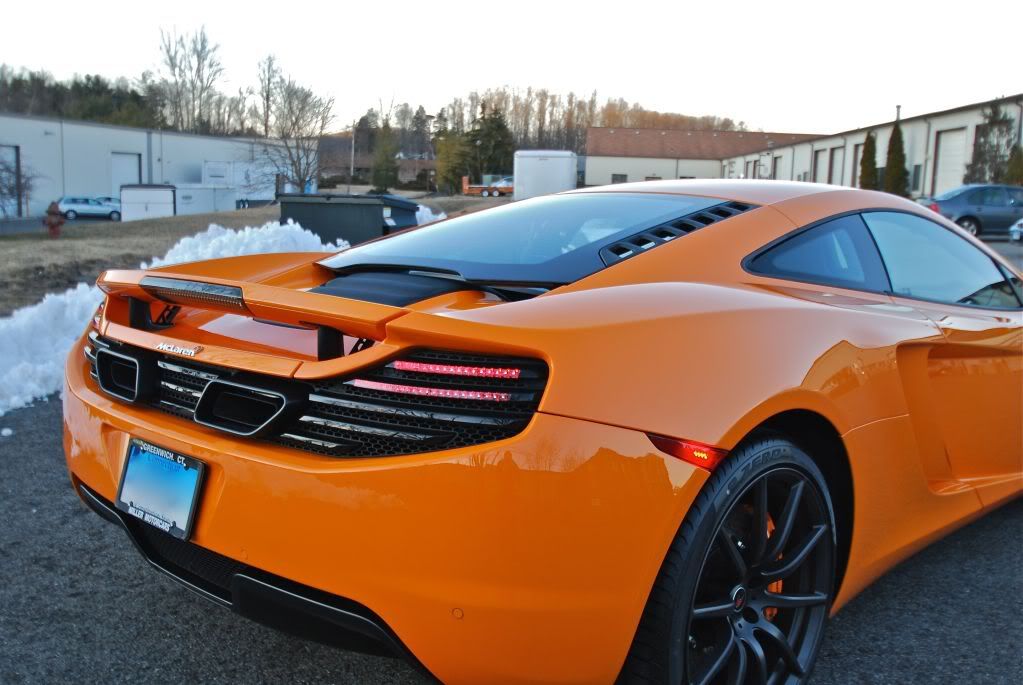
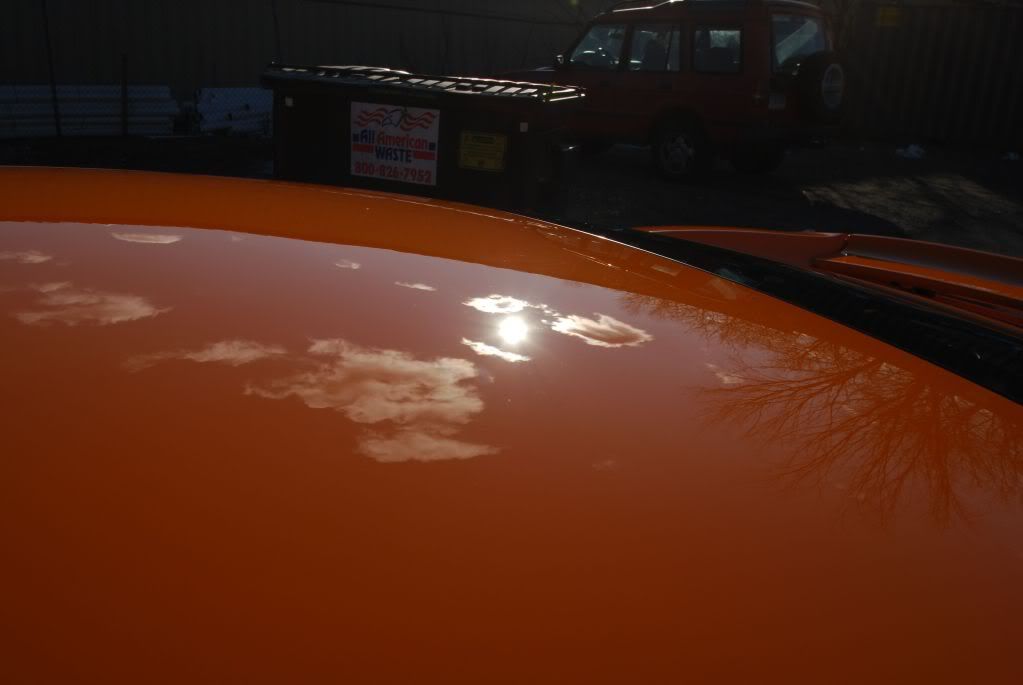
The MP4-12C was fully prepped before beginning paint correction. The finishing quality on this car was very similar to newer Ferrari and Aston paints. Below are a few photos showing the general condition of the finish, some regular marring and some deeper RIDS as well as pigtailing and residual sand scratches not properly corrected from the factory.
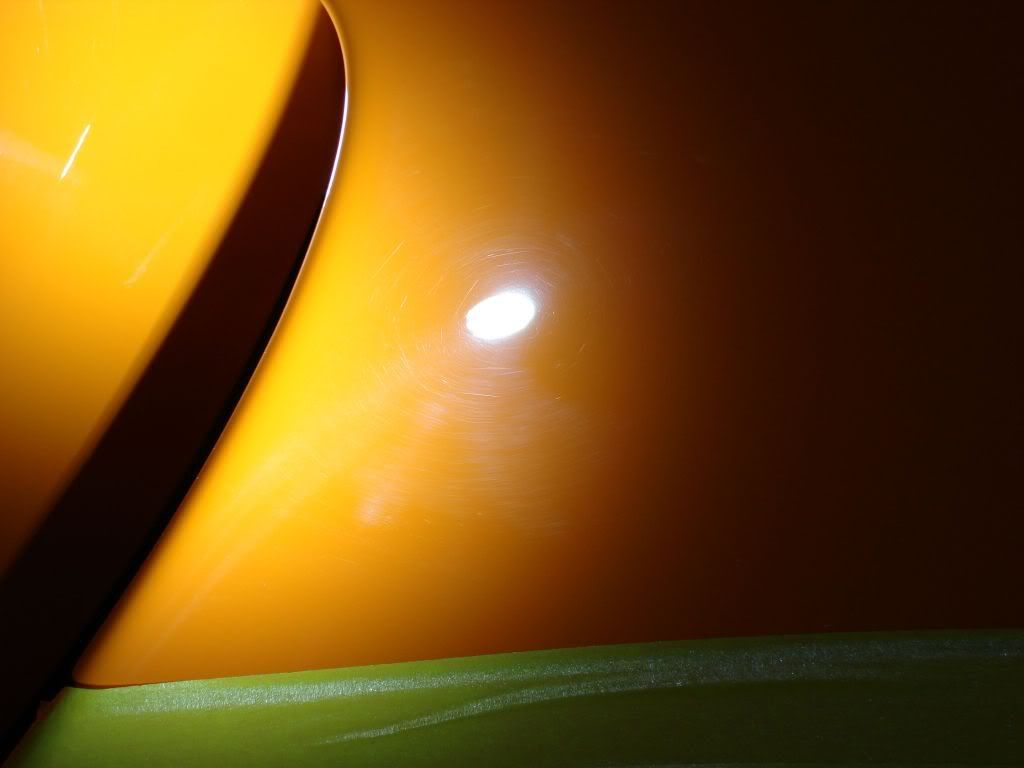

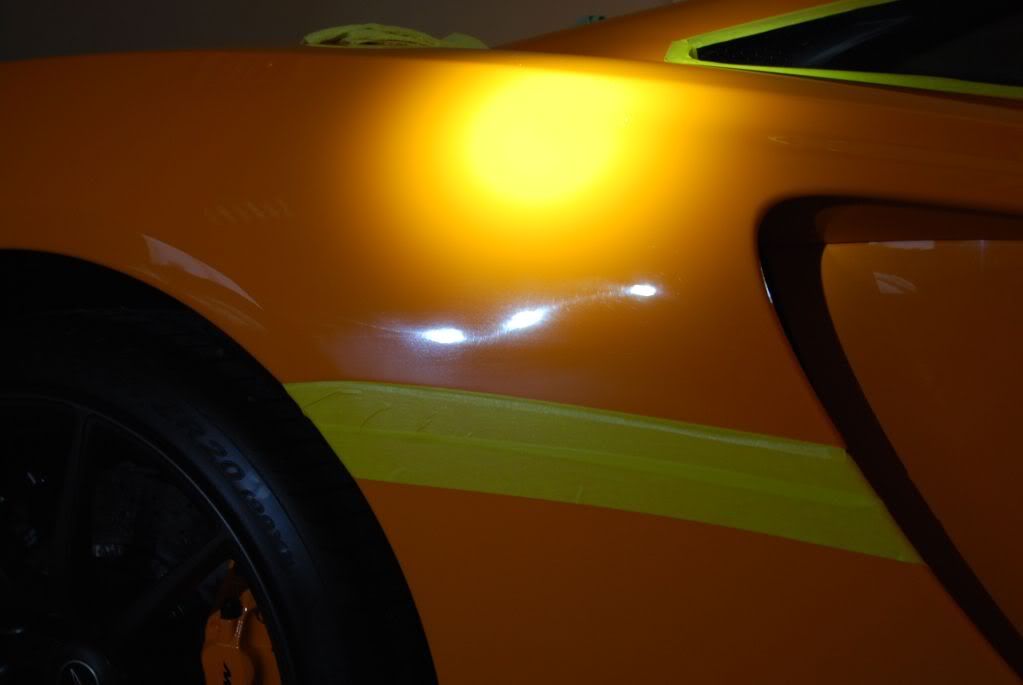
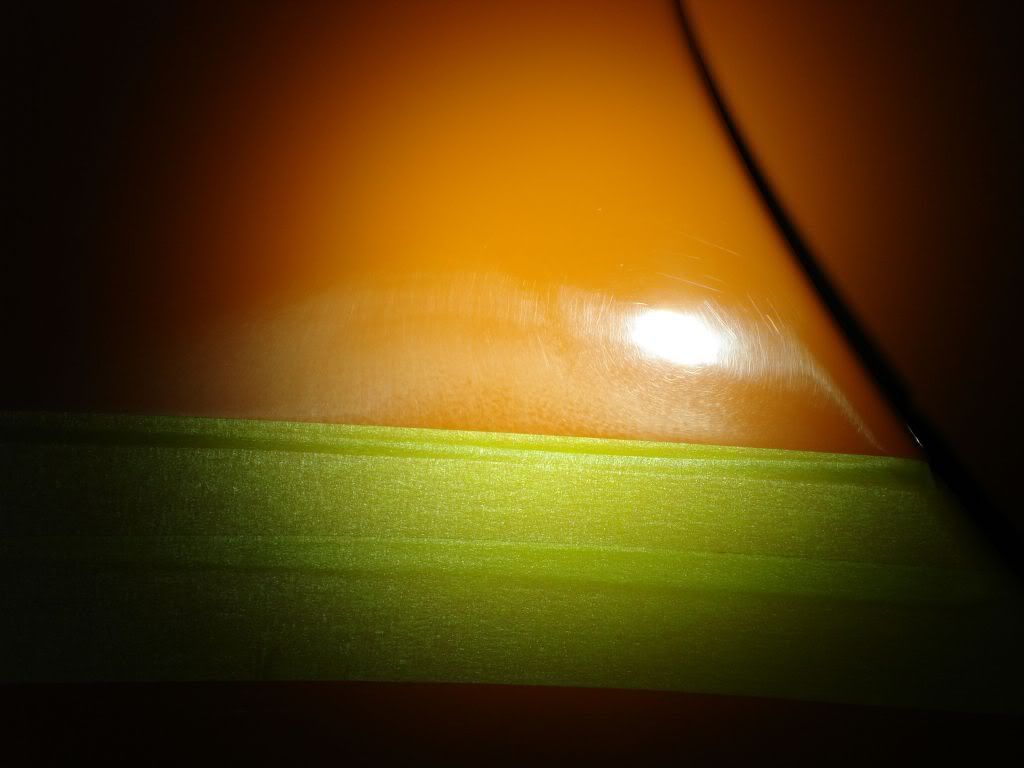
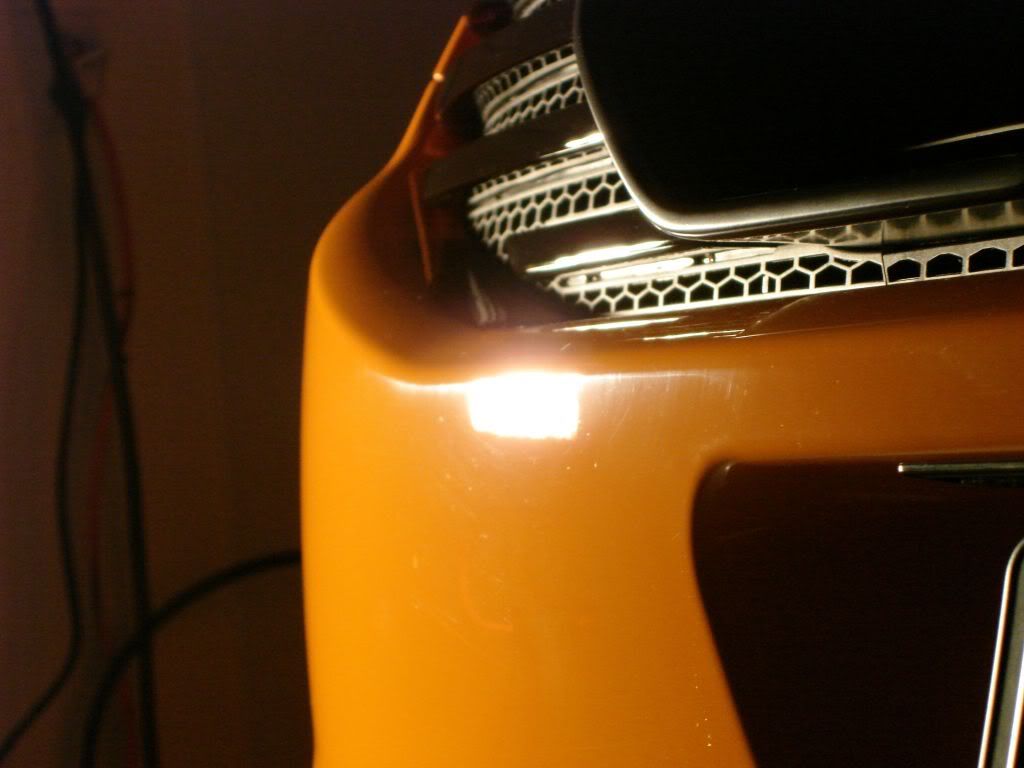
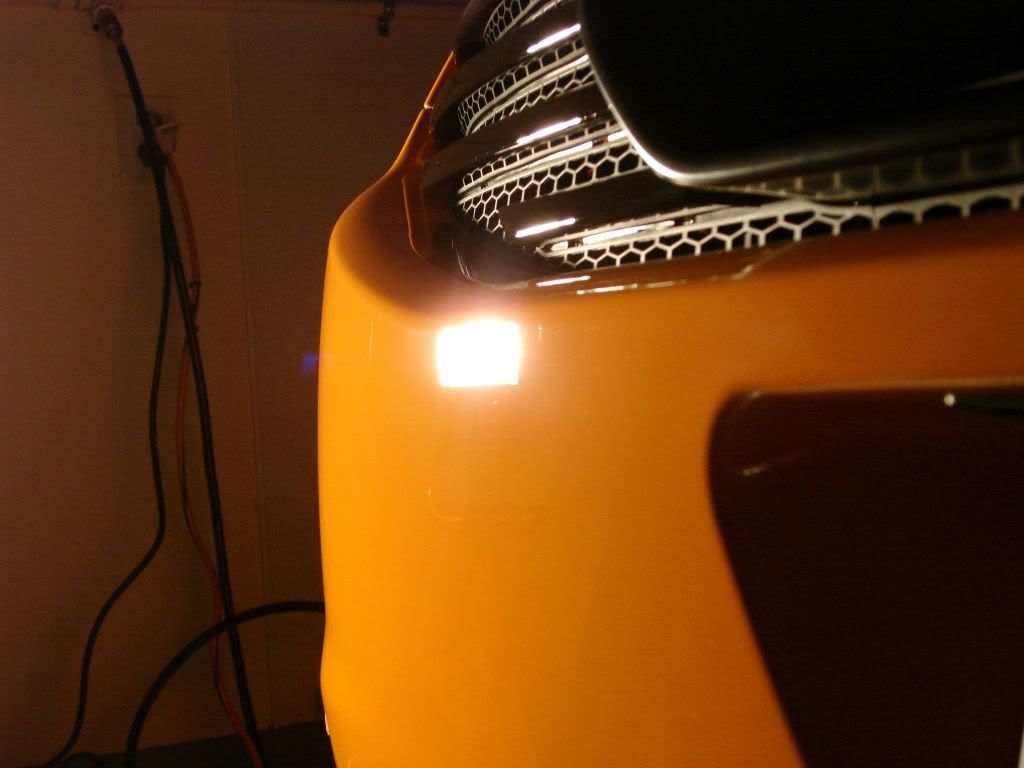
Up close under LED light
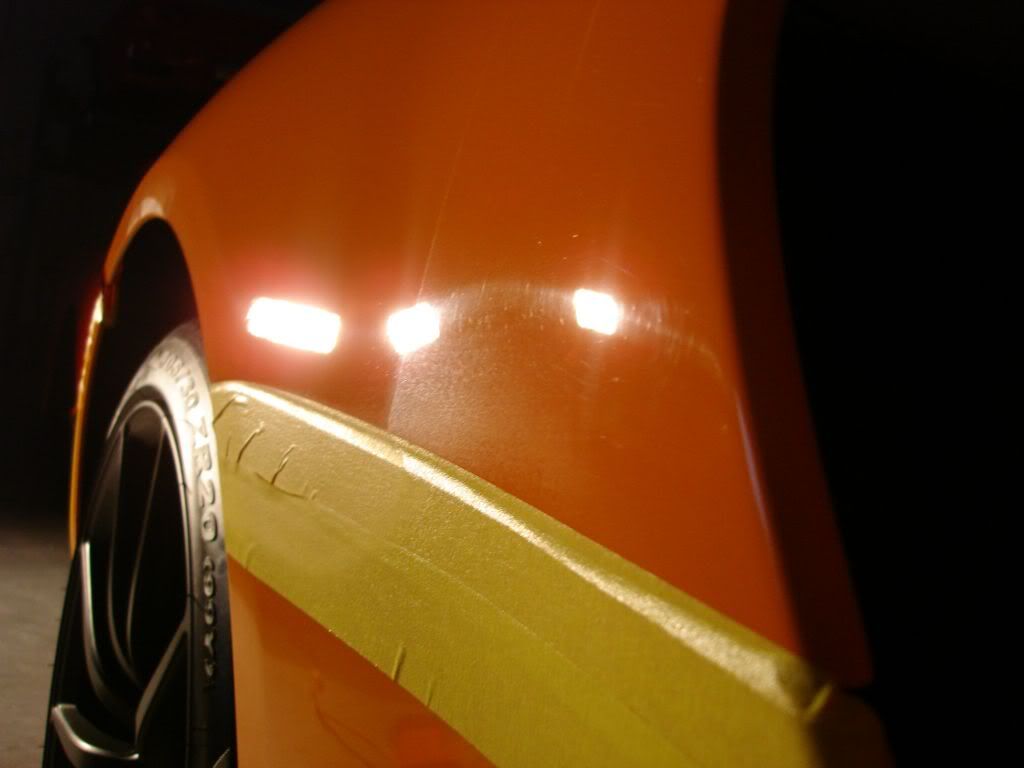
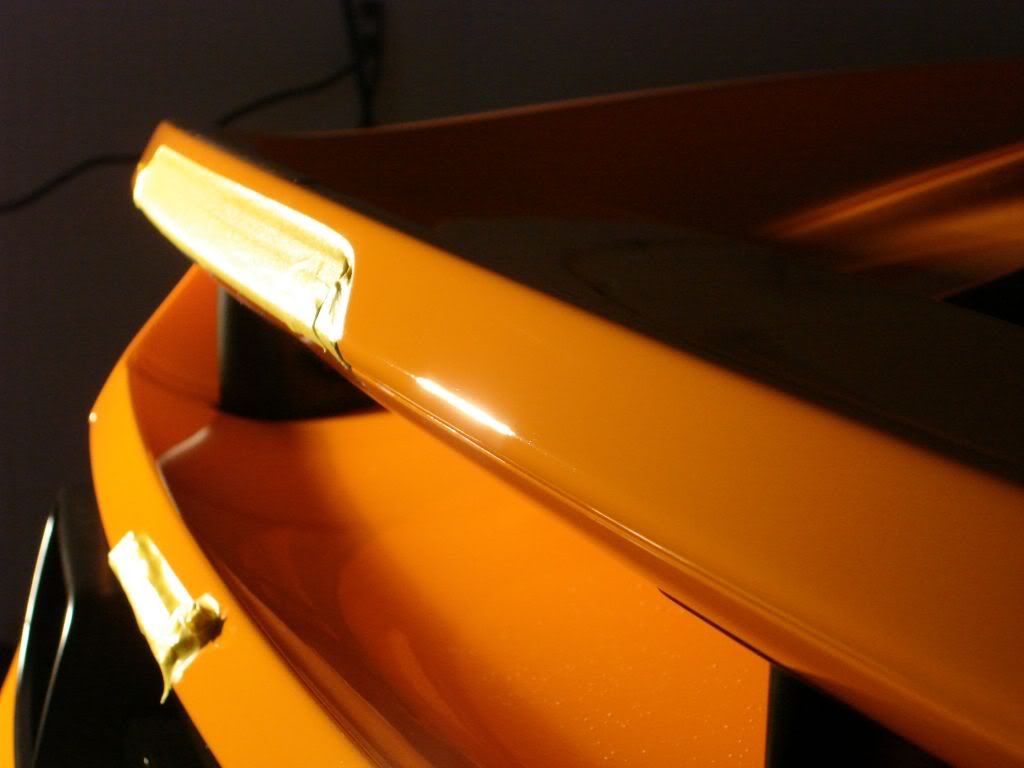
50/50 after compounding
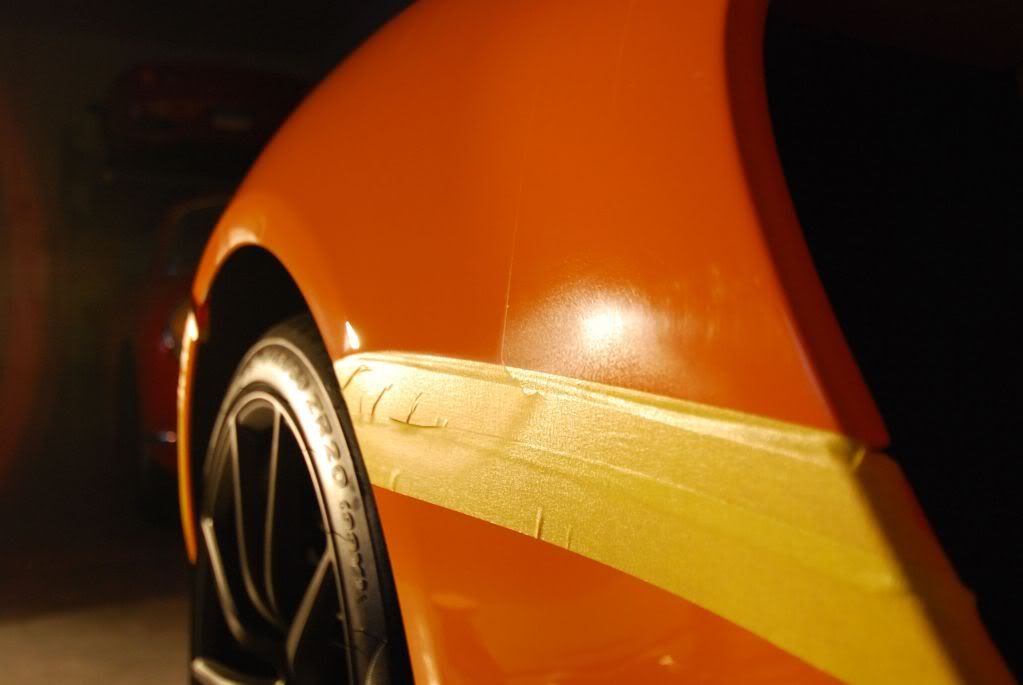
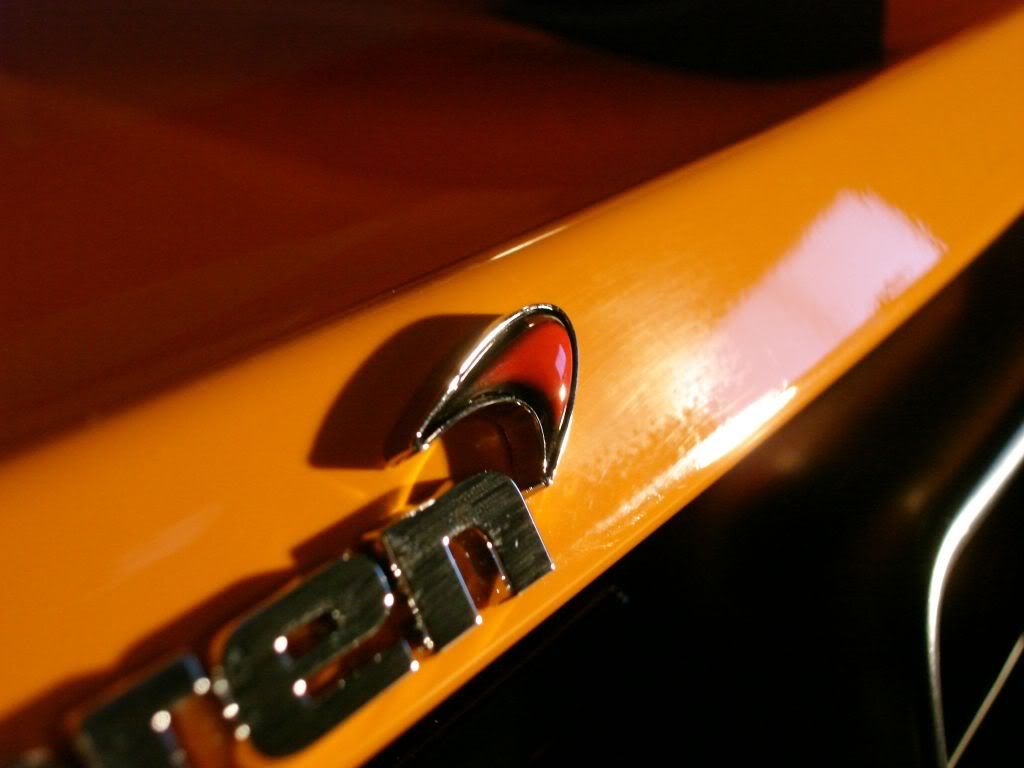
Looks like they missed a spot here by the badge..
After correcting...
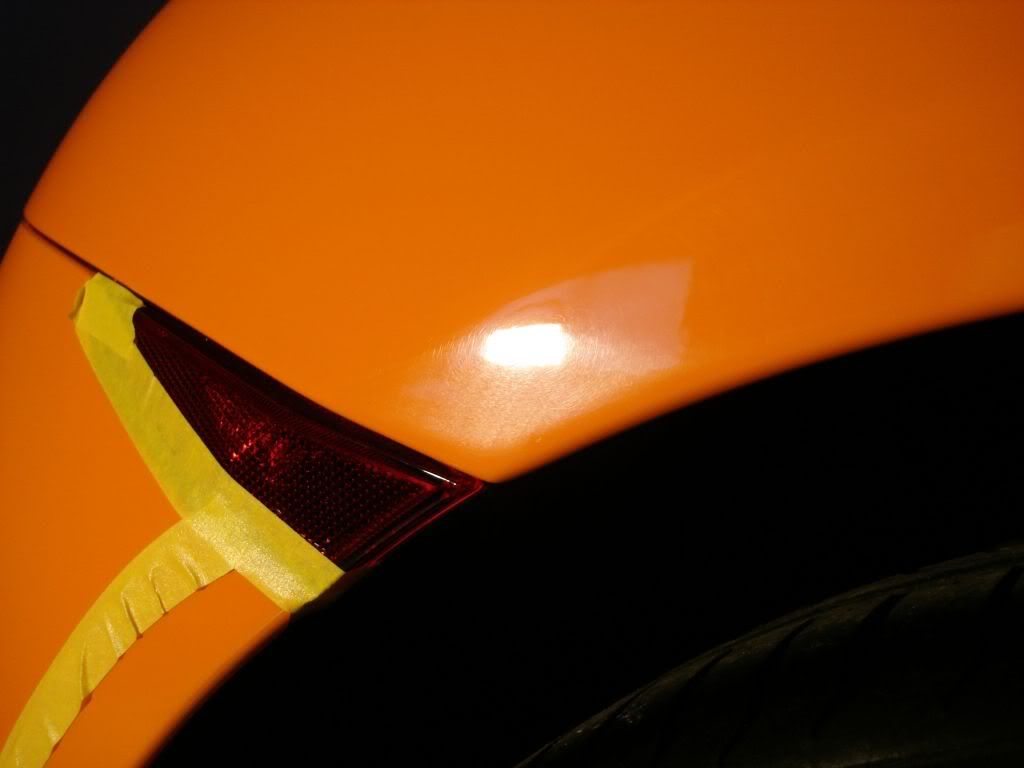
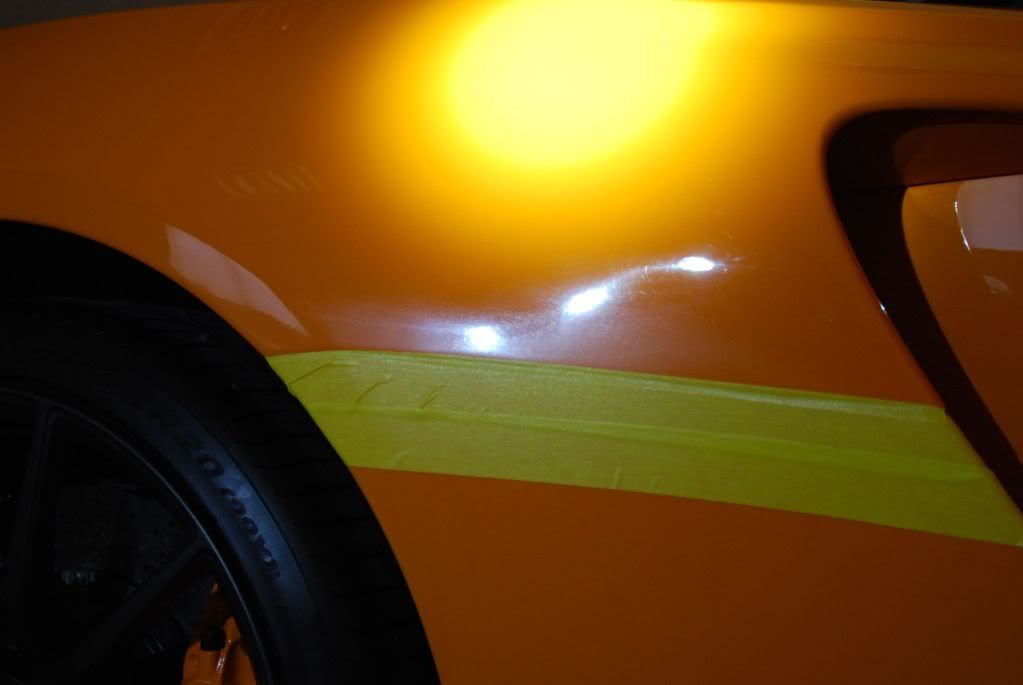
And here...
After...
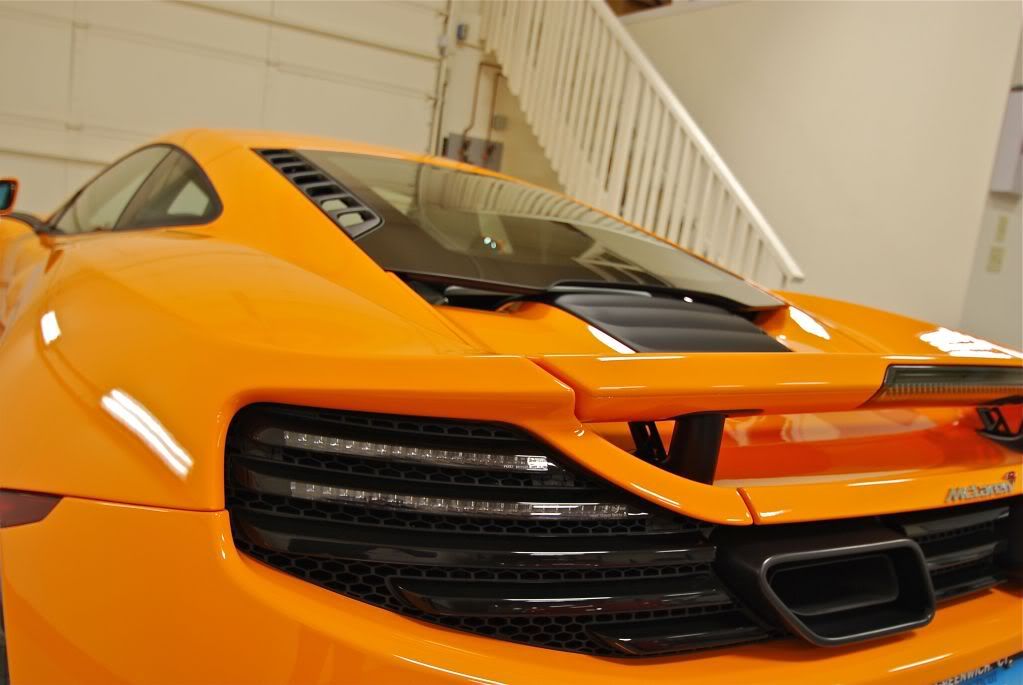
Rear bumper had its fair share of defects plus some hologramming as well
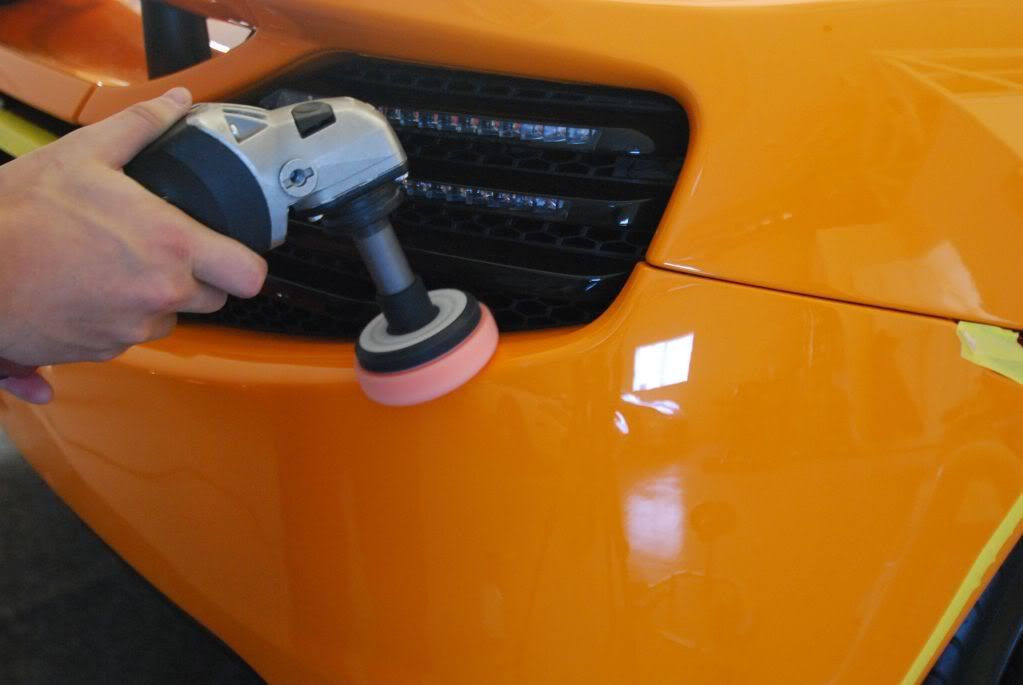
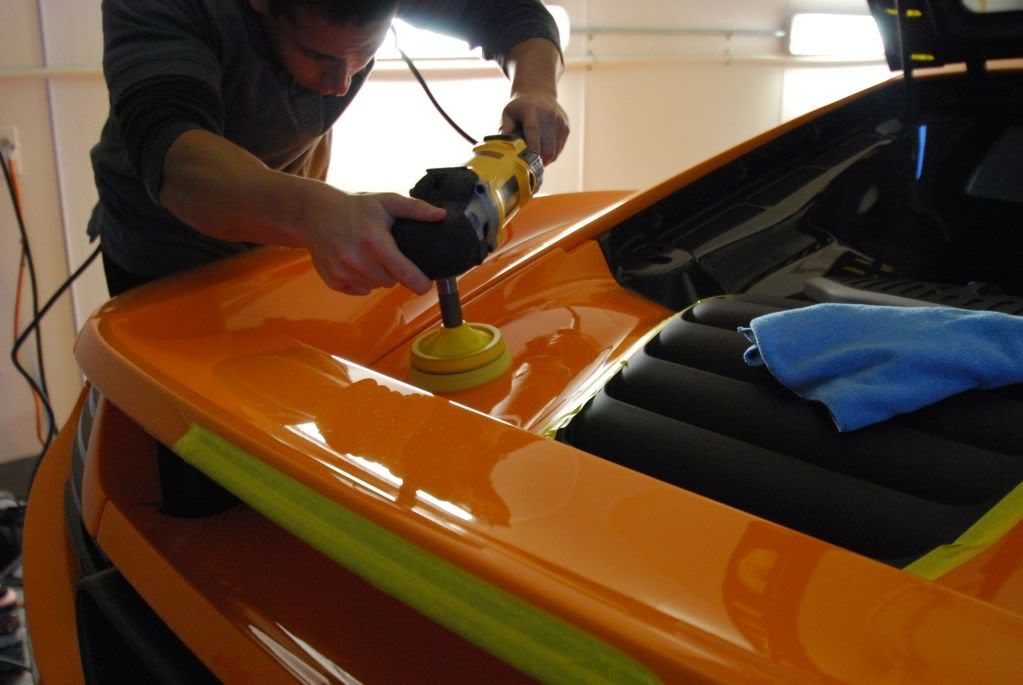
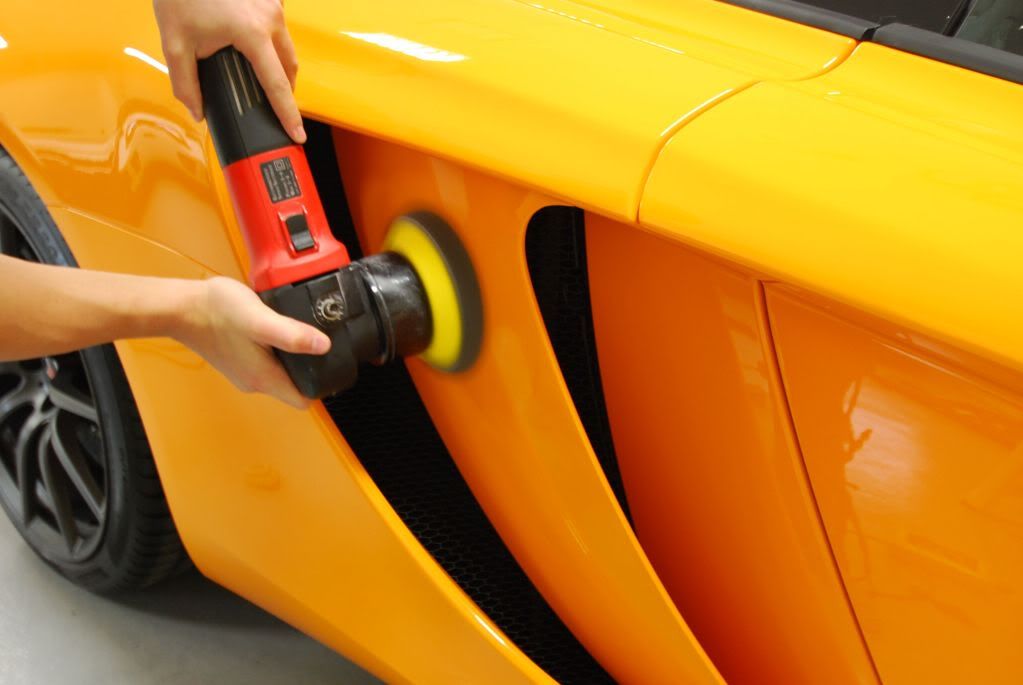
Working the smaller areas with the Flex rotary and a 3" pad
Tricky area by the engine bay, began cutting with a foam pad on the rotary and then followed up with Surbuf pads on the DA before moving onto polishing
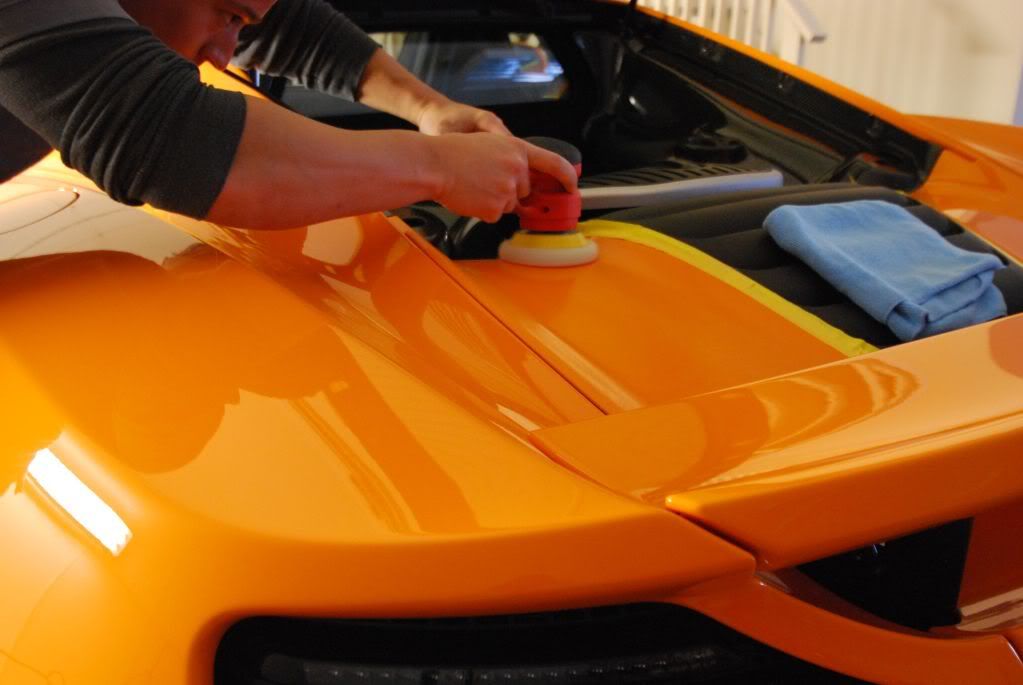
After all cutting was finished the car was polished using Menzerna 106FA on a green pad. The LSP of choice was Wolfs Body wrap and as a prep for it I used the Wolfs Shine and Seal which added some pop to the finish before applying the body wrap
Applying Shine and Seal with a DA at speed 4. This was buffed on thin and wiped off right away.
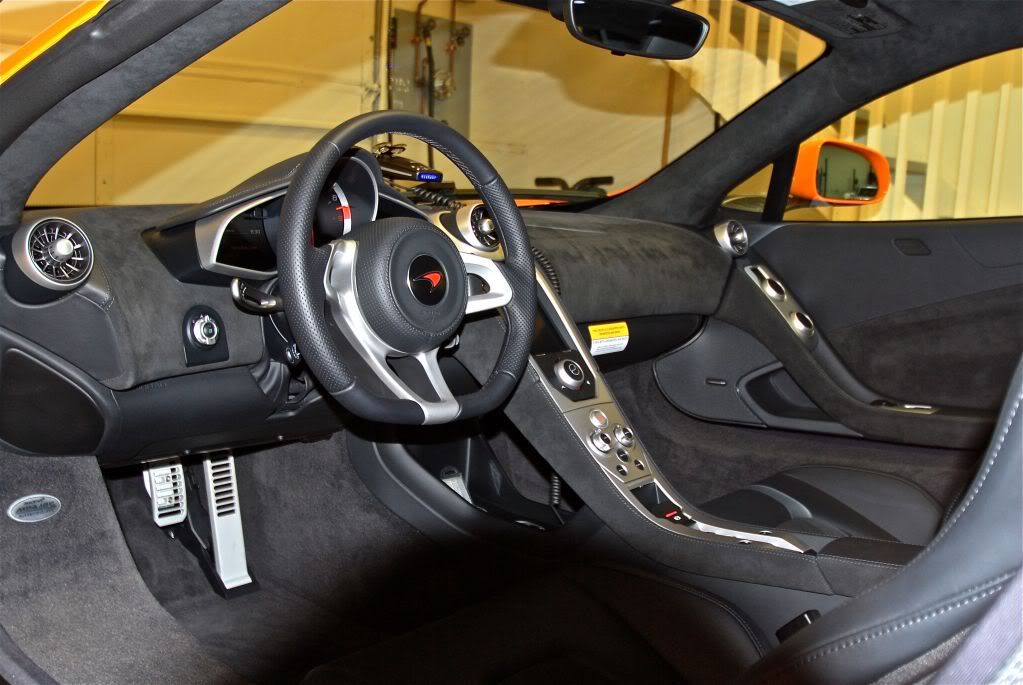
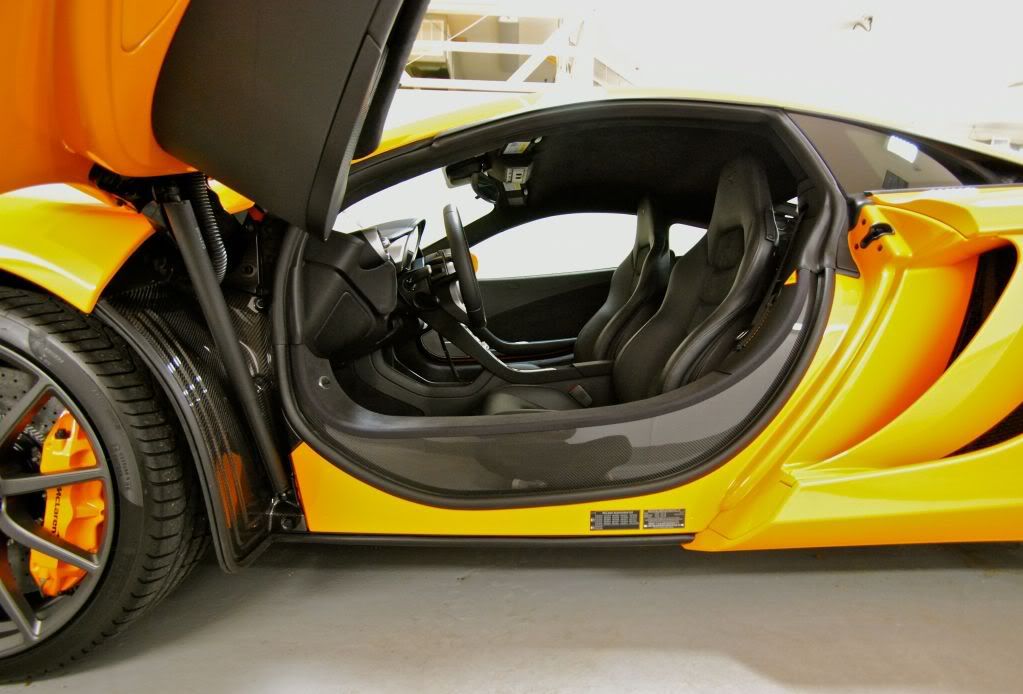
Interior was given a light detail as the car was brand new, very simple and functional... typical of how McLaren does things!
All engine carbon was polished using Shine and Seal
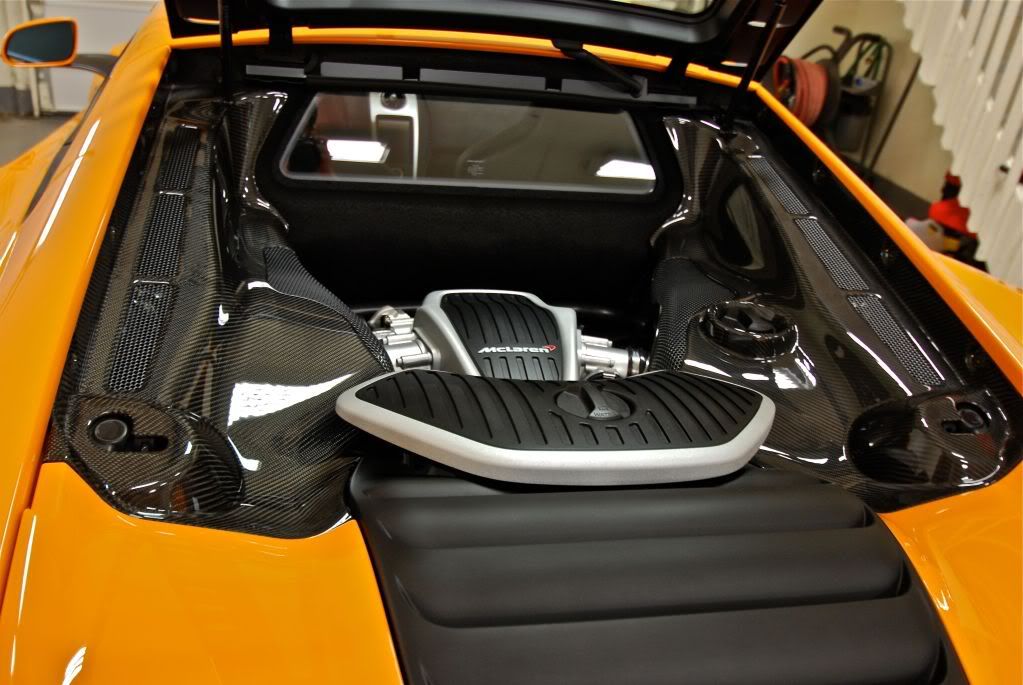
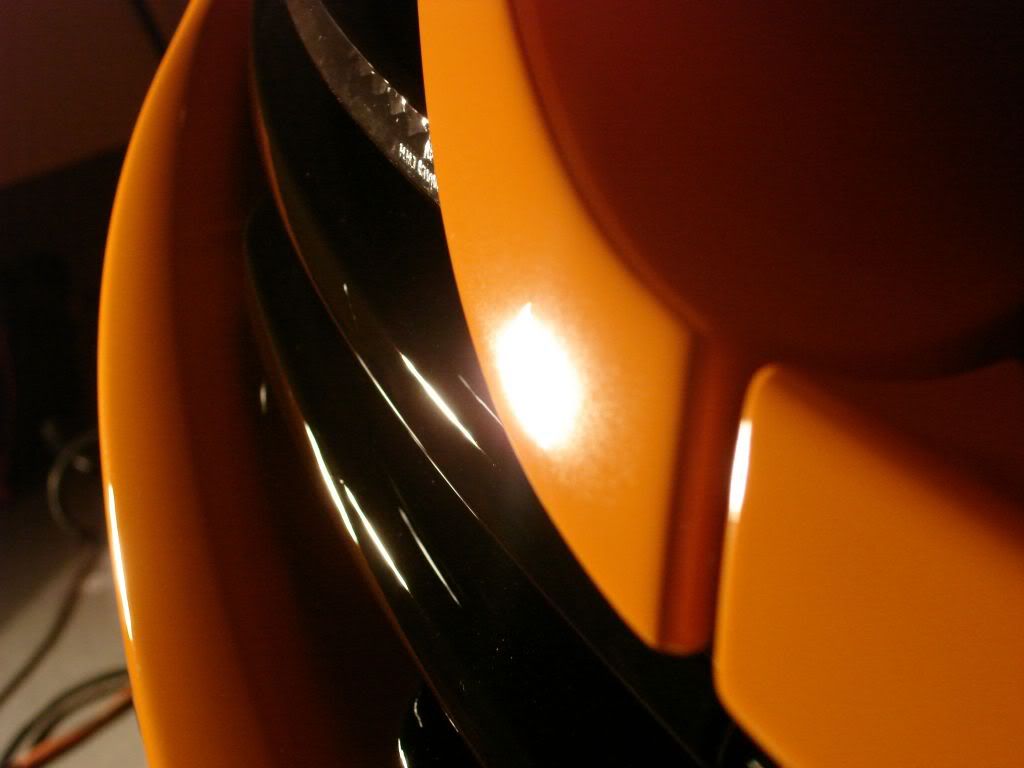
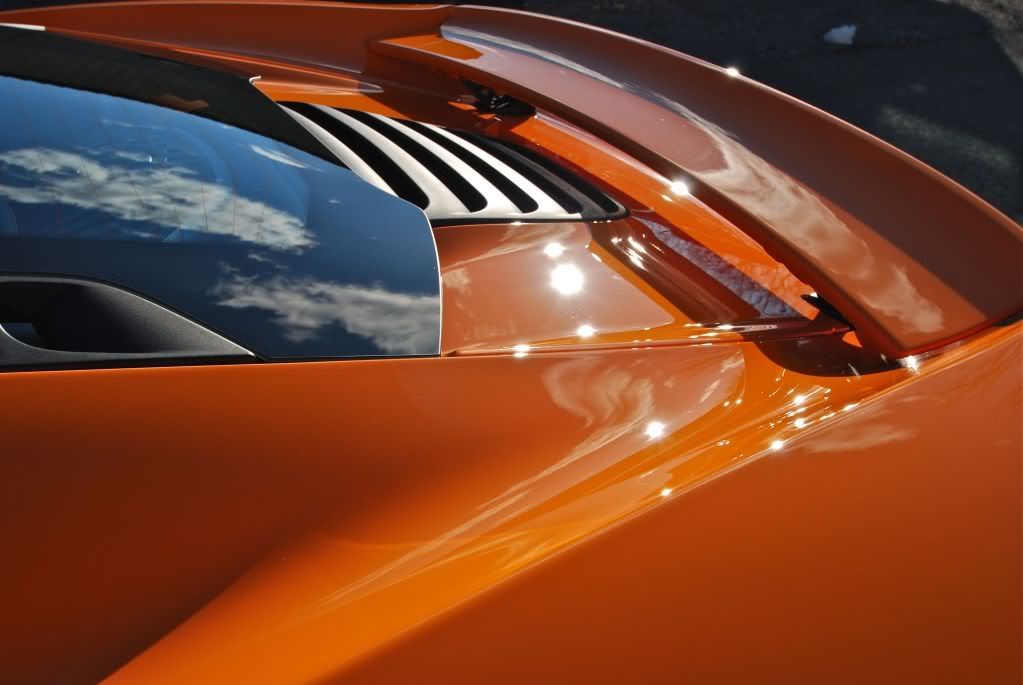
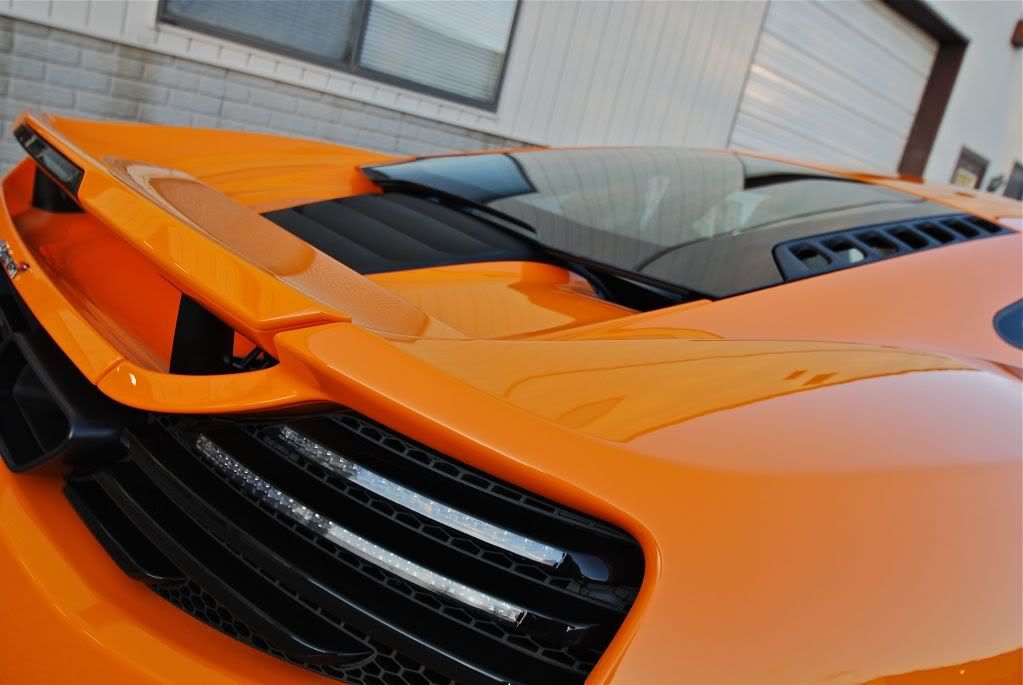
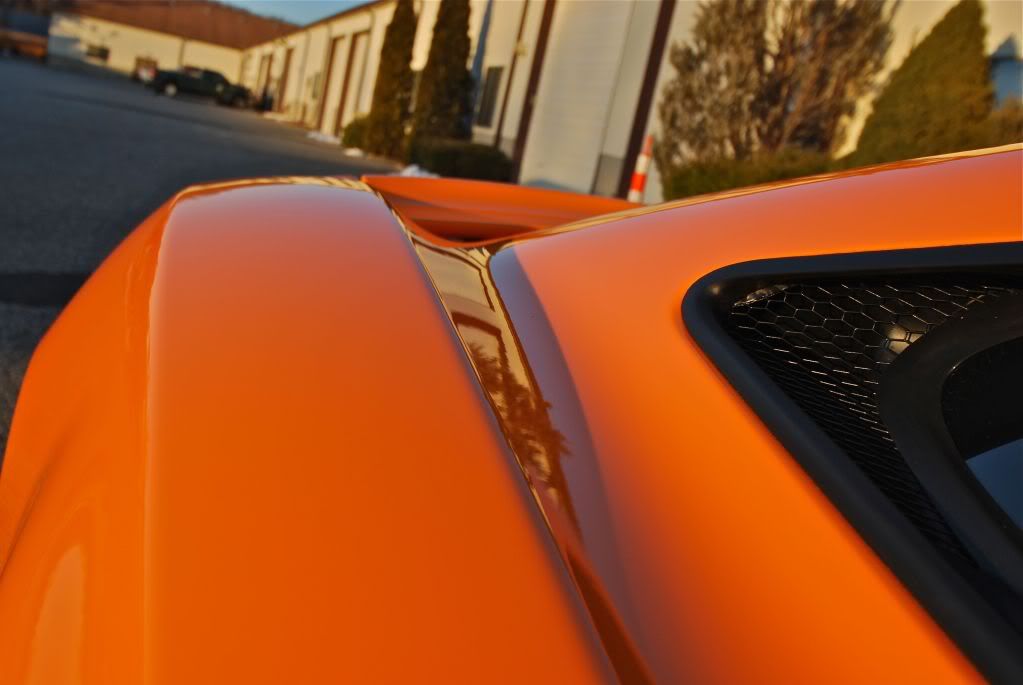
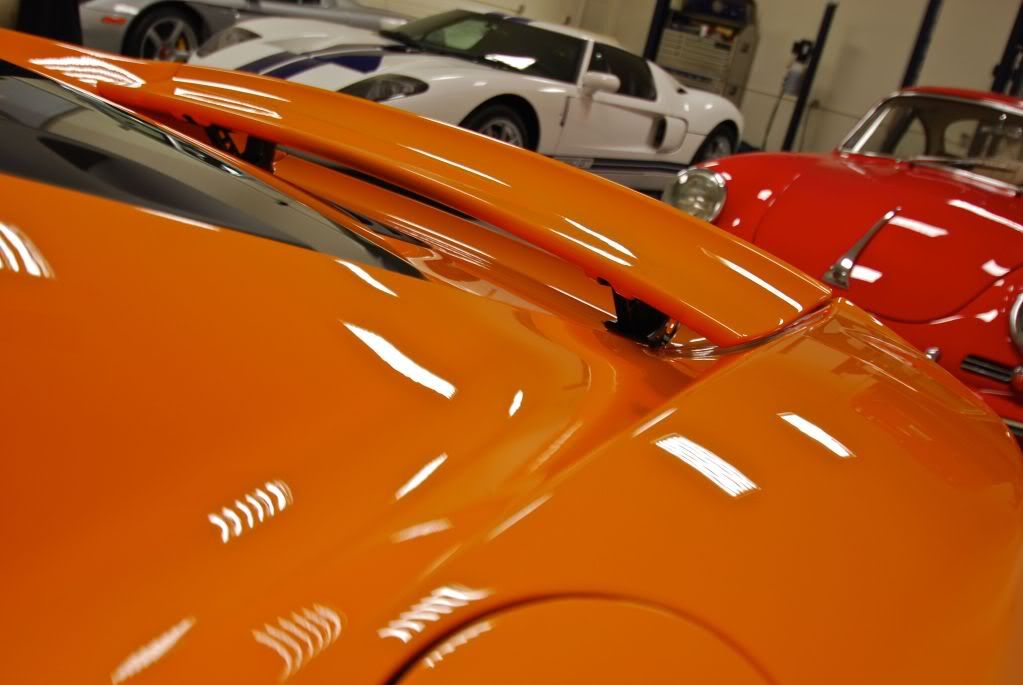
This was one of the most interesting things about the MP4-12C, the body panels flow right into the engine bay and there is only a tiny gap between where the body lines end and the carbon engine bay begins, very beautiful how this car was designed
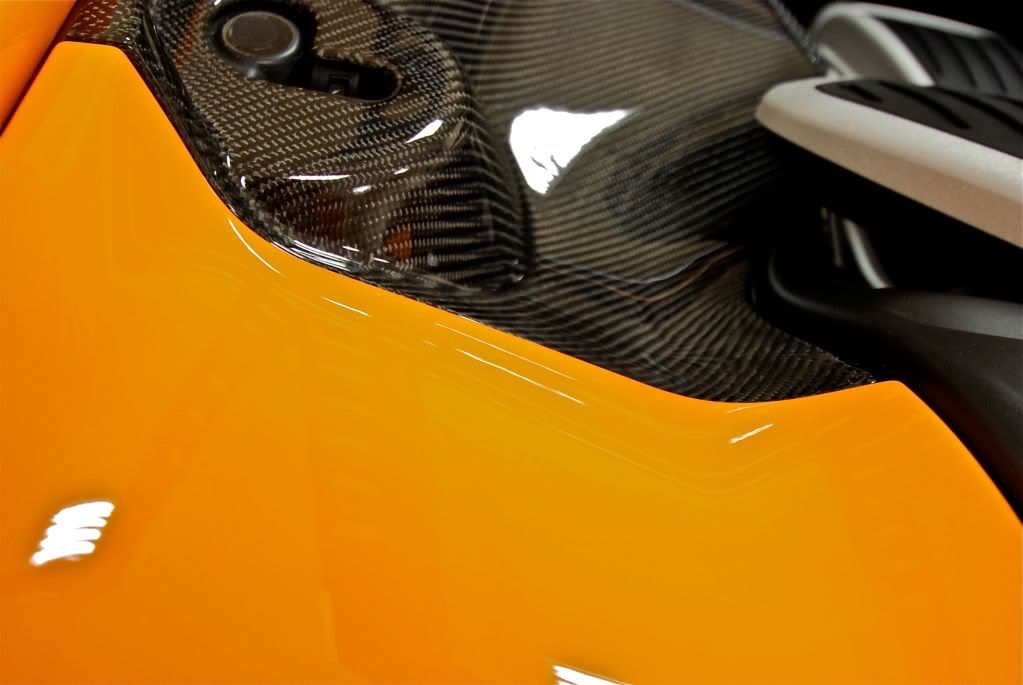
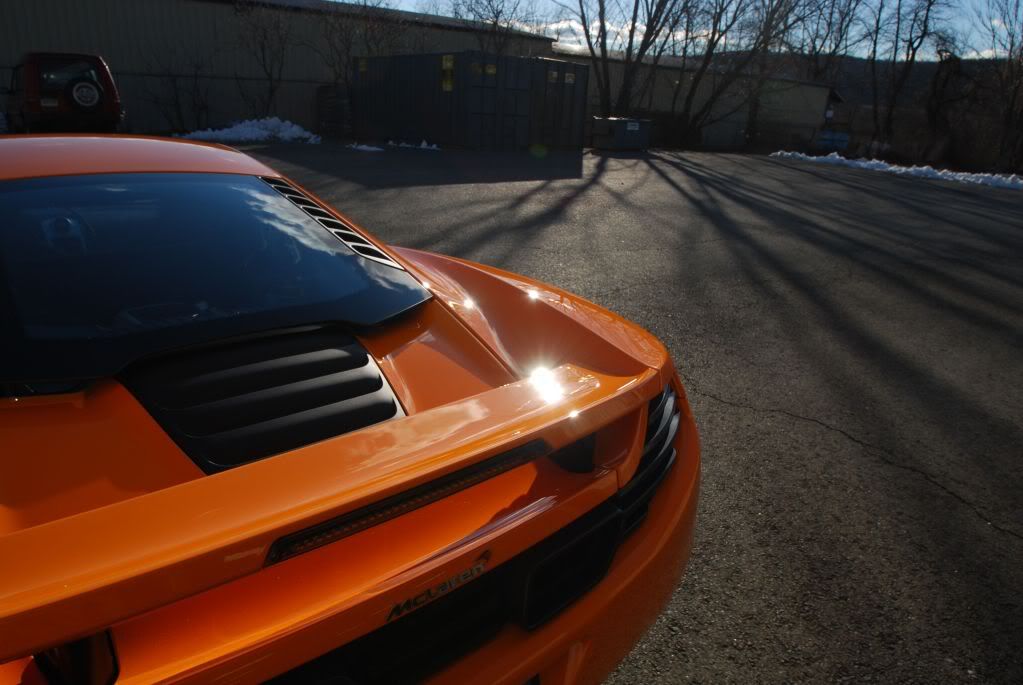
In the many thousands of detailing pictures I have taken over the years I think this may have to be my favorite
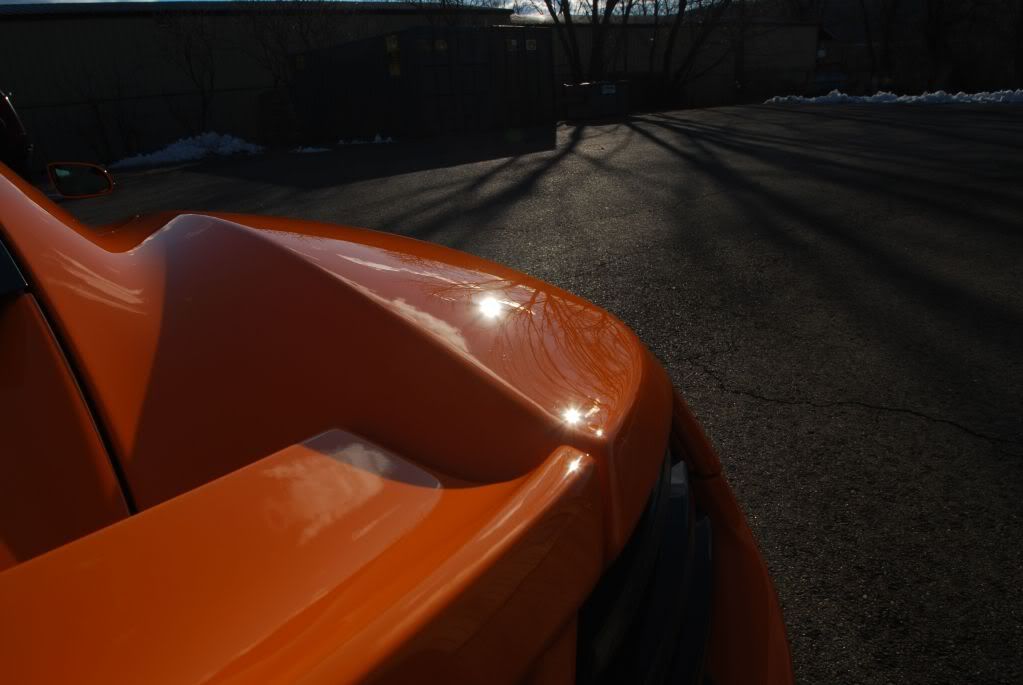
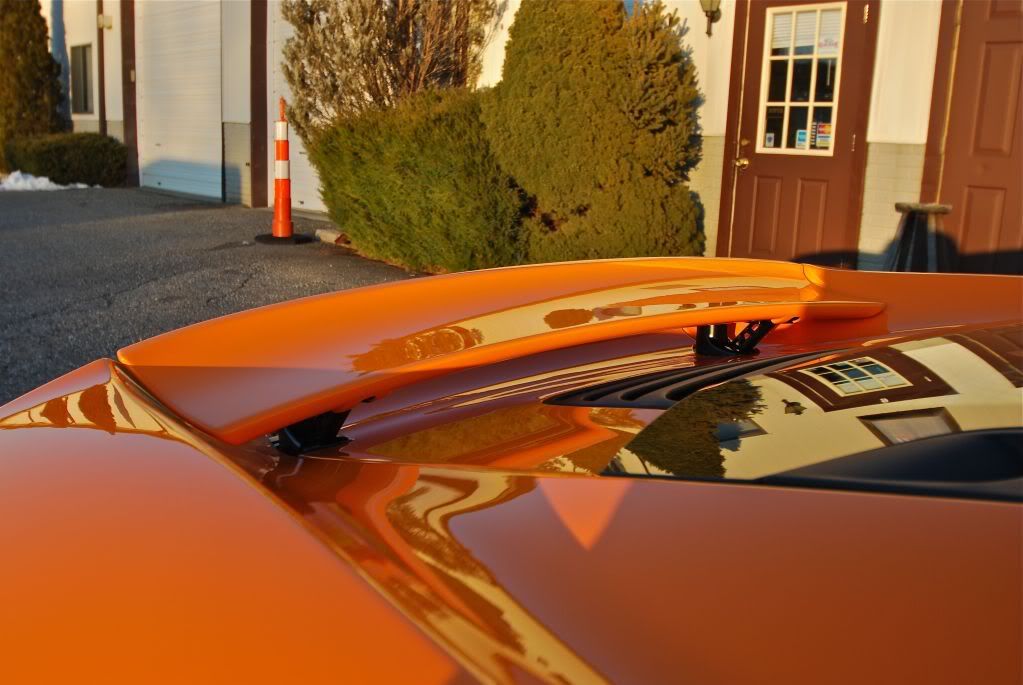
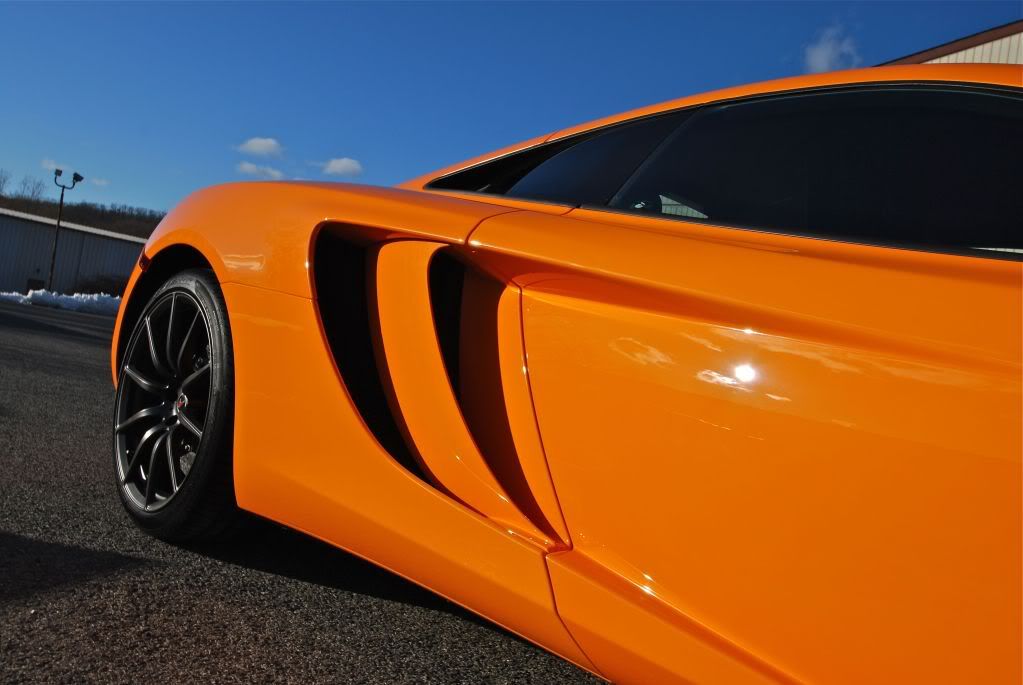
Finished shots outside...


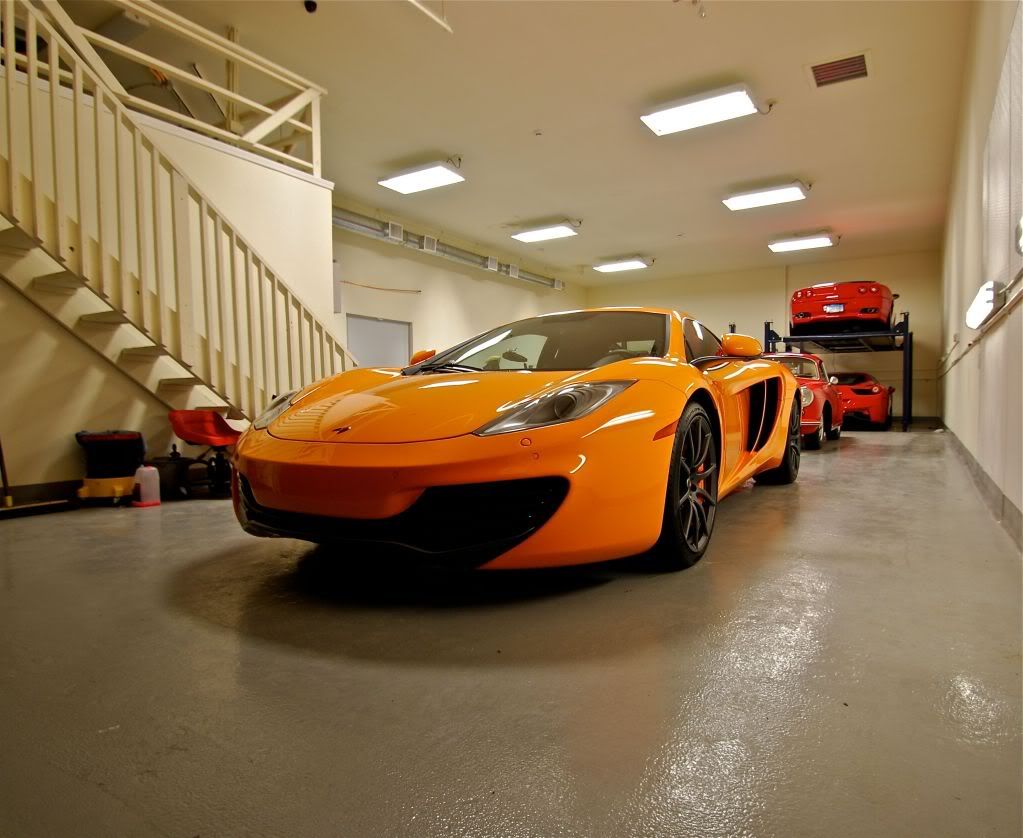
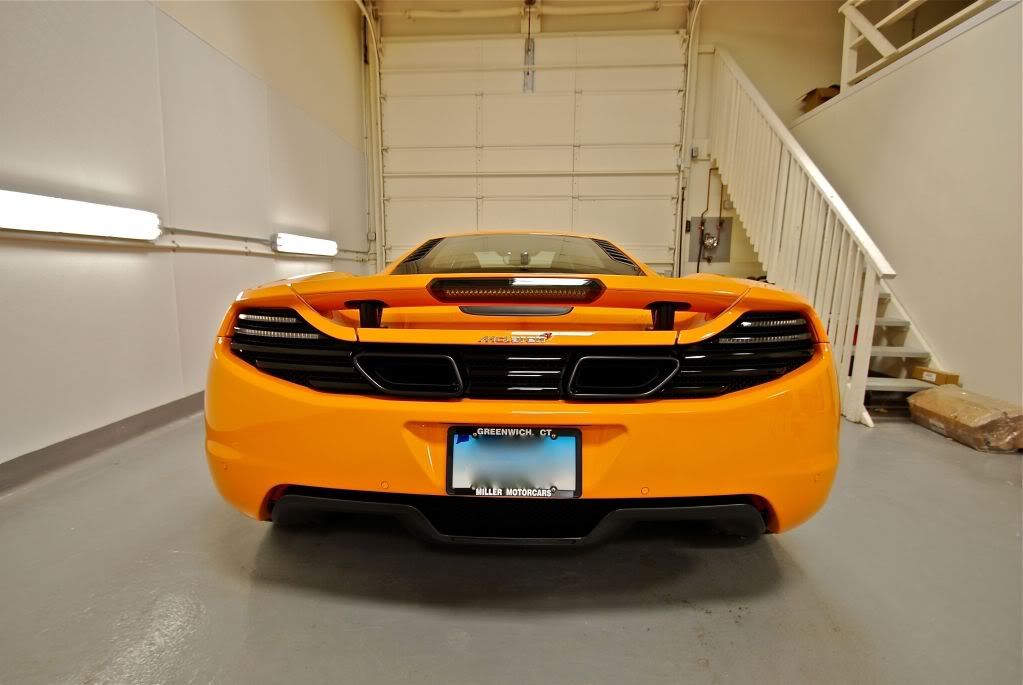
Back in the garage for the final wipedown
Thanks for looking!
All the best,
Dave
Street Dreams Detail
The MP4-12C was fully prepped before beginning paint correction. The finishing quality on this car was very similar to newer Ferrari and Aston paints. Below are a few photos showing the general condition of the finish, some regular marring and some deeper RIDS as well as pigtailing and residual sand scratches not properly corrected from the factory.
Up close under LED light
50/50 after compounding
Looks like they missed a spot here by the badge..
After correcting...
And here...
After...
Rear bumper had its fair share of defects plus some hologramming as well
Working the smaller areas with the Flex rotary and a 3" pad
Tricky area by the engine bay, began cutting with a foam pad on the rotary and then followed up with Surbuf pads on the DA before moving onto polishing
After all cutting was finished the car was polished using Menzerna 106FA on a green pad. The LSP of choice was Wolfs Body wrap and as a prep for it I used the Wolfs Shine and Seal which added some pop to the finish before applying the body wrap
Applying Shine and Seal with a DA at speed 4. This was buffed on thin and wiped off right away.
Interior was given a light detail as the car was brand new, very simple and functional... typical of how McLaren does things!
All engine carbon was polished using Shine and Seal
This was one of the most interesting things about the MP4-12C, the body panels flow right into the engine bay and there is only a tiny gap between where the body lines end and the carbon engine bay begins, very beautiful how this car was designed
In the many thousands of detailing pictures I have taken over the years I think this may have to be my favorite
Finished shots outside...
Back in the garage for the final wipedown
Thanks for looking!
All the best,
Dave
Street Dreams Detail