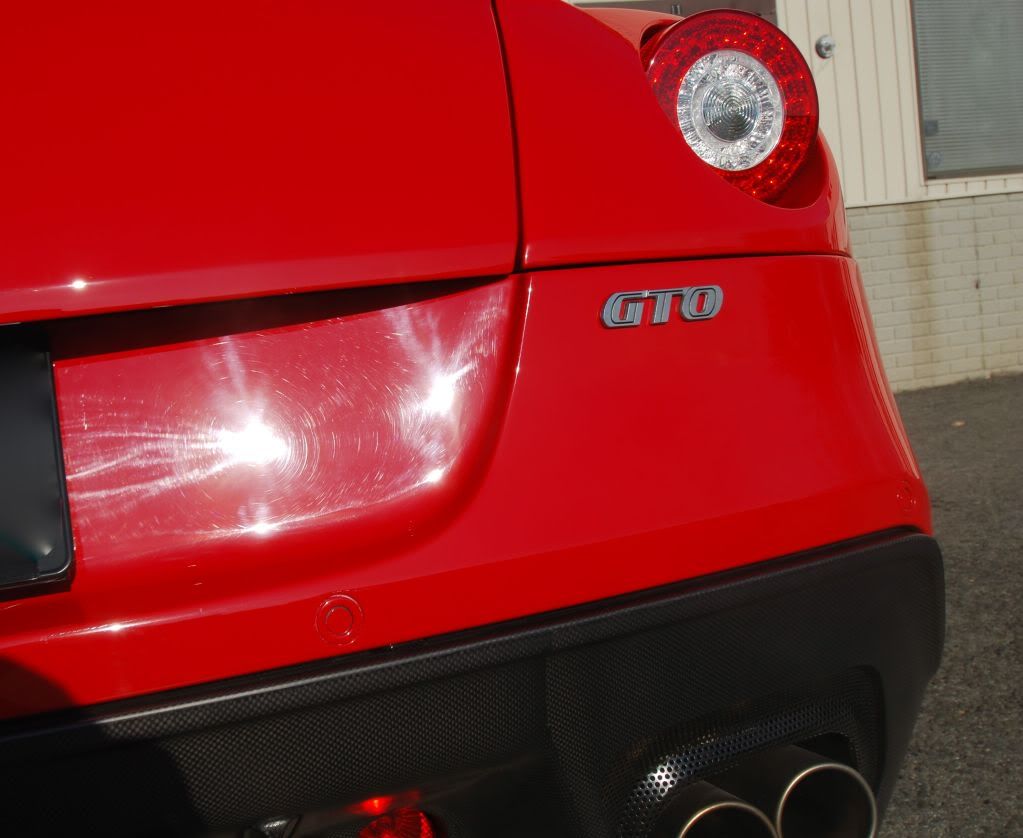
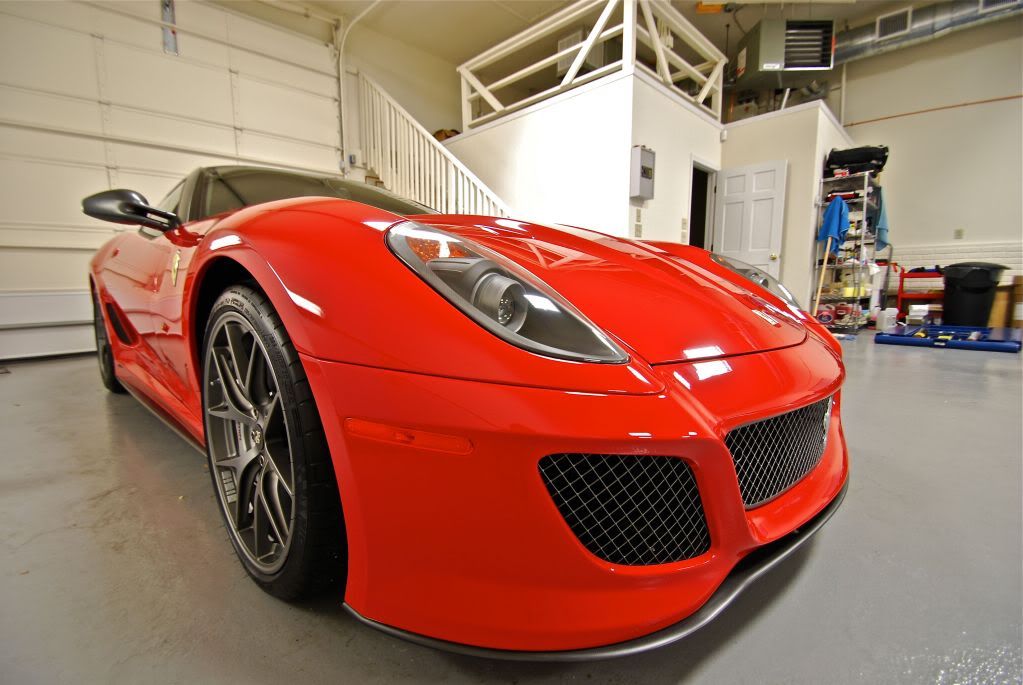
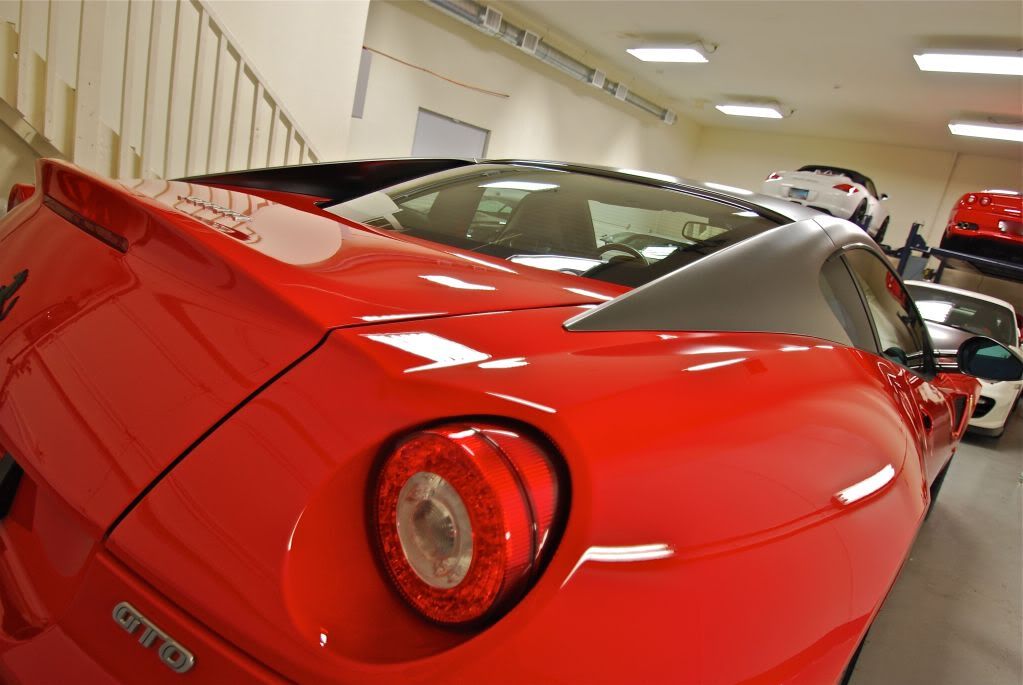
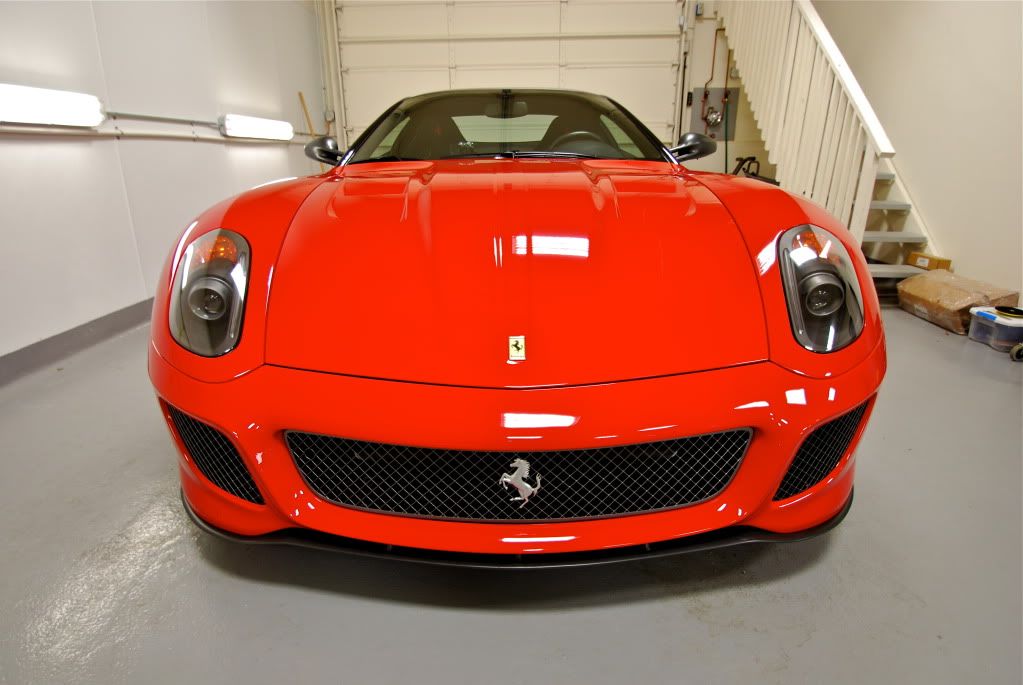
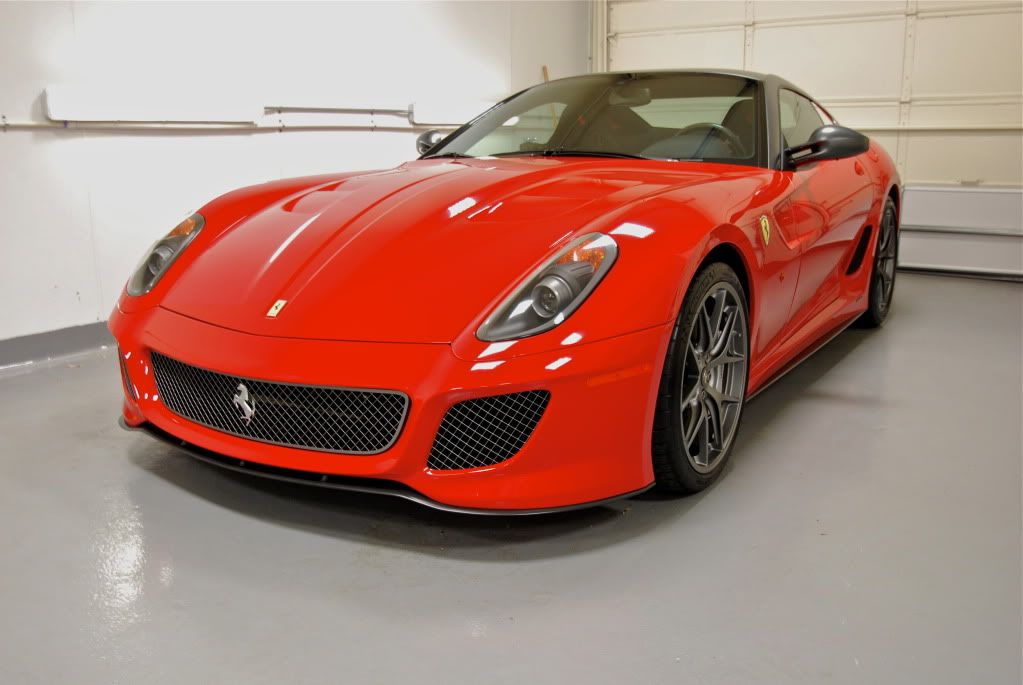
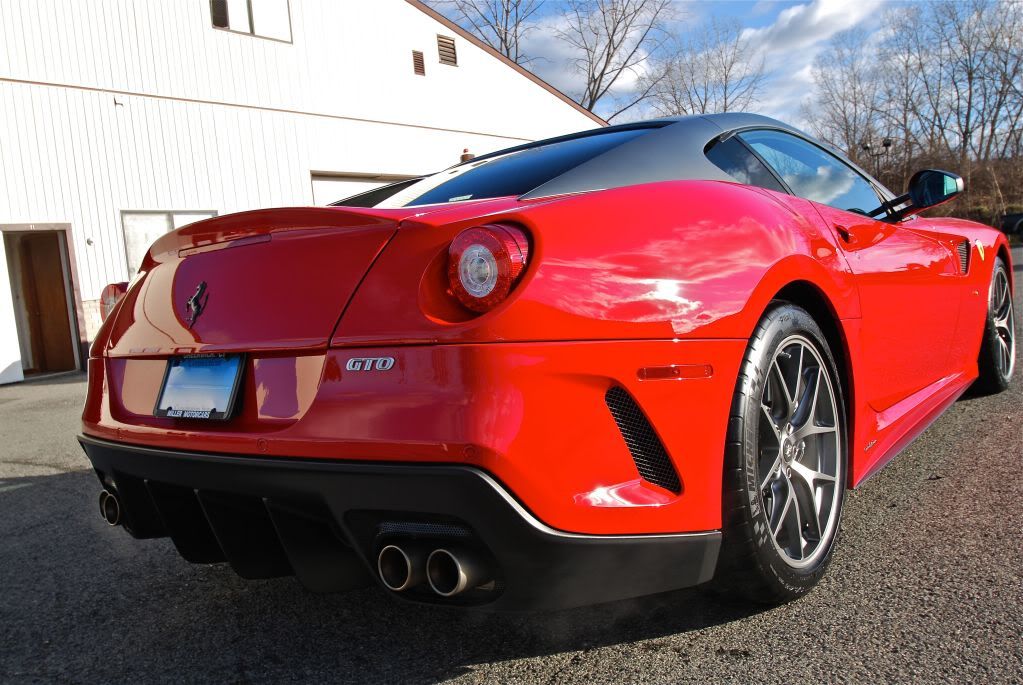
Ferrari 599 GTO in need of extensive paint correction. No need to post any technical information about this car, its a GTO, and yes its wonderful.
Most of the usual Ferrari refinishing problems:
-Sanding scratches
-Rids
-Rotary Holograms
-Heavy Swirling
... and overspray, lots of overspray!
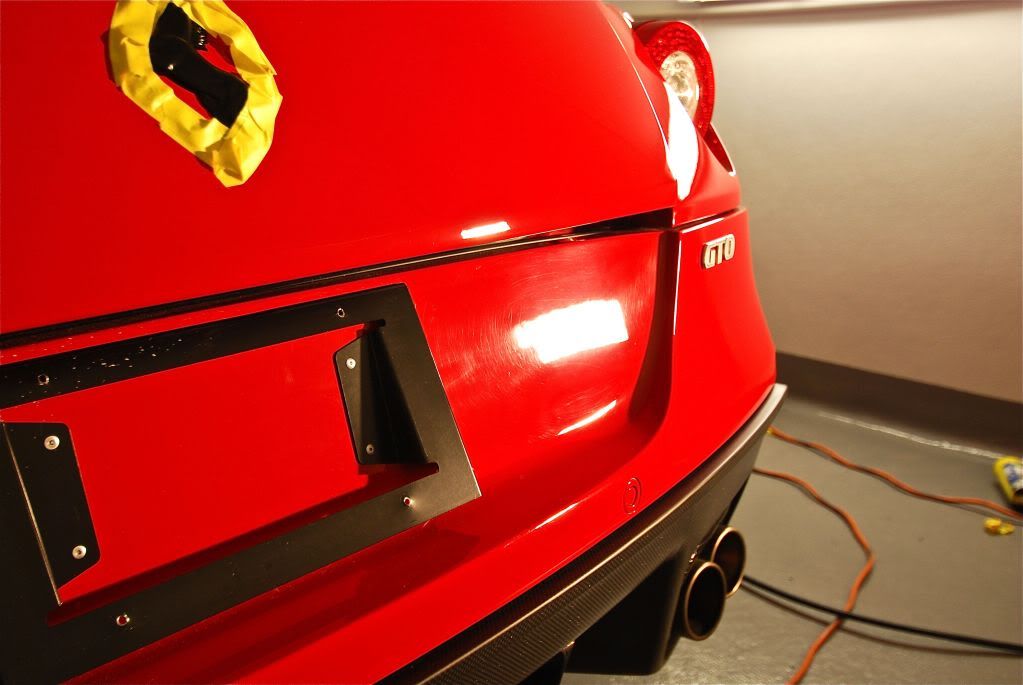
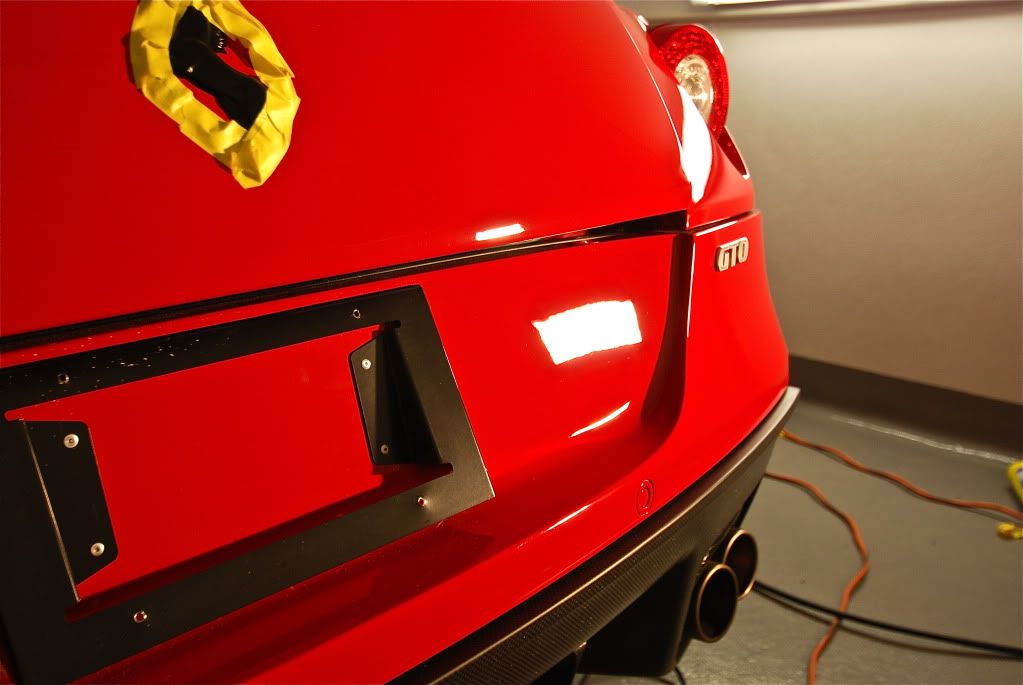
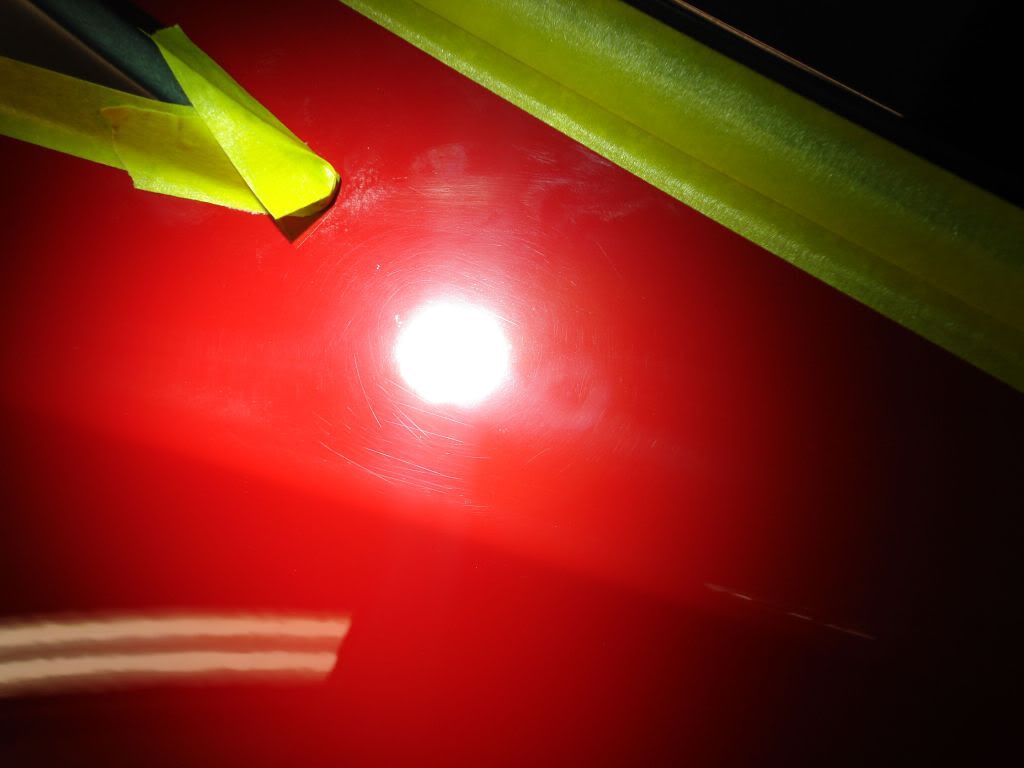
Very pretty...
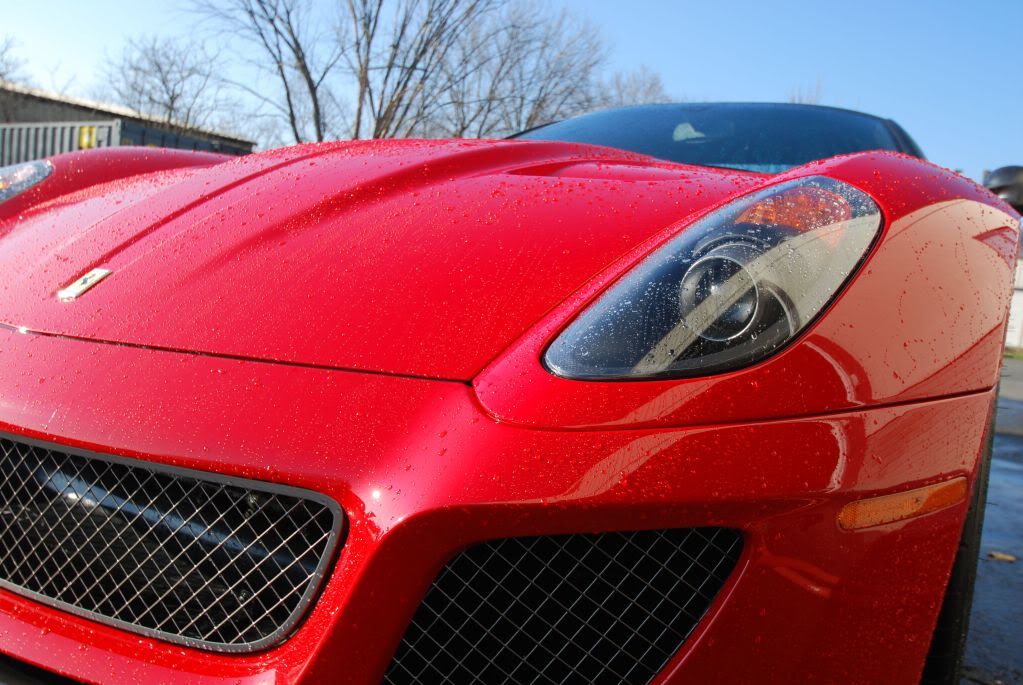
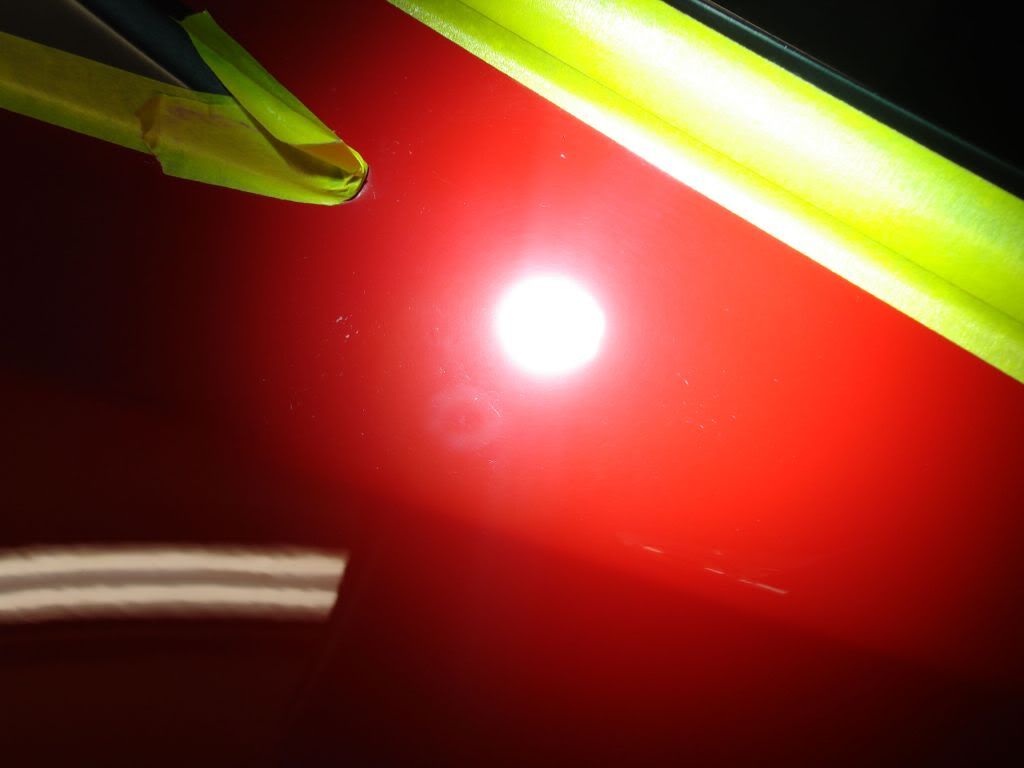
Very swirly...
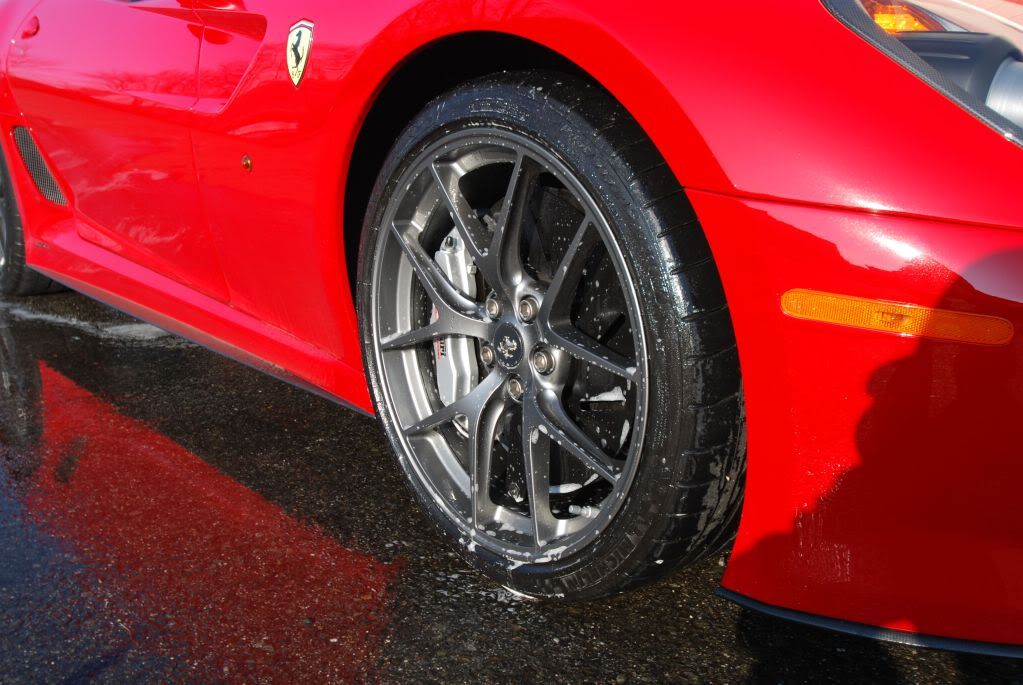
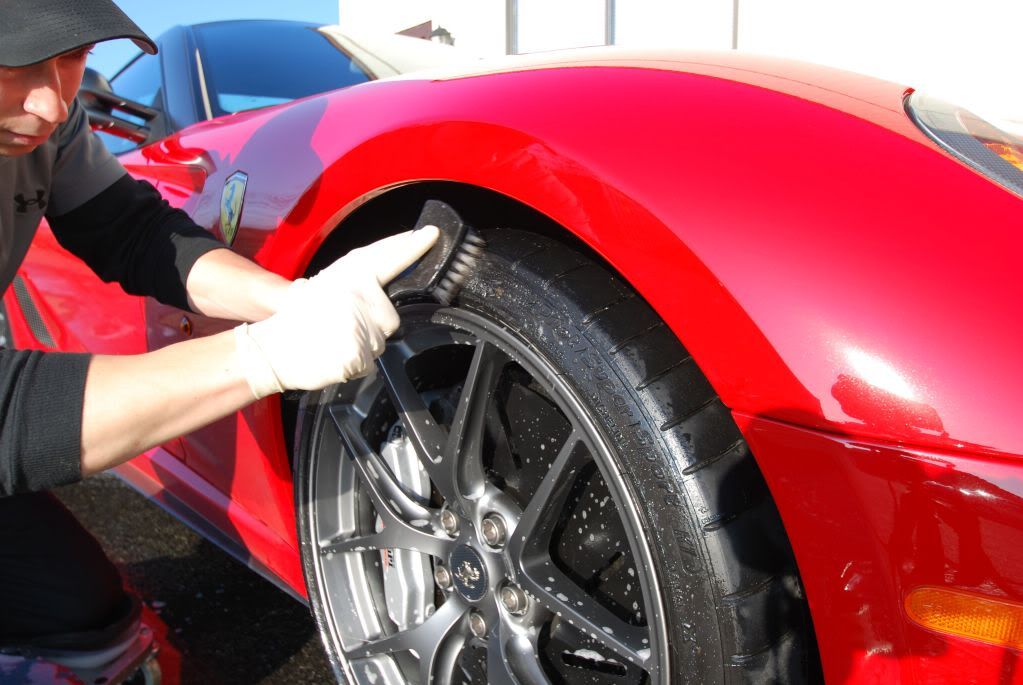
Wheels soaked with Brake Buster, very mild wheel cleaner with no iron removing properties. My choice for cars with carbon ceramic brakes. Tires and wheel wells scrubbed clean. Stiff bristle brush is ideal for removing most of the old tire dressing.
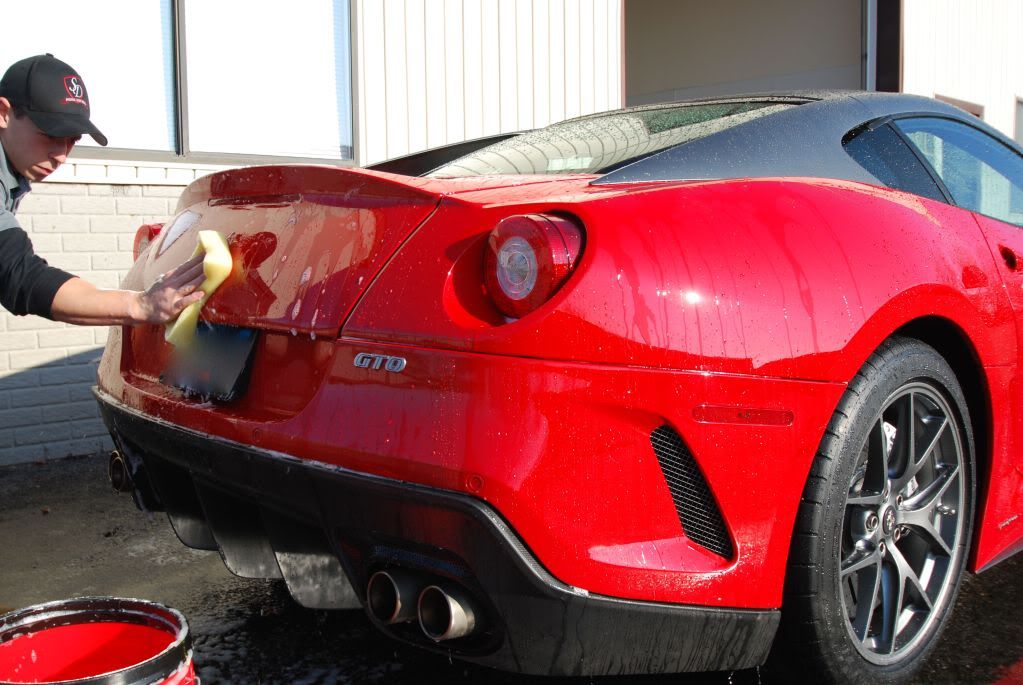
Started with a prep wash, rinsed down and foamed followed by a 2 bucket wash using a mixture of citrus soap and some Lusso auto bathe. The finish was then clayed to remove some of the overspray...
After claying the car was nearly stripped of all old protection, 2 IPA wipedowns ensured a 100% clean finish ready for paint correction.
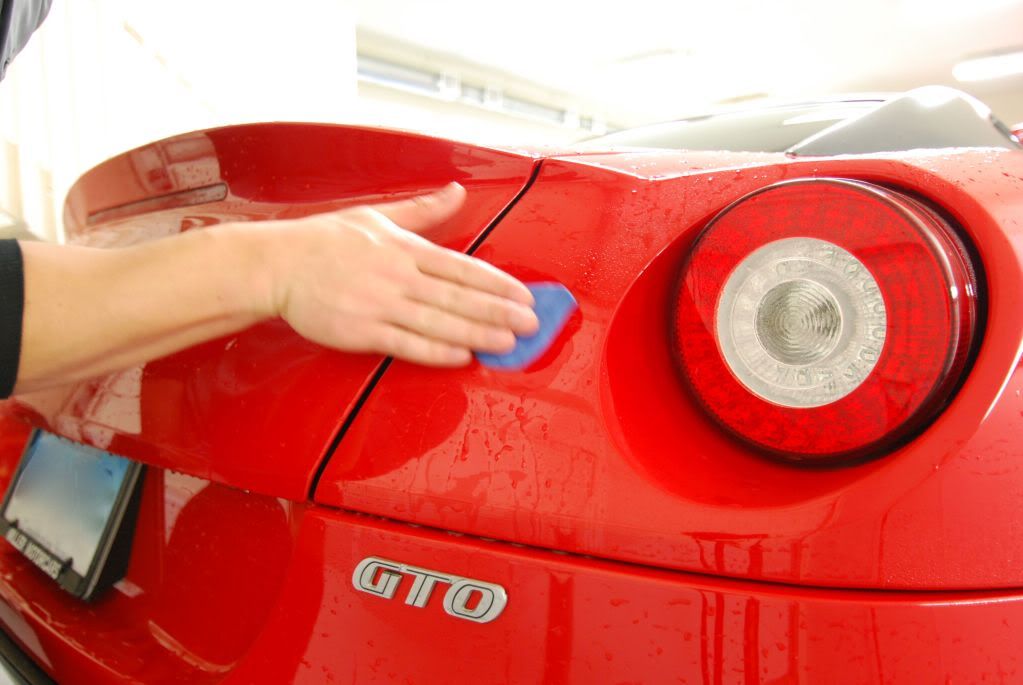
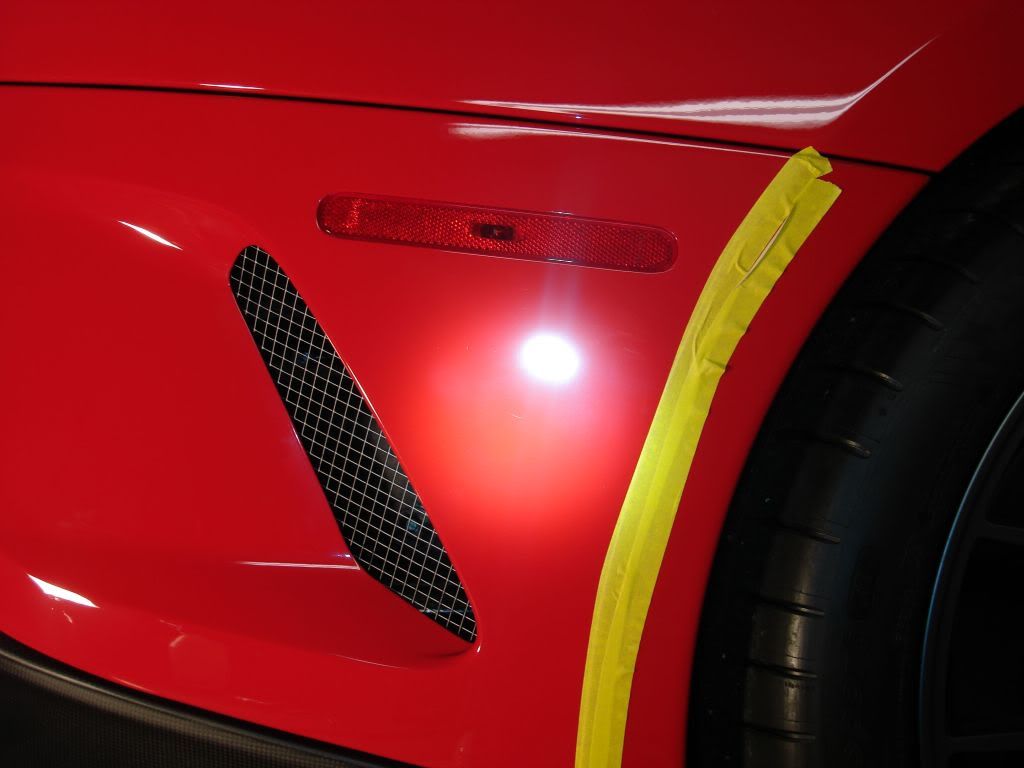
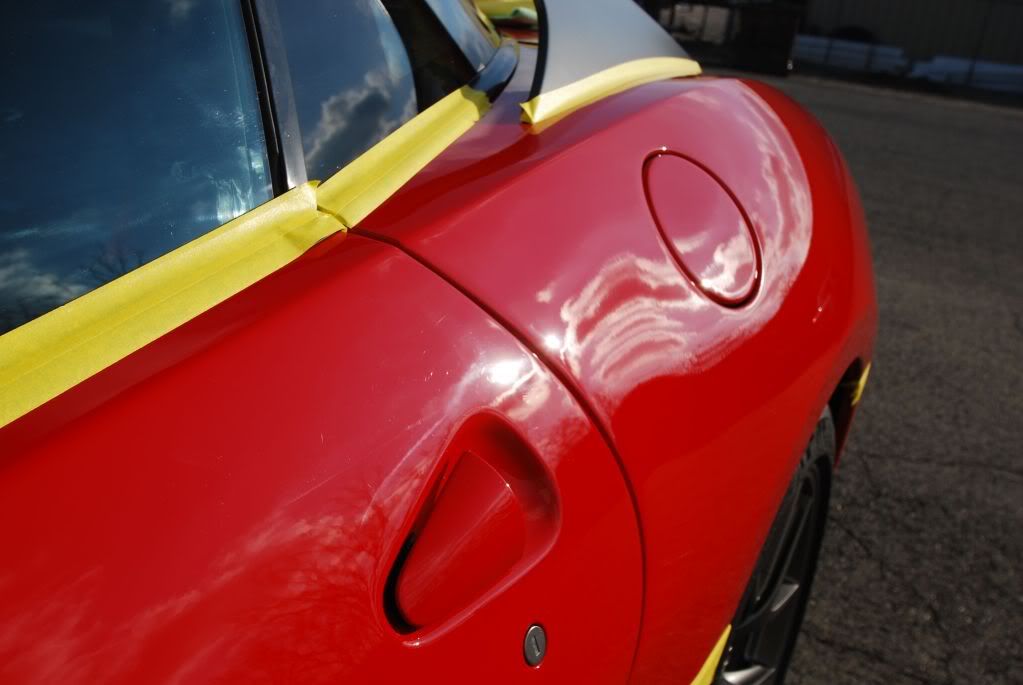
Here is the prepped finish out in sunlight, some heavy overspray on the passenger side

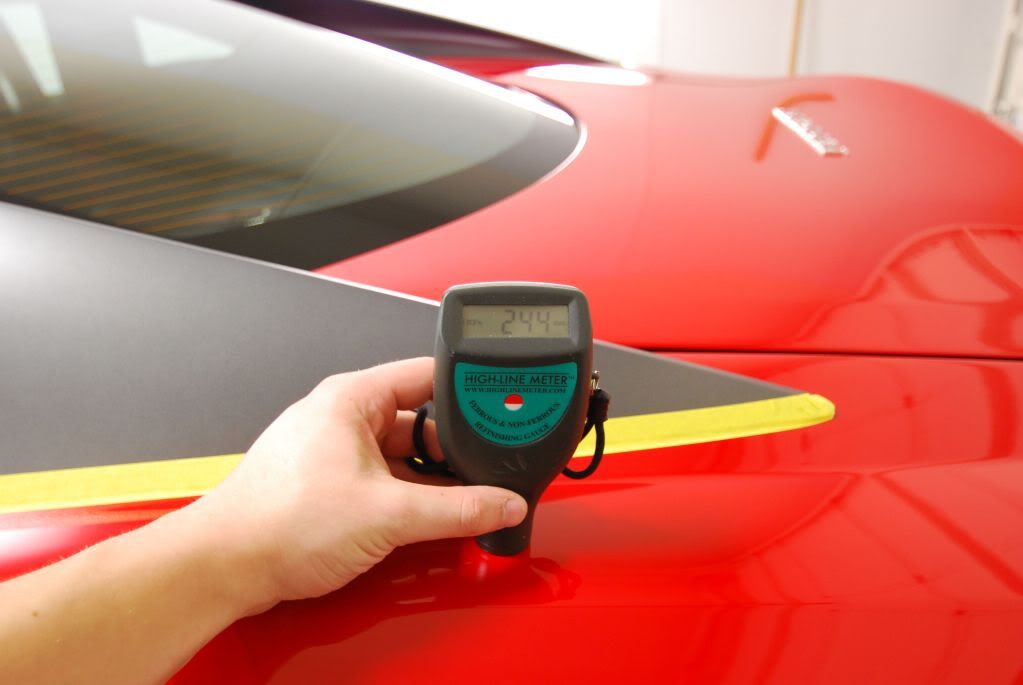
Back inside I measured the paint with a paint thickness gauge. Very healthy readings always good to see before beginning a lengthy paint correction.
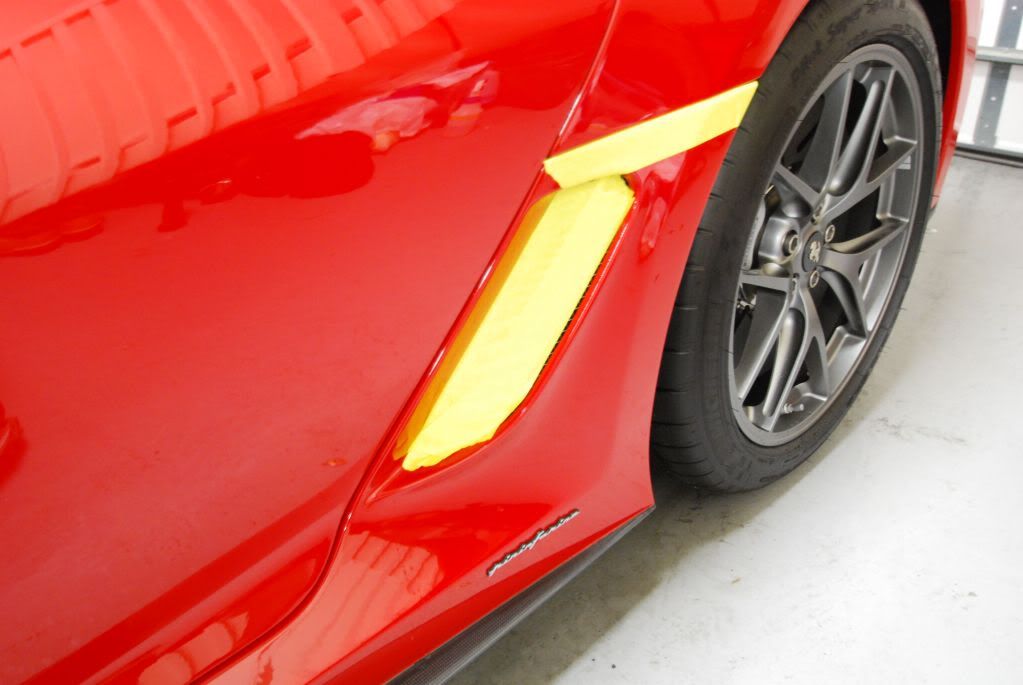
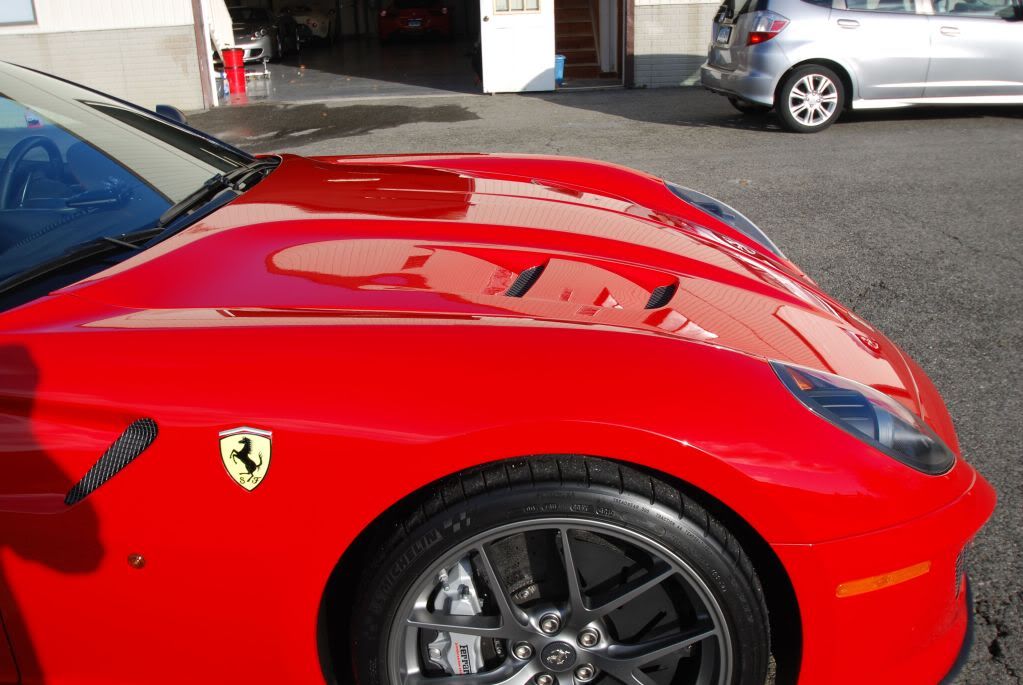
Mesh grilles/vents taped off. Getting polish splatter or dust in there will take forever to get out!
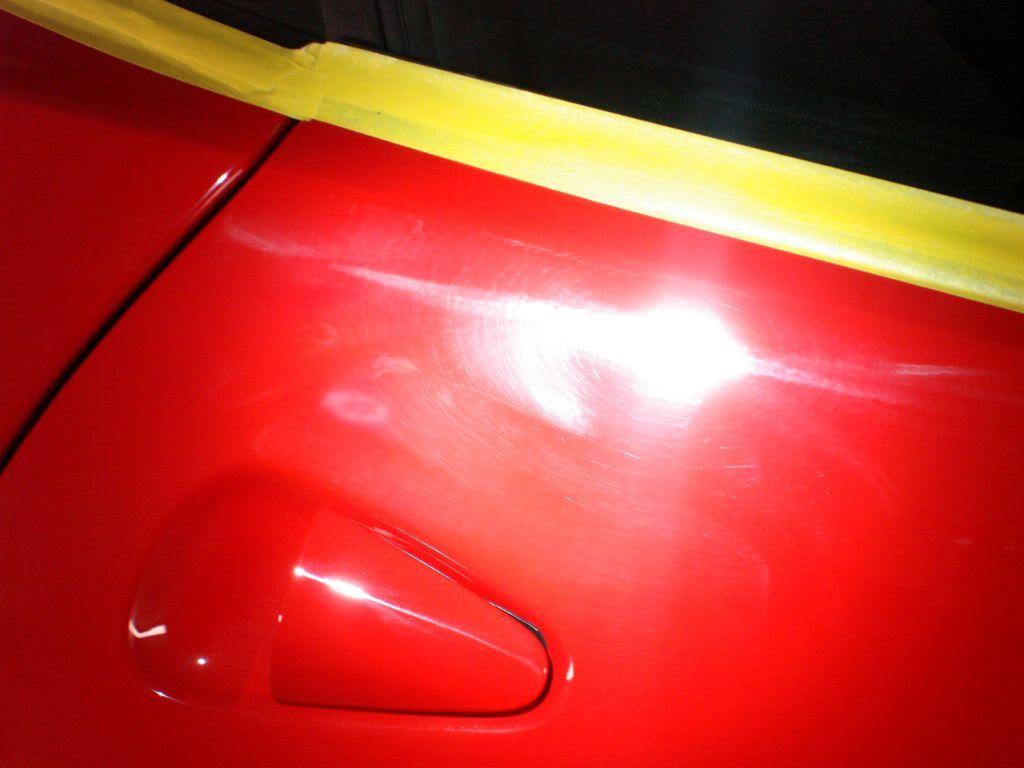
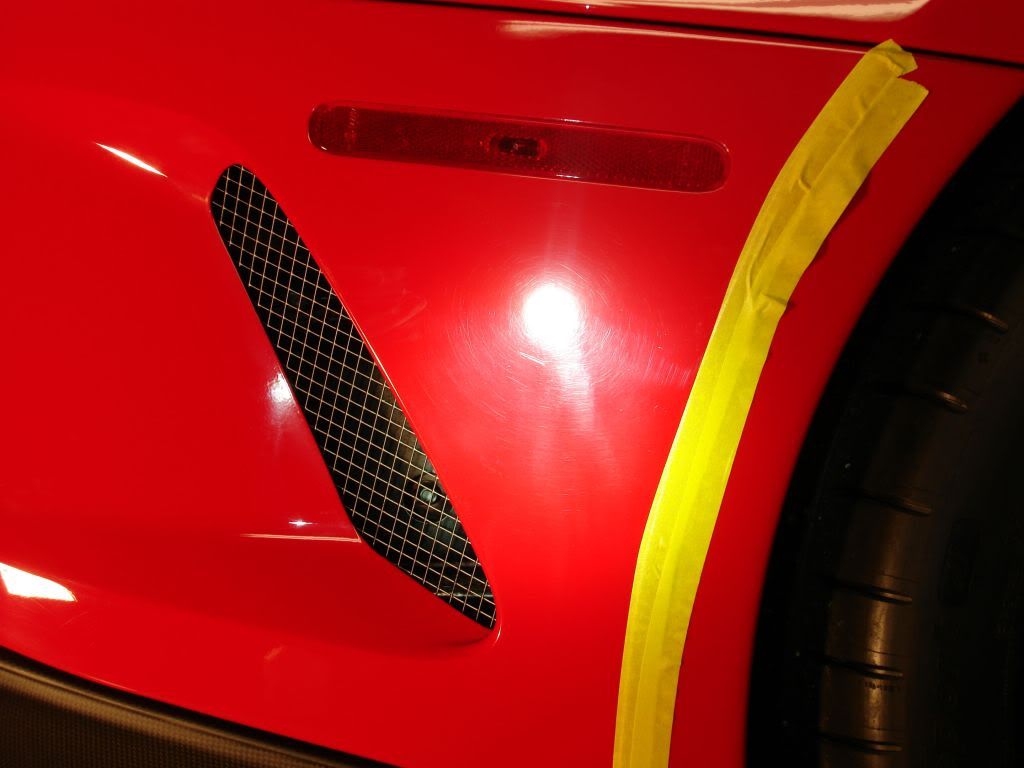
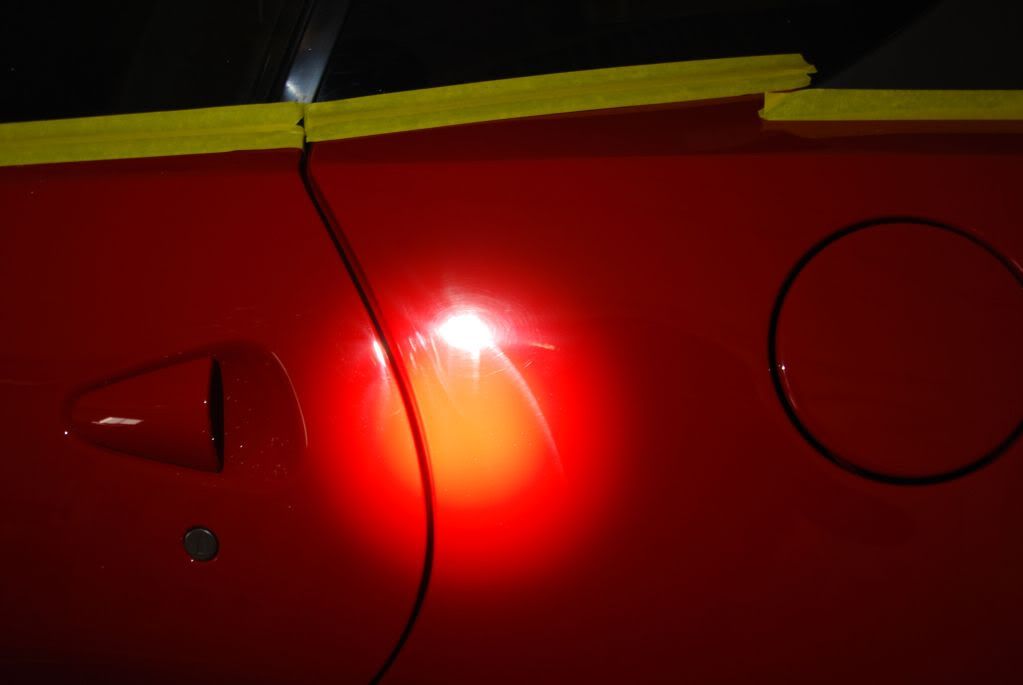
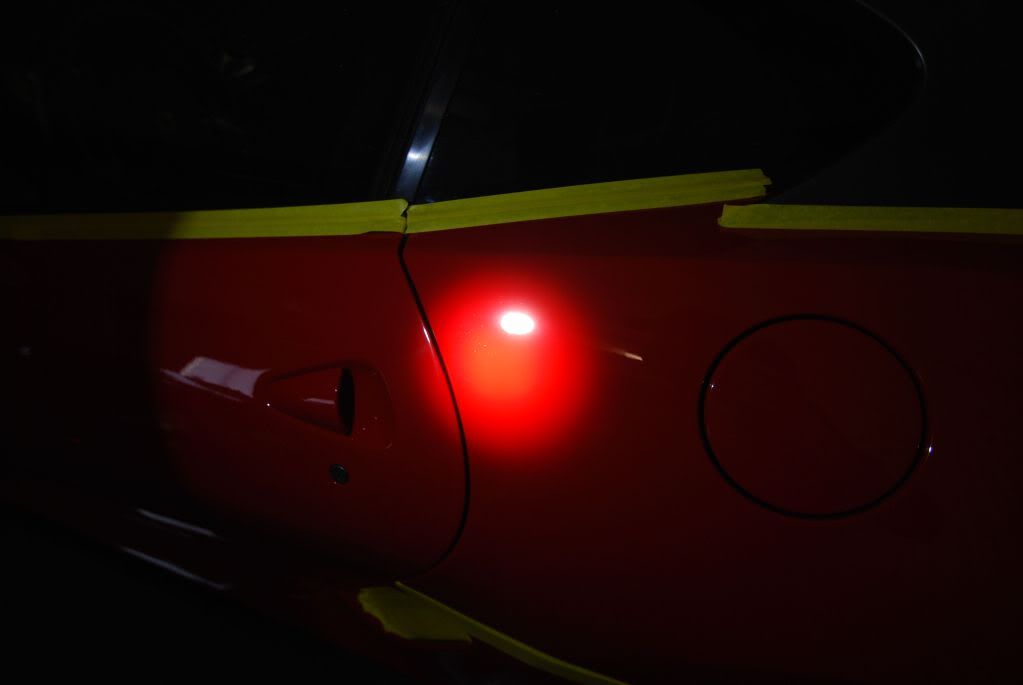
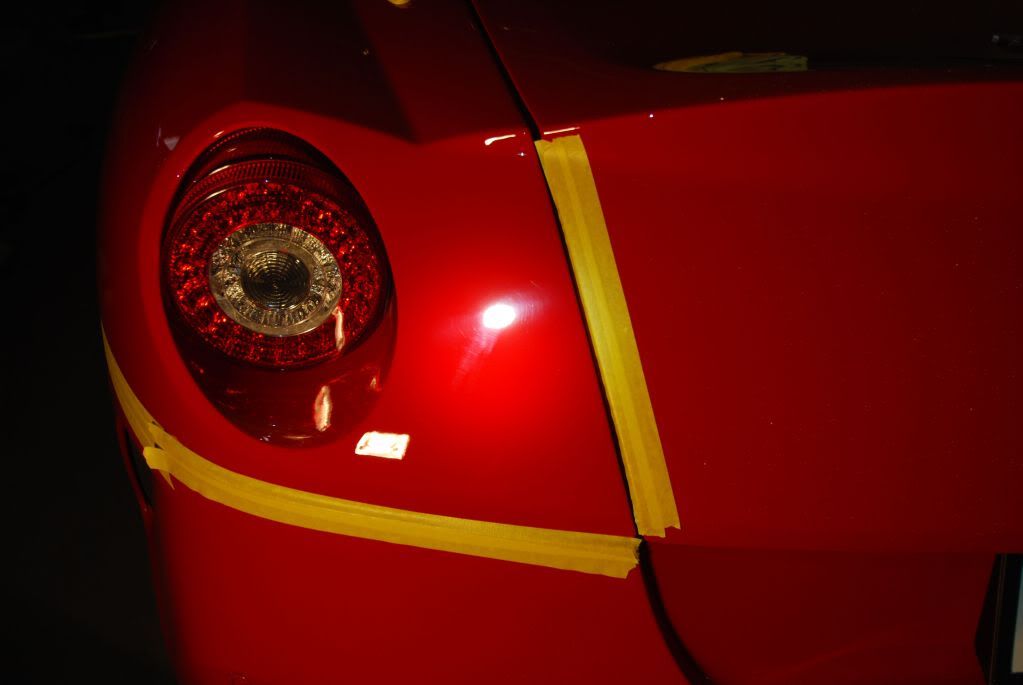
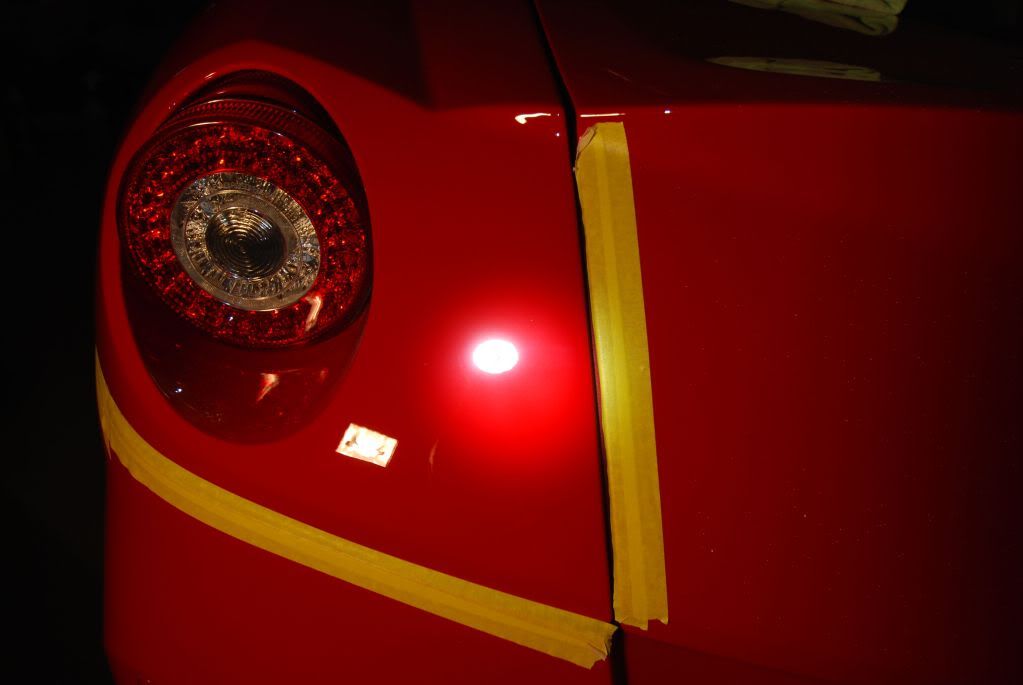
Better idea of what the overspray on the passenger door looked like, clear line shows wherever the car had tape on it from delivery
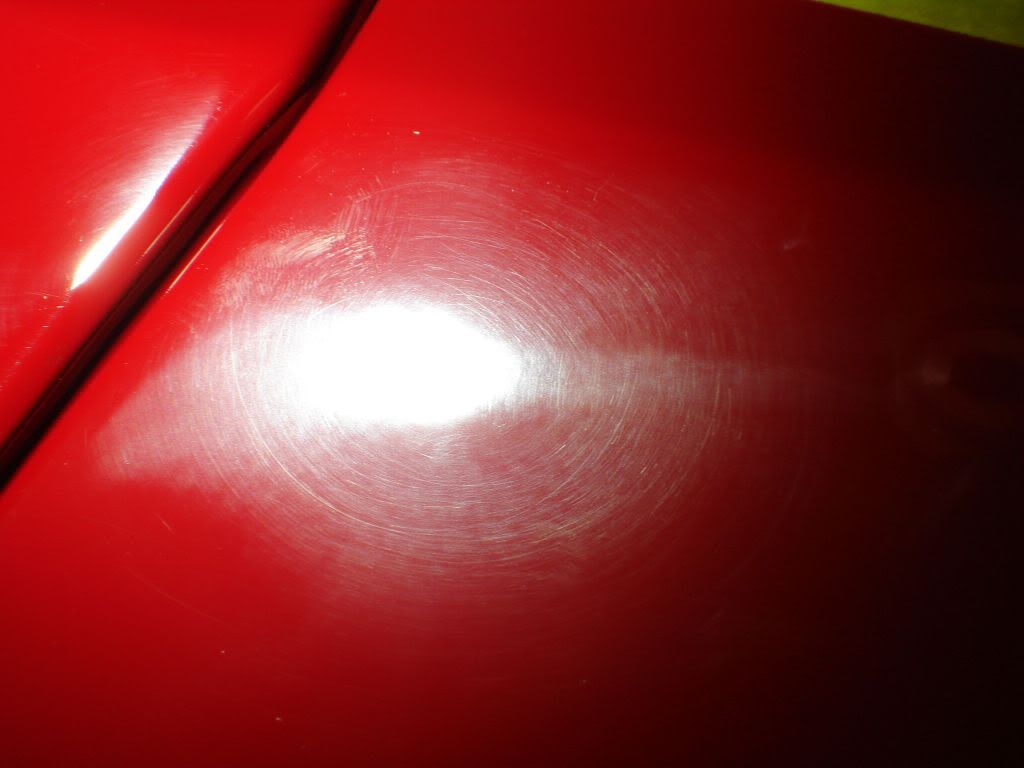
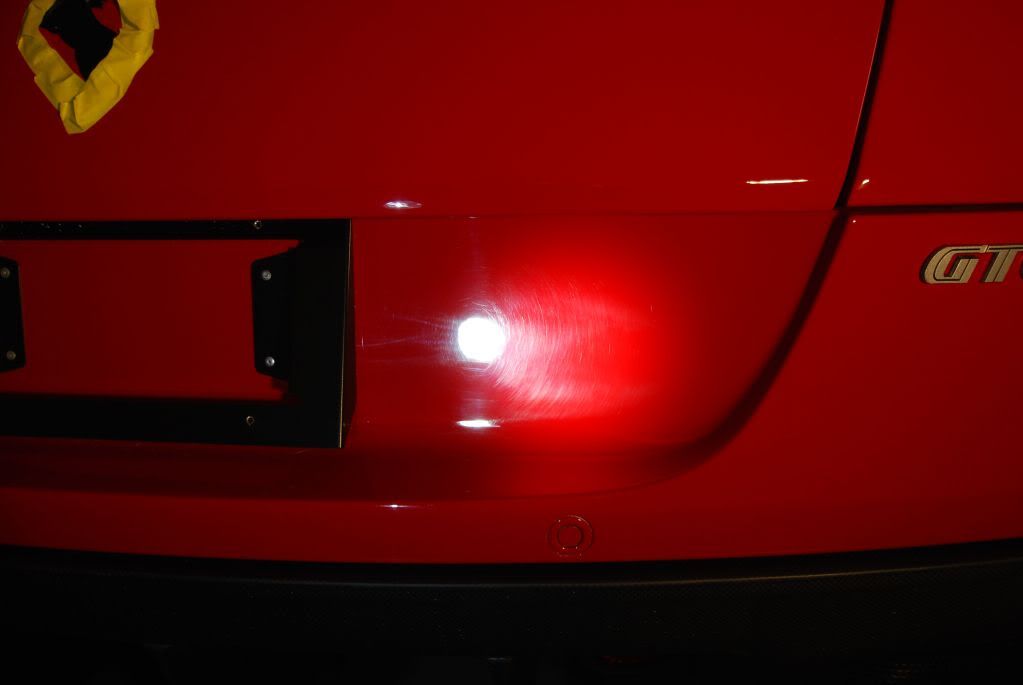
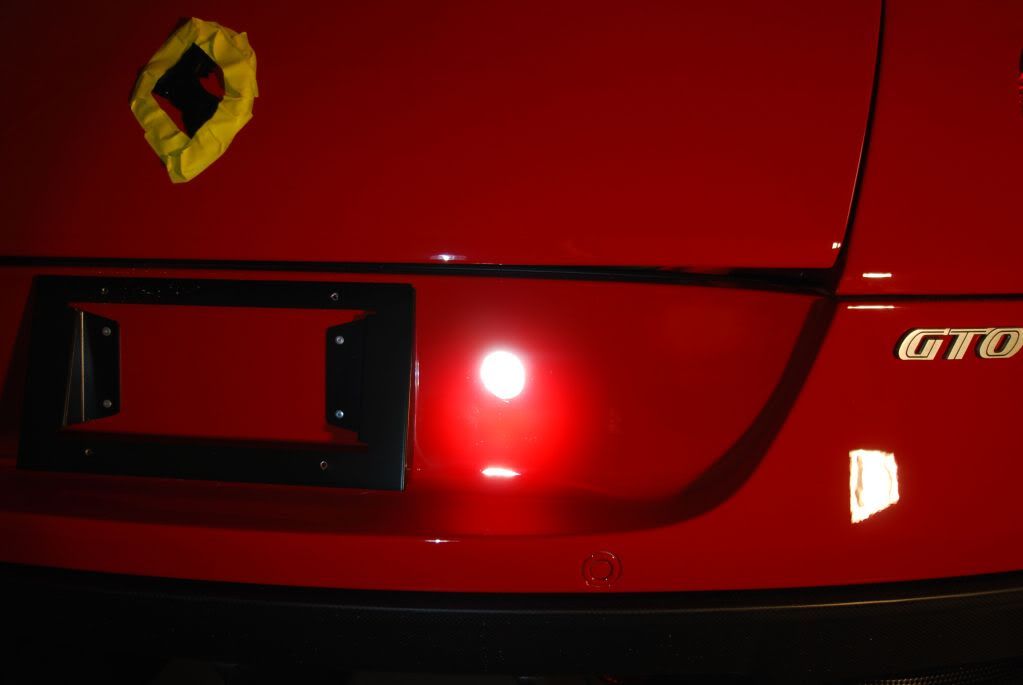
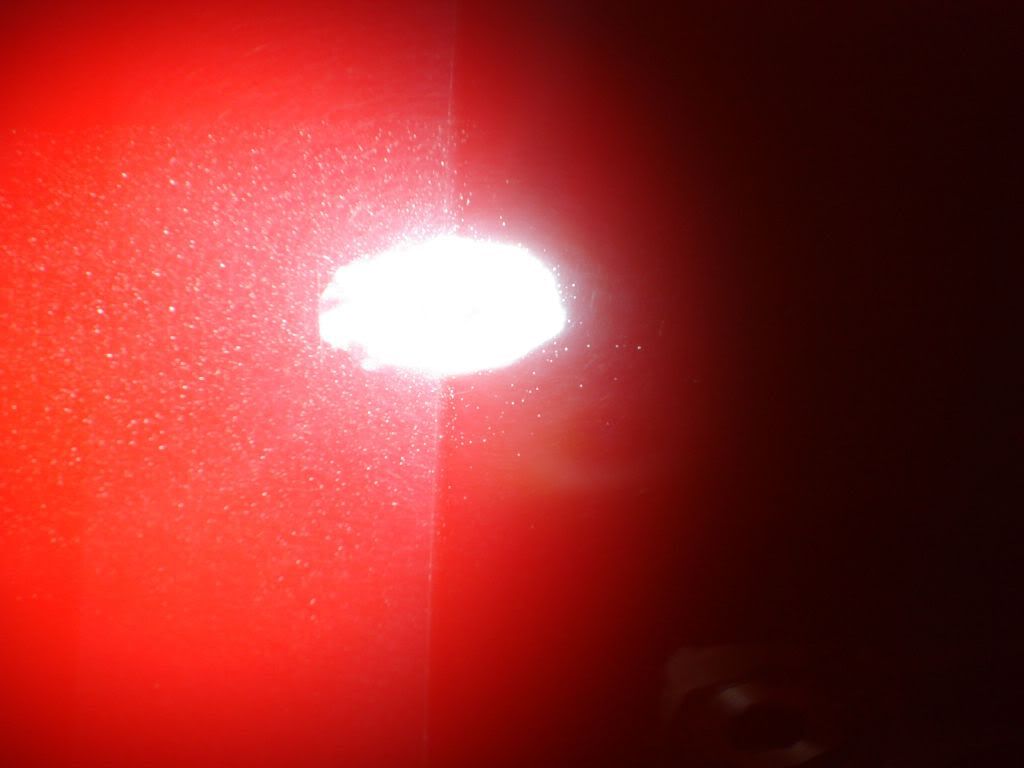
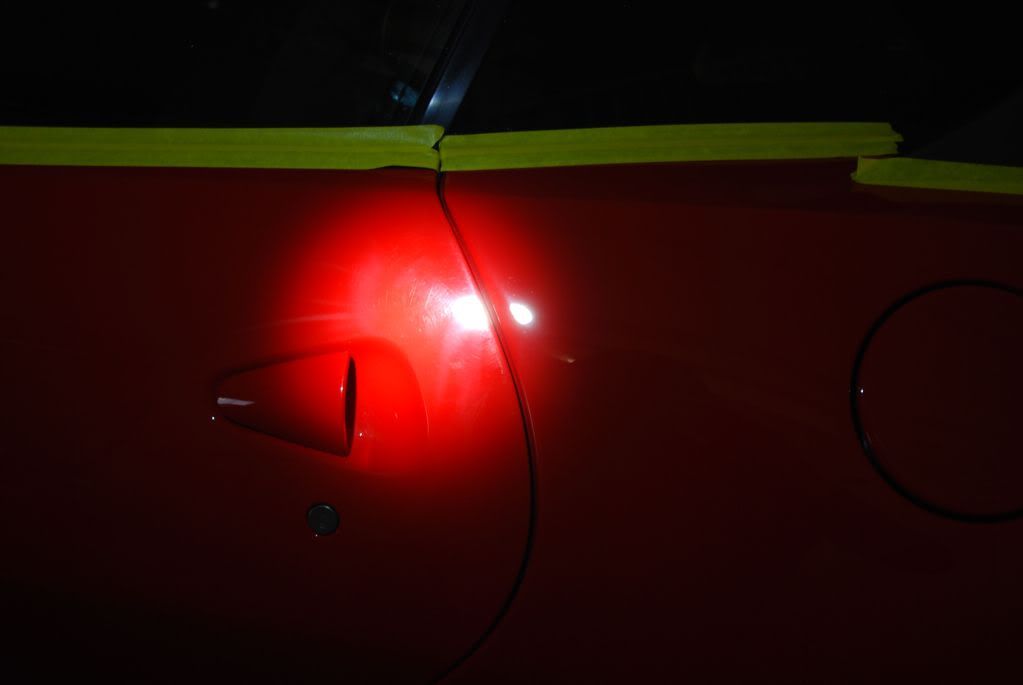
Some closeups of the finish under LED light (640lumens worth)
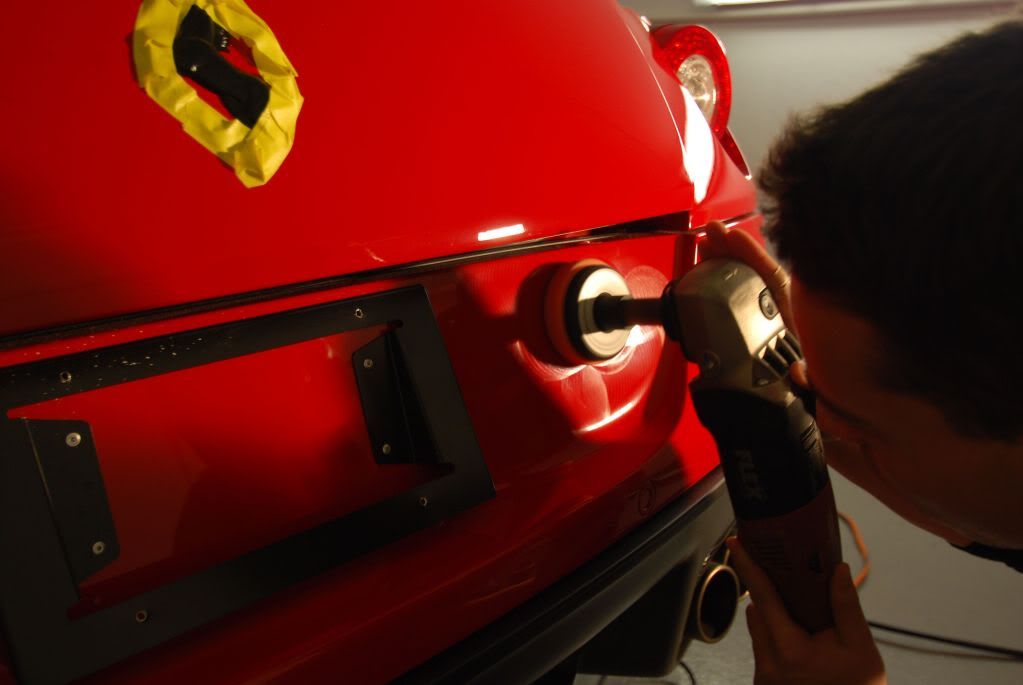
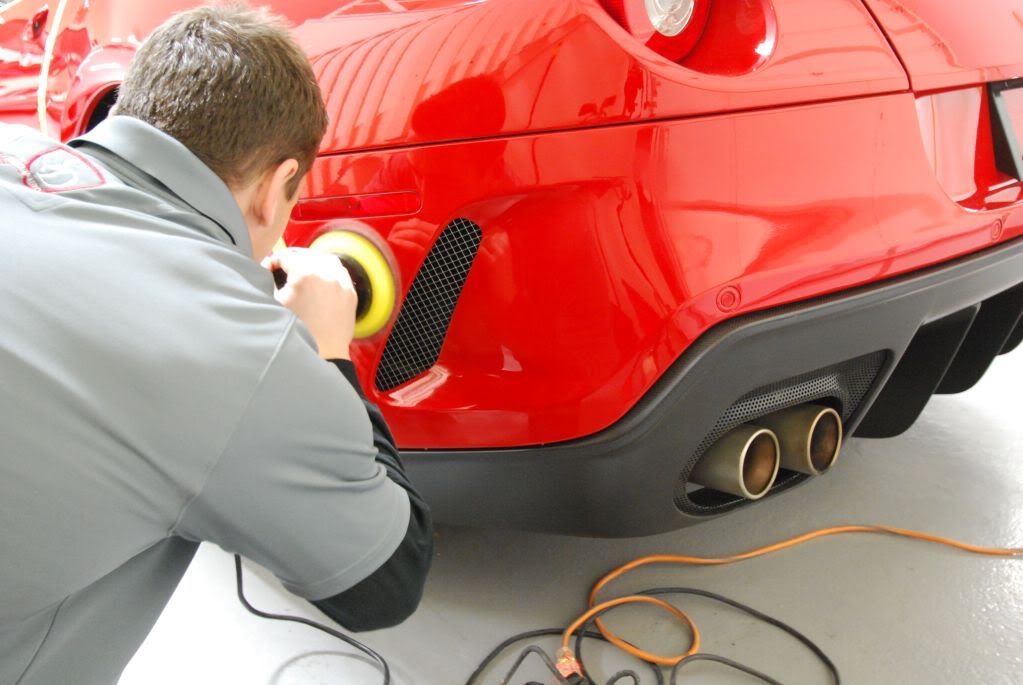
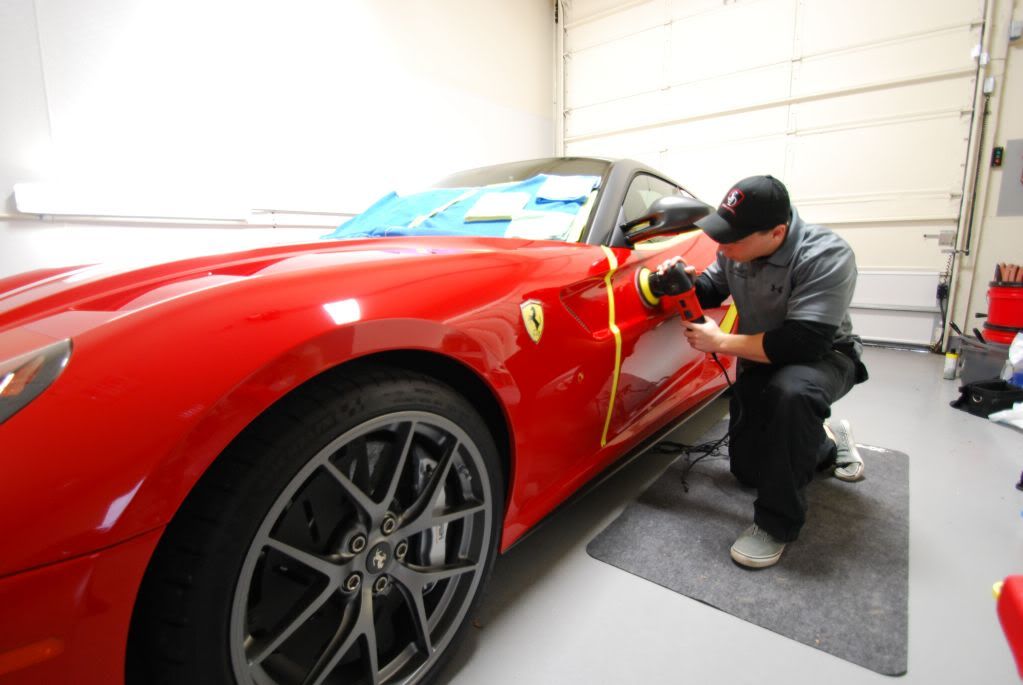
I started with the worst area first, started with foam and upgraded to a 3" wool pad on the rotary to cut out the heavy defects followed by foam compounding and then foam finishing using both Meguiars and Menzerna
Before...
After... its that simple!
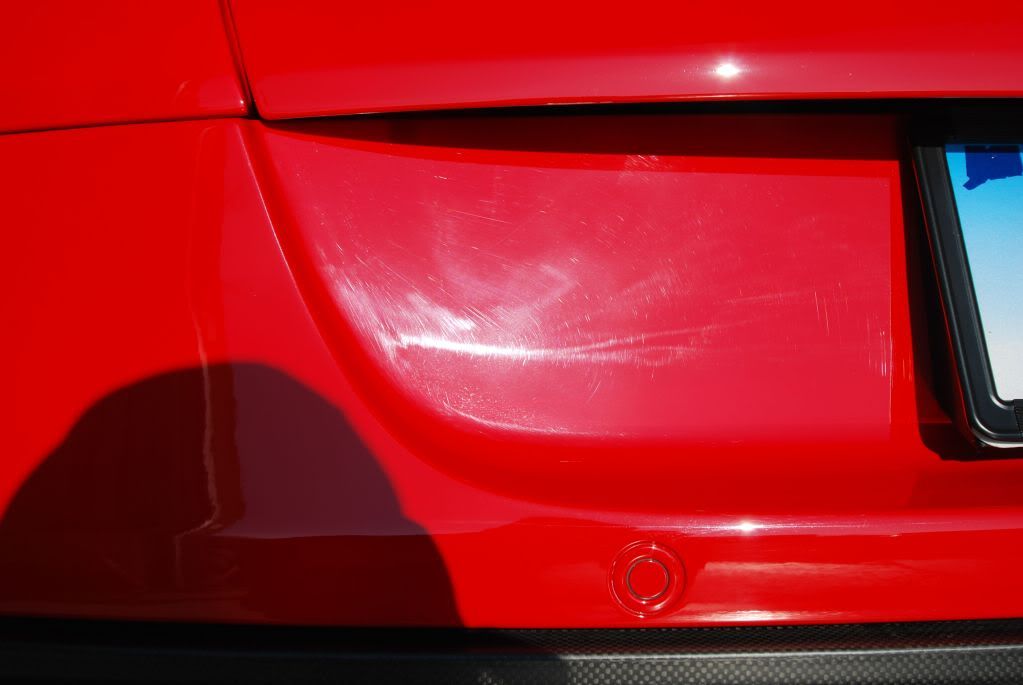
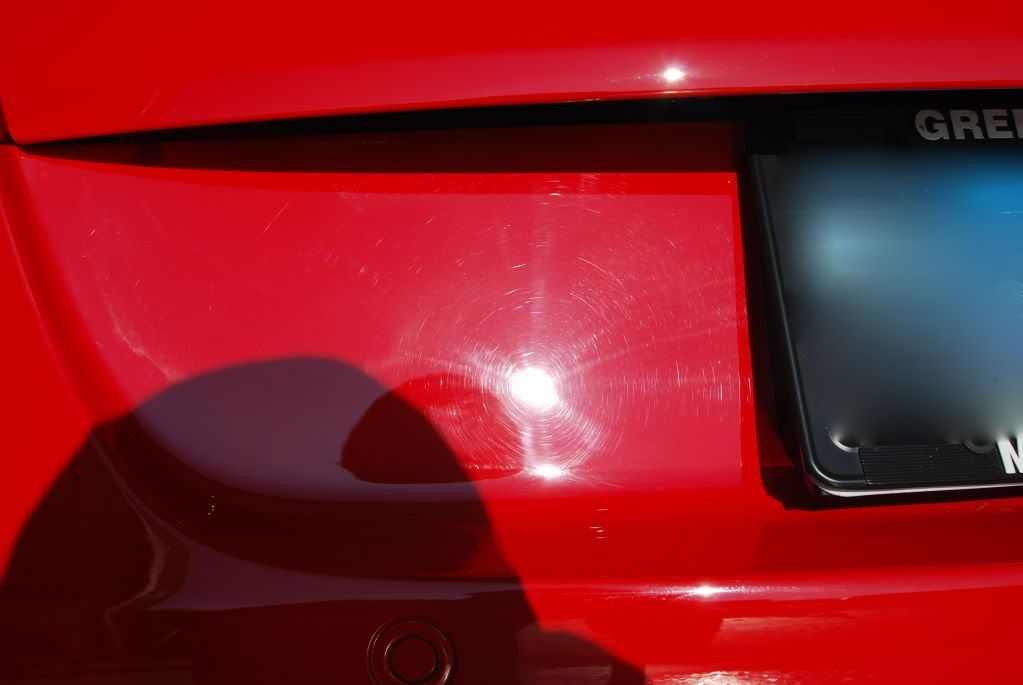
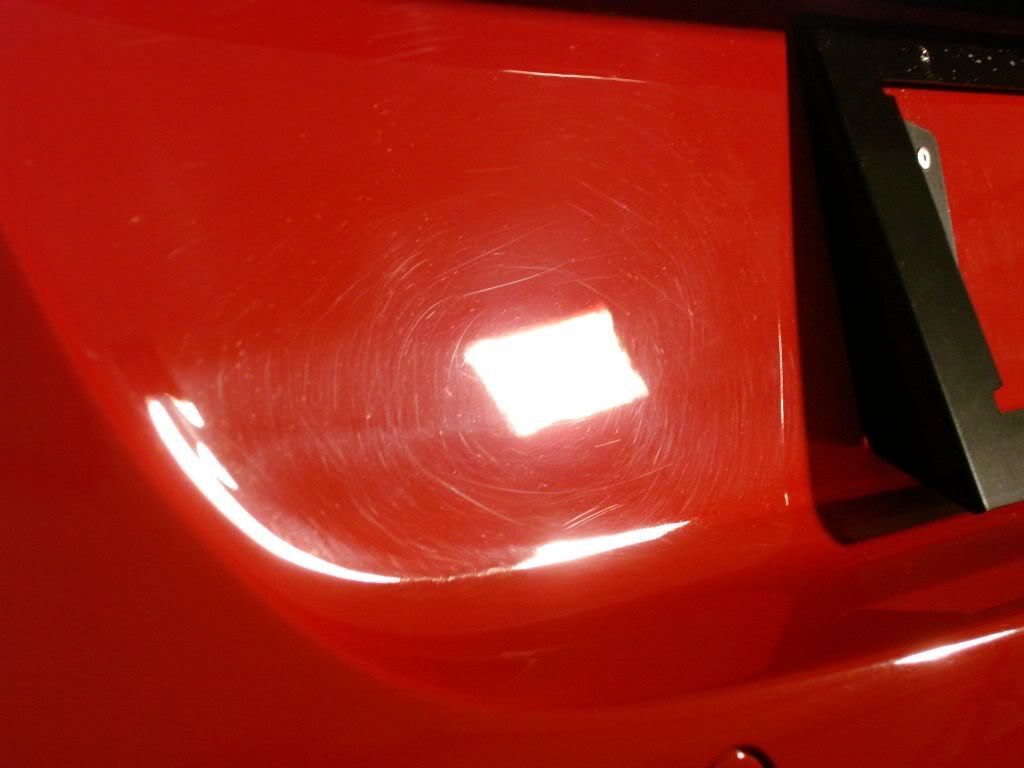
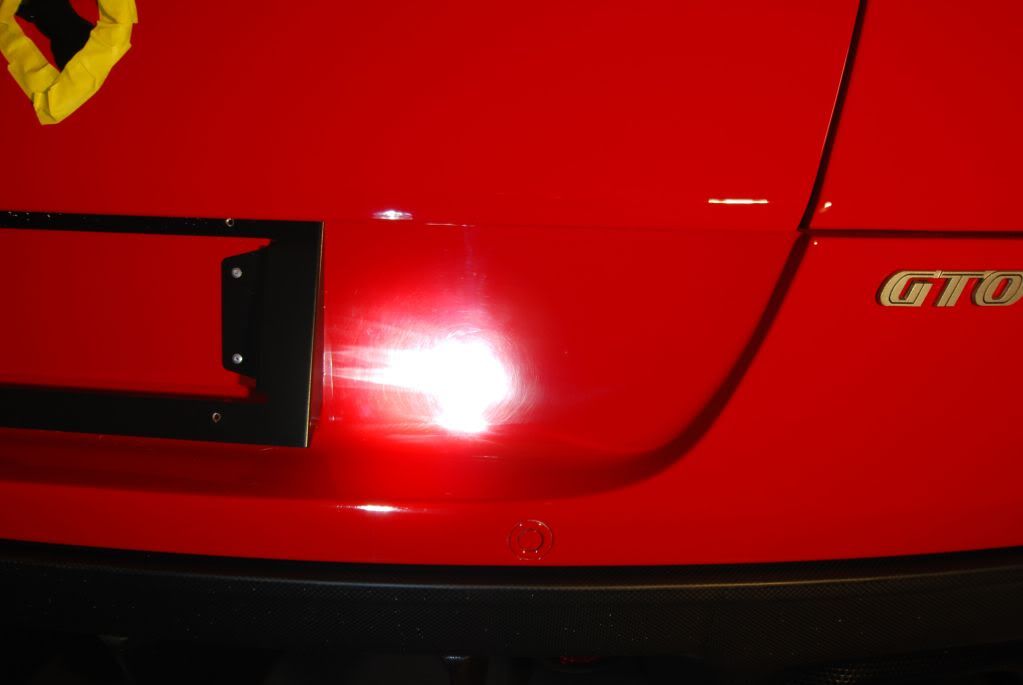
Okay well not really, rear plate area under the LED, much smaller defects show up...
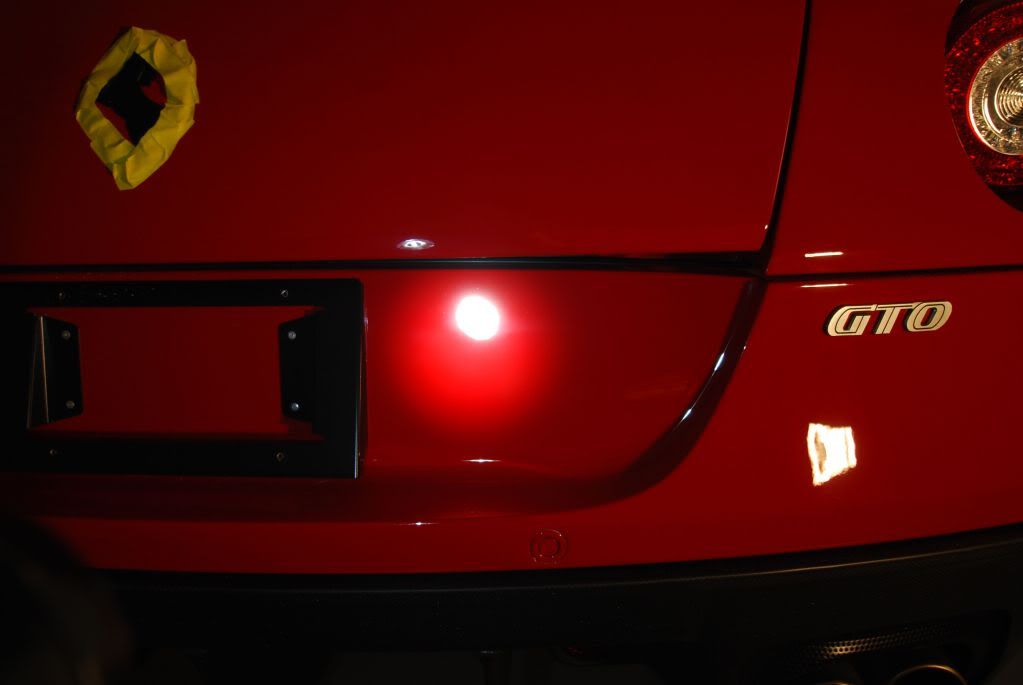
After compounding and polishing
Lip polished as well, delicately and with a 3" pad... natural 50/50 "erasure" style
Working my way around the rest of the bumper
Light cutting with the MF disc on speed 5
50/50 overspray
Before
After compounding w/ Surbuf, the mess it leaves is worth it and the haze it leaves behind is only superficial, I later followed up with foam
More clusters on the drivers side, heavy holograms and RIDS
Removed
50/50
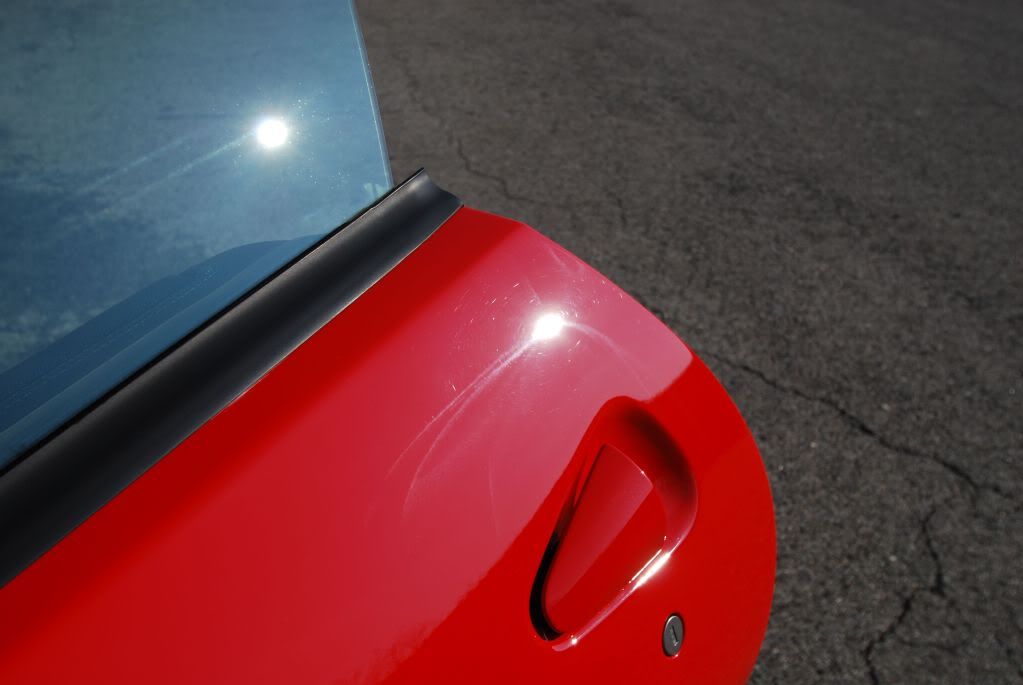
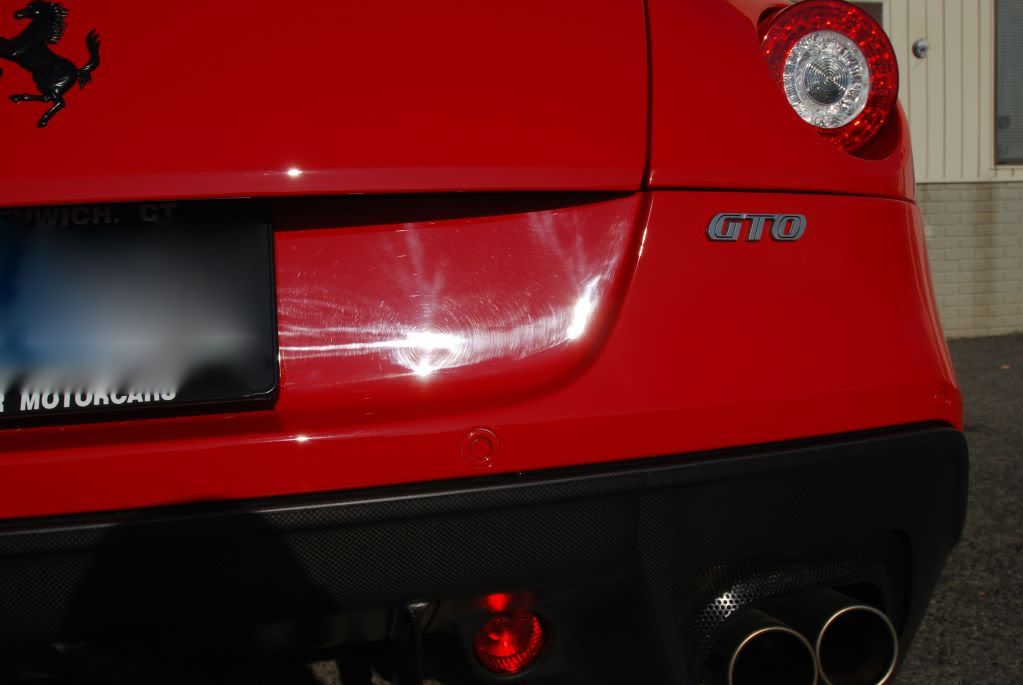
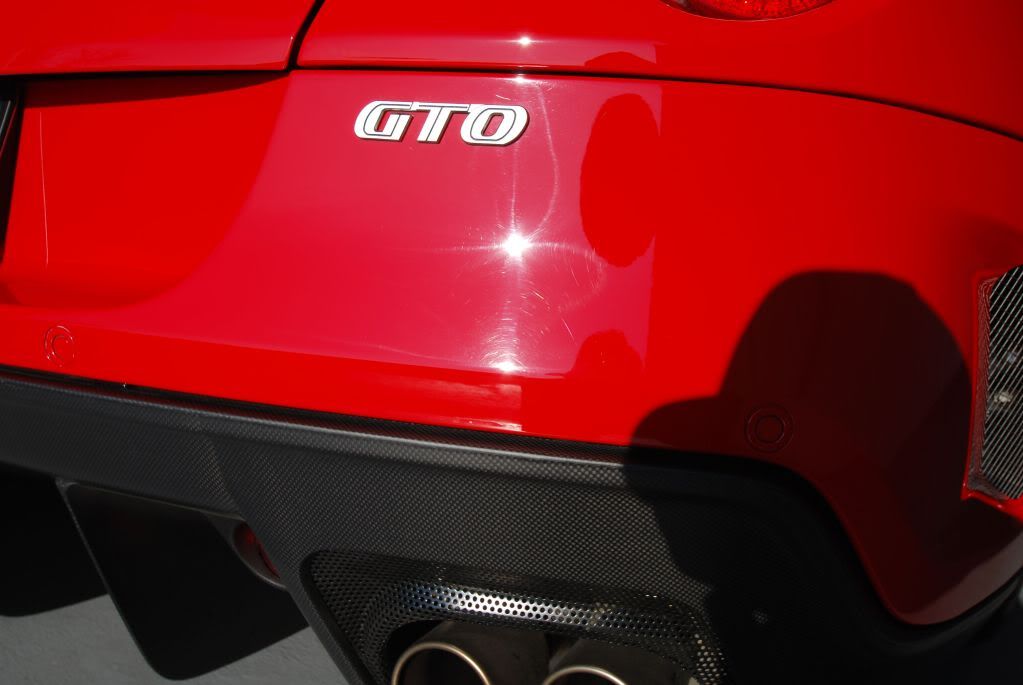
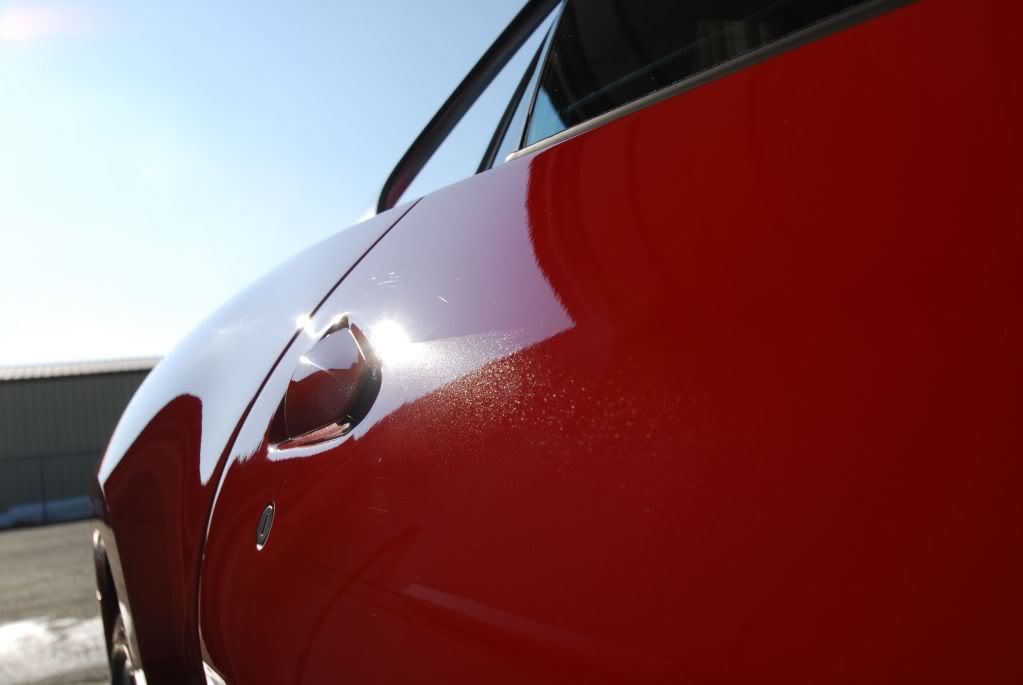
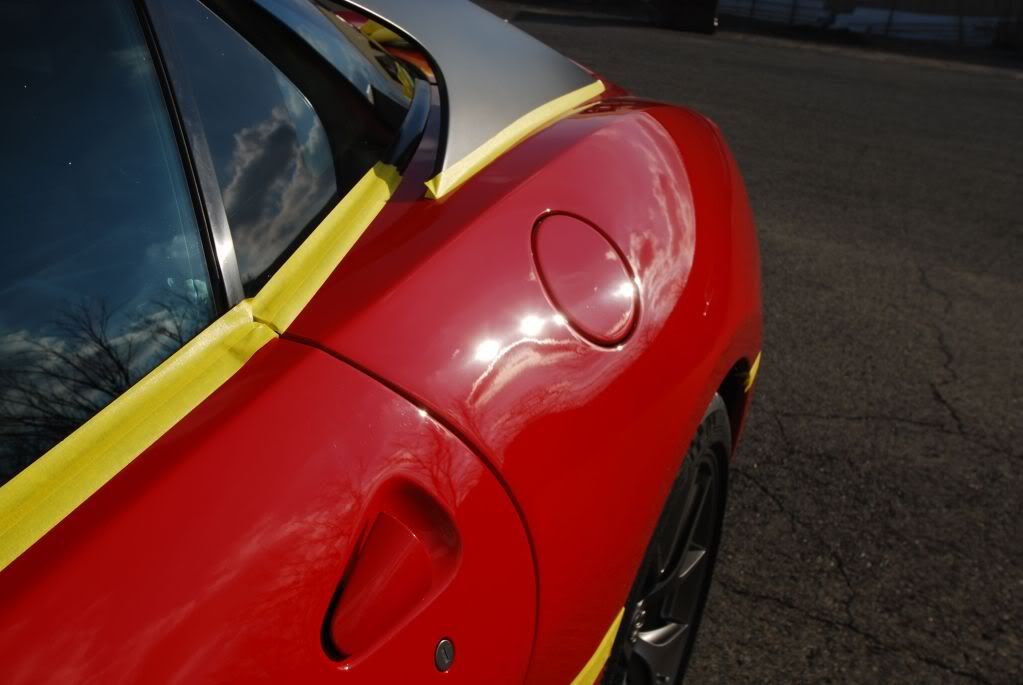
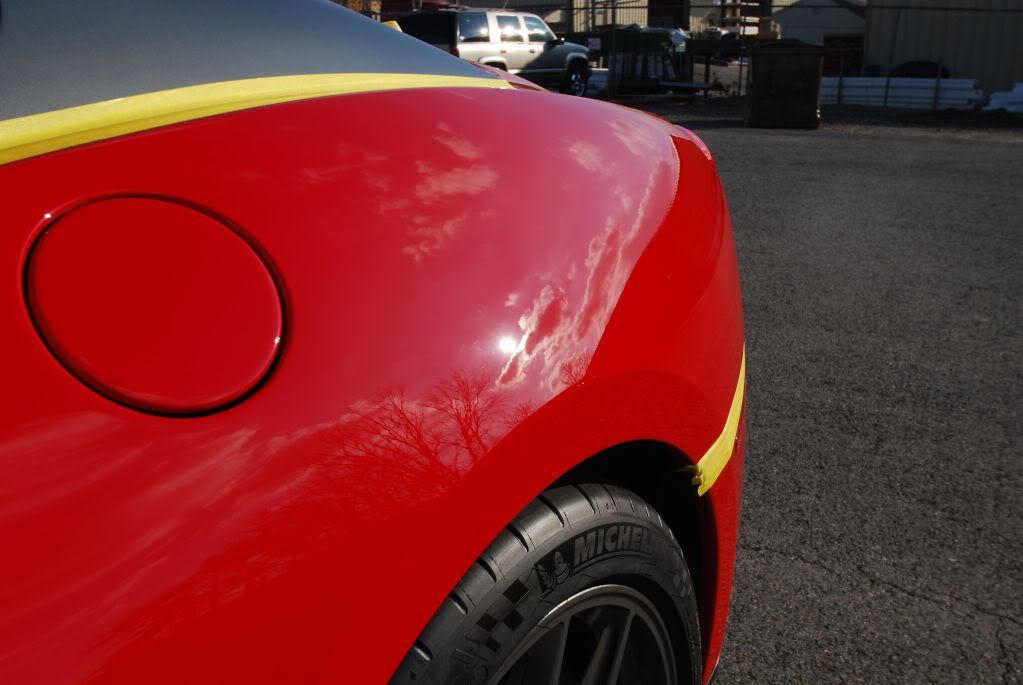
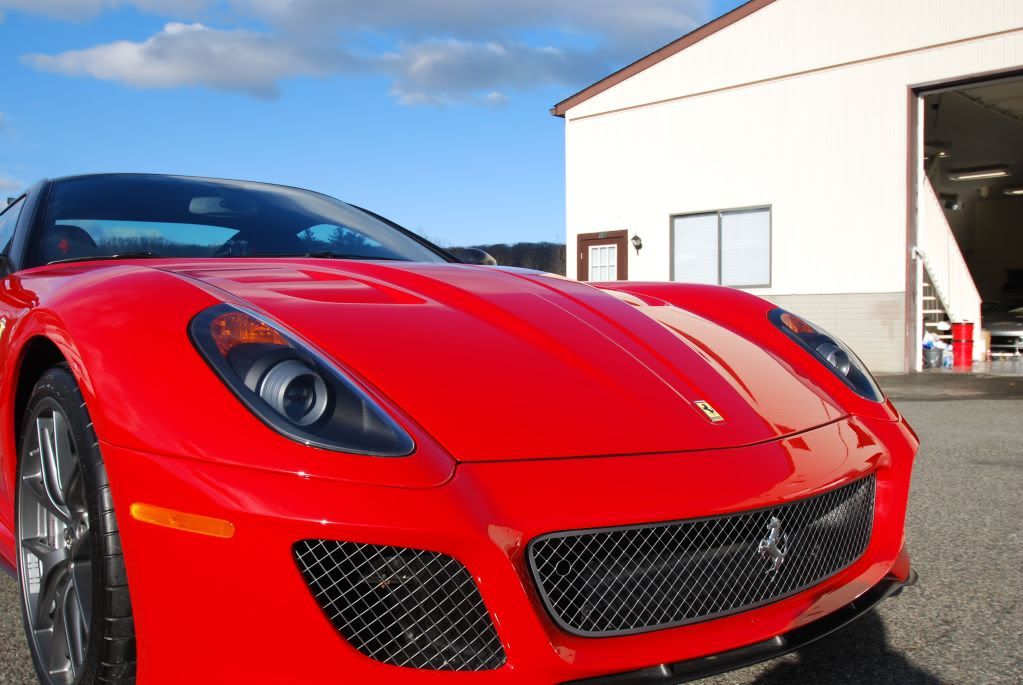
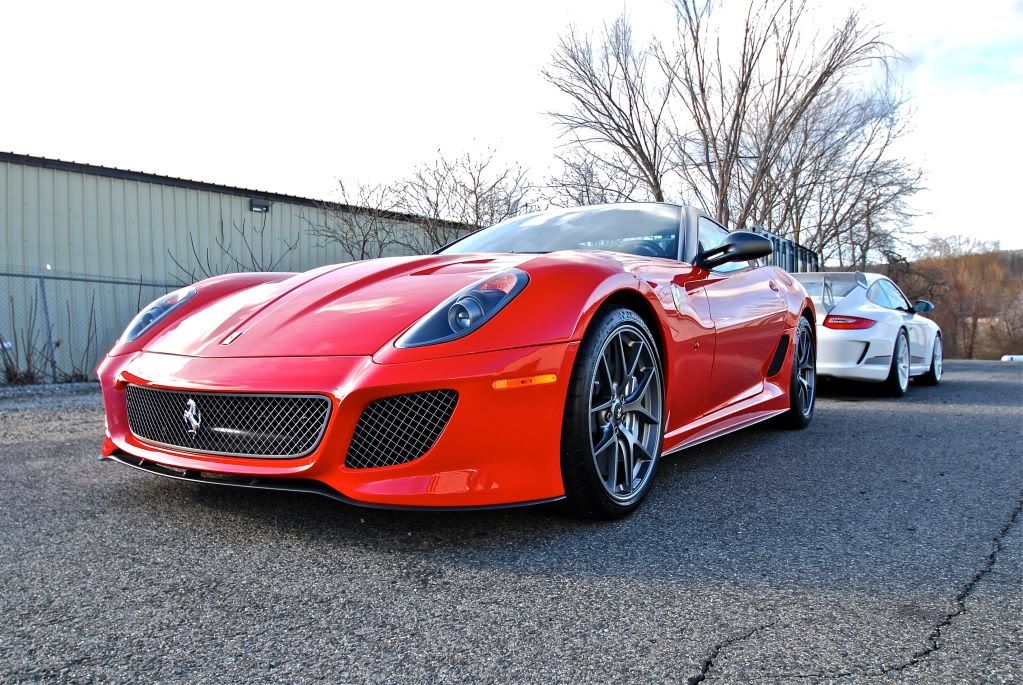
Pulled the GTO out to check my work in the sun
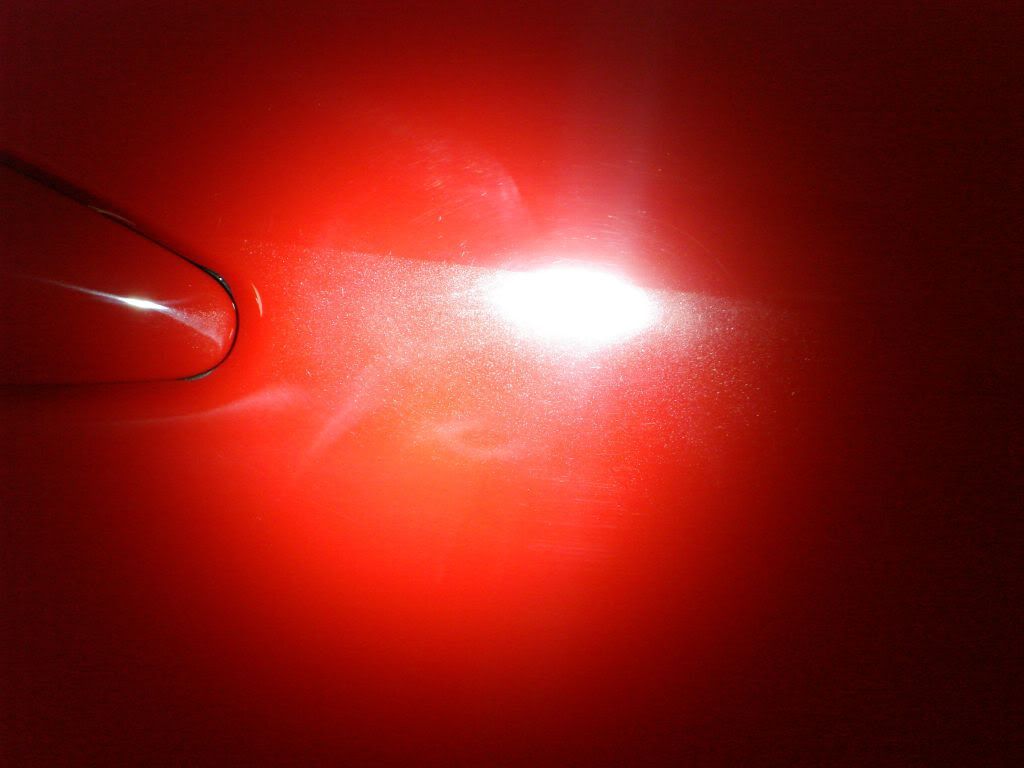
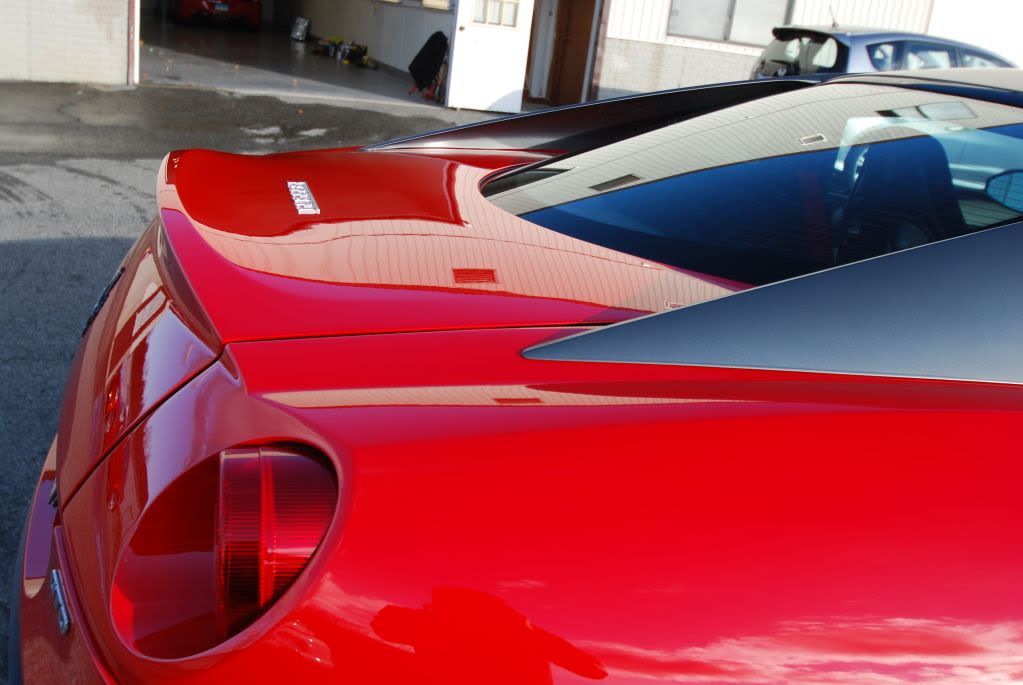
Clear sunbursts indicate a properly leveled paint finish, still 1 more final polishing stage to go
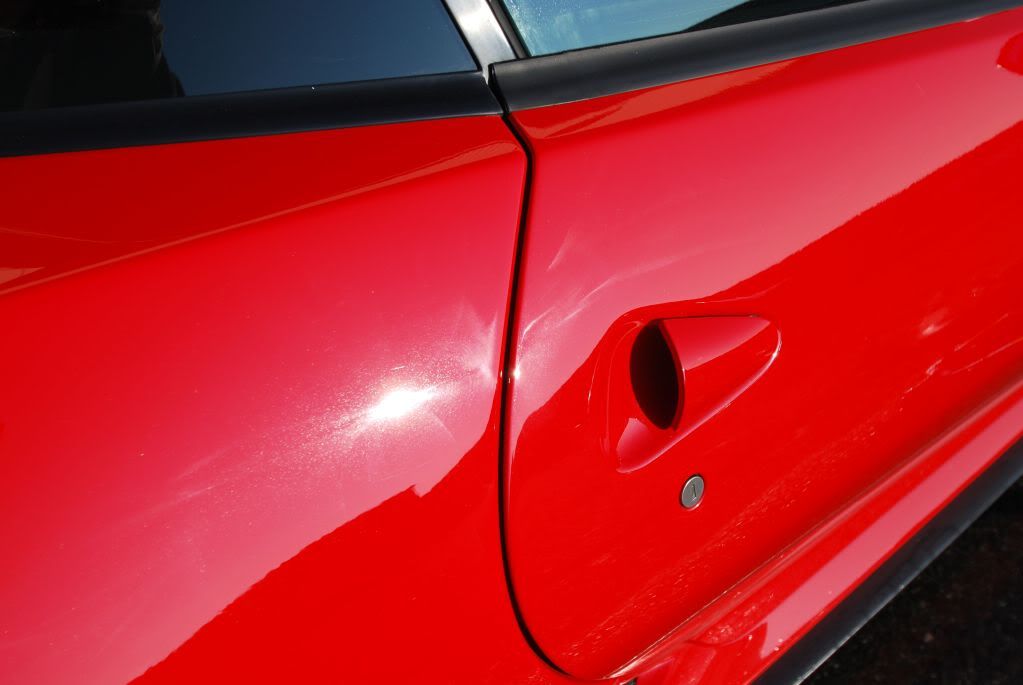
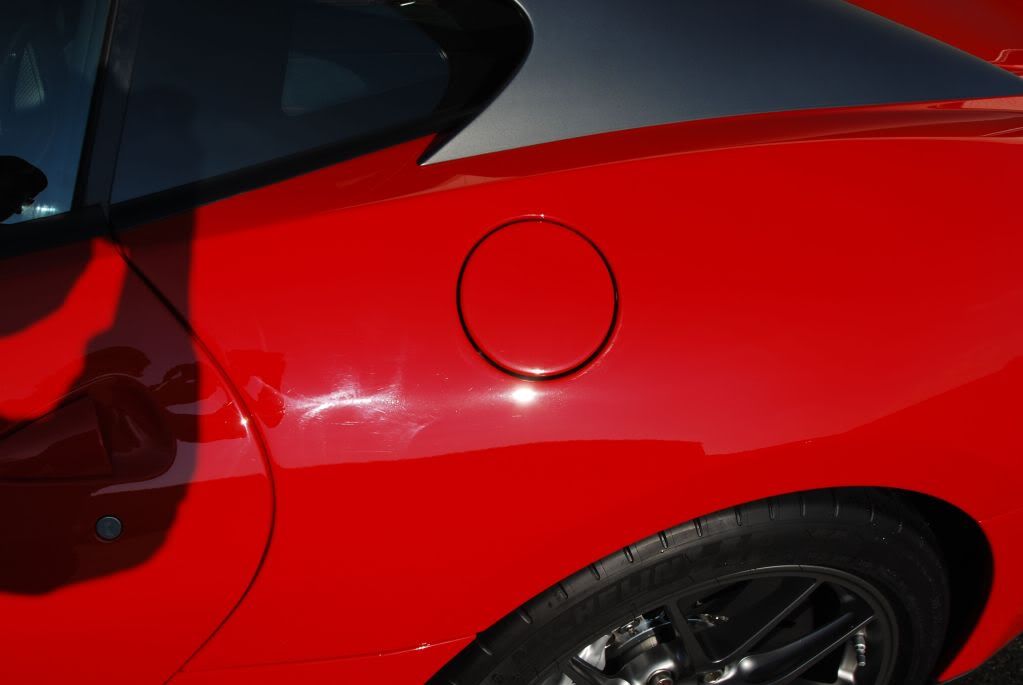
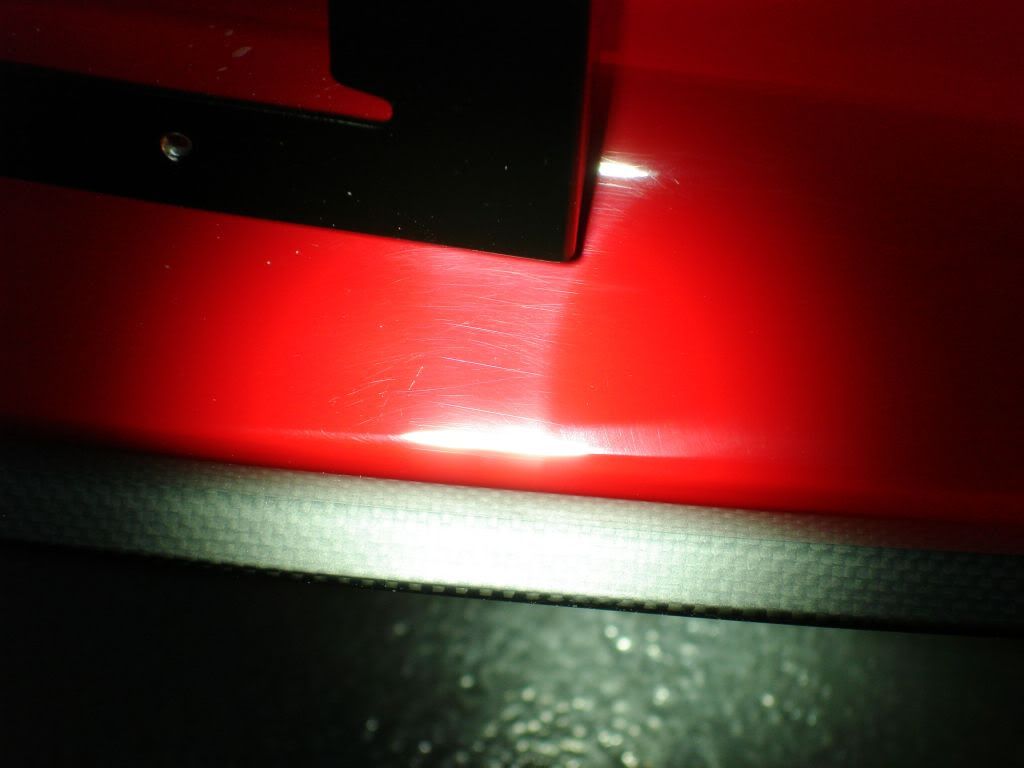
Light cutting on the door
After all correction was completed a light dust down with the detailersdomain duster was followed by a few IPA wipedowns to prep for LSP.
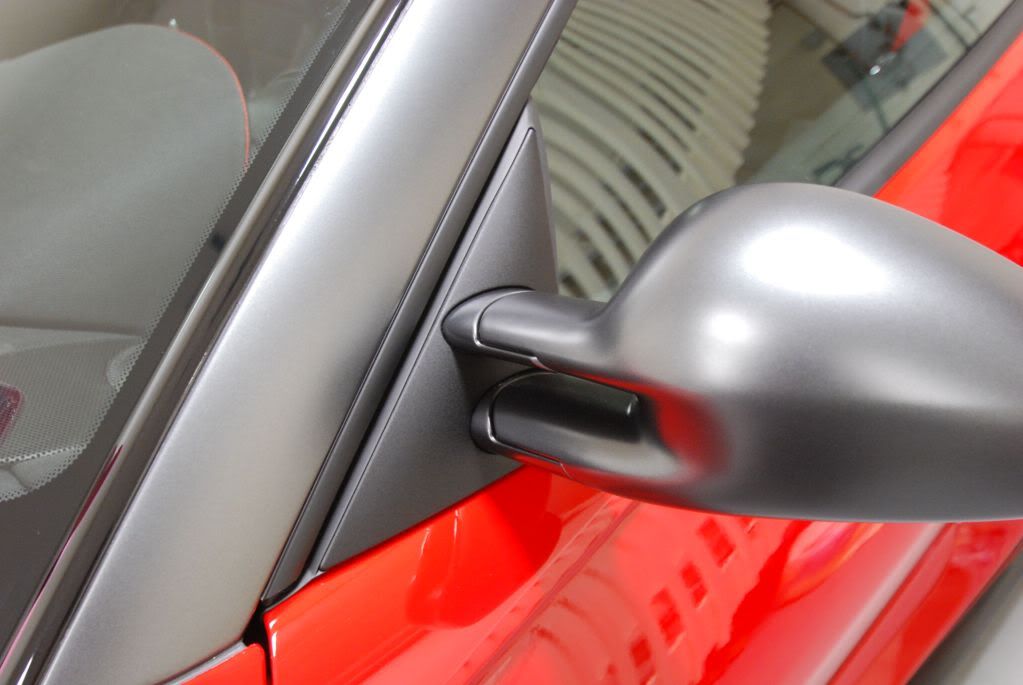
LSP of choice was Wolf's Body wrap applied to both the paint and clear film
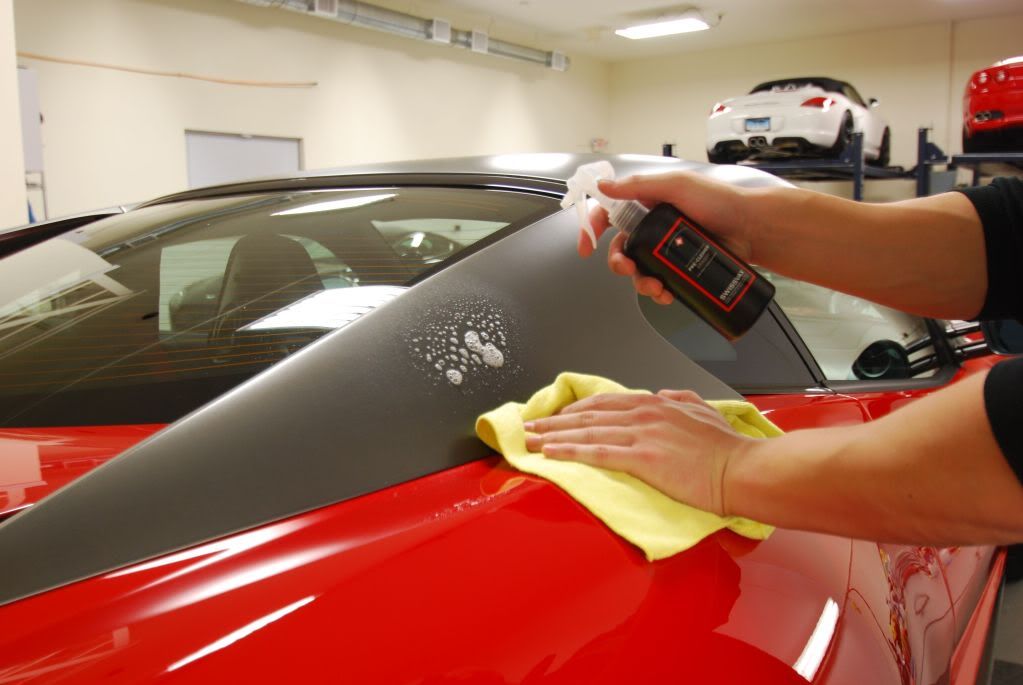
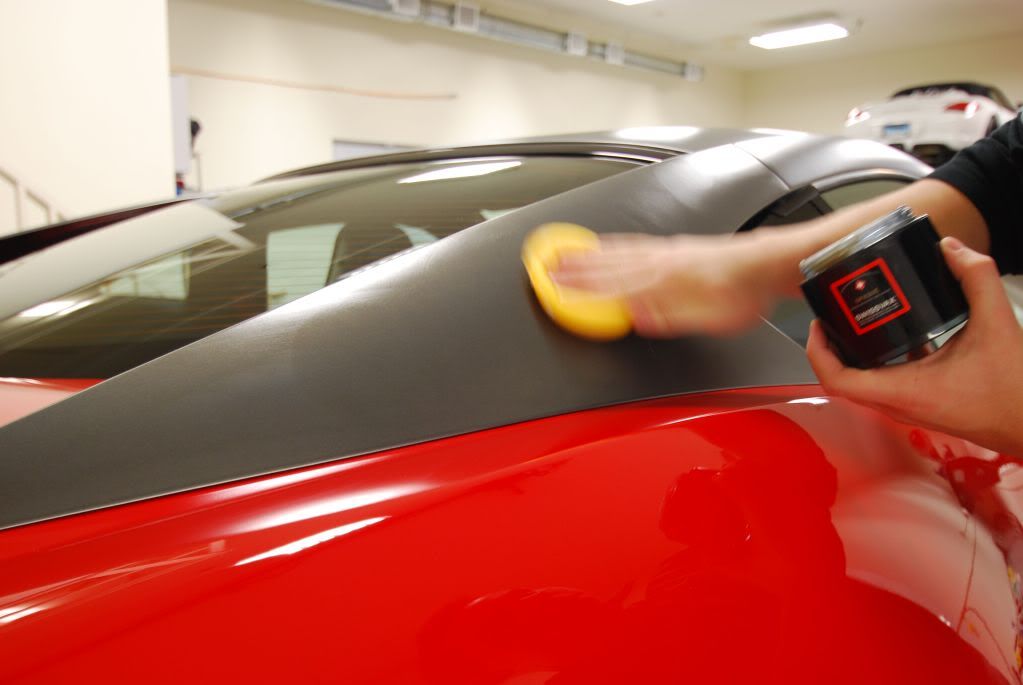
First the matte on the roof needed some attention. Pre cleaned using Swissvax Opaque pre cleaner and then topped with Swissvax Opaque wax, 2 layers
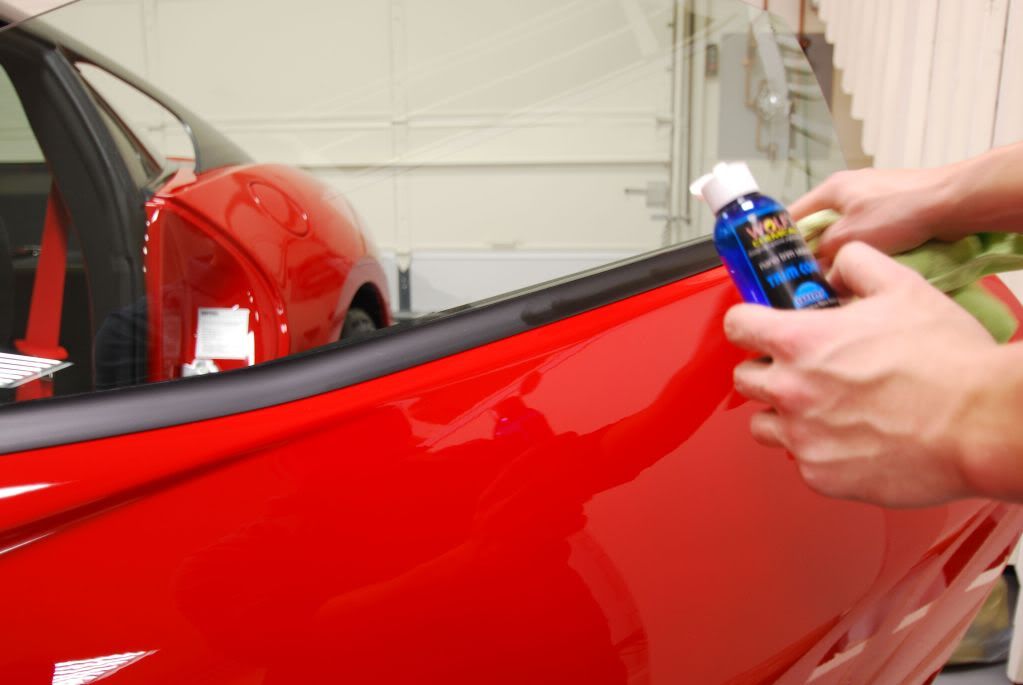
All trim and seals were treated using Wolfs Trim Guard. Trim pre cleaned using some IPA on a MF pad

Tires degreased again before applying dressing, left side still showing old tire dressing and dirt, right side stripped of everything

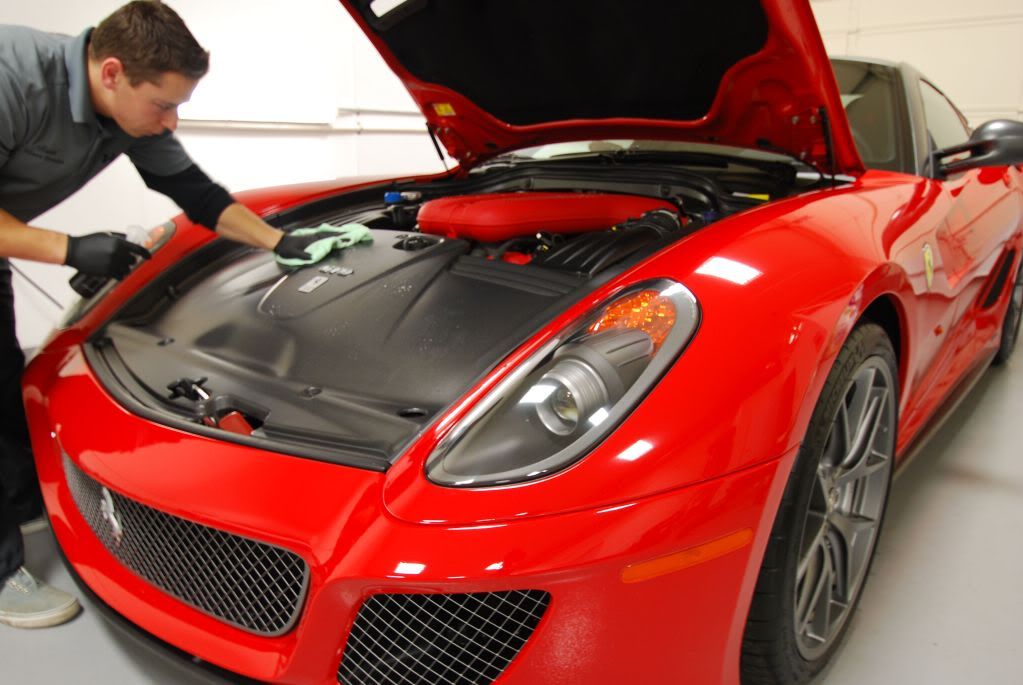
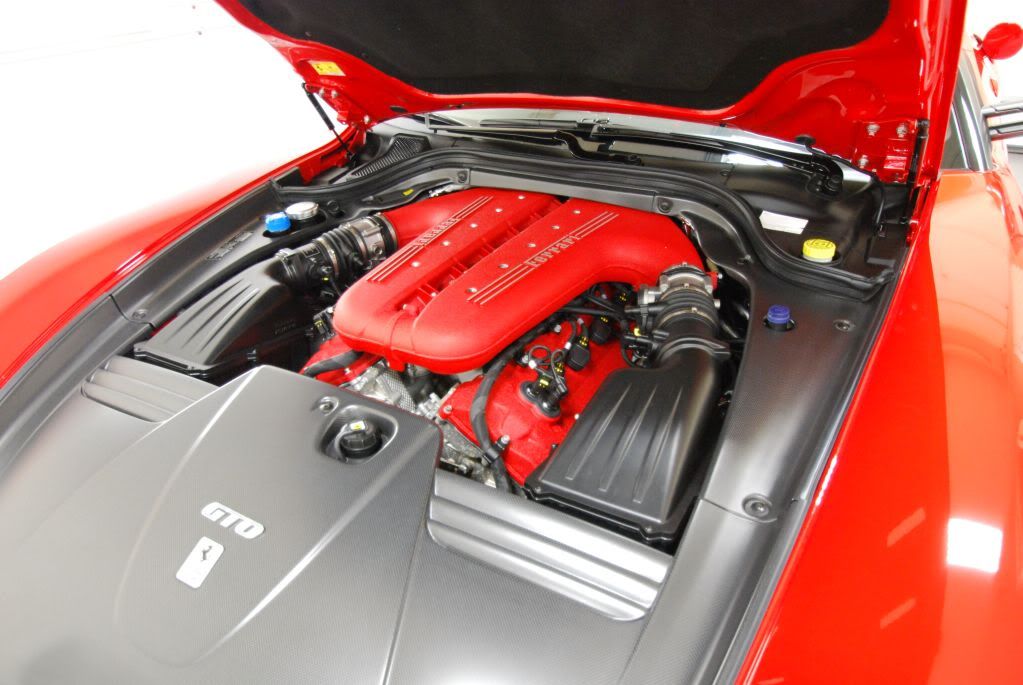
Engine bay cleaned and detailed. Mammoth of a V12 sounds something like a symphony of angry lions, its quite something

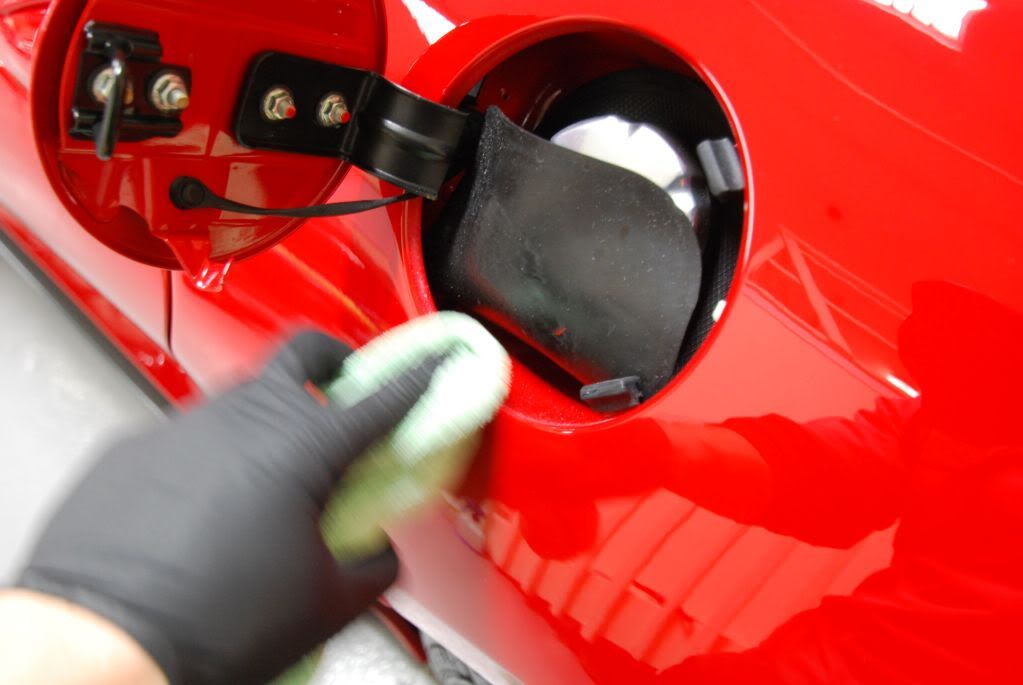
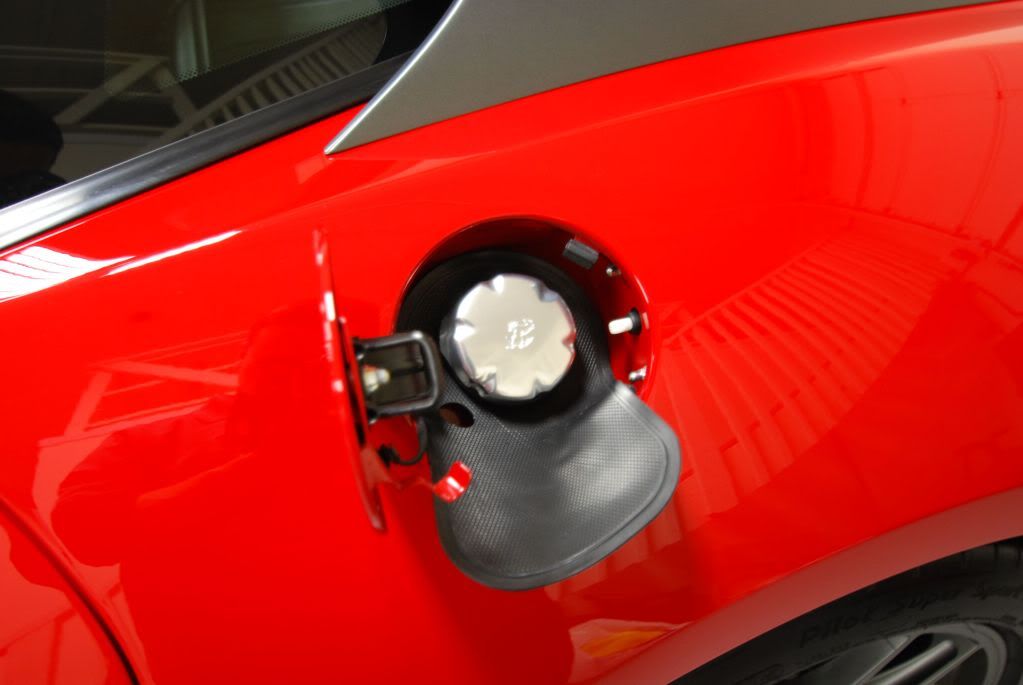
Cleaned of polishing dust and fuel bib wiped down with 303 protectant
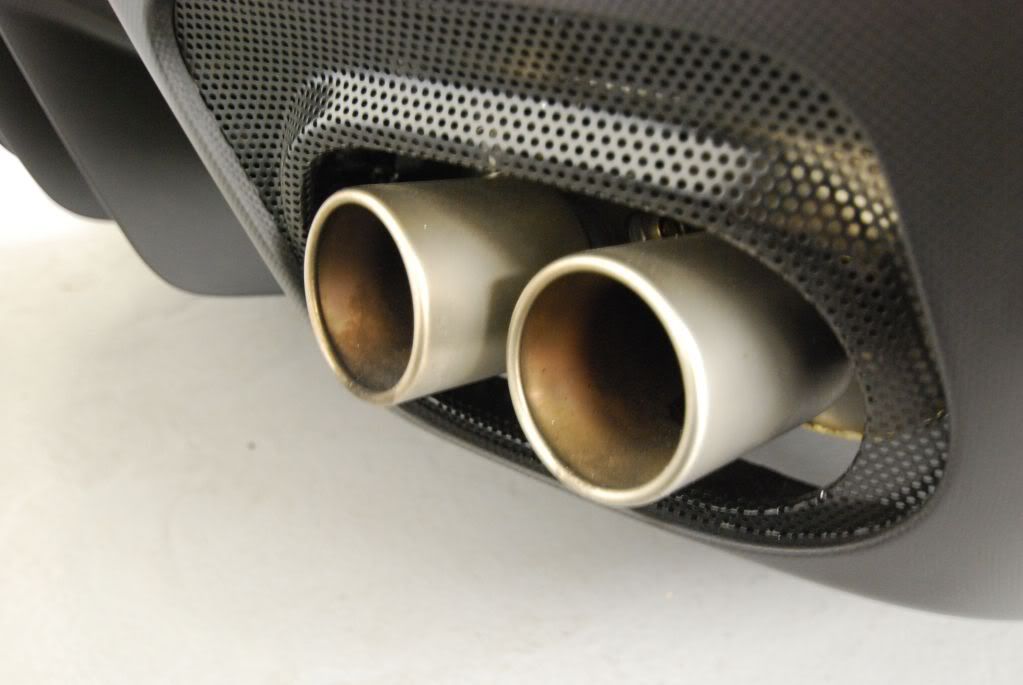
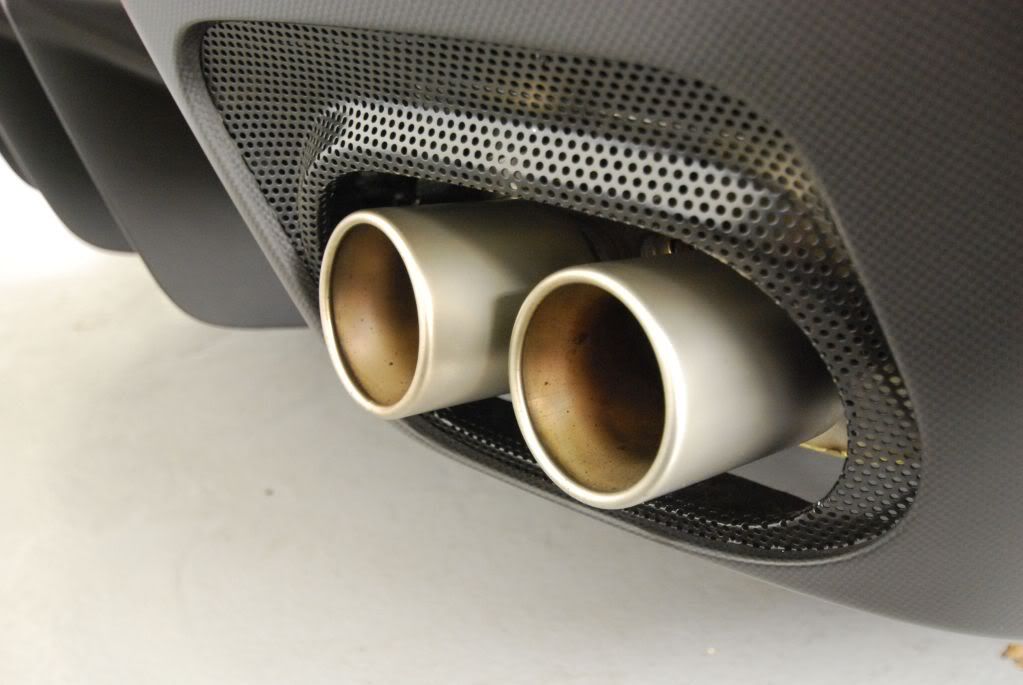
Exhaust tips polished out
Most of the usual Ferrari refinishing problems:
-Sanding scratches
-Rids
-Rotary Holograms
-Heavy Swirling
... and overspray, lots of overspray!
Very pretty...
Very swirly...
Wheels soaked with Brake Buster, very mild wheel cleaner with no iron removing properties. My choice for cars with carbon ceramic brakes. Tires and wheel wells scrubbed clean. Stiff bristle brush is ideal for removing most of the old tire dressing.
Started with a prep wash, rinsed down and foamed followed by a 2 bucket wash using a mixture of citrus soap and some Lusso auto bathe. The finish was then clayed to remove some of the overspray...
After claying the car was nearly stripped of all old protection, 2 IPA wipedowns ensured a 100% clean finish ready for paint correction.
Here is the prepped finish out in sunlight, some heavy overspray on the passenger side
Back inside I measured the paint with a paint thickness gauge. Very healthy readings always good to see before beginning a lengthy paint correction.
Mesh grilles/vents taped off. Getting polish splatter or dust in there will take forever to get out!
Better idea of what the overspray on the passenger door looked like, clear line shows wherever the car had tape on it from delivery
Some closeups of the finish under LED light (640lumens worth)
I started with the worst area first, started with foam and upgraded to a 3" wool pad on the rotary to cut out the heavy defects followed by foam compounding and then foam finishing using both Meguiars and Menzerna
Before...
After... its that simple!
Okay well not really, rear plate area under the LED, much smaller defects show up...
After compounding and polishing
Lip polished as well, delicately and with a 3" pad... natural 50/50 "erasure" style
Working my way around the rest of the bumper
Light cutting with the MF disc on speed 5
50/50 overspray
Before
After compounding w/ Surbuf, the mess it leaves is worth it and the haze it leaves behind is only superficial, I later followed up with foam
More clusters on the drivers side, heavy holograms and RIDS
Removed
50/50
Pulled the GTO out to check my work in the sun
Clear sunbursts indicate a properly leveled paint finish, still 1 more final polishing stage to go
Light cutting on the door
After all correction was completed a light dust down with the detailersdomain duster was followed by a few IPA wipedowns to prep for LSP.
LSP of choice was Wolf's Body wrap applied to both the paint and clear film
First the matte on the roof needed some attention. Pre cleaned using Swissvax Opaque pre cleaner and then topped with Swissvax Opaque wax, 2 layers
All trim and seals were treated using Wolfs Trim Guard. Trim pre cleaned using some IPA on a MF pad
Tires degreased again before applying dressing, left side still showing old tire dressing and dirt, right side stripped of everything
Engine bay cleaned and detailed. Mammoth of a V12 sounds something like a symphony of angry lions, its quite something
Cleaned of polishing dust and fuel bib wiped down with 303 protectant
Exhaust tips polished out


")