Laird Sparks
New member
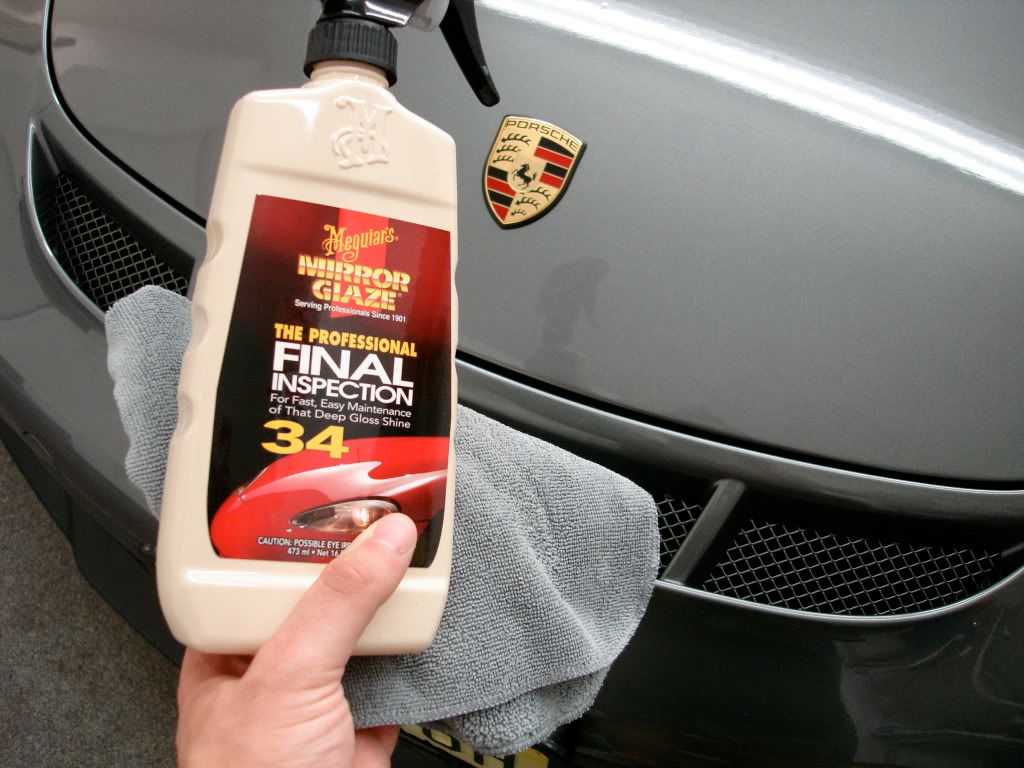
Is there a difference between Meguiar's final inspection and quick detailer?
Follow along with the video below to see how to install our site as a web app on your home screen.
Note: This feature may not be available in some browsers.
")
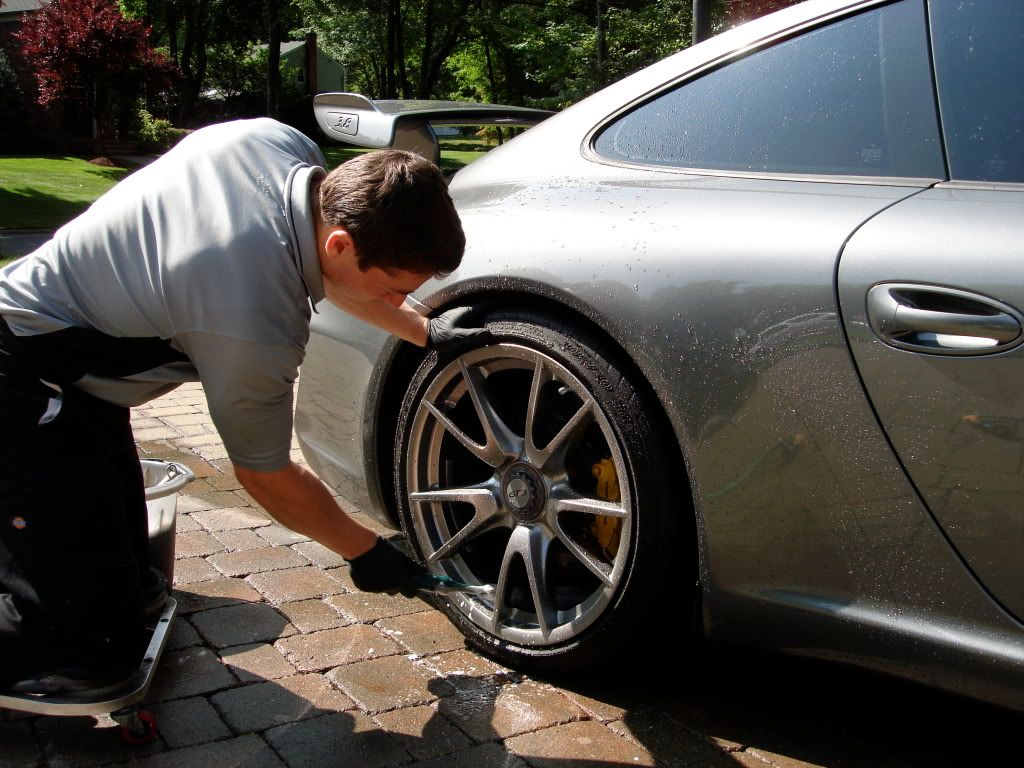
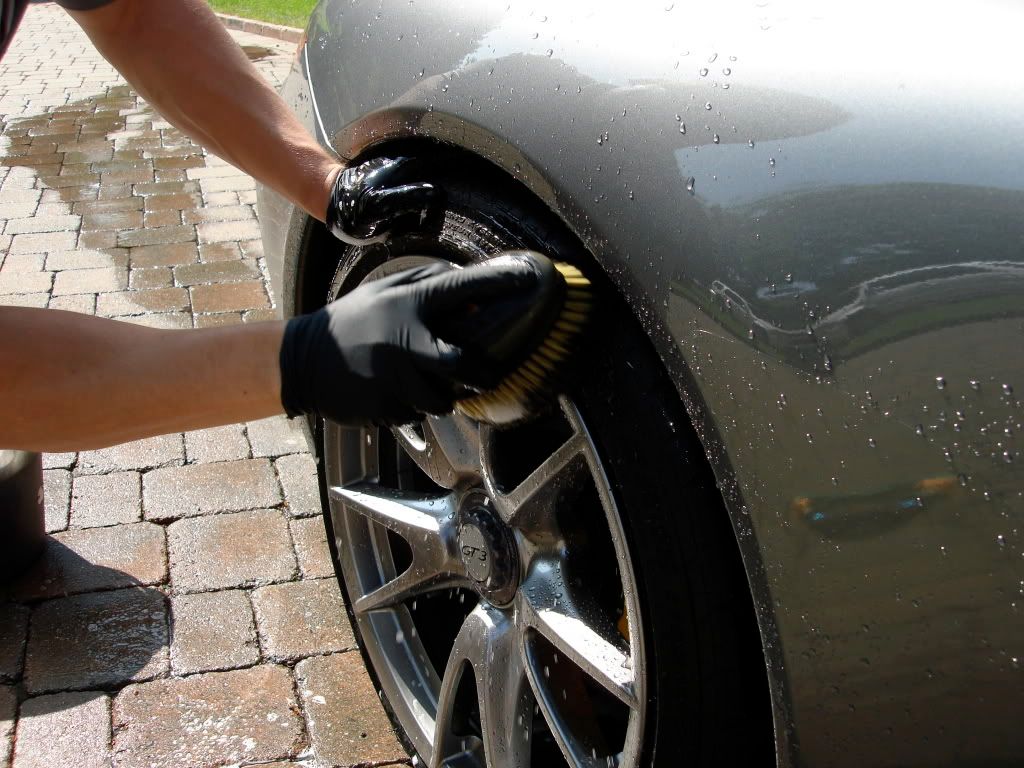
 it still hurts...anyway...puter...as usual you come prepared......wtareproof baggie and all...i hope im with your tribe on the next Survivior.......
")
 LOL love the survivor comment.