Valuguard OEM one step & Finishing wax
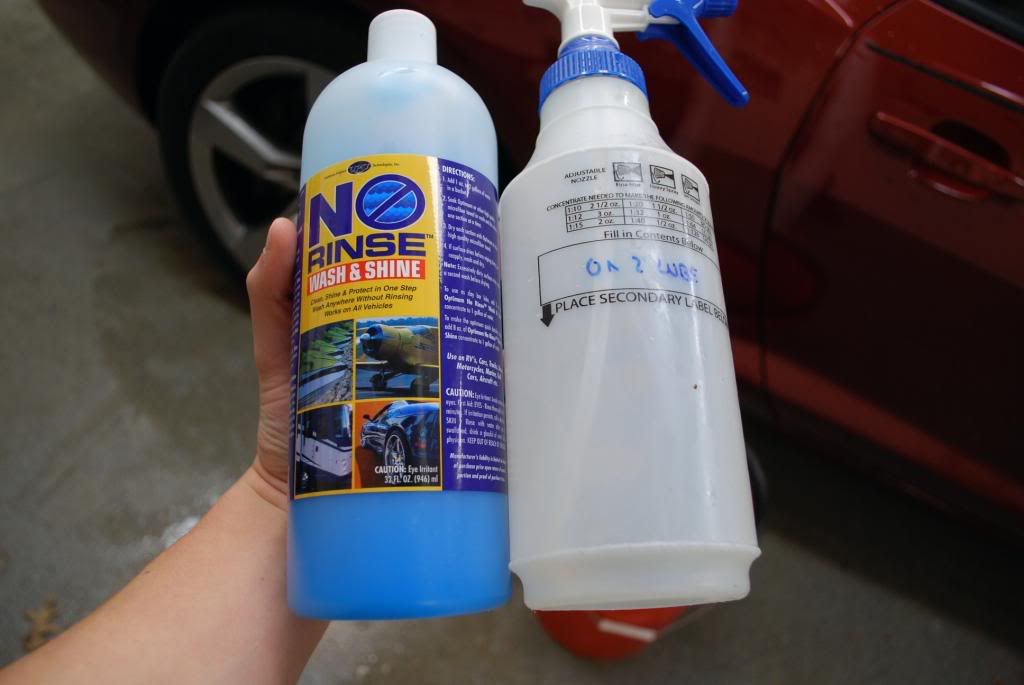
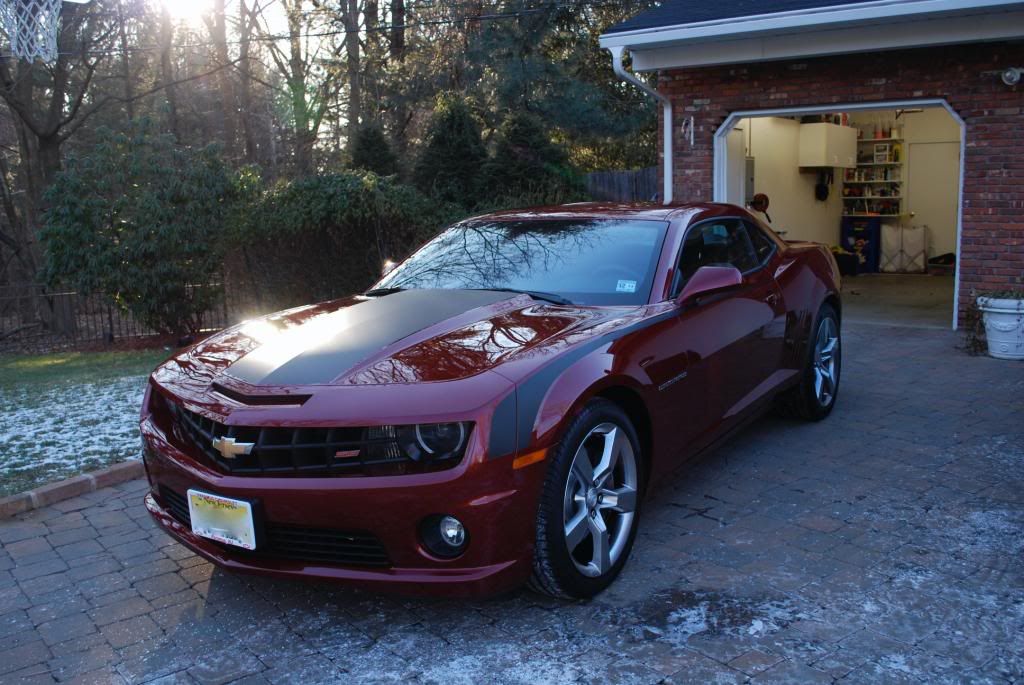
I recently tried out Ron’s OEM one step product and Finishing wax on a portion of my 2001 Red Jetta wolfsburg. I purchased the OEM one step from Autoint.com ($11 a quart) and had a free sample of the finishing wax product on hand. All work done by hand, in the shade of a dedicated car wash bay (except where noted below).
Benchmark – the Jetta currently has AIOx2, SGx5 at 24 hour intervals, Blitzx2 at 1 week interval. Tough combo IMHO.
Day 1 Prep – I stripped the front fender and half of the hood using Valuguard’s A product. I allowed the product to dwell longer than normal (about 10 minutes) with constant agitation as it had quite a bit of protection to break down. When I had that ‘squeaky’ feeling on the paint, I rinsed with a strong stream of water and observed the rinse to make sure the water sheeted as expected. Its hard to describe the sheeting of unprotected paint, but once you’ve seen it its very easy to differentiate from the sheeting you might see on a klasse surface.
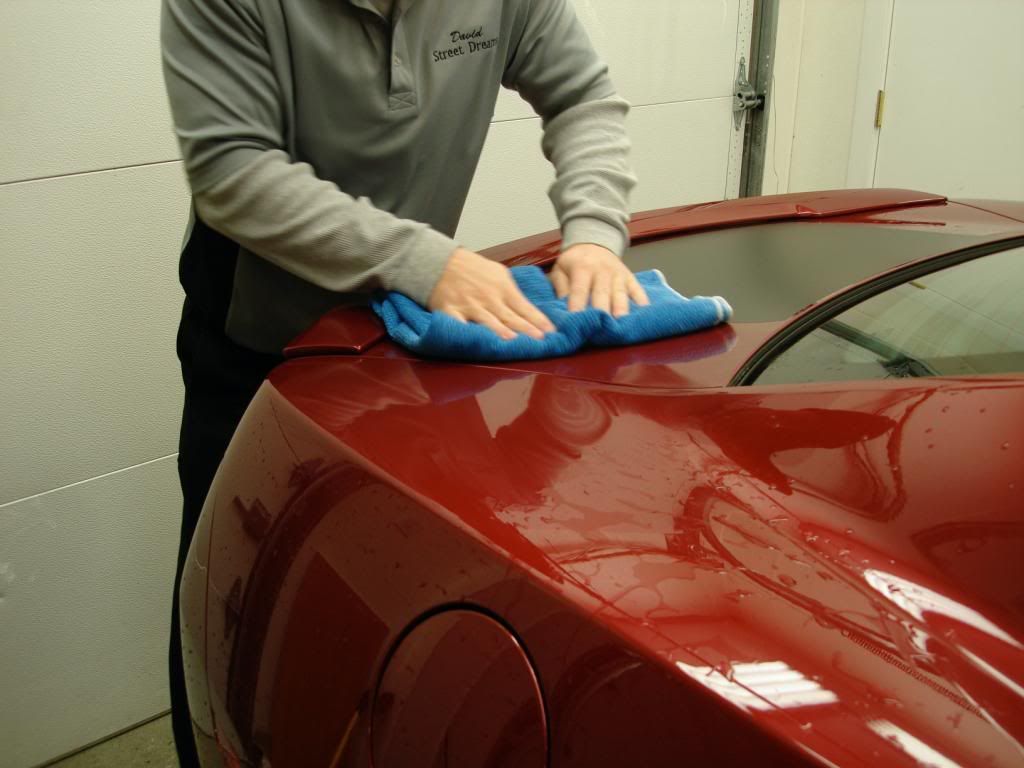
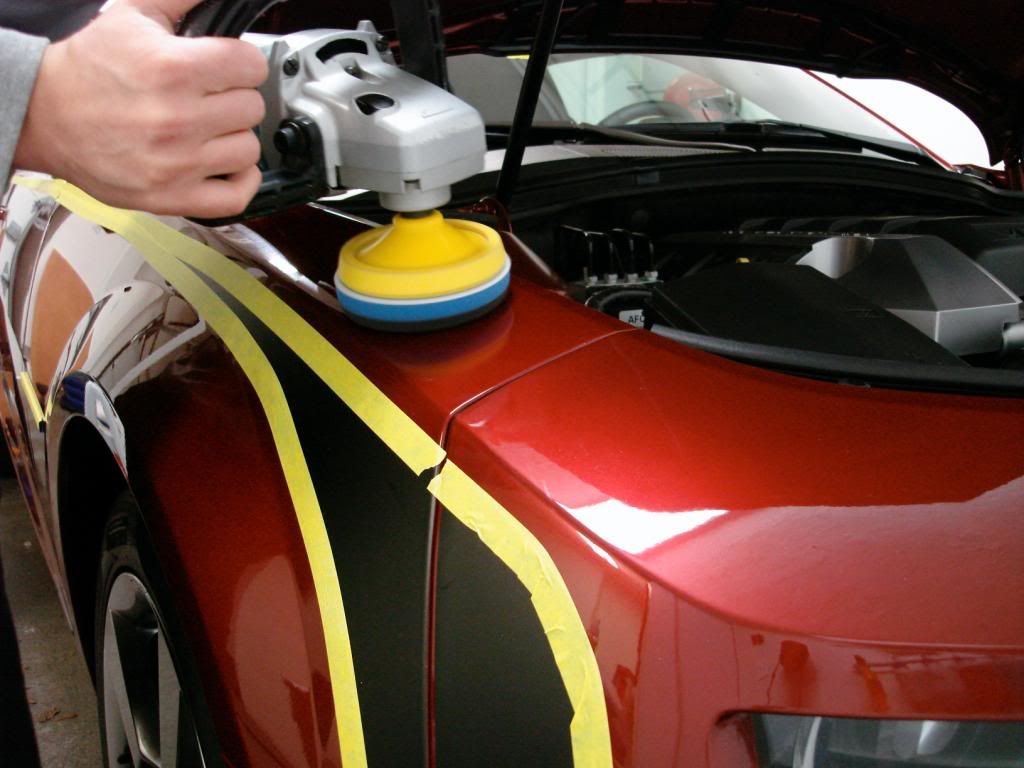
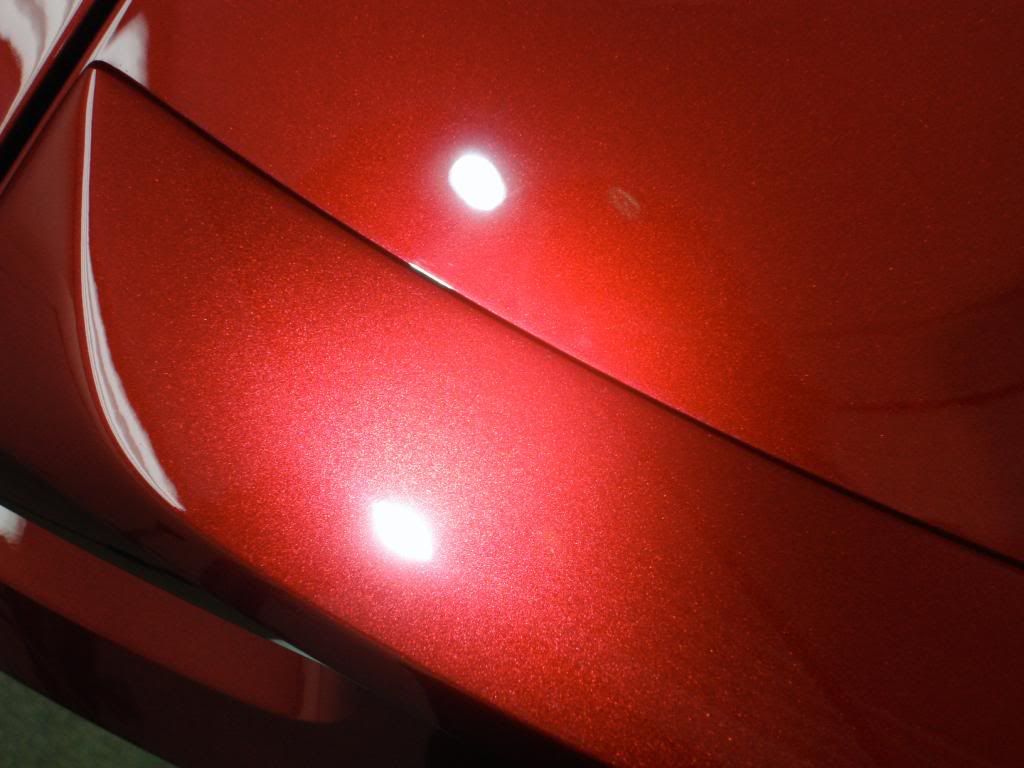
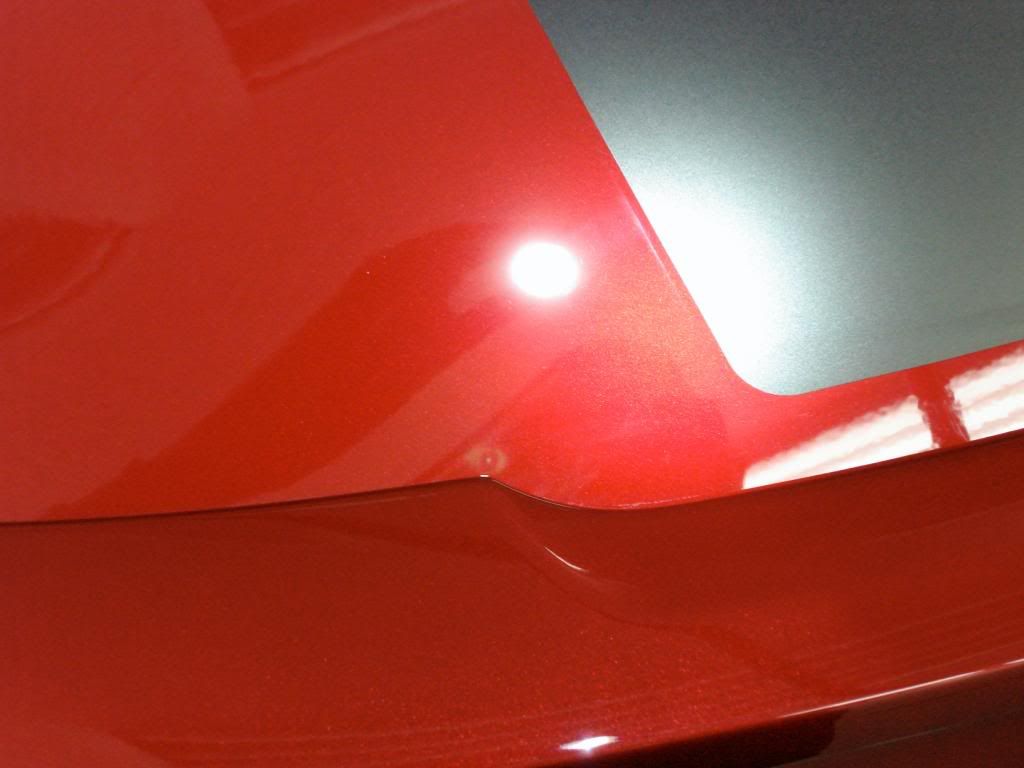
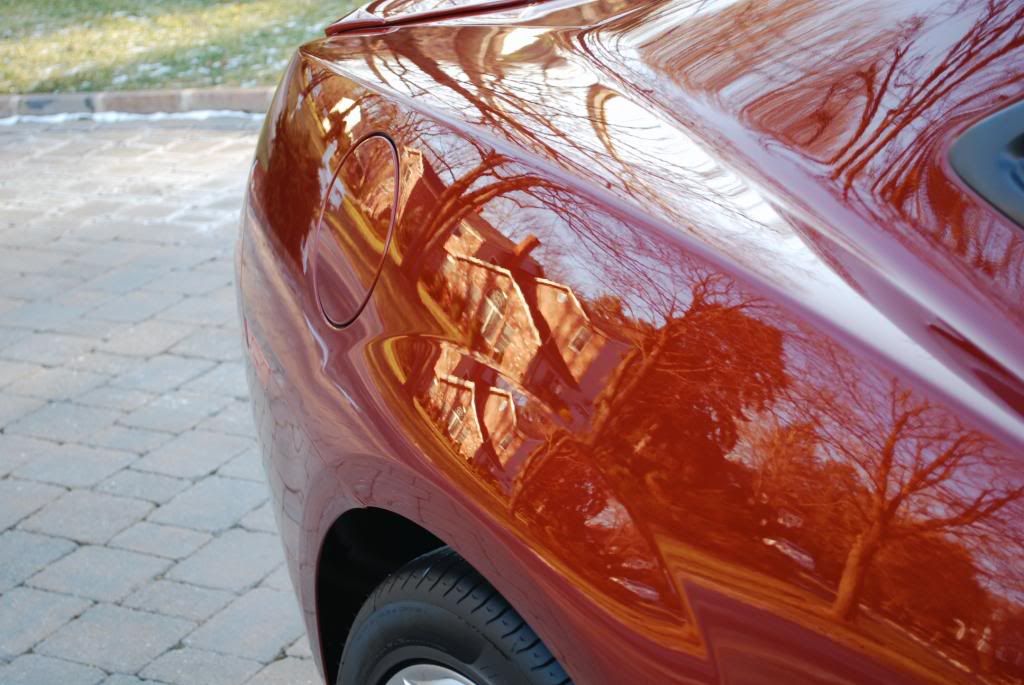
Day 1 Application of OEM One Step – This product is very similar to AIO in description. As the name implies, it’s a one step process that cleans, removes light oxidation and lays down a coat of polymer protection. I applied using a viper MF applicator to the treated portion of the hood and fender in a linear manner front to back. The consistency and smell of the product was also similar to AIO. I used fairly generous amounts and applied varied pressure, mostly on the moderate side. Wait 10 minutes then buffed with the ‘non-fluffy’ side of a MT. Even though I used quite a bit of product, the product buffed off easily. The resulting look was smooth, fairly slick with a nice reflection. It looked just like an AIO application had been completed. Not bad for $11 bucks a quart!
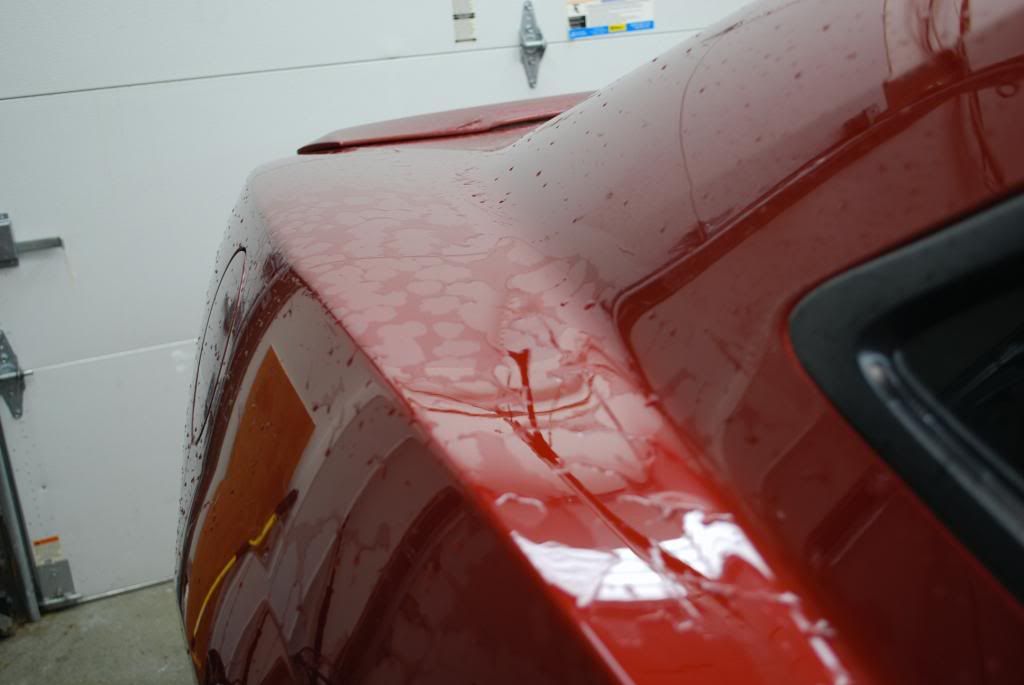
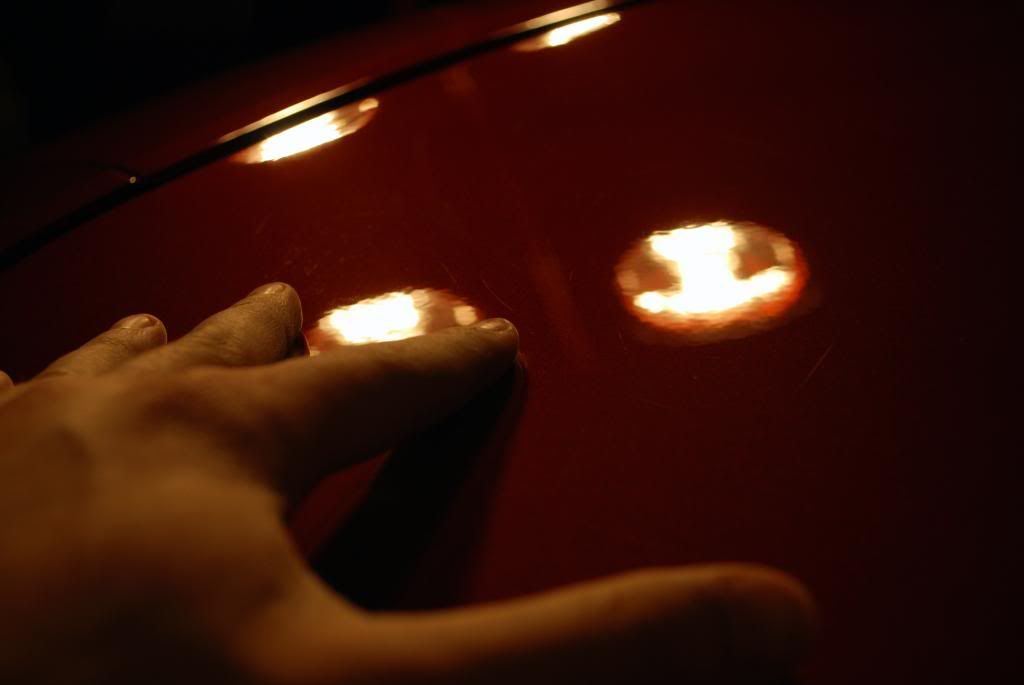
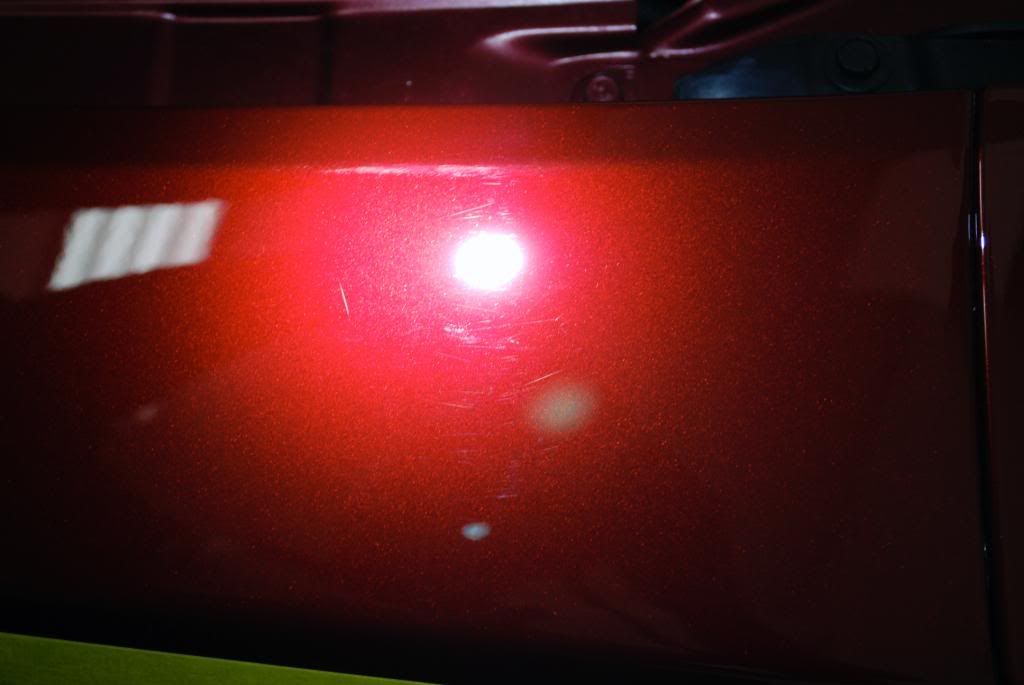
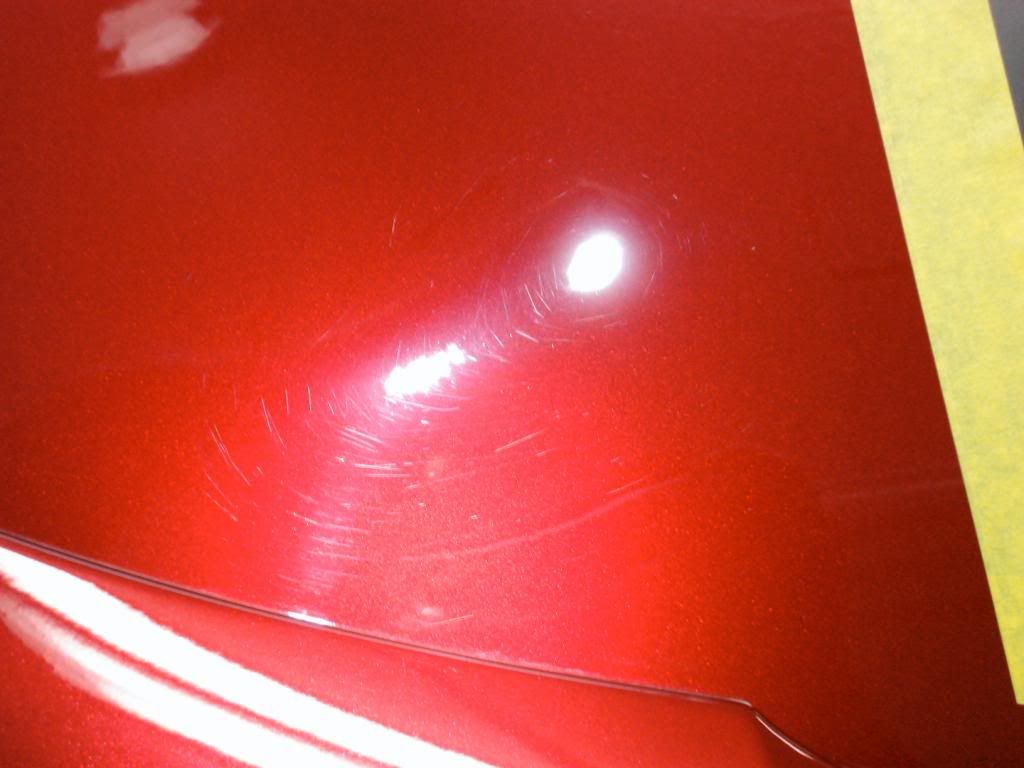
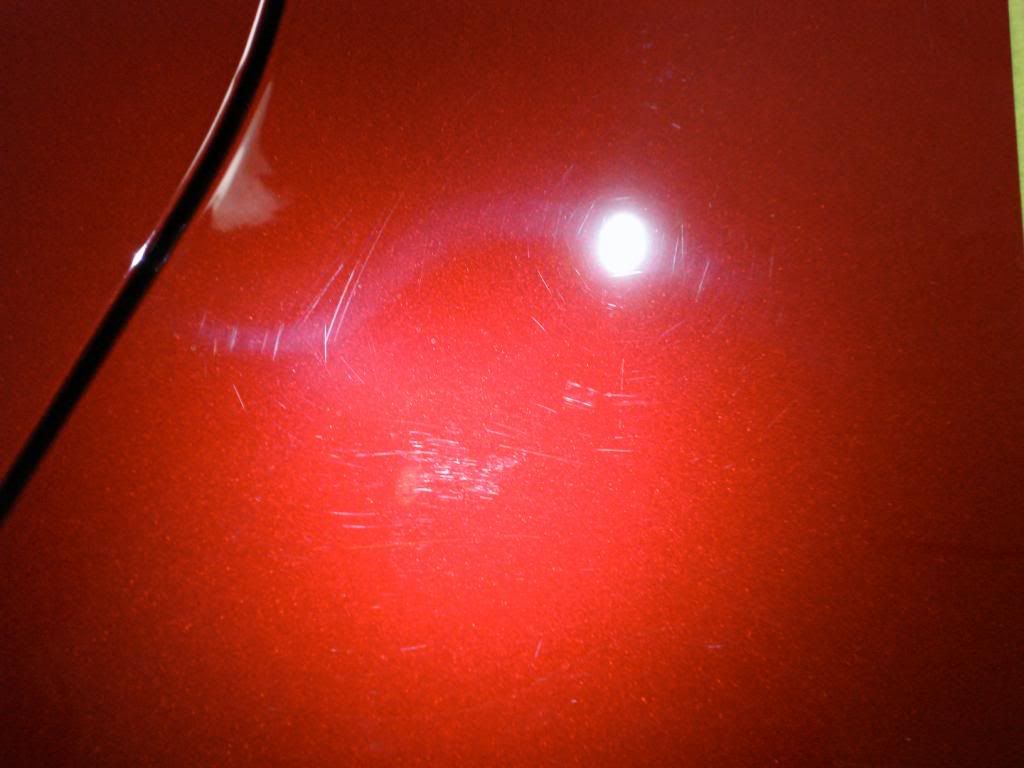
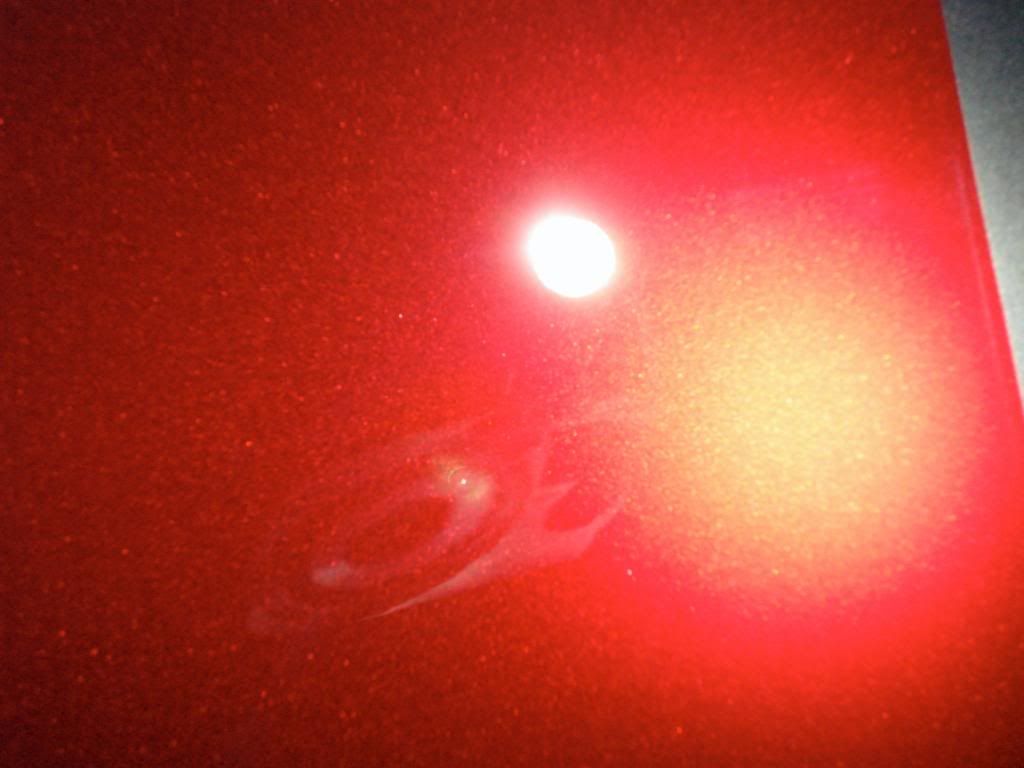
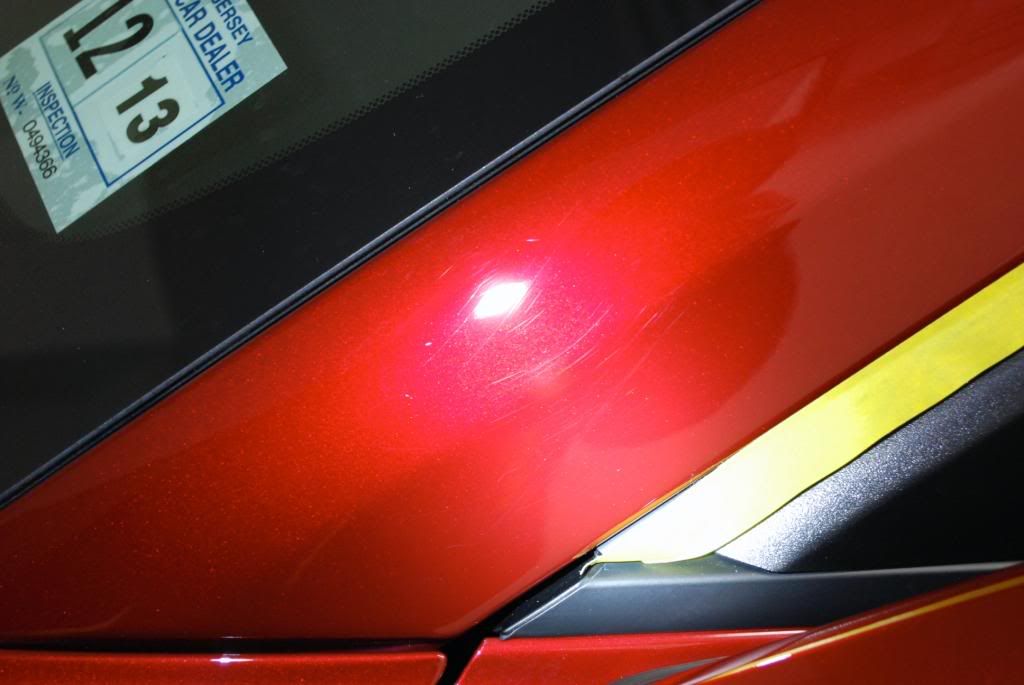
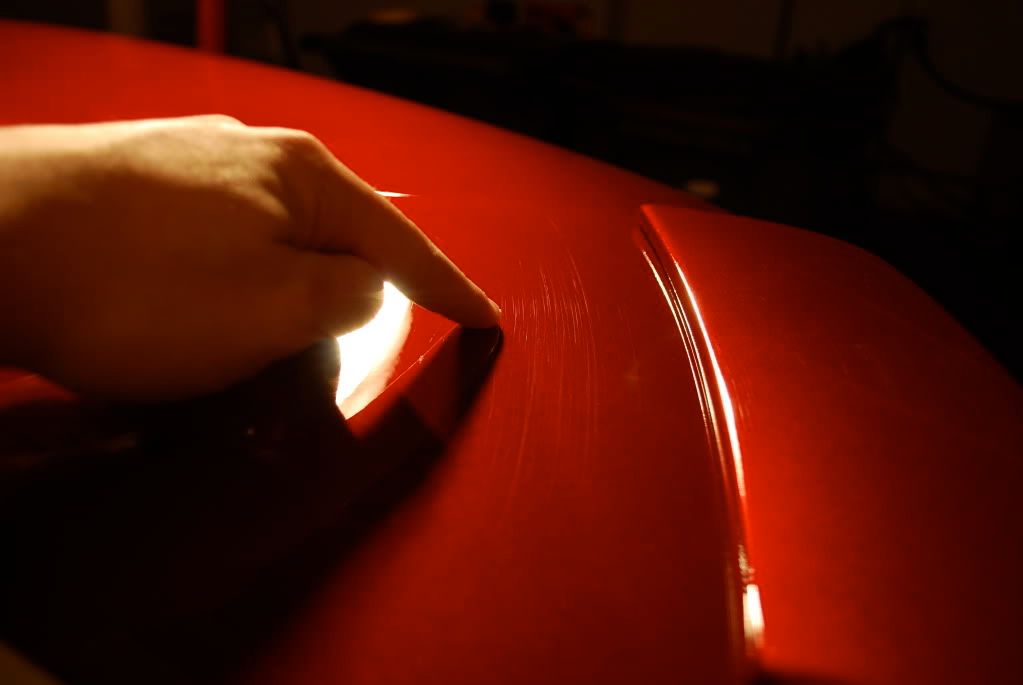
Day 2 Finishing Wax – I’ll admit it. I screwed up here. It was mid morning, and I was anxious to try out the wax but one my neighbors had the audacity to get his car into the wash bay before me. Accordingly, I pulled under the nearest pint sized tree for shade. The surface of the car was still warm from the sun, but I went ahead and cleaned the surface with a little distilled water and a MT. The finishing wax is a liquid polymer product with a small carnauba content and is promoted as a body shop safe product. I applied a small amount to another MF viper applicator and applied in a similar manner to the OEM but in a thinner coat. After a 15 minute wait, I attempted to buff the product off only to find that that the surface was nothing but micro mars, swirls and streaks! It looked really awful compared to the rest of the car. Of course, the issue was technique – I believe the surface was too warm and the applicator needed to be foam.
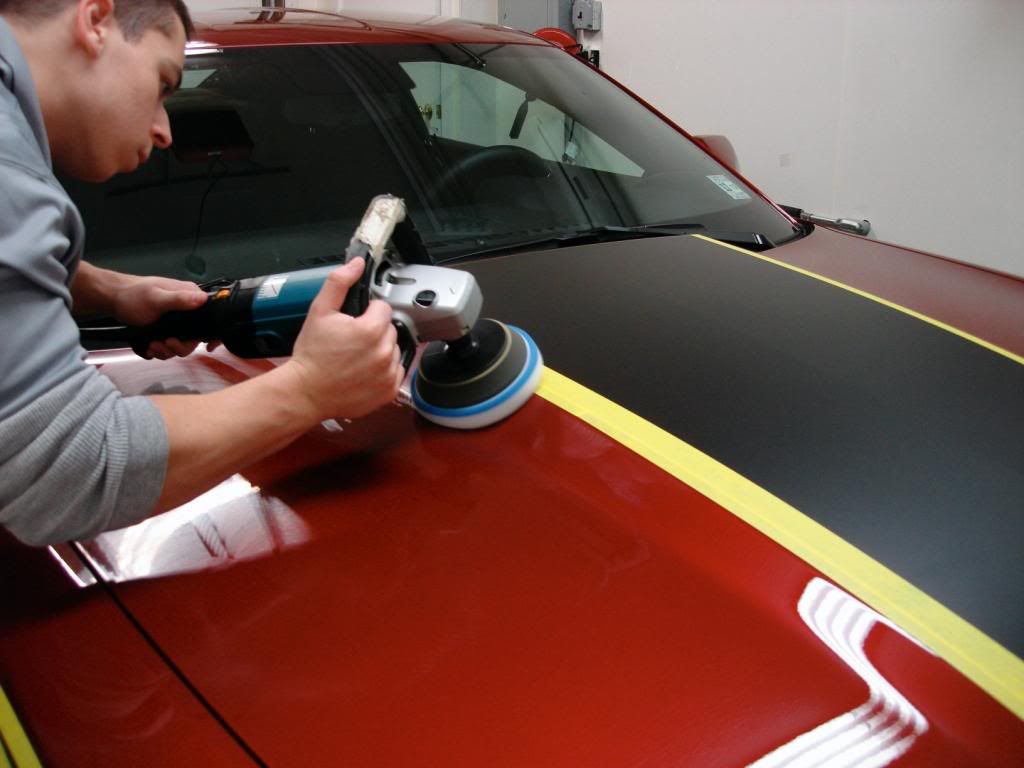
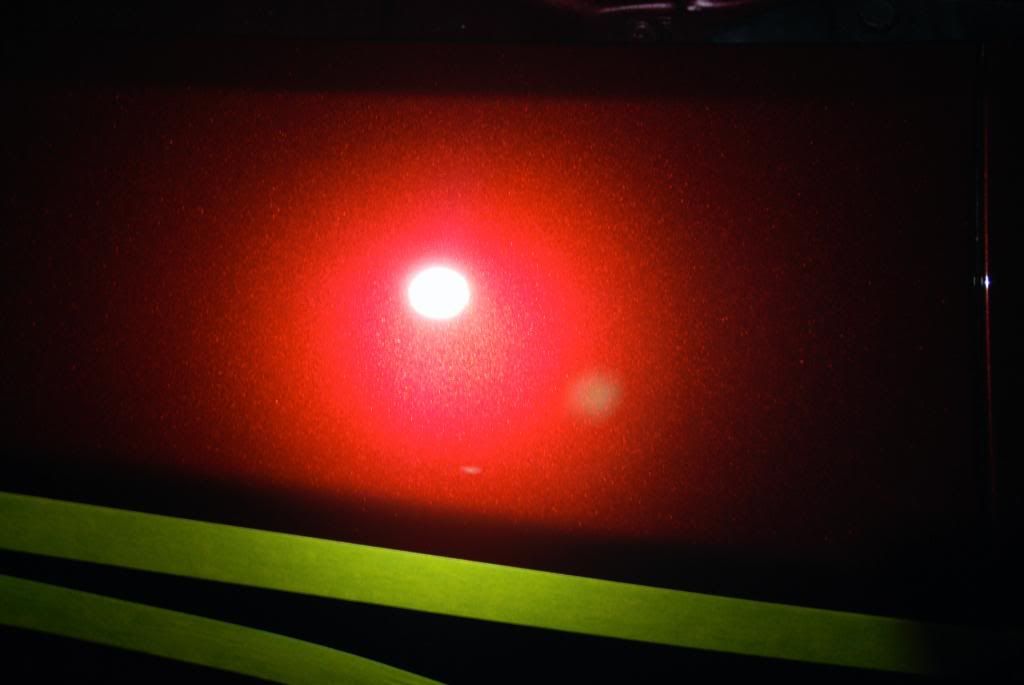
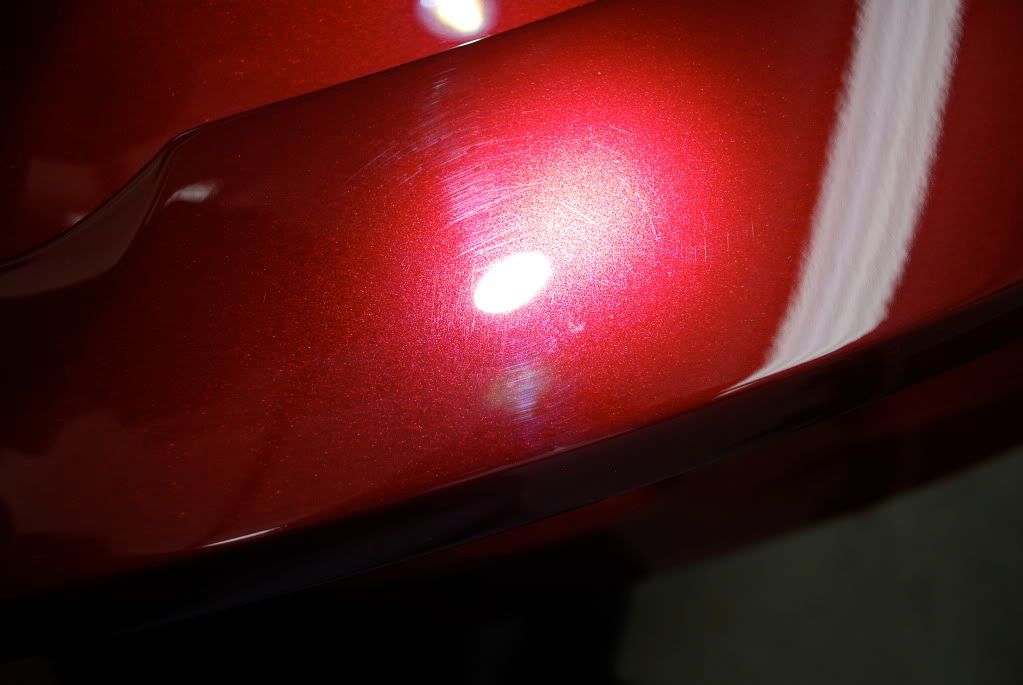
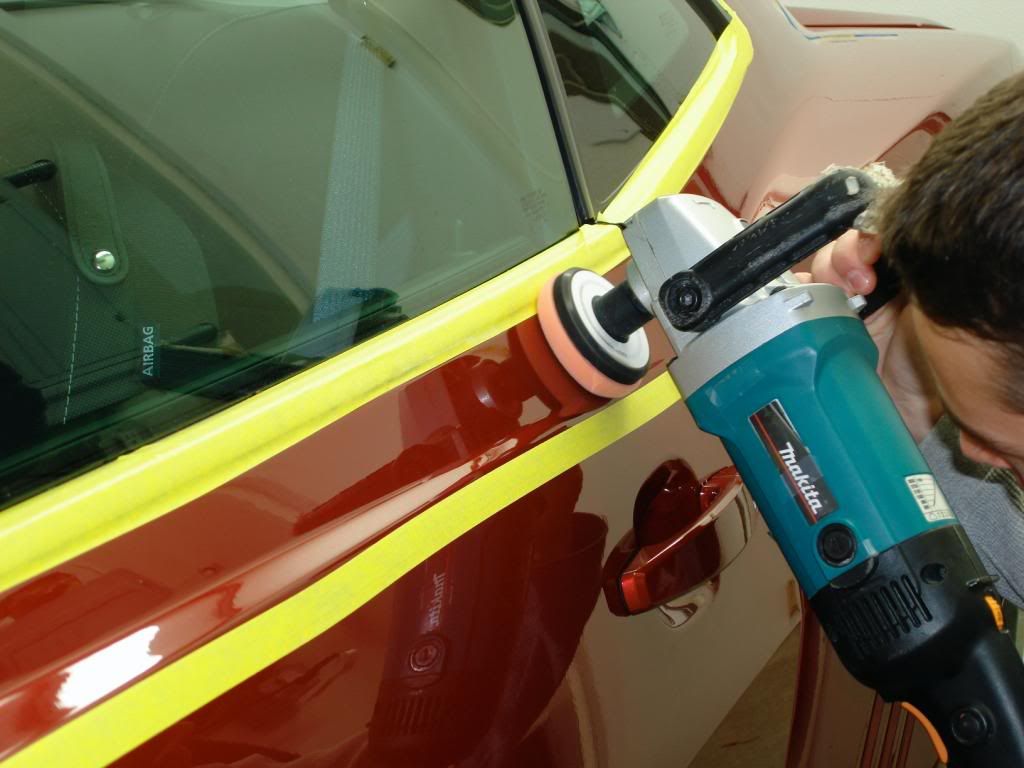
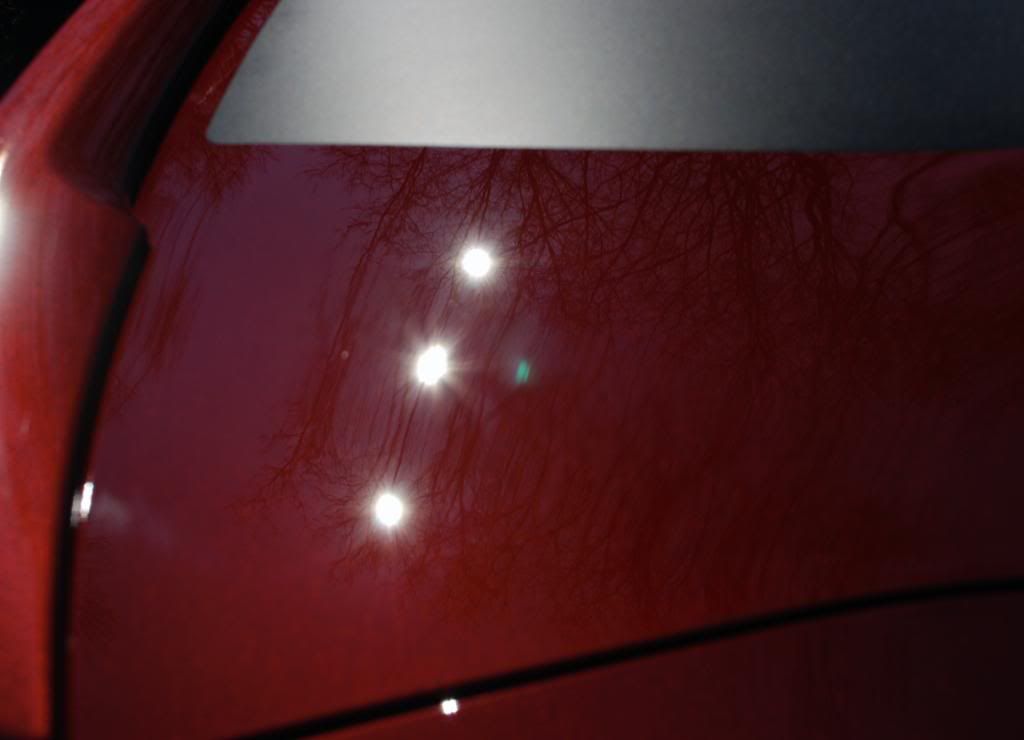
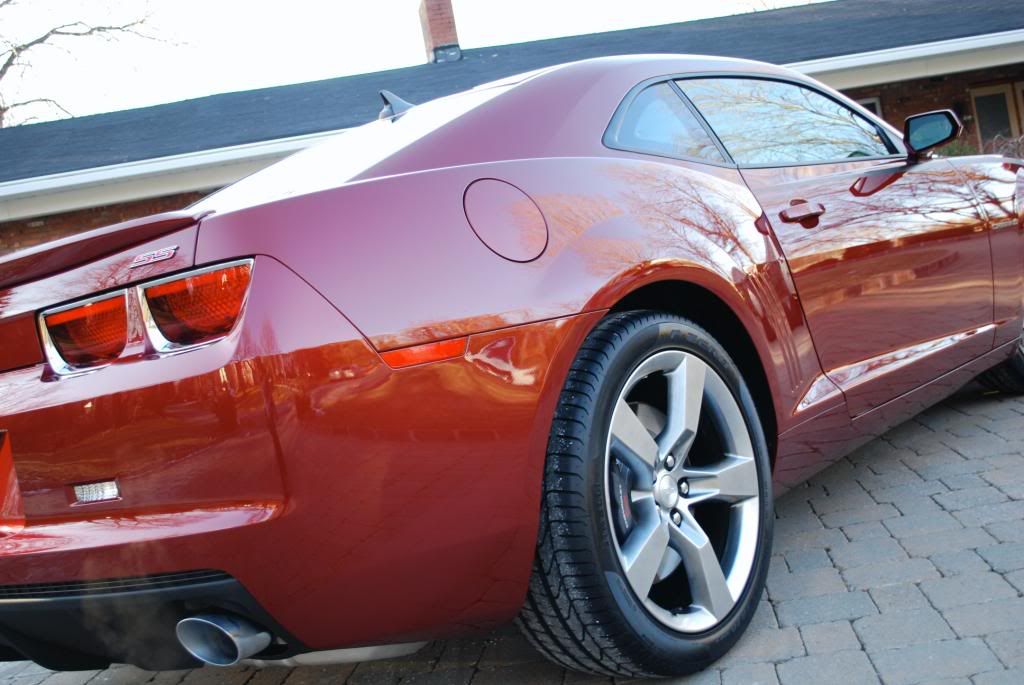
Day 3 The Do-Over – No way was I leaving a fourth of my car looking like that. Up at the crack of dawn, I stripped the area again with A and reapplied the OEM (One side note here – it took several applications and a good deal of agitation with the A to get this stuff broken down – that’s probably a good thing). Same results – still a very good product IMO. Since I didn’t have time for a day four, I only let the OEM sit for 8 hours prior to attempting the wax (I spritzed with distilled water again…). I applied the wax almost like SG, using a pinnacle foam pad to apply small amounts in a linear fashion. The coat sat for 15 minutes and was then buffed with a MT (buffs out easily). All my issues were gone with the first wax application. The finish was smoother, ‘slicker’, and maybe a little wetter. Very nice but also unforgiving – it seemed to highlight the flaws that were in the actual paint where as SG seems to (gradually) hide small imperfections.
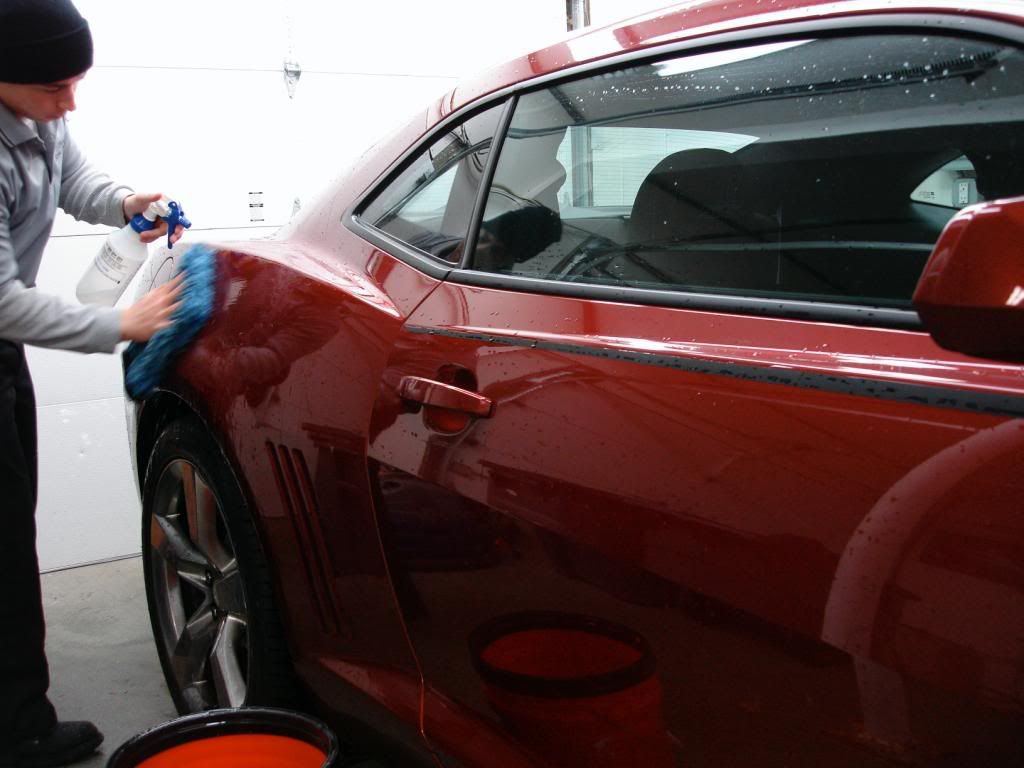
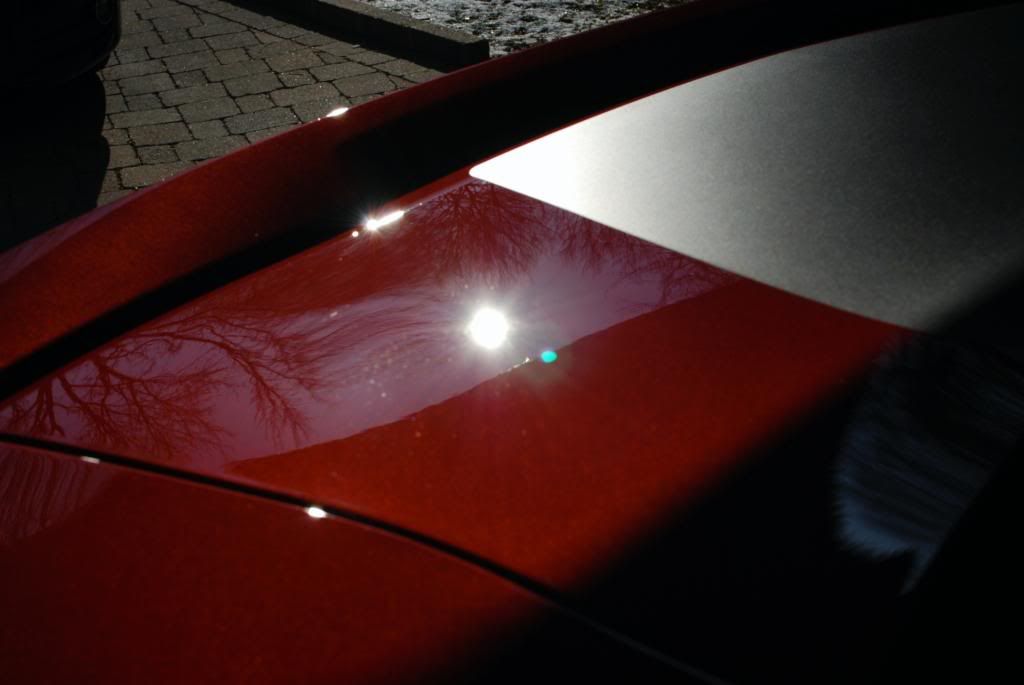
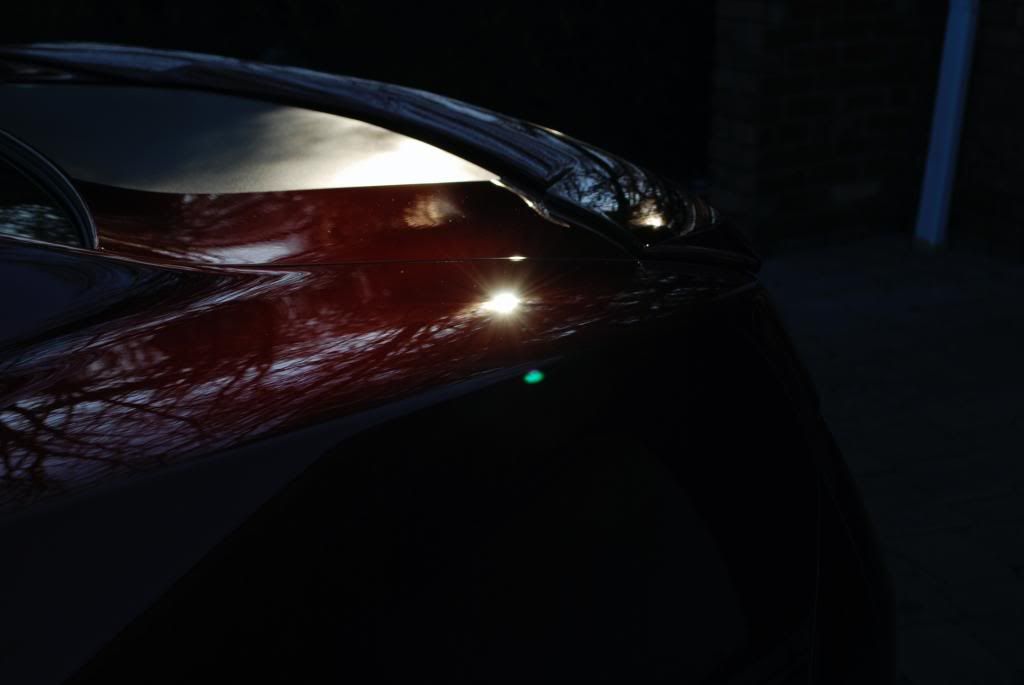
Durability – I’ve washed the car twice since the final application. The surface is still very smooth and my MF wash mitts just glides over it when washing. The water sheets off the area nicely with any remaining moisture beading up okay. The beading is not like the blitz side at all.
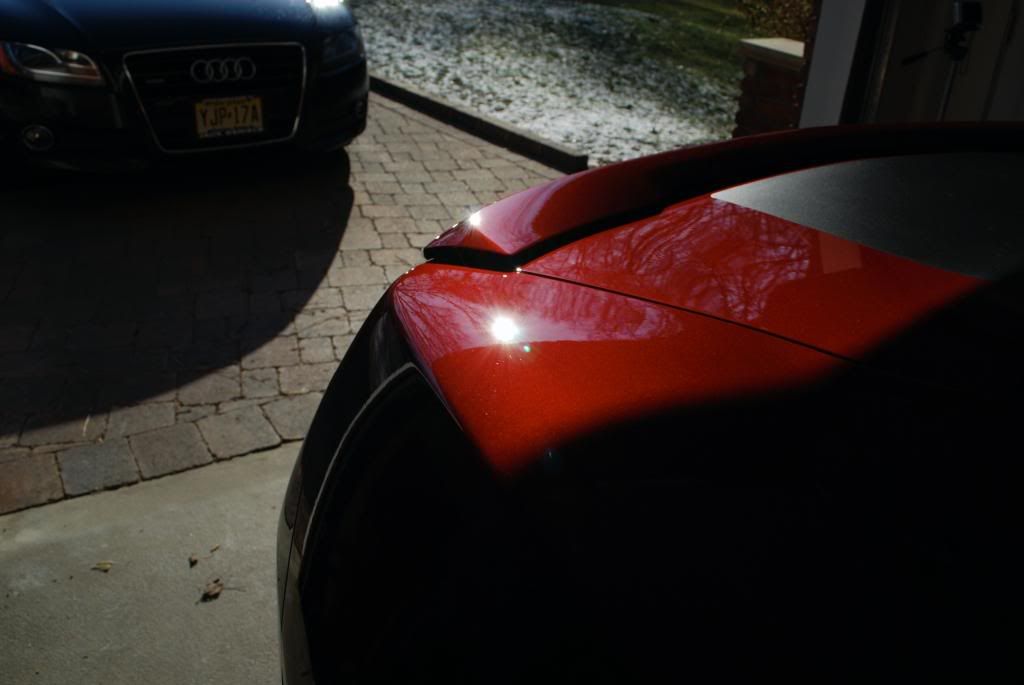
Verdict – The OEM one step is a good deal. I’m definitely going to use it on friend’s cars who are looking for a one pass quick hit. The Finishing wax is another good product but requires you to pay attention to what you are doing. I’d like to make a couple layers with the Finishing wax before judging it against the rest of the car, but I have to say its very hard to differentiate between the two areas of the hood without touching the surface (Blitz’s spongy feeling gives it away…).
Steve
I recently tried out Ron’s OEM one step product and Finishing wax on a portion of my 2001 Red Jetta wolfsburg. I purchased the OEM one step from Autoint.com ($11 a quart) and had a free sample of the finishing wax product on hand. All work done by hand, in the shade of a dedicated car wash bay (except where noted below).
Benchmark – the Jetta currently has AIOx2, SGx5 at 24 hour intervals, Blitzx2 at 1 week interval. Tough combo IMHO.
Day 1 Prep – I stripped the front fender and half of the hood using Valuguard’s A product. I allowed the product to dwell longer than normal (about 10 minutes) with constant agitation as it had quite a bit of protection to break down. When I had that ‘squeaky’ feeling on the paint, I rinsed with a strong stream of water and observed the rinse to make sure the water sheeted as expected. Its hard to describe the sheeting of unprotected paint, but once you’ve seen it its very easy to differentiate from the sheeting you might see on a klasse surface.
Day 1 Application of OEM One Step – This product is very similar to AIO in description. As the name implies, it’s a one step process that cleans, removes light oxidation and lays down a coat of polymer protection. I applied using a viper MF applicator to the treated portion of the hood and fender in a linear manner front to back. The consistency and smell of the product was also similar to AIO. I used fairly generous amounts and applied varied pressure, mostly on the moderate side. Wait 10 minutes then buffed with the ‘non-fluffy’ side of a MT. Even though I used quite a bit of product, the product buffed off easily. The resulting look was smooth, fairly slick with a nice reflection. It looked just like an AIO application had been completed. Not bad for $11 bucks a quart!
Day 2 Finishing Wax – I’ll admit it. I screwed up here. It was mid morning, and I was anxious to try out the wax but one my neighbors had the audacity to get his car into the wash bay before me. Accordingly, I pulled under the nearest pint sized tree for shade. The surface of the car was still warm from the sun, but I went ahead and cleaned the surface with a little distilled water and a MT. The finishing wax is a liquid polymer product with a small carnauba content and is promoted as a body shop safe product. I applied a small amount to another MF viper applicator and applied in a similar manner to the OEM but in a thinner coat. After a 15 minute wait, I attempted to buff the product off only to find that that the surface was nothing but micro mars, swirls and streaks! It looked really awful compared to the rest of the car. Of course, the issue was technique – I believe the surface was too warm and the applicator needed to be foam.
Day 3 The Do-Over – No way was I leaving a fourth of my car looking like that. Up at the crack of dawn, I stripped the area again with A and reapplied the OEM (One side note here – it took several applications and a good deal of agitation with the A to get this stuff broken down – that’s probably a good thing). Same results – still a very good product IMO. Since I didn’t have time for a day four, I only let the OEM sit for 8 hours prior to attempting the wax (I spritzed with distilled water again…). I applied the wax almost like SG, using a pinnacle foam pad to apply small amounts in a linear fashion. The coat sat for 15 minutes and was then buffed with a MT (buffs out easily). All my issues were gone with the first wax application. The finish was smoother, ‘slicker’, and maybe a little wetter. Very nice but also unforgiving – it seemed to highlight the flaws that were in the actual paint where as SG seems to (gradually) hide small imperfections.
Durability – I’ve washed the car twice since the final application. The surface is still very smooth and my MF wash mitts just glides over it when washing. The water sheets off the area nicely with any remaining moisture beading up okay. The beading is not like the blitz side at all.
Verdict – The OEM one step is a good deal. I’m definitely going to use it on friend’s cars who are looking for a one pass quick hit. The Finishing wax is another good product but requires you to pay attention to what you are doing. I’d like to make a couple layers with the Finishing wax before judging it against the rest of the car, but I have to say its very hard to differentiate between the two areas of the hood without touching the surface (Blitz’s spongy feeling gives it away…).
Steve
")