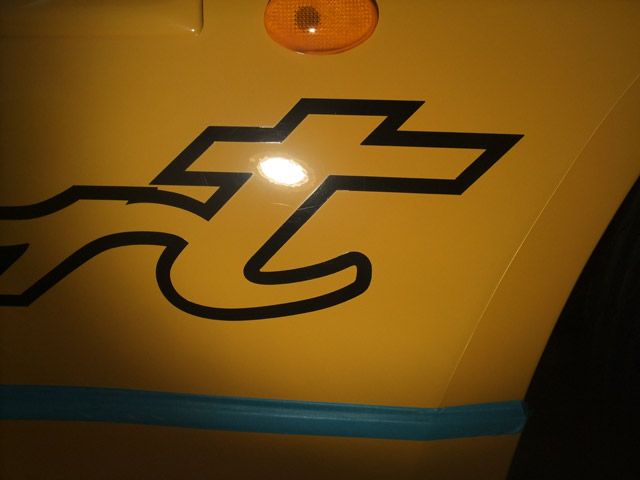
I'd planned on putting this car in with several others in another write up but realised I had just enough to make a "proper" write up out of them so here we go
")
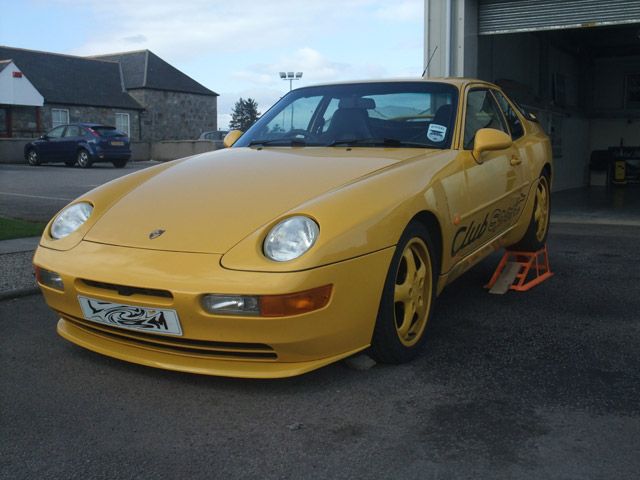
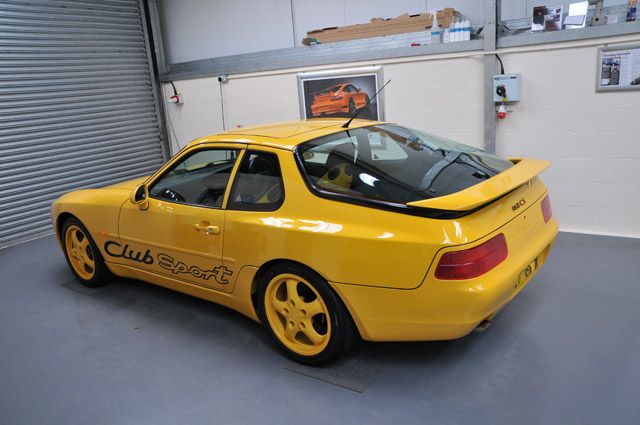
This car belongs to a regular customer of ours who decided he needed a weekend toy after selling his 997 GT3 (he has a Gen 2 GT3 on the way which I'm rather looking forward to

). Overall, the car was in great shape (having only covered just over 2,000 miles in the last decade!) but the paint was obviously a little bit oxidized in places and in need of a spruce up so a 2 day Minor Correction detail was chosen.
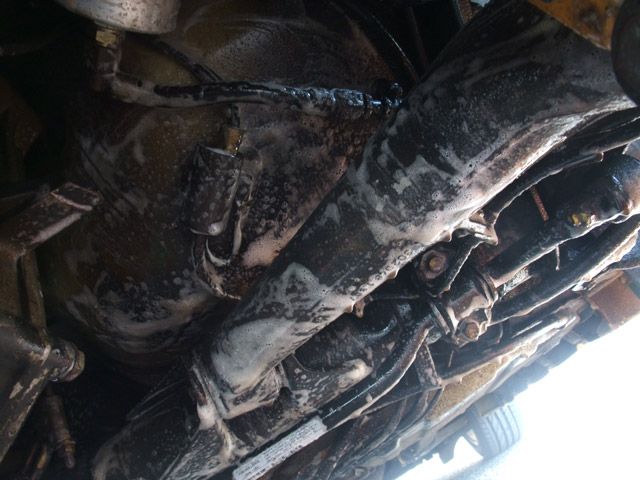
However, the car was first put onto a set of ramps...
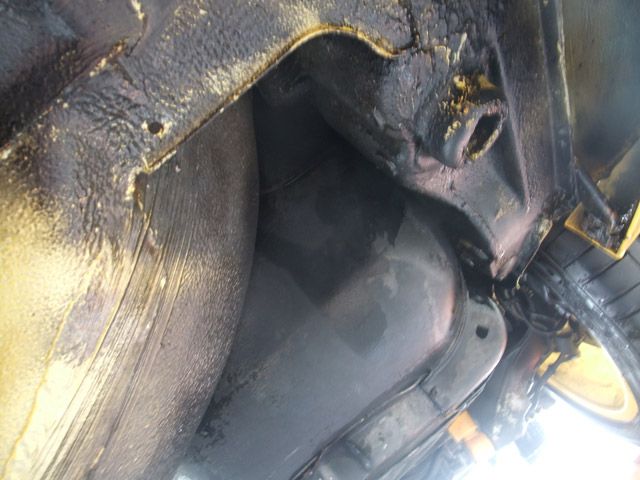
The car had been driven a couple of times on the winter roads so the owner asked if I could give the underside a quick going over to get rid of any salt/grit etc.
So after a pre-rinse with the pressure washer to remove any loose dirt I sprayed a generous amount of
R222 and then agitated with various brushes:
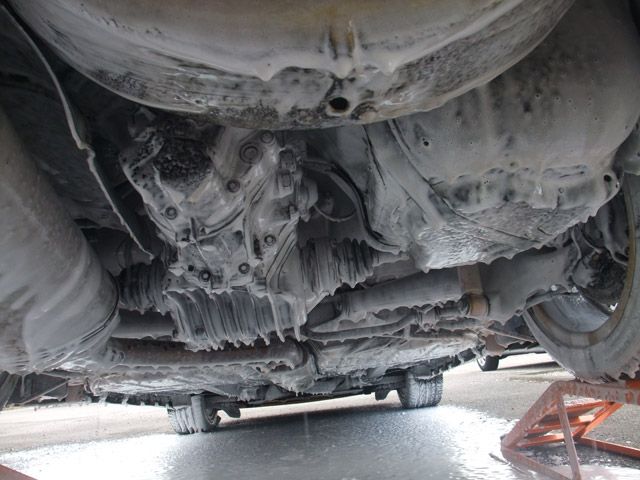
I then followed this up with
R222 through the foam lance @ 60 degrees...
...Then thoroughly rinsed off again @ 60 degrees and then gave it a quick dry with the
Black Baron to check everything was nice and clean again.
There's a fair bit of underseal underneath so it doesn?t exactly look "bling" but it?s clean:
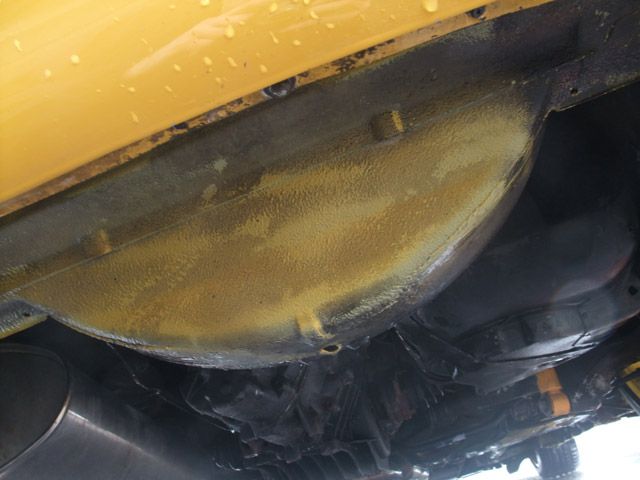
The process was then repeated for the front.
Onto the main wash stage now:
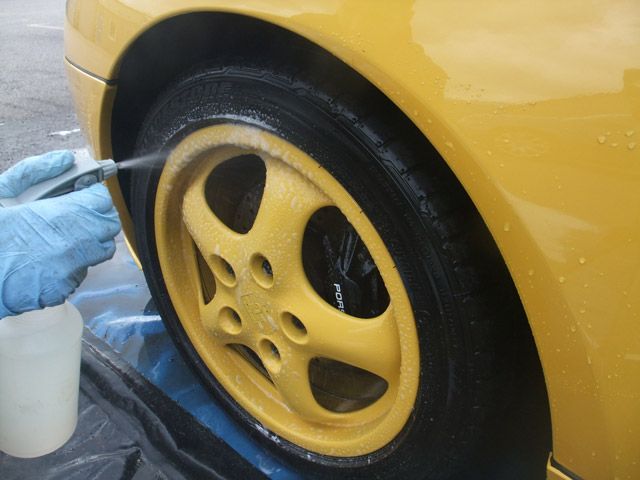
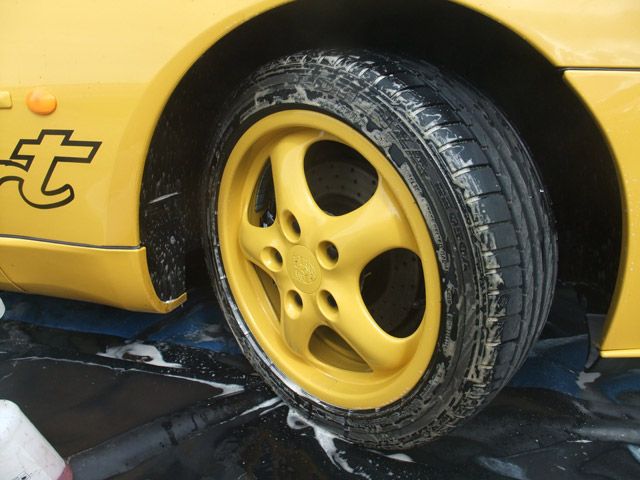
After giving all 4 wheels a thorough pre-rinse (you should always do this first, it surprises me how many people start cleaning a "dry" wheel) I applied
Gloss-It Wheel Gel (4:1)...
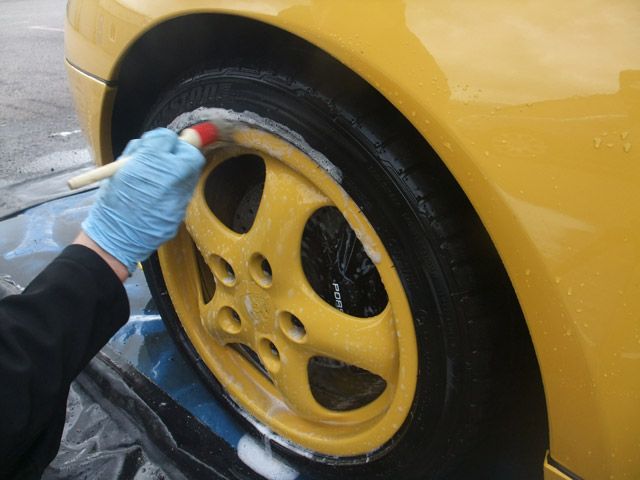
...Then agitated with
Raceglaze Detailing and
EZ Brushes...
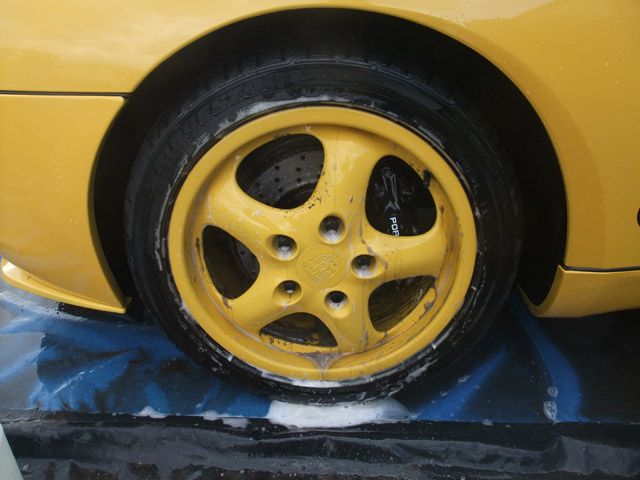
...before being rinsed off...
Autosmart Tardis was then used to remove the few tar spots on the inner rims:
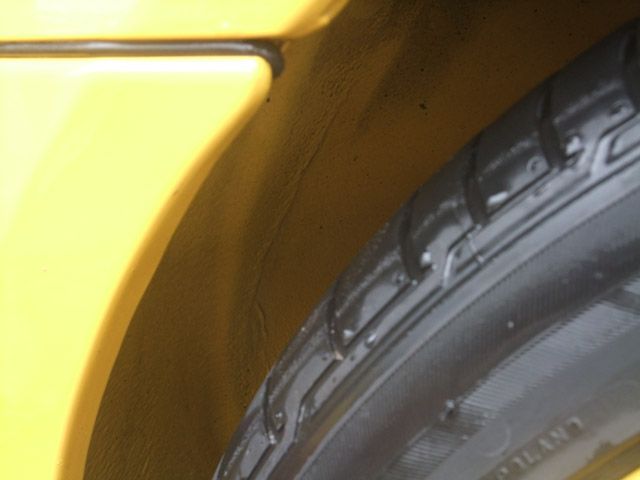
Tyres and arches next - these weren't overly dirty (obviously this pic was taken before the wheels were cleaned):
Meguiars Super degreaser (4:1) and a
Wheel Back Brush were used for these bits:
This just left a few remaining tar spots that
Tardis would take care of:
It then started to rain pretty heavily so no more pics but the usual wash routine followed such as cleaning all shuts and exterior trim with
Meguiars APC, the engine bay with
Meguiars Super Degreaser (2:1), 2 bucket wash with a new shampoo on test and then de-tarred with
Tardis.
The car was then brought inside and clayed with
Meguiars Mild Clay and plain water for lube but very little contamination was found - not uncommon for single stage paints.
To get some life back into the paint I settled on the combination of
Meguiars 205 and a
Green Gloss-It Polishing Pad with the
Kestrel DA machine @ Speed 5.
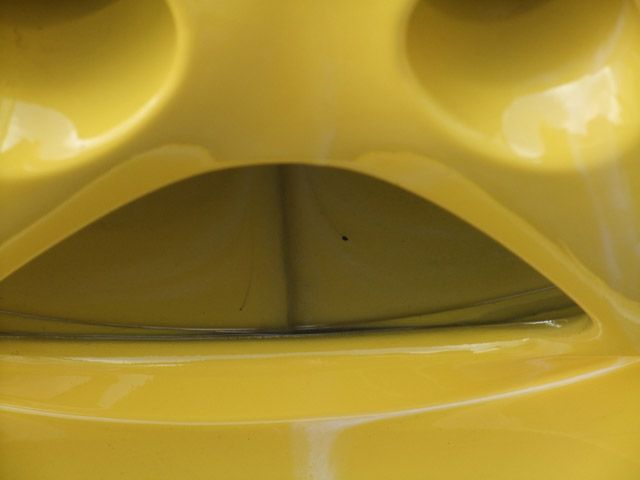
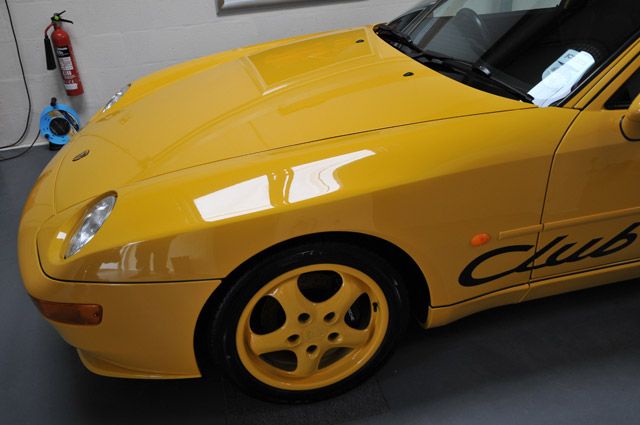
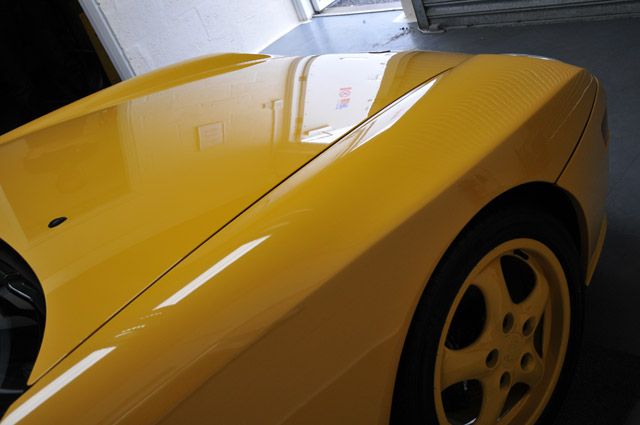
Whilst 100% correction wasn't the aim on this detail the results were very good:
Before:
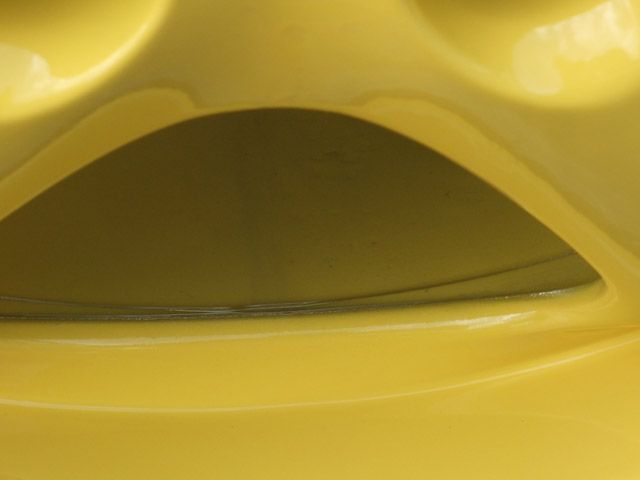
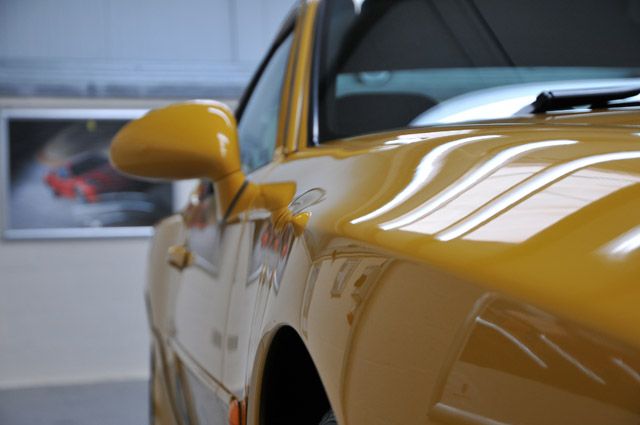
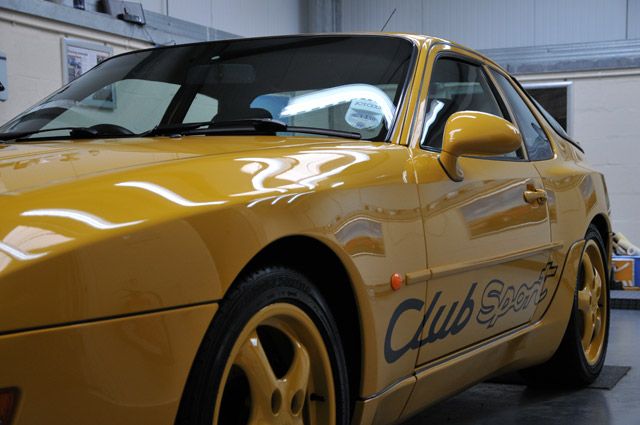
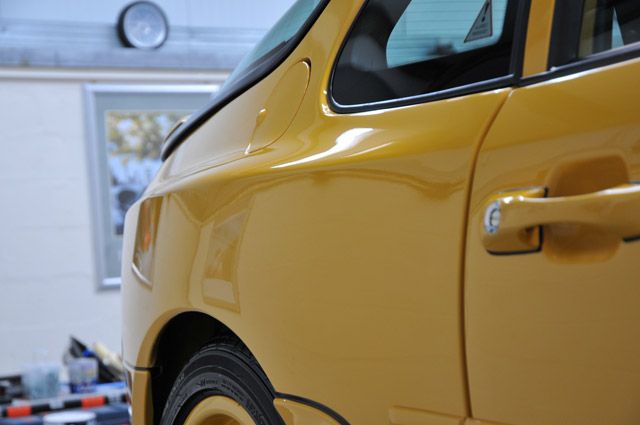
After:
Another couple of afters:
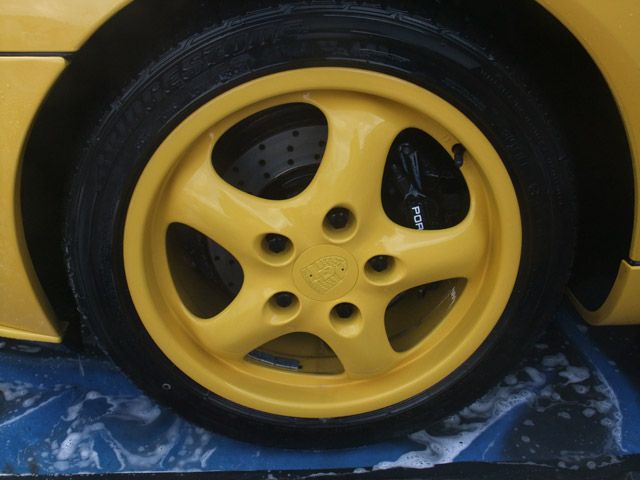
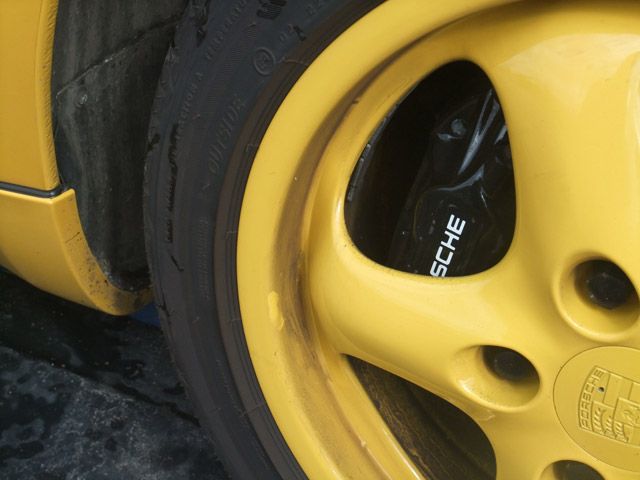
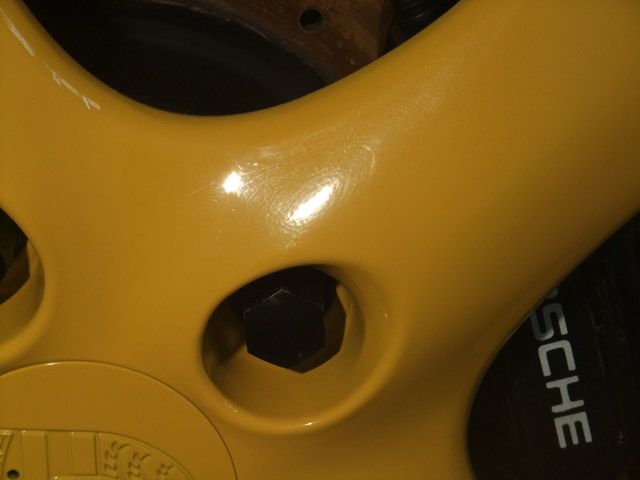
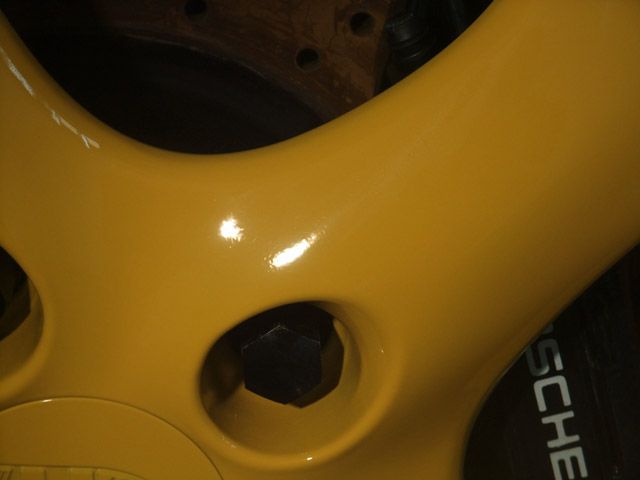
The wheels were also machine polished using
Menzerna 203S and a
Green Gloss-It Spot Pad:
Before:
After:
The wheels were then wiped down with IPA and then sealed with
Blackfire Metal Sealant and the tyres were dressed with
Gloss-It Signature Tyre Gloss.
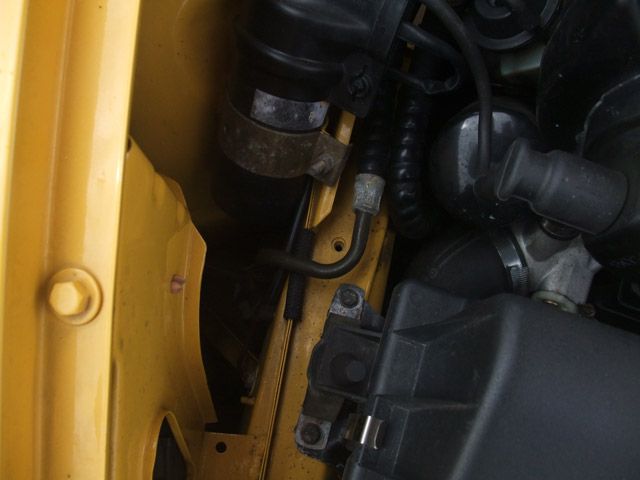
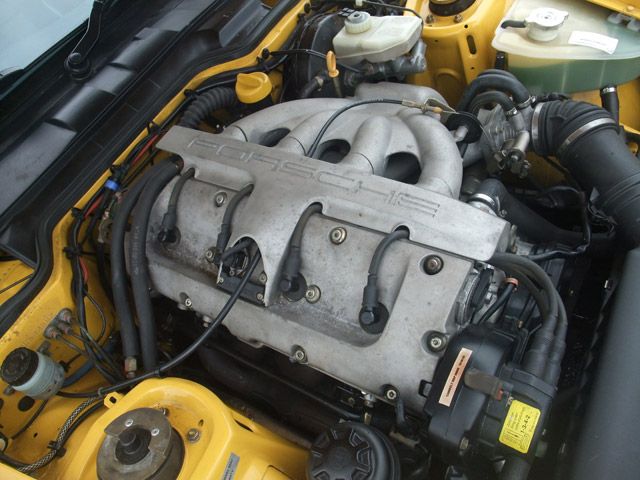
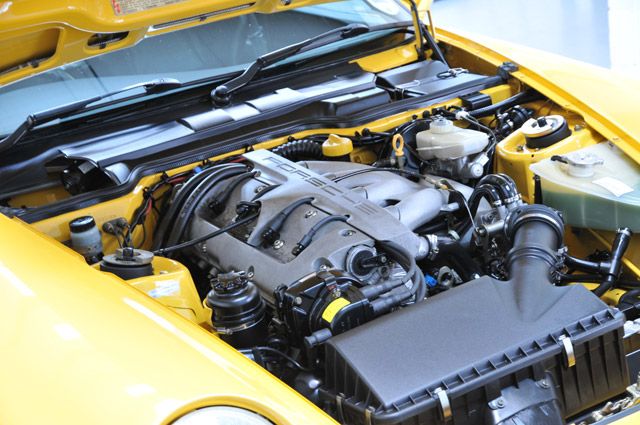
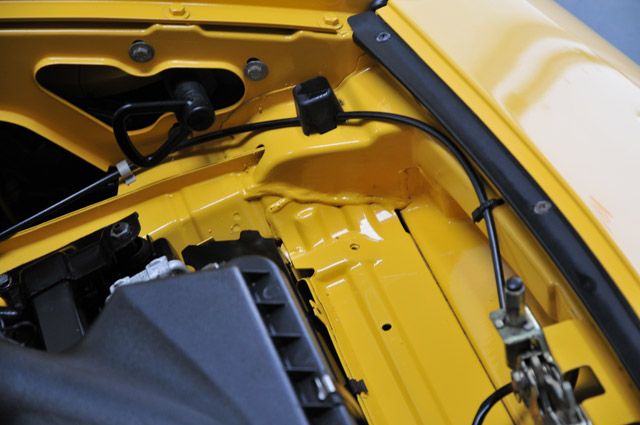
The engine bay was dressed with
303 Aerospace Protectant and the painted parts polished and sealed with
Werkstat Prime Strong.
Couple of befores:
After:
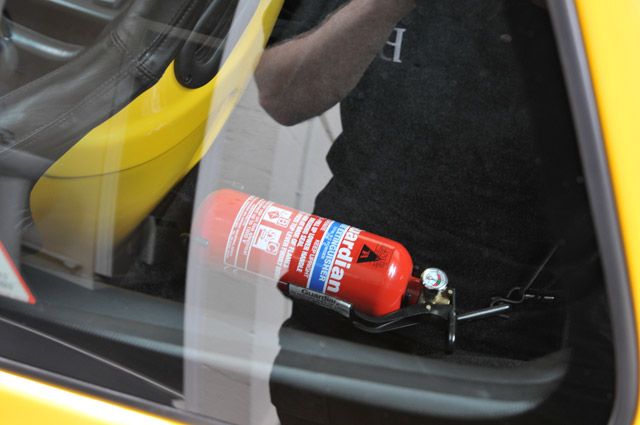
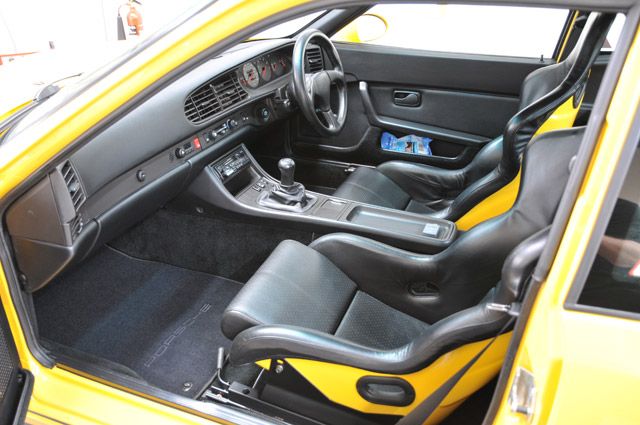
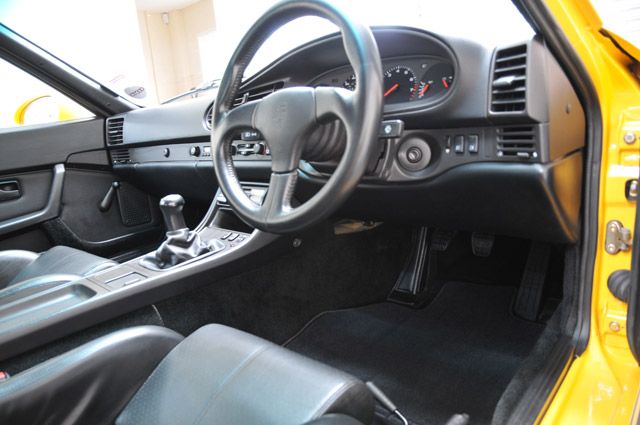
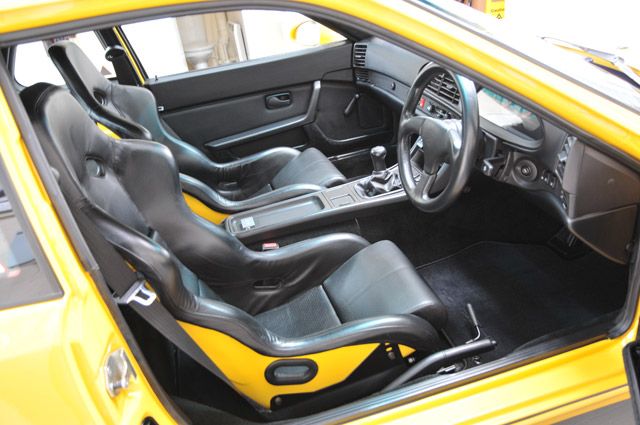
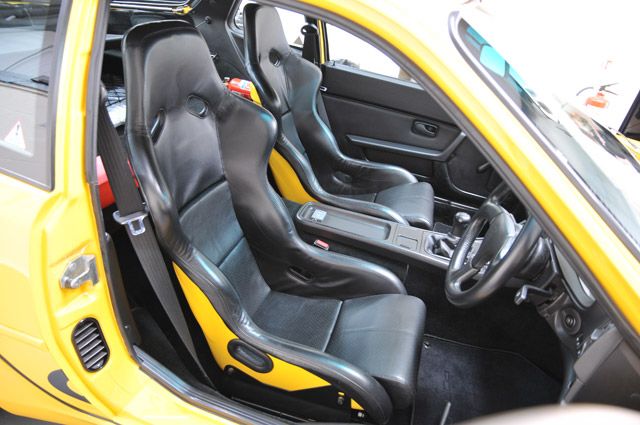
The interior was fully detailed including a thorough hoover and dust down,
APC wipe down, leather cleansed with
Raceglaze Leather Cleaner and fed with
Raceglaze Leather Balm, interior glass cleaned with
Brilliant Glass Cleaner, the backs of the seats were waxed with
Raceglaze 55, shuts polished and protected with
Werkstat Prime Strong, seals fed with
Raceglaze Trim Dressing and I also fitted new mats and brackets to fix them down.
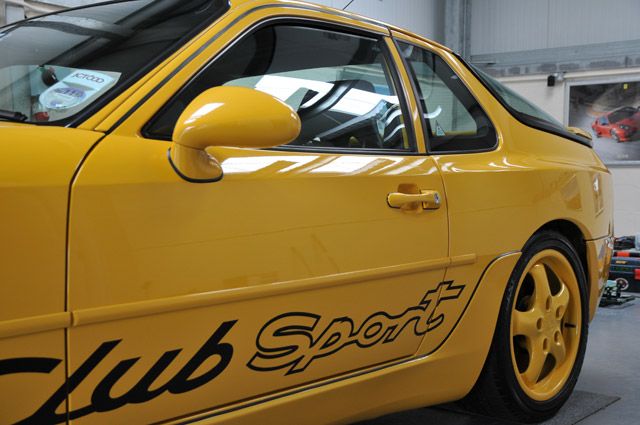
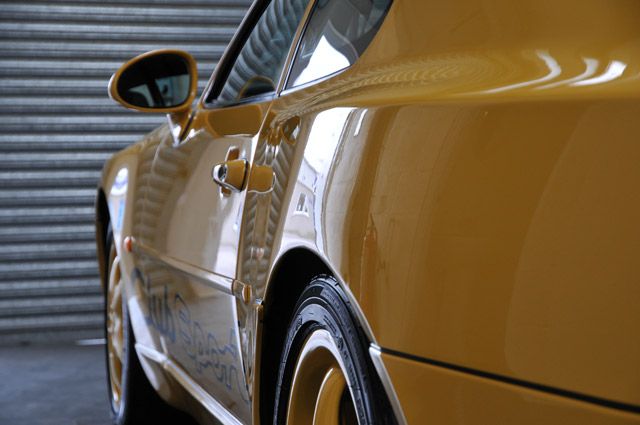
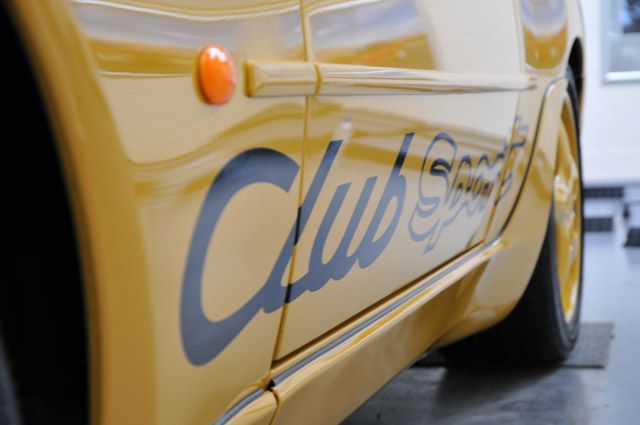
On the exterior, the paint was given a thorough wipe down with IPA and then waxed with Zymol Vintage followed by a final wipe down with
Werkstat Carnauba Glos. The exterior glass was done with
Werkstat Prime Strong and the tailpipe was polished with
Brilliant Aluminium and Stainless Steel Polish.
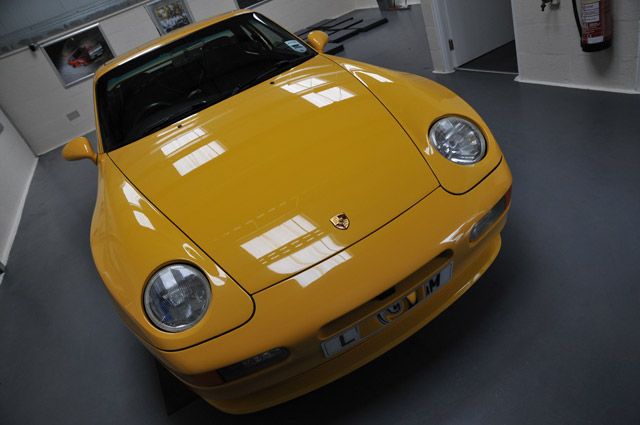
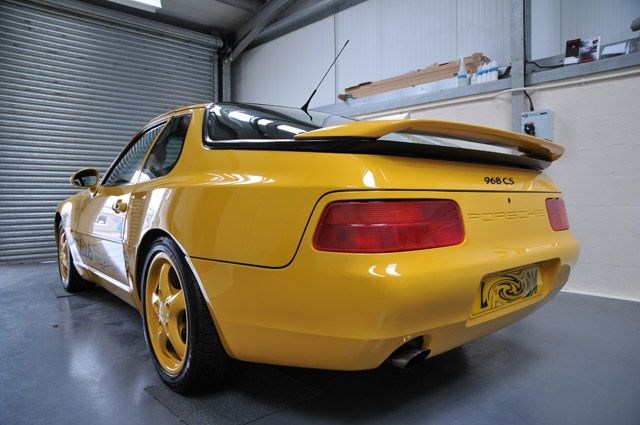
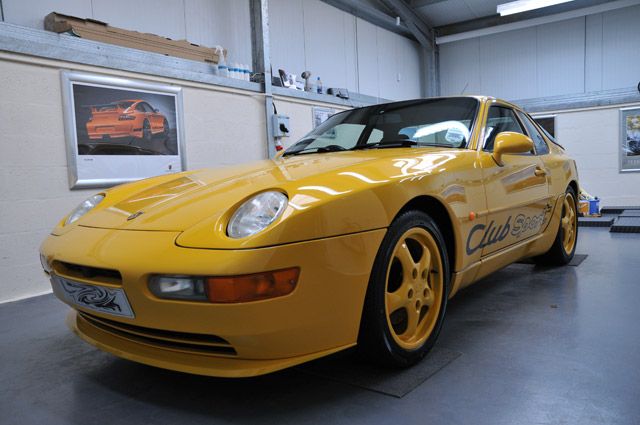
All that remains are a few afters, you'll notice that there's a bit of background mess in some of them as the car was finished just before the new floor was about to be laid
Thanks for looking and thanks to the owner for letting me tick another one off the "cars to detail before I retire" list
Clark

")


 artaaay: