LawrenceSA
New member
I detailed this car back in the beginning of December for an existing client of mine who was unfortunately subjected to some ongoing road maintenance right by his house, resulting in a car a lot dirtier than he would normally have it, and one with a lot of tar deposits all of the paint and wheels.
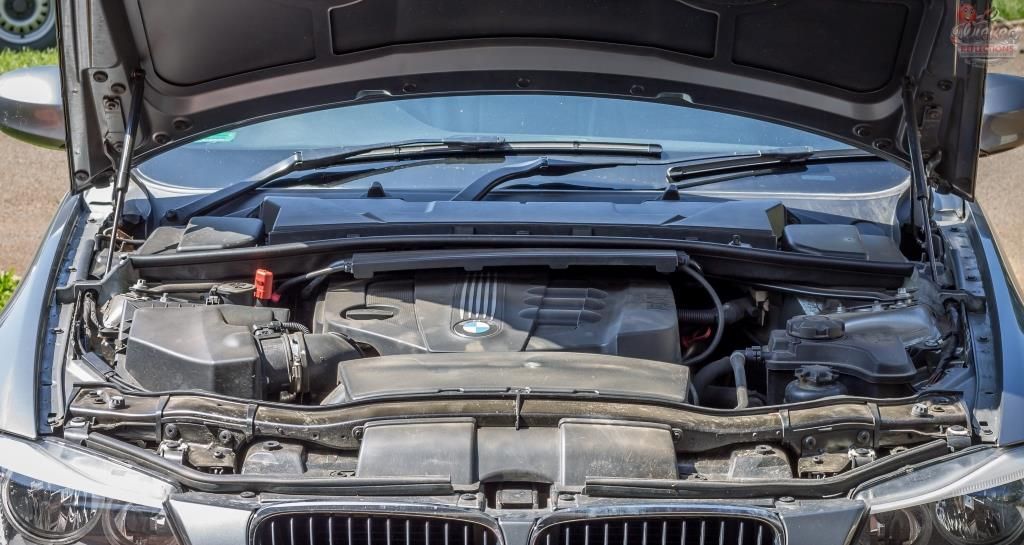
As always the engine bay was tackled first as this is often one of the dirtiest parts of the vehicle and if washed after the rest of the car had been done, you would inevitable `splash` some of this dirt back on to your clean paint, necessitating yet another wash and increasing the possibility of instilling fine scratches.
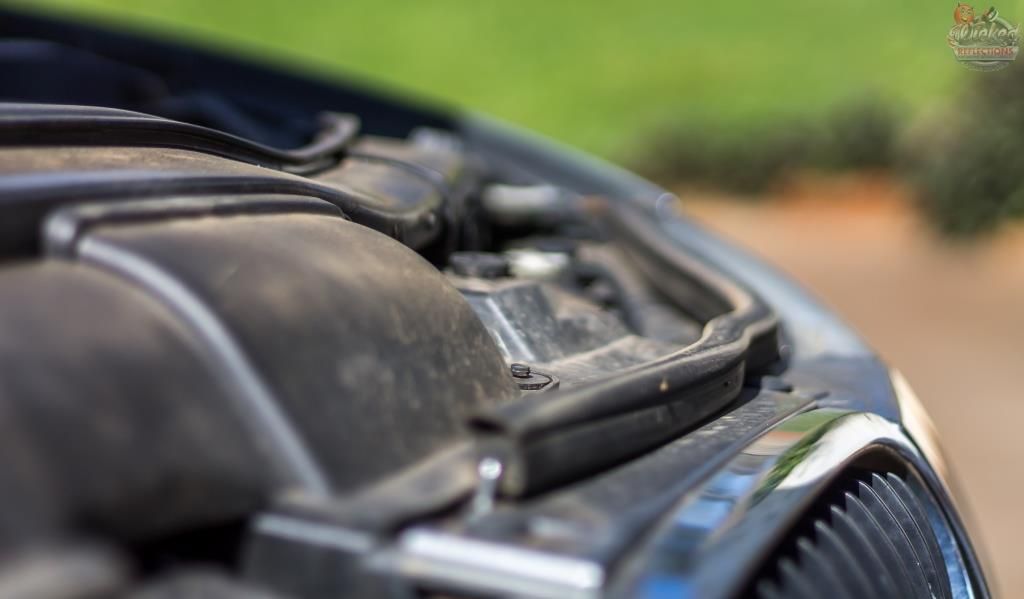
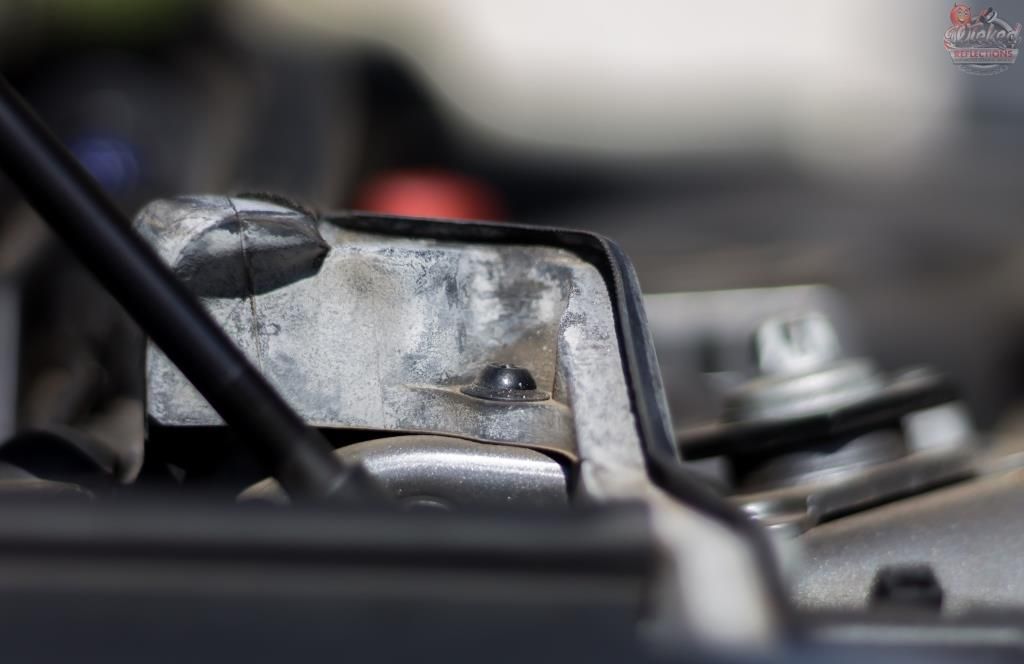
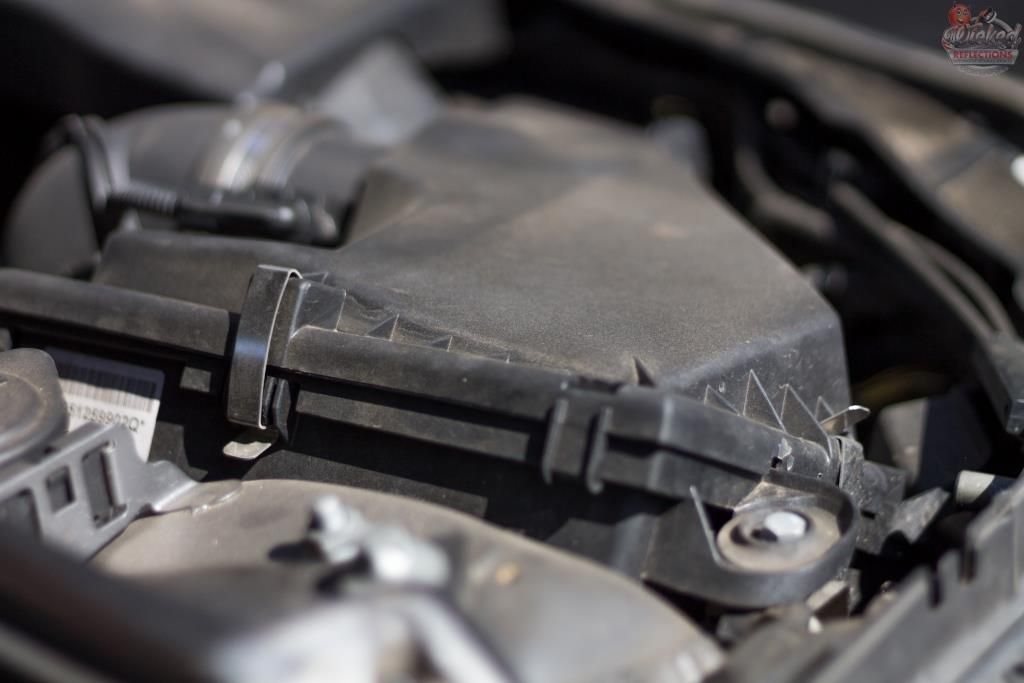
This is what it looked like prior to starting.

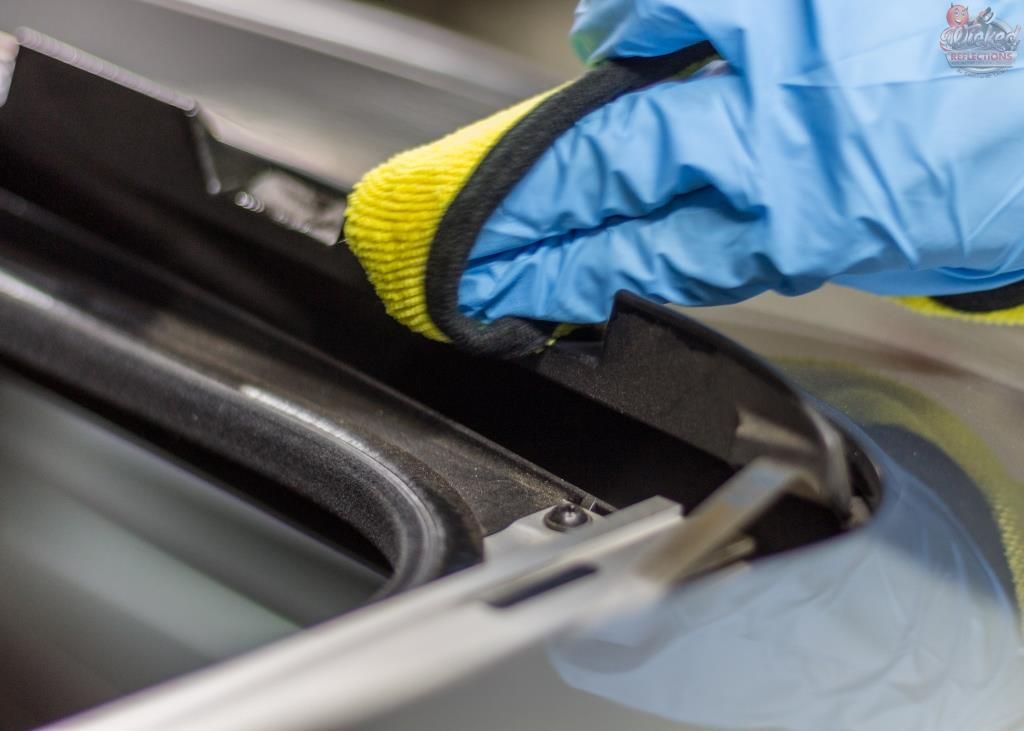
After carefully covering any exposed electrical bits, Carchem APC @1:5 was liberally sprayed over the entire bay via a Gloria Foam Master foam sprayer, left to dwell and then agitated using various Wheel Woolies, Speedmaster and Autofinesse brushes before being pressure rinsed. Autofinesse Dressel was then used to dress the plastics and the painted surfaces were cleaned/polished/protected using Autofinesse Tripple.
I planned on snapping some after pics once I was completely finished with the car, but the bad weather rolled in and I never landed up taking the car out the garage once completed, meaning I never got any after pics - sorry.
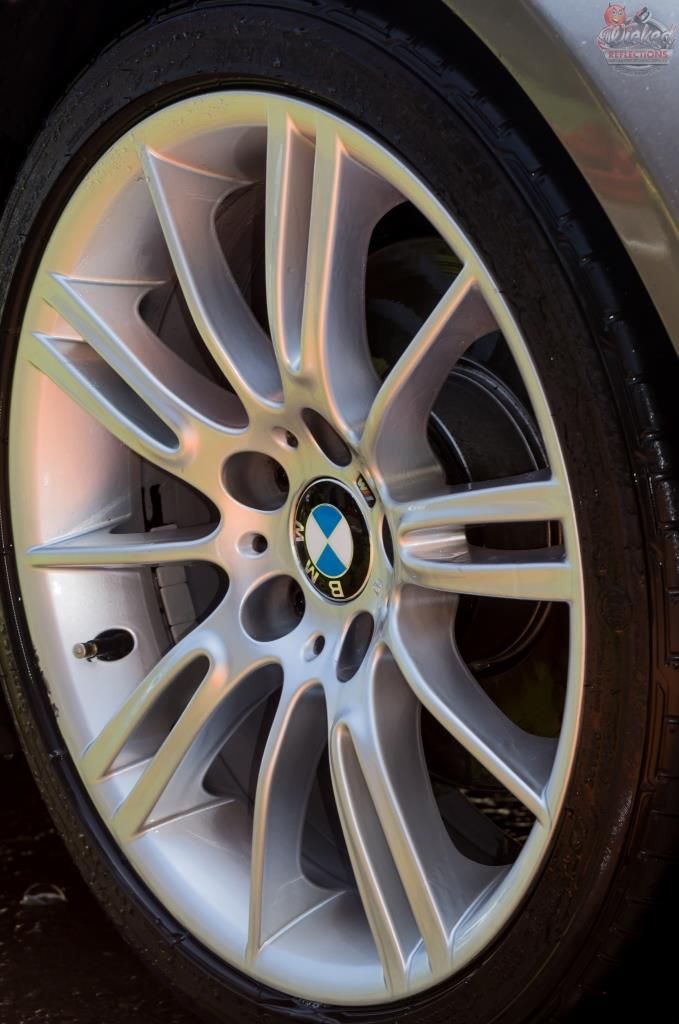
In keeping with the principal of working from dirty to clean, the wheels, tyres, brake calipers and fender wells were tackled next.
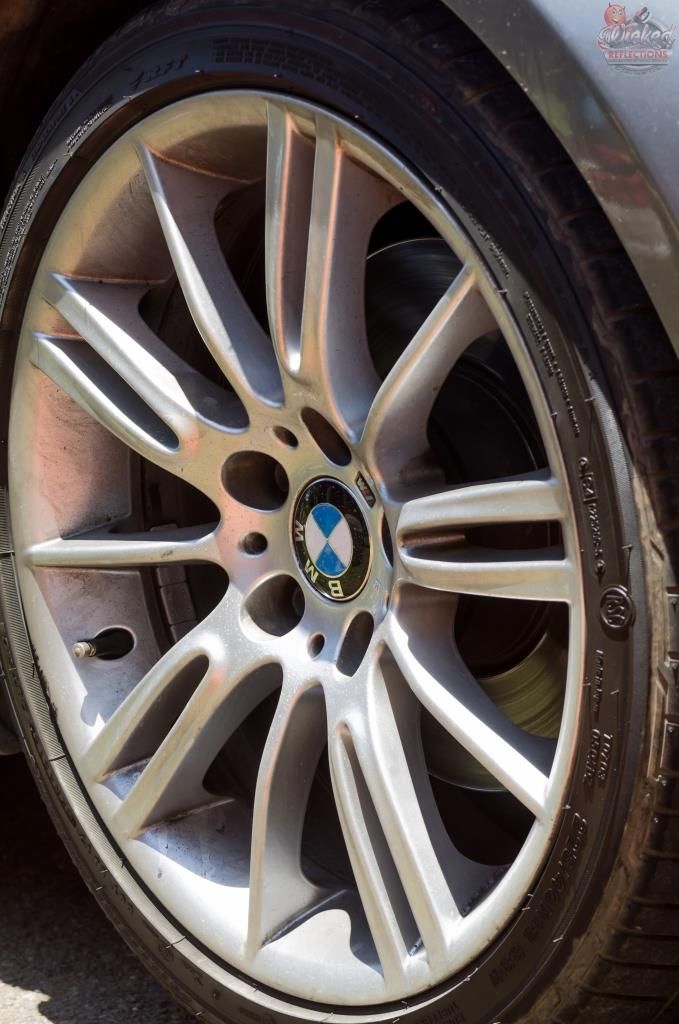
APC was applied
And left to dwell before being agitated in order to remove the bulk of the surface dirt - in my opinion, it is wasteful to spray an iron removal product directly onto wheels with this loose dirt / brake dust as the iron remover has to first make its way through this dirt before it can start tackling the embedded iron particles - and then pressure rinsed off.
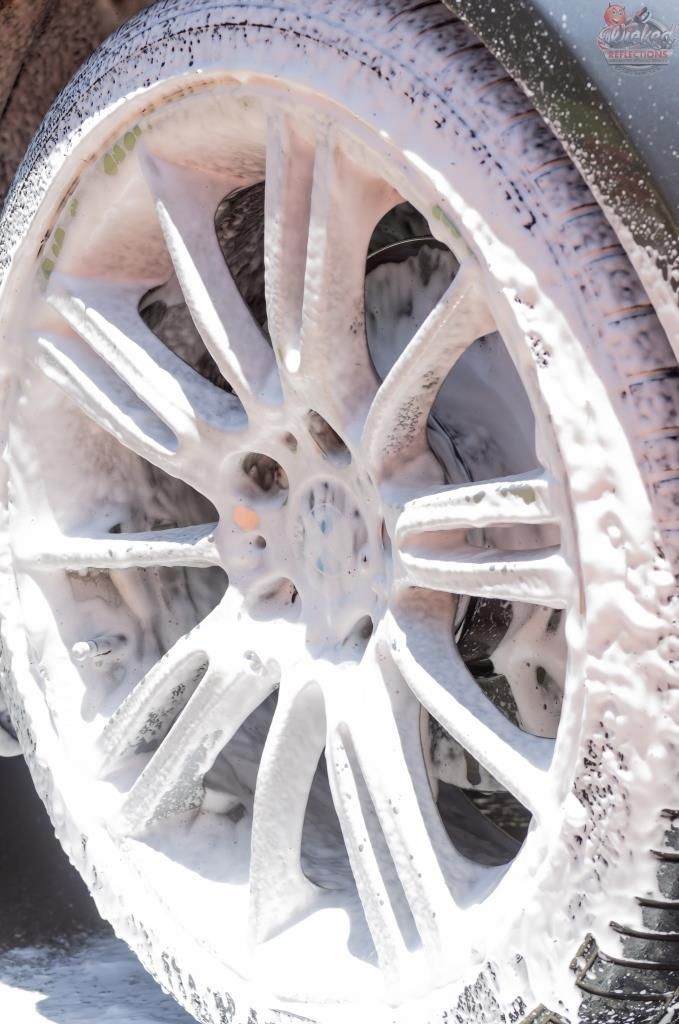
Carchem Revolt was applied and left to dwell before being agitated with Wheel Woolies - I had to repeat this step due to the stubborn embedded brake dust.
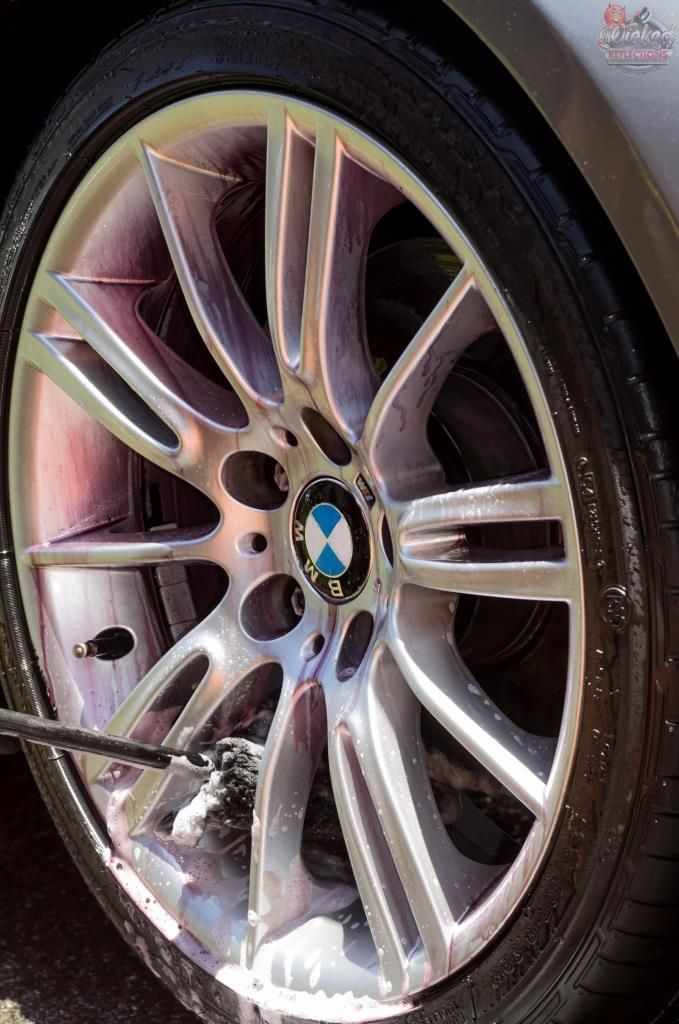
The wheels were then pressure rinsed (from the top down) to ensure none of the residual iron remover is splashed over the paint

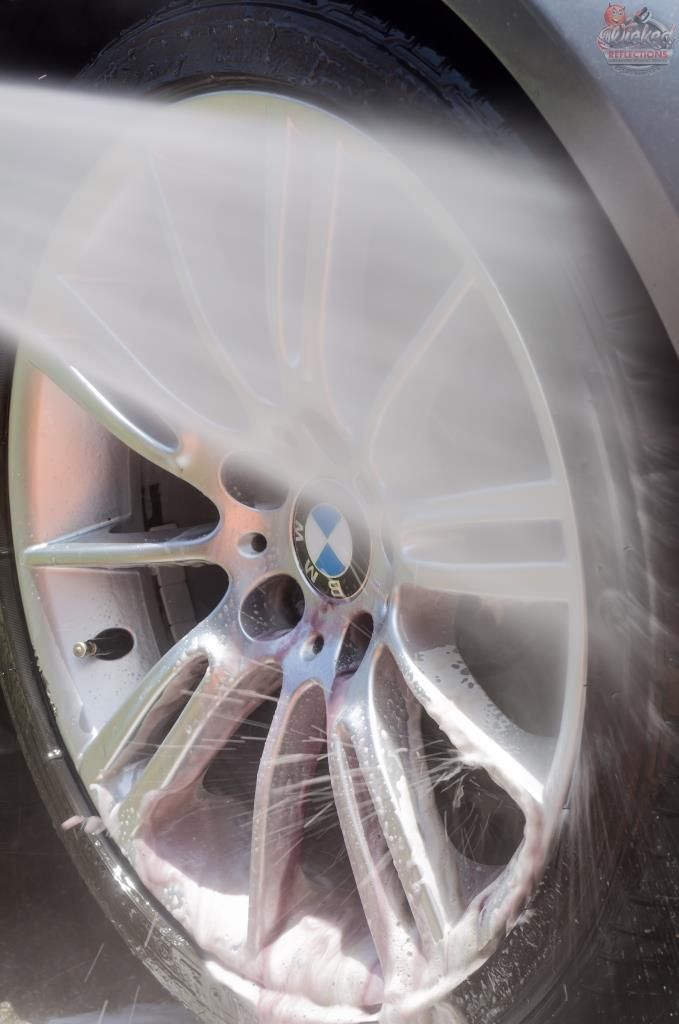
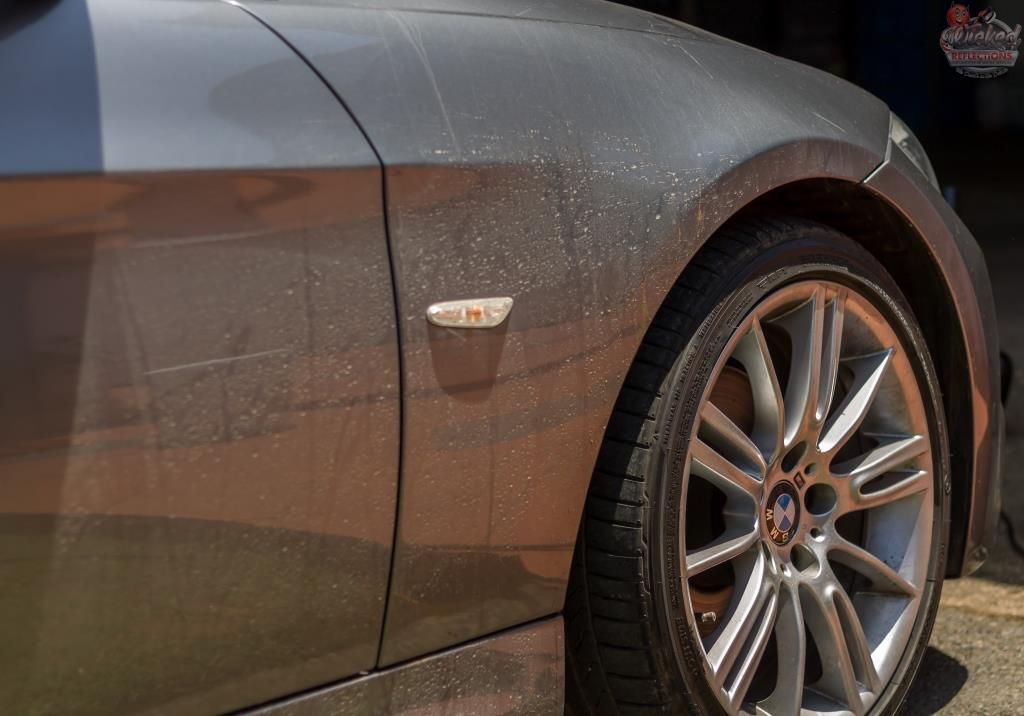
During the final rinse of the car, the wheels were hit with Gyeon WetCoat and the tyres would later be dressed using Carchem Tyre Gel
Then it was time to tackle the dirty car.
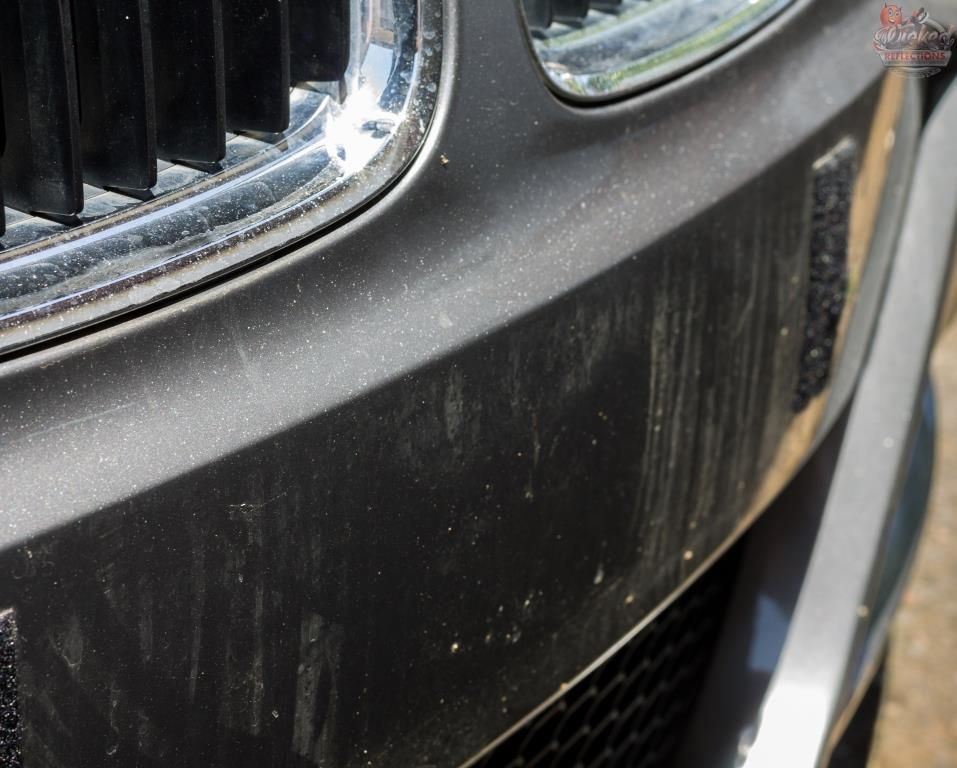
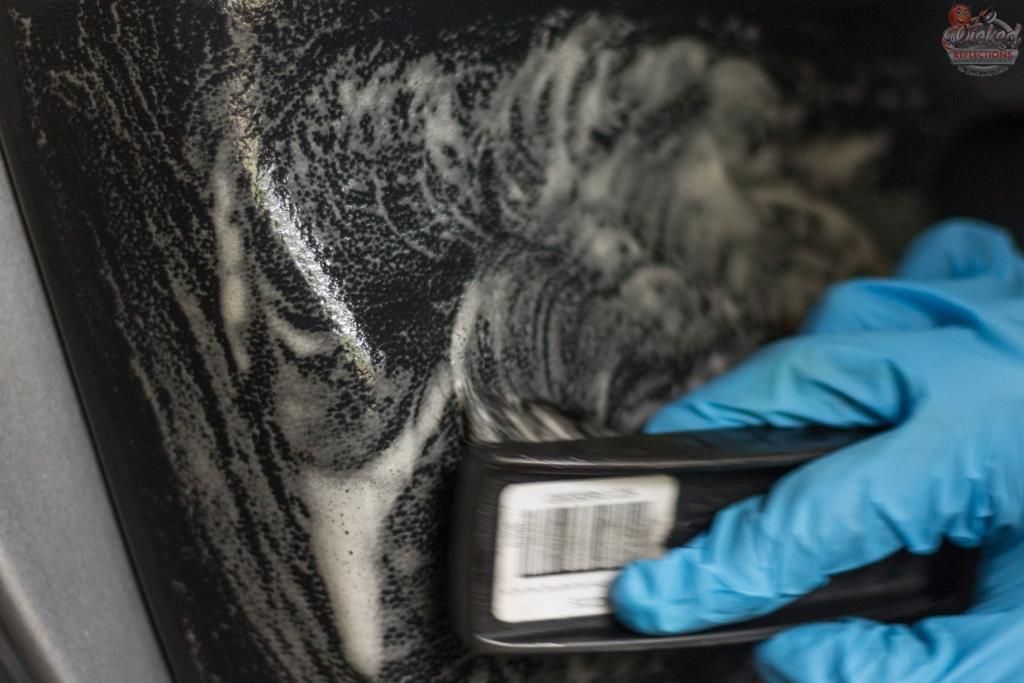
The first step was to use the pressure washer to blast off as much of the loose dirt as possible - any dirt removed prior to making contact with the paint will help reduce the possibility of swirls in the paint. This was then followed by a thorough foaming using Turtlewax Hyperfoam

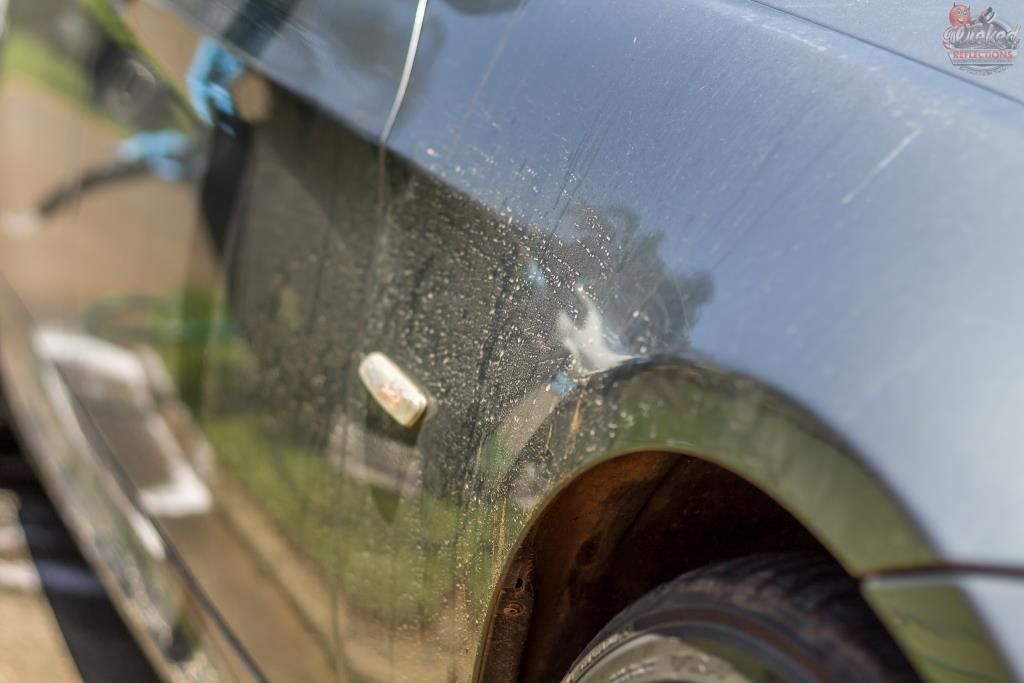
This was followed by a through soaking in Valet Pro Citrus Prewash which was then pressure rinsed off, and then a 2 bucket wash using Carchem Luxury Shampoo and multiple lambswool wash mitts. Carchem Revolt and Valet Pro Citrus Tar Remover were then used for the chemical decontamination of the paint and this was followed with a mechanical decontamination using Shield Heavy Duty clay with ONR as lube.
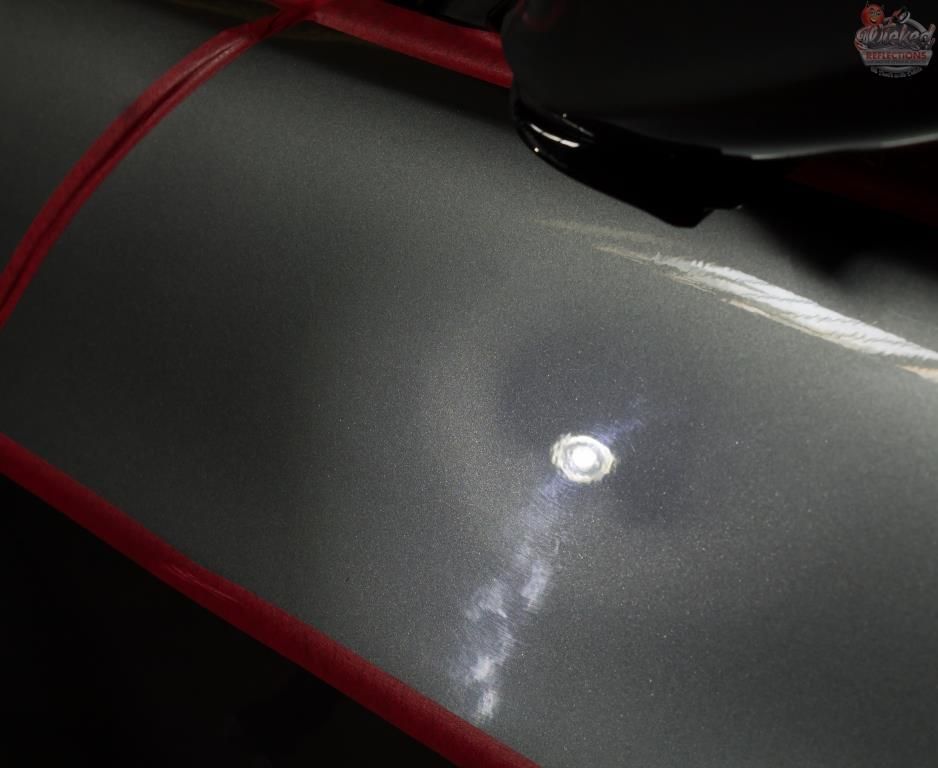
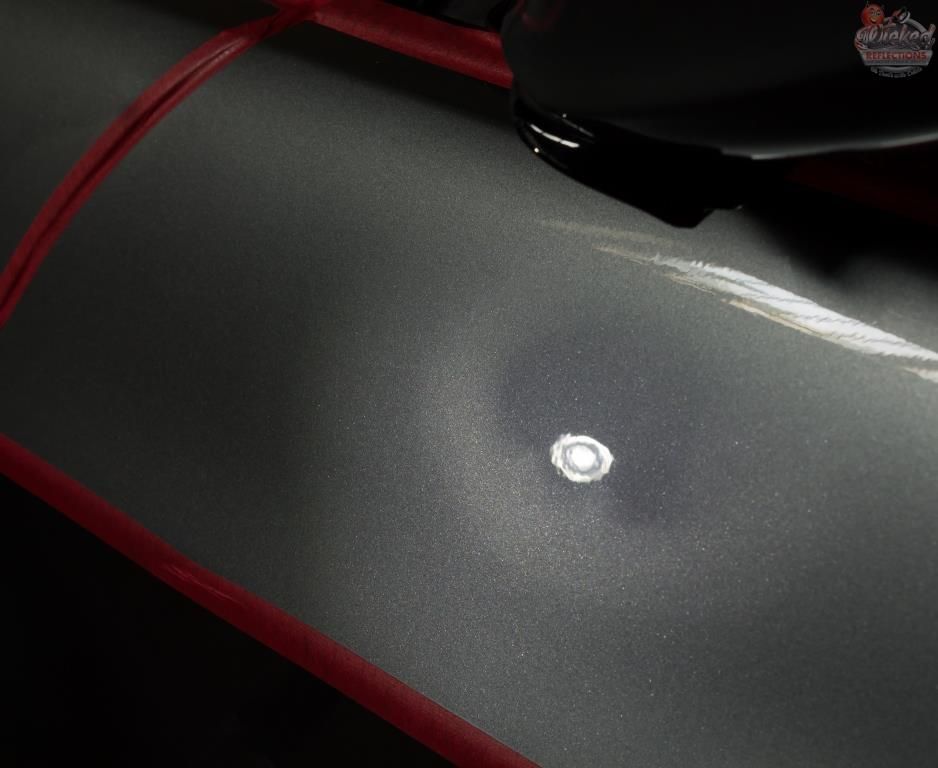
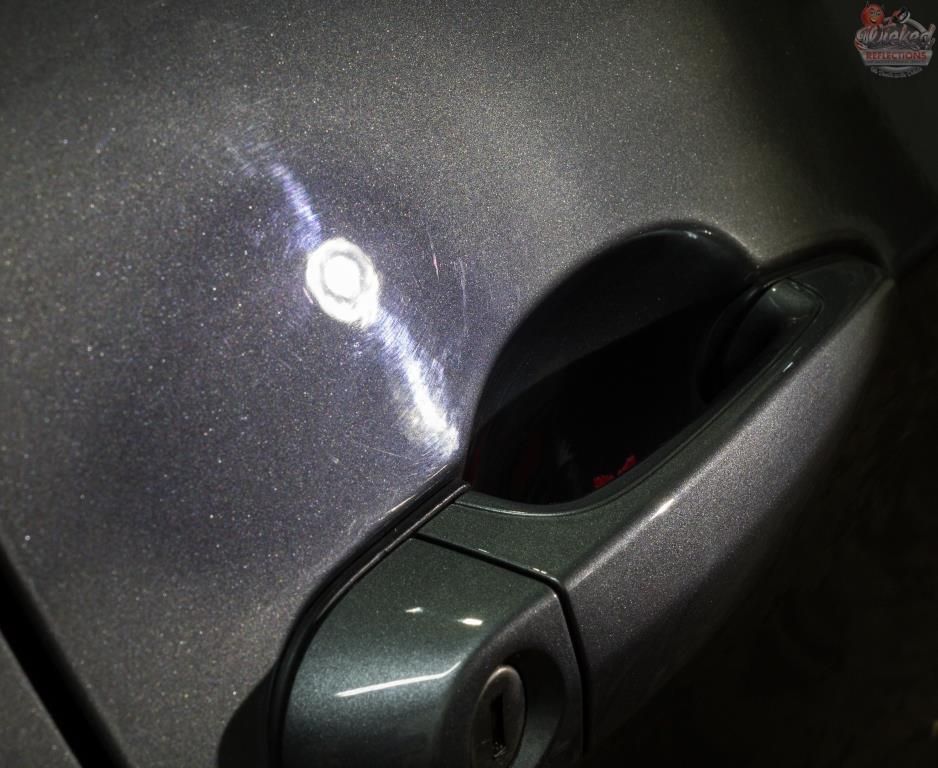
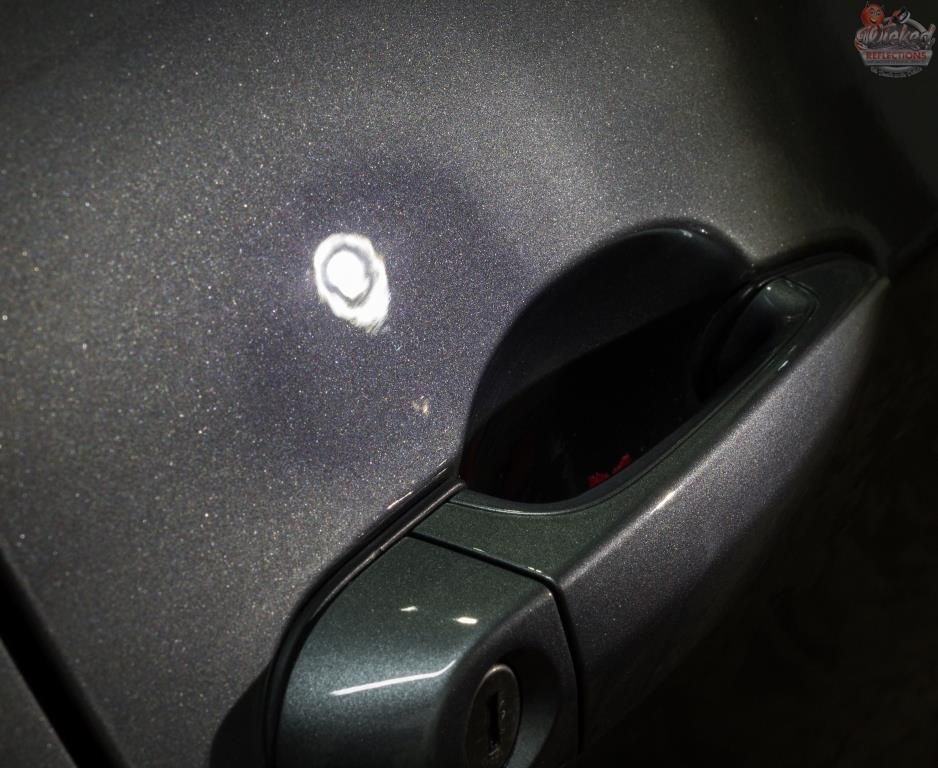
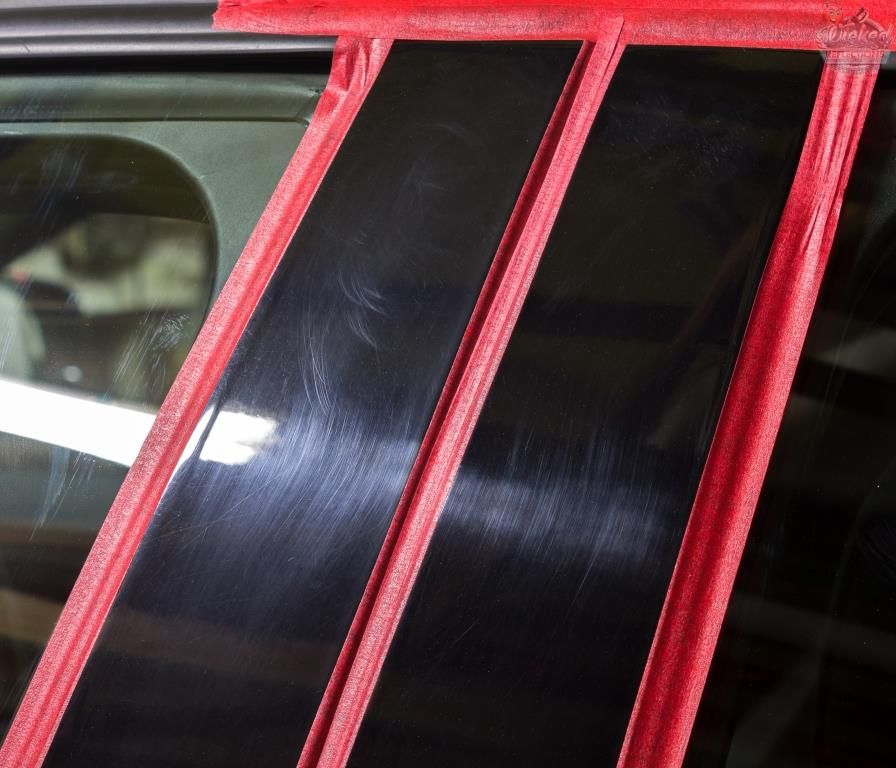
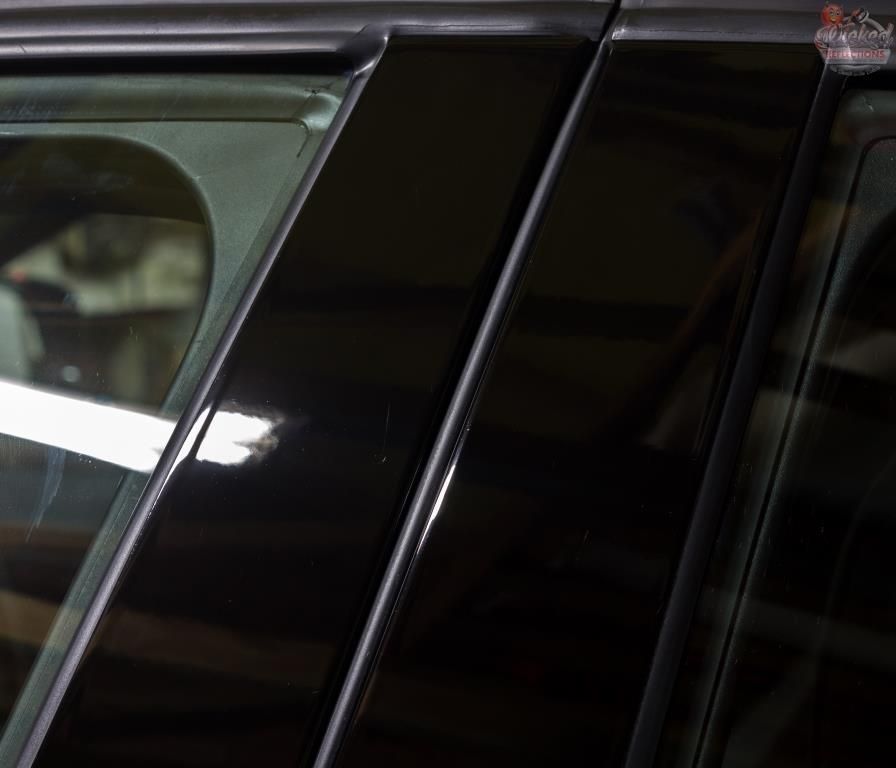
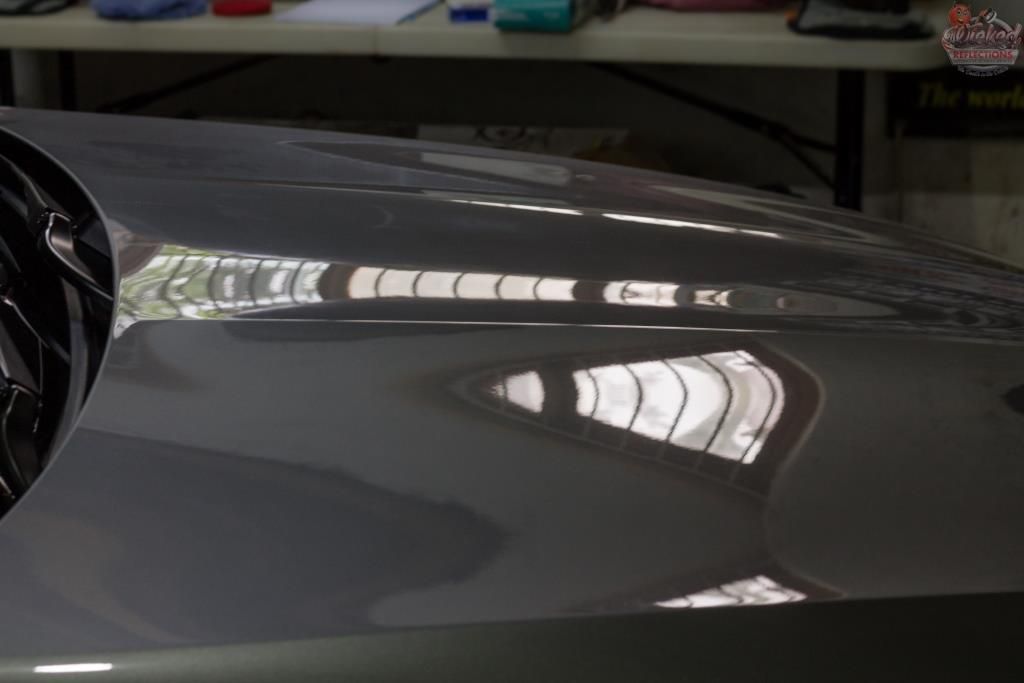
The car was pulled into the garage where the paint thickness was measured and the paint thoroughly inspected. Various test spots were conducted and 1 step using Menzerna FG400 on Orange Lake Country Hybrid Pads was selected - the soft B-pillars and tail lights got an initial cut with Menzerna PF2300 on White Lake Country Hybrid pads, followed by Menzerna SF4000 on Black Lake Country Hybrid pads
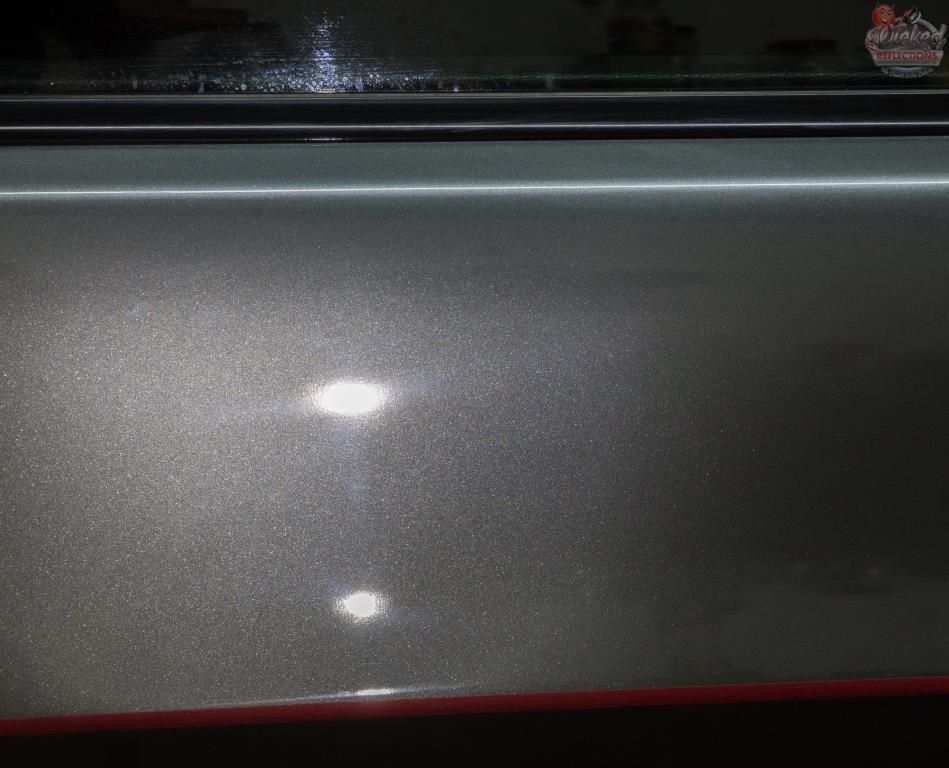
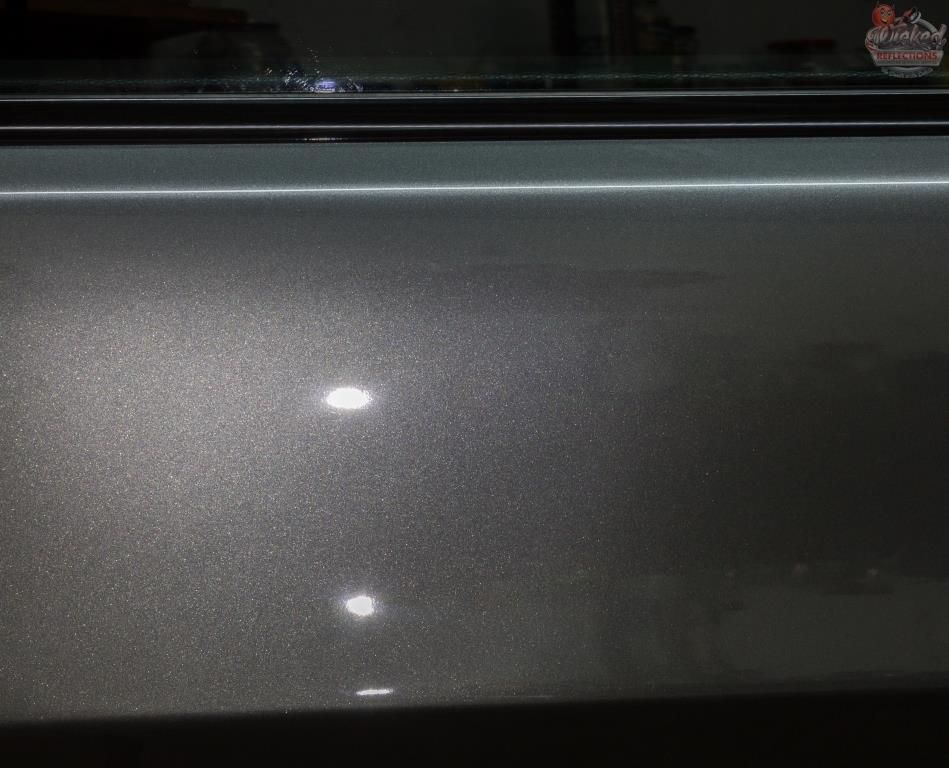
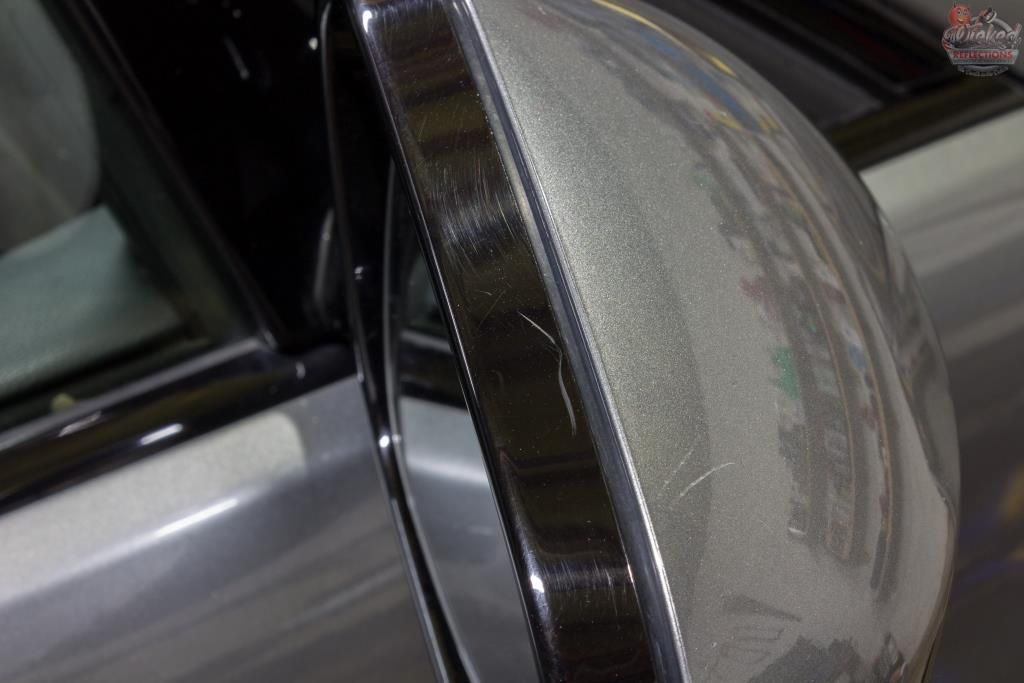
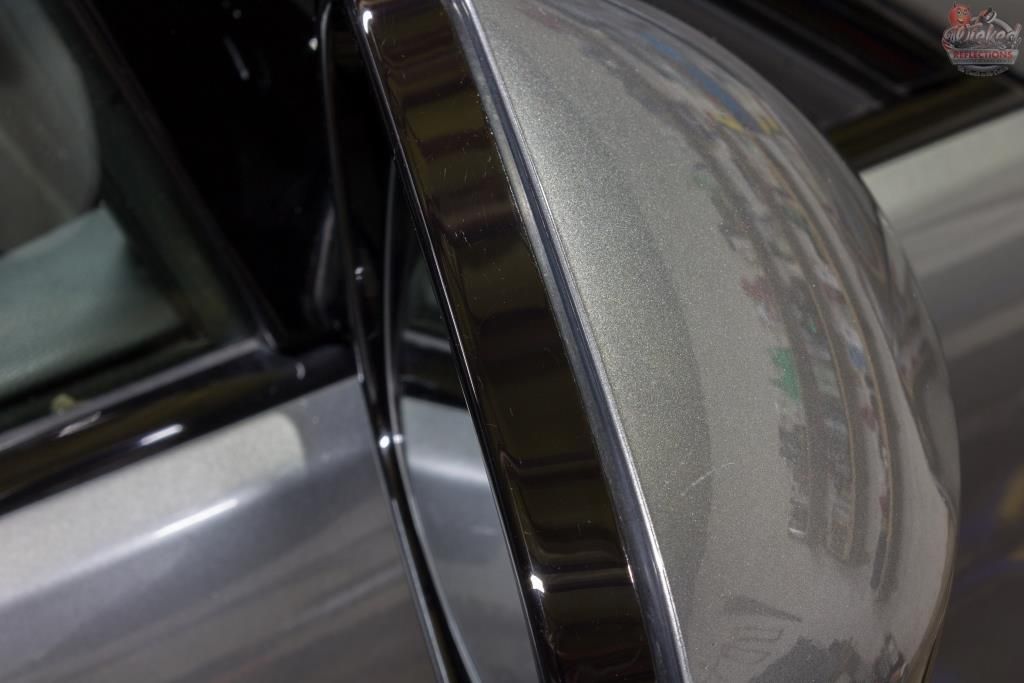
Here are a few before/after shots of the correction process
The paint was then protected using Dodo Juice Iron Gloss Sealant topped with Dodo Juice Purple Haze.
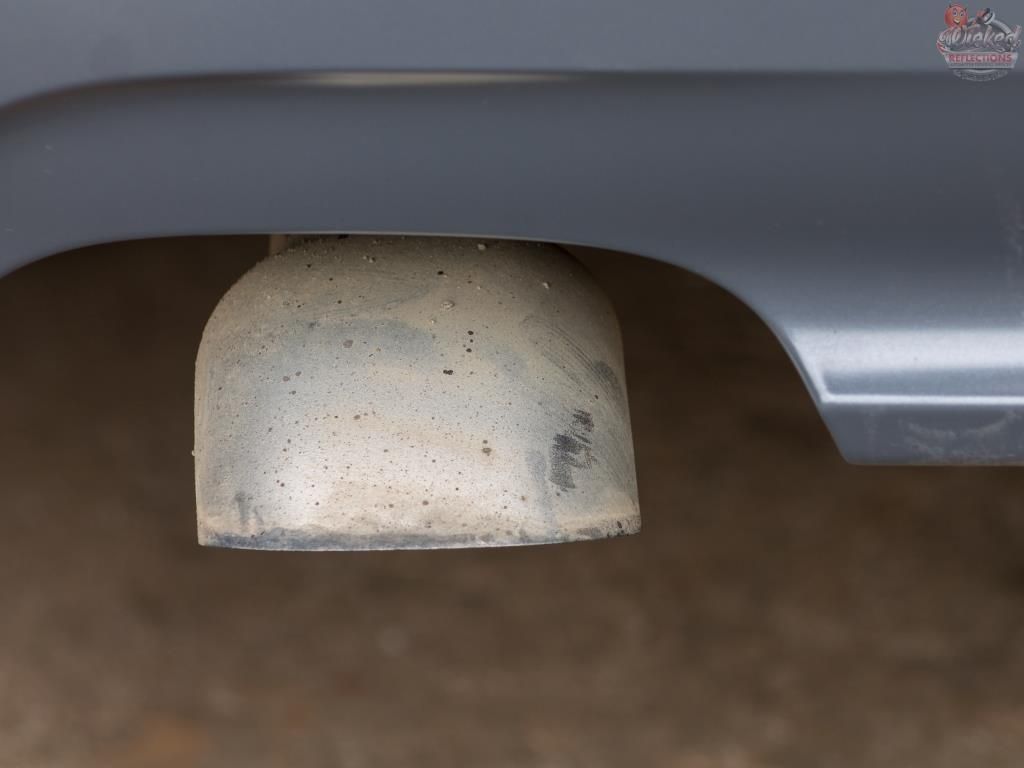
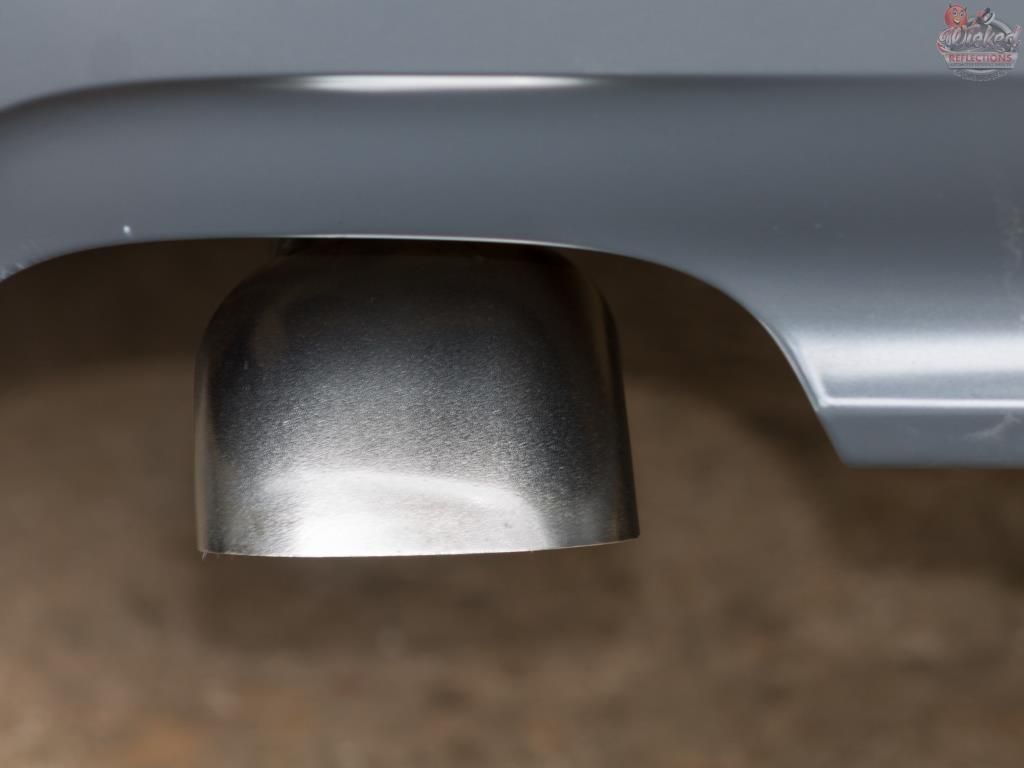
The exhaust tip was cleaned using Carchem APC @ 1:5 then polished using Mothers Mag and Aluminum Polish on a Mothers Power Cone attached to a variable speed drill.
The rest of the details were then taken care of
Exterior plastics
Equipment - Foam applicators, MF towels, Q-tips
Clean - Shield Heavy Duty Vinyl and Rubber Cleaner
Protect - 303 Aerospace Protectant
Glass
Clean - Autoglym Fast Glass, MF towels, Wynns C-Thru
Badges & Emblems
Equipment - Q-tips, MF towels
Clean/polish/protect - Autofinesse Tripple
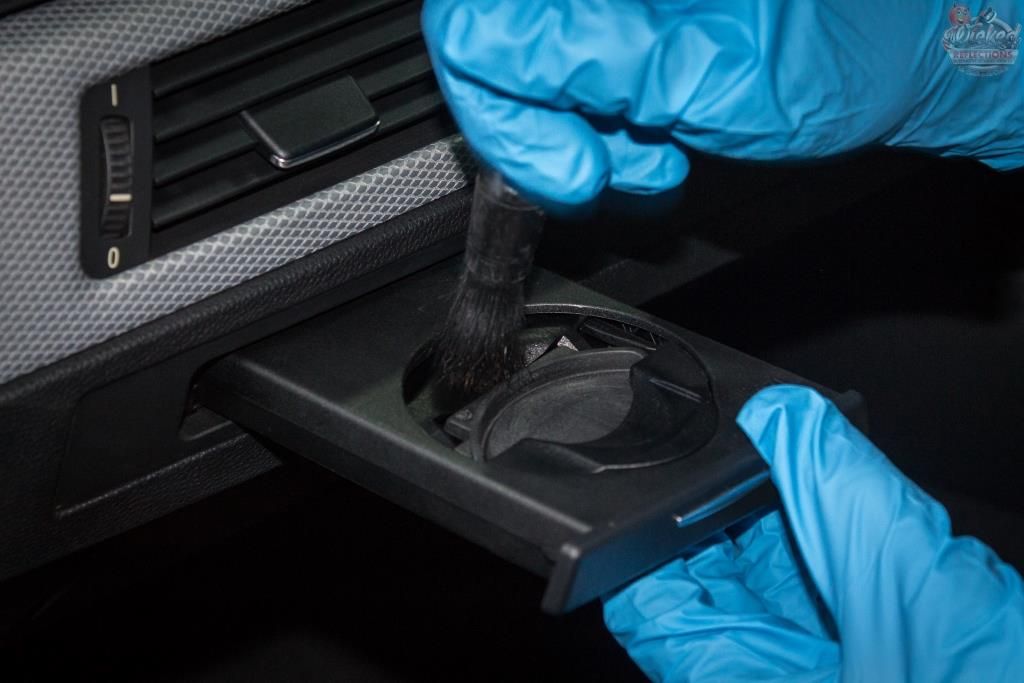
Interior Plastics
Equipment- Foam applicators, MF towels, Q-tips, Various brushes
Clean - Carchem APC @ 1:20
Protect - Optimum Optiseal
Interior Carpets
Equipment- Brushes, Flex VL35C Vacuum
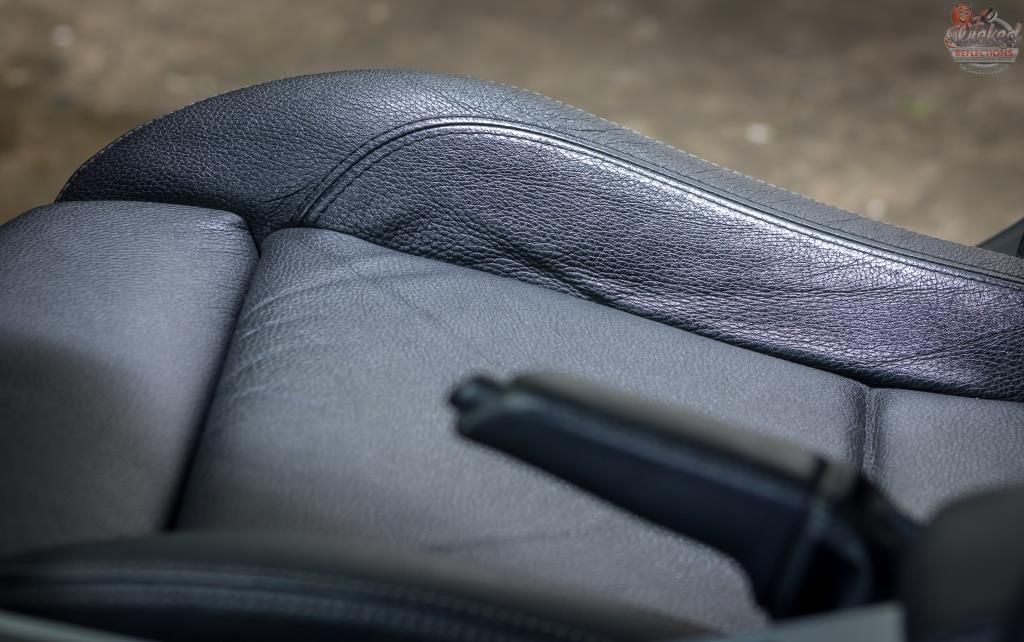
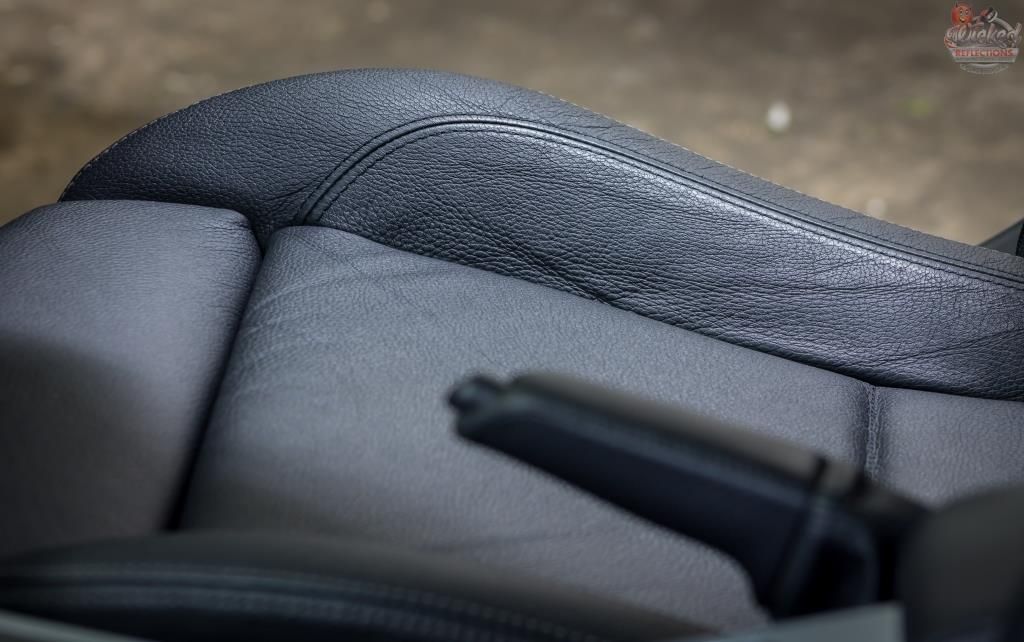
Leather Surfaces
Equipment- Foam applicators, Flex VL35C Vacuum, MF towels, Brushes
Clean - Carchem APC @ 1:20, various brushes, MF towels
Protect - Collinite 855
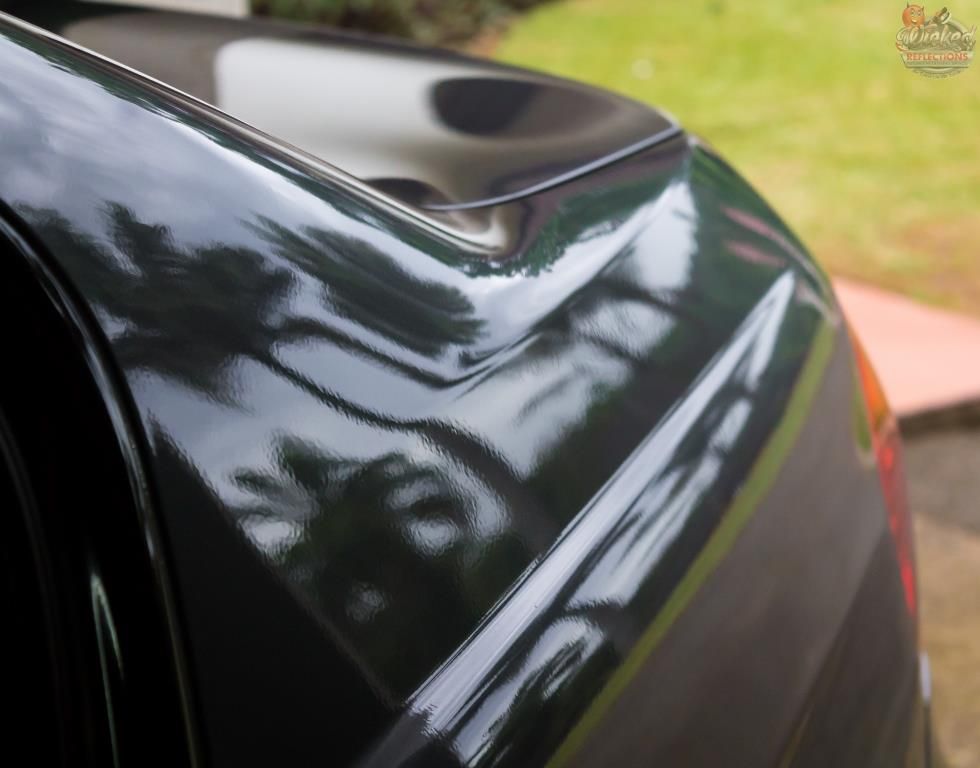
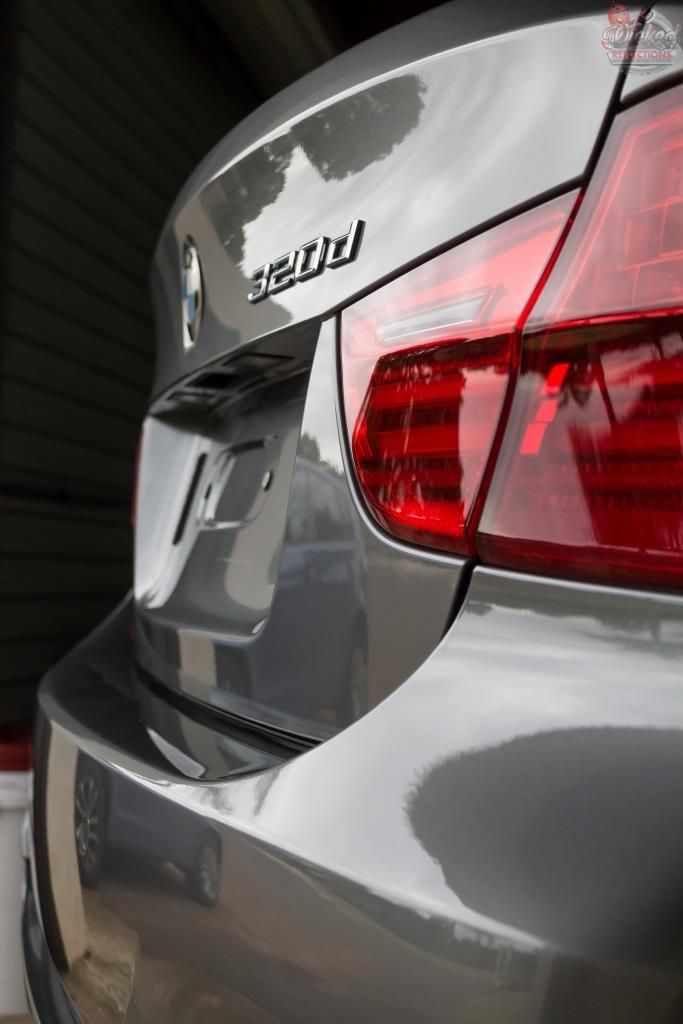
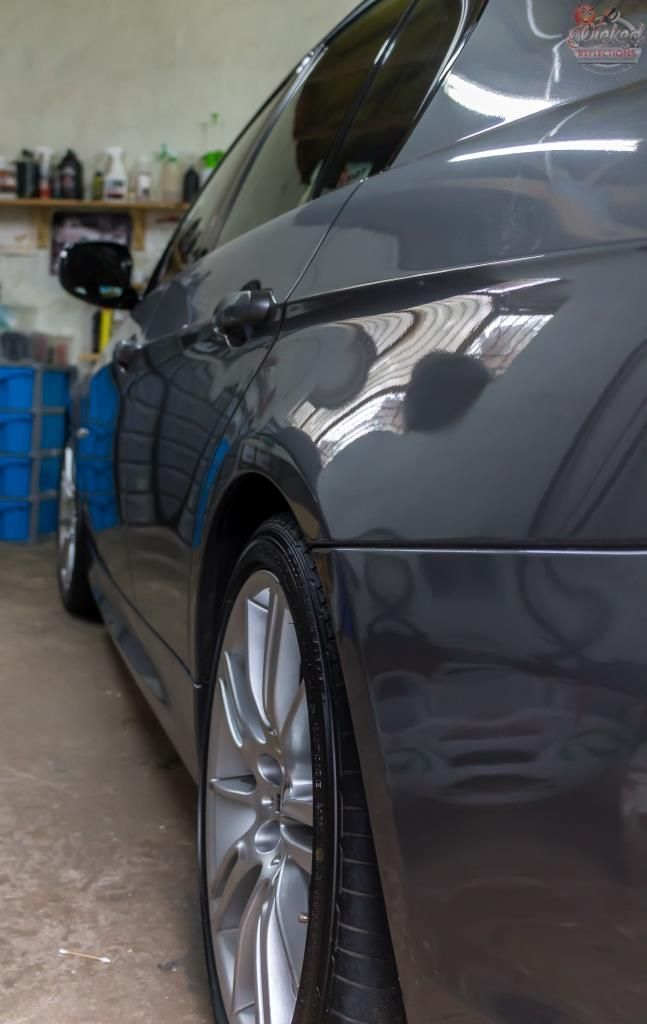
Finally a few pictures of the car (still stuck in the garage due to the poor weather) - not the best `after` pics, but they will have to do.
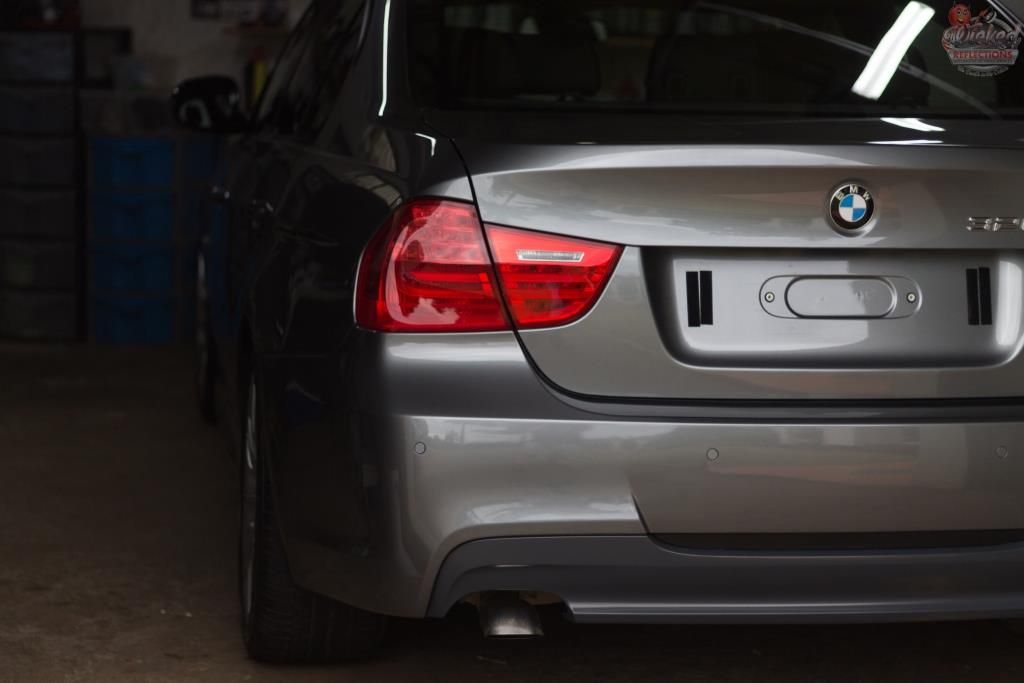
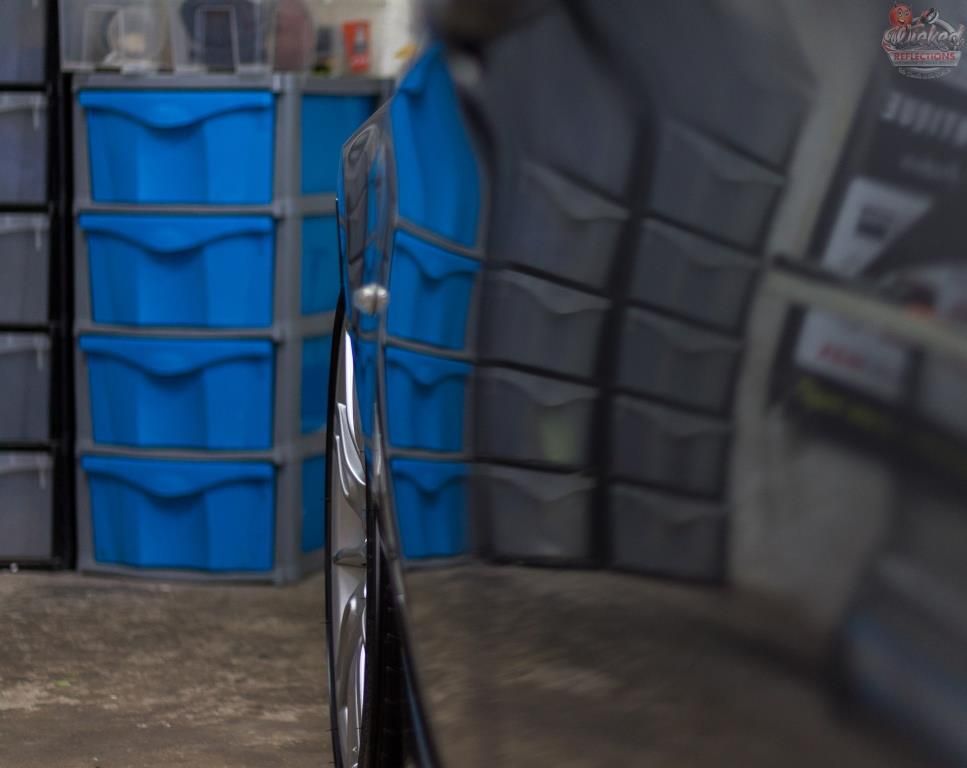

BMW orange peel is horrendous
As always, thanks for looking and any questions or comments are welcome.
Total time spent = 29 hours :hi:
As always the engine bay was tackled first as this is often one of the dirtiest parts of the vehicle and if washed after the rest of the car had been done, you would inevitable `splash` some of this dirt back on to your clean paint, necessitating yet another wash and increasing the possibility of instilling fine scratches.
This is what it looked like prior to starting.
After carefully covering any exposed electrical bits, Carchem APC @1:5 was liberally sprayed over the entire bay via a Gloria Foam Master foam sprayer, left to dwell and then agitated using various Wheel Woolies, Speedmaster and Autofinesse brushes before being pressure rinsed. Autofinesse Dressel was then used to dress the plastics and the painted surfaces were cleaned/polished/protected using Autofinesse Tripple.
I planned on snapping some after pics once I was completely finished with the car, but the bad weather rolled in and I never landed up taking the car out the garage once completed, meaning I never got any after pics - sorry.
In keeping with the principal of working from dirty to clean, the wheels, tyres, brake calipers and fender wells were tackled next.
APC was applied
And left to dwell before being agitated in order to remove the bulk of the surface dirt - in my opinion, it is wasteful to spray an iron removal product directly onto wheels with this loose dirt / brake dust as the iron remover has to first make its way through this dirt before it can start tackling the embedded iron particles - and then pressure rinsed off.
Carchem Revolt was applied and left to dwell before being agitated with Wheel Woolies - I had to repeat this step due to the stubborn embedded brake dust.
The wheels were then pressure rinsed (from the top down) to ensure none of the residual iron remover is splashed over the paint
During the final rinse of the car, the wheels were hit with Gyeon WetCoat and the tyres would later be dressed using Carchem Tyre Gel
Then it was time to tackle the dirty car.
The first step was to use the pressure washer to blast off as much of the loose dirt as possible - any dirt removed prior to making contact with the paint will help reduce the possibility of swirls in the paint. This was then followed by a thorough foaming using Turtlewax Hyperfoam
This was followed by a through soaking in Valet Pro Citrus Prewash which was then pressure rinsed off, and then a 2 bucket wash using Carchem Luxury Shampoo and multiple lambswool wash mitts. Carchem Revolt and Valet Pro Citrus Tar Remover were then used for the chemical decontamination of the paint and this was followed with a mechanical decontamination using Shield Heavy Duty clay with ONR as lube.
The car was pulled into the garage where the paint thickness was measured and the paint thoroughly inspected. Various test spots were conducted and 1 step using Menzerna FG400 on Orange Lake Country Hybrid Pads was selected - the soft B-pillars and tail lights got an initial cut with Menzerna PF2300 on White Lake Country Hybrid pads, followed by Menzerna SF4000 on Black Lake Country Hybrid pads
Here are a few before/after shots of the correction process
The paint was then protected using Dodo Juice Iron Gloss Sealant topped with Dodo Juice Purple Haze.
The exhaust tip was cleaned using Carchem APC @ 1:5 then polished using Mothers Mag and Aluminum Polish on a Mothers Power Cone attached to a variable speed drill.
The rest of the details were then taken care of
Exterior plastics
Equipment - Foam applicators, MF towels, Q-tips
Clean - Shield Heavy Duty Vinyl and Rubber Cleaner
Protect - 303 Aerospace Protectant
Glass
Clean - Autoglym Fast Glass, MF towels, Wynns C-Thru
Badges & Emblems
Equipment - Q-tips, MF towels
Clean/polish/protect - Autofinesse Tripple
Interior Plastics
Equipment- Foam applicators, MF towels, Q-tips, Various brushes
Clean - Carchem APC @ 1:20
Protect - Optimum Optiseal
Interior Carpets
Equipment- Brushes, Flex VL35C Vacuum
Leather Surfaces
Equipment- Foam applicators, Flex VL35C Vacuum, MF towels, Brushes
Clean - Carchem APC @ 1:20, various brushes, MF towels
Protect - Collinite 855
Finally a few pictures of the car (still stuck in the garage due to the poor weather) - not the best `after` pics, but they will have to do.
BMW orange peel is horrendous
As always, thanks for looking and any questions or comments are welcome.
Total time spent = 29 hours :hi: