ScheerSpeed
New member
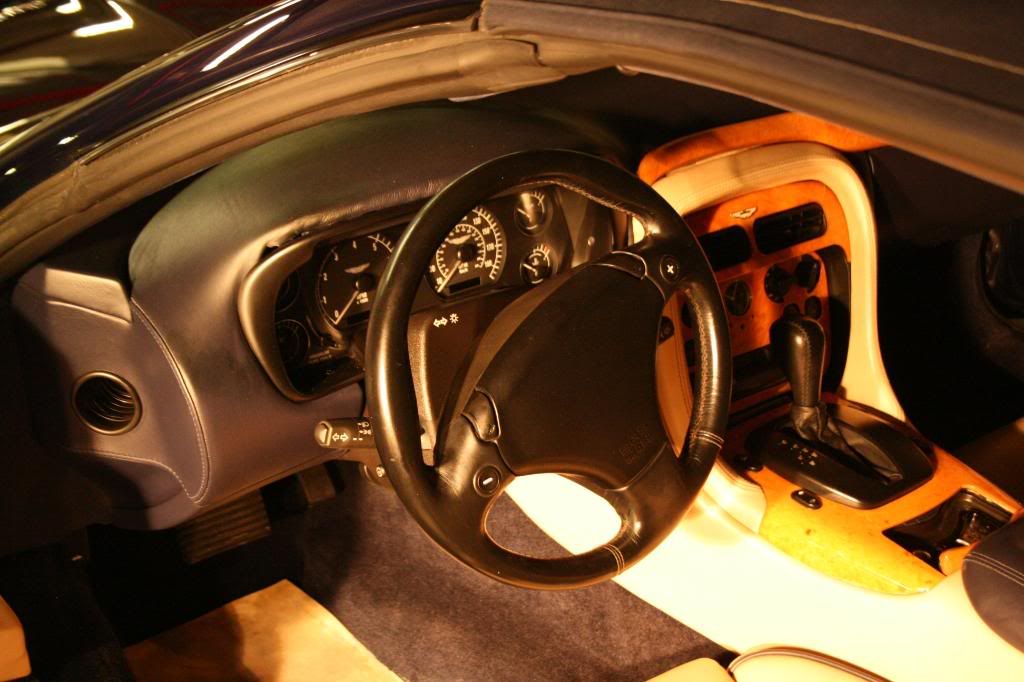
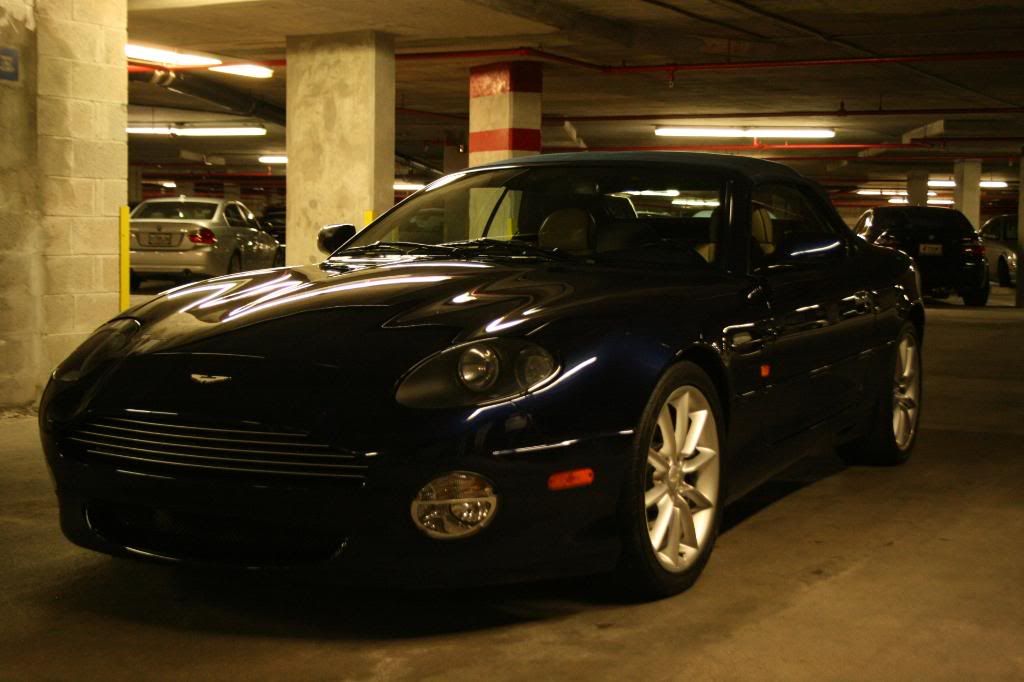
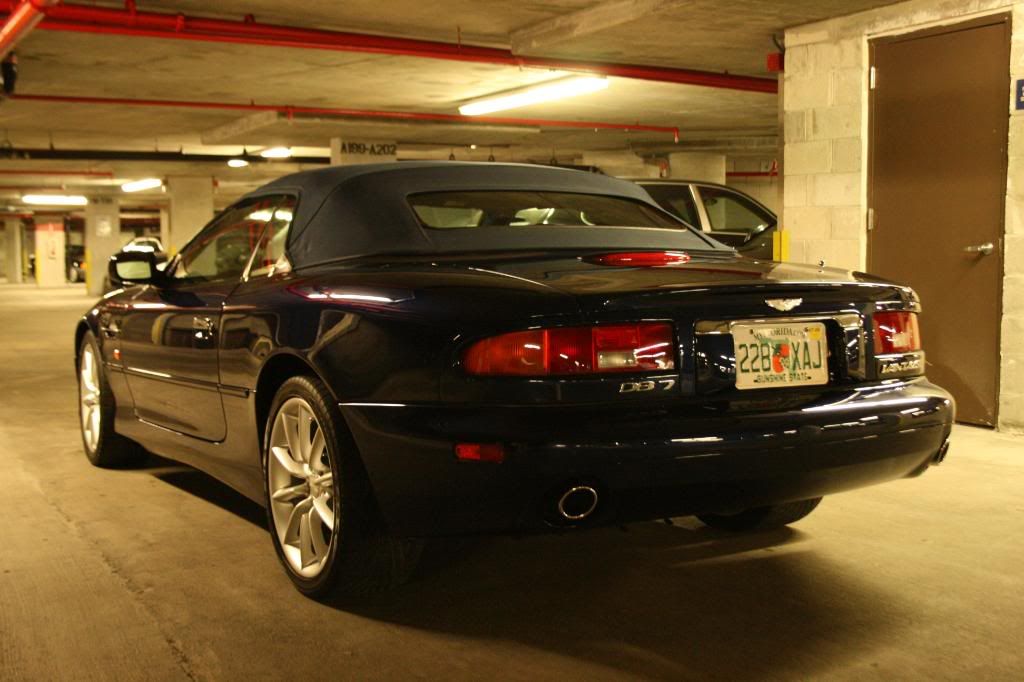
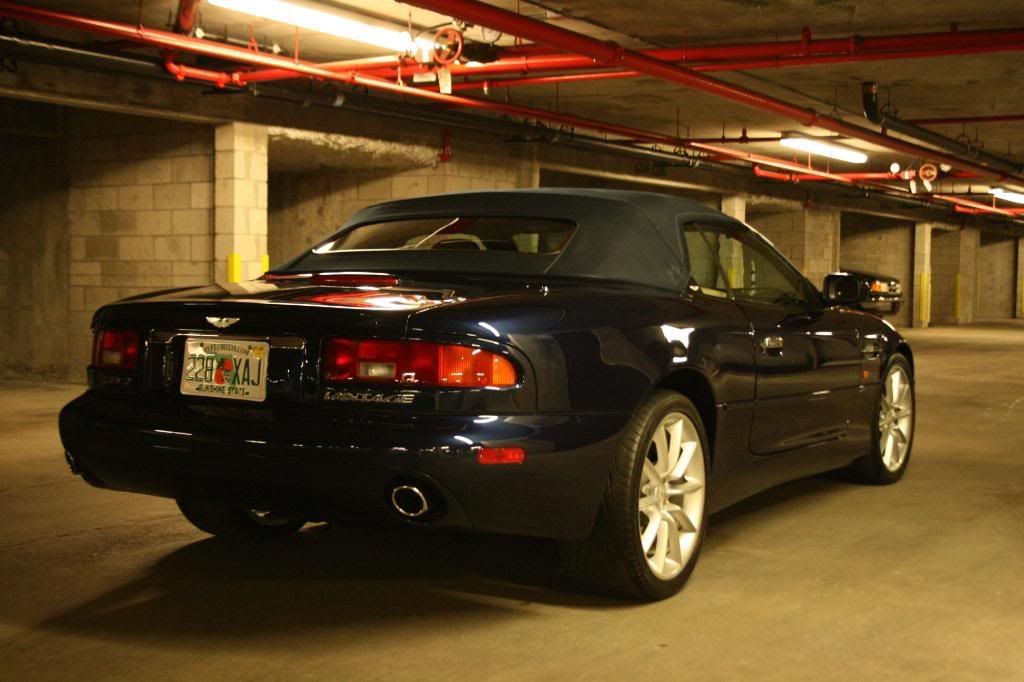
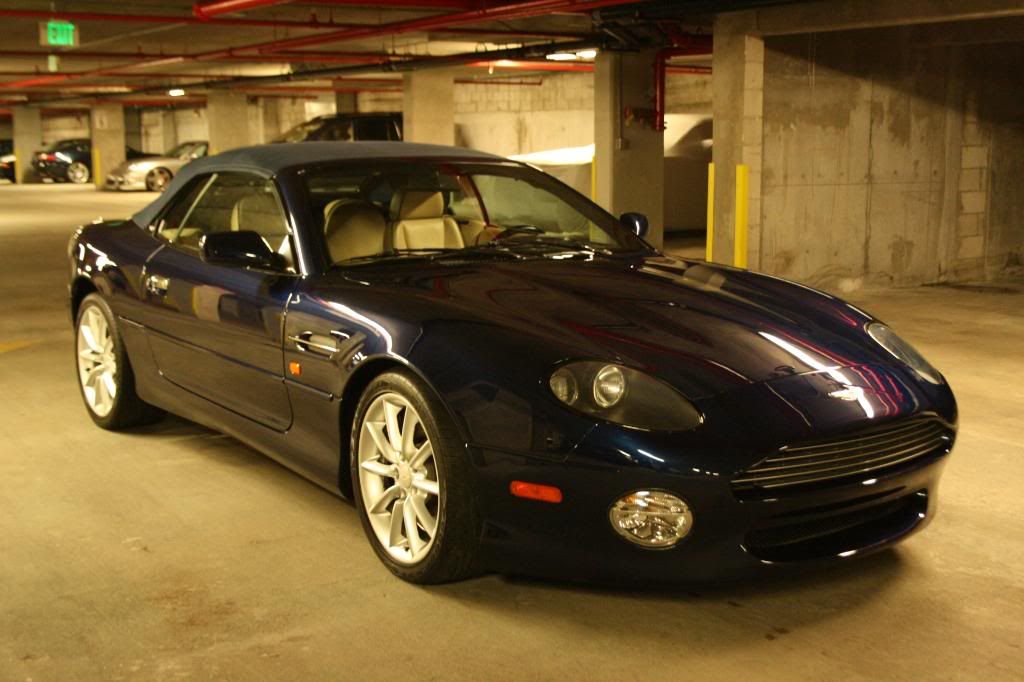
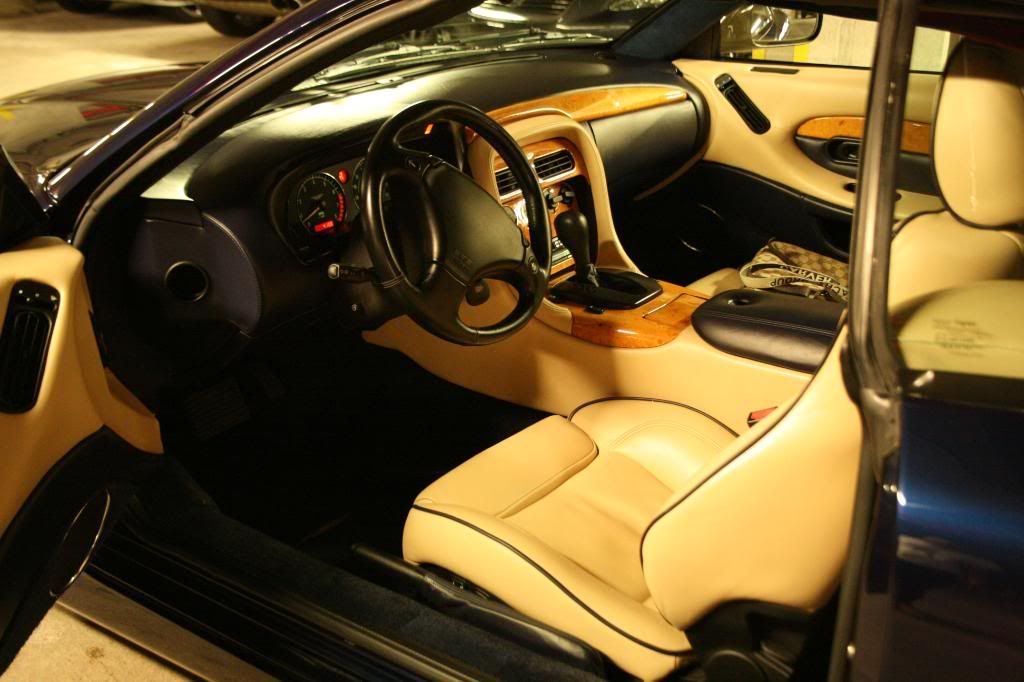
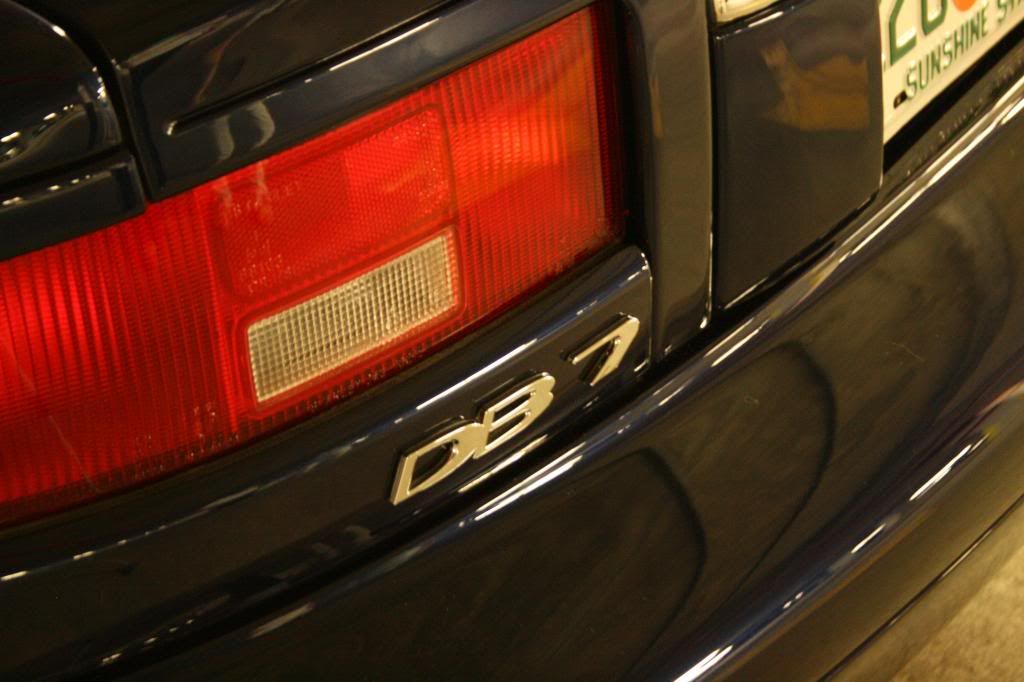
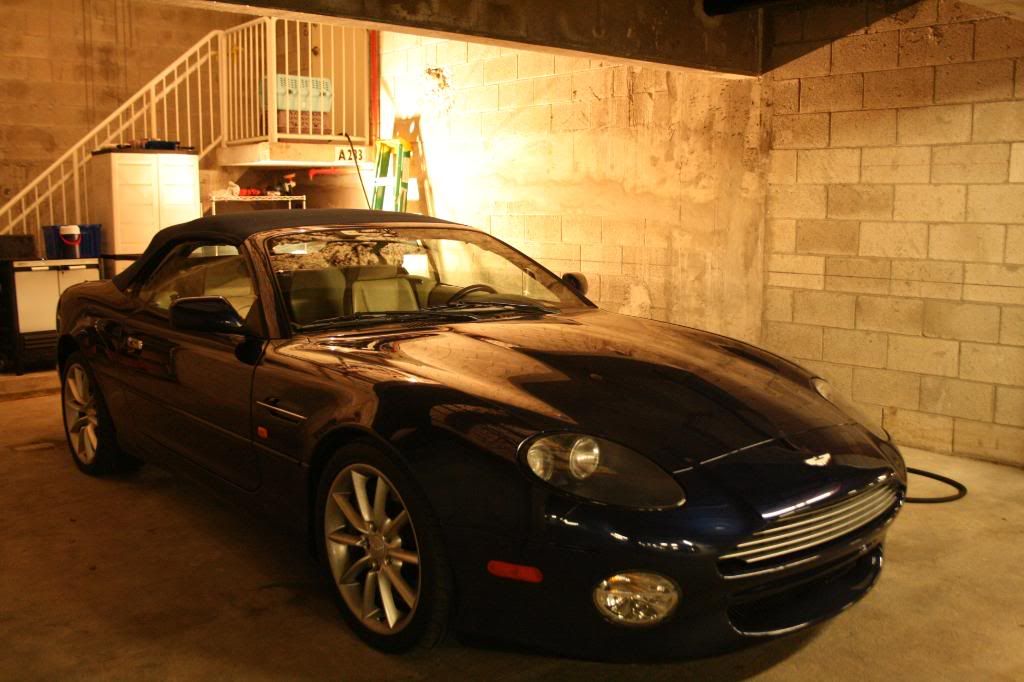
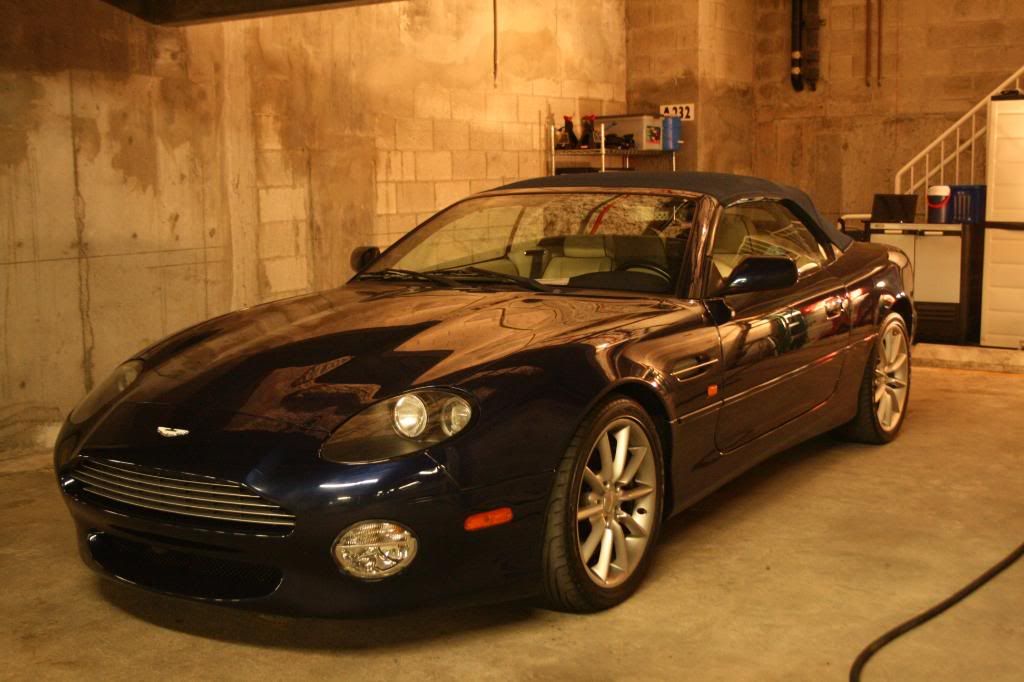
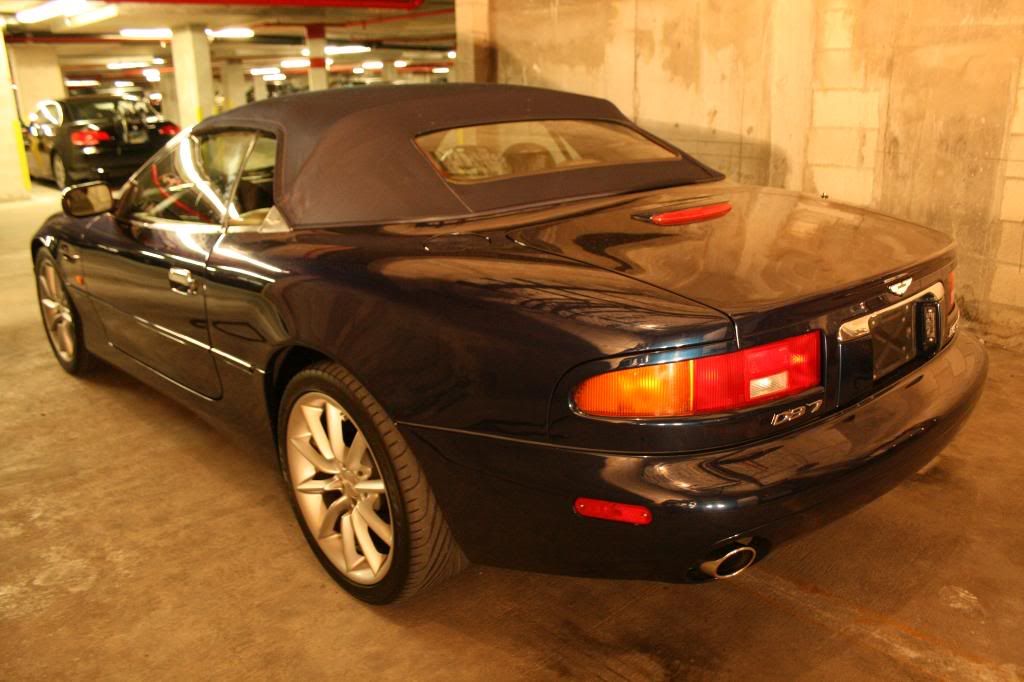
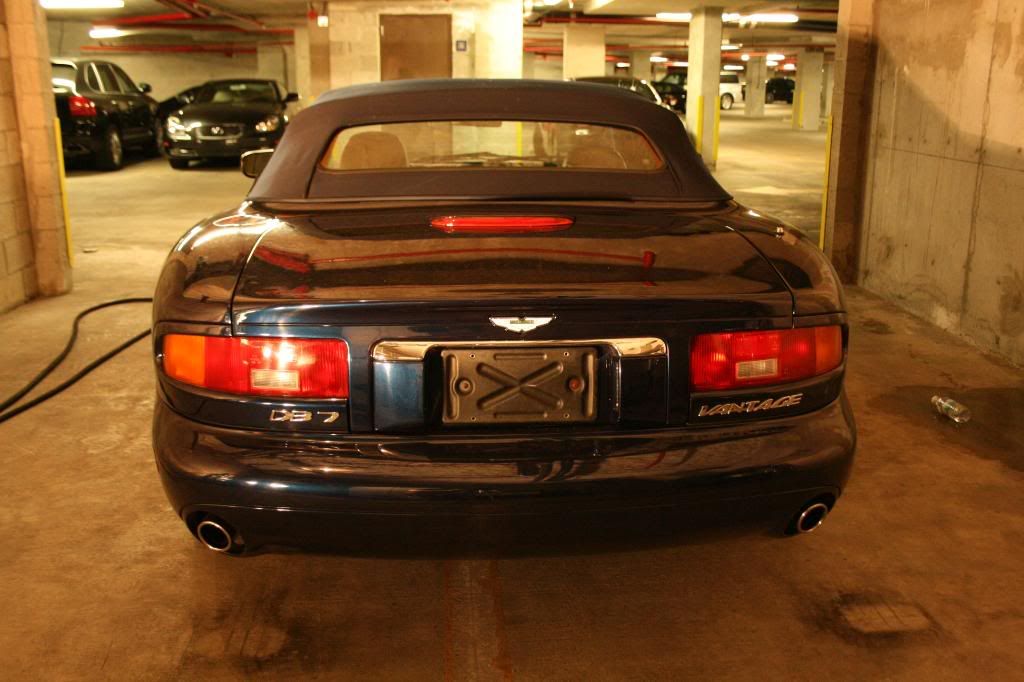
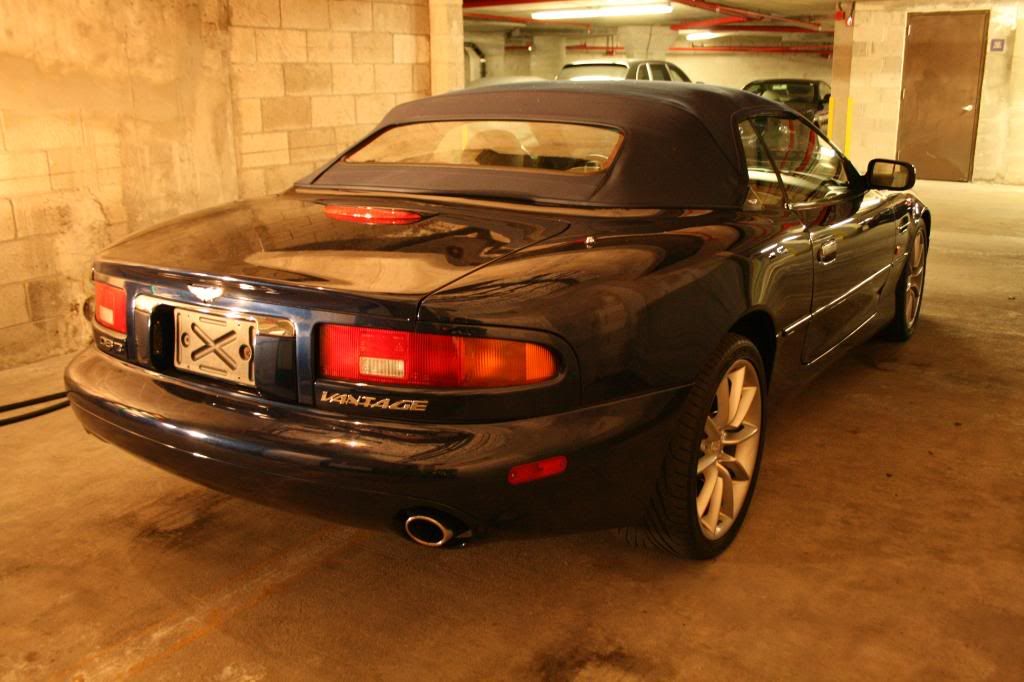
2002 Aston Martin DB7 Vantage
sorry for not posting up some work in a while, i just got back from a trip to Montreal, and i have also been in the process of moving, so bear with me... but now i'm moved in and have a whole bunch of cars lined up. here's my most recent work
This car was recently purchased from an auction. the car's history is not know, however there was evidence that the hood and front bumper had been repainted.
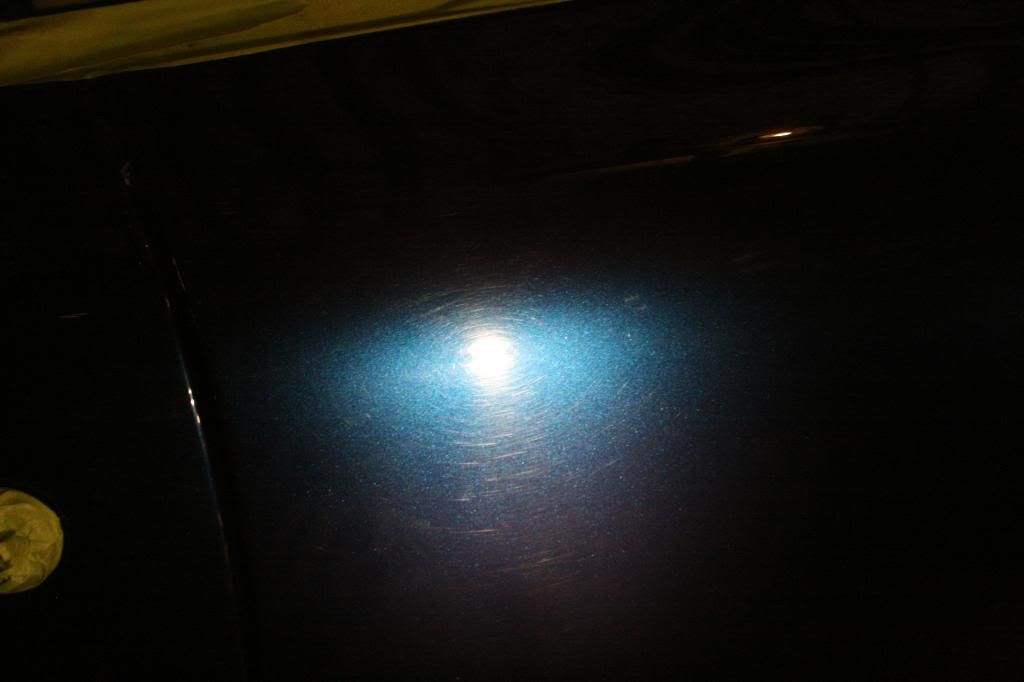
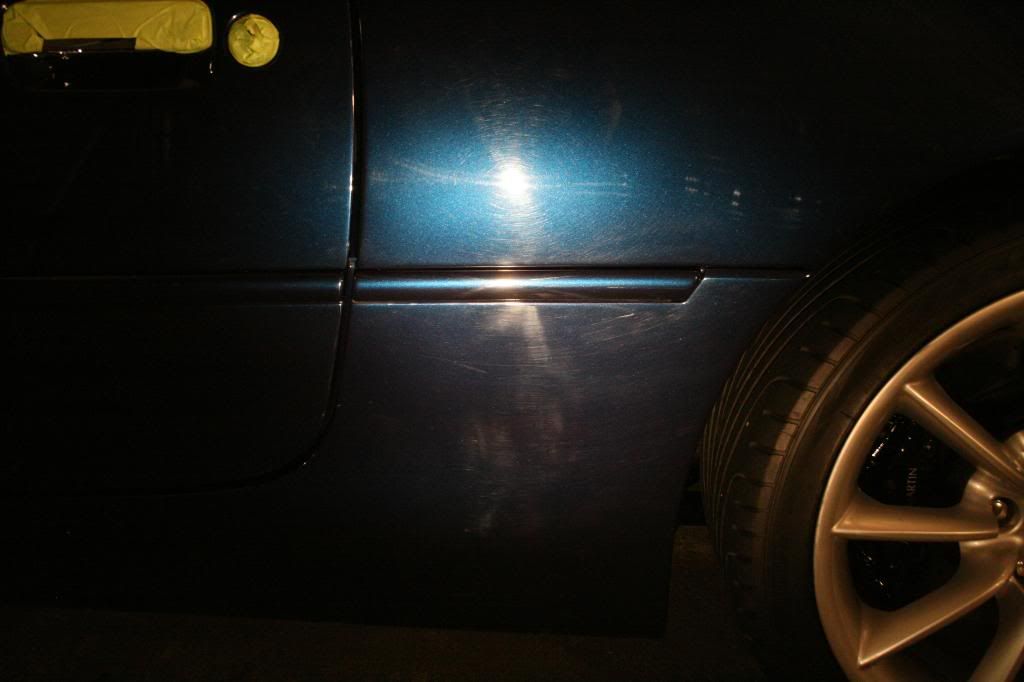
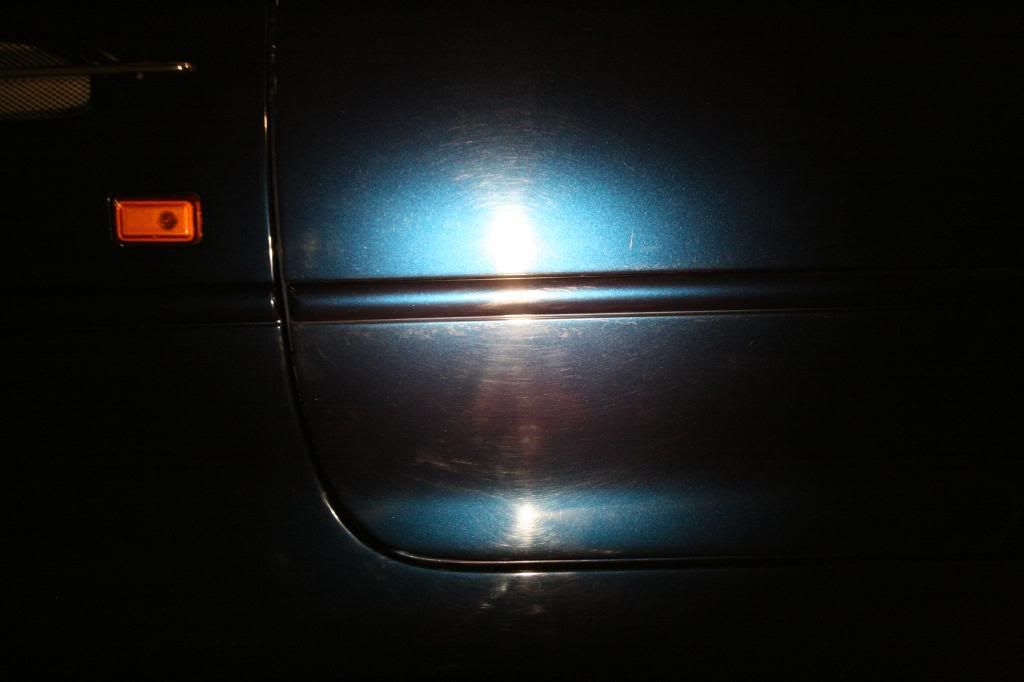
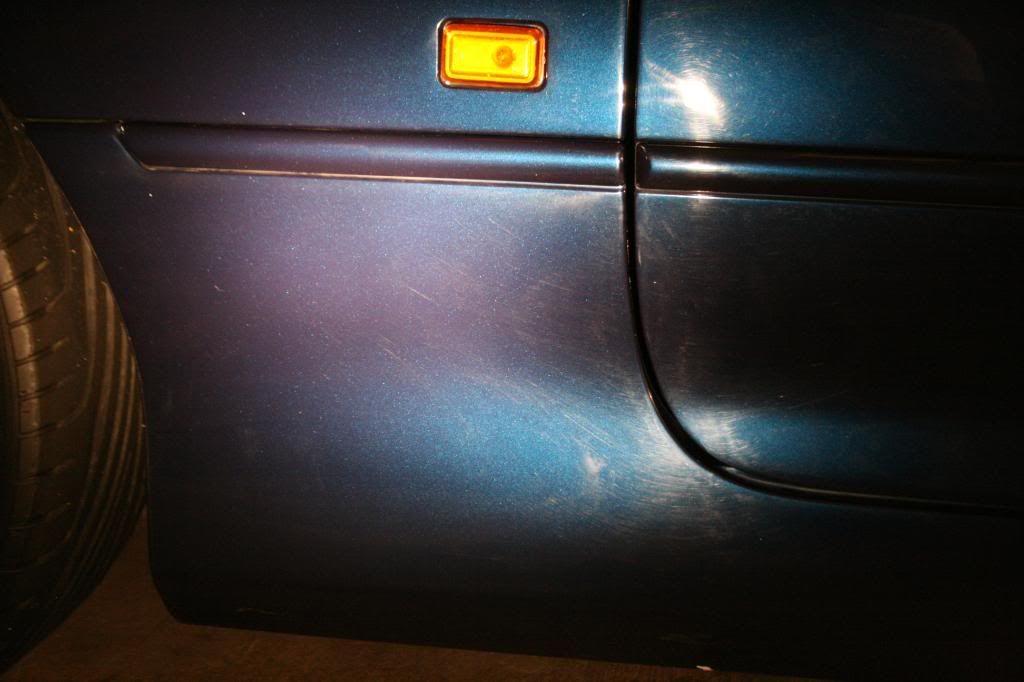
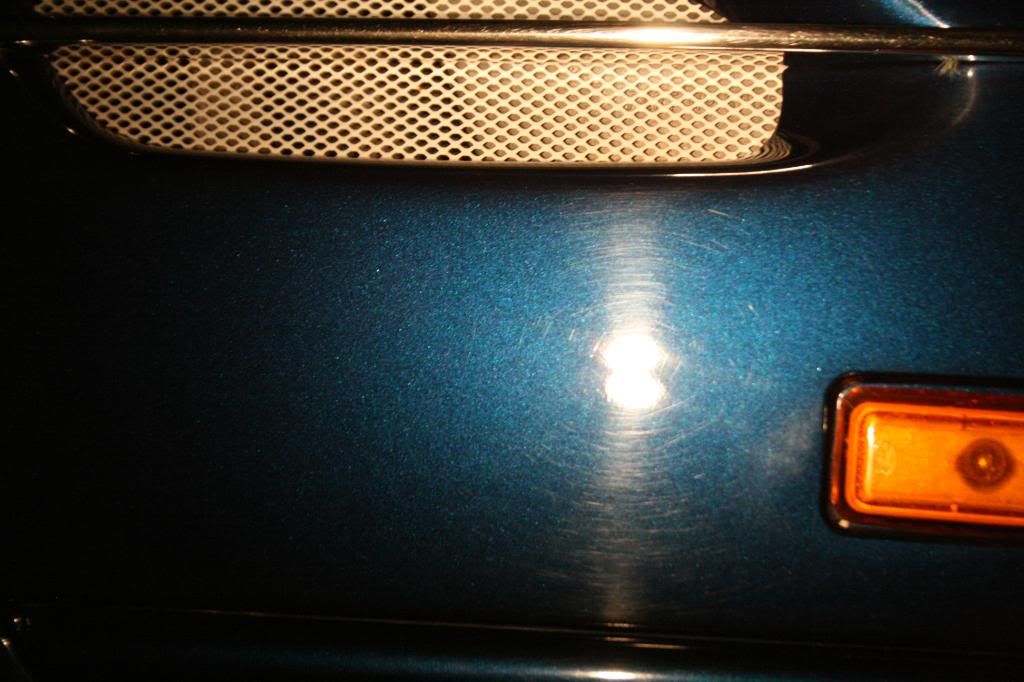
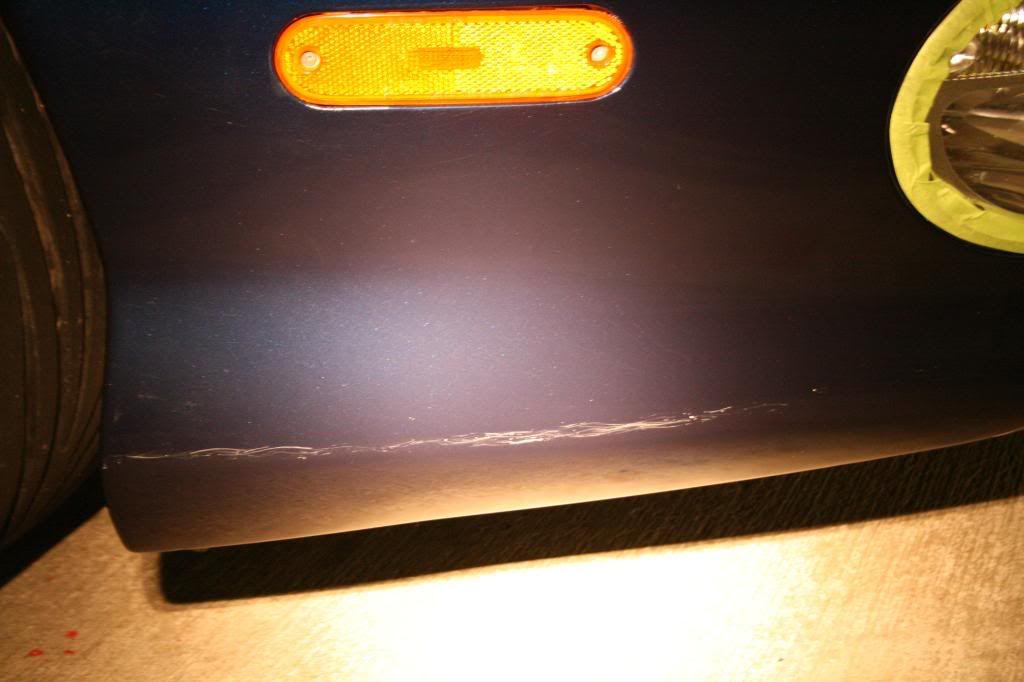
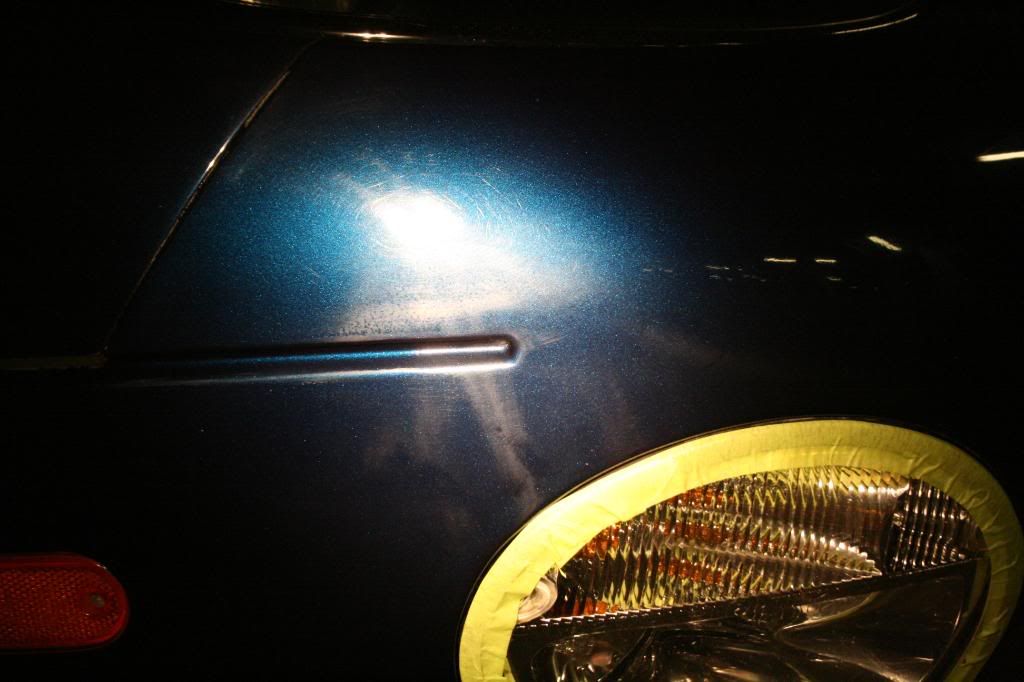
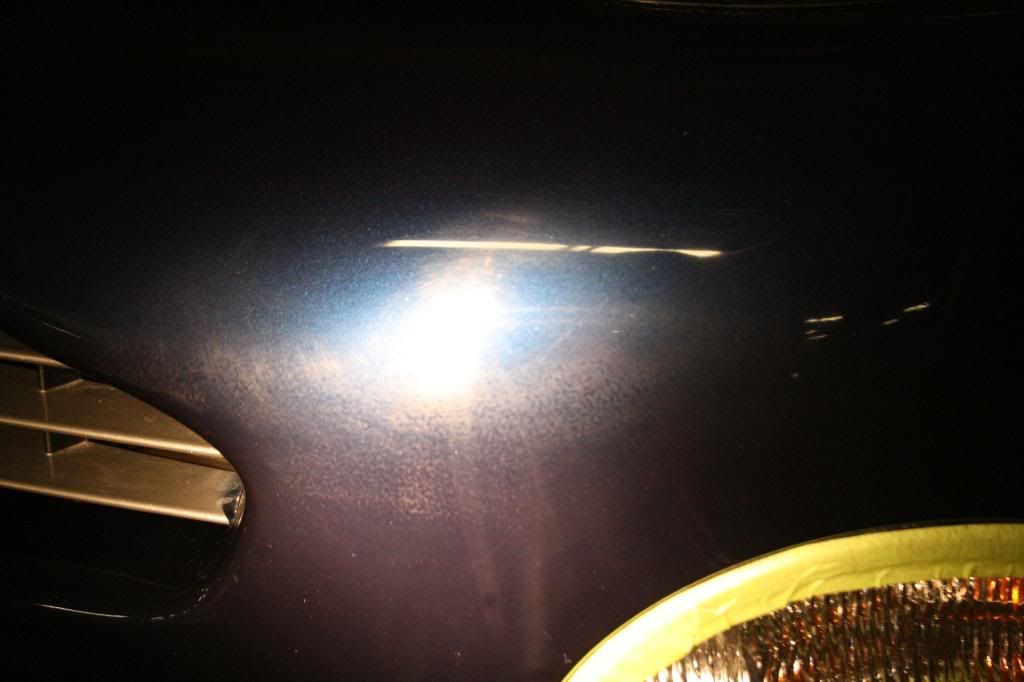
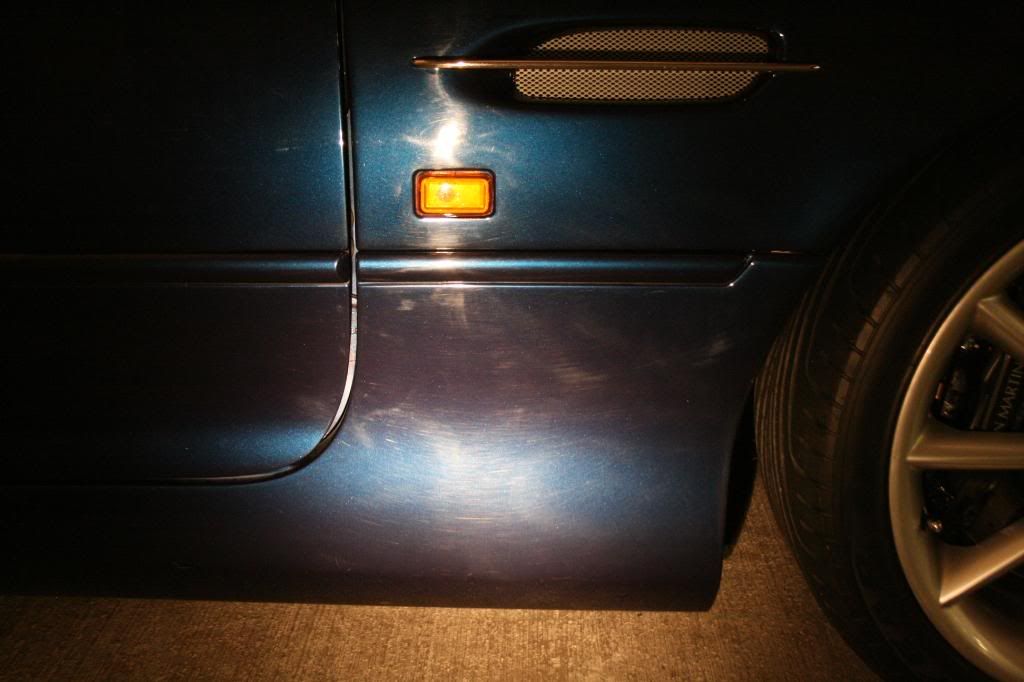
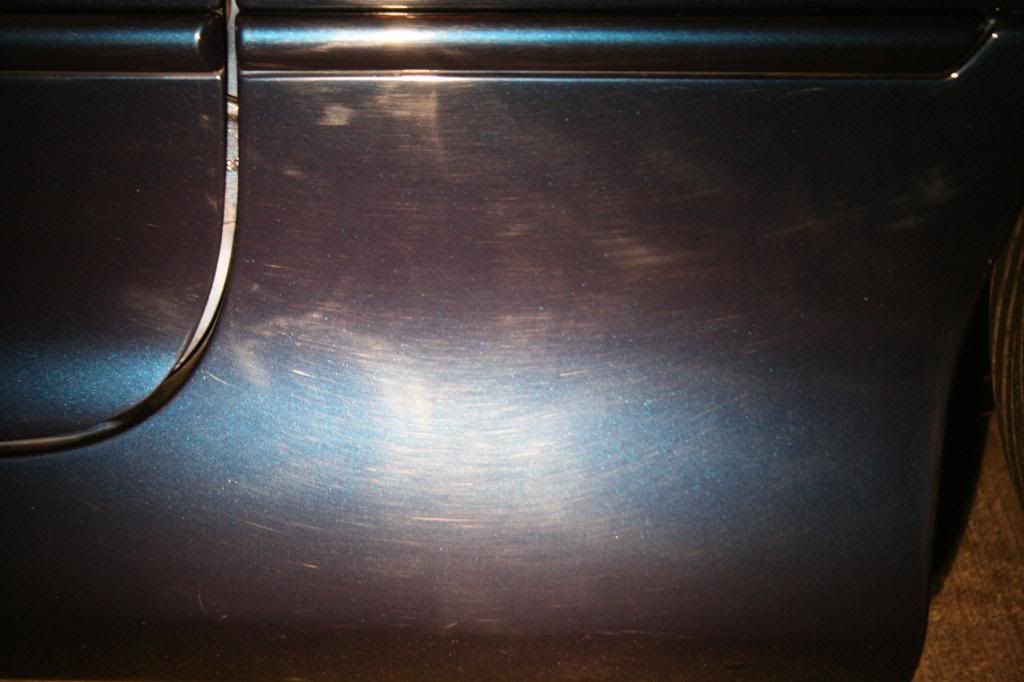
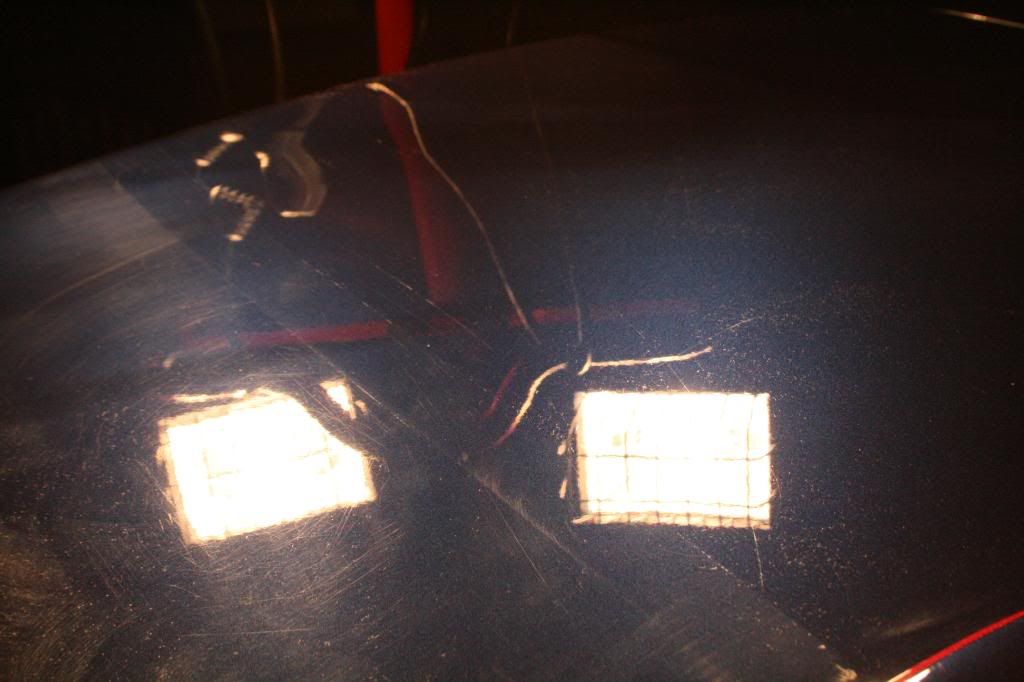
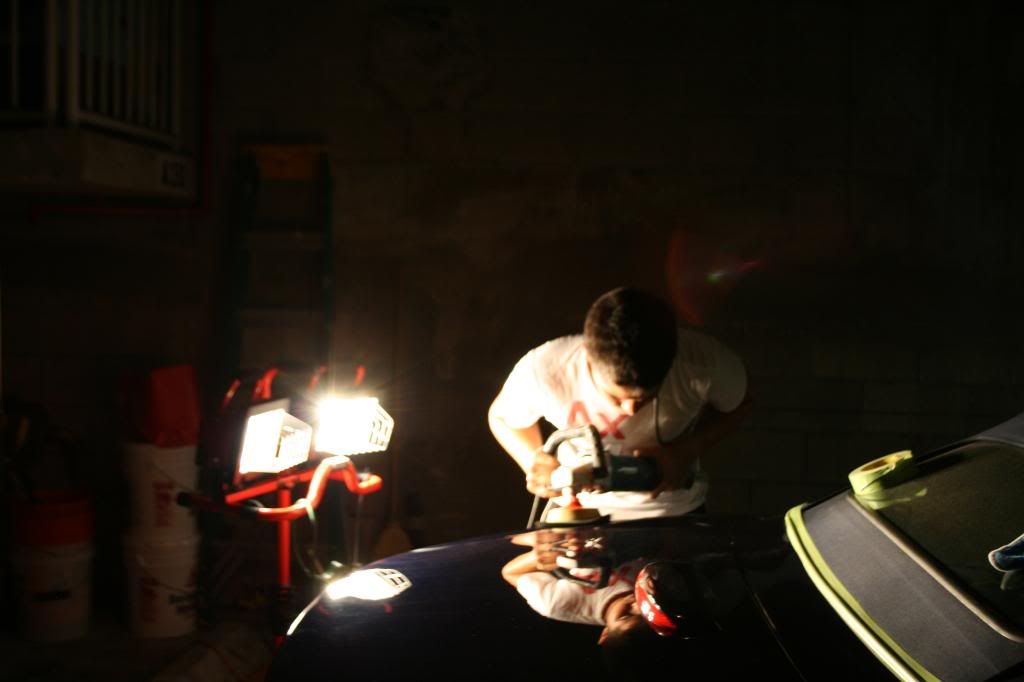
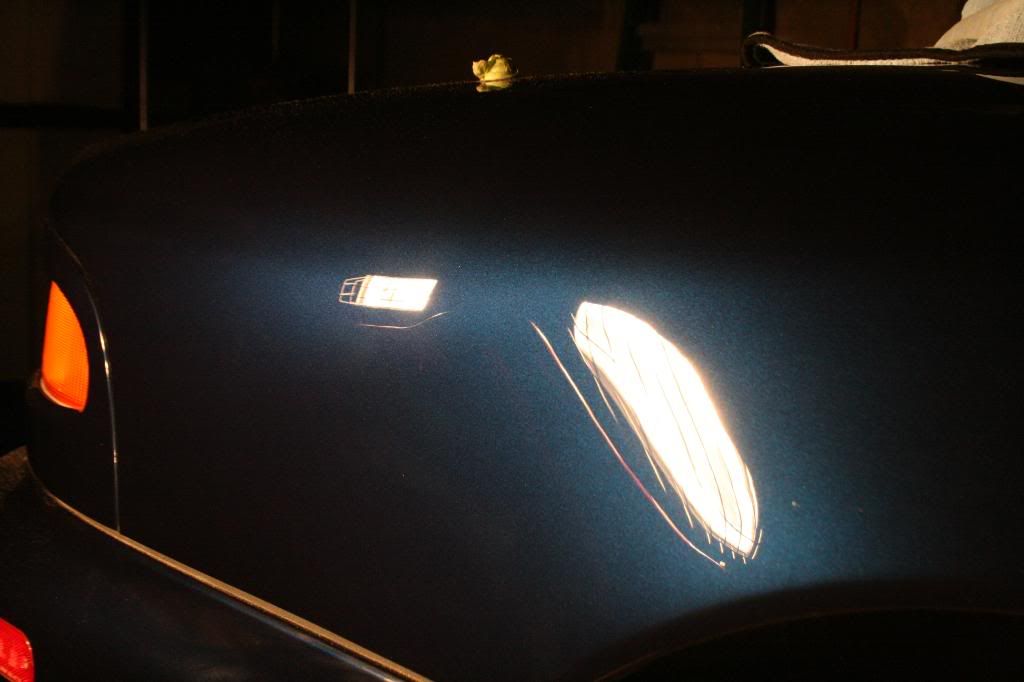
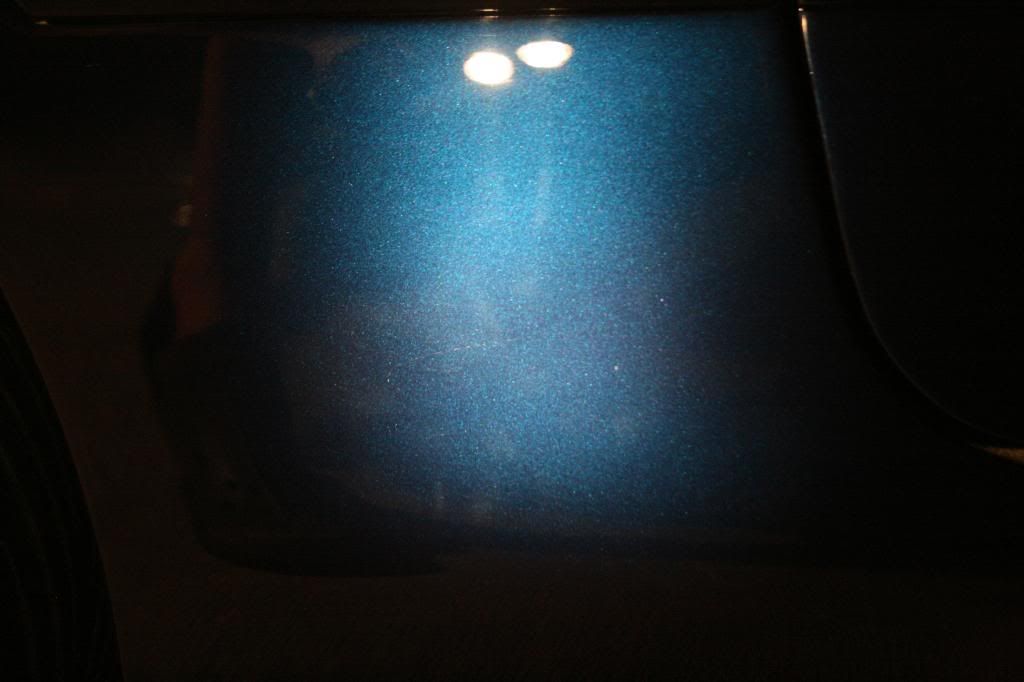
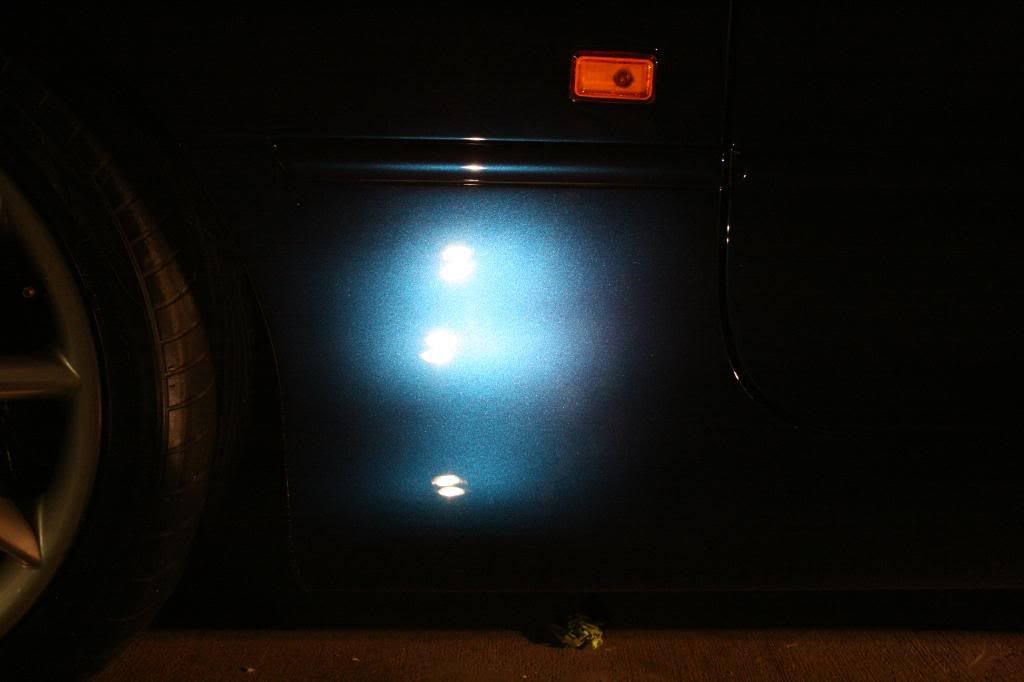
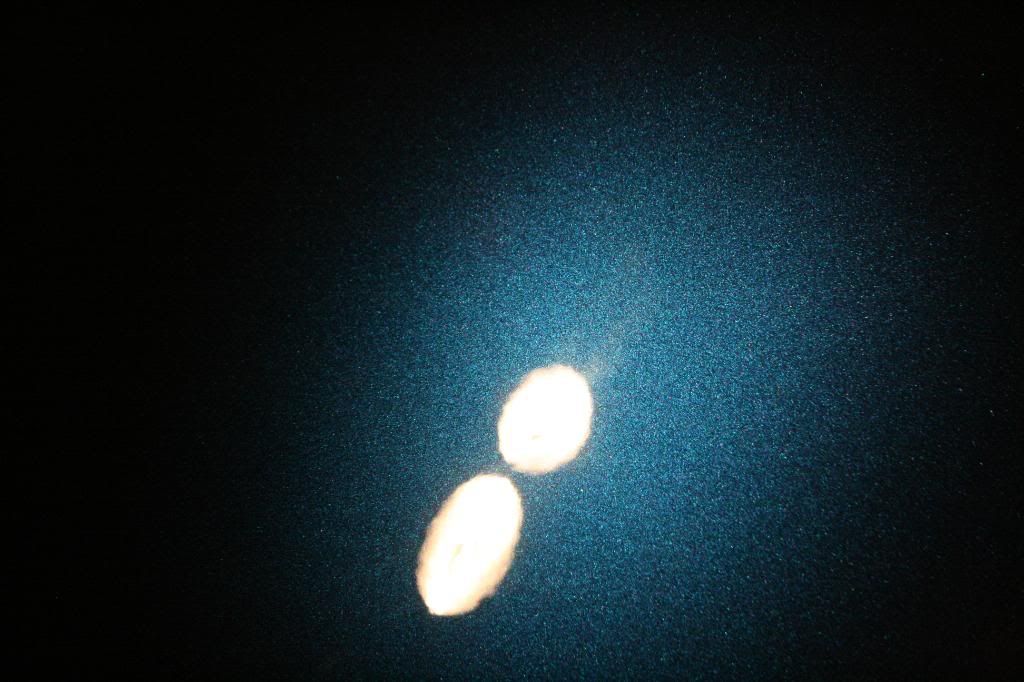
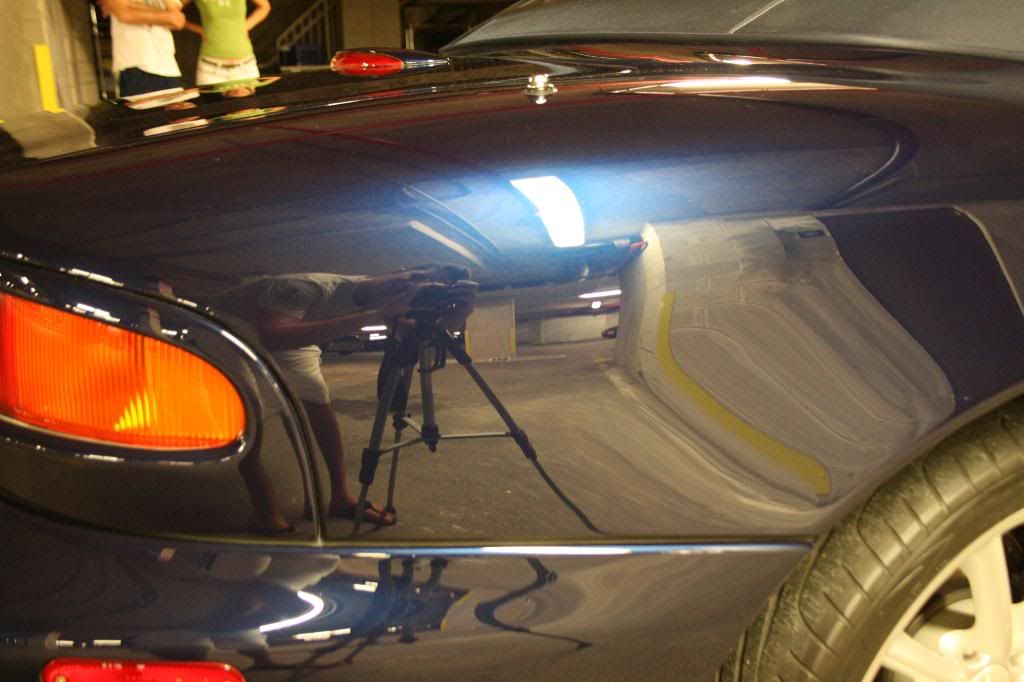
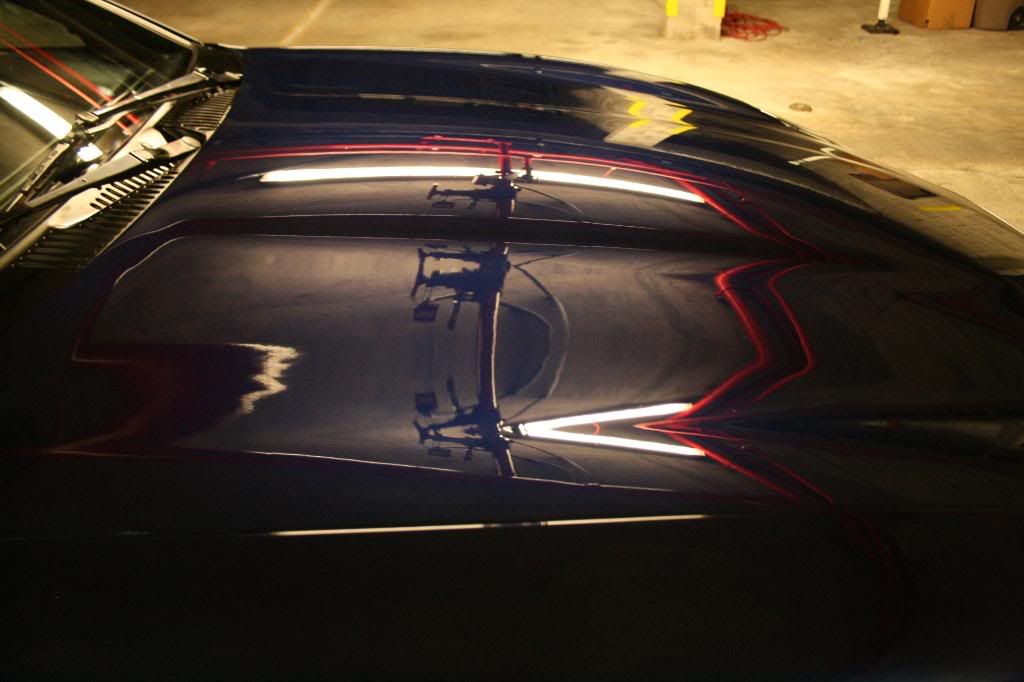
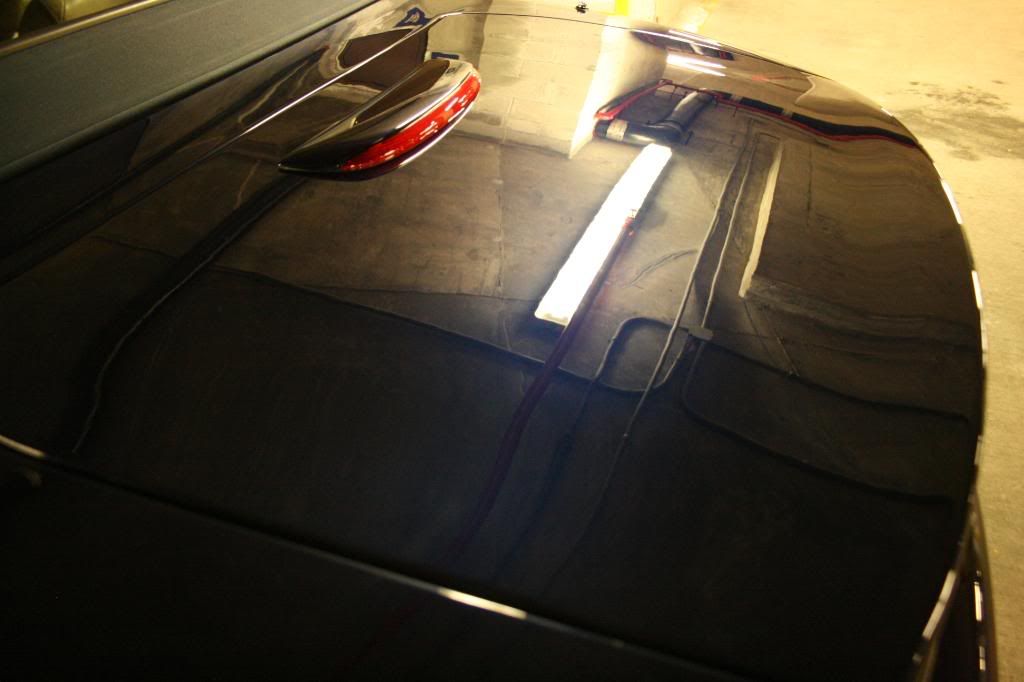
On another note, the paint was in very bad shape. the RIDS and swirls were very deep, and the car had scratches all over the place that required touch-up and spot wetsanding.
I worked on this car for a total of Five days. this is also the most thurough detail i have ever done.
Products:
Cleaning
Exterior
-Wash
-1Z Anti Insekt
-CG CWC
-Meg's mitt
-P21s TAW
-Wheels
-CG CWC
-P21s Gel
-P21s TAW
-EZ detail brush
-Swissvax wheel brush
-OXO tire scrubber
-Wheel Wells
-ARO
-P21s TAW
-Meg's APC+
-Meg's Super Degreaser
-DD wheel well brush
-Swissvax Wheel brush
-über wheel brush
Engine
-P21s TAW
Convertible top
-ARO
Clay
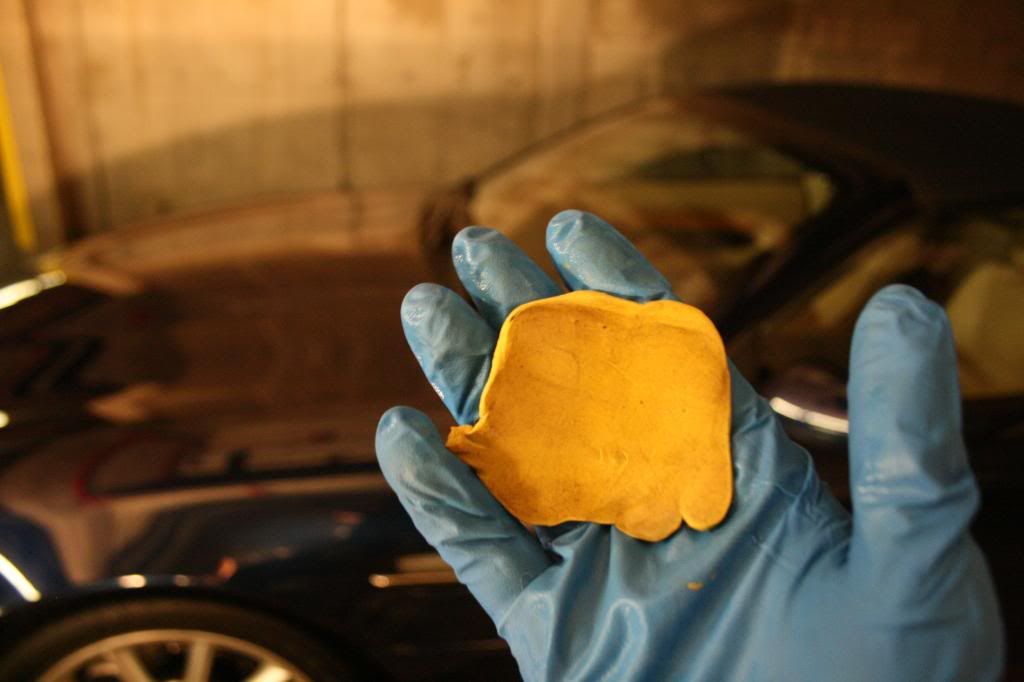
-Special yellow poly clay
-ONR lube
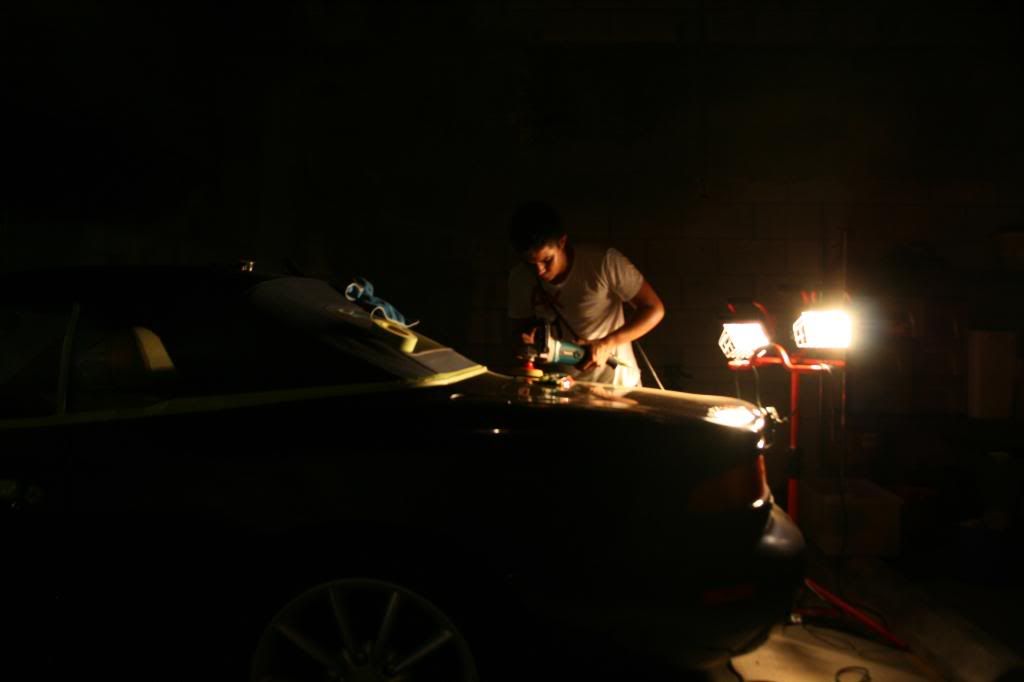
Polishing
-Exterior paint
-Meguiar's M95 via Black wool pad
-Menzerna SIP via Orange über pad
-Menzerna PO85RD via blue über pad
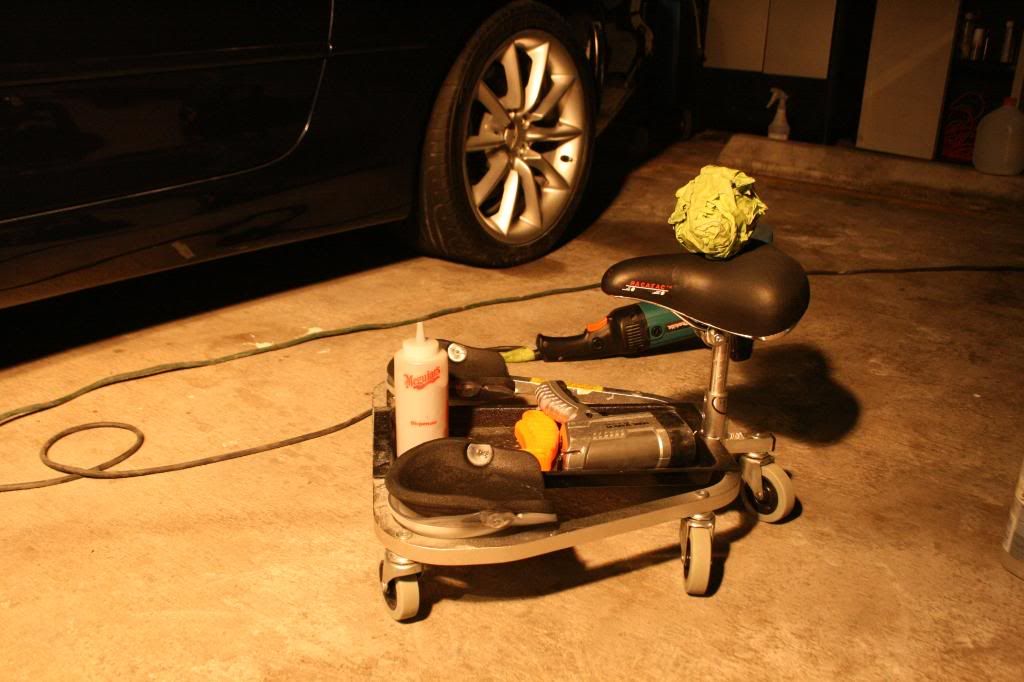
-Makita 9227C
-3M Yellow Foam Backing Plate
-1000w halogen lights
-Brinkmann Dual Xenon
-ISA 50/50 wipedown
-DD über MF towels
-Racatac
LSP
-Paint
-Swissvax Cleaner Fluid
-Swissvax Mystery (x2)
-FK1# 425
-CG 530XL MF towels
-Wheels
-Swissvax Cleaner Fluid
-Swissvax Autobahn
-FK1# 425
-CG Barebones (wheel wells)
-Swissvax Pneu
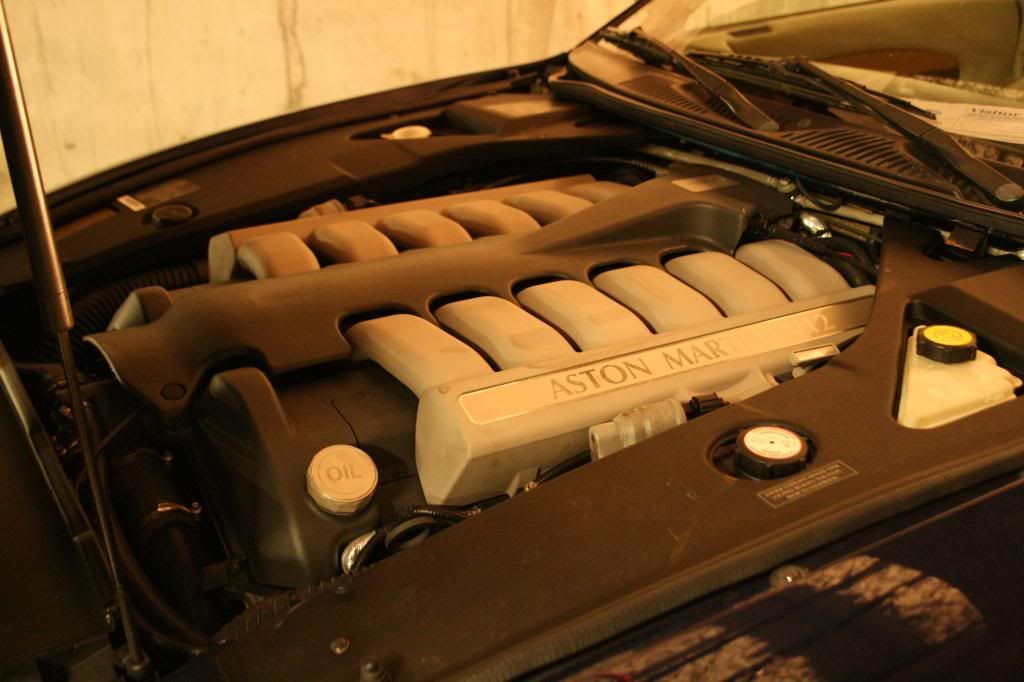
Engine
-Meg's Hyperdressing
Convertible Top
-CG Fabric Protectant
Glass
-Sprayaway glass cleaner
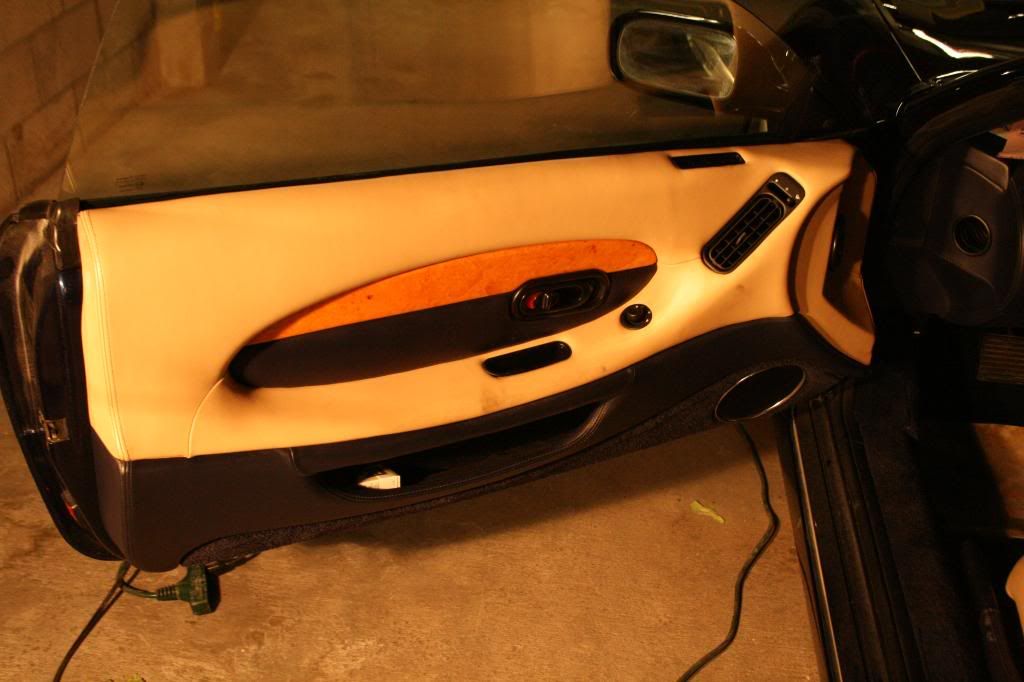
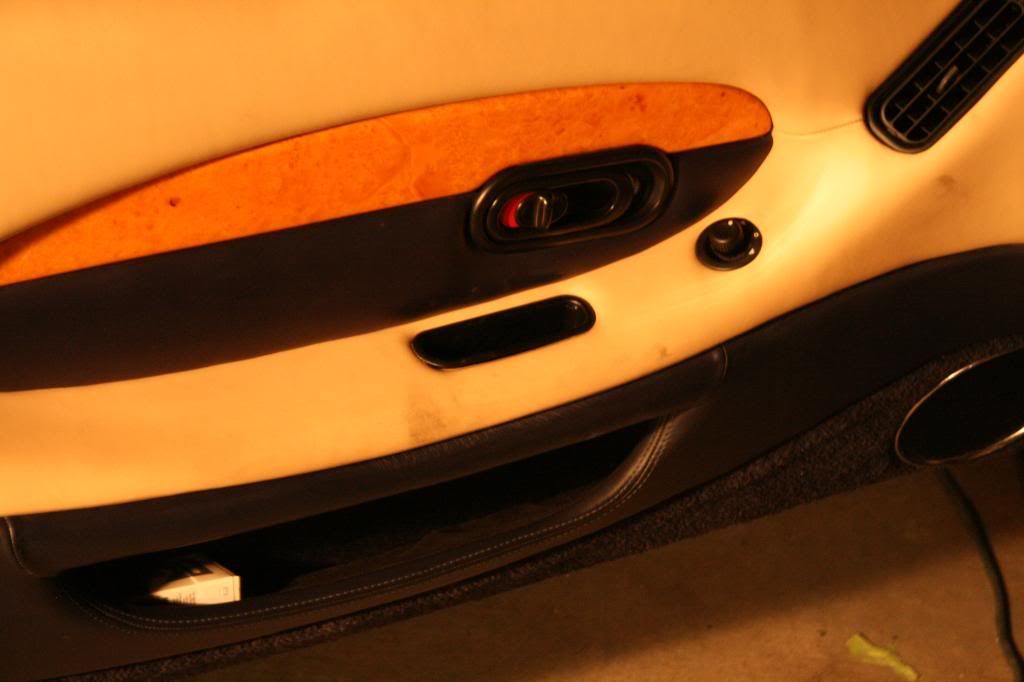
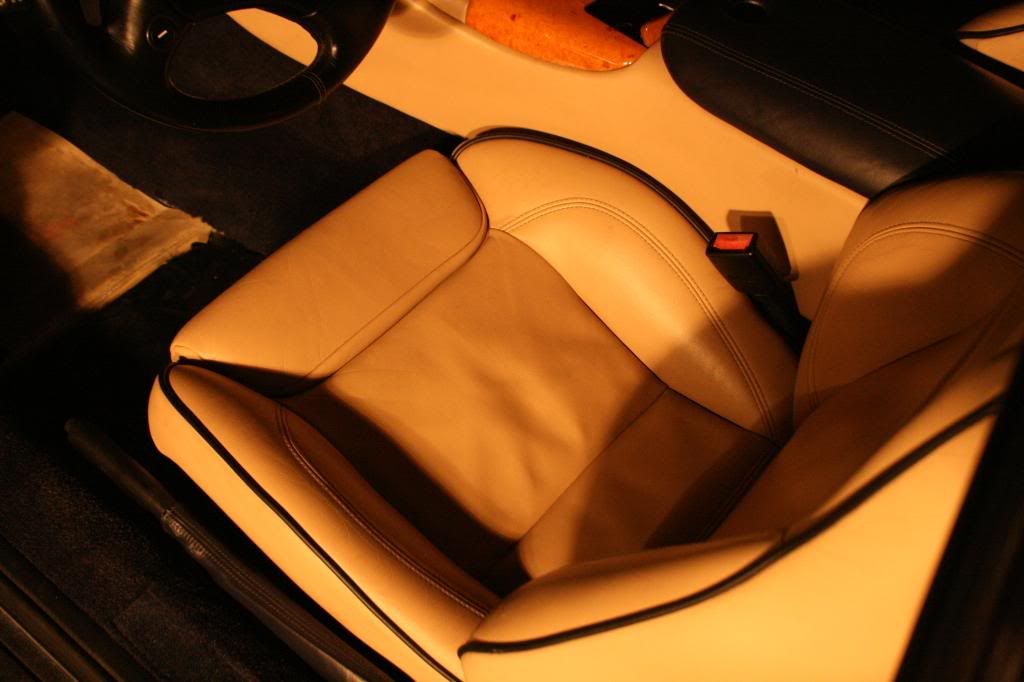
Interior
-Leather Master Trio
-1Z Cockpit
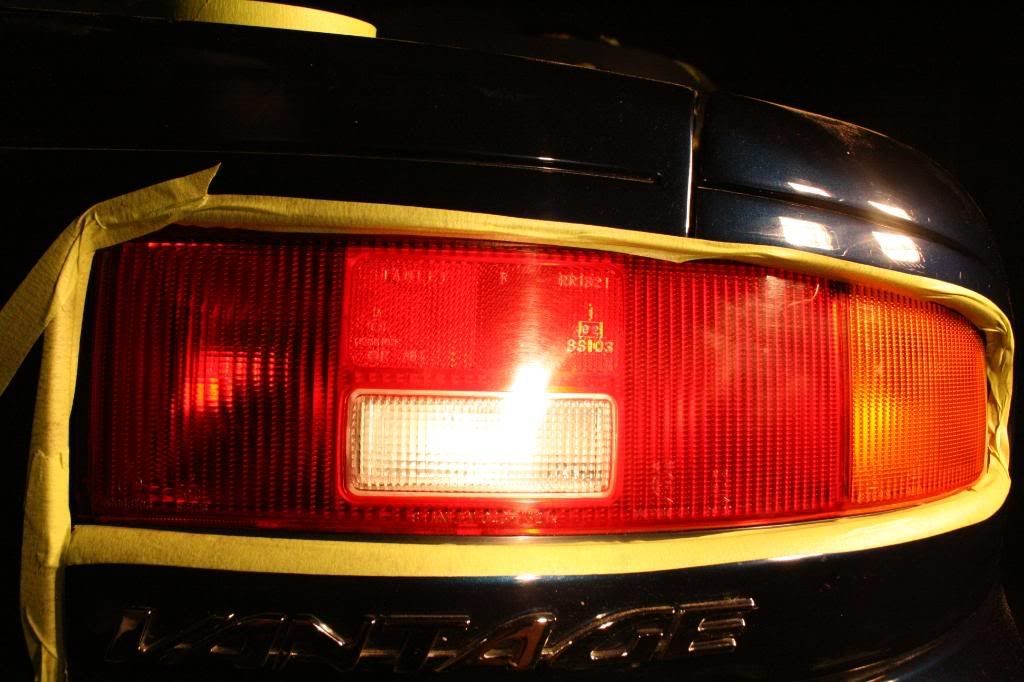
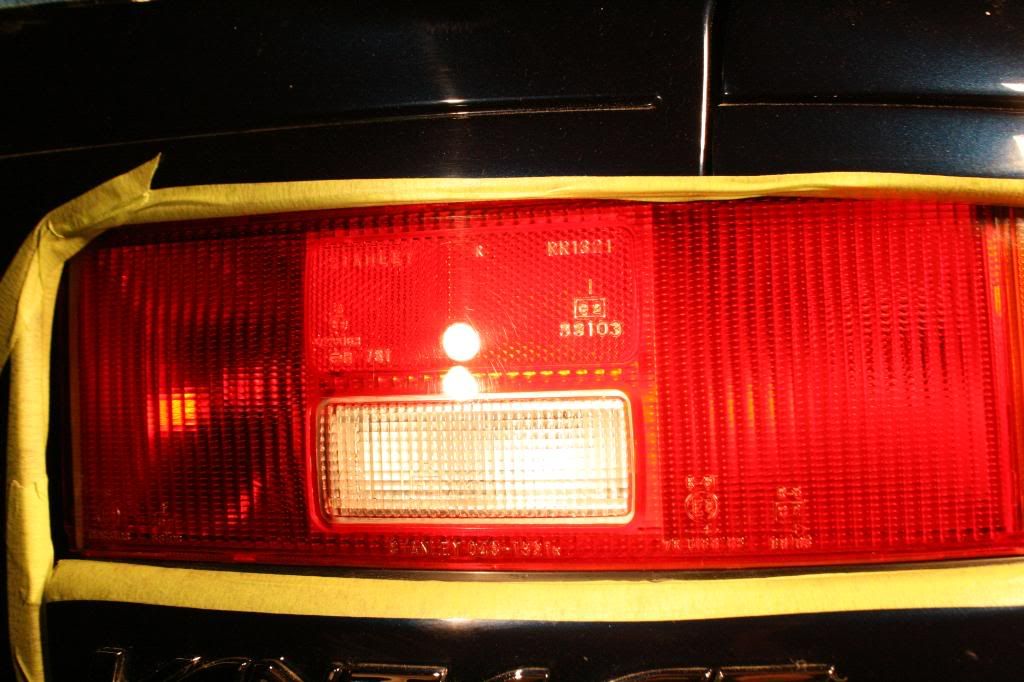
Before:
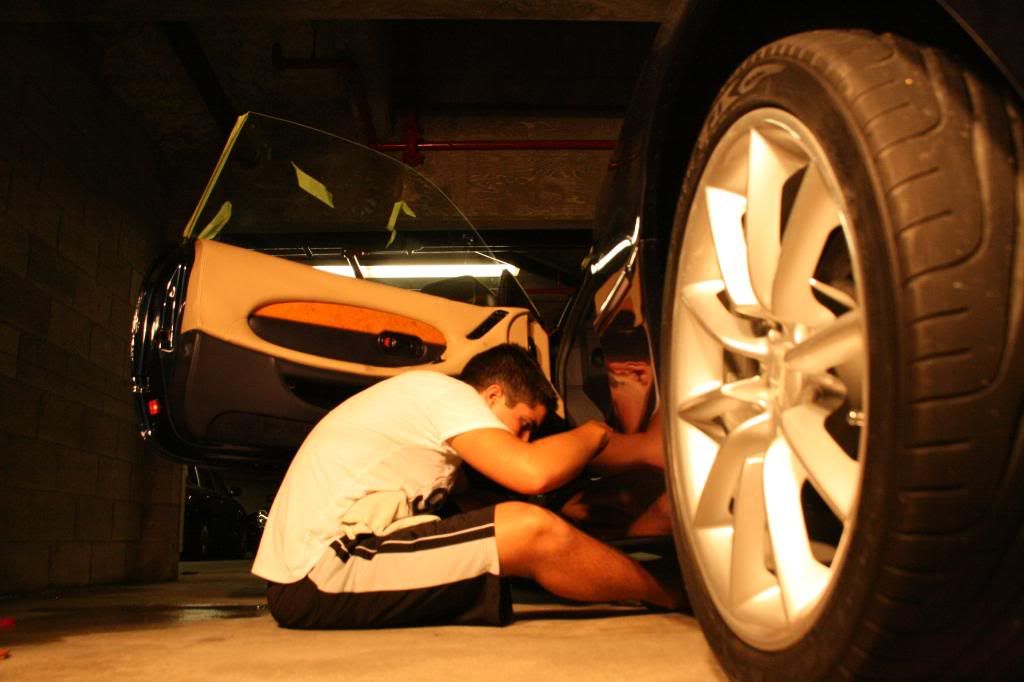
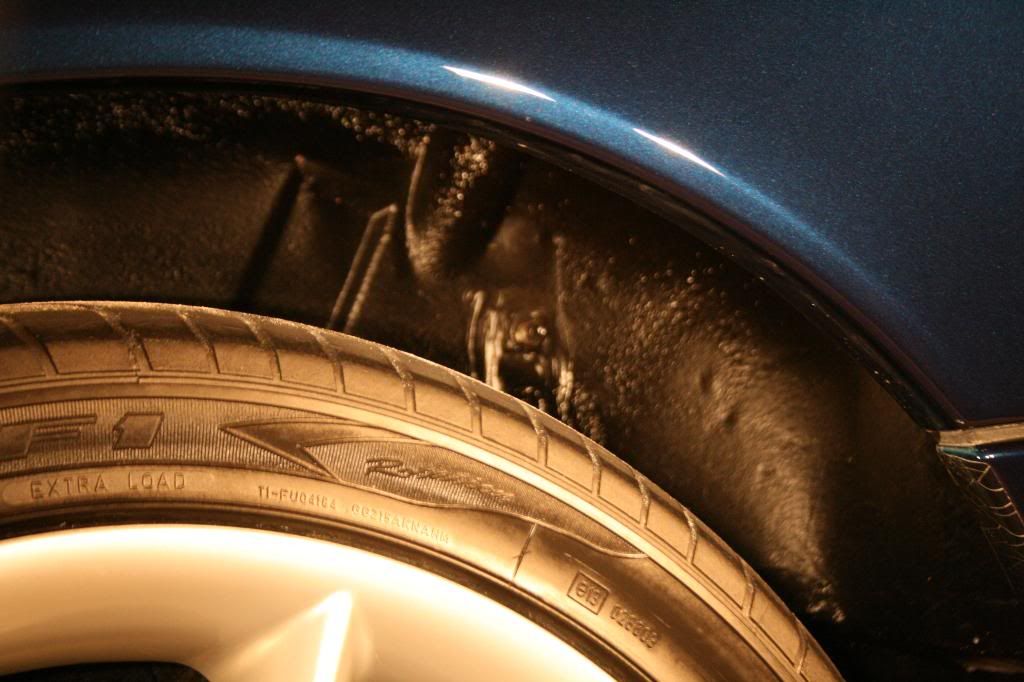
The customer requested that i remove the wheels and give the wheel wells/suspension/brakes a thorough cleaning and protection
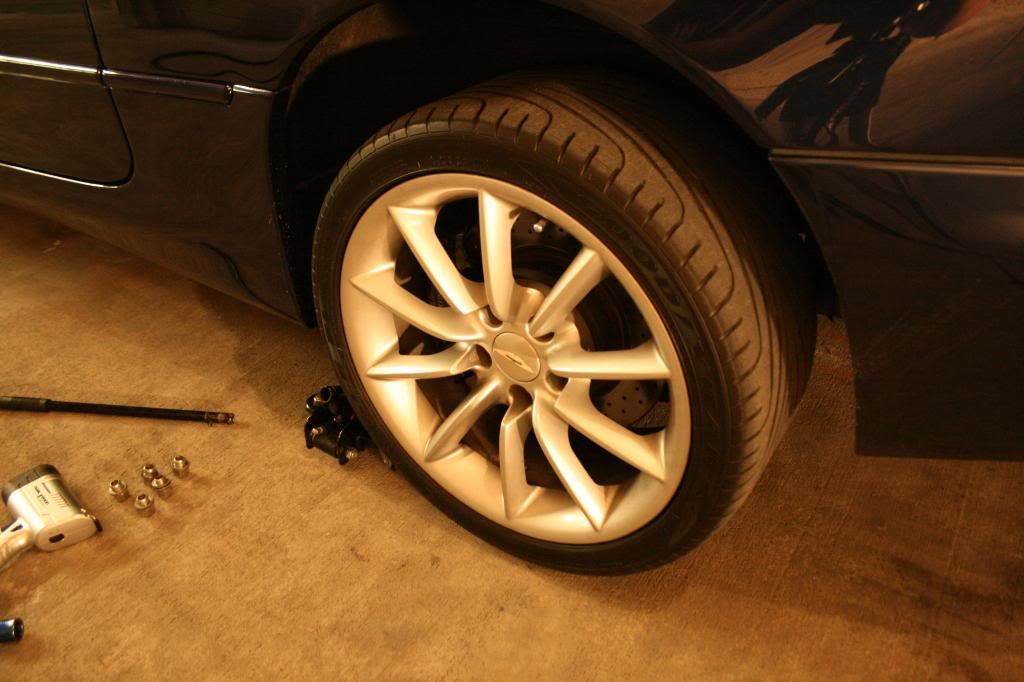
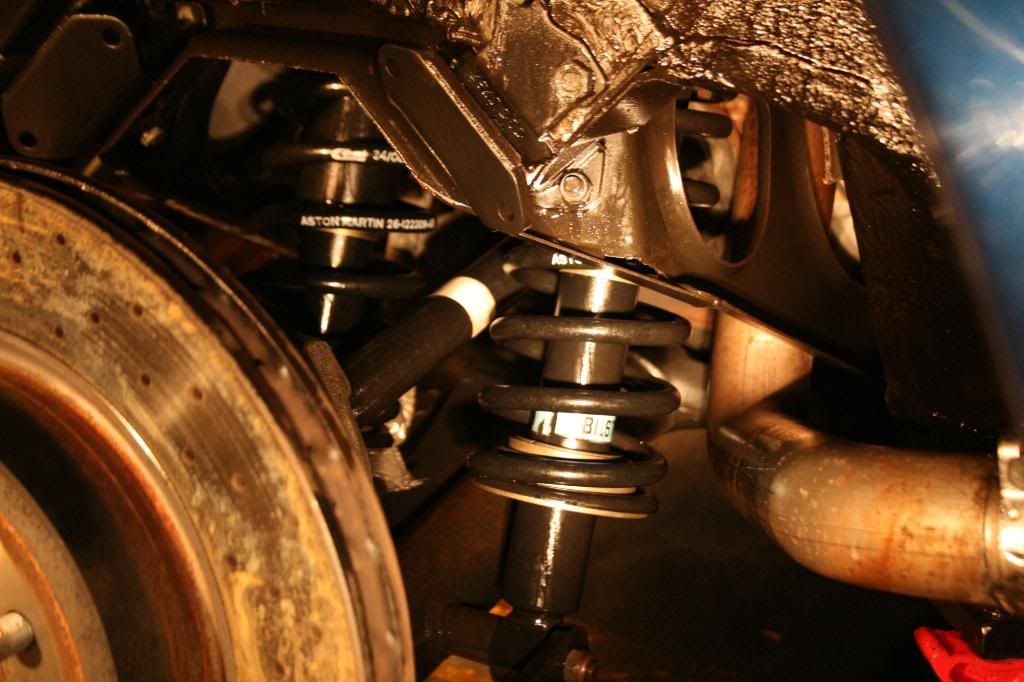
i applied a thick coat of P21s Wheel Gel and allowed it to dwell for about 30 minutes as i worked on cleaning the gunk out of the wheel wells and suspension components.
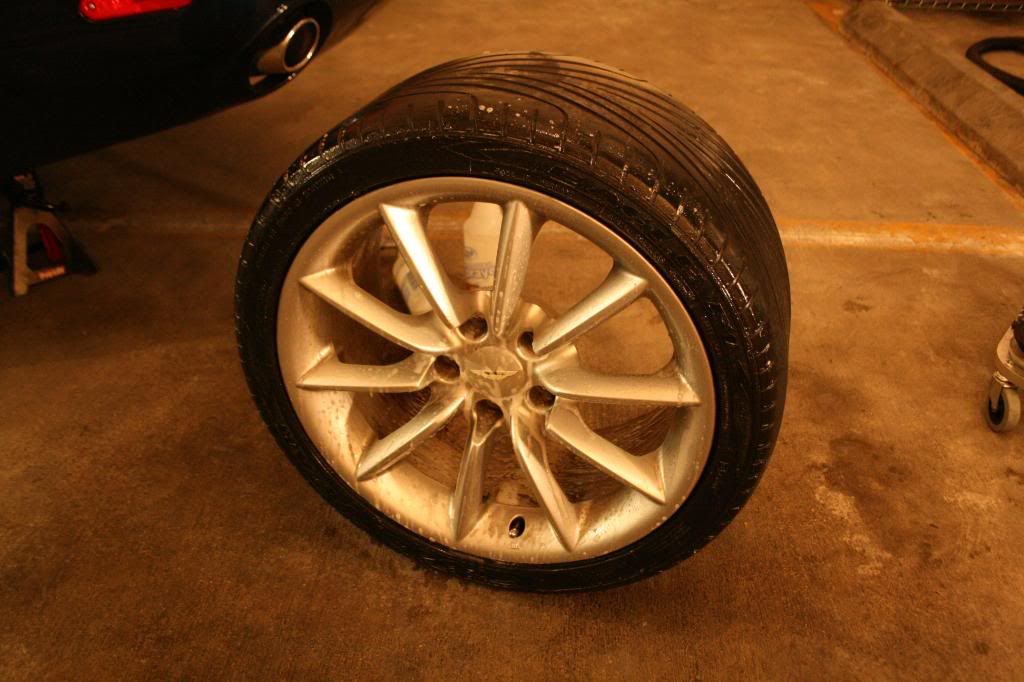
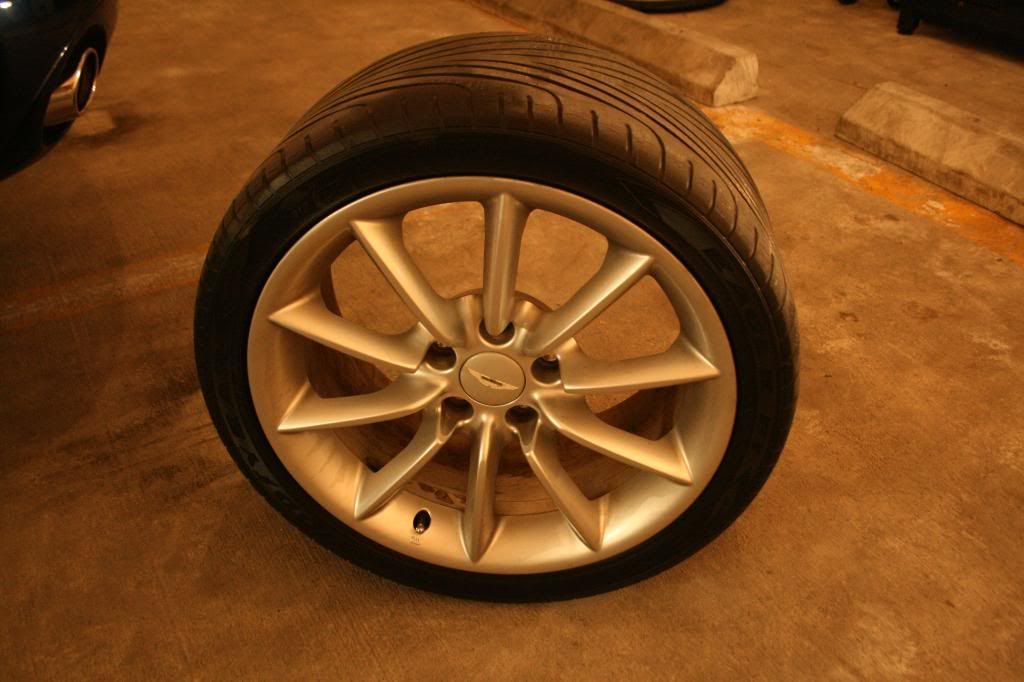
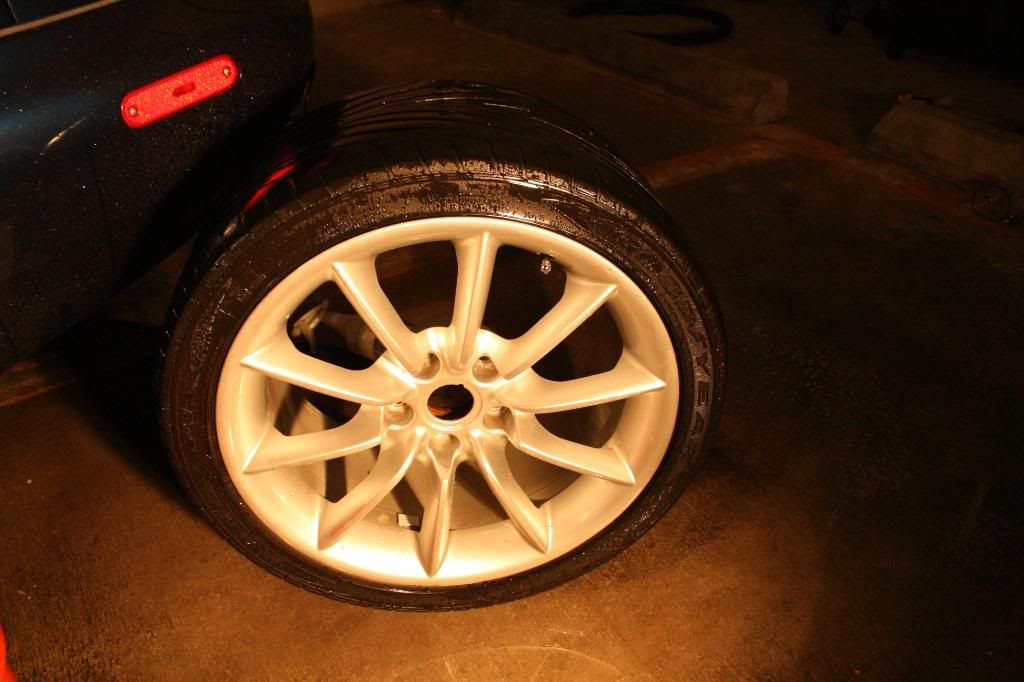
The wheel after cleaning, clay, and seal
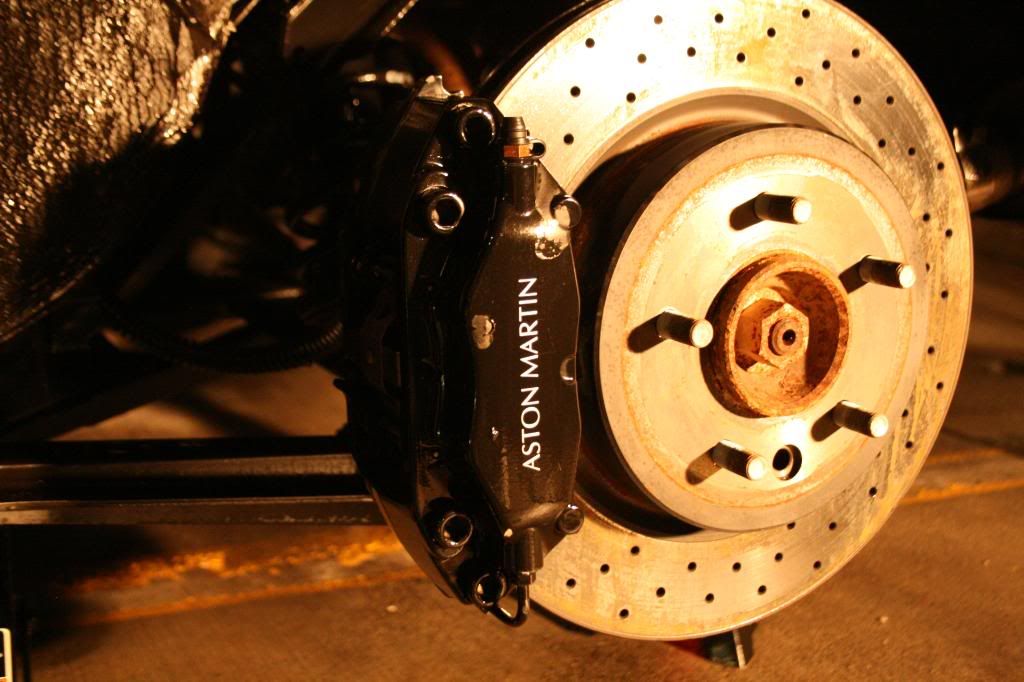
i also applied Swissvax Autobahn to the brake calipers. However the paint had already been peeling off
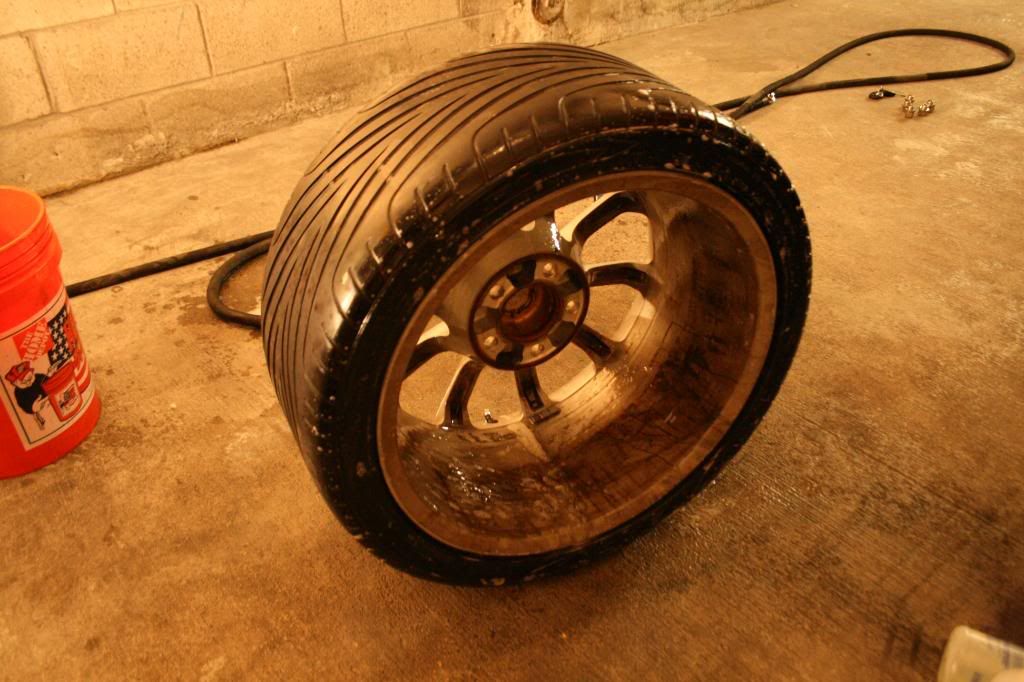
After of the wheel well, i had just applied the CG BareBones so it was not dry yet, hence the greasy look.
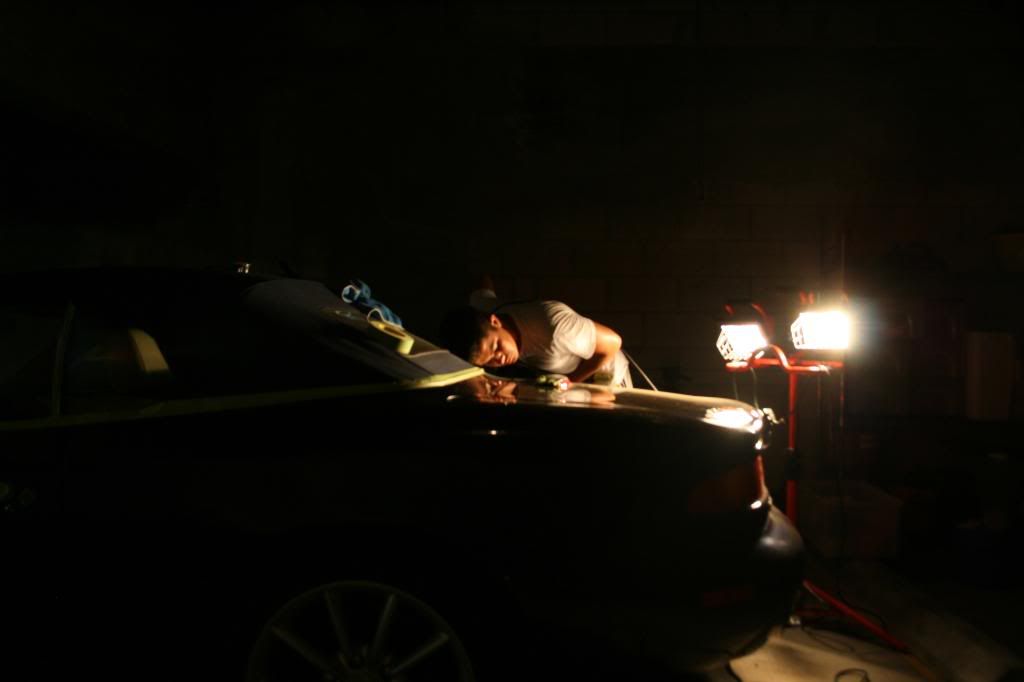
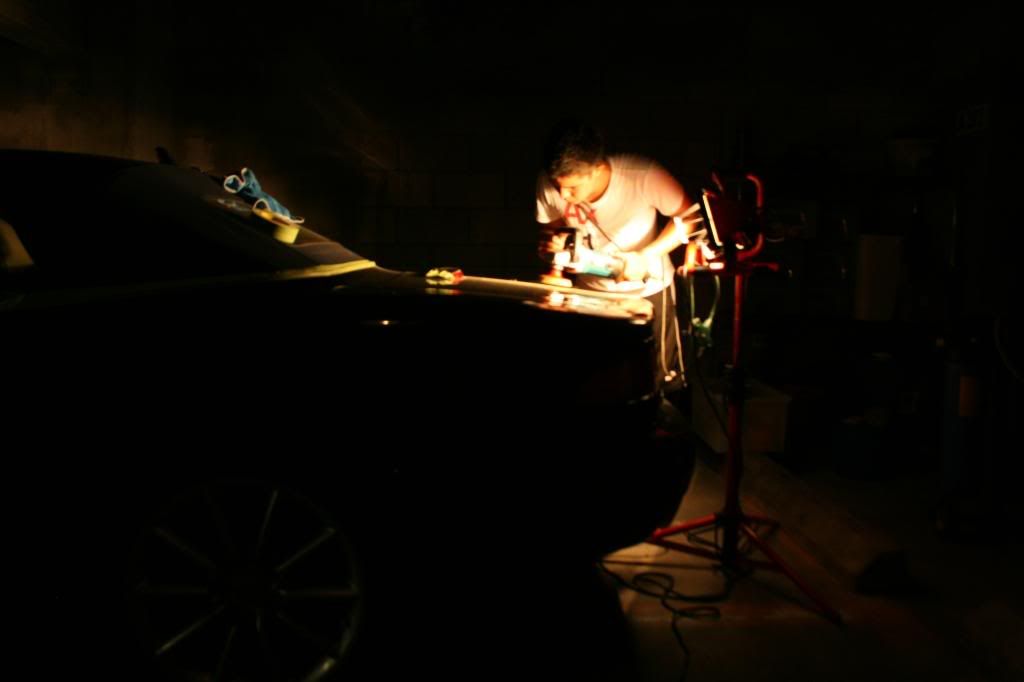
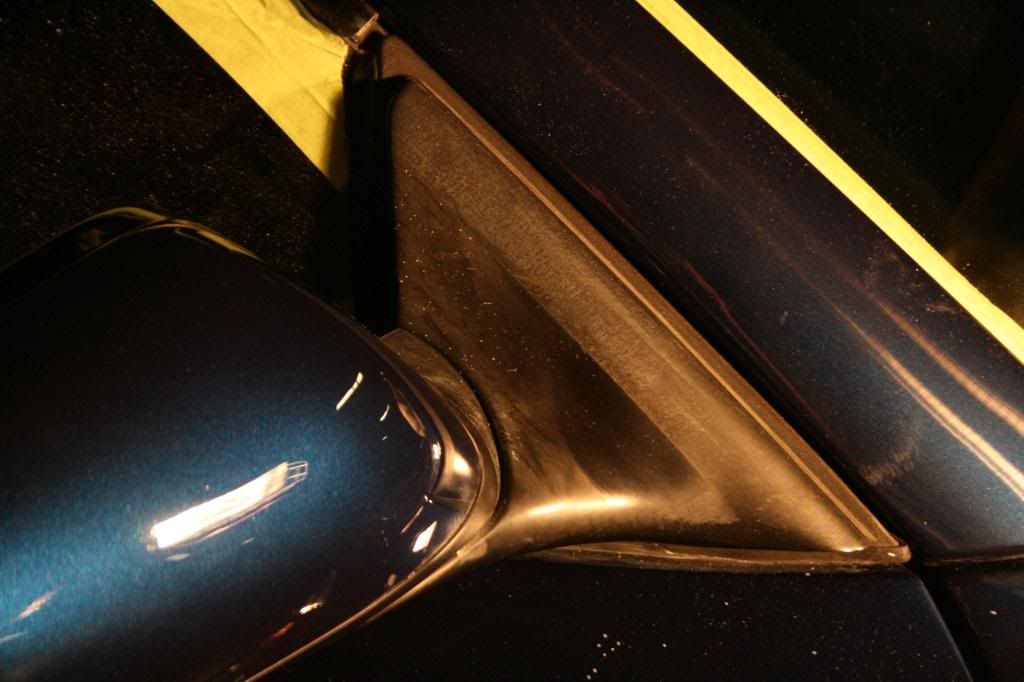
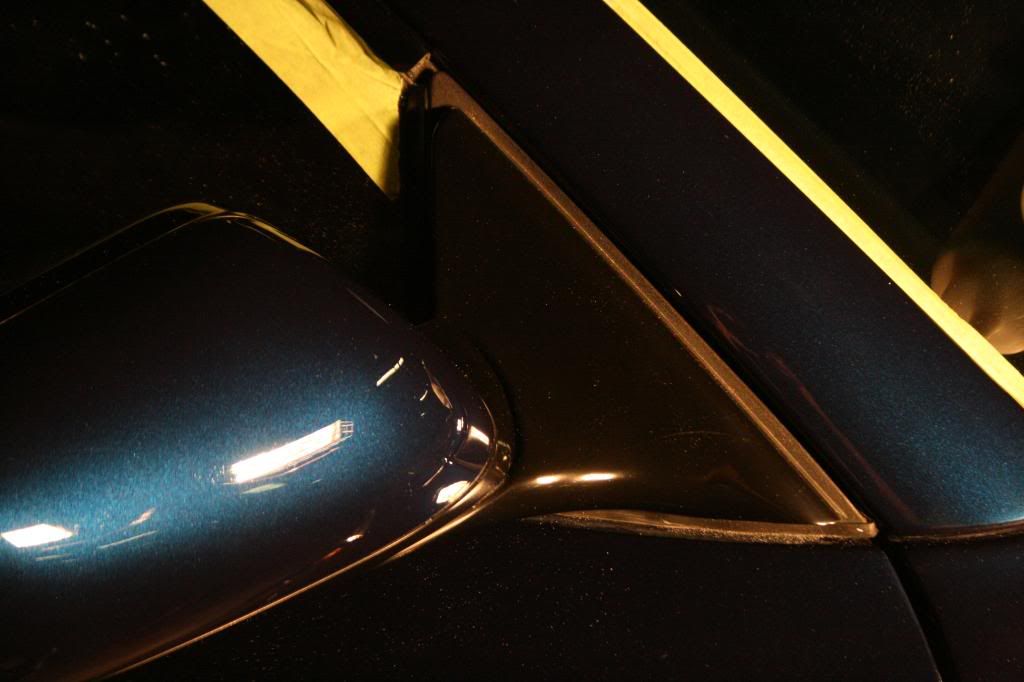
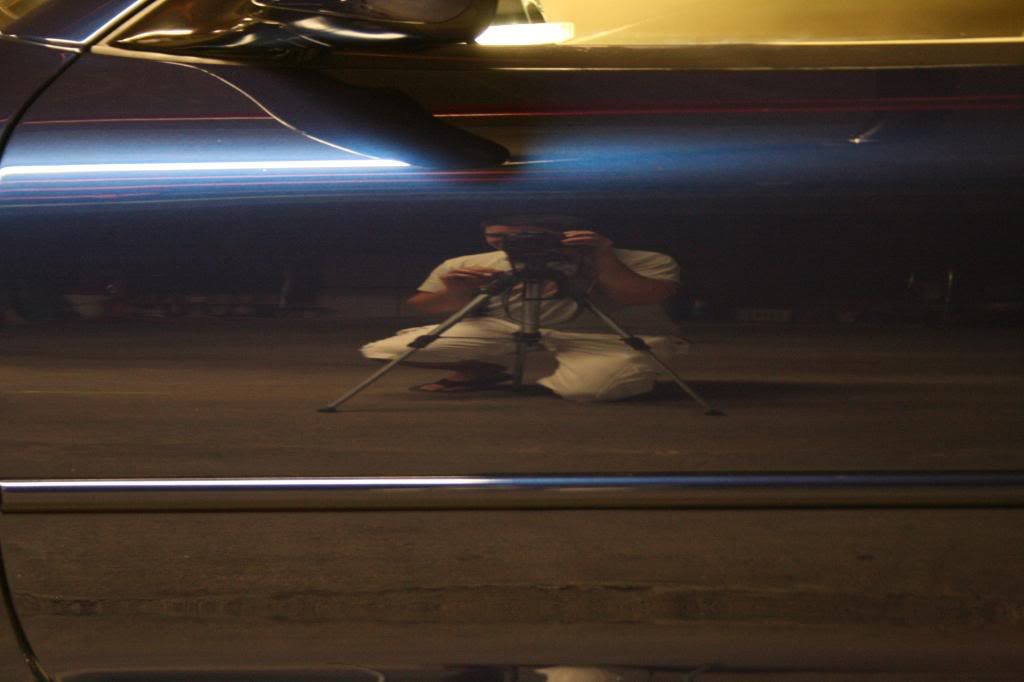
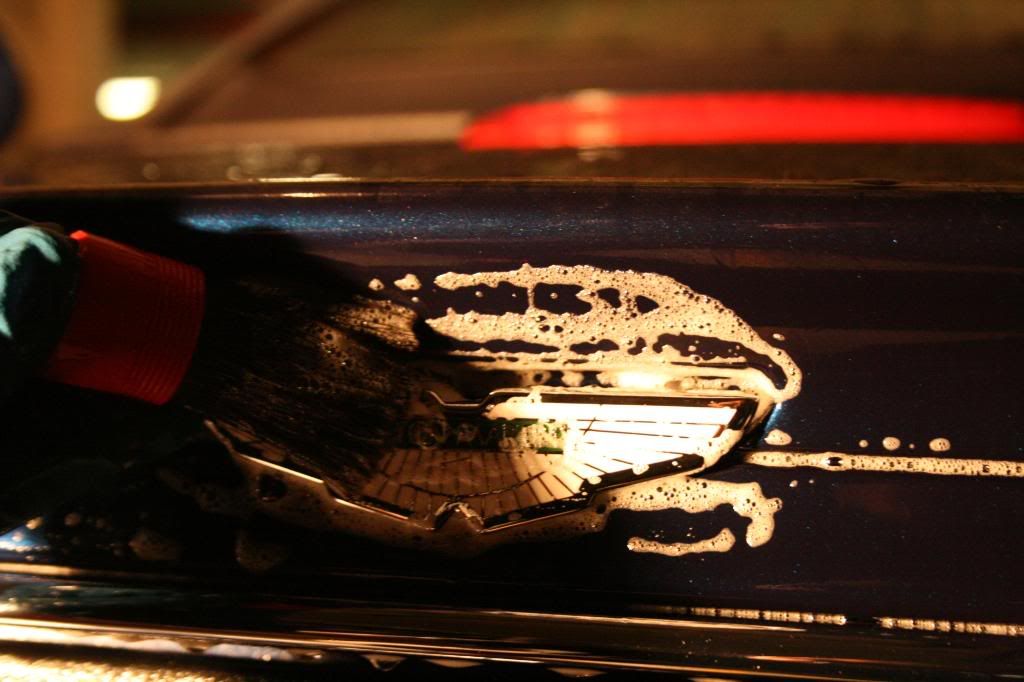
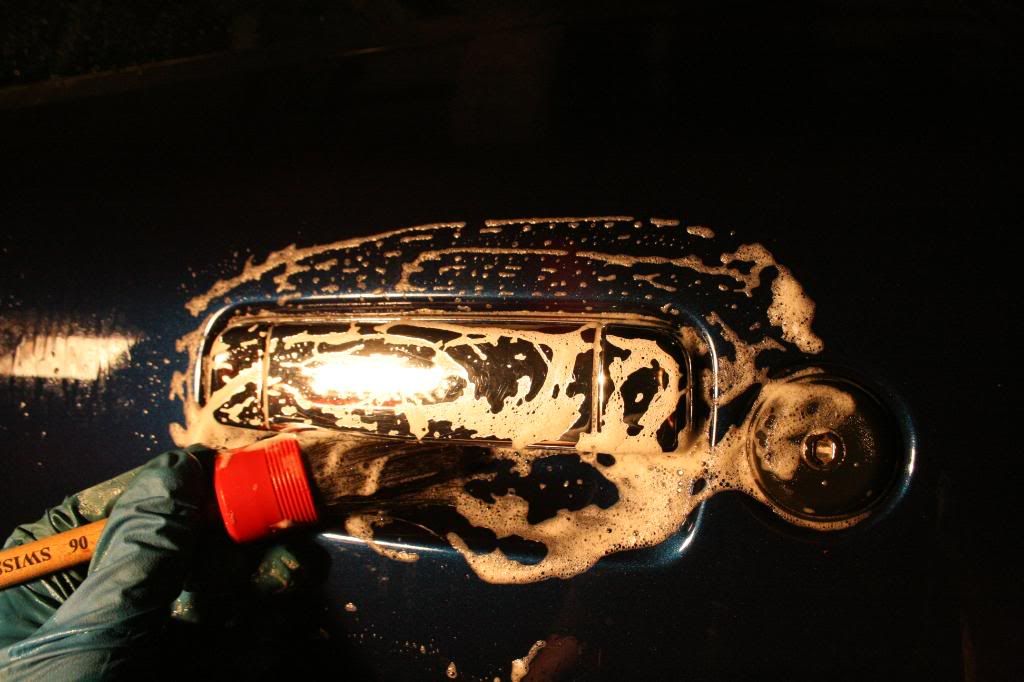
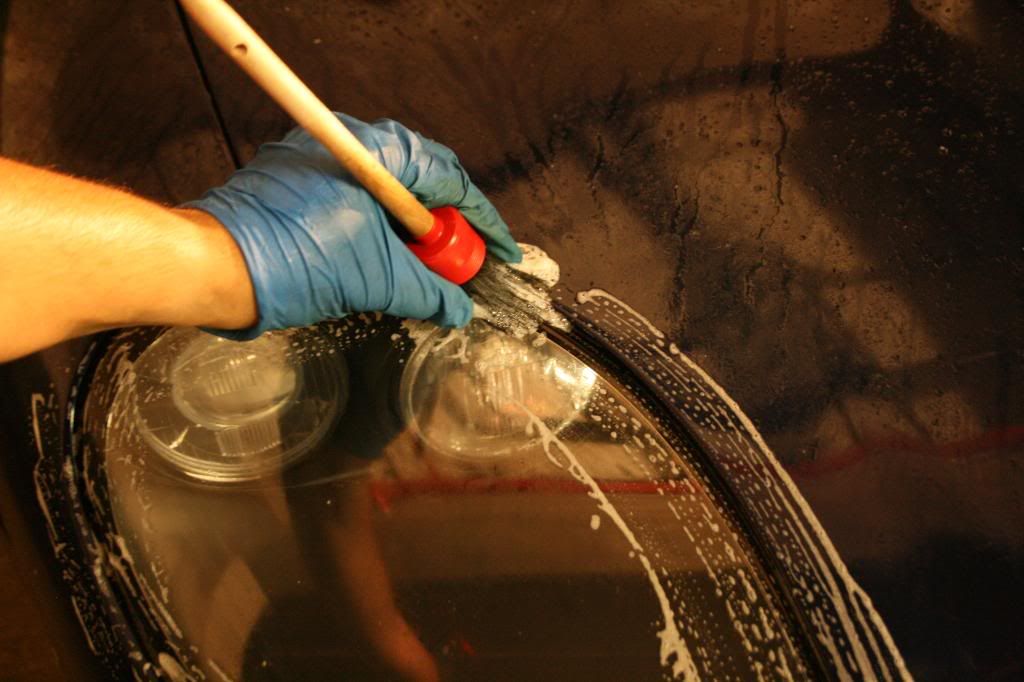
after completing all four corners i went on to the paint. first thing was to spray P21s TAW in all the crevices and agitate with a Swissvax Detail brush. a previous detailer had left polish residue and wax residue all over the crevices of the car.
The clay picked up a lot of small contaminants that were stuck to the paint.
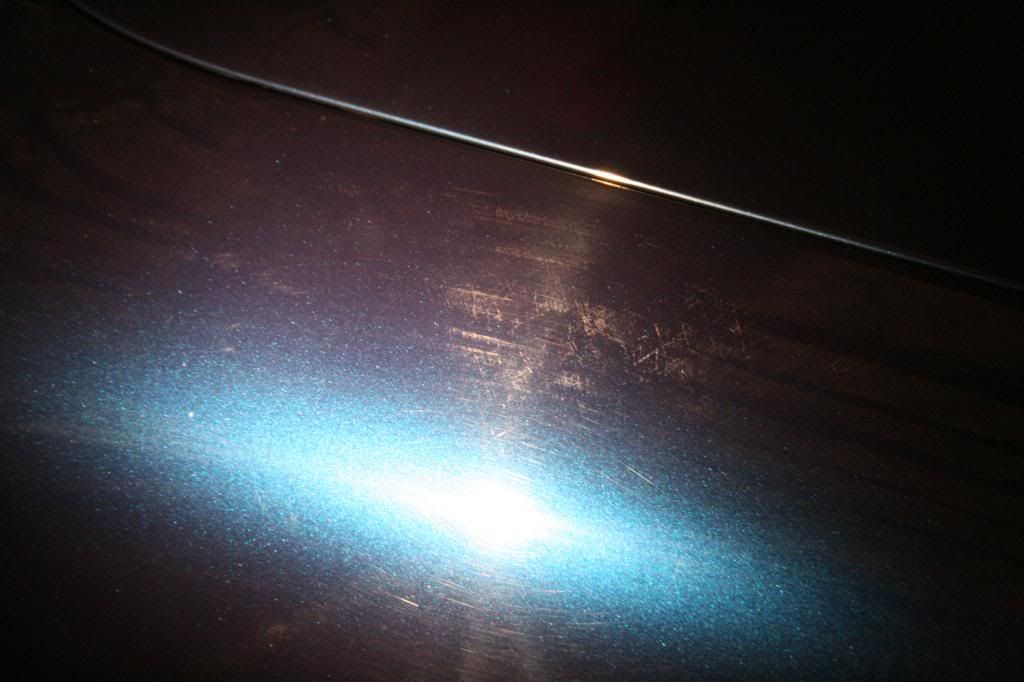
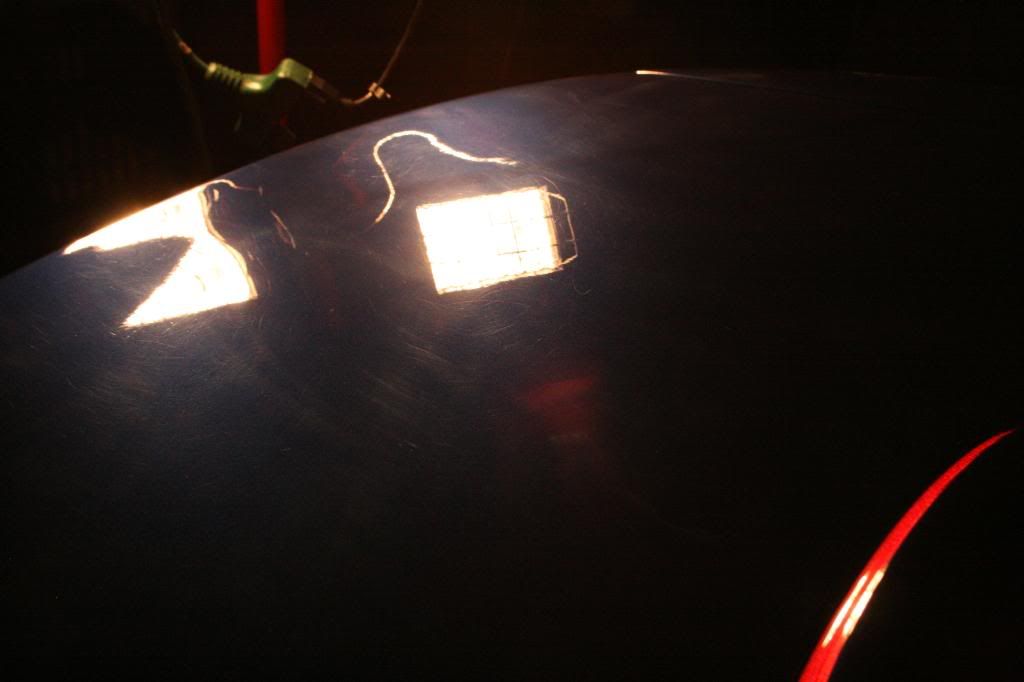
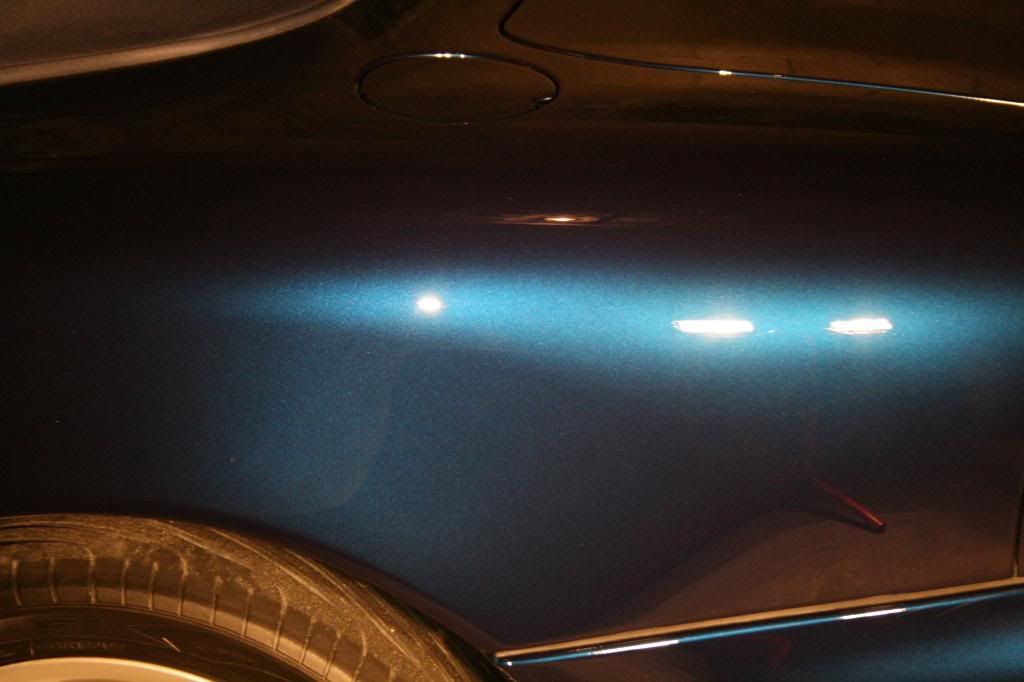
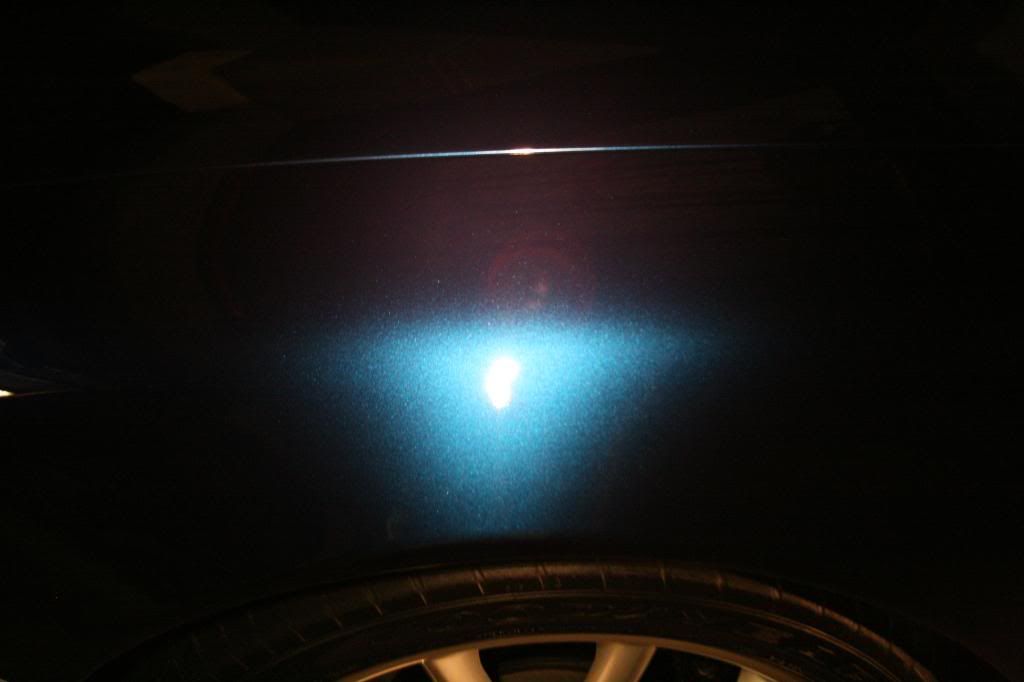
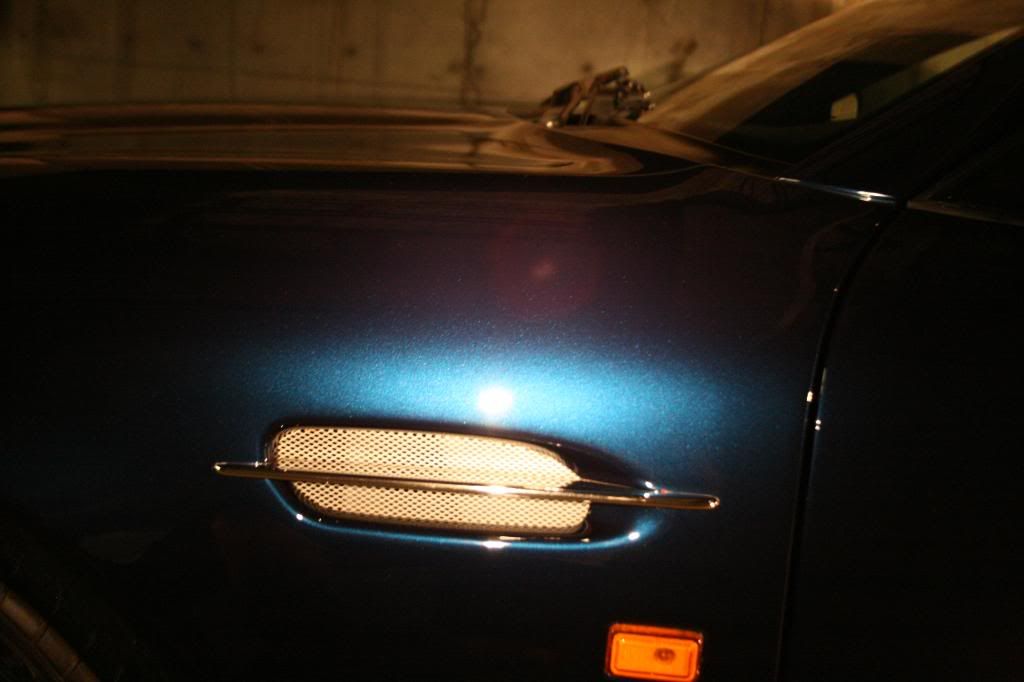
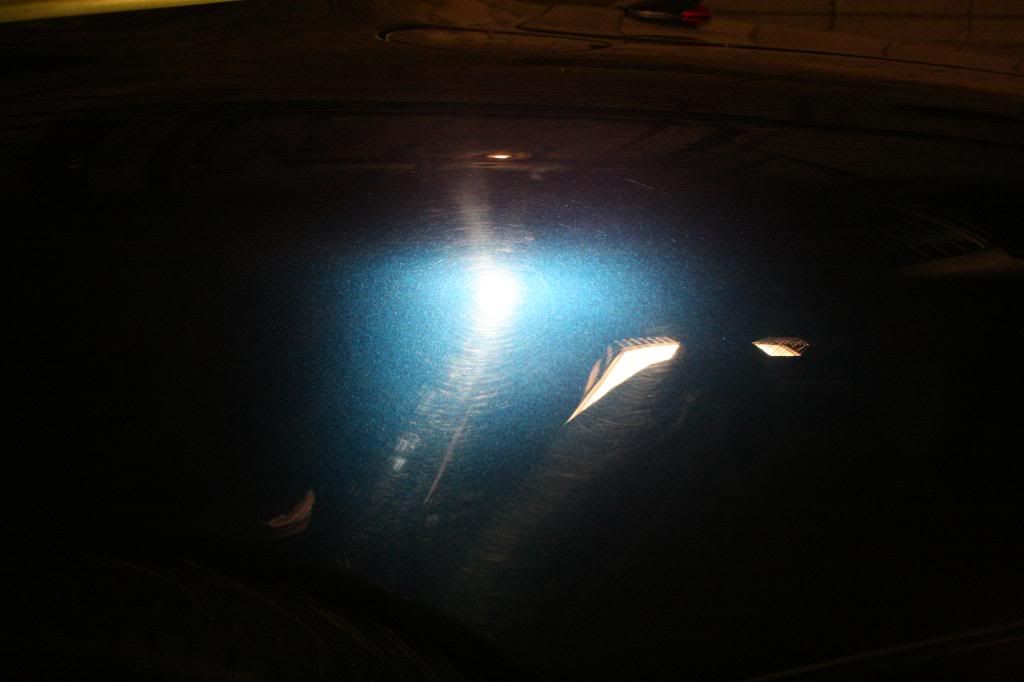
After claying the entire car, this is what the paint looked like.... in pretty bad shape...
sorry for not posting up some work in a while, i just got back from a trip to Montreal, and i have also been in the process of moving, so bear with me... but now i'm moved in and have a whole bunch of cars lined up. here's my most recent work
This car was recently purchased from an auction. the car's history is not know, however there was evidence that the hood and front bumper had been repainted.
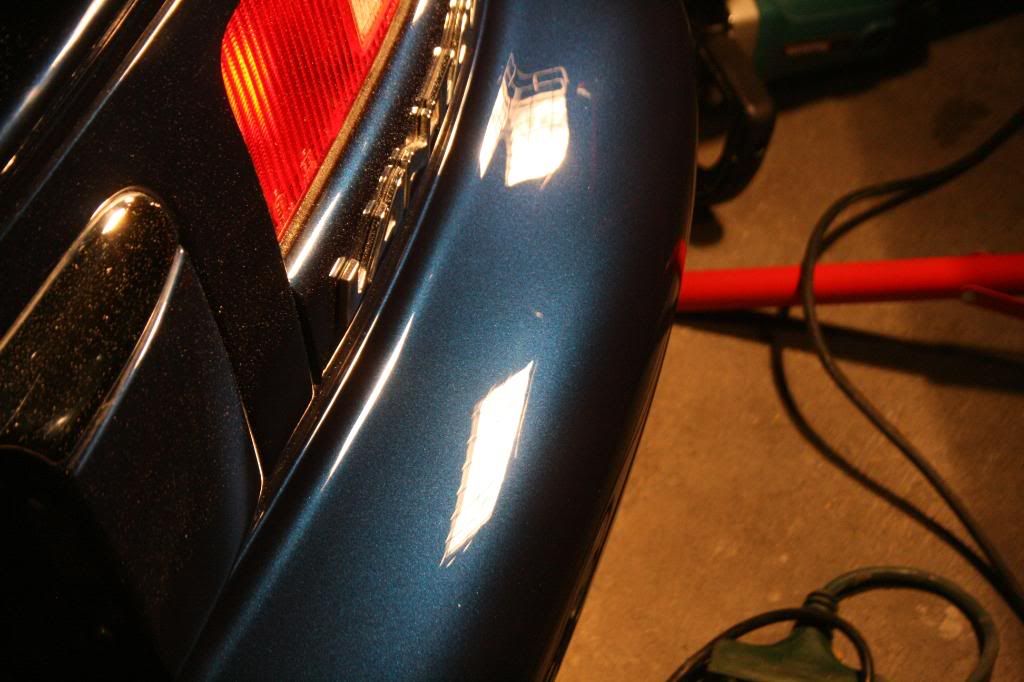
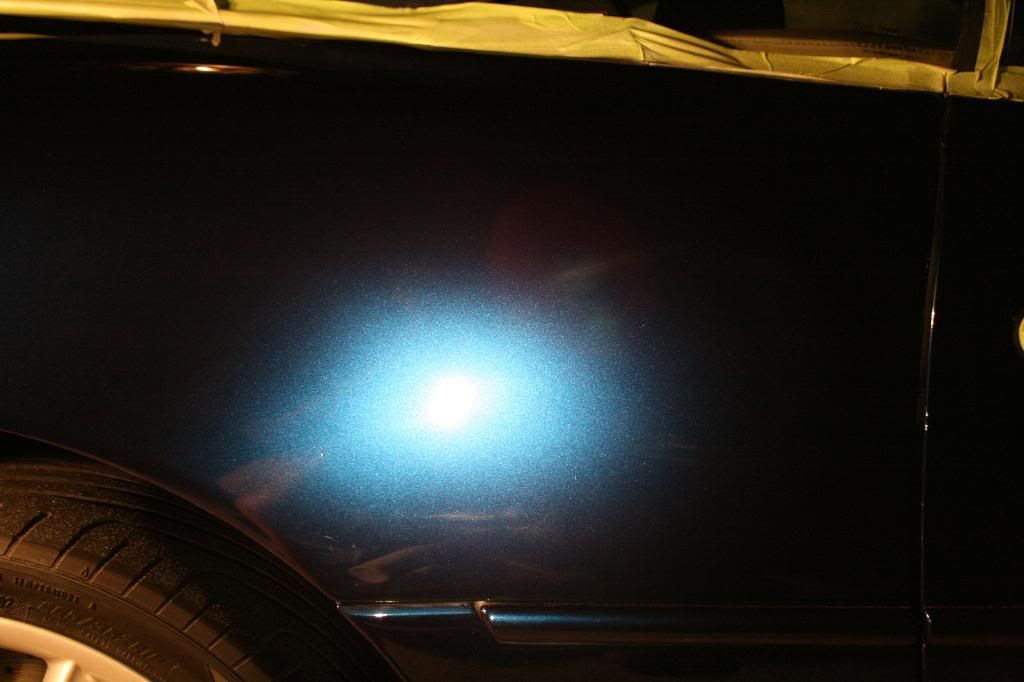
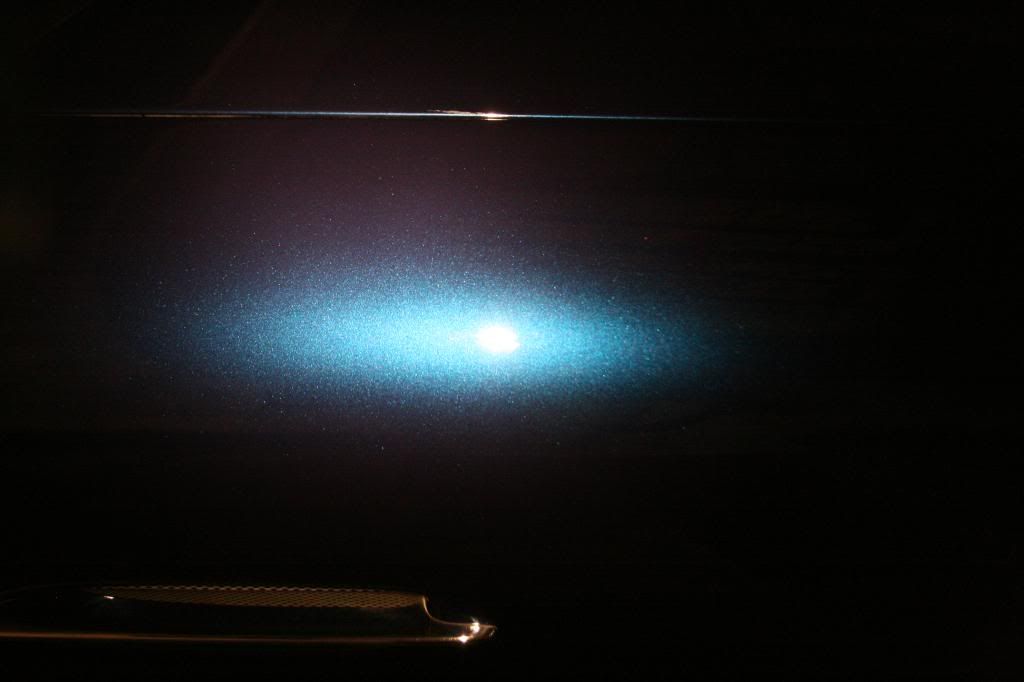
On another note, the paint was in very bad shape. the RIDS and swirls were very deep, and the car had scratches all over the place that required touch-up and spot wetsanding.
I worked on this car for a total of Five days. this is also the most thurough detail i have ever done.
Products:
Cleaning
Exterior
-Wash
-1Z Anti Insekt
-CG CWC
-Meg's mitt
-P21s TAW
-Wheels
-CG CWC
-P21s Gel
-P21s TAW
-EZ detail brush
-Swissvax wheel brush
-OXO tire scrubber
-Wheel Wells
-ARO
-P21s TAW
-Meg's APC+
-Meg's Super Degreaser
-DD wheel well brush
-Swissvax Wheel brush
-über wheel brush
Engine
-P21s TAW
Convertible top
-ARO
Clay
-Special yellow poly clay
-ONR lube
Polishing
-Exterior paint
-Meguiar's M95 via Black wool pad
-Menzerna SIP via Orange über pad
-Menzerna PO85RD via blue über pad
-Makita 9227C
-3M Yellow Foam Backing Plate
-1000w halogen lights
-Brinkmann Dual Xenon
-ISA 50/50 wipedown
-DD über MF towels
-Racatac
LSP
-Paint
-Swissvax Cleaner Fluid
-Swissvax Mystery (x2)
-FK1# 425
-CG 530XL MF towels
-Wheels
-Swissvax Cleaner Fluid
-Swissvax Autobahn
-FK1# 425
-CG Barebones (wheel wells)
-Swissvax Pneu
Engine
-Meg's Hyperdressing
Convertible Top
-CG Fabric Protectant
Glass
-Sprayaway glass cleaner
Interior
-Leather Master Trio
-1Z Cockpit
Before:
The customer requested that i remove the wheels and give the wheel wells/suspension/brakes a thorough cleaning and protection
i applied a thick coat of P21s Wheel Gel and allowed it to dwell for about 30 minutes as i worked on cleaning the gunk out of the wheel wells and suspension components.
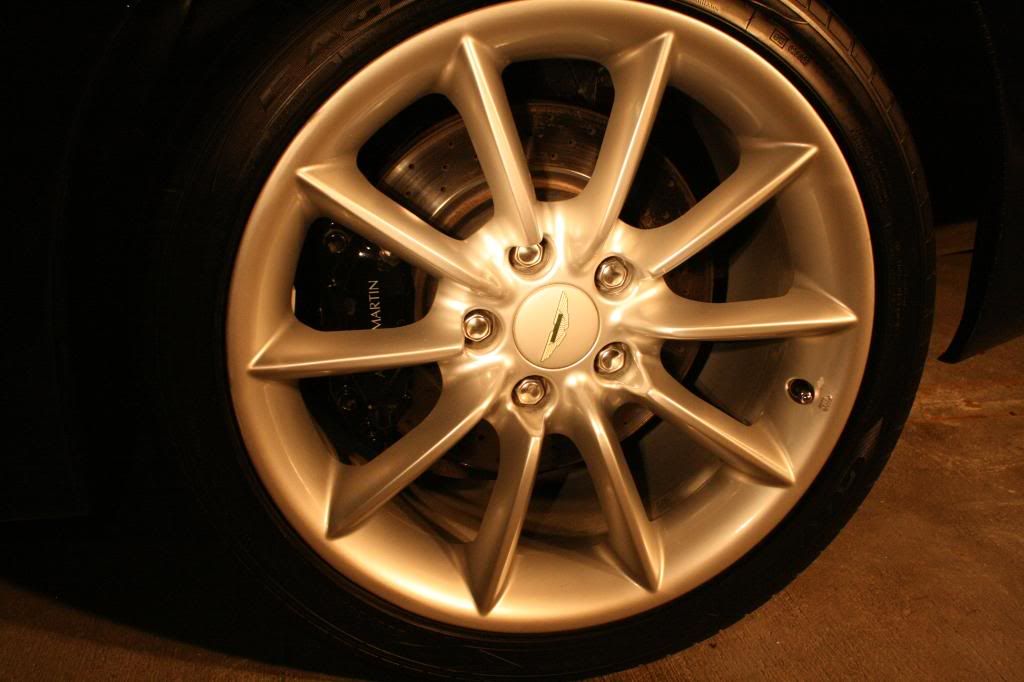
The wheel after cleaning, clay, and seal
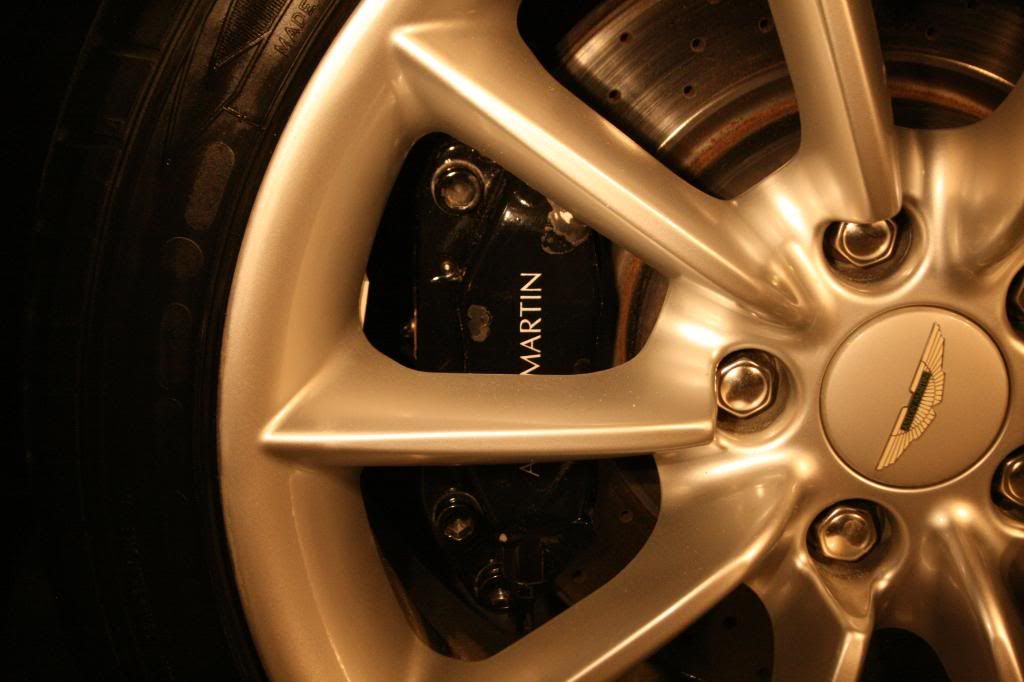
i also applied Swissvax Autobahn to the brake calipers. However the paint had already been peeling off
After of the wheel well, i had just applied the CG BareBones so it was not dry yet, hence the greasy look.
after completing all four corners i went on to the paint. first thing was to spray P21s TAW in all the crevices and agitate with a Swissvax Detail brush. a previous detailer had left polish residue and wax residue all over the crevices of the car.
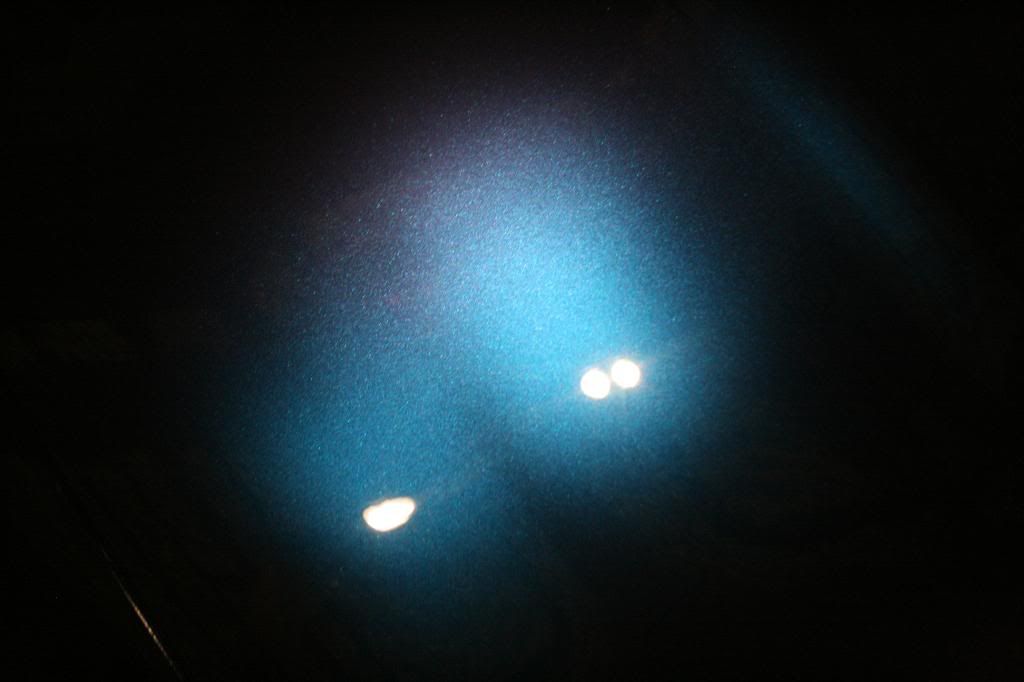
The clay picked up a lot of small contaminants that were stuck to the paint.
After claying the entire car, this is what the paint looked like.... in pretty bad shape...