Flannigan
New member
Hey everyone. Today I had a pretty easy job, getting this Saab 93 cleaned up for a great customer of mine. This is the DD for the same customer that has the black Lexus SC430 I corrected a few weeks ago. Perfection wasn't the goal today, but getting the Saab cleaned and protected was.
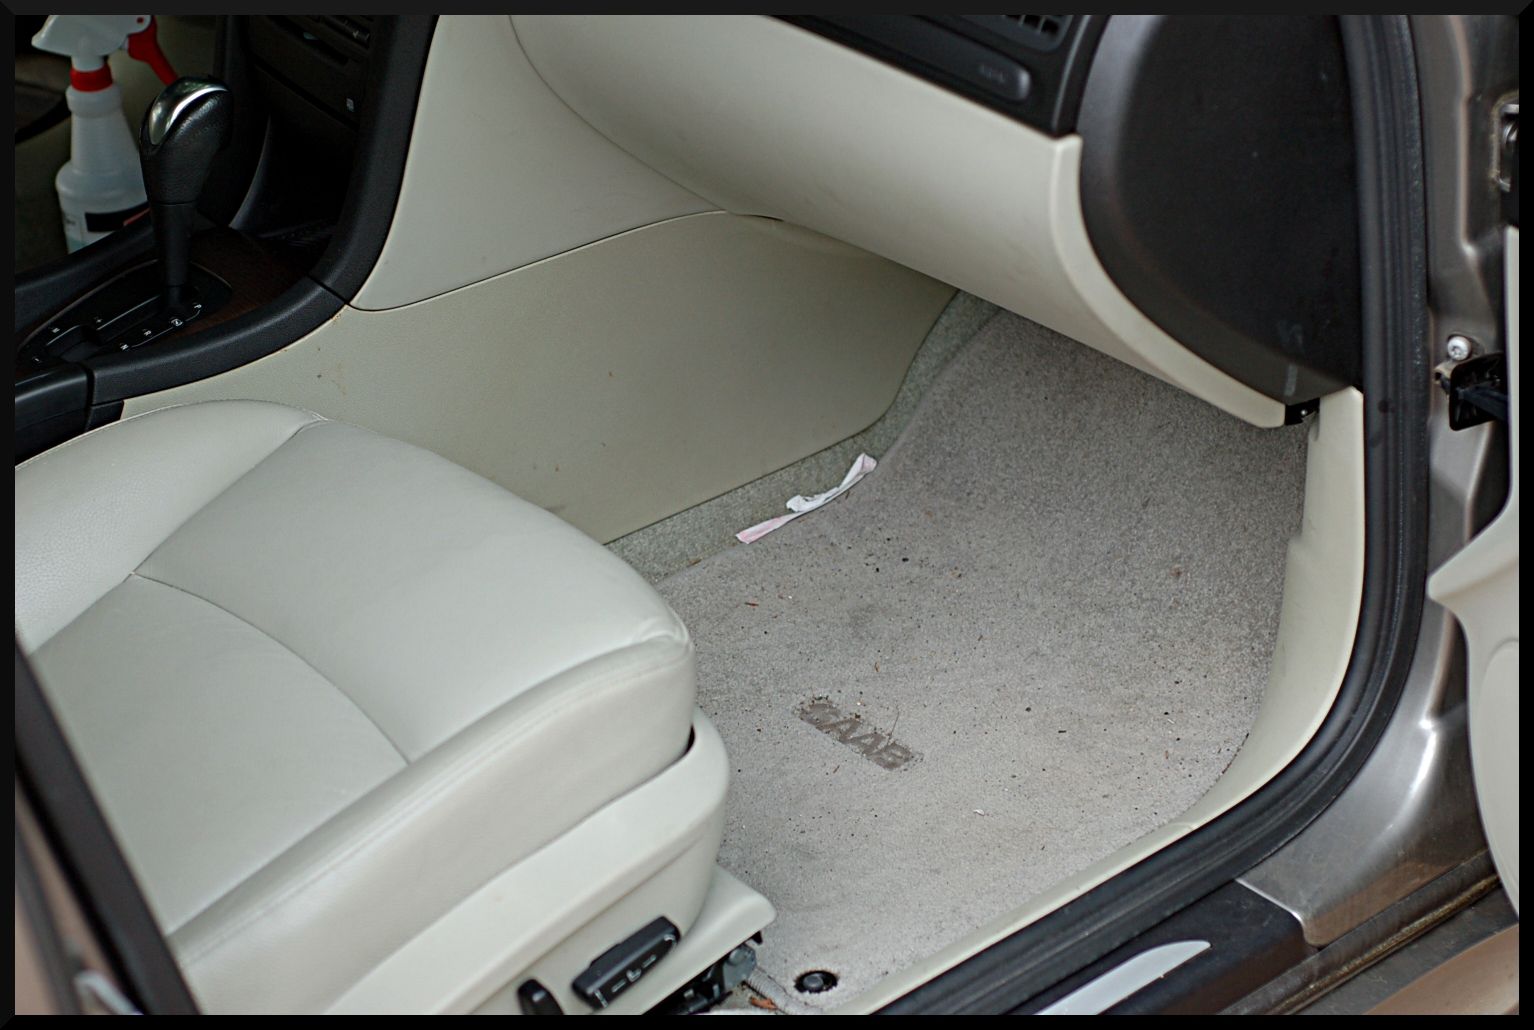
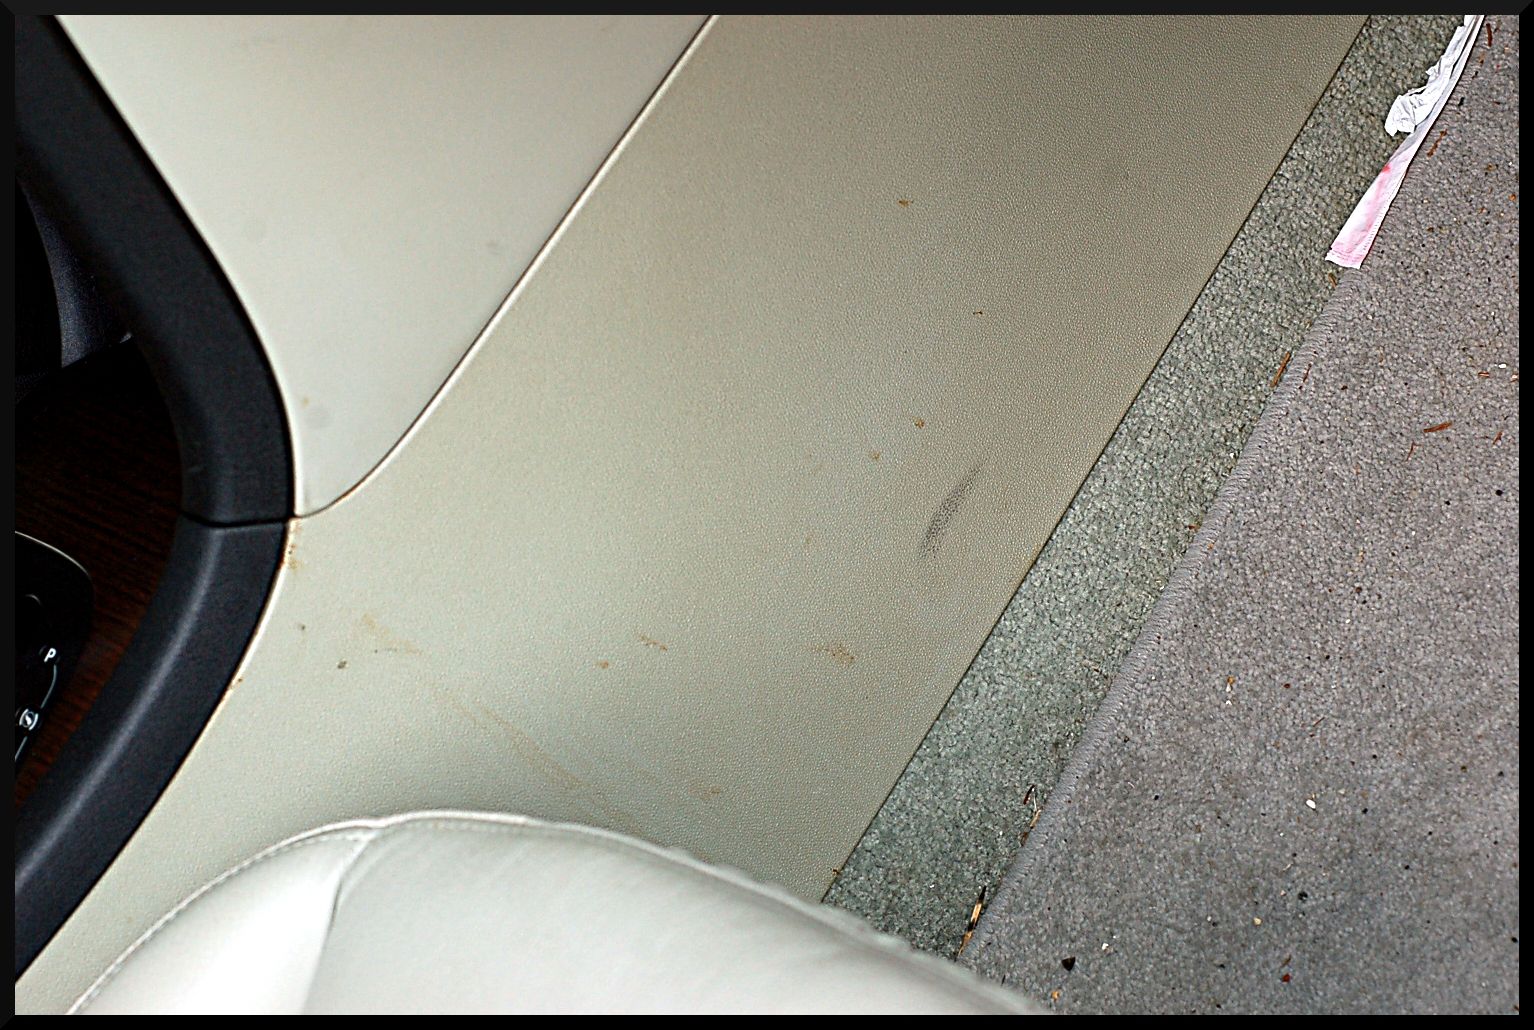
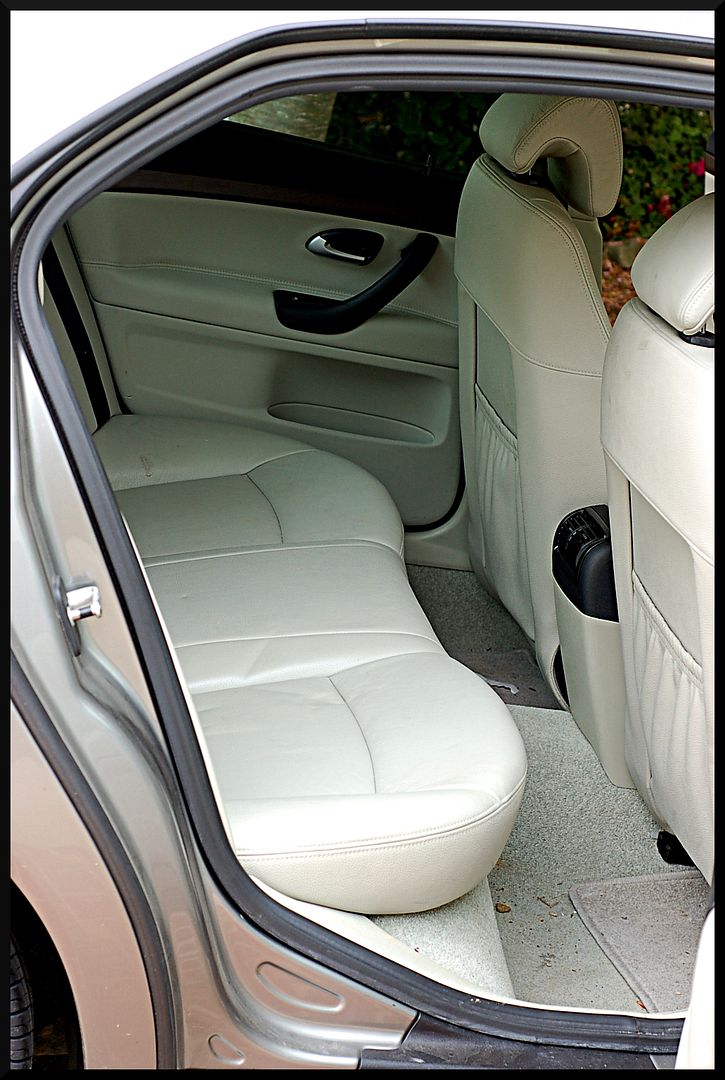
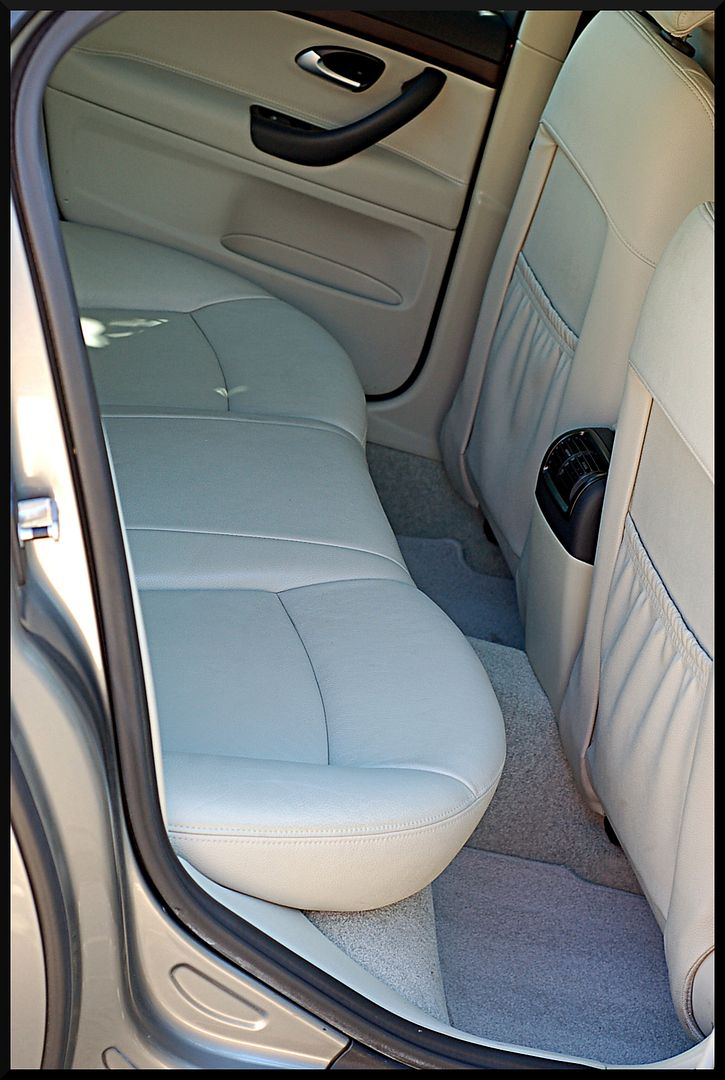
For this detail I started with the interior since it needed the most work, being this was a DD. The carpet was all thoroughly vacuumed, and stains were removed with Folex and my LGM.
Then the dash was wiped down with Megs QID and the scuffs and stains on the plastic were cleaned with Autoglym Interior Cleaner. The leather was also cleaned with AG Interior Cleaner and dressed with Ultima Interior Guard Plus. Here is how it started.
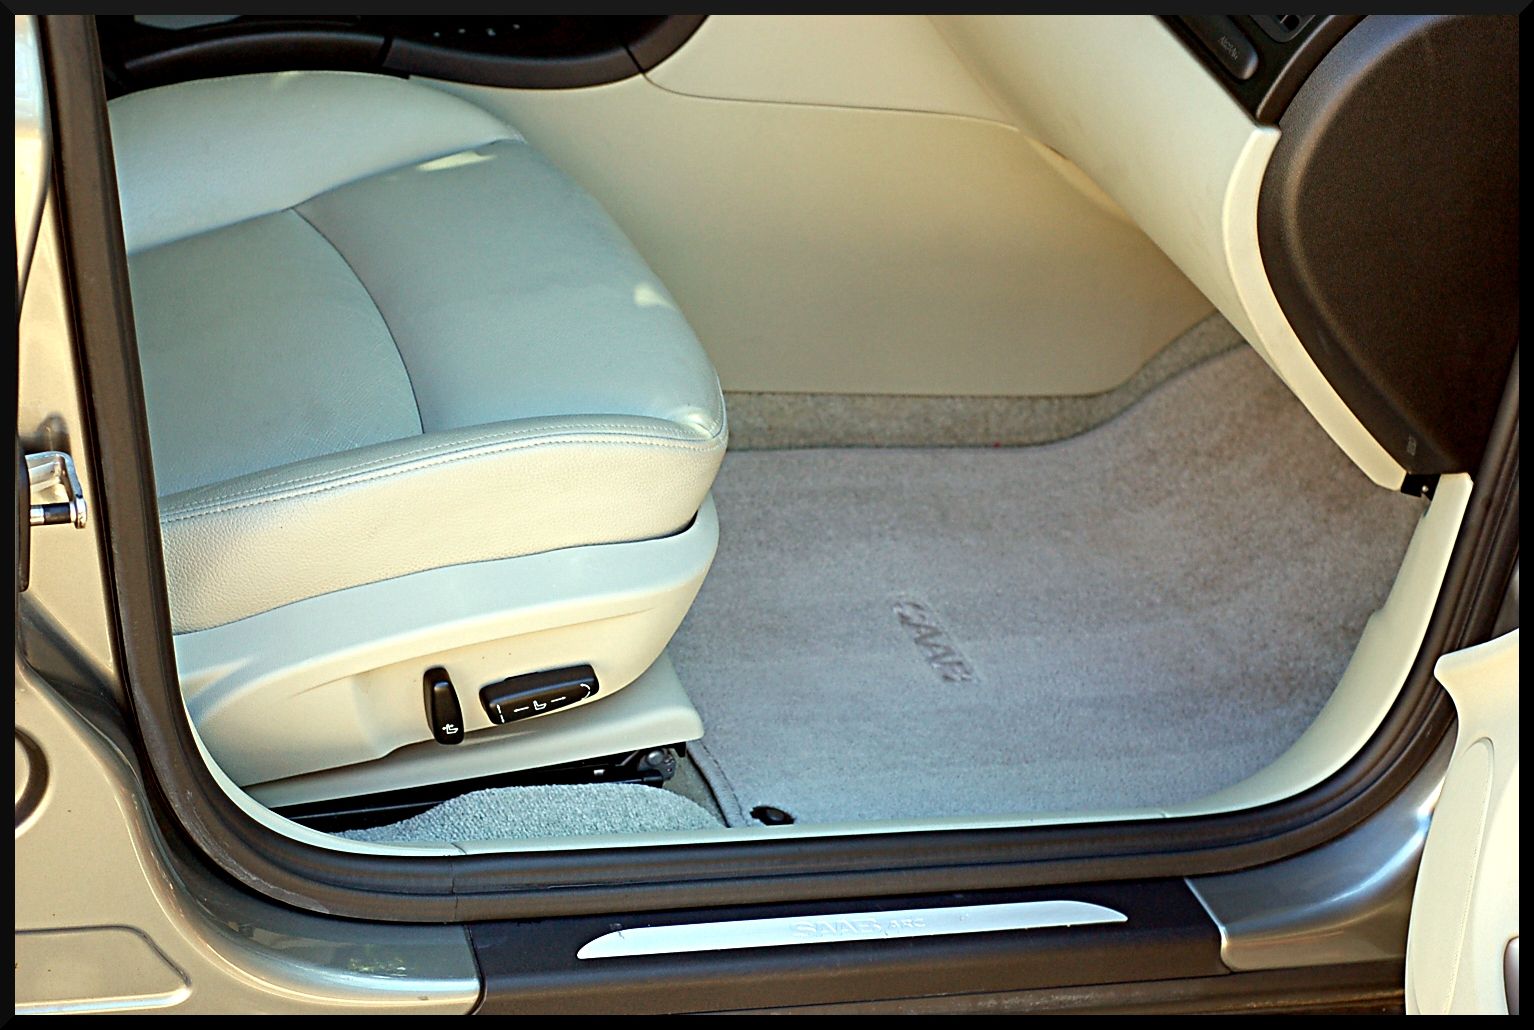
And all cleaned up
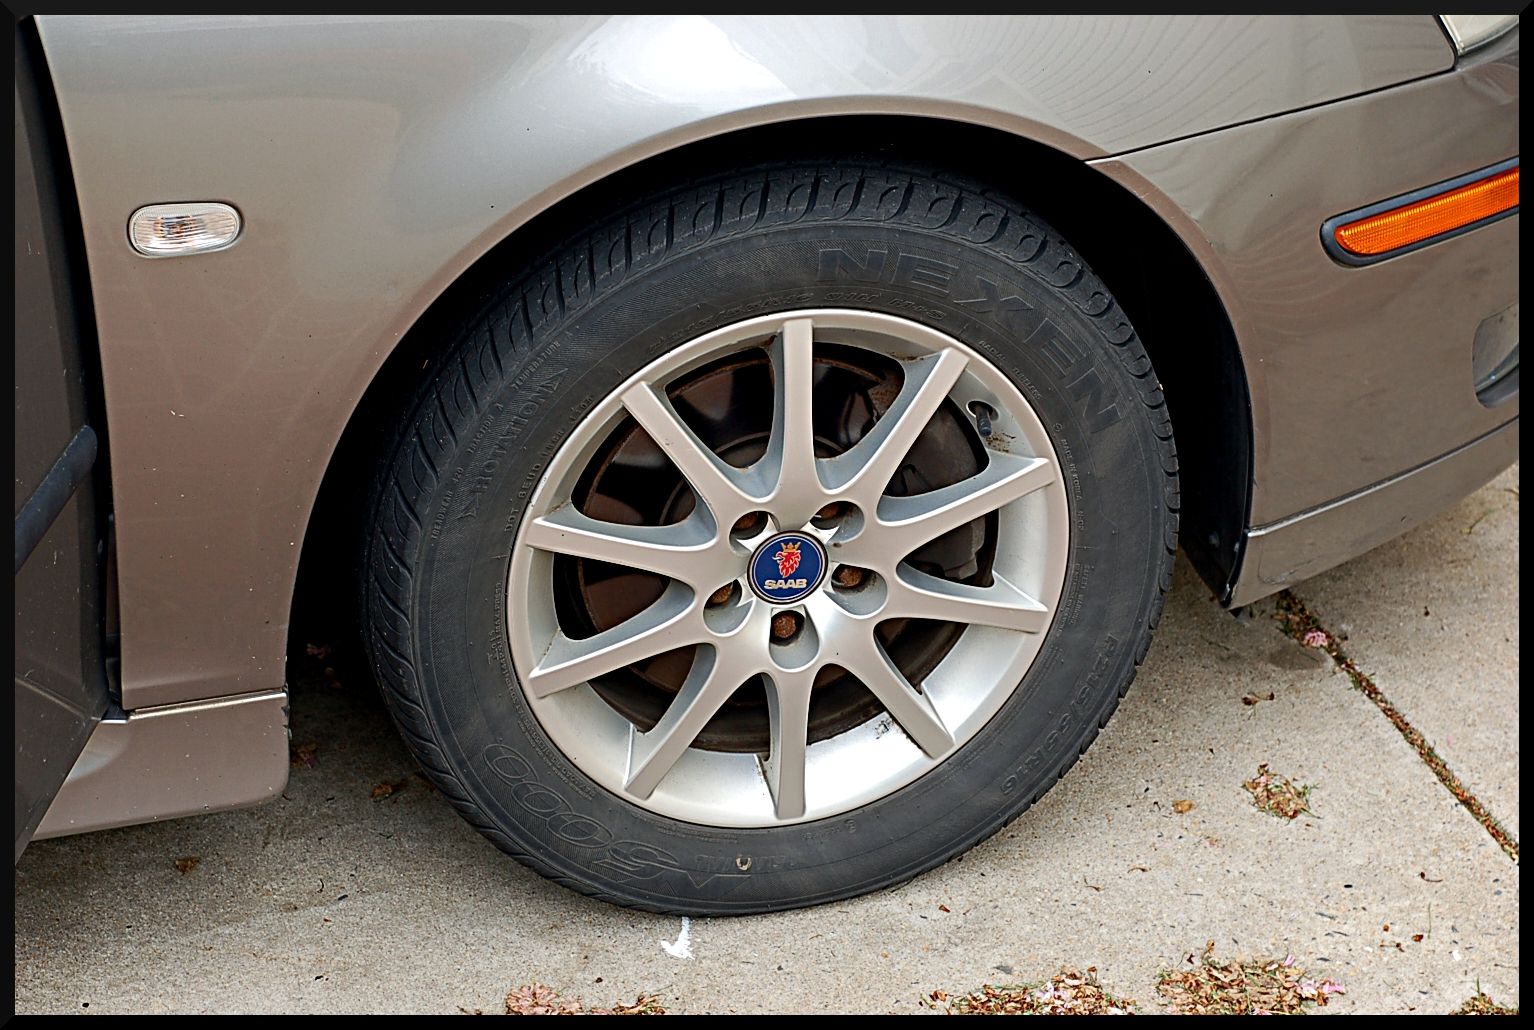
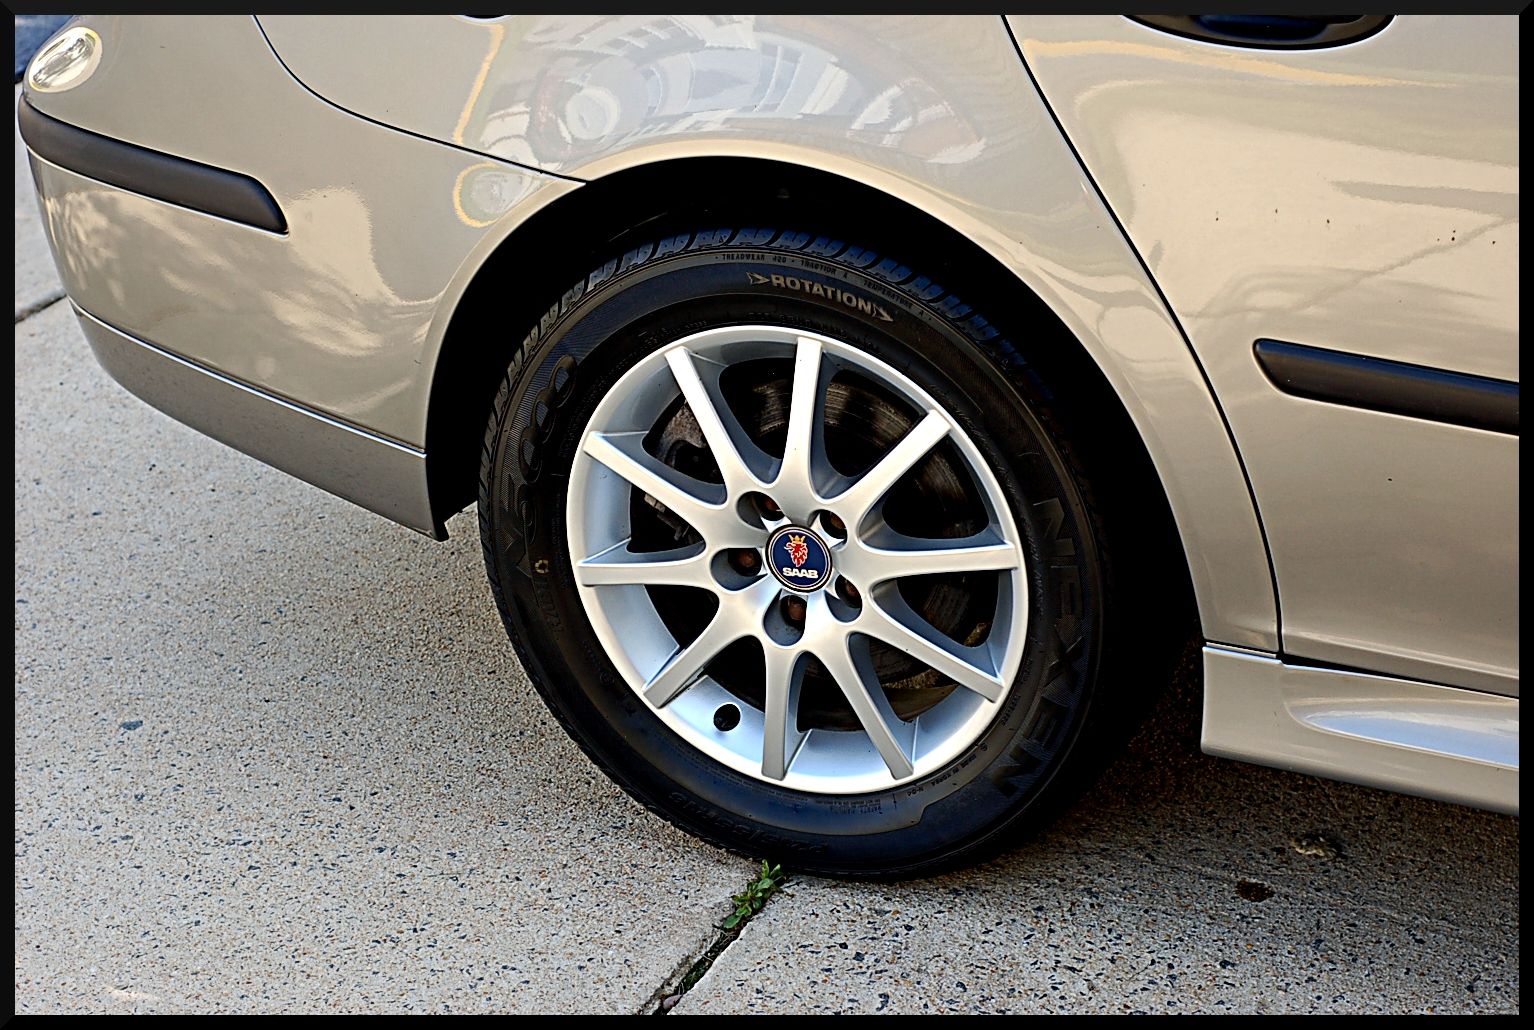
With the interior all sorted out, it was time to start on the exterior. As usual I started with the wheels and tires. They weren't dirty at all, but they had some nasty baked on dirt. The wheels were cleaned with Wolfs Decon Gel, and the tires and wheel wells were cleaned with Blackfire APC. The wheels were sealed with BFWD, the tires dressed with Blackfire Tire Gel, and the wells dressed with CG Bare Bones.
Before:
After:
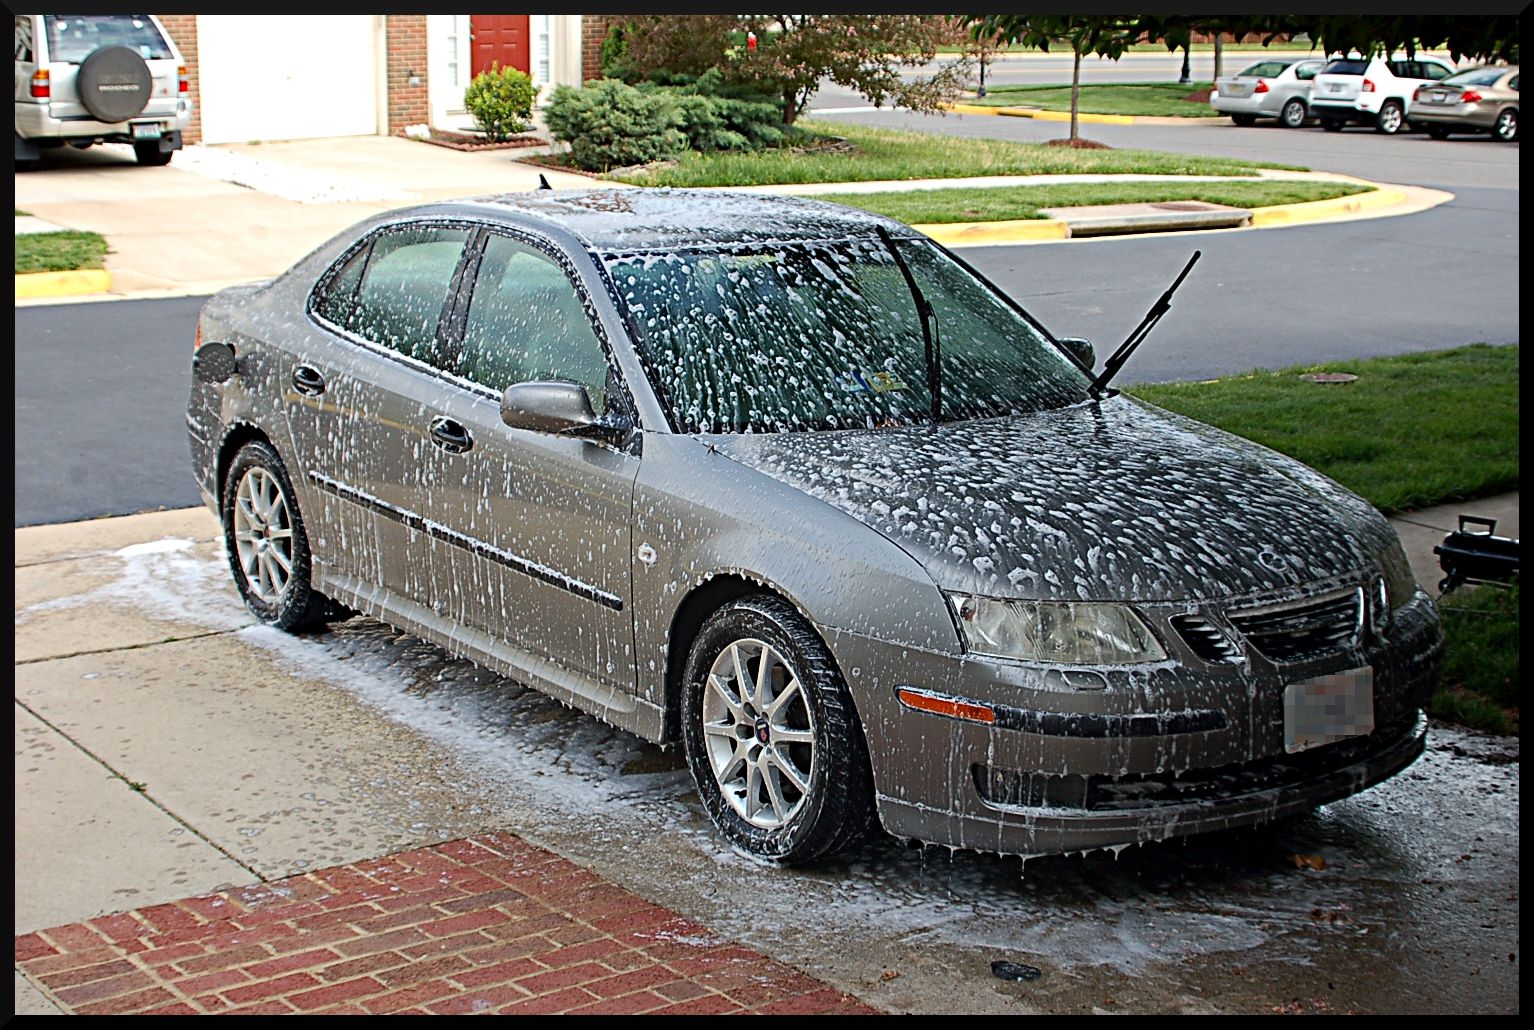
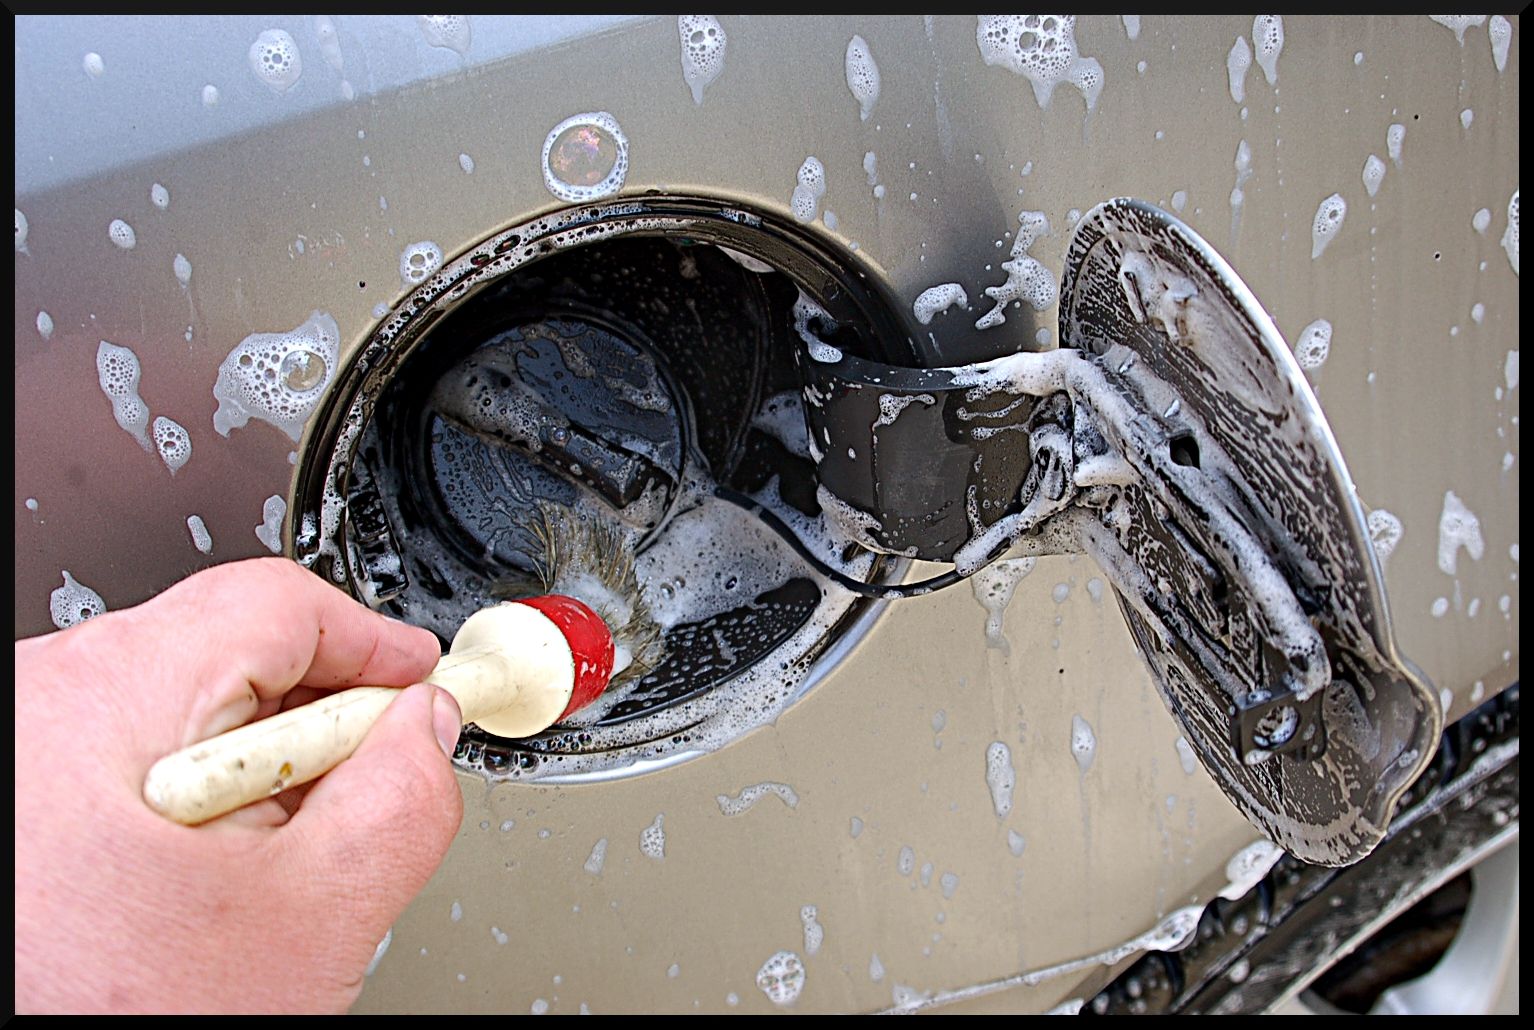
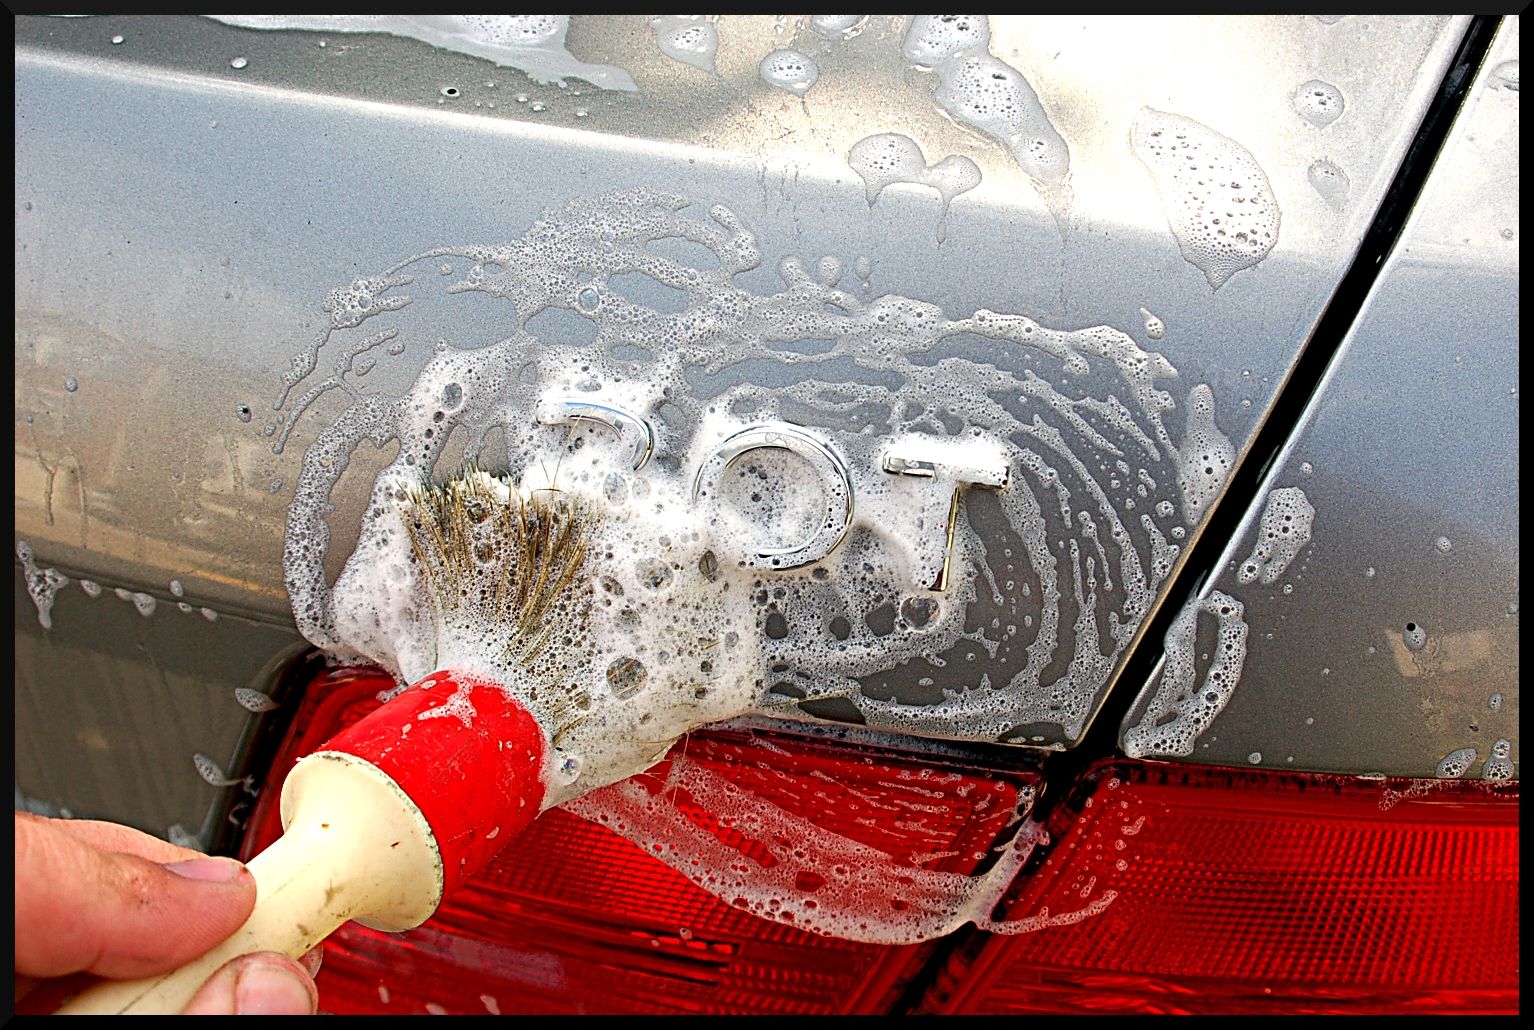
Next I foamed the vehicle to remove as much dirt and debris as possible. I used Meguiars Gold Class Soap and some Blackfire APC in the foam gun. While the foam dwells I agitated the emblems, body seams, and trim to remove the dirt that was built up in them.
The vehicle was then washed with Blackfire Shampoo and a Griots MF pad, then dried with the Masterblaster.
After washing the vehicle was sprayed down with Wolfs Decon Gel, and then clayed with Ricardo fine clay to remove some surface contaminants.
This was not a correction so next I moved to my paint cleaner. I choose my paint cleaner based on what LSP I plan on using most of the time. For this detail I wanted to try a new wax I have picked up (from my buddy Keith Im the MAN ) Swissvax Endurance. This is the Pro version of SV Shield, and people claim you can get up to a year of protection from one application. So, with that LSP picked out I proceeded to use Swissvax Cleaner Fluid on the paintwork to prepare the surface. I applied it with a tangerine HT pad on my PCXP.
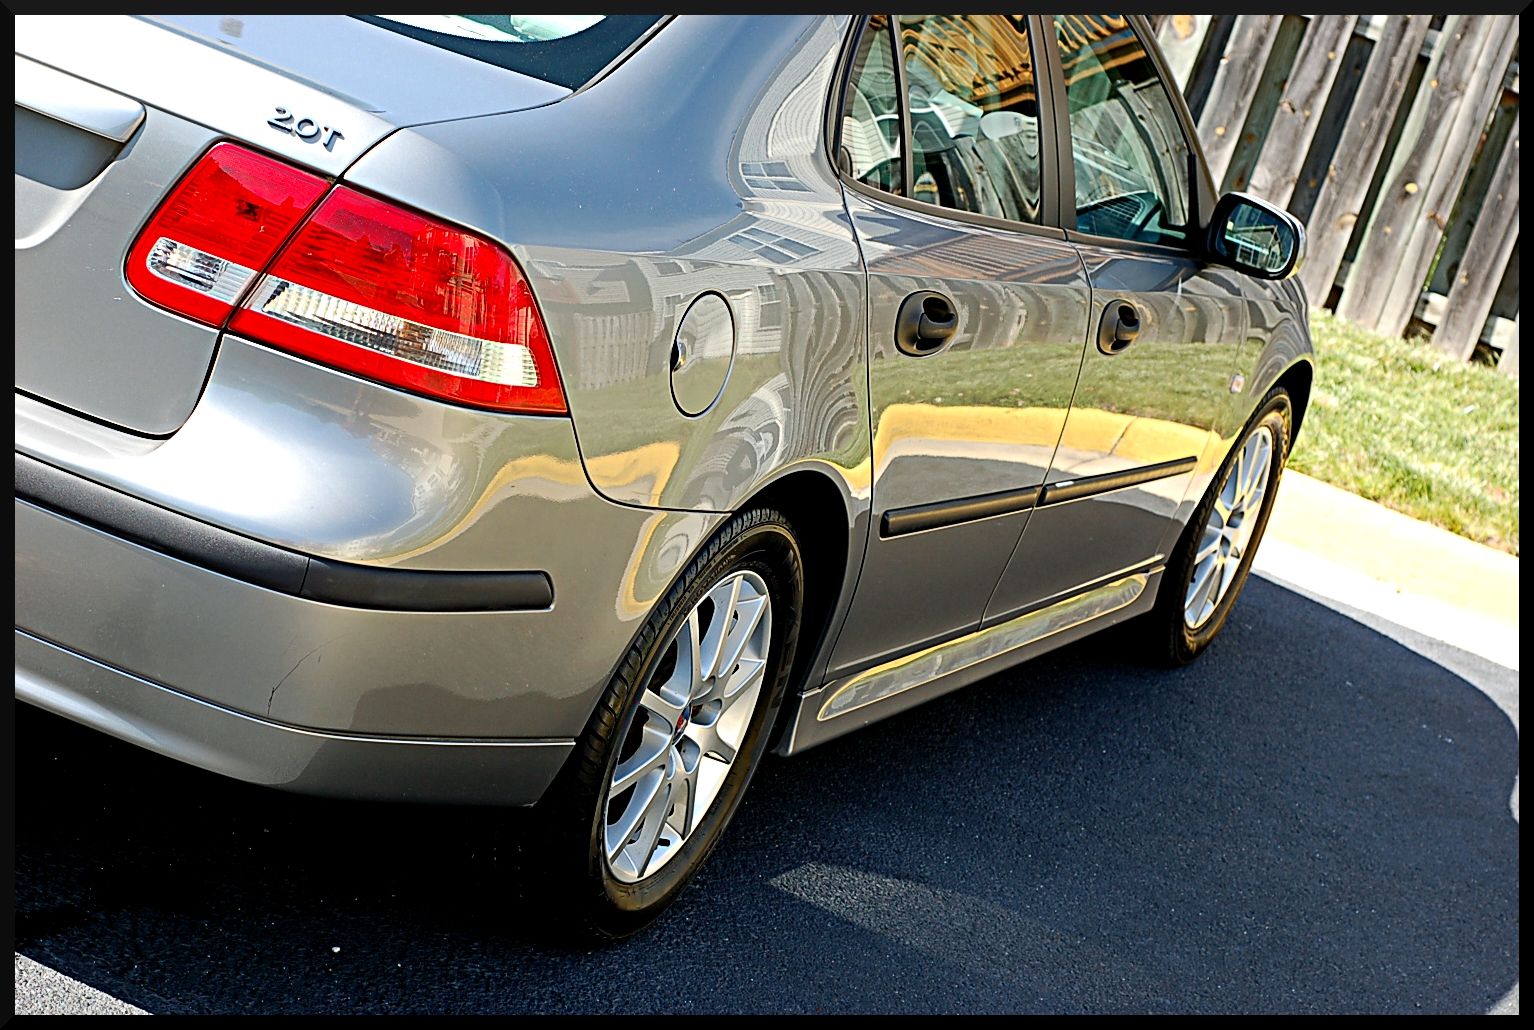
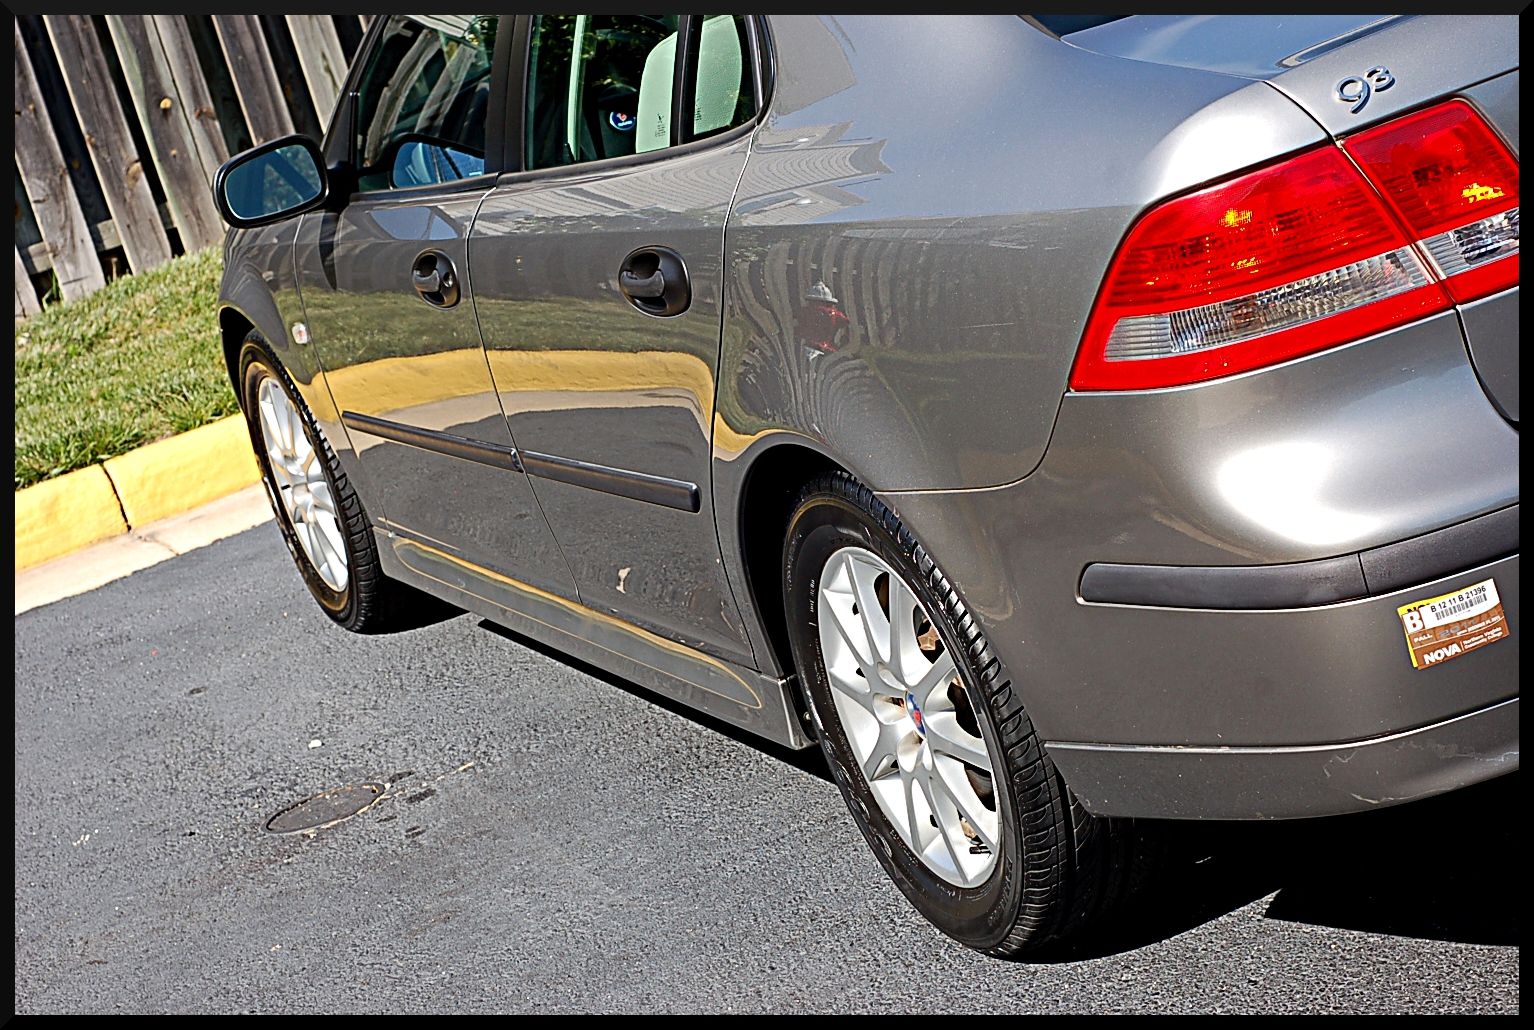
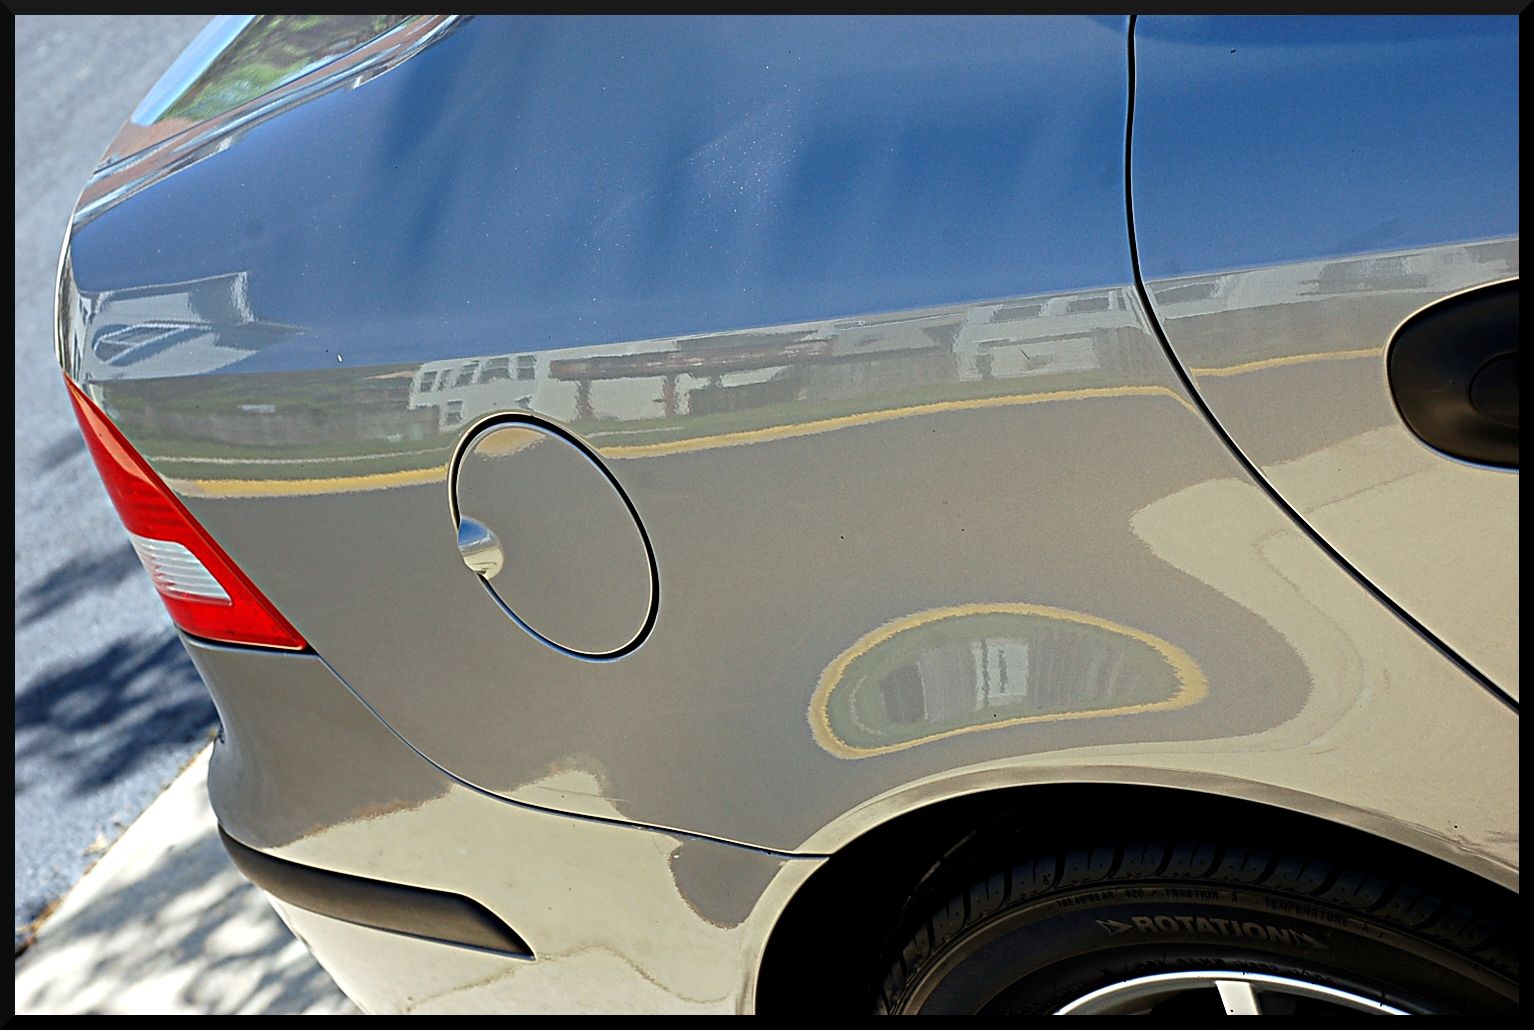
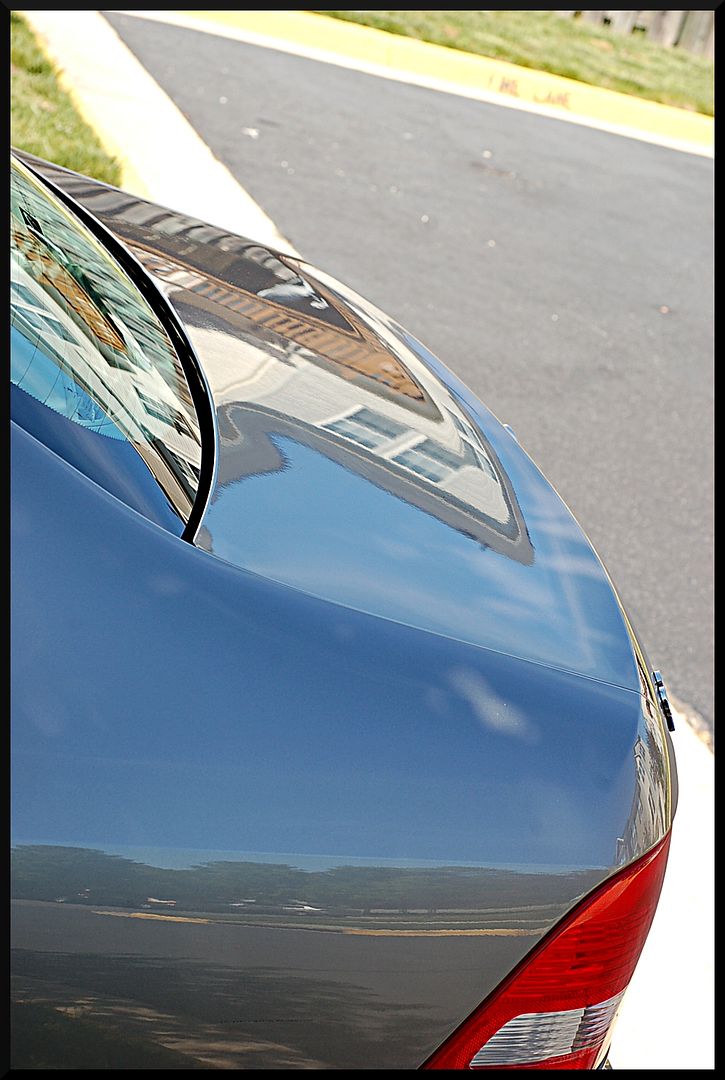
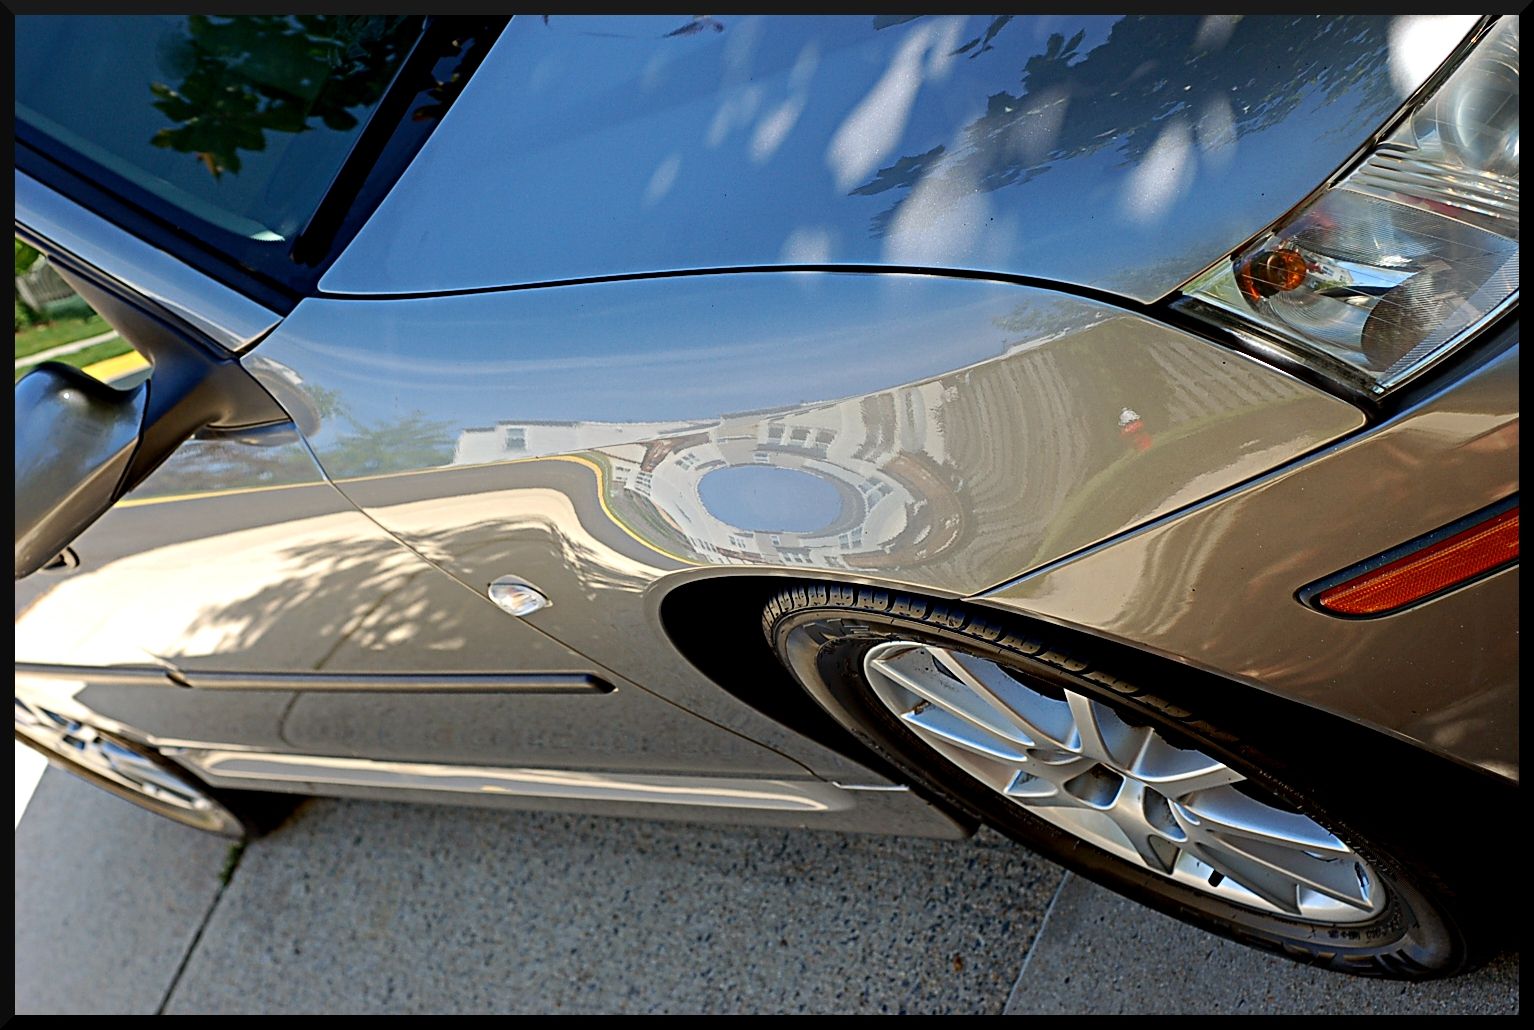
The Endurance was applied by hand, and the car was left in the sun to cure for about 15 minutes. Endurance is a little odd in the way that you are actually suppose to apply it in the sun on warm panels so it cure properly. As with most SV waxes the look deepens after about 3 hours of curing. Here are a few reflection shots.
There were a few other things addressed on this vehicle. One was getting the trim looking better, and the other was restoring the badly faded headlights.
Here is how the trim looked at first. Very faded and washed out.

To help with this, first the trim was cleaned with APC followed by IPA to make sure nothing was left behind. Then Solution Finish was applied. Here is how the trim turned out.
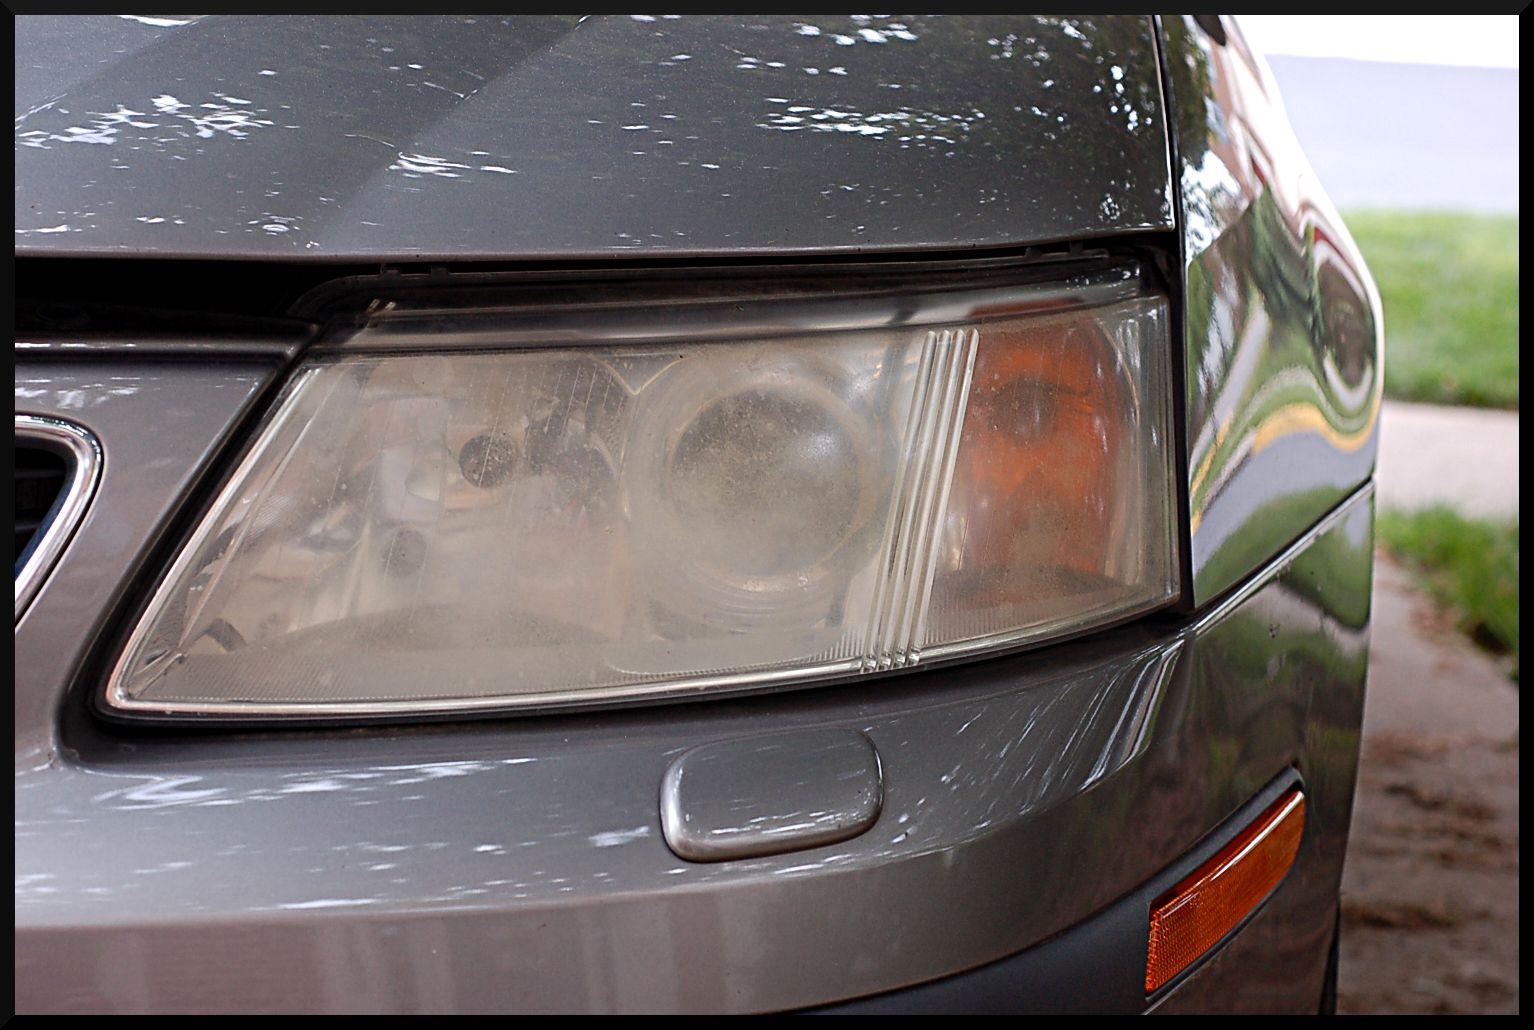
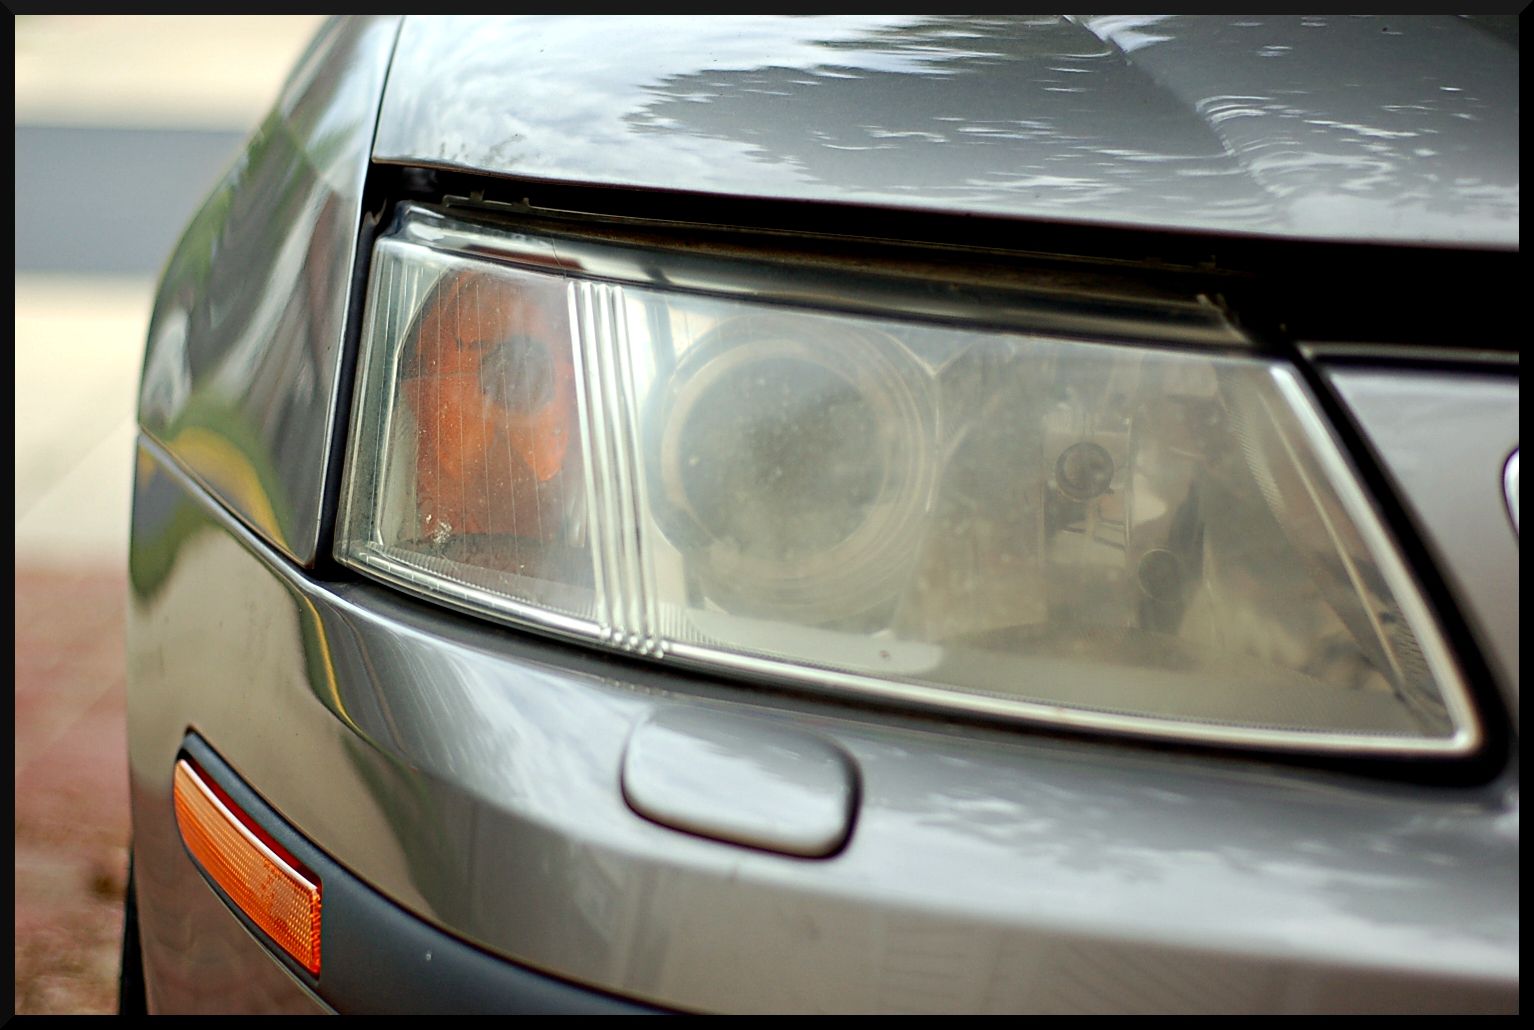
Finally the headlights. They were sanded with 500, 800, and 1500 then buffed clear and sealed with Opti-Guard to make sure they stayed clear for a long time.
Before:
After:

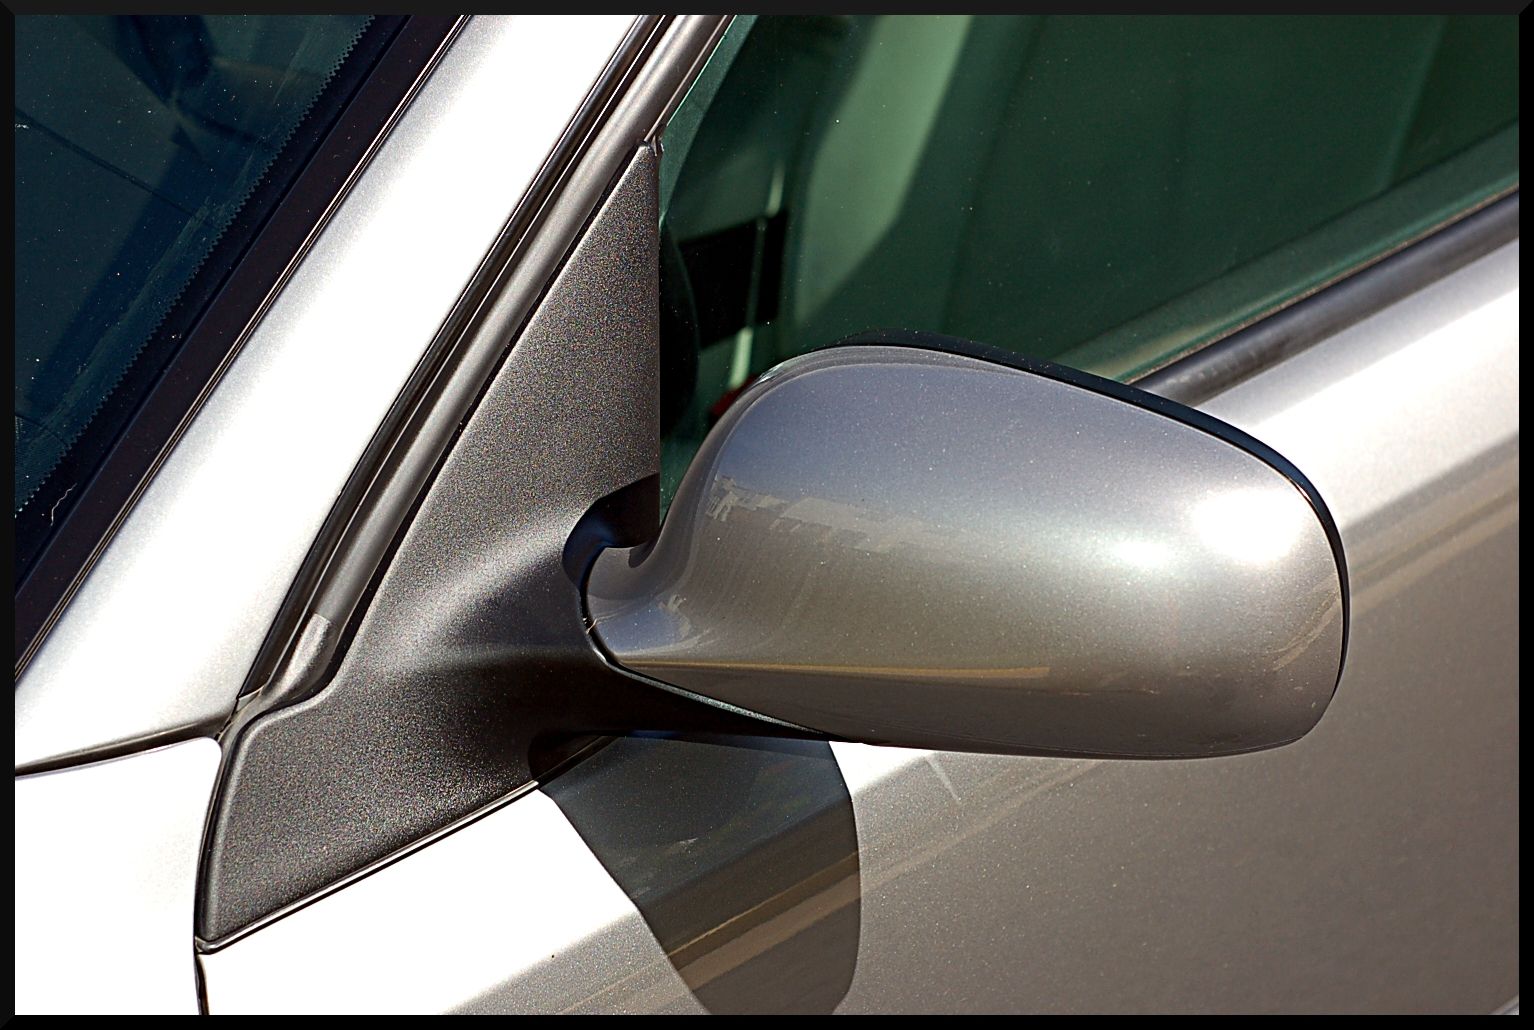
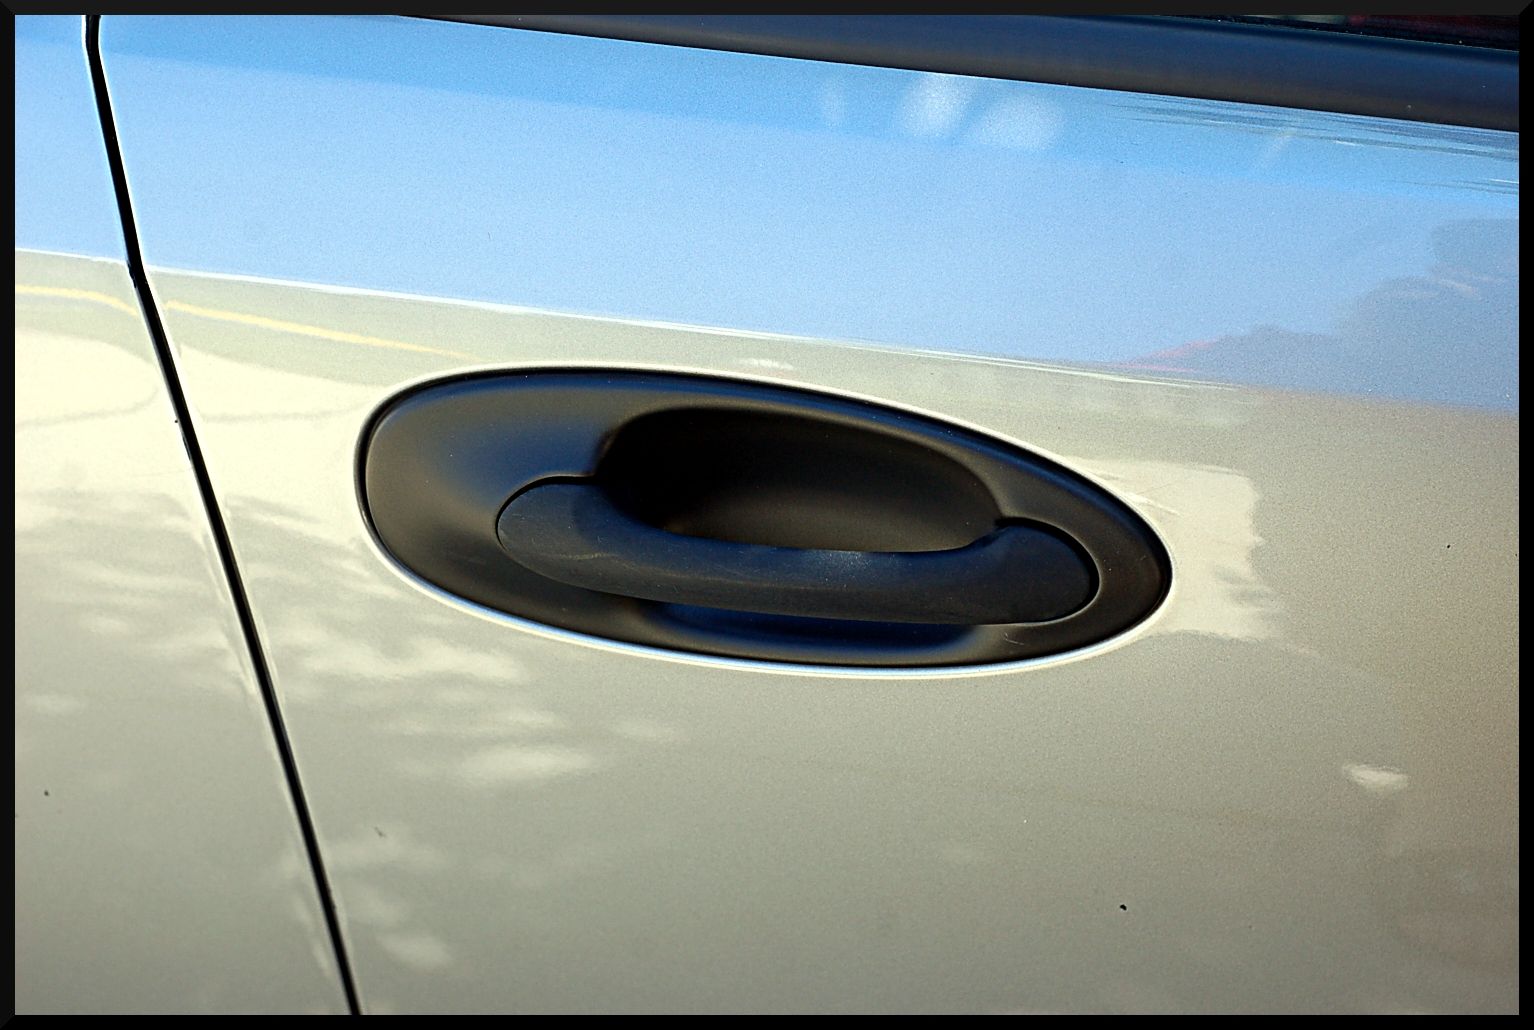
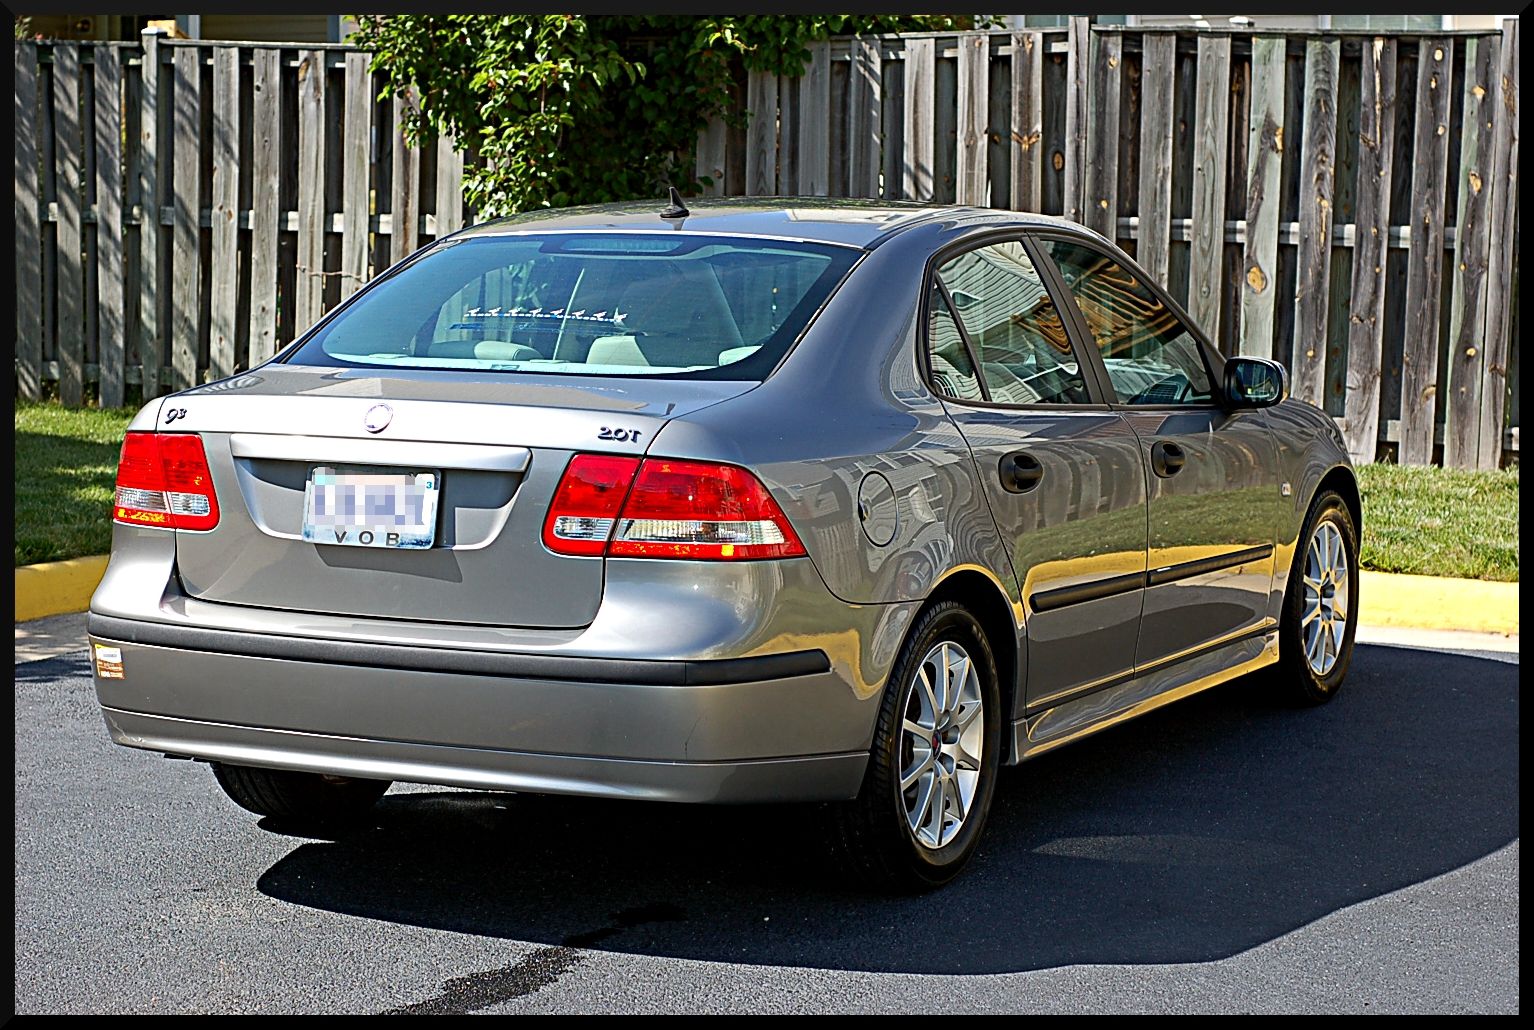
And here are a few final pictures of the vehicle. Thanks for taking the time to look, and I look forward to your feedback!

For this detail I started with the interior since it needed the most work, being this was a DD. The carpet was all thoroughly vacuumed, and stains were removed with Folex and my LGM.
Then the dash was wiped down with Megs QID and the scuffs and stains on the plastic were cleaned with Autoglym Interior Cleaner. The leather was also cleaned with AG Interior Cleaner and dressed with Ultima Interior Guard Plus. Here is how it started.
And all cleaned up
With the interior all sorted out, it was time to start on the exterior. As usual I started with the wheels and tires. They weren't dirty at all, but they had some nasty baked on dirt. The wheels were cleaned with Wolfs Decon Gel, and the tires and wheel wells were cleaned with Blackfire APC. The wheels were sealed with BFWD, the tires dressed with Blackfire Tire Gel, and the wells dressed with CG Bare Bones.
Before:
After:
Next I foamed the vehicle to remove as much dirt and debris as possible. I used Meguiars Gold Class Soap and some Blackfire APC in the foam gun. While the foam dwells I agitated the emblems, body seams, and trim to remove the dirt that was built up in them.
The vehicle was then washed with Blackfire Shampoo and a Griots MF pad, then dried with the Masterblaster.
After washing the vehicle was sprayed down with Wolfs Decon Gel, and then clayed with Ricardo fine clay to remove some surface contaminants.
This was not a correction so next I moved to my paint cleaner. I choose my paint cleaner based on what LSP I plan on using most of the time. For this detail I wanted to try a new wax I have picked up (from my buddy Keith Im the MAN ) Swissvax Endurance. This is the Pro version of SV Shield, and people claim you can get up to a year of protection from one application. So, with that LSP picked out I proceeded to use Swissvax Cleaner Fluid on the paintwork to prepare the surface. I applied it with a tangerine HT pad on my PCXP.
The Endurance was applied by hand, and the car was left in the sun to cure for about 15 minutes. Endurance is a little odd in the way that you are actually suppose to apply it in the sun on warm panels so it cure properly. As with most SV waxes the look deepens after about 3 hours of curing. Here are a few reflection shots.
There were a few other things addressed on this vehicle. One was getting the trim looking better, and the other was restoring the badly faded headlights.
Here is how the trim looked at first. Very faded and washed out.
To help with this, first the trim was cleaned with APC followed by IPA to make sure nothing was left behind. Then Solution Finish was applied. Here is how the trim turned out.
Finally the headlights. They were sanded with 500, 800, and 1500 then buffed clear and sealed with Opti-Guard to make sure they stayed clear for a long time.
Before:
After:
And here are a few final pictures of the vehicle. Thanks for taking the time to look, and I look forward to your feedback!