KenAllwine
New member
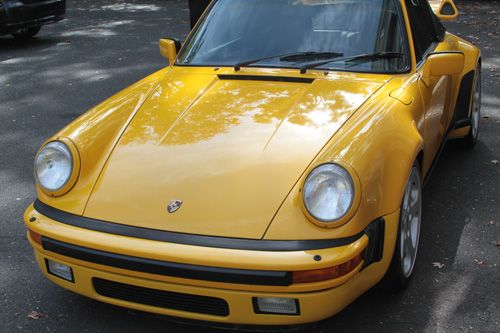
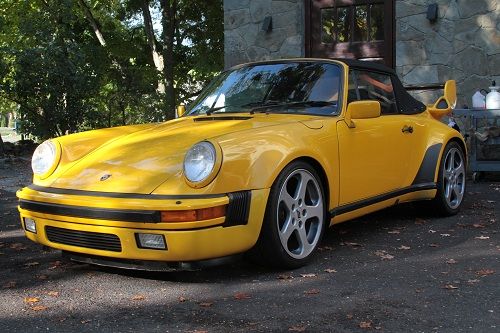
I recently had the opportunity to travel the US Headquarters of GTechniq where I received training for the "Accredited Detailers" certification. During this trip Kevin (from the GTechniq studio) and myself had the privilege to work on this yellow, RUF tuned, twin turbo Porsche.
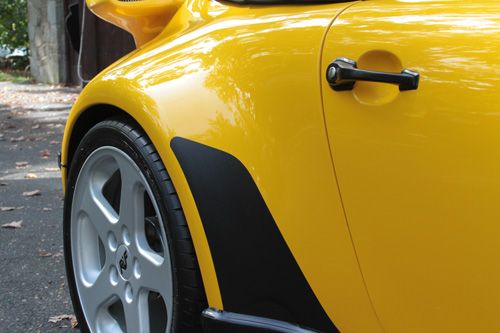
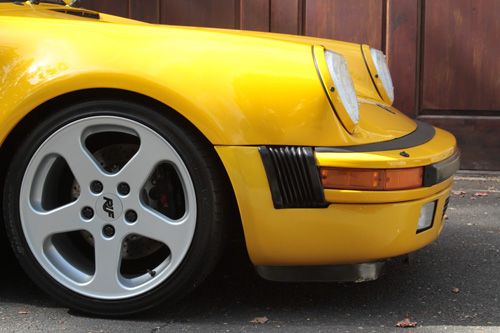
Before any work was started on this vehicle, an inspection was done. It was clear that this was a "driver's" car. There was some front lip damage and some rock chips along the side rockers. The vehicle was also originally red. It was repainted yellow quite some time ago with single stage paint.
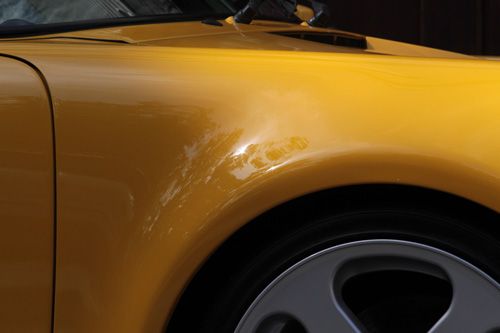
Because of the condition of the paint and the expected results, it was decided that we would only be doing a light compounding and polishing process to remove the oxidation on the single stage paint and remove some of the lighter scratches as well.
The first thing to be done was to get the car outside and give it a good hand wash getting the surfaces clean and removing all the brake dust and dirt from the wheels. Once the car was clean, it was moved back inside to start the correction process.
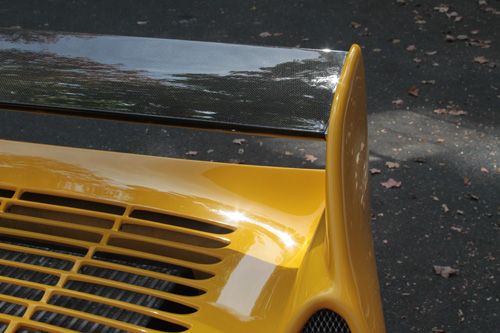
Once the car was properly taped and prepped, we divided and conquered the compound and polishing stages. The hood picture below shows the difference of before and after with compounding the single stage yellow paint. The paint became noticeably brighter and with less surface imperfections.
Shortly after lunch on the first day, both the compound and polish stages were done. We moved on to applying the C1 crystal lacquer coating. This brought a new, stronger surface layer to the painted panels. This added enhanced UV protection as well as higher level of scratch resistance.
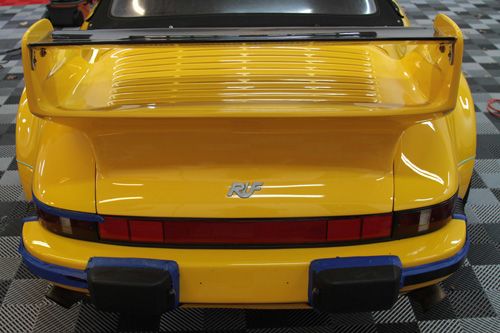
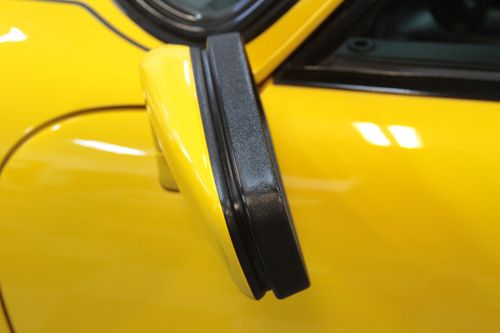
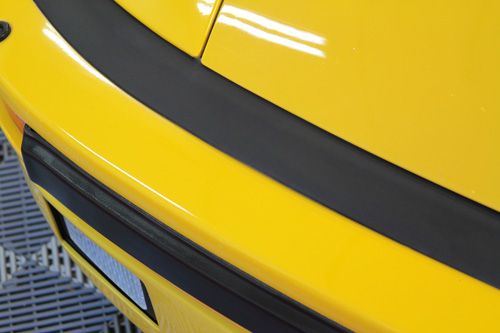
After the C1 application we applied the C4 trim coating. This brought back the dark, rich color of the black trim moldings on the bumpers, rockers, mirror and window surrounds and provided a long term level of UV protection.
Before wrapping of the first day, we finished by applying G1 ClearVision Smart Glass to all the windows (except the rear plastic window). This is a long term, hydrophobic (water repelling) coating that will last up to 30,000 miles giving the driver enhanced foul weather visibility.
Below is a picture after the first day's work.
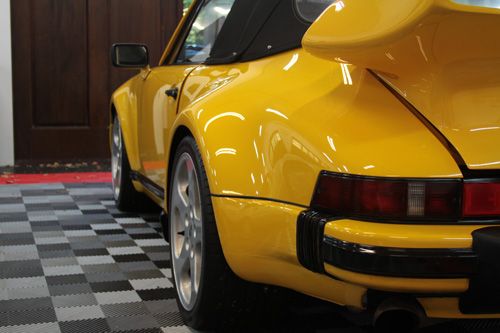
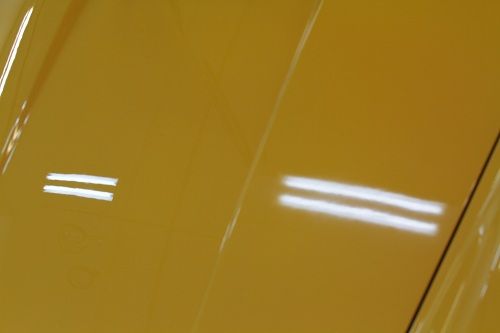
By the next day, the C1 crystal lacquer coating has fully cured and was ready for the EXOv2 Ultra Durable coating to be applied. We moved around the car and applied the EXOv2 on all painted surfaces. There was a noticeable increase in gloss as we added a second layer of EXOv2 making the yellow paint pop off the car!

Once the exterior was completed, we moved to the interior surfaces. The condition of the interior was quite good and only needed minor cleaning and carpet vacuuming before applying any protective products.
We applied L1 Leather Guard to the seats, dash and door cards. The fabric and carpet surfaces received an application of I1 to ensure that any spills or stains would not penetrate the fibers and can be easily wiped up.
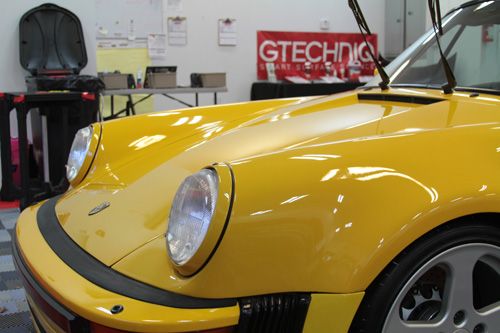
Finally, the car was finished and it was time to bring it outside for final inspection and pictures. Enjoy the finished product below!