imported_Dave KG
New member
Again, videos for my guides revamp (ammeture, and some will require some editing), but for interest here too ")
Another couple of videos, this time looking at rotary control away from the easy flat panels On this MG, we have trim pieces and a door handle "in the way", so careful choice of pad size and handling of the rotary required to reach as much of the panel as possible by machine.
The panel in question, before:

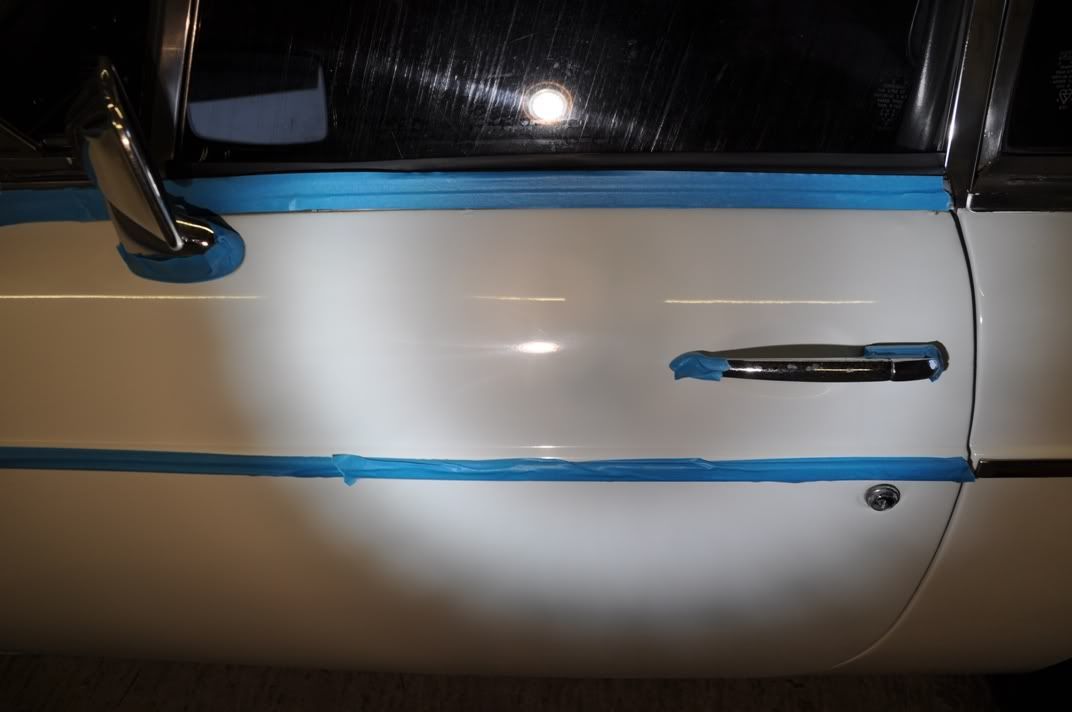

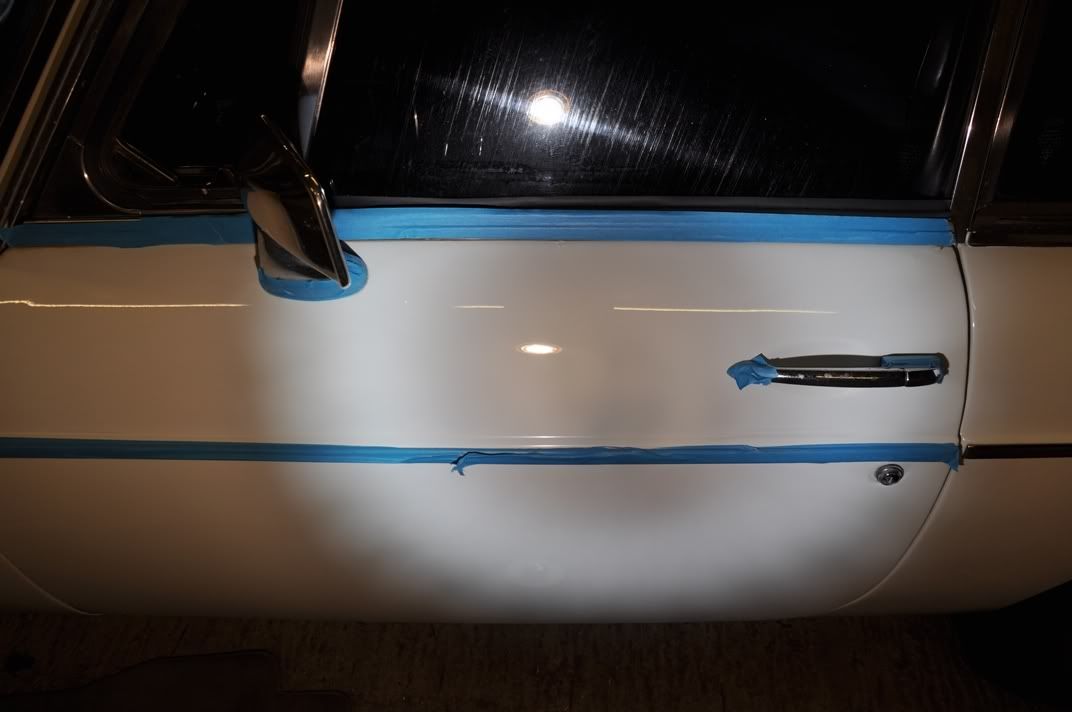
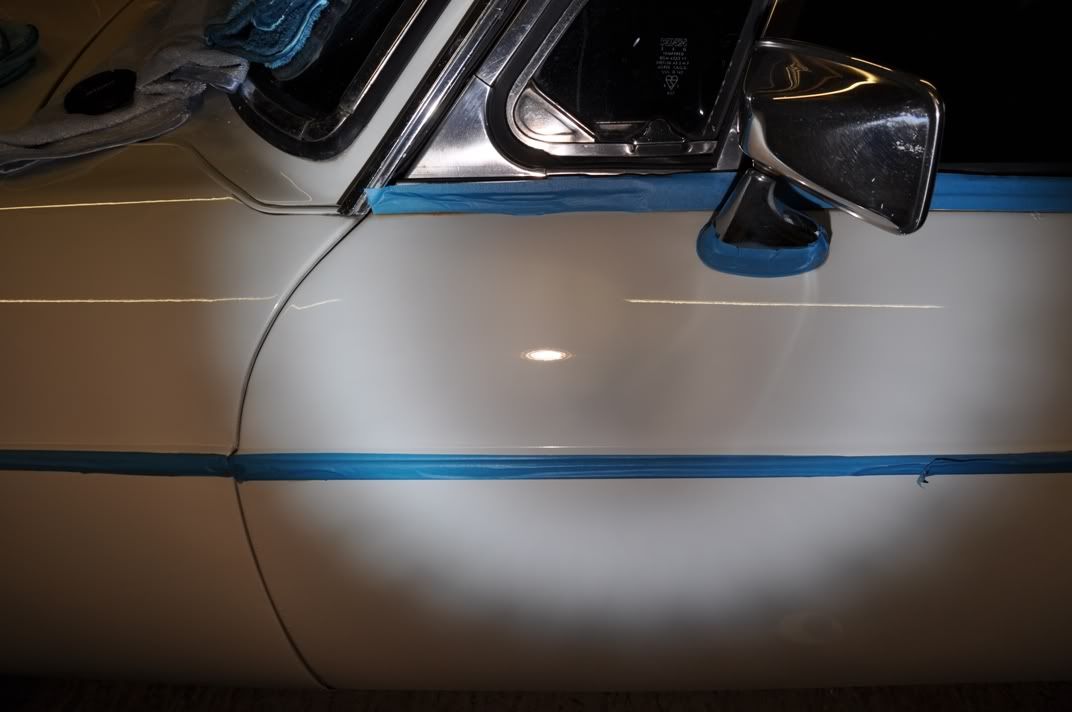
On the region in front of the door handle, my favourite pad size for general work, 5", fitted perfectly, but notice in the video that the pad is angled sometimes to ensure the region below the mirror is polished both near the mirror and near the styling line. Tape around the mirror, and along styling lines to protect them... Notice also that the section is treated in two halves, with focus spent in front of the mirror and then moved to behind the mirror and this is allowing one section to cool slightly while the other is treated and it is more comfortable to stay in one "area" then continually angle the machine on passes under the mirror if that makes sense (hope it does ).
Rotary Control 5 Inch Pad on MGB Door Top - YouTube
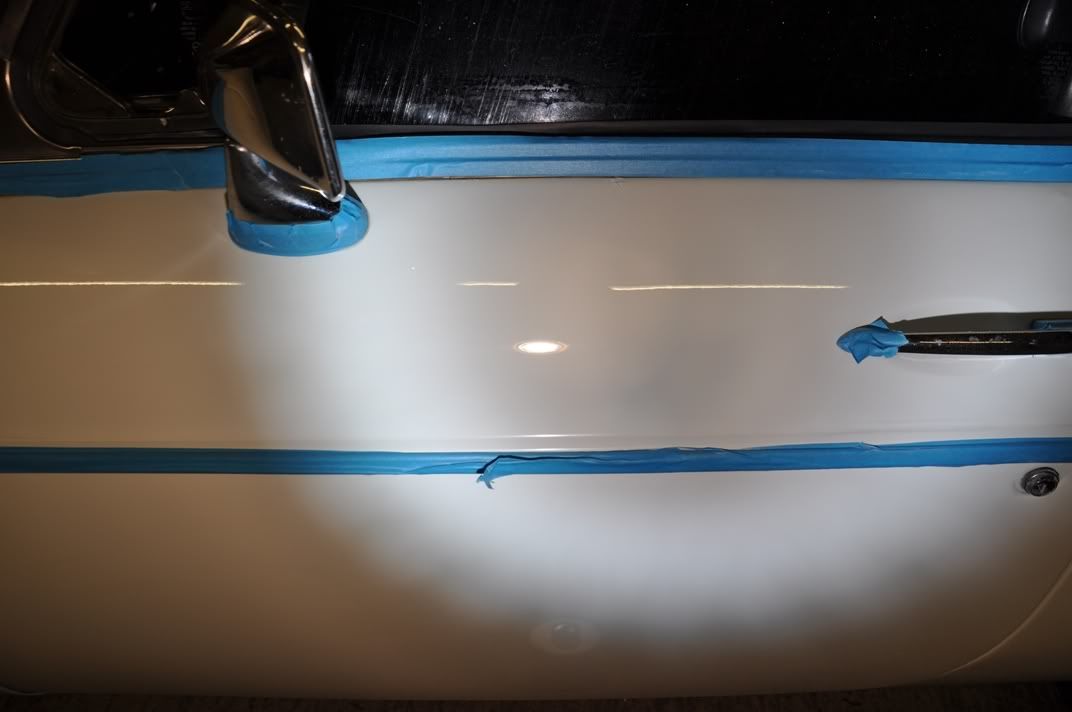
Round the door handle though, there is no chance of getting the 5" pad to work for you, especially below the handle, so it is over to the 3" pads, as shown in the following videos (note, finishing set not shown to completion, camera battery went flat, you can tell Allie is away on holiday as the videos are much more ammeture! :lol
Rotary Control 3 Inch Pad Around MGB Door Hnadle - YouTube
Rotary Control Small Finishing Pad Round MGB Door Handle - YouTube
Here, notice the tilt on the pad and rotary below the door handle to ensure that the pad makes contact into the contour - a hard to reach area but one which requires dedicated effort to get into, and not long is spent there before doing another region and then coming back to it to avoid heat build up from the pad being more on an edge and around sharp contours. This is where common sense plays its role, you need to maneuver that rotary but also be aware of heat build up and keep the safety of the finish in mind.
We got the following results on the door top...


I need a couple more shots under the door handle, I had focussed on the silver handle and not the paint and they have come out blurred... but I'll update the thread once I get better pics, as this little MGB GT is an ongoing project for me on spare evenings and weekends, and is being used as a "star" for making videos
Another couple of videos, this time looking at rotary control away from the easy flat panels
On this MG, we have trim pieces and a door handle "in the way", so careful choice of pad size and handling of the rotary required to reach as much of the panel as possible by machine.The panel in question, before:
On the region in front of the door handle, my favourite pad size for general work, 5", fitted perfectly, but notice in the video that the pad is angled sometimes to ensure the region below the mirror is polished both near the mirror and near the styling line. Tape around the mirror, and along styling lines to protect them... Notice also that the section is treated in two halves, with focus spent in front of the mirror and then moved to behind the mirror and this is allowing one section to cool slightly while the other is treated and it is more comfortable to stay in one "area" then continually angle the machine on passes under the mirror if that makes sense (hope it does
).Rotary Control 5 Inch Pad on MGB Door Top - YouTube
Round the door handle though, there is no chance of getting the 5" pad to work for you, especially below the handle, so it is over to the 3" pads, as shown in the following videos (note, finishing set not shown to completion, camera battery went flat, you can tell Allie is away on holiday as the videos are much more ammeture! :lol
Rotary Control 3 Inch Pad Around MGB Door Hnadle - YouTube
Rotary Control Small Finishing Pad Round MGB Door Handle - YouTube
Here, notice the tilt on the pad and rotary below the door handle to ensure that the pad makes contact into the contour - a hard to reach area but one which requires dedicated effort to get into, and not long is spent there before doing another region and then coming back to it to avoid heat build up from the pad being more on an edge and around sharp contours. This is where common sense plays its role, you need to maneuver that rotary but also be aware of heat build up and keep the safety of the finish in mind.
We got the following results on the door top...
I need a couple more shots under the door handle, I had focussed on the silver handle and not the paint and they have come out blurred... but I'll update the thread once I get better pics, as this little MGB GT is an ongoing project for me on spare evenings and weekends, and is being used as a "star" for making videos