CEE DOG
New member
Review: CarPro PERL
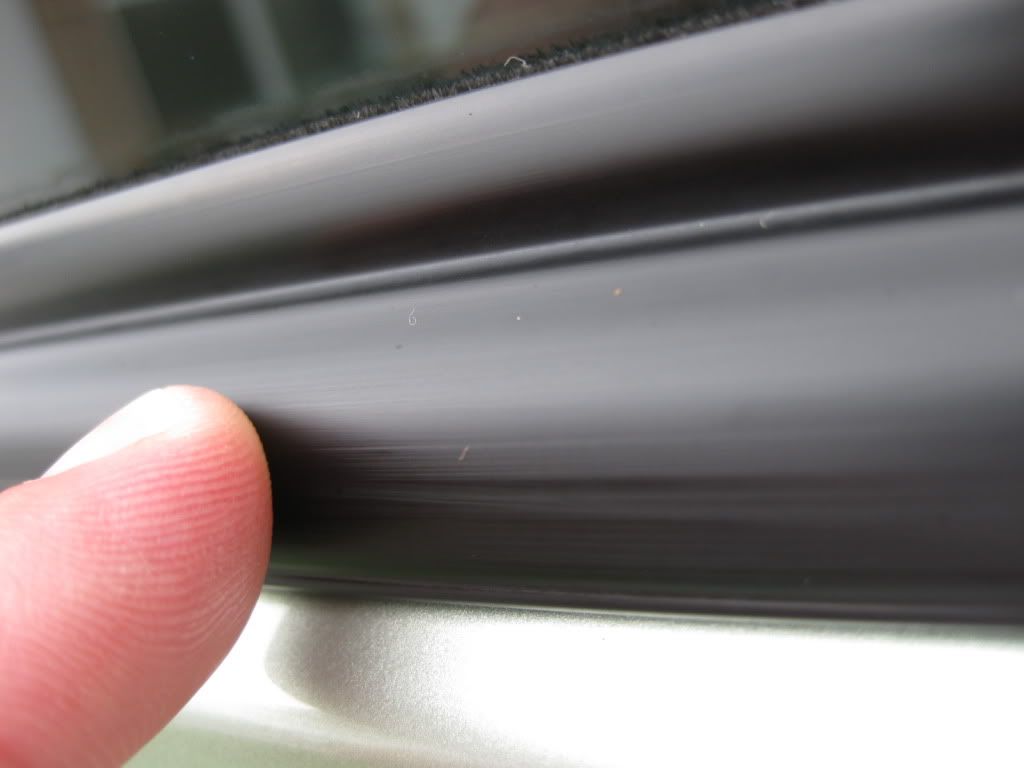
Introduction:
PERL stands for Plastic, Engine Rubber, Leather. When PERL was introduced some months ago (before AG picked this line up there was a lot of excitement from people. As you all know I’ve been a big fan of Ultima Trim and Interior sealants for a long time and I’m always skeptical that a product can stand up to the durability of UTTG (or ETS for that matter now). I questioned how could PERL do something for trim that UTTG does not. CarPro improved its formula between then and now by introducing a higher concentration of one of their chief active ingredients. Will that translate into excellent durability? We will soon see.
Product Claims:
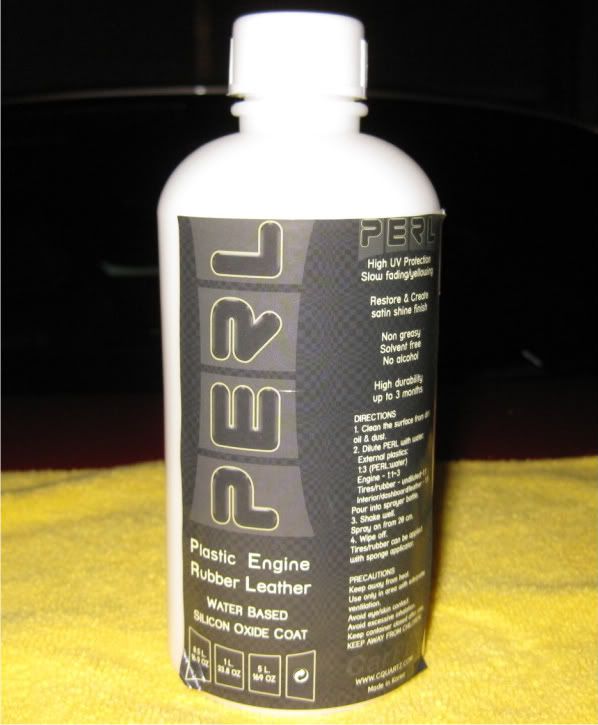
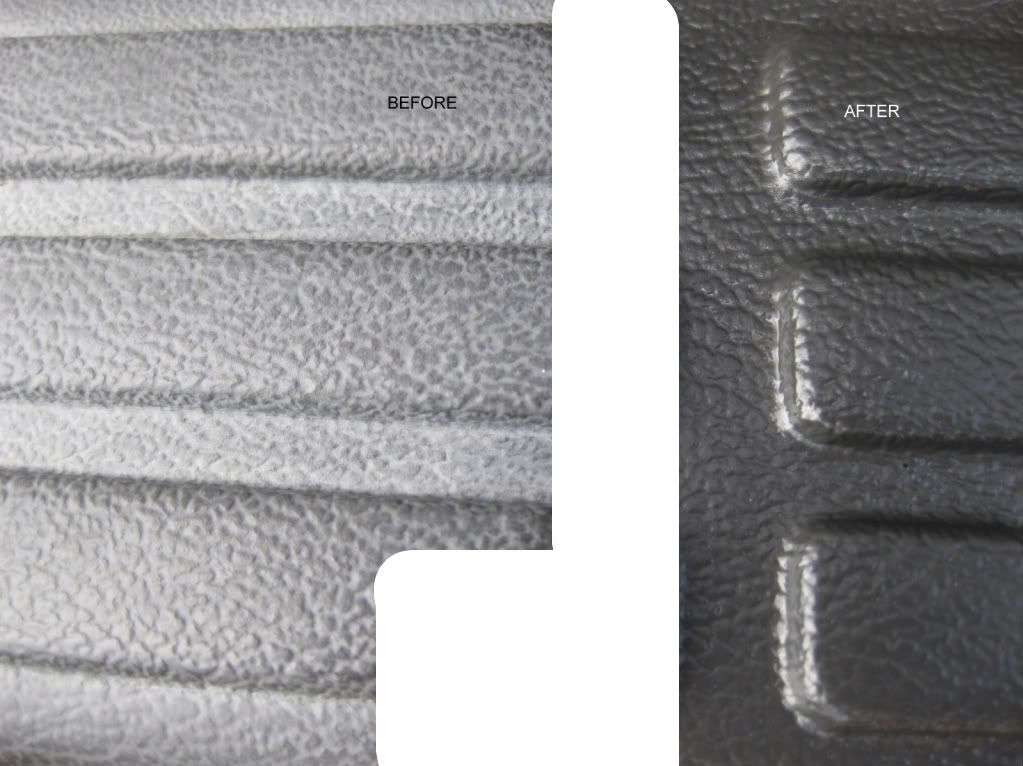
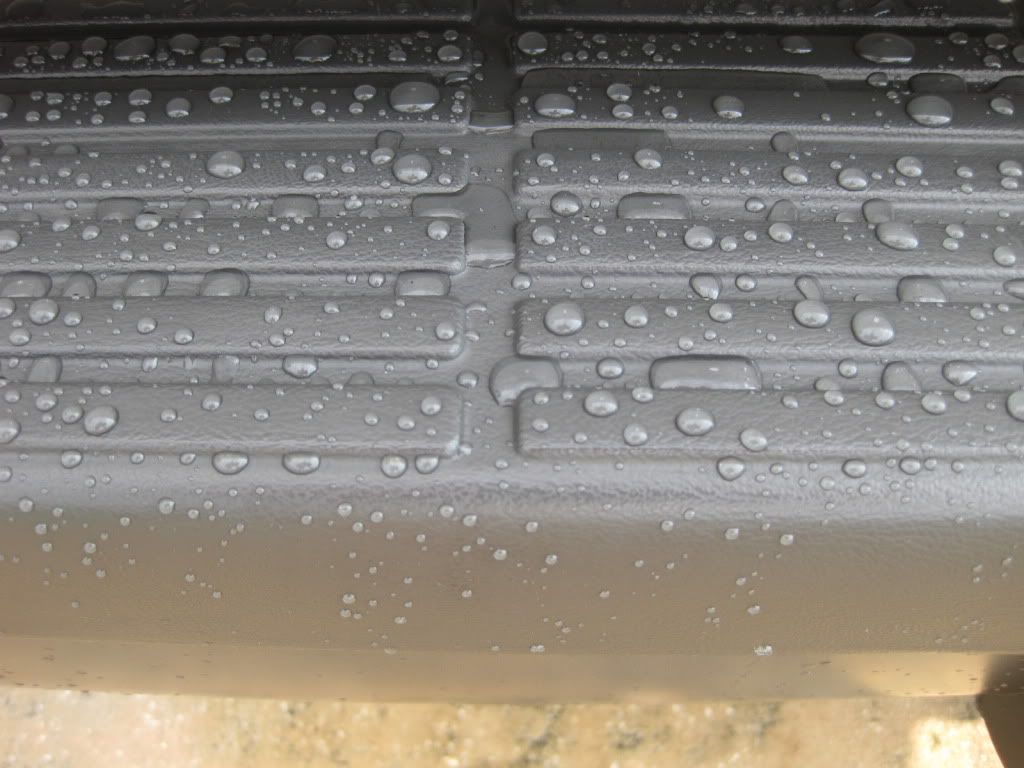
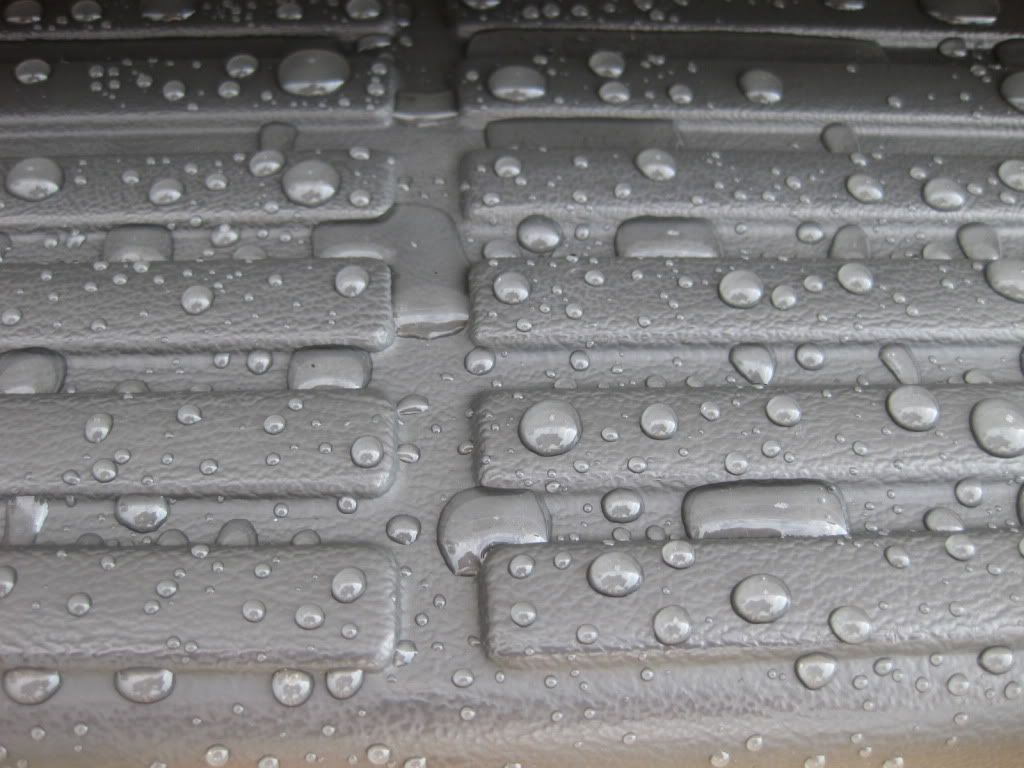
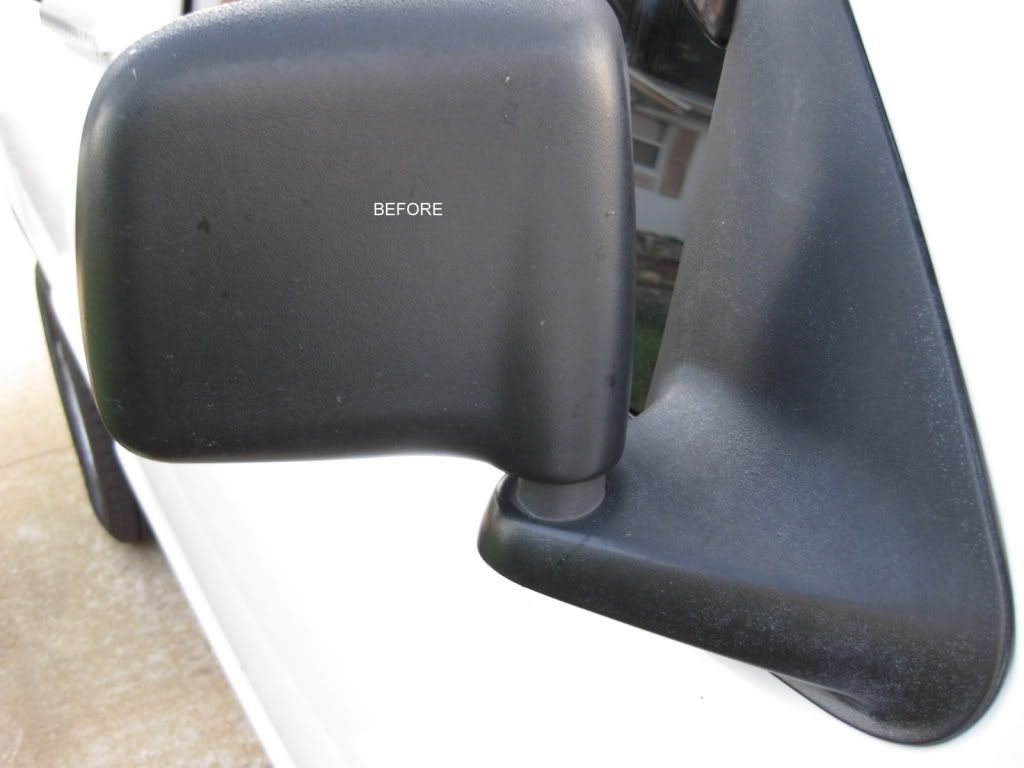
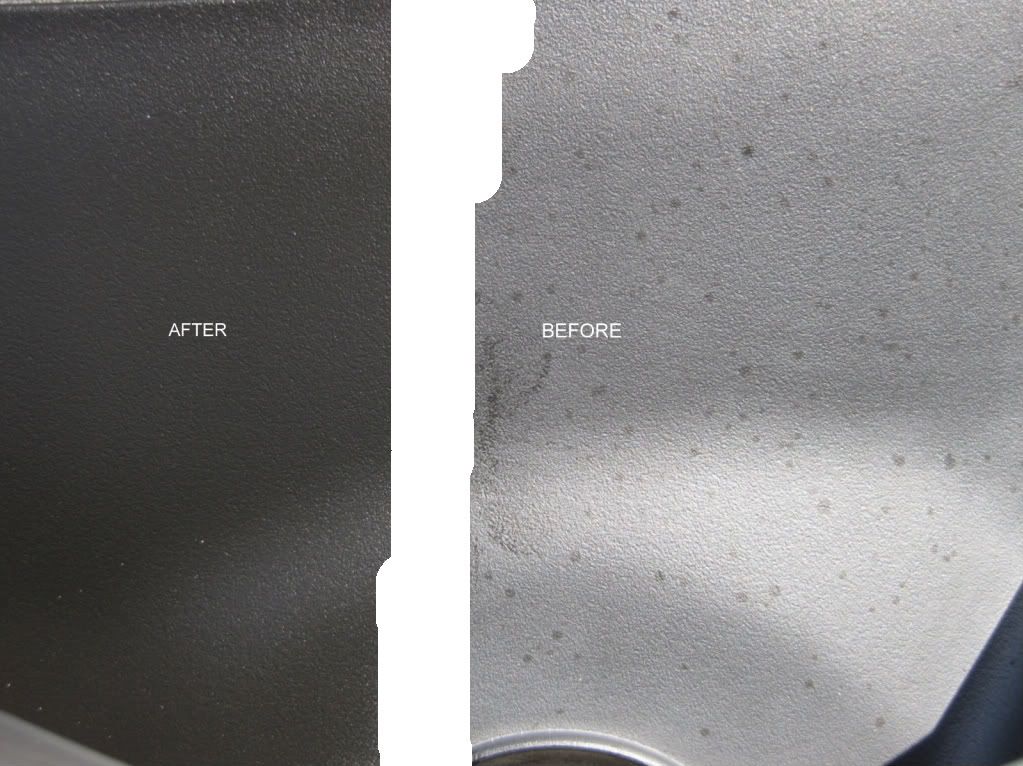
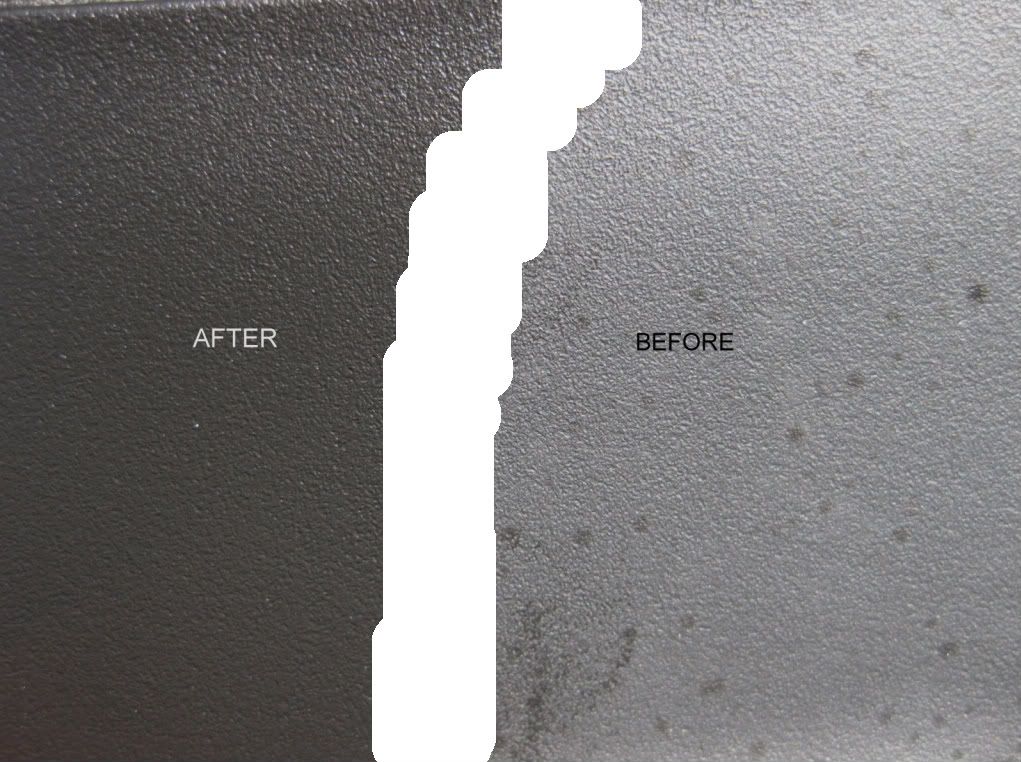
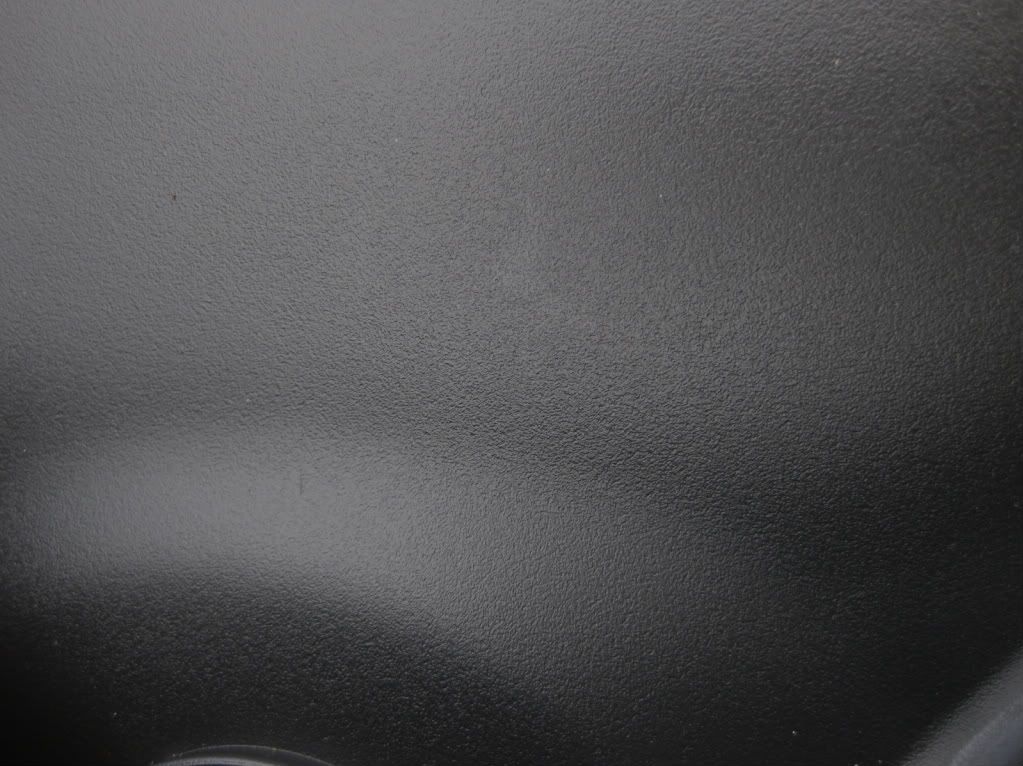
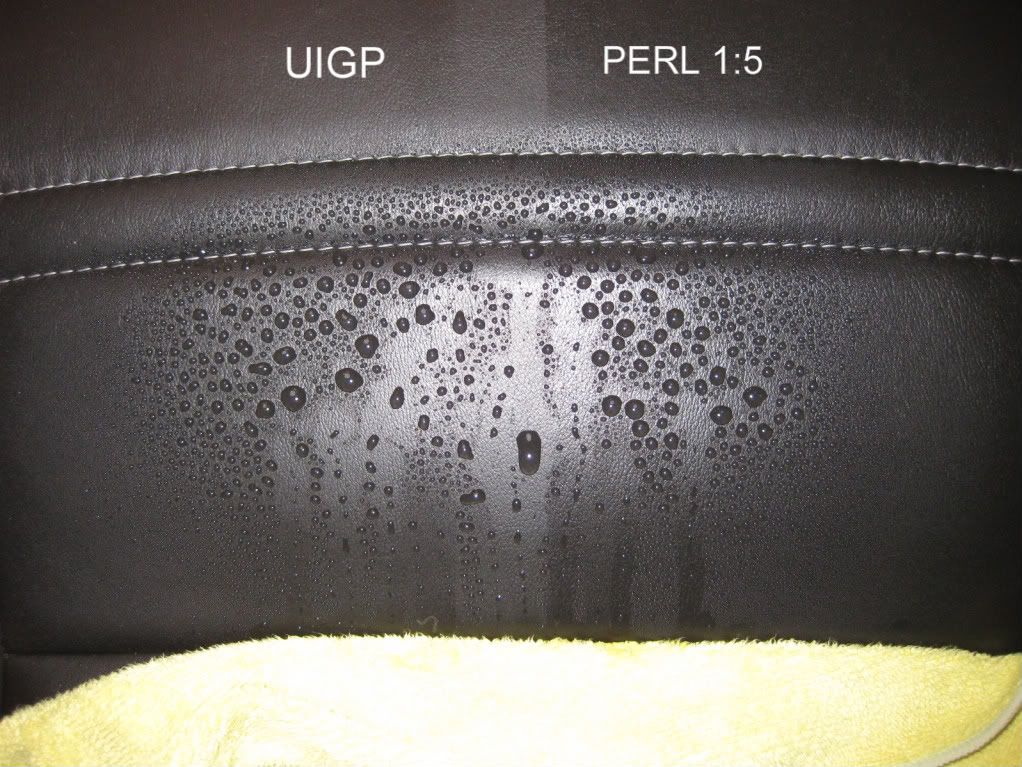
PERL Coat by CarPro is a water-based, protective coating for plastics, rubber, and leather. PERL Coat restores the like-new appearance of these surfaces and keeps them looking good with strong UV and hydrophobic protection. Best of all, PERL Coat lasts up to three months!
Details:
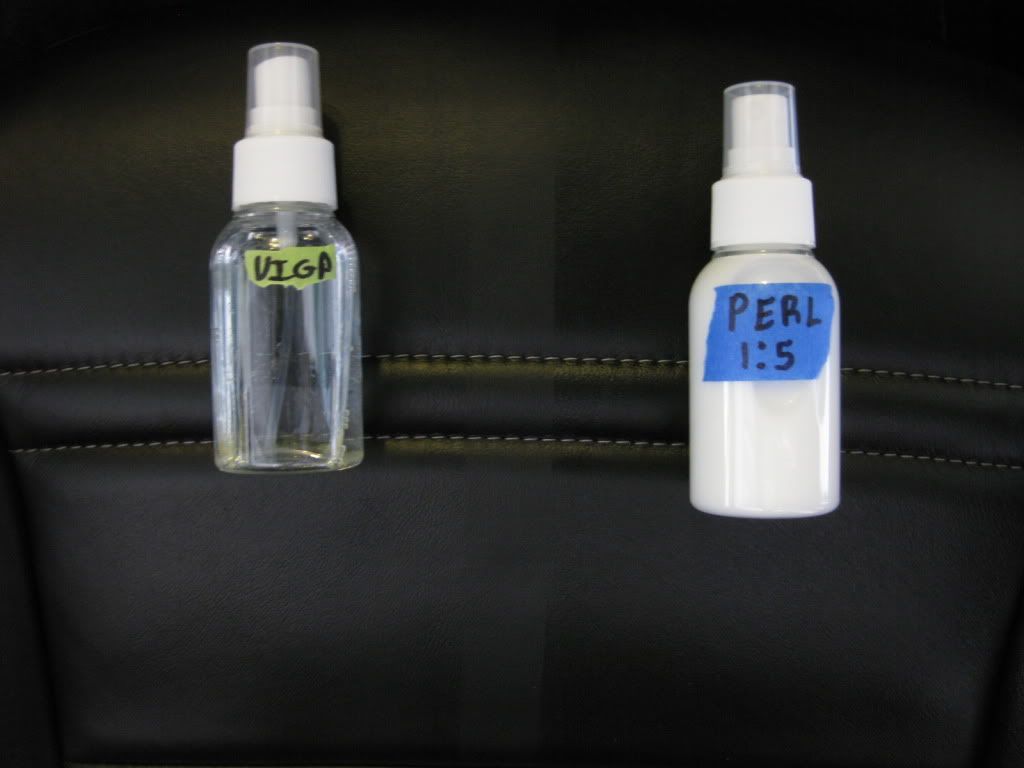
1.- Packaging: Plastic bottle with durable plastic plug and threaded cap
2.- Directions: Clearly labeled
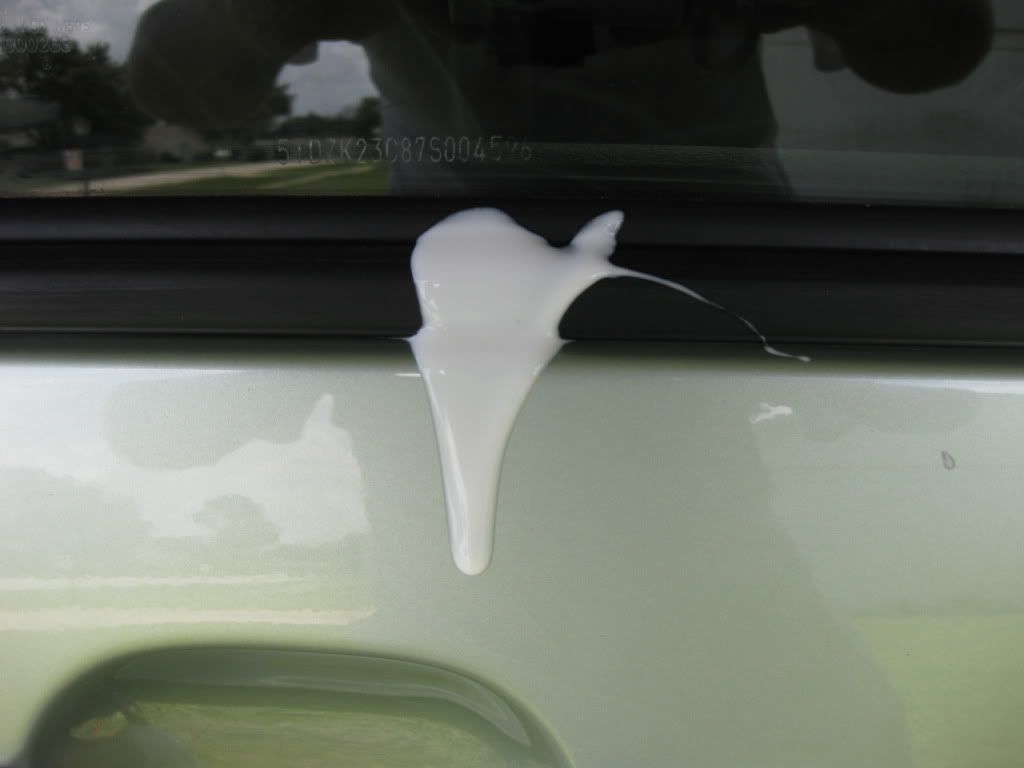
3.- Viscosity: Thick (Before Diluting)
4.- Color: White
5.- Scent: Faint - So familiar but I can’t place it (Meant to be apple)
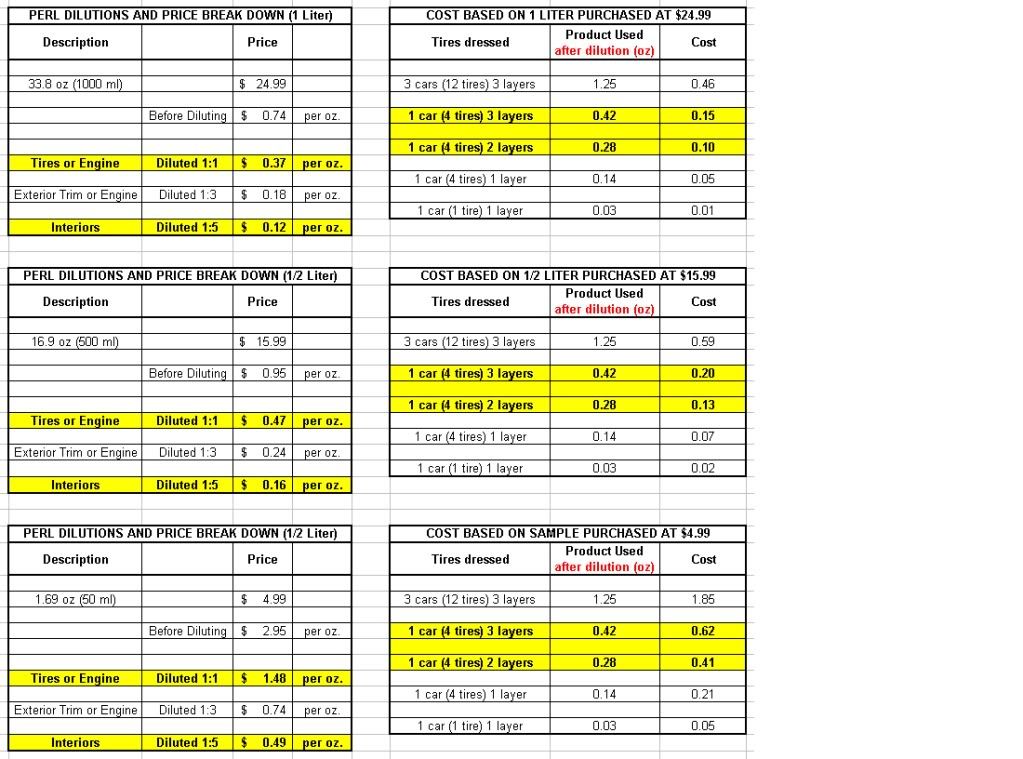
6.- Regular Price: 1.7 oz. (50ml) = $ 4.99
7.- Regular Price: 16.9 oz. (500ml) = $15.99
8.- Regular Price: 33.8 oz. (1000ml) = $24.99
9.- Manufacturer: CarPro
10.- Made in: Korea
Recommended Dilutions:
1.- Tires/Rubber – Undiluted~1:1
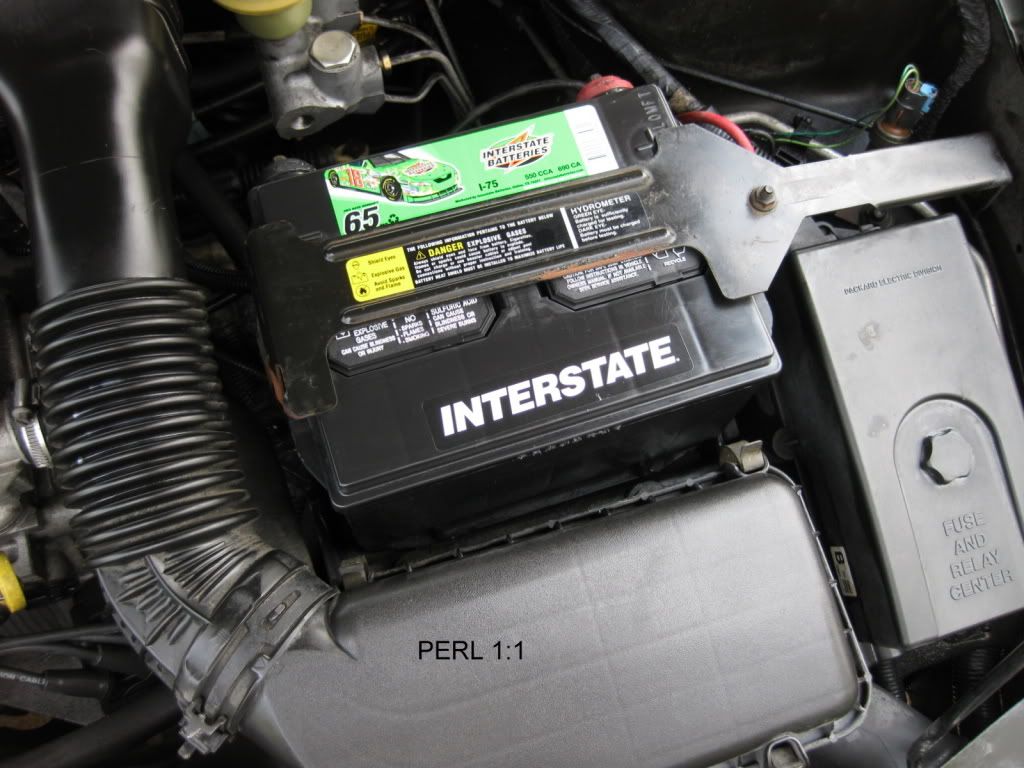
2.- Engine - 1:1 ~1:3
3.- External Plastics - 1:3
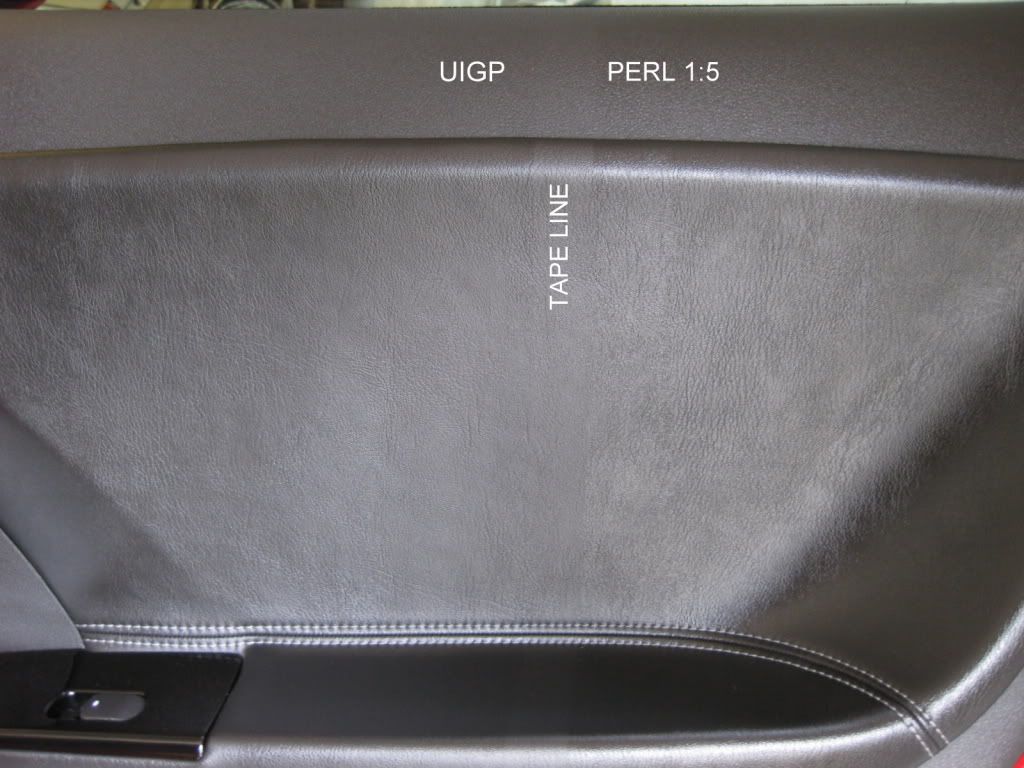
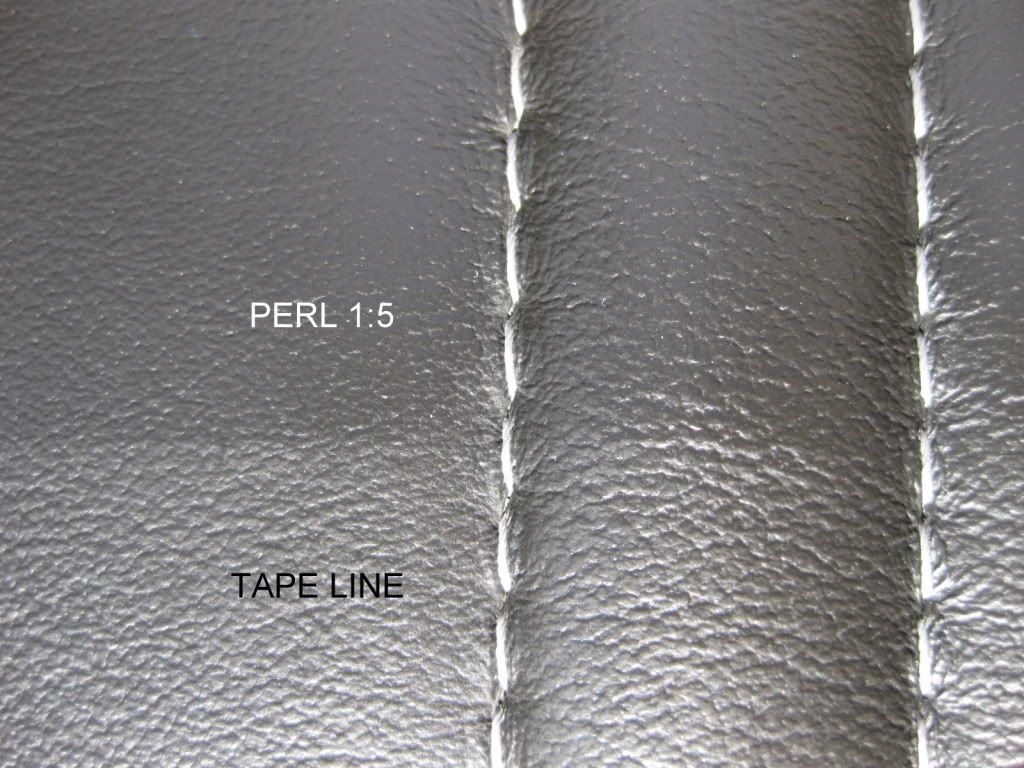
4.- Interior Vinyl & Leather – 1:5
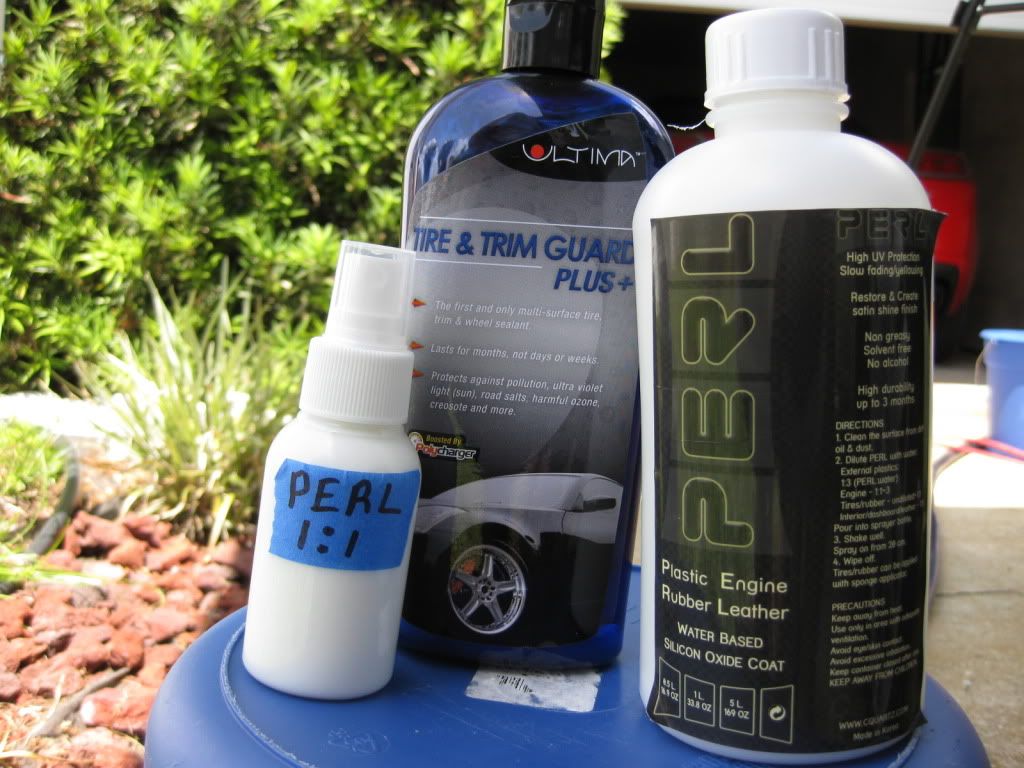
Product used for application:
Micro Fiber Towel or foam applicator depending on surface and goals
Product
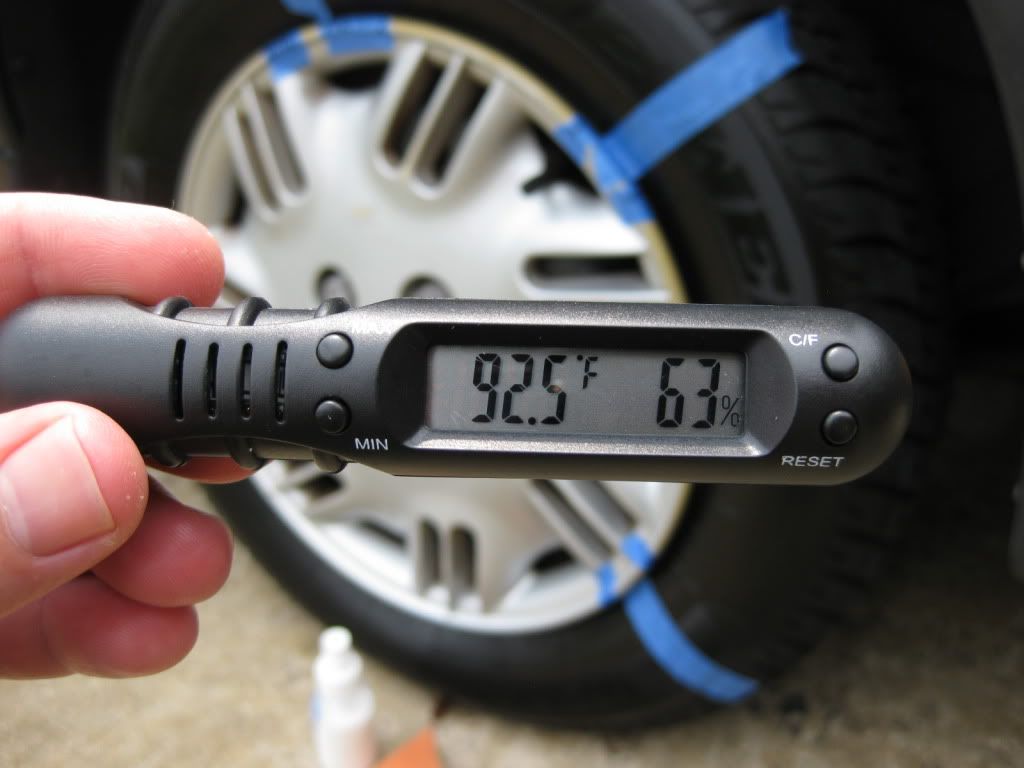
Average Conditions (Fahrenheit)
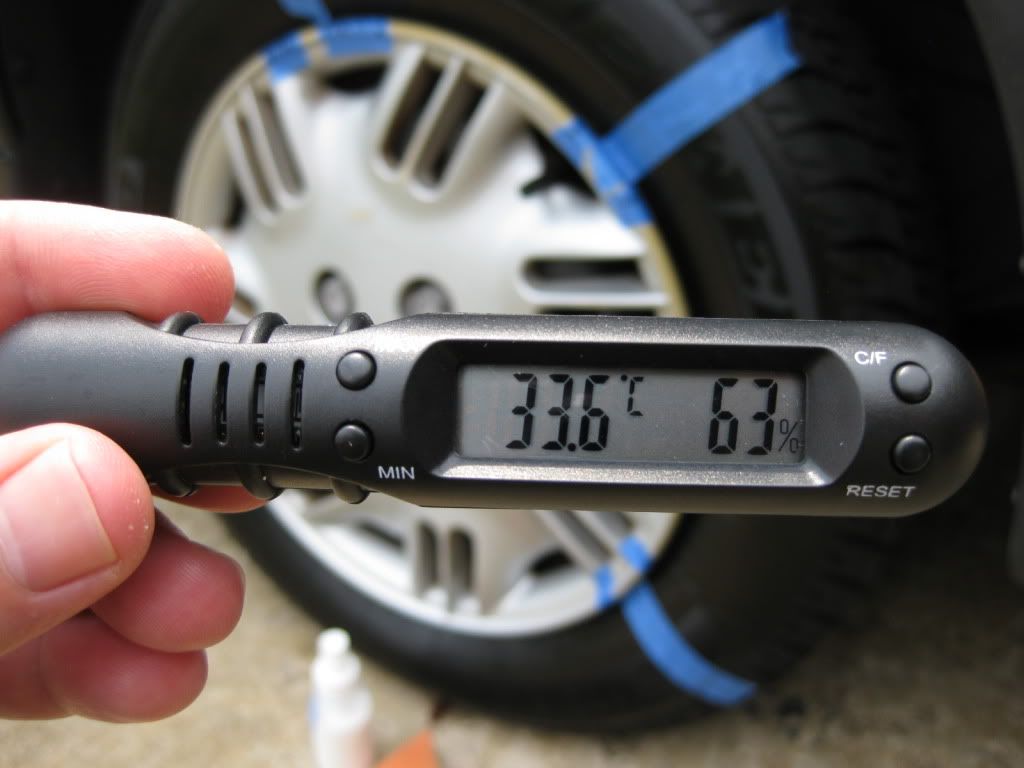
Average Conditions (Celsius)
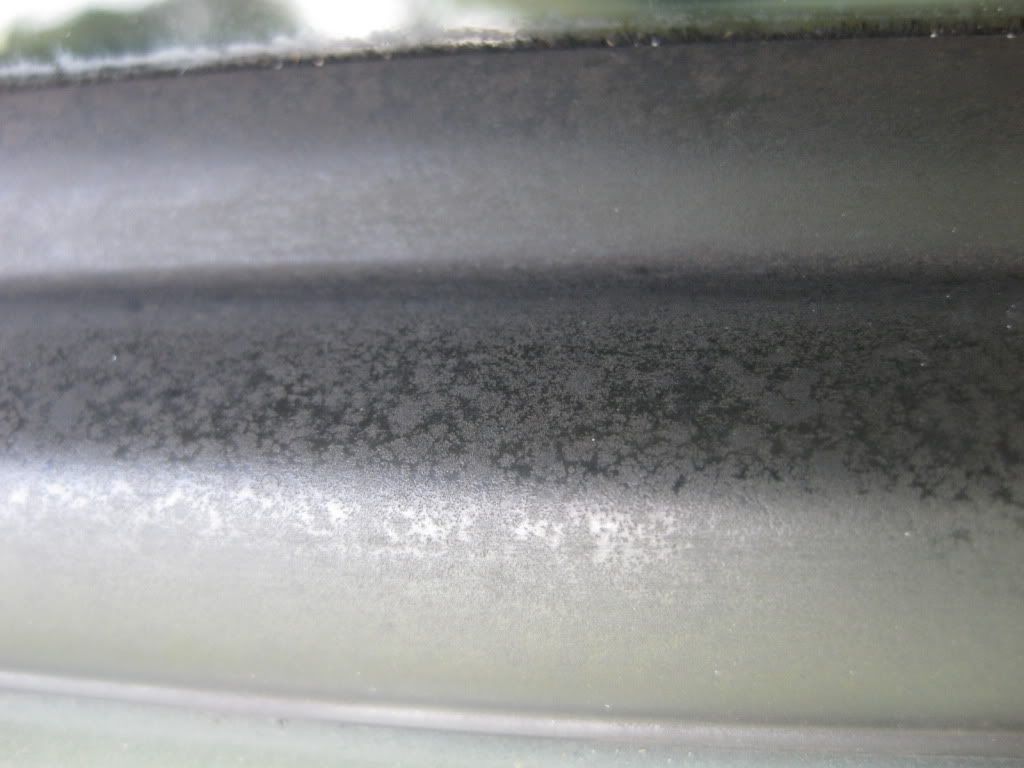
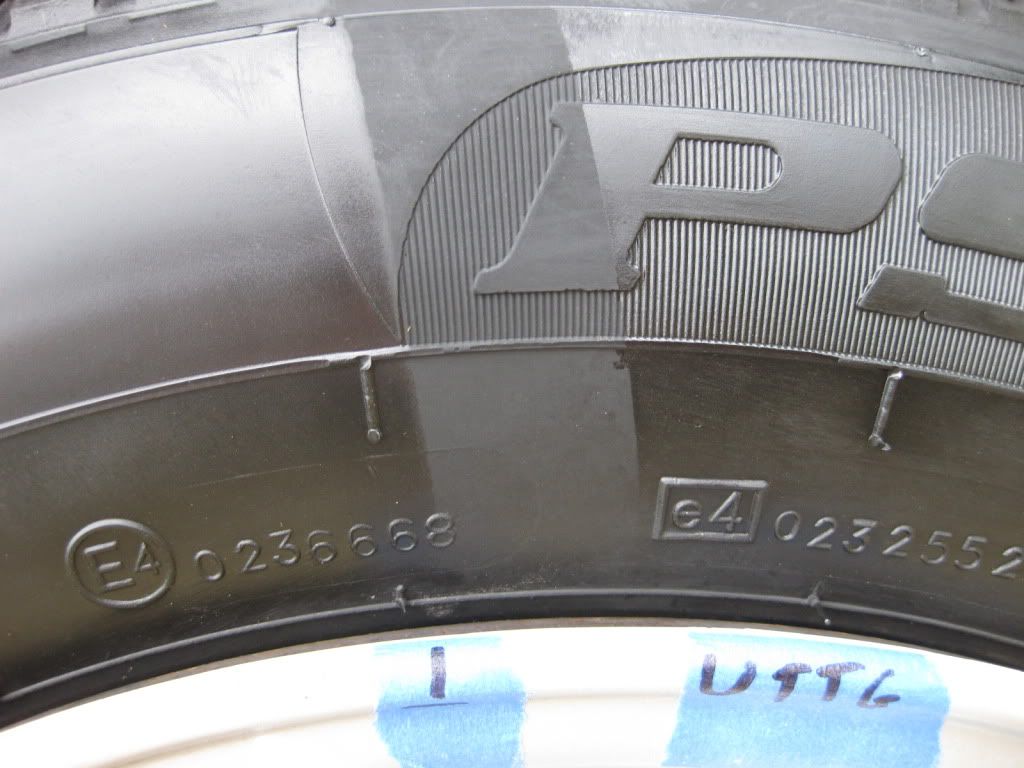
PART 1: Tires
As we all know a tire dressing can have different affects on different tires so I will show the product on 4 different types of tires and applied in various manners but first things first.
Video: Preparation of Tire
Wash Tire.wmv - YouTube
I begin by washing tires with ARO and a nylon brush twice and rinsing each time. During the final rinse an mf towel is used as well. The tire is then either left to dry or forced dry with the Metro Master Blaster.
Tire Application:
Video: Application of PERL to tires straight or 1:1
PERL.wmv - YouTube
Adams Bike (After)


Vehicle 2:
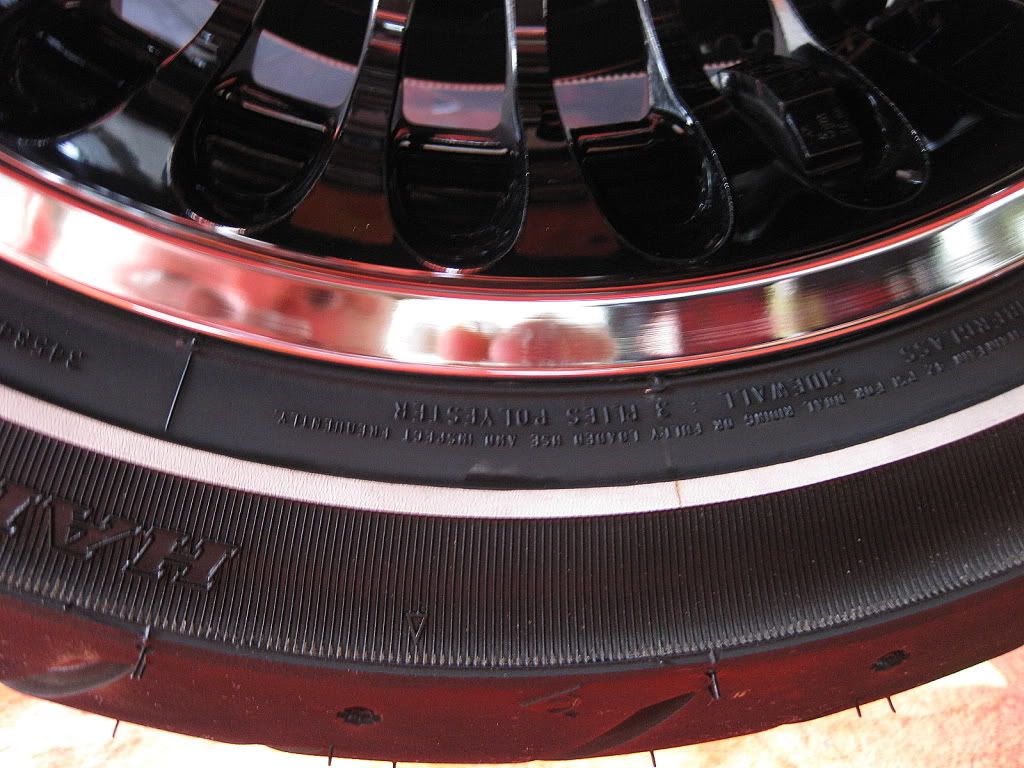
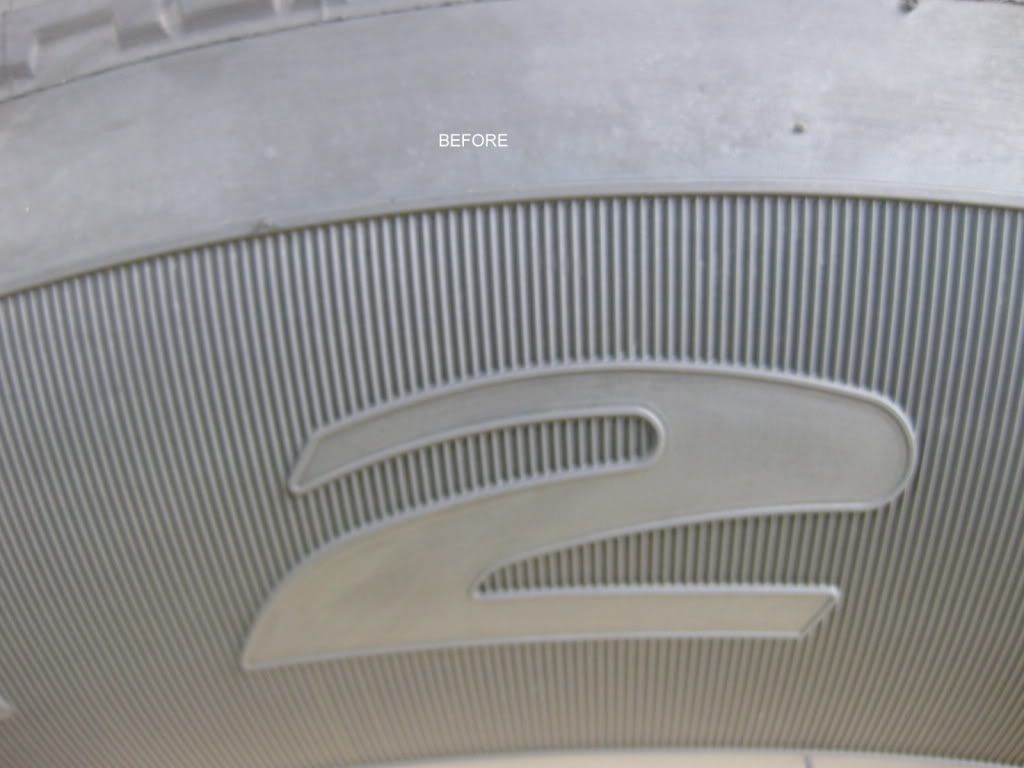
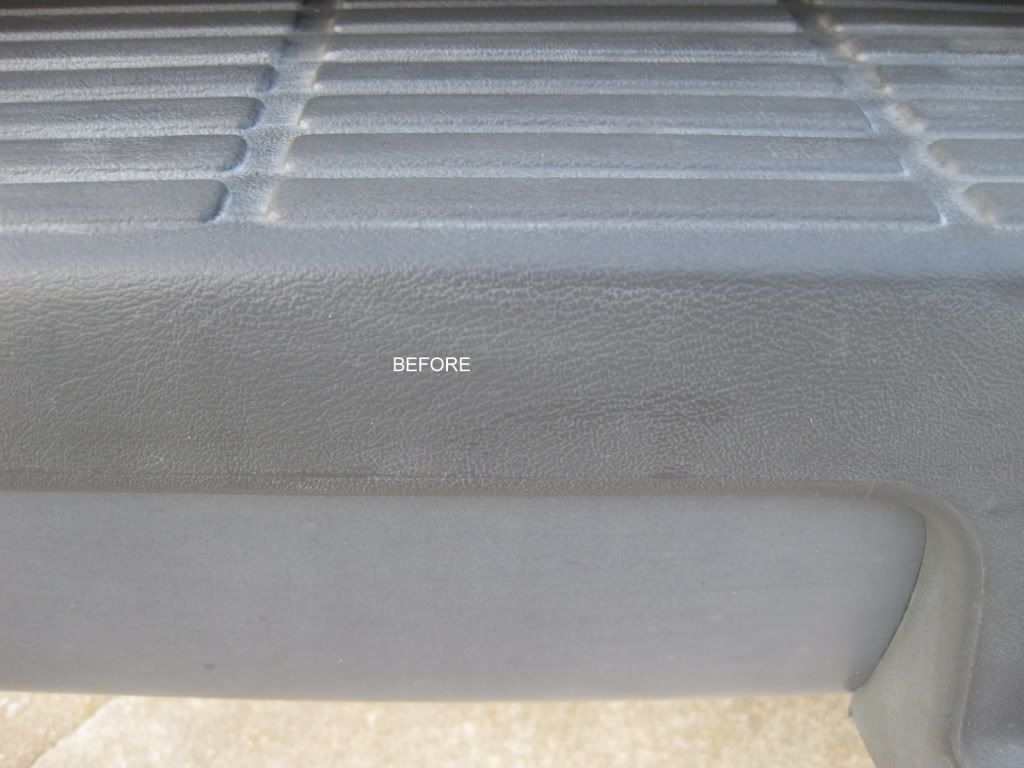
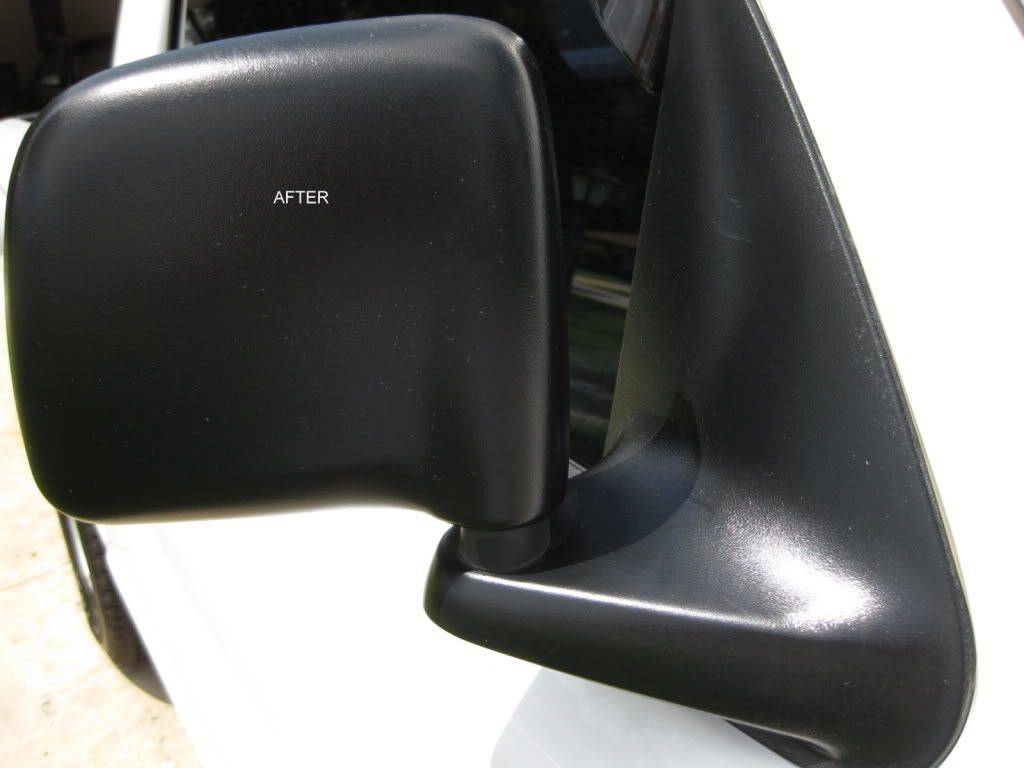
After Washing and Drying / Before Dressing
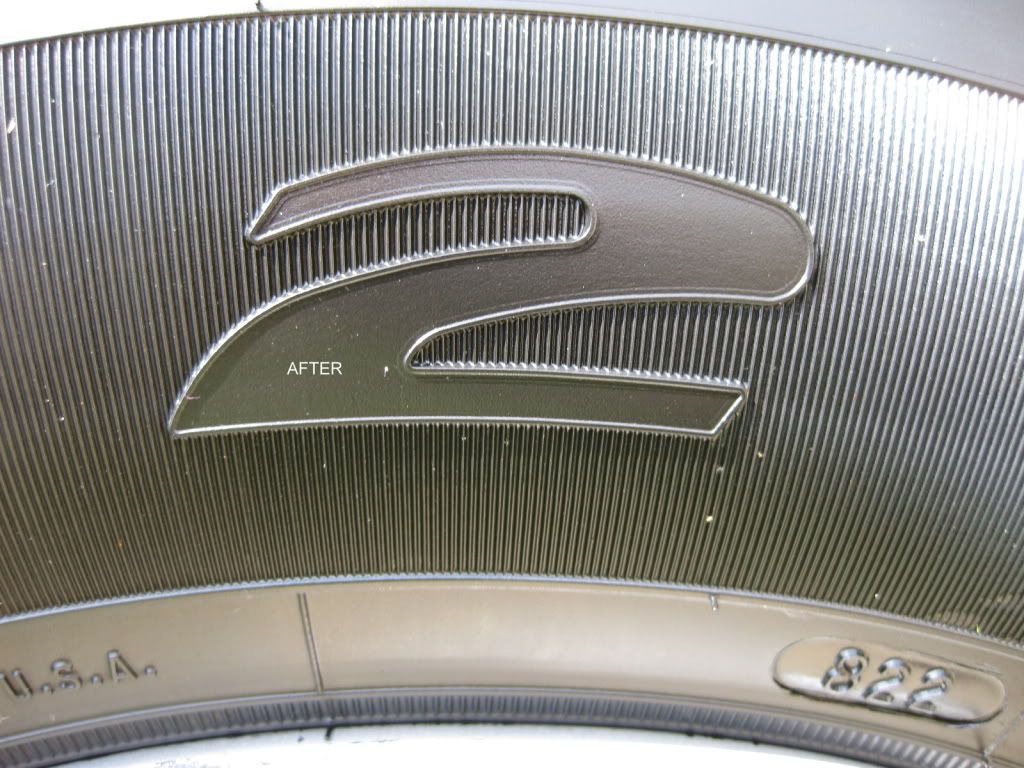
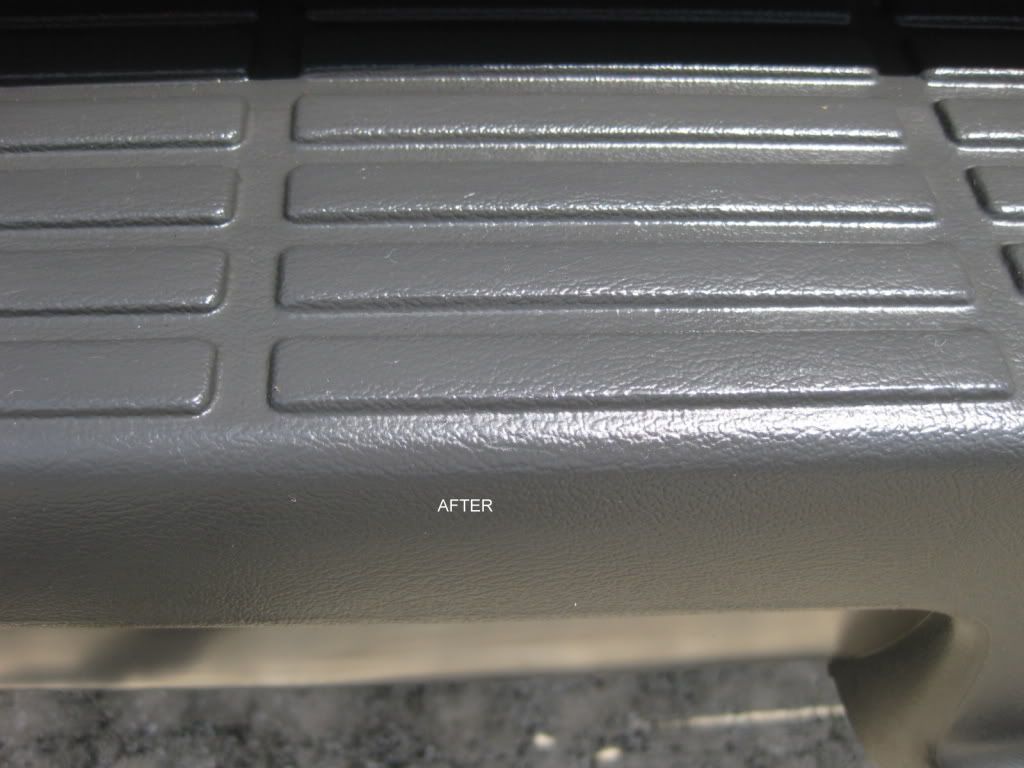
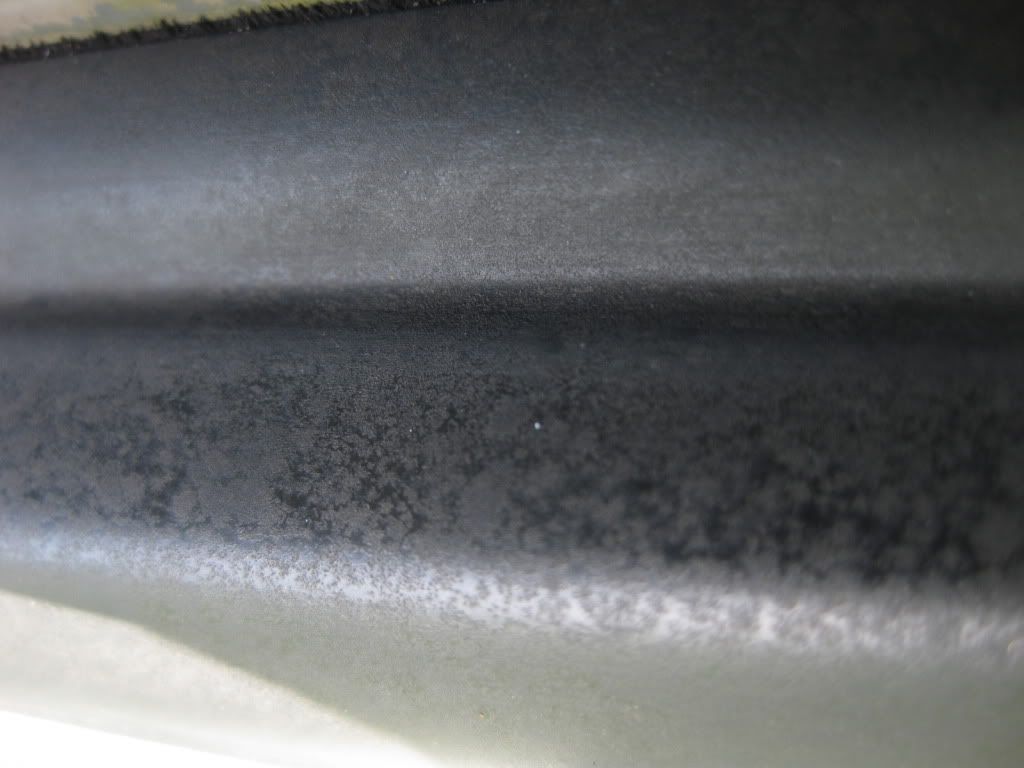
After
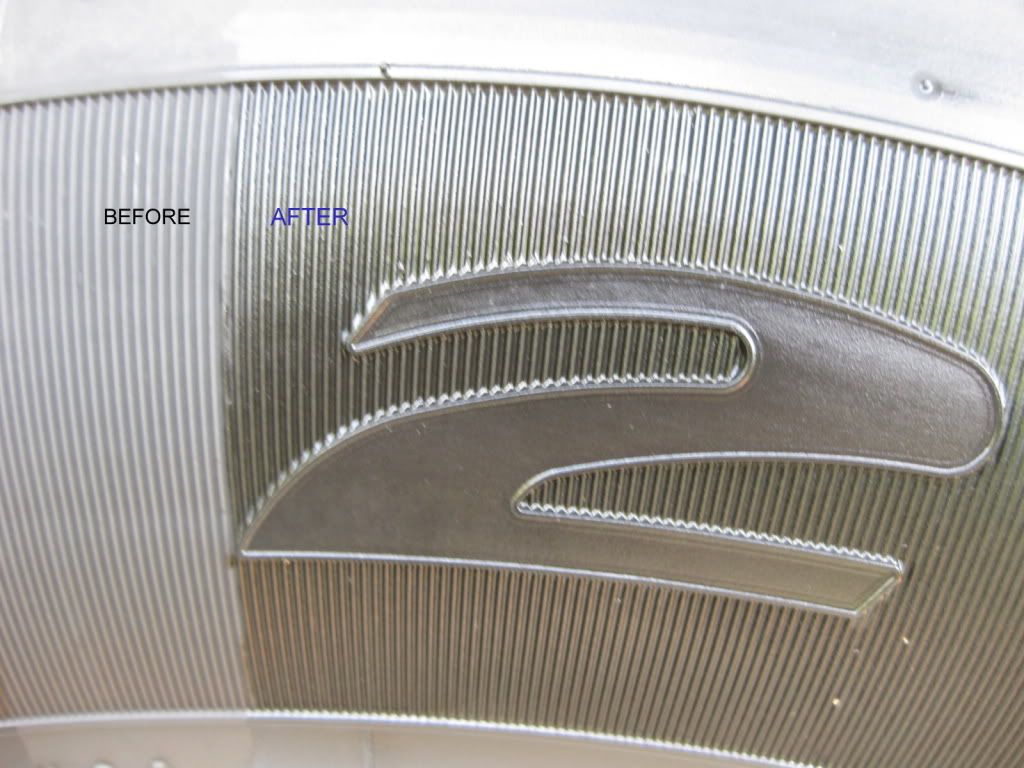
50/50
Vehicle 3:
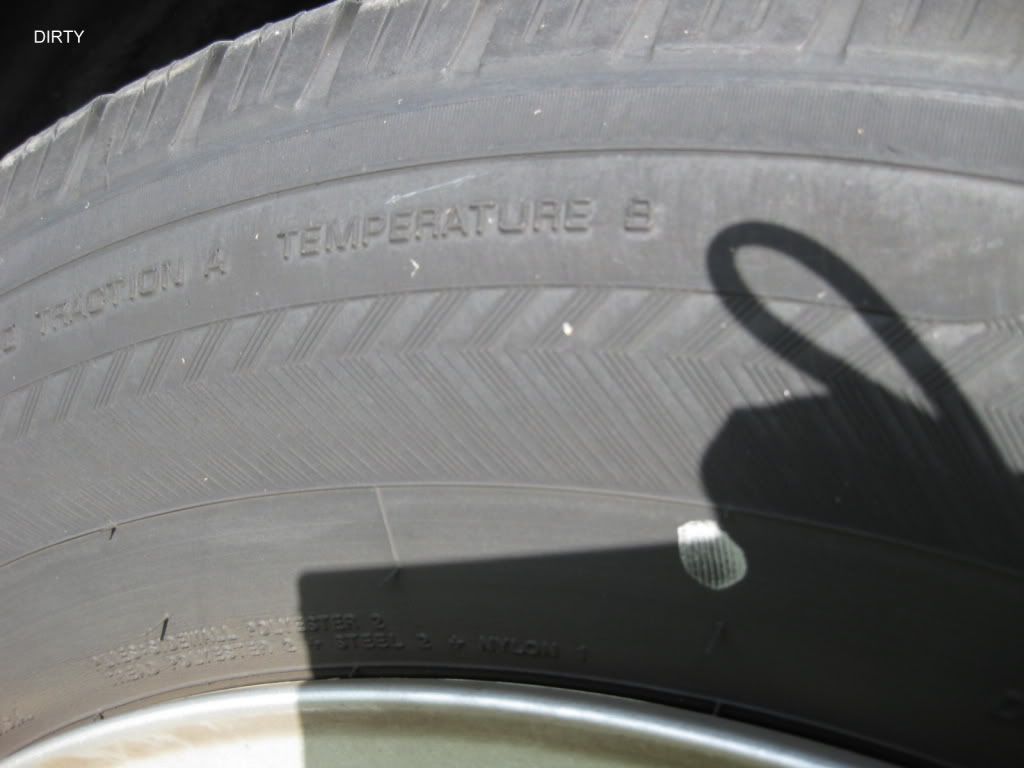
Before Washing
During Wash #1
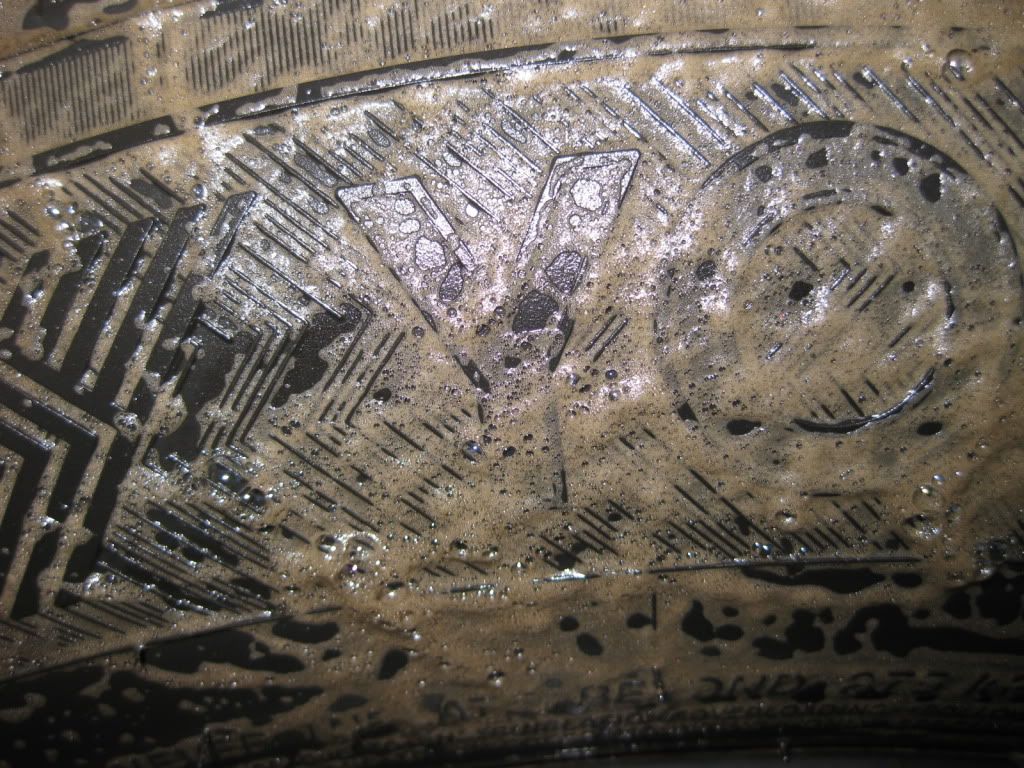
During Wash #2

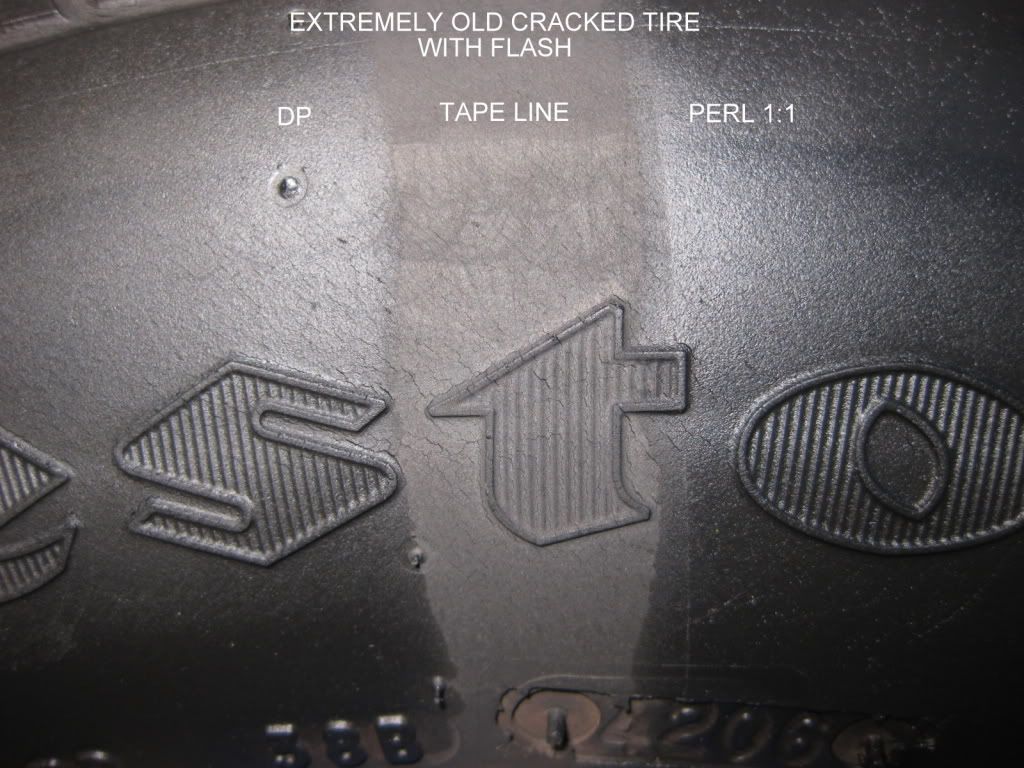
Products used on the next Tire
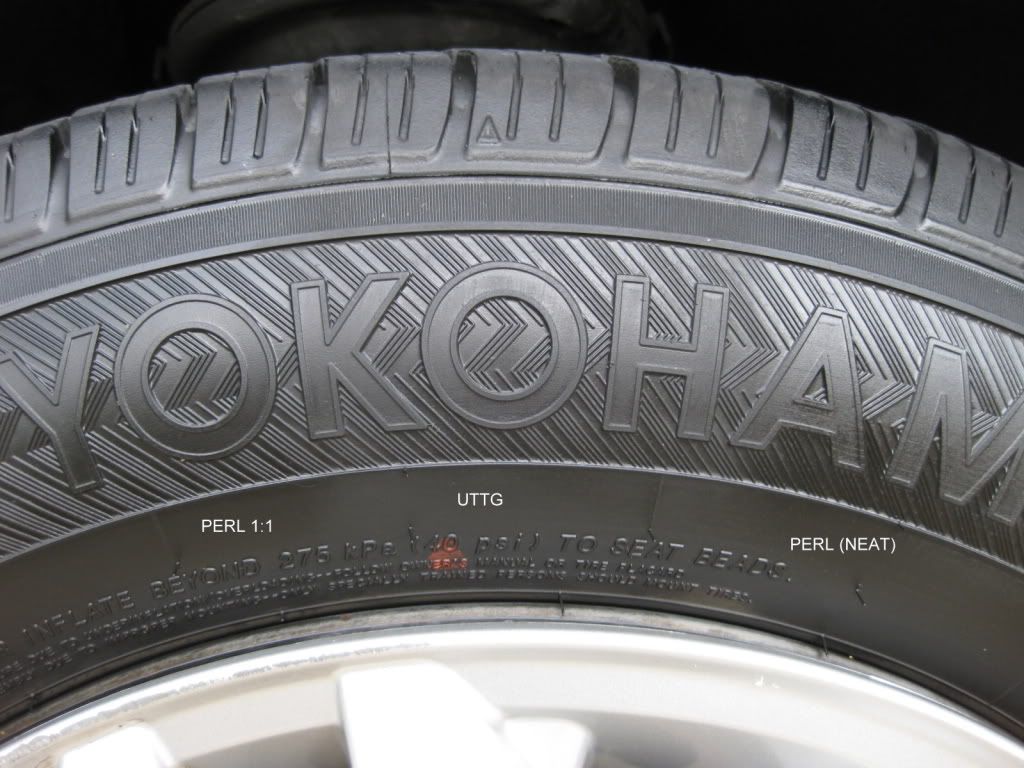
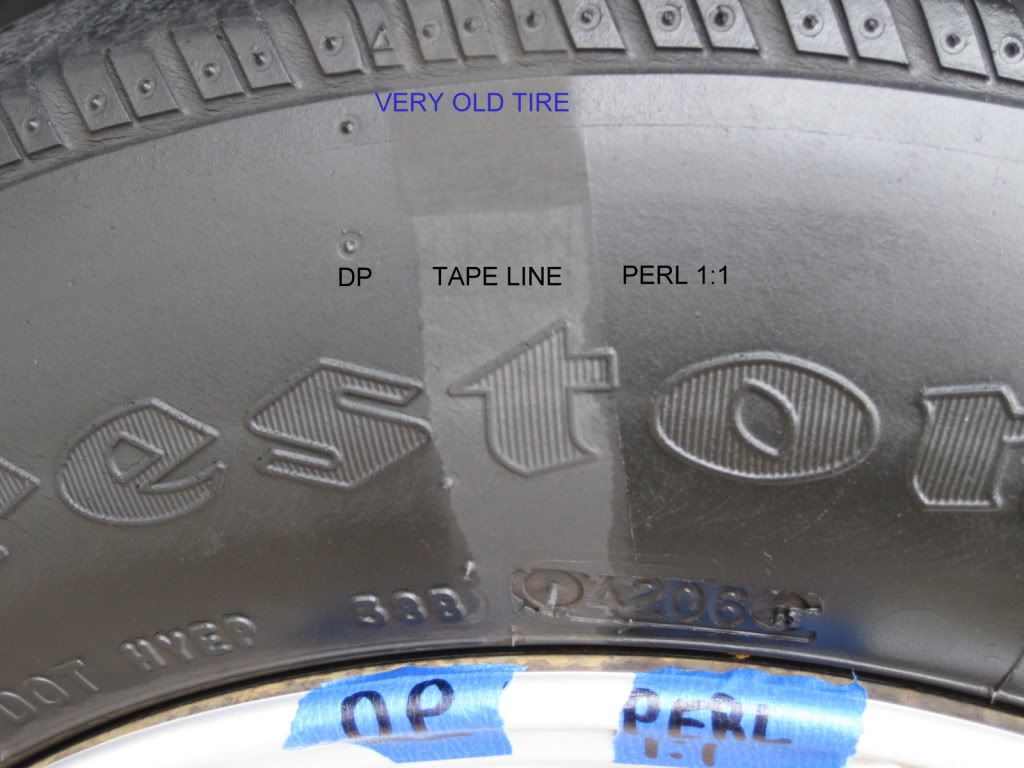
After (PERL 1:1 / UTTG / PERL)
Tire Observations:
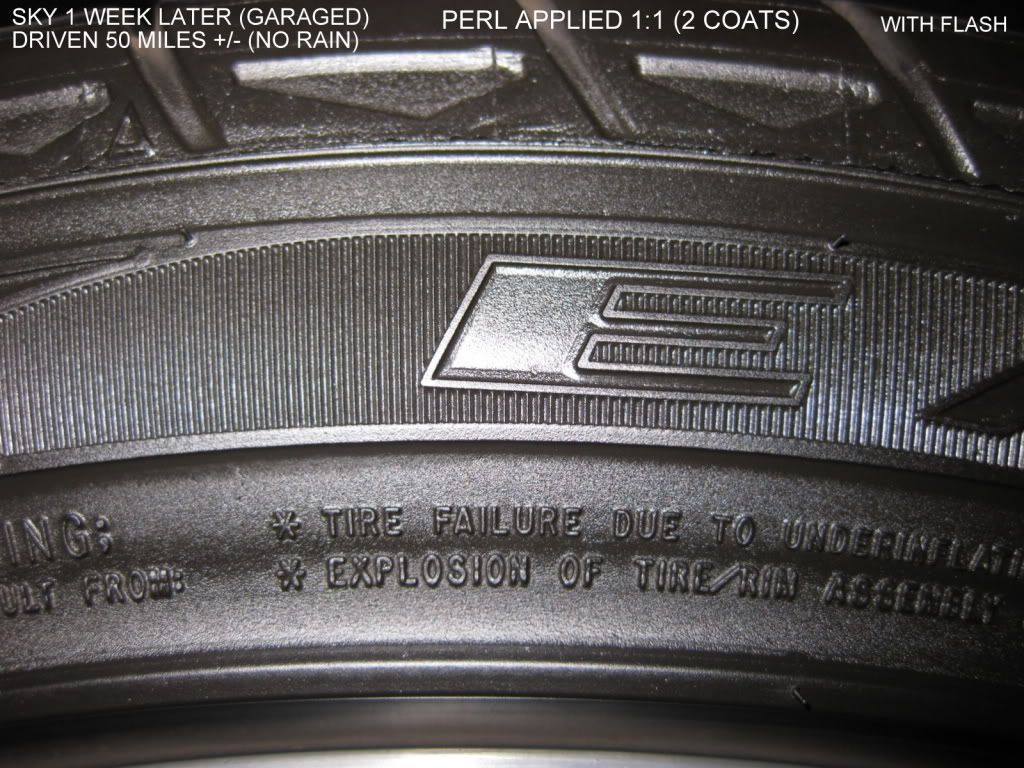
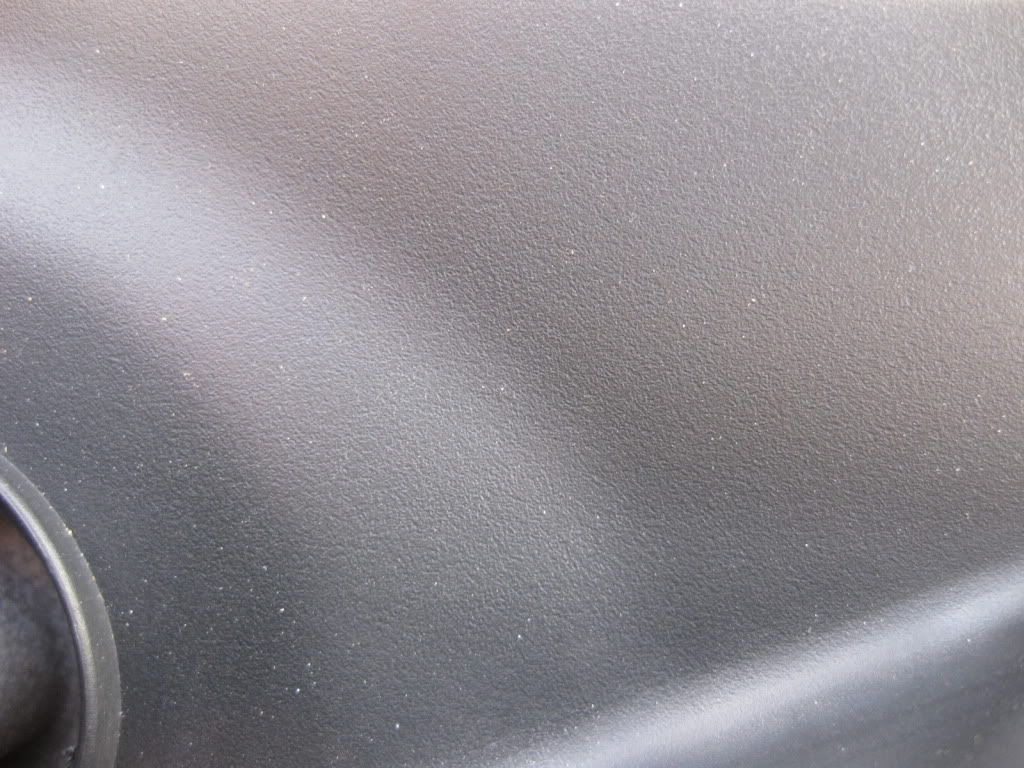
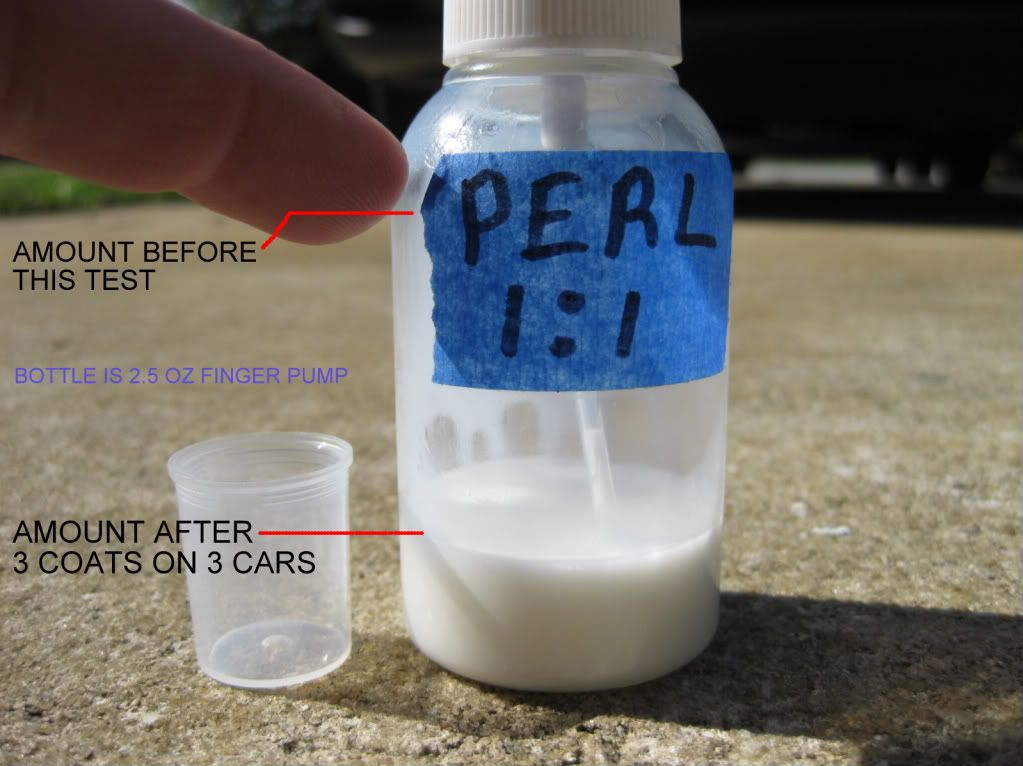
I have applied the product to a few vehicles over the last few weeks. I have to say I think the look this product provides on tires is gorgeous. I’ve applied using both 1:1 dilution and no dilution. Obviously we would assume no dilution would offer more durability but that may not be the case. One of our durability tests will prove this theory one way, or the other. I really enjoy applying the product 1:1. Using my 1:1 mix bottle I spray it directly on the tire and then with a few quick swipes the tire is dressed.
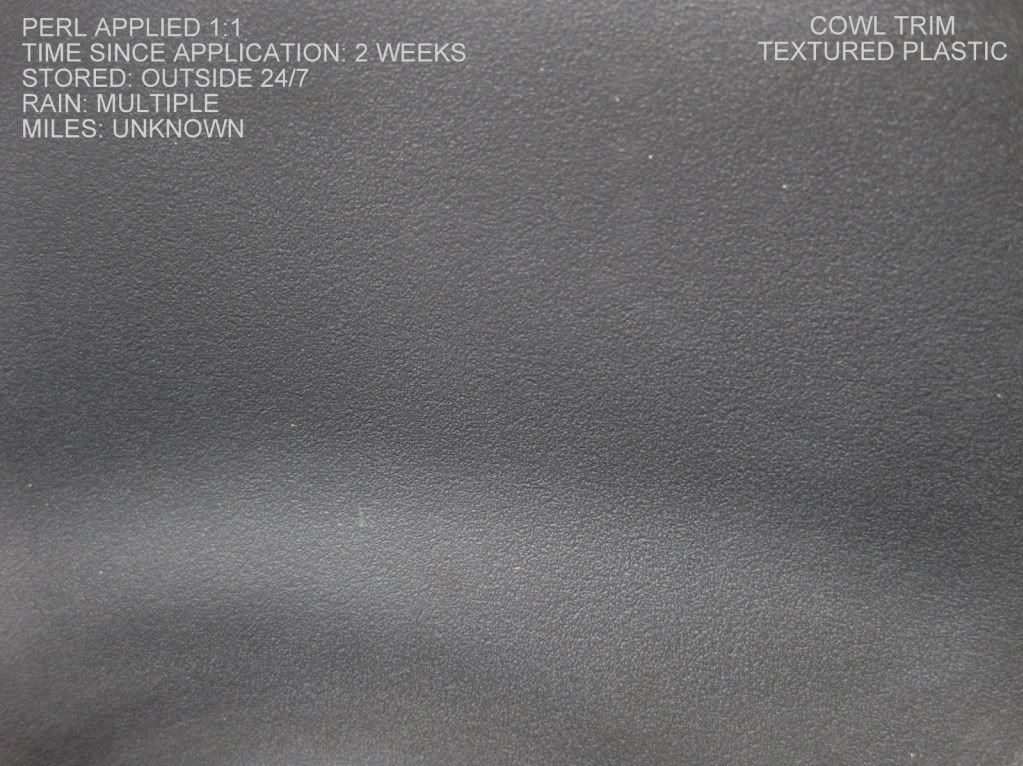
After doing a few cars with the product I checked on a couple of them. Adam told me his bike tires were still looking good after about 3 weeks. It is garage kept and I’m not sure how much rain it has seen. I checked another vehicle (that sits outside 24/7) a couple weeks later and found the durability was not what I had hoped for when exposed to rain. The product was definitely still there and was beading but the look had dropped off. I asked Avi about this and he suggested I layer thin coats to achieve a longer durability in the looks department.
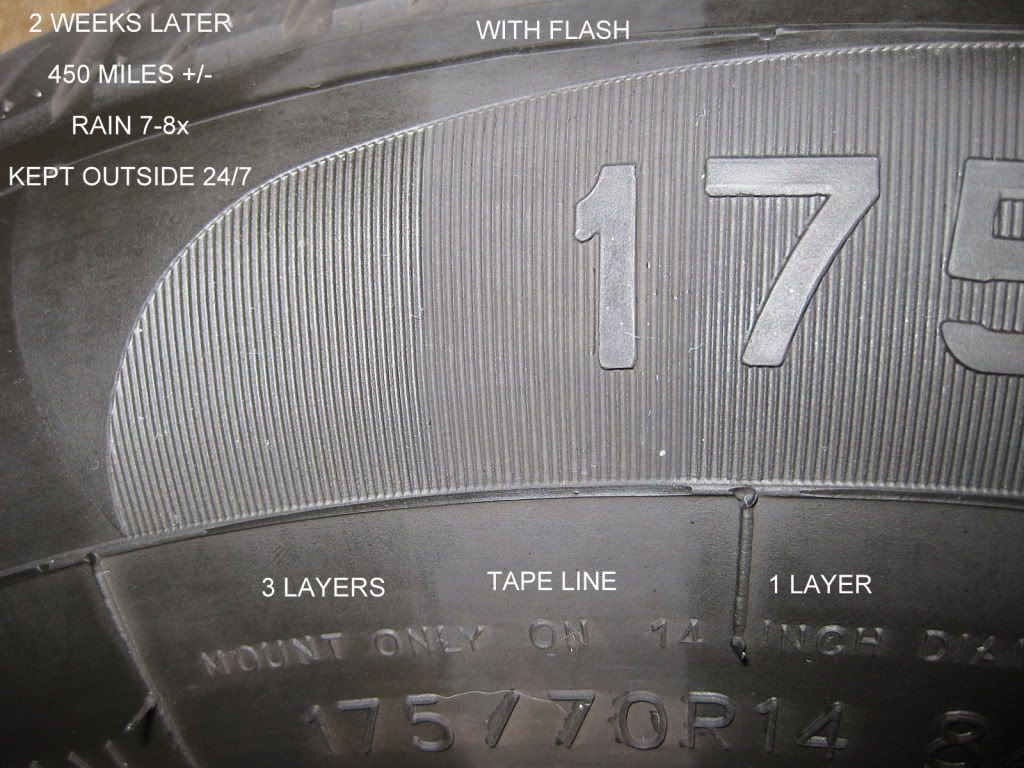
Applied 1:1 it’s so quick and easy that layering time doesn’t particularly concern me. The correct way to layer is to apply a thin coat and allow PERL to dry while you continue with other tasks. After approximately 30 minutes or when the product is dry you come back and apply an additional thin coat. This can be repeated and in my next test I will apply 1, 2, and 3 layers to test the differences over time. I think in the real world 3 coats would be asking too much for most cars unless it produces phenomenal durability. We will see…
So, our durability test will show a few things:
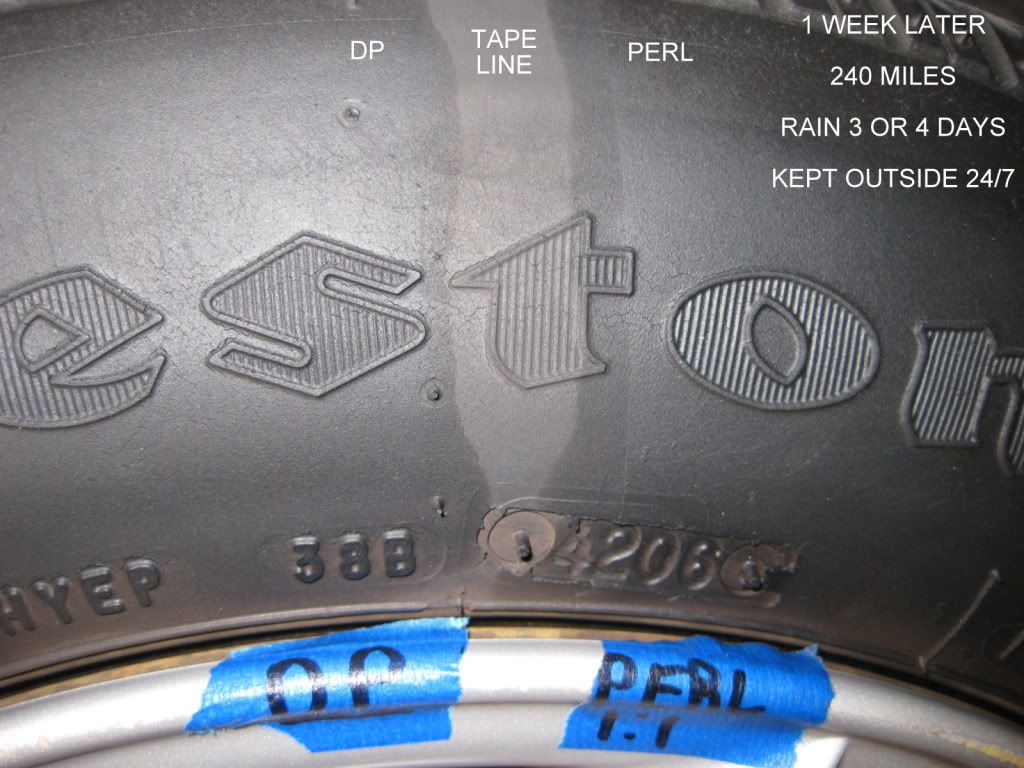
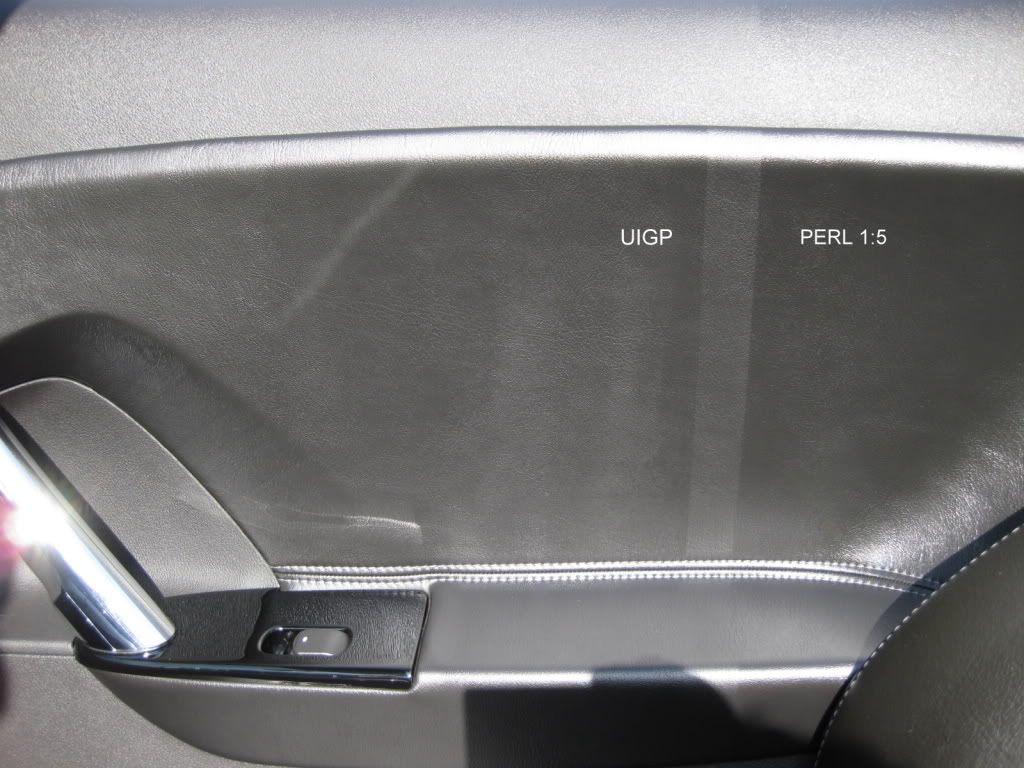
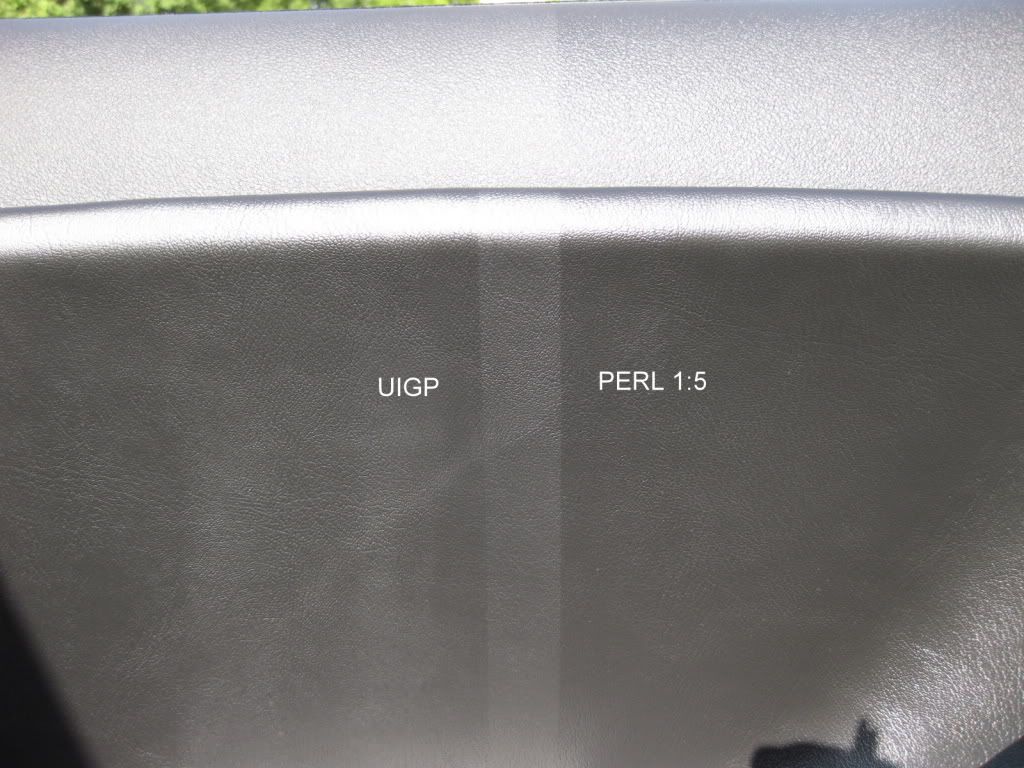
UTTG vs. PERL side by side
PERL 1:1 vs. PERL
PERL 1:1 with 1, 2, & 3 layers
Video: Ultima Trim & Tire Guard vs. CarPro PERL
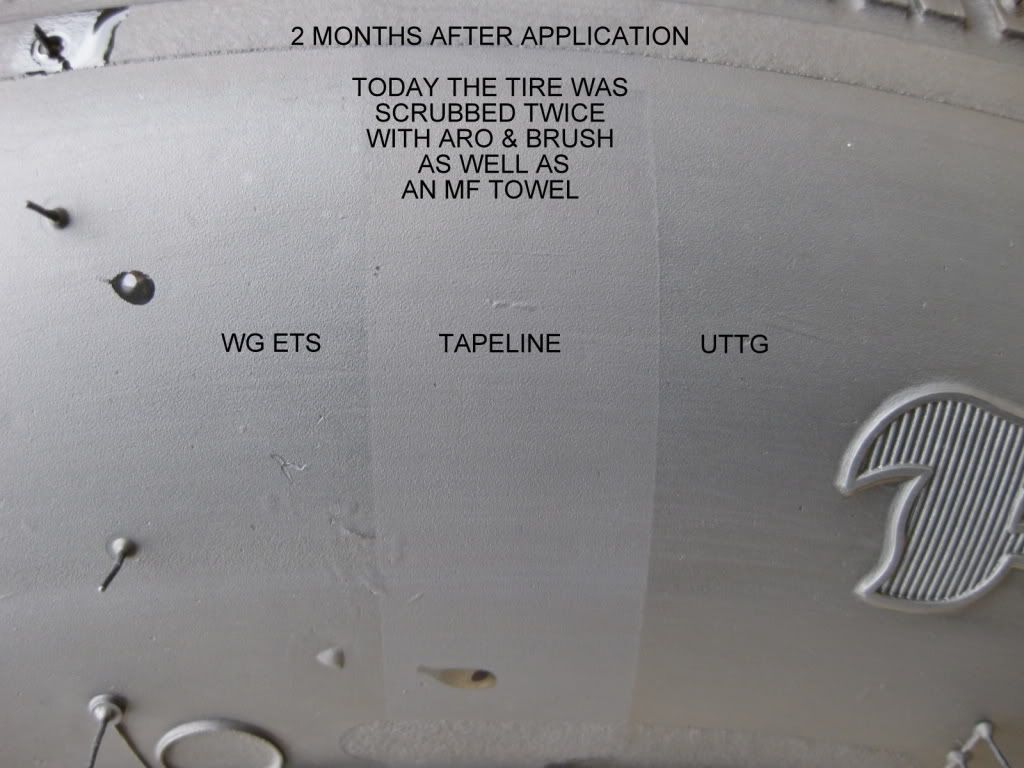
First the tire was washed as described previously. While rinsing it the final time I also scrubbed it with an mf towel.
Pearl Vs Ultima Tire.wmv - YouTube
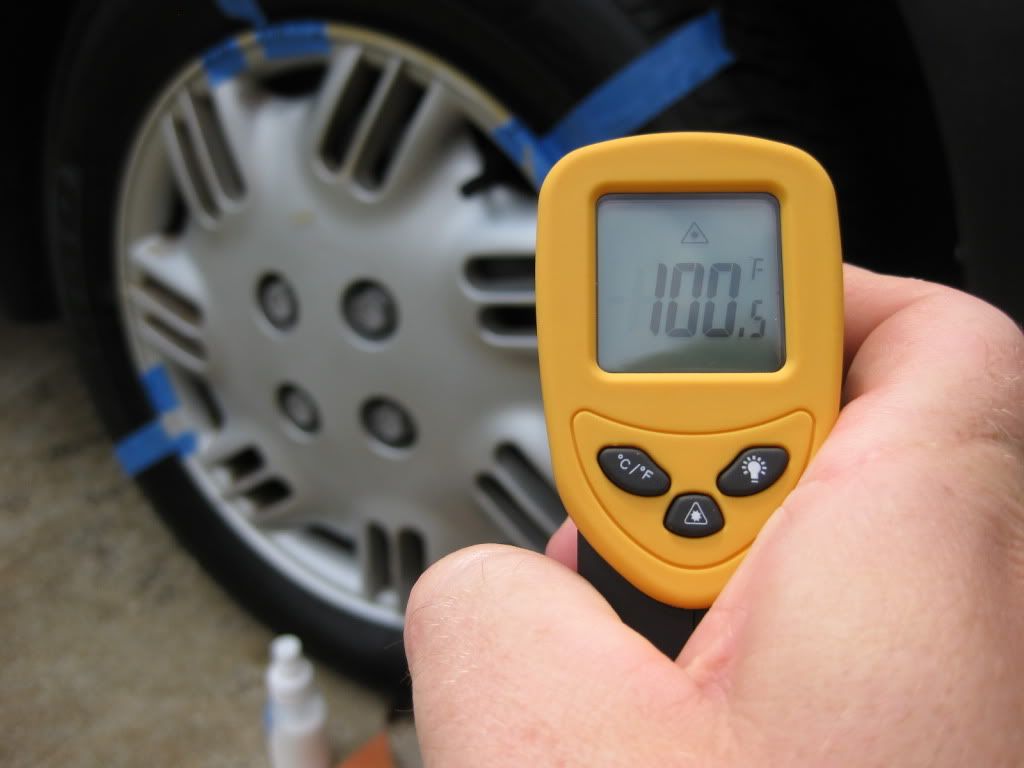
Surface Temperature
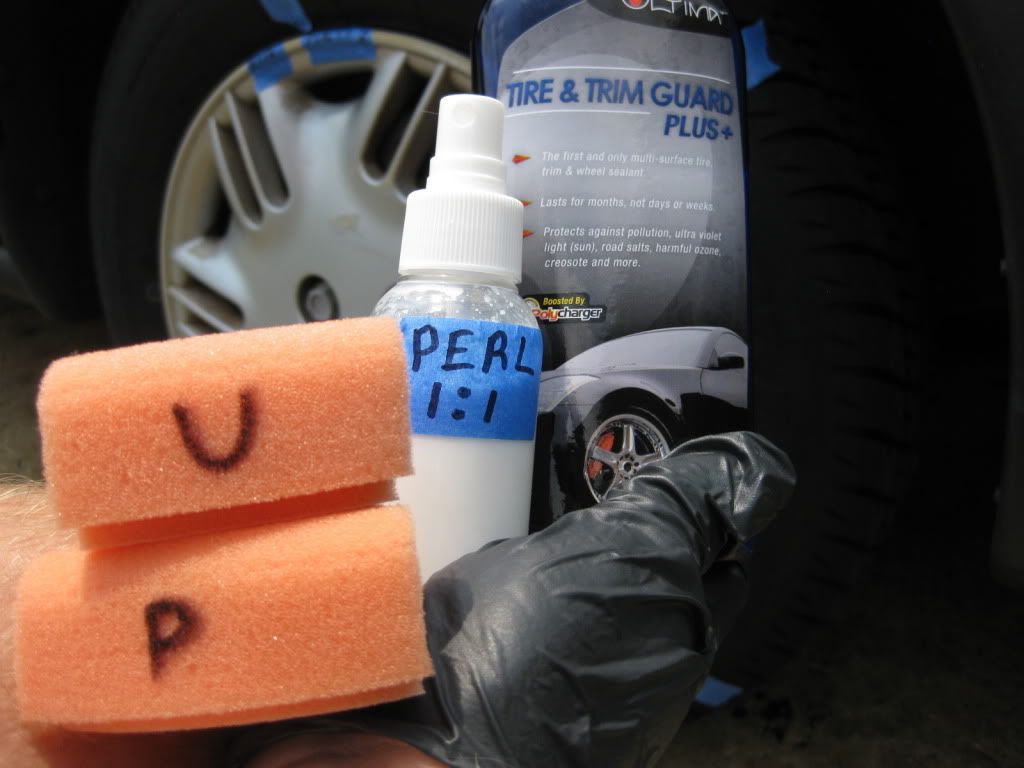
Products & Applicators
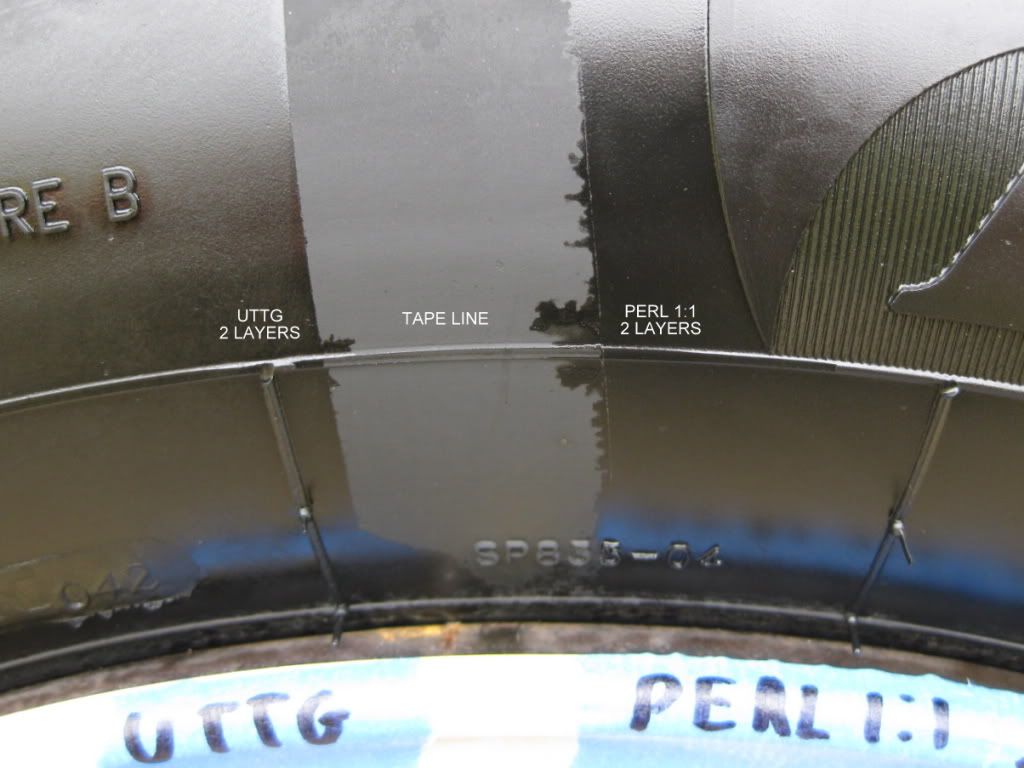
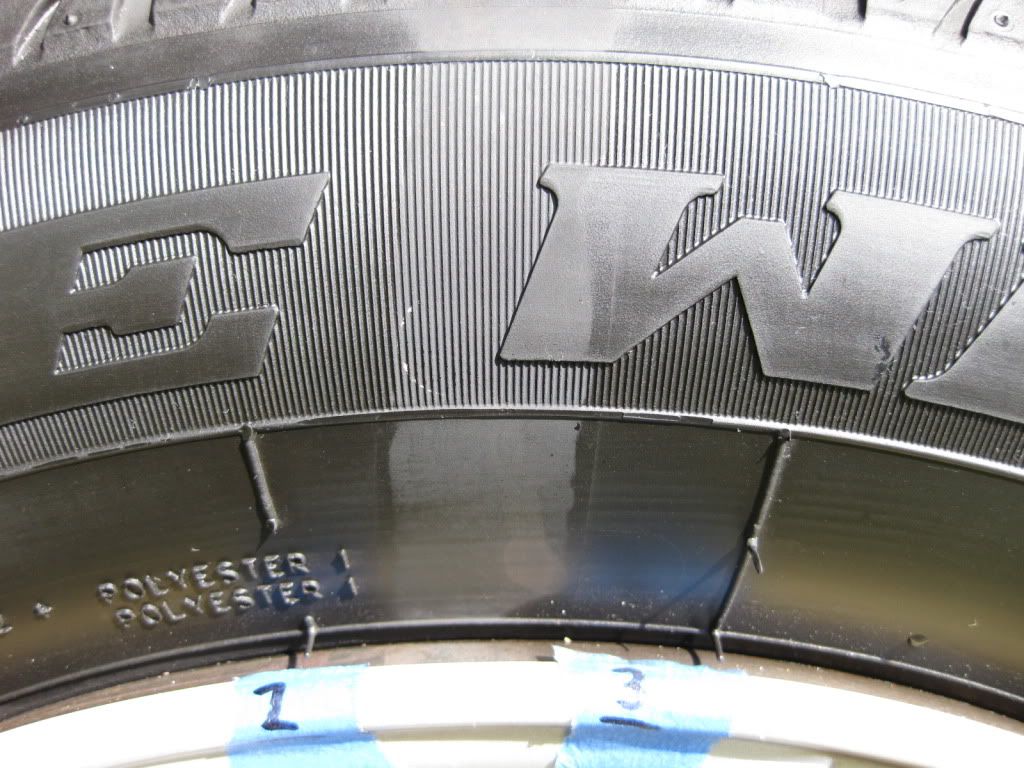
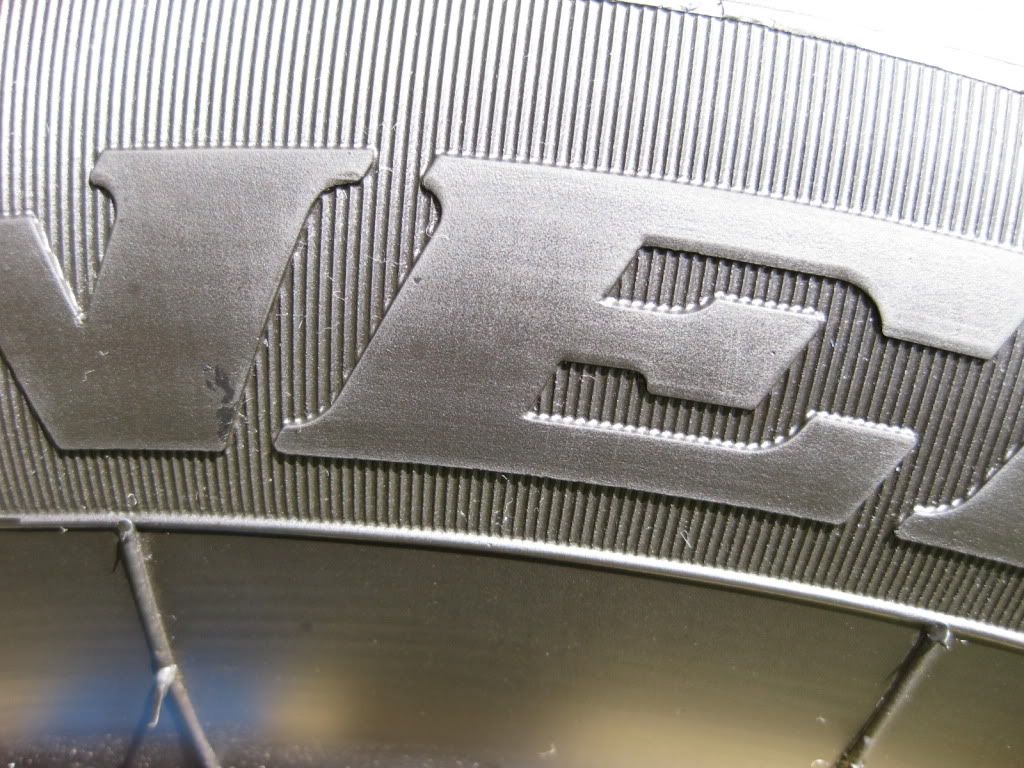
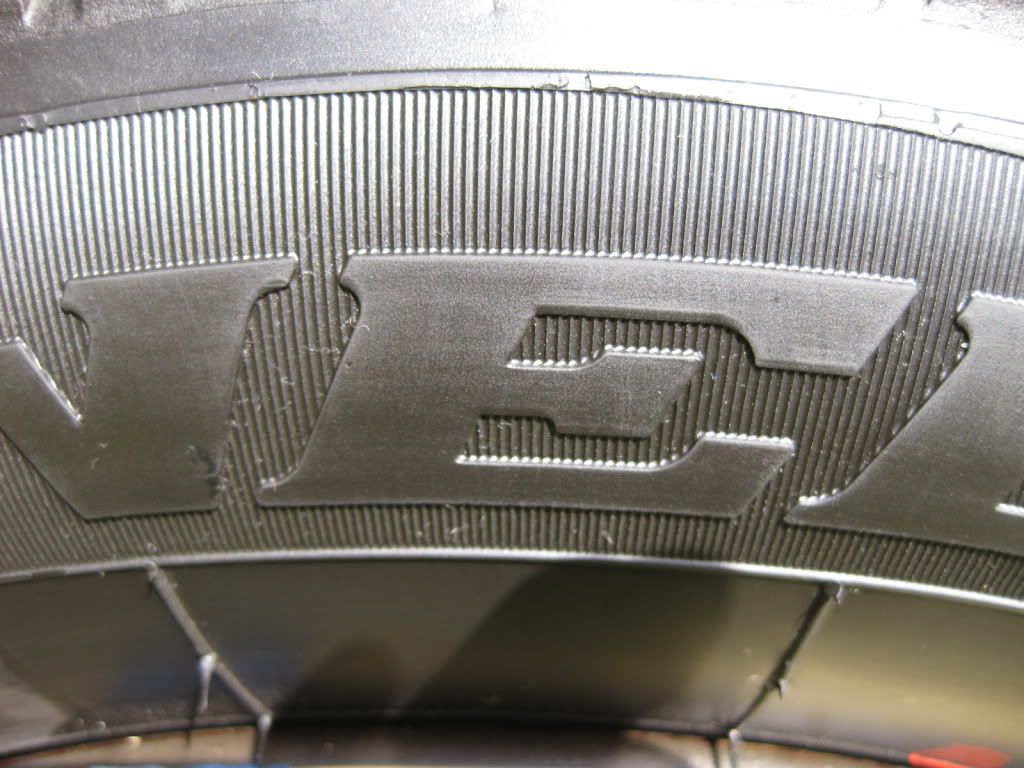
UTTG vs. PERL 1:1 (2 layers each)
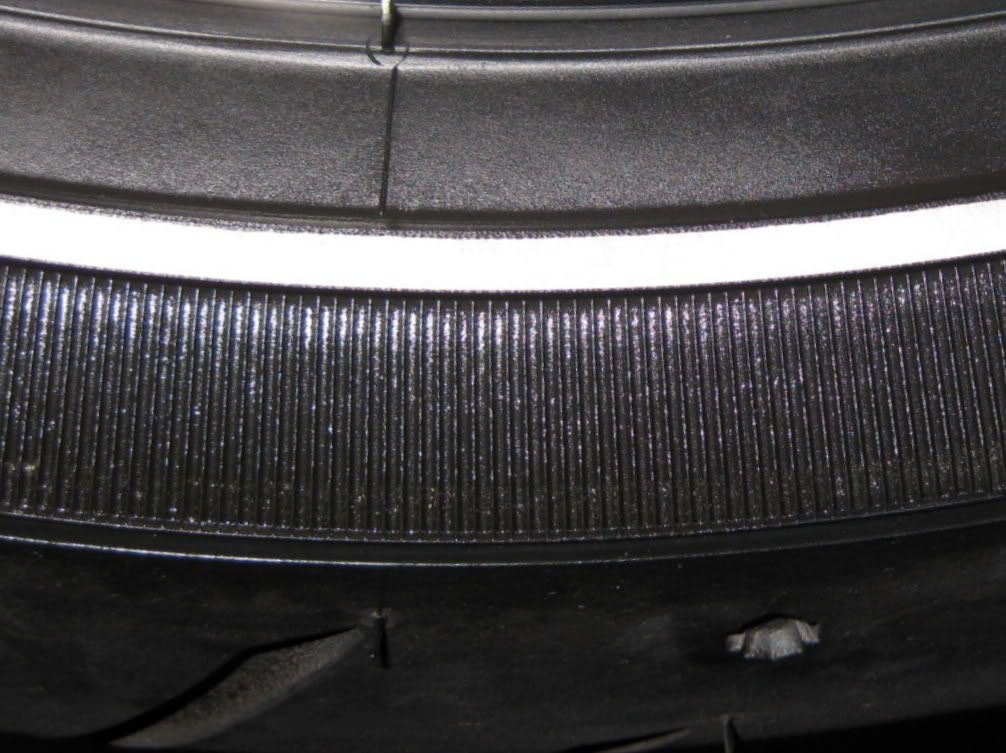
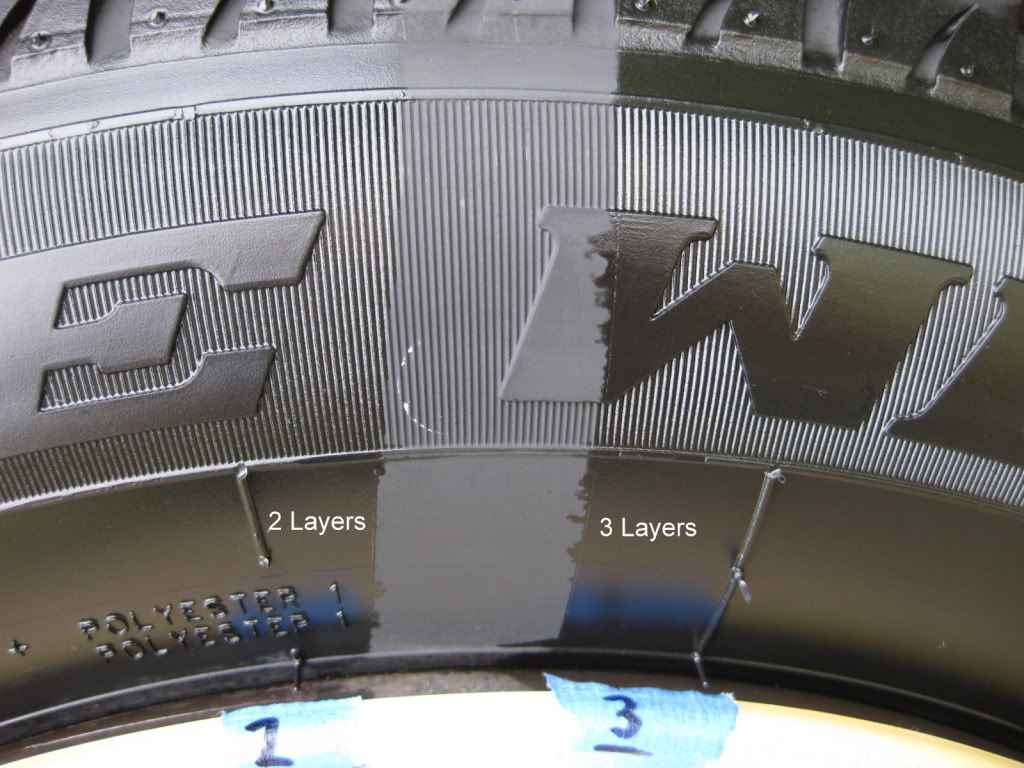
PERL 1:1 (2 layers vs. 3 layers) LOOK AT THAT!
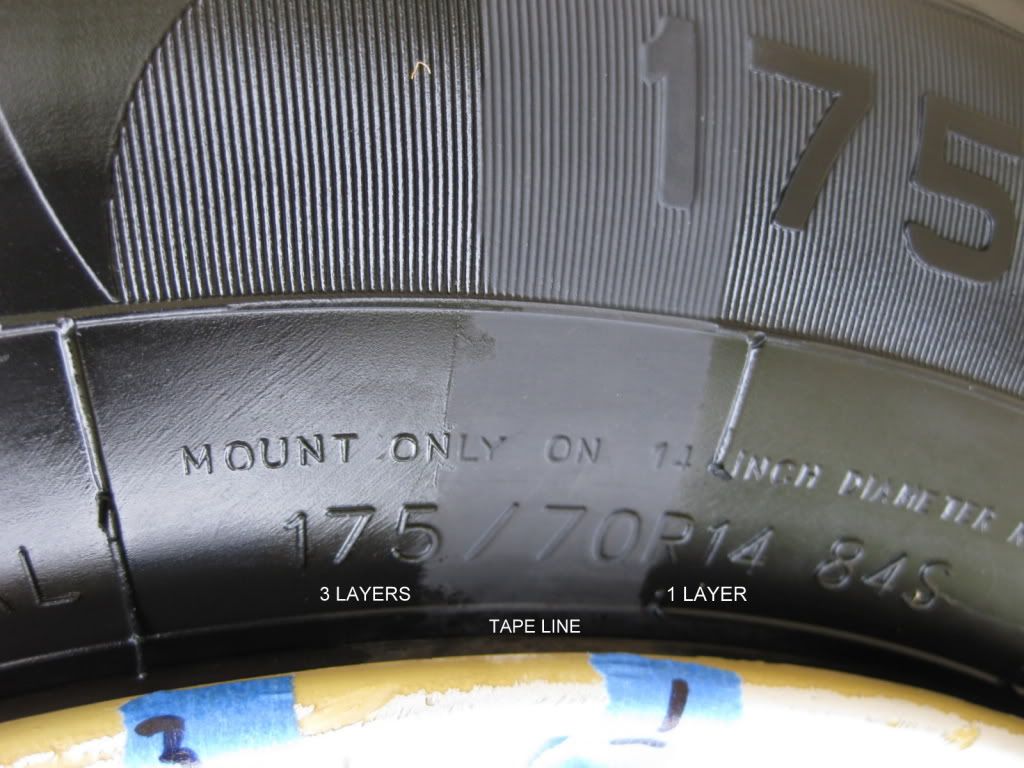
PERL 1:1 (3 layers vs. 1 layer)
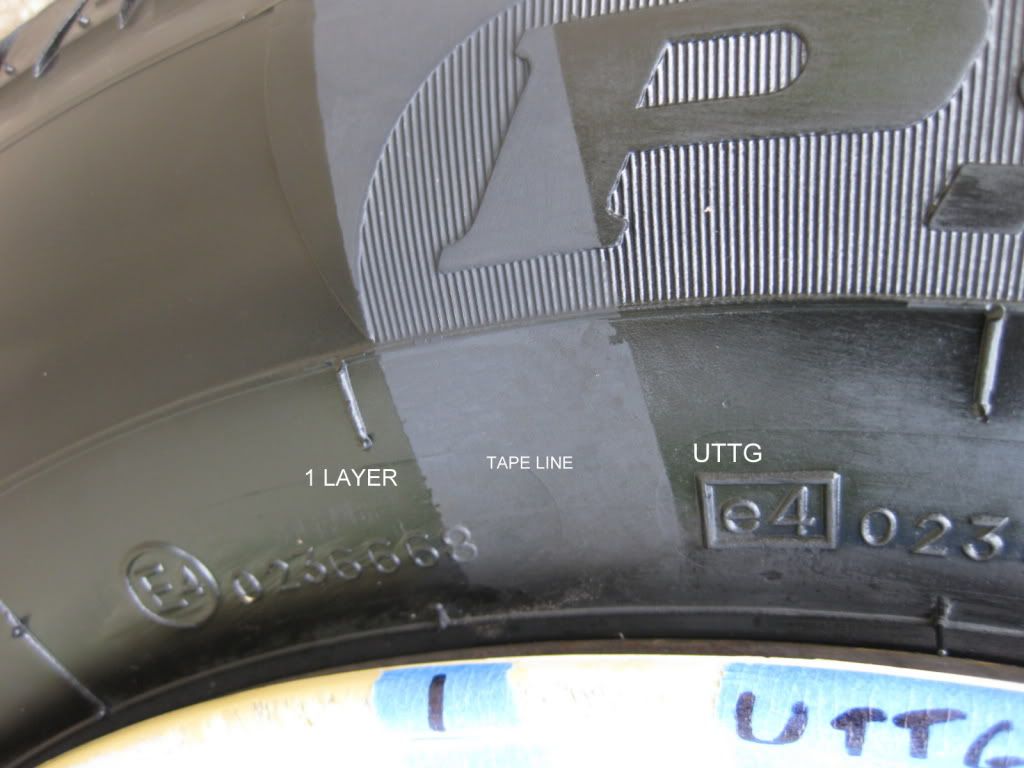
PERL 1:1 (1 layer) vs. UTTG
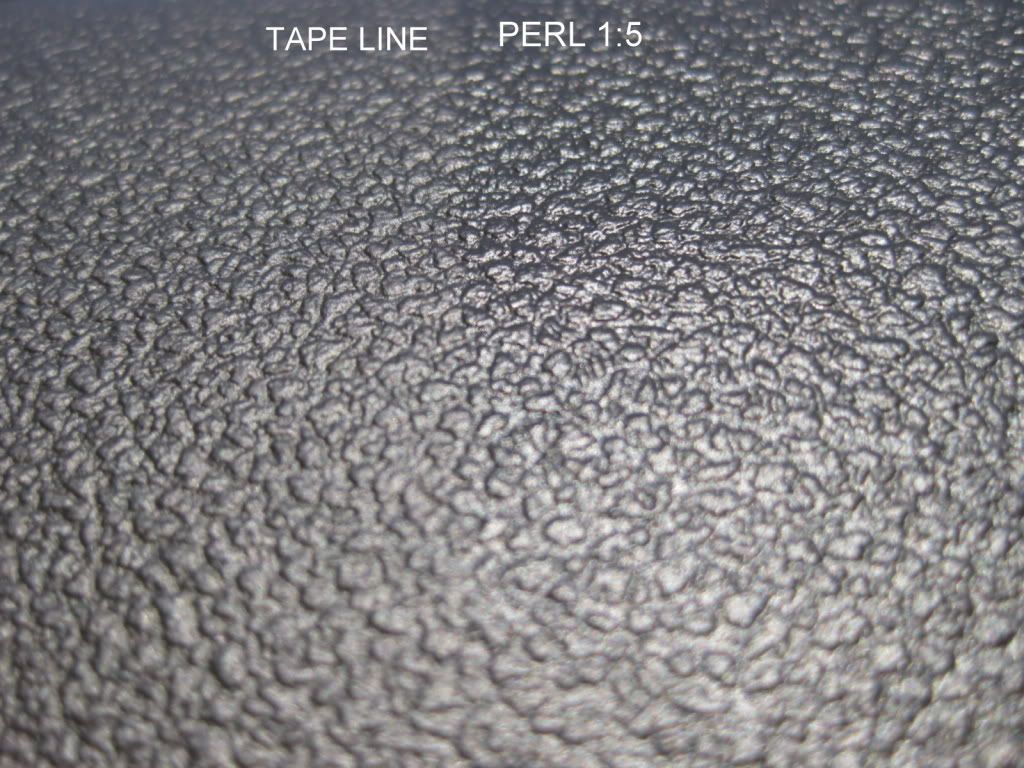
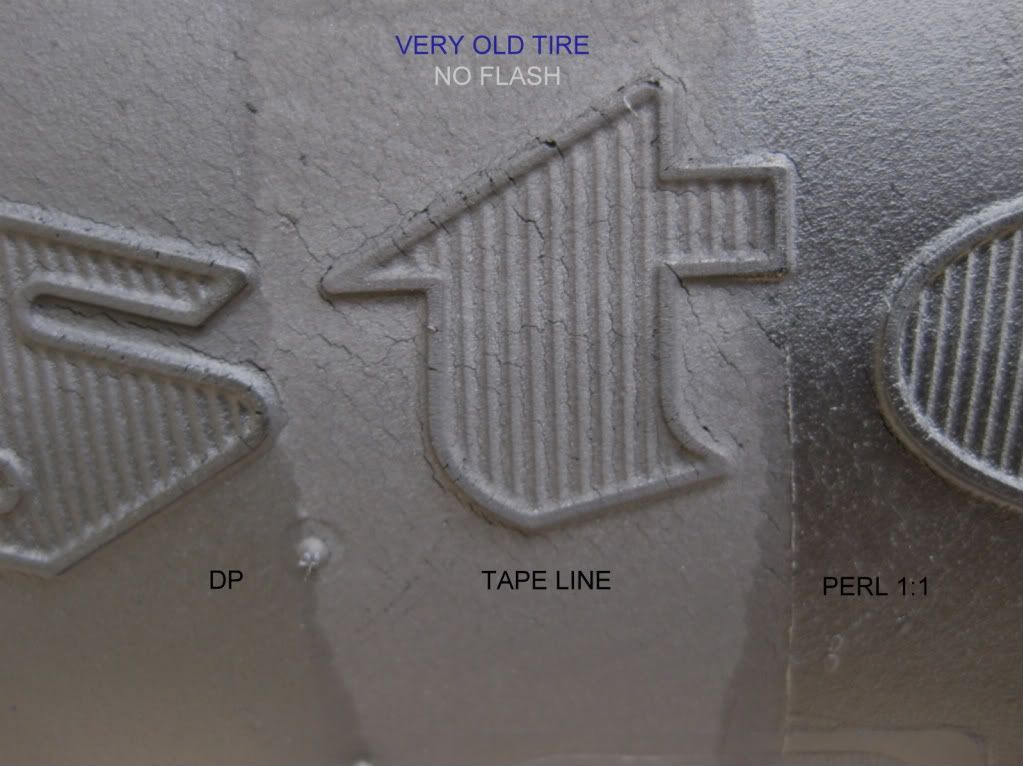
As you can see the tire gets noticeable darker with additional layers of PERL and it looks great! As I was applying the UTTG to its section I found the homemade HT applicator didn’t work so hot. The UTTG soaked into the applicator way too fast but the HT material worked excellent for application of PERL. You can see in the macro pictures my UTTG section was not as nicely coated as I had thought. This is due to the applicator and I’ll switch back to my typical UTTG applicator in the future.
Introduction:
PERL stands for Plastic, Engine Rubber, Leather. When PERL was introduced some months ago (before AG picked this line up there was a lot of excitement from people. As you all know I’ve been a big fan of Ultima Trim and Interior sealants for a long time and I’m always skeptical that a product can stand up to the durability of UTTG (or ETS for that matter now). I questioned how could PERL do something for trim that UTTG does not. CarPro improved its formula between then and now by introducing a higher concentration of one of their chief active ingredients. Will that translate into excellent durability? We will soon see.
Product Claims:
PERL Coat by CarPro is a water-based, protective coating for plastics, rubber, and leather. PERL Coat restores the like-new appearance of these surfaces and keeps them looking good with strong UV and hydrophobic protection. Best of all, PERL Coat lasts up to three months!
Details:
1.- Packaging: Plastic bottle with durable plastic plug and threaded cap
2.- Directions: Clearly labeled
3.- Viscosity: Thick (Before Diluting)
4.- Color: White
5.- Scent: Faint - So familiar but I can’t place it (Meant to be apple)
6.- Regular Price: 1.7 oz. (50ml) = $ 4.99
7.- Regular Price: 16.9 oz. (500ml) = $15.99
8.- Regular Price: 33.8 oz. (1000ml) = $24.99
9.- Manufacturer: CarPro
10.- Made in: Korea
Recommended Dilutions:
1.- Tires/Rubber – Undiluted~1:1
2.- Engine - 1:1 ~1:3
3.- External Plastics - 1:3
4.- Interior Vinyl & Leather – 1:5
Product used for application:
Micro Fiber Towel or foam applicator depending on surface and goals
Product
Average Conditions (Fahrenheit)
Average Conditions (Celsius)
PART 1: Tires
As we all know a tire dressing can have different affects on different tires so I will show the product on 4 different types of tires and applied in various manners but first things first.
Video: Preparation of Tire
Wash Tire.wmv - YouTube
I begin by washing tires with ARO and a nylon brush twice and rinsing each time. During the final rinse an mf towel is used as well. The tire is then either left to dry or forced dry with the Metro Master Blaster.
Tire Application:
Video: Application of PERL to tires straight or 1:1
PERL.wmv - YouTube
Adams Bike (After)
Vehicle 2:
After Washing and Drying / Before Dressing
After
50/50
Vehicle 3:
Before Washing
During Wash #1
During Wash #2
Products used on the next Tire
After (PERL 1:1 / UTTG / PERL)
Tire Observations:
I have applied the product to a few vehicles over the last few weeks. I have to say I think the look this product provides on tires is gorgeous. I’ve applied using both 1:1 dilution and no dilution. Obviously we would assume no dilution would offer more durability but that may not be the case. One of our durability tests will prove this theory one way, or the other. I really enjoy applying the product 1:1. Using my 1:1 mix bottle I spray it directly on the tire and then with a few quick swipes the tire is dressed.
After doing a few cars with the product I checked on a couple of them. Adam told me his bike tires were still looking good after about 3 weeks. It is garage kept and I’m not sure how much rain it has seen. I checked another vehicle (that sits outside 24/7) a couple weeks later and found the durability was not what I had hoped for when exposed to rain. The product was definitely still there and was beading but the look had dropped off. I asked Avi about this and he suggested I layer thin coats to achieve a longer durability in the looks department.
Applied 1:1 it’s so quick and easy that layering time doesn’t particularly concern me. The correct way to layer is to apply a thin coat and allow PERL to dry while you continue with other tasks. After approximately 30 minutes or when the product is dry you come back and apply an additional thin coat. This can be repeated and in my next test I will apply 1, 2, and 3 layers to test the differences over time. I think in the real world 3 coats would be asking too much for most cars unless it produces phenomenal durability. We will see…
So, our durability test will show a few things:
UTTG vs. PERL side by side
PERL 1:1 vs. PERL
PERL 1:1 with 1, 2, & 3 layers
Video: Ultima Trim & Tire Guard vs. CarPro PERL
First the tire was washed as described previously. While rinsing it the final time I also scrubbed it with an mf towel.
Pearl Vs Ultima Tire.wmv - YouTube
Surface Temperature
Products & Applicators
UTTG vs. PERL 1:1 (2 layers each)
PERL 1:1 (2 layers vs. 3 layers) LOOK AT THAT!
PERL 1:1 (3 layers vs. 1 layer)
PERL 1:1 (1 layer) vs. UTTG
As you can see the tire gets noticeable darker with additional layers of PERL and it looks great! As I was applying the UTTG to its section I found the homemade HT applicator didn’t work so hot. The UTTG soaked into the applicator way too fast but the HT material worked excellent for application of PERL. You can see in the macro pictures my UTTG section was not as nicely coated as I had thought. This is due to the applicator and I’ll switch back to my typical UTTG applicator in the future.


")