range rover show prep-tons and tons of pics

Here is one we a couple weeks ago. this was for an auto show here in town.... again srry about the water mark. the pics are not on my comp and i have no idea how to remove them.. if someone can help me with that awsome.. if not im hooped

This vehicle is quite the vehicle, we were given this vehicle to get it ready for a car show happening here in town and the vehicle was gorgeous, brand new and going to a show what a treat oh and it sure handles well.

The vehicle: 2008 Range Rover Super Charged

1copy.jpg


3.jpg


4copy.jpg


5copy.jpg


7copy.jpg

Rims were going to need some pampering.

9copy.jpg


10copy.jpg

Along with the wheel wells.

11copy.jpg


13copy.jpg


14copy.jpg


16copy.jpg


This was neat, still had all it’s plastic protection from factory:
20copy.jpg
 
23copy.jpg

Engine bay was going to need some attention as well
Well let’s get started, as always rims are a good spot to start. We gave all the rims and wheel wells a good rinse:
28copy.jpg

Then sprayed a healthy coat of P21S Total Auto Wash on the wheel wells:
30copy.jpg

31copy.jpg

Then used P21S Wheel Gel for the rims:
32copy.jpg

Making sure to get all the way inside the rims:
33copy.jpg

With the help of a long handle brush, it was time to give the wheel wells a good scrub:
35copy.jpg

For the inside of the rims the wool brushes were used:
37copy.jpg

Making sure to get all the way inside the rims:
38copy.jpg

39copy.jpg

40copy.jpg

For the face of the rims, a Swissvax brush was used:
42copy.jpg

Now with the help of the Meg’s tire brush, the tires were given a good scrub:
43copy.jpg

This is how all that scrubbing looked like at the end:
44copy.jpg

Ready to be given a good rinse now:
46copy.jpg

All areas were inspected to insure all contamination had been removed. This was the process for all the rims, tires and wheel wells. Once all the rims, tires and wheel wells had been completed to satisfying results it was time to move on to the engine bay.
First a quick rinse:
47copy.jpg
 
Now the vehicle was brand new and it still had the transportation coating on it so a generous coat of P21S Total Auto Wash was applied to the engine bay and the top of the hood as well.
49copy.jpg

Then it was agitated with another Swissvax brush:
50copy.jpg

Once the entire engine bay was agitated and was completely cleaned it was rinsed off:
53copy.jpg

Now to the rest of the vehicle, first the vehicle was given a thorough rinse:
54copy.jpg

The vehicle had been sitting inside a storage facility and it had glue residue left over from the tape so after the rinse the entire vehicle was given a P21S Total Auto Wash spray to remove as much contamination as possible:
55copy.jpg

57copy.jpg

The vehicle was then rinsed off so the washing of the vehicle could begin. The two bucket method was used, with grit guards, Zymol Clear was used as shampoo and the Zymol sponge:
58copy.jpg

59copy.jpg

Once the entire vehicle had been completely washed it was rinsed off:
60copy.jpg

61copy.jpg

Now it was time to clay the vehicle, for clay Ricardo Clay was used:
62copy.jpg

During the washing process the vehicle didn’t feel too bad, but it still needed to be clayed:
64copy.jpg
 
The vehicle didn’t have that much contamination, here is a peace of clay after the vehicle had been clayed:
66copy.jpg

Not much contamination, some but not bad at all.
Well after claying the vehicle it was time to give it another rinse:
67copy.jpg

With the help of a compressor, as much water as possible was removed, engine bay was dried off as much as possible with the aid of the air compressor as well:
68copy.jpg

The rest of the water was completely removed with various waffle weaved micro fiber towels:
70copy.jpg

71copy.jpg

The vehicle was taped off and it was time to take some readings with the PosiTector 6000:
72copy.jpg

73copy.jpg

RangeRoverPaintGaugeReadingswith600.jpg

The lower panels of this vehicle were plastic, so the PosiTector 200 was used:
81copy.jpg

In general the vehicle had a healthy coat of clear coat, some low spots but nothing to worry about.
Now it was time to see the condition of the paint and to see what kind of paint corrections awaited us:
82copy.jpg

83copy.jpg

86copy.jpg

Nothing too serious, some light surface scratches lots of fine scratches, nothing that the appropriate polishing combo can’t take care of.
A test section was selected with the following combo, 3M blue polishing pad (UK version), Menzerna 3.02 and Metabo at 1500RPM:
88copy.jpg

This combo provided satisfying correction with just one hit, so this was the combo to go with. Certain areas required two passes and others required one pass with 85RD3.02 followed up with 85RD but for majority of the time 3.02 was the winner. So paint correction process ready to begin, here are some action shots:
89copy.jpg

Mike in action with his Makita, insuring that his side was properly corrected and left with a flawless finish.
117copy.jpg

Carlos in action taking care of the front bumper.
Here are some before and after:
 
I have detailed a couple of these before, and you are right these are nice SUV's...extremely comfortable, and everything is just layed out the right way...

Looks like you had your work cut out...

Excellent job!!!!

The sprayer that you are using in the begininng the one you are spraying the wheel wells with, what kind of sprayer is that???
 
Before:
94copy.jpg

After:
95copy.jpg

Passenger front door before:
104copy.jpg

After:
106copy.jpg

Passenger rear door before:
107copy.jpg

After:
108copy.jpg

This was probably one of the worst panels, rear passenger ¼ panel before:
113copy.jpg

After:
114copy.jpg

Trunk door before:
115copy.jpg

After:
116copy.jpg

Once all the paint correction was completed and satisfied with the vehicle was given another wash, this time it was given a wash with no ordinary soap but with 21S Total Auto wash diluted a bit strong to insure all polish residue was removed:
120copy.jpg

Certain areas like the emblem areas that may have had polish residue in the tight crevices were sprayed down with P21S Total Auto Wash to insure nothing was left behind:
118copy.jpg

119copy.jpg

With a Zymol sponge the vehicle was carefully washed again.
Once washed it was given a rinse:
121copy.jpg

Interesting how the water was beading of the vehicle with just a polish, the vehicle was dried with the help of the air compressor and what ever excess water was left over was removed with a waffle weaved micro fiber using the blotching method.
Once the vehicle was completely dried it was time to apply HD Cleanse Professional:
122copy.jpg

The entire vehicle received HD Cleanse Professional:
123copy.jpg

124copy.jpg

Even the rims received a coat of HD Cleanse:
130copy.jpg

Once the entire vehicle was covered with HD Cleanse Professional it was time to apply Zymol Vintage, Vintage was applied by hand:
125copy.jpg

126copy.jpg

After a few minuets passed by it was removed with the help of some Cookie Monster micro fiber towels.
 
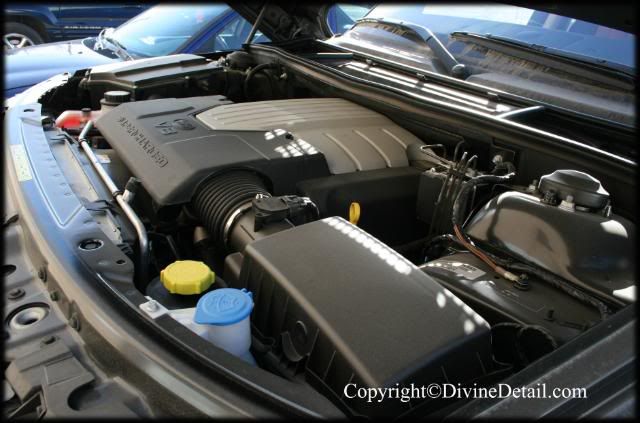
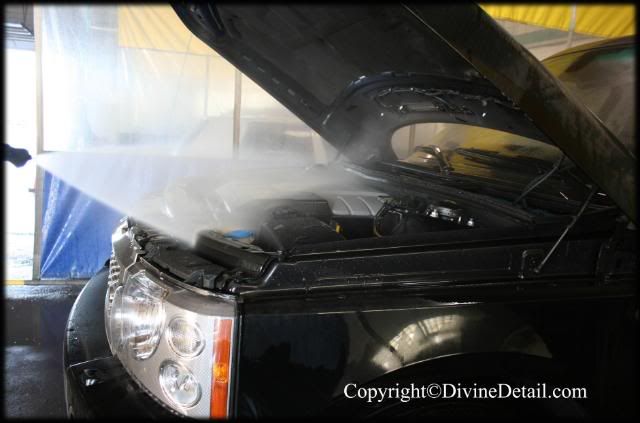
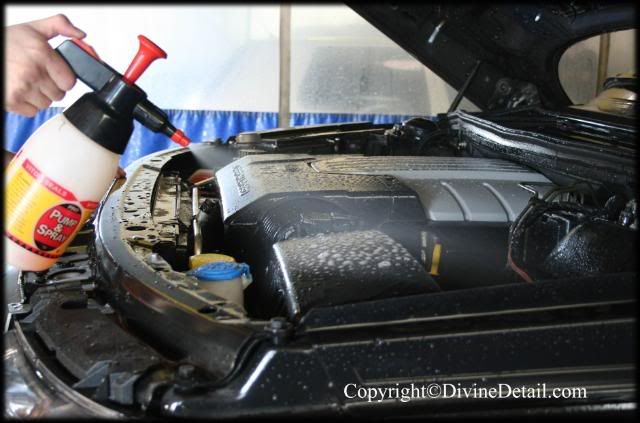
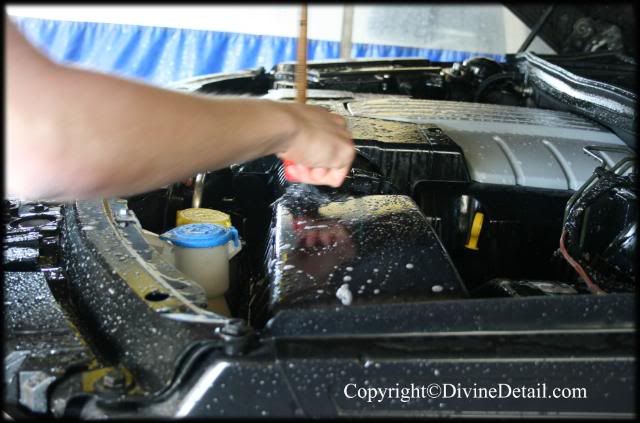
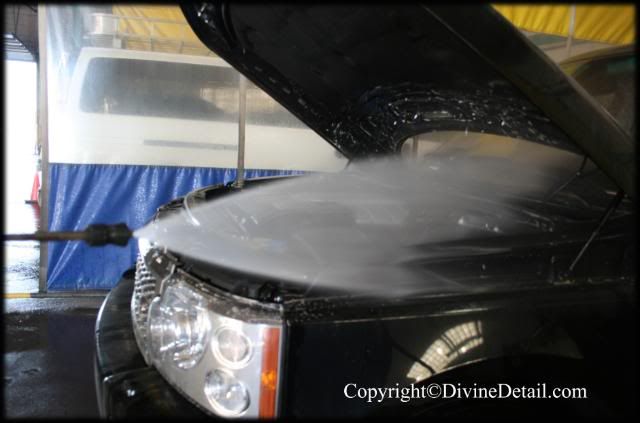
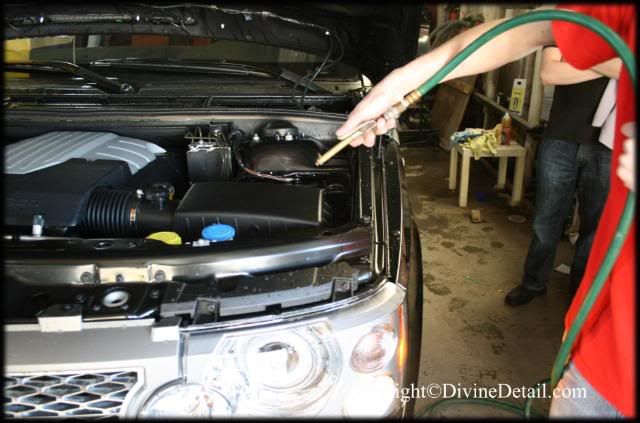
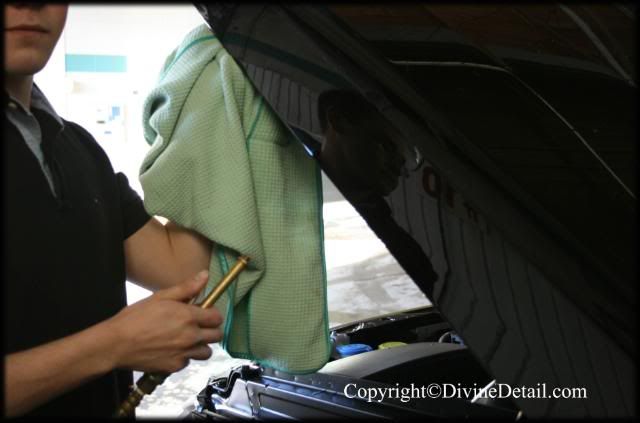
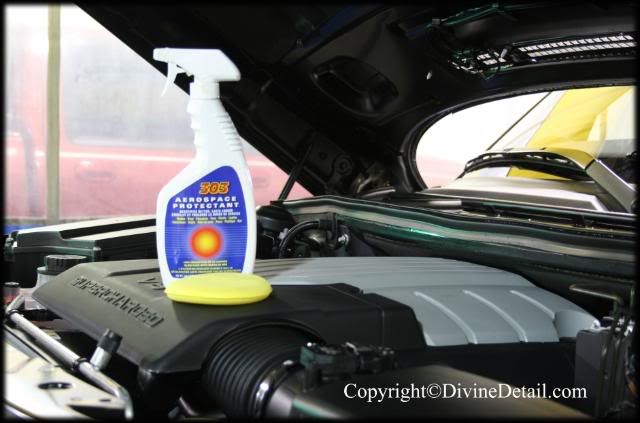
Engine bay was protected with 303:
132copy.jpg

This concludes day one and a very long day too.
Day two:
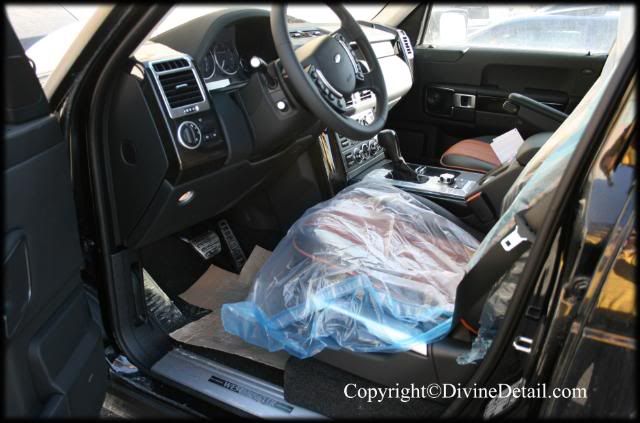
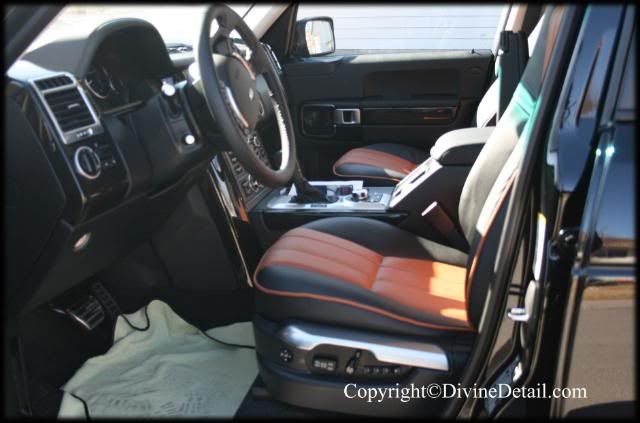
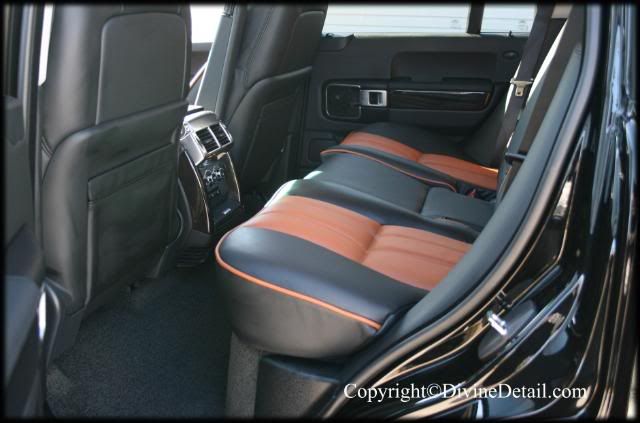
Now for the interior and what an interior it is, gorgeous leather seats and instruments too :thumb:
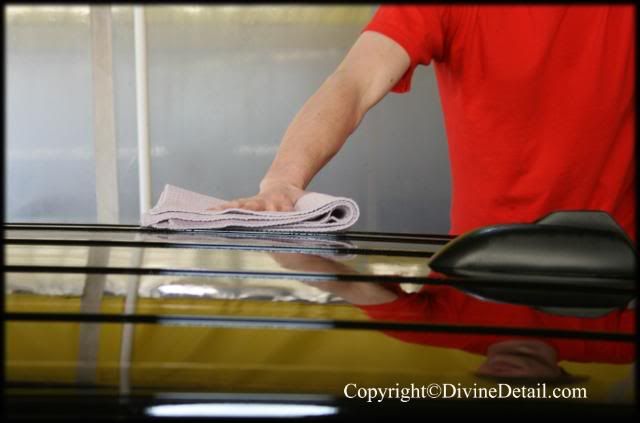
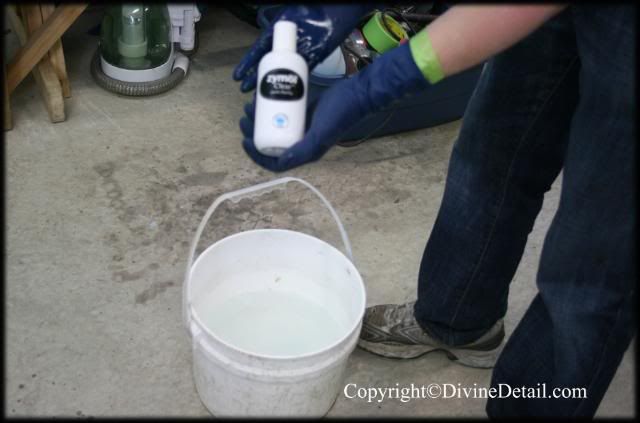
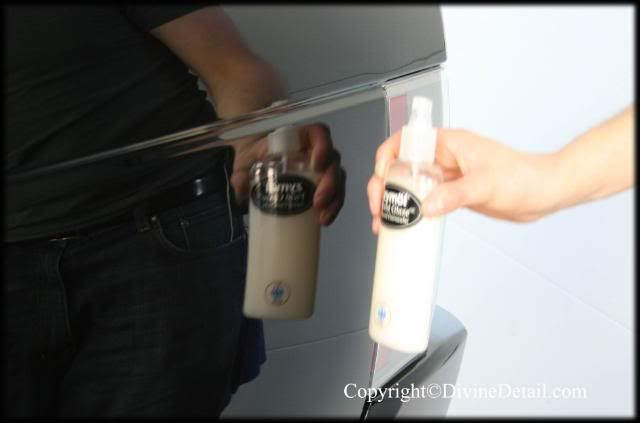
First up is to give the entire vehicle a wipe down, for this Zymol Clear was used:
133copy.jpg

Then the entire vehicle was given a good vacuum:
135copy.jpg

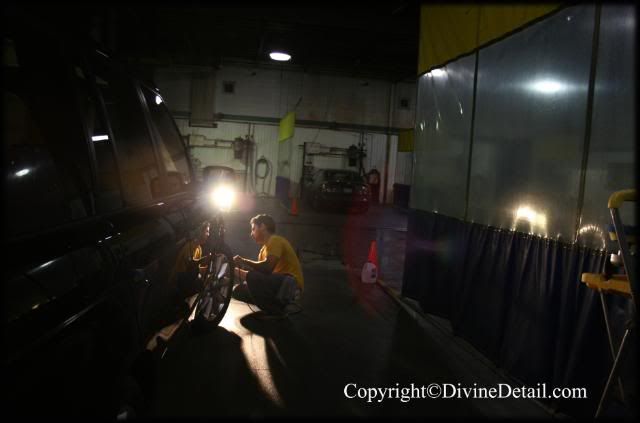
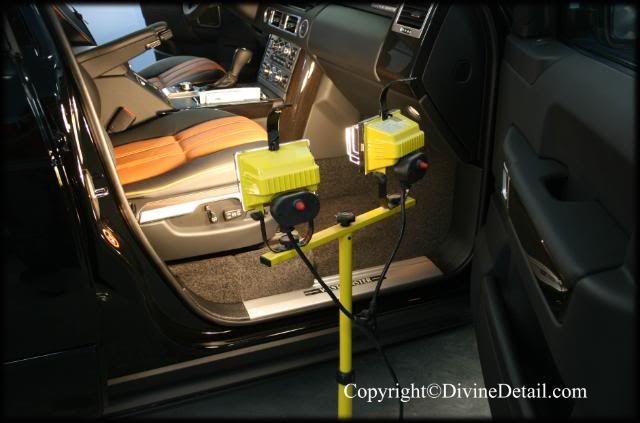
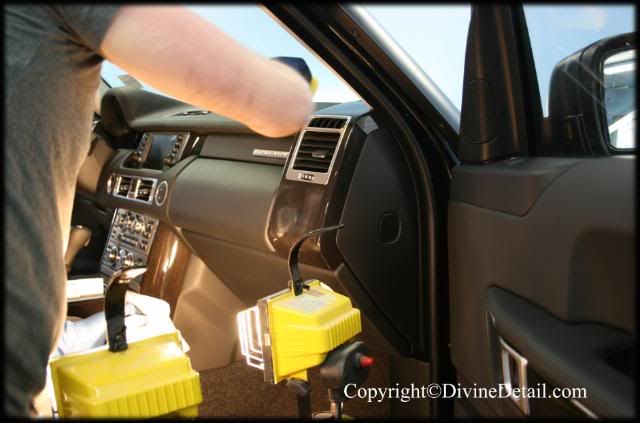
Once the interior was done and satisfied with it was time to get ready to dress the leather, for this a 1000W light was used to get the leather nice and worm:
136copy.jpg

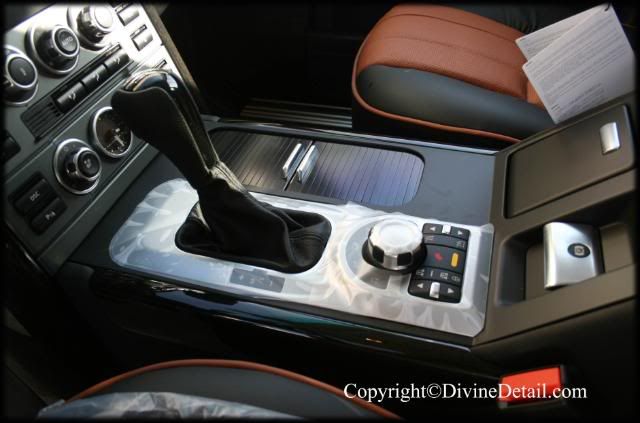
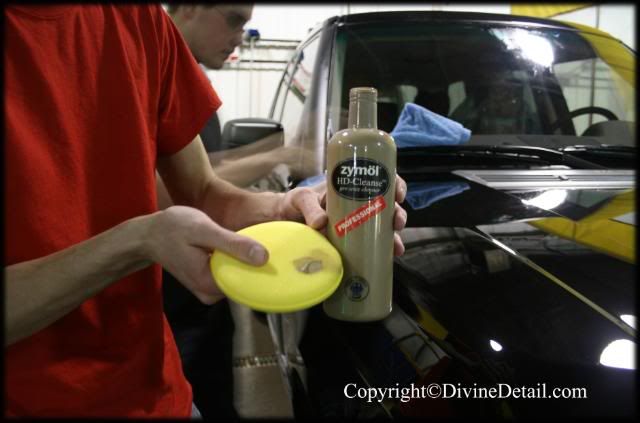
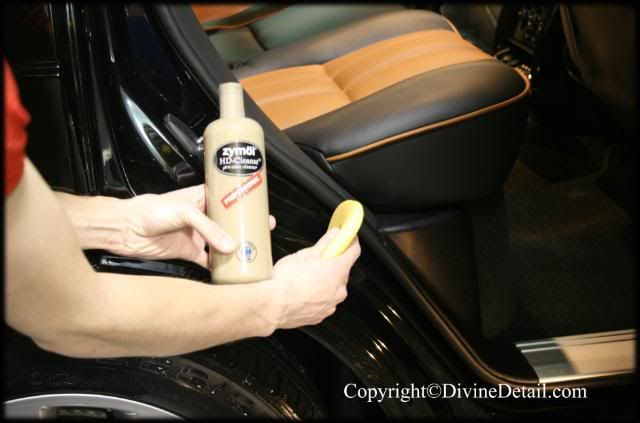
Light was left for several minuets to insure seats were nice and toasty, wile the seats were being warmed up this particular vehicle had lovely wood trim peaces and Zymol HD Cleanse Professional was applied to all the wood trim peaces:
137copy.jpg

138copy.jpg

139copy.jpg

Followed up with a nice, generous coat of Vintage.
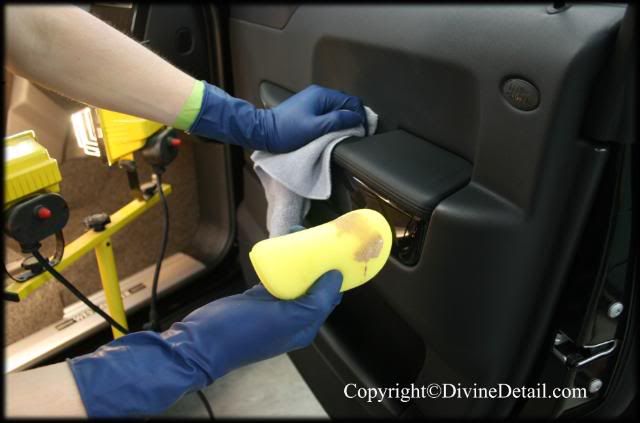
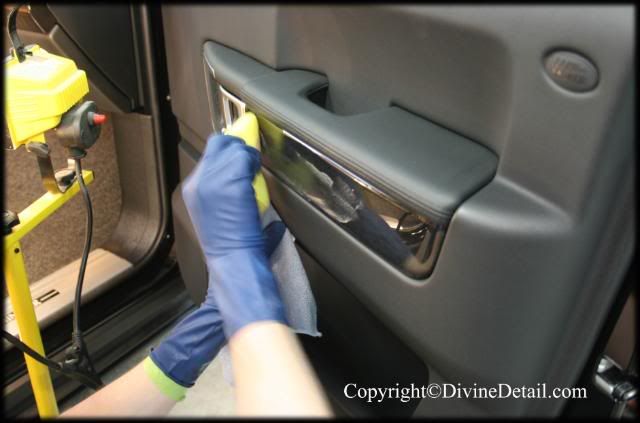
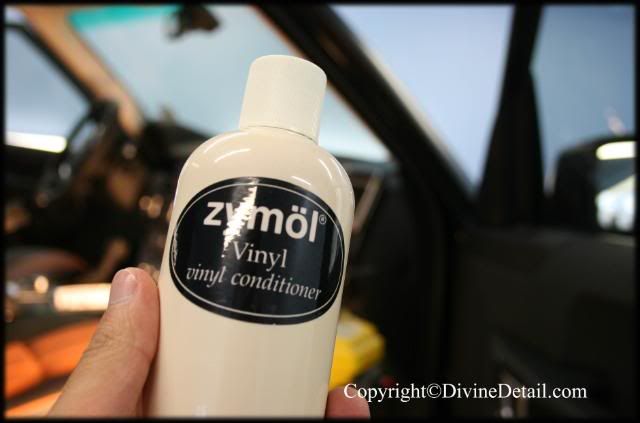
Next was the small amount of vinyl that was in the interior of this vehicle, to dress the vinyl Zymol Vinyl was used:
140copy.jpg

This product is quite the product, it has a very unique smell and a little goes a long way. At first it was applied via micro fiber towel:
141copy.jpg

But the results were not satisfactory so a foam applicator was used. This did the trick and instead of applying by a micro fiber towel Zymol Vinyl was applied via foam applicator. It seemed to give a better uniform shine and no streaks, odd as you would think that foam applicator would give the opposite results :shrug:
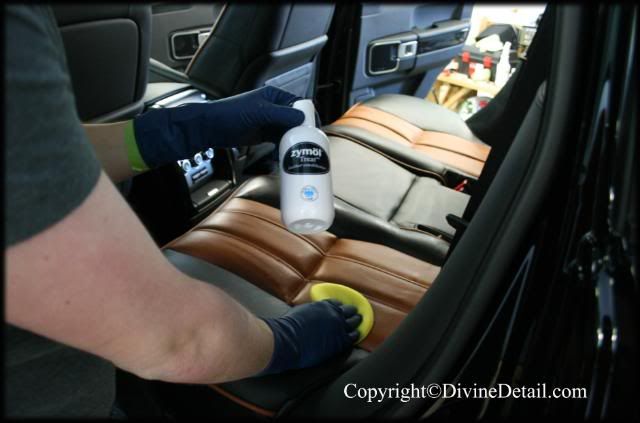
Wile Zymol Vinyl was left to cure along with Vintage on the wood trim, the leather was now ready to be treated. To treat the leather Zymol Treat was used:
142copy.jpg

This was applied by foam applicator, surprisingly enough even though the vehicle is brand new the leather looked quite presentable when first laid eyes on it but after treating the leather with Zymol Treat it looked stunning.
All the products were left for several minuets, that is Zumol Vintage on the wood trims, Zymol Vinyl on all vinyl and Zymol Treat on all leather components. After several minuets Vintage was removed, all leather and vinyl were given a final wipe down to remove excess product and left with a very satisfying interior glow.
The interior took several hours, vehicle had to be returned to the dealership on time but with time to spare the extra time was utilized on the exterior of the vehicle.
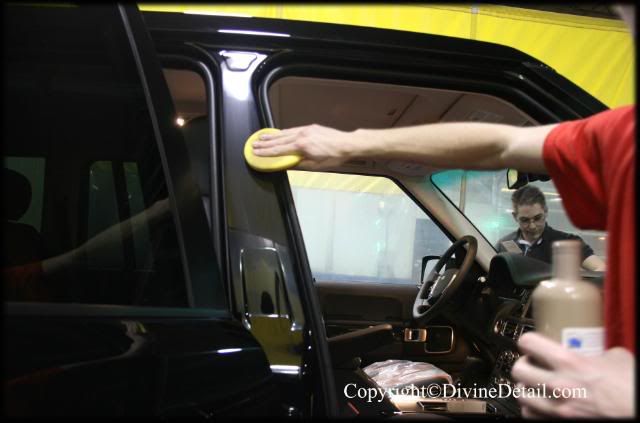
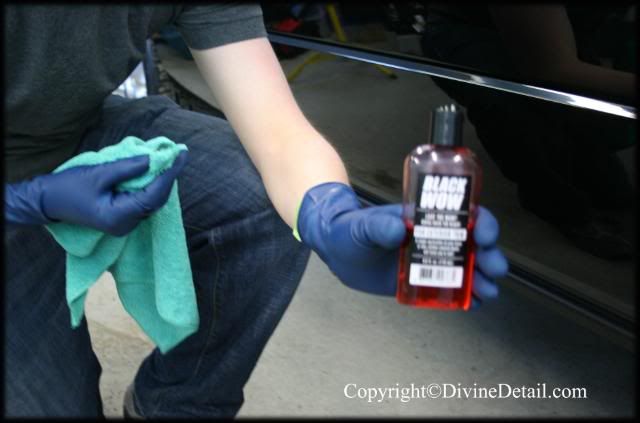
All exterior plastic trims received a good coat of Black WOW:
144copy.jpg

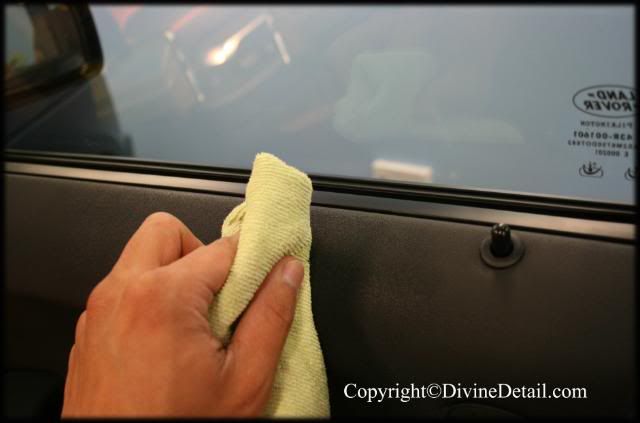
All interior and exterior glass were done with Zymol Glass and a micro fiber glass towel.
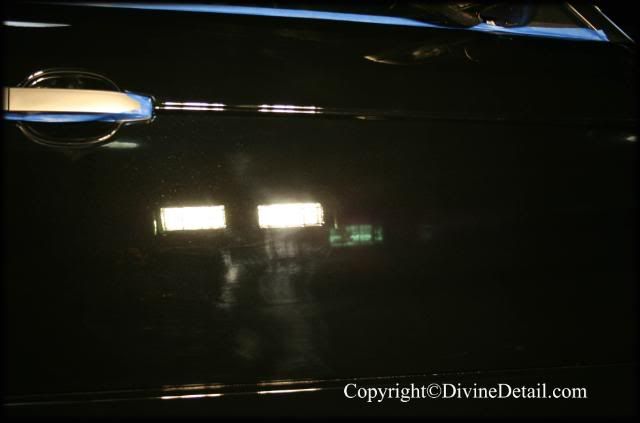
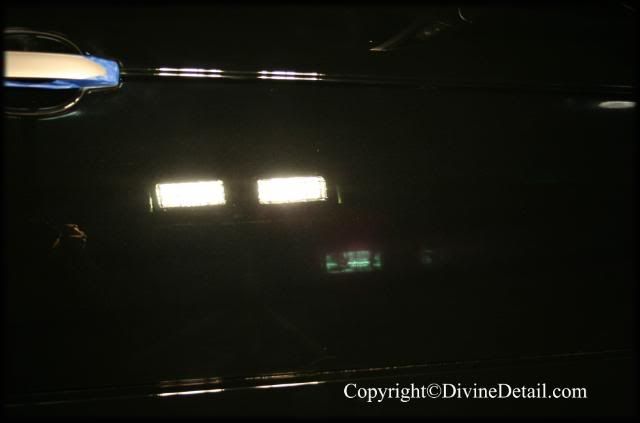
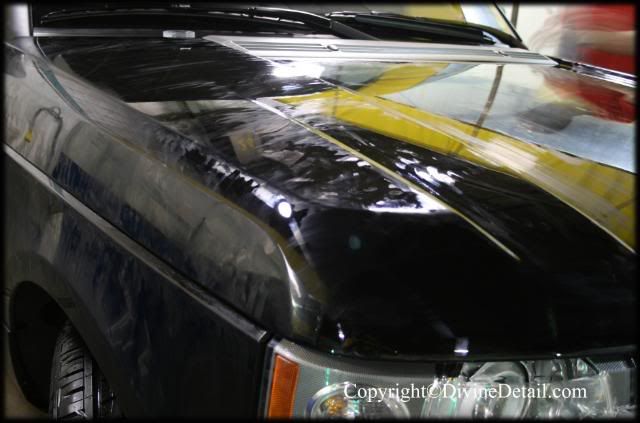
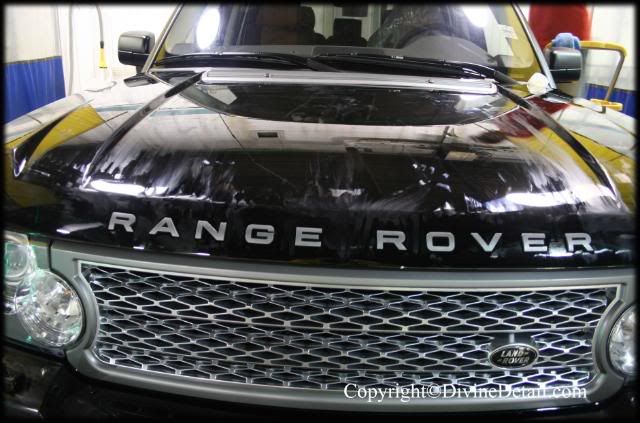
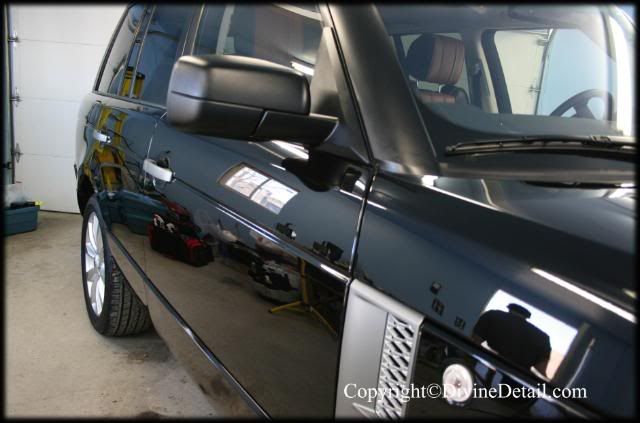
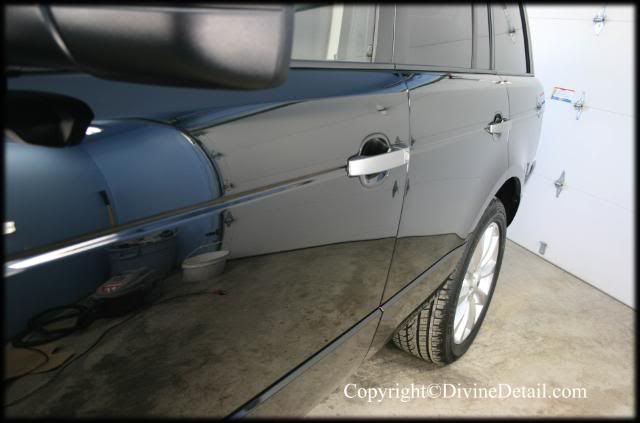
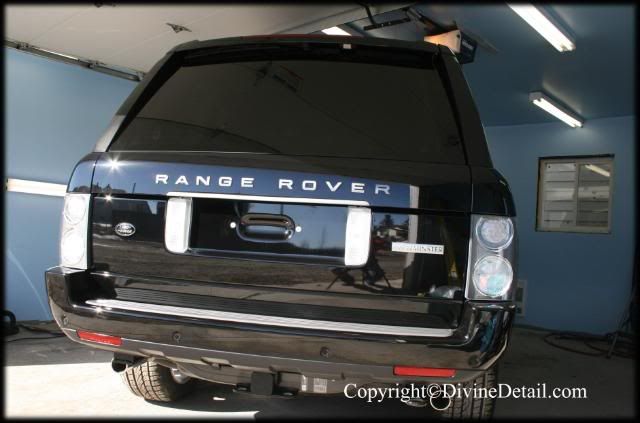
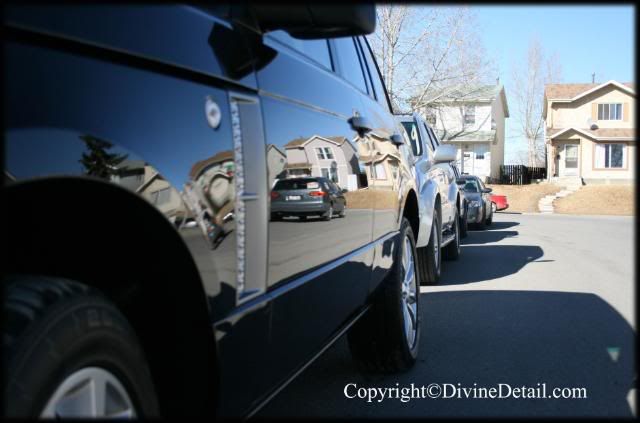
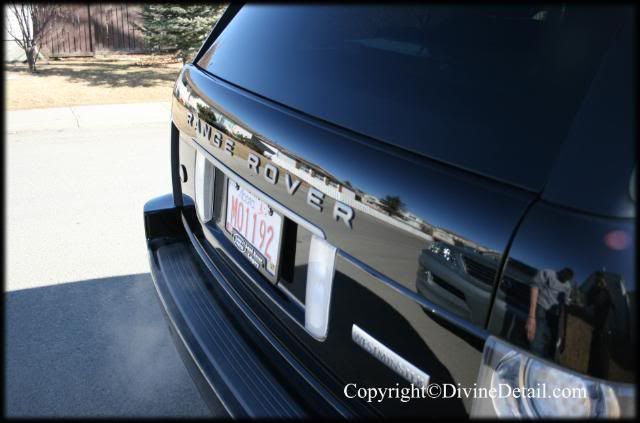
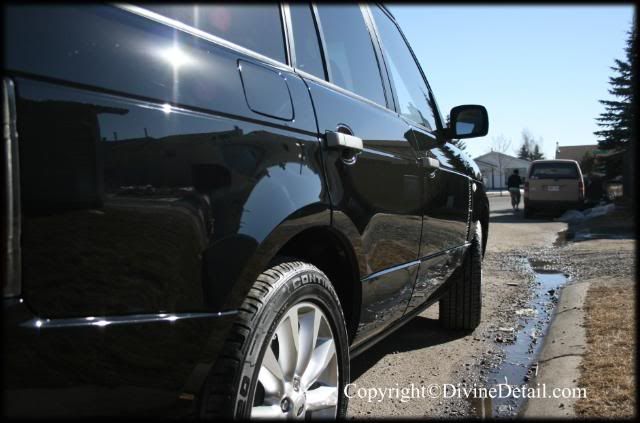
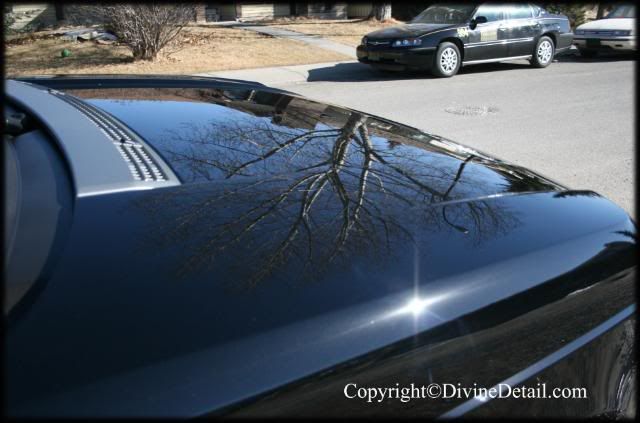
To conclude this detail, the vehicle was given a Zymol Field Glaze:
146copy.jpg

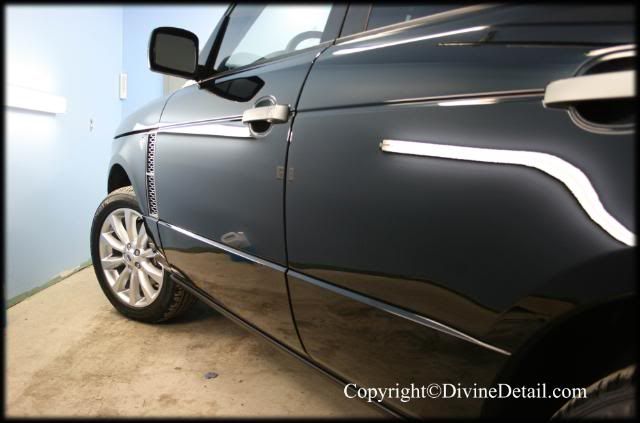
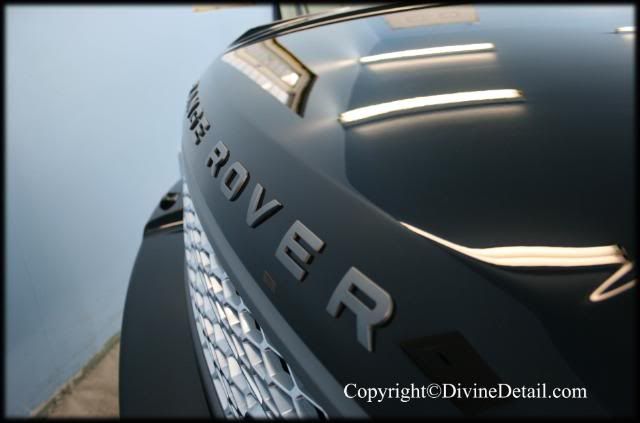
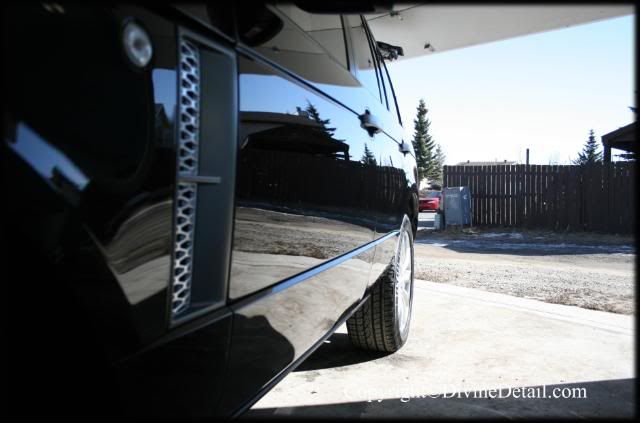
The reflection says it all, what can be said about Field Glaze that hasn’t been said already, product is well worth it.
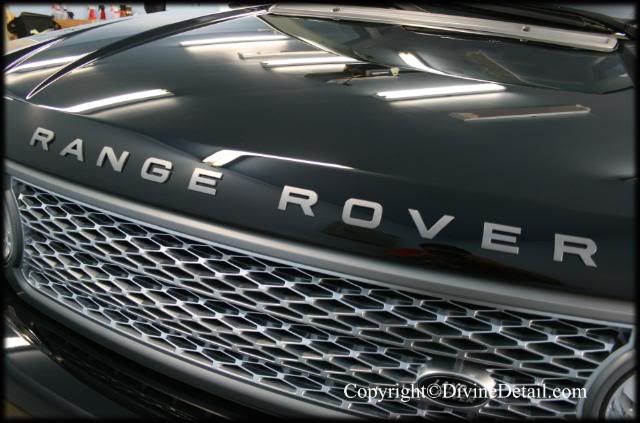
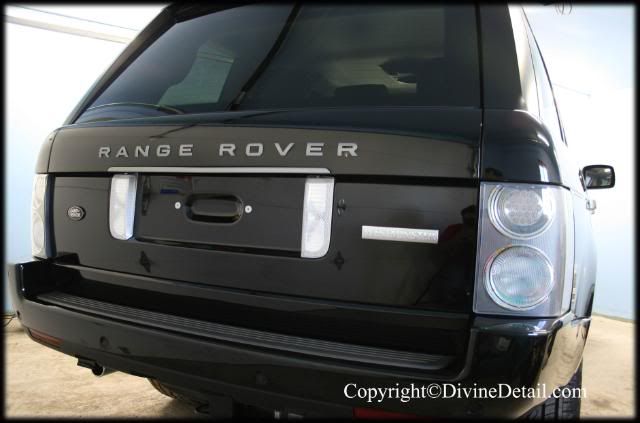
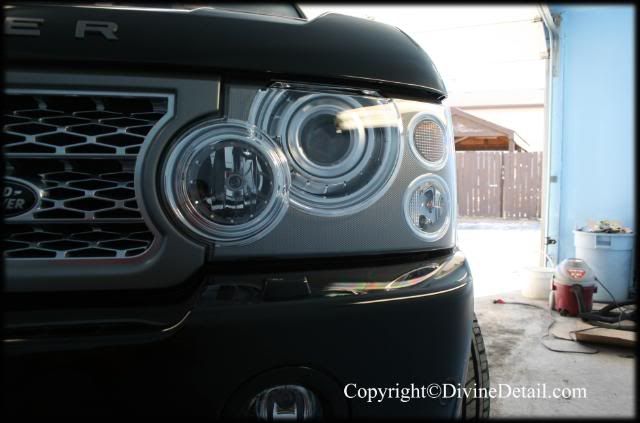
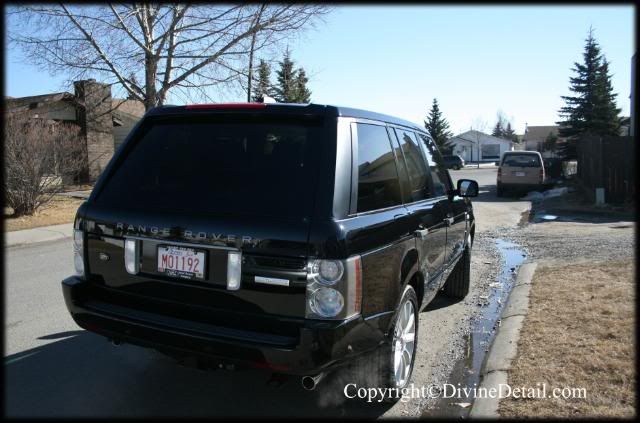
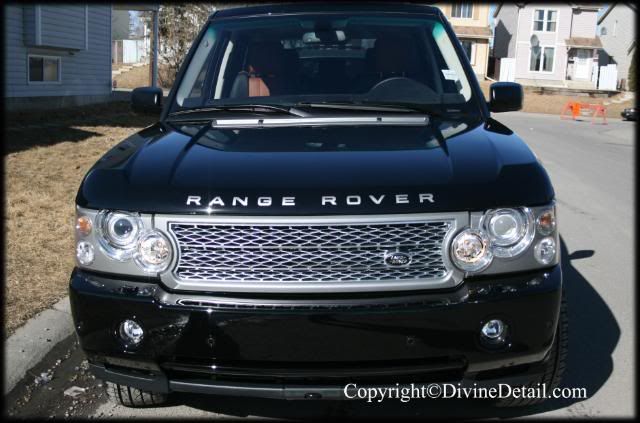
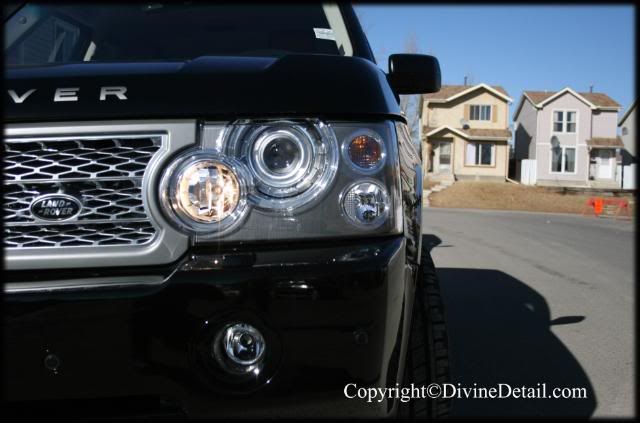
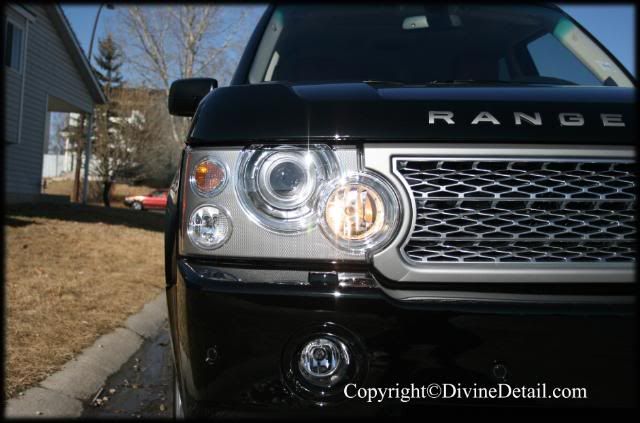
Well now for the end results (lots of pictures):
148copy.jpg

149copy.jpg

152copy.jpg

153copy.jpg

154copy.jpg

155copy.jpg
 
156copy.jpg

157copy.jpg

Rims were looking gorgeous styling some Zymol Vintage on them :thumb:
158copy.jpg

Inside of the rims looked superb as it should, and you can see a very nice reflection on the face of the rims as well.
159copy.jpg

160copy.jpg

161copy.jpg

162copy.jpg

163copy.jpg

Some quick outside pictures as the vehicle was ready to be taken back to the dealership:
164copy.jpg

165copy.jpg
 
166copy.jpg

167copy.jpg

168copy.jpg

169copy.jpg

170copy.jpg

171copy.jpg

172copy.jpg

173copy.jpg

174copy.jpg

Well this concludes this detail, it was quite the pleasure having to detail such a gorgeous machine. Lovely interior and very nice exterior, not to many curves on it but a very aggressive stance never the less. The vehicle was then taken back to the dealership to see if it passed inspection, this was quite the compliment though. The manager of the dealership came to inspect the vehicle was thrilled with the end results. The dealerships “detailers” were blown away when they were told that a $2,000.00 wax was used not only on the exterior of the vehicle but on the rims, there jaws nearly dropped when they heard that. This vehicle took over 30hrs combined and having a tight time was okay but having the vehicle done before the dead line was even more rewarding. Manager was surprised to see the vehicle done and back in his lot three hours earlier.
Vehicle turned out great and for those in town that go to the show I’m sure you will spot witch vehicle Divine Detail detailed :thumb:
Hope you enjoyed the detail, as always questions or feed back is always welcome.
 
Nice job...and in only three hours too...amazing...:bigups
The three hour comment by Calgary was that they were finished with the vehicle three hours before it had to be done. Total time for the job appears to be 30 hours.
This vehicle took over 30hrs combined and having a tight time was okay but having the vehicle done before the dead line was even more rewarding. Manager was surprised to see the vehicle done and back in his lot three hours earlier.
 
Calgary had to rub in the yellow clay too. I am going to Toronto in July and will be bringing some back.

Awesome detail!!
 
so did someone pay you to do this or was it a favor or something ? approximately how much does a 30 hour detail cost ? very nice job :D
 
thanks everyone for the kind words...

the yellow clay is awsome you will like it when you get it :D

as for the cost, this one was a freebie, long sotry short it was the intoduction to a gentleman who owns 10 stealerships.. we are still in talks.. anywho if someone wanted this it would be about 700 bucks
 
Dope,Dope and More dope.That was really nice work and I love some of those tools,man if you can let me know about the containers for those chemicals you know the ones you used for the wheel well stuff and engine stuff or was it already like that and I just gotta buy the product if so great.Man great work I'm a fan. DWG:yourrock (I do Rovers regularly and that was some clean ish):dcrules
 
Dope,Dope and More dope.That was really nice work and I love some of those tools,man if you can let me know about the containers for those chemicals you know the ones you used for the wheel well stuff and engine stuff or was it already like that and I just gotta buy the product if so great.Man great work I'm a fan. DWG:yourrock (I do Rovers regularly and that was some clean ish):dcrules
yea, never seen that wool brush before that would be great, and that little pump and spray guy is that something you can get at a local hardware store or something like that ?
 
hopefully everything works out with the dealerships (i dont see why it wouldnt, after a detail like that)
good luck
 
Back
Top