presidential_detail
New member
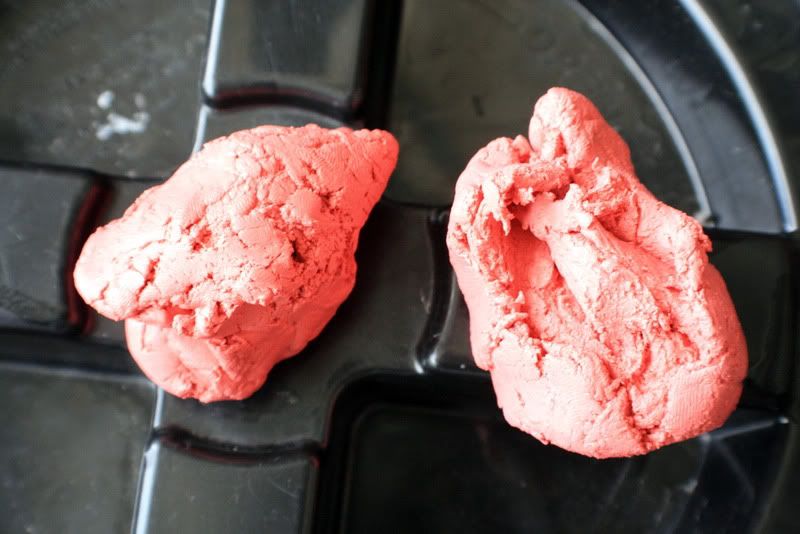
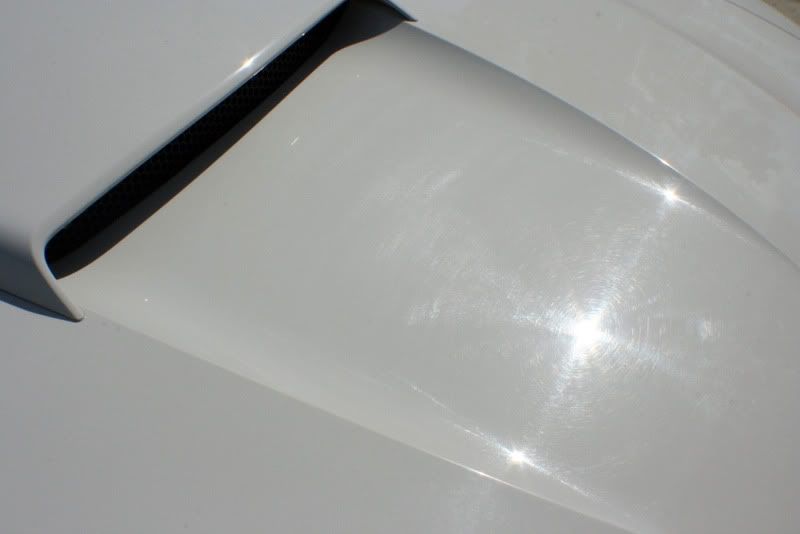
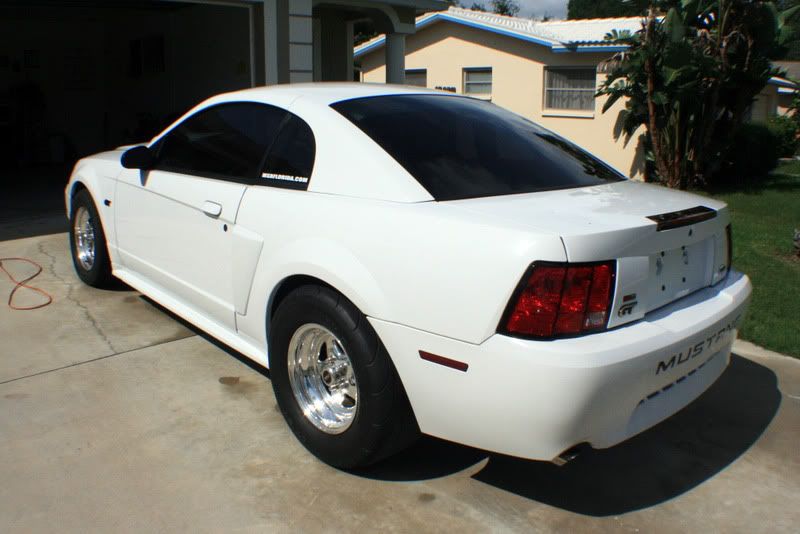
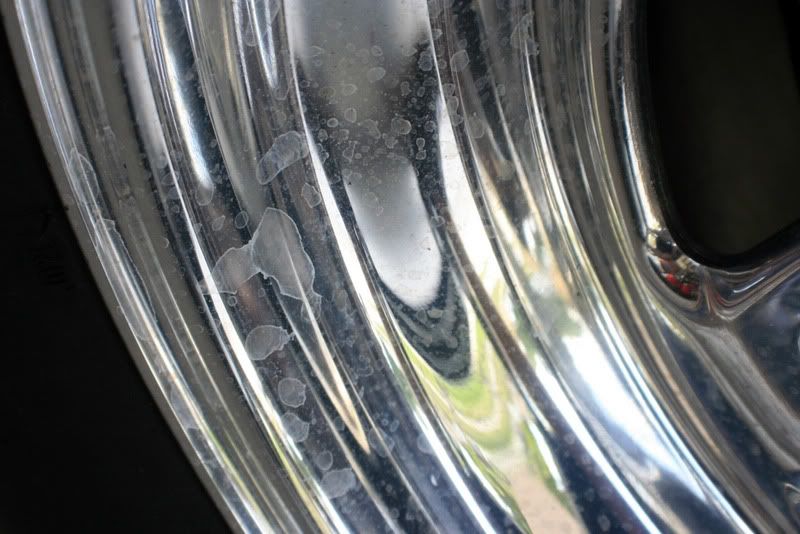
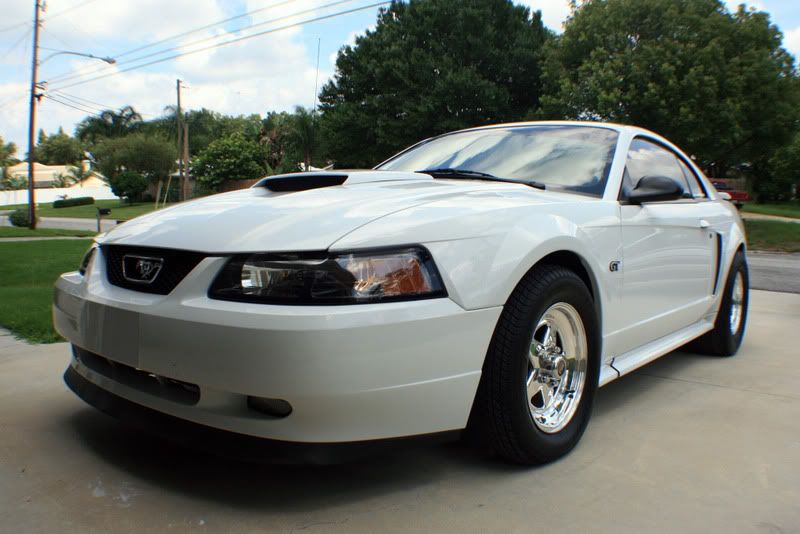
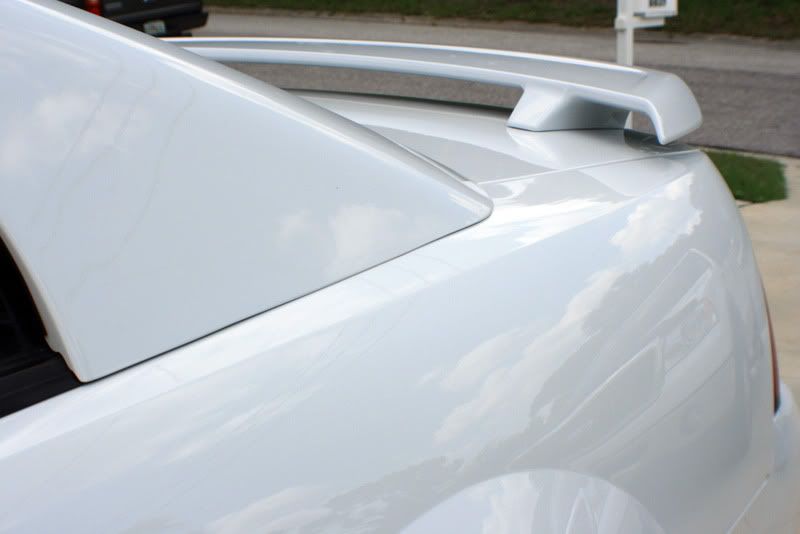
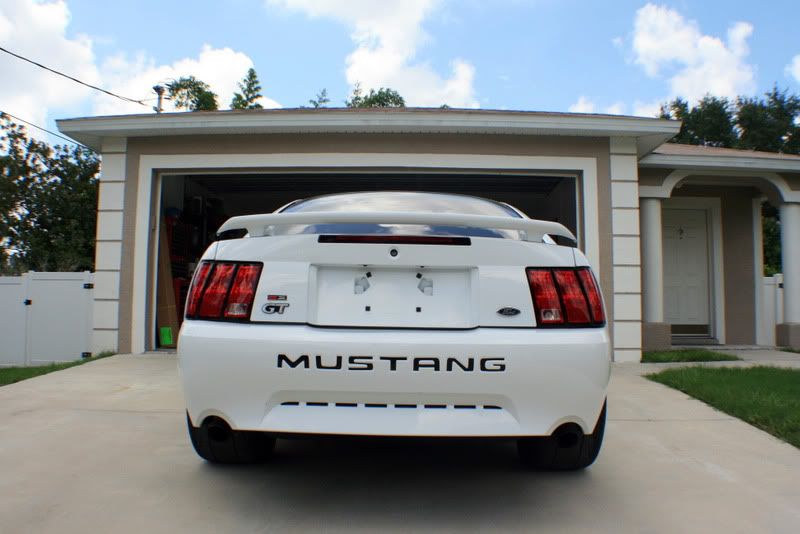
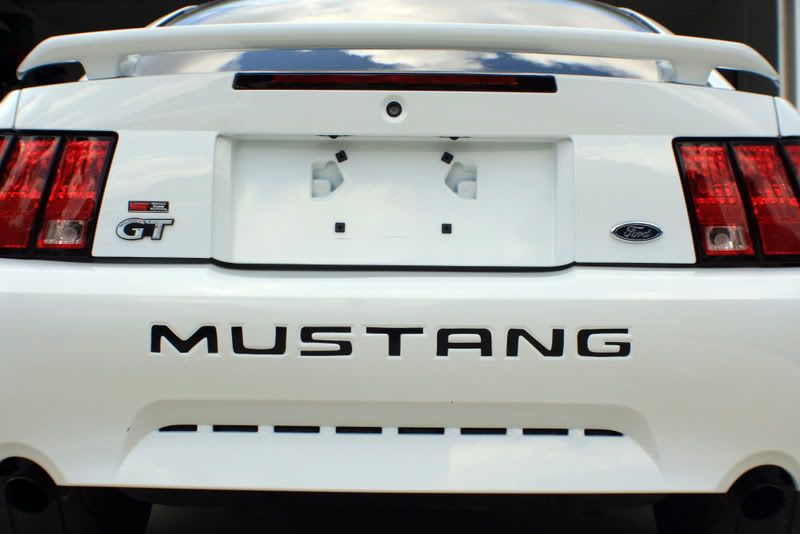
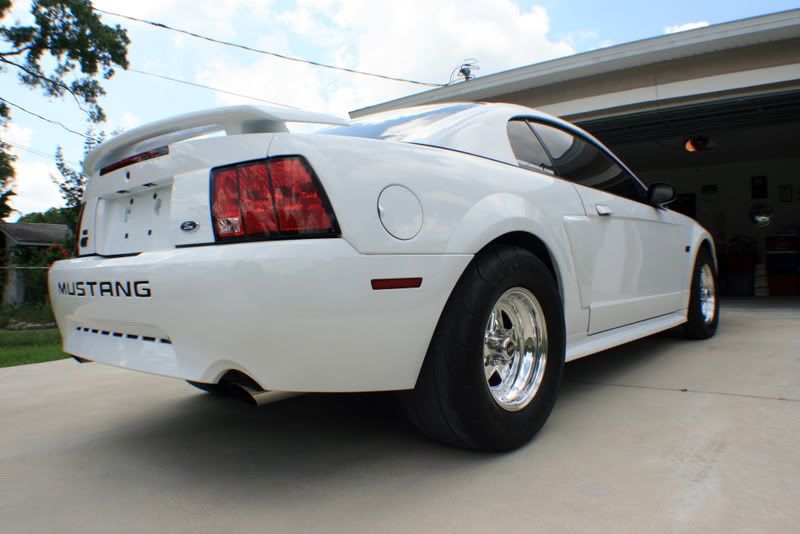
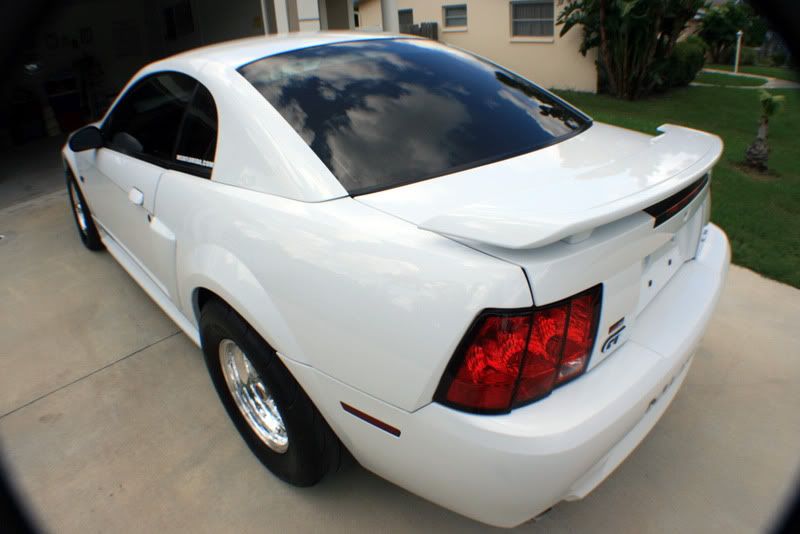
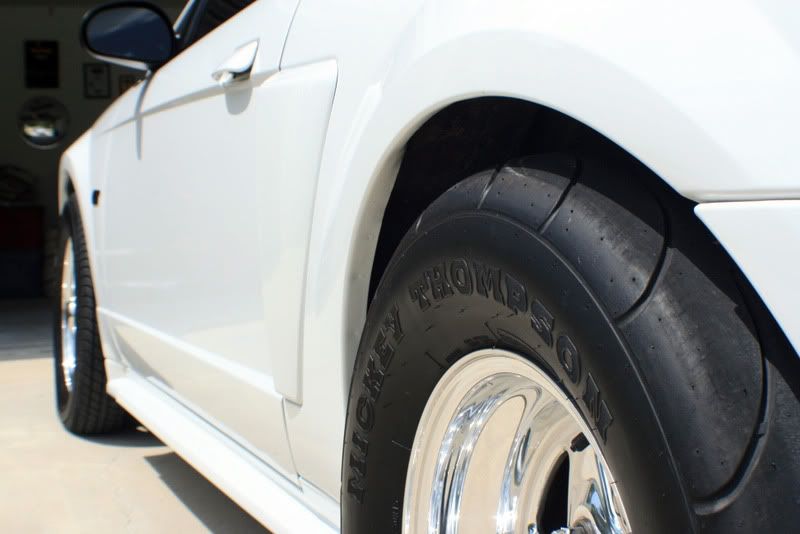
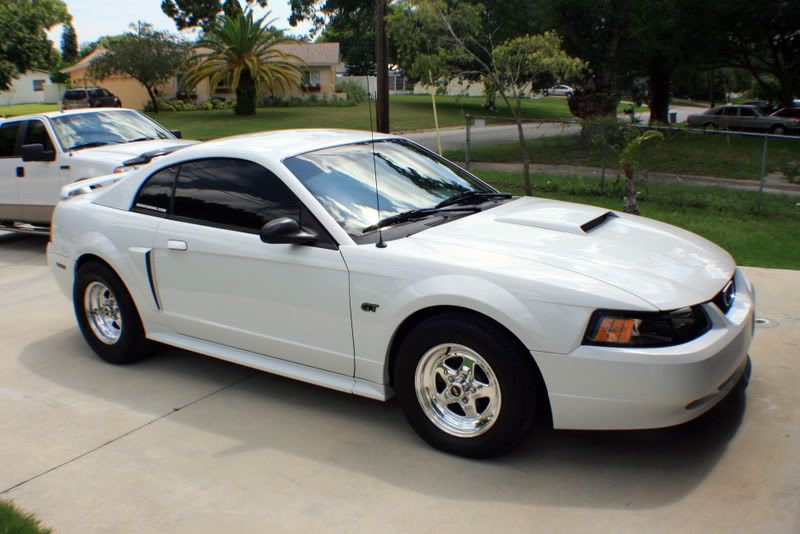
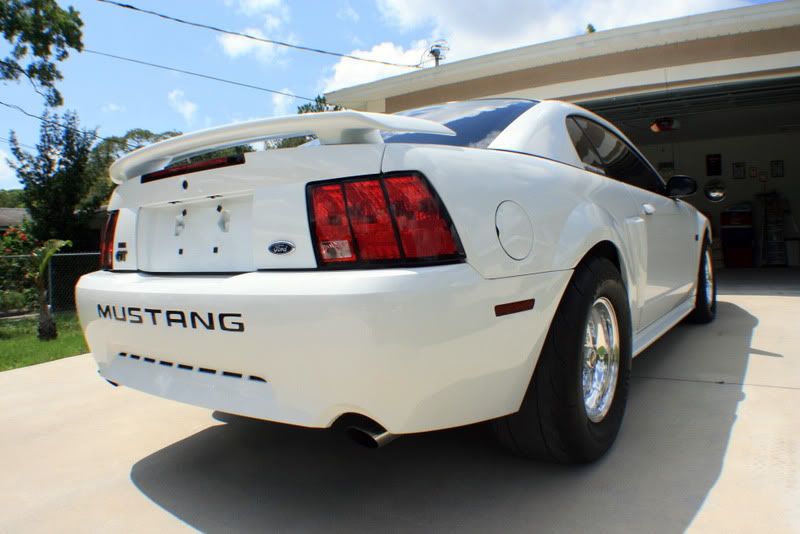
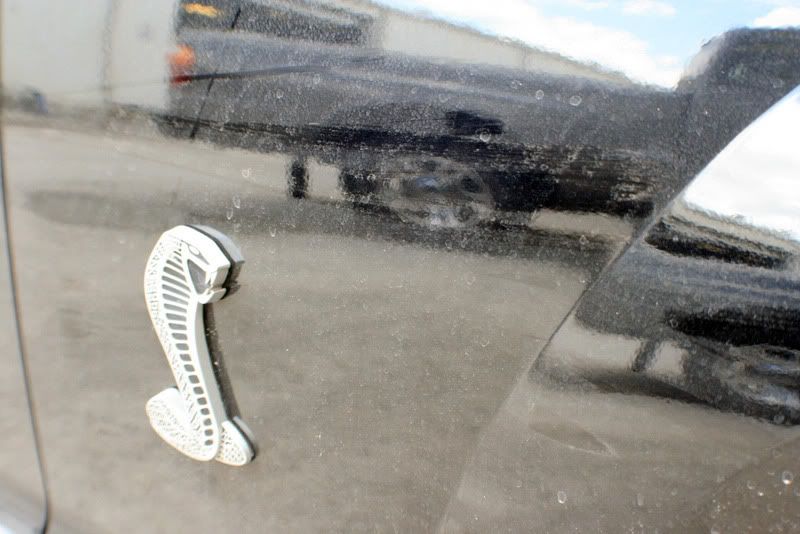
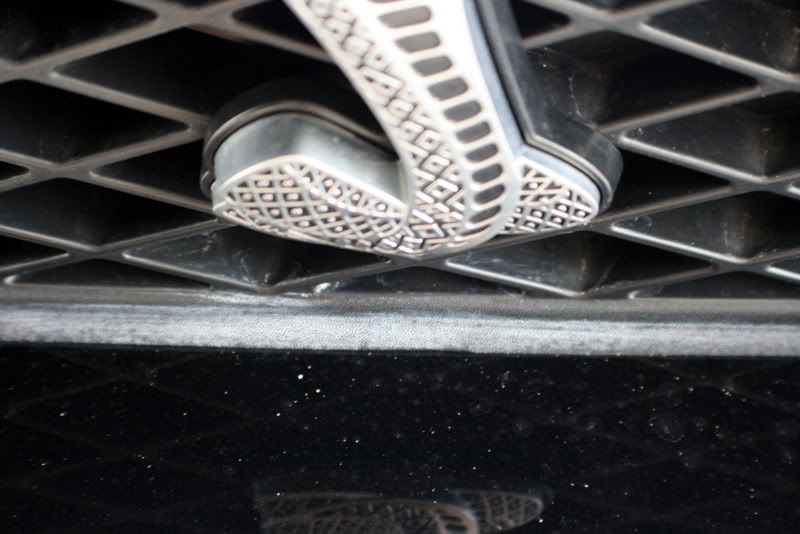
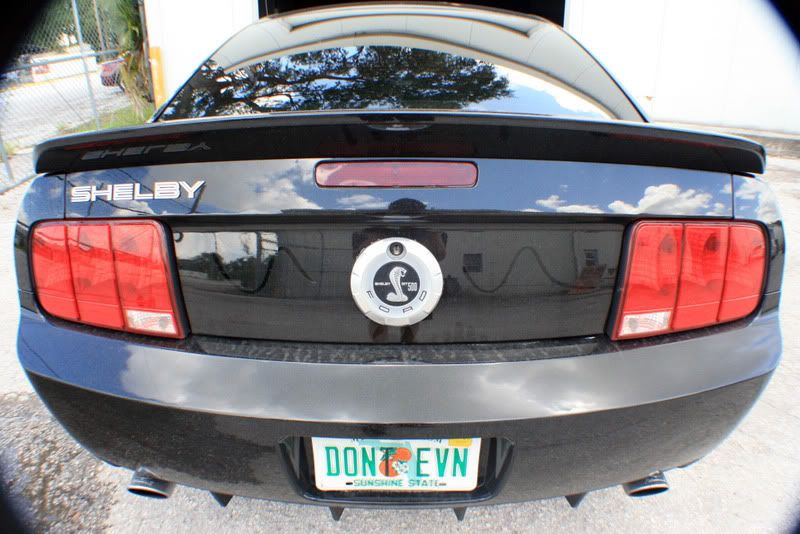
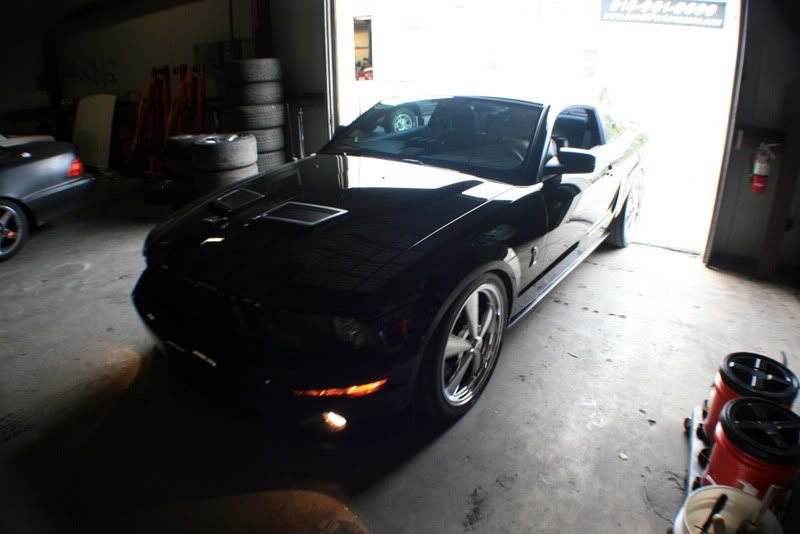
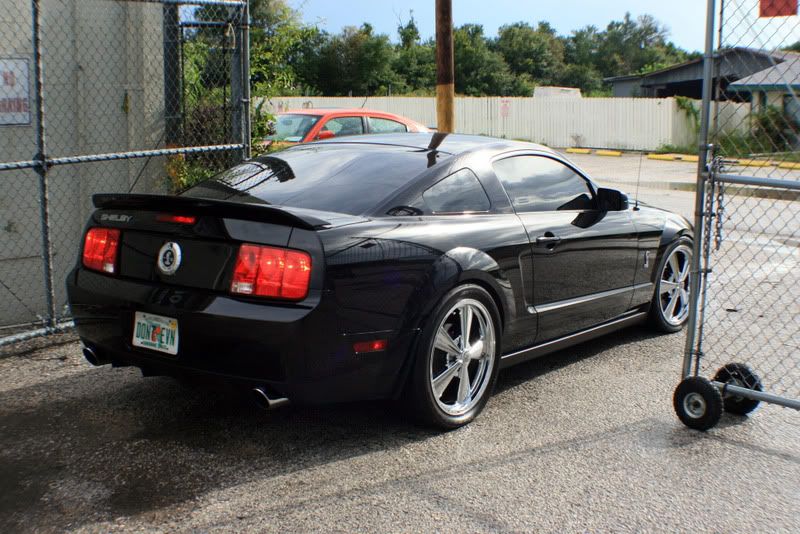
Ill start with the Mustang GT. This car is meticulously cared for, but unfortunately while sitting in a shop it somehow received a heavy dosing of contamination. I was called out to perform a test on a small portion, and was able to remove the contamination with a bit of work and sealed the deal for the job. While I knew I would be able to get the car back in shape, I also knew that it was going to be A LOT of work! Ill begin with the pictures and comment from there. ")
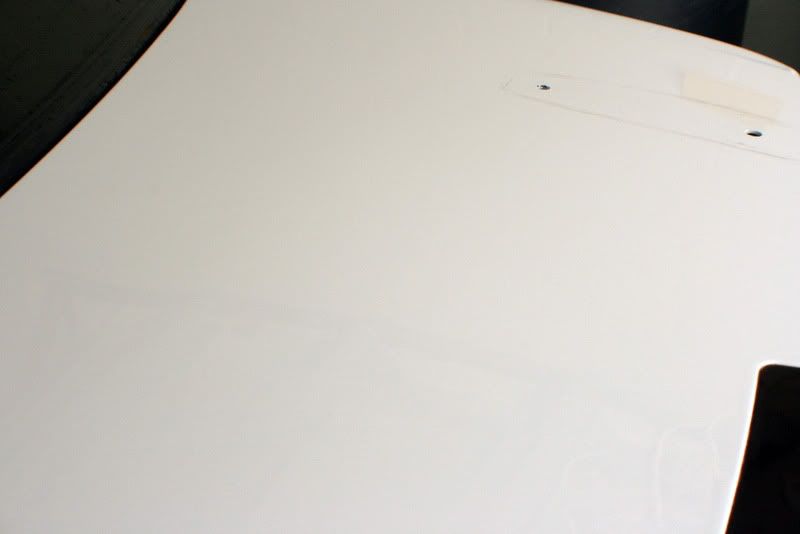
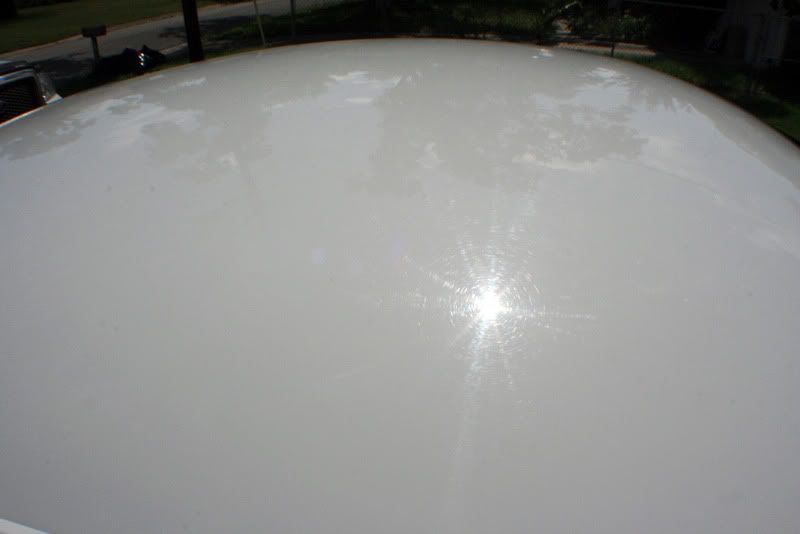
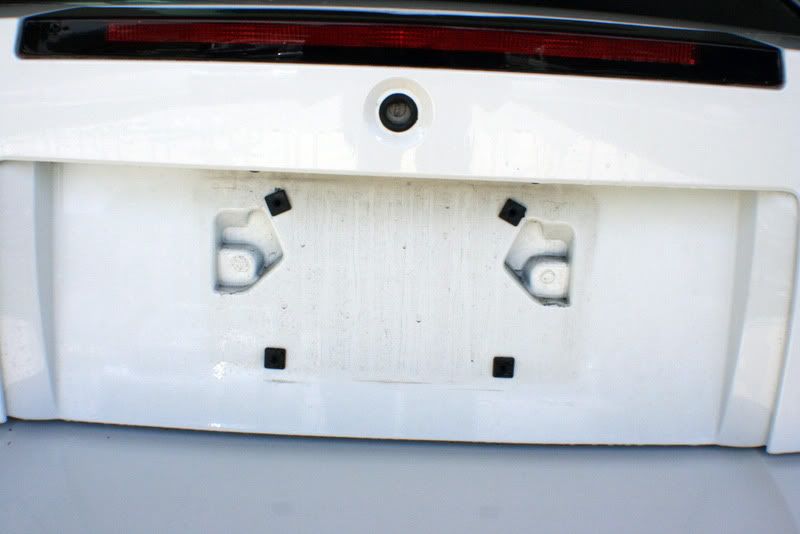
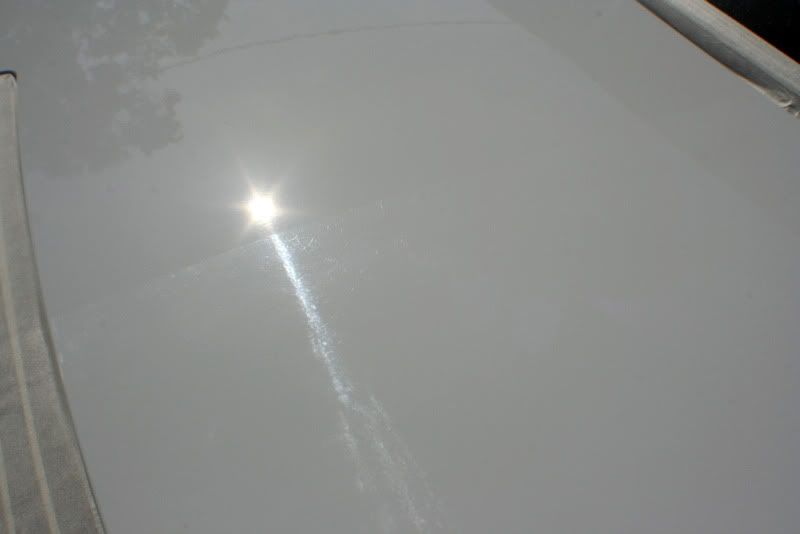
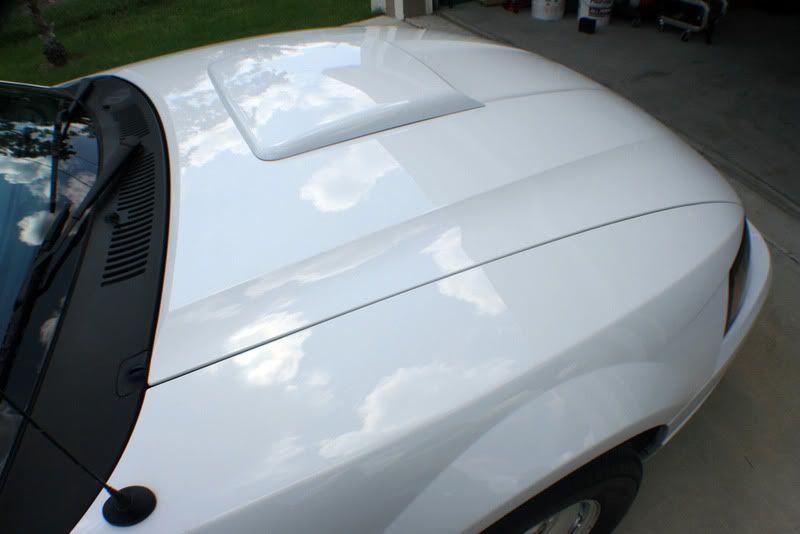
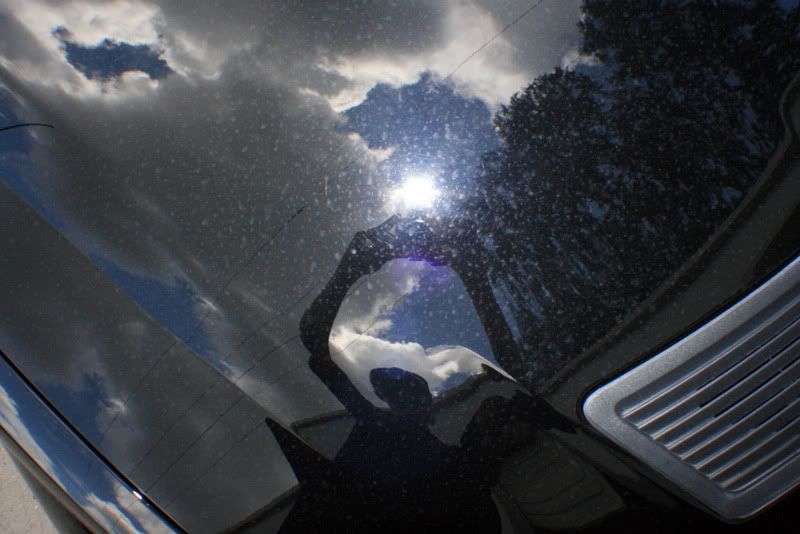
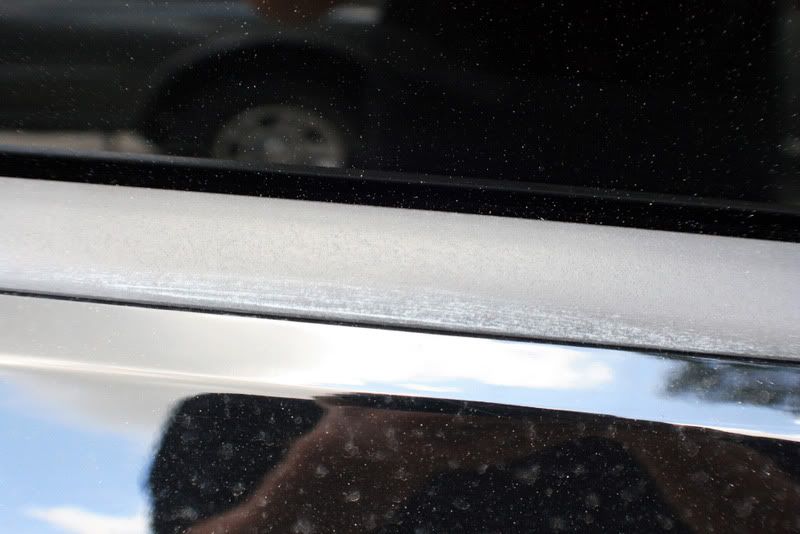
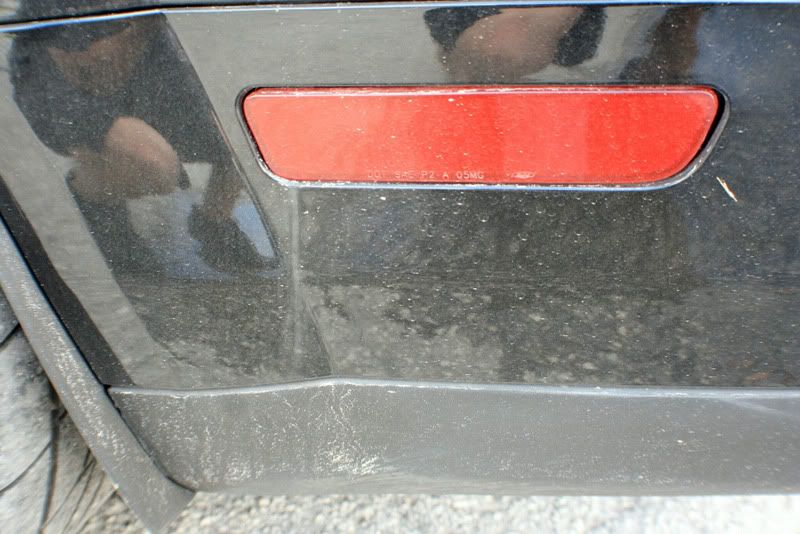
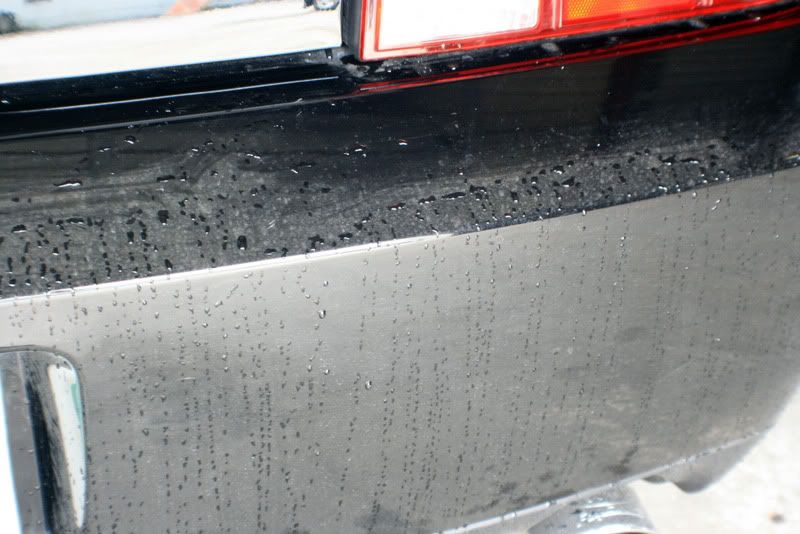
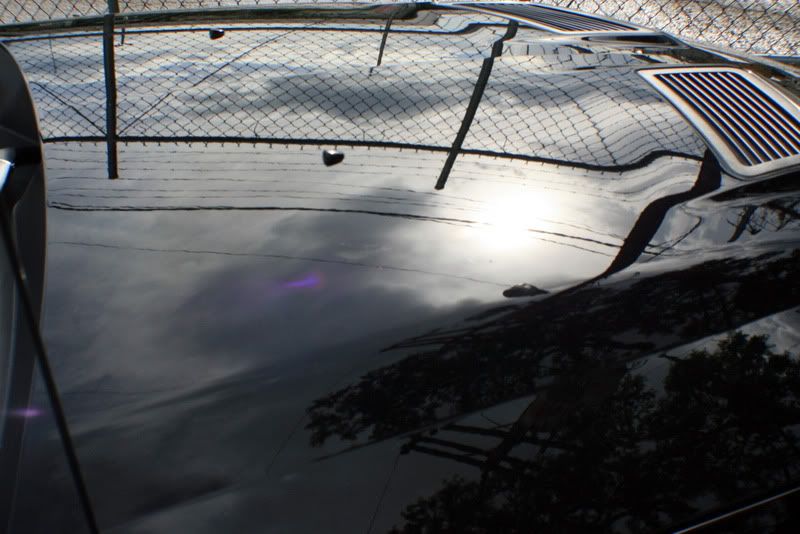
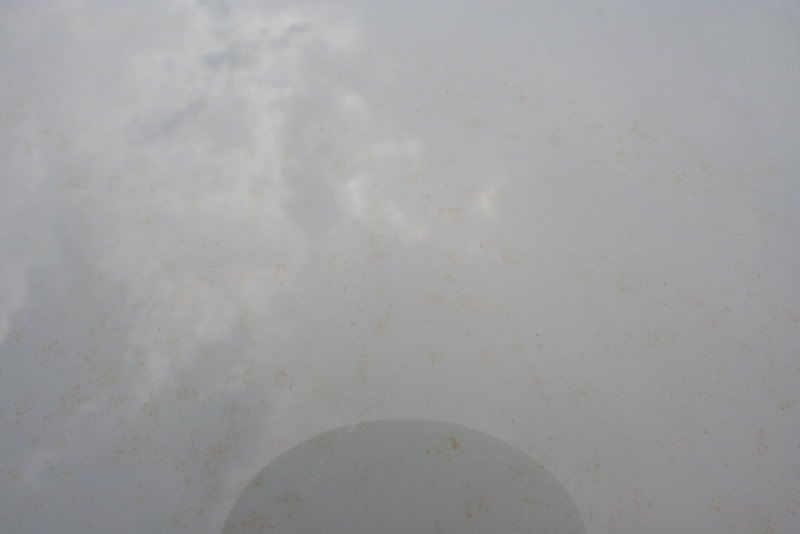
Here is a section of the trunk before any work was performed.
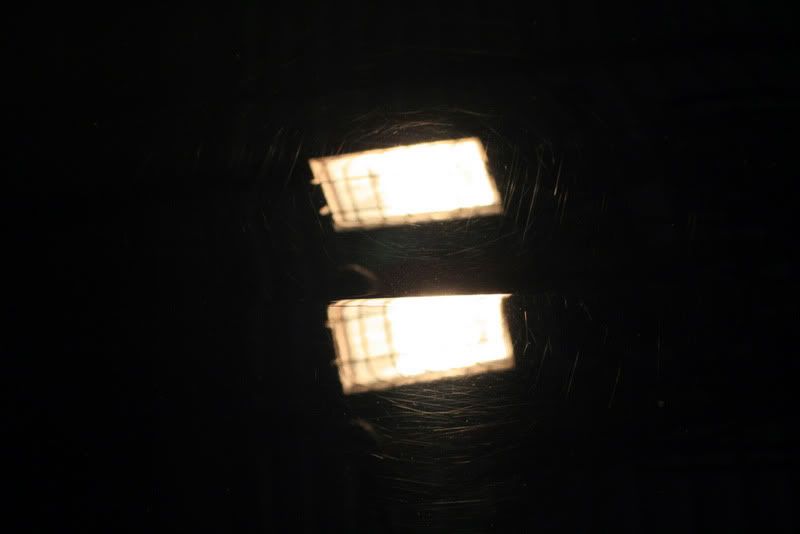
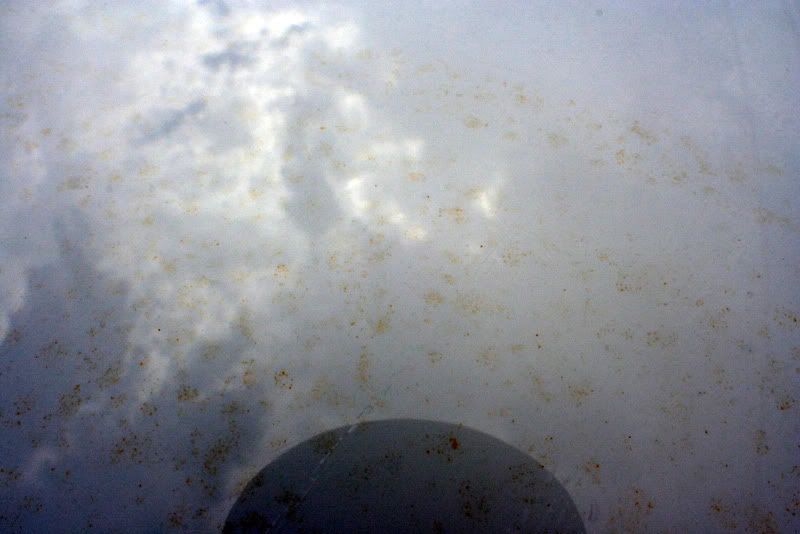
Doesnt look bad? Well lets reverse the image..how about now?

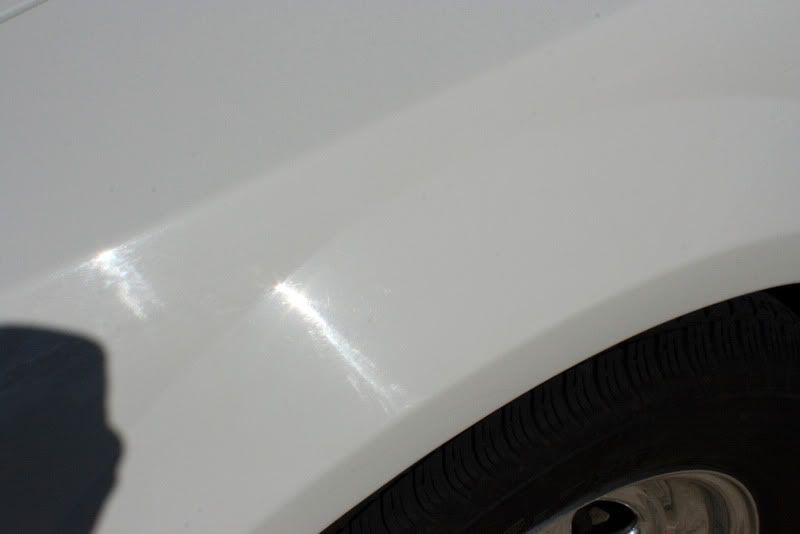
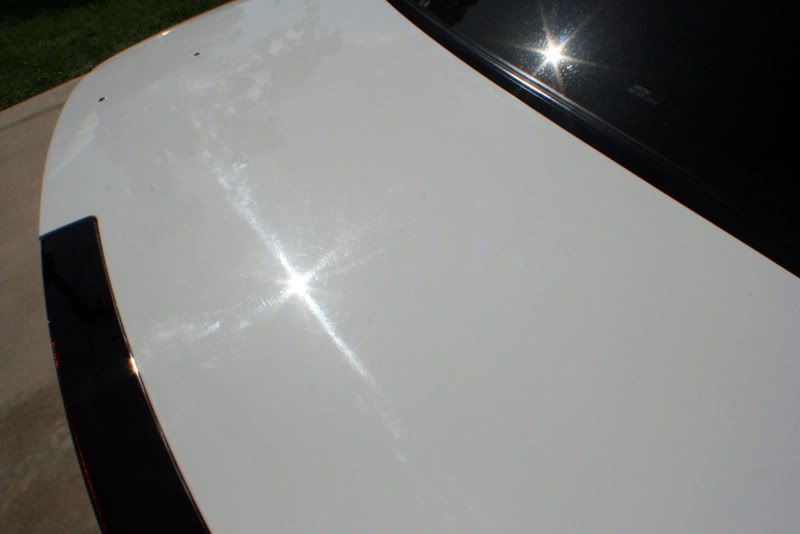
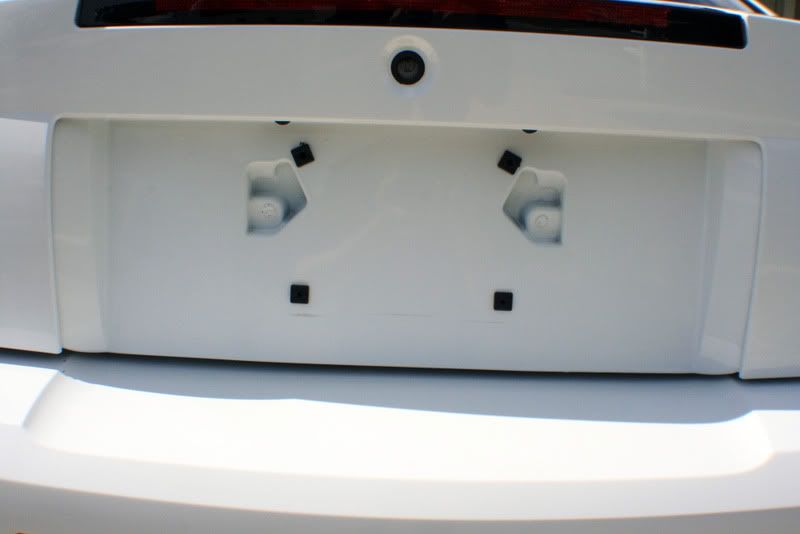
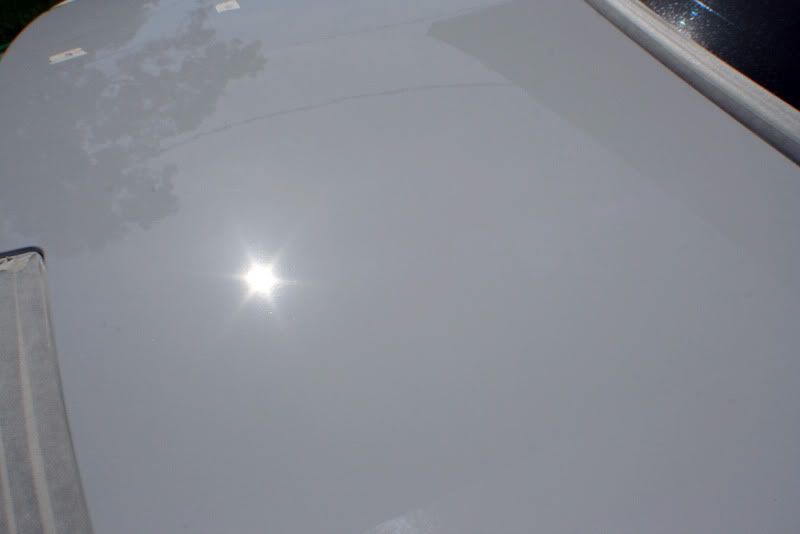
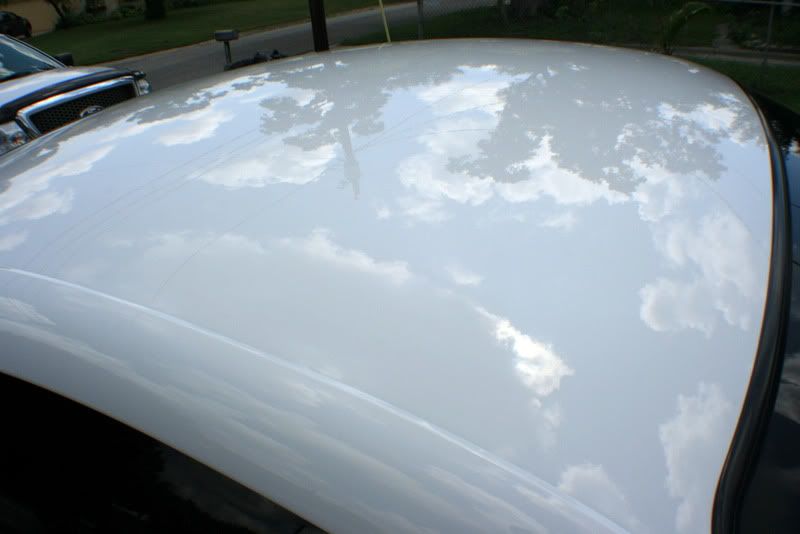
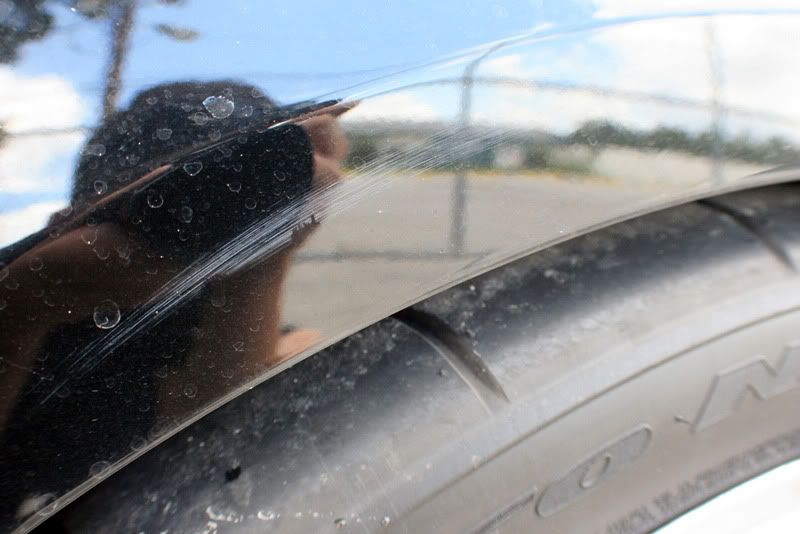
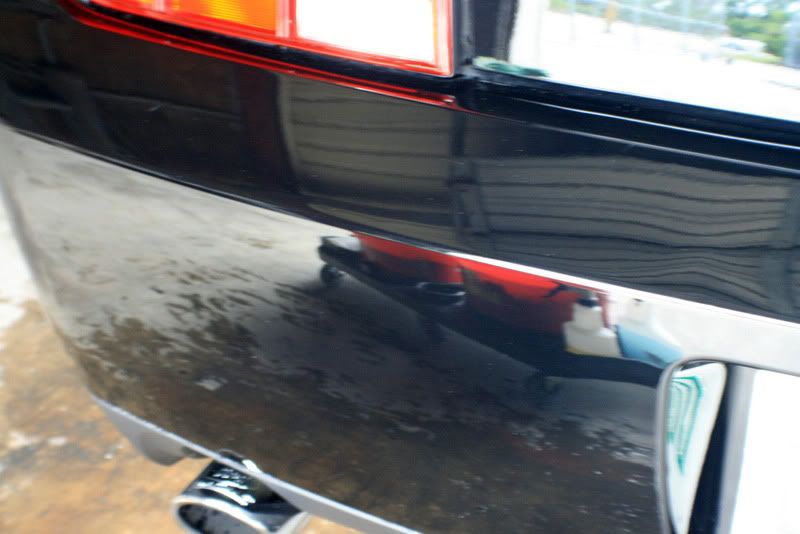
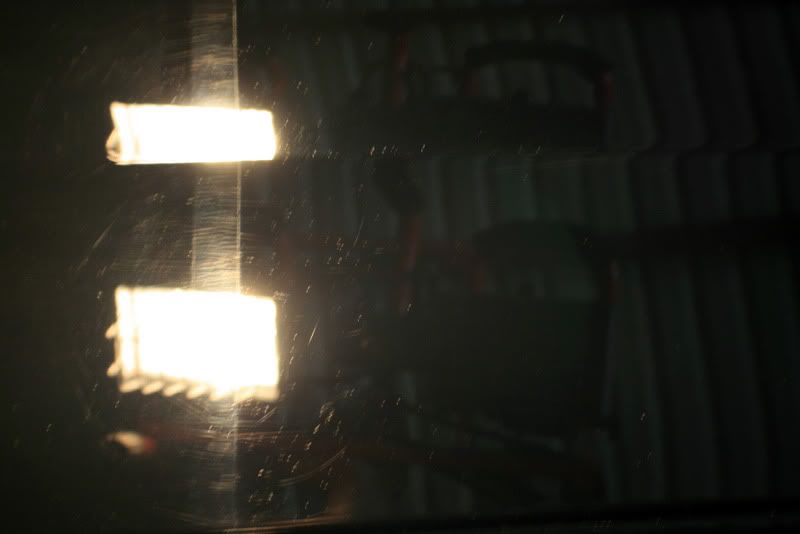
Here is another look..
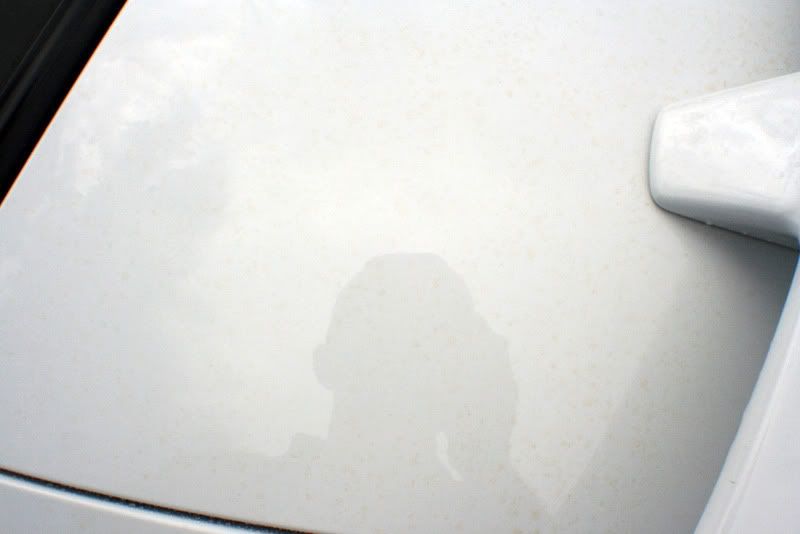

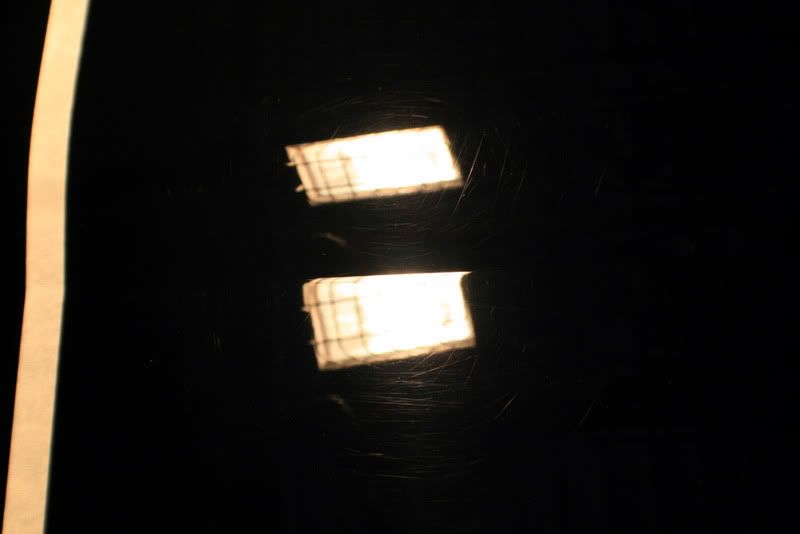
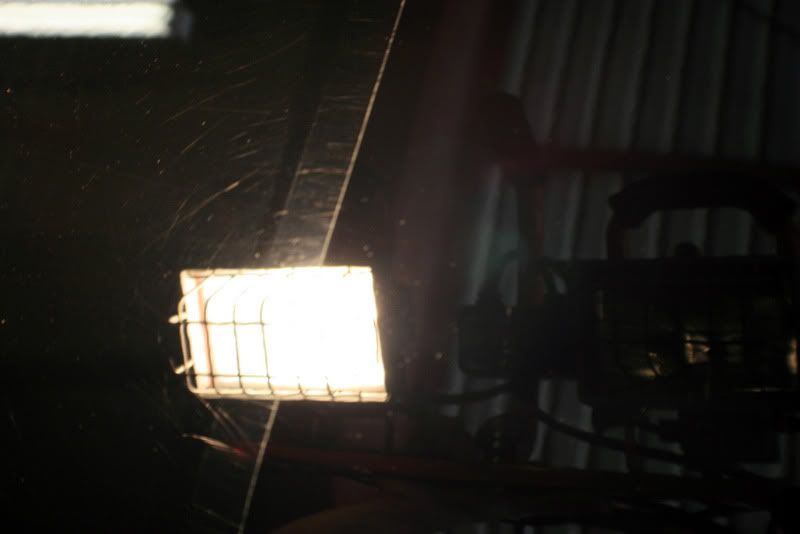
Once again, reversed..


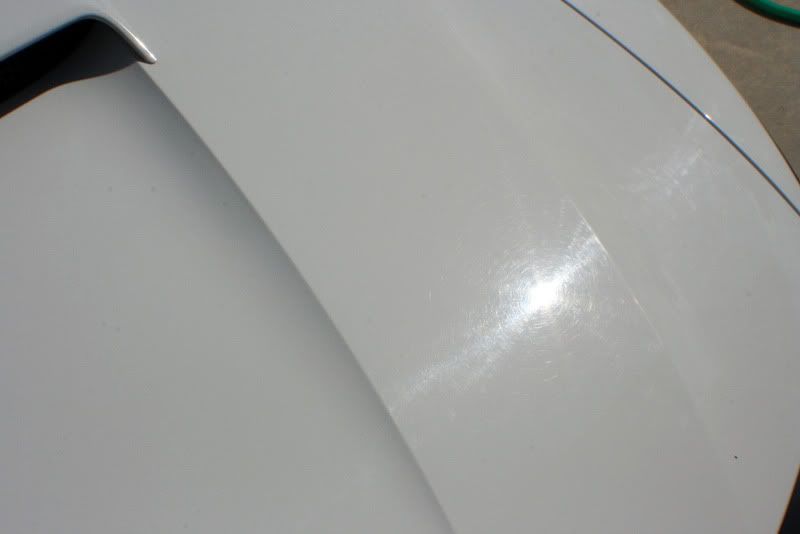
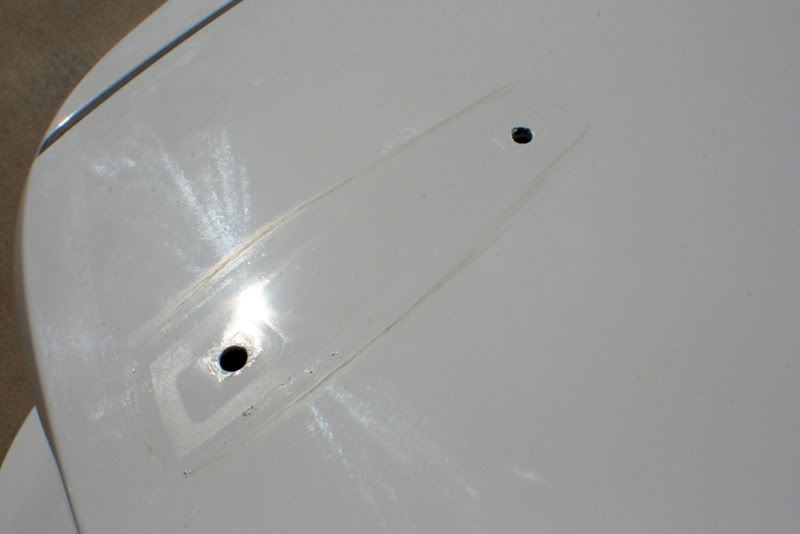
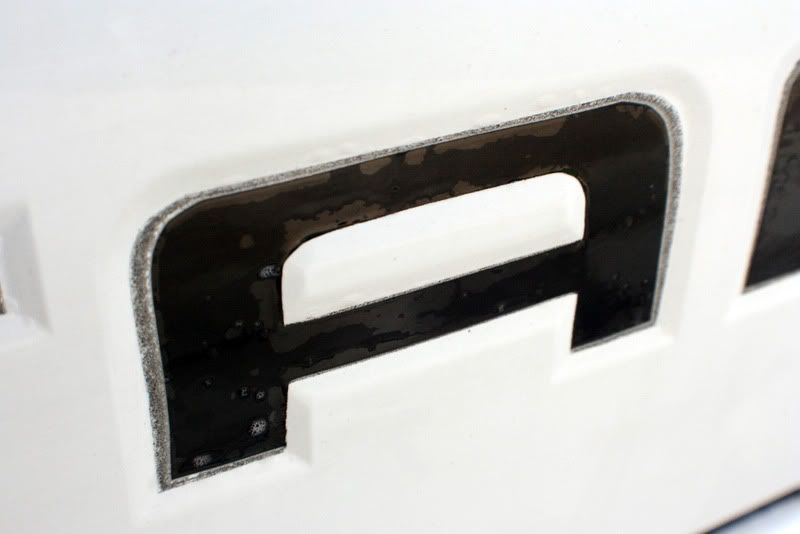
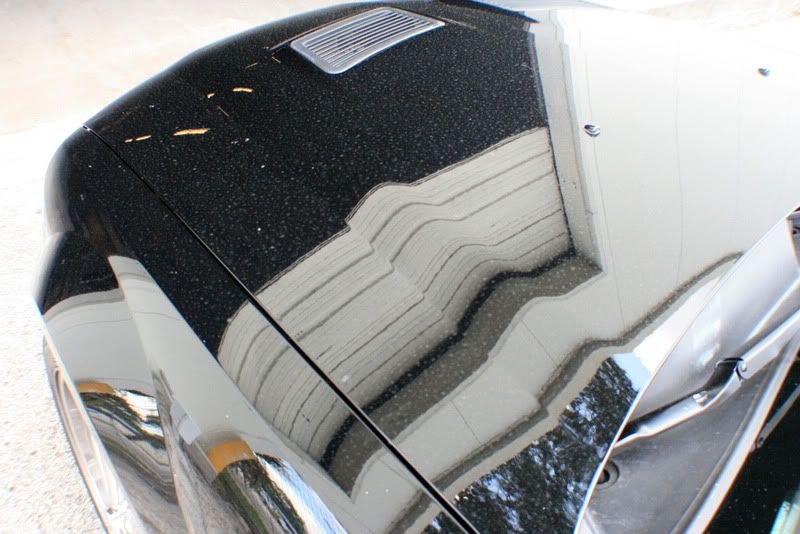
Here is a section of the trunk before any work was performed.
Doesnt look bad? Well lets reverse the image..how about now?
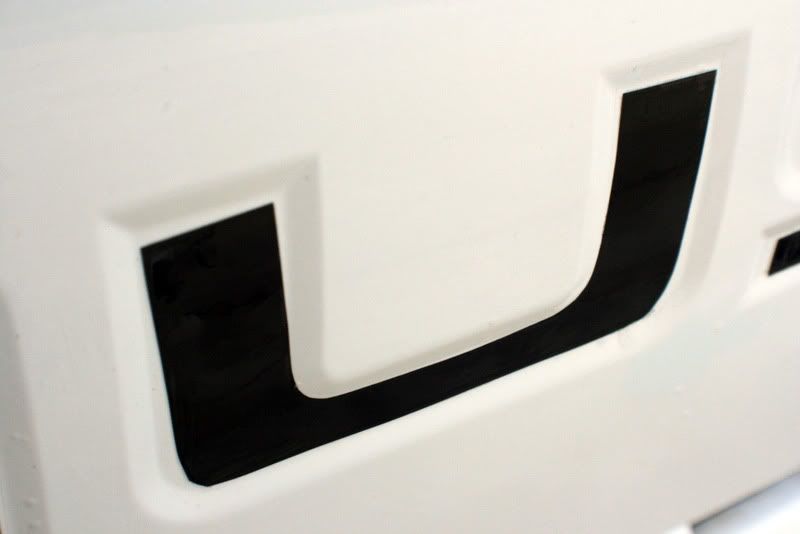
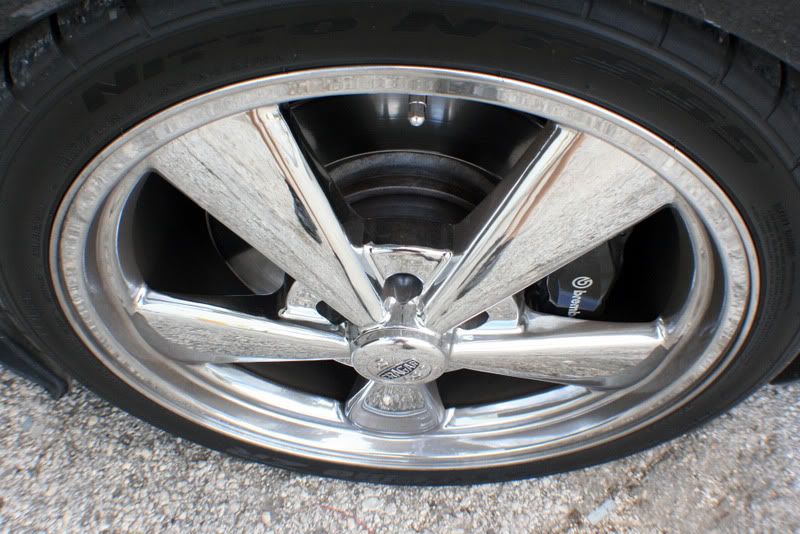
Here is another look..
Once again, reversed..