Hey there all!!! I got the link to this forum form my 4x4 clubs page and i have a few questions for all of you. Im driving a 1996 black Toyota Tacoma and it has seen its share of trees, rivers , and rocks. I am aware that some of my scratches will not be able to be removed but others I think might be able to be buffed out. I wash/polish/wax it now using Meguires and have been happy with the results but I know there are better products out there esp ones that could clean the paint. I dont mind taking a lot of time restoring the paint and cleaing it but then i would like a product that would have some lasting power to it. Help me out my new best friends...if it works. hehe. Thanks, Andy
Navigation
Install the app
How to install the app on iOS
Follow along with the video below to see how to install our site as a web app on your home screen.
Note: This feature may not be available in some browsers.
More options
Style variation
You are using an out of date browser. It may not display this or other websites correctly.
You should upgrade or use an alternative browser.
You should upgrade or use an alternative browser.
Porsche 911 - New Car Prep and Full Frontal Wrap (clear-bra) by Unique Car Care!!
- Thread starter isledude
- Start date
I do suggest you read the carport site first and gather as much information as you can. It is loaded with tips and techniques to remove swirls, fix chips, etc.
Then after that I would do a search on here for "BLACK SWIRLS" and see what pops up I bet there would be hundreds of threads.
Then after that read a few pages of the threads under detailing. You could then get an idea of what everyone uses and comments on.
I bet after all that and a few beers you would have more questions and members would answer them.
I hope this helps!
:bounce :bounce :bounce :bounce
Andre'
New member
Yes and no , clay is a very good paint cleaner and a good place to start , but it will do nothing for scratches. Do a search for scratches.
Laters.
Laters.
imported_RickRack
New member
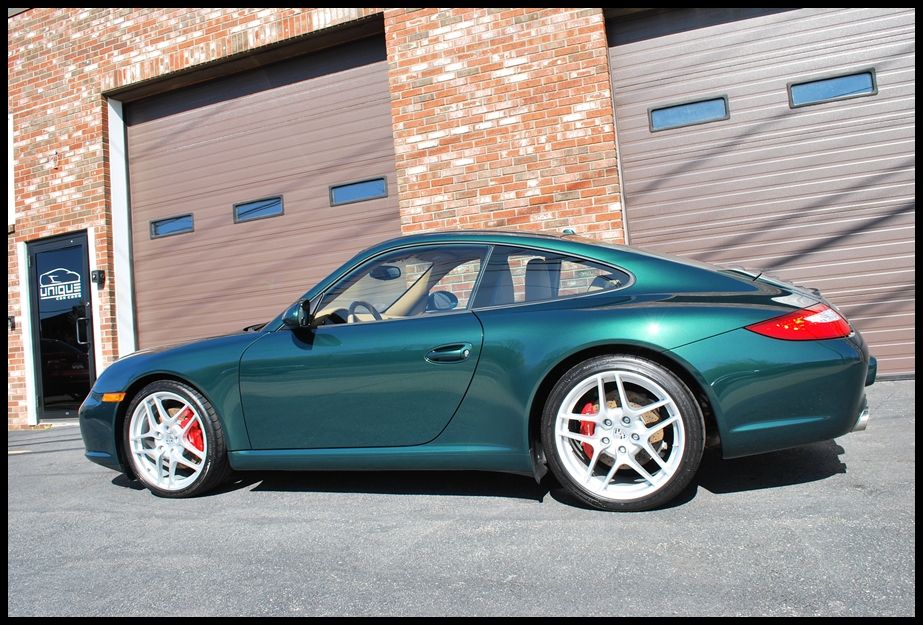
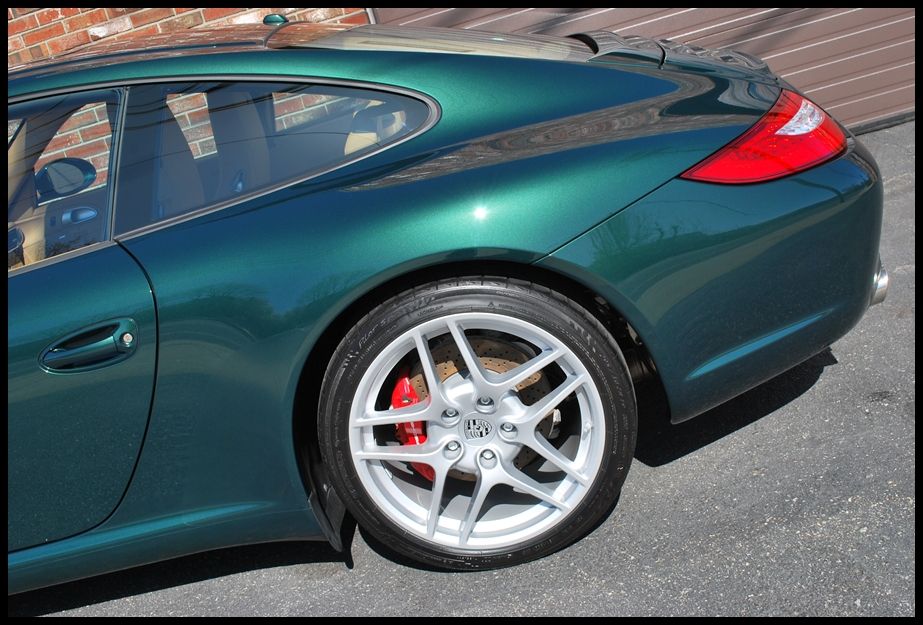
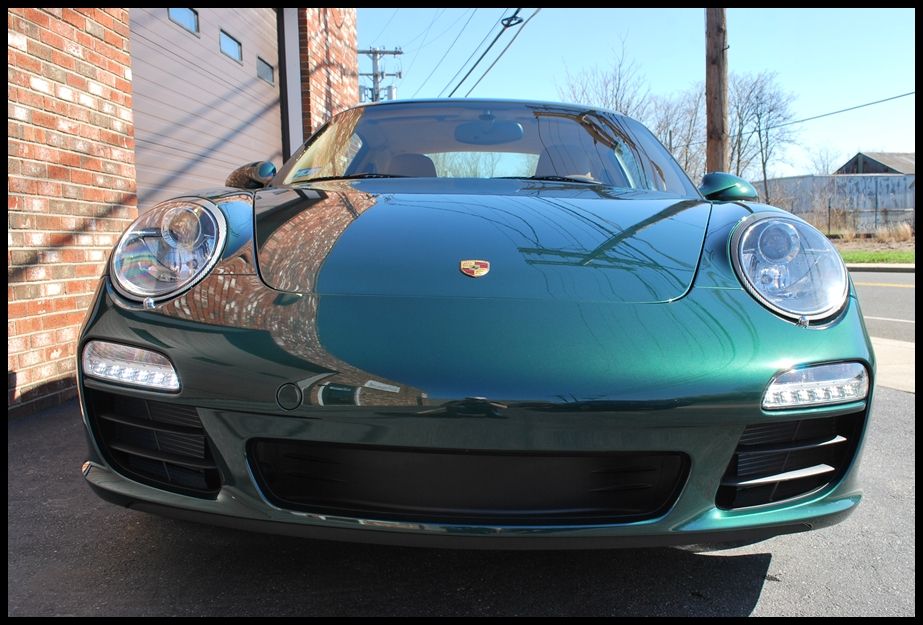
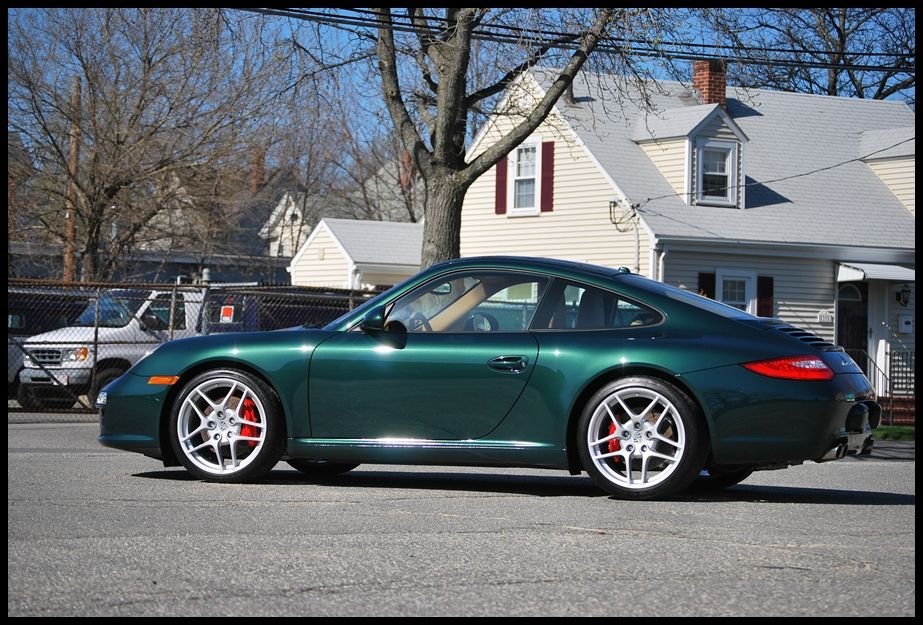
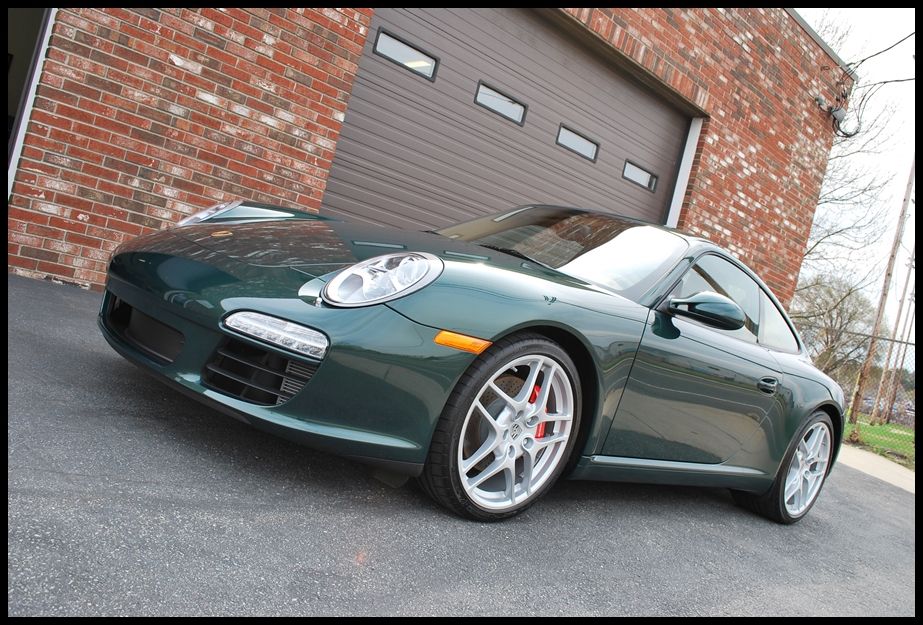
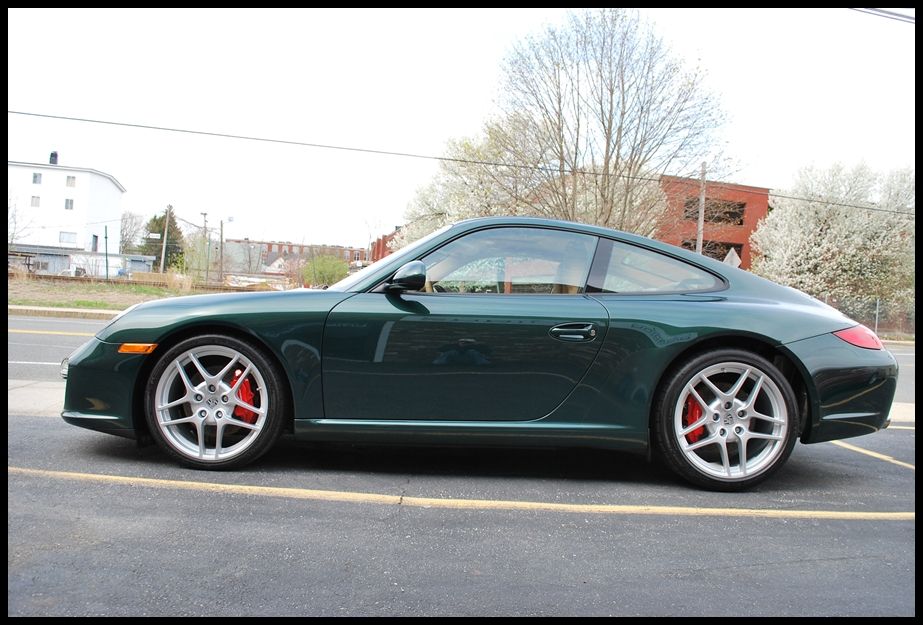
This beautiful 09? Porsche 911 Carrera S was purchased as a leftover and the odometer was showing only 34 miles when it arrived at the shop. The new owner had literally just picked it up from the dealer and brought the car directly to us for a new car prep and paint protection film (clear-bra) to make sure the car got off to a healthy start. I had been talking to the owner for a couple weeks prior to the appointment and discussed clear-bra options. The goal was to provide maximum protection to the areas that are most prone to stone chips, without taking away any of the cars natural beauty. We decided to install film to the entire front-end of the car (complete hood, complete fenders, complete front bumper), side mirrors, the lower rocker panels and the area behind the rear wheels.
Before the film could be applied, it was critical to get the finish looking as perfect as possible. The film is so clear that any defects underneath would be visible, so it was very important to take our time on the prep to make sure the film would look its best and have a perfectly prepped surface to adhere to.
Knowing that dealers LOVE to use cheap glazes that mask defects, I was pretty sure that the exterior was going to need some serious attention. Being a leftover meant that the car has probably had its fair share of improper washes and plenty of wipedowns with dirty towels, etc. over the last year or so. As we all know, dealerships are the worst culprits for improper techniques, which normally results in some sort of damage.
The first step was to wash and prep the exterior to get it ready for polishing. I began to rinse the exterior and saw that the paint was beading like crazy, which meant that there was some sort of wax, sealant, glaze or quick detailer embedded in the paint.

All wheels, tires and wheel wells were extensively cleaned with a variety of different brushes using Optimum Power Clean diluted 4 to 1.
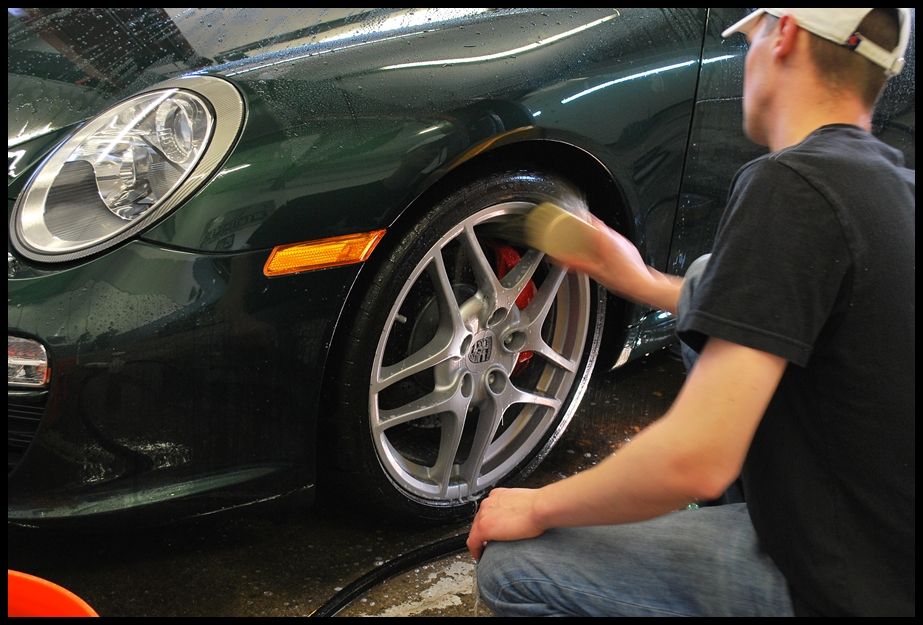
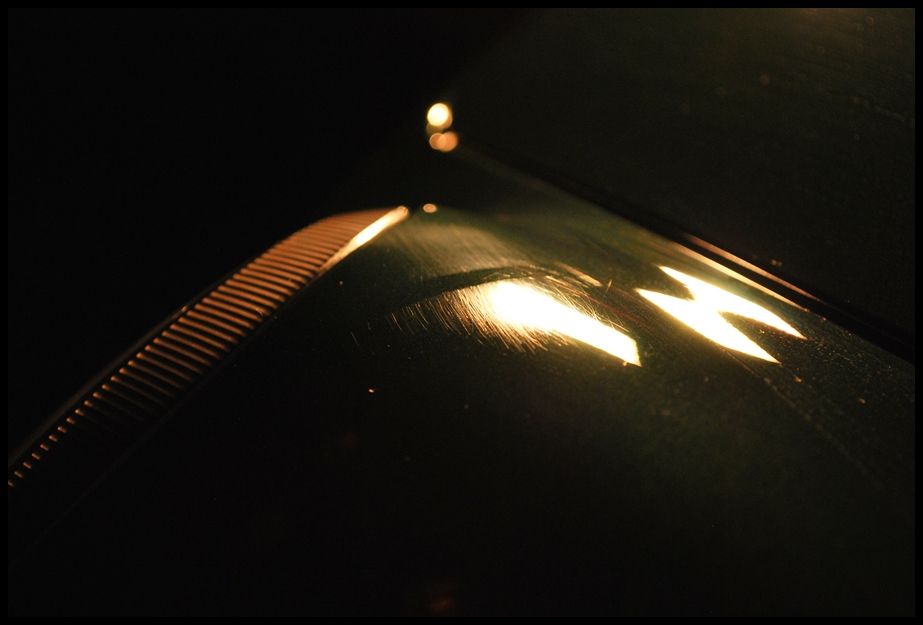
In order to strip whatever products were embedded in the paint, I gave the exterior and wash using regular car soap, then followed behind and degreased the paint with CG Grime Reaper using a microfiber towel to ?scrub? the paint until it was no longer beading as seen below.
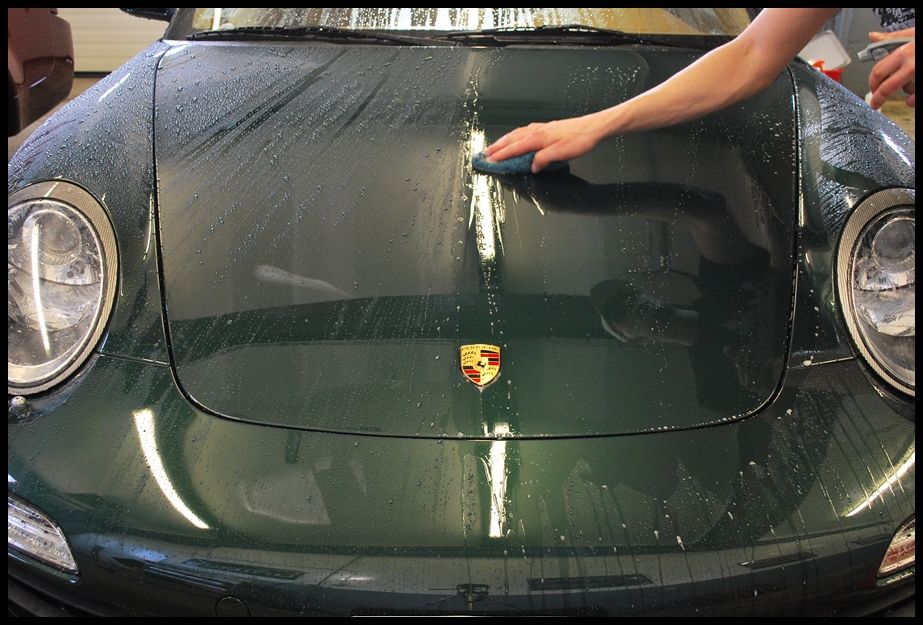
As you can see, the degreaser worked well at stripping any previous products from the paint (no longer beading).

After the car was fully washed and stripped, I dried the exterior, wiped down all door, hood & trunk jambs with a microfiber towel and purged all cracks & crevices with compressed air to remove any remaining water.
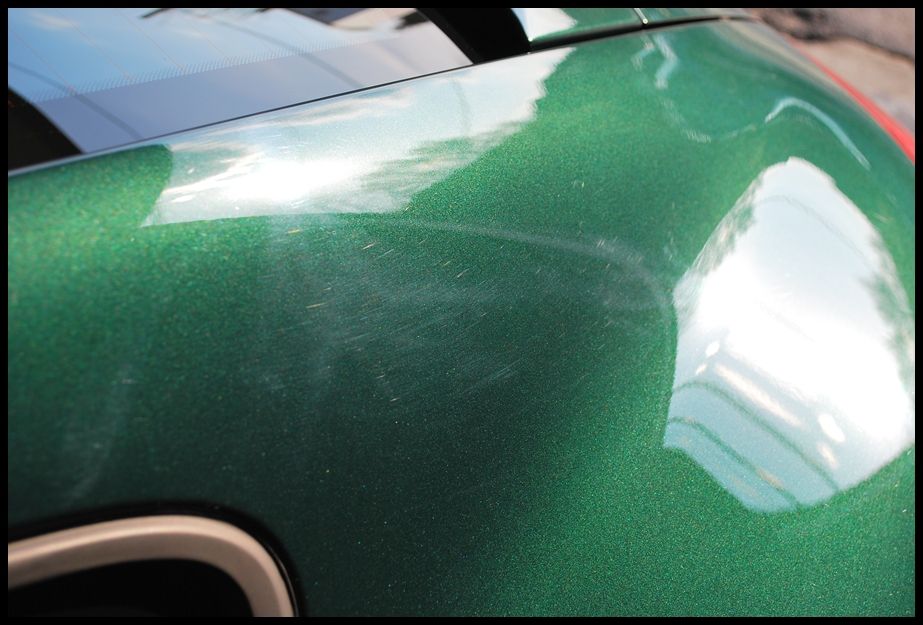
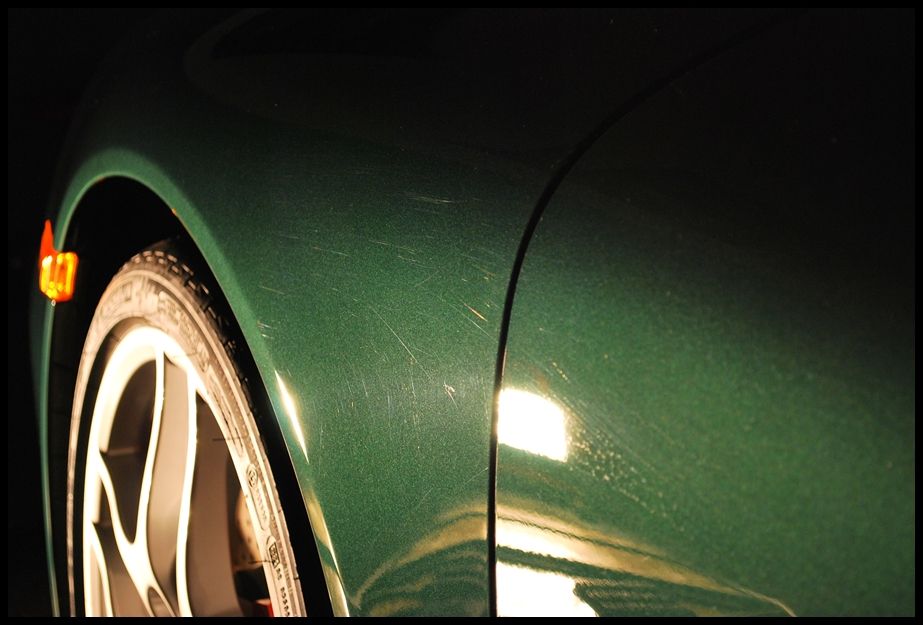
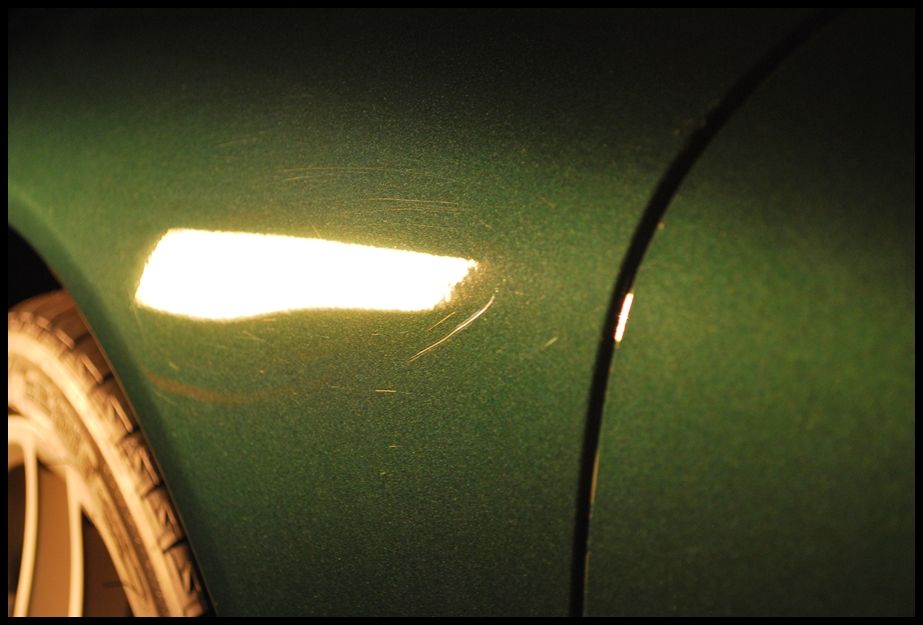
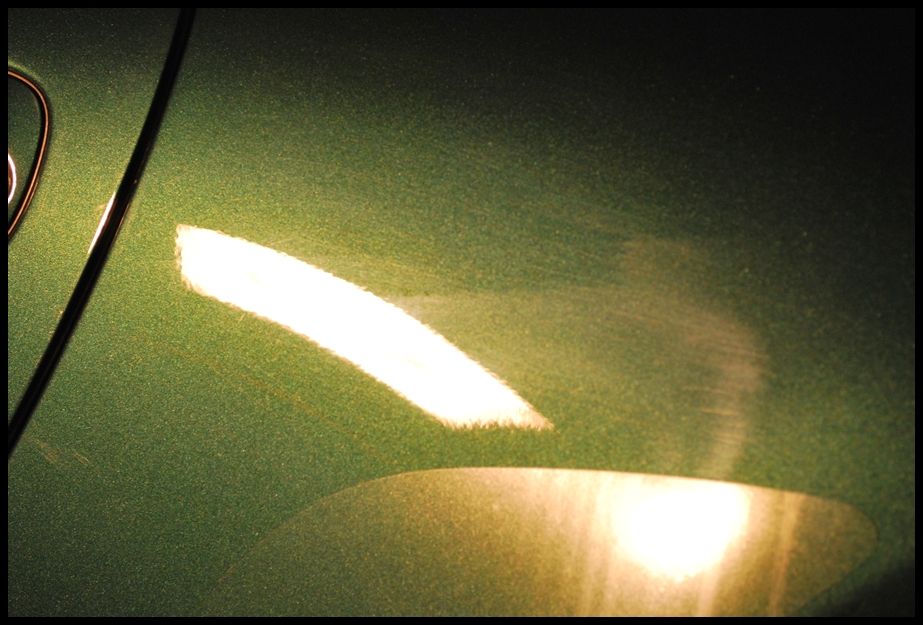
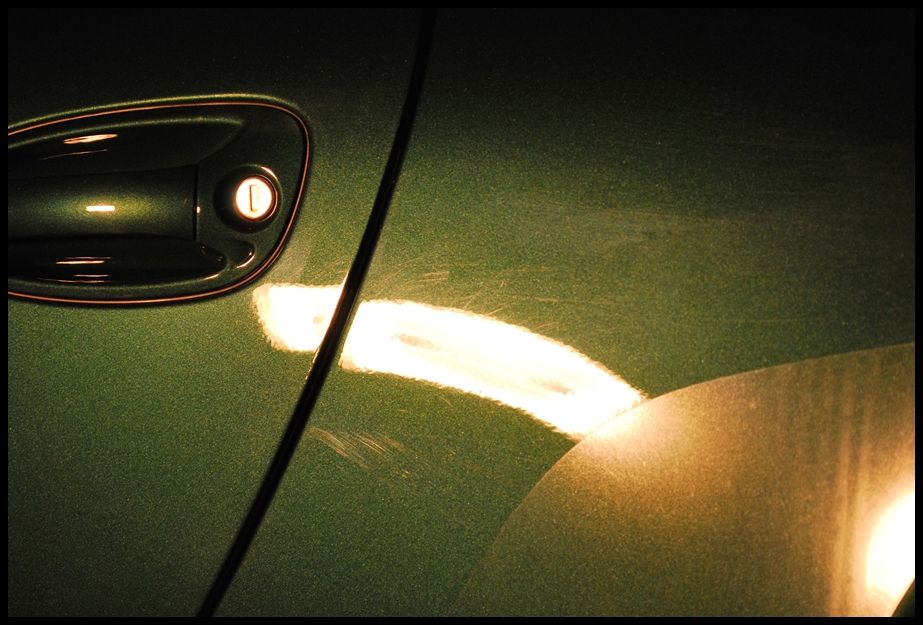
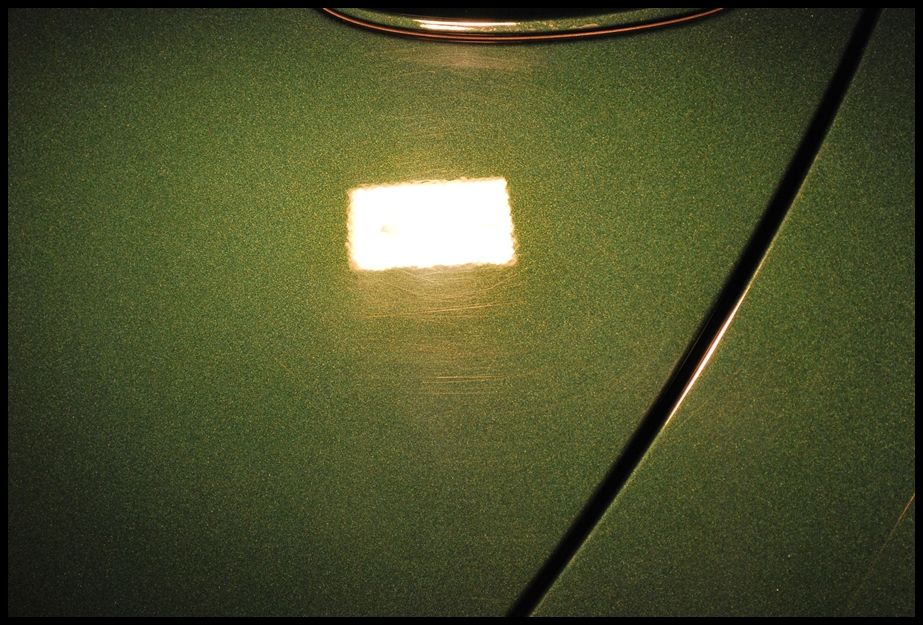
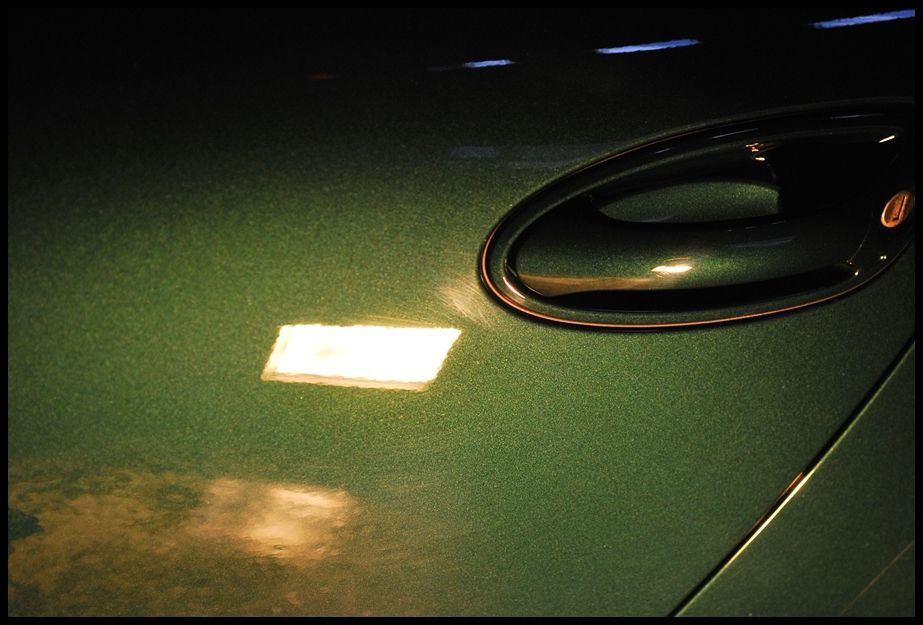
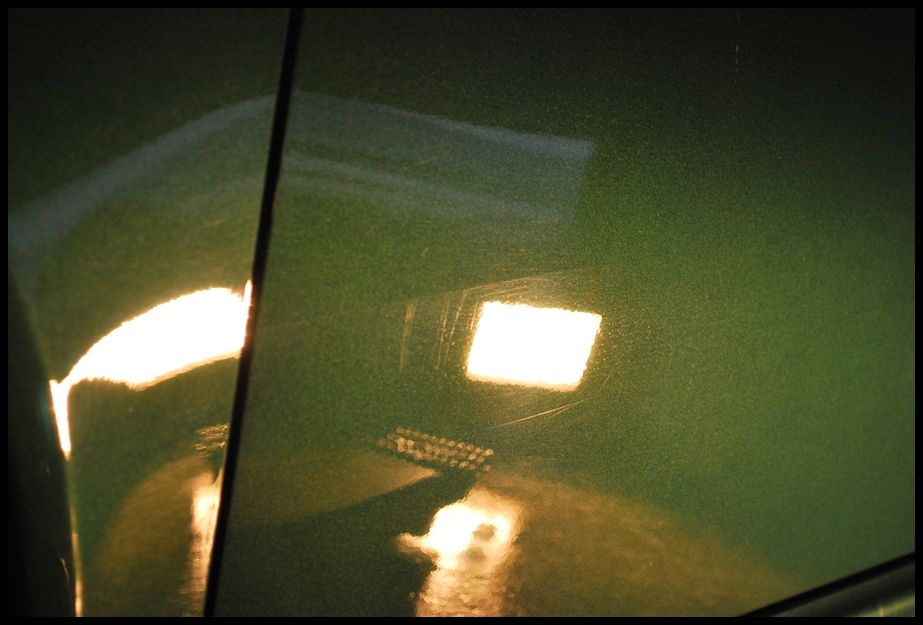
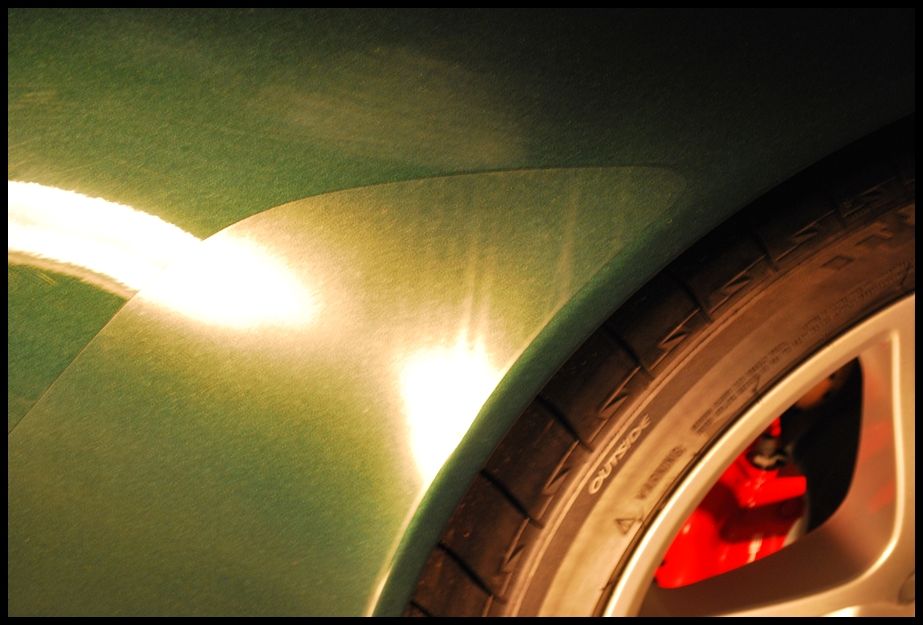
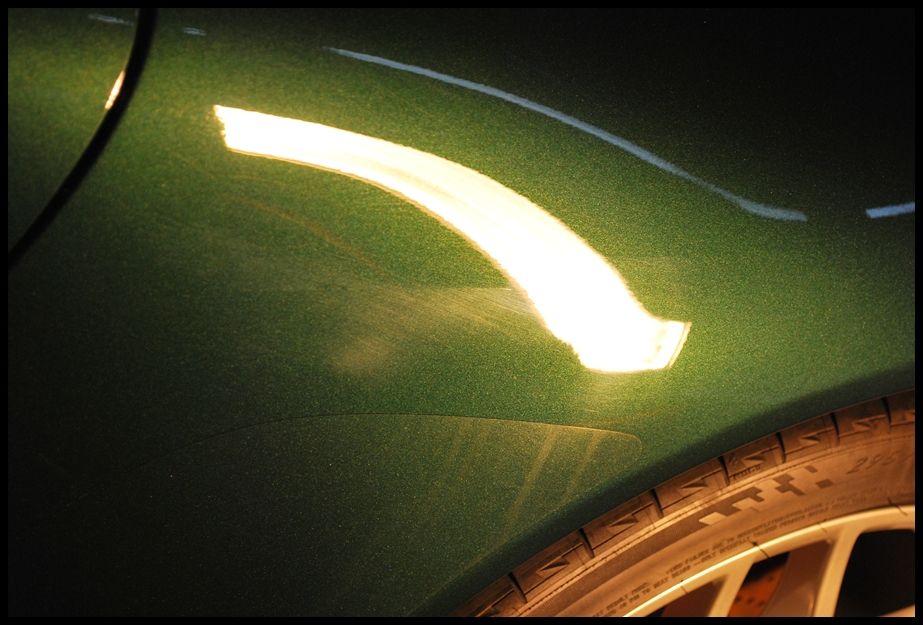
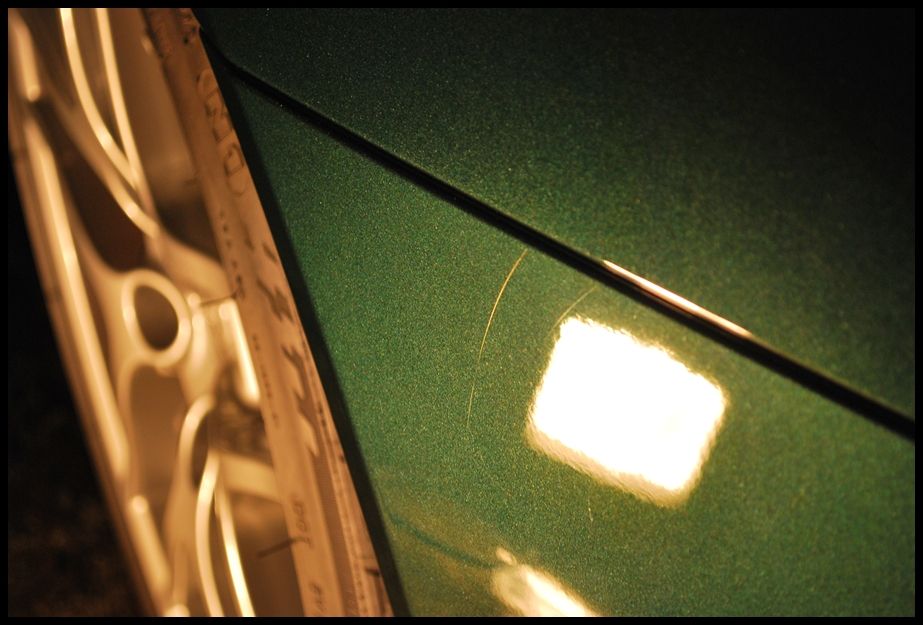
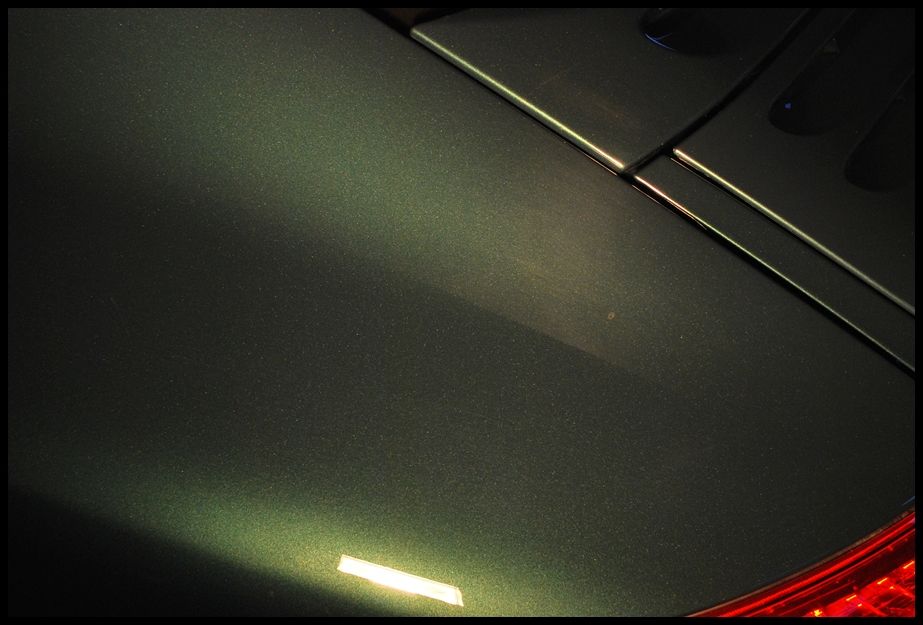
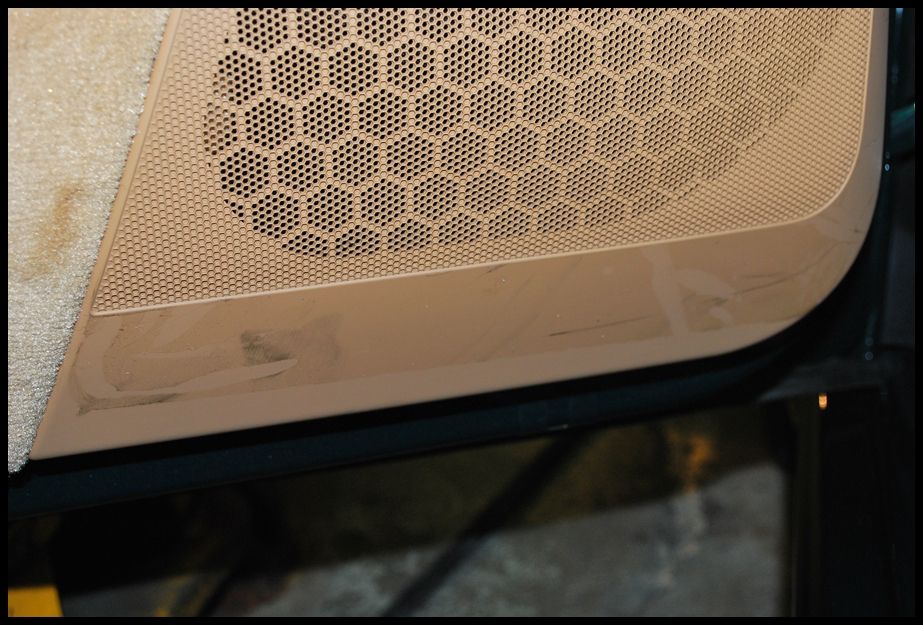
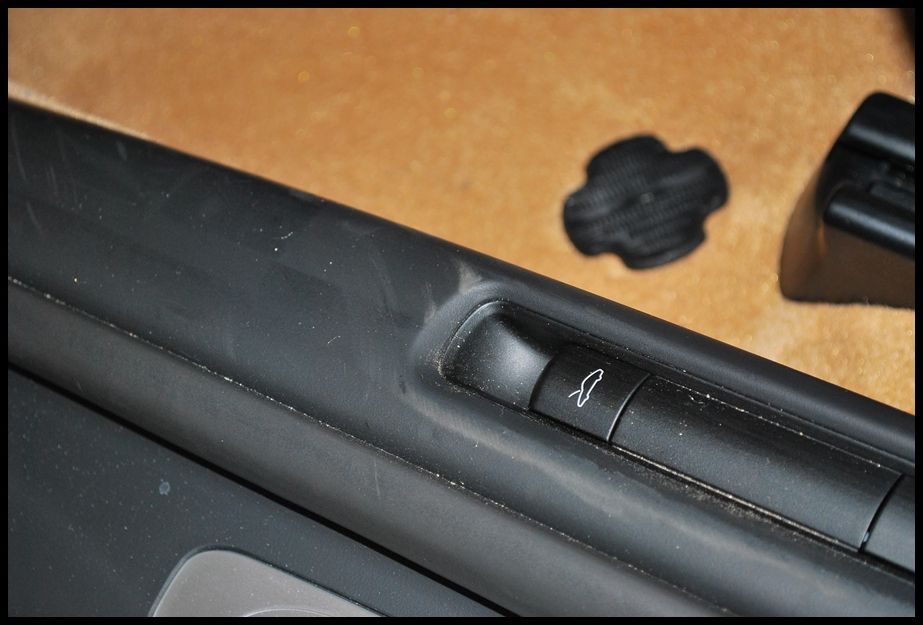
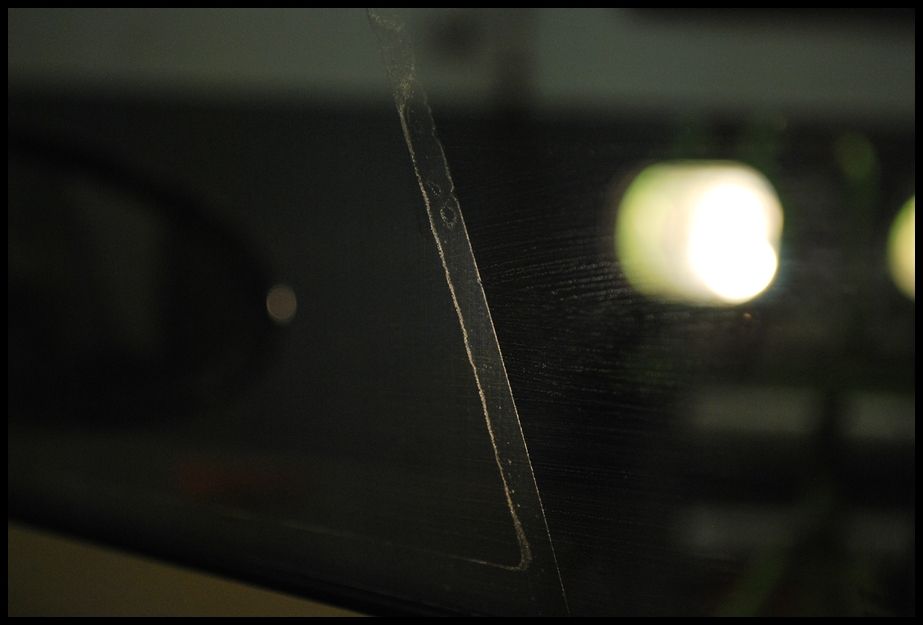
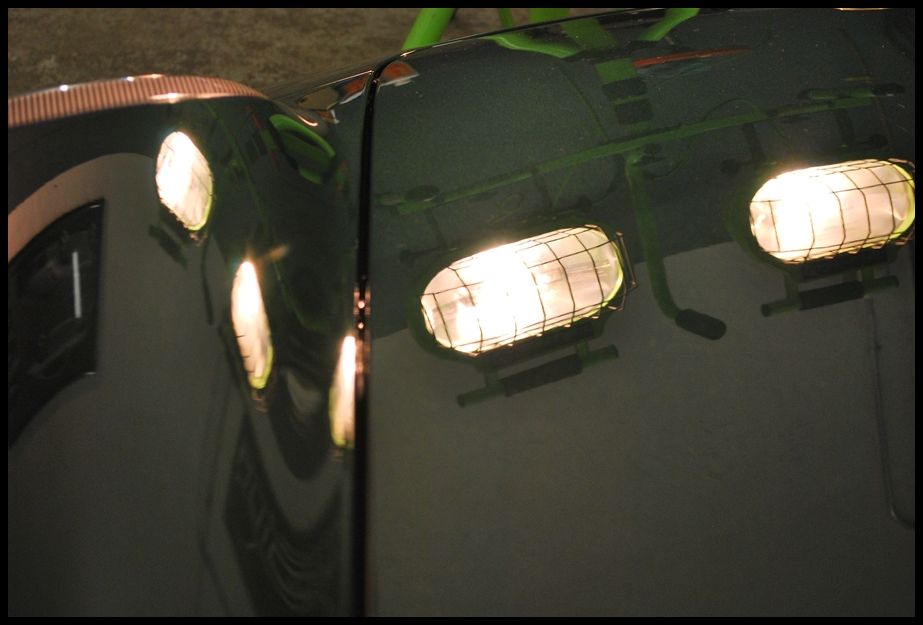
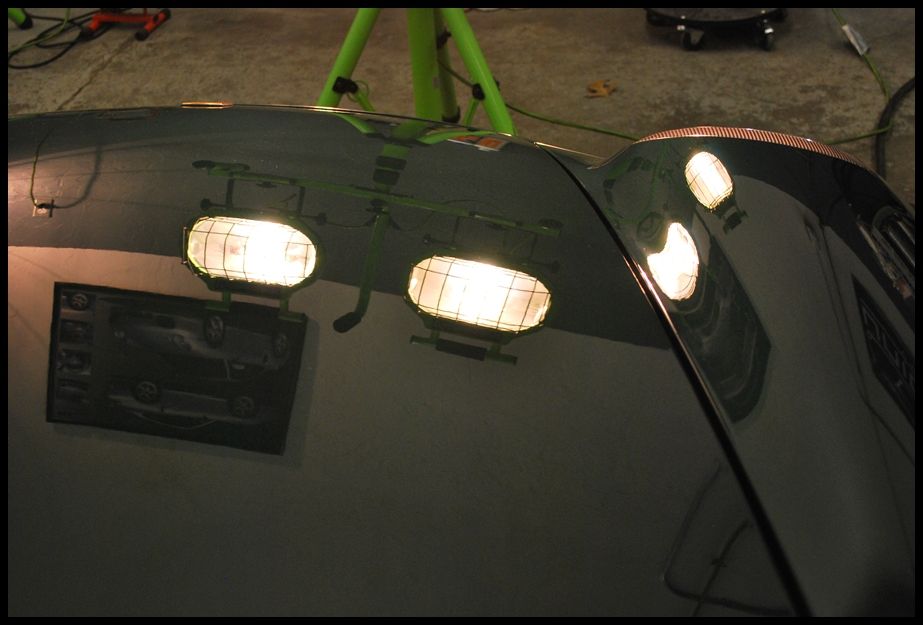
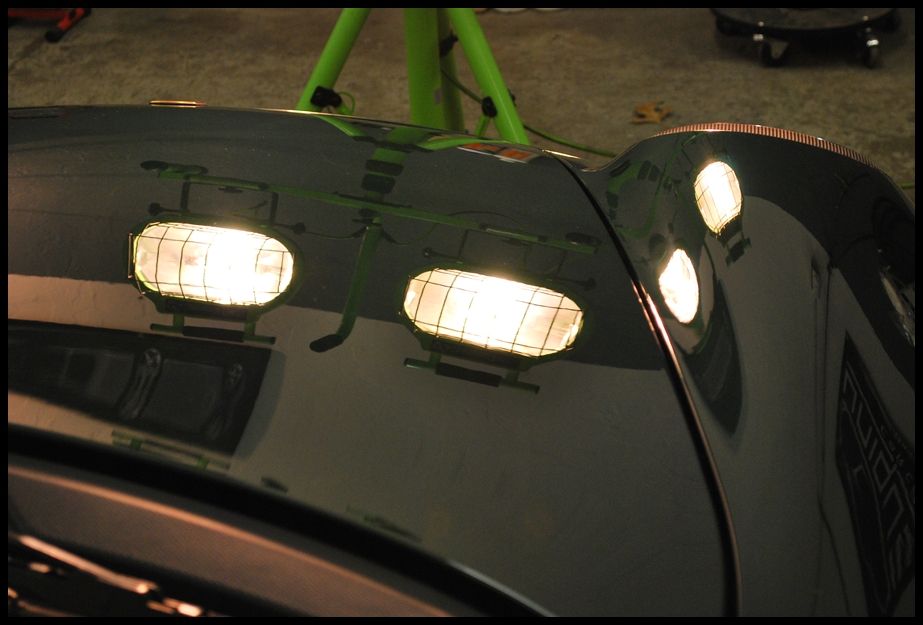
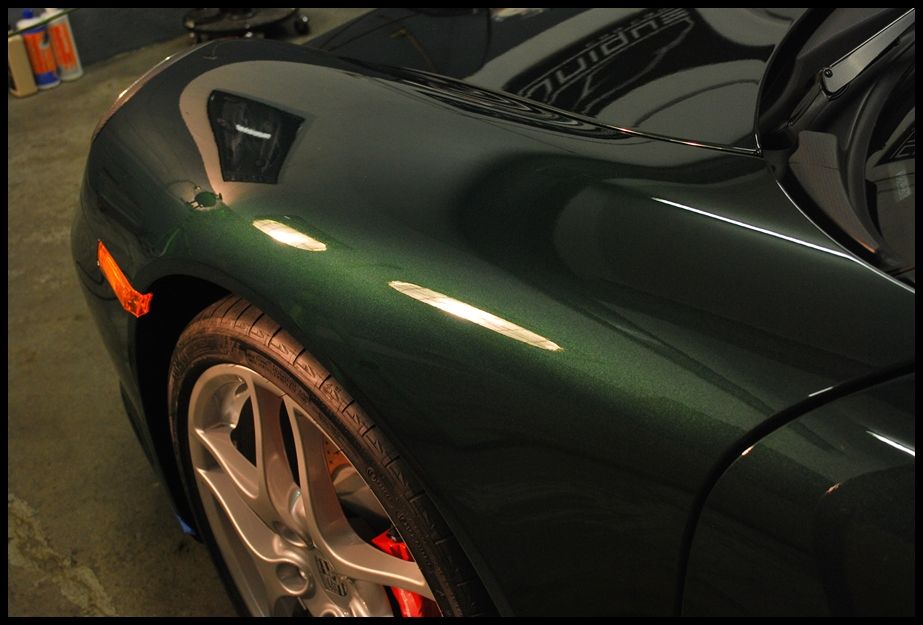
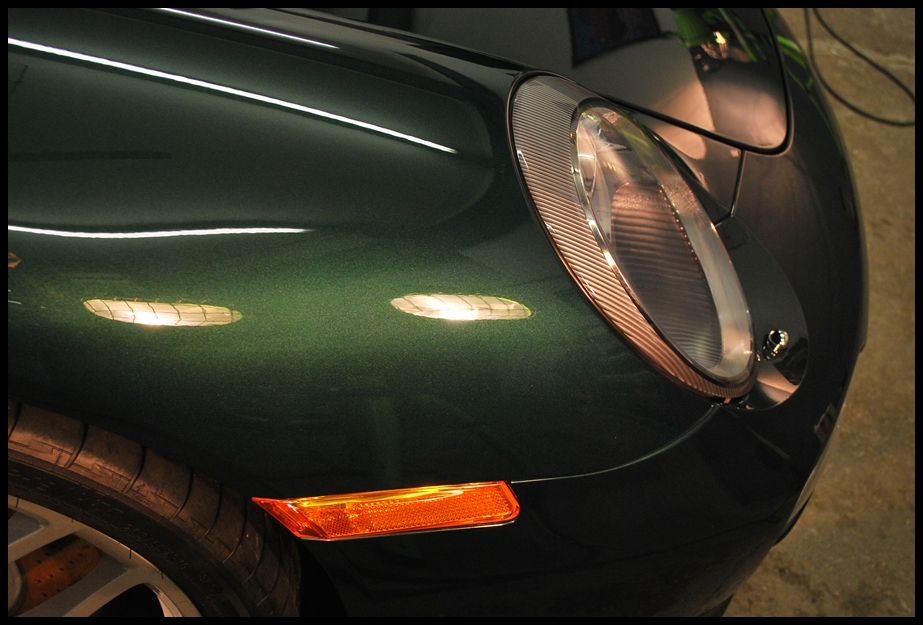
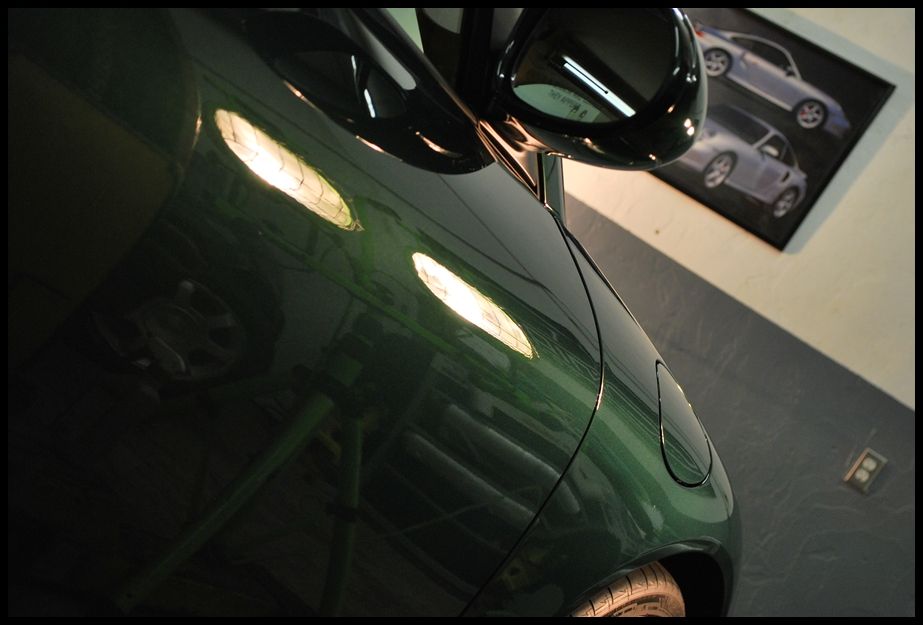
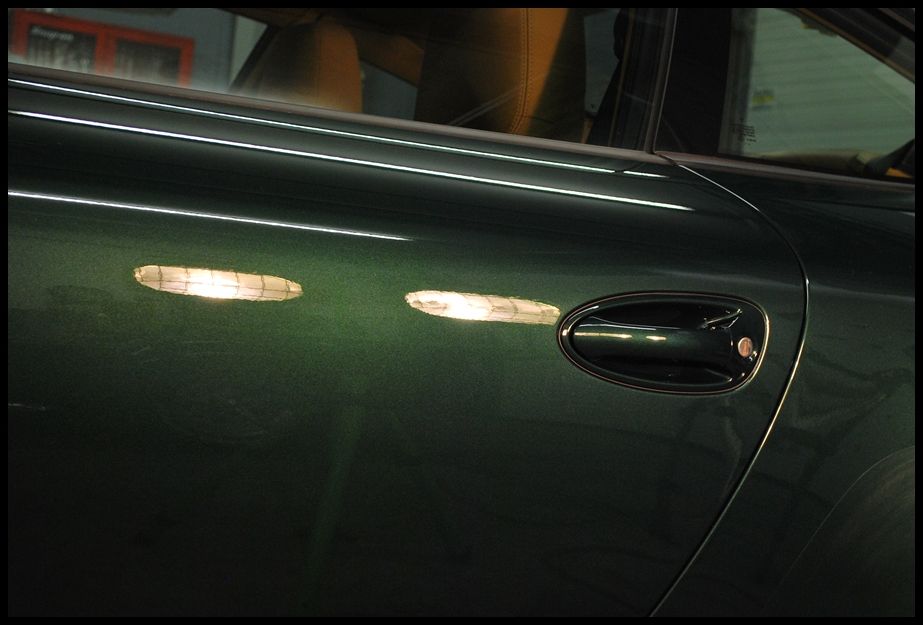
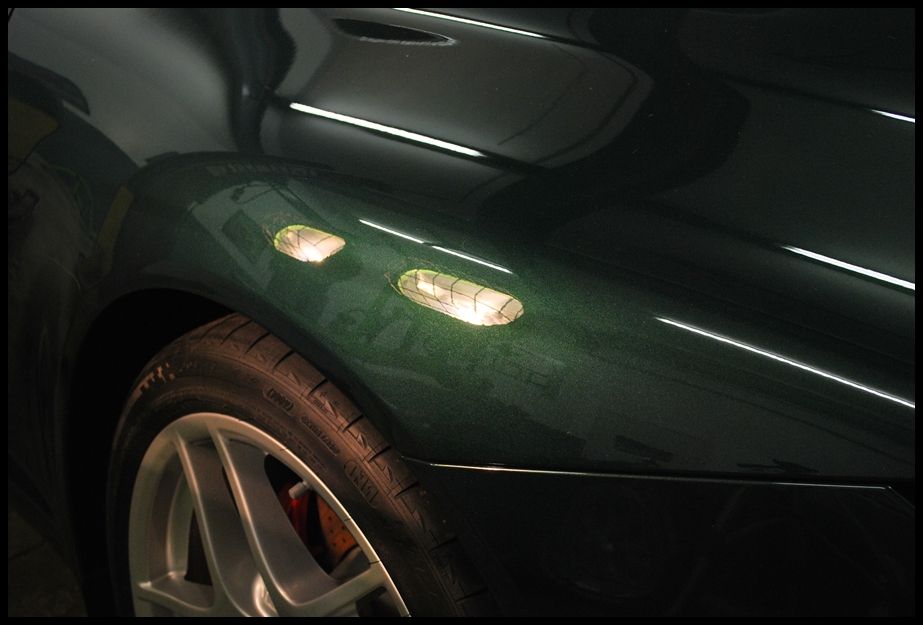
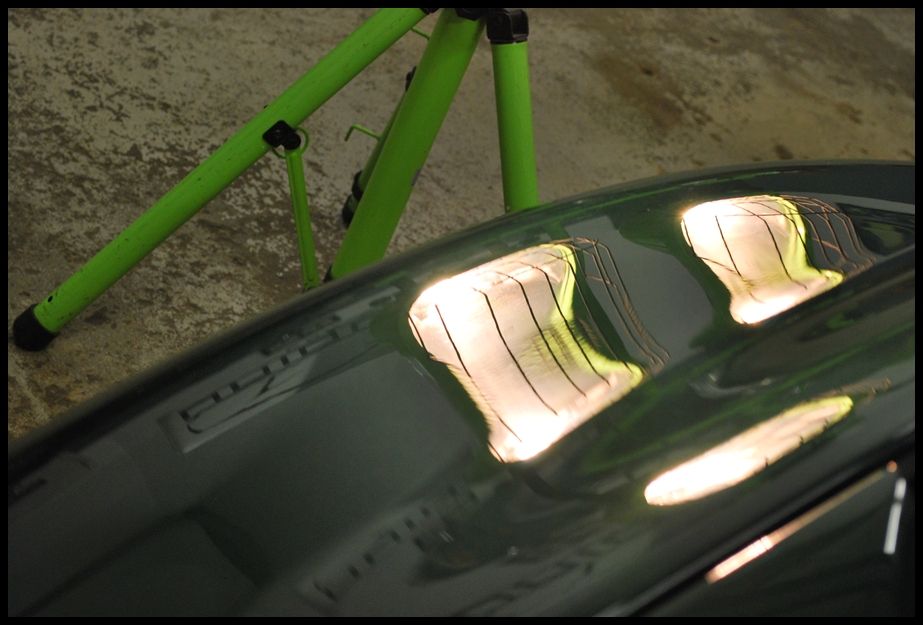
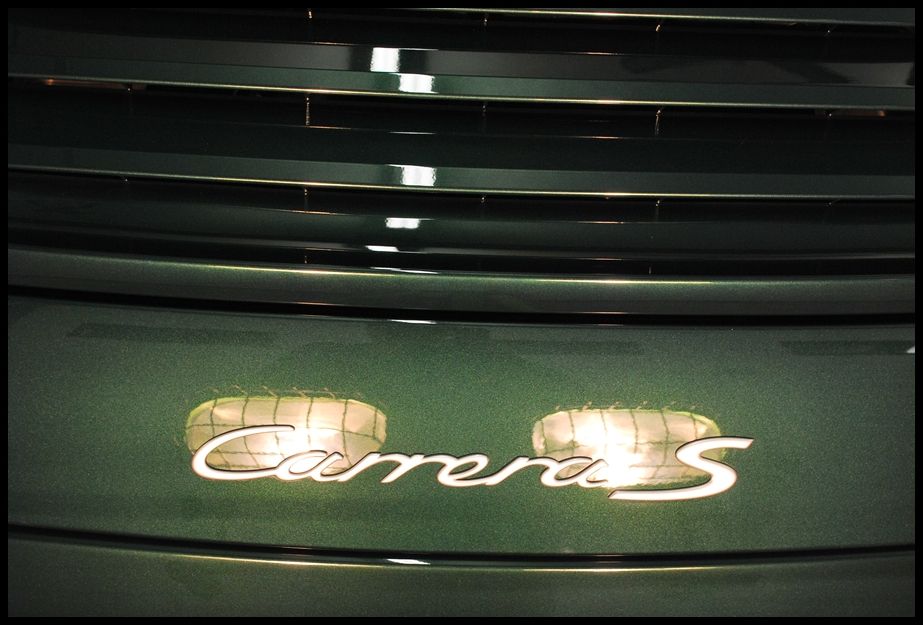
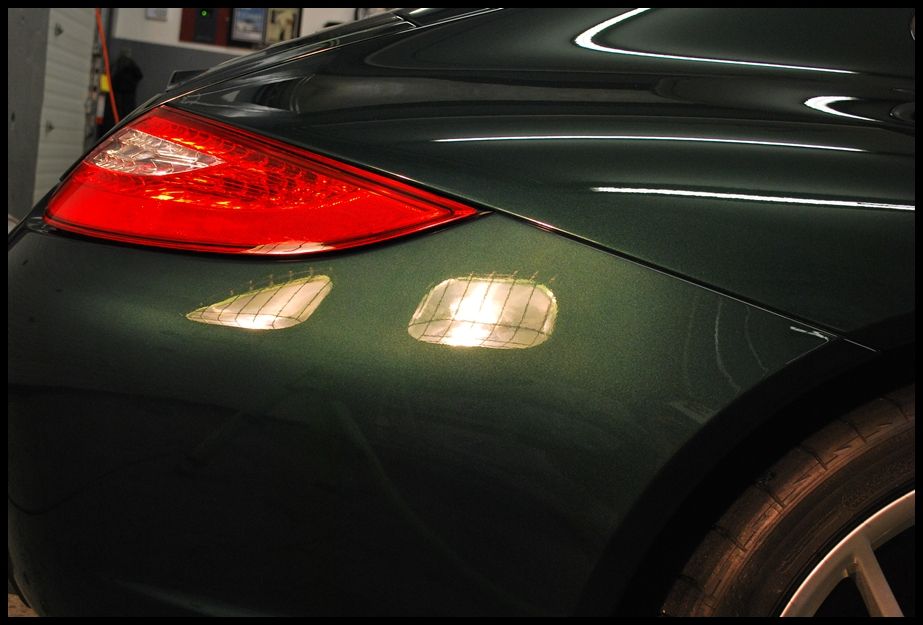
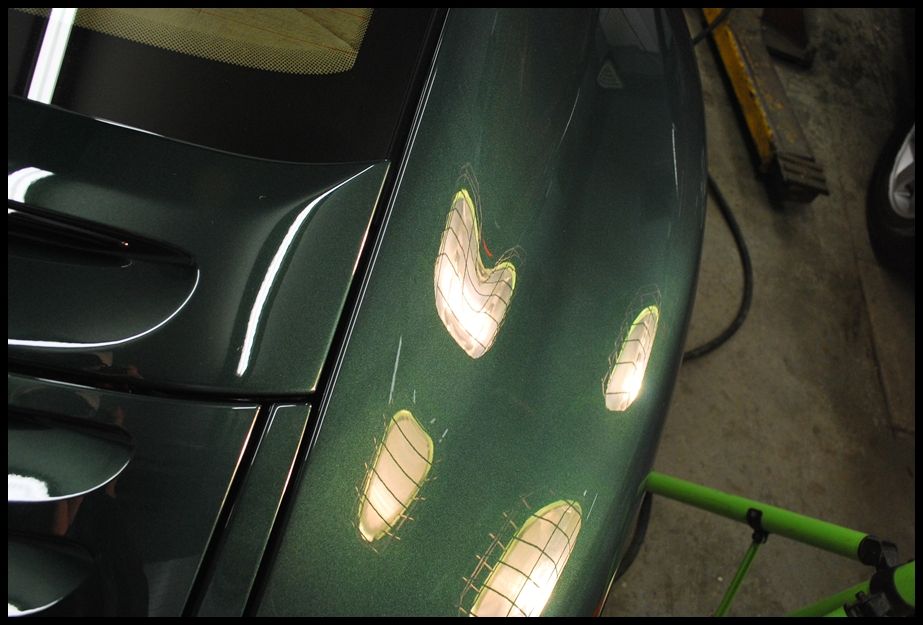
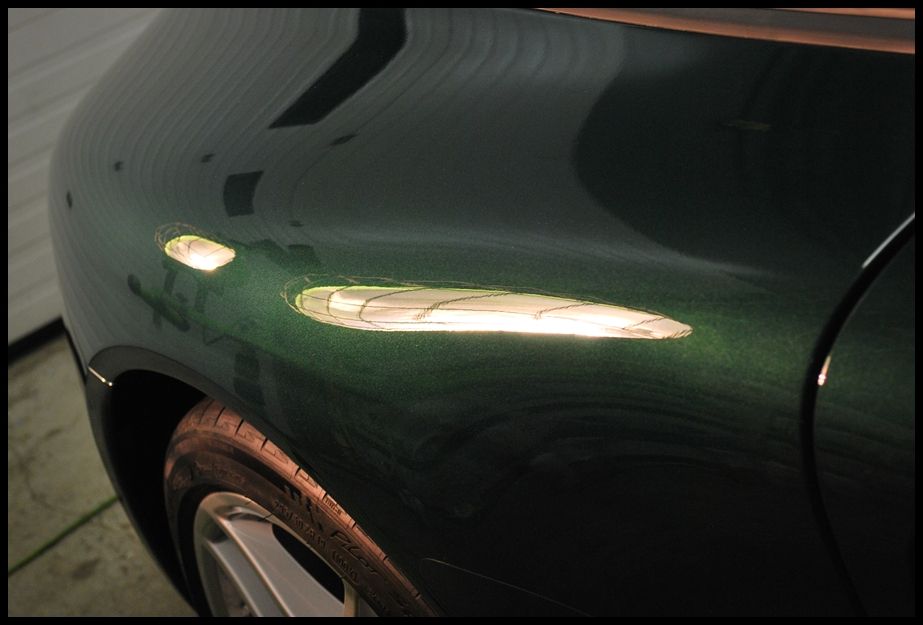
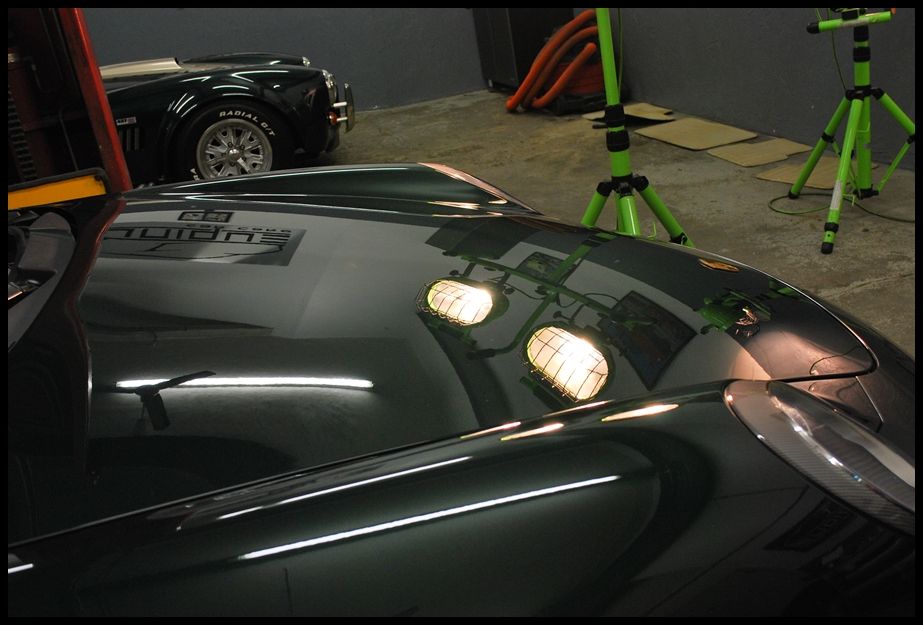
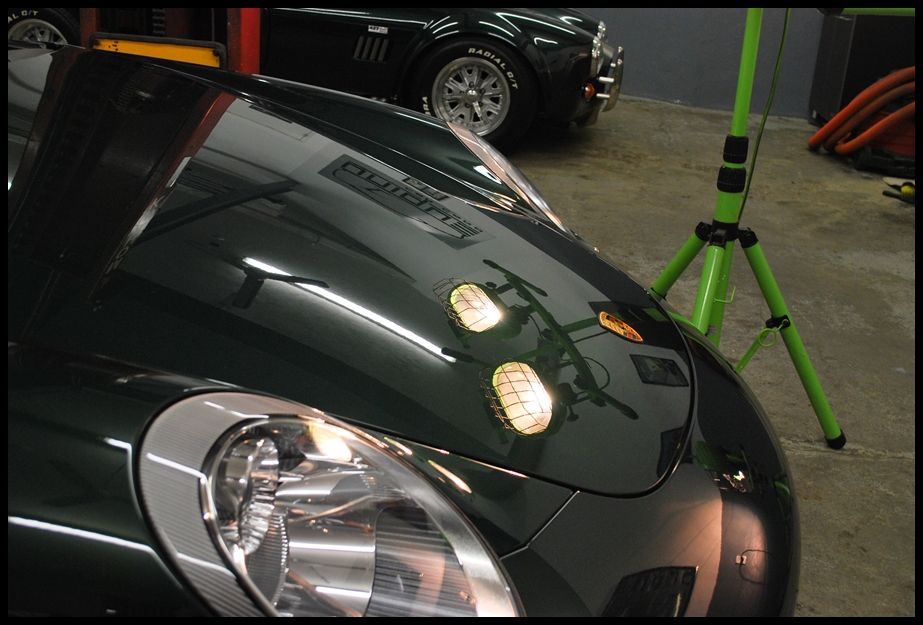
I inspected the car carefully under halogen lighting to see what I was up against and discovered some moderate damage scattered throughout the car. The pictures below give you an idea what we were dealing with on this BRAND NEW car.


imported_RickRack
New member
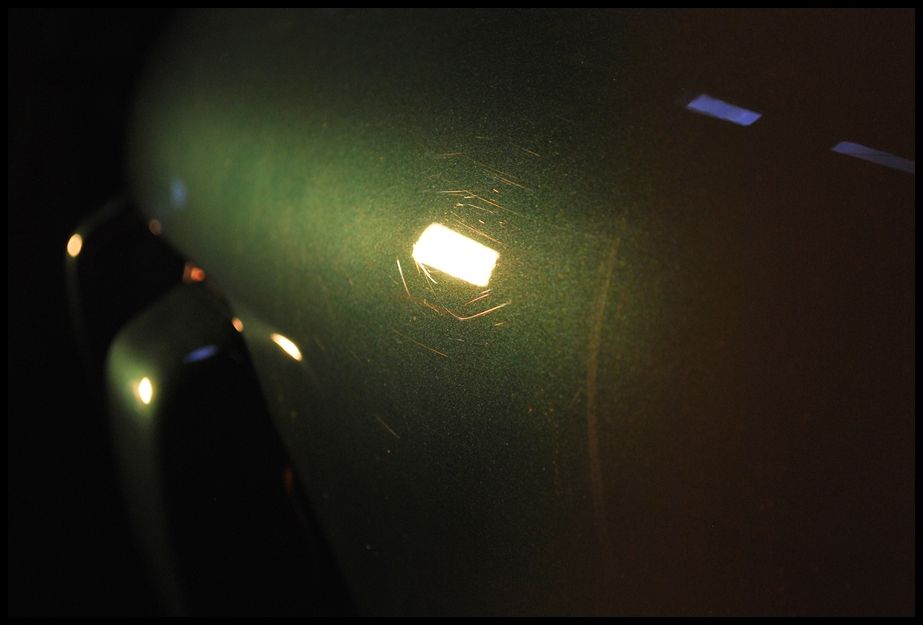
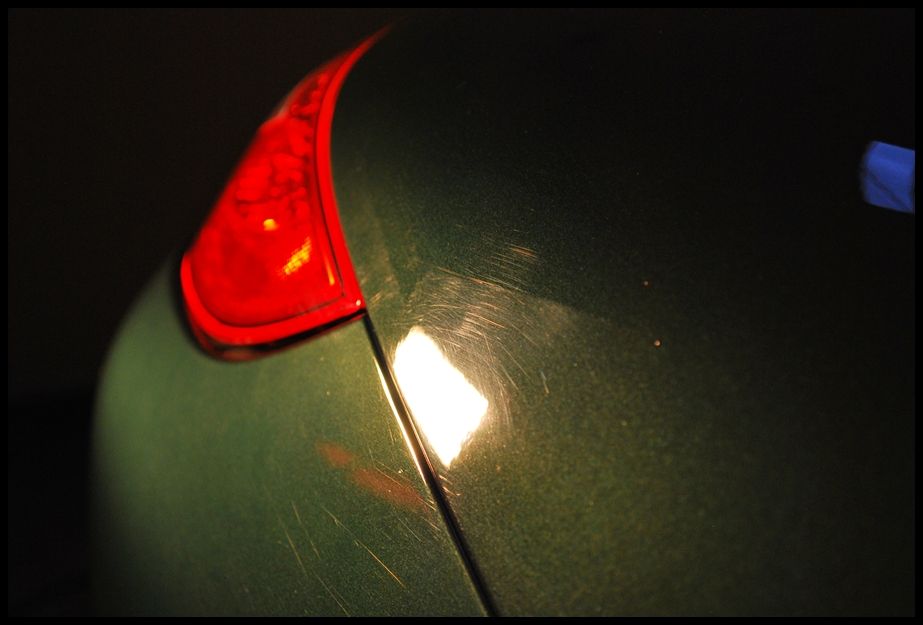
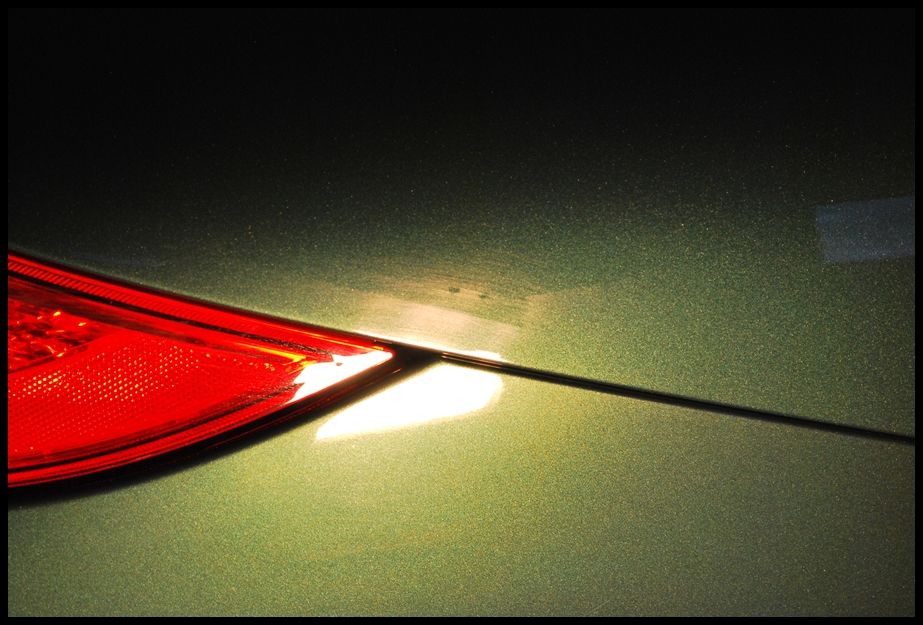
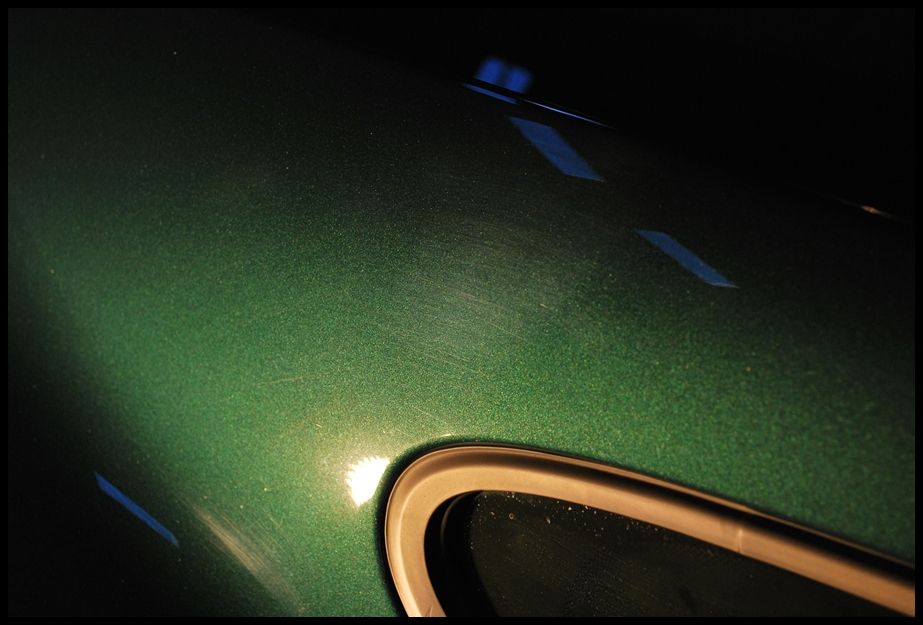
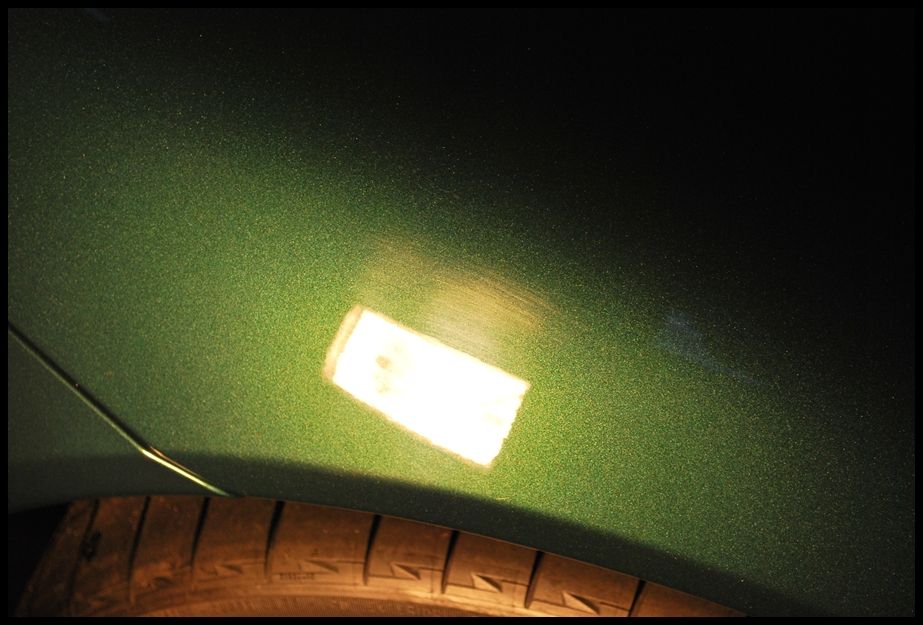

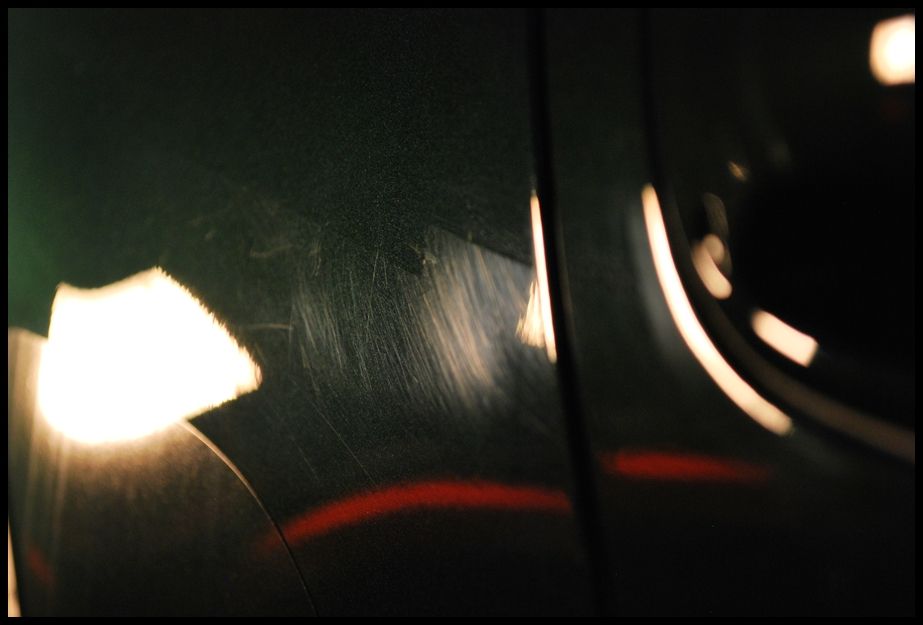
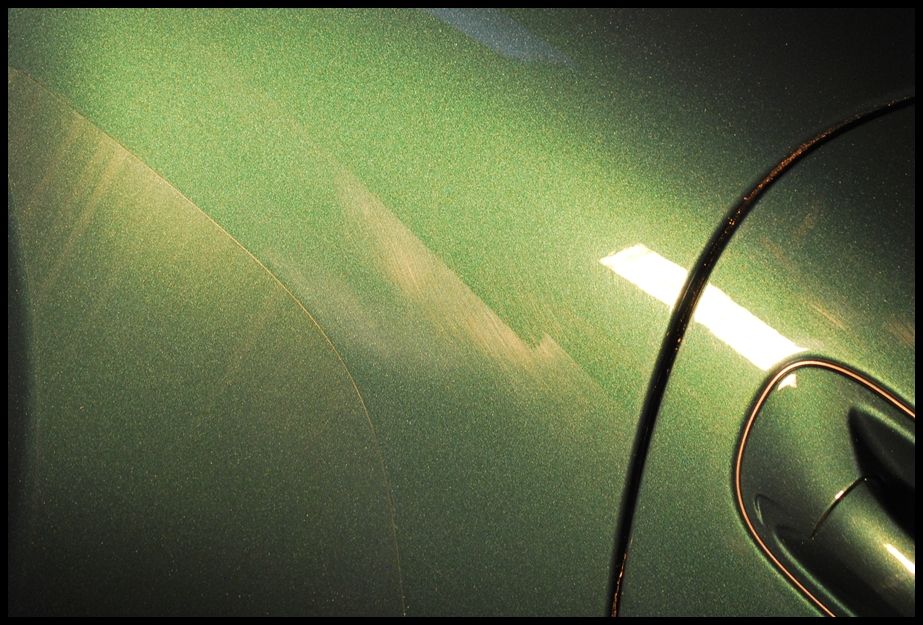
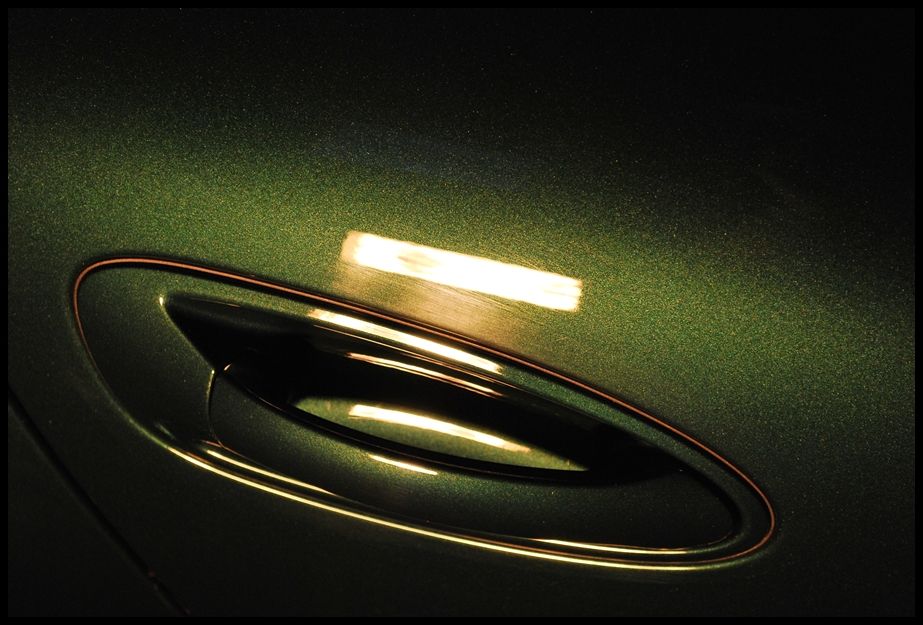
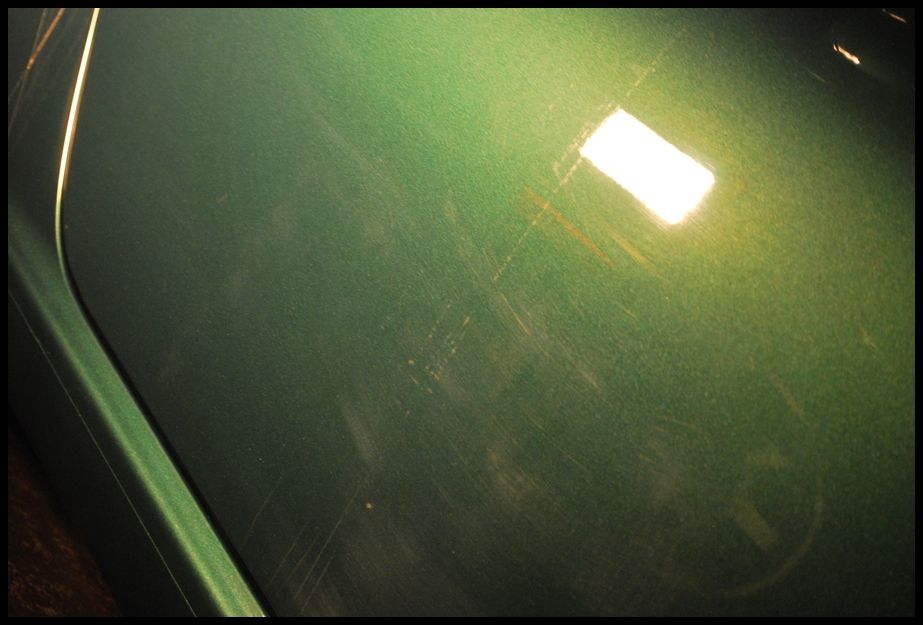
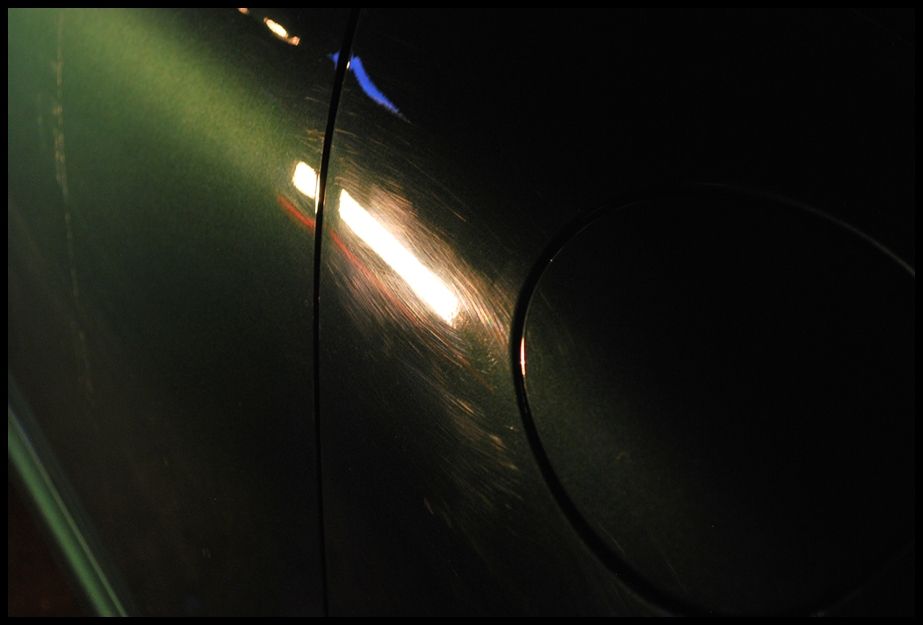
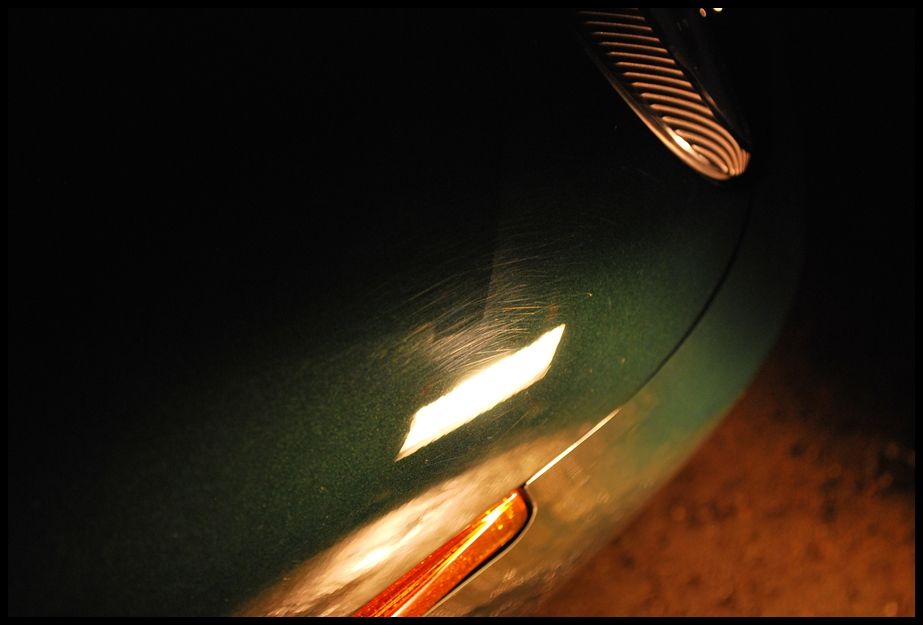
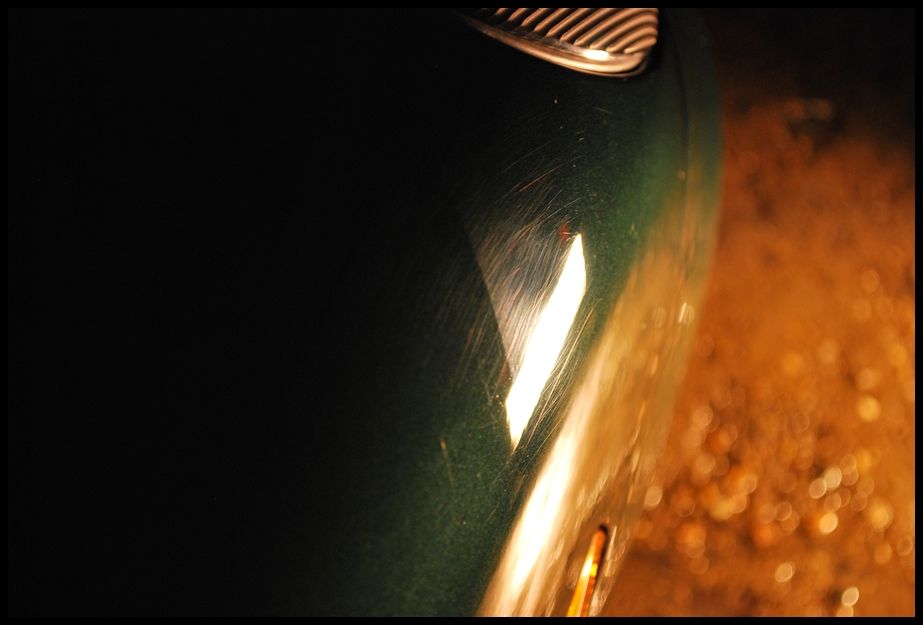
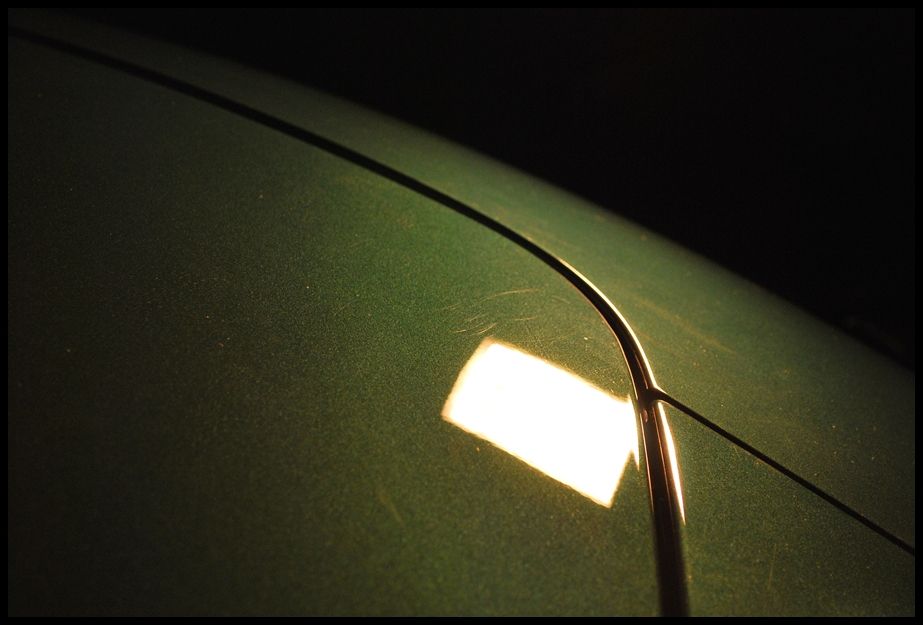
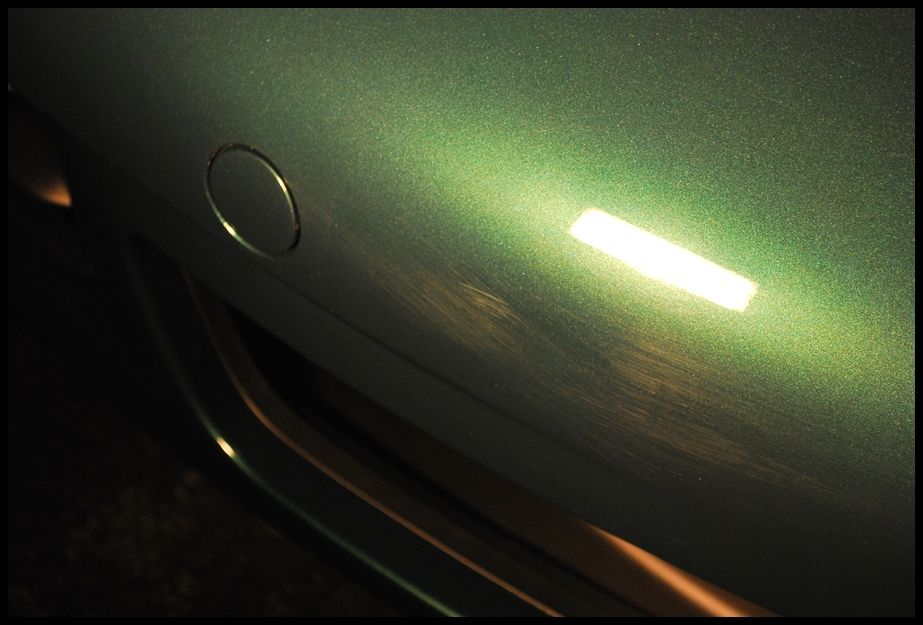
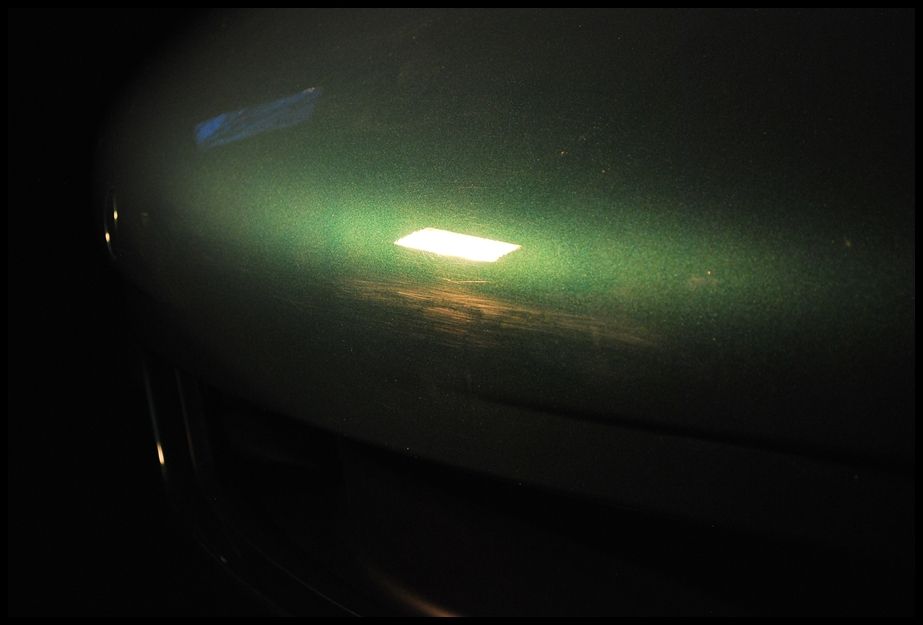
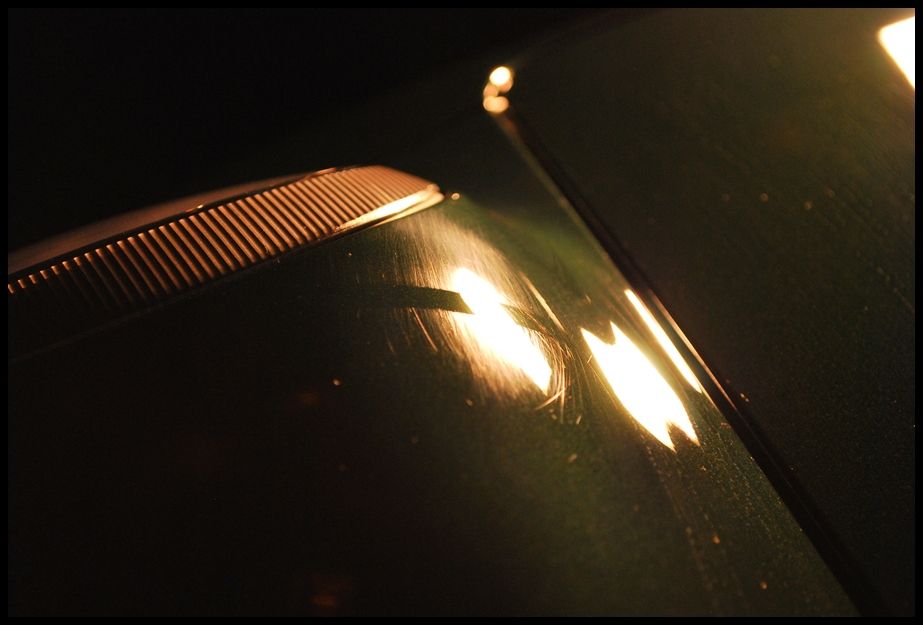
As you can see, some of the areas were not bad at all, but others needed some attention to make the car look its best. Paint thickness readings were taken as a precaution, then all trim and moldings were masked off with blue painters tape to prevent any possible damage when polishing.
imported_RickRack
New member
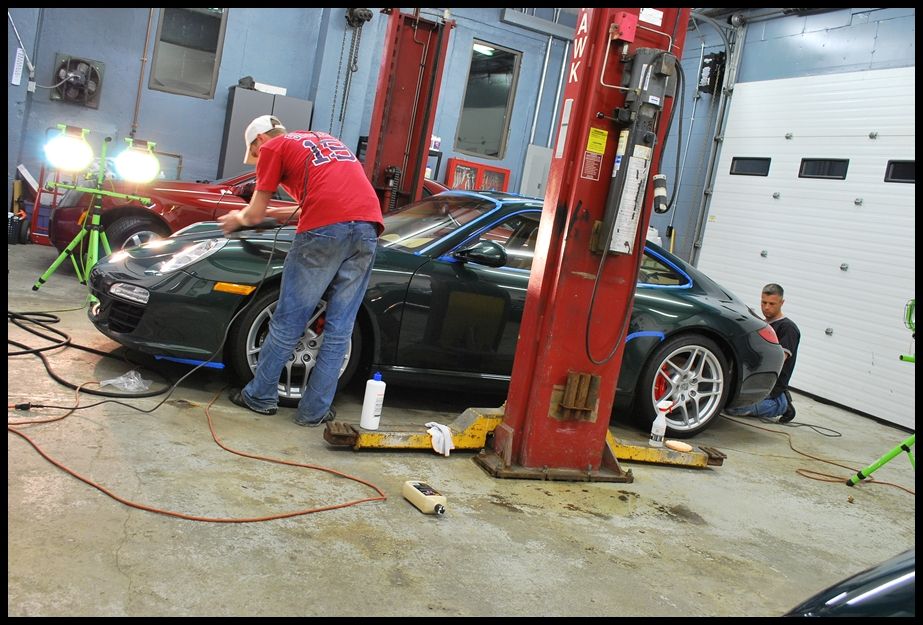
Since Porsche paint is very soft, I was confident that a 2-step polishing treatment would do the trick. Ryan and I polished the complete exterior using M105 (new version) using an orange foam pad via PC 7424XP to remove the heavier defects, then followed behind using Menzerna 85rd using a black Uber foam pad via PC 7424XP to ensure a perfect, swirl-free finish.
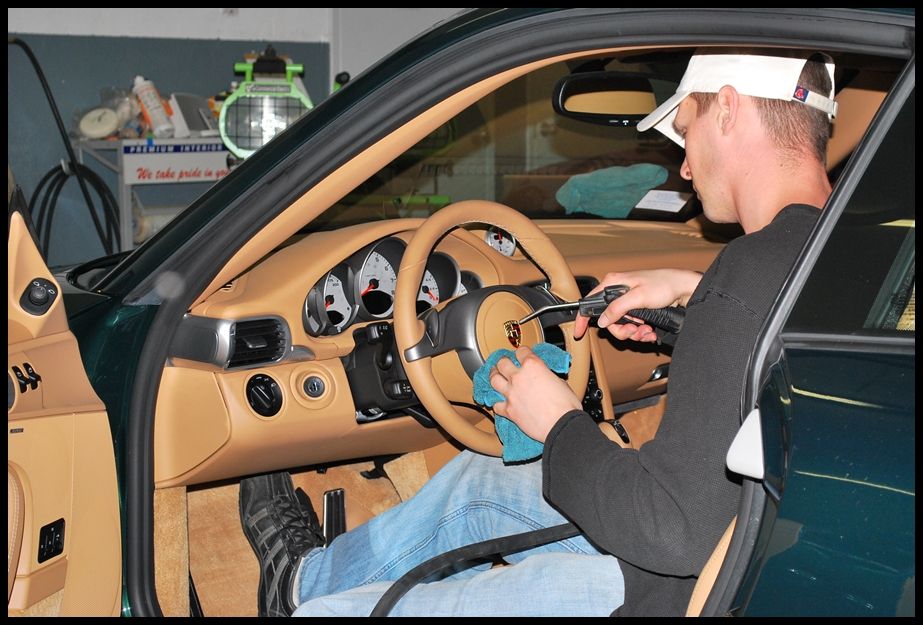
Here?s Ryan and I hard at work!!!
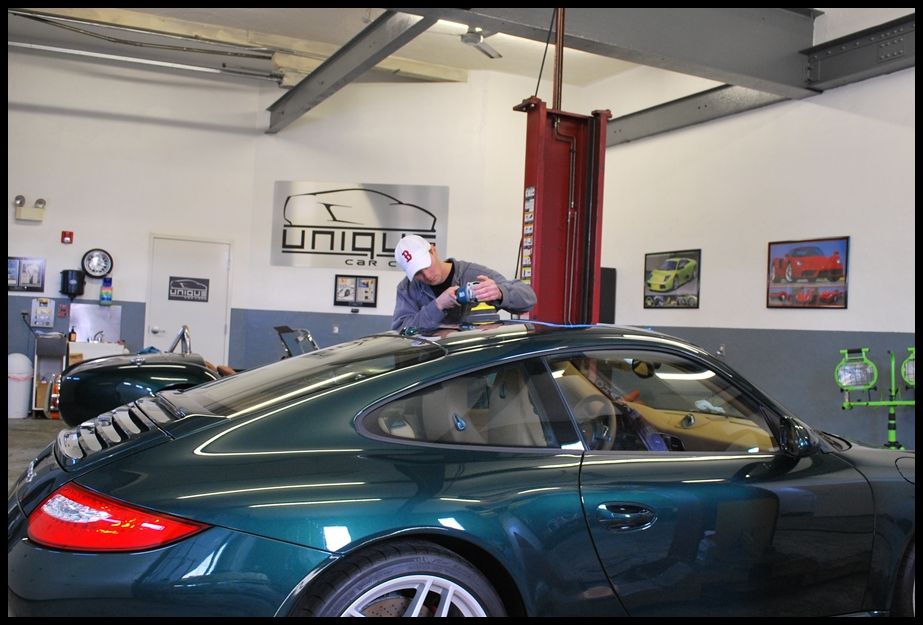
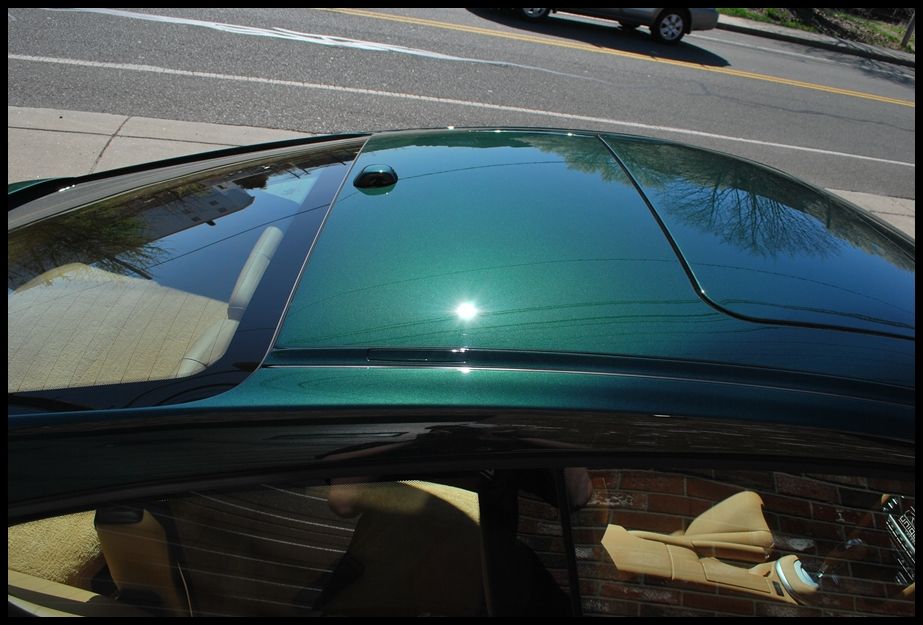
Me giving the sunroof some rotary love?
After all of the polishing was complete, I called my clear-bra installer to set up an appointment for the following day. In the meantime, I decided to detail the interior since we couldn?t go any further on the exterior until the film was installed.
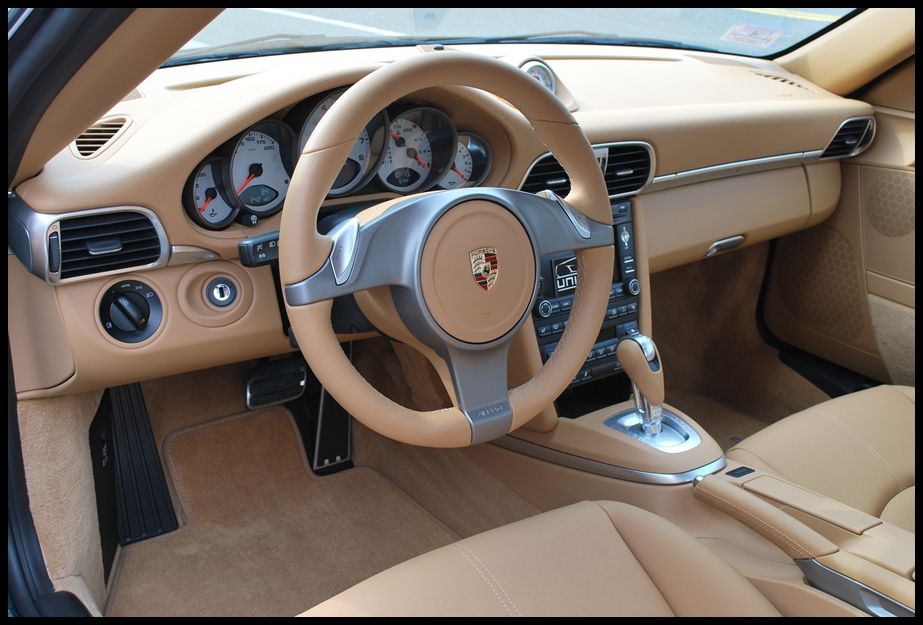
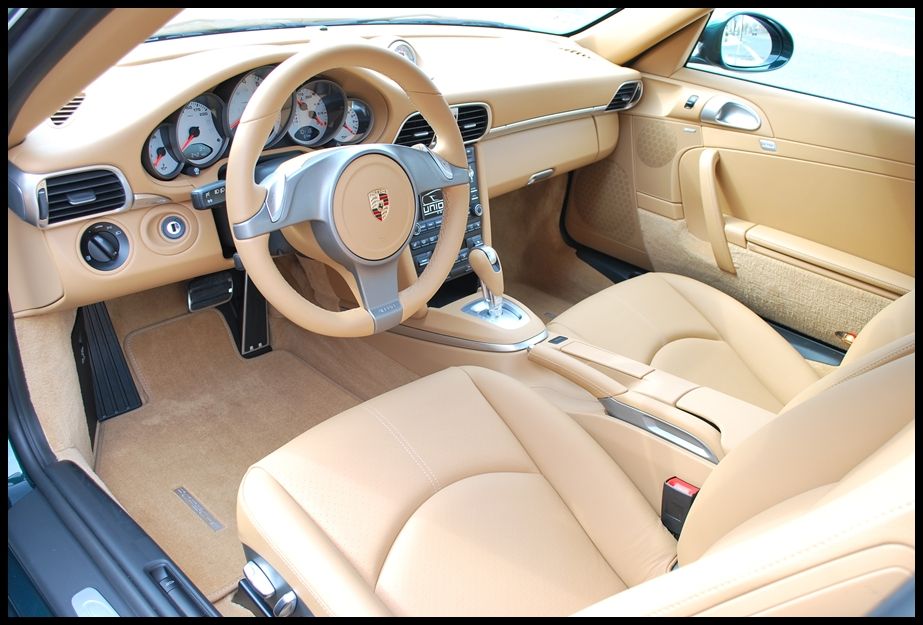
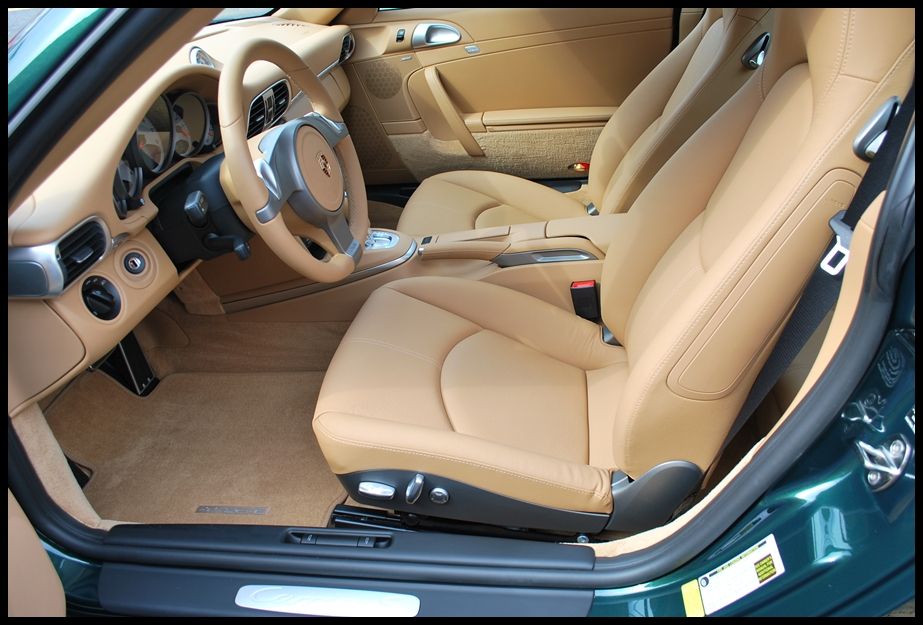
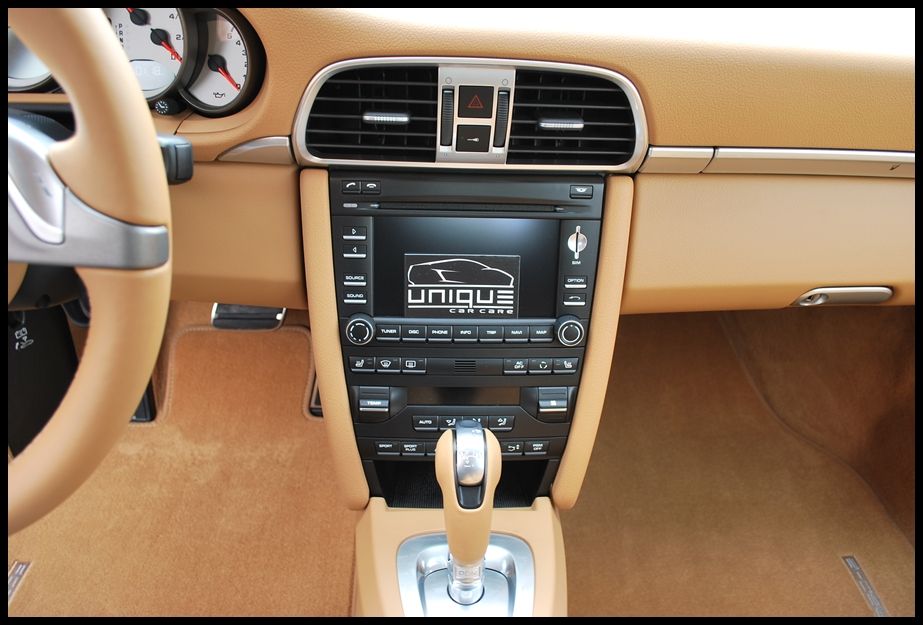
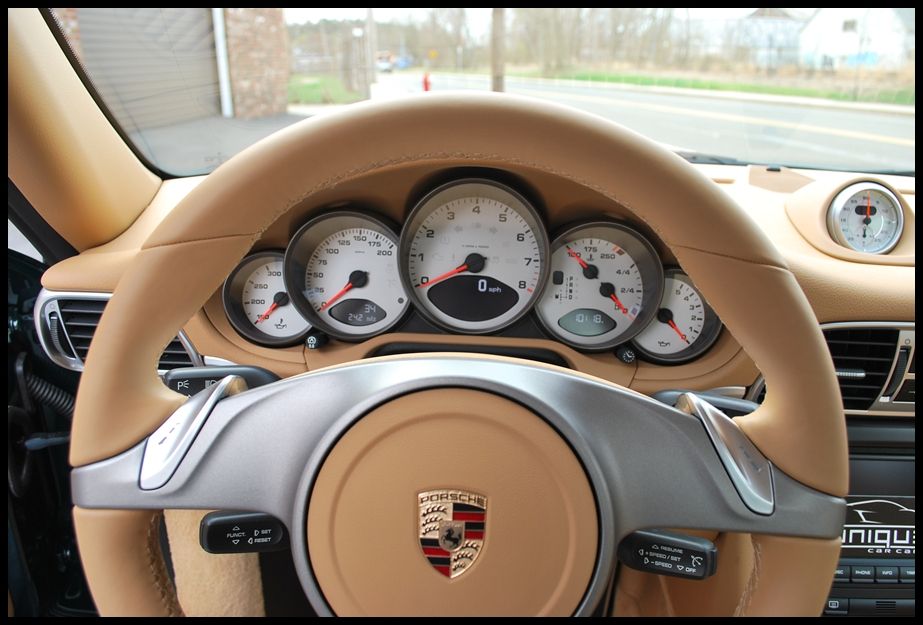
Here?s a few pictures of what the interior looked like before any cleaning. Notice the adhesive on many of the panels, which really took away from this beautiful interior.
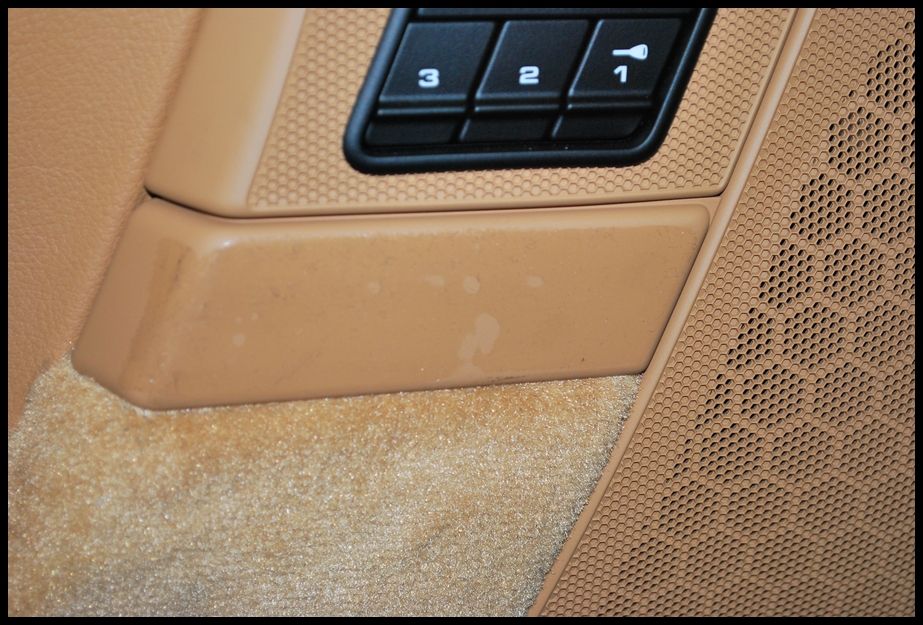
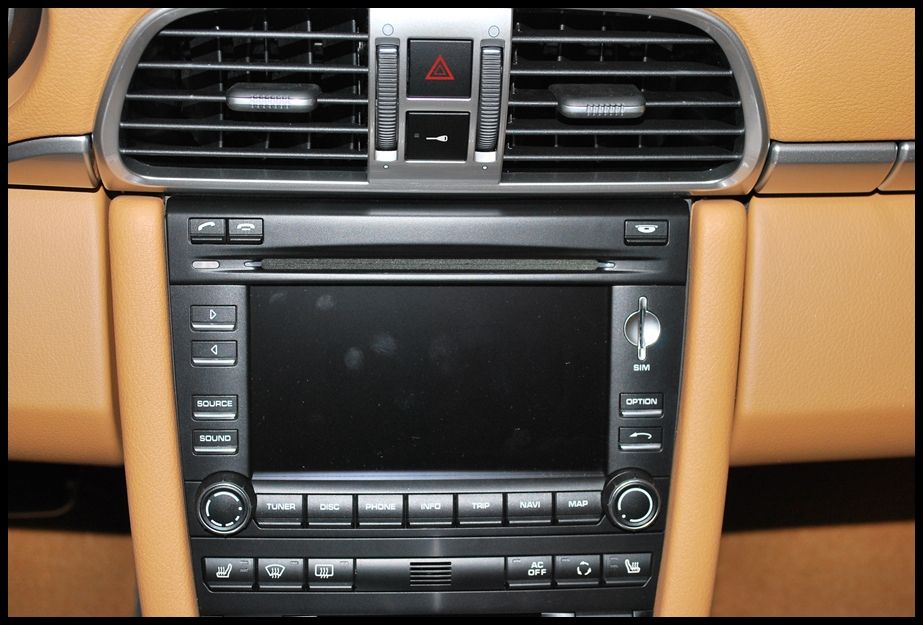
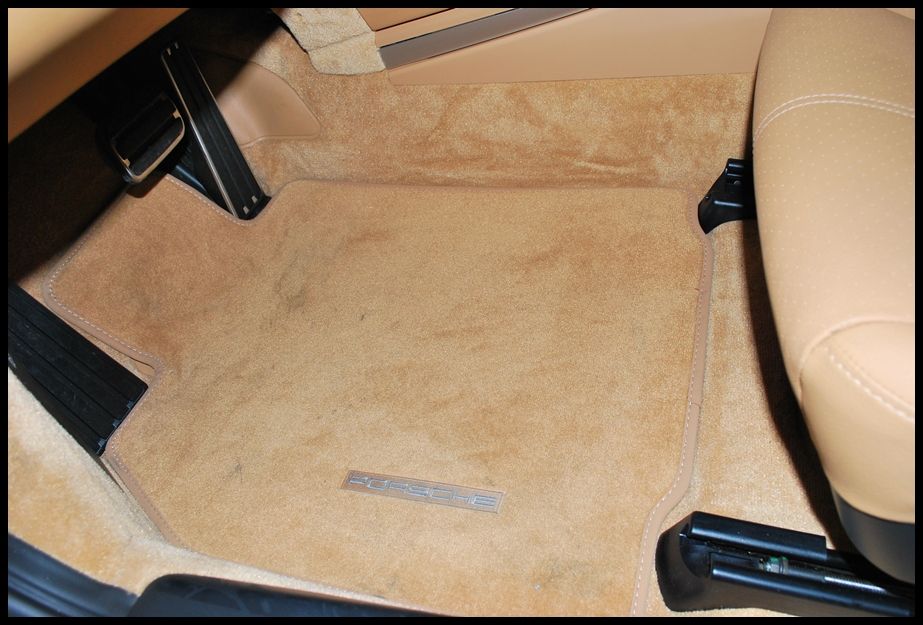
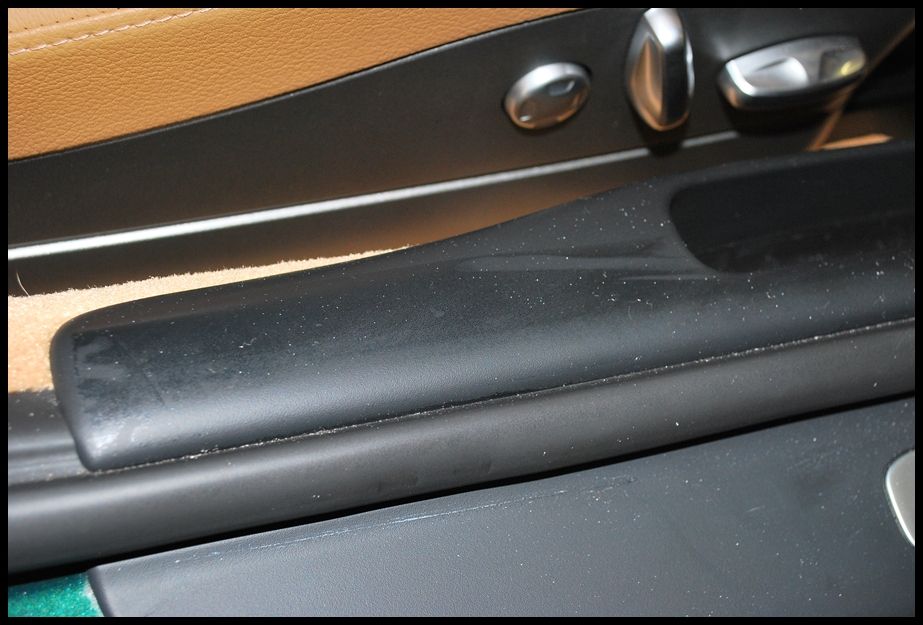

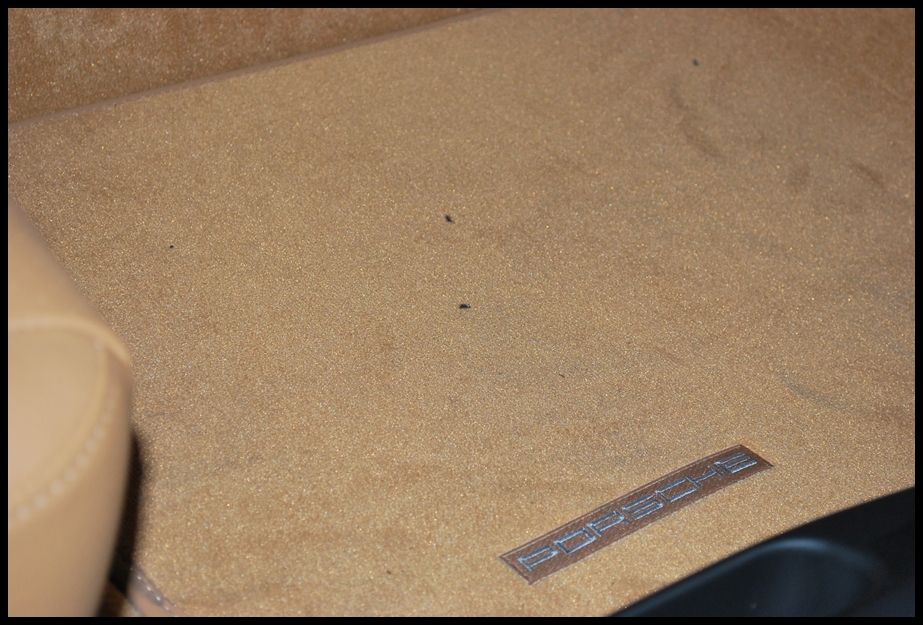
Both front floor mats were shampooed using my Thermax extractor and hung to dry. To remove the adhesive from the panels, I used a citrus cleaner, which worked really well. I wiped down the complete interior using a damp microfiber towel, misted with Optimum Power Clean and purged with compressed air.
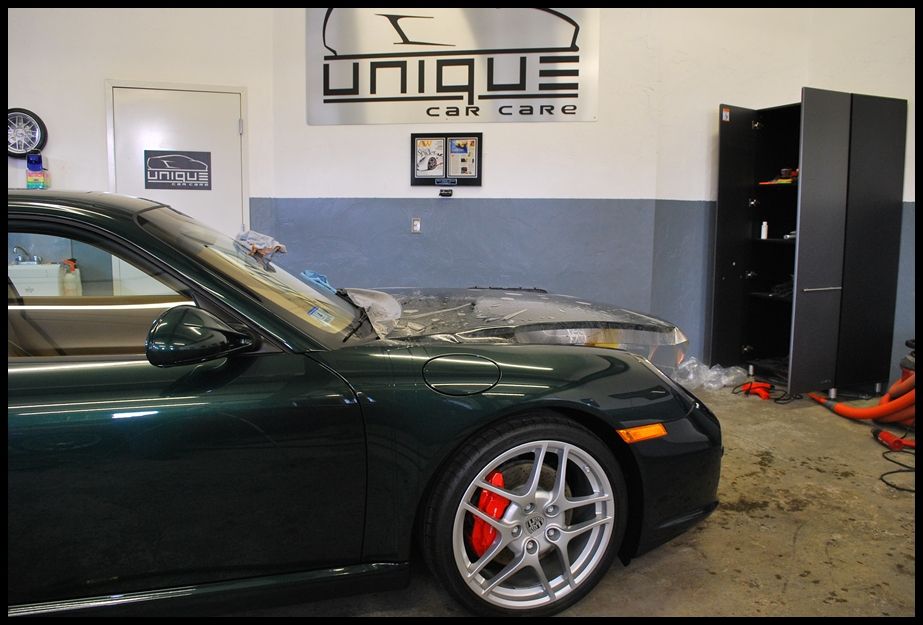
After the interior was complete, I wrapped things up for the night and met the clear-bra installer the following day. I gave all areas being covered in film a quick alcohol wipedown to ensure there was a perfection foundation.
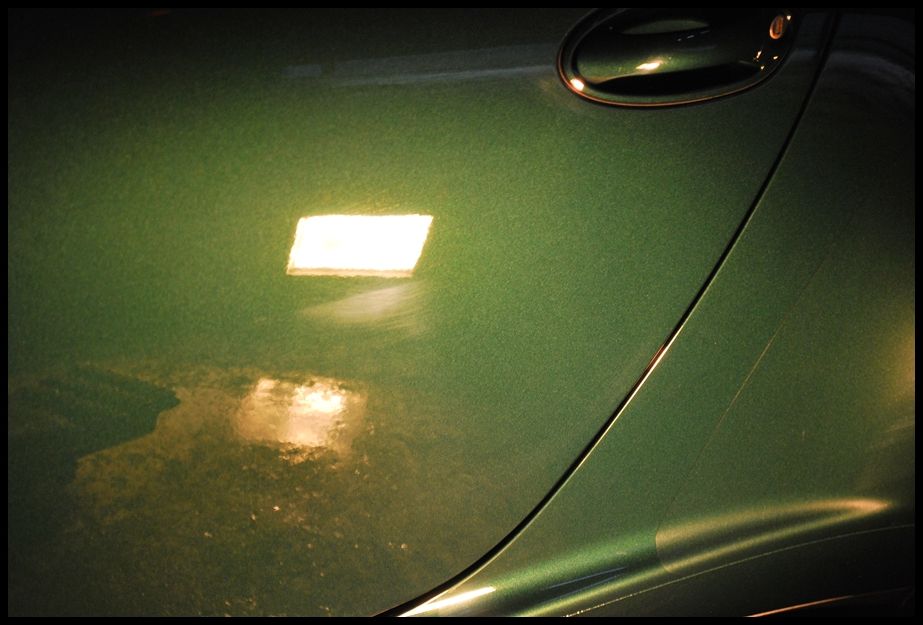
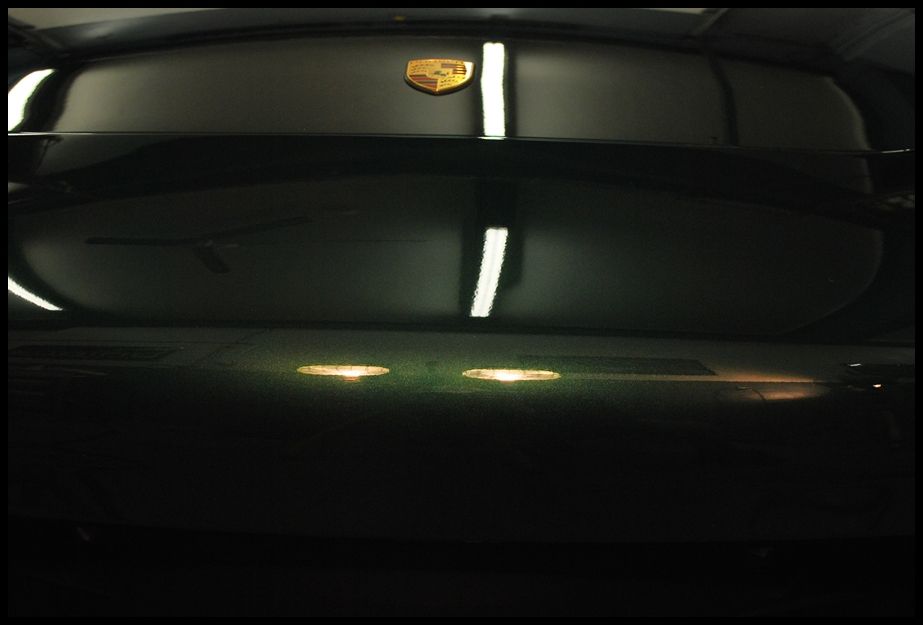
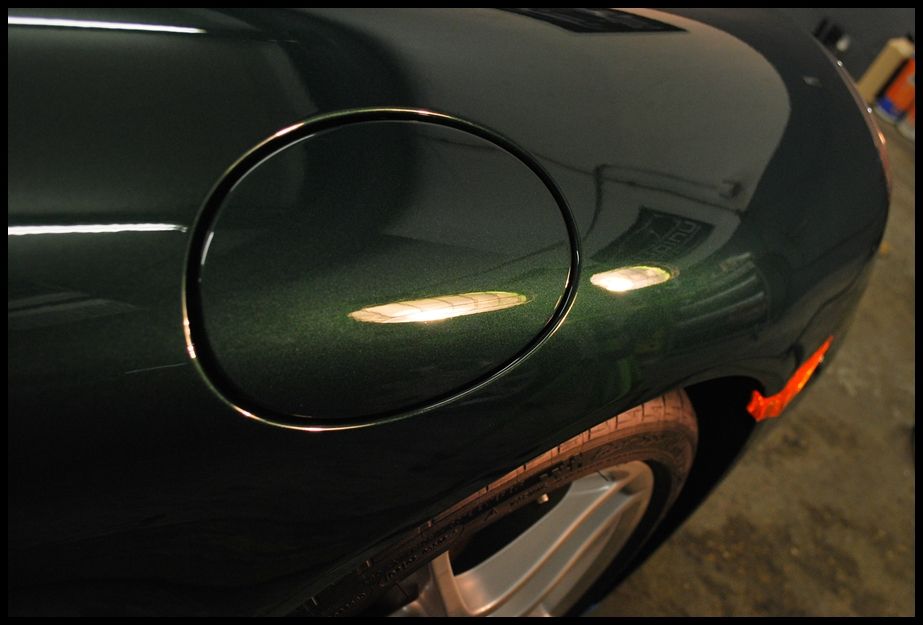
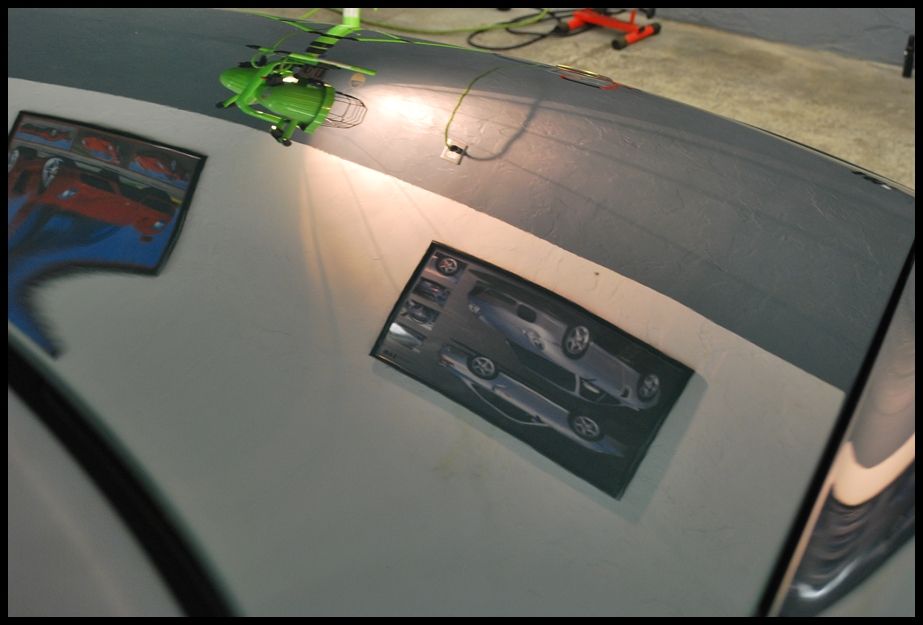
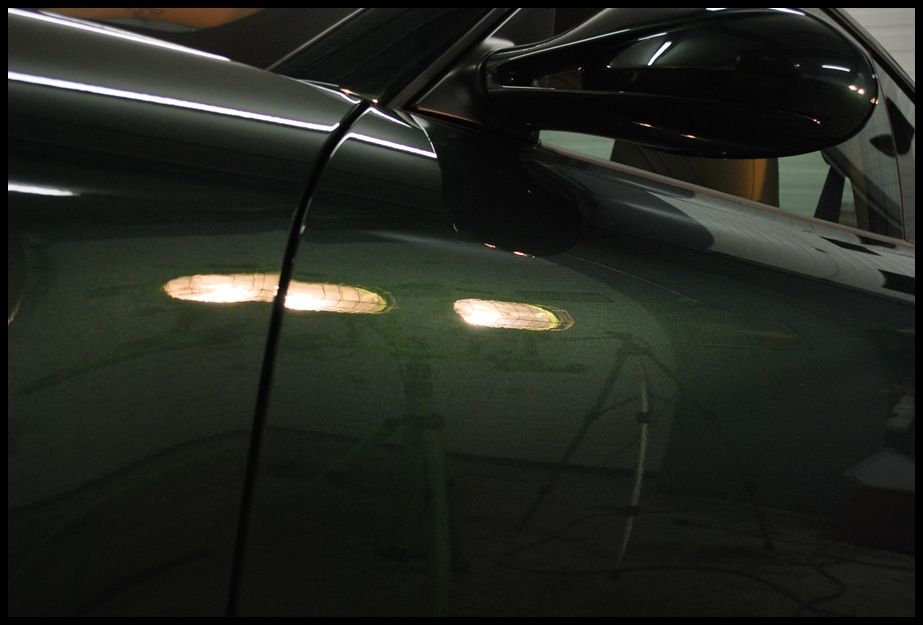
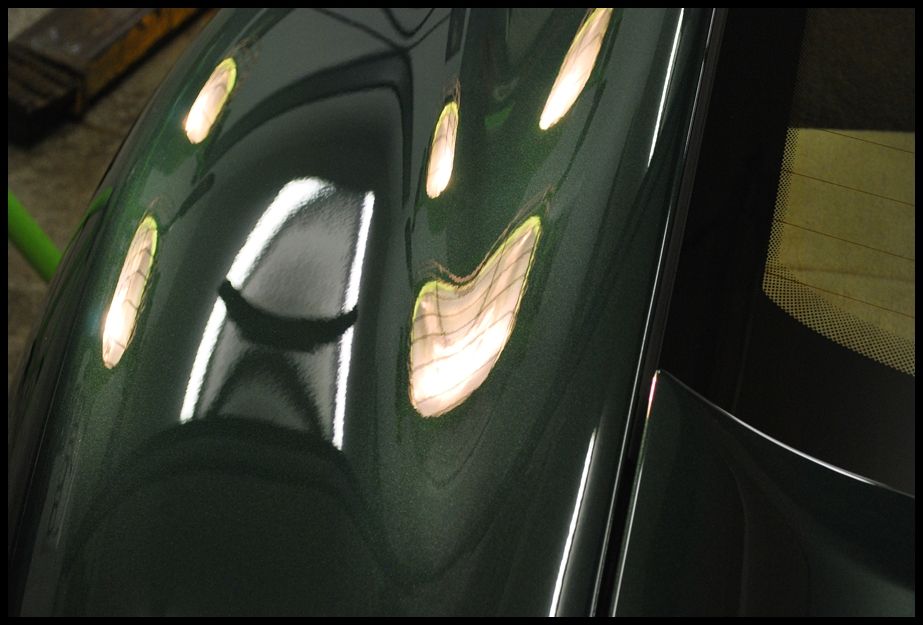
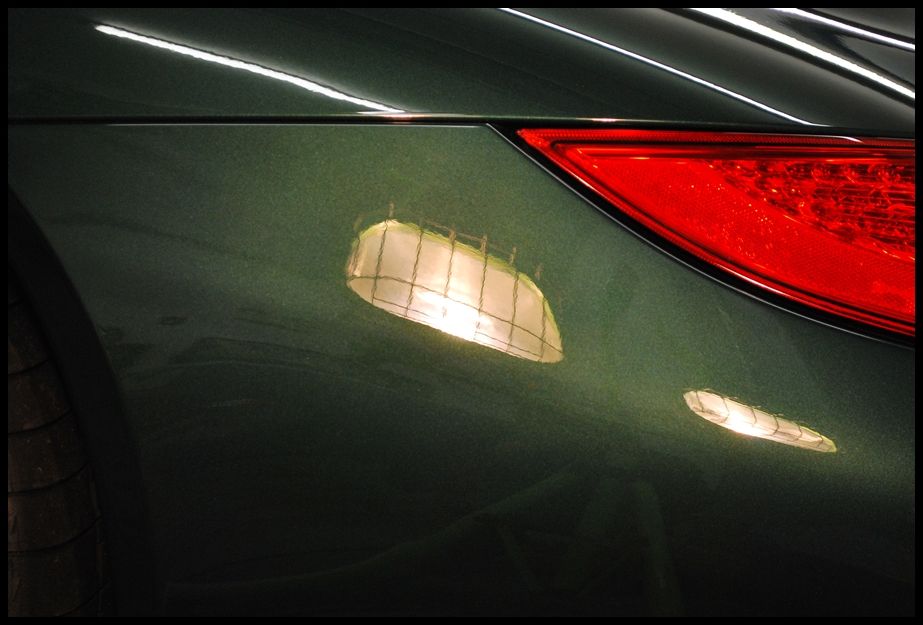
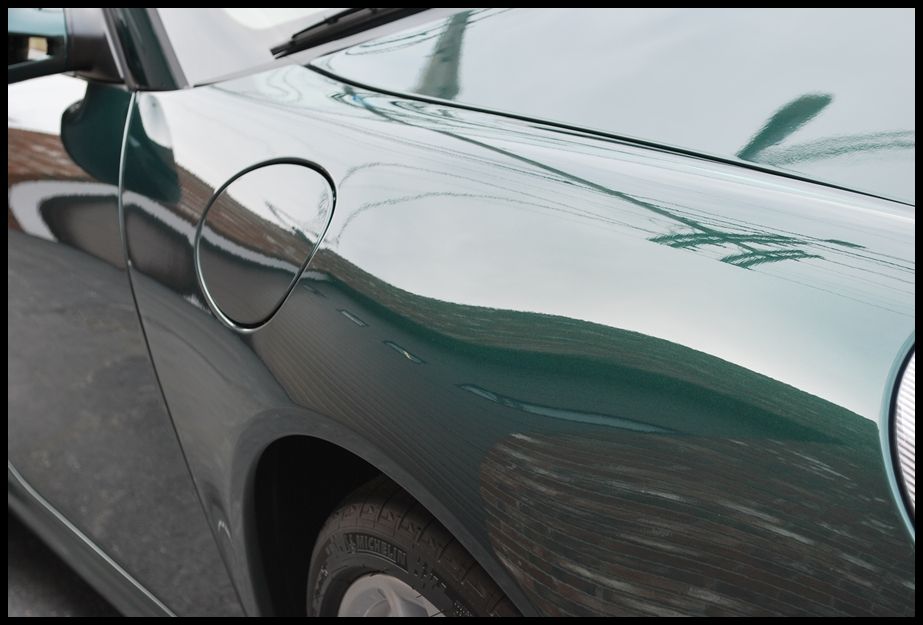
The pictures below show the condition of the paint after the alcohol wipedown, prior to the clear-bra install. The paint looked perfect (as a new car should) and polished out nicely.
imported_RickRack
New member
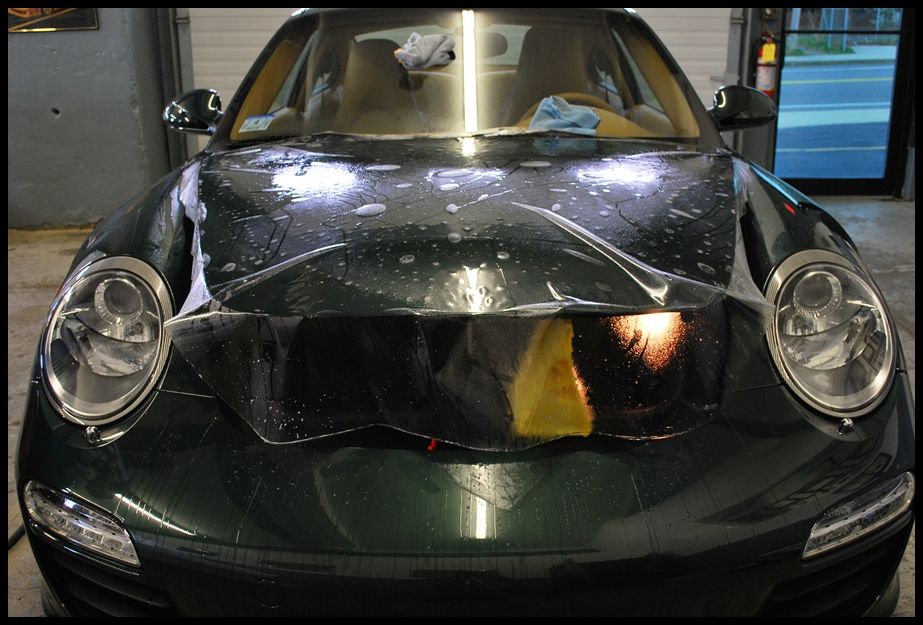
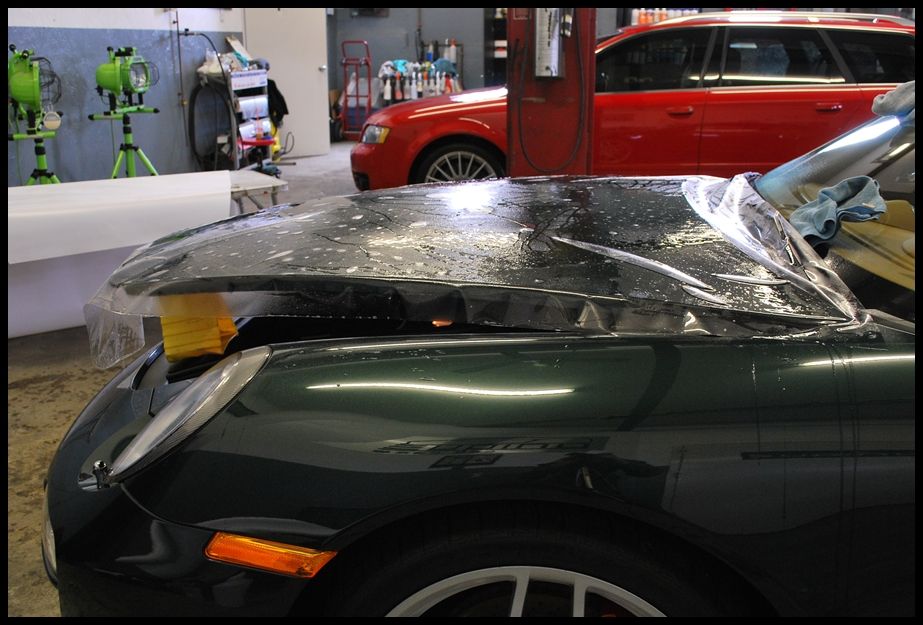
Here is the PPF (paint protection film) laid out on the hood? The install took a while, so I worked on another car in the meantime.
imported_RickRack
New member
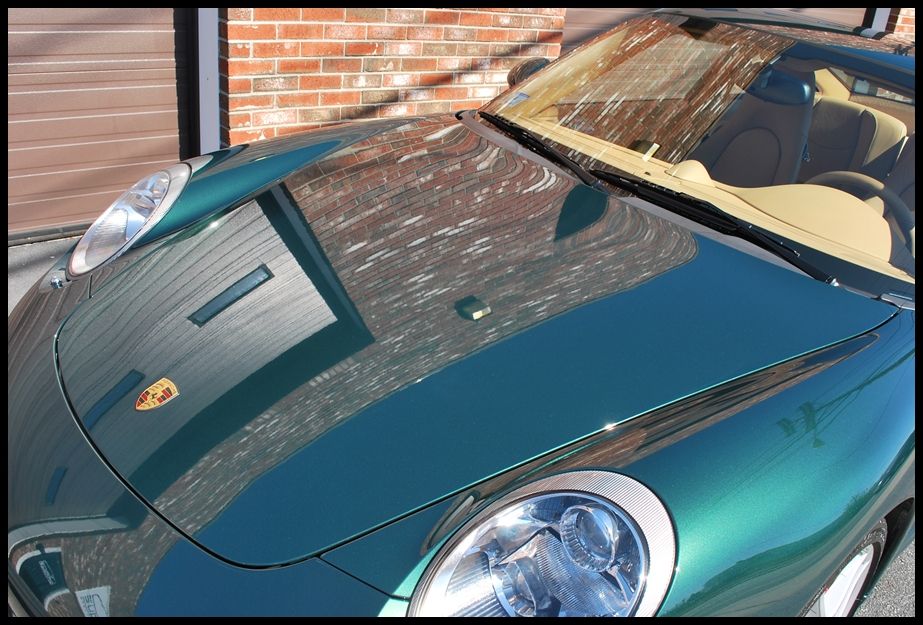
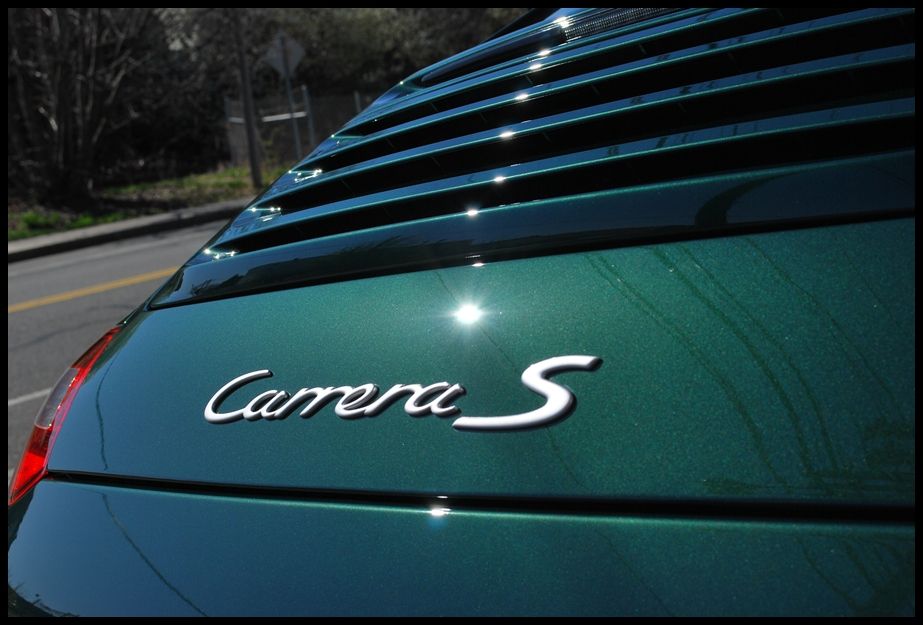
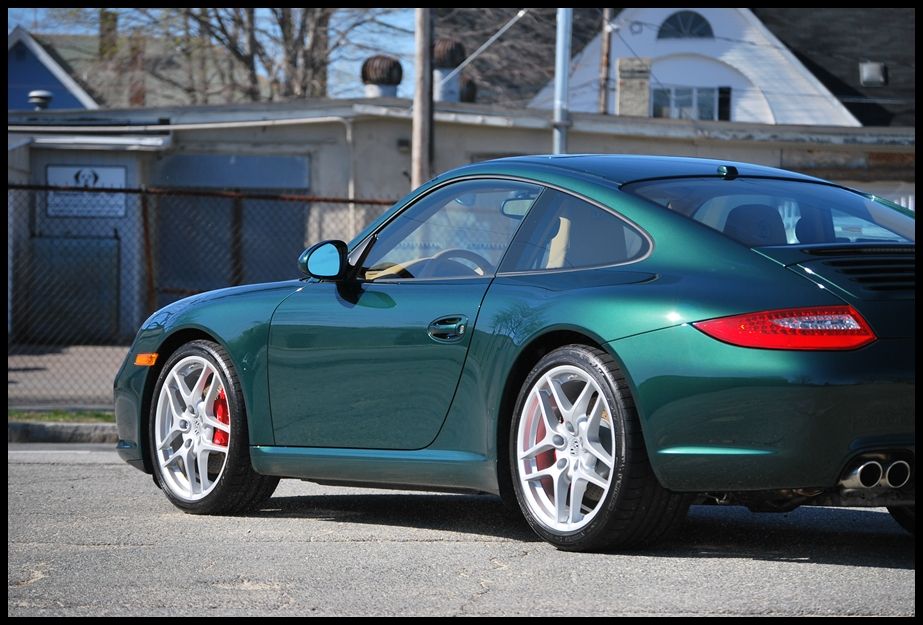
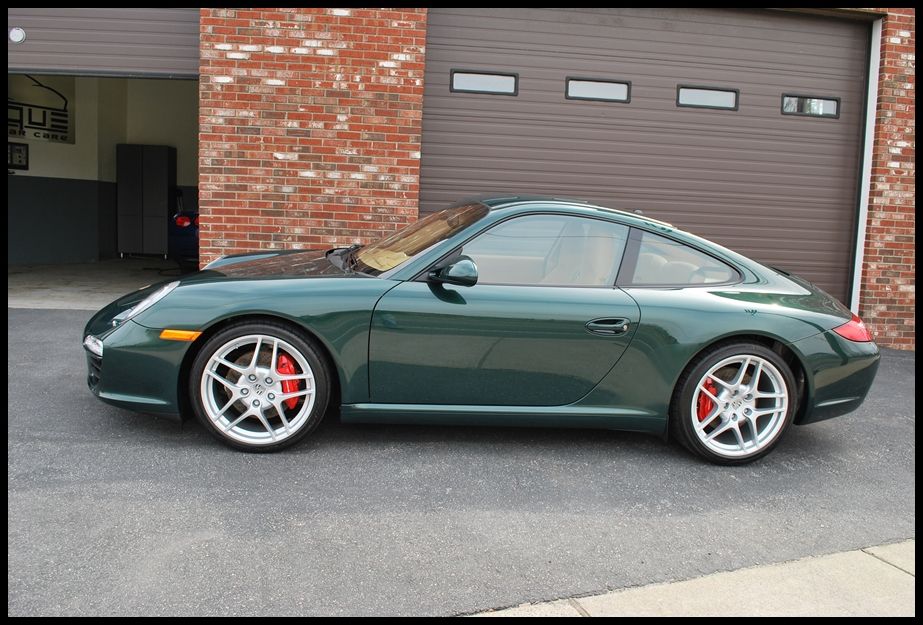
After the clear-bra install was complete, I applied Collinite Marque D?Elegance Carnauba Paste Wax #915 to the complete exterior and clear-bra for maximum looks and durability. All wheels were sealed with FK-1 Hi-Temp Wax (1000P), then all tires and wheel wells were dressed with Super Blue dressing. Last but not least, all windows were cleaned and every crack & crevice was inspected for excess wax.
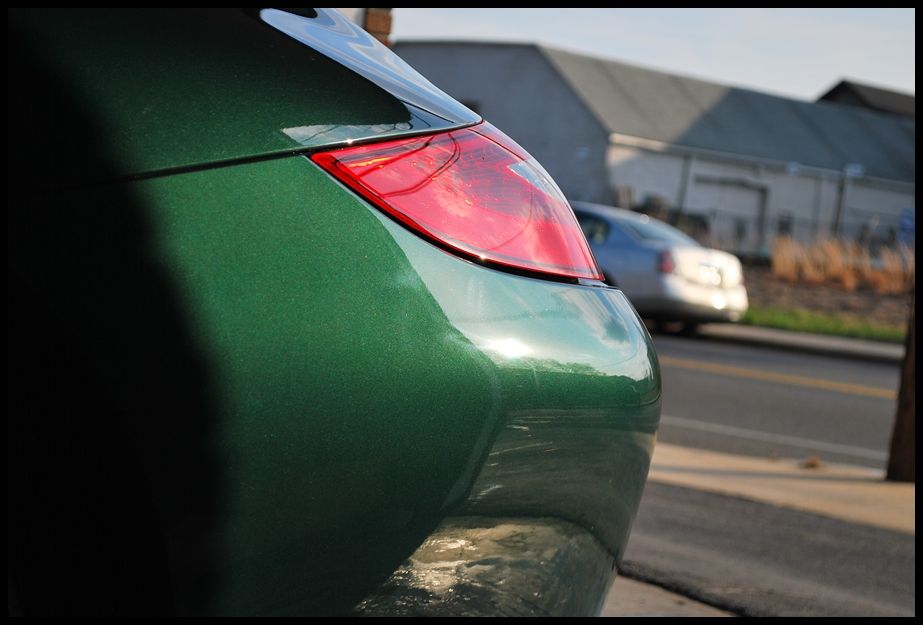
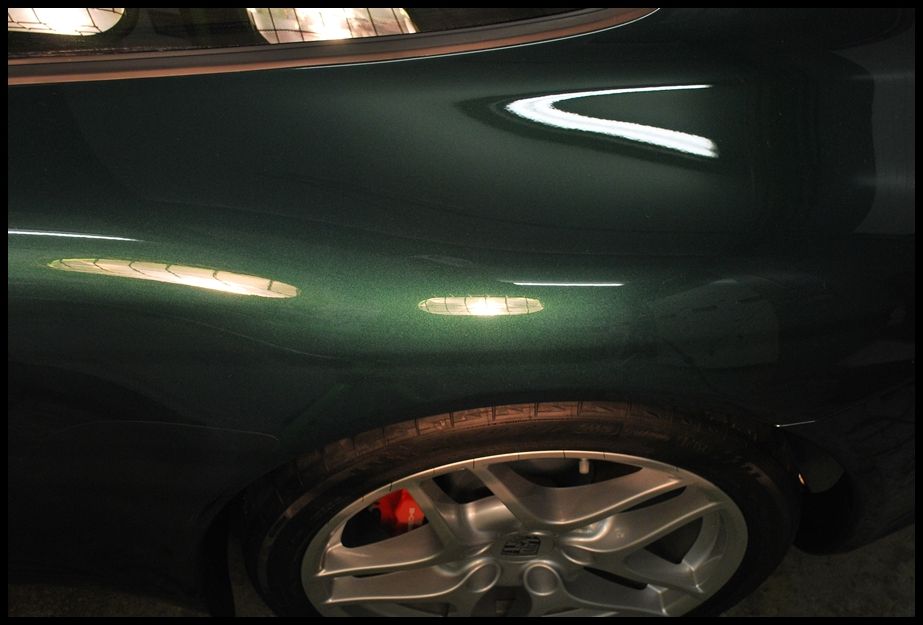
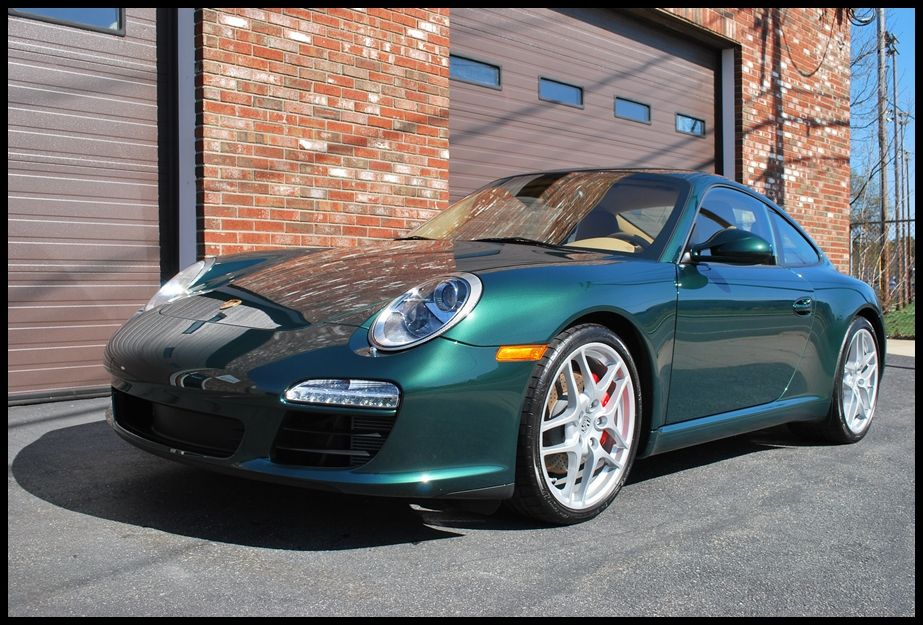
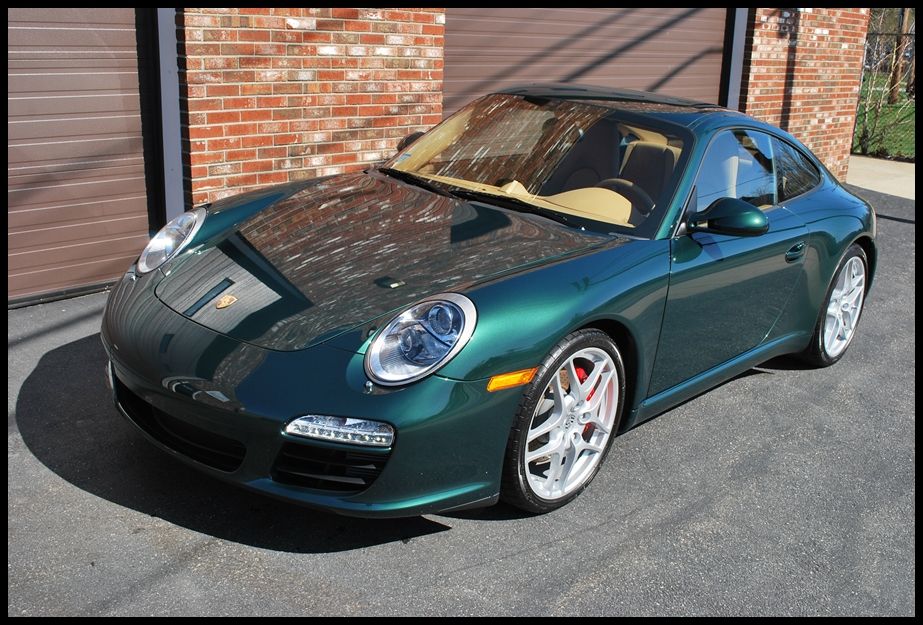
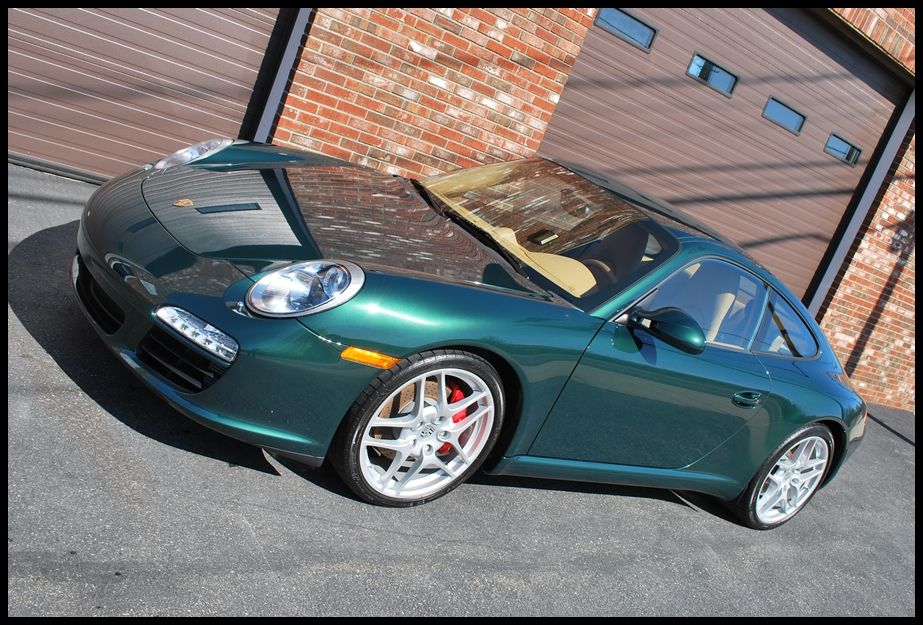
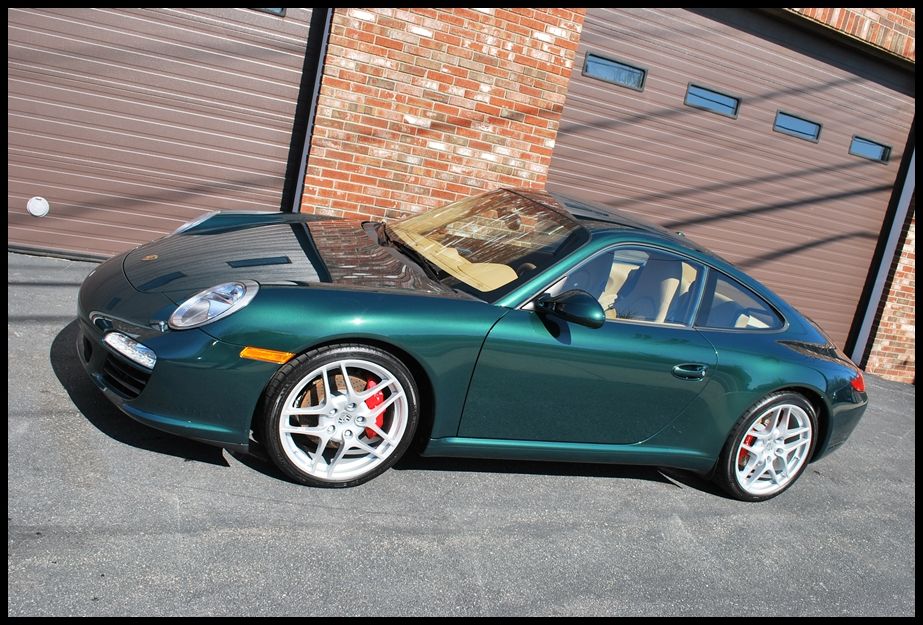
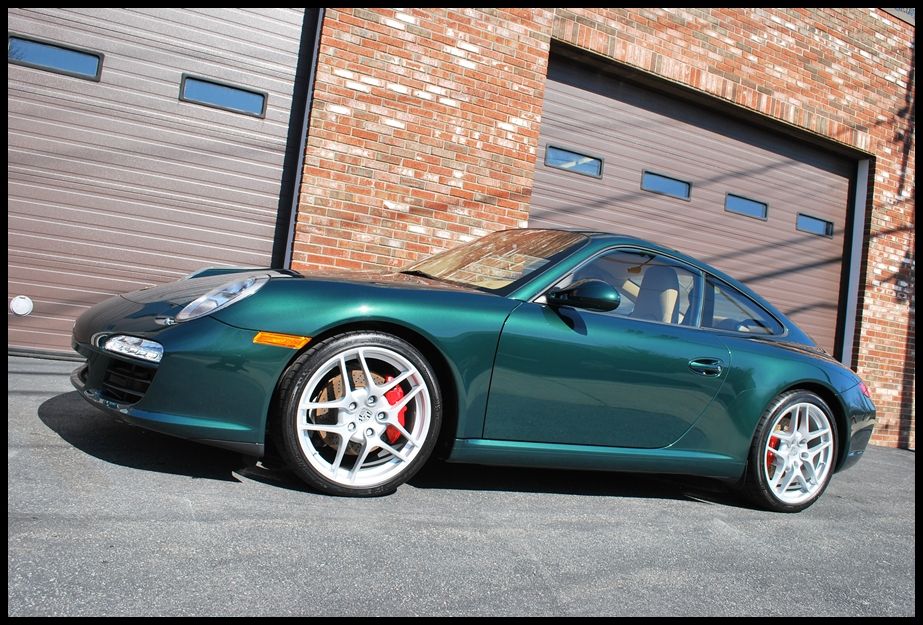
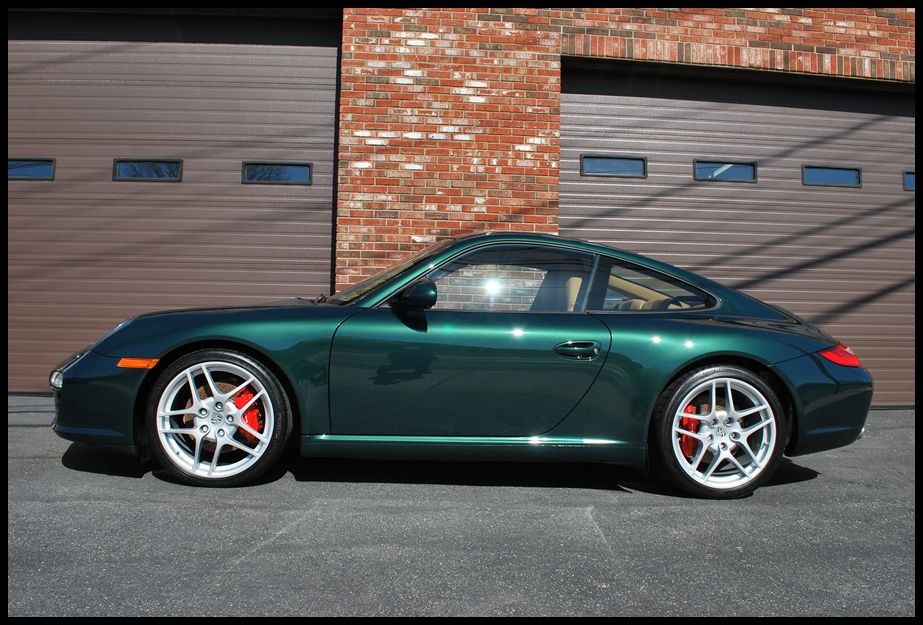
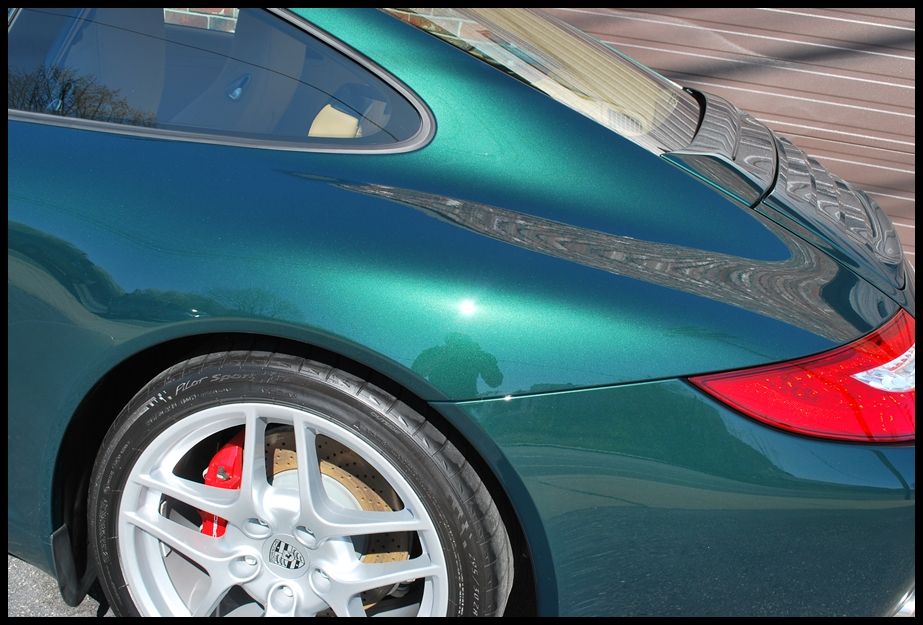
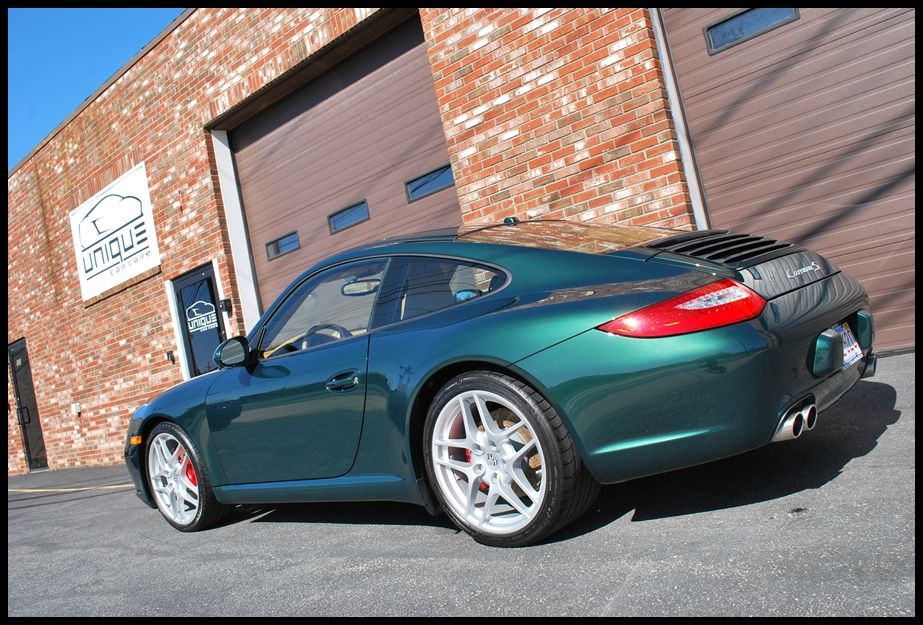
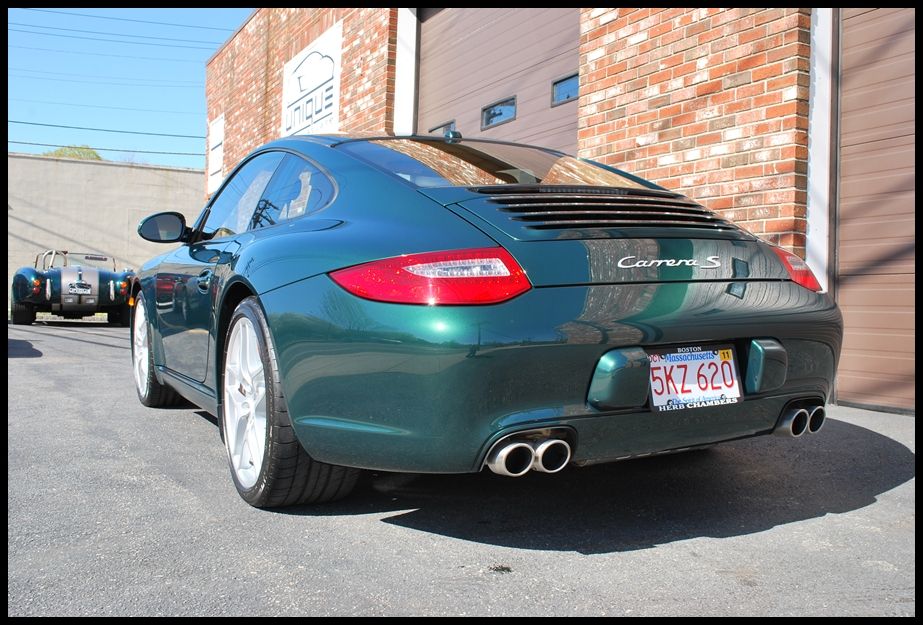
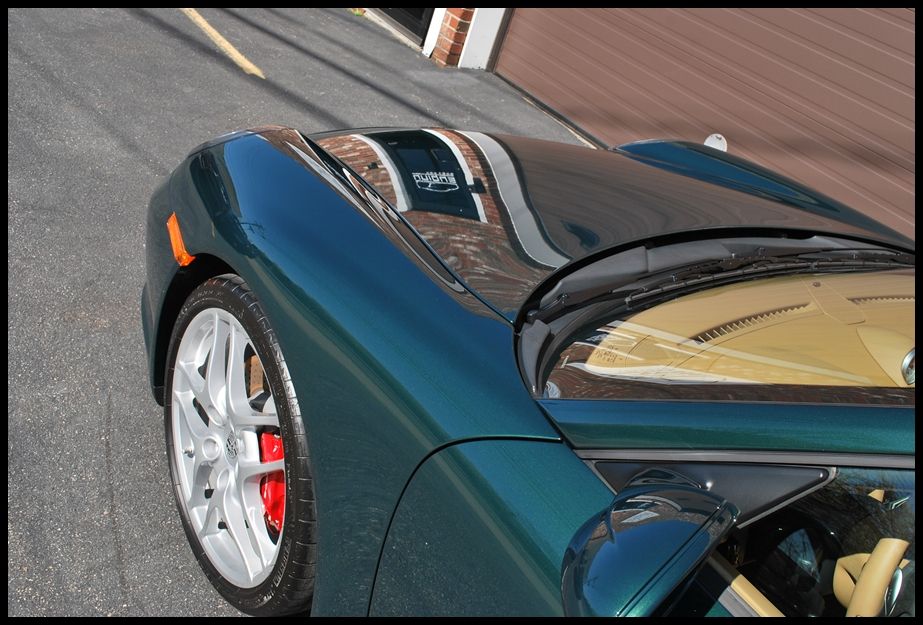
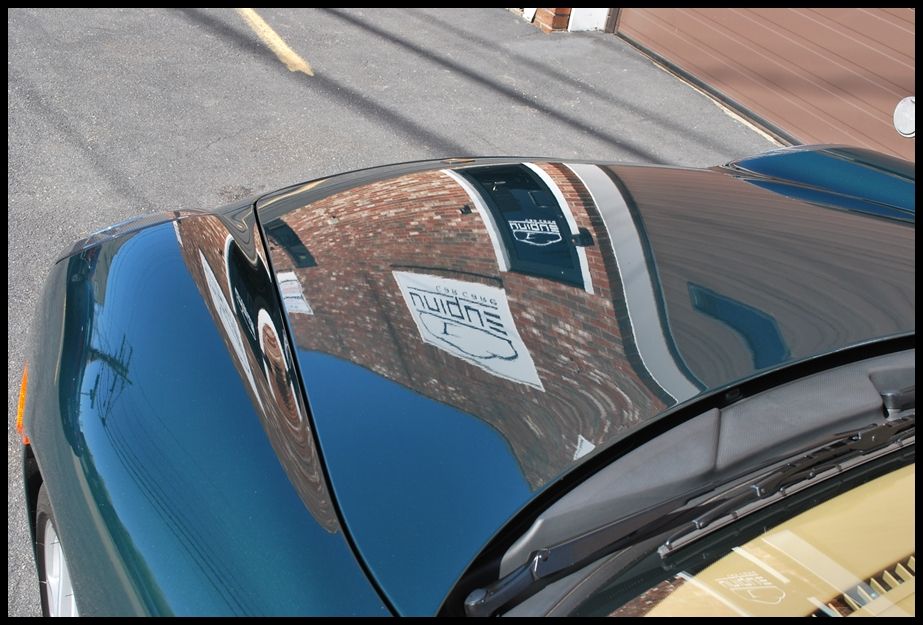
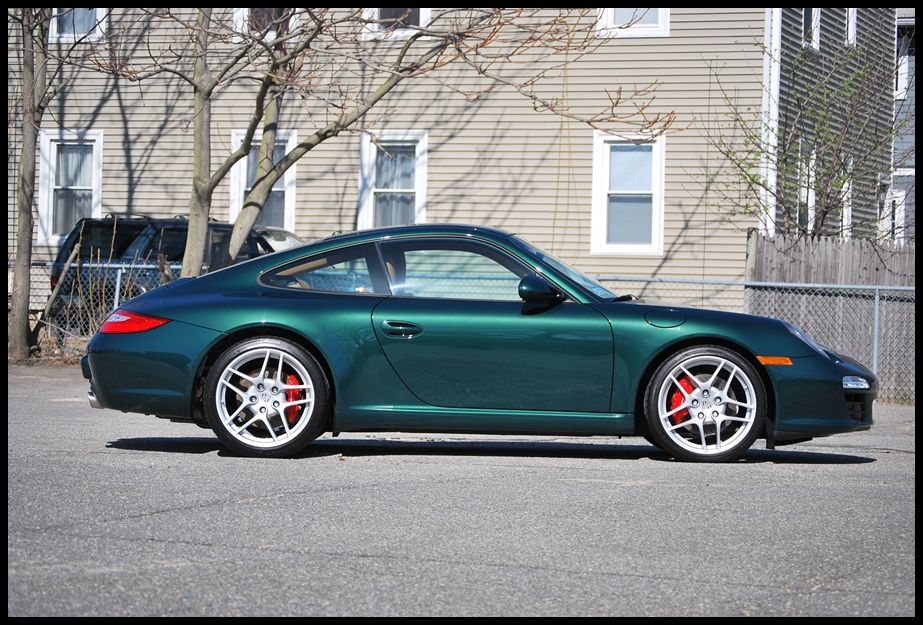
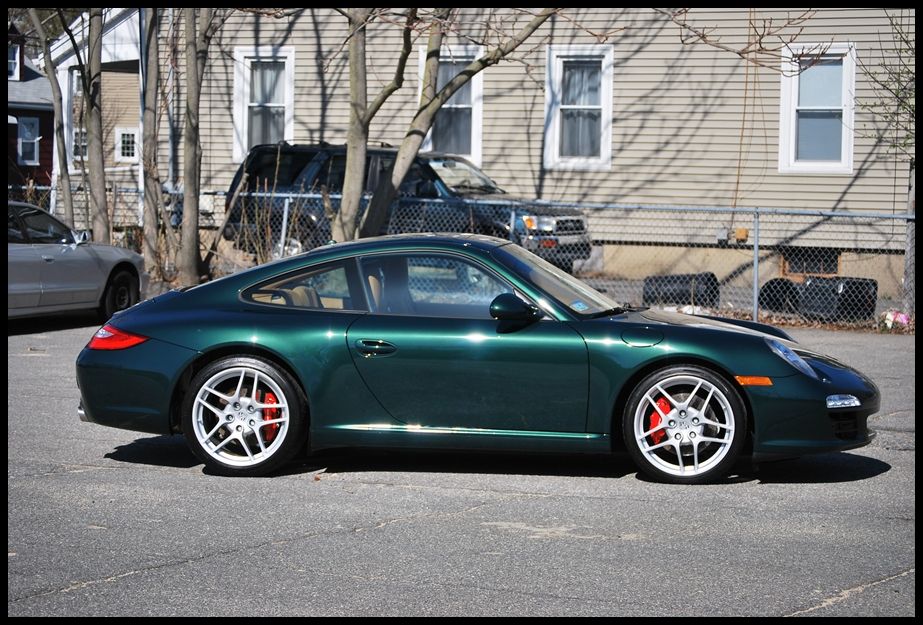
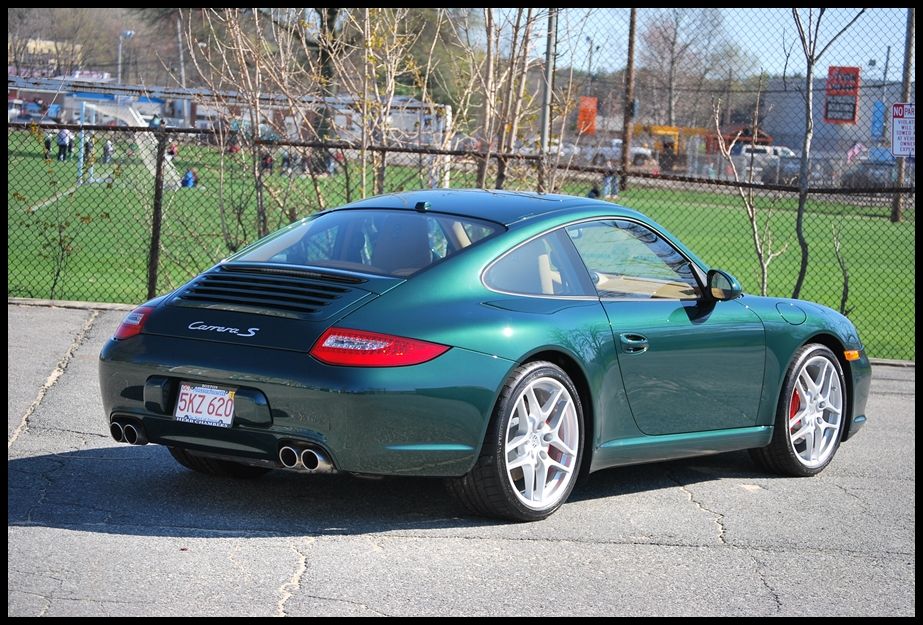
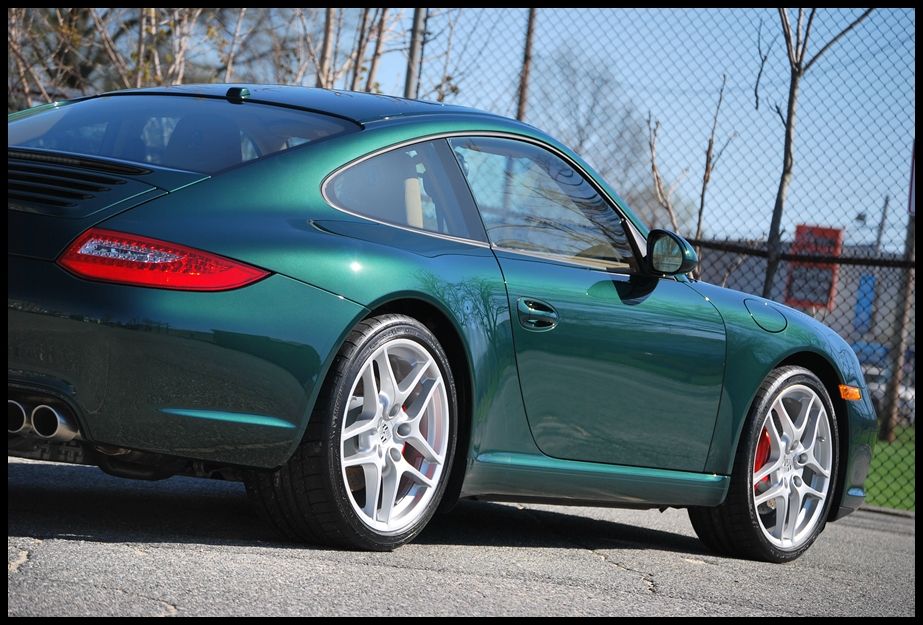
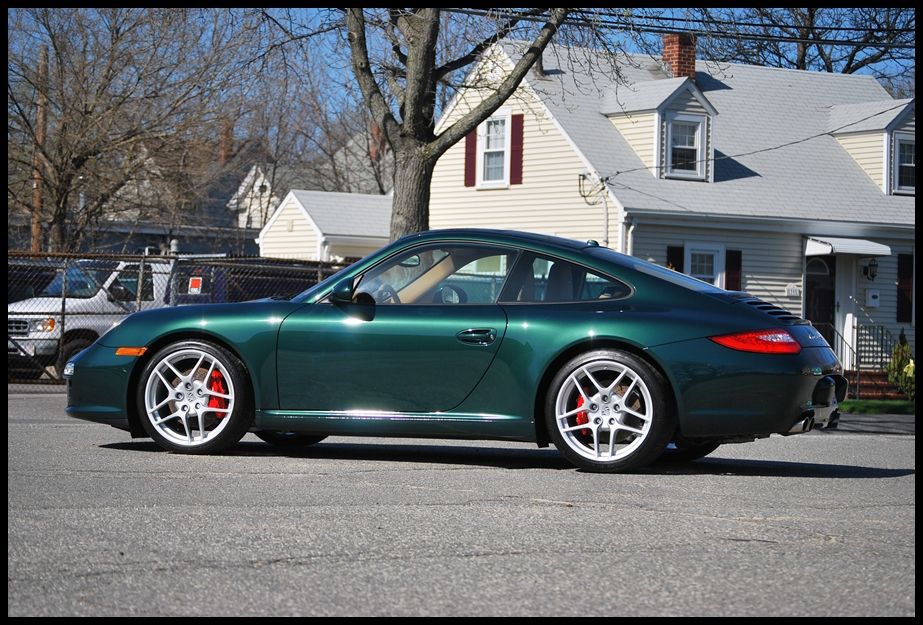
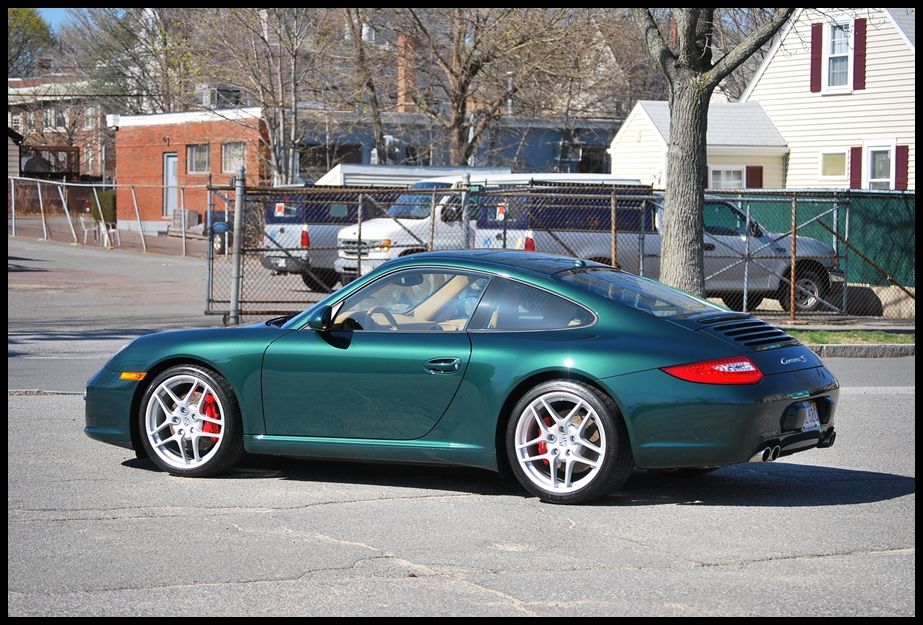
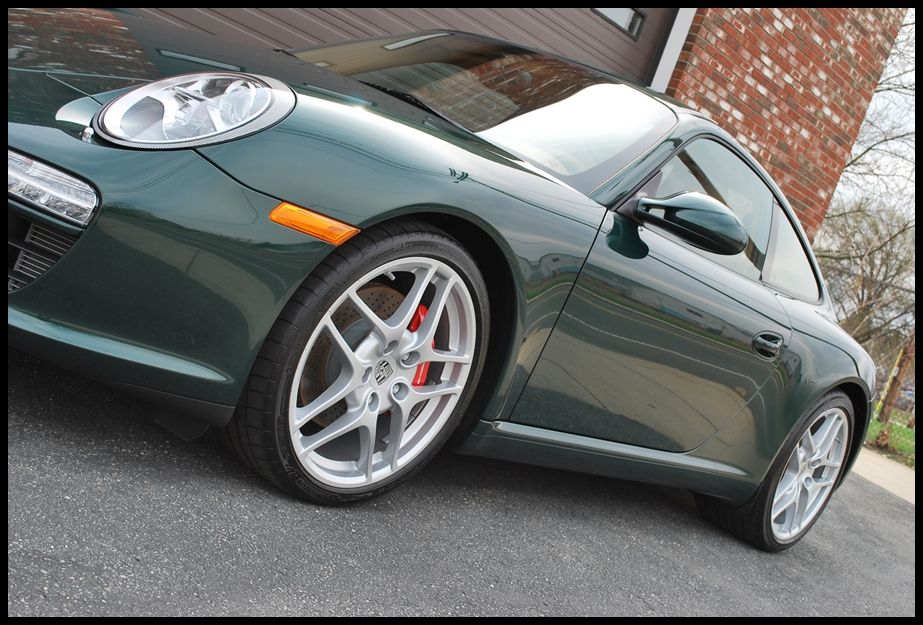
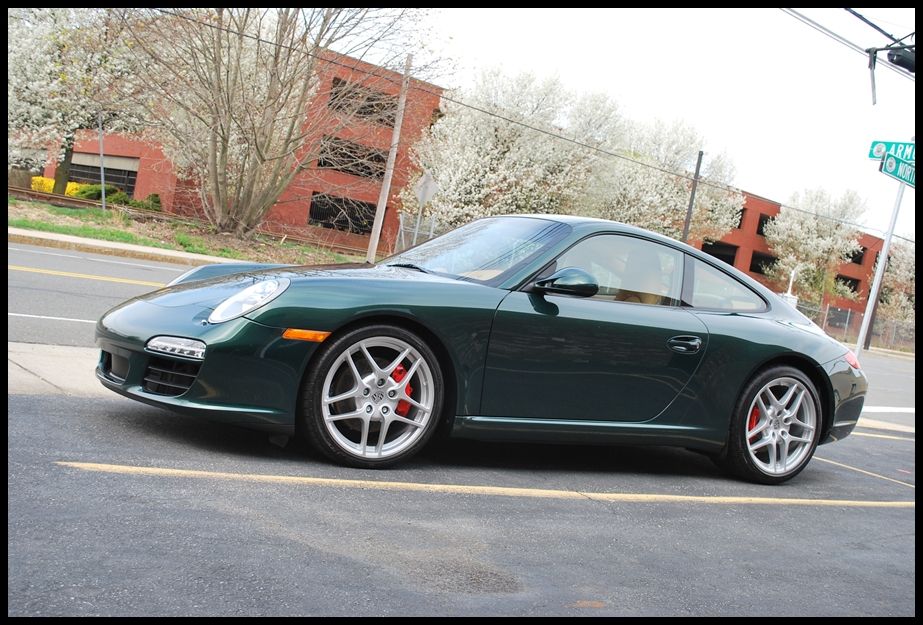
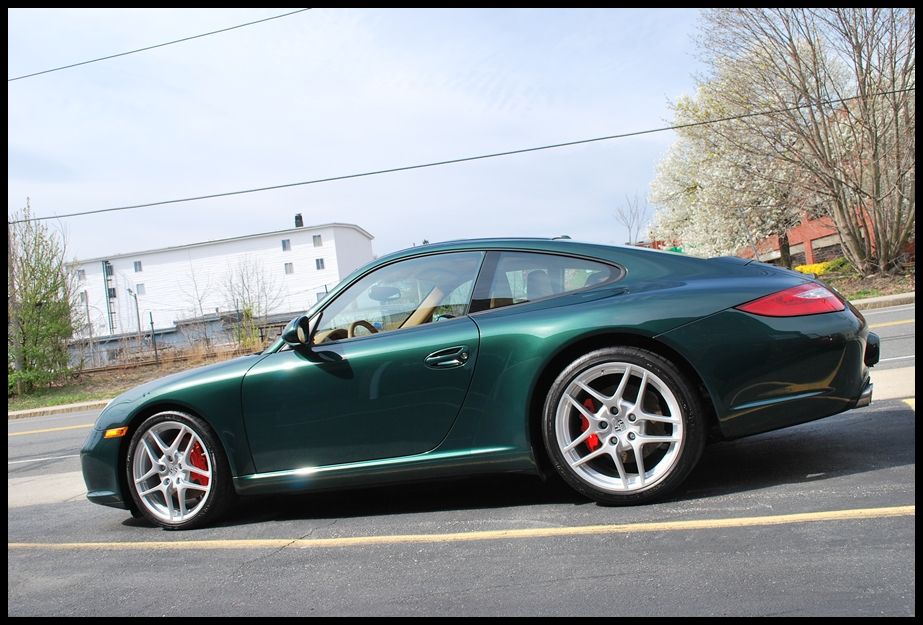
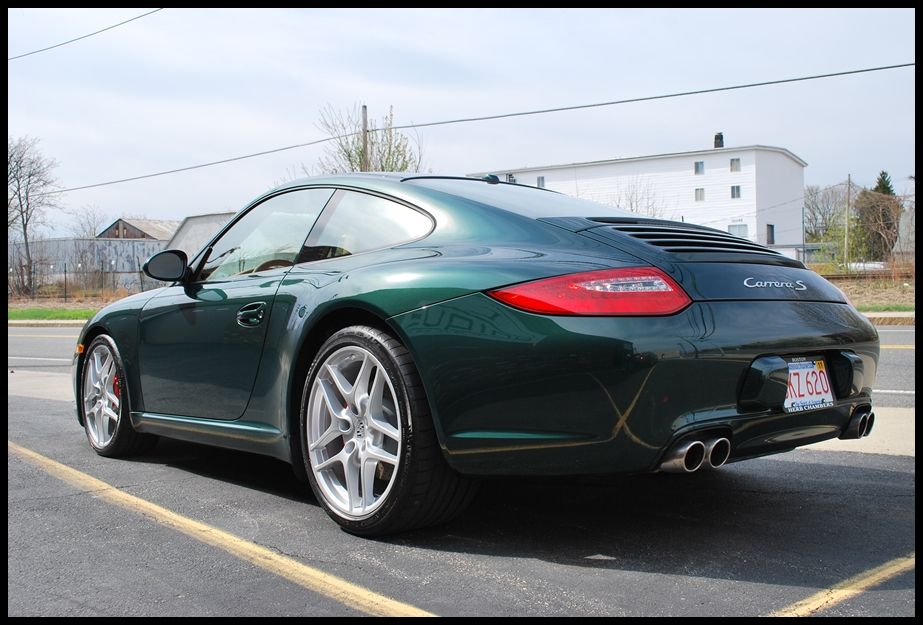
And now for what you?ve all been waiting for?. The after pictures!! Please note that the entire front nose, bottom rockers and the area behind the rear wheels are covered in film. The PPF install came out phenomenal, which was hardly noticeable outside. The factory protection film on the rear quarter panel was stained from the dealer and didn?t polish out very well. I mentioned to the owner that he should go back to the dealer to have the pieces replaced to make the car absolutely perfect.
Enjoy!!!
imported_RickRack
New member

The interior cleaned up nice too!
Thanks for looking!!
.
Street Dreams
New member
That paint was pie compared to some of your recent jobs :cornut:
Excellent work once again! From the look of the shop it looks like biz is doing very well, keep it going!
Excellent work once again! From the look of the shop it looks like biz is doing very well, keep it going!
imported_RickRack
New member
That paint was pie compared to some of your recent jobs :cornut:
Excellent work once again! From the look of the shop it looks like biz is doing very well, keep it going!
Haha... No kidding!
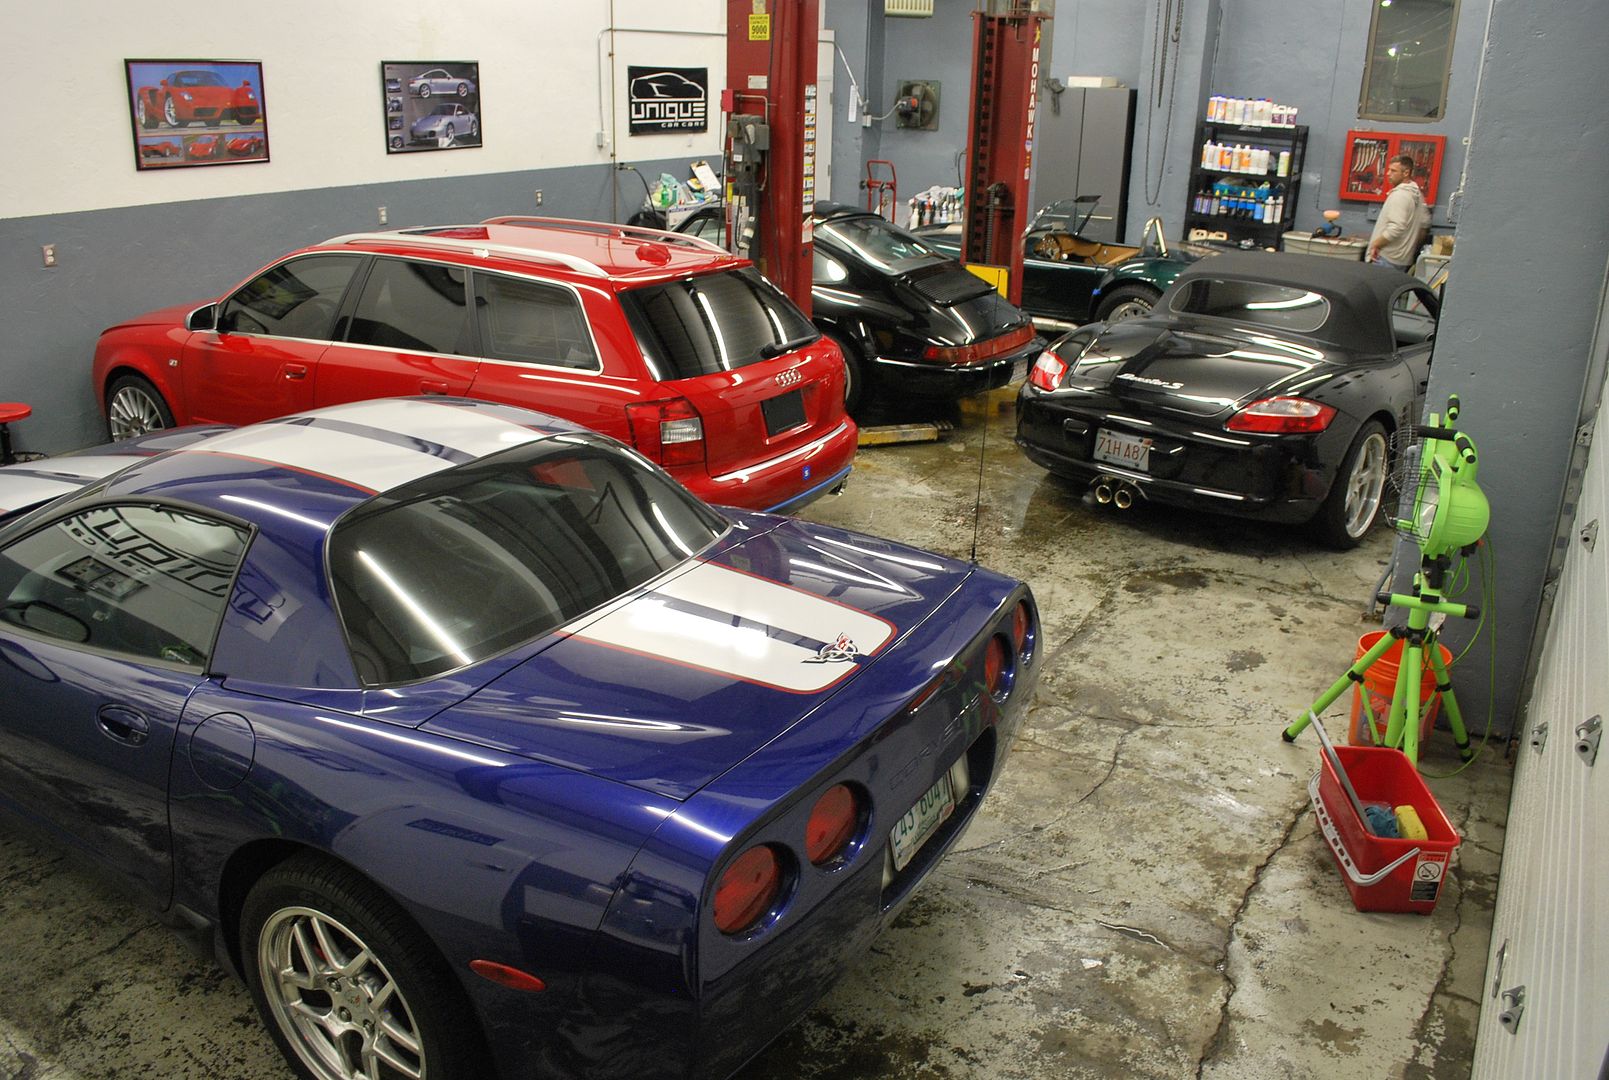
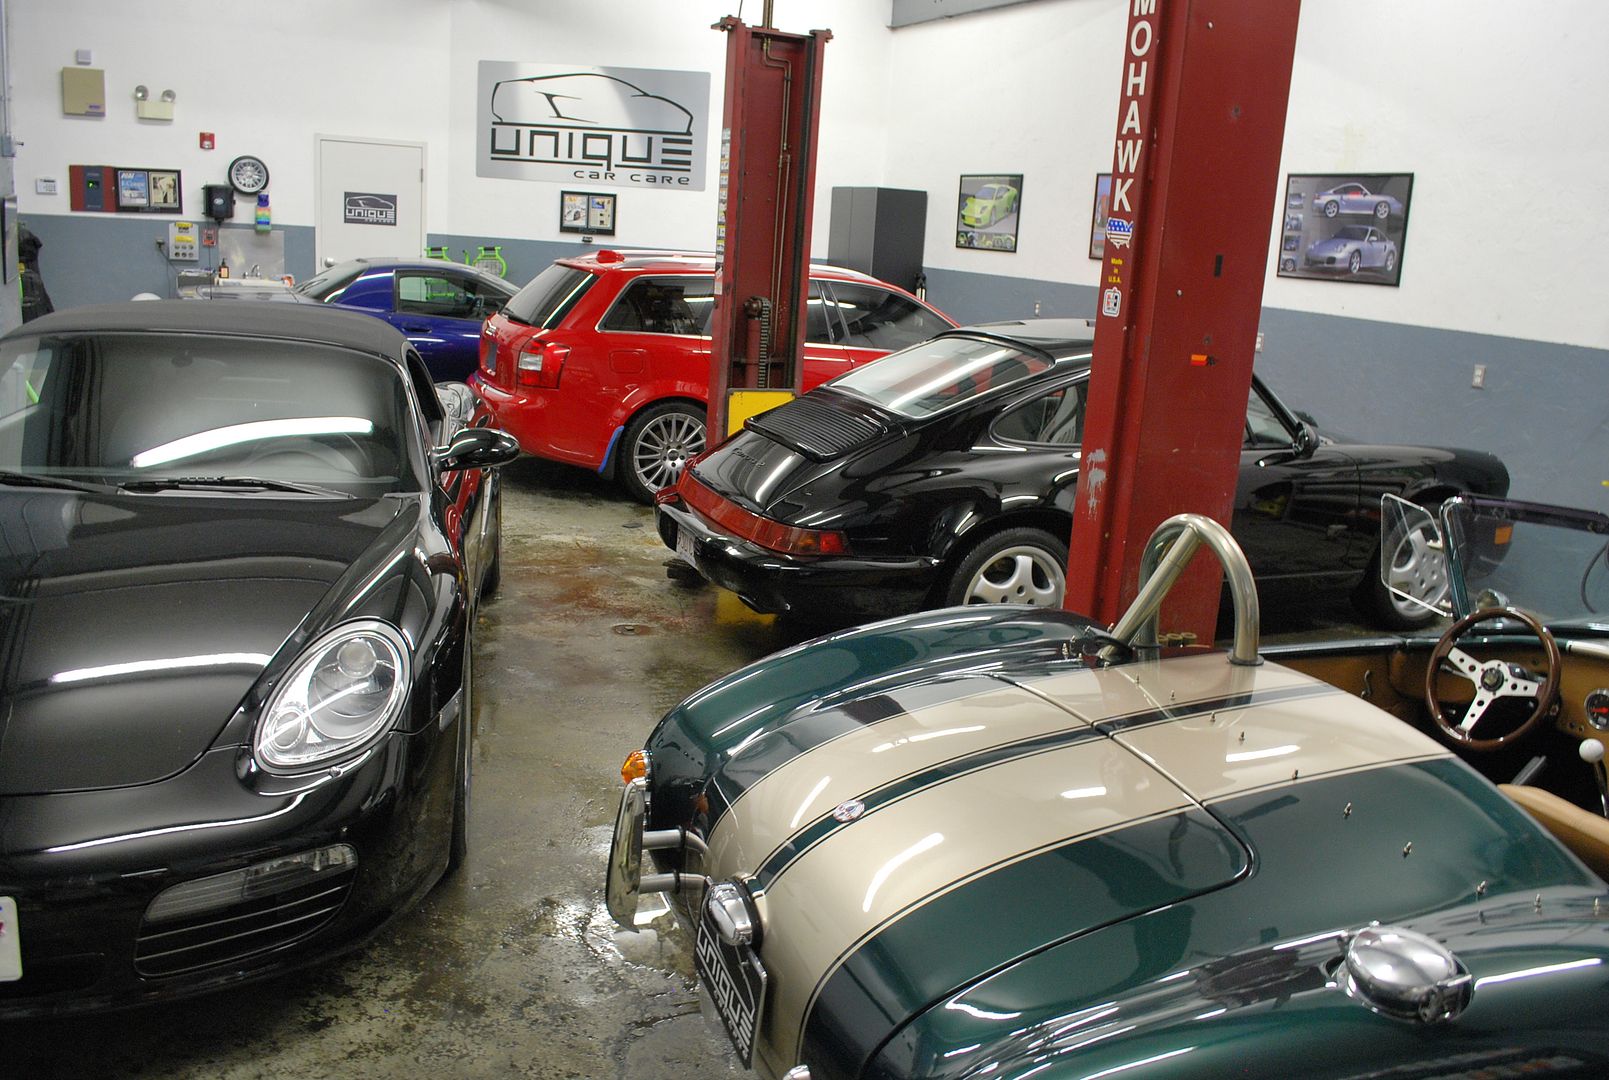
You have no idea... Im basically busting at the seems at the shop. So far, it's been the busiest year I've ever had. I'm doing all I can do to keep up and fit all the cars inside the shop.
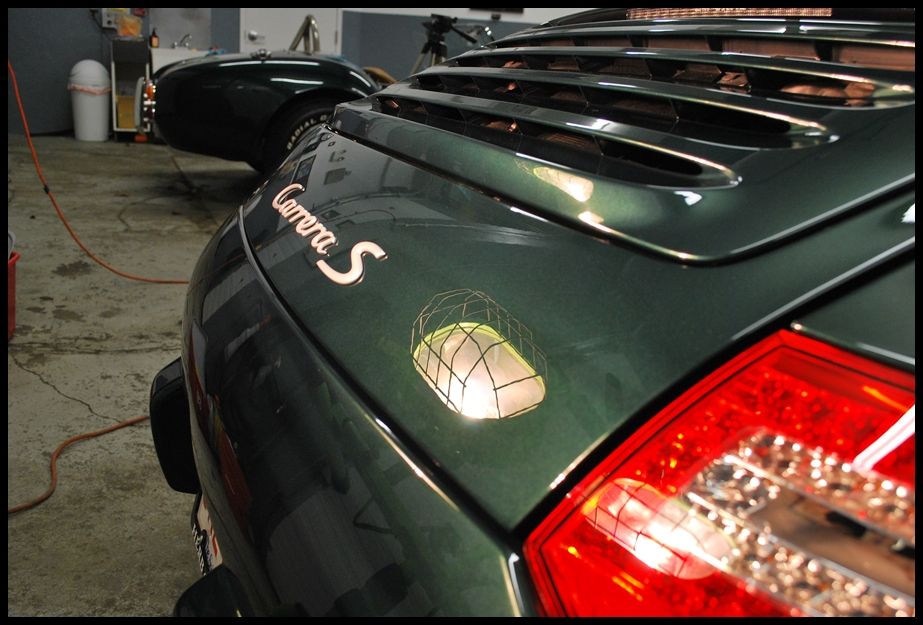
Here's what the shop looked like as of last night...
imported_RickRack
New member
That is really nice looking work. It is no wonder your shop is busy.:rockon:
Jack
Thanks a lot Jack!
I wish it was the other way around though... Busy in the winter and slow in the summer!
Haha... No kidding!
You have no idea... Im basically busting at the seems at the shop. So far, it's been the busiest year I've ever had. I'm doing all I can do to keep up and fit all the cars inside the shop.
Here's what the shop looked like as of last night...
Not a bad problem to have!
Awesome work on a beautiful car!
bmw5541
New member
You guys have got it goin on!!!!!!!!
Awesome job:clap::clap::clap::clap::clap::clap:
Awesome job:clap::clap::clap::clap::clap::clap:
Outstanding job. Like a magician you made a Porsche look like a Porsche should look. Nice going.
Just a couple of observations...
I am on my 3rd 911. The one thing that blows me away is that I always seem to get stone chips on the ROOF and the SUNROOF!!!! Maybe its the aerodynamics. Dont be surprised if that one comes back for additional application of film.
Green and Porsche just doesn't register right with me. Ferrari's shouldnt be silver and Porsches shouldn't be green. Especially with the red calipers, it looks like a Christmas decoration.
I was always under the impression that Porsche paint is HARD. Am I wrong?
Thanks for the great writeup.
Joe D.
imported_RaskyR1
New member
Awesome work and write up Rick/Ryan!
Can't really recall ever seeing a 911 in that color before....looks amazing in the pics and can only imagine it looks 100x better in person!
Well done gentlemen! :cornut:
Can't really recall ever seeing a 911 in that color before....looks amazing in the pics and can only imagine it looks 100x better in person!
Well done gentlemen! :cornut:
imported_RickRack
New member
Thanks again everyone! ")