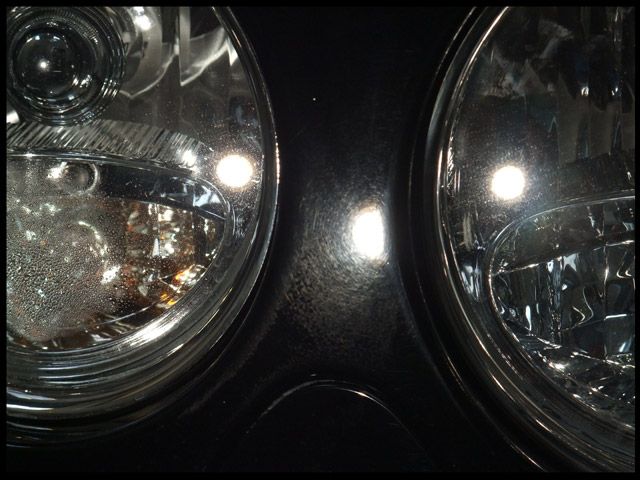
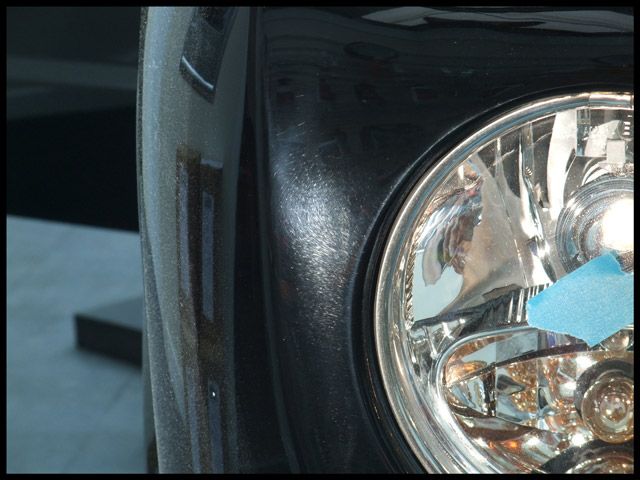
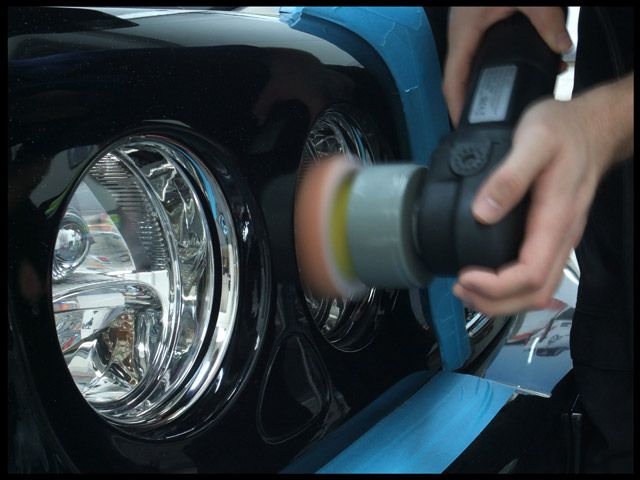
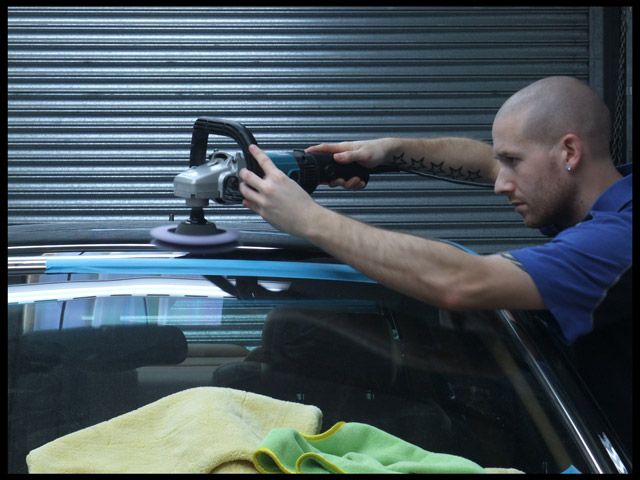
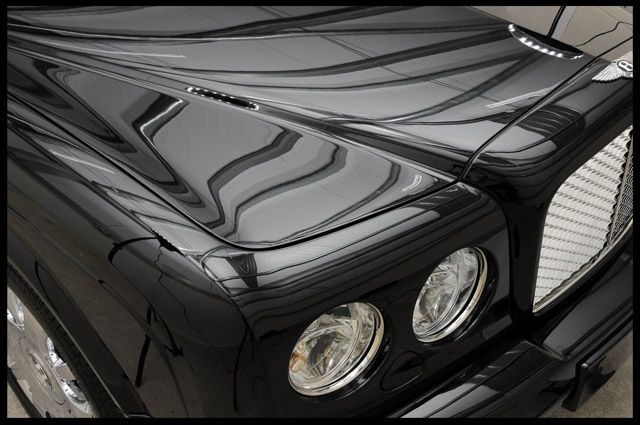
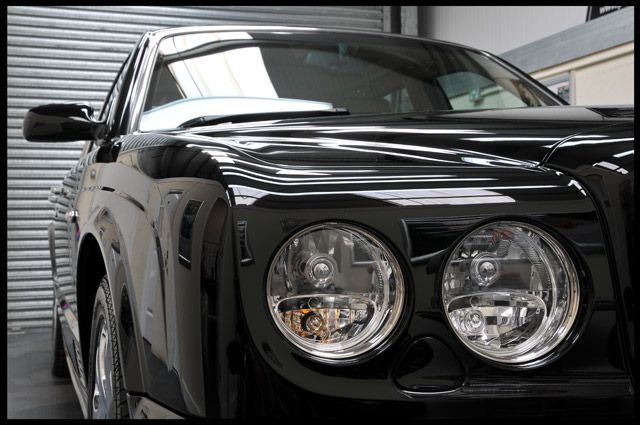
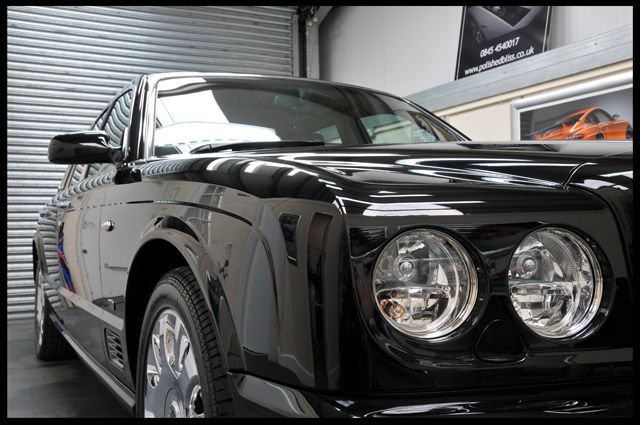
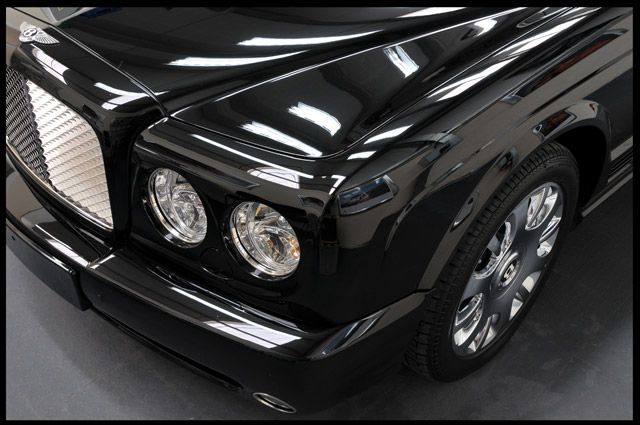
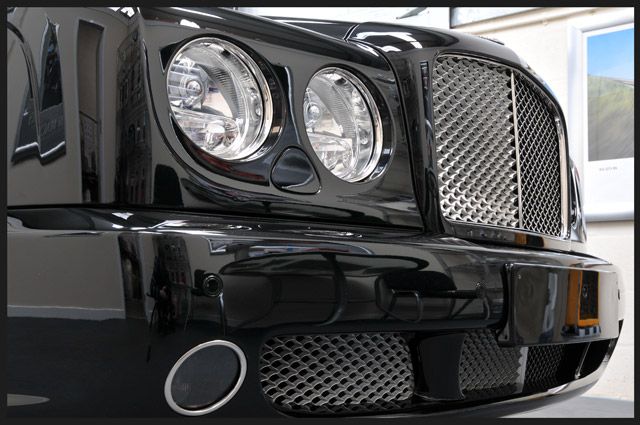
The DA machine was used for the headlights:
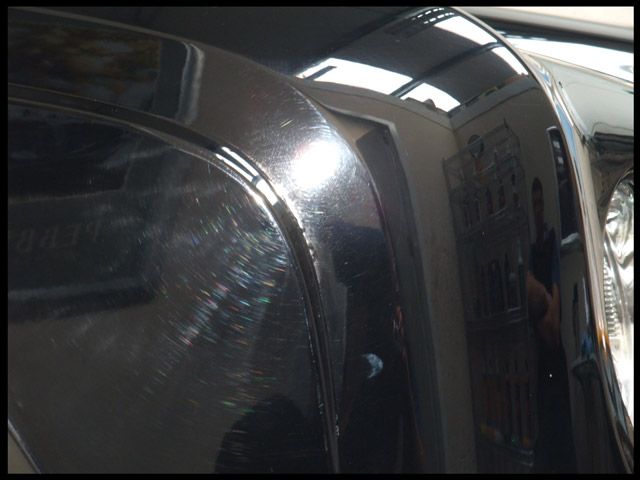
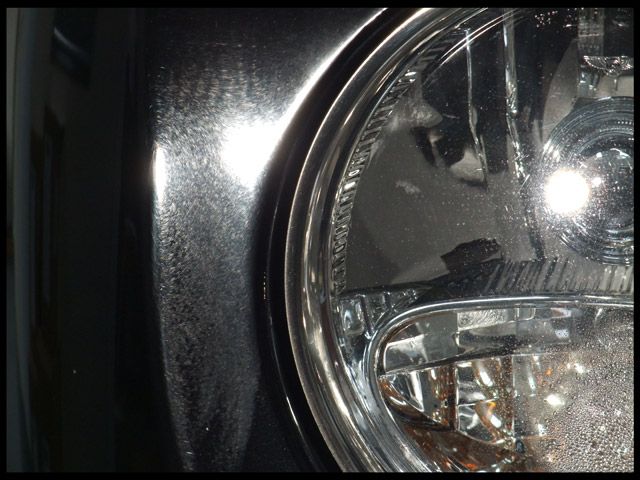
Front bumper before:
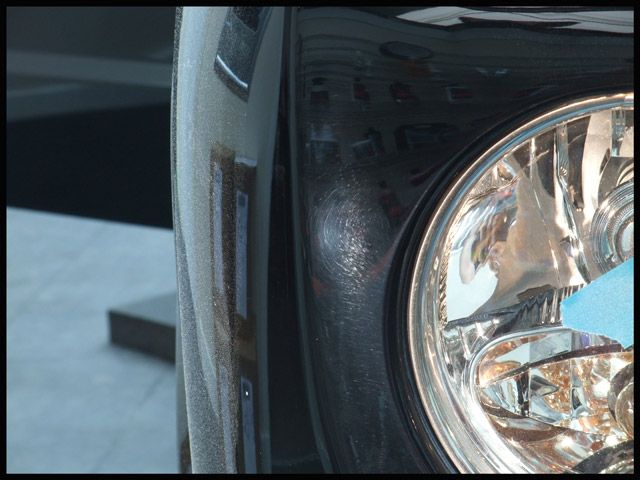
After:
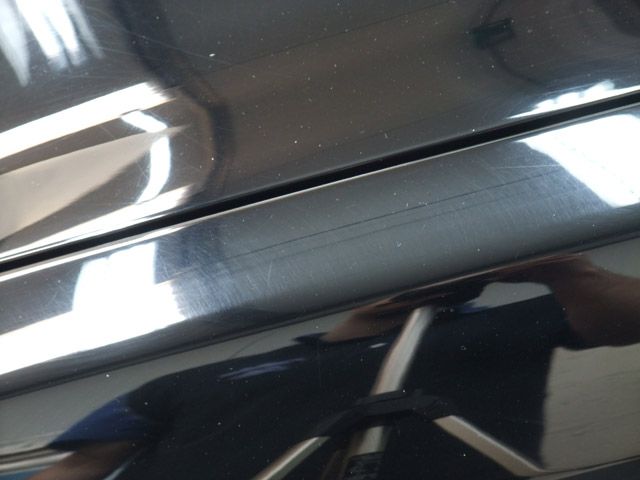
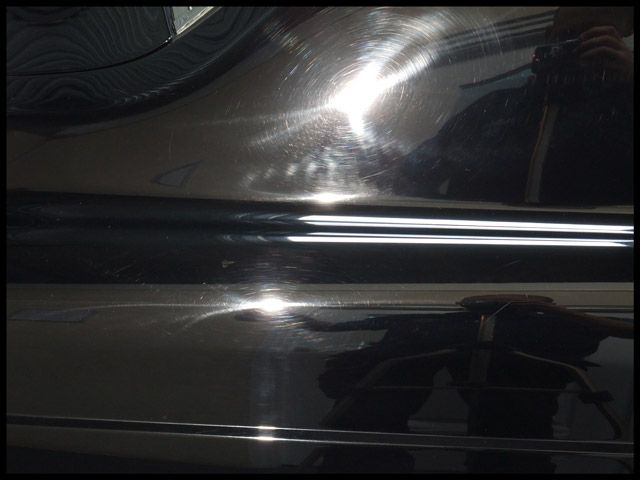
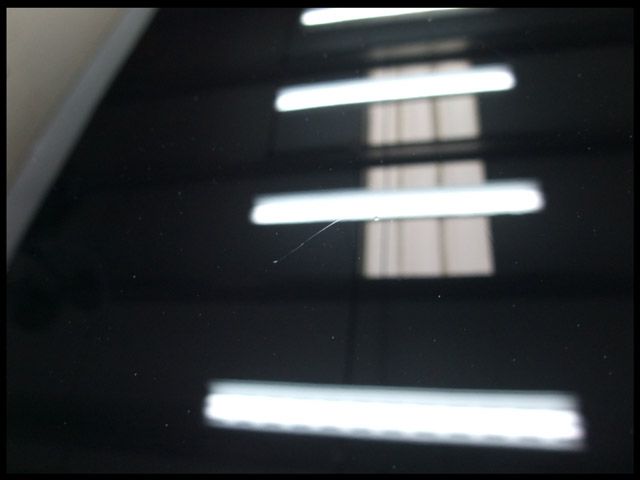
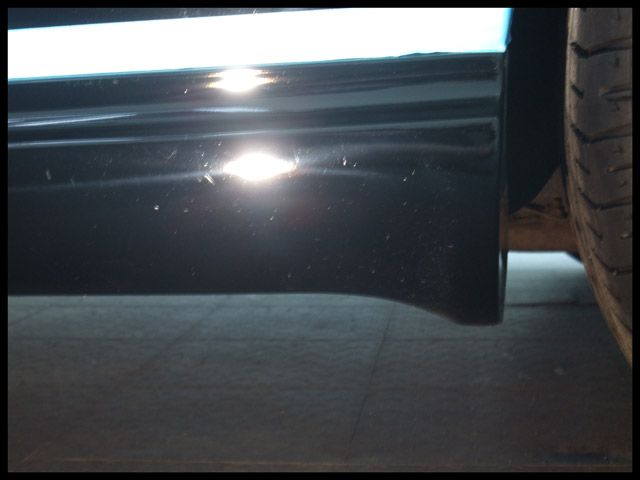
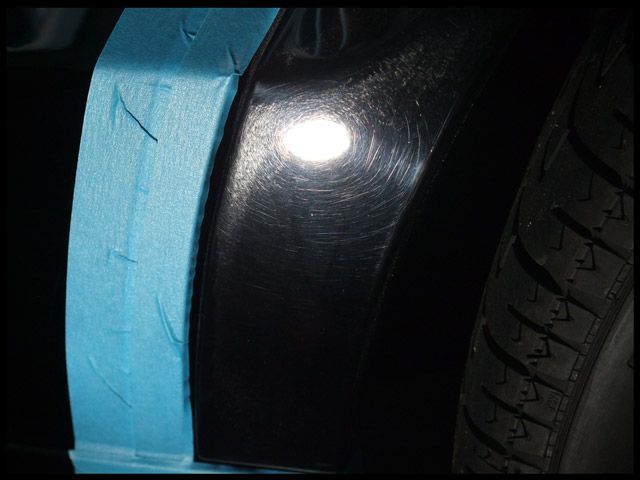
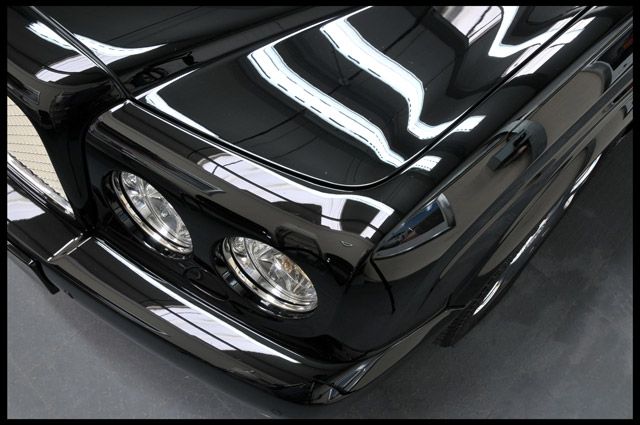
Before:
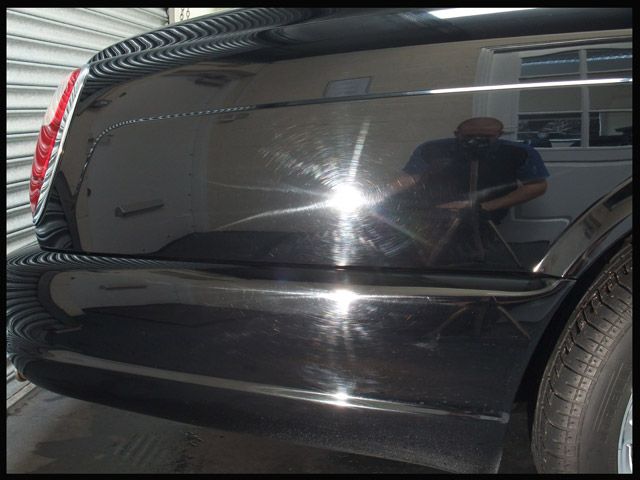
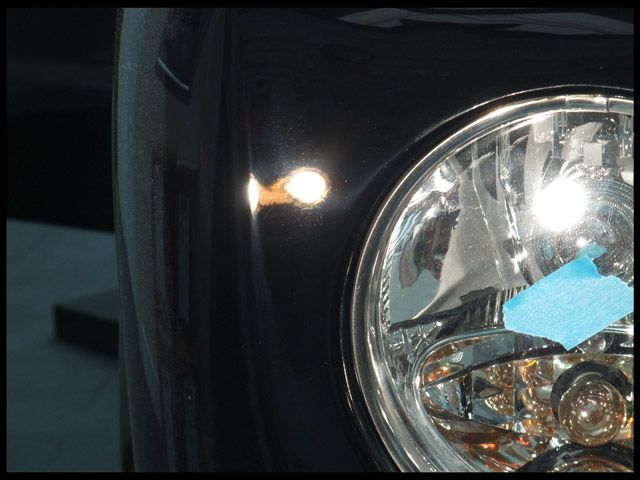
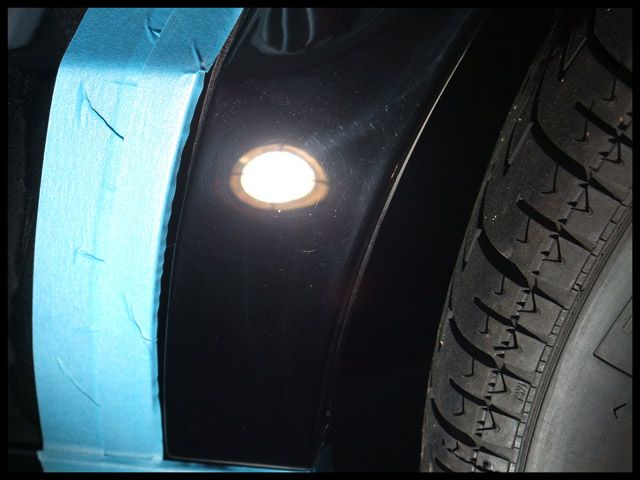
After:
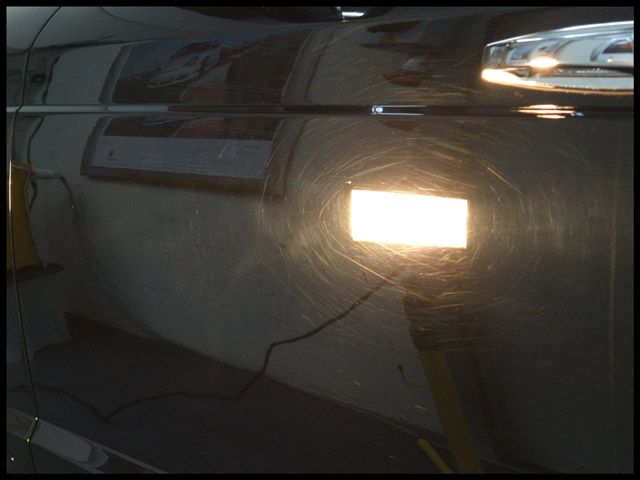
Before:
After:
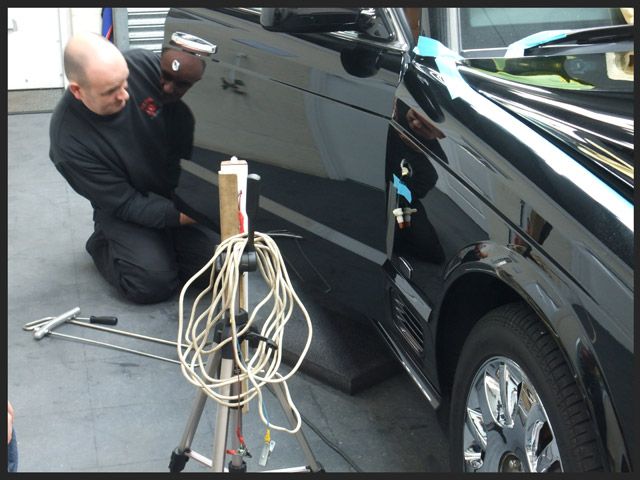
Martin from Dent Devils dropped in by to work his magic on a few minor dings - I love watching this guy work, I'm always amazed at what he can remove from what seems like impossible places to get to! Highly recommended if you're in the Aberdeen area :thumb:
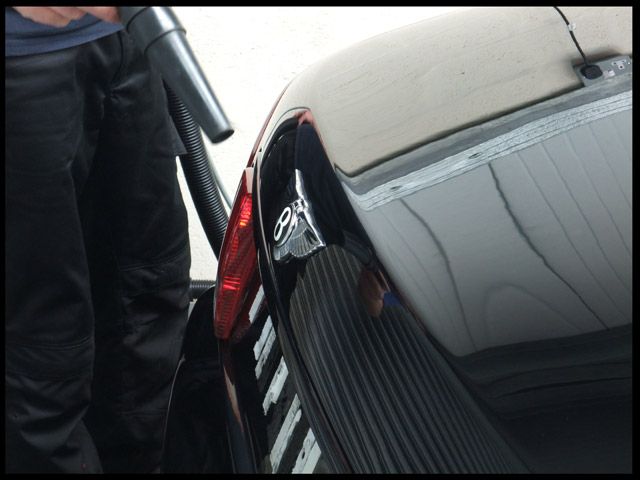
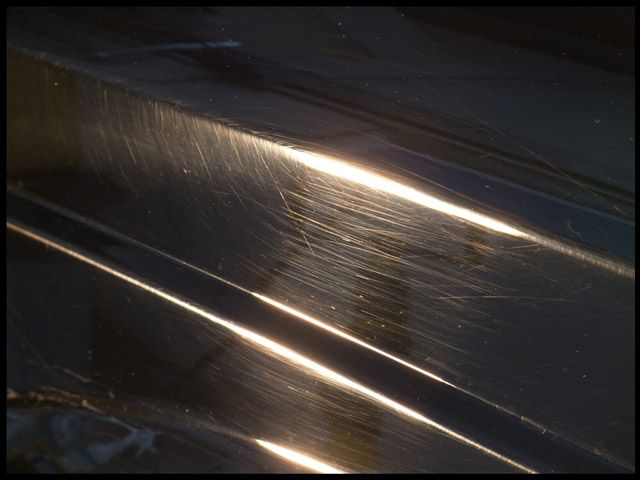
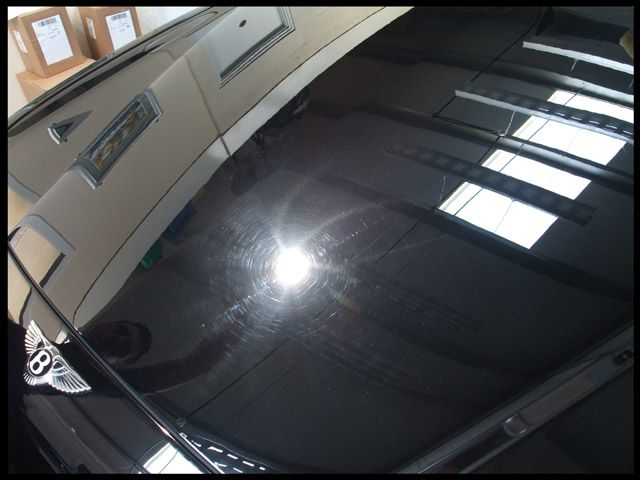
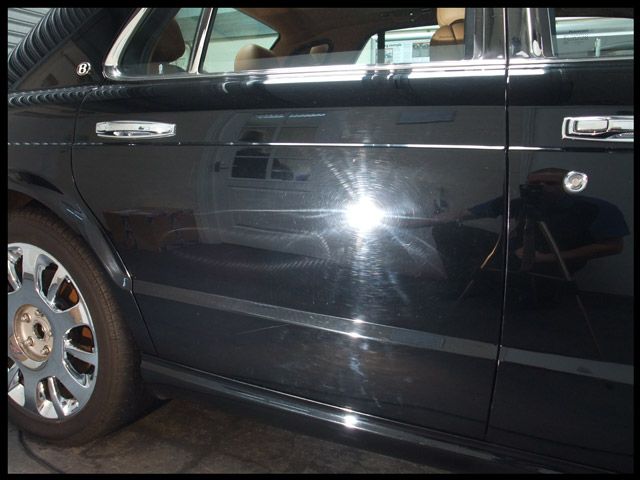
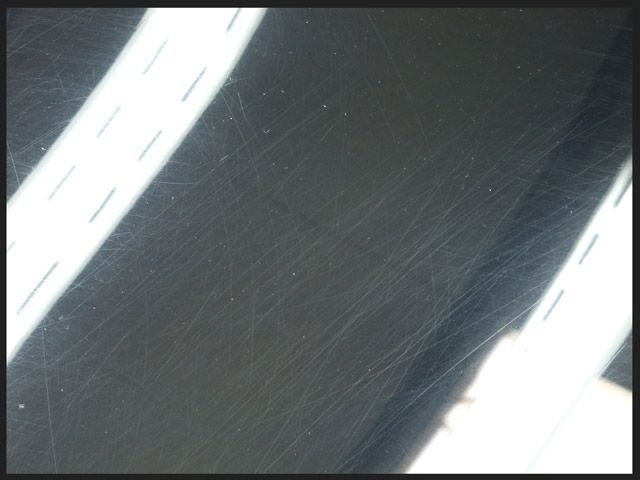
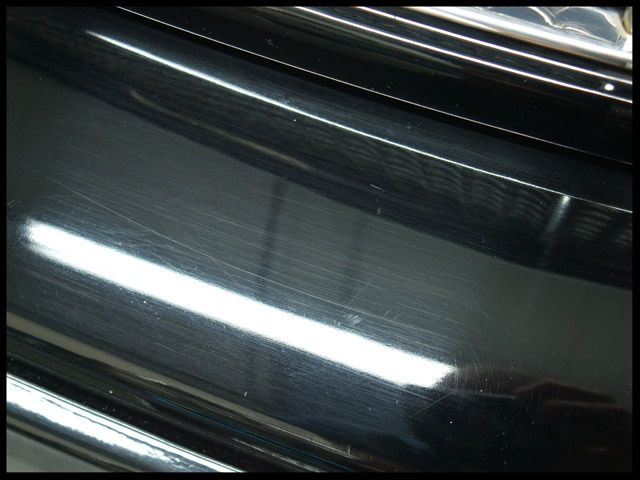
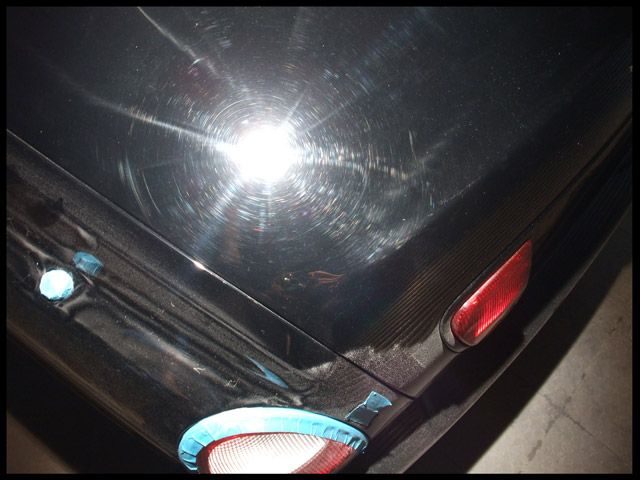
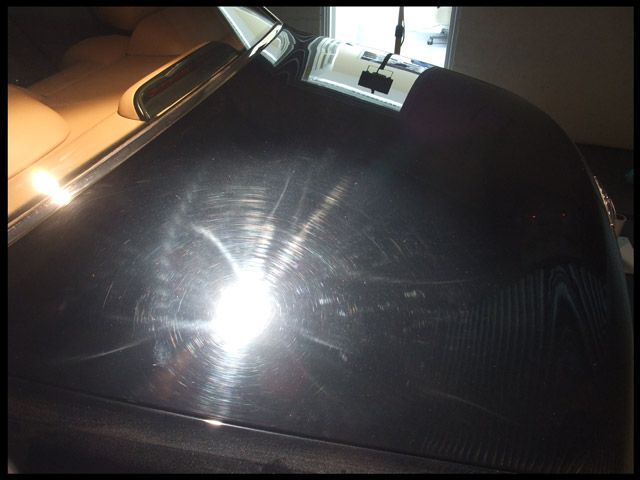
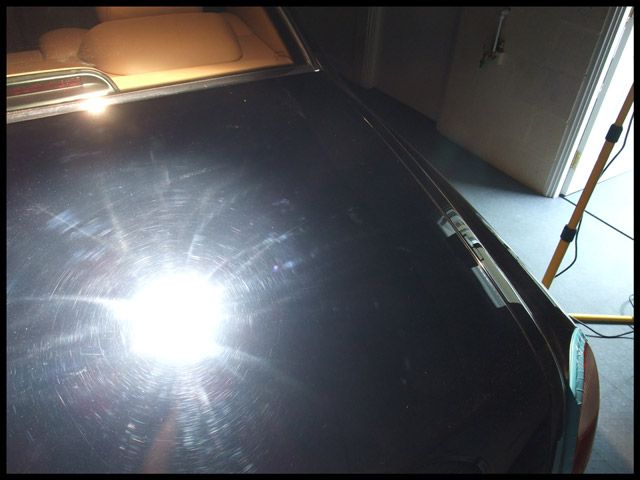
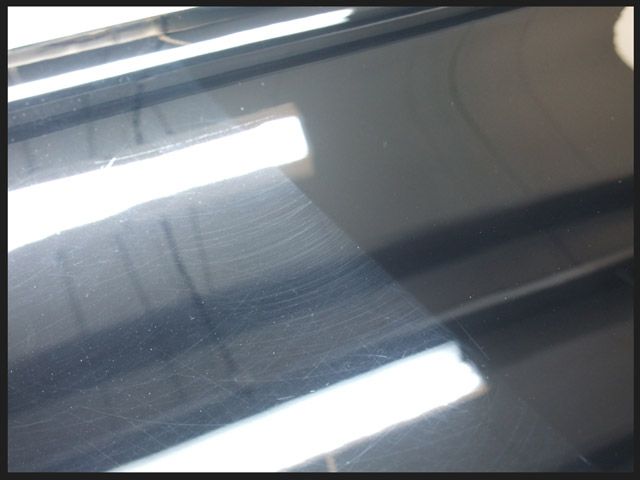
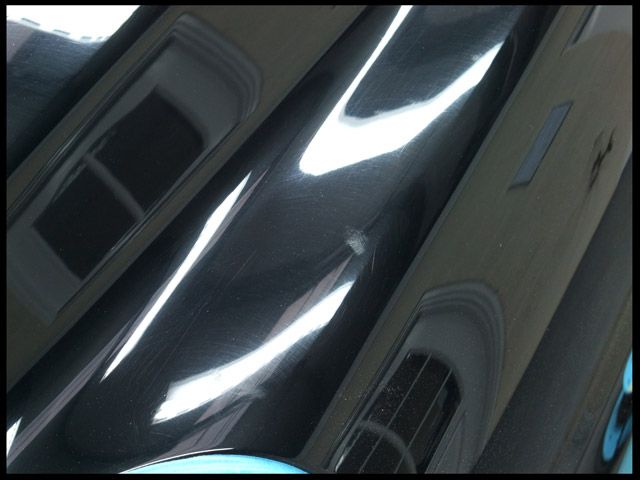
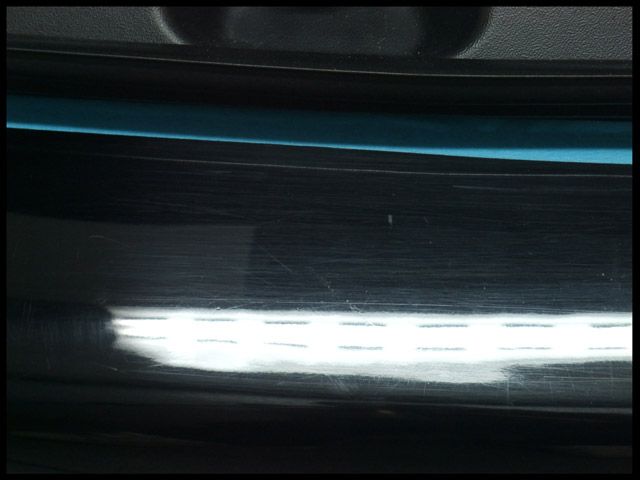
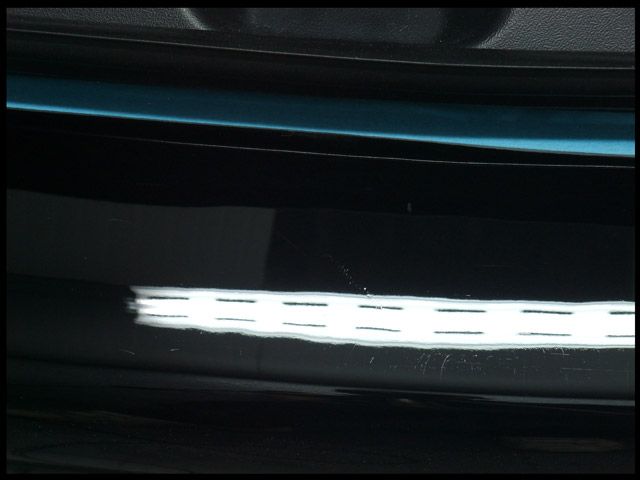
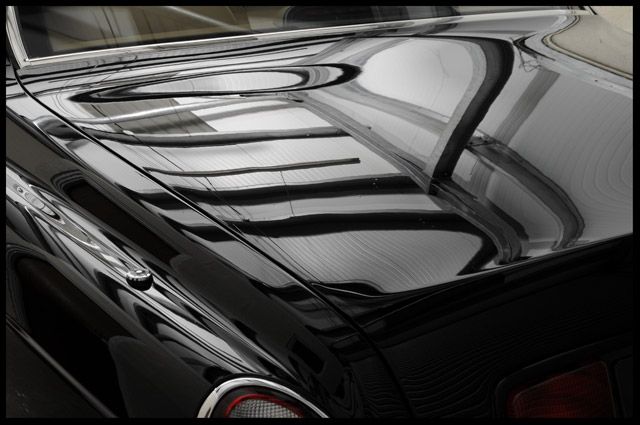
Onto what was probably the worst area of the car, the boot lid:
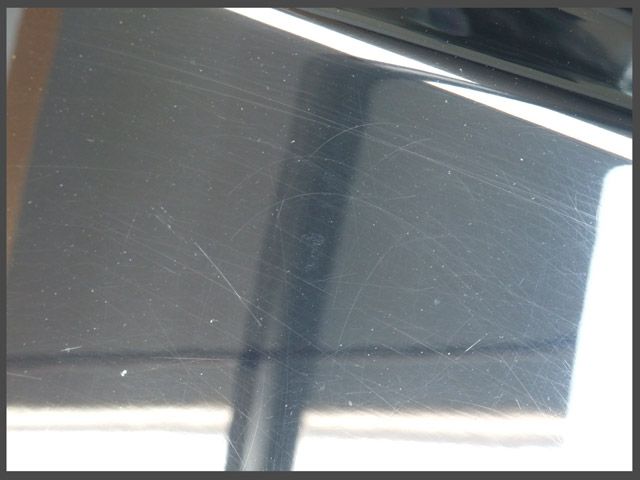
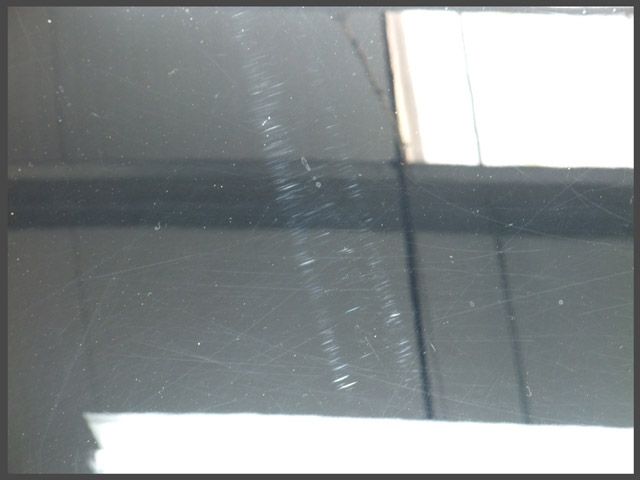
Before:
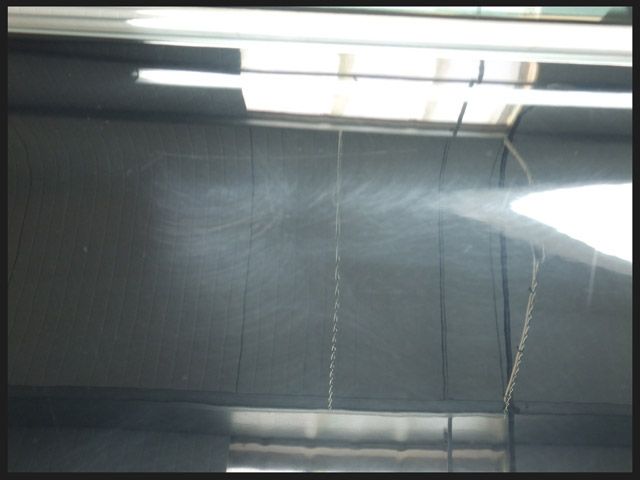
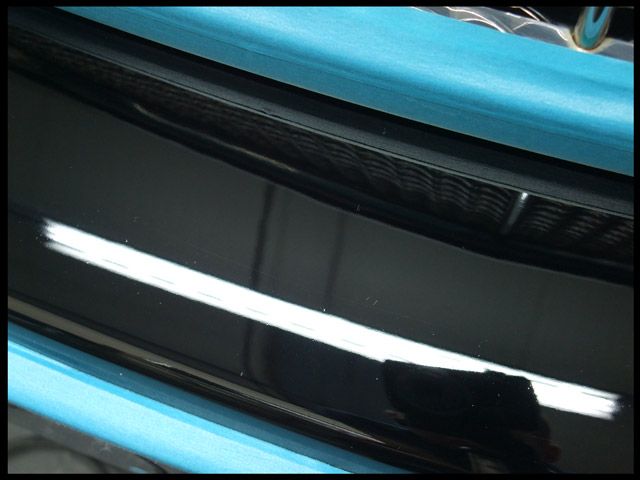
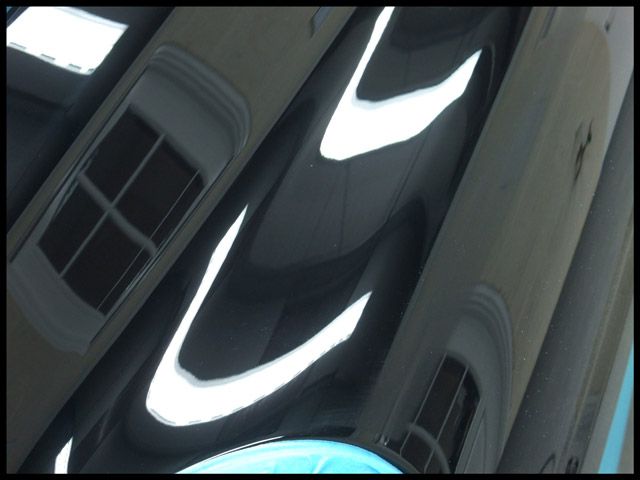
After:
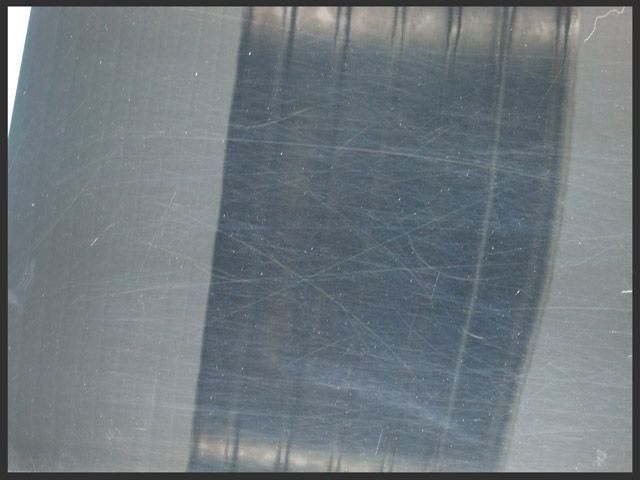
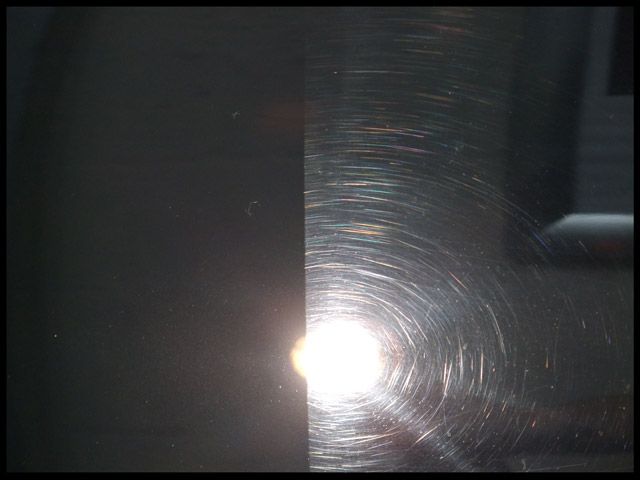
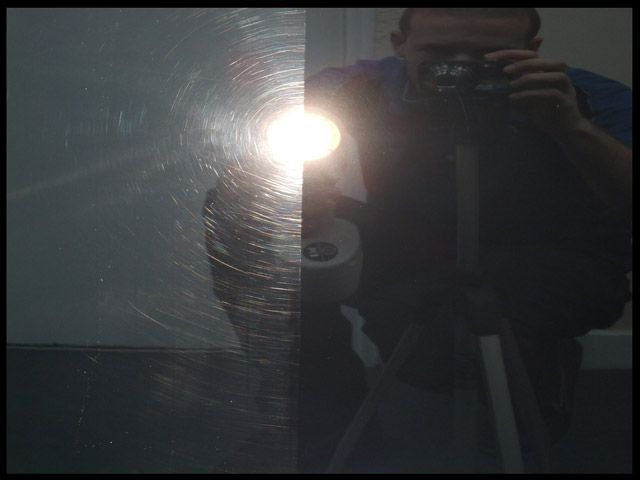
50/50:
Completed shot later :thumb:
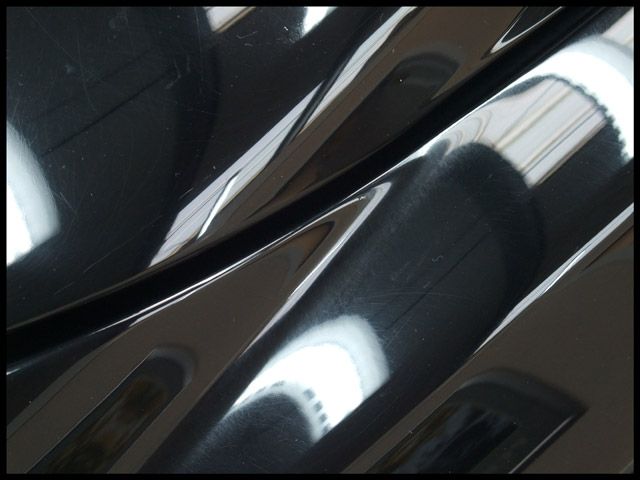
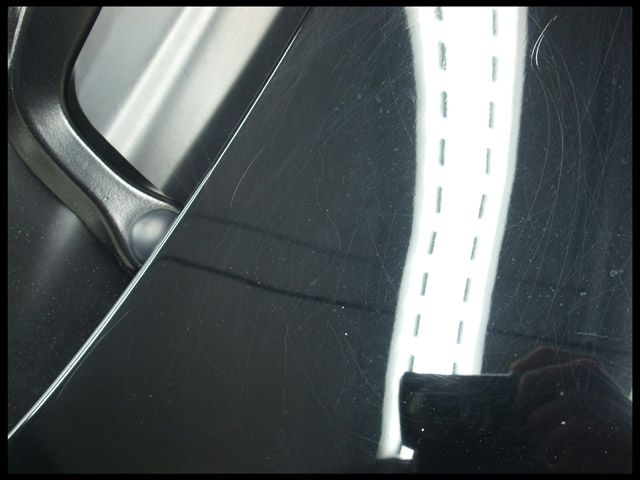
Before:
After:
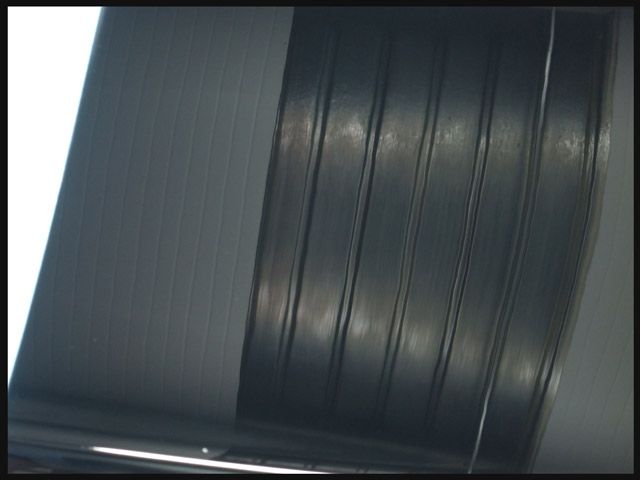
One good thing with all that sanding from the factory is the low level of orange peel:
Before:
After:
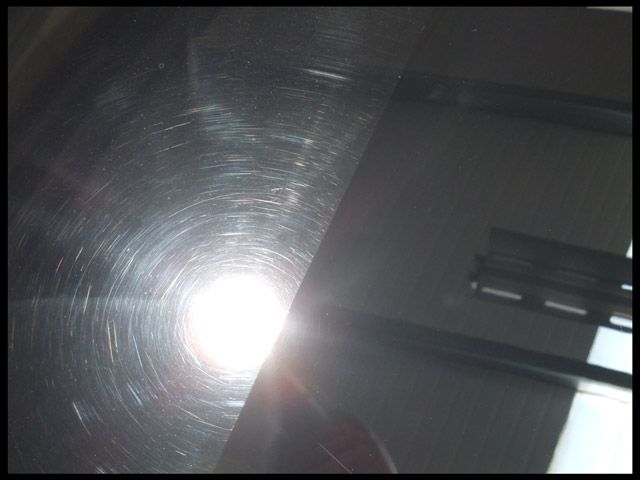
A couple more 50/50's:
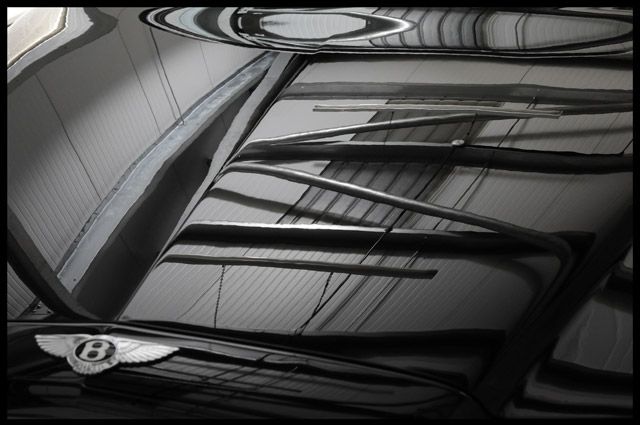
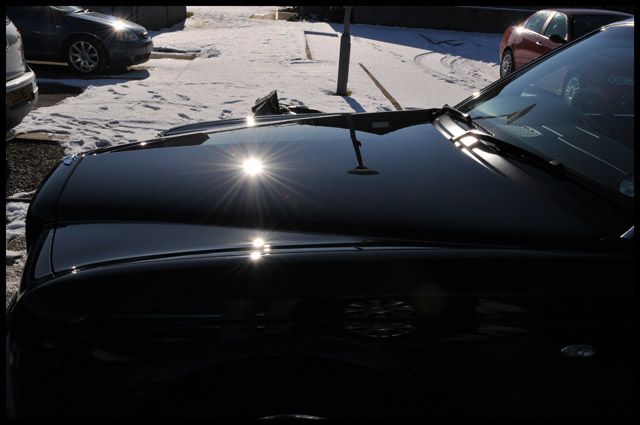
Up onto the roof:
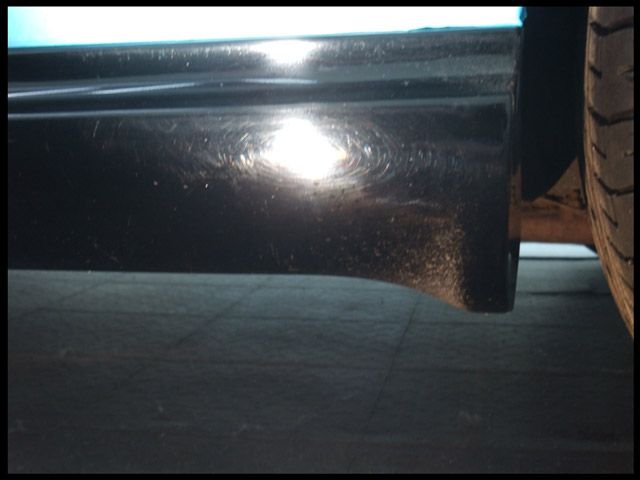
Rear bumper before:
After:
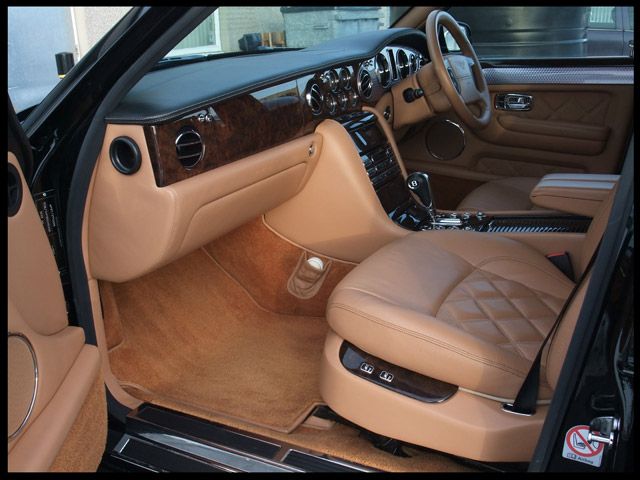
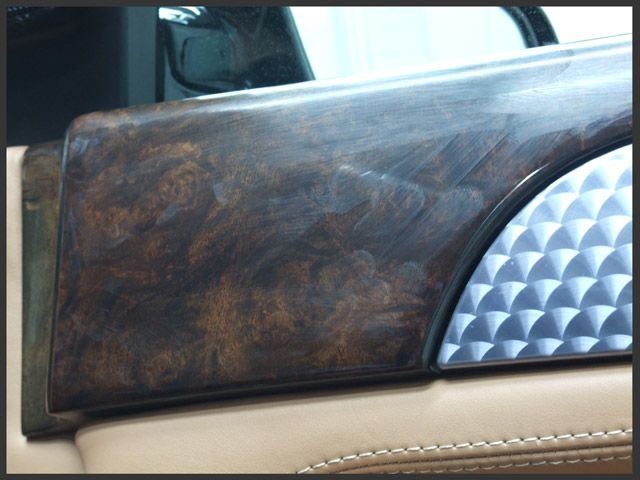
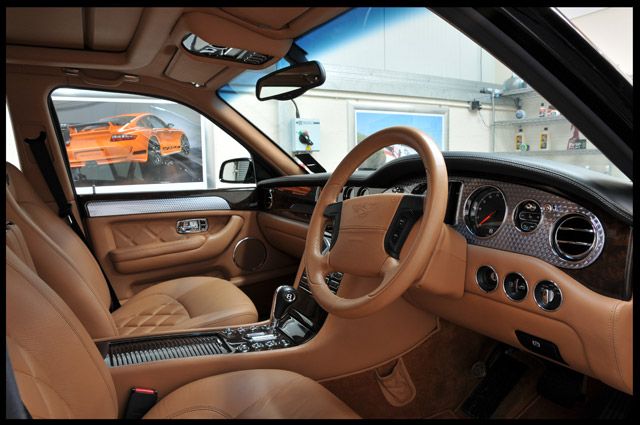
Whilst I'd been busy with the paintwork I'd found plenty for Colin to do, including waxing all interior trim...
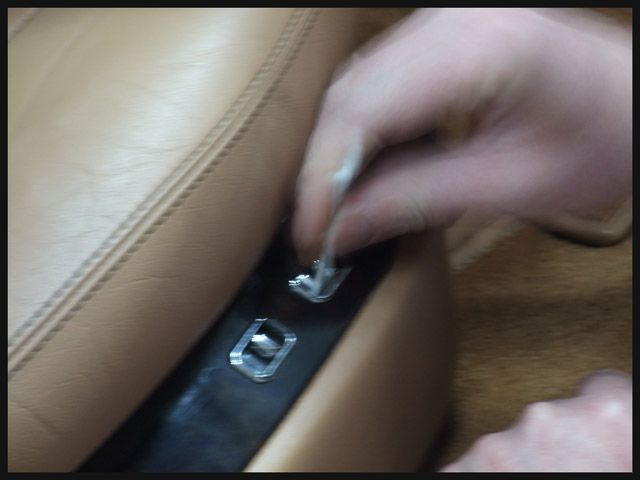
...And cleaning in and around all the switches etc with cotton buds and some IPA (I'm sure he was really hating me by this point

):
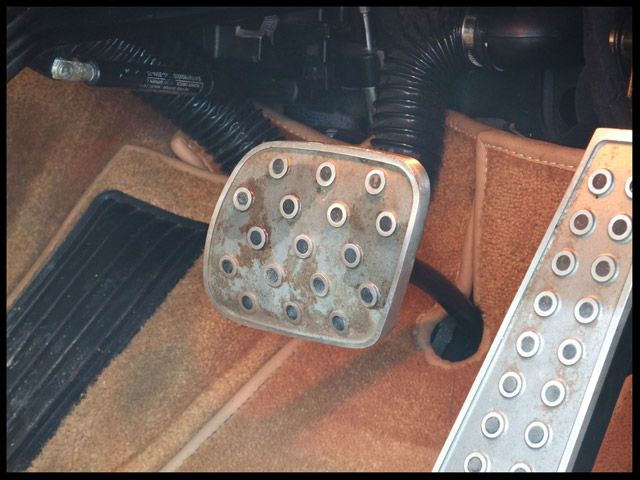
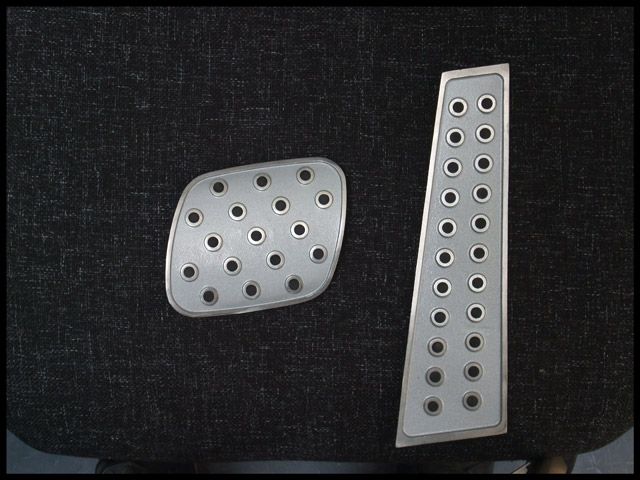
The pedals were really letting the interior down so these were removed and after a bit of attention with crackle finish paint and some sand paper they were back to new again :thumb:
Before:
After:
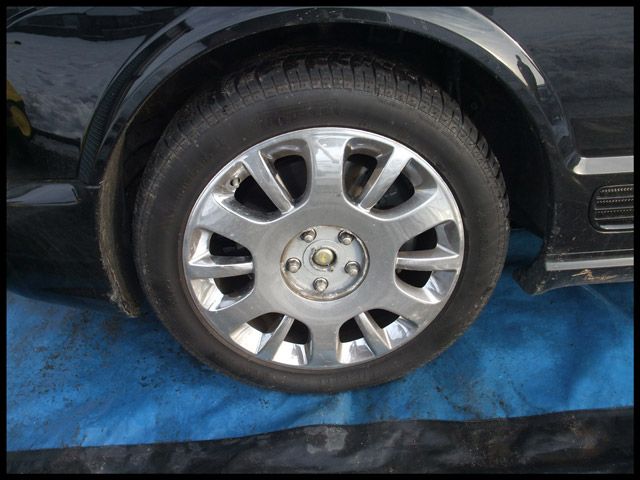
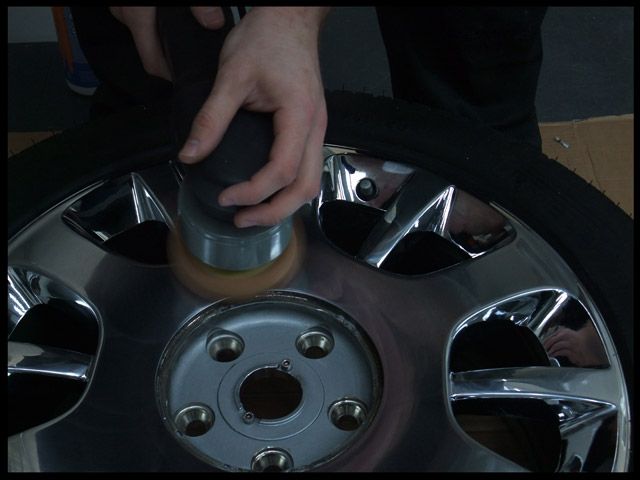
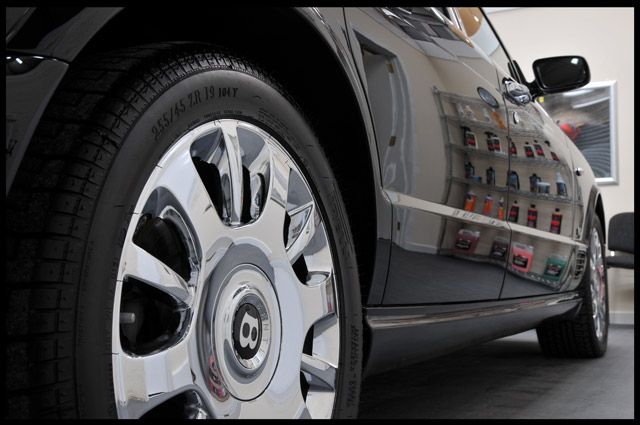
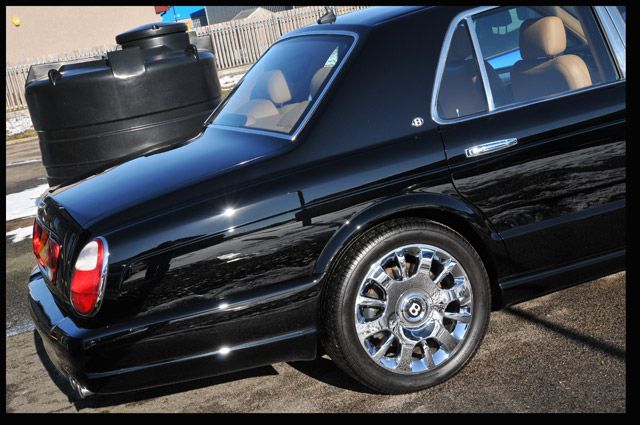
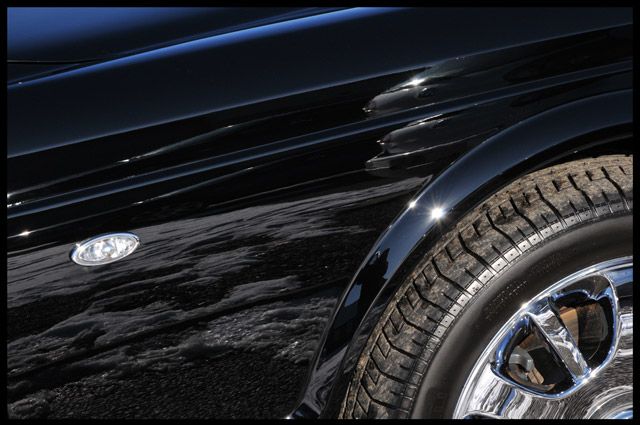
The wheels were removed and polished with Menzerna 203S:
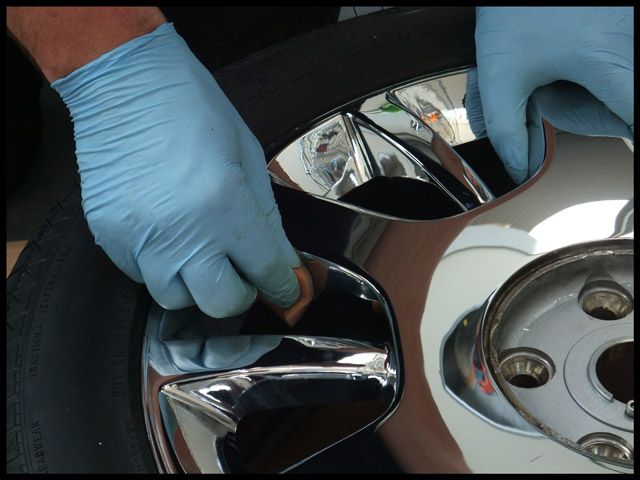
The areas the machine couldn?t reach were done by hand:
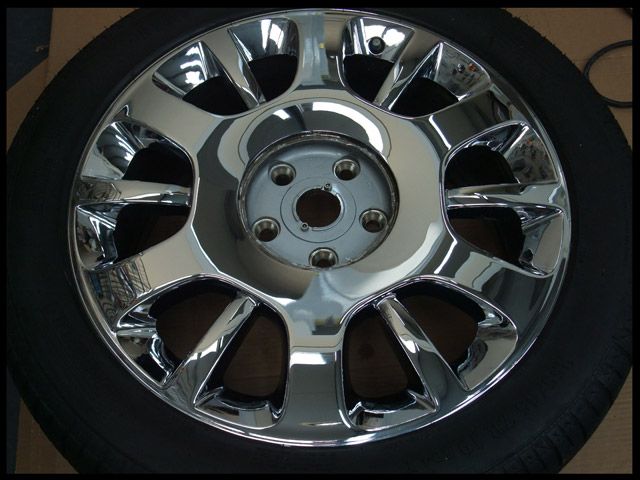
They were then cleansed with Werkstat Prime and topped with a couple of coats of Blackfire Metal Sealant:
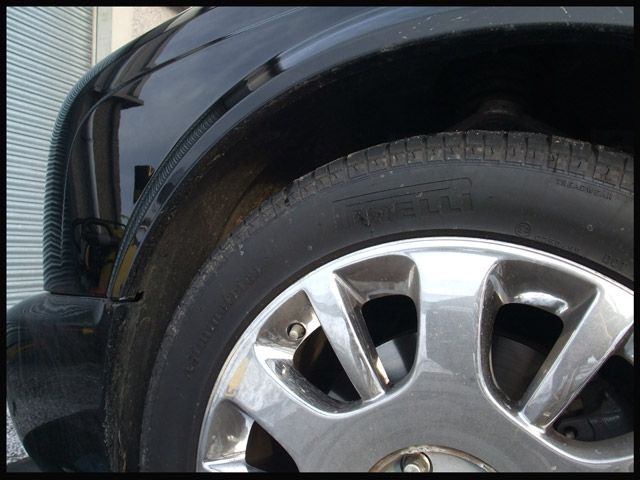
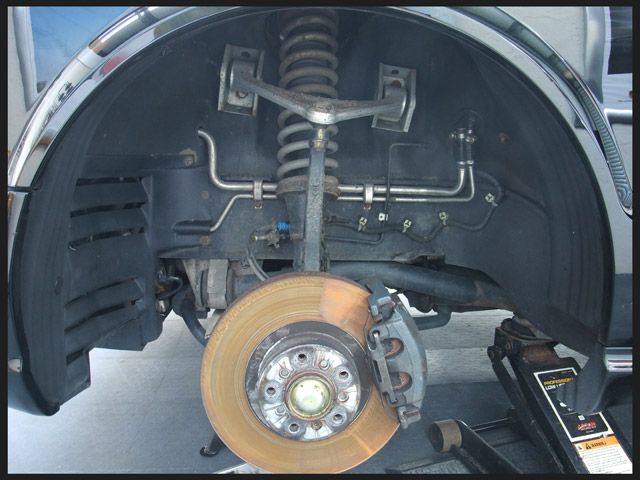
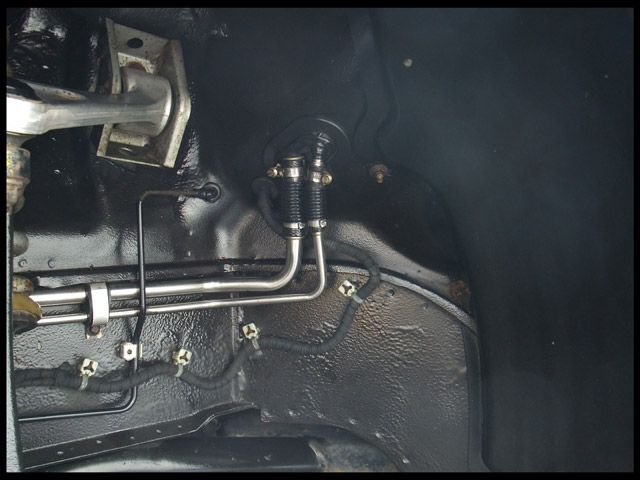
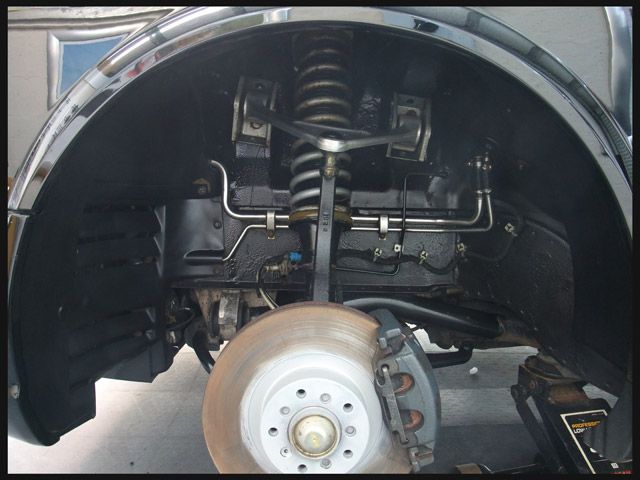
Arches were fully detailed and hubs painted too:
Before:
After:
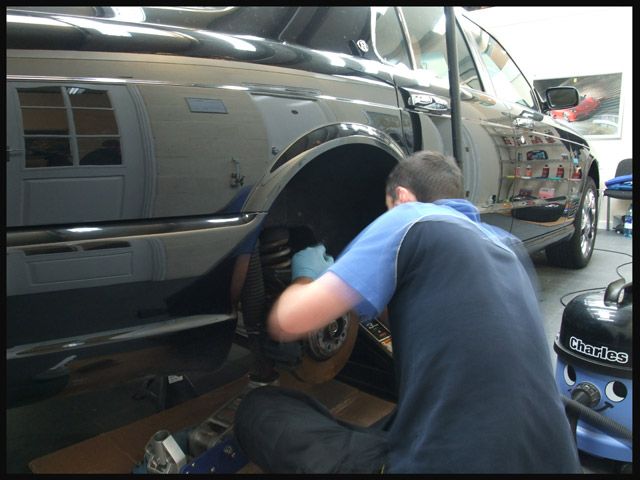
The back arches had fabric liners (I don?t care if they reduce road noise, they're a complete pain to clean sometimes!) so a good thorough brush and vacuum was needed for these!
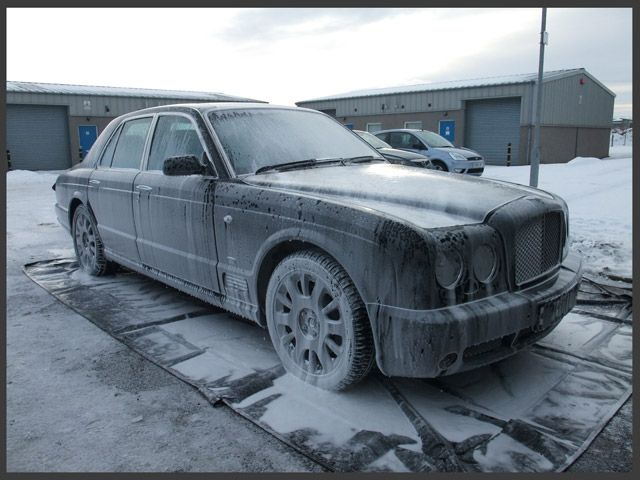
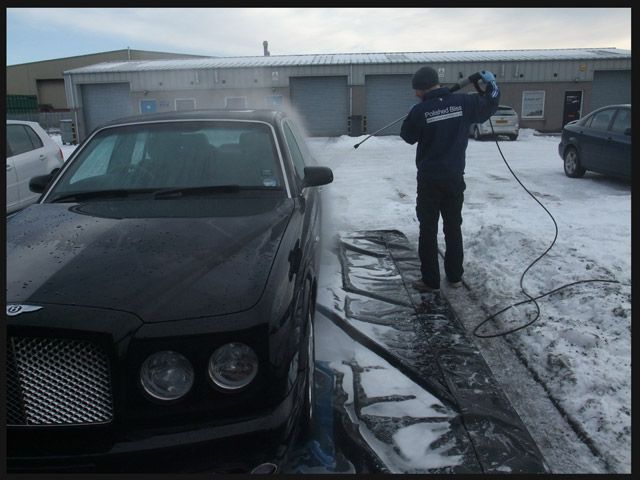
Once I'd finished the first 2 stages of correction I decided to put the car outside again to rinse off all the compounding dust. Usually I never find a need for this but with each panel needing at least 3 or 4 hits the dust soon got pretty heavy!
I foamed the car with Meguiars Hyper Wash @ 50/60 degrees and then rinsed, this was at approx 1am on a Saturday morning!
With the car back inside and dried with the Black Baron it was time for the refining stage.
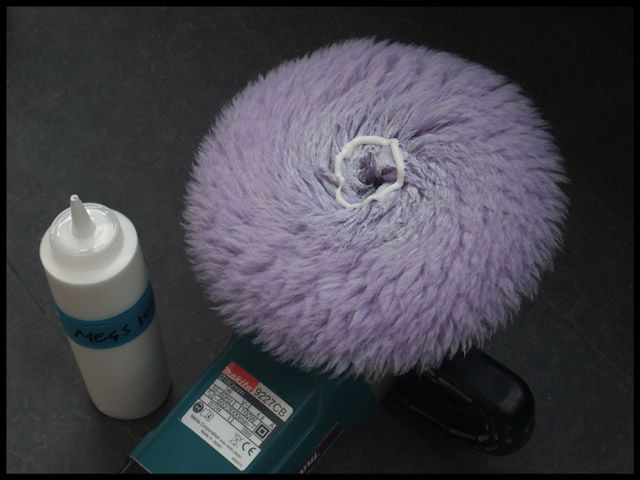
As the car had sticky paint and was solid black I decided to finish with the DA machine, purely because I didn?t have to worry about leaving trails and the DA is usually much less effort on sticky paints - all you have to make sure is that you finish crystal clear with no micro marring left over. Due to the size of the car it would have taken forever to refine with the rotary and there would be no guarantees that it would finish down 100% trail free anyways so why make life difficult for myself?
")
Meguiars 205 was used with a Lake Country Polishing Pad. This polish is great with the rotary but I've been equally impressed when using it with dual action machines, especially on sticky paints where it almost buffs off like a sealant as opposed to an oily polish.
The polish was worked at speed 5/5.5 with moderate to heavy pressure for the first few passes before decreasing the pressure and slowing the machine to speed 4 with very light pressure to ensure a crystal clear finish.
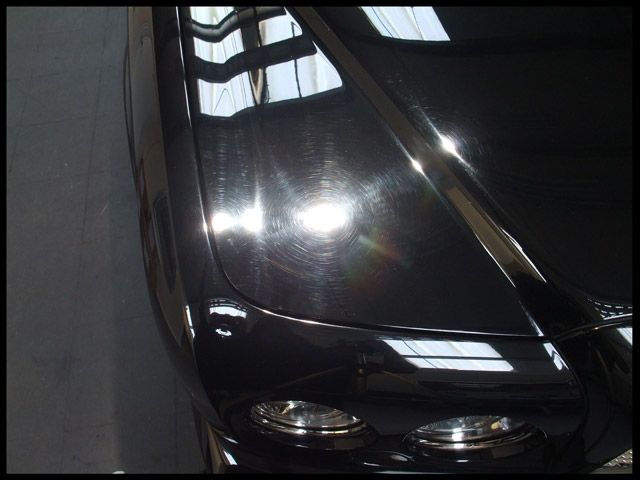
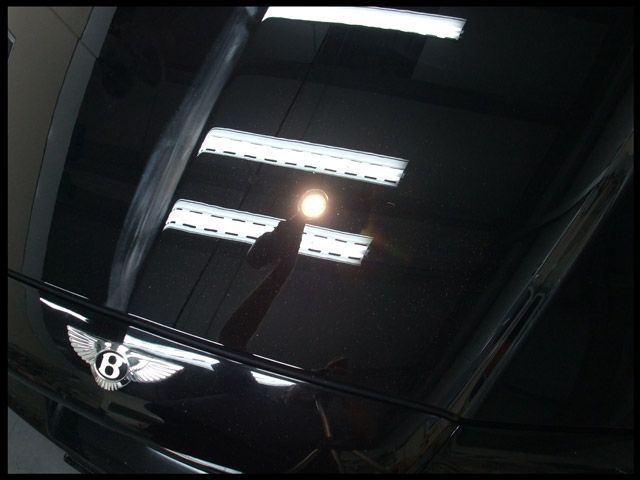
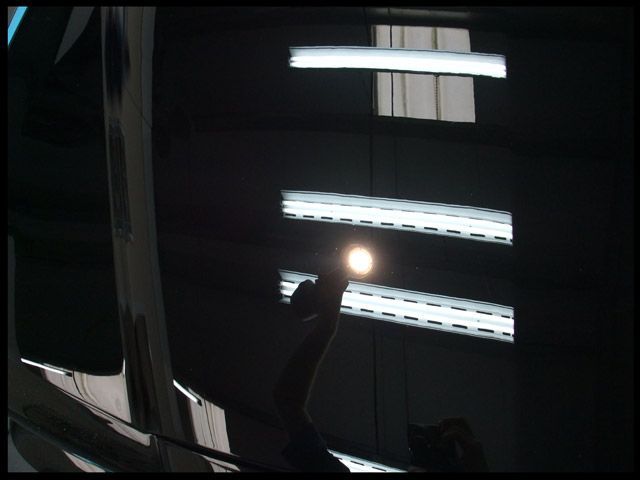
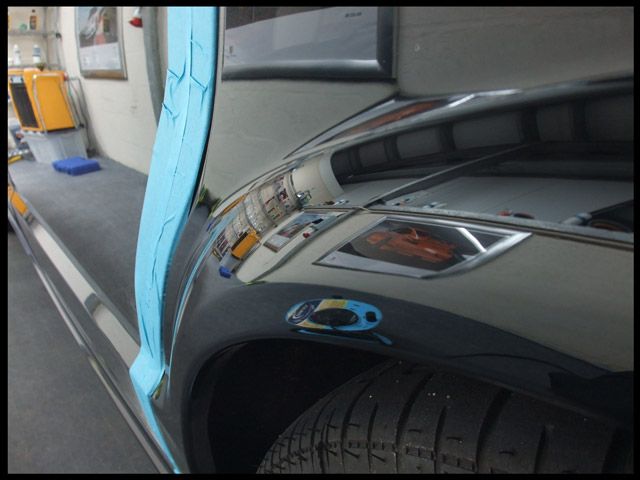
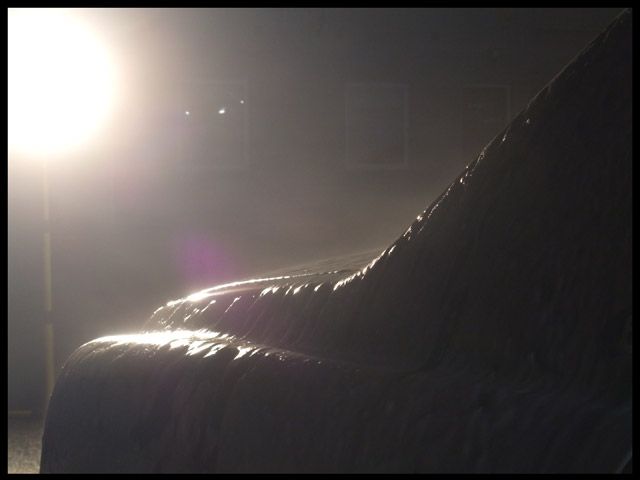
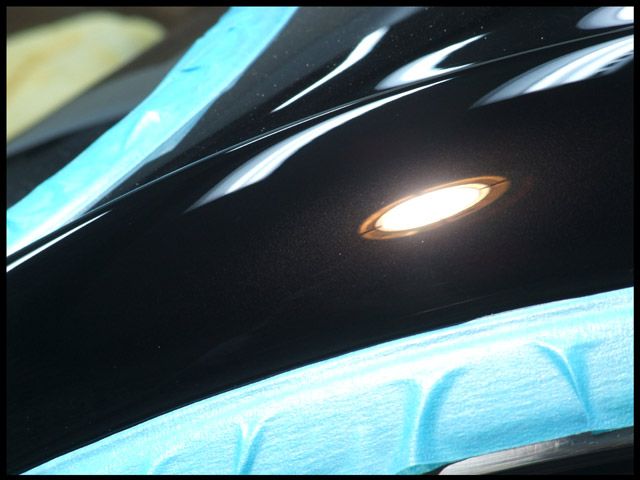
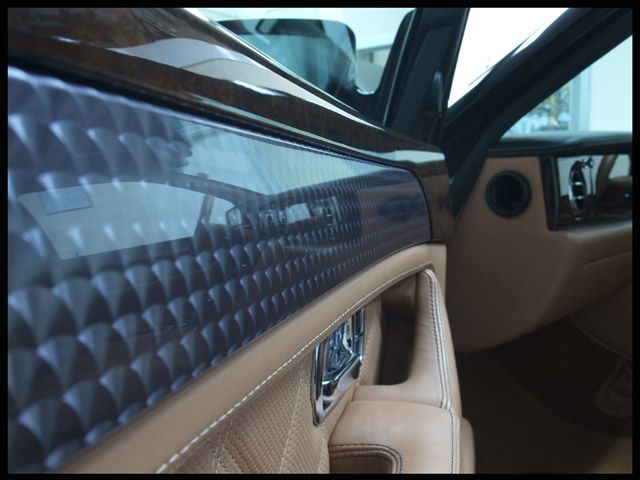
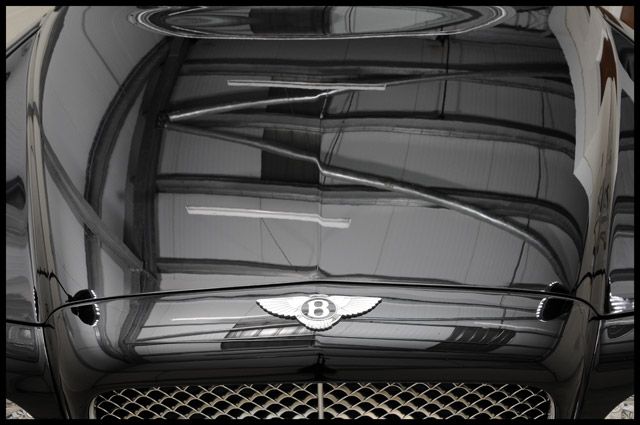
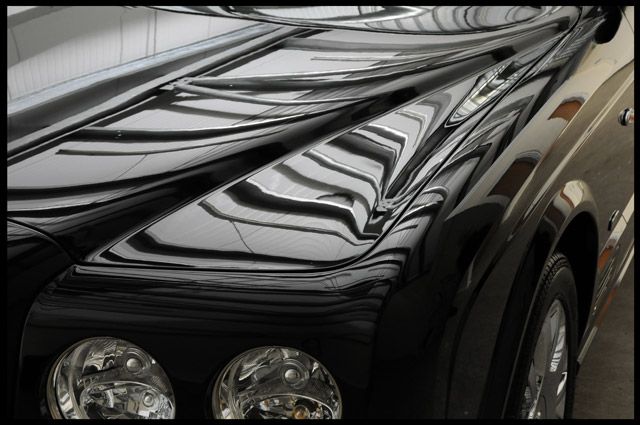
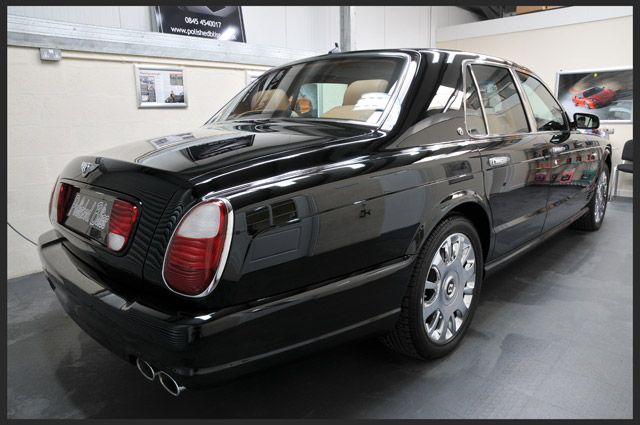
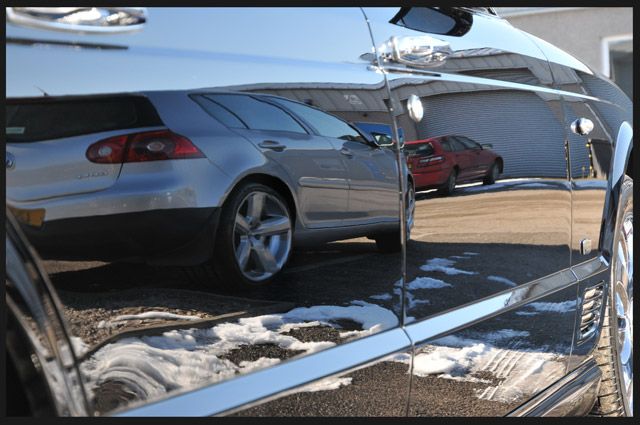
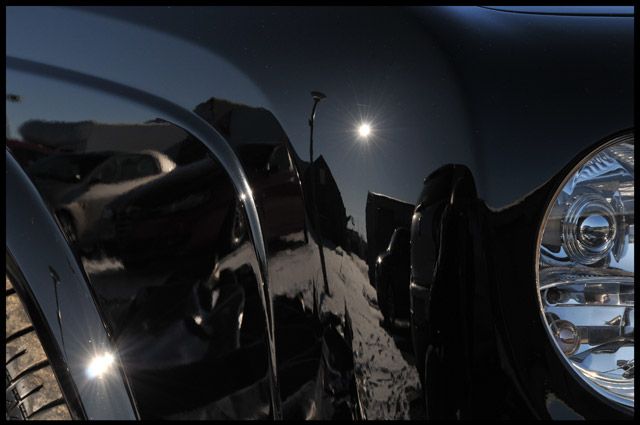
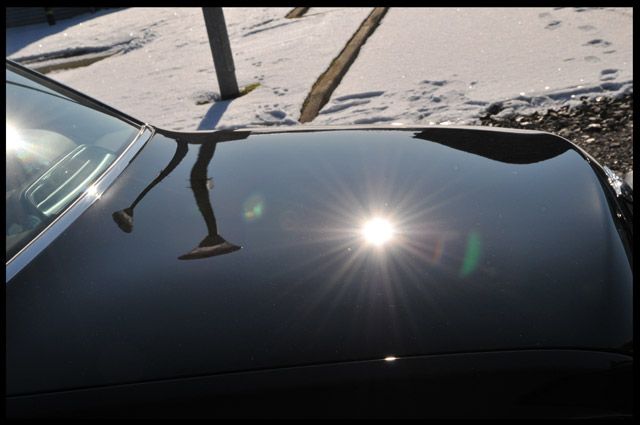
A perfect micro marring free finish:
Hopefully this goes some way to rubbishing claims by some that you cant finish down that well with DA machines - all you need is the right pad, polish and technique :thumb:
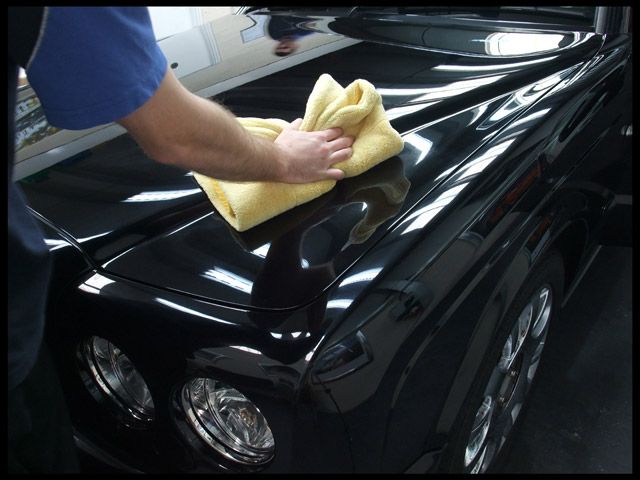
When all the polishing was complete I lightly dusted the car down before carrying out a thorough IPA wipe down:
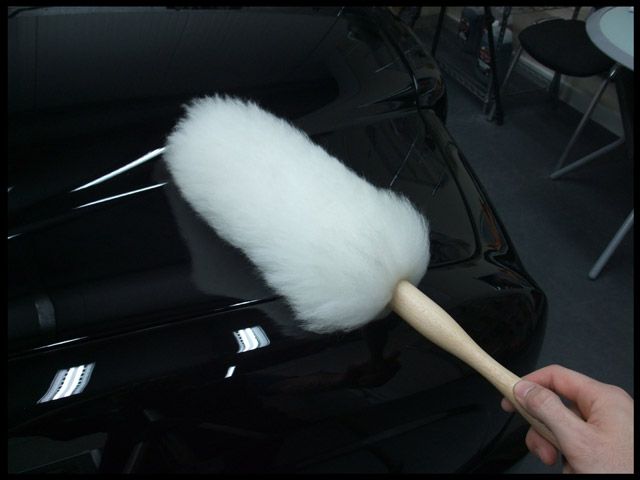
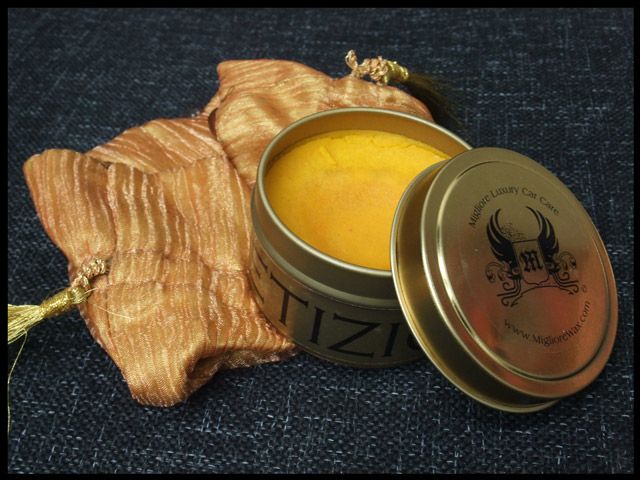
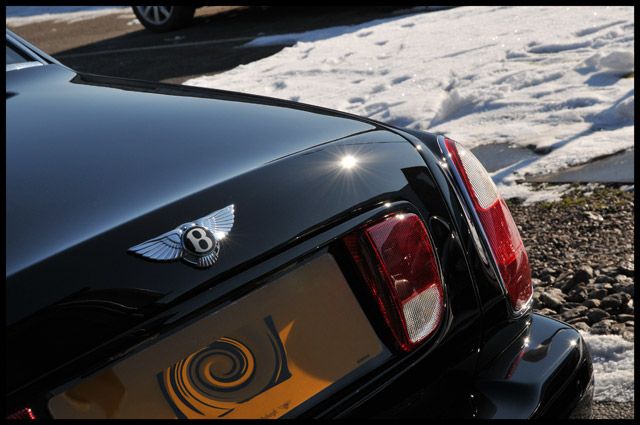
LSP of choice was Migliore Competizione - I've been seriously impressed with this wax and I swear you want to eat the stuff when you smell it :lol:
This was applied
VERY thinly to a couple of panels at a time and then carefully buffed off. The Migliore waxes don?t set like most other waxes so they're still wet when you remove them - hence why you have to put them on as thin as possible or they can be tricky to remove and will clog up your microfibre.
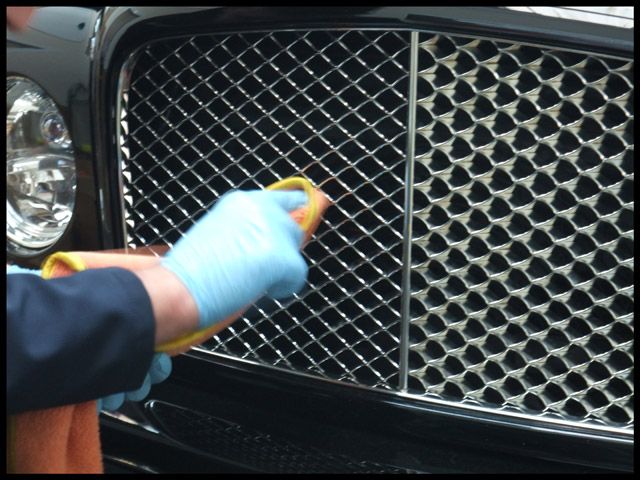
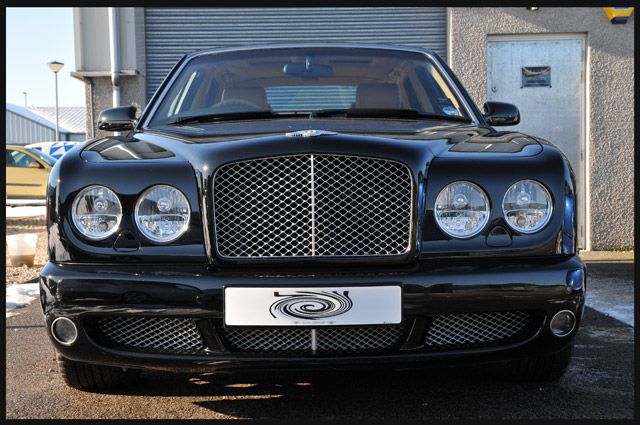
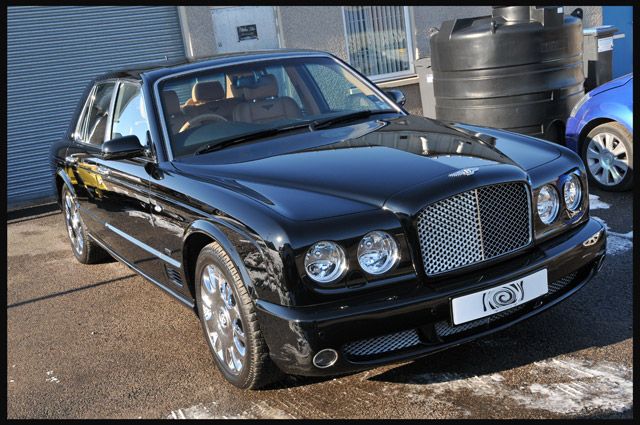
As usual, the finishing touches were completed including Werkstat Prime Strong on the grill and all exterior chrome trim:
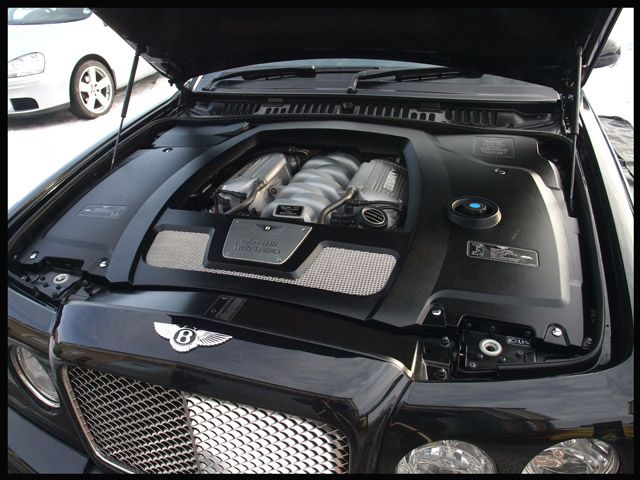
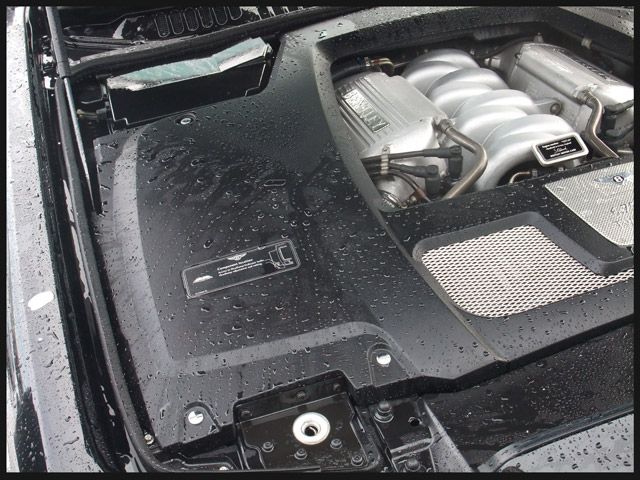
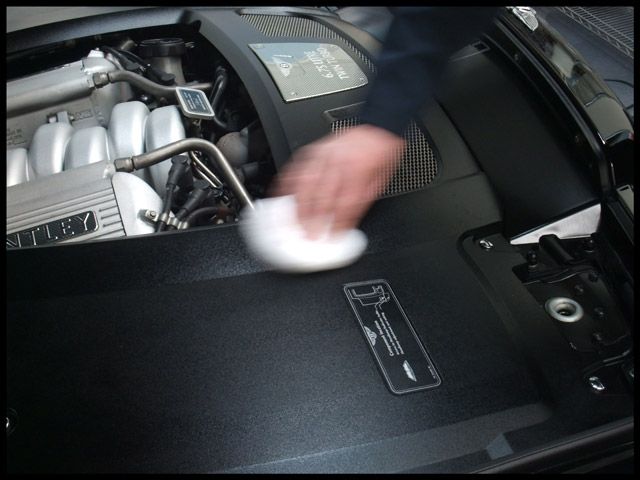
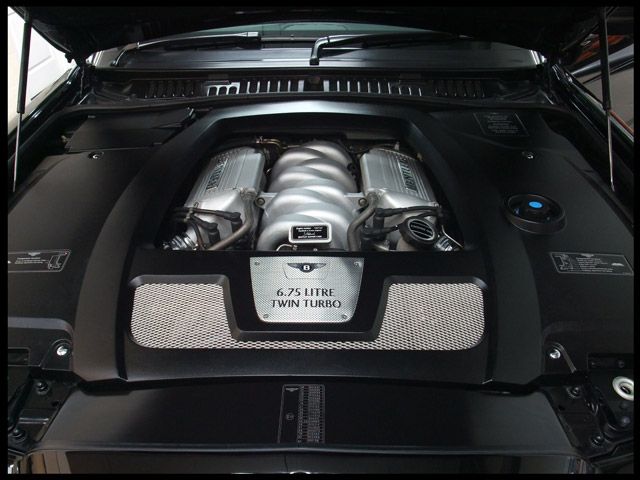
The engine bay was dressed with 303 Aerospace Protectant again: