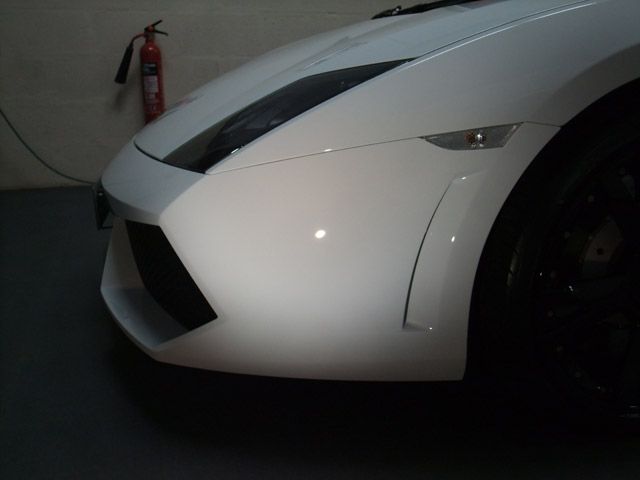
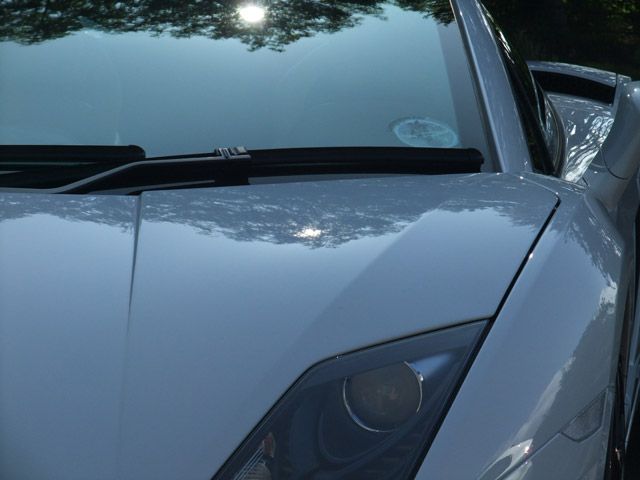
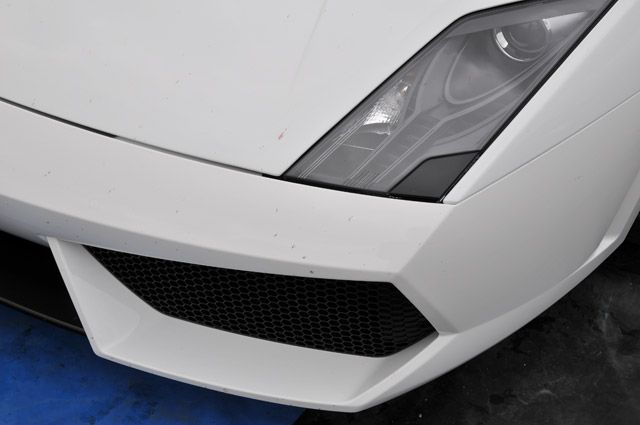
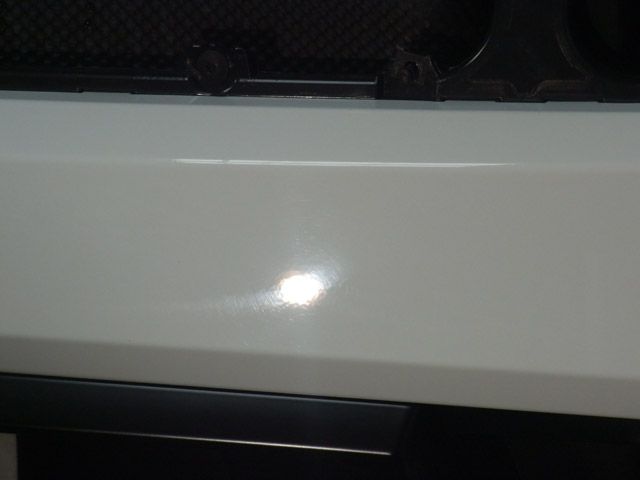
Some more random defects:
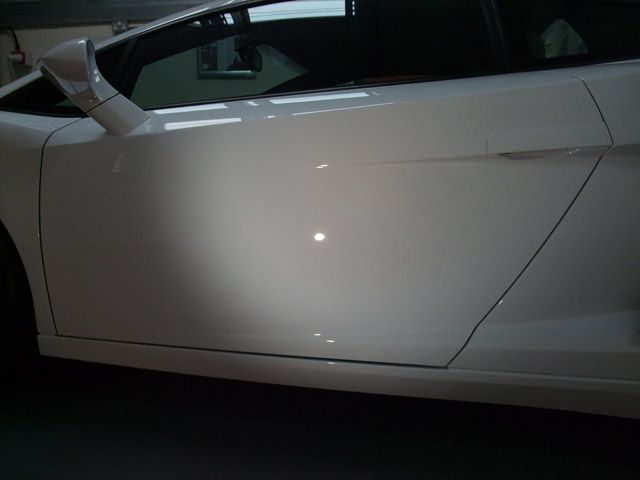
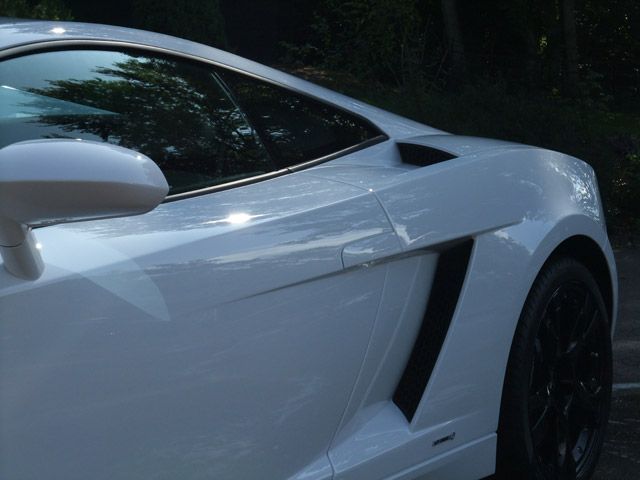
The doors and rear quarters on both sides also had very long vertical scratches which was a bit odd:
So as you can see, more than enough to keep me busy!
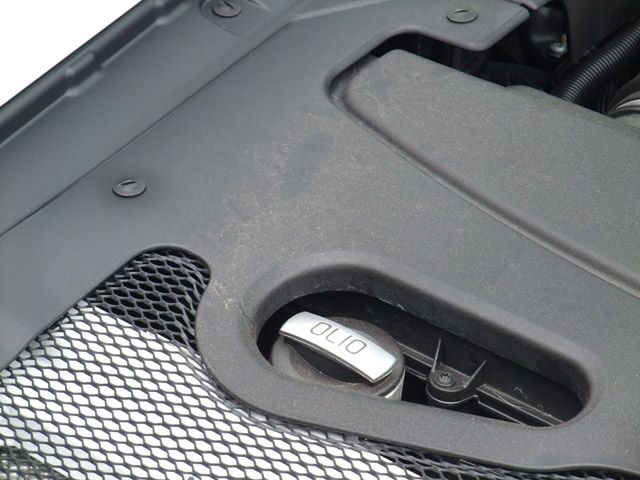
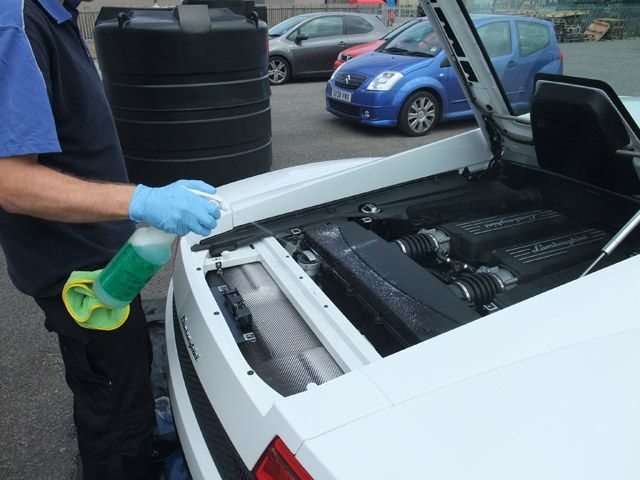
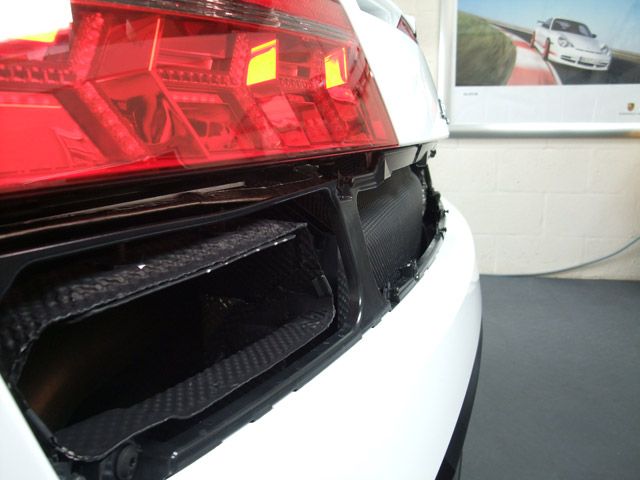
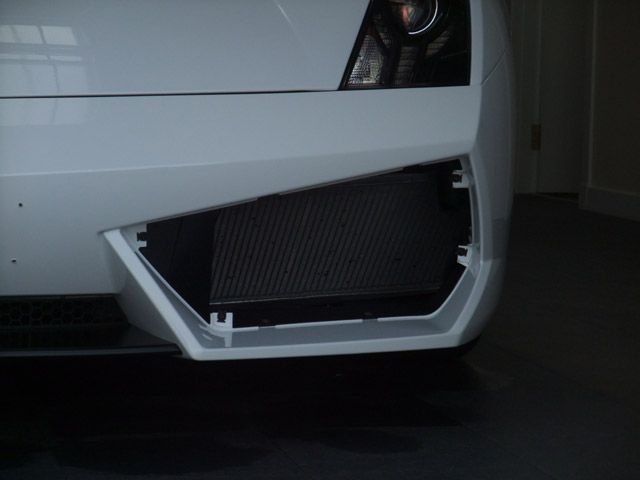
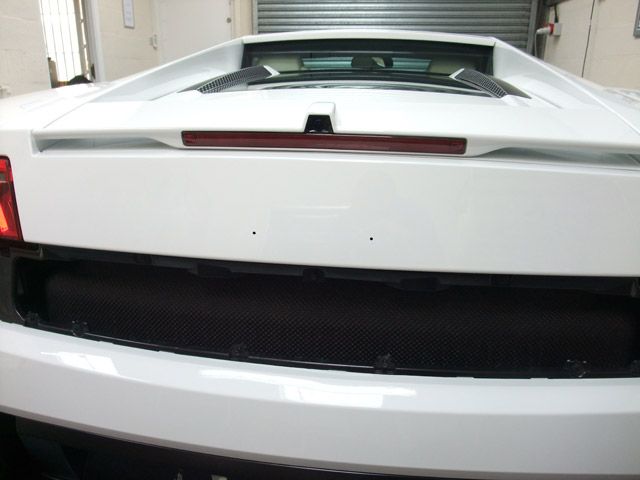
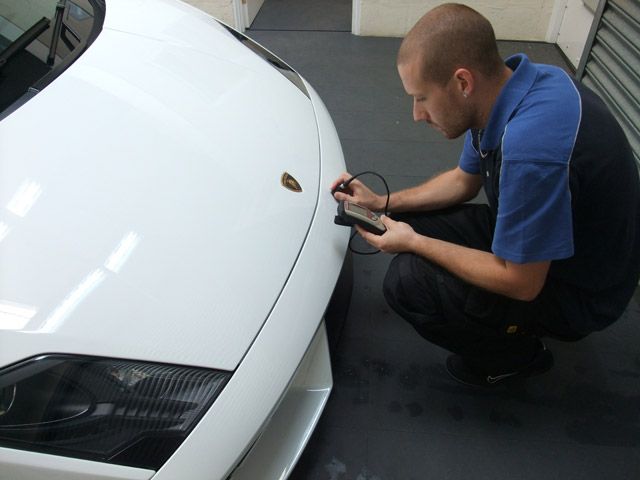
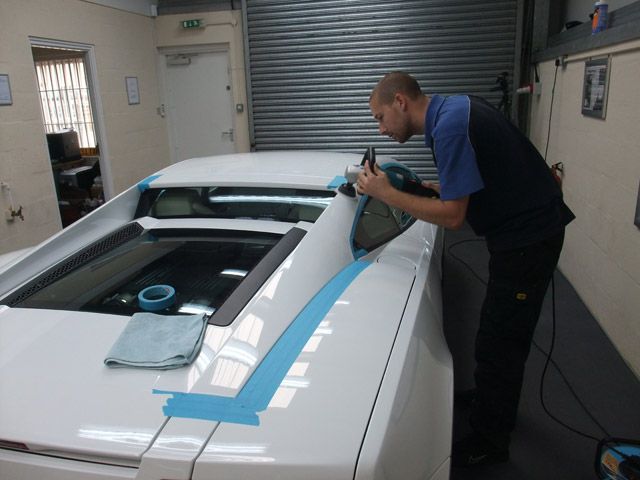
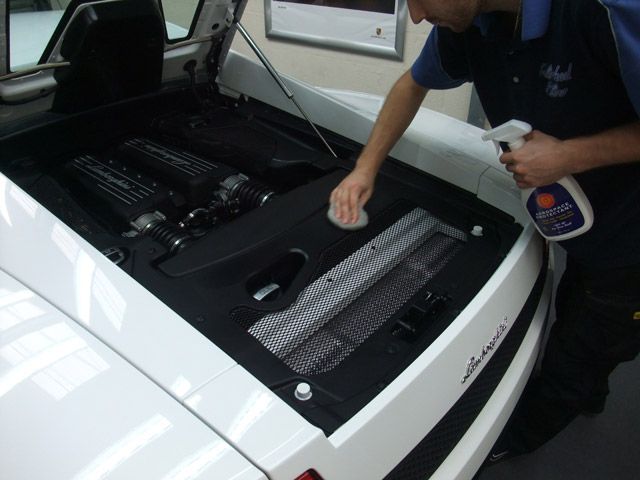
I removed a few bits and pieces to make polishing easier:
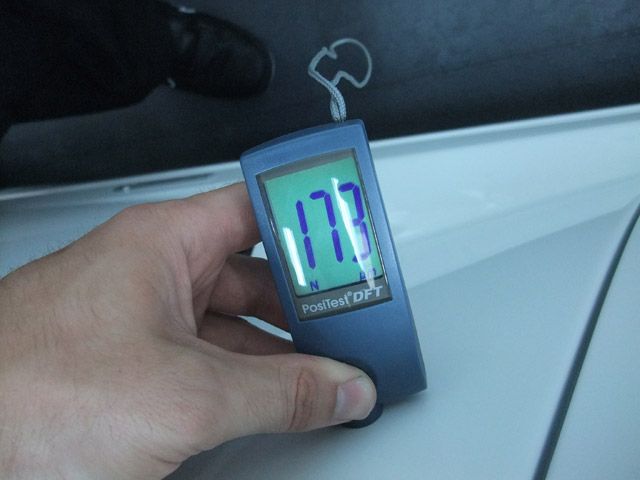
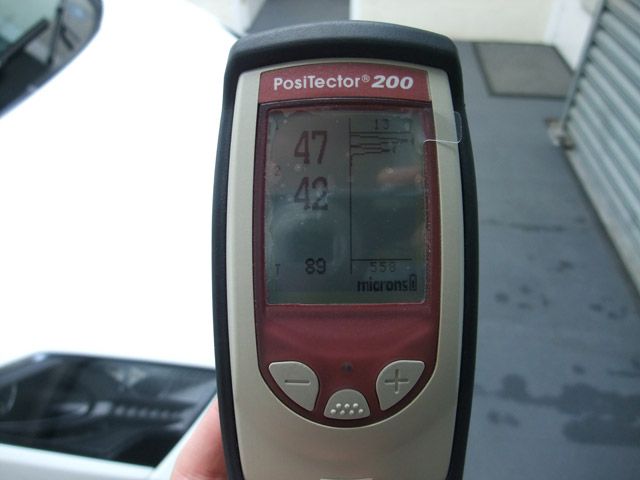
I then took detailed paint readings. Luckily the paint was showing healthy levels, the lowest reading I could find was 173 microns:
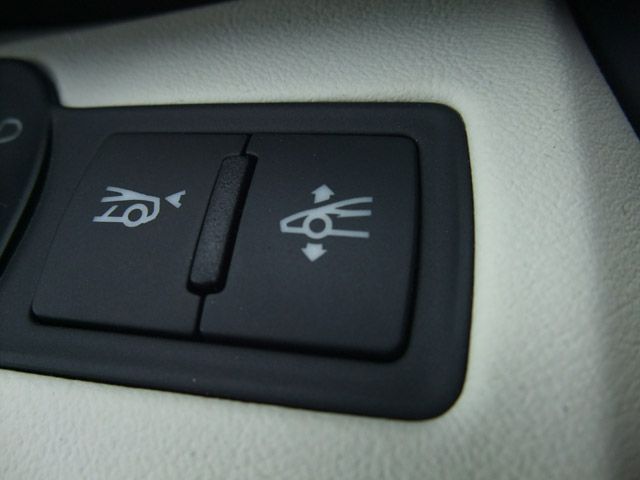
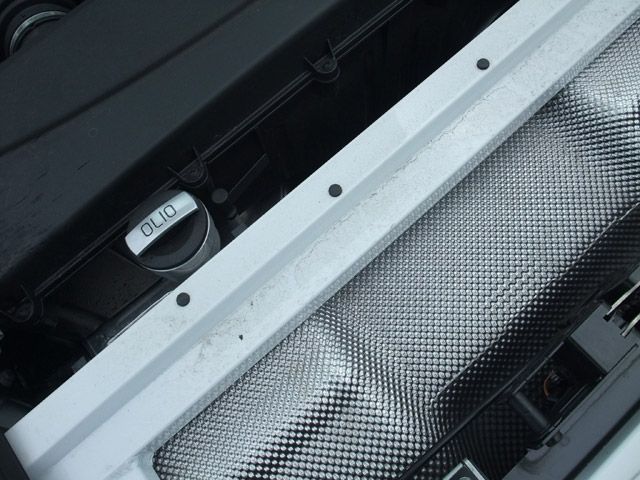
The plastics were pretty good too:
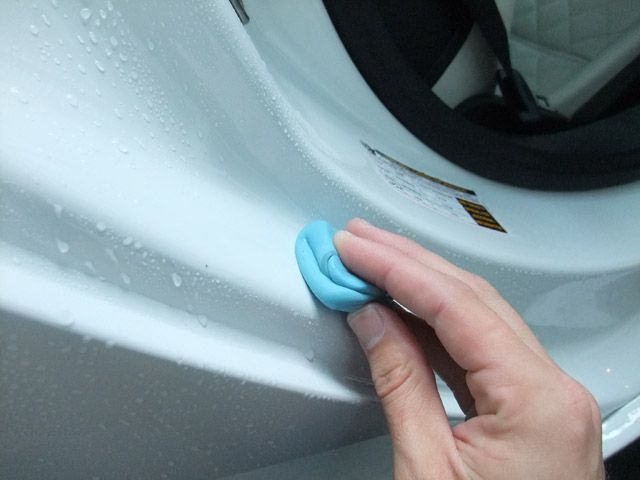
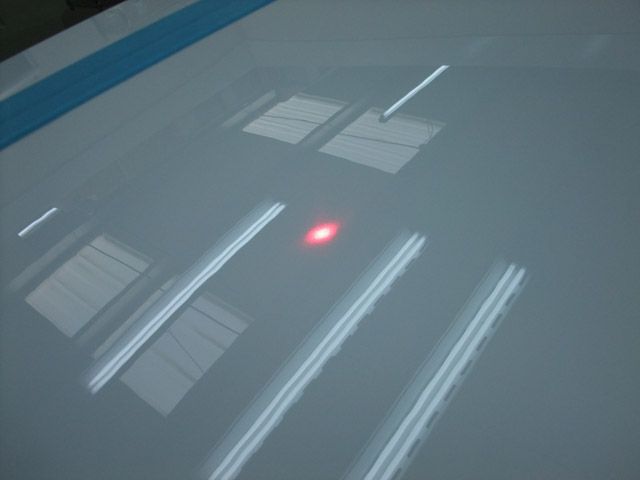
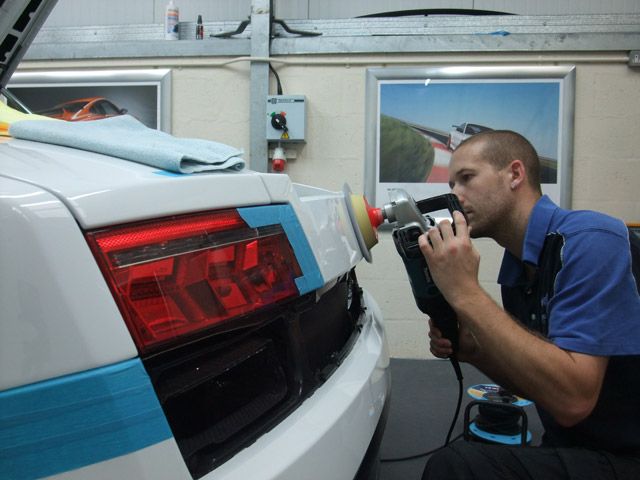
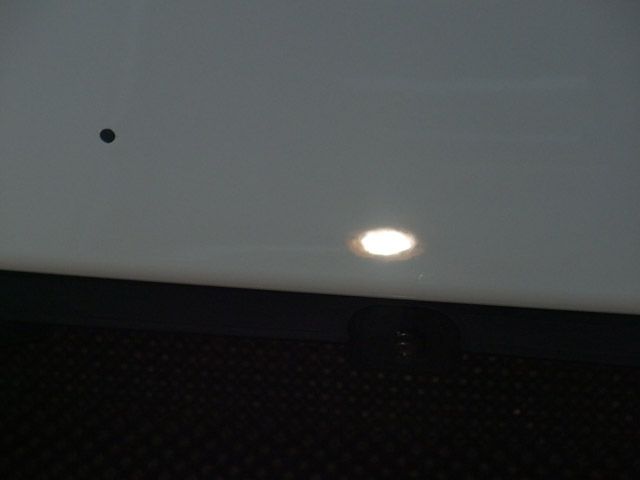
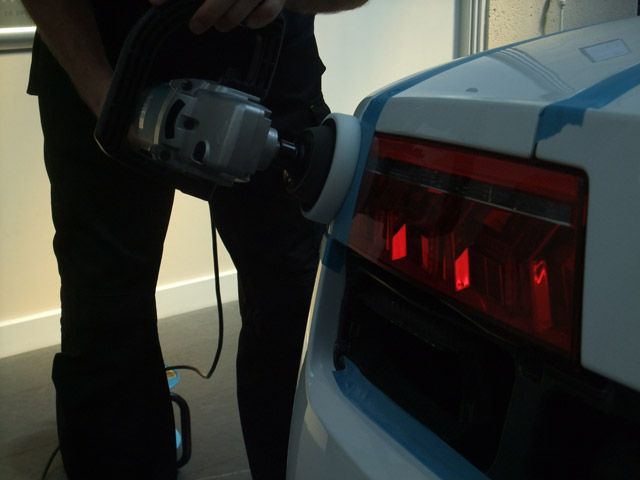
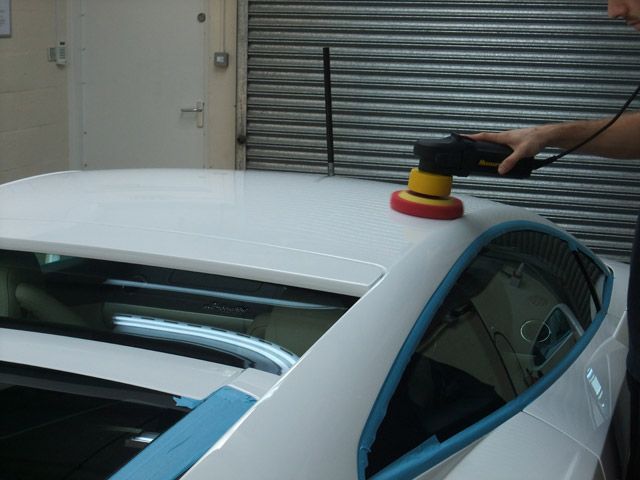
As always, to determine how much paint I was going to remove once on my chosen polish and pad combination I set up the laser pen to show an accurate point on the paint to take readings from:
(Approx 15-20 readings were taken each time on the same spot with an average taken from the readings)
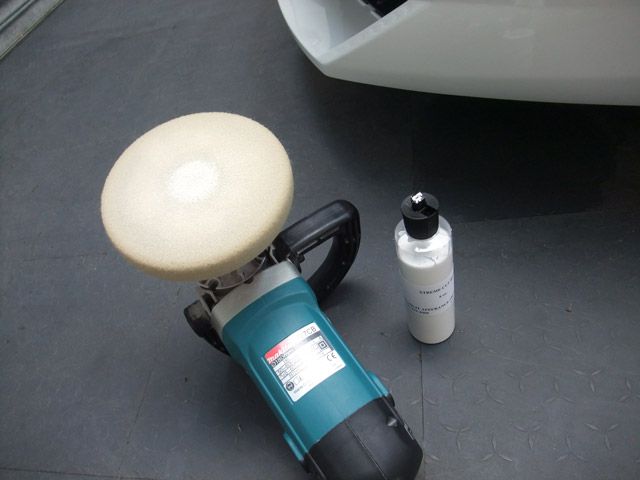
First combination I tried was Menzerna 3.02 and a Gloss-It Polishing Pad:
This barely even removed the marring and light swirls and paint removal wasn?t even noticeable.
Next was Gloss-It's Beta Extreme Cut and a Gloss-It Fast Cut Pad:
This was a bit of an improvement with a paint removal rate of around 1-2 microns max.
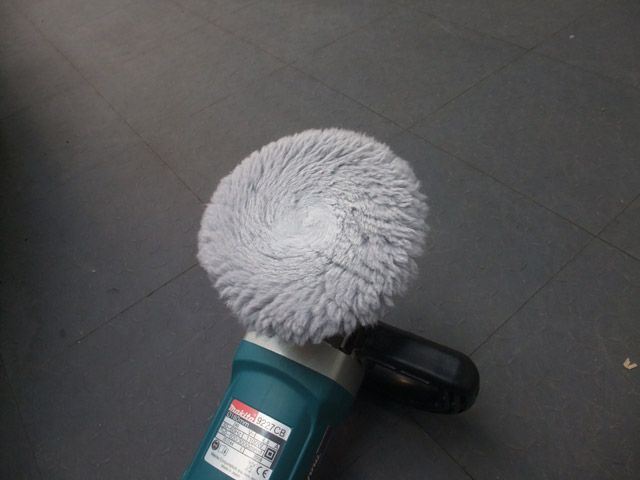
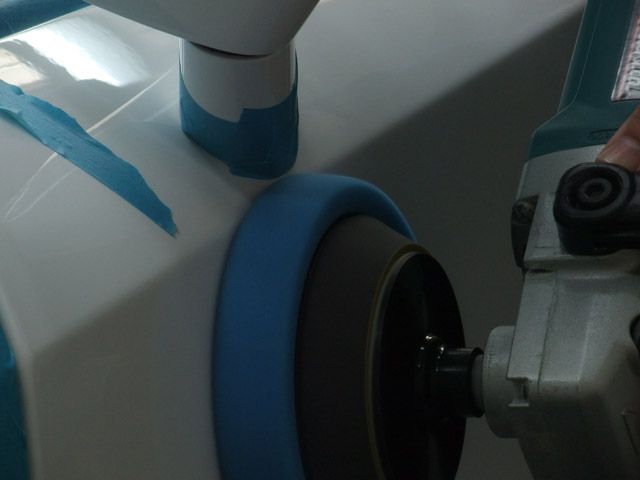
I ended up settling for Meguiars 105 (with Menzerna S100 on some of the worst areas) and a Grey Gloss-It Wool Pad:
The paint was the hardest paint I'd ever polished and even with this aggressive combination @circa 2500rpm's I was only seeing a couple of microns removed. The worst affected areas needed as much as 5 hits in places to achieve full correction but in general, 2-3 attempts usually worked.
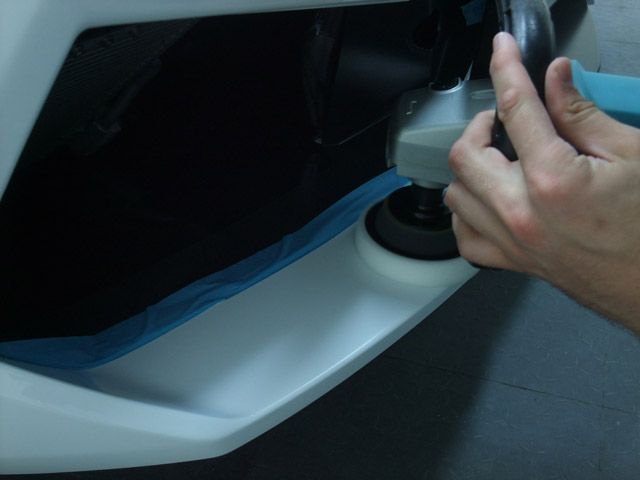
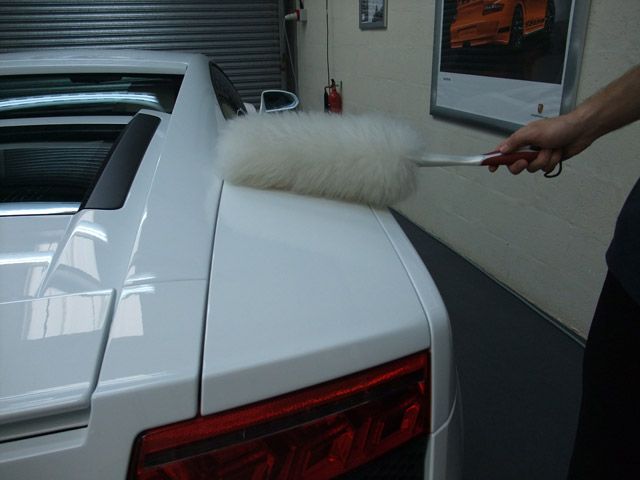
The Pillars weren't too bad so I got away with Megs 105 and a white lambswool Gloss-It pad for these sections:
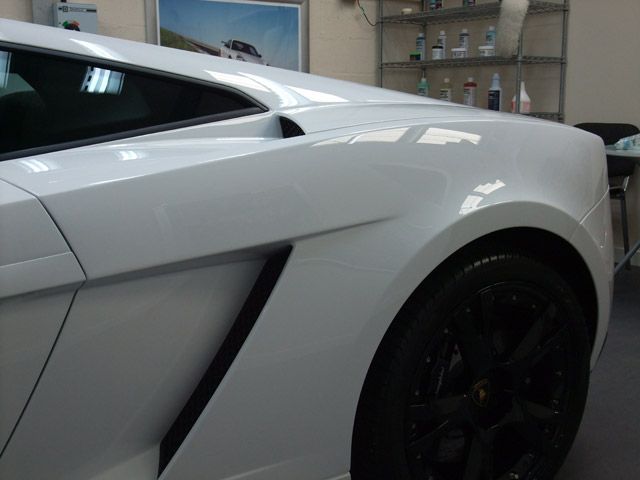
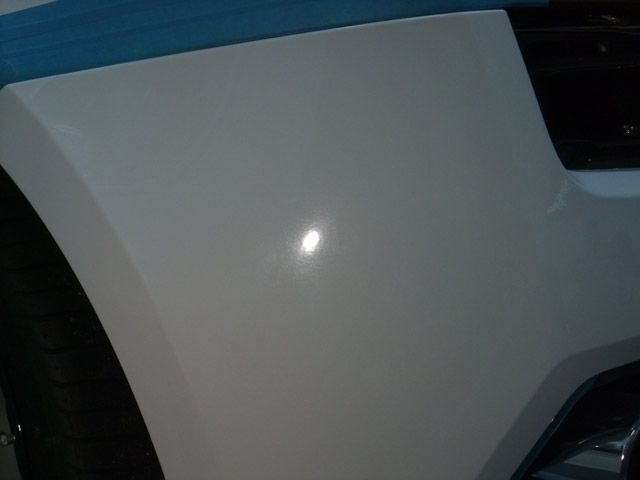
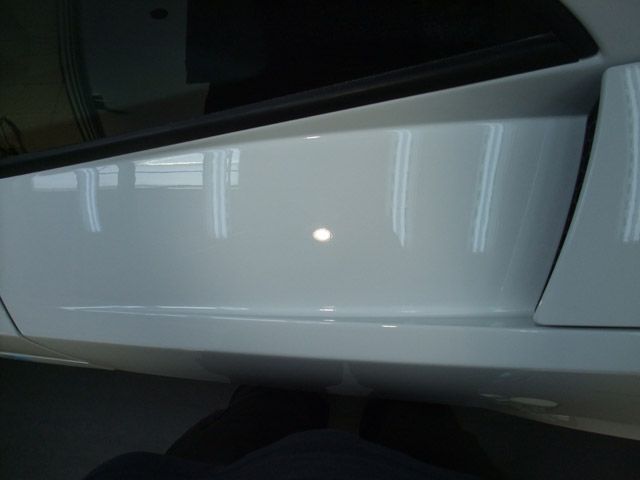
Couple of before and afters:
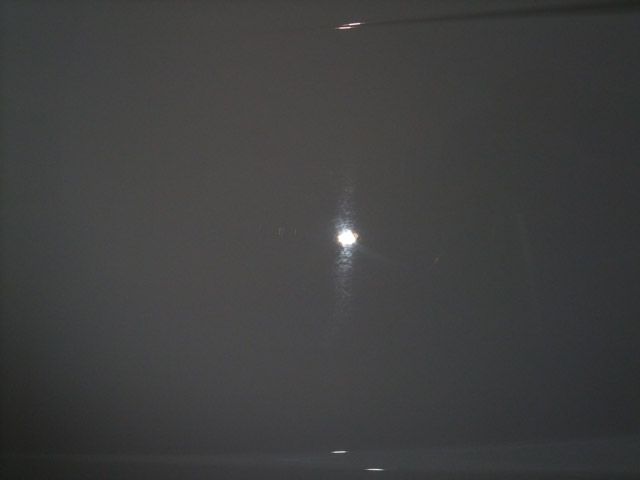
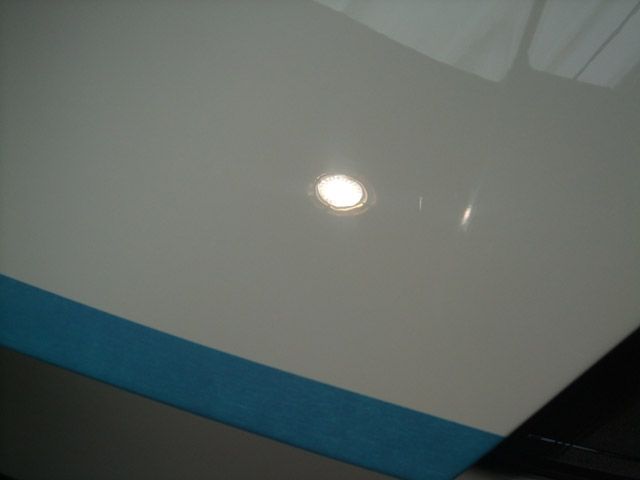
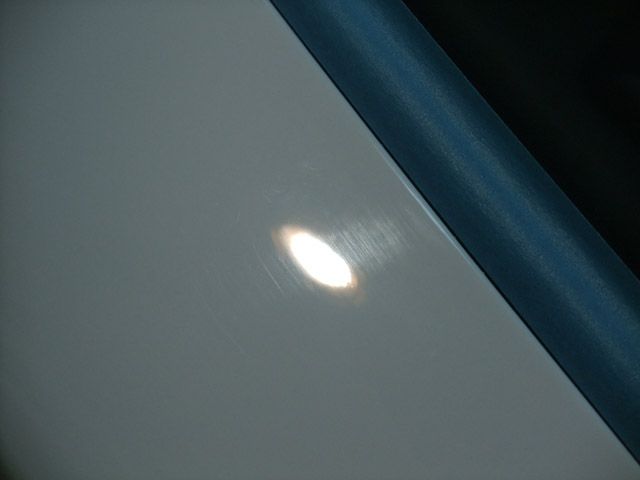
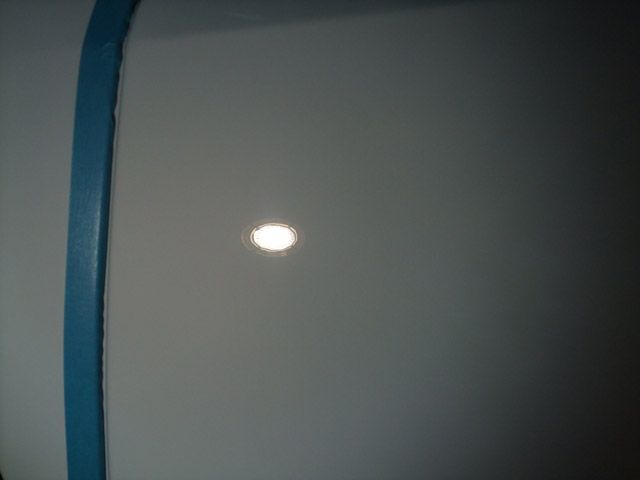
Before:
After:
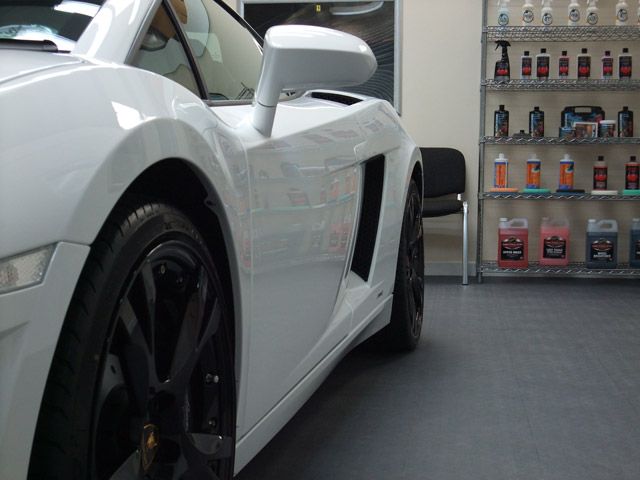
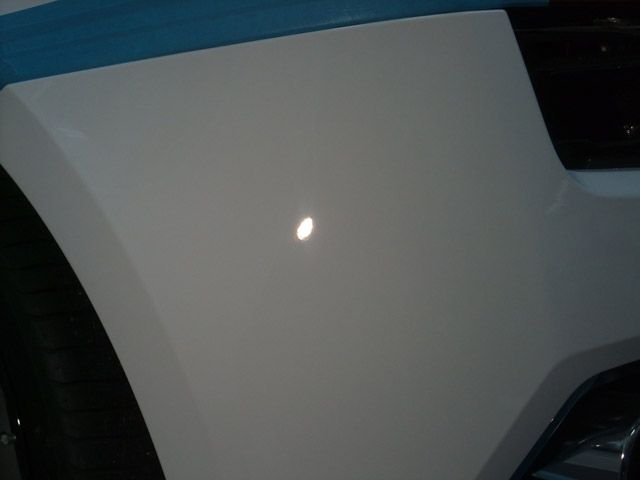
Before:
After:
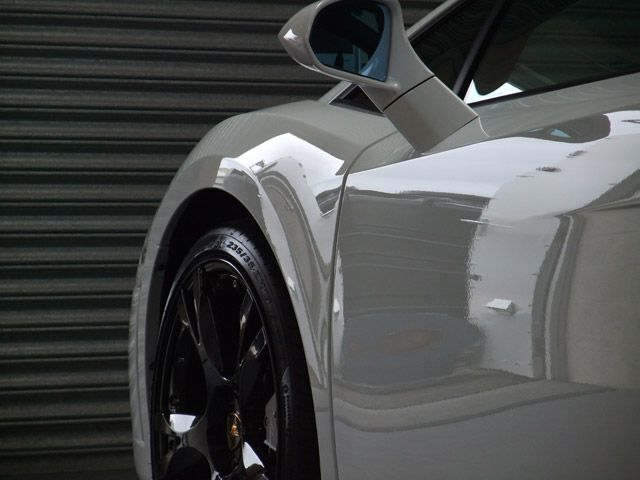
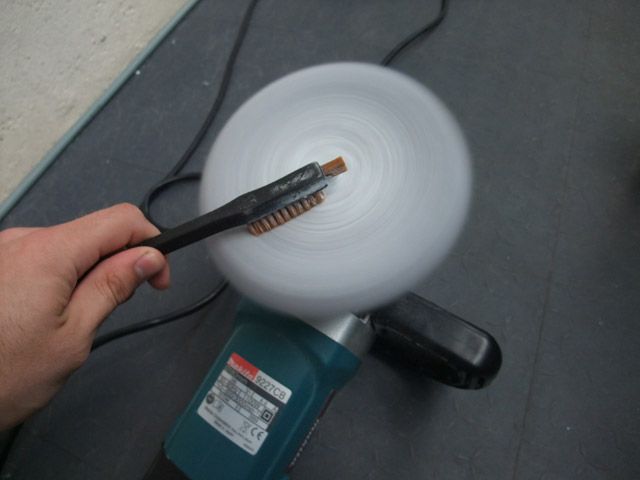
Whilst wool (and heavy compounding in general) can produce a fair bit of dust, providing you keep spurring the pad then there's no reason to get any product sling etc:
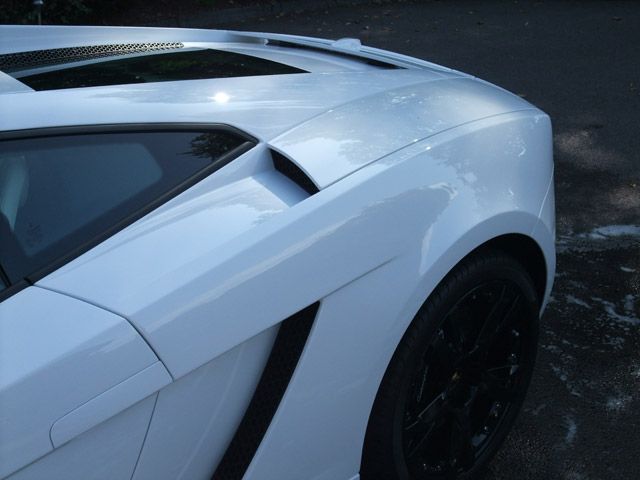
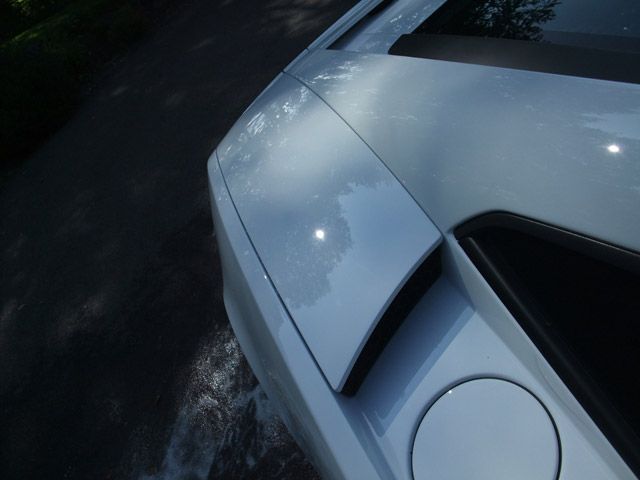
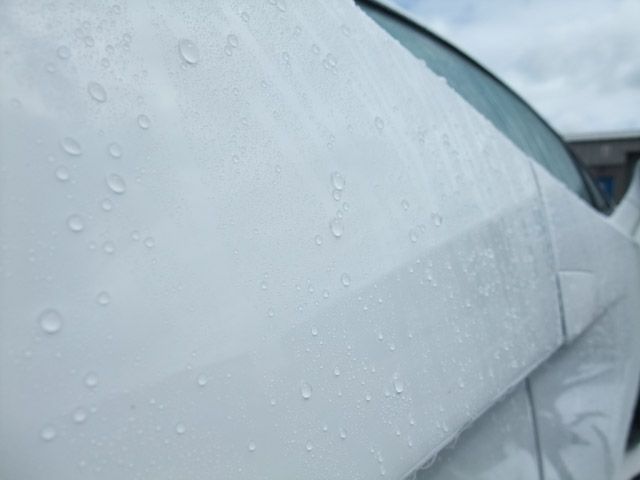
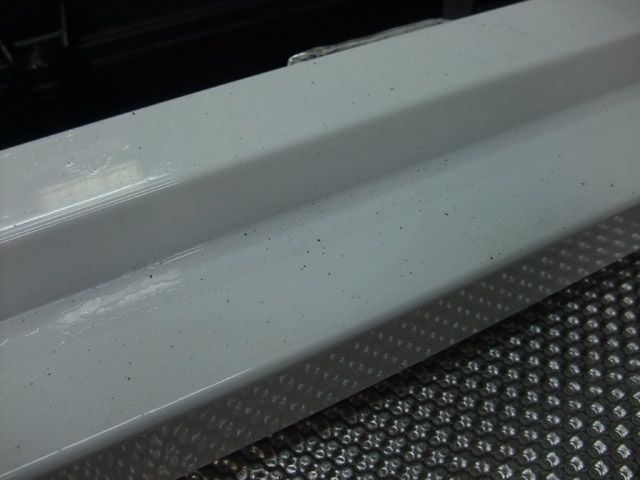
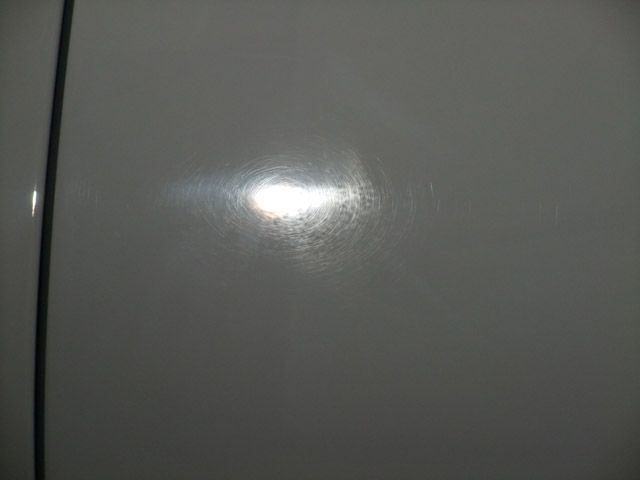
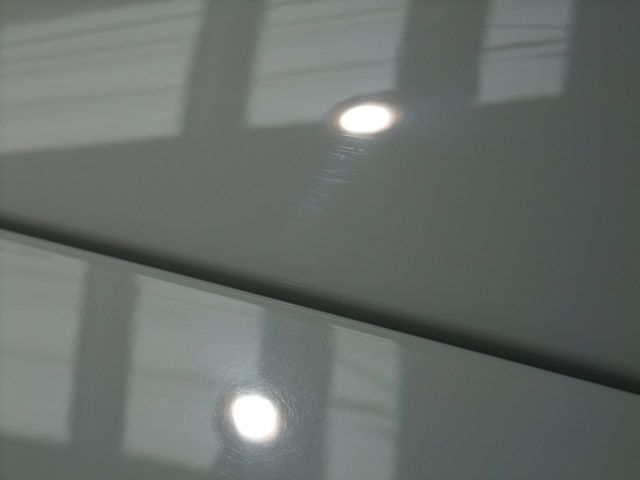
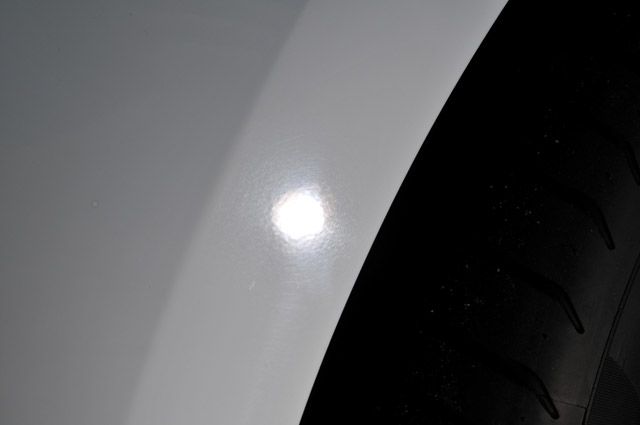
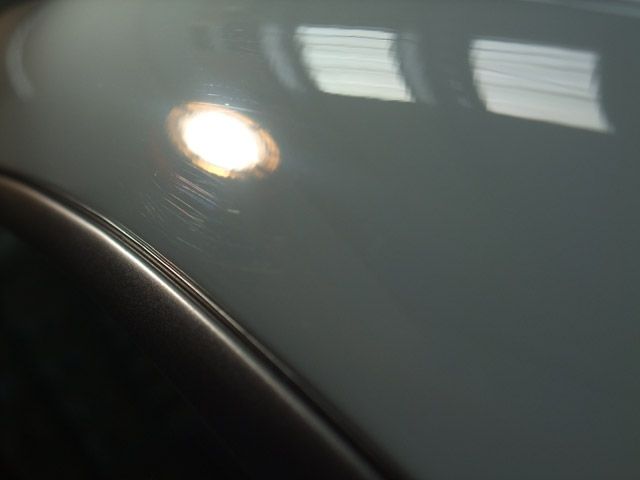
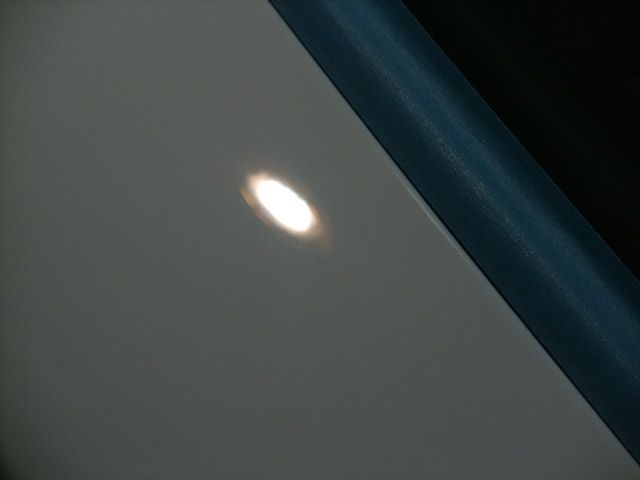
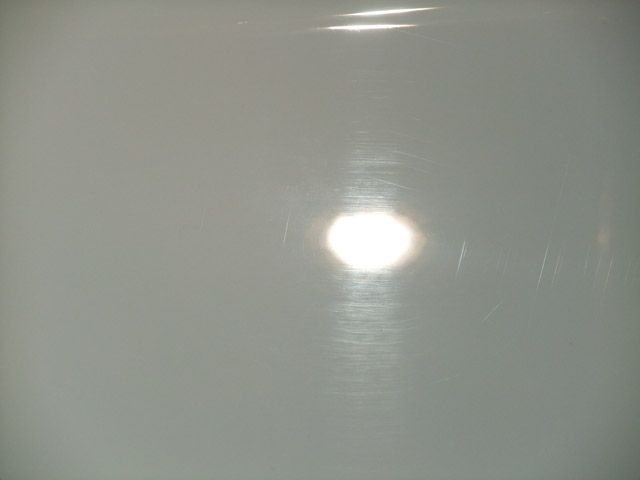
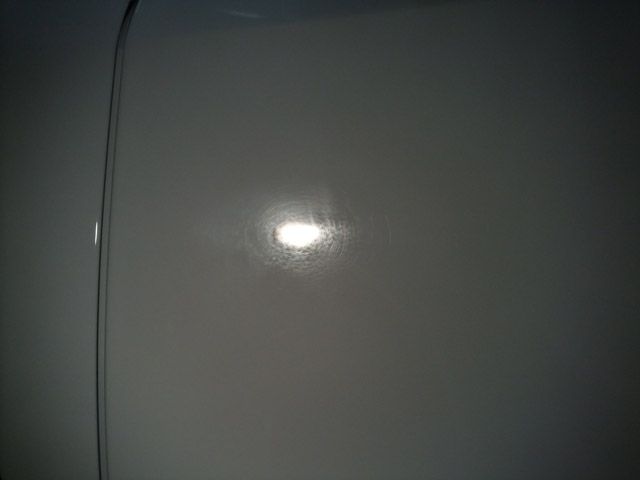
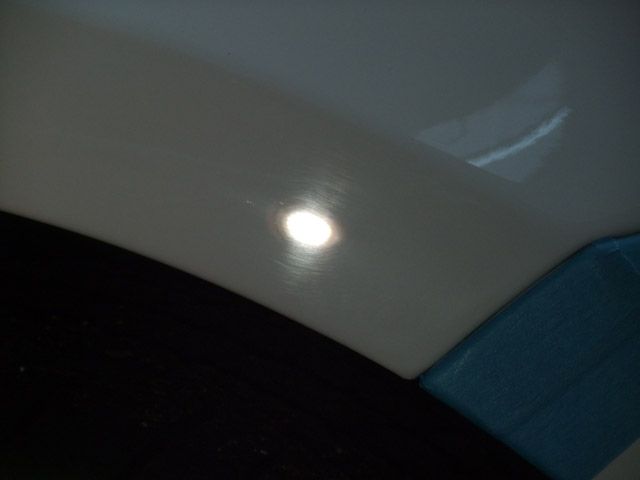
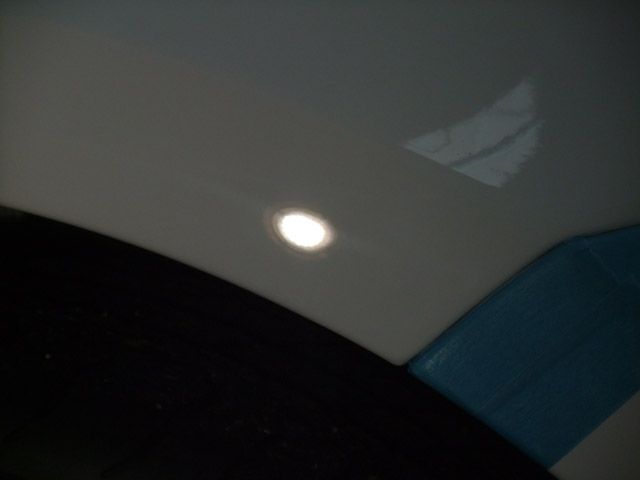
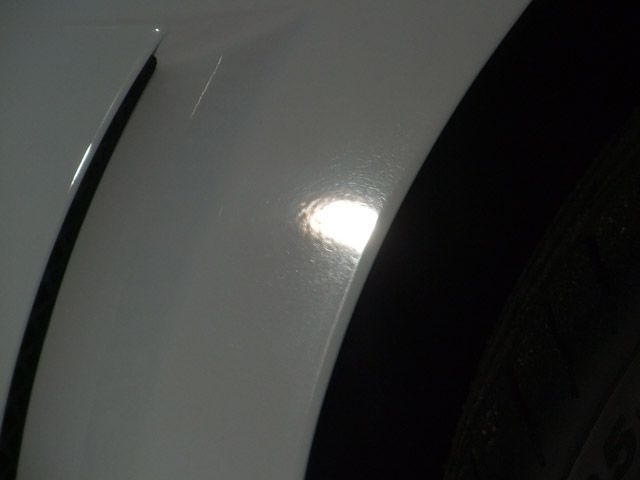
As I was working along I managed to get a good pic to show the severity of the sanding marks in places:
Even with the Sun Gun directed away from the panel slightly:
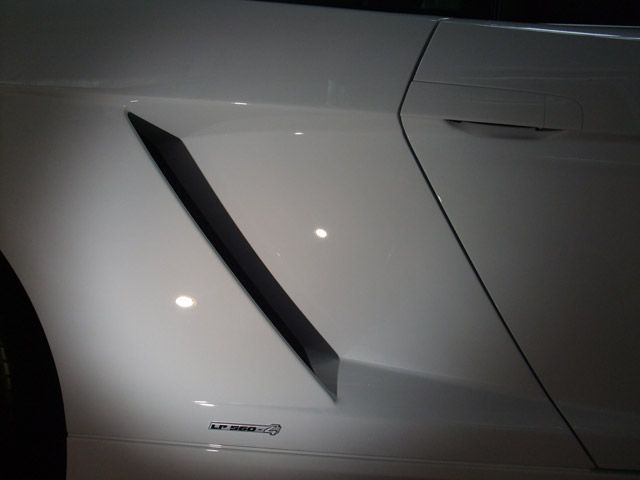
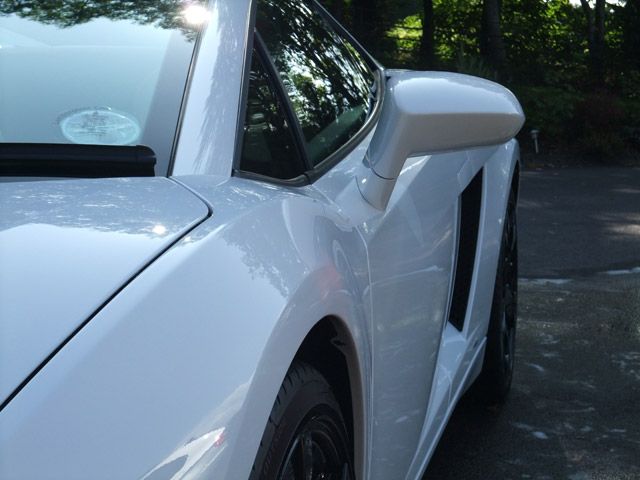
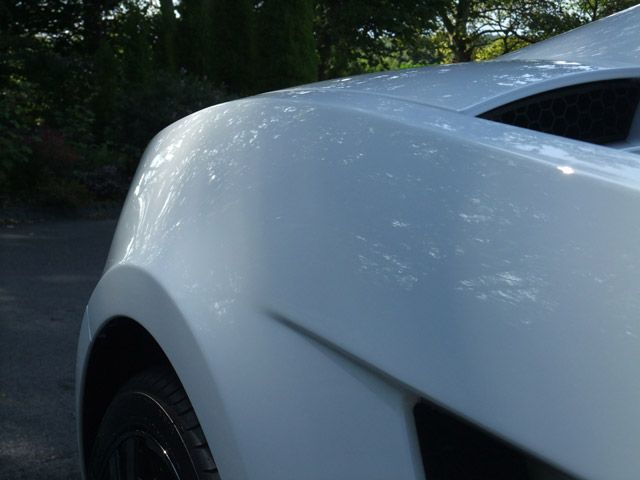
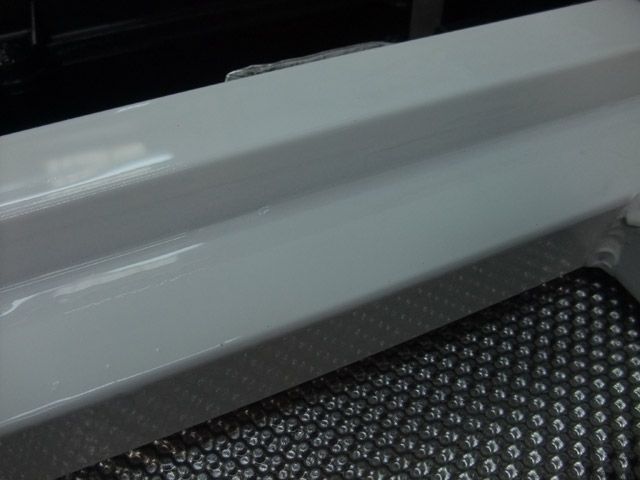
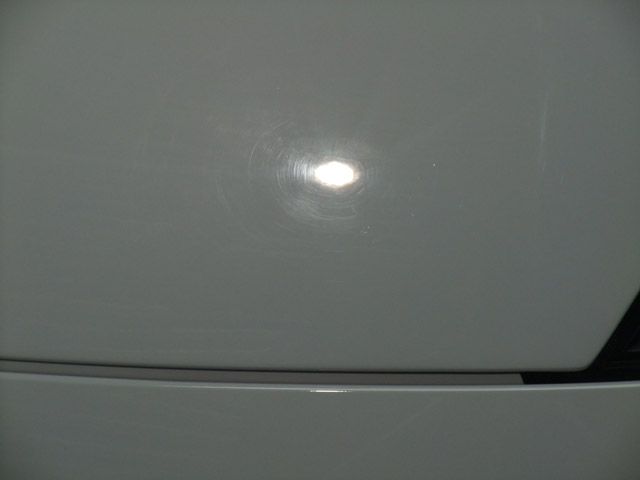
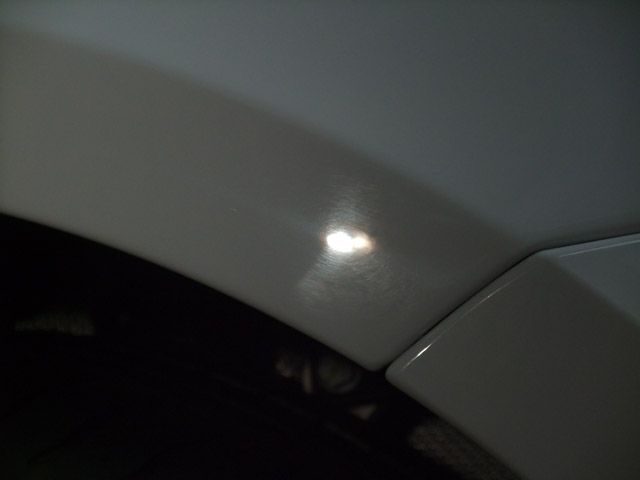
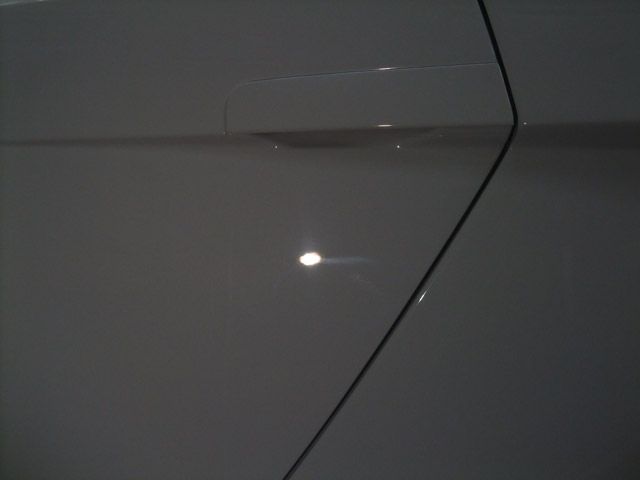
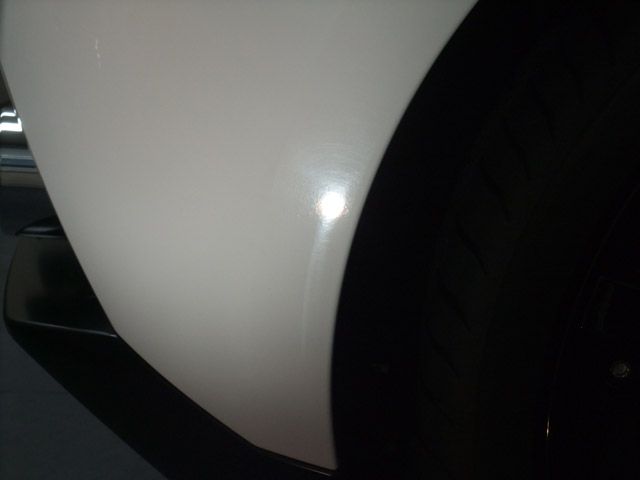
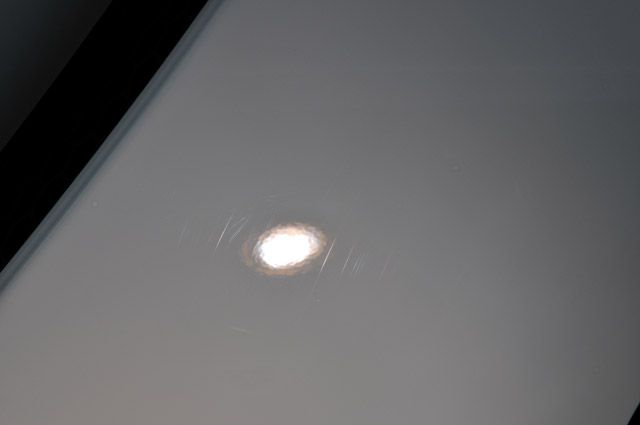
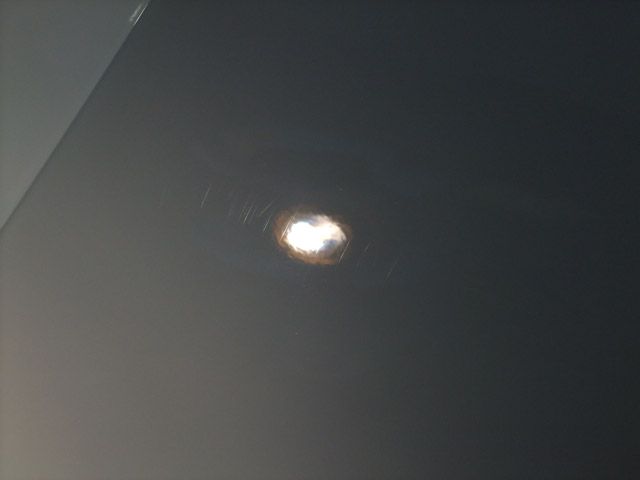
Along with the above, this section on the passenger door was one of the worst areas:
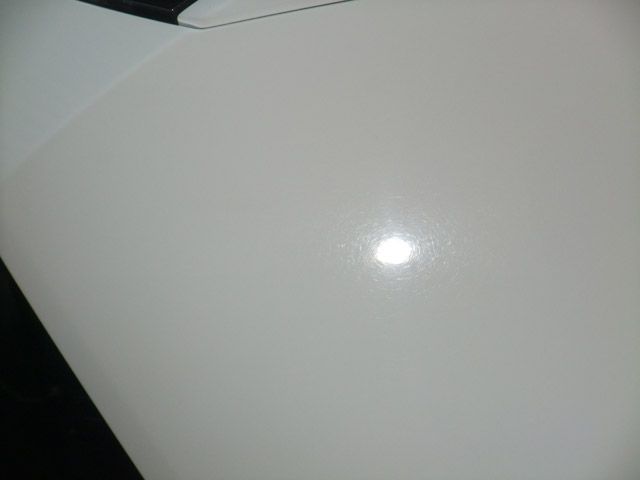
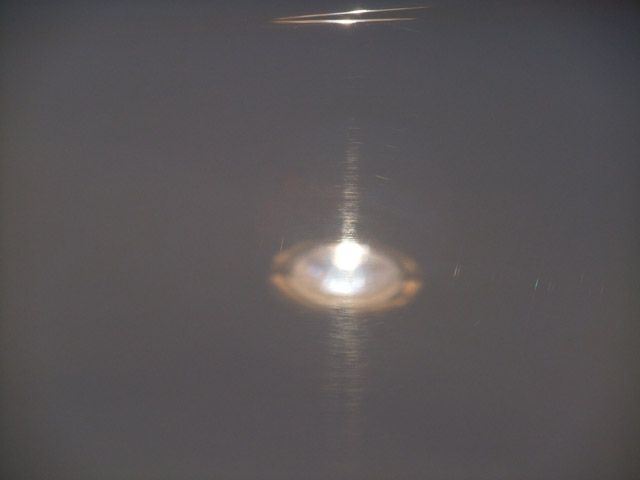
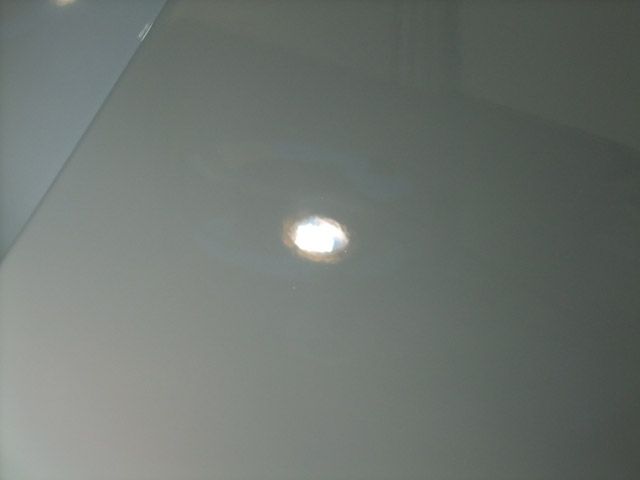
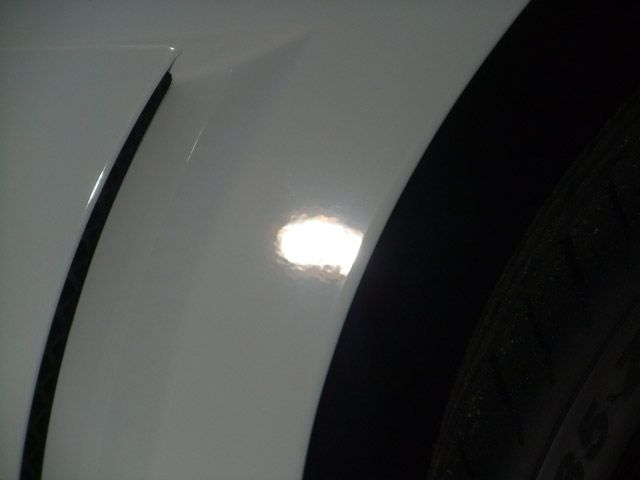
After 5 hits and approx 8 microns removed:
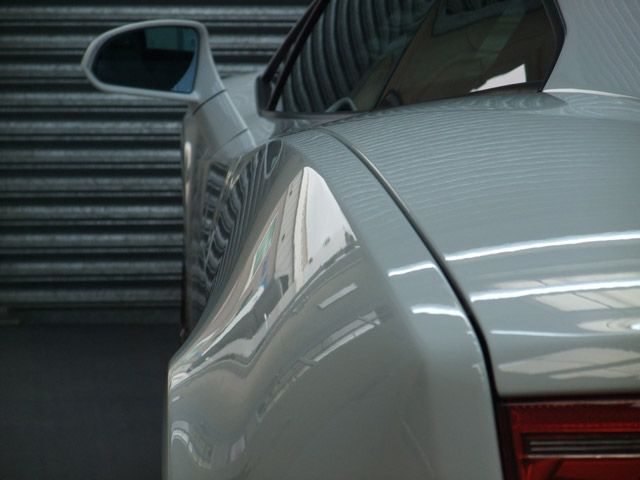
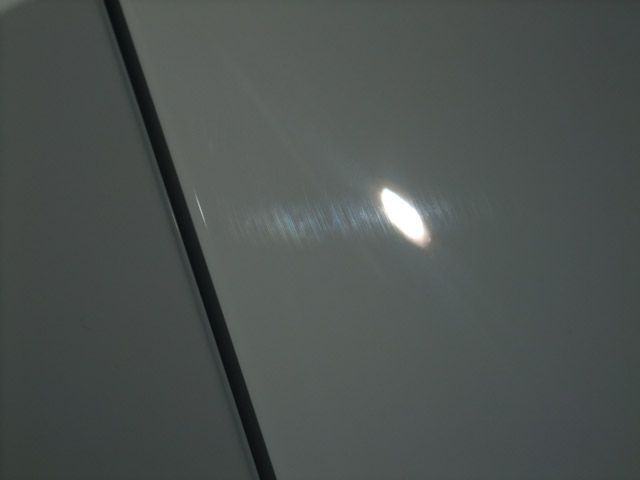
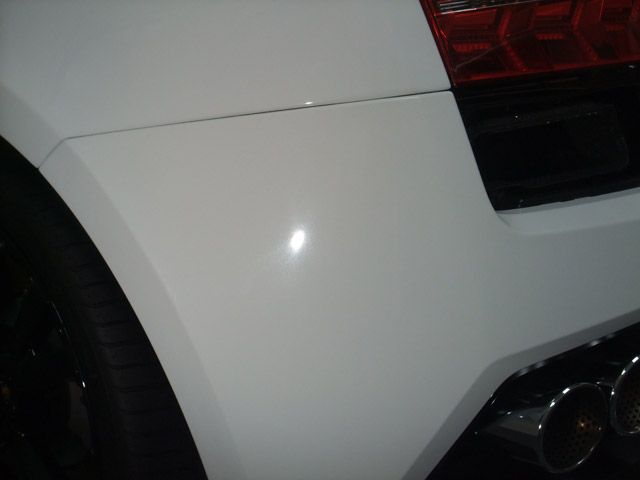
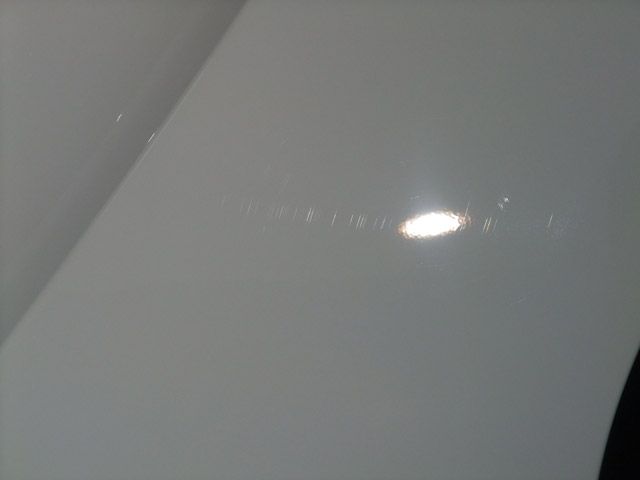
Vertical scratches on rear quarter before:
After:
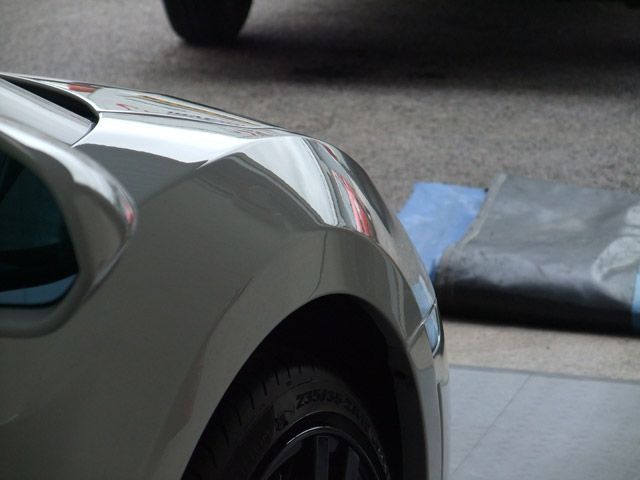
Before:
After:
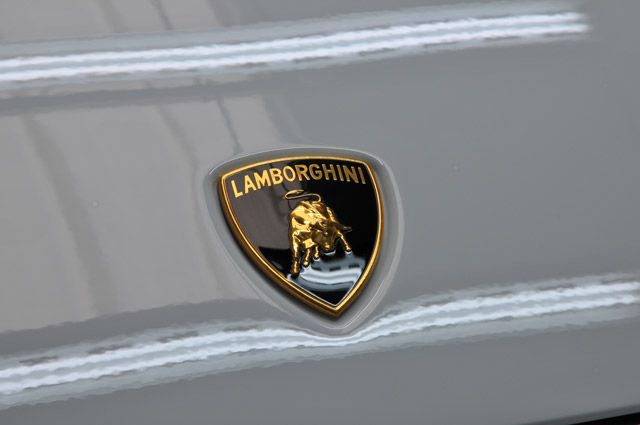
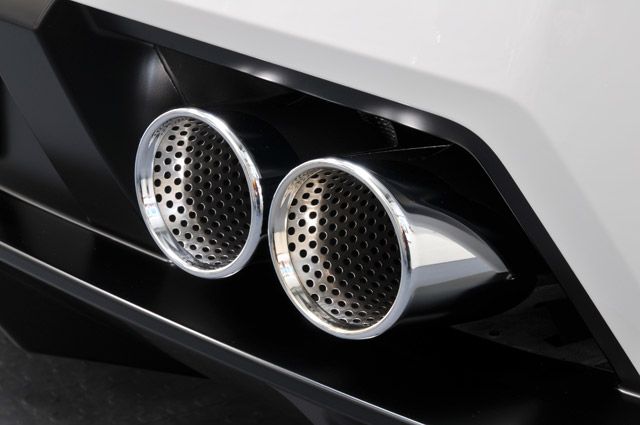
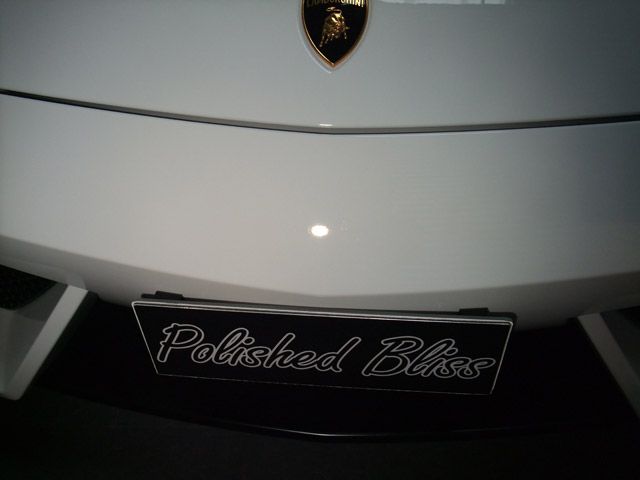
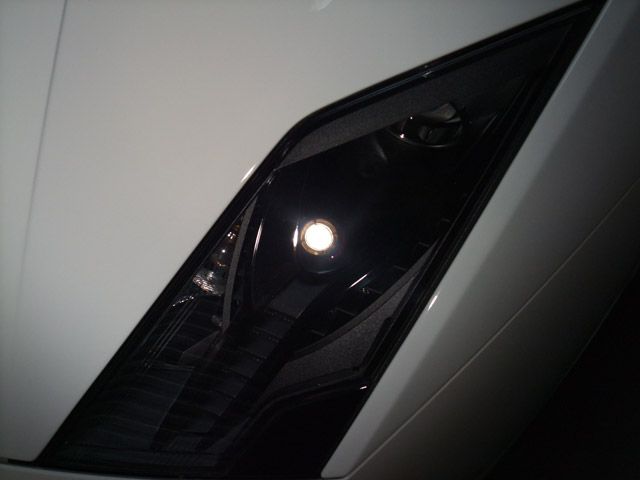
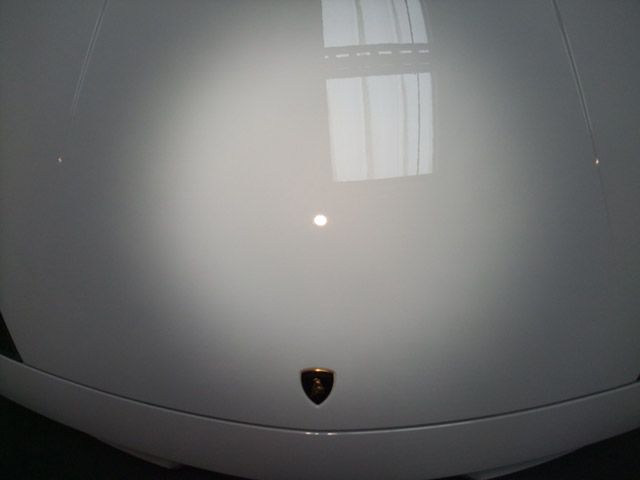
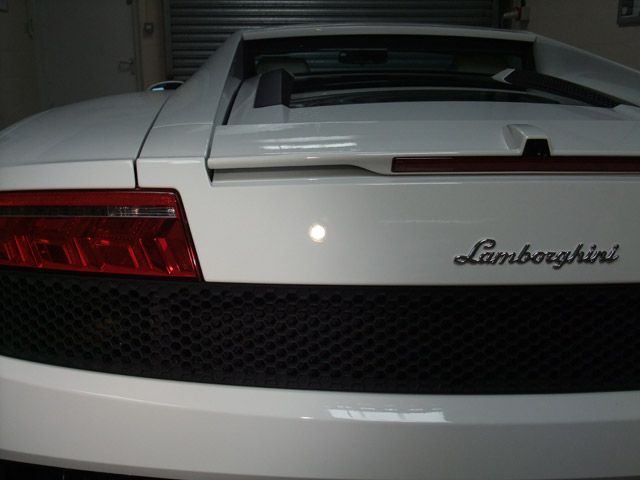
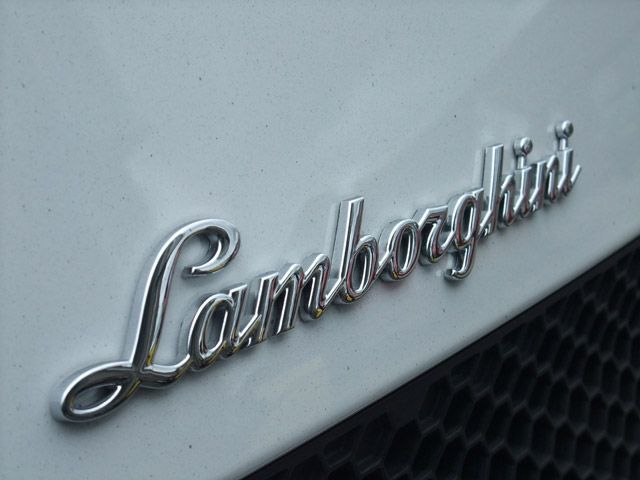
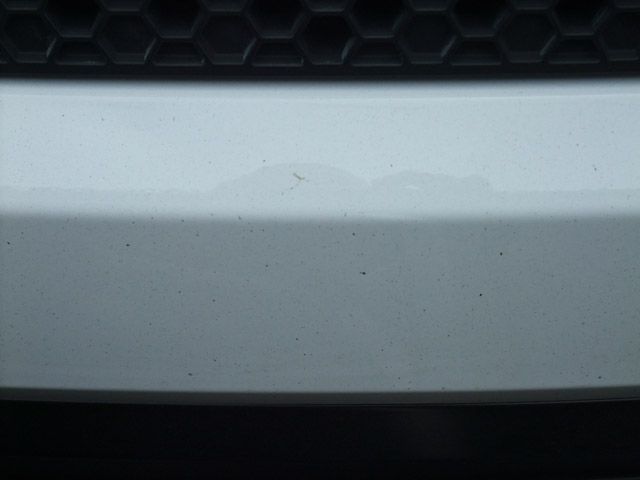
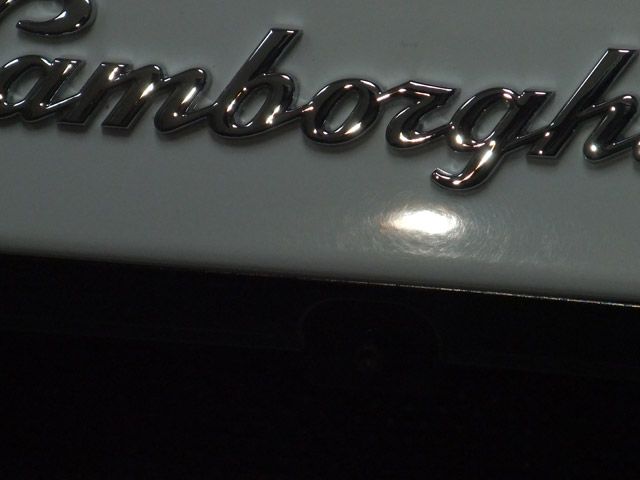
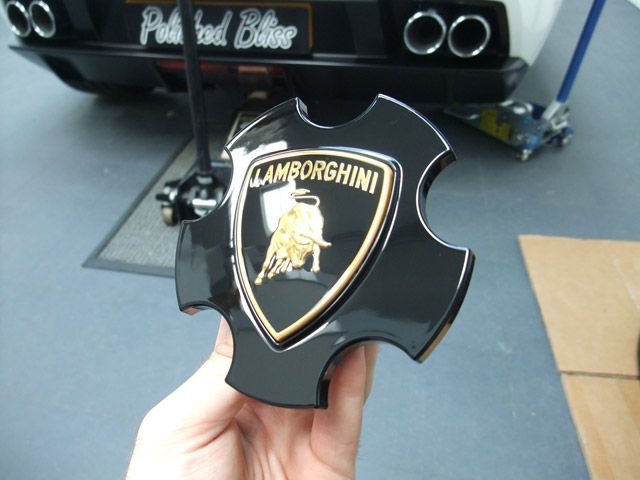
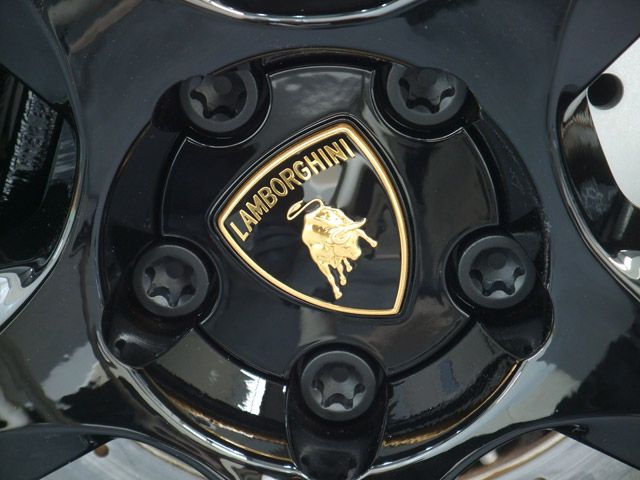
Large Gloss-It Grey was needed to remove the micro-marring under the badge:
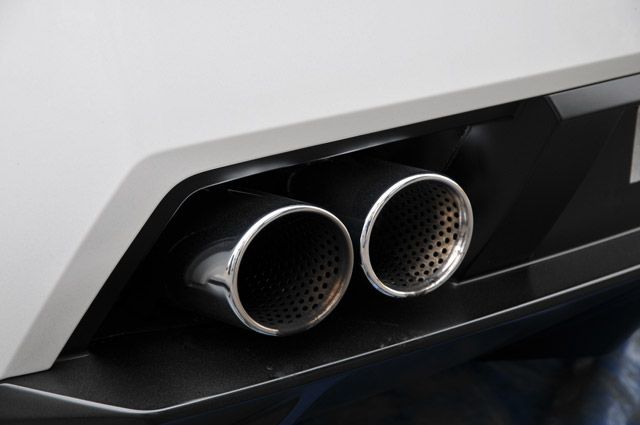
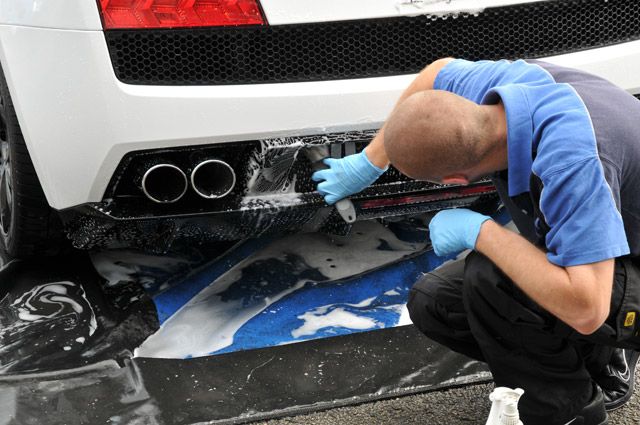
Rear bumper before:
After:
Before:
After:
With all the stage 1 correction done it was time for stage 2. This consisted of Menzerna 3.02 and a Gloss-It Fast Cut Pad:
Stage 3 consisted of Menzerna 85RE and a Gloss-It Finishing Pad:
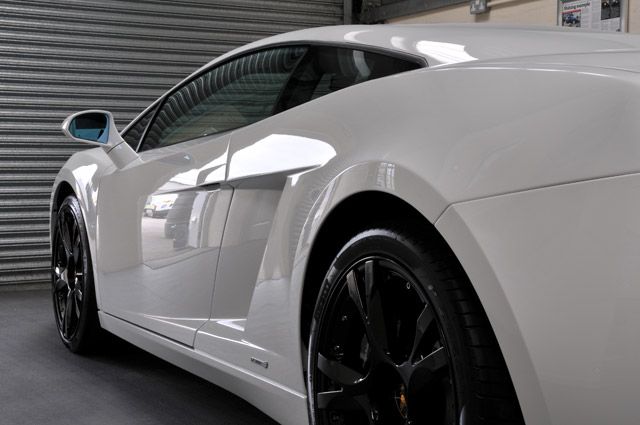
After a thorough IPA wipe down:
So after around 75 hours of machine polishing it was time to lay down some protection. Product of choice for this was Project Awesome applied via a Gloss-It finishing pad and G220 @ Speed 5:
This was left for an hour or so and then buffed off:
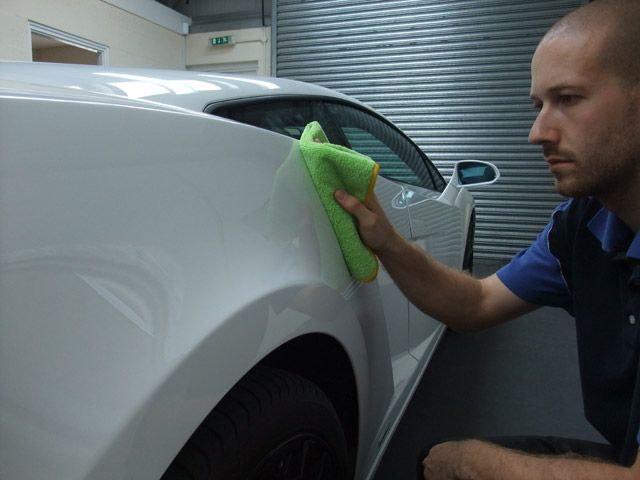
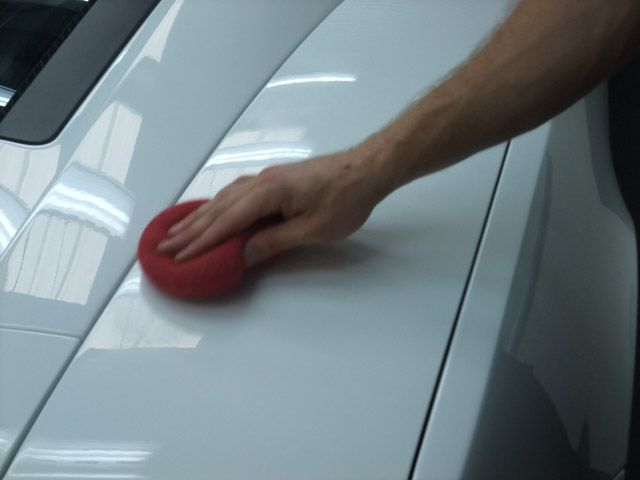
I then applied 3 coats of Gloss-It Concorso over the next remaining day or so while I attended to all the other remaining details.
This was applied by hand:
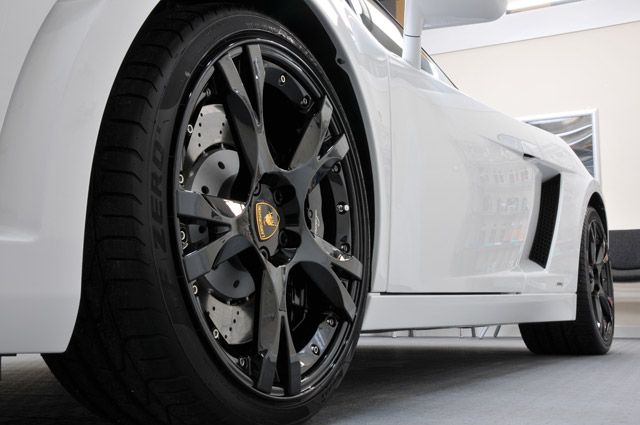
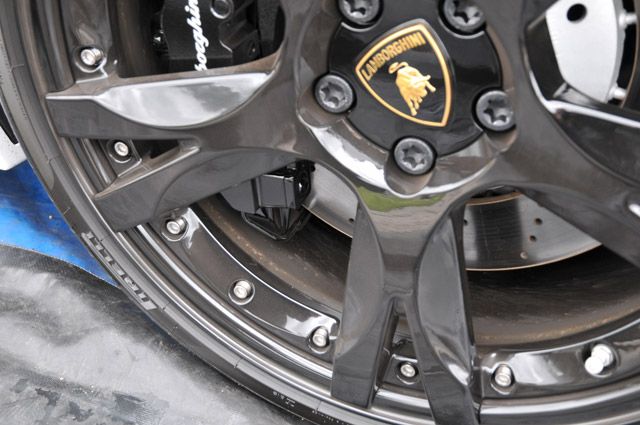
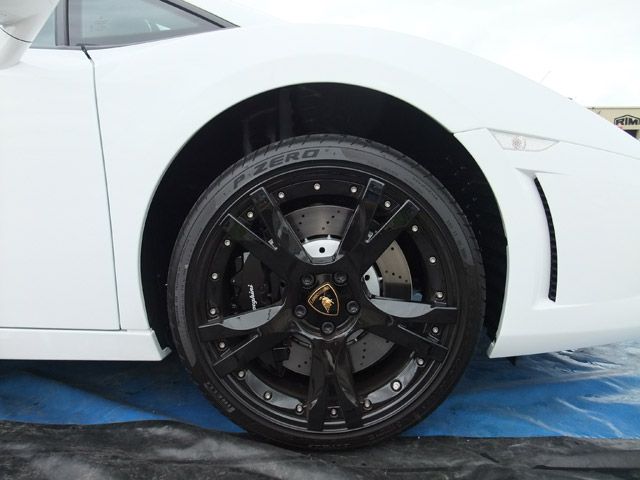
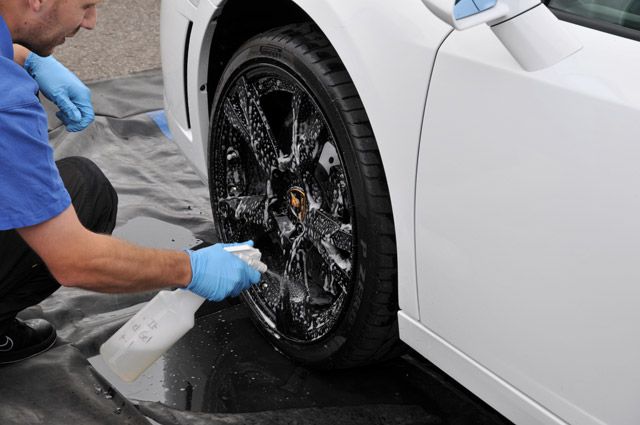
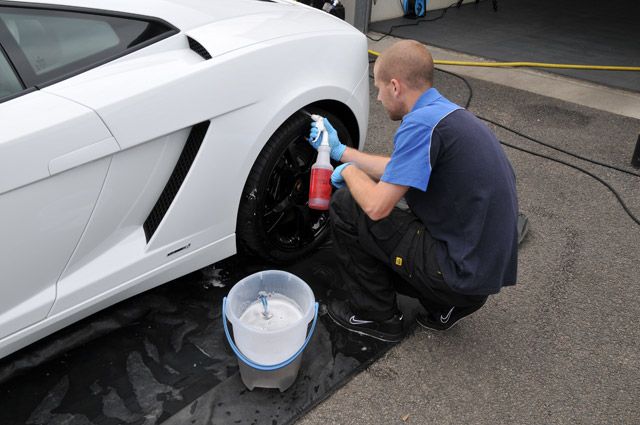
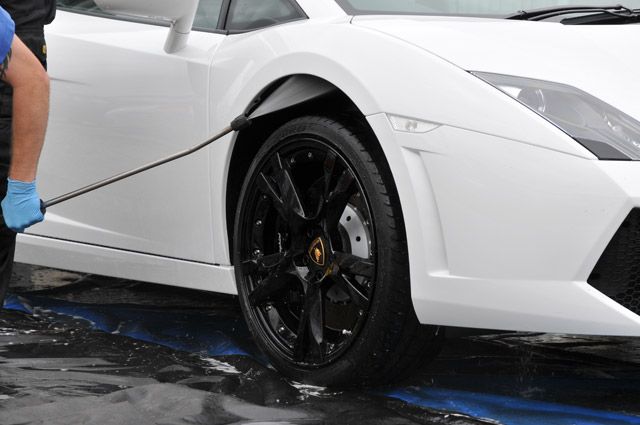
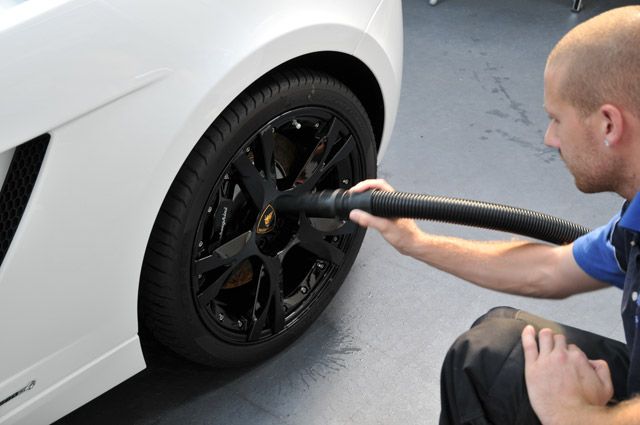
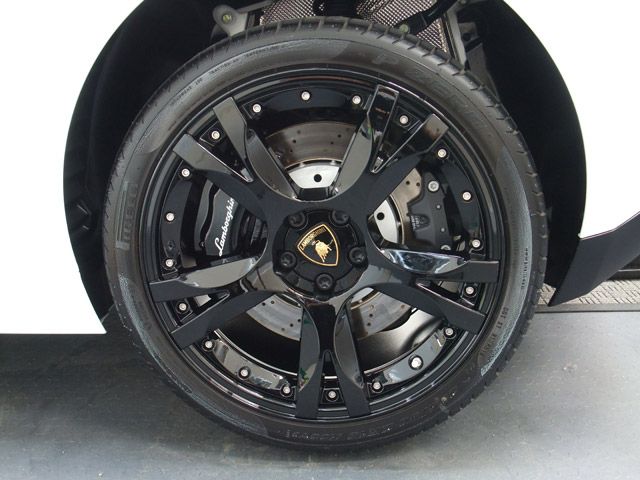
So in between applying those 3 coats I turned my attention to the wheels.
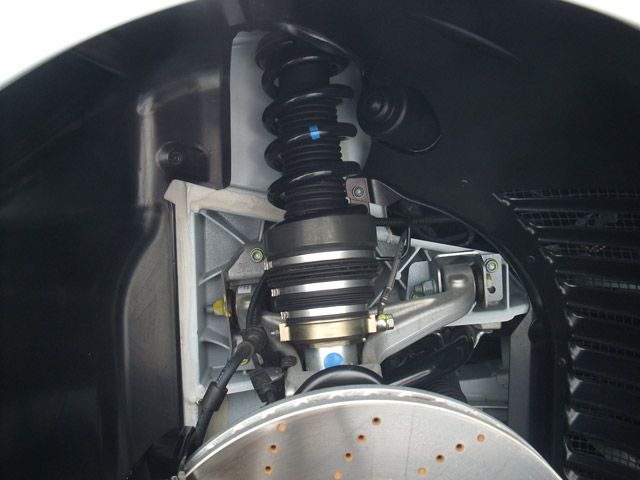
We double checked with a Lamborghini Technician on where the best place to jack a Gallardo was from. The fronts were fairly obvious (although you have to do it very slowly or the windscreen can crack :doublesho) but the rear needed to be under the solid beam going under the gearbox/diff:
(Our Insurance fully covers us to remove wheels)
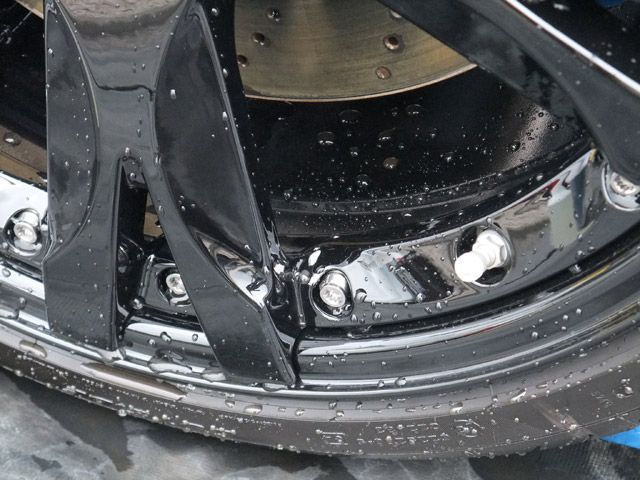
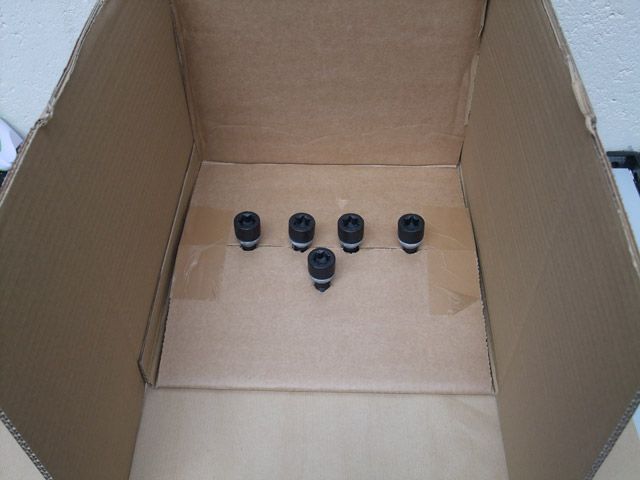
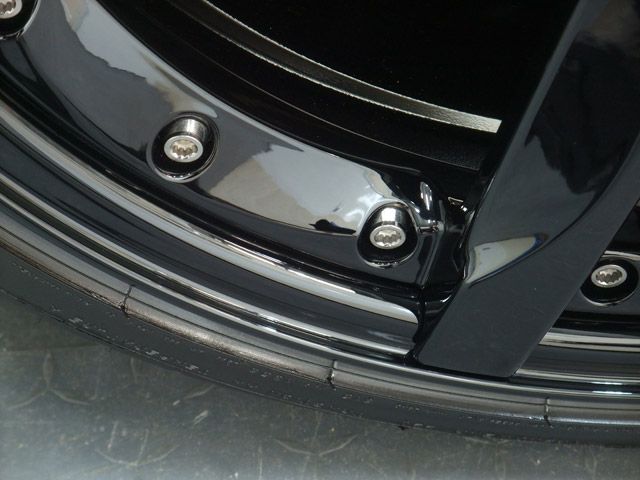
The wheel bolts were letting the wheels down as these were already chipped somehow, so I put them in our new Hi-Tech spray booth - or card board box if you want to be pedantic...

After a going over with some Satin Black paint they looked like new again:
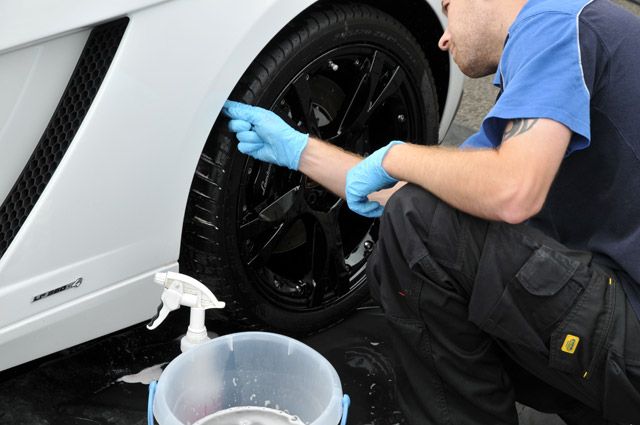
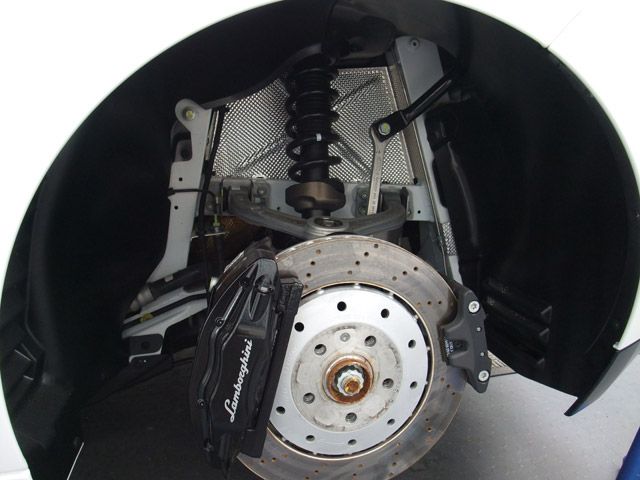
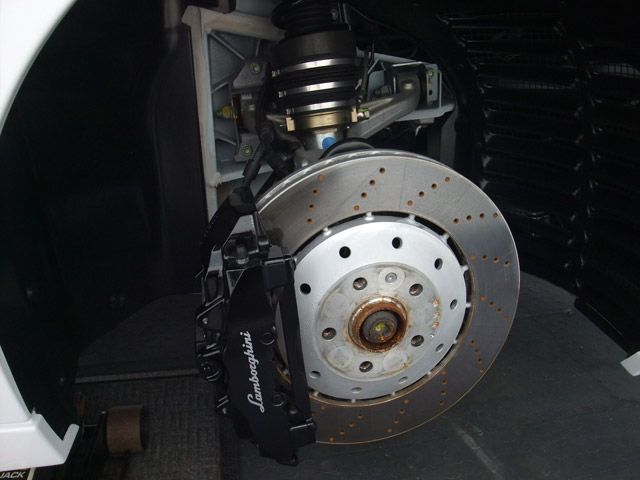
I then gave the arches and callipers a good going over with some APC and Werkstat Prime Strong - not much to clean anyways as there was only a couple hundred miles worth of grime to remove. The arch liners were then dressed with Gloss-It TRV for the natural look:
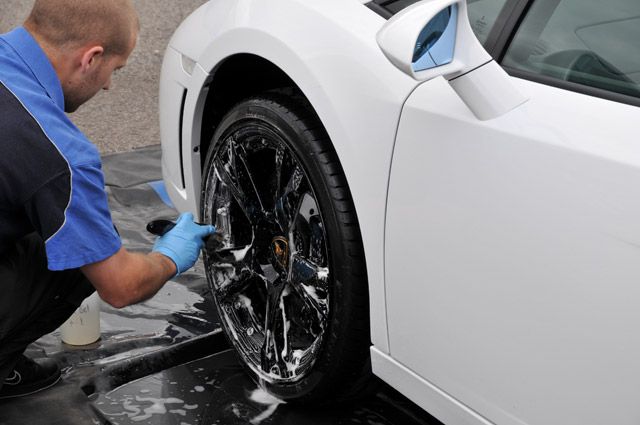
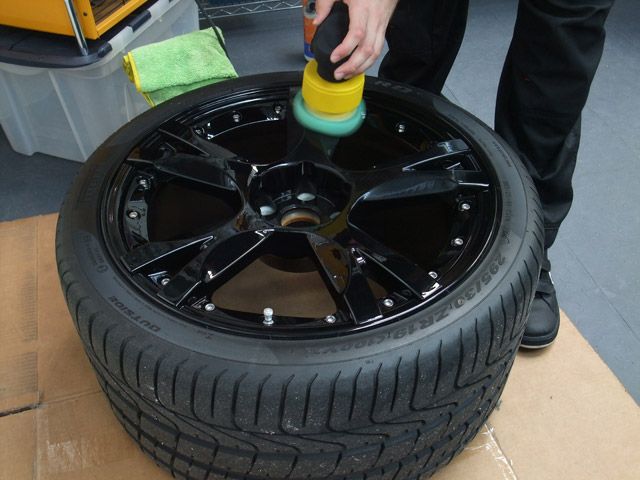
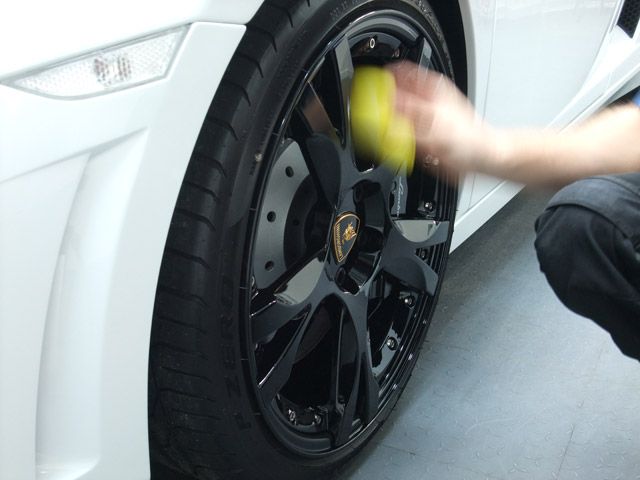
The wheels were then corrected with a Gloss-It Polishing Pad and Menzerna 203S...
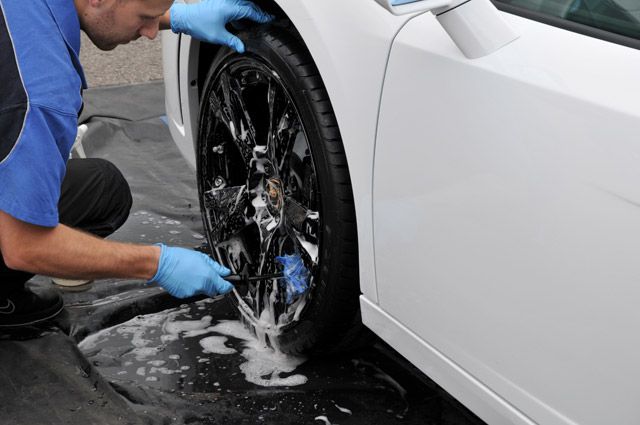
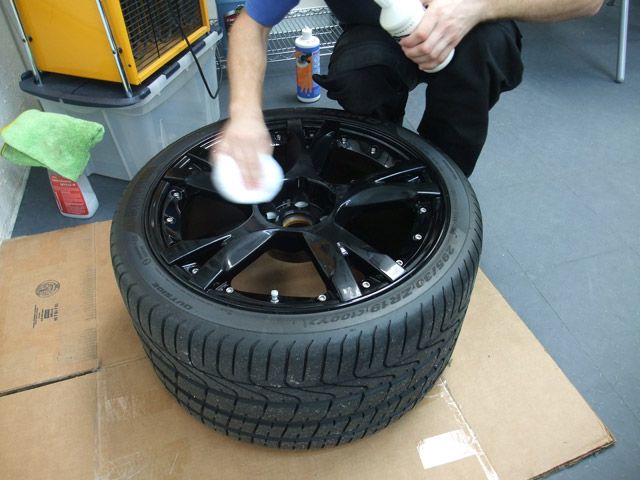
...Then Cleansed with Werkstat Prime Acrylic:
Blackfire Metal Sealant was then applied and left until you could leave a clean swipe with your finger (indicating that it had cured):


")