cupra_clark
New member
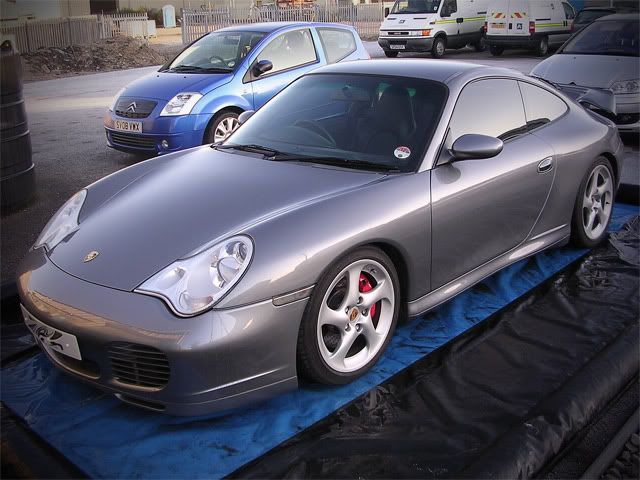
Seems like all I've done lately is Porsches and this one was no different 
Another contract start on this 911 so it was in for a 3 day major correction:
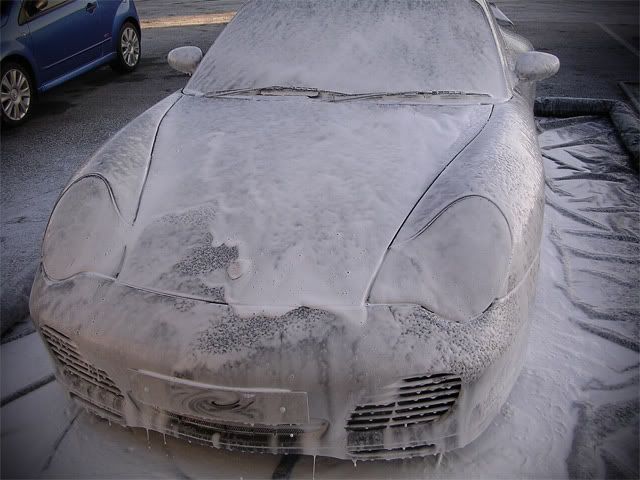
As usual, pre-foam with Megs APC @ 60 degrees:
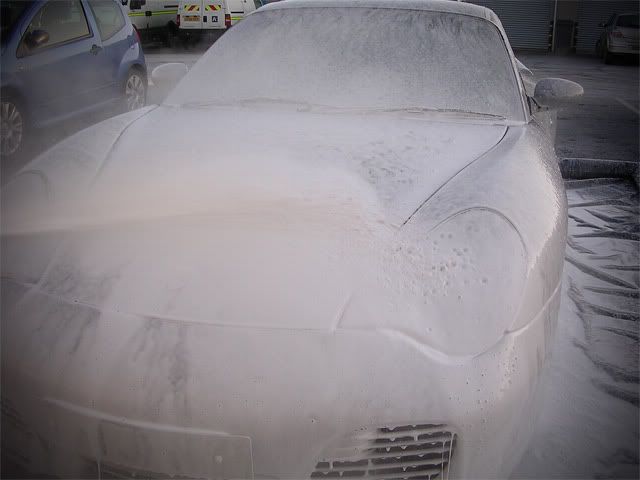
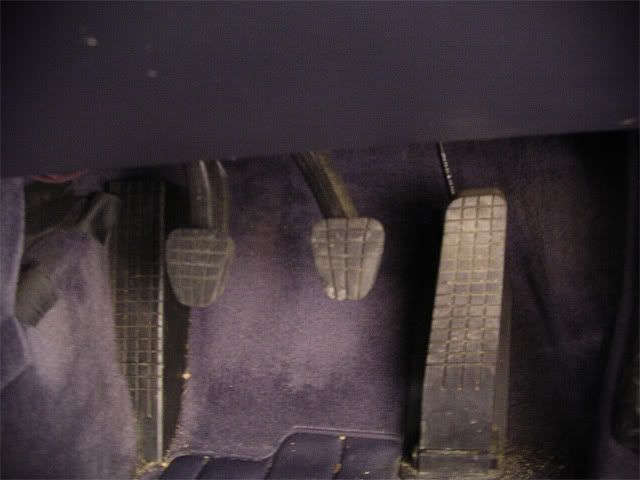
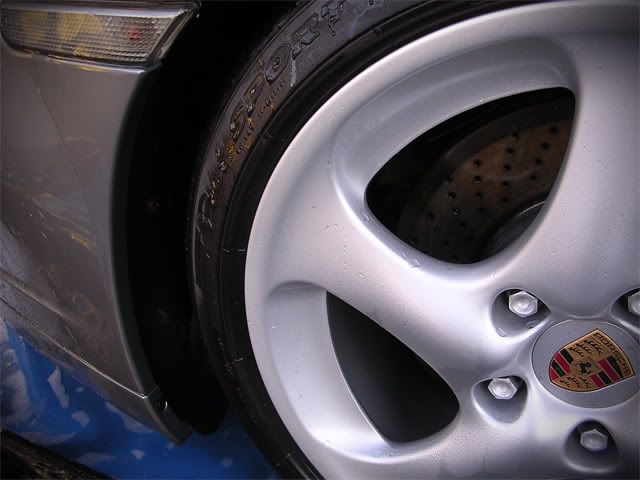
After 5 minutes this was rinsed off at high pressure and I then cleaned up the wheels (WB 10:1) and Arches/Tyres (Megs Super Degreaser):
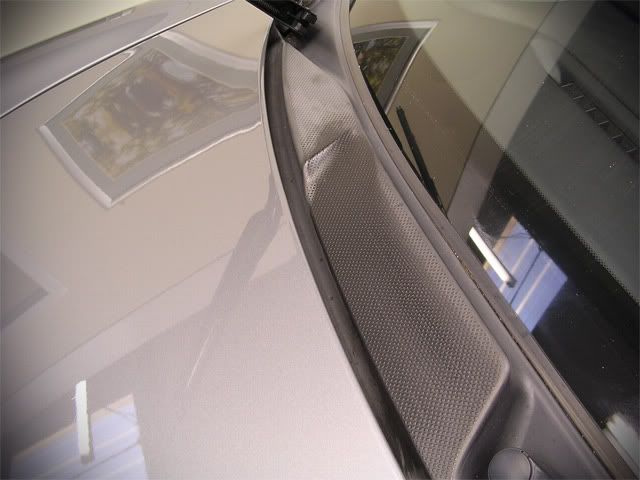
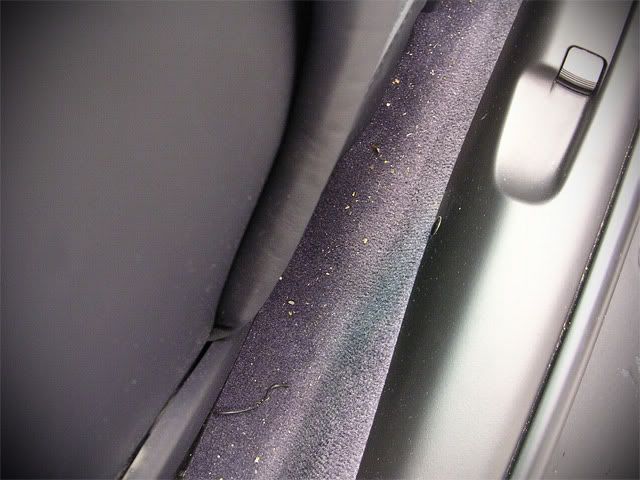
The shuts/petrol cap, exterior trim etc were sprayed with Megs APC and then agitated with a soft brush:
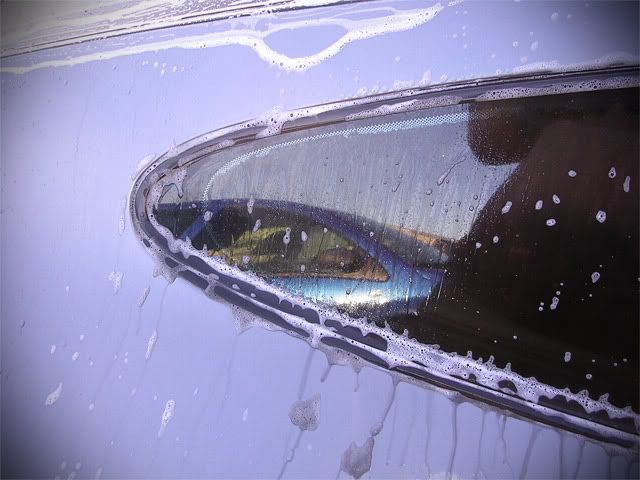
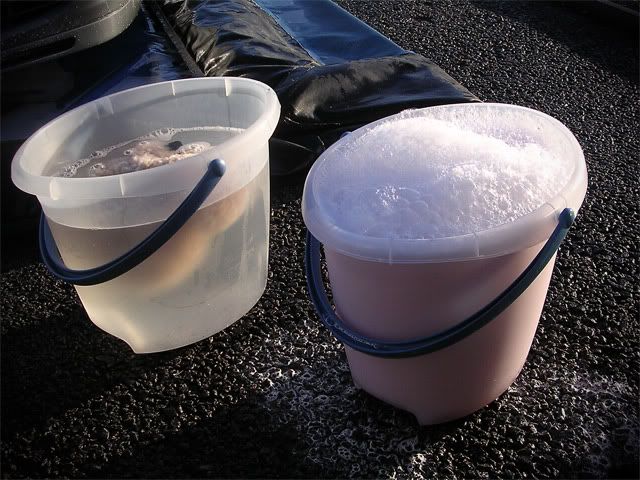
I then washed the car with the 2BM and Gloss-It Shampoo:
A thorough rinse off was followed by Autosmart Tardis to remove the many tar spots that were stuck to the lower half/rear of the car and also the wheels:
One final rinse was carried out and I then put the car inside and clayed with Gloss-It Mild Clay.
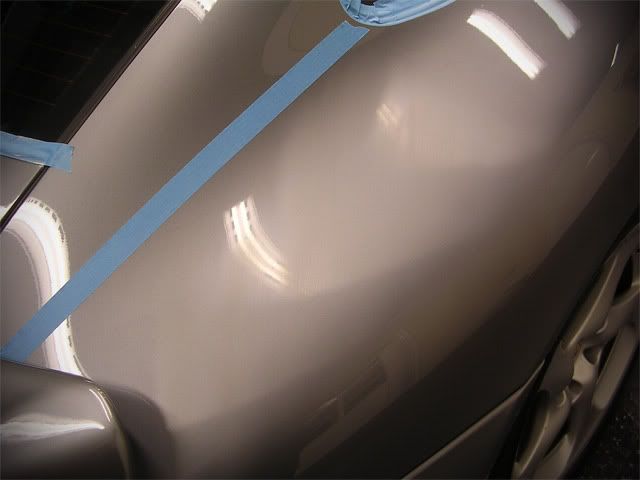
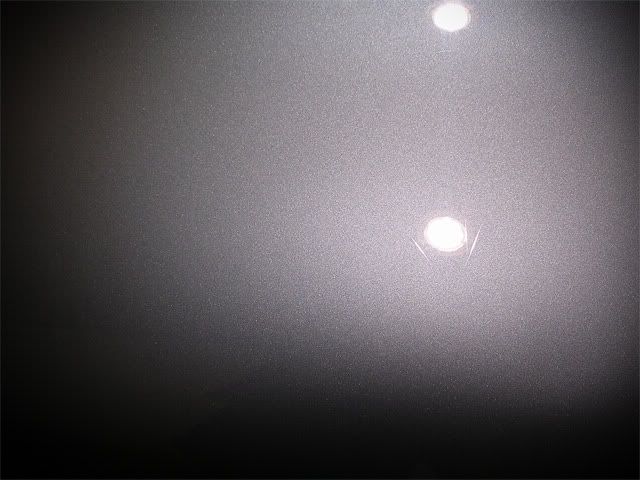
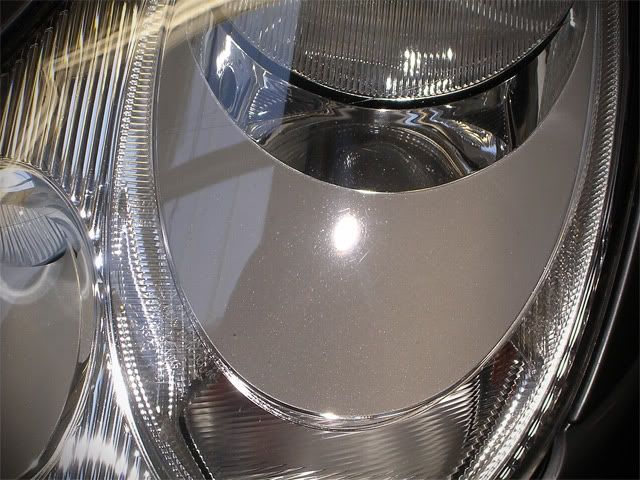
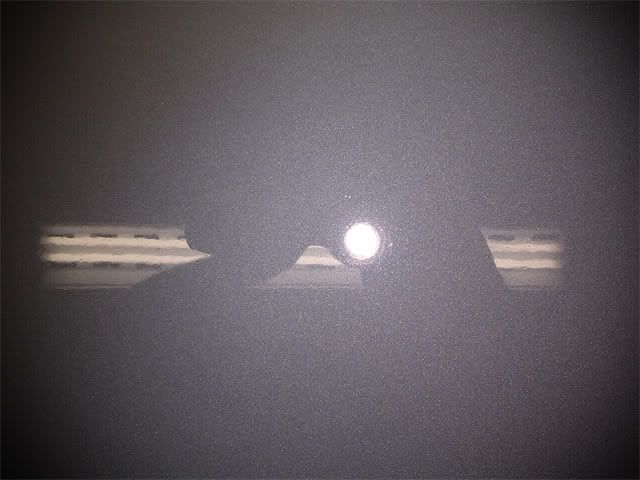
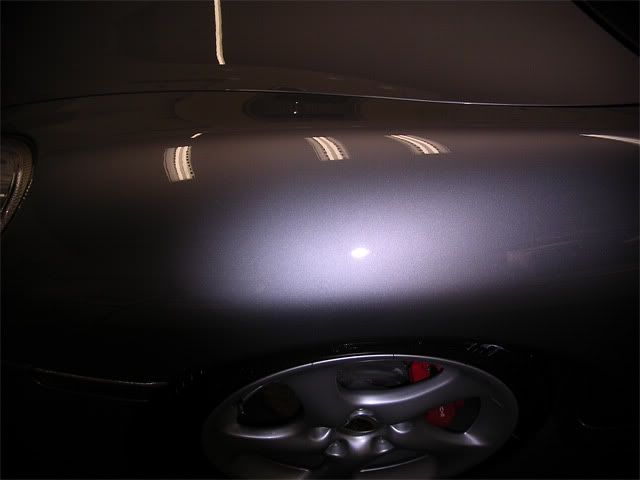
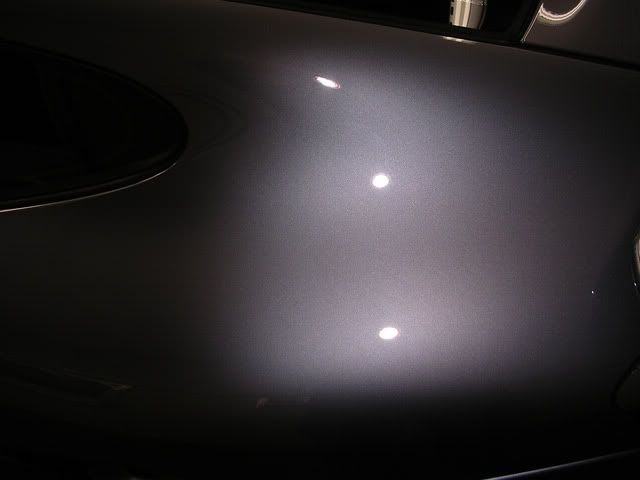
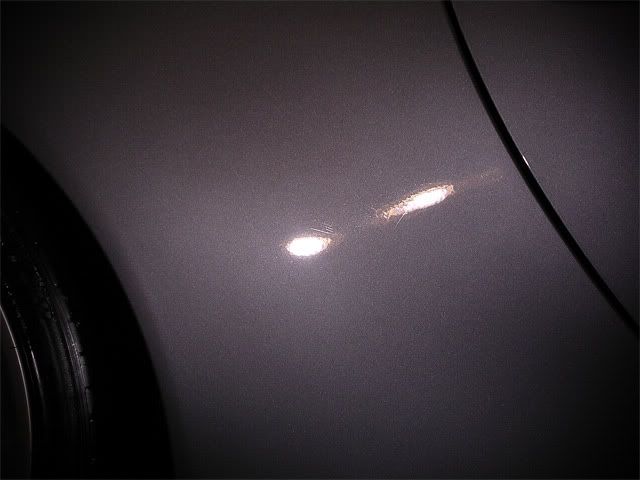
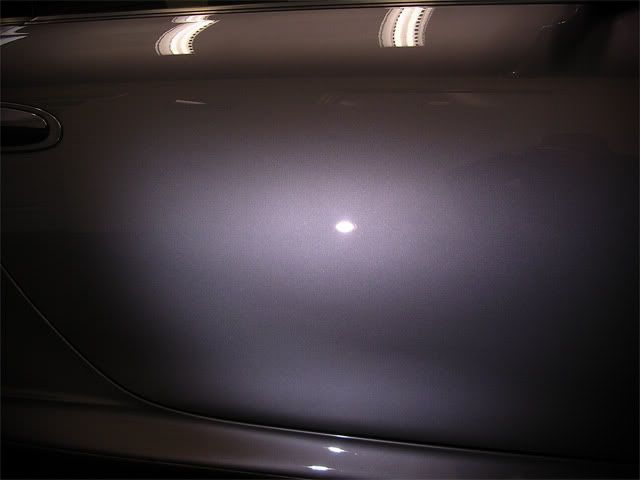
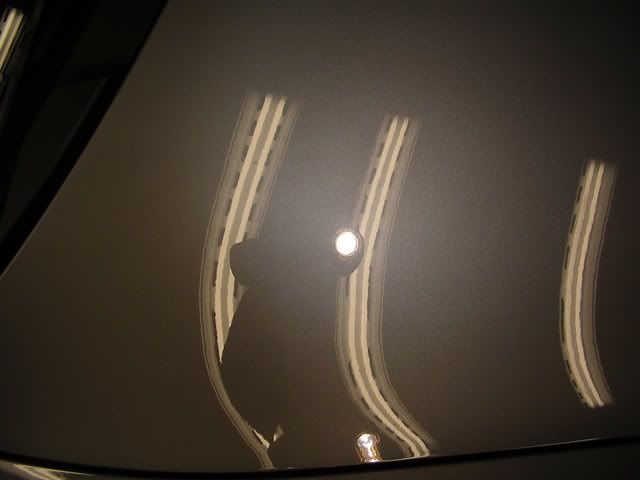
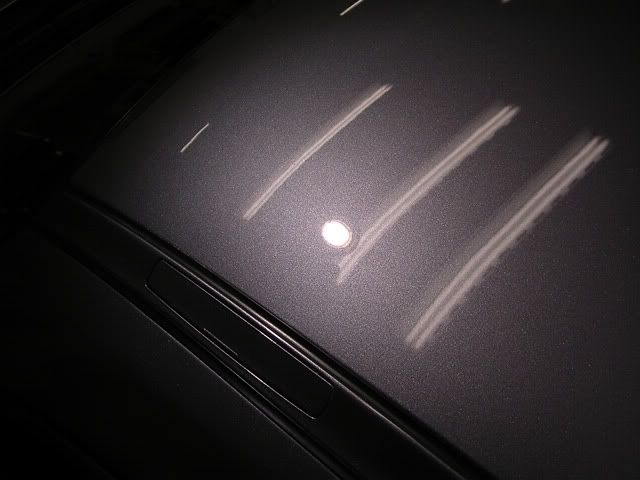
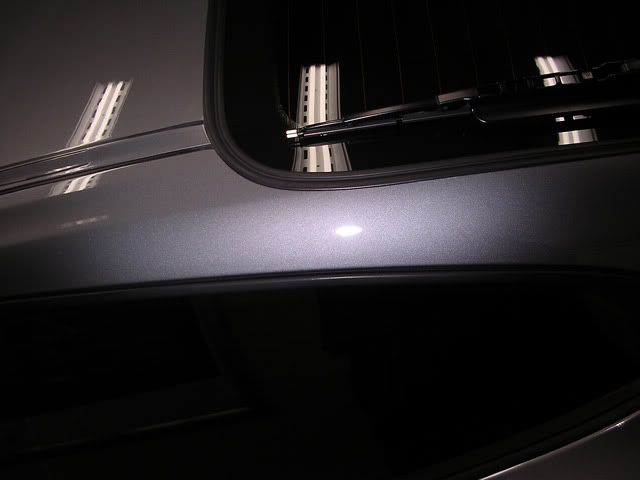
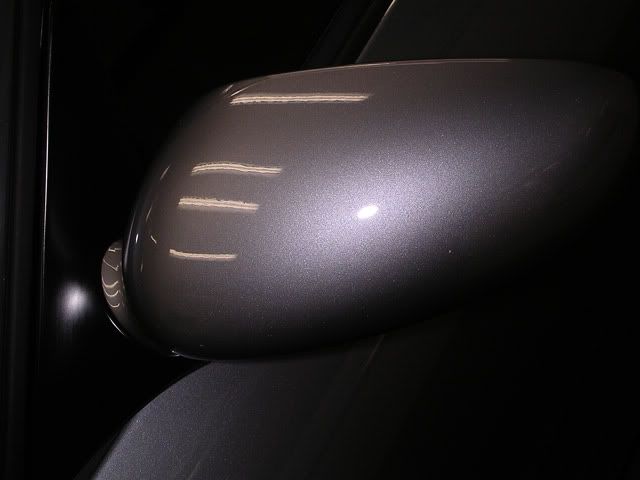
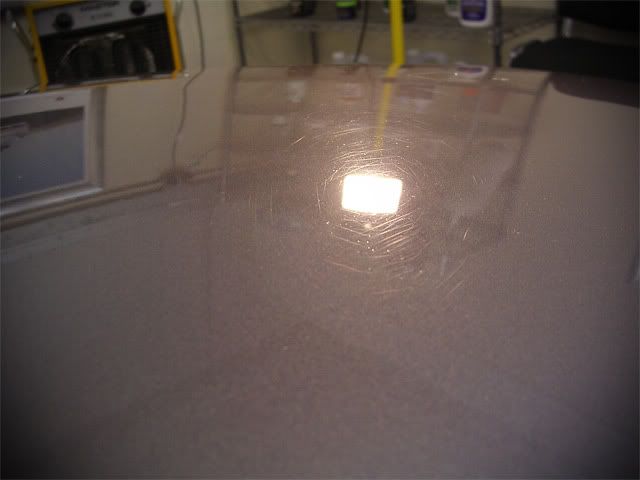
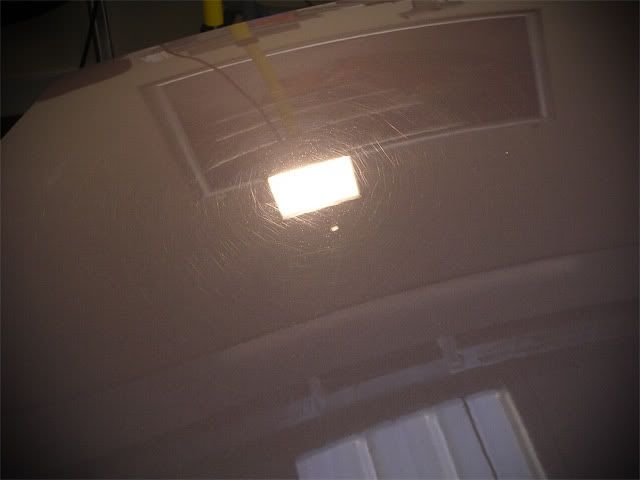
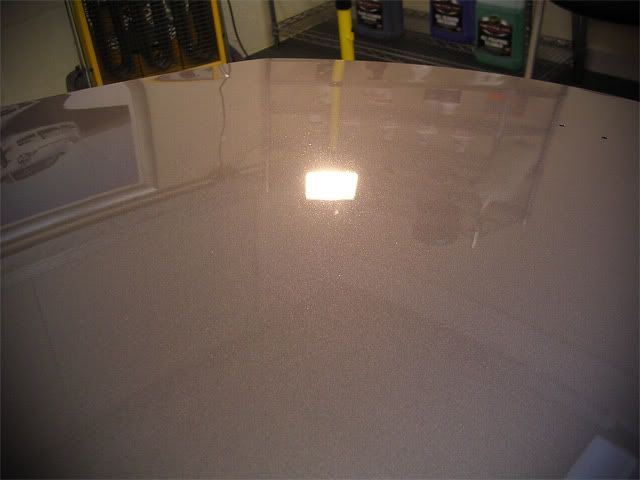
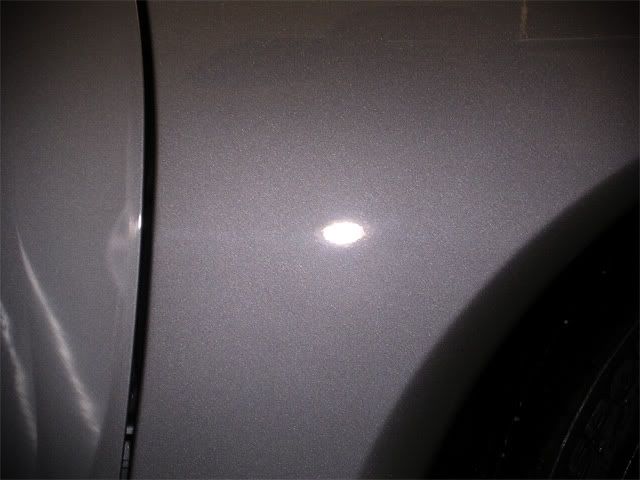
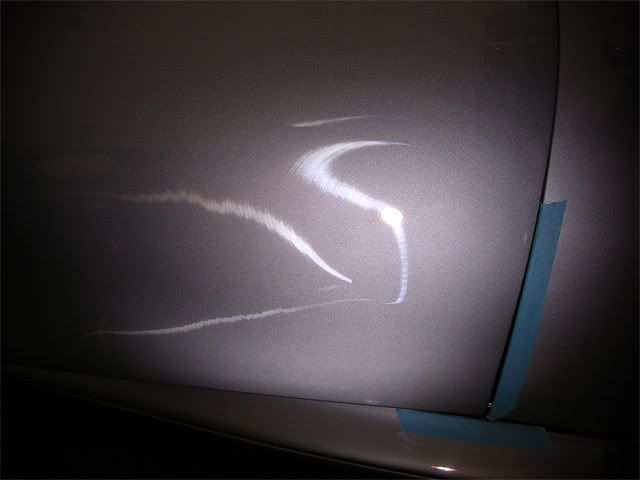
Once dried off, it was time to assess the paintwork with the Sun Gun which showed loads of tightly packed swirls:

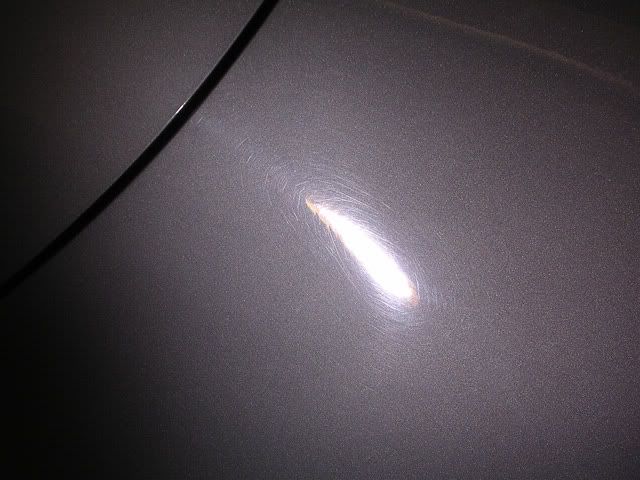
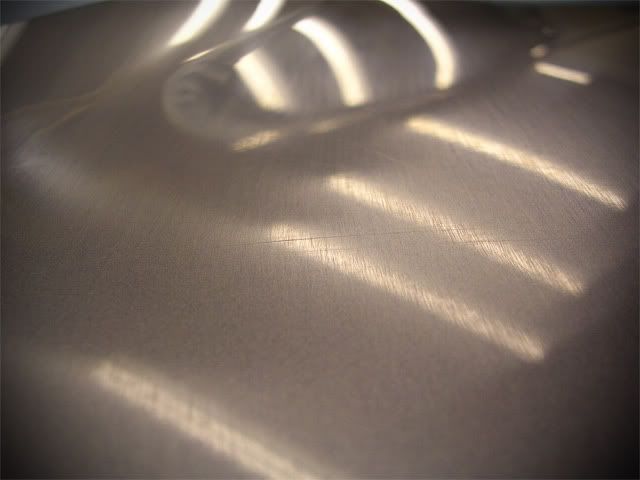
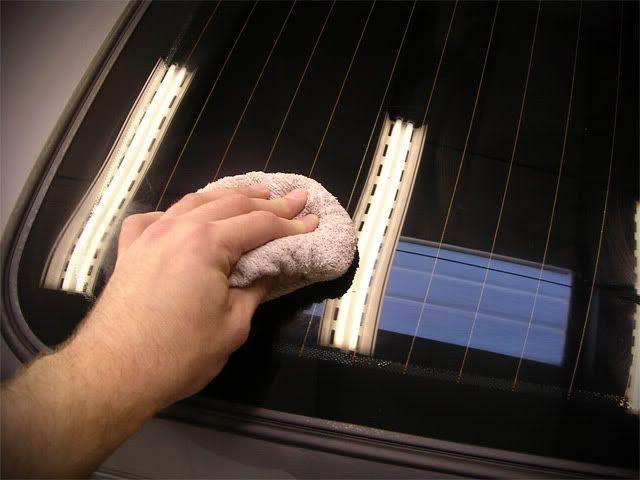
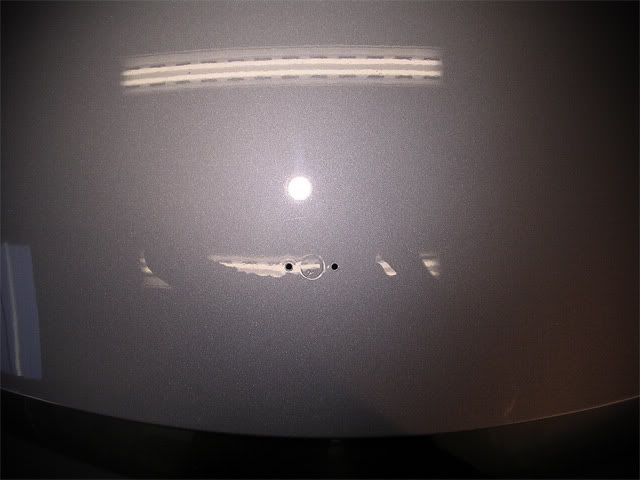
The Halogens show the "swirls" in their true state, under single point light sources such as the sun and Sun Gun they look circular, whereas under the halogens/petrol station forecourt lights etc they can be seen in their true state, which are in fact straight line scratches:
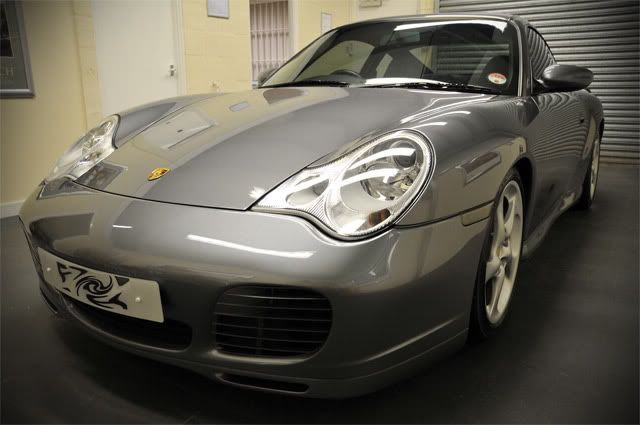
Paint readings were taken and all was completely standard (and healthy)except for the front bumper which had recently been painted to get rid of a couple of stone chips")
I've done enough Porsches now to be pretty sure when I'm going to be up against one with sticky paint, and after a quick play with 106FA this one was no different
Sticky Paint isn’t something that I find overly troublesome any more for a couple of reasons, but for a change I decided to try the Gloss-It polishes out as they are designed to be worked slower and have a certain level of chemical cut too.
And guess what? It worked! Not 100% perfectly but my god was it an improvement on any other polish I've used on sticky paint before!
As you can see, the polish was breaking down nicely with no dusting or buffer hop etc:
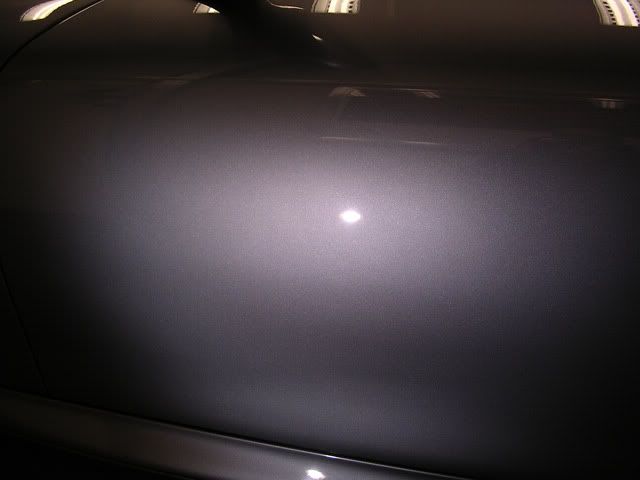
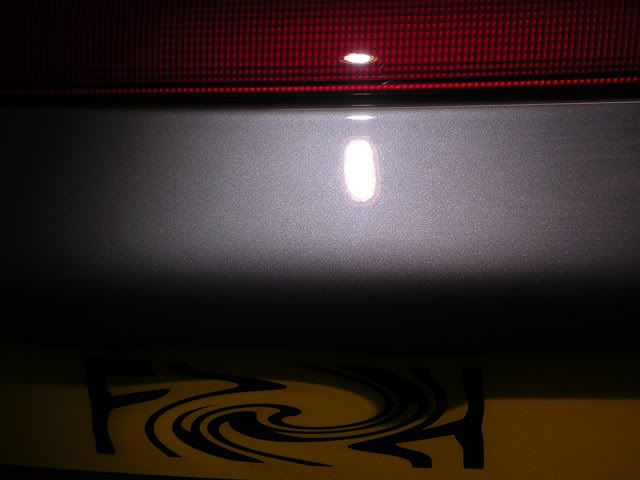
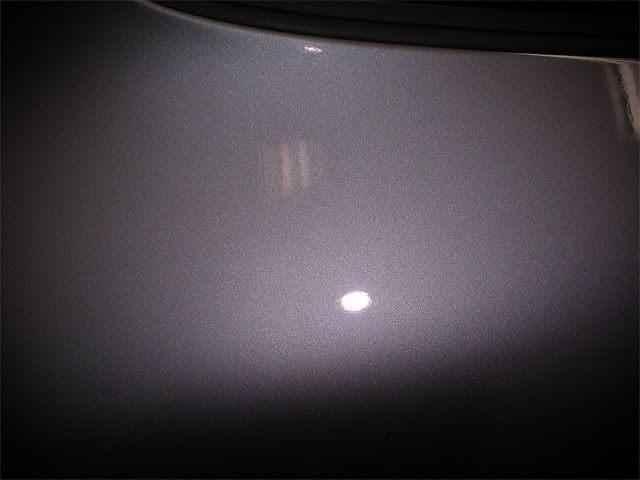
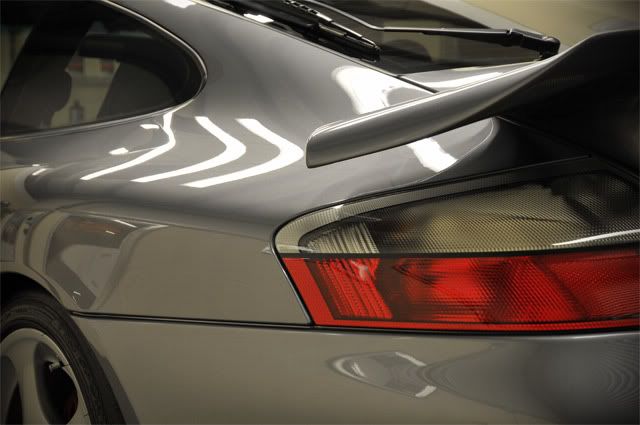
Results were good too:
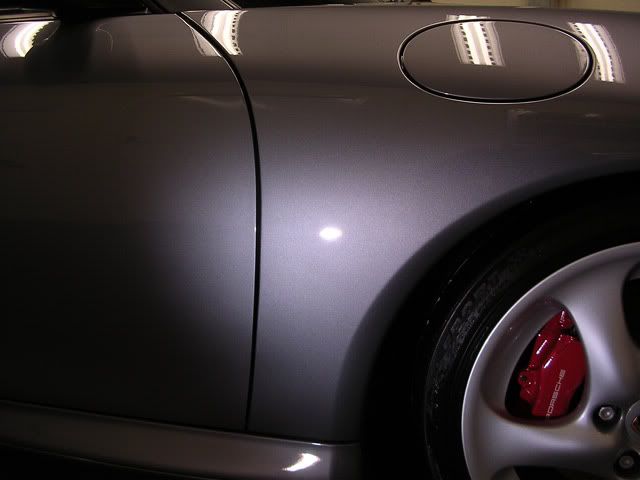
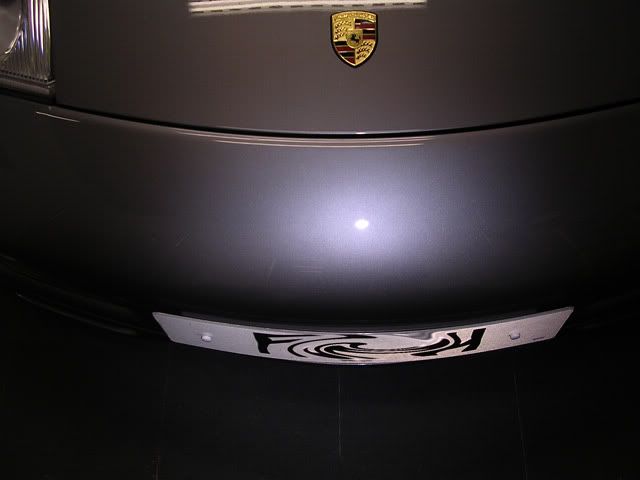
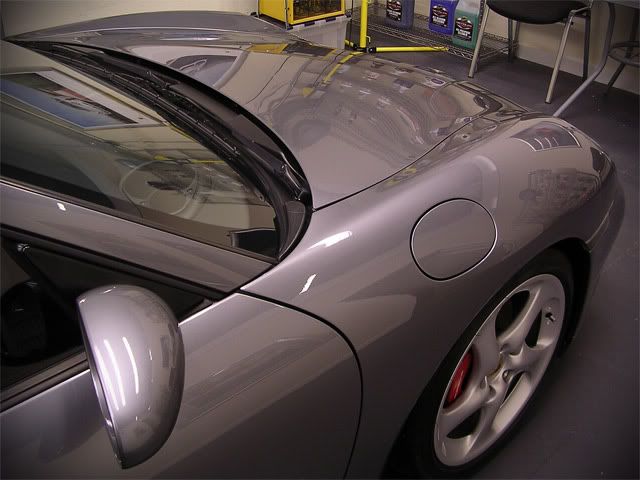
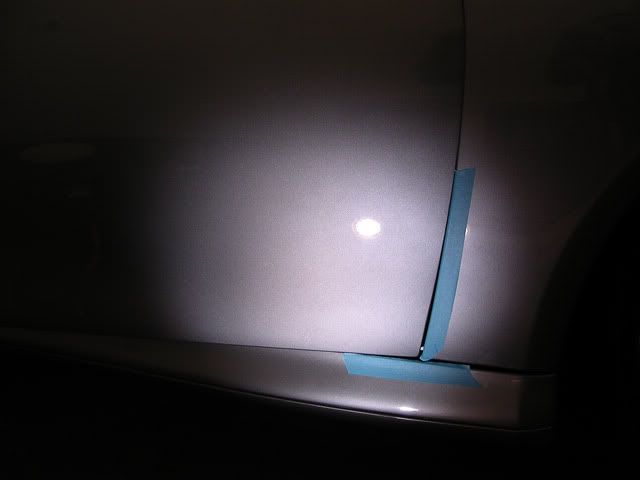
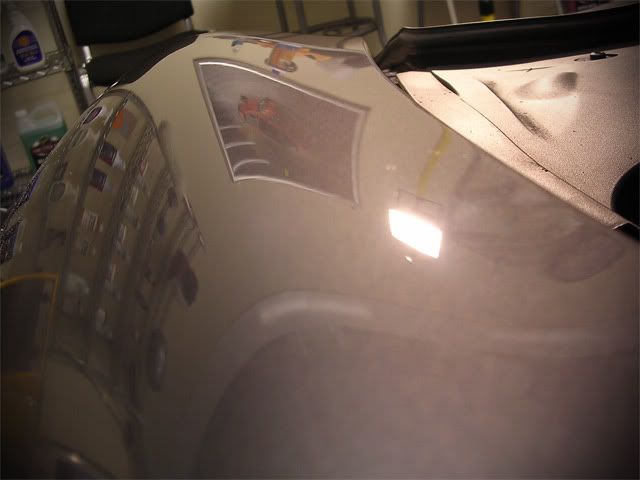
Before:

After:
The Gloss-It polishes are quite thin and watery compared to the thicker menz polishes so you don’t need alot once the pad is primed:
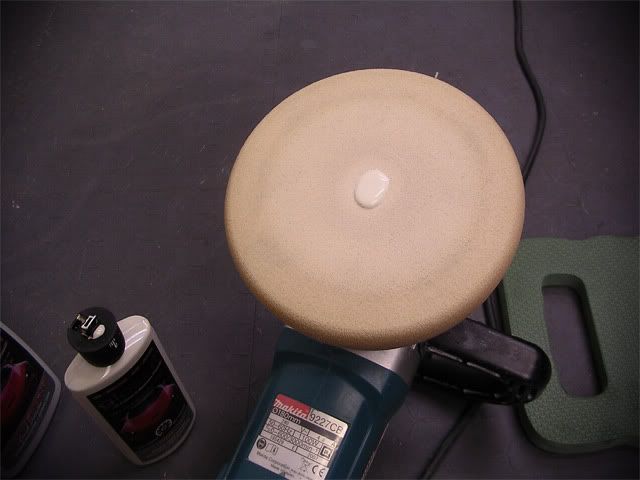
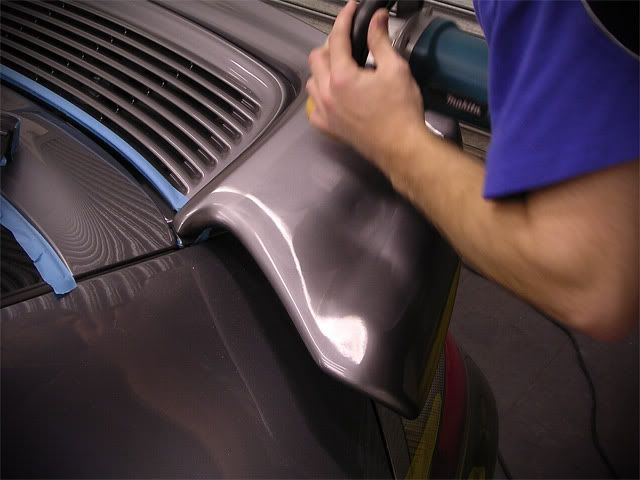
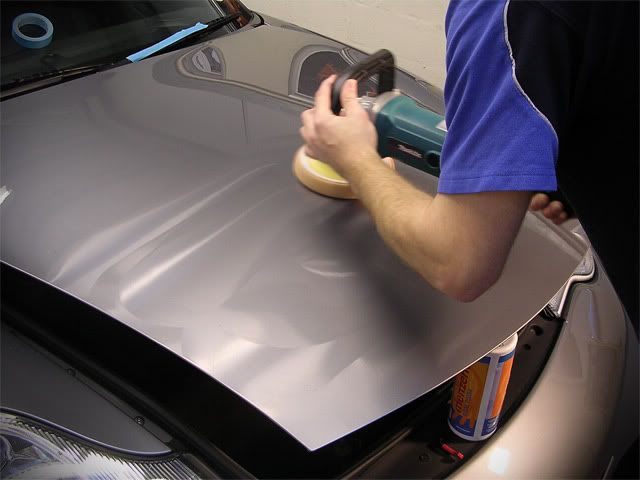
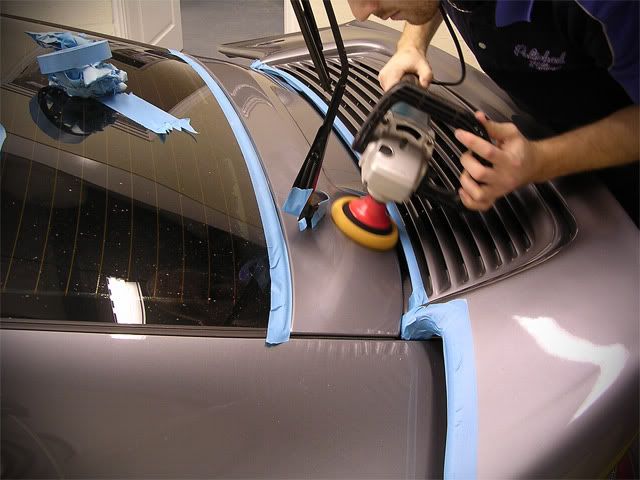
The trick (and for those that previously stated that they cant be worked with the rotary might want to pay attention here - you know who you are ) is to make sure you spread it out nice and evenly at 600 or 900rpm's...
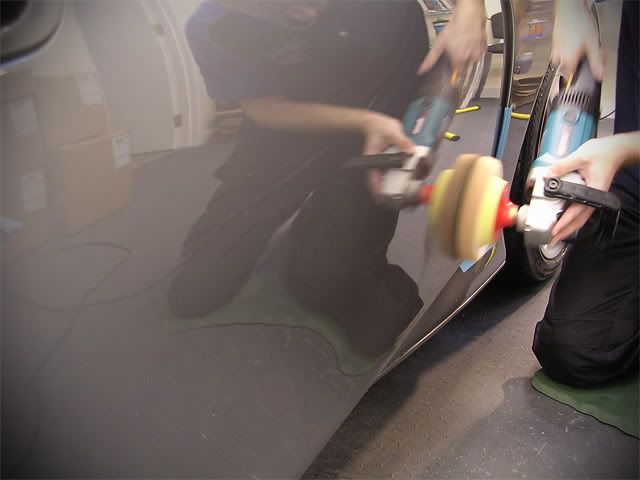
... Then after every couple of passes while gradually upping the rpm's, give the pad a quick mist with the Gloss-It QD (this seems to really help keep heat down and lets the polishes work nicely):
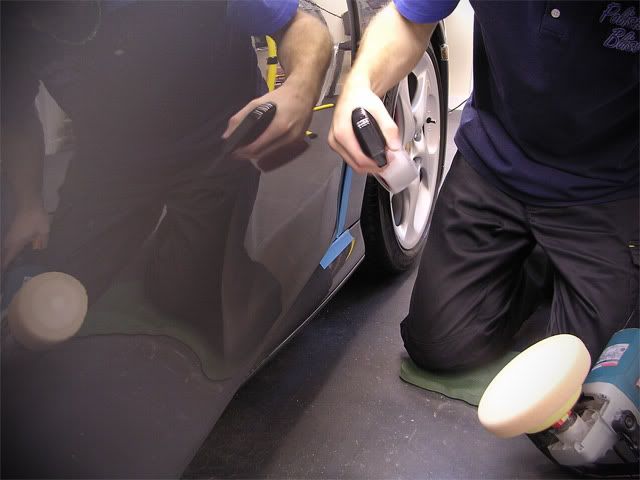
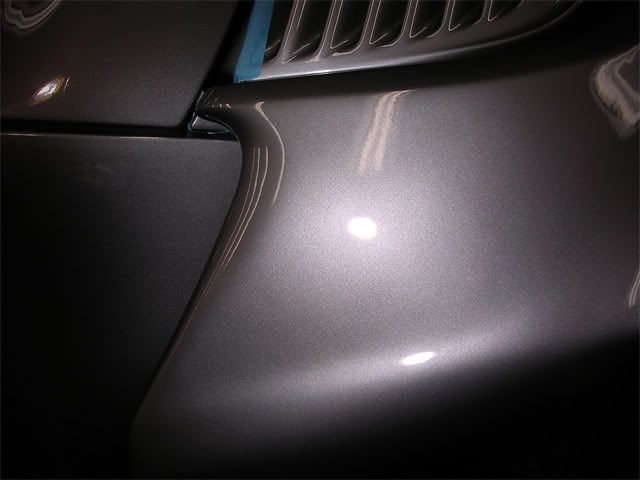
Then work untill the polish is broken down:
Done
Now, alot of you may be thinking "why would I want to use a polish I have to continually stop working in order to spritz the pad?", and you'd be correct! I am of the same opinion and for that reason I still prefer to use the Menz and 3M ranges for rotary use, but when it comes to sticky paint I believe they are a very good solution and offer a significant improvement over any other polishes I've used. The above guide is just for those that may want to try it by rotary in future
I should state that the Gloss-It polishes are designed for Dual Action machines though and for this use no spritzing is required :thumb:
Anyways, back on with the correction work:
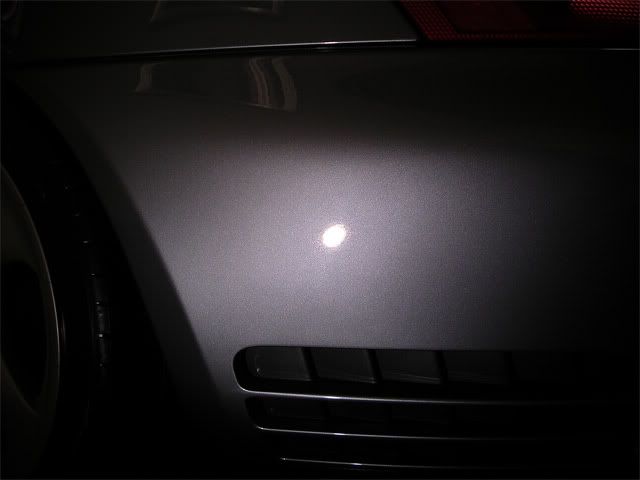
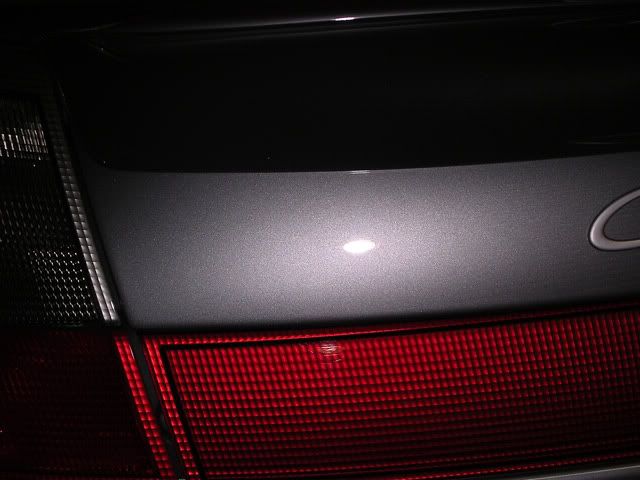
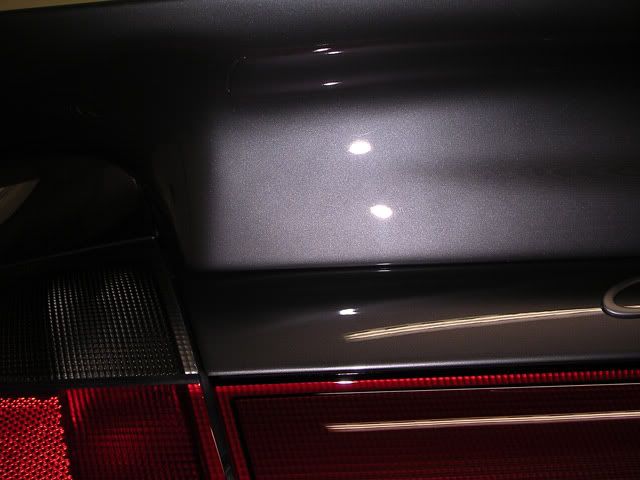
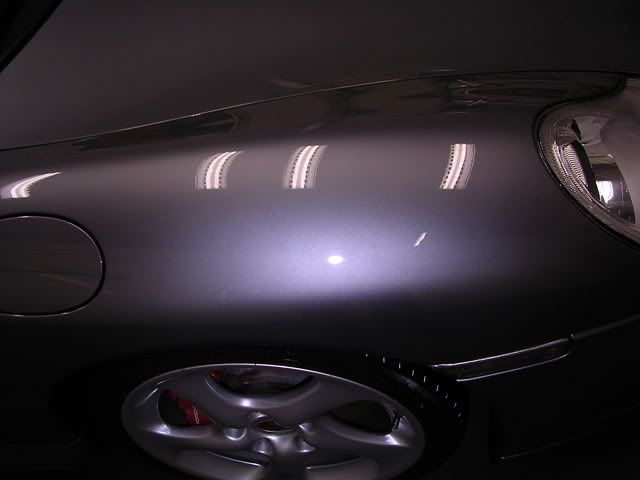
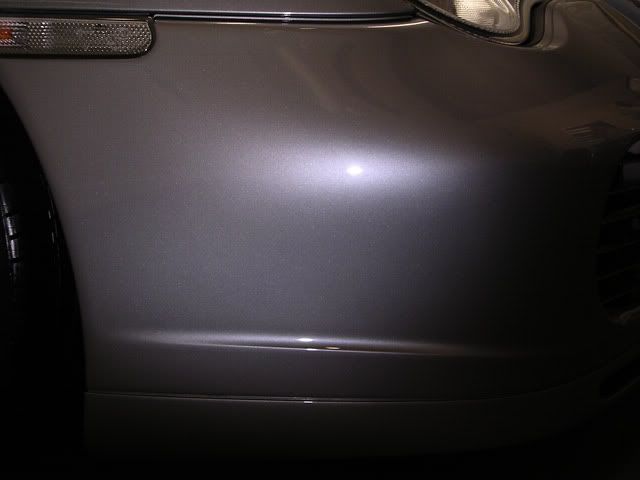
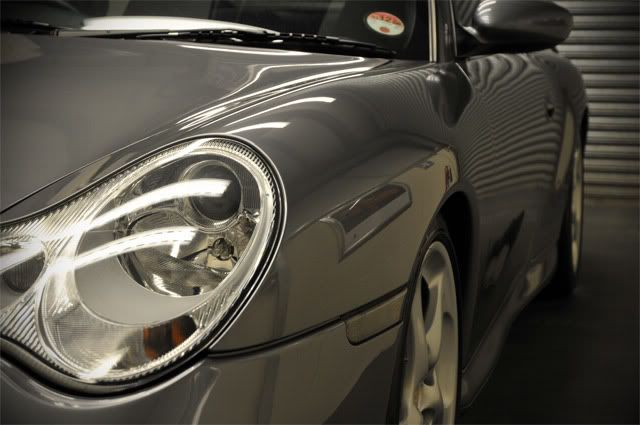
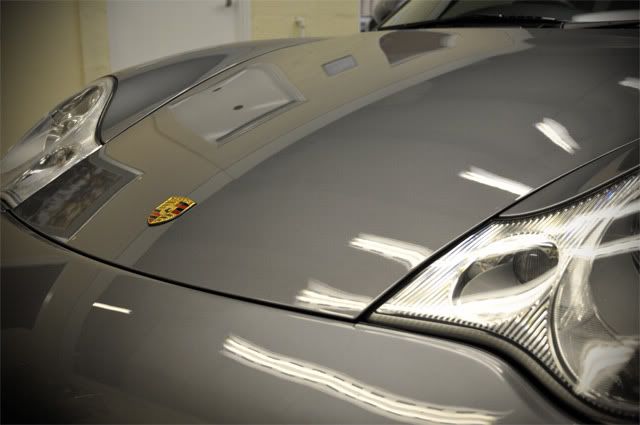
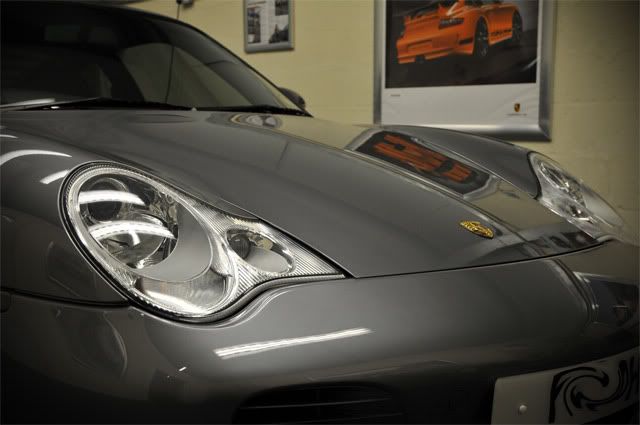
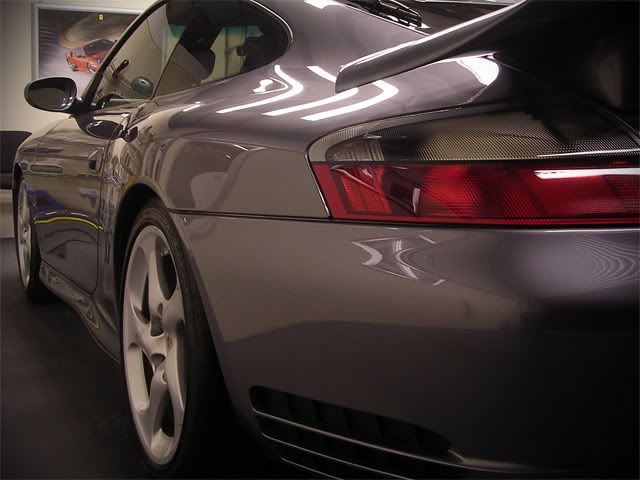
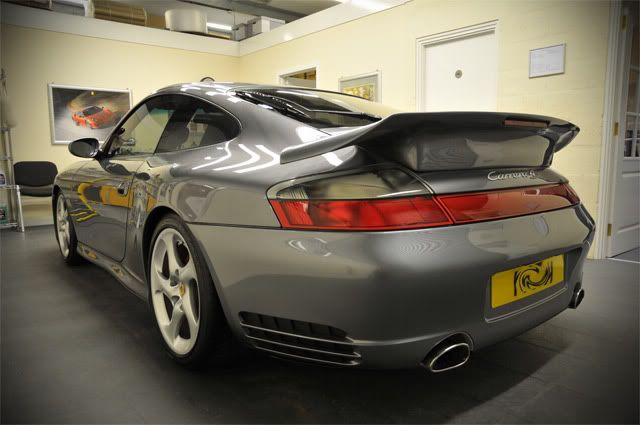
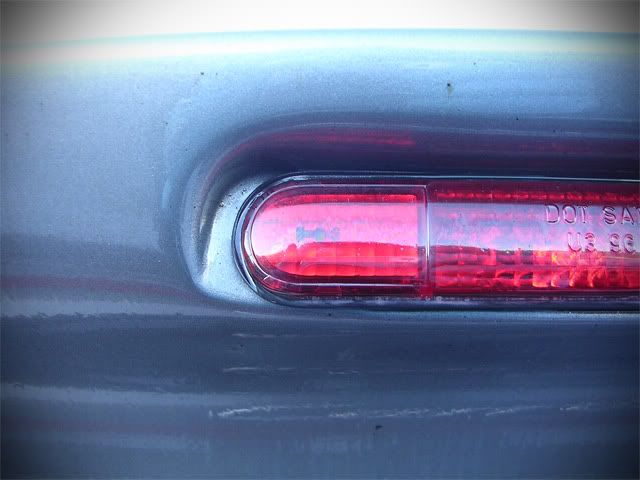
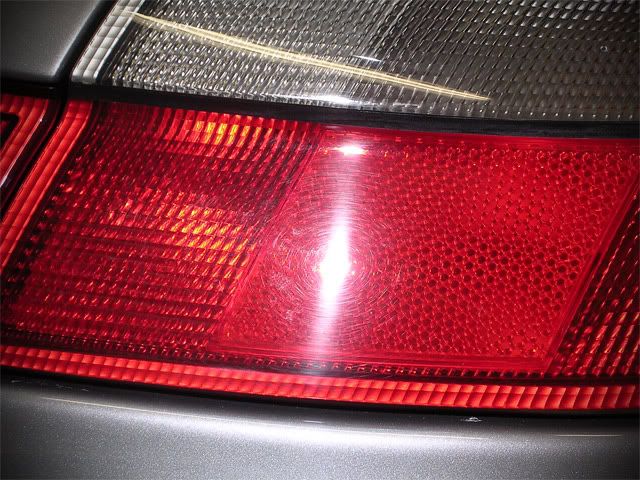
Before:
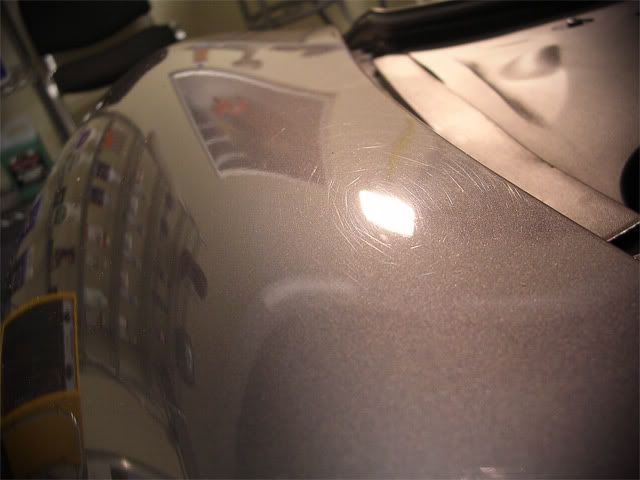
After:
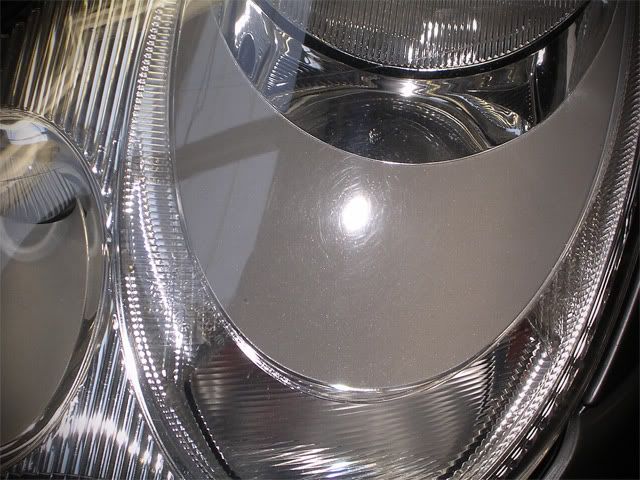
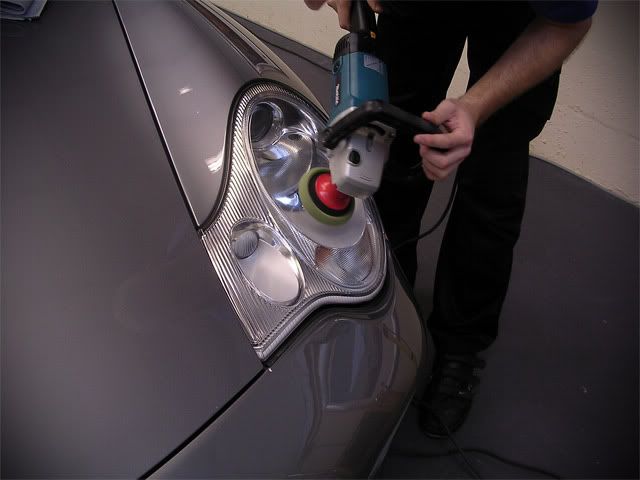
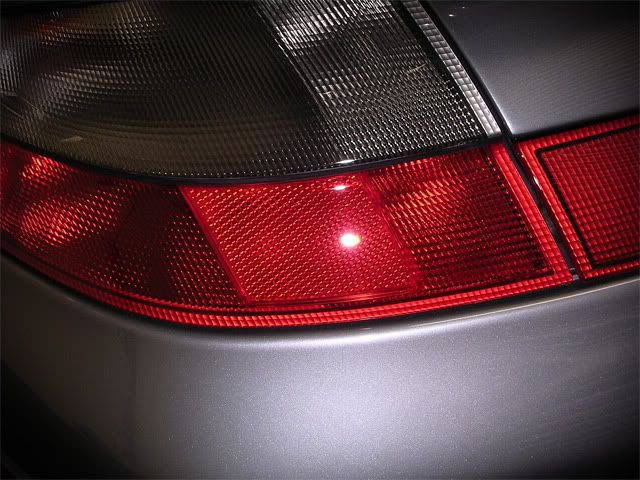
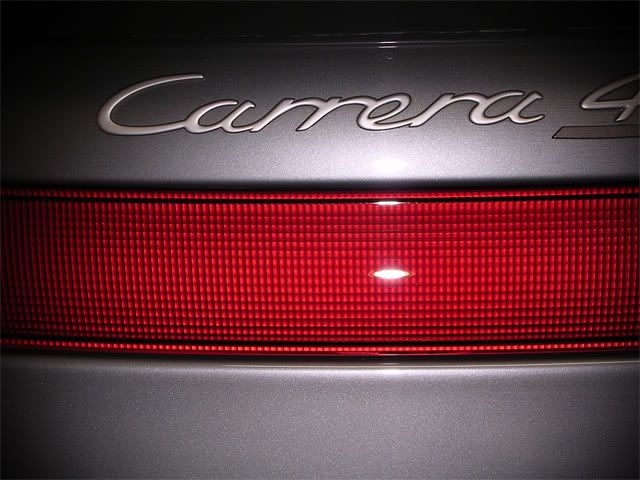
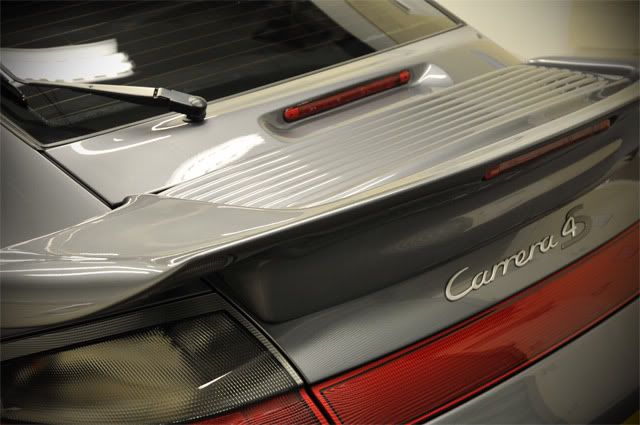
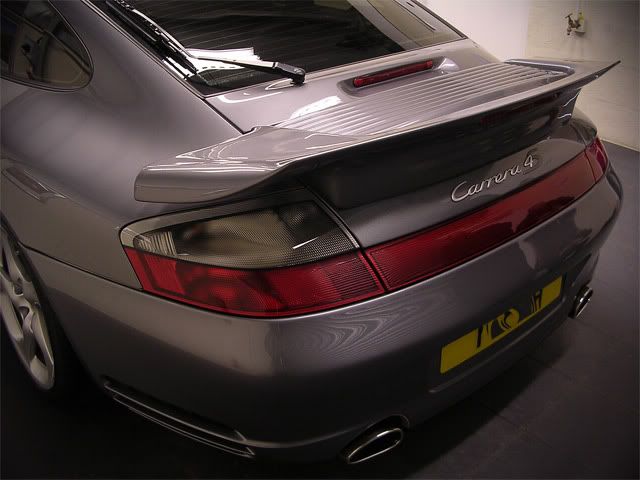
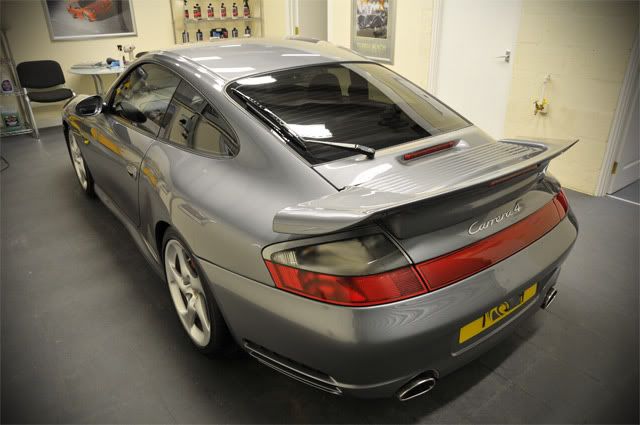
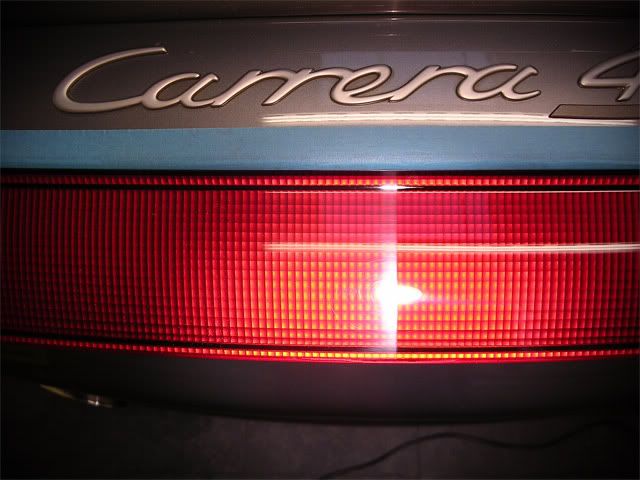
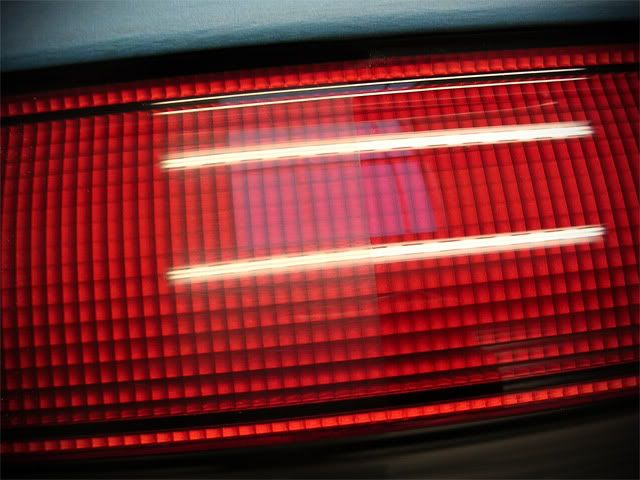
The back reflector was corrected with 3M Fast Cut Plus:

Another contract start on this 911 so it was in for a 3 day major correction:
As usual, pre-foam with Megs APC @ 60 degrees:
After 5 minutes this was rinsed off at high pressure and I then cleaned up the wheels (WB 10:1) and Arches/Tyres (Megs Super Degreaser):
The shuts/petrol cap, exterior trim etc were sprayed with Megs APC and then agitated with a soft brush:
I then washed the car with the 2BM and Gloss-It Shampoo:
A thorough rinse off was followed by Autosmart Tardis to remove the many tar spots that were stuck to the lower half/rear of the car and also the wheels:
One final rinse was carried out and I then put the car inside and clayed with Gloss-It Mild Clay.
Once dried off, it was time to assess the paintwork with the Sun Gun which showed loads of tightly packed swirls:
The Halogens show the "swirls" in their true state, under single point light sources such as the sun and Sun Gun they look circular, whereas under the halogens/petrol station forecourt lights etc they can be seen in their true state, which are in fact straight line scratches:
Paint readings were taken and all was completely standard (and healthy)except for the front bumper which had recently been painted to get rid of a couple of stone chips
I've done enough Porsches now to be pretty sure when I'm going to be up against one with sticky paint, and after a quick play with 106FA this one was no different
Sticky Paint isn’t something that I find overly troublesome any more for a couple of reasons, but for a change I decided to try the Gloss-It polishes out as they are designed to be worked slower and have a certain level of chemical cut too.
And guess what? It worked! Not 100% perfectly but my god was it an improvement on any other polish I've used on sticky paint before!
As you can see, the polish was breaking down nicely with no dusting or buffer hop etc:
Results were good too:
Before:
After:
The Gloss-It polishes are quite thin and watery compared to the thicker menz polishes so you don’t need alot once the pad is primed:
The trick (and for those that previously stated that they cant be worked with the rotary might want to pay attention here - you know who you are
) is to make sure you spread it out nice and evenly at 600 or 900rpm's...
... Then after every couple of passes while gradually upping the rpm's, give the pad a quick mist with the Gloss-It QD (this seems to really help keep heat down and lets the polishes work nicely):
Then work untill the polish is broken down:
Done
Now, alot of you may be thinking "why would I want to use a polish I have to continually stop working in order to spritz the pad?", and you'd be correct! I am of the same opinion and for that reason I still prefer to use the Menz and 3M ranges for rotary use, but when it comes to sticky paint I believe they are a very good solution and offer a significant improvement over any other polishes I've used. The above guide is just for those that may want to try it by rotary in future
I should state that the Gloss-It polishes are designed for Dual Action machines though and for this use no spritzing is required :thumb:
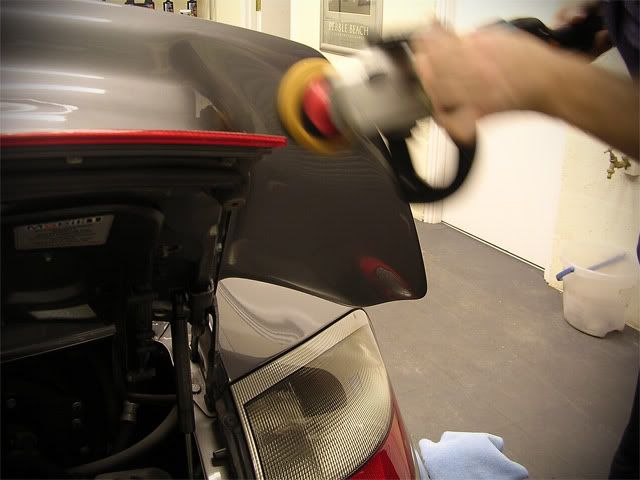
Anyways, back on with the correction work:
Before:
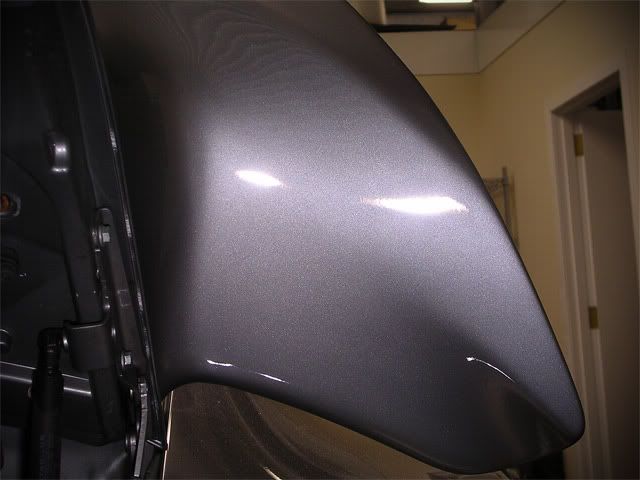
After:
The back reflector was corrected with 3M Fast Cut Plus: