RootsRadical
New member
A Michigan February is typically not a good time for detailing - even in a 2.5 car garage outfitted with radiant heating. This year, however, found Mother Nature providing an exception. February 4th and 5th greeted the Detroit area with a weekend of sun, blue sky and temperatures near 45 degrees. The garage could be quickly and easily be heated up to 60 degrees and it was even pleasant to work outside of it. In other words: The perfect winter detailing opportunity!
I took advantage of Saturday to pull the wheels off of the 2012 Dodge Challenger SRT8 that I had purchased the month before. Despite being new and untitled, the car came to me with 64 test drive miles as well as the typical Dealer Installed Swirl (DIS) package - although not nearly as bad as some that I've seen.
Attention was certainly needed on the wheels, wheel wells, hubs and rotors. I also needed to install some low-profile splash guards (i.e. mud flaps) due to the big, sticky rubber on Challengers loving to throw up rocks and lay waste to the paint behind the tires. (I then took advantage of Saturday evening and the next day up until just before Super Bowl kickoff to perform a paint correction - but that is another story.)
I began by jacking up the car and placing a jack stand for an extra measure of safety should the jack happen to fail.
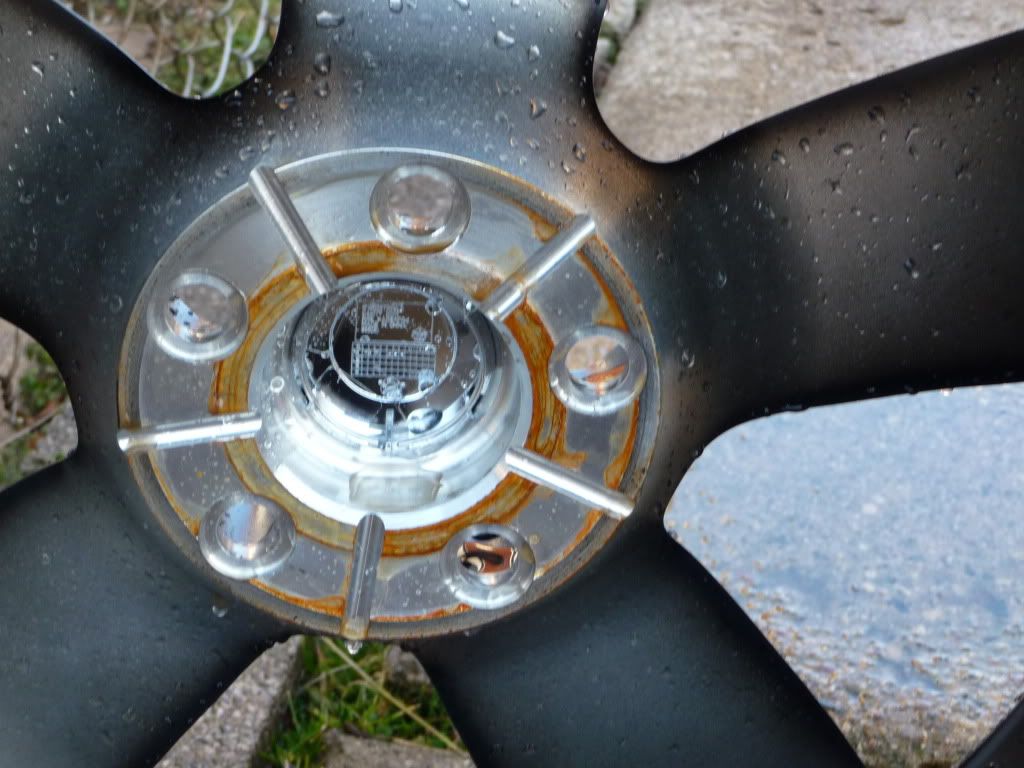
 I washed the wheel and removed the rust on the backside area where the wheel makes contact with the hub by very gently scrubbing with soap and 0000 steel wool.
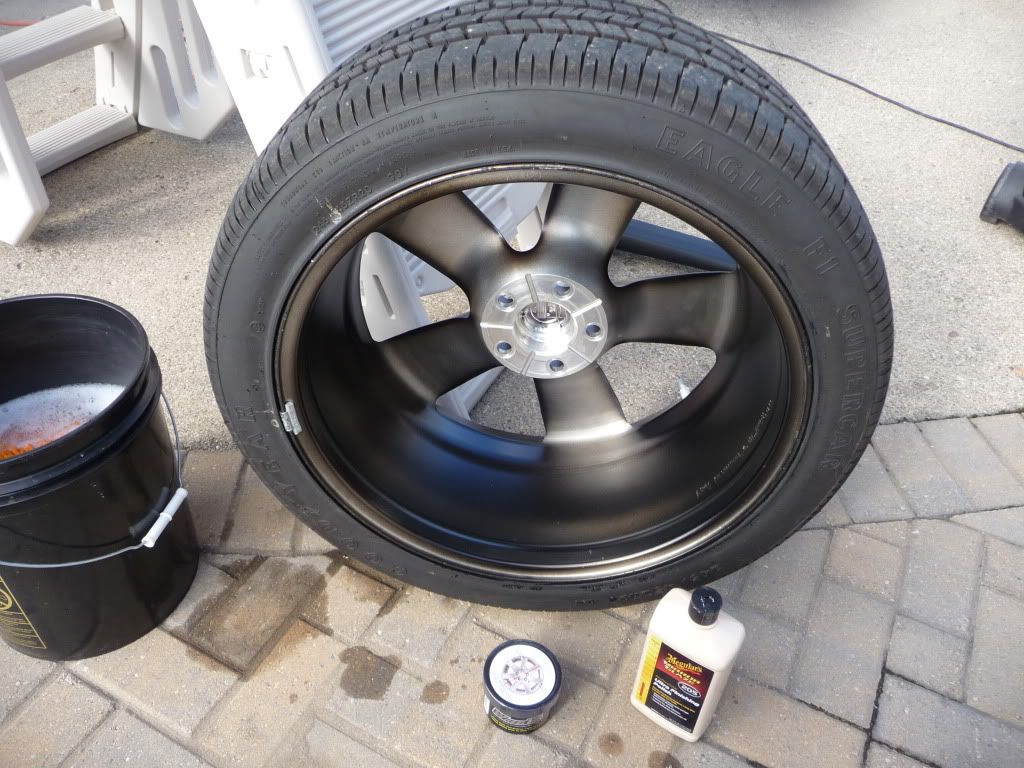
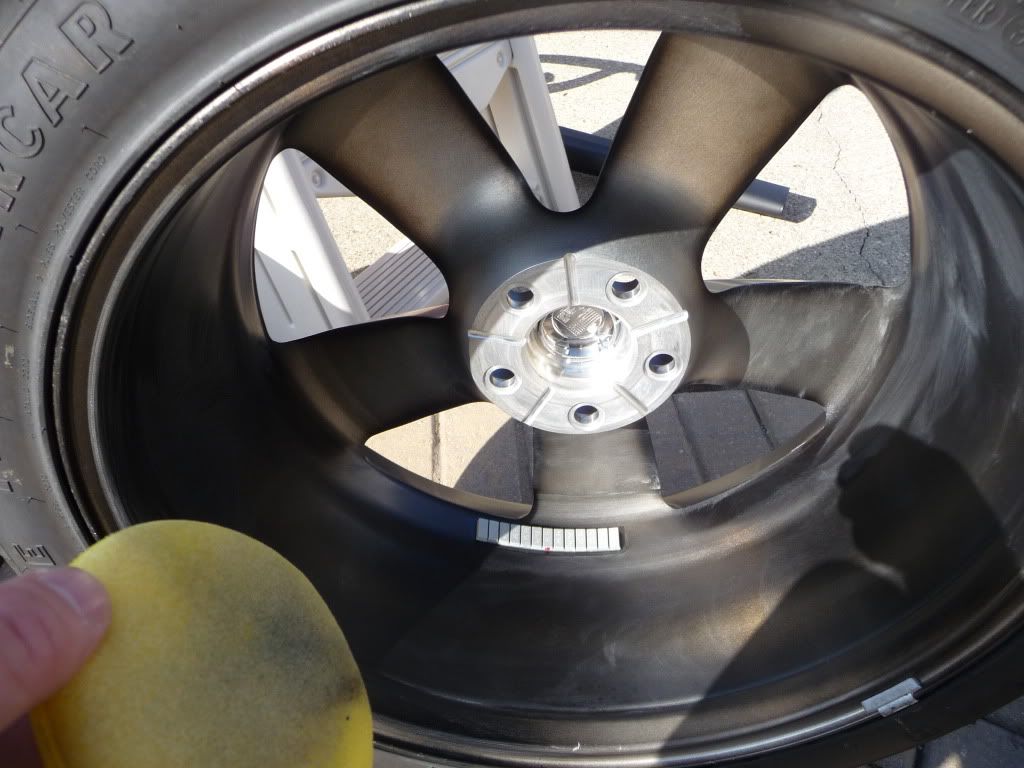
I hit the inside of the first wheel with some M205 polish but quickly noticed that the factory did not apply clear coat over the poor excuse for a paint job on the inner portion of the wheel. A ‘cease and desist’ was in order, as I could clean the wheel up nicely without any polish. (One of four wheels was actually painted fairly well on the inner portion, with the other three being nothing more than glorified overspray.) Here you can see a clean wheel with a jar of WheelWax ready to go:
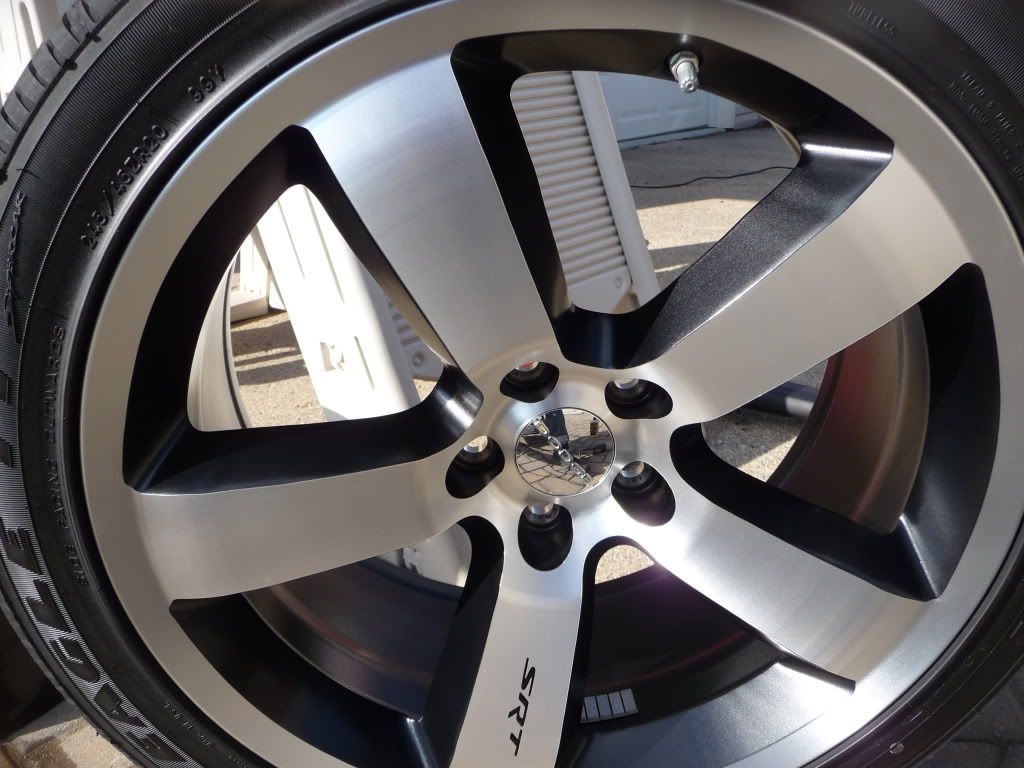
I used a Porter Cable DA polisher along with a Lake Country 4” white pad and a bit of M205 to polish out some defects on the face of the wheel, paying special attention to an area where the dealership got a bit overzealous in removing a number marking from the factory.
Here is a freshly opened jar of WheelWax.
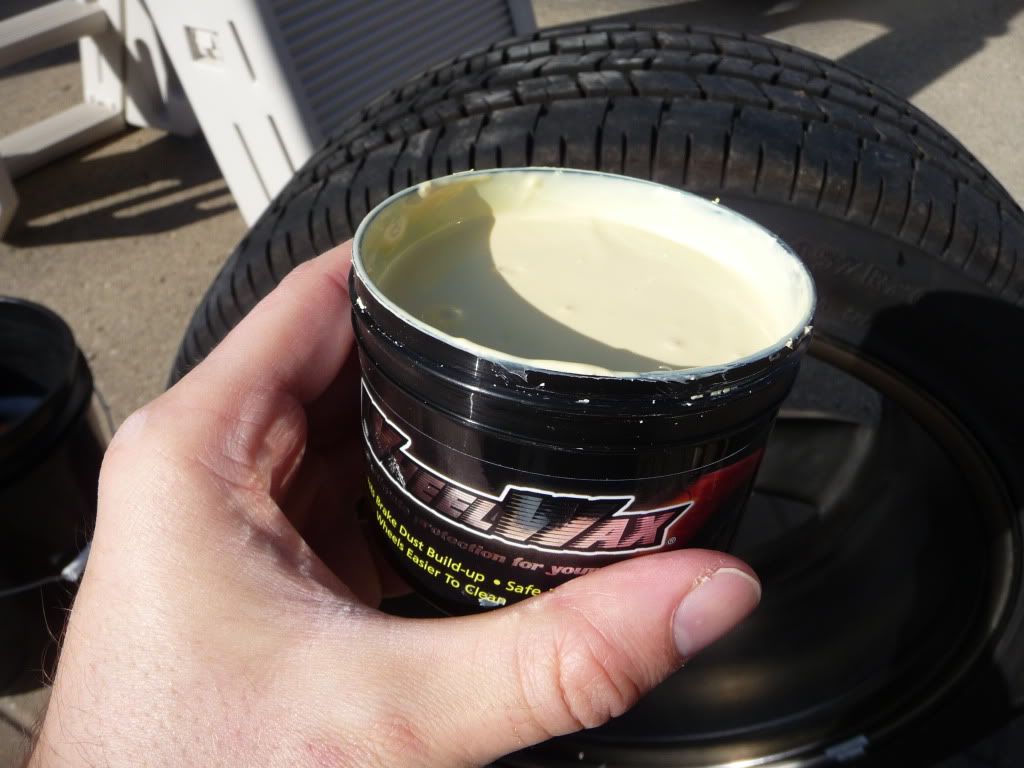 I had it sitting around for a while, but this was my first time making use of it. Upon removing the lid, I was greeted with a thick, pale yellow colored liquid with a pleasant, tropical smell to it. The next 2 photos show the application (you can see where I picked up some of the “overspray” from attempting to polish the inner portion of the wheel – something I did not attempt with the next three).
WheelWax went on pretty thick and I found that there was a brief learning curve needed to be able to apply the proper amount. I also found it fairly difficult to buff off as compared to a sealant such as Blackfire Wet Diamond which I have applied to wheels in the past. It should be noted that it was especially difficult to buff off of the non-clear coated inner portion of each wheel. Despite only leaving it on for less than a minute, I found that I had to mist the product with water in order to remove it. It also left me briefly wondering if perhaps the product needed a bit of “residue” to repel dirt and grime as advertised – but after further thought, I do not believe this to be the case. I ended up buffing it completely out.
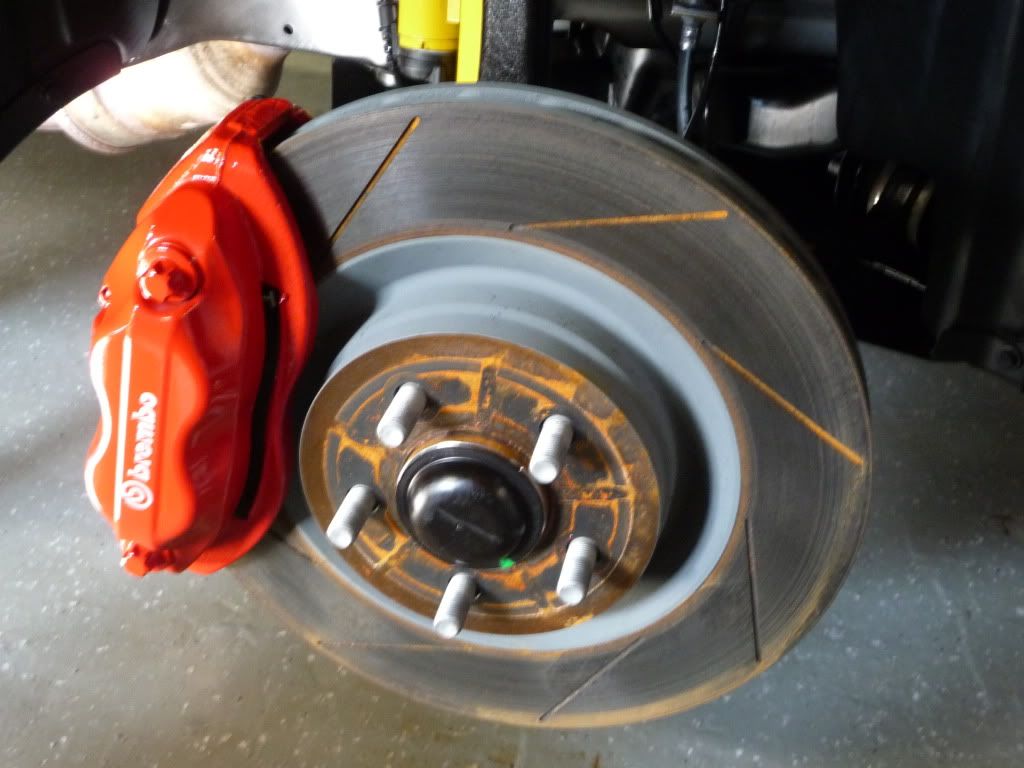
After buffing the product off the wheel, I went back in the garage to turn my attention to the wheel well and rusty rotor and wheel hub.
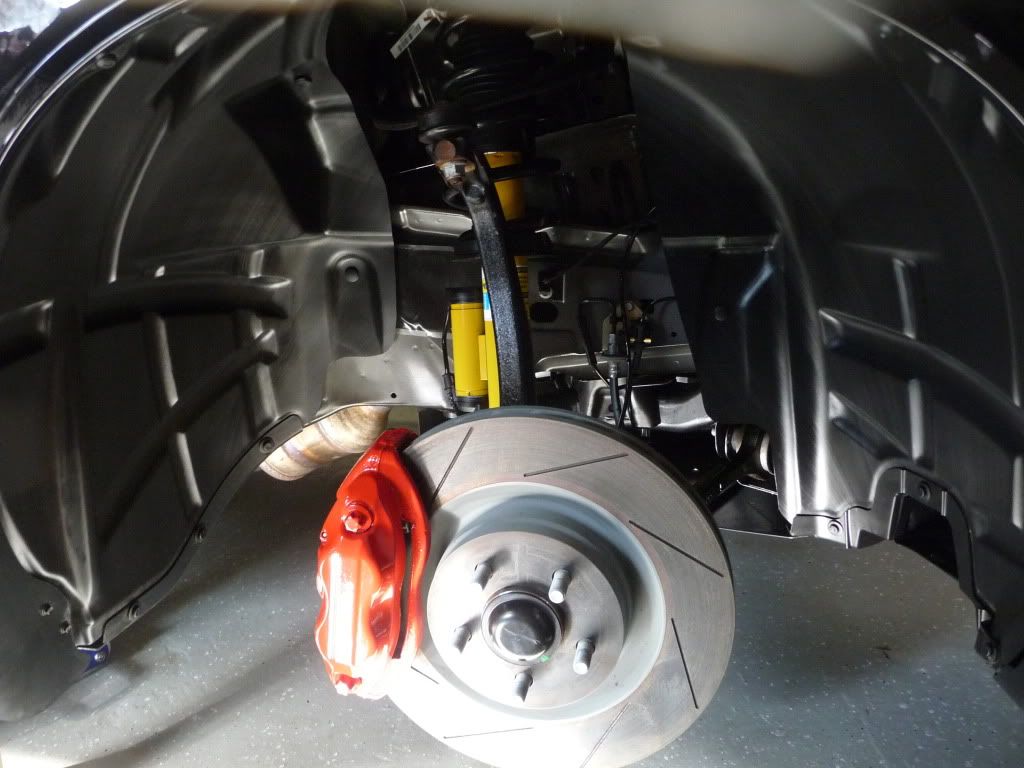
 I cleaned the wheel well itself with some Meg’s All Purpose Cleaner (diluted) and then treated the plastic with Griot’s Garage Vinyl and Rubber dressing. (I am not “in love” with this product, but it is fairly solid and works pretty well on plastics too.) After some cautious use of Steel Wool 0000 with a very light touch, I then installed one of the splash guards – which can be seen in the lower left corner of this image:
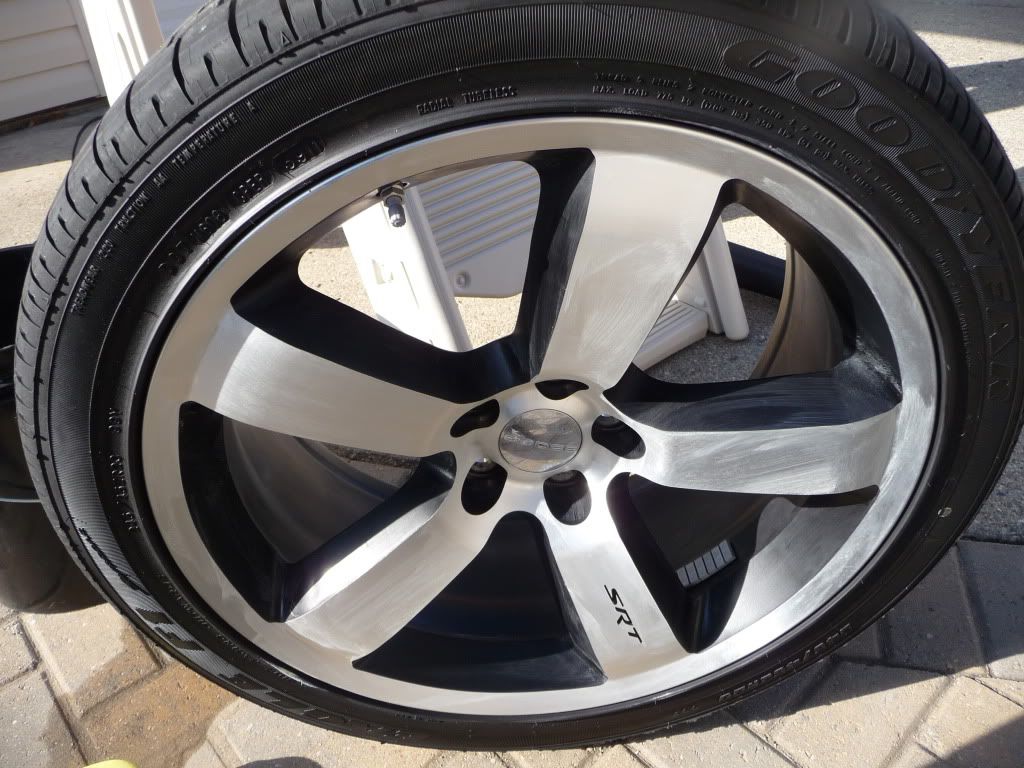
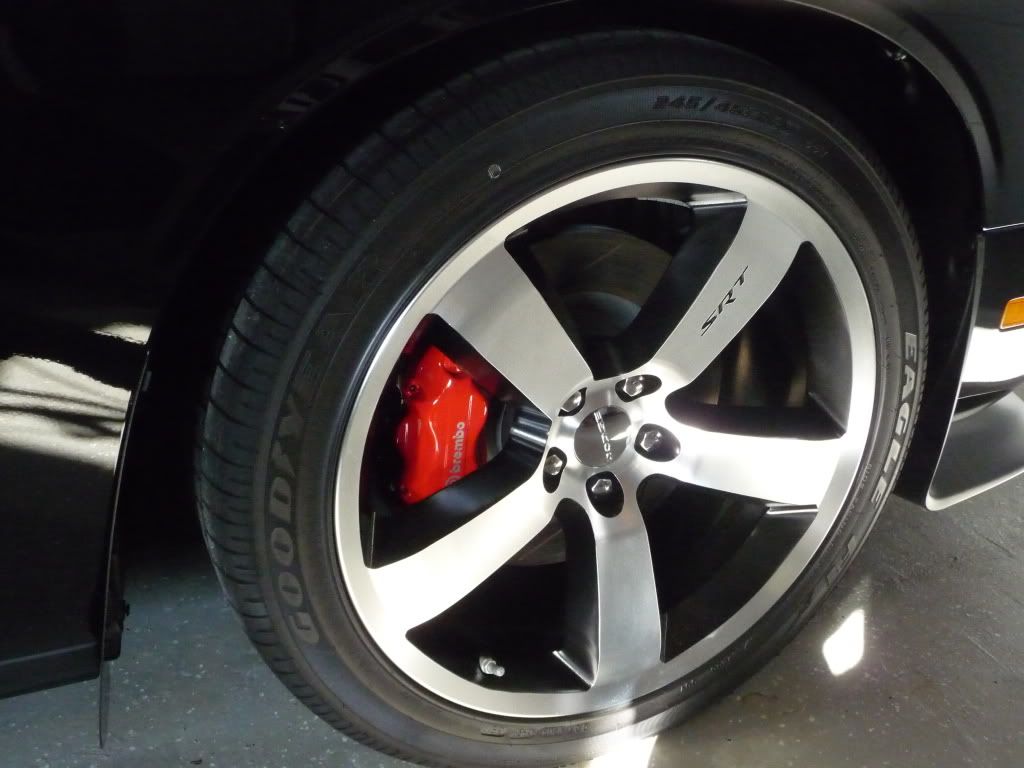
 Careful not to get anything on the rotor, I used some WheelWax on the wheel hub itself before reinstalling the wheel. I am hoping that this serves to prevent (or at least limit) the rust that can easily build up in that area due to trapped moisture but only time will tell if it is successful. The final photo (taken today due to poor quality of the original ‘after’ shot) shows the wheel, reinstalled with the WheelWax buffed out:
In Summary:
I find it difficult to sum up my initial perception of WheelWax without actually observing what the product is designed to do (which is to “protect wheels from dirt, road grime, brake dust, and winter road chemicals [and] assist in repelling brake dust.” The item description on Autopia advertises it as “easy to apply” – which I agree with, “dries to a haze” – very quickly, I might add and “buffs to a high shine” – eh, in my opinion, not so much. I found myself fighting the urge to apply some Blackfire Wet Diamond onto the surface of my wheels but decided not to interfere with the “protective coating that resists brake dust build-up” that WheelWax claims to provide. The cover of the container also has a graphic that suggests that 500 miles of grime and brake dust can be removed with water after applying WheelWax to the wheel. As this vehicle is being stored for the winter, it will be a few months before I can update this review and chime in on that. Until then, thanks for reading!
-J
I took advantage of Saturday to pull the wheels off of the 2012 Dodge Challenger SRT8 that I had purchased the month before. Despite being new and untitled, the car came to me with 64 test drive miles as well as the typical Dealer Installed Swirl (DIS) package - although not nearly as bad as some that I've seen.
Attention was certainly needed on the wheels, wheel wells, hubs and rotors. I also needed to install some low-profile splash guards (i.e. mud flaps) due to the big, sticky rubber on Challengers loving to throw up rocks and lay waste to the paint behind the tires. (I then took advantage of Saturday evening and the next day up until just before Super Bowl kickoff to perform a paint correction - but that is another story.)
I began by jacking up the car and placing a jack stand for an extra measure of safety should the jack happen to fail.
I hit the inside of the first wheel with some M205 polish but quickly noticed that the factory did not apply clear coat over the poor excuse for a paint job on the inner portion of the wheel. A ‘cease and desist’ was in order, as I could clean the wheel up nicely without any polish. (One of four wheels was actually painted fairly well on the inner portion, with the other three being nothing more than glorified overspray.) Here you can see a clean wheel with a jar of WheelWax ready to go:
I used a Porter Cable DA polisher along with a Lake Country 4” white pad and a bit of M205 to polish out some defects on the face of the wheel, paying special attention to an area where the dealership got a bit overzealous in removing a number marking from the factory.
Here is a freshly opened jar of WheelWax.
WheelWax went on pretty thick and I found that there was a brief learning curve needed to be able to apply the proper amount. I also found it fairly difficult to buff off as compared to a sealant such as Blackfire Wet Diamond which I have applied to wheels in the past. It should be noted that it was especially difficult to buff off of the non-clear coated inner portion of each wheel. Despite only leaving it on for less than a minute, I found that I had to mist the product with water in order to remove it. It also left me briefly wondering if perhaps the product needed a bit of “residue” to repel dirt and grime as advertised – but after further thought, I do not believe this to be the case. I ended up buffing it completely out.
After buffing the product off the wheel, I went back in the garage to turn my attention to the wheel well and rusty rotor and wheel hub.
In Summary:
I find it difficult to sum up my initial perception of WheelWax without actually observing what the product is designed to do (which is to “protect wheels from dirt, road grime, brake dust, and winter road chemicals [and] assist in repelling brake dust.” The item description on Autopia advertises it as “easy to apply” – which I agree with, “dries to a haze” – very quickly, I might add and “buffs to a high shine” – eh, in my opinion, not so much. I found myself fighting the urge to apply some Blackfire Wet Diamond onto the surface of my wheels but decided not to interfere with the “protective coating that resists brake dust build-up” that WheelWax claims to provide. The cover of the container also has a graphic that suggests that 500 miles of grime and brake dust can be removed with water after applying WheelWax to the wheel. As this vehicle is being stored for the winter, it will be a few months before I can update this review and chime in on that. Until then, thanks for reading!
-J
Last edited:

")