finerdetails
New member
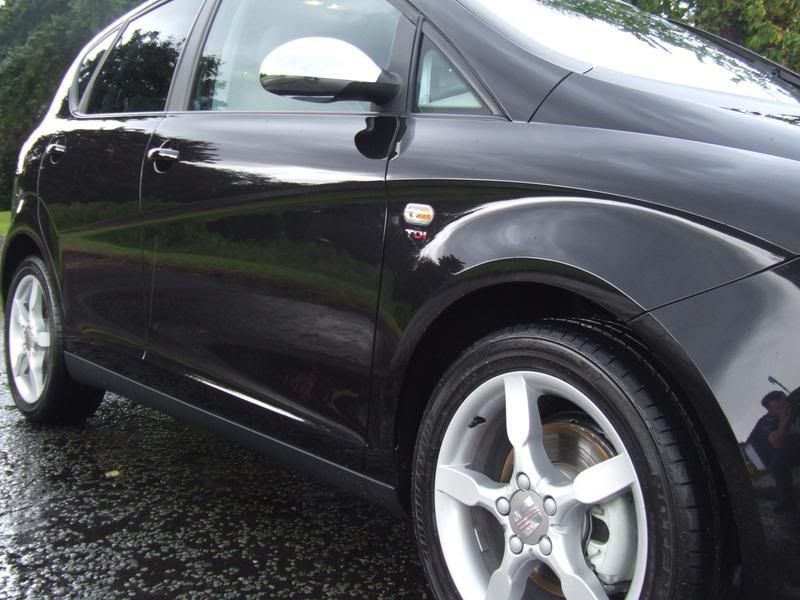
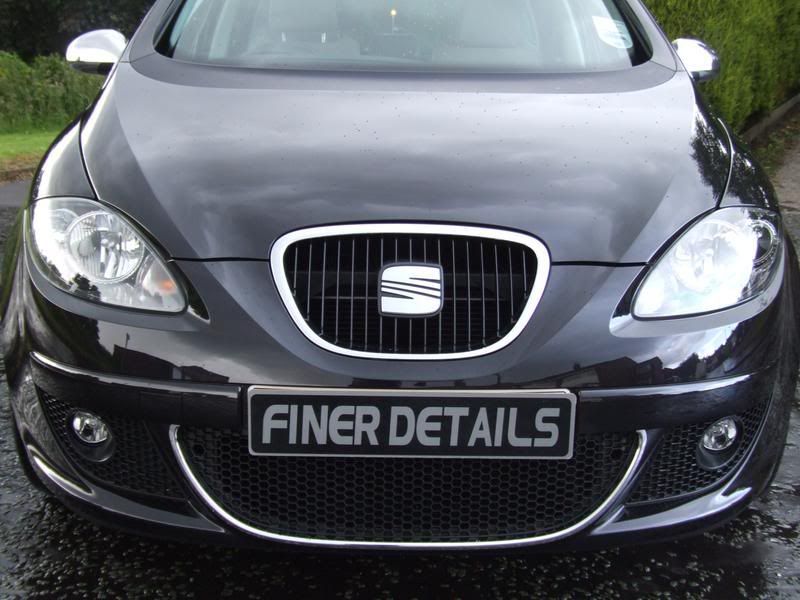
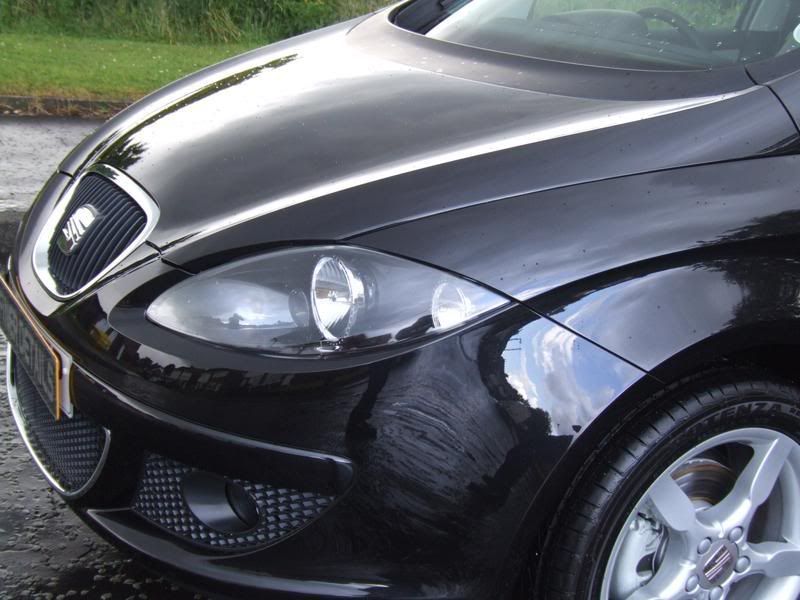
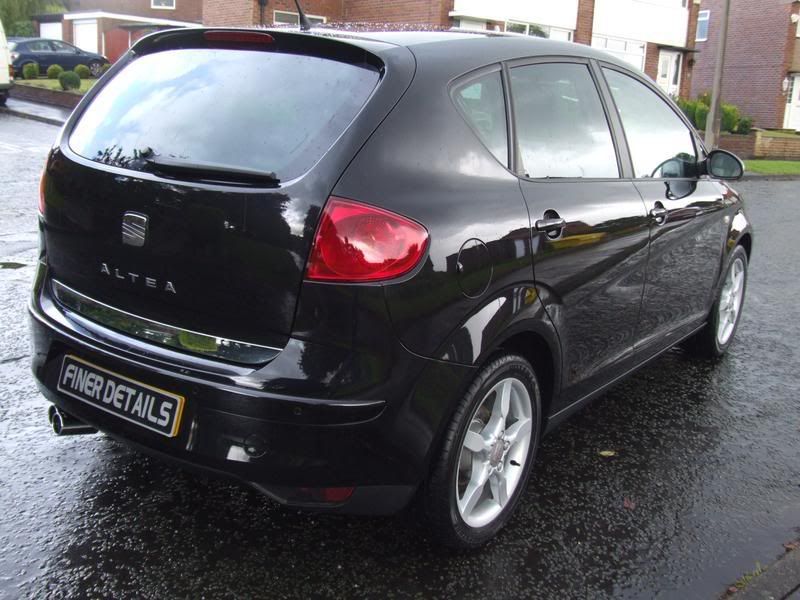
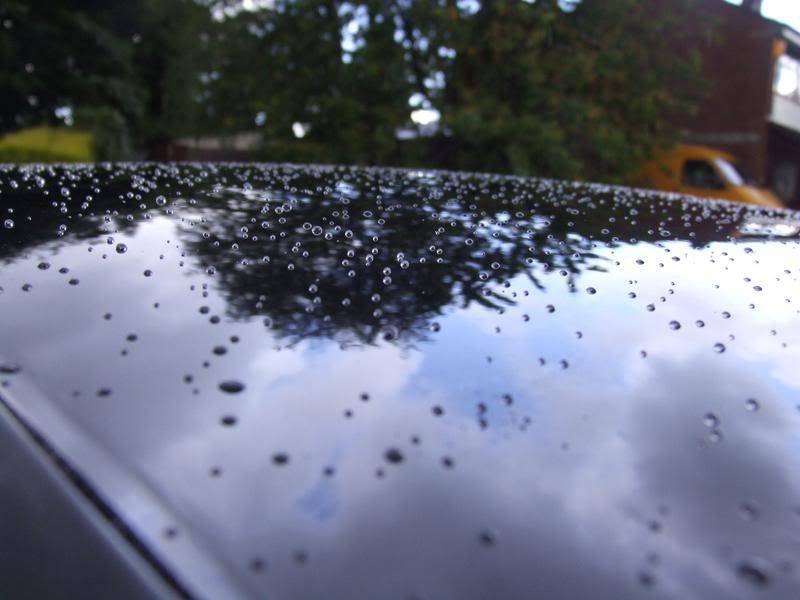
Here is the SEAT Altea before I started her first ever FD wash yesterday:
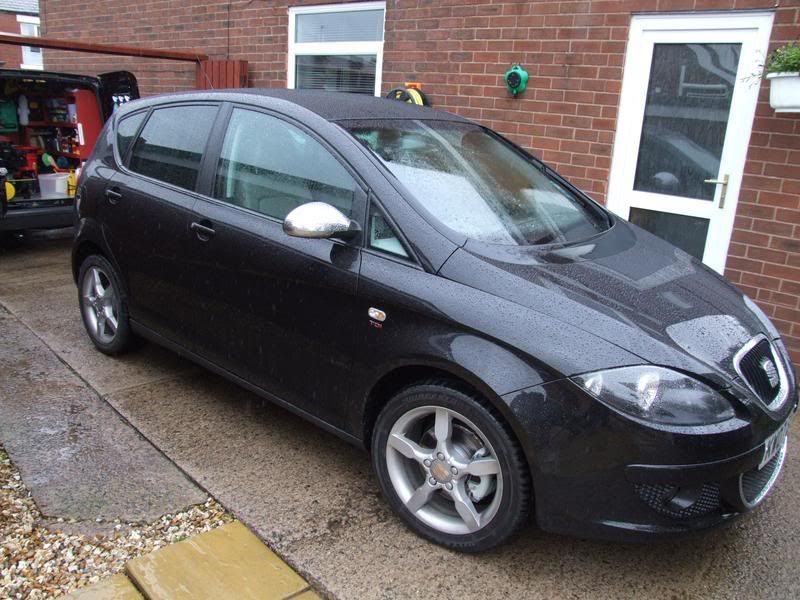
Albeit the car is just one month old, its was in the Dealer Show room so had received one wash and wax only. The instructions on collection were "do not wash it, don't even touch it at all". So when collected from the Dealership the car didn't look too clean, and I think the Dealer was a tad embarressed to be handing over a brand new car in such a state.
Washing and Cleaning Preparation
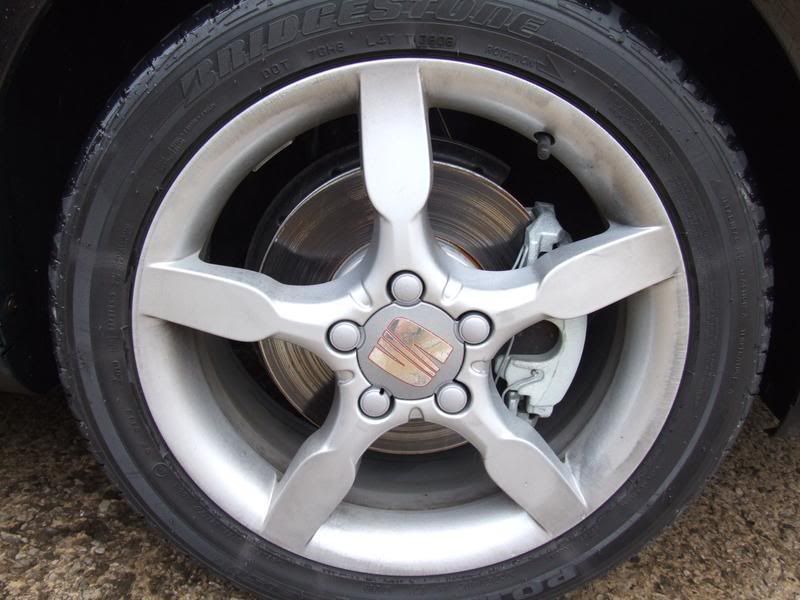
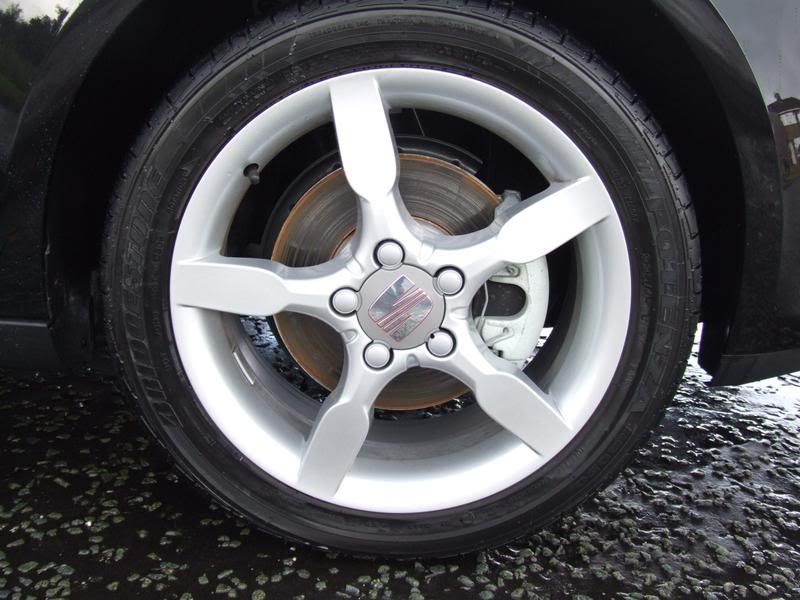
The first task for me is to start to clean, and prepare the car for the Detailing work. As always, I begin by washing the wheels. I washed the wheels first to ensure that any splashes or dirt which may spray onto the bodywork and paintwork can be cleaned away afterwards. First I rinsed the wheels and wheel arches using a pressure washer. Next I used Pinnacle Wheel Gel to clean the wheels, before spraying the wheels and wheels arches with snowfoam in order to ensure they rinse to a streak free finish.
With the wheels clean, I now started the process of cleaning the paintwork and upper sections of the vehicle. The next task is to pre-soak the upper section with snowfoam.
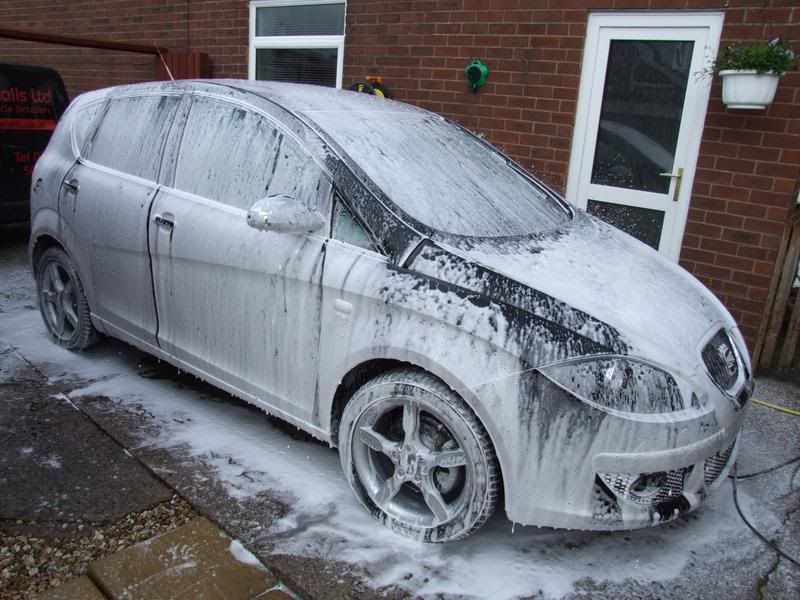
The aim of this is to loosen any surface dirt and dust, before using the pressure washer to rinse the vehicle. This first stage of the upper vehicle wash can in some cases clean the car to almost 98% without any contact. I then applied a second snowfoam layer to the car, and with a lambs wool washmitt and the Pinnacle Bucket with grit guard and dolly he works he way from top to bottom, around the car gently cleaning the upper car panels. All areas likely to carry the greatest amount of dirt and contamination will be cleaned last. This way the car will have the cleanest water, and least likelihood of any surface contamination becoming trapped and/or in contact with the paintwork again.
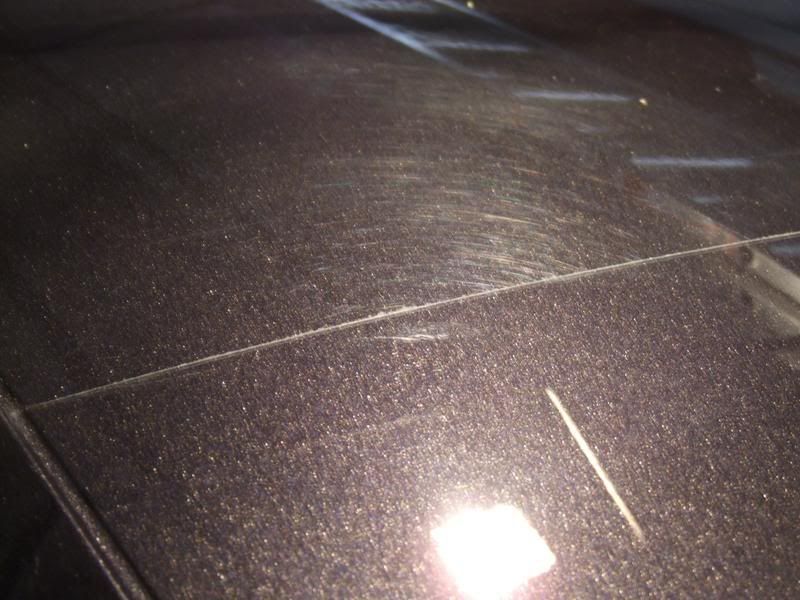
Once the vehicle has been thoroughly cleaned, I then used the pressure washer to rinse the snow foam away. The next part of the cleaning and preparation stage is the Clay Bar.
I used Pinnacle Ultra Fine Poly clay bar along with Quick Detailer to remove all surface contamination on this paintwork. Once all of the paintwork had been cleaned and prepared for the following stages I applied a further snowfoam layer to ensure all quick detailer has been cleared from the paint.
Next I got Mrs FD to move the car into the garage, as I'd spent the last two hours washing and claying in the rain and didn't particularly want to have to sit on the brand new leather seats:
(too warm with a coat, so here's me completed soaked right through the T-short I was wearing)

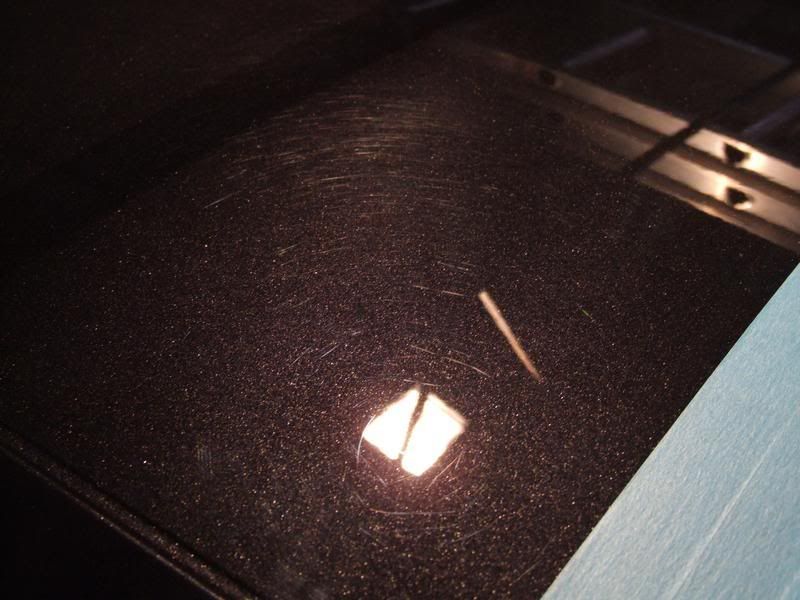
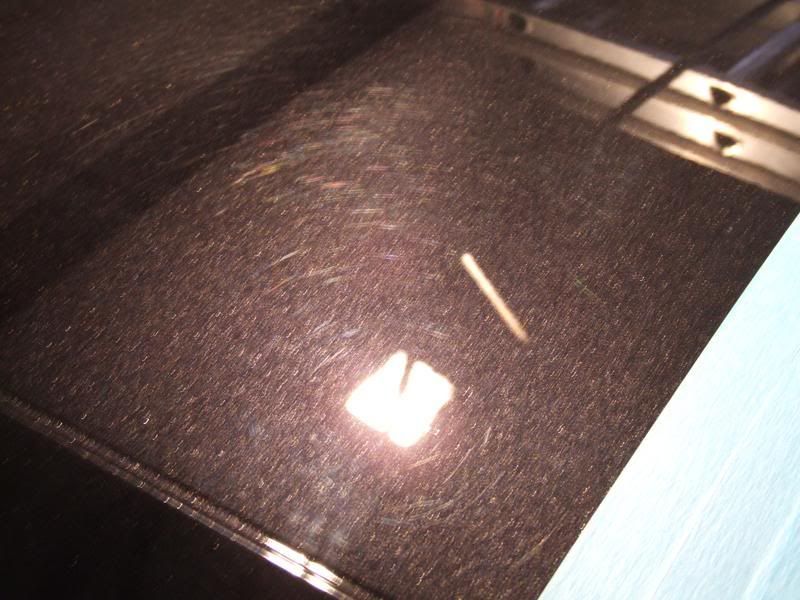
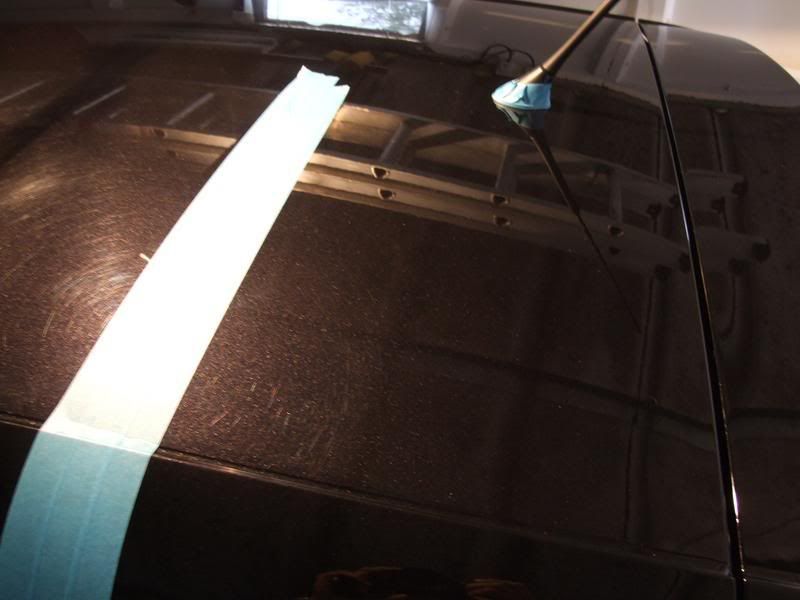
Following a very thorough rinsing, I used a Cobra Guzzler Drying towel to pat, and drag the water from the car. The next two tasks of the detail are the final two of the washing and preparation, Firstly I applied a specialised automotive low tack masking tape to all plastics, rubbers and any areas which require protection from the machine polishing stage. Once fully protected I then used a Digital Paint Depth gauge to check the paintwork on the vehicle.
Albeit the car is just one month old, its was in the Dealer Show room so had received one wash and wax only. The instructions on collection were "do not wash it, don't even touch it at all". So when collected from the Dealership the car didn't look too clean, and I think the Dealer was a tad embarressed to be handing over a brand new car in such a state.
Washing and Cleaning Preparation
The first task for me is to start to clean, and prepare the car for the Detailing work. As always, I begin by washing the wheels. I washed the wheels first to ensure that any splashes or dirt which may spray onto the bodywork and paintwork can be cleaned away afterwards. First I rinsed the wheels and wheel arches using a pressure washer. Next I used Pinnacle Wheel Gel to clean the wheels, before spraying the wheels and wheels arches with snowfoam in order to ensure they rinse to a streak free finish.
With the wheels clean, I now started the process of cleaning the paintwork and upper sections of the vehicle. The next task is to pre-soak the upper section with snowfoam.
The aim of this is to loosen any surface dirt and dust, before using the pressure washer to rinse the vehicle. This first stage of the upper vehicle wash can in some cases clean the car to almost 98% without any contact. I then applied a second snowfoam layer to the car, and with a lambs wool washmitt and the Pinnacle Bucket with grit guard and dolly he works he way from top to bottom, around the car gently cleaning the upper car panels. All areas likely to carry the greatest amount of dirt and contamination will be cleaned last. This way the car will have the cleanest water, and least likelihood of any surface contamination becoming trapped and/or in contact with the paintwork again.
Once the vehicle has been thoroughly cleaned, I then used the pressure washer to rinse the snow foam away. The next part of the cleaning and preparation stage is the Clay Bar.
I used Pinnacle Ultra Fine Poly clay bar along with Quick Detailer to remove all surface contamination on this paintwork. Once all of the paintwork had been cleaned and prepared for the following stages I applied a further snowfoam layer to ensure all quick detailer has been cleared from the paint.
Next I got Mrs FD to move the car into the garage, as I'd spent the last two hours washing and claying in the rain and didn't particularly want to have to sit on the brand new leather seats:
(too warm with a coat, so here's me completed soaked right through the T-short I was wearing)
Following a very thorough rinsing, I used a Cobra Guzzler Drying towel to pat, and drag the water from the car. The next two tasks of the detail are the final two of the washing and preparation, Firstly I applied a specialised automotive low tack masking tape to all plastics, rubbers and any areas which require protection from the machine polishing stage. Once fully protected I then used a Digital Paint Depth gauge to check the paintwork on the vehicle.
")


")
