adrock2003
New member
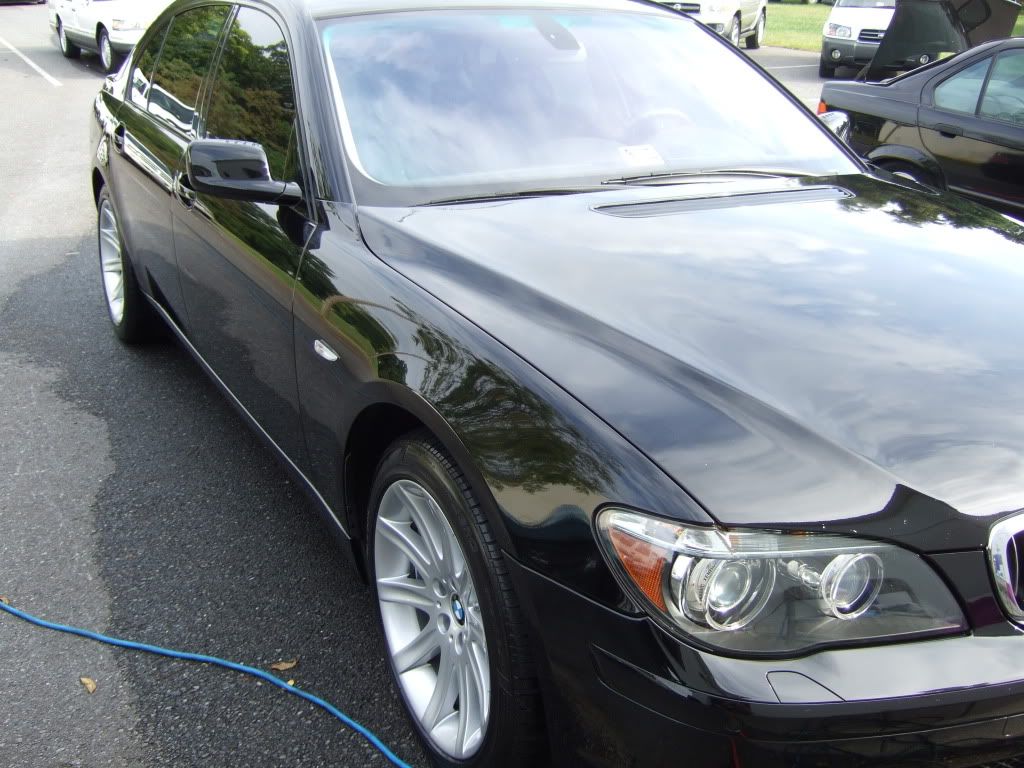
Process:
- 2-bucket Method Wash with Meg's GC
- Clay with Megs Clay using Final Inspection as Lube
- ISA wipedown to remove oils or anything else stuck to the paint
- Meg's Paint Reconditioning cream AIO for the majority of the vehicle applied via Griot's DA and Meg's Yellow Cross-cut polishing pad (The new one).
- Meg's Diamond Cut 2.0 Compound applied with wool pad and Chicago Tools (I know, I know...just shoosh) rotary x3 on hood and trunklid, then gone over with DA and Meg's Paint Reconditioning Cream AIO.
- Meg's Endurance Tire Gel for shine
- Meg's Wheel Brightener aggitated with several brushes for the wheels
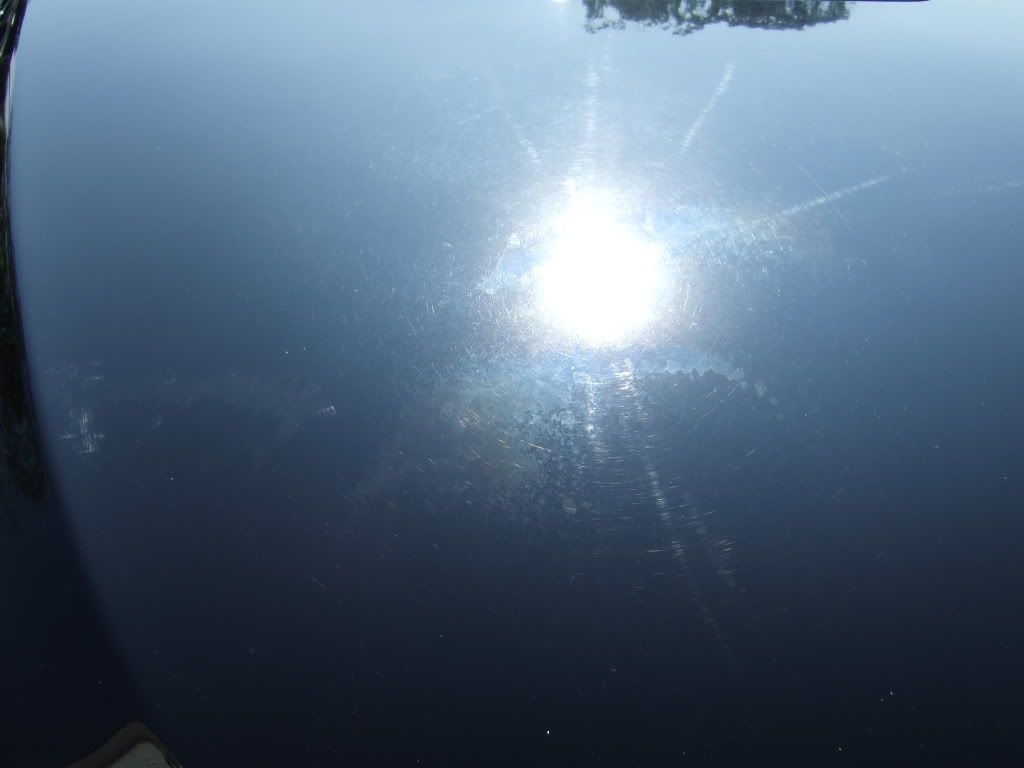
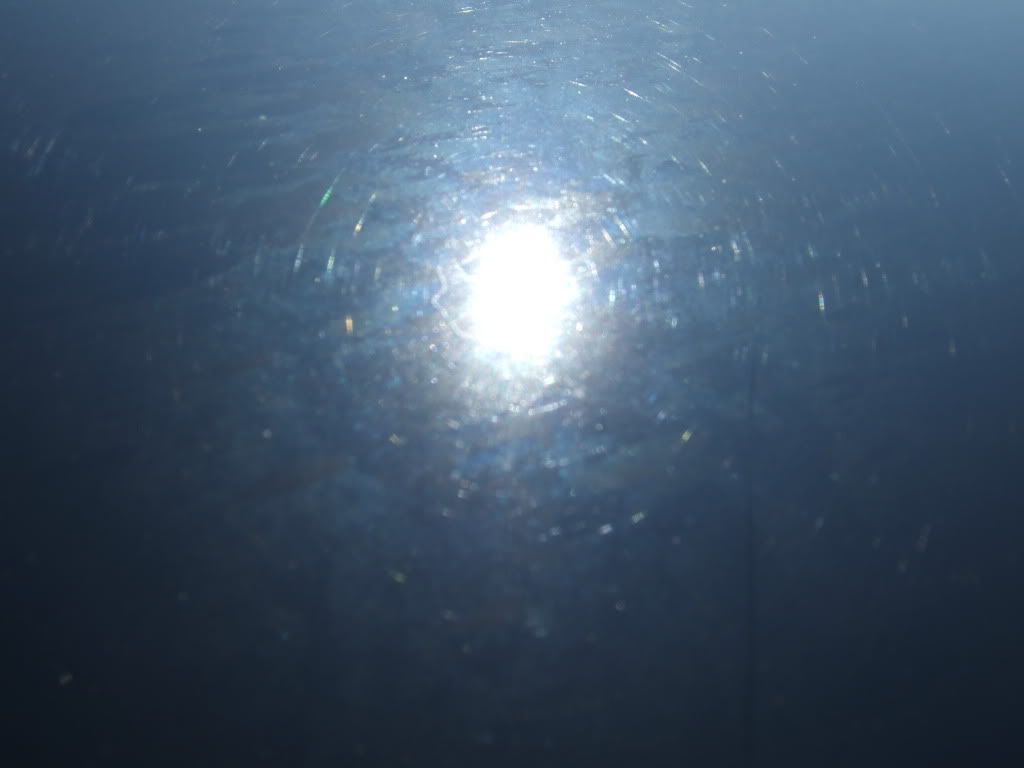
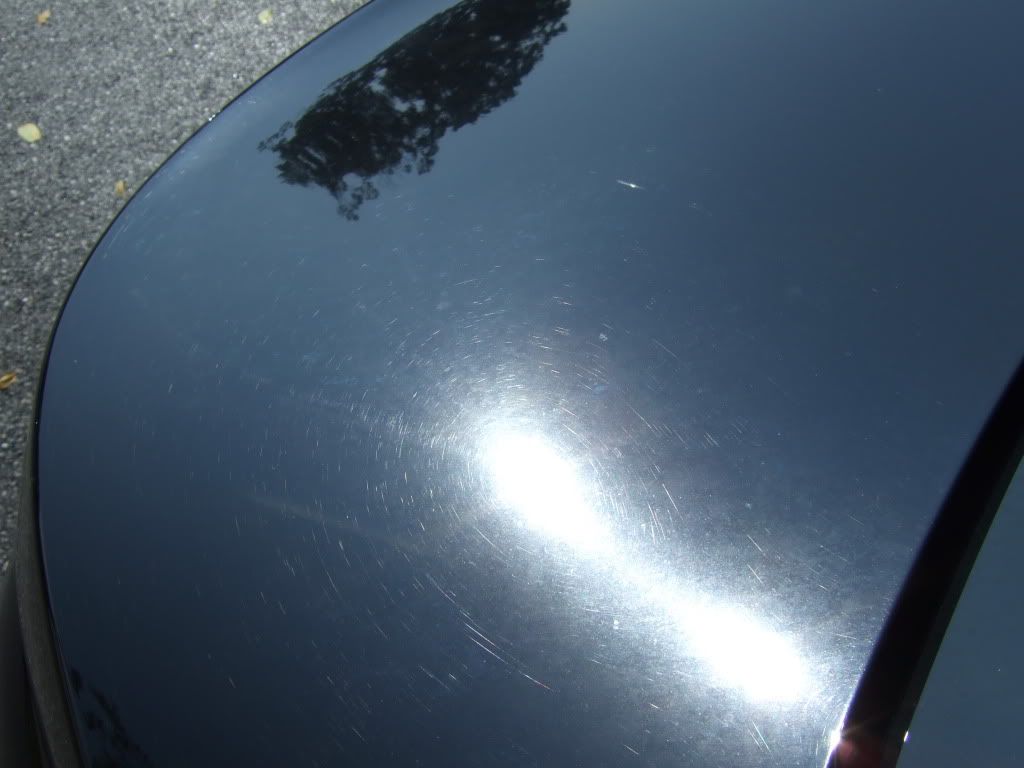
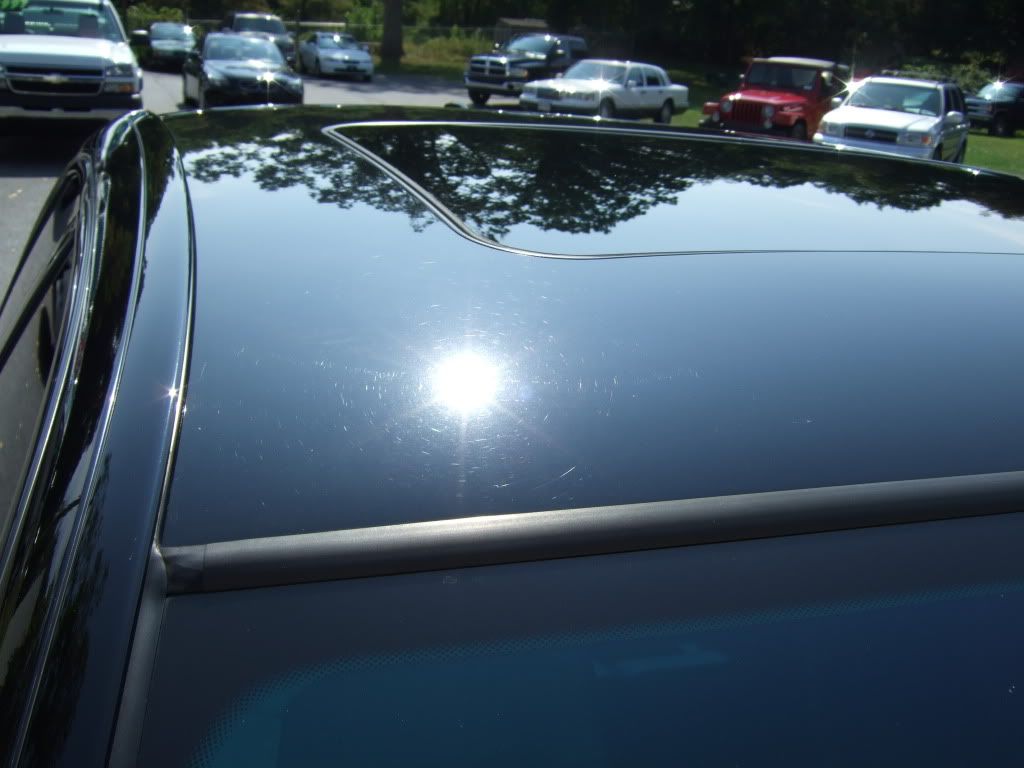
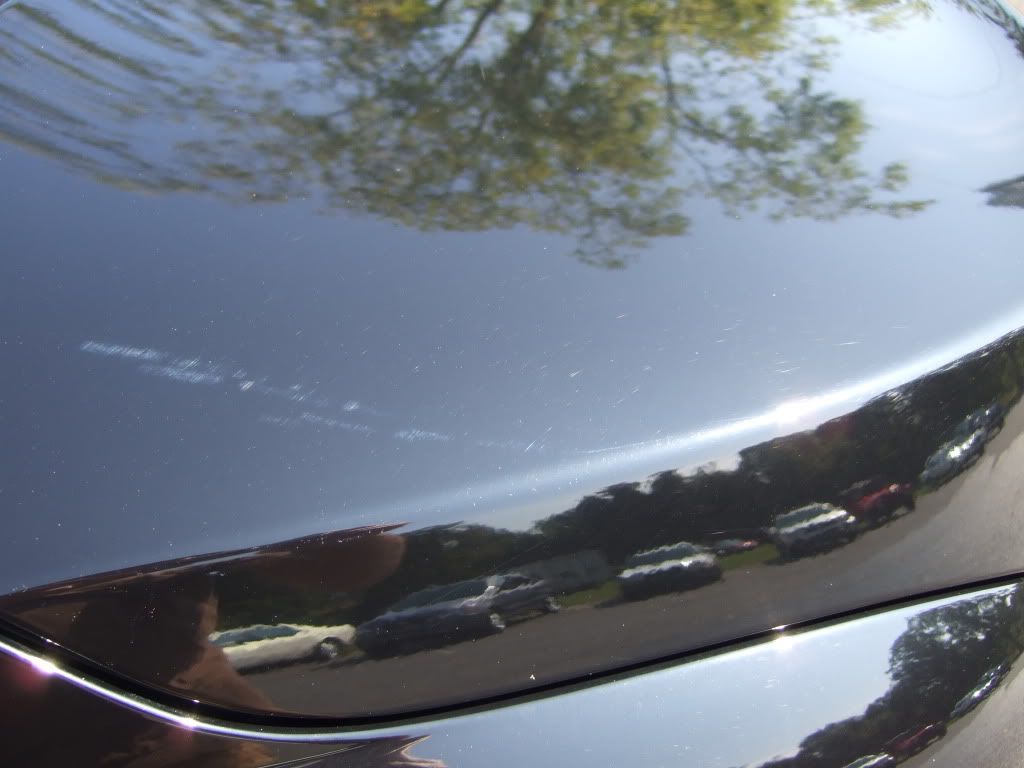
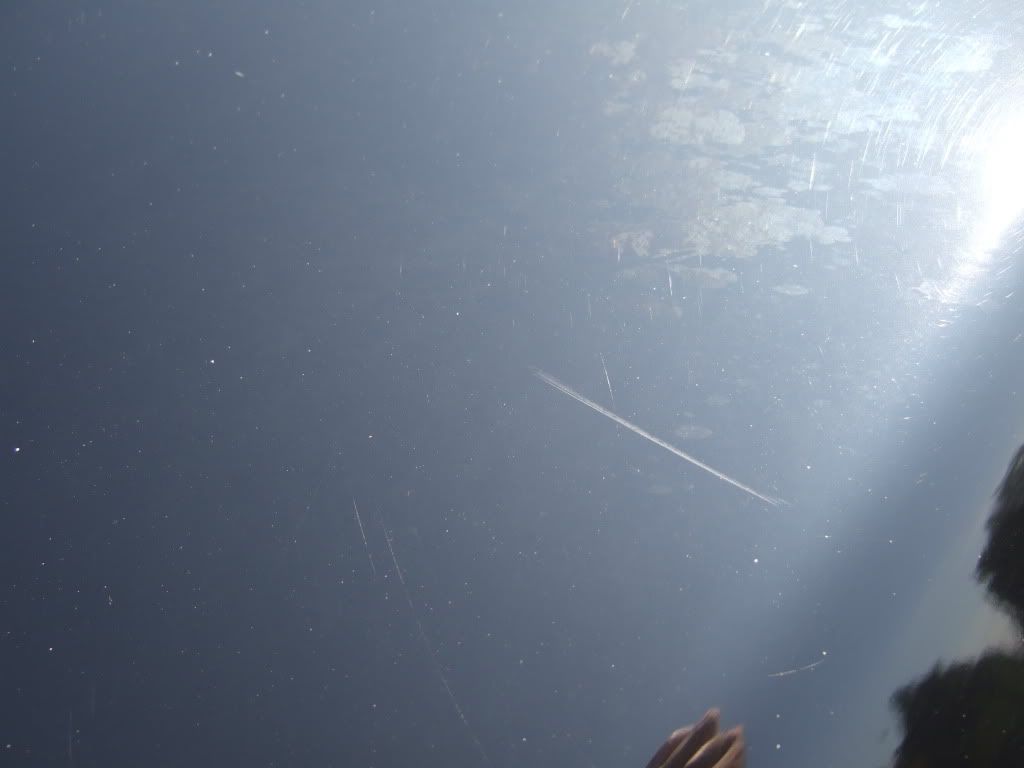
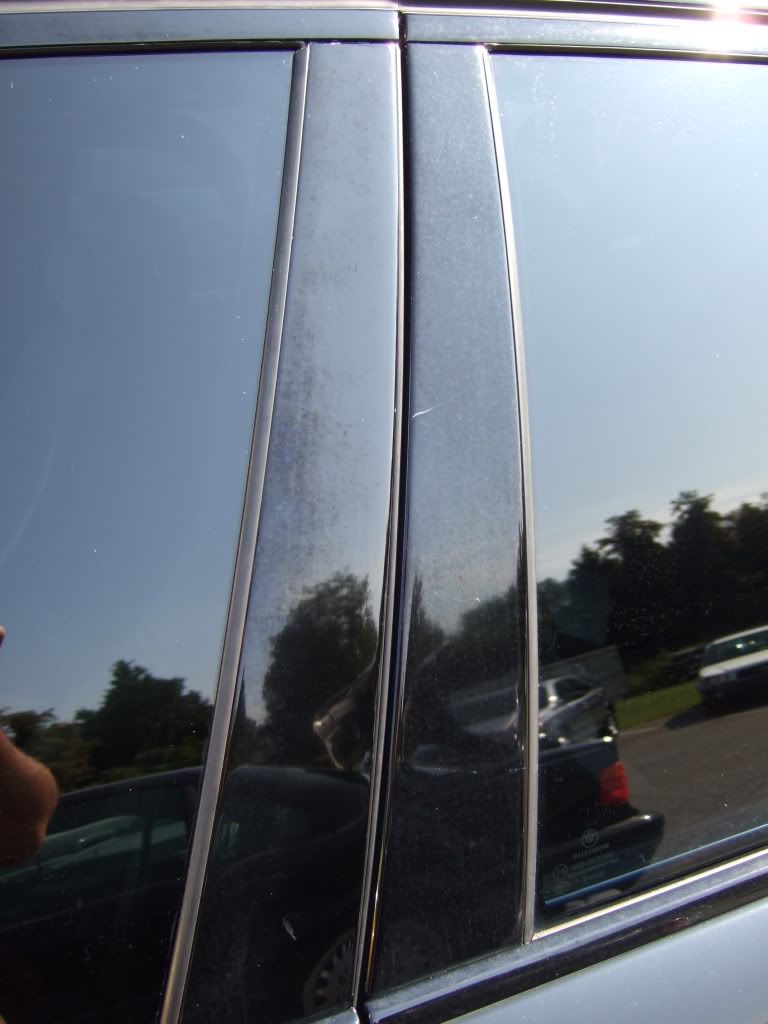
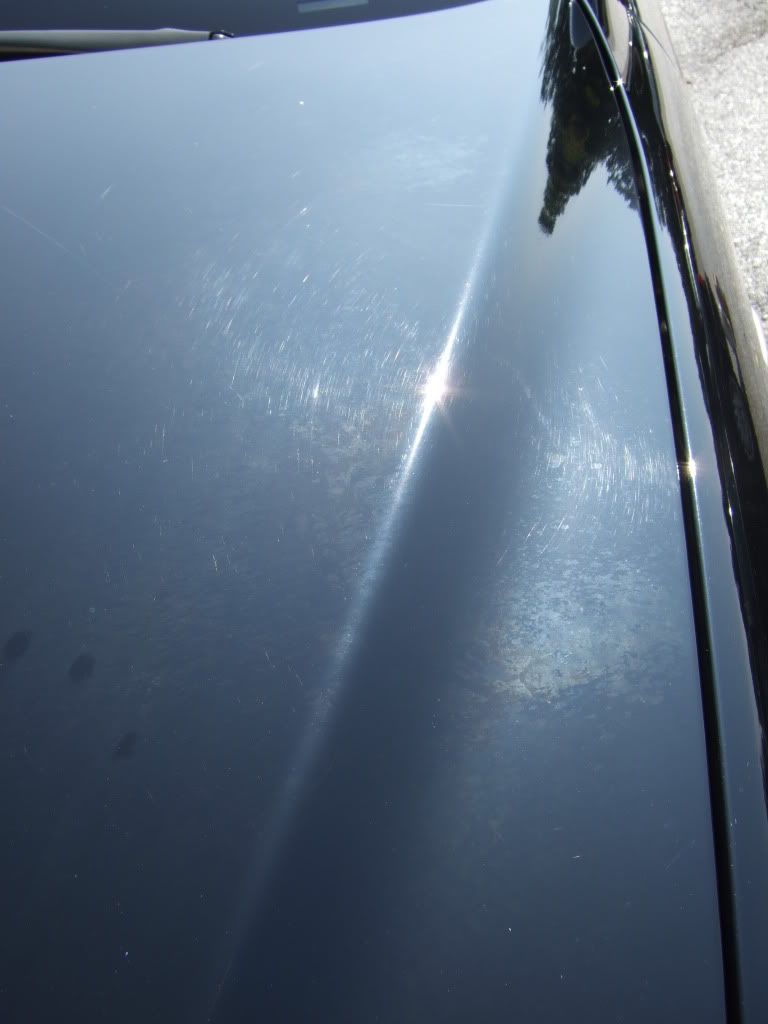
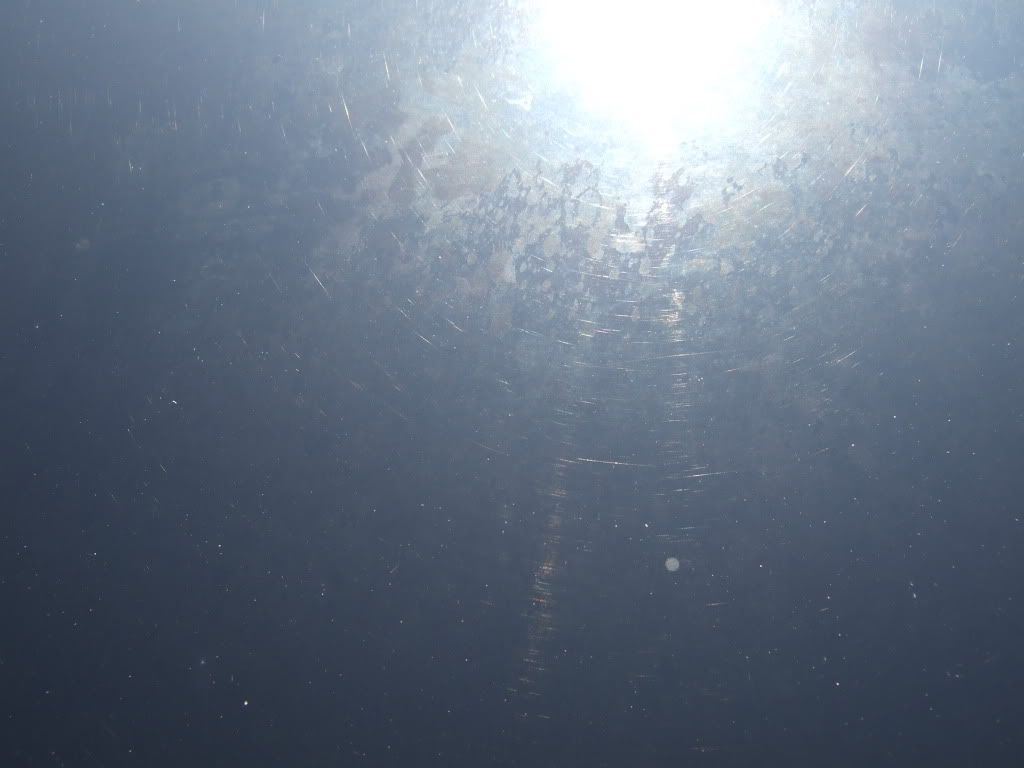
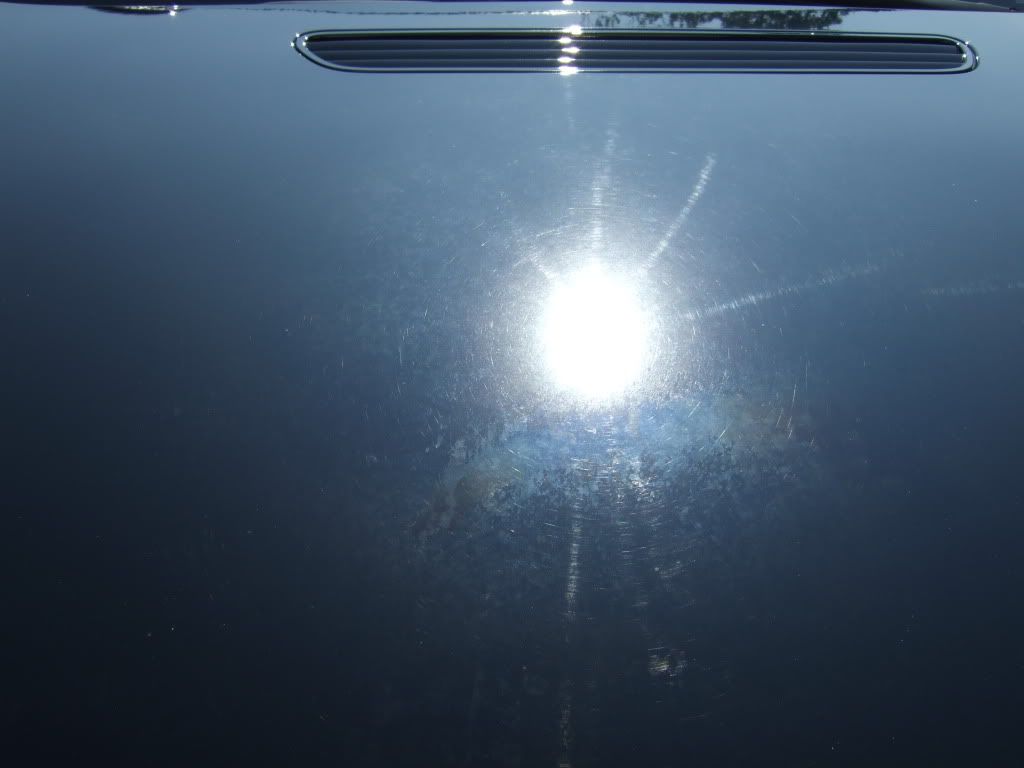
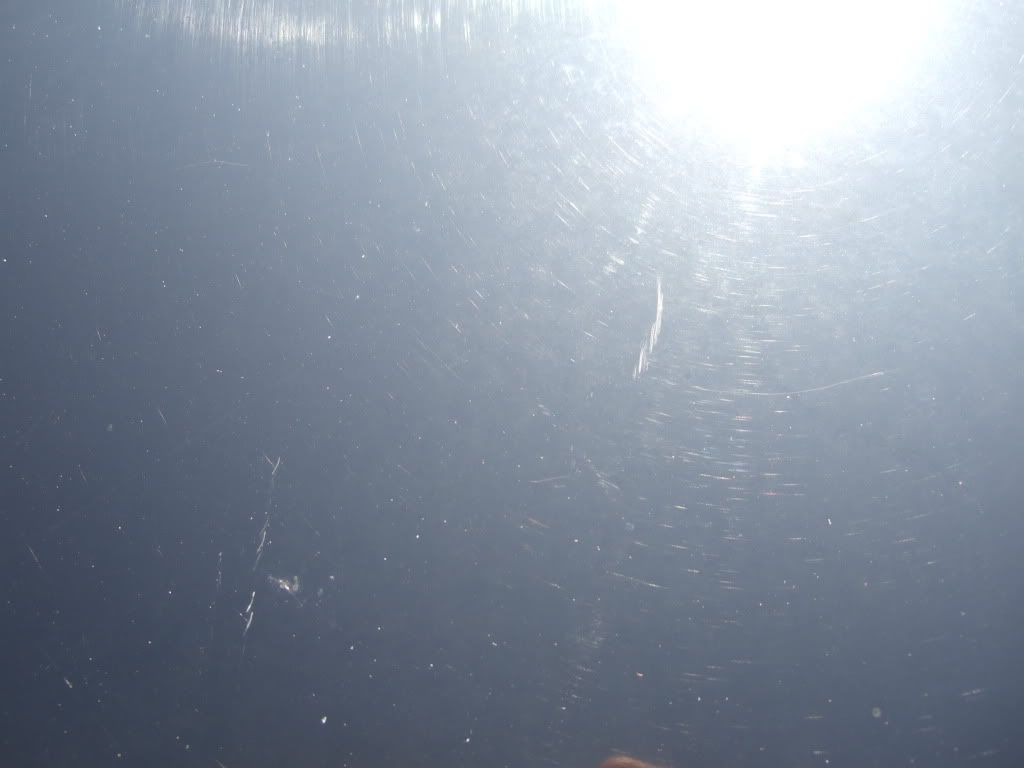
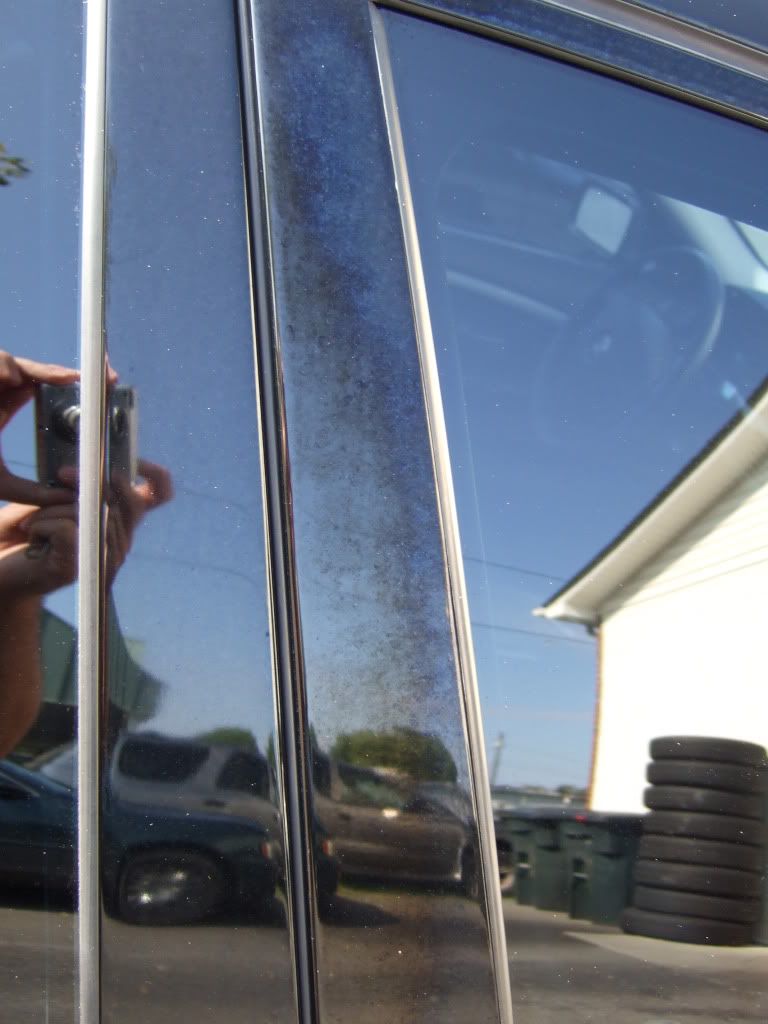
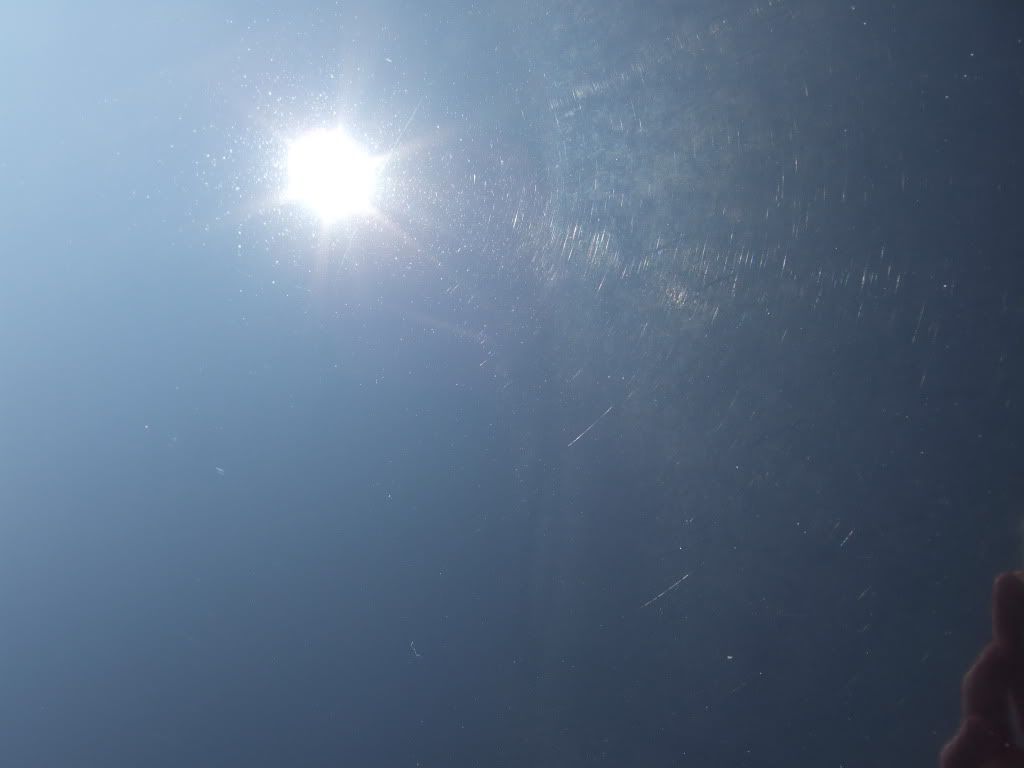
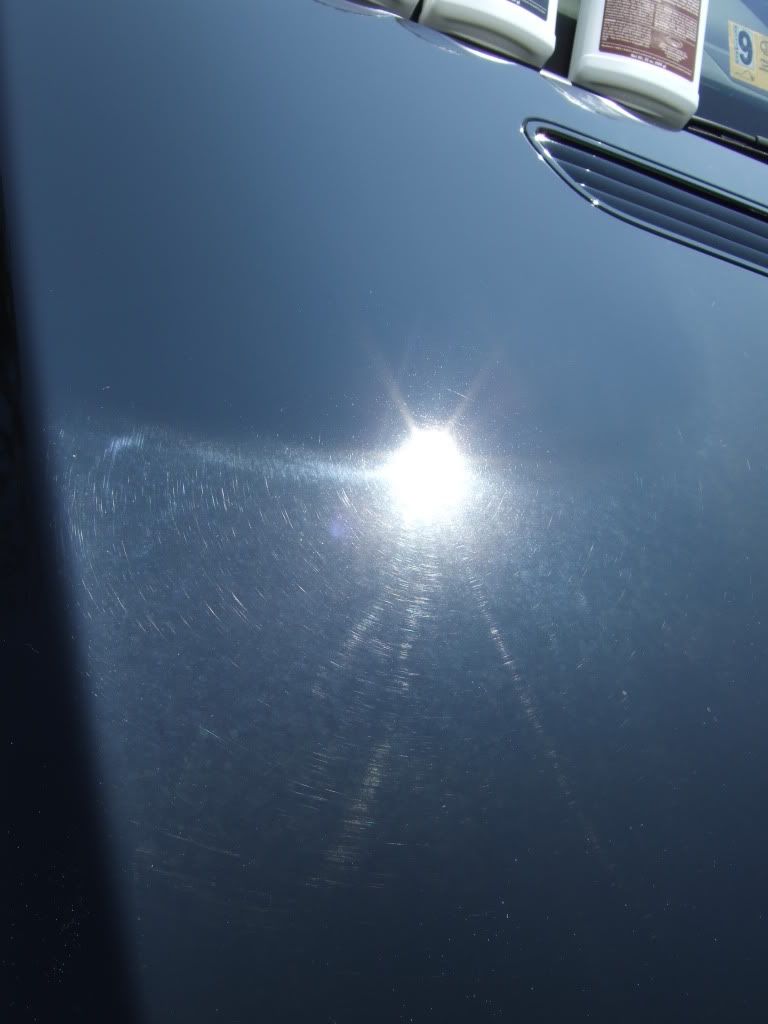
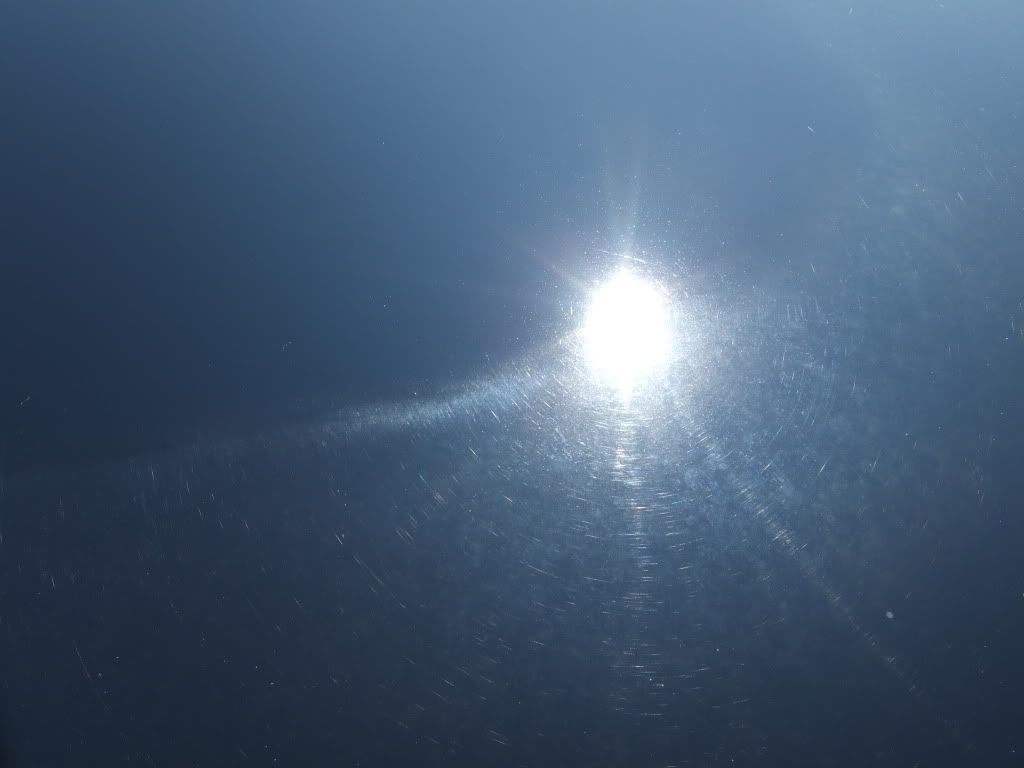
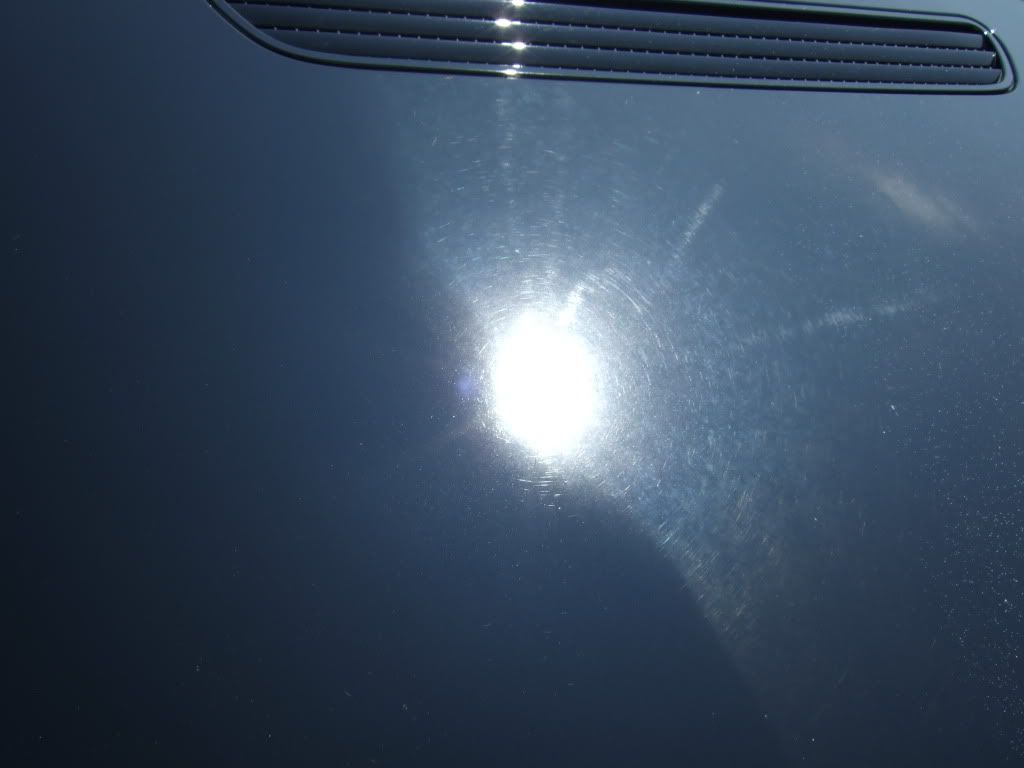
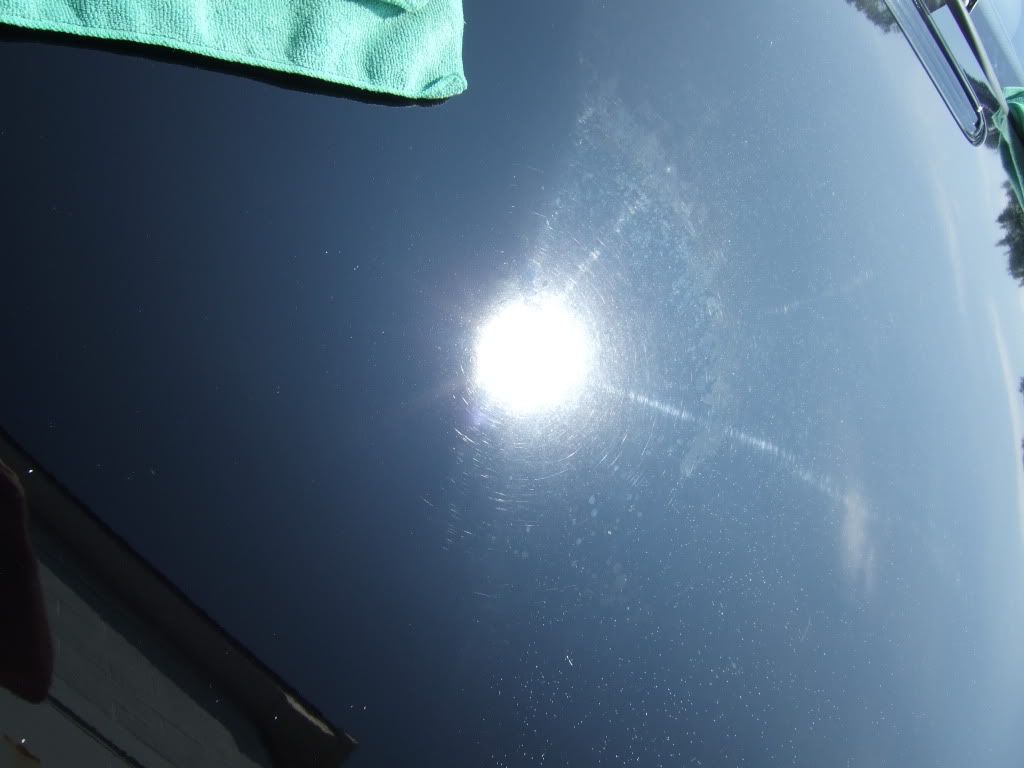
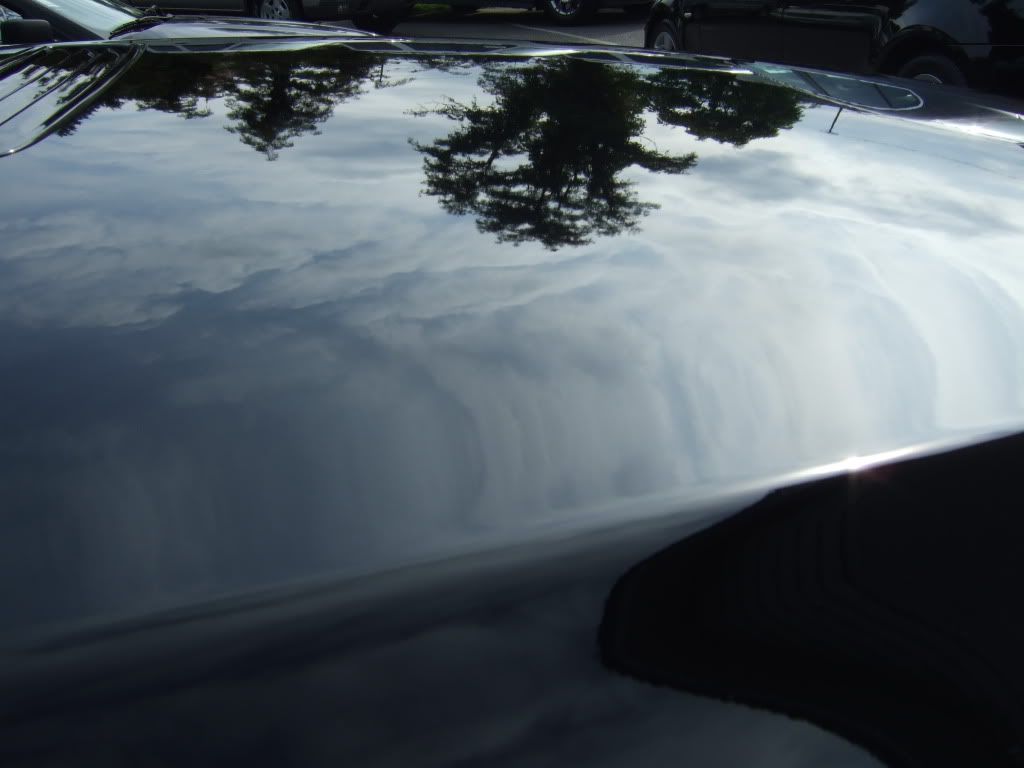
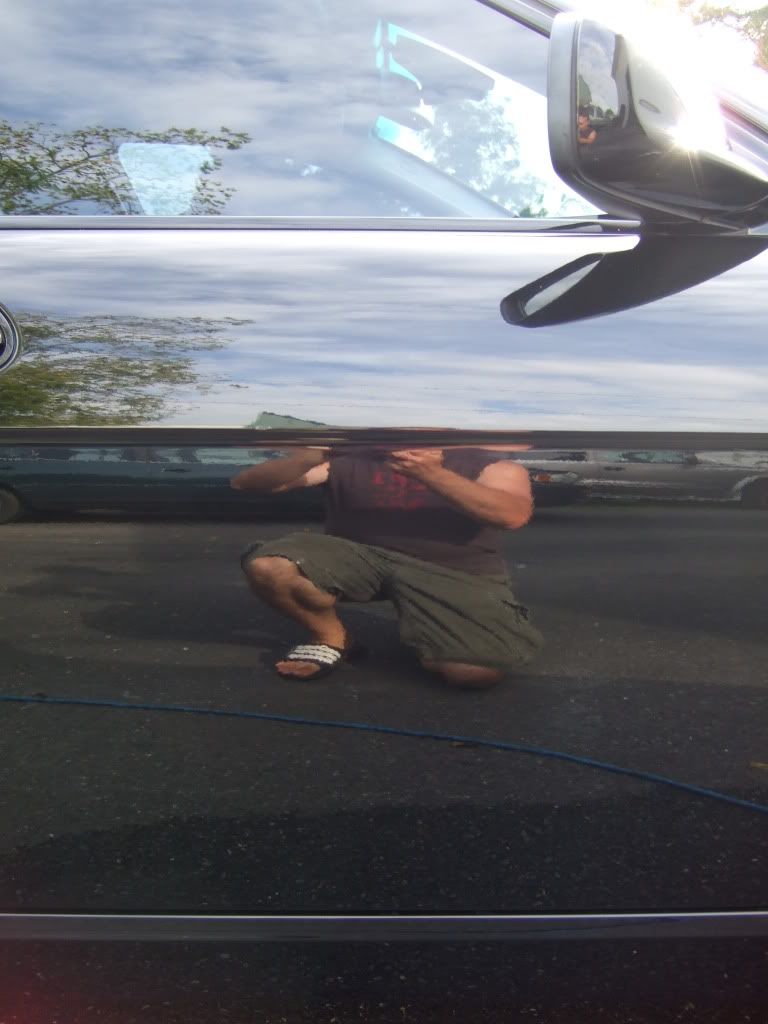
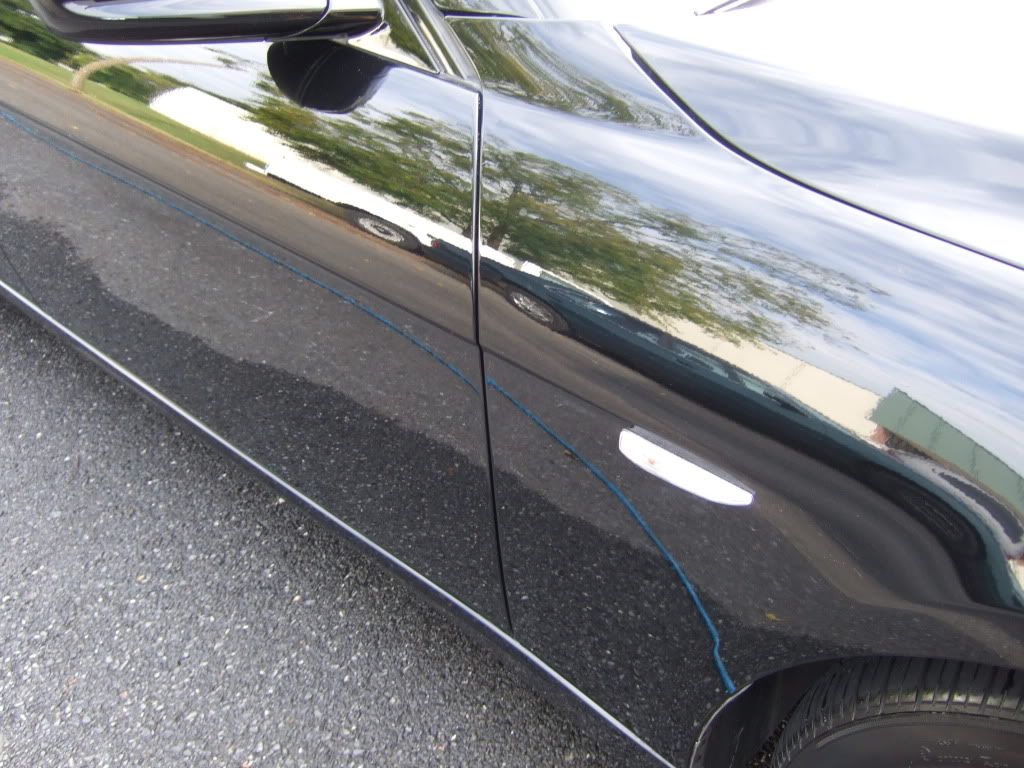
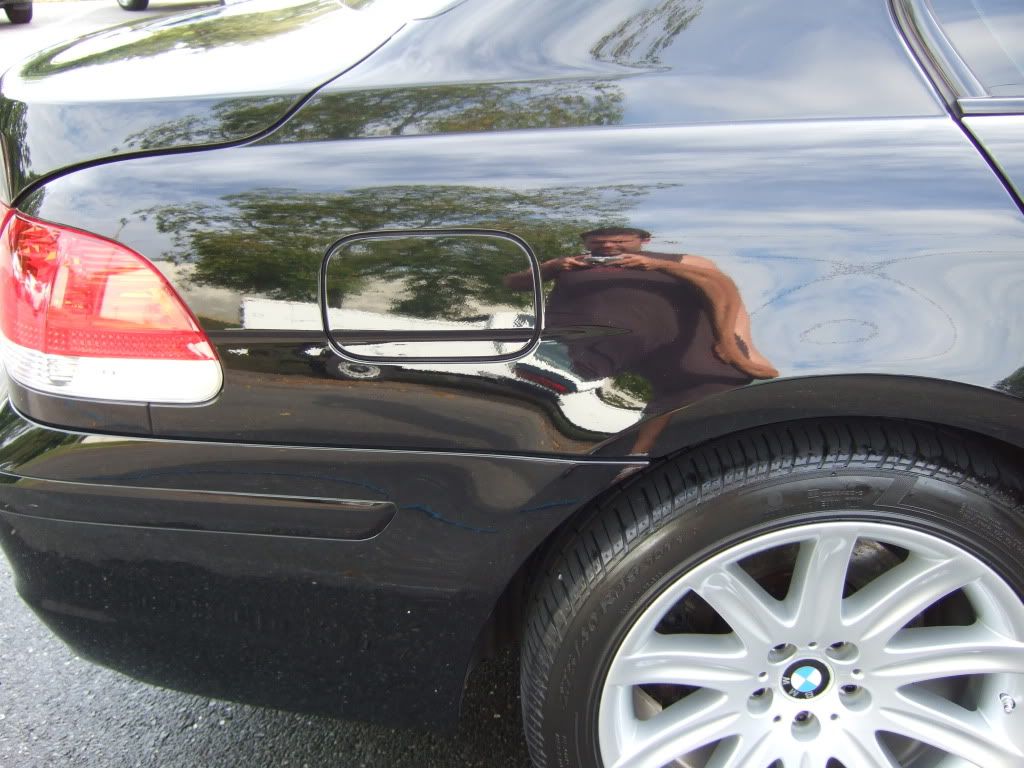
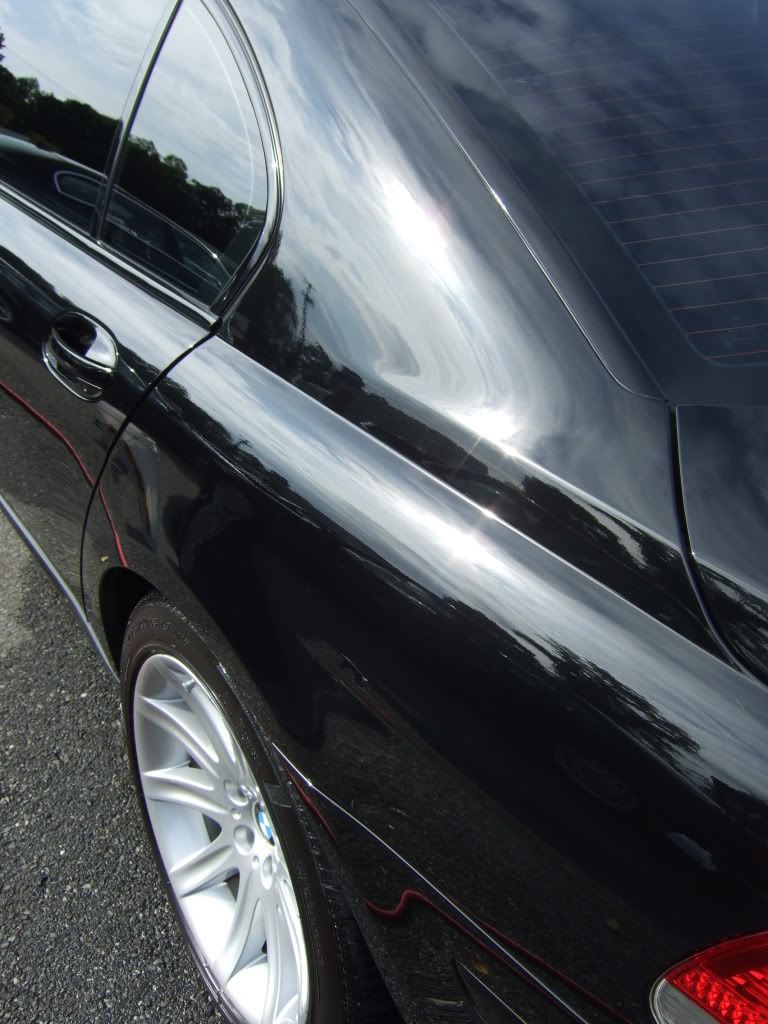
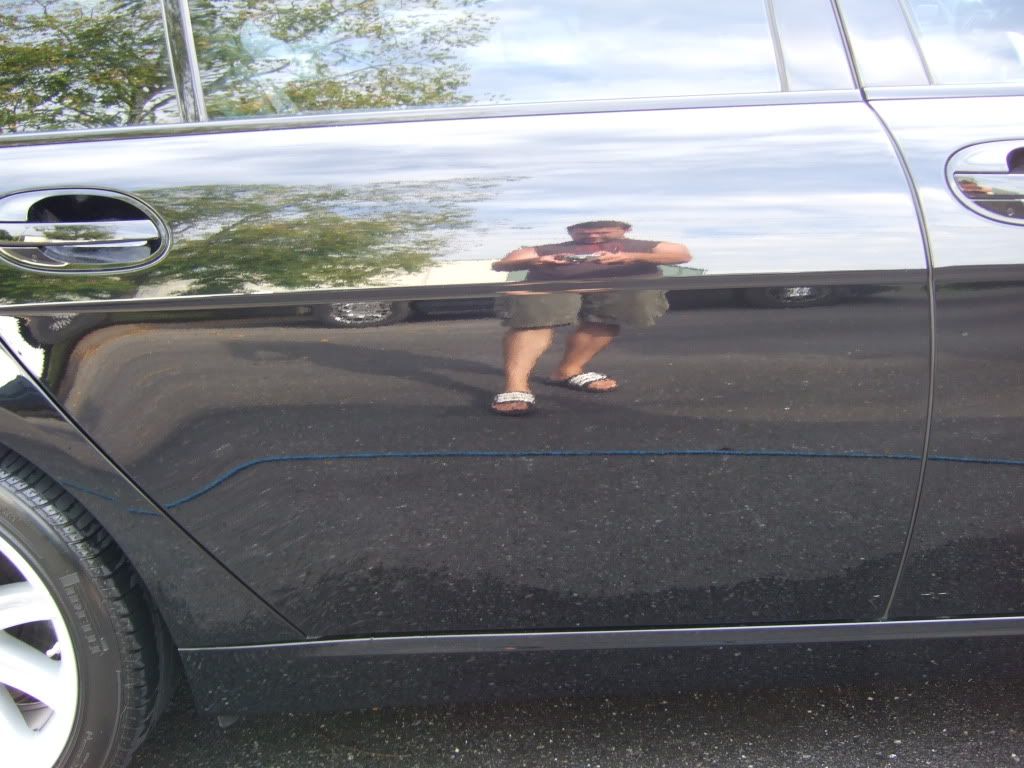
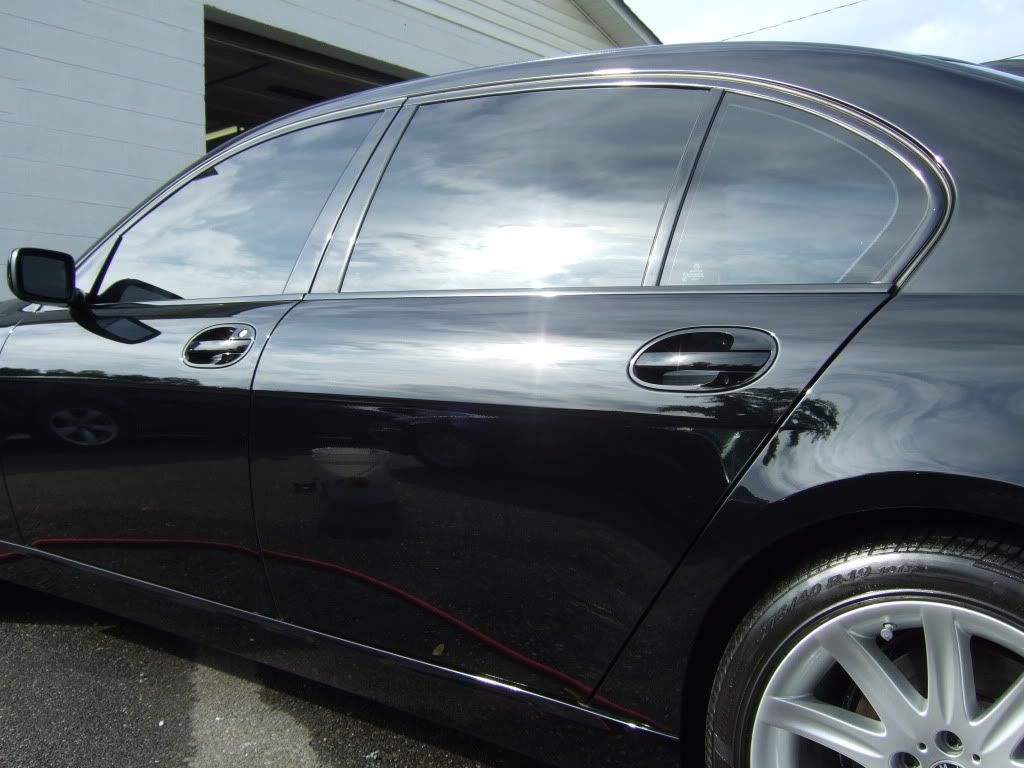
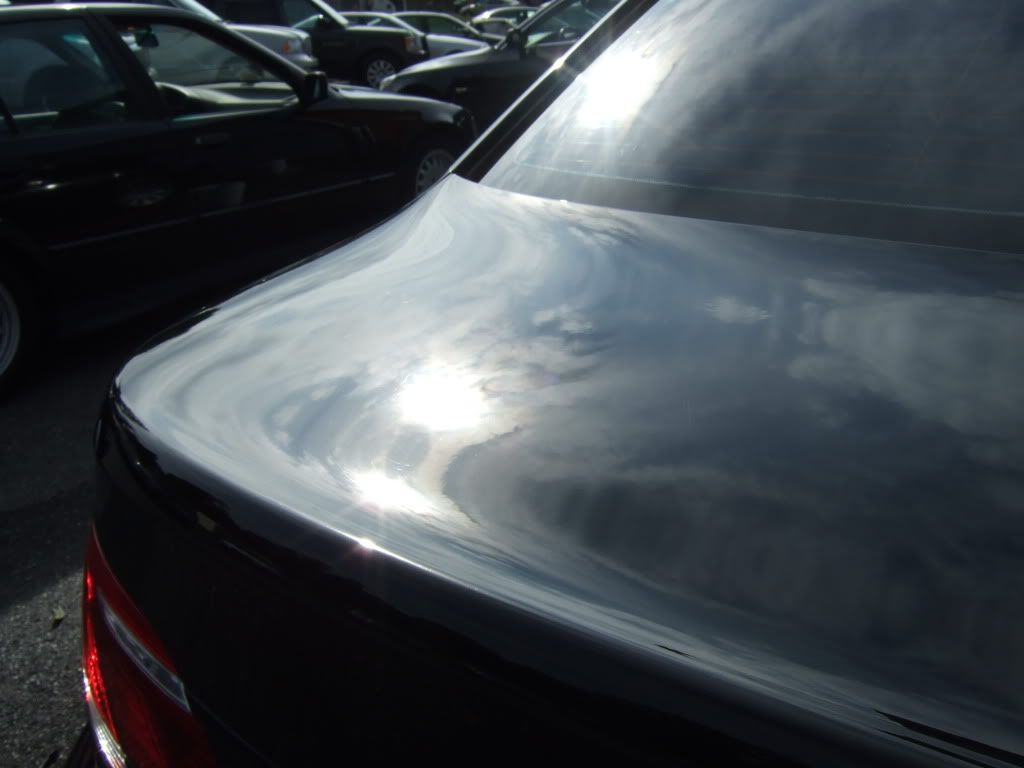
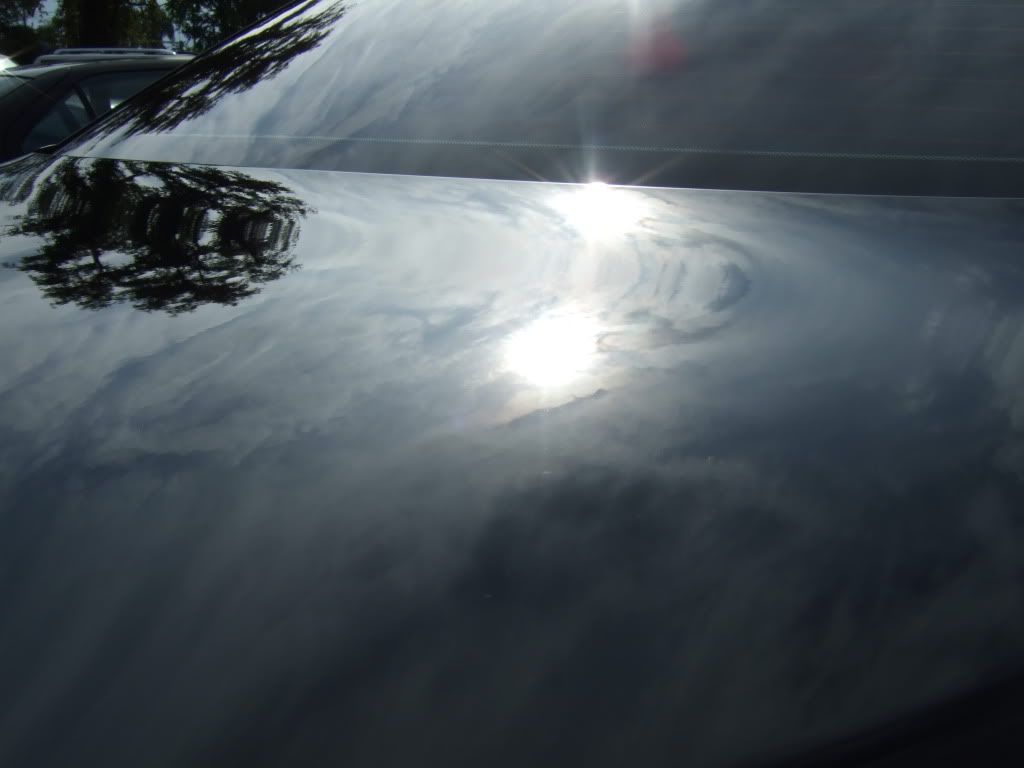
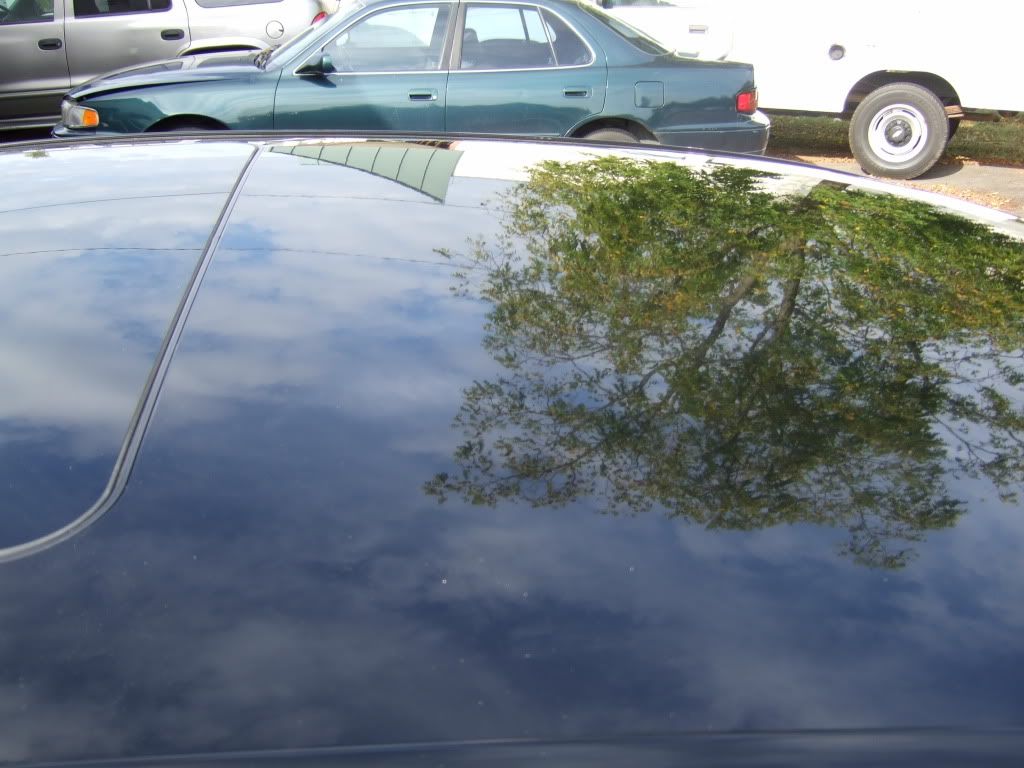
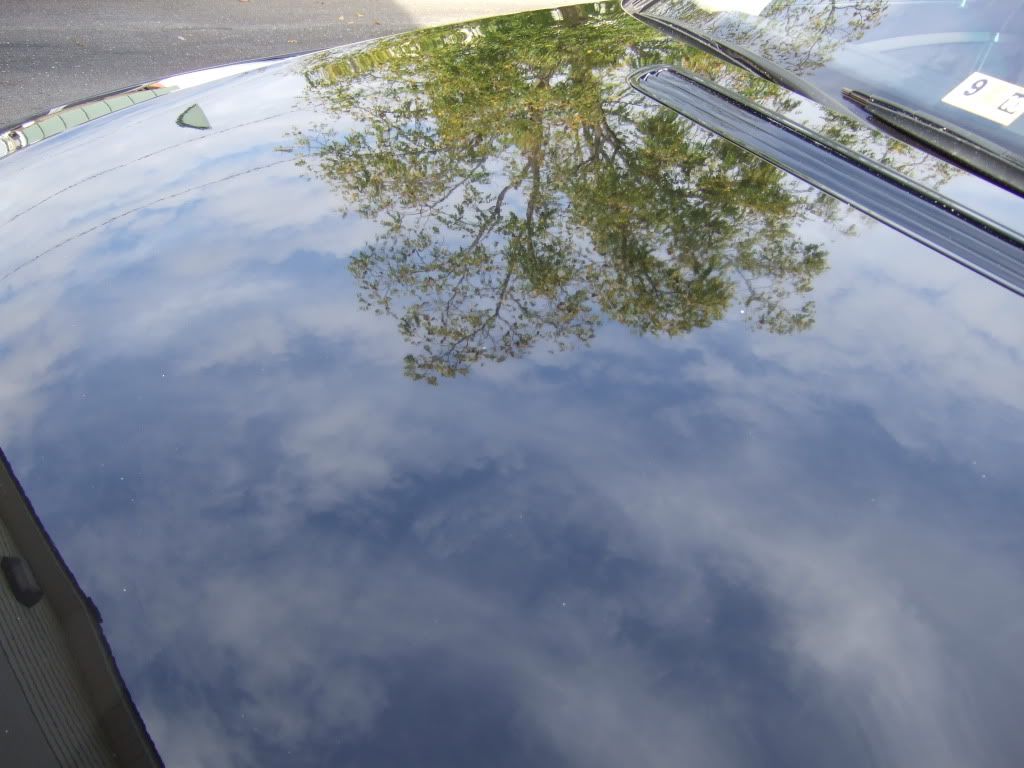
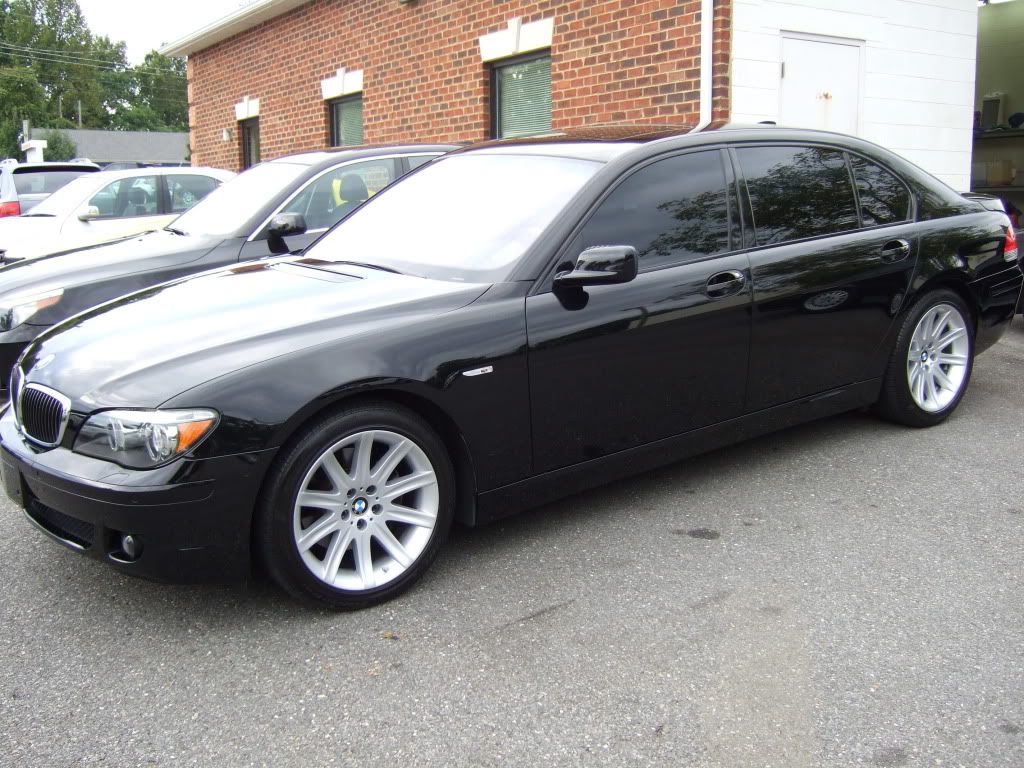
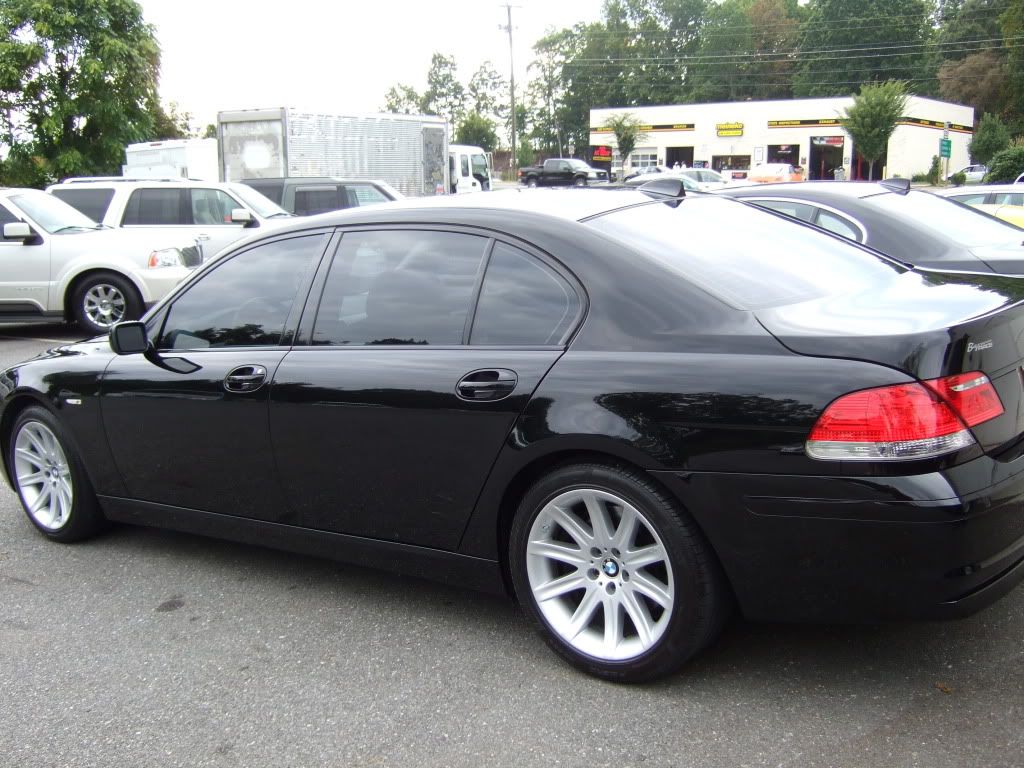
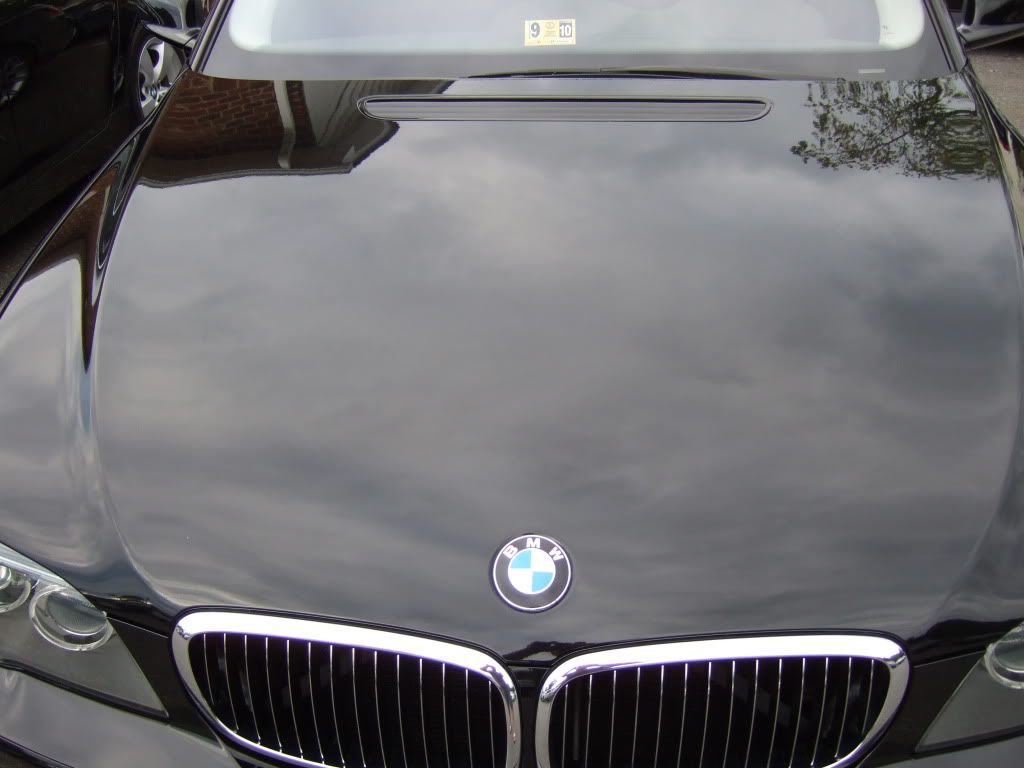
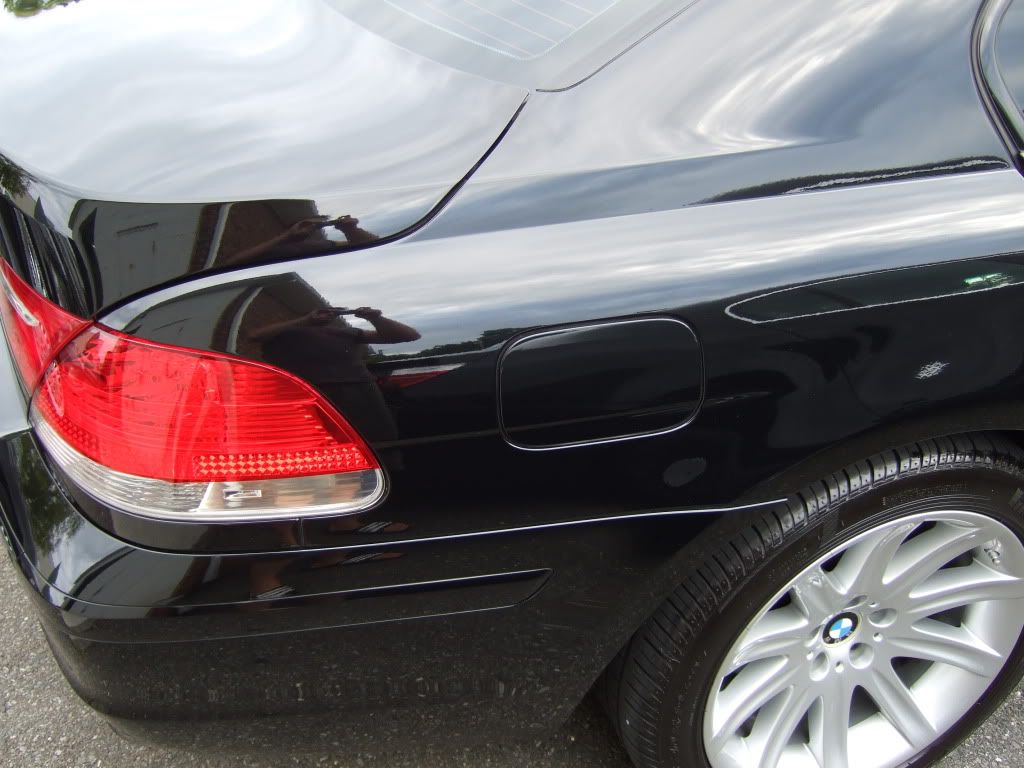
Befores:
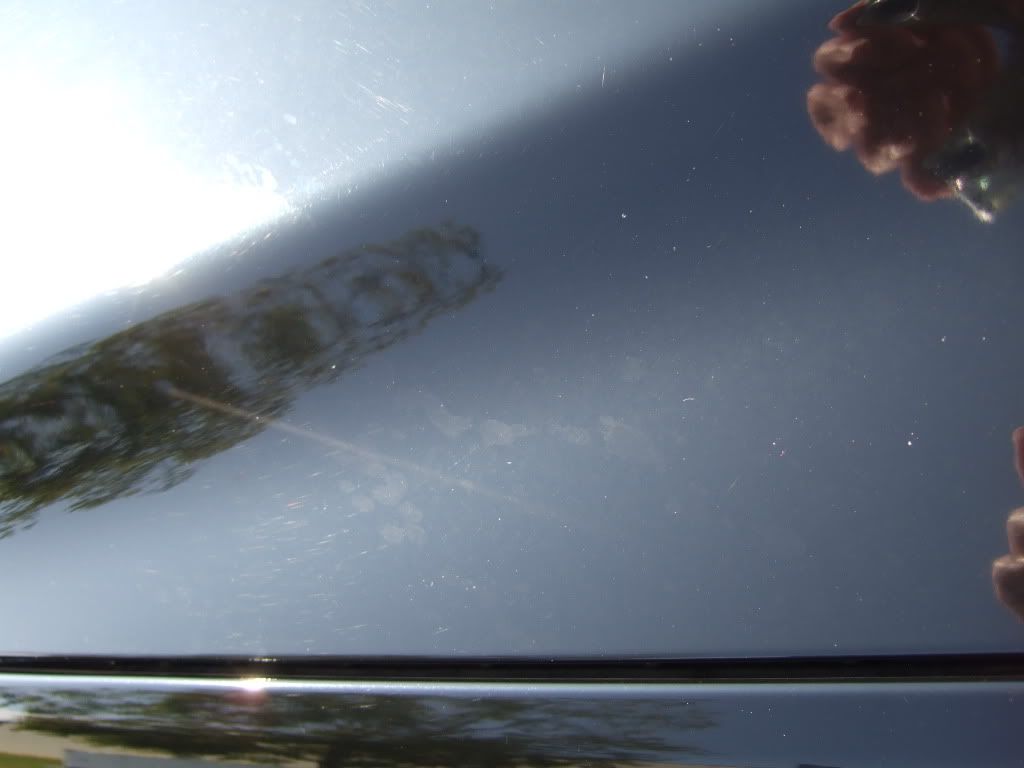
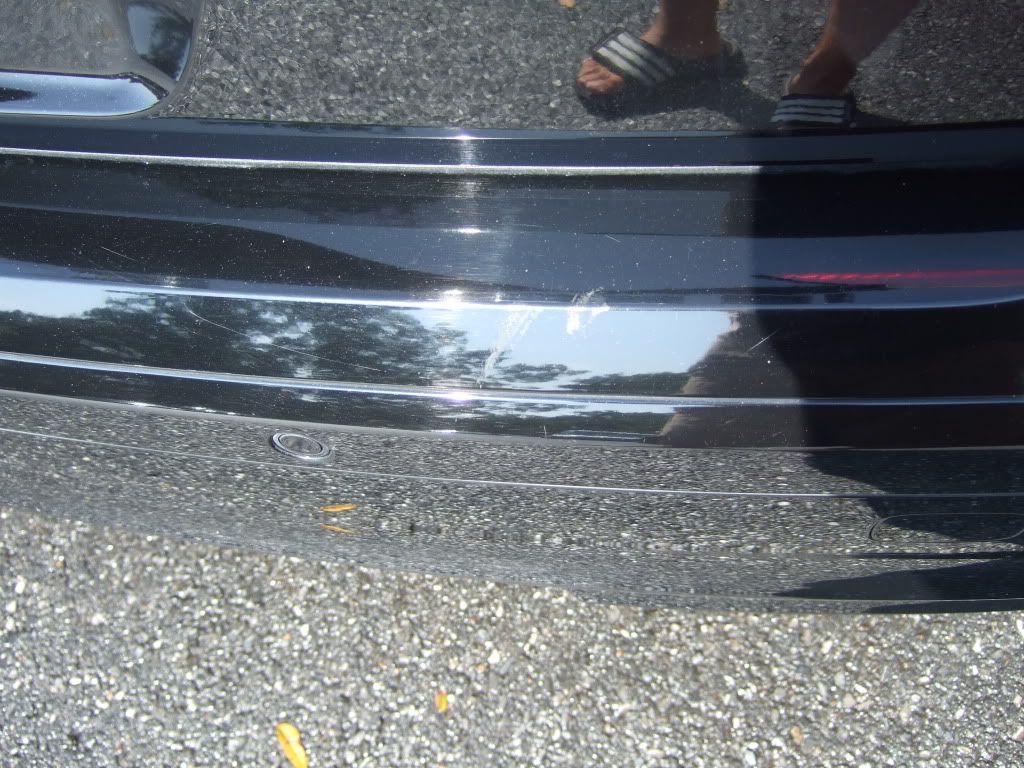
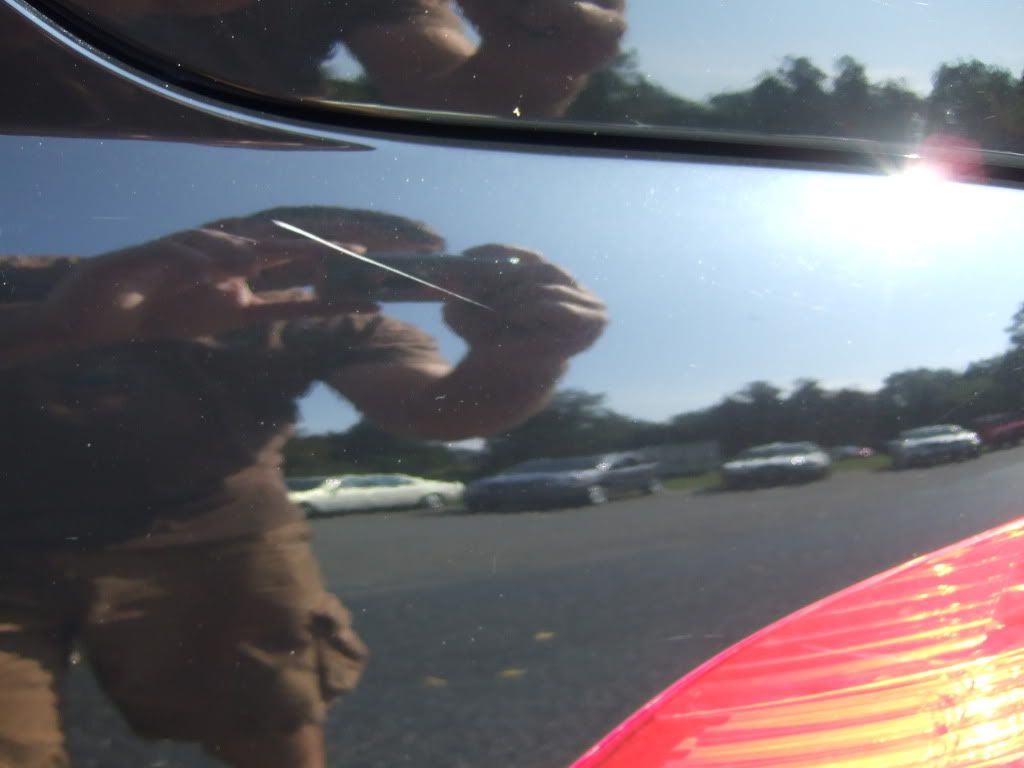
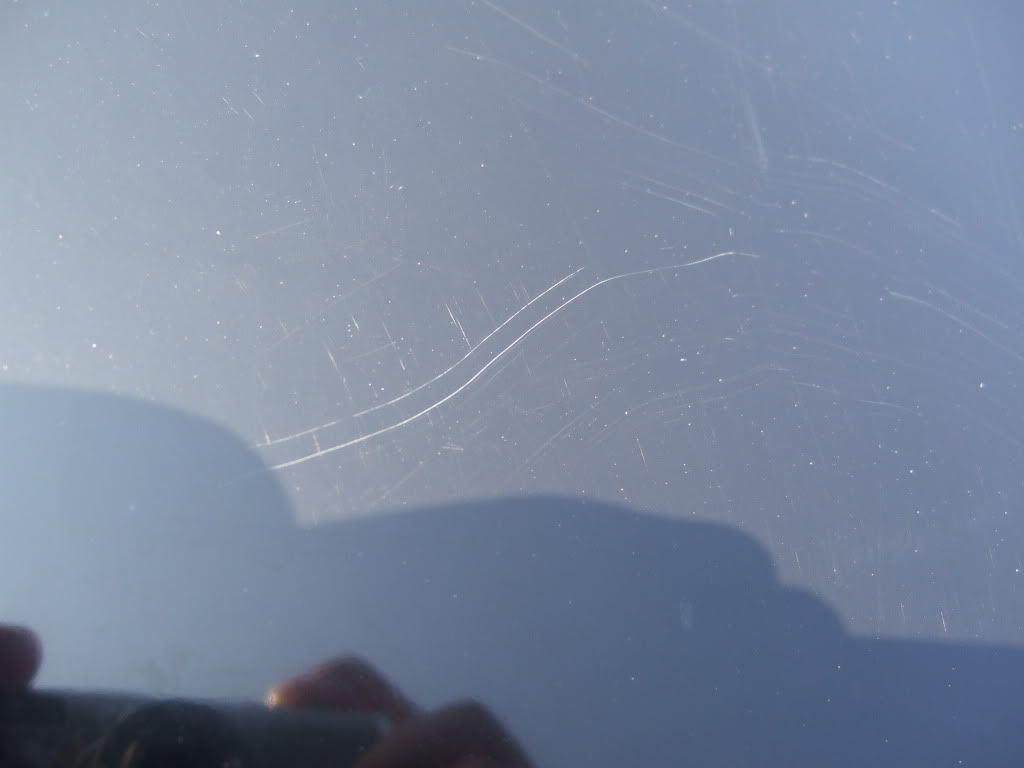
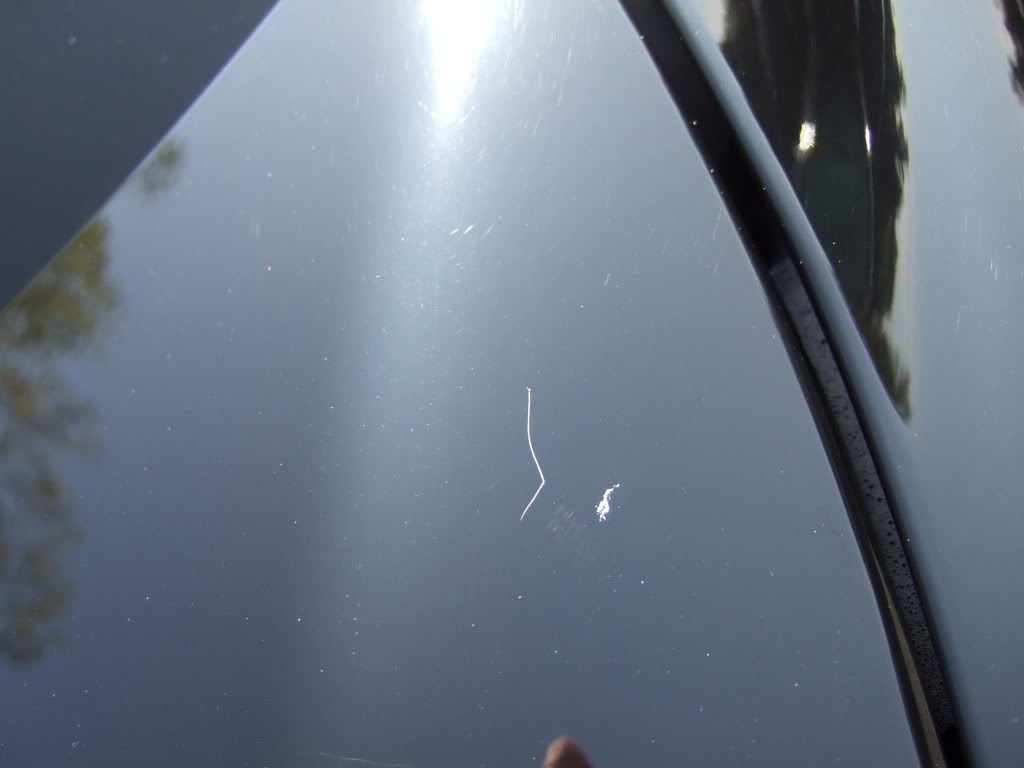
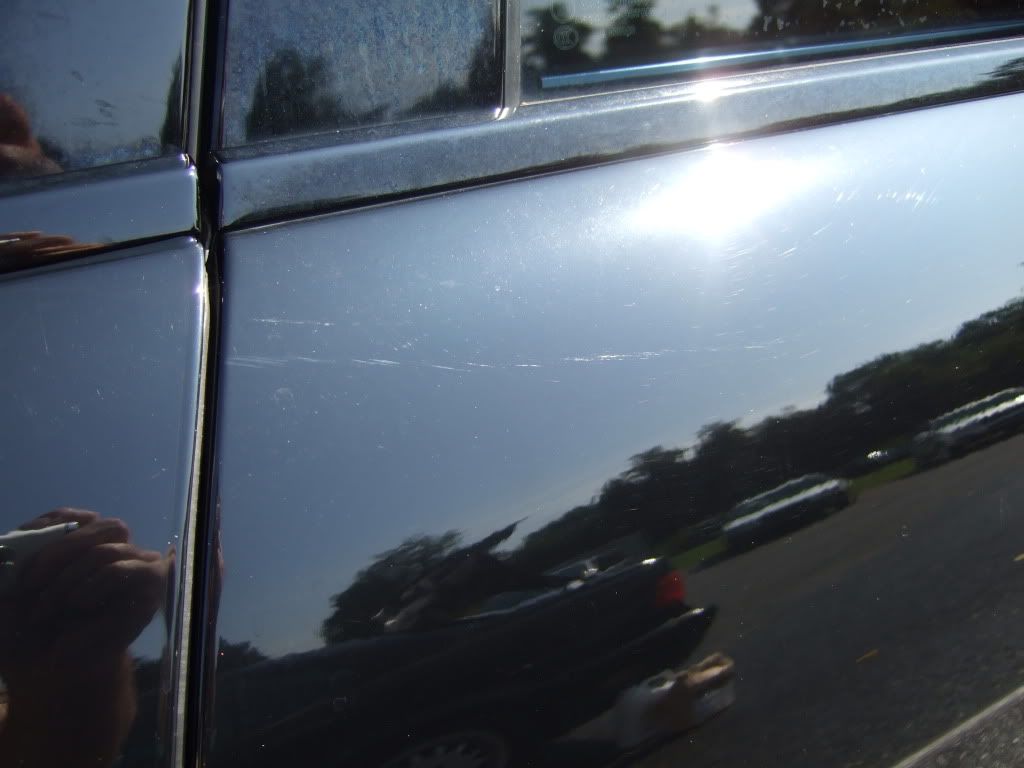
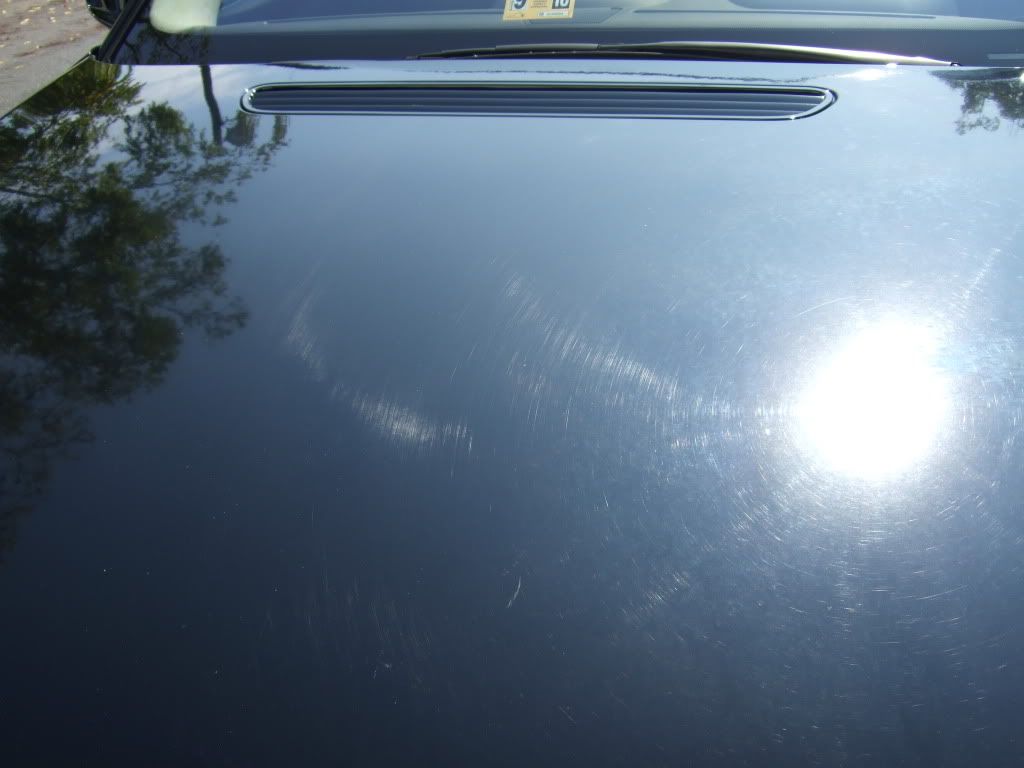
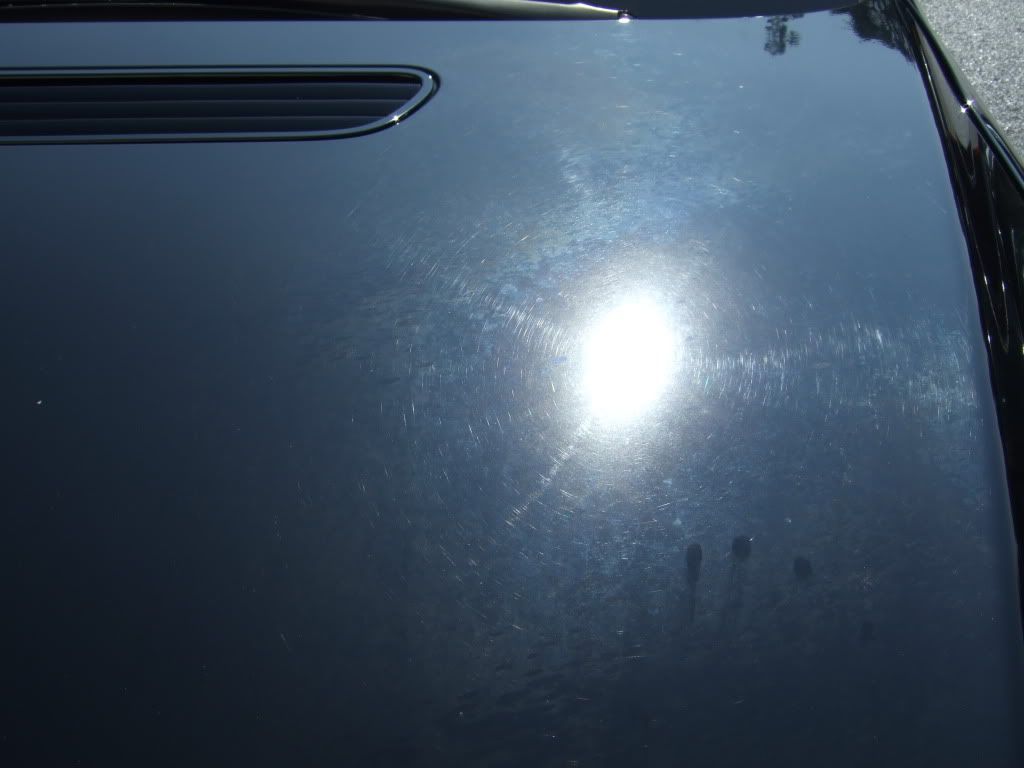
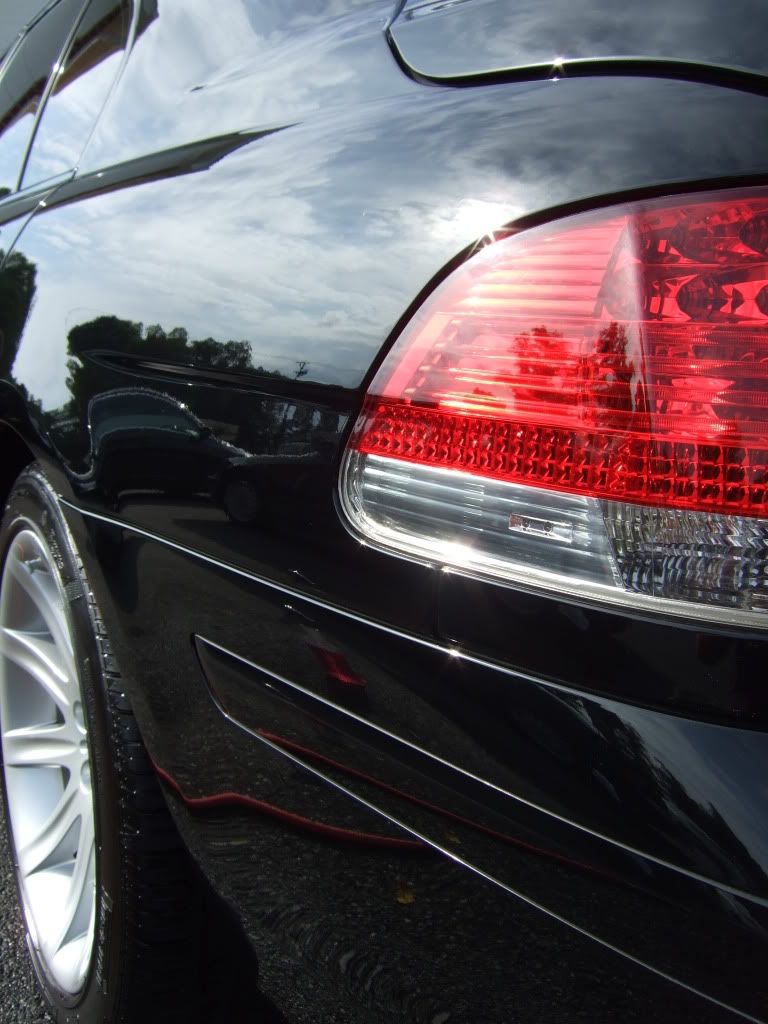
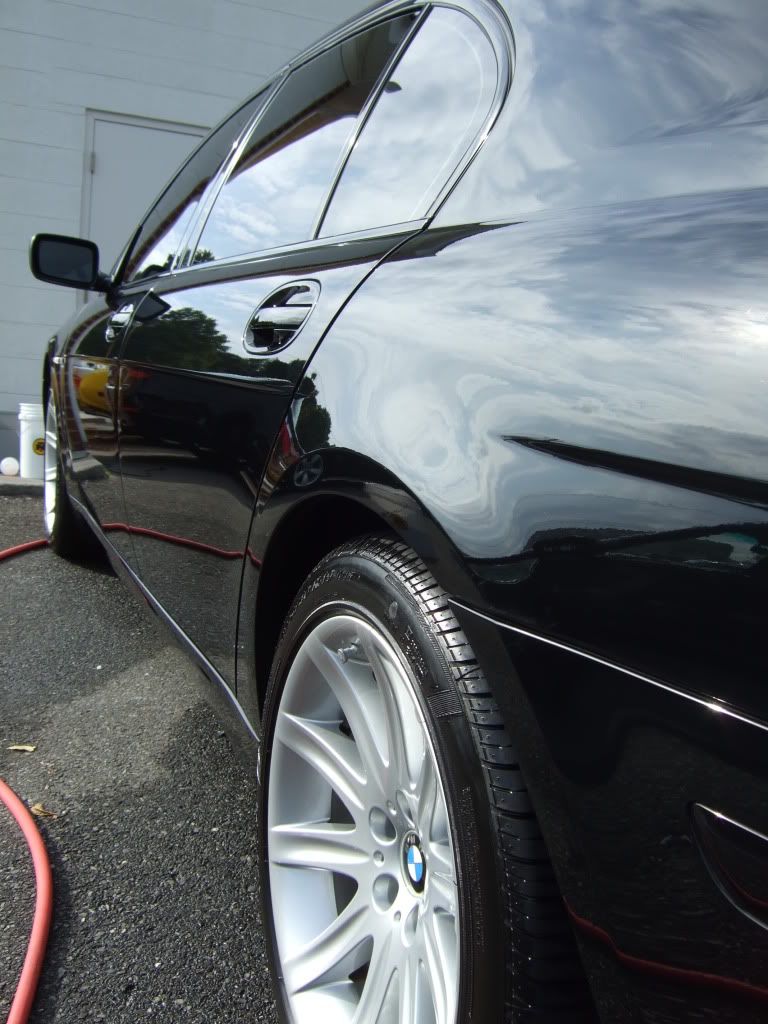
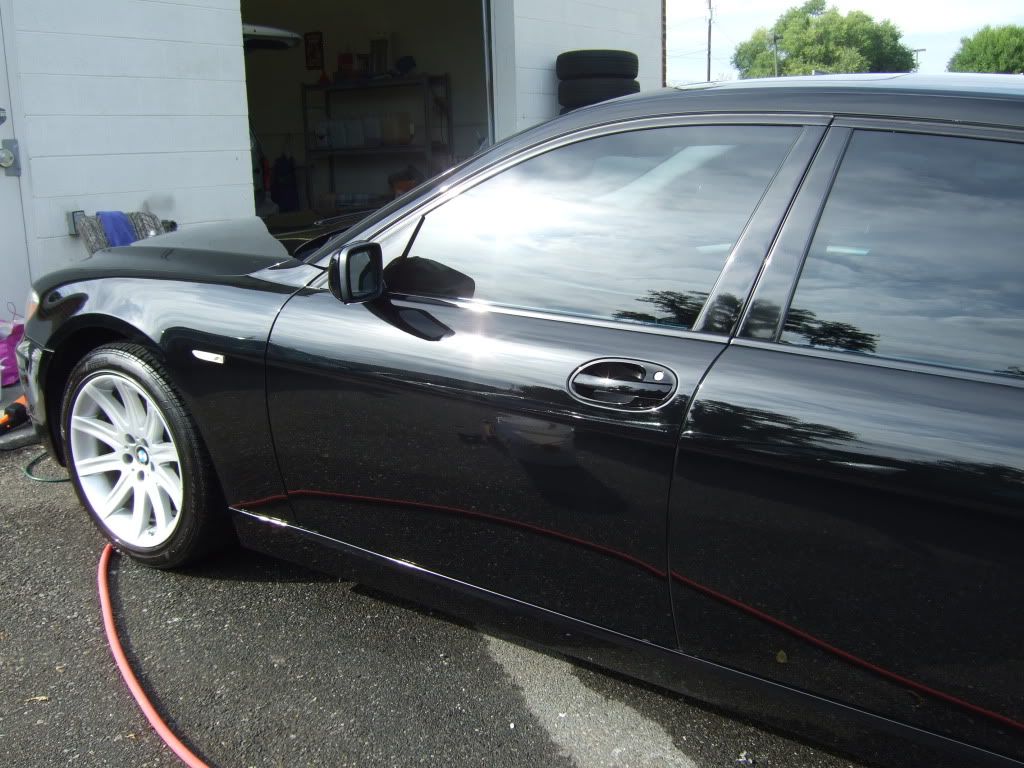
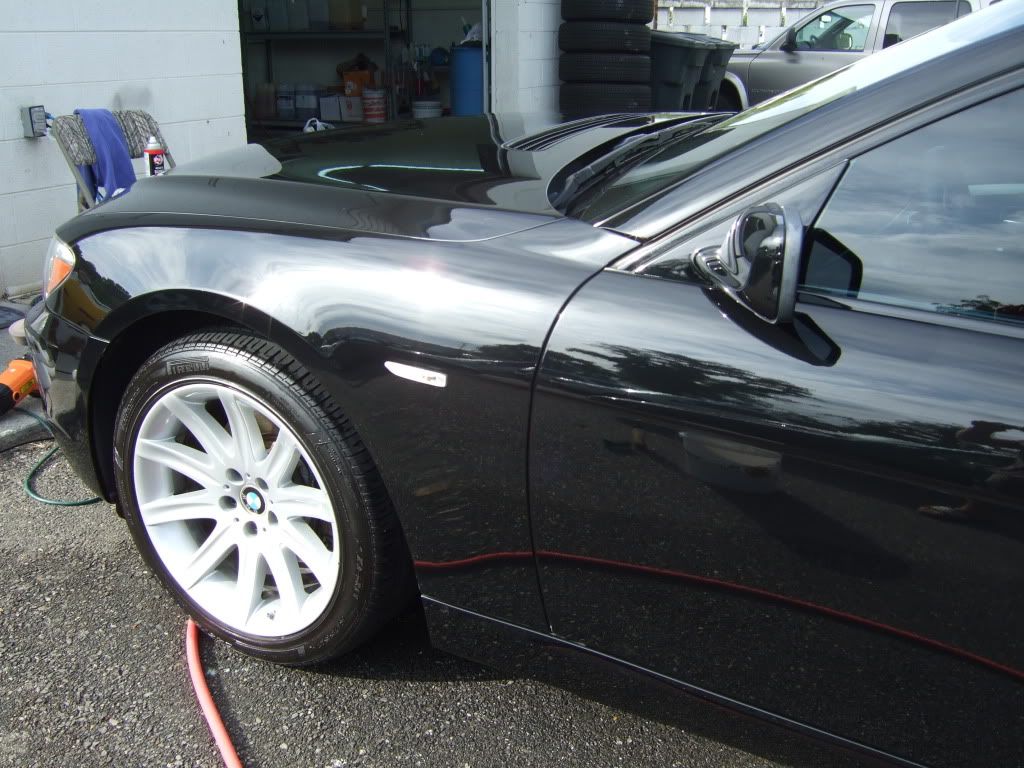
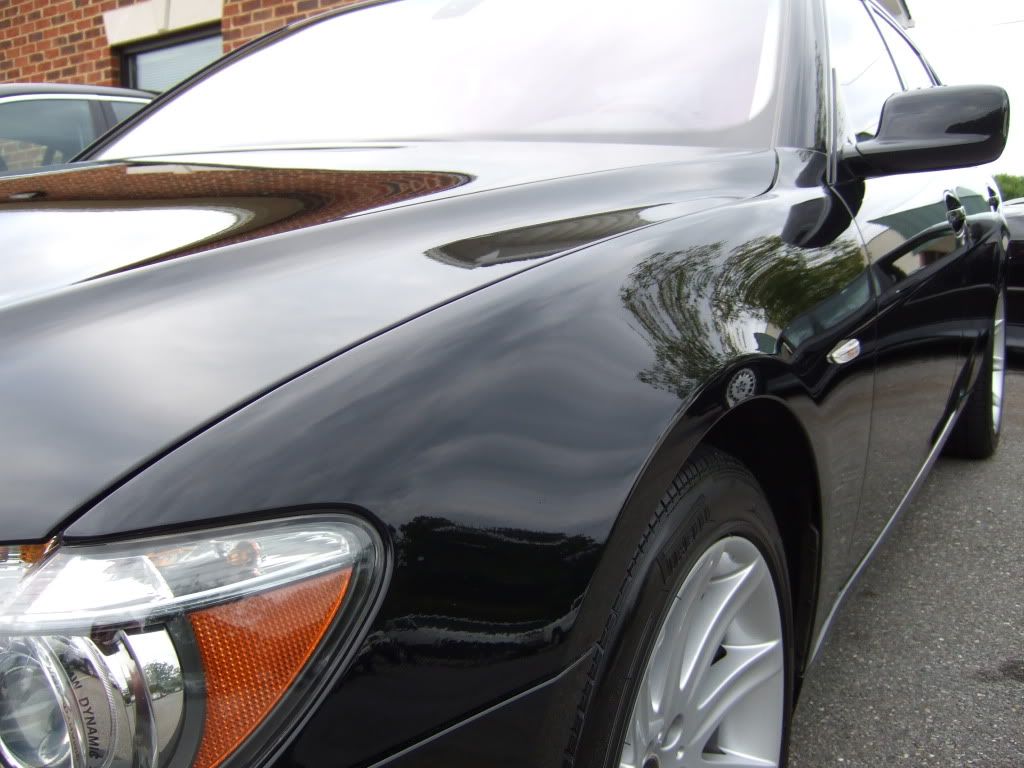
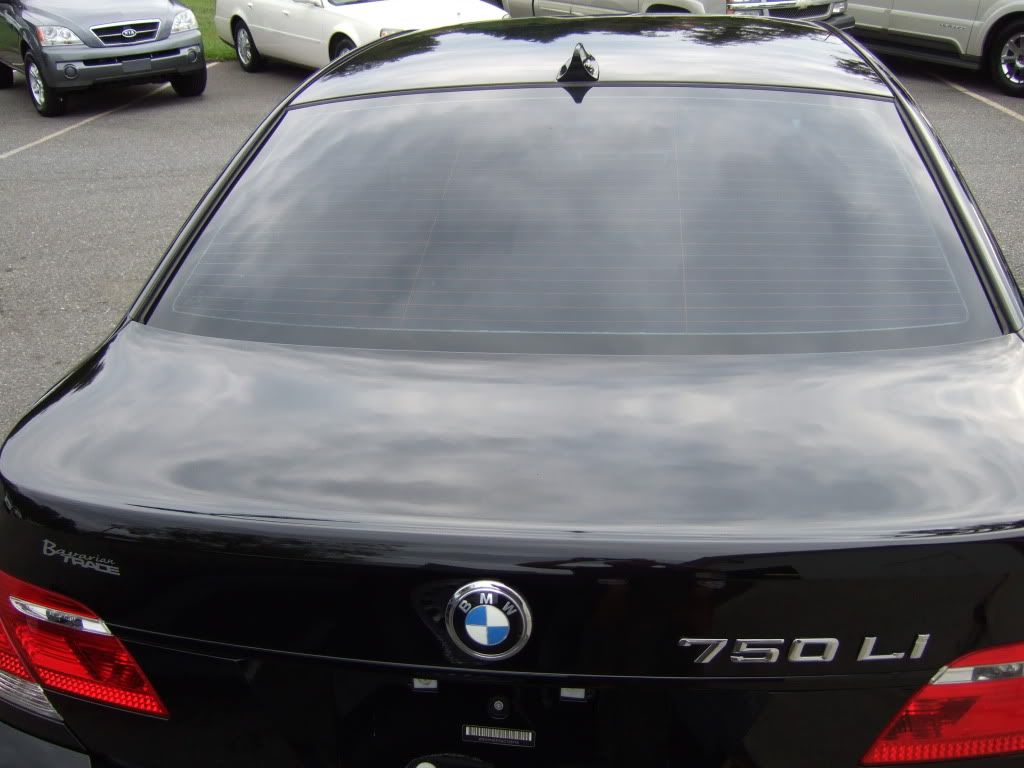
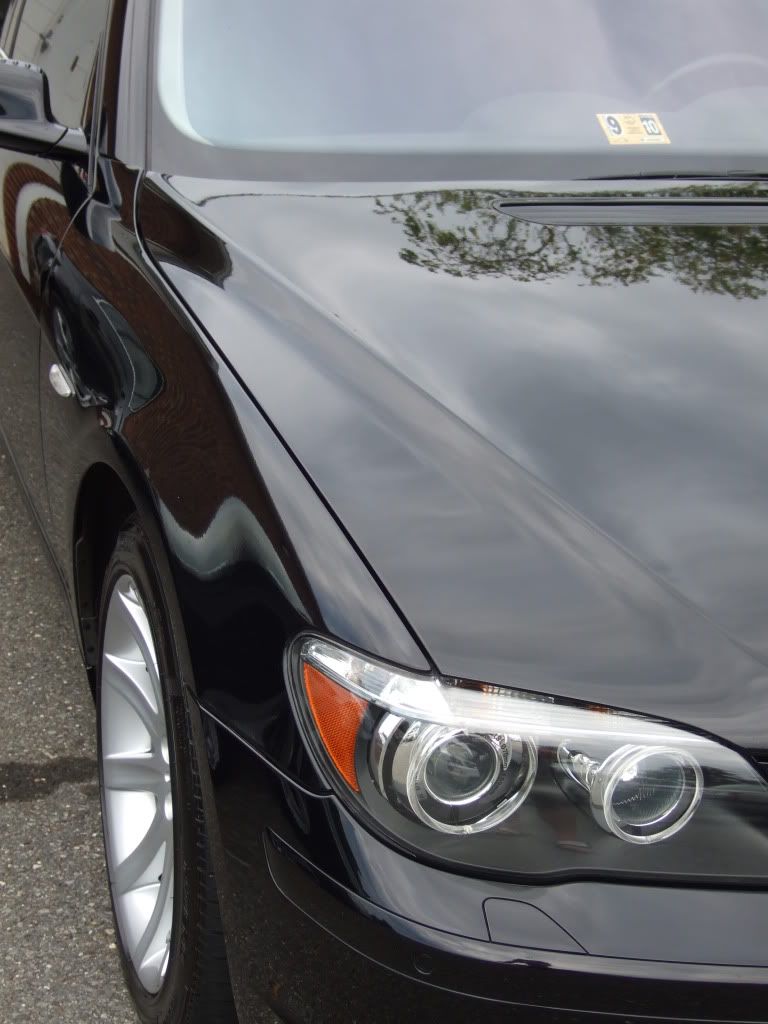
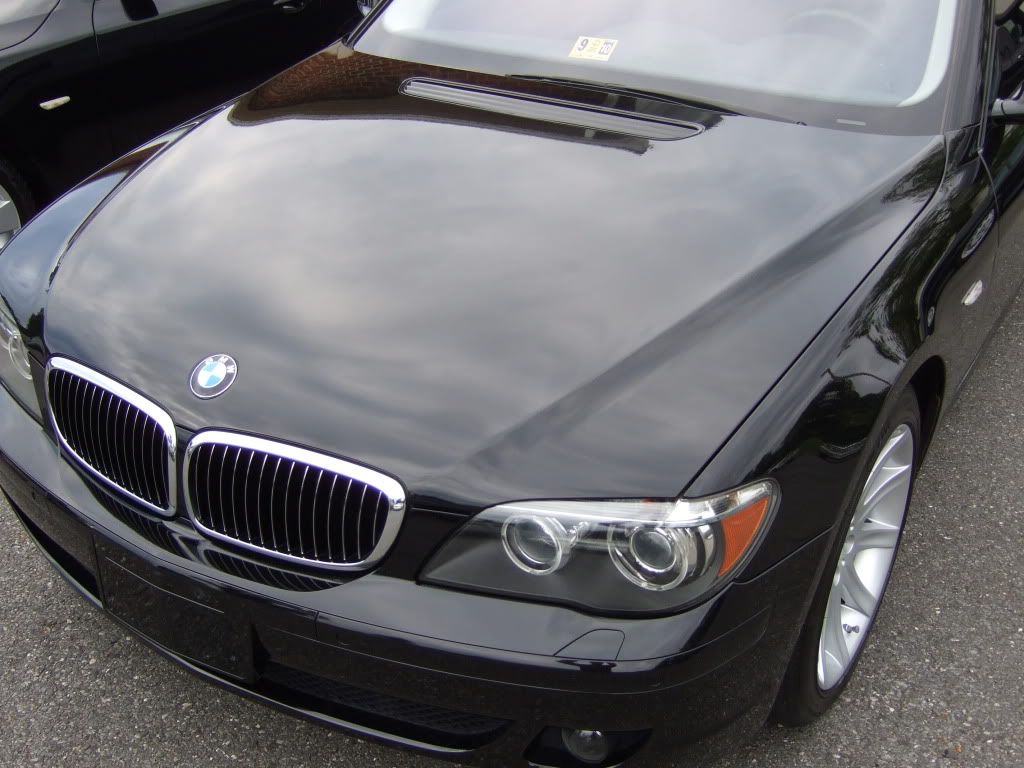
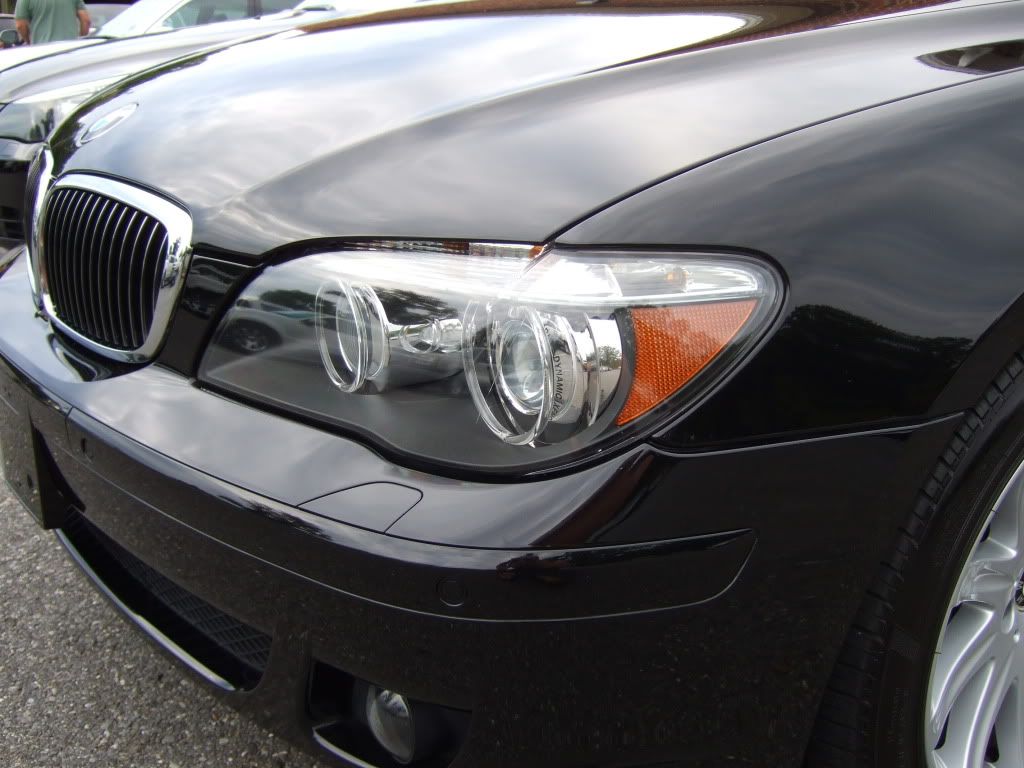
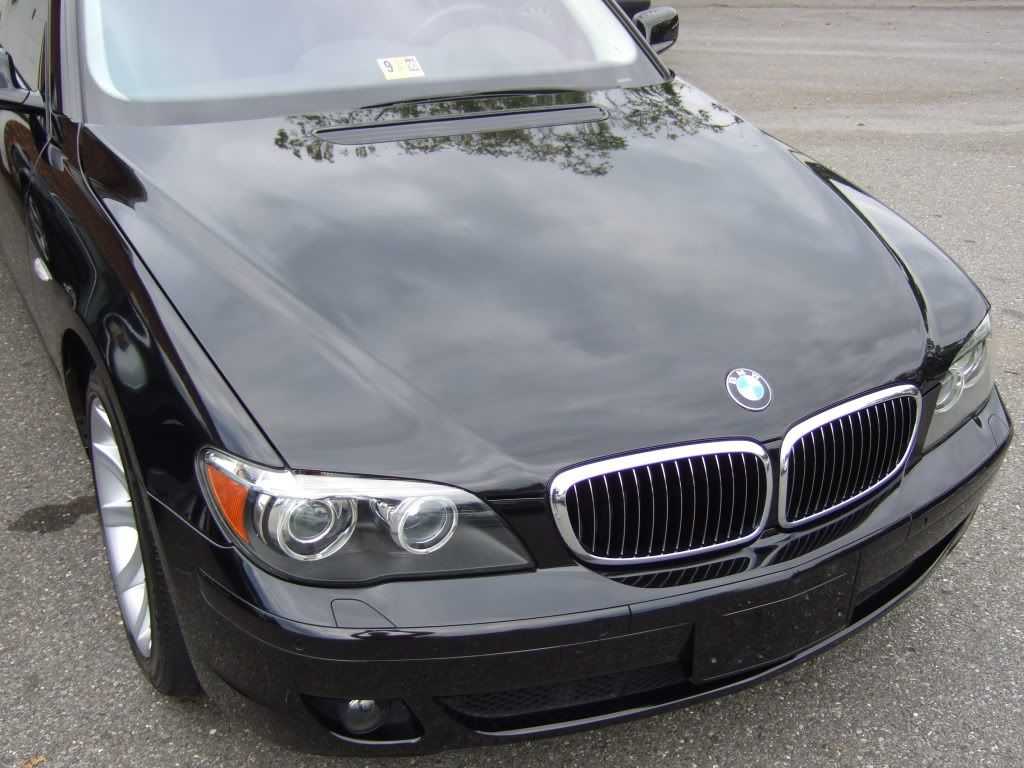
As you can see in the next few pictures, there was what appeared to be staining covering the entirety of the hood, roof and trunklid of the car as well as quite a few RIDS and everything from light, to very heavy swirling.


- 2-bucket Method Wash with Meg's GC
- Clay with Megs Clay using Final Inspection as Lube
- ISA wipedown to remove oils or anything else stuck to the paint
- Meg's Paint Reconditioning cream AIO for the majority of the vehicle applied via Griot's DA and Meg's Yellow Cross-cut polishing pad (The new one).
- Meg's Diamond Cut 2.0 Compound applied with wool pad and Chicago Tools (I know, I know...just shoosh) rotary x3 on hood and trunklid, then gone over with DA and Meg's Paint Reconditioning Cream AIO.
- Meg's Endurance Tire Gel for shine
- Meg's Wheel Brightener aggitated with several brushes for the wheels
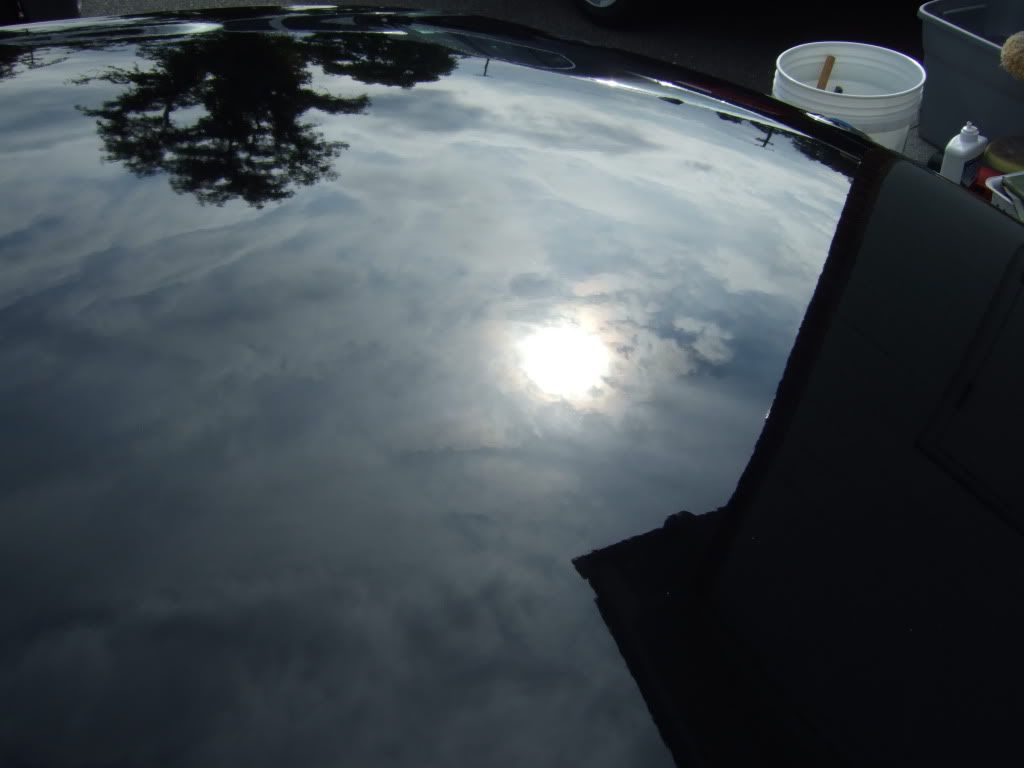
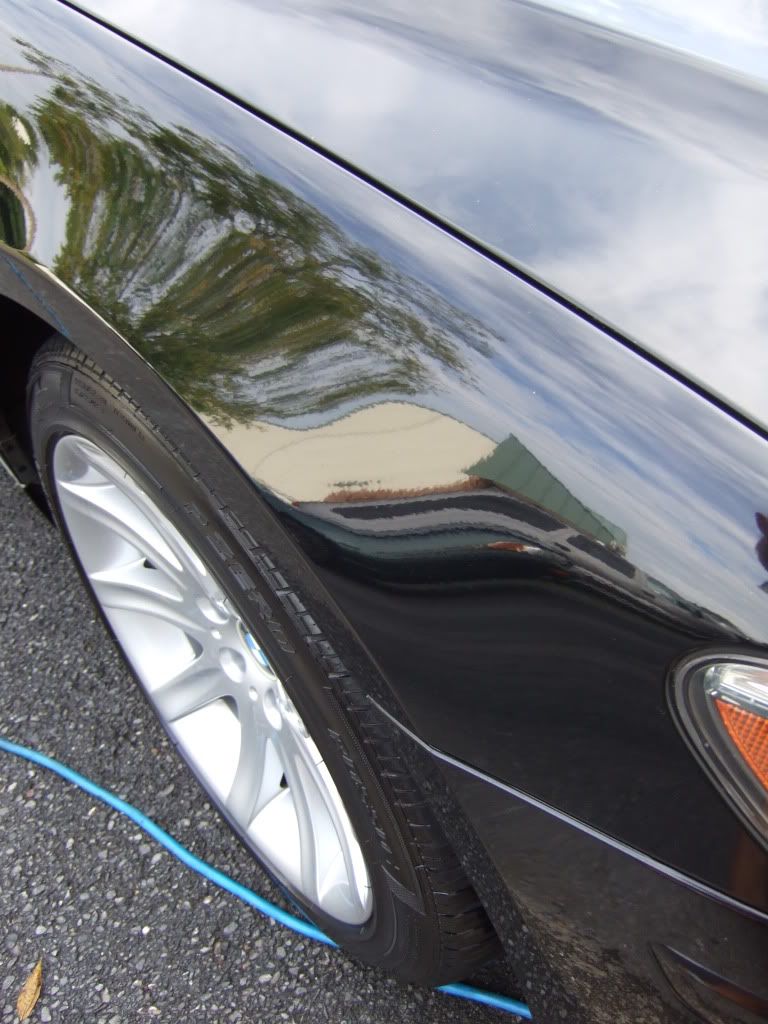
Befores:
As you can see in the next few pictures, there was what appeared to be staining covering the entirety of the hood, roof and trunklid of the car as well as quite a few RIDS and everything from light, to very heavy swirling.


")