imported_Dave KG
New member
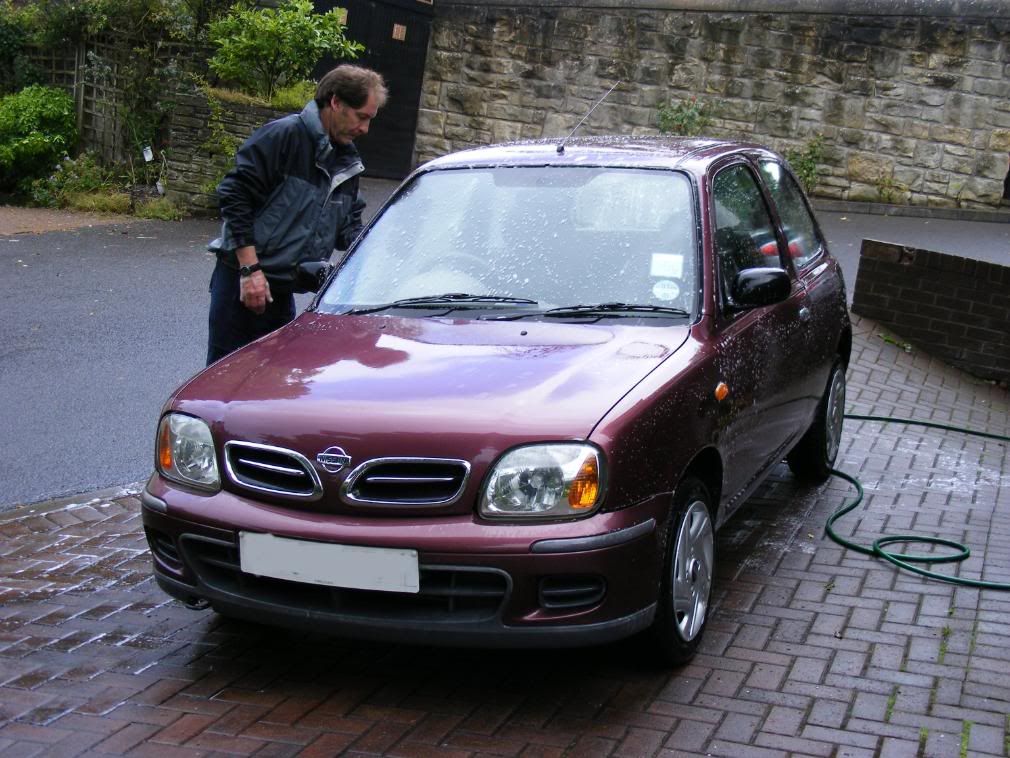
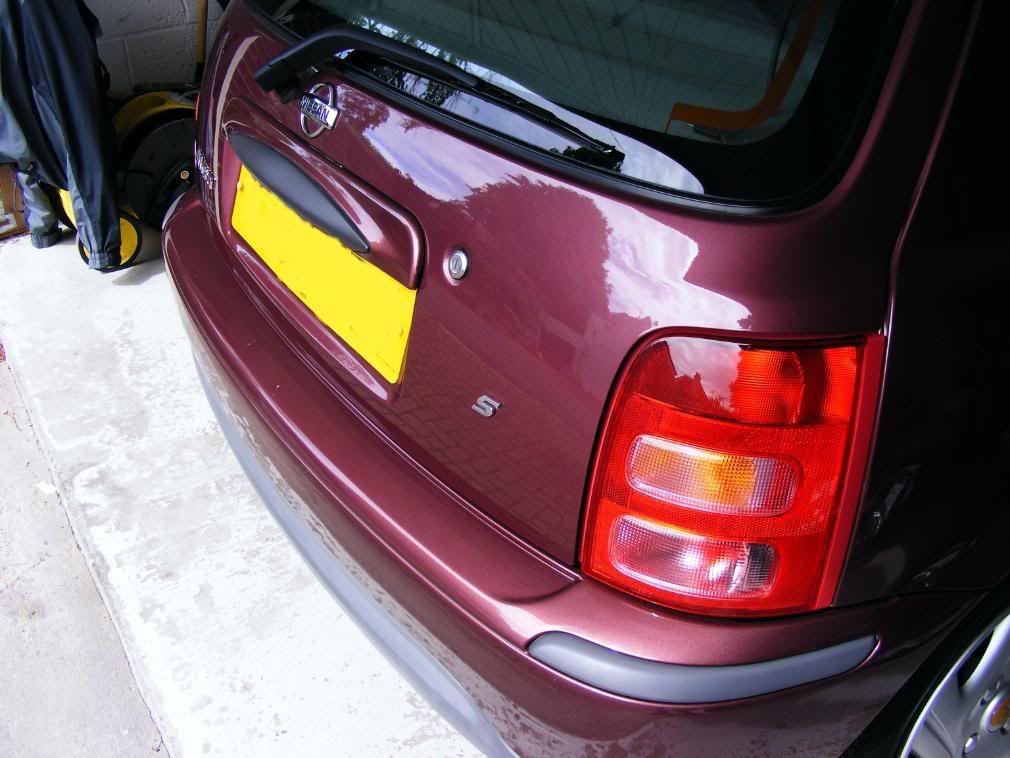
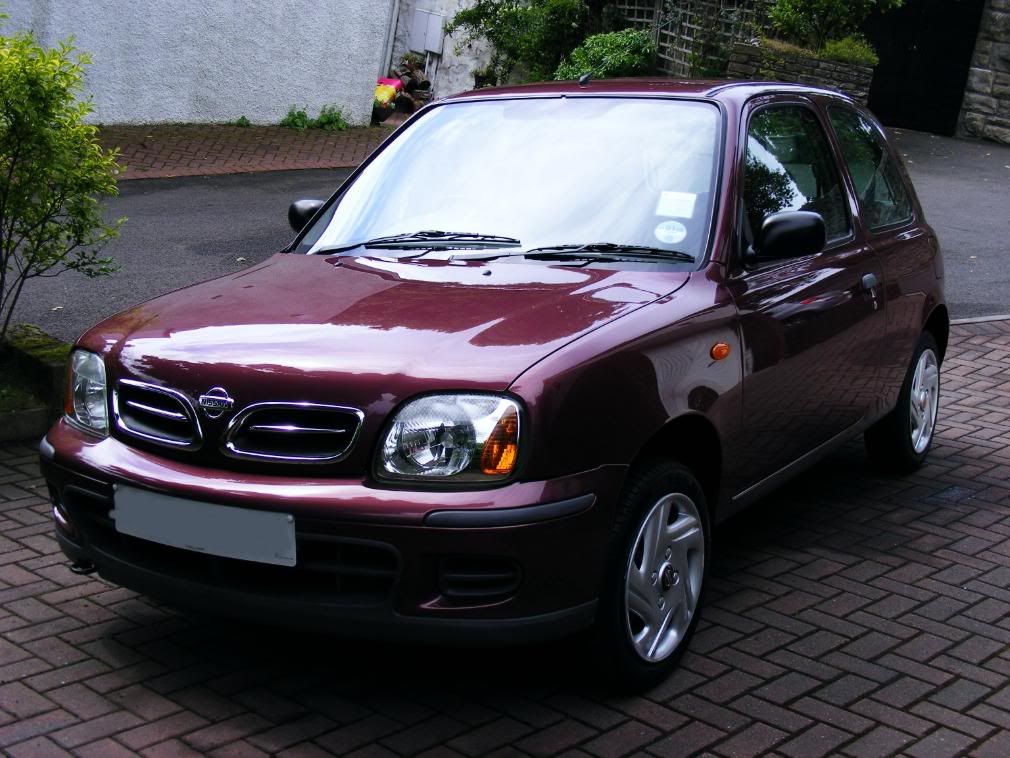
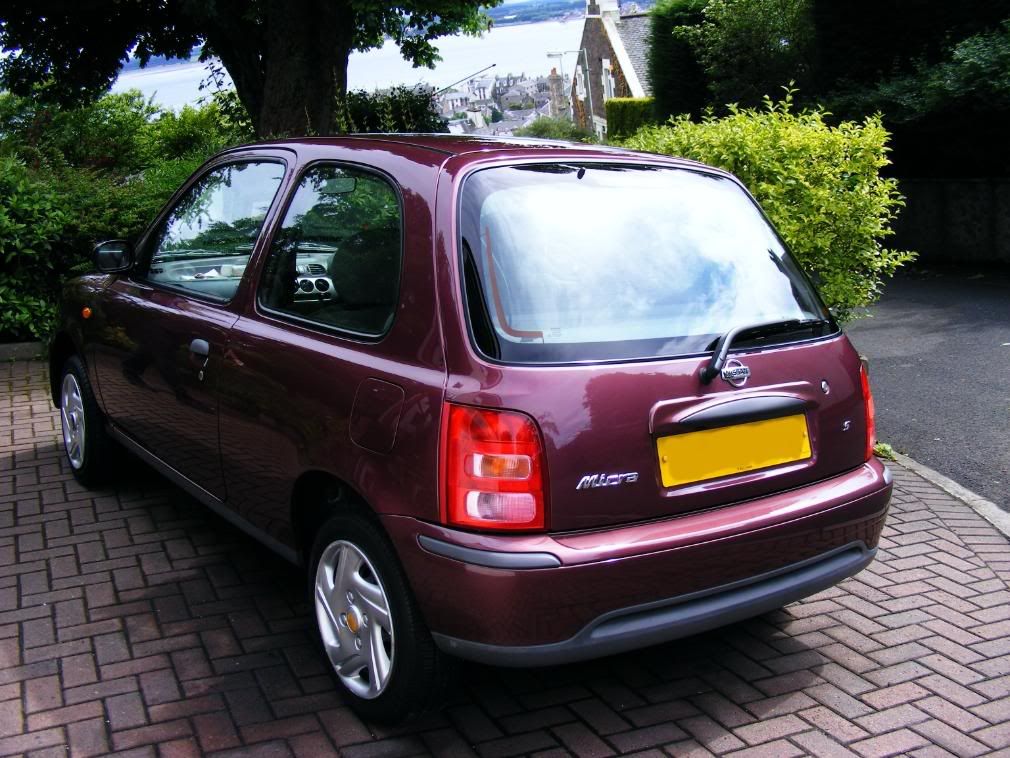
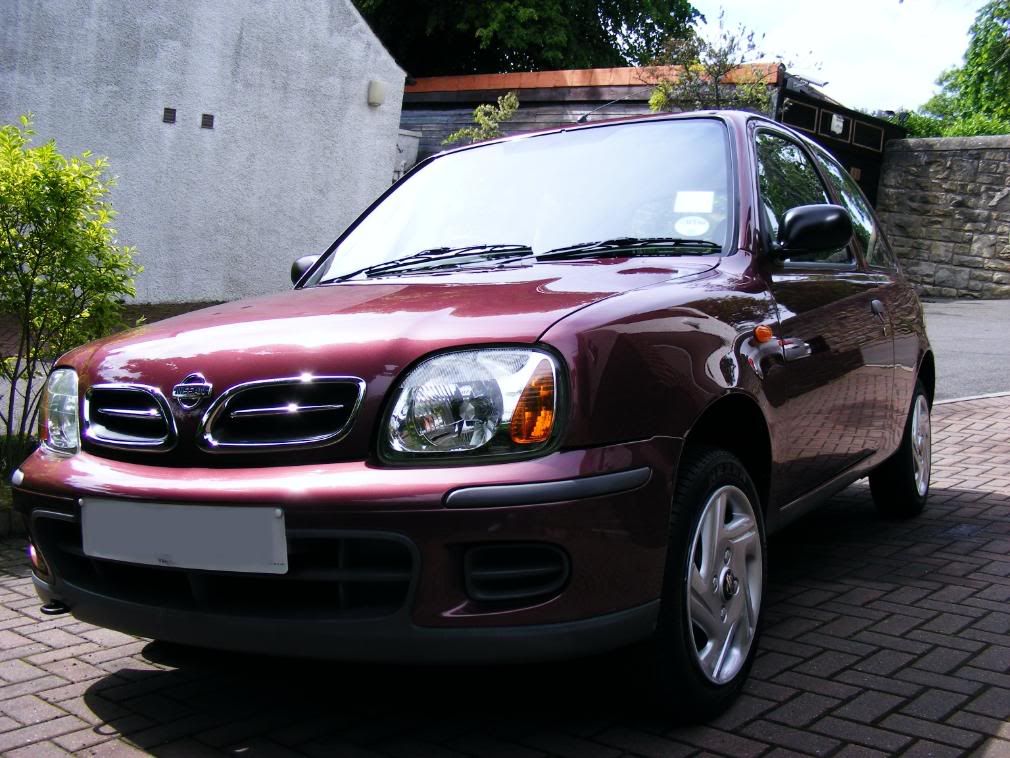
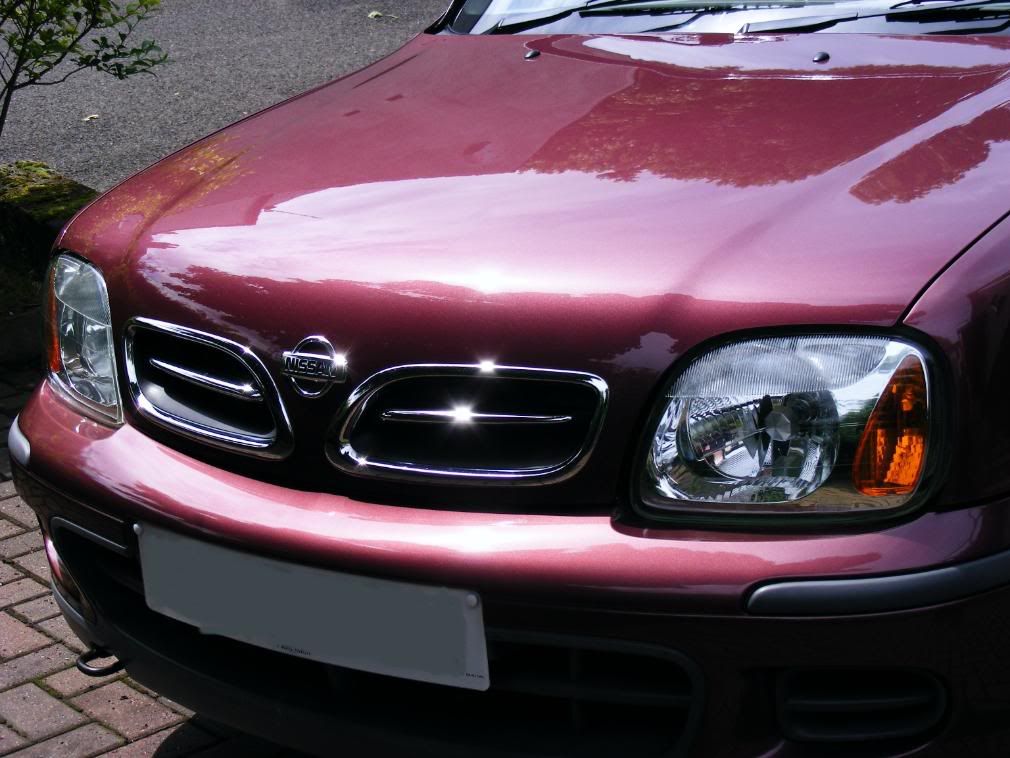
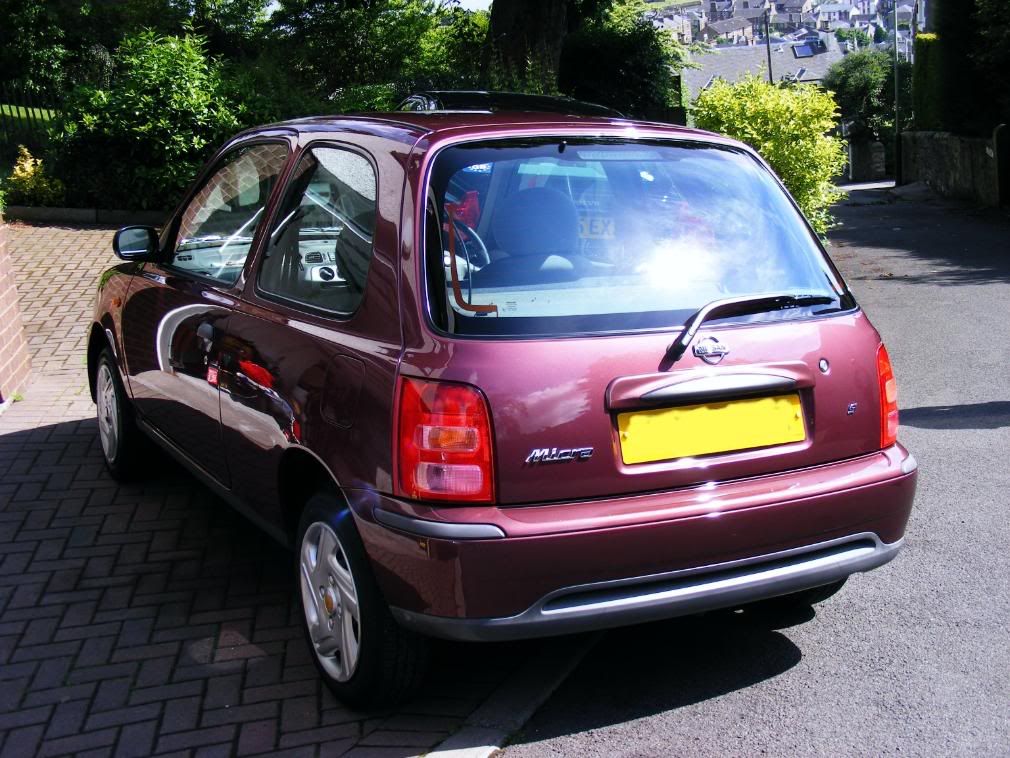
A change from all the big fancy cars you typically see being detailed... A Nissan Micra! ") This car is owned by a colleague's girlfriend, its her first car and after it being parked in a train station car park, it picked up quite a few deep scratches, we think from people resting bags on it
This car is owned by a colleague's girlfriend, its her first car and after it being parked in a train station car park, it picked up quite a few deep scratches, we think from people resting bags on it  .... Anyway, I said I'd sort out the marks as best I could and tidy the whole car up so it was looking nice - all cars can be detailed to look their best after all, regardless of what they are! :thumb: And I personally quite like the old model Micra
Plus - this was an opportunity to dry Duragloss products out on a full car, after they have been impressing me on test panels of late.
So - on with the detail!
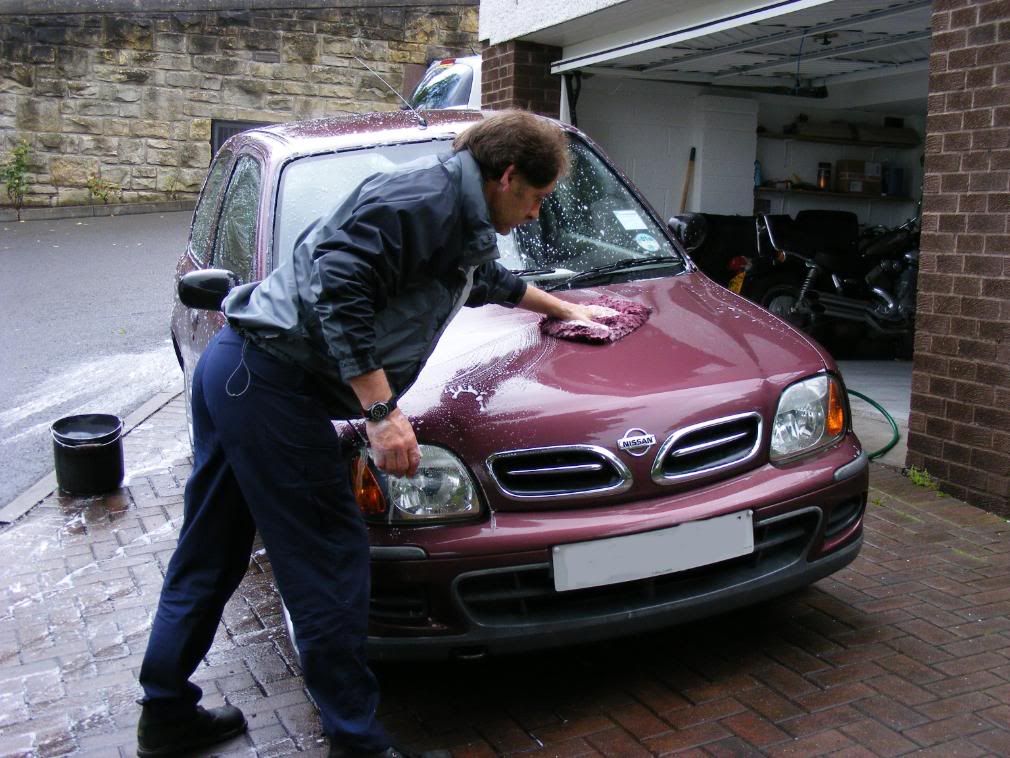
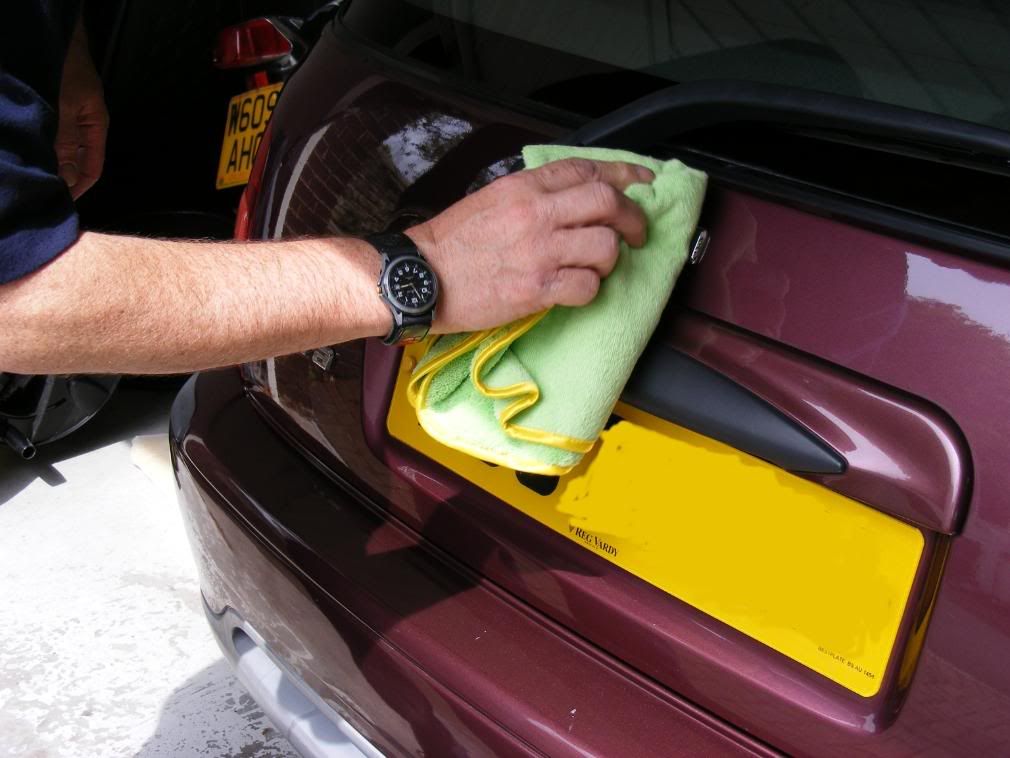
We started around 930am and Bryan wasted no time in getting the car washed:
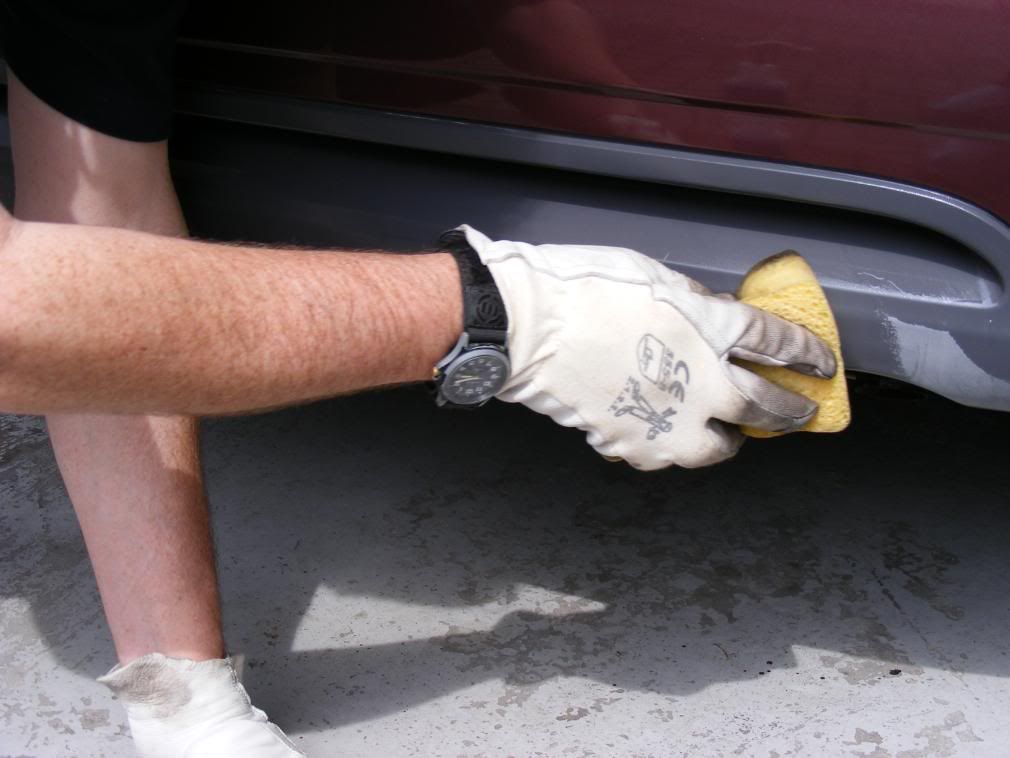
Some tar spots were hit with Tardis...
Although a couple of particularly stubborn ones wouldn't shift with repeat applcations, but Sonus Grey clay and plenty of time soon saw to them The entire car was clayed with Sonus Grey, and it certainly needed it as a lot of contamination was pulled from the rough feeling paint.
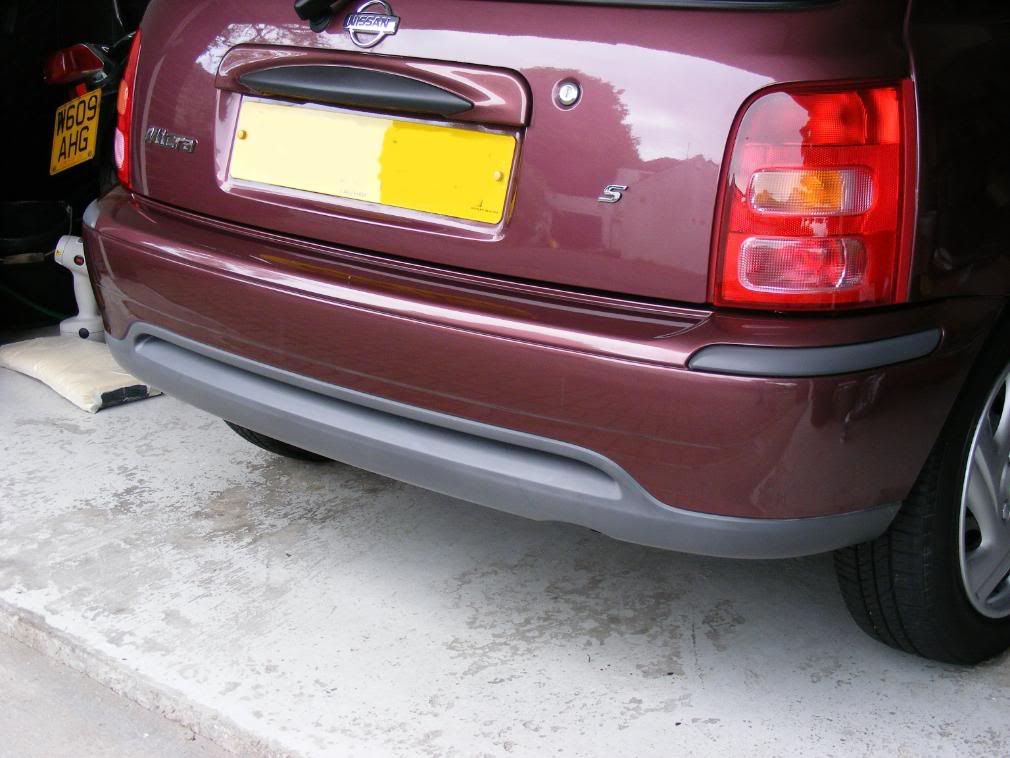
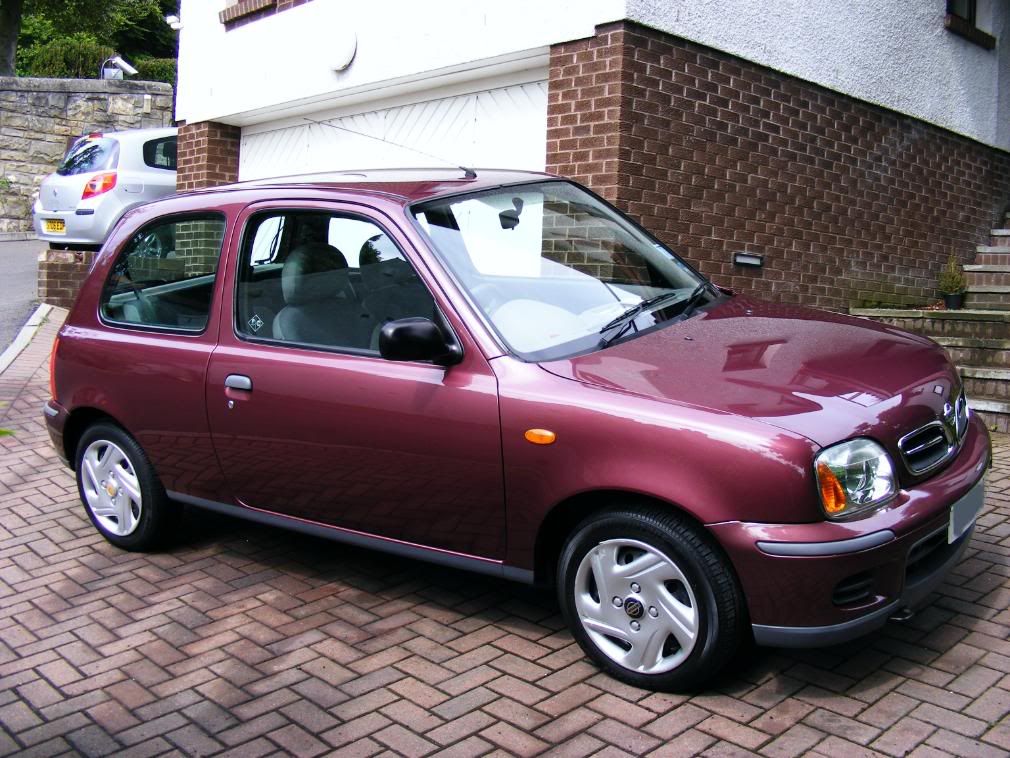
After a clay, the car was already looking better:
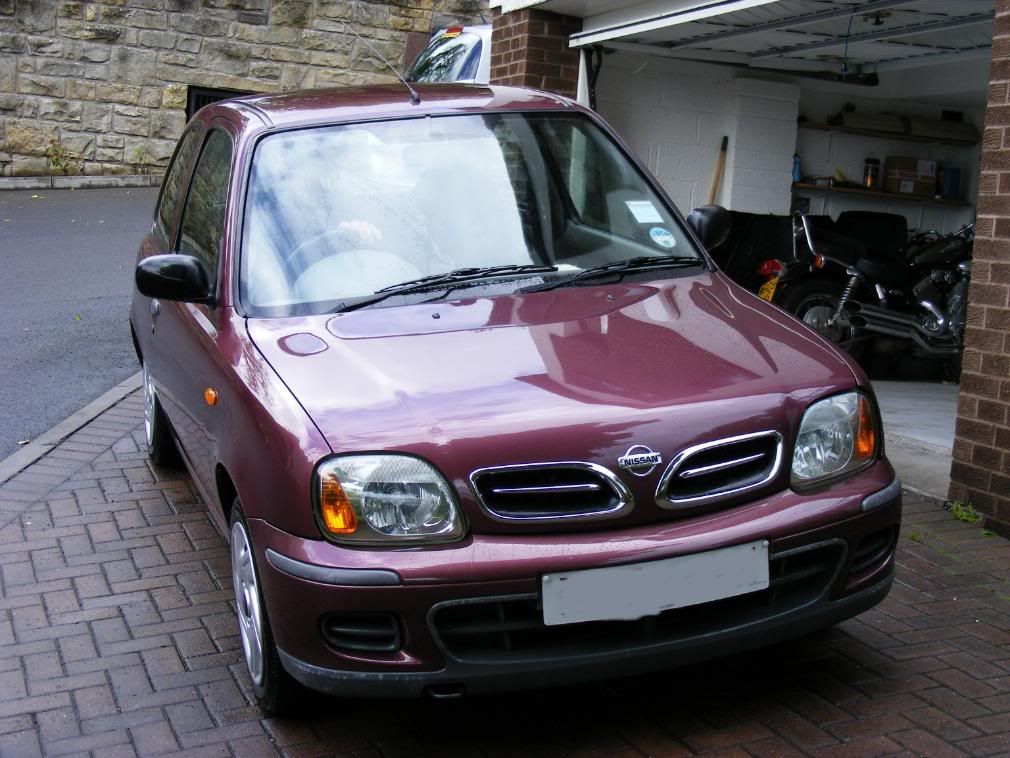
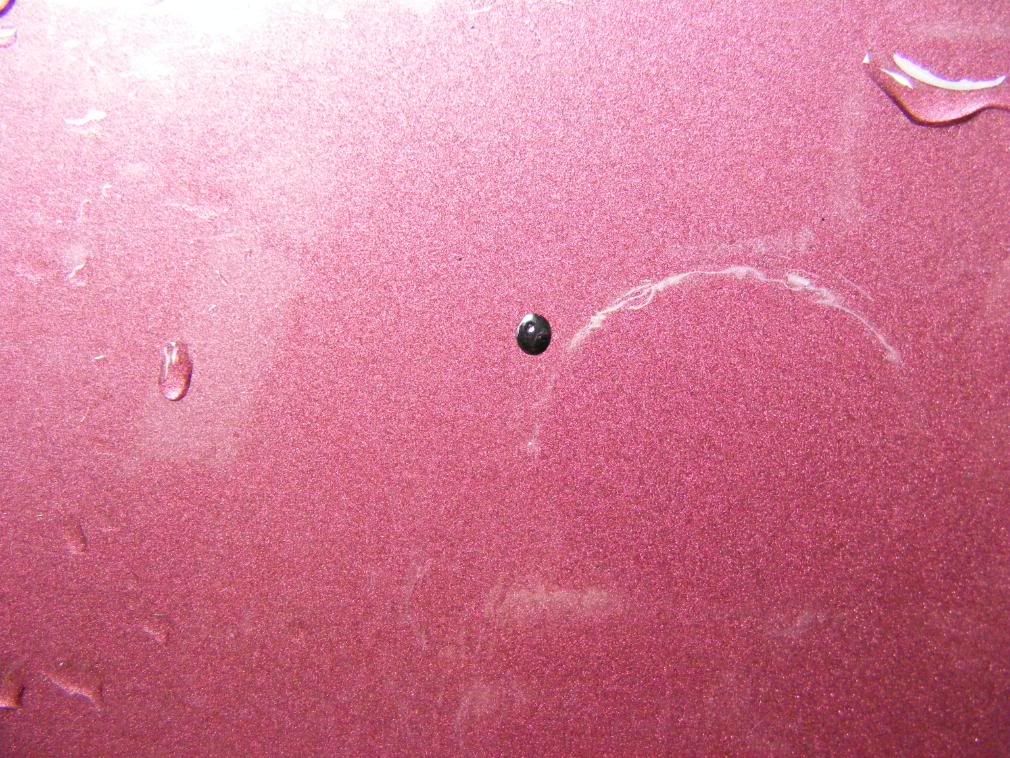
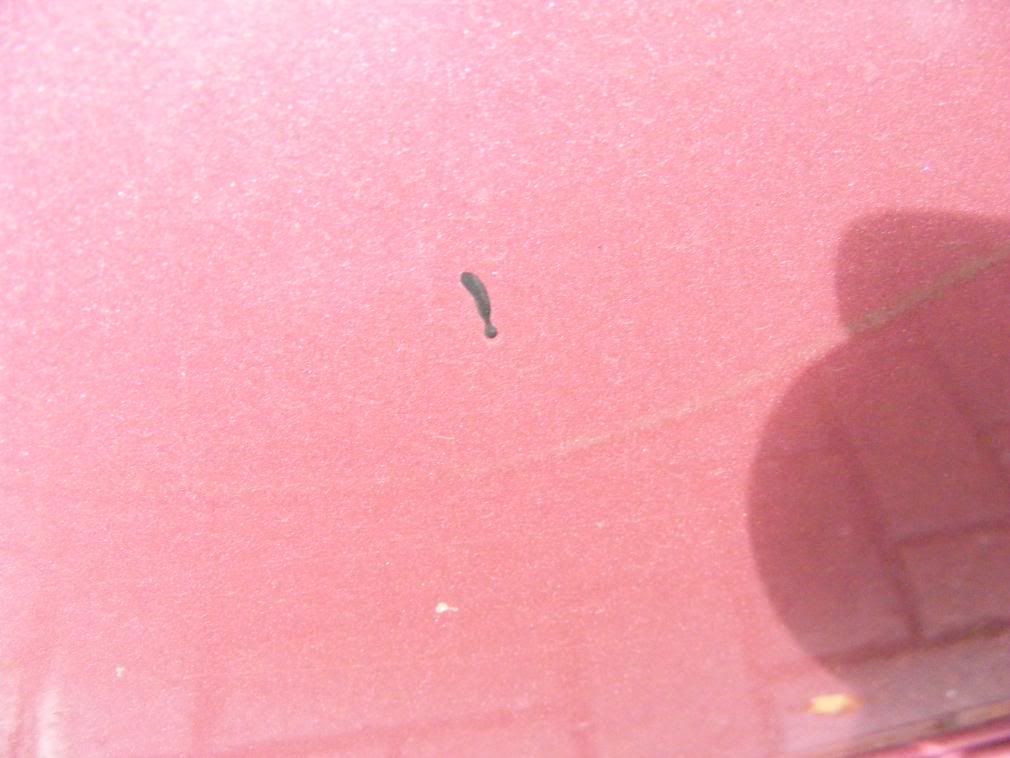
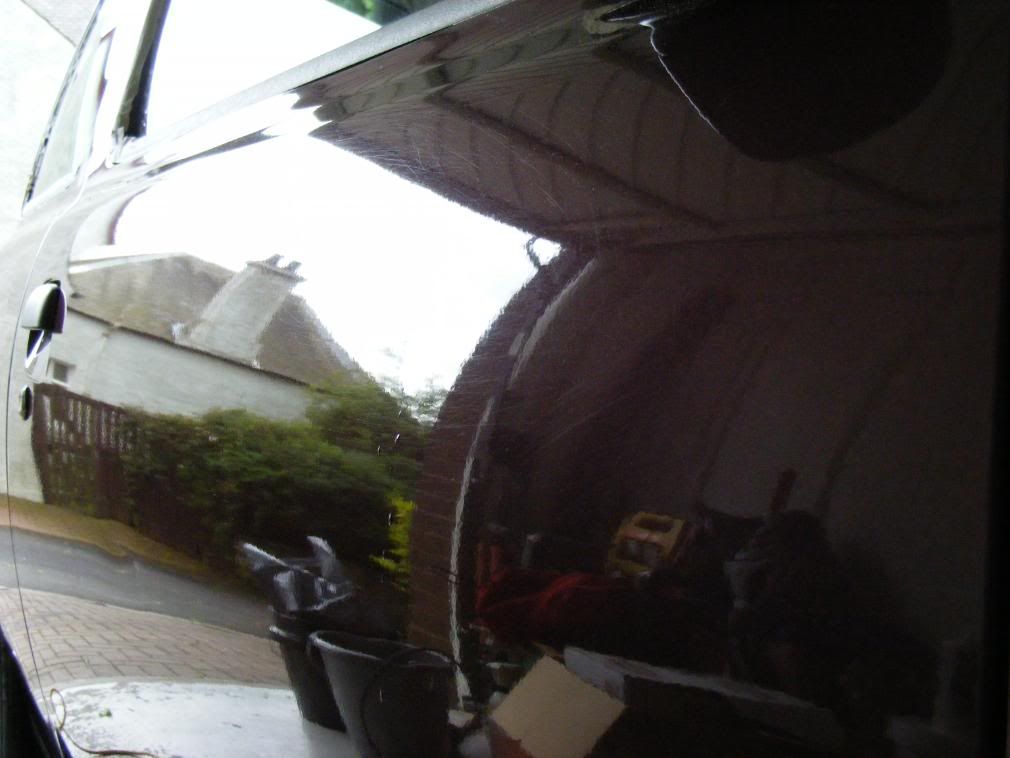
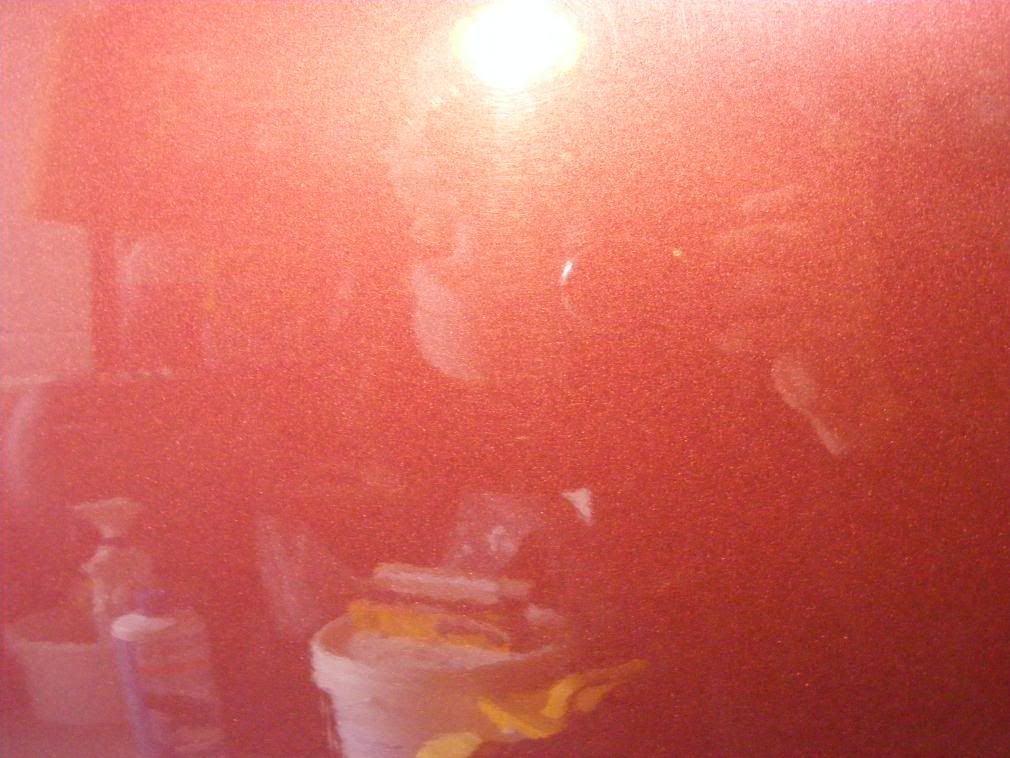
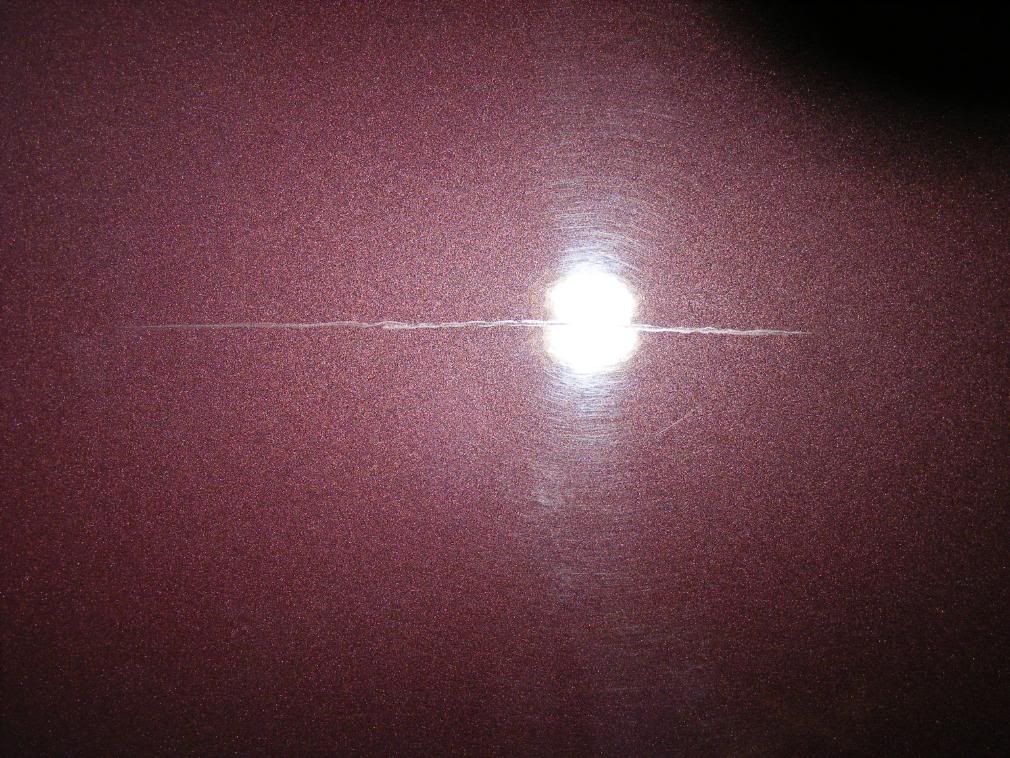
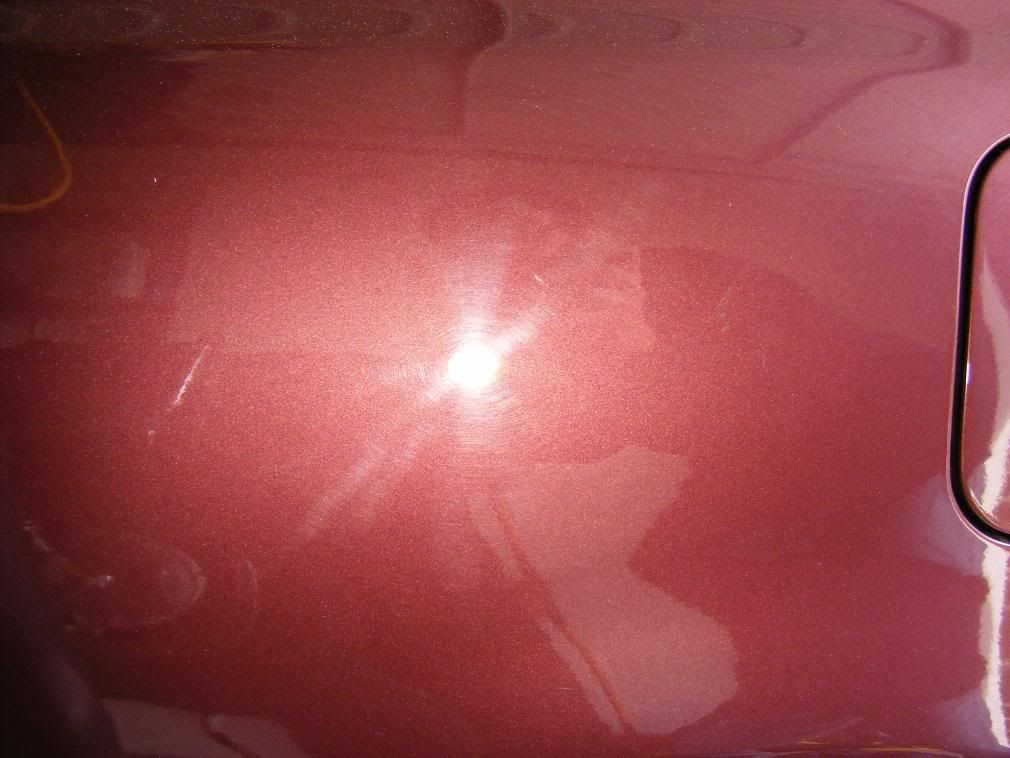
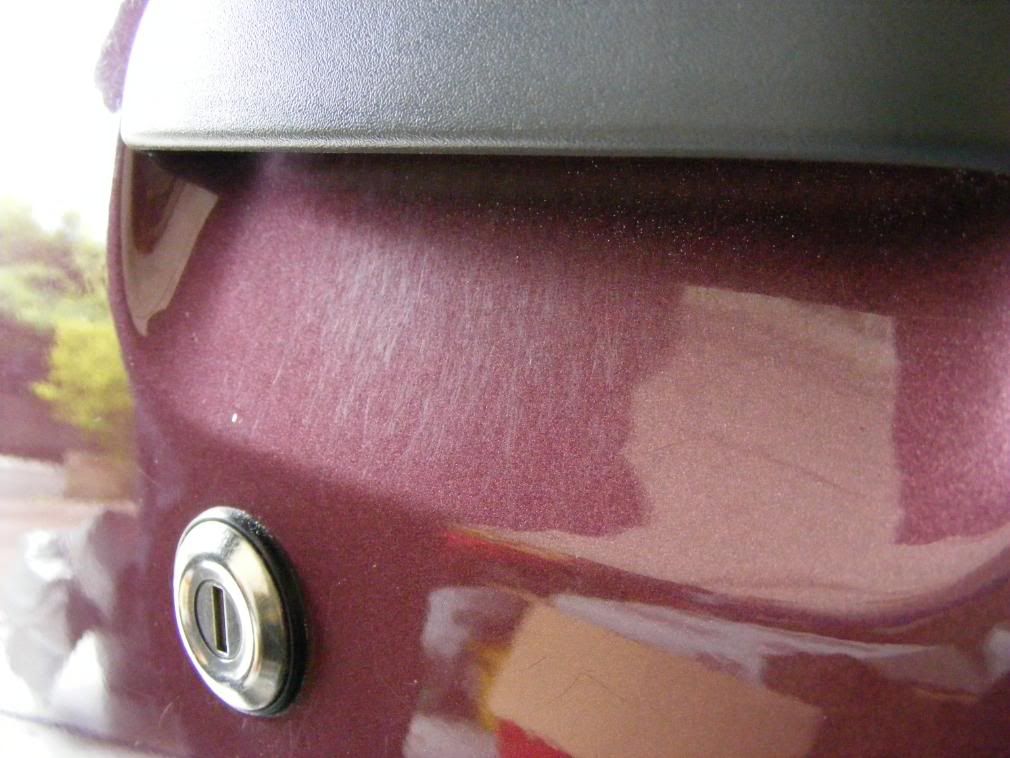
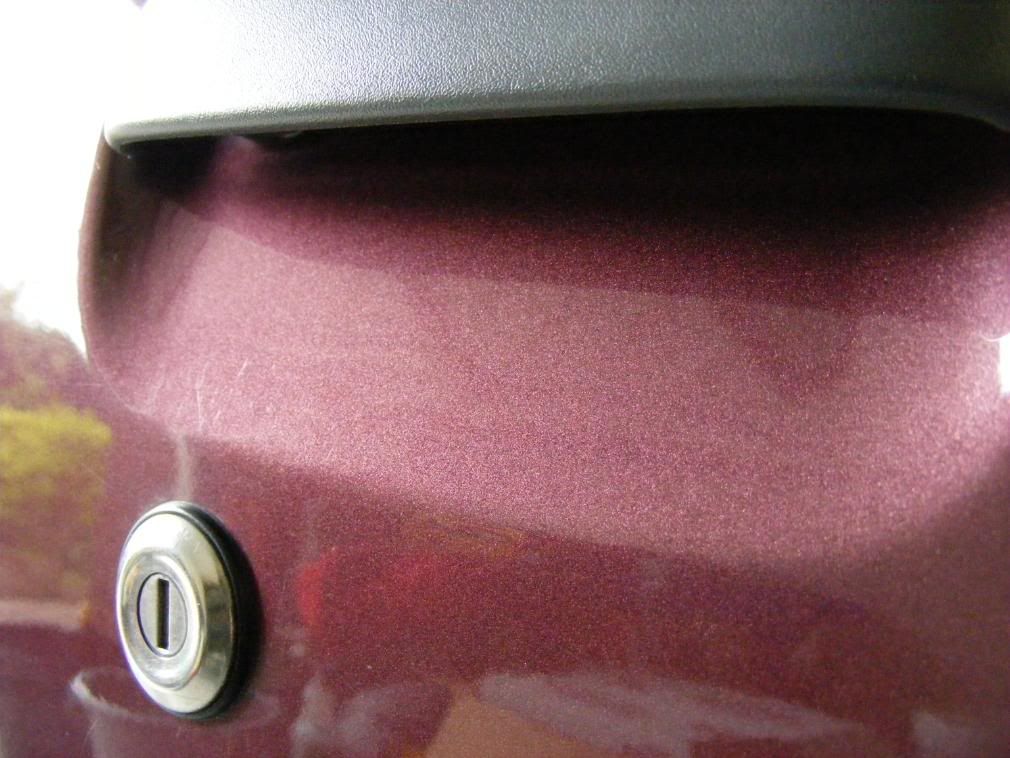
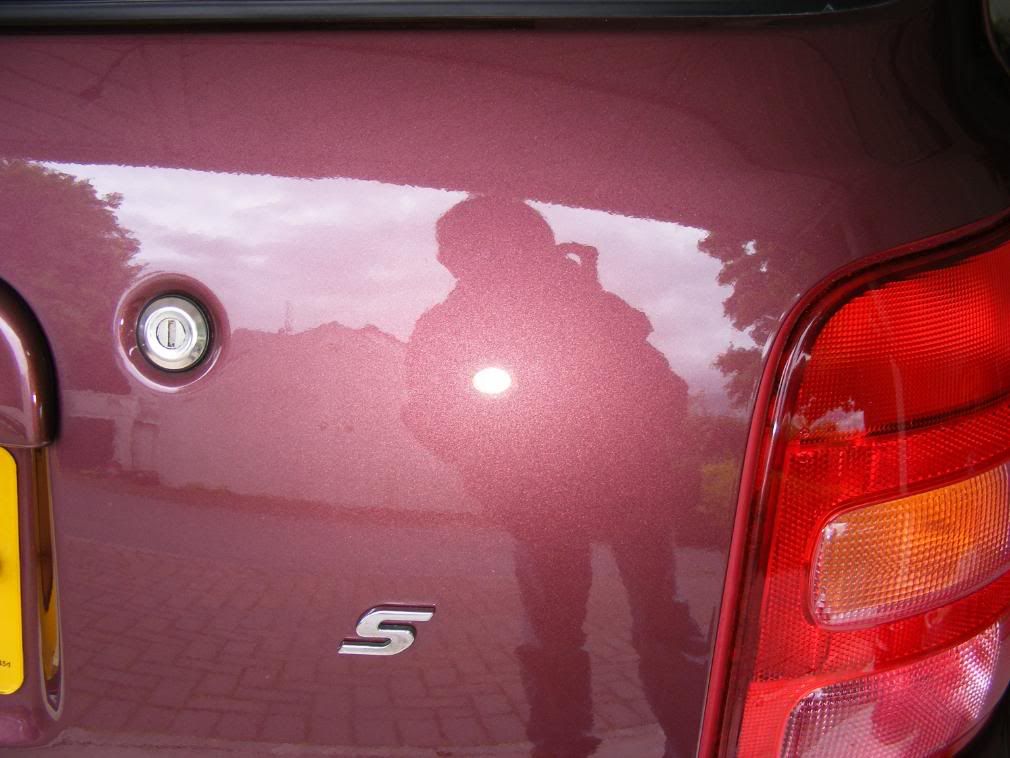
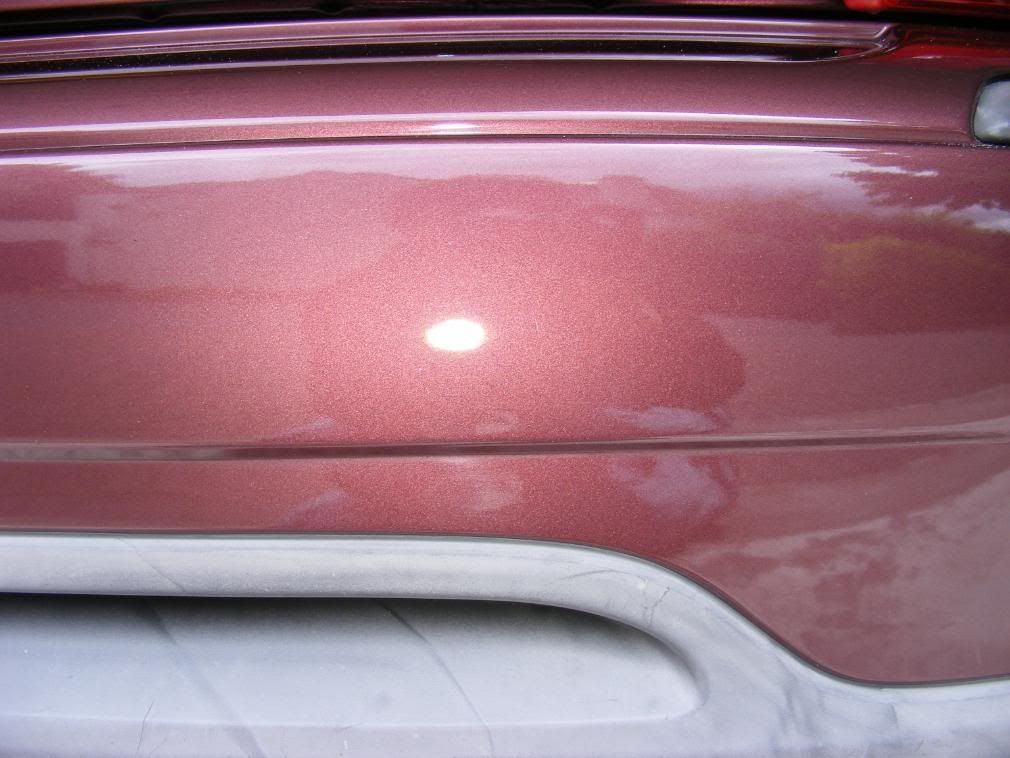
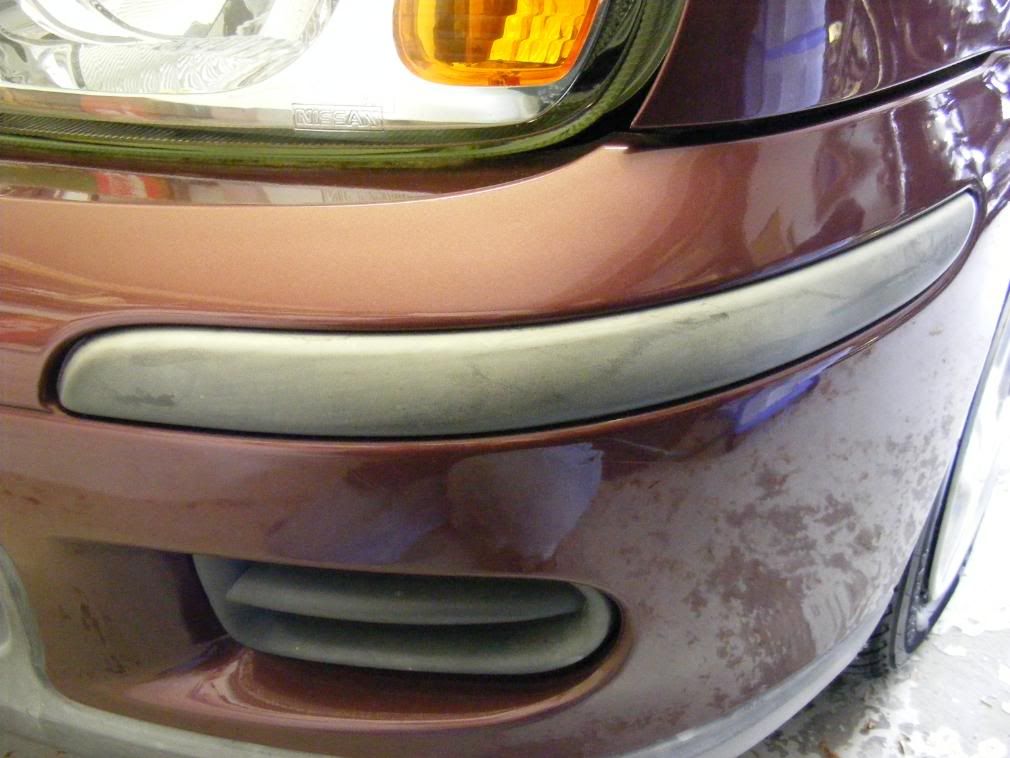
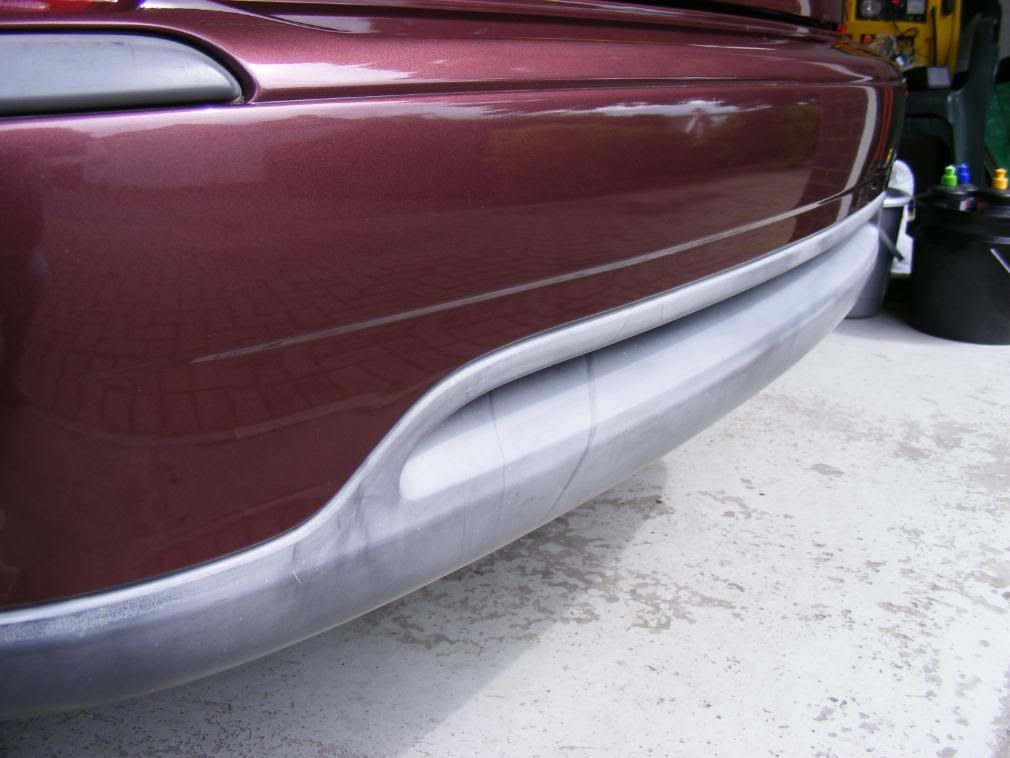
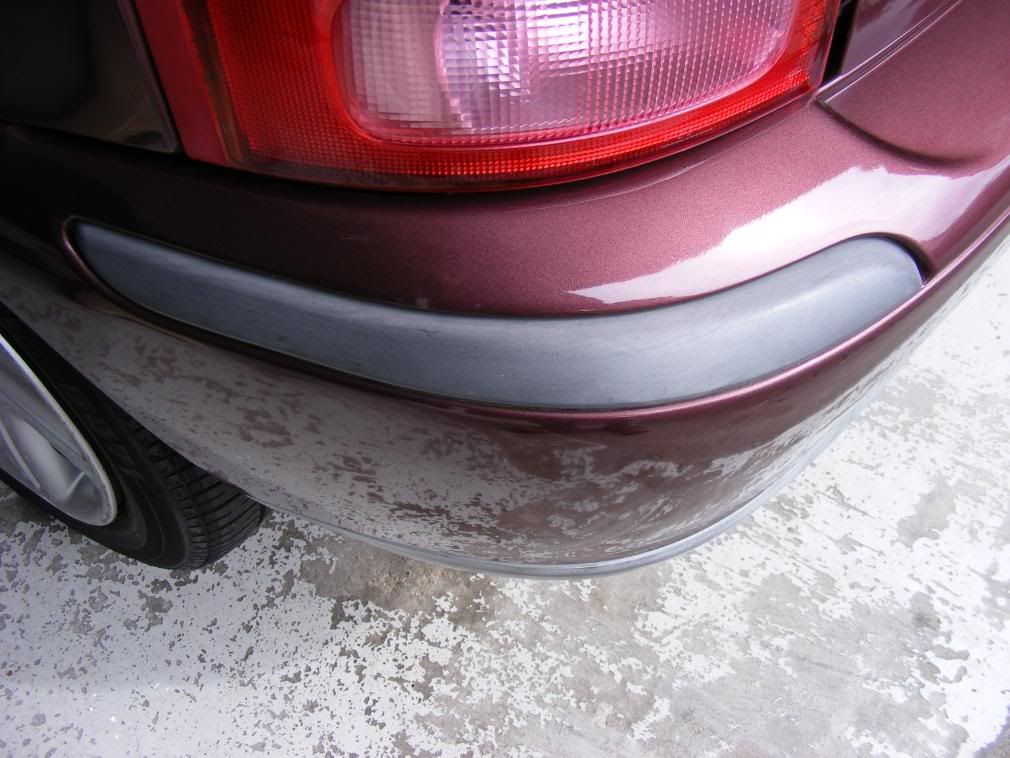
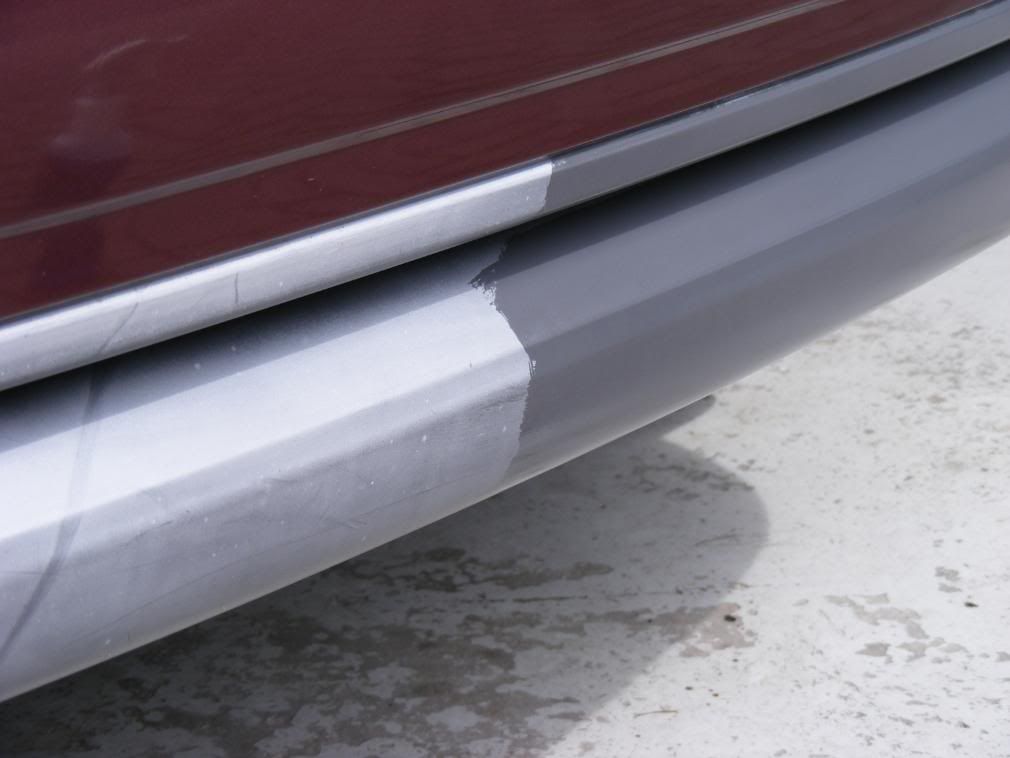
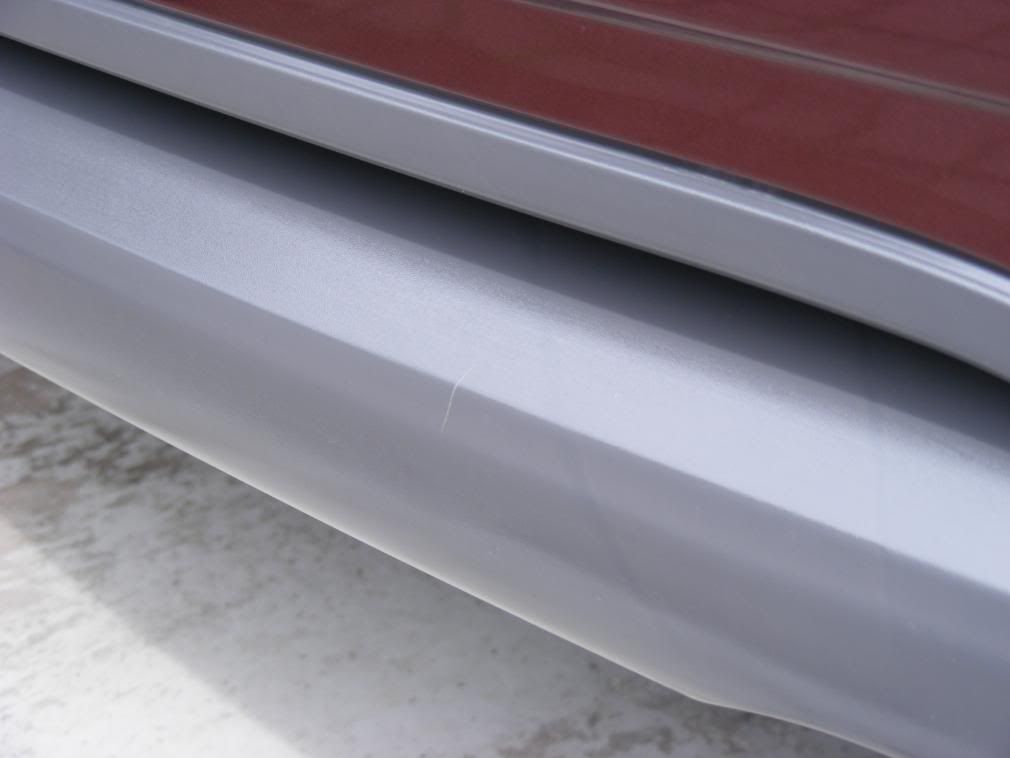
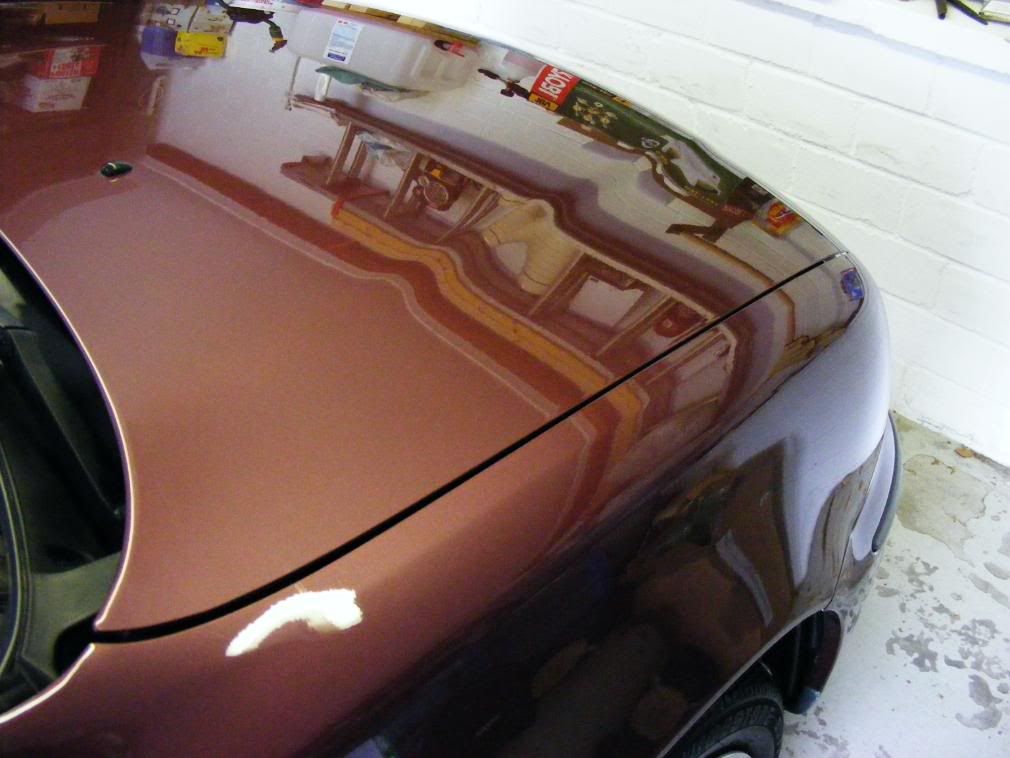
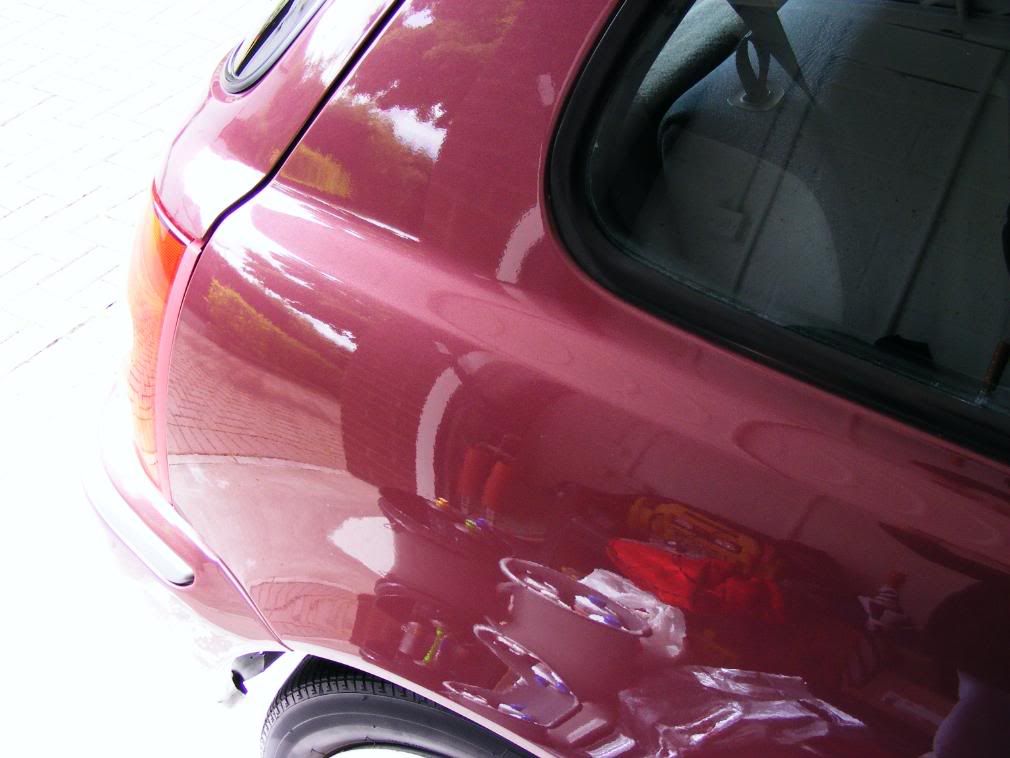
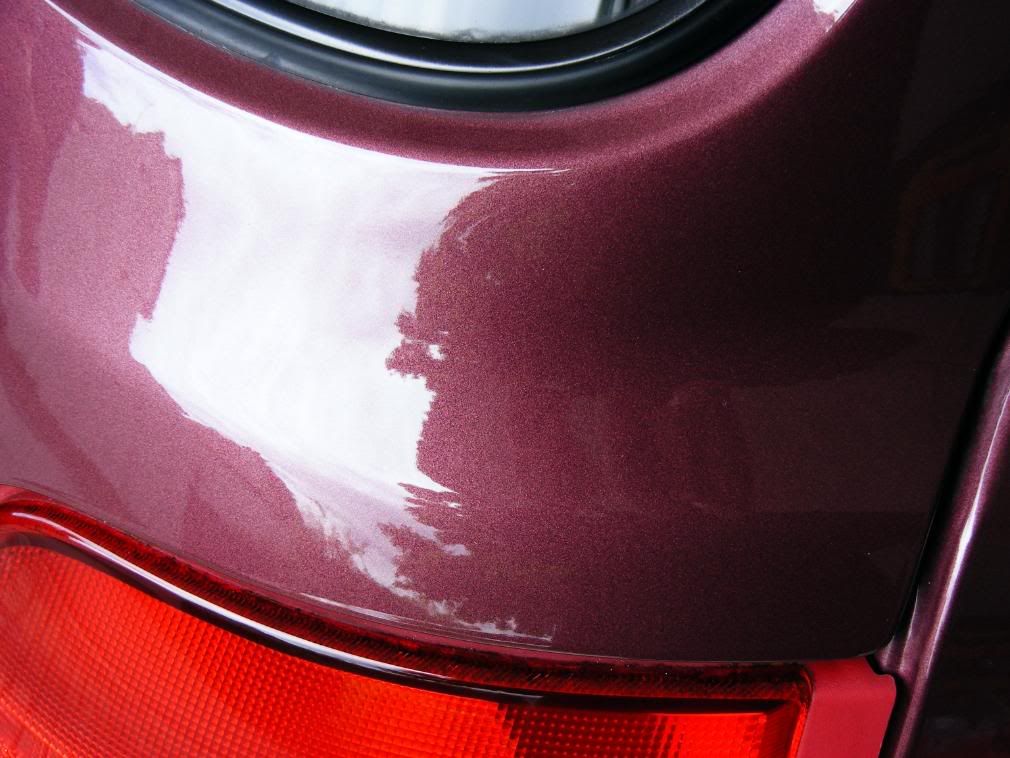
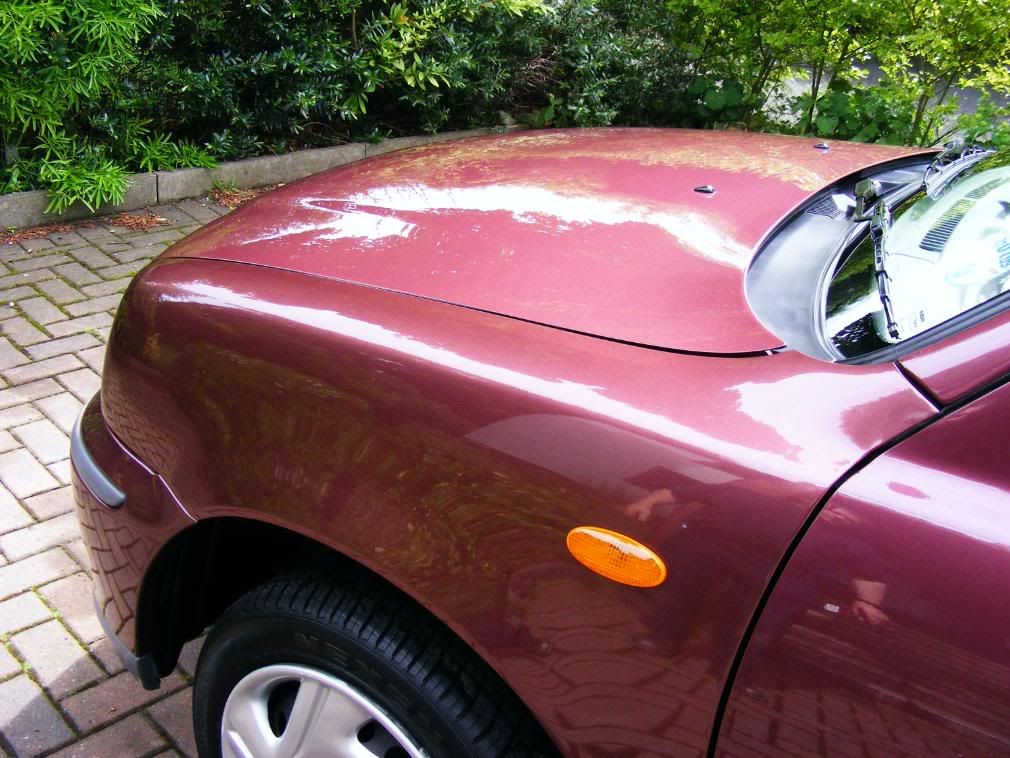
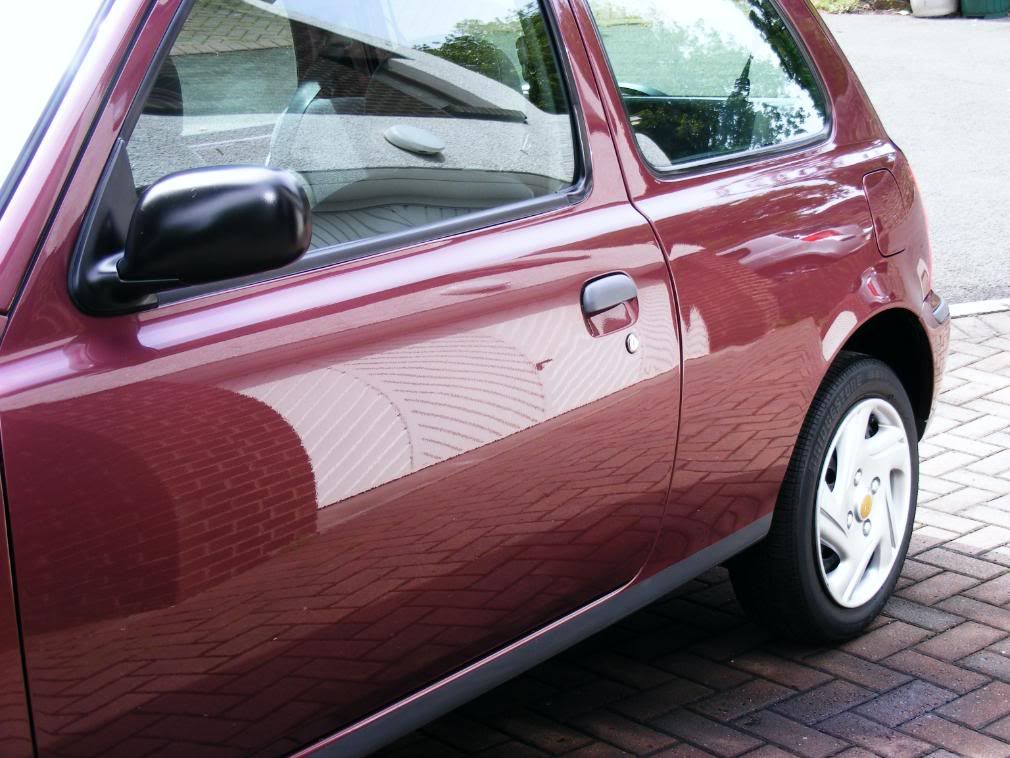
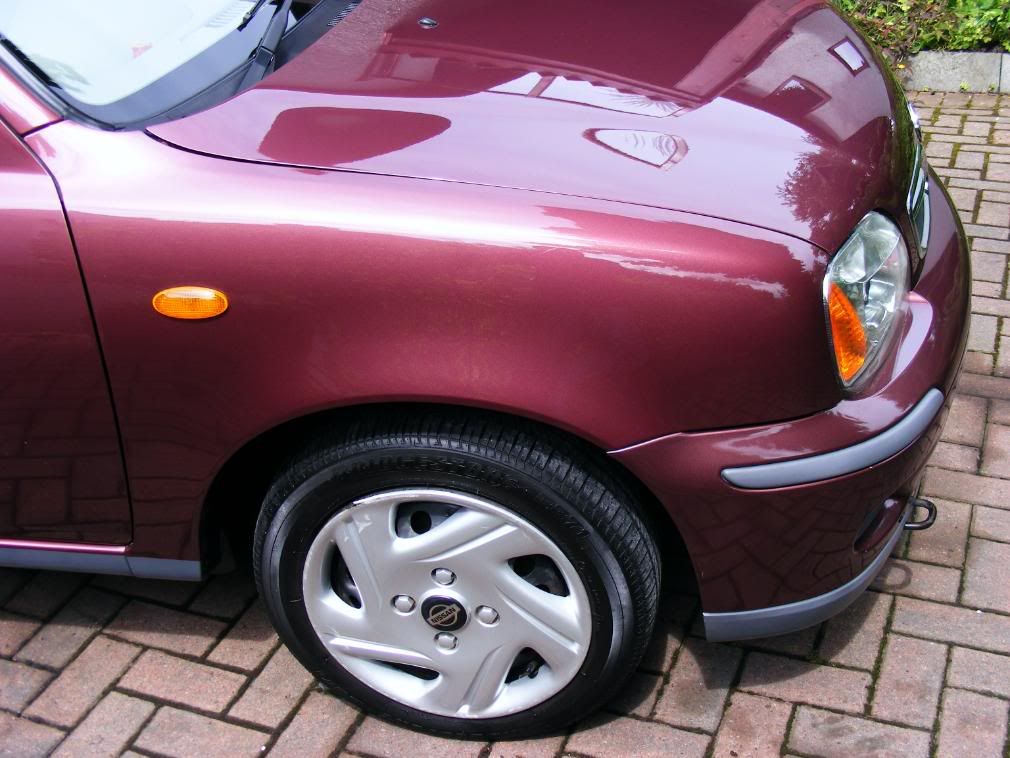
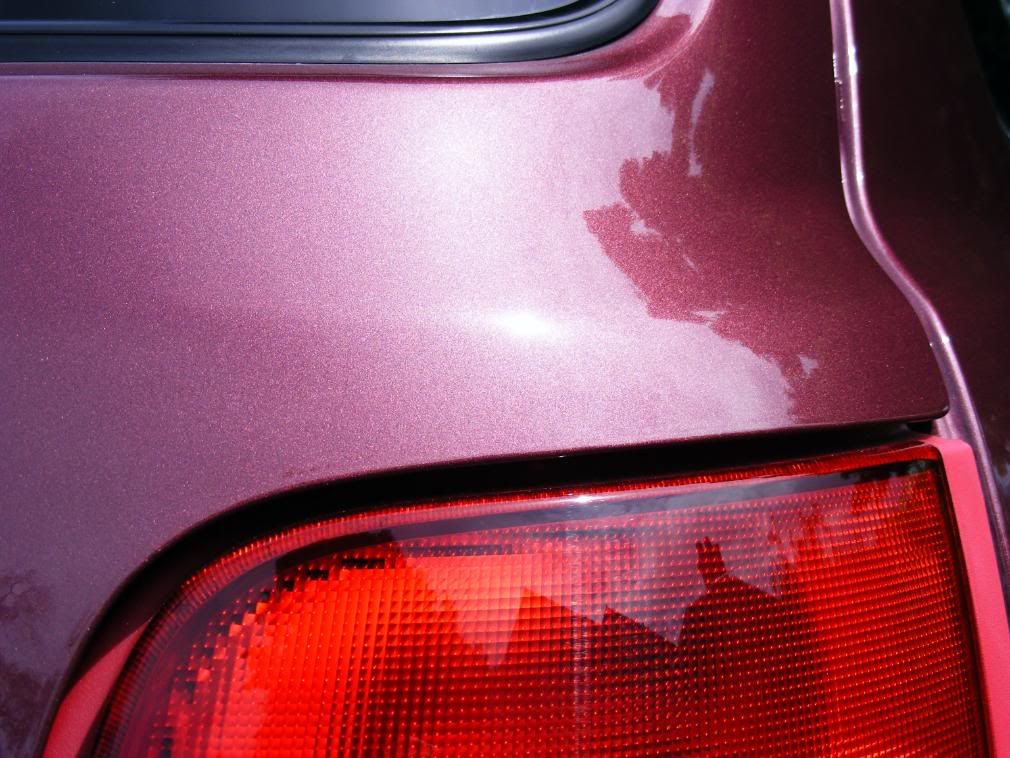
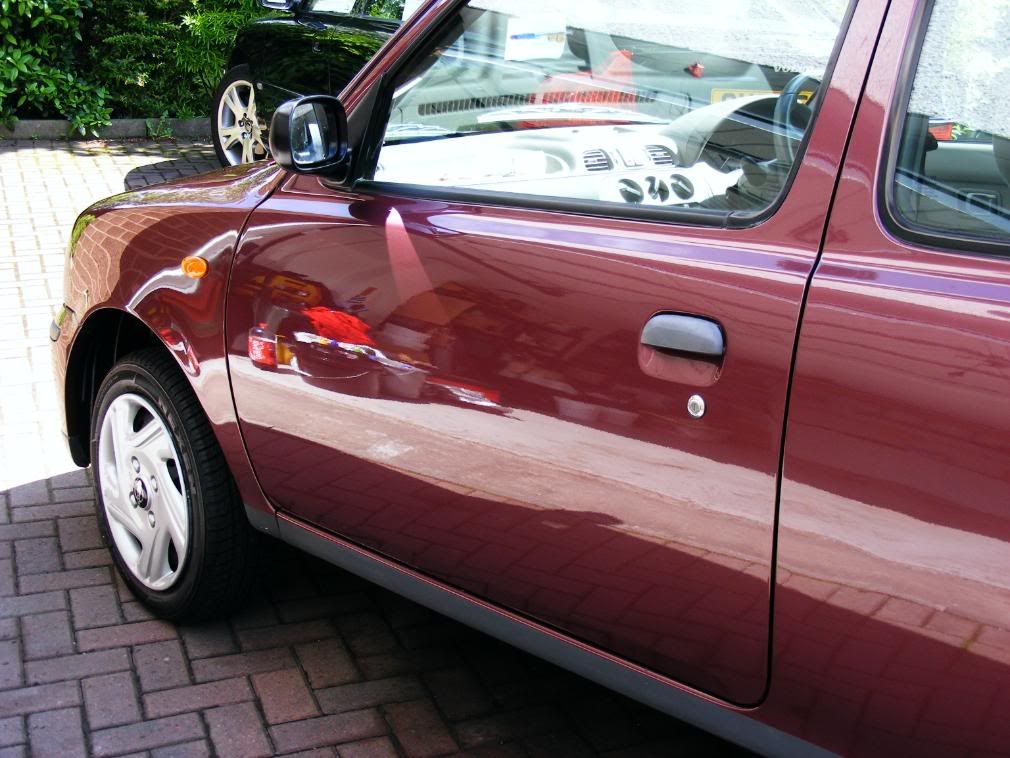
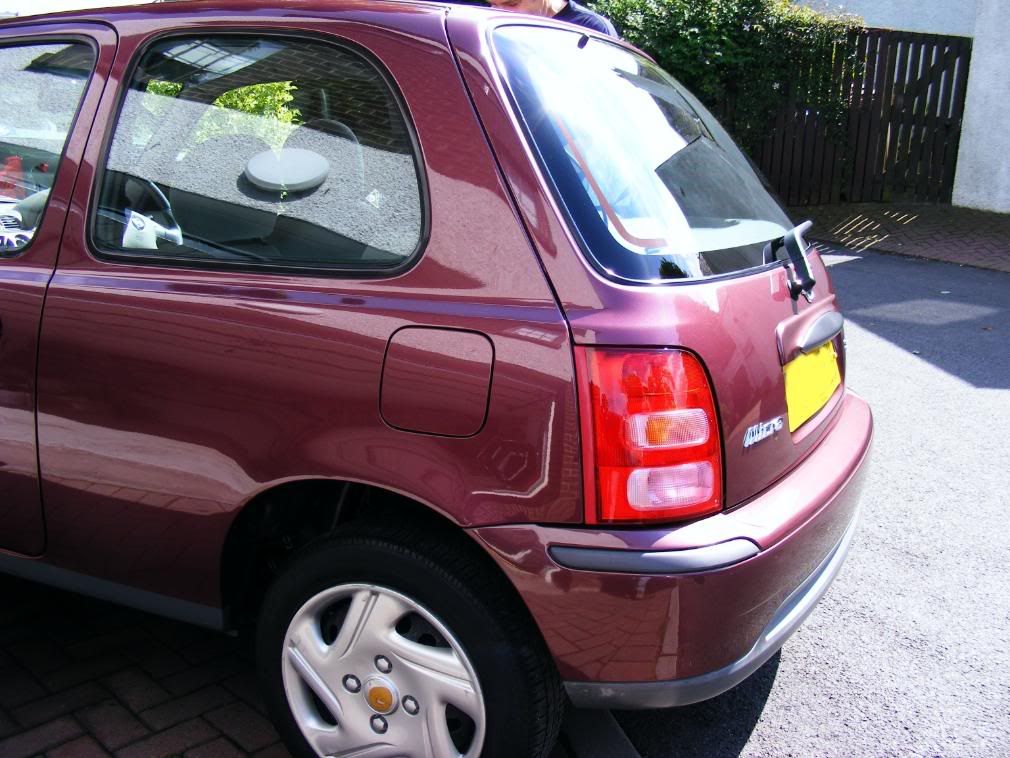
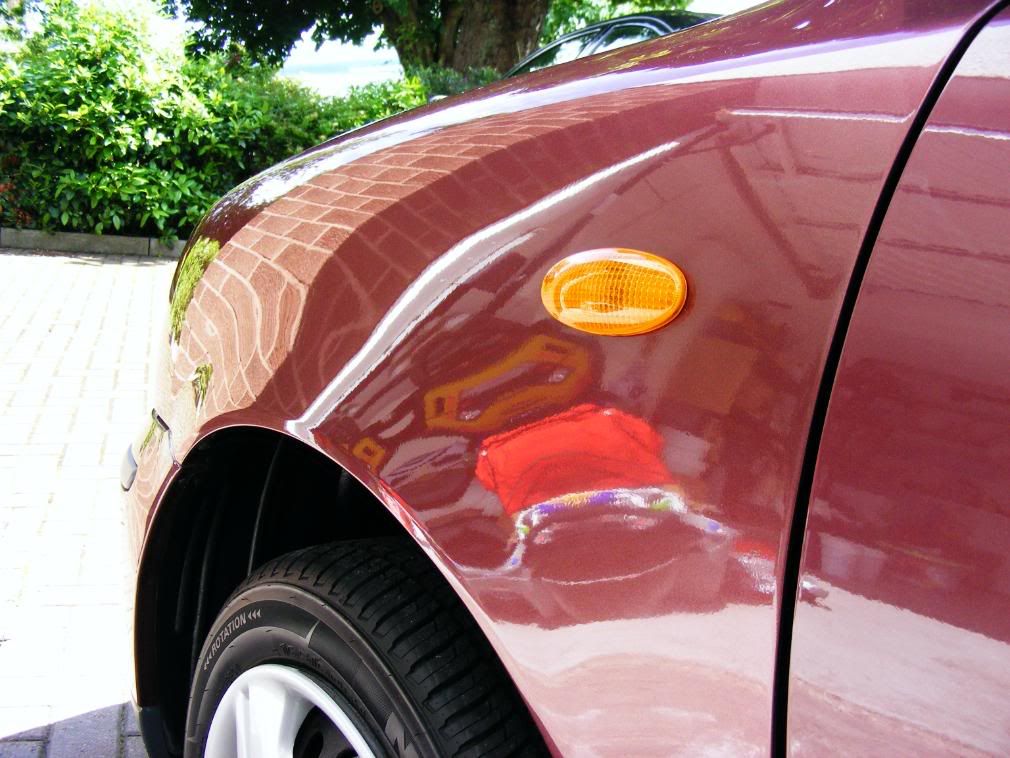
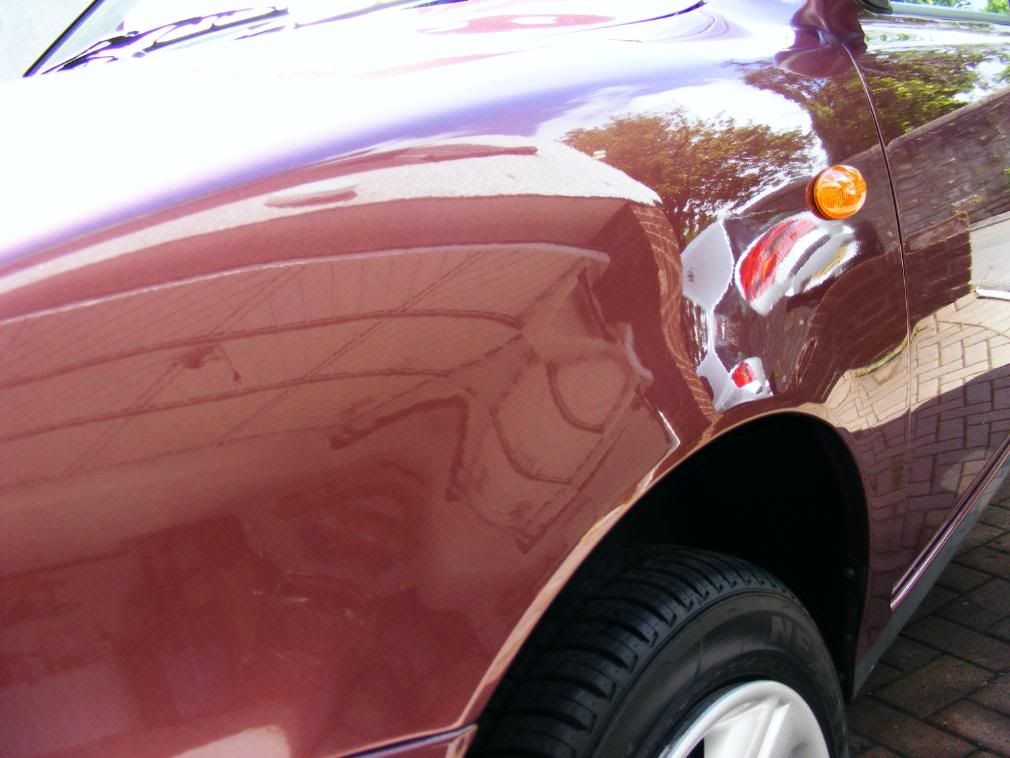
So it was rolled into the garage to look at the finish and see the scratches up close, here are a few of them:
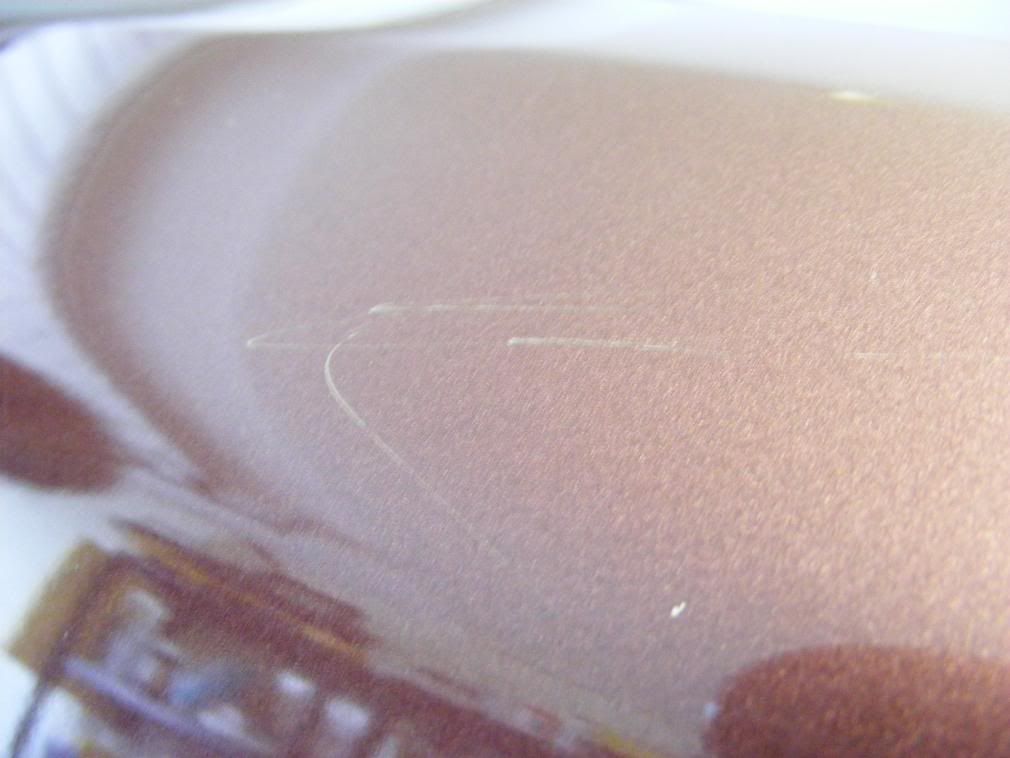
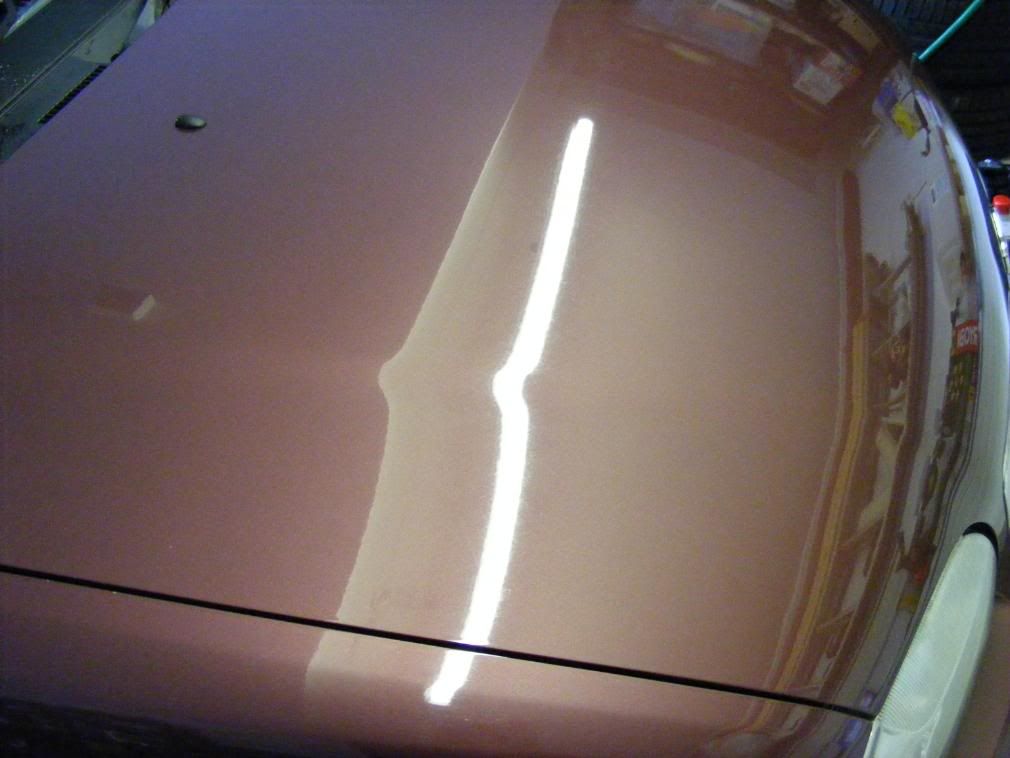
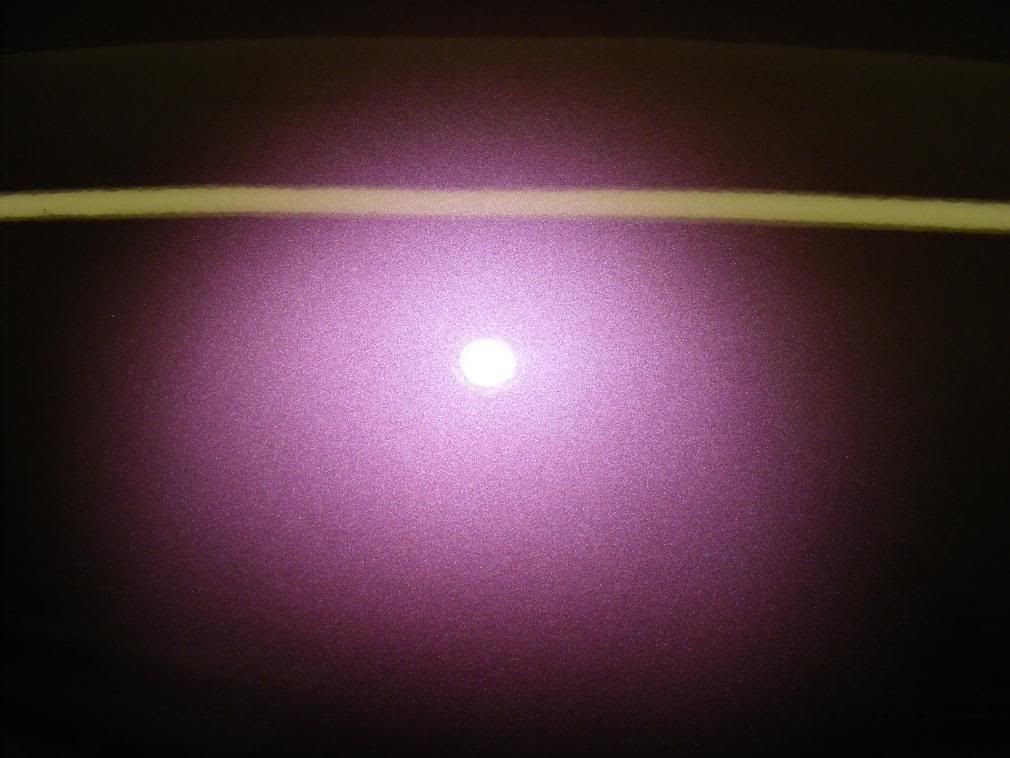
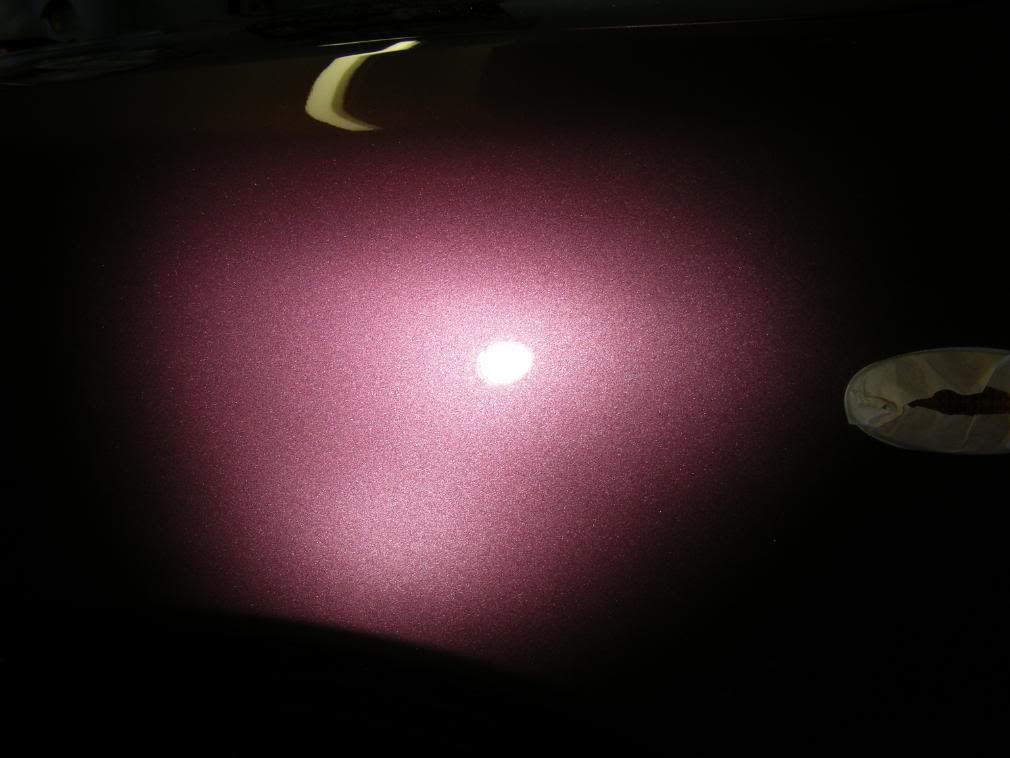
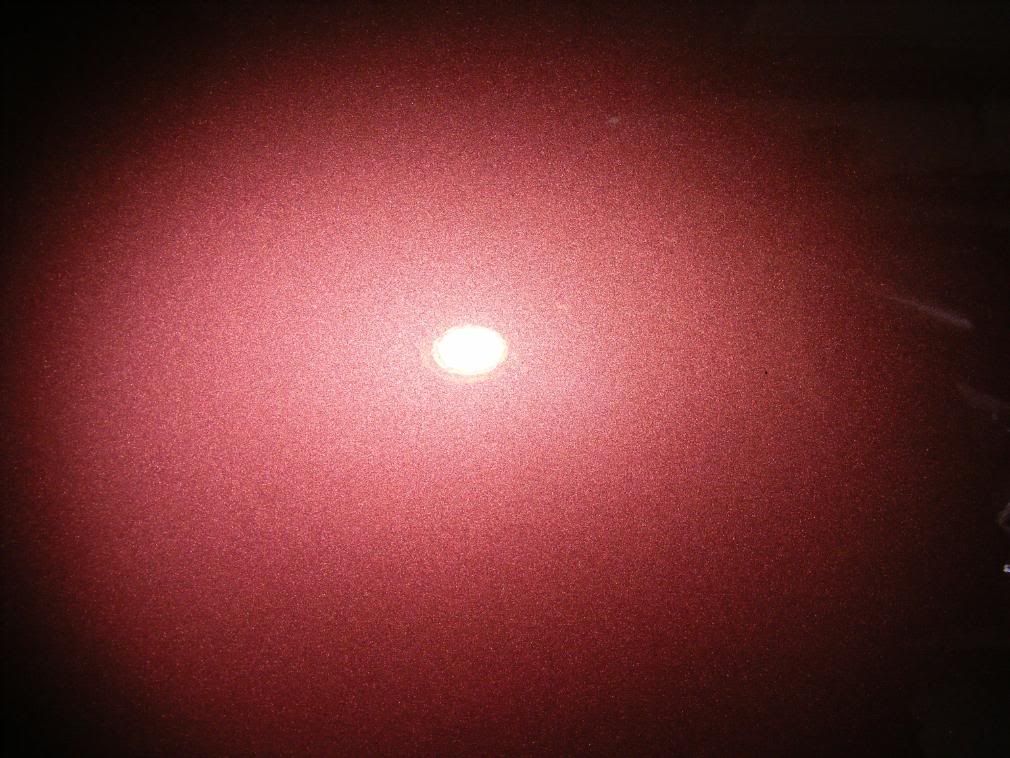
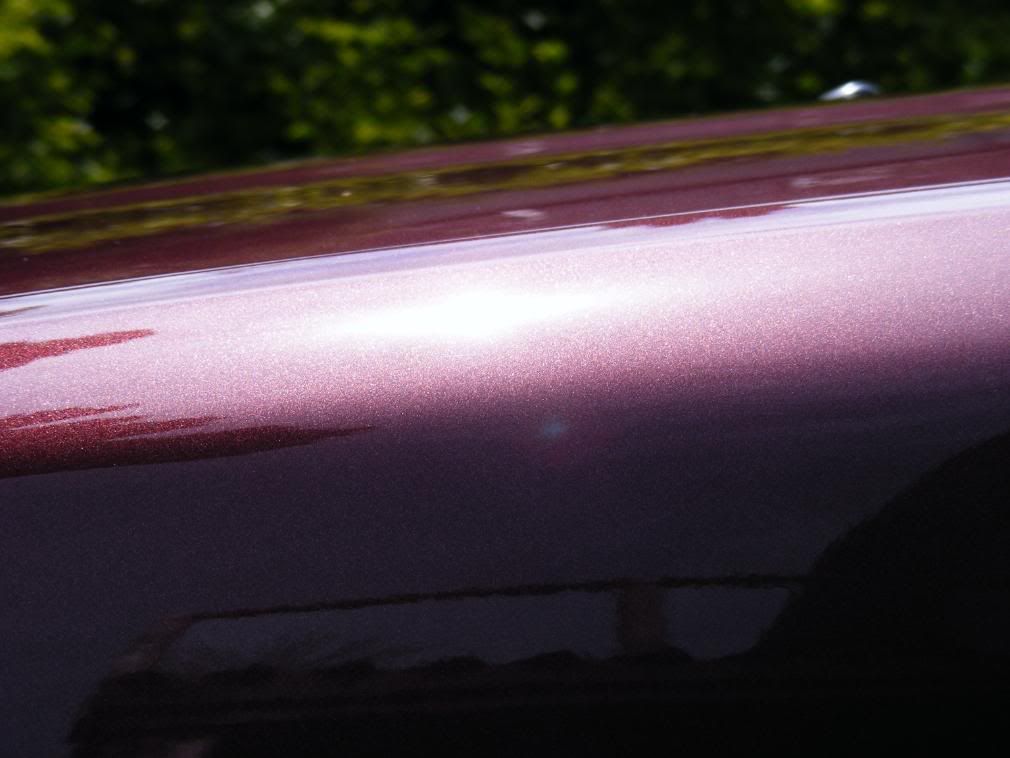
The finish too was looking a little worse for wear under the garage lights, in need of a good freshening up:
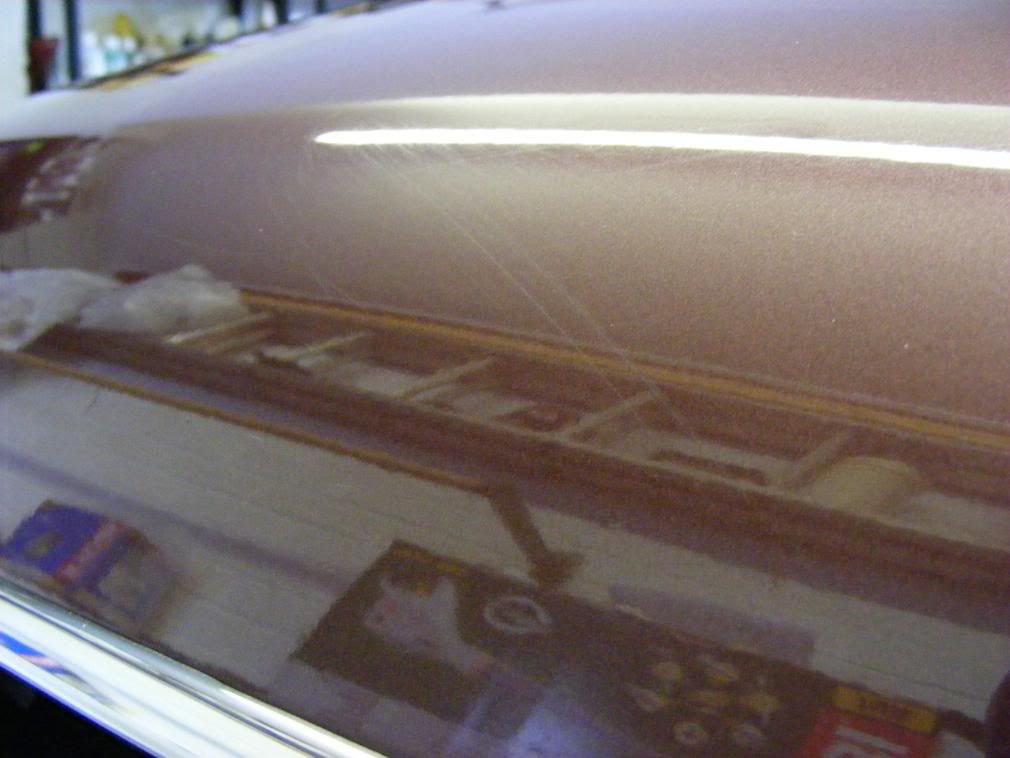
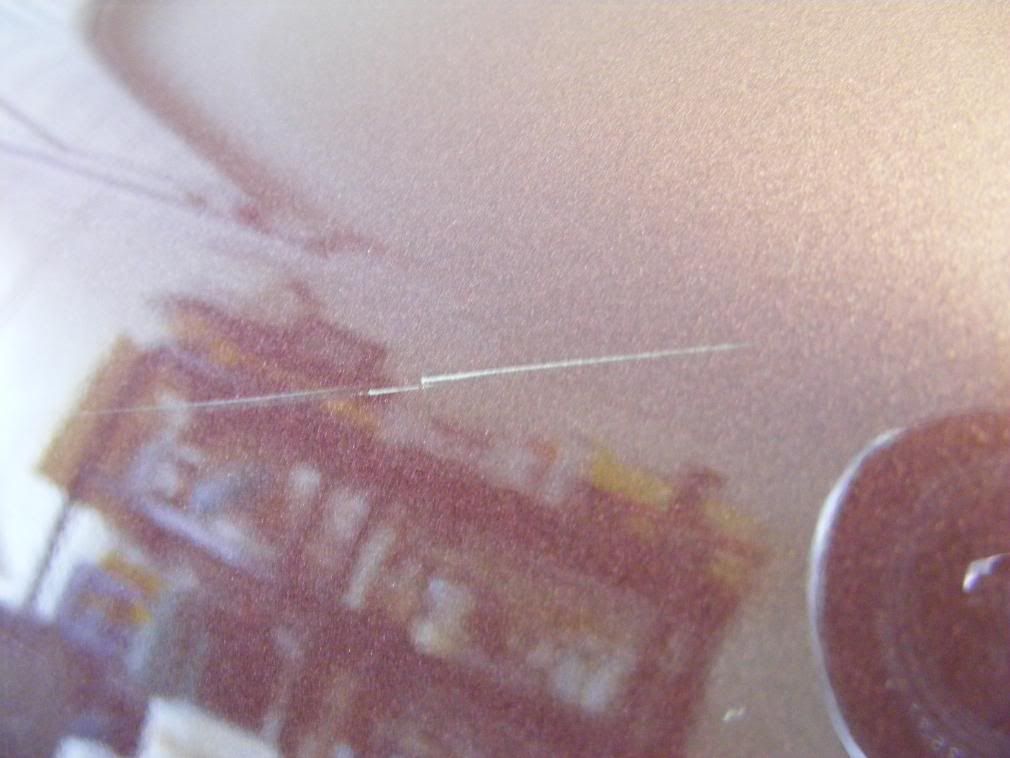
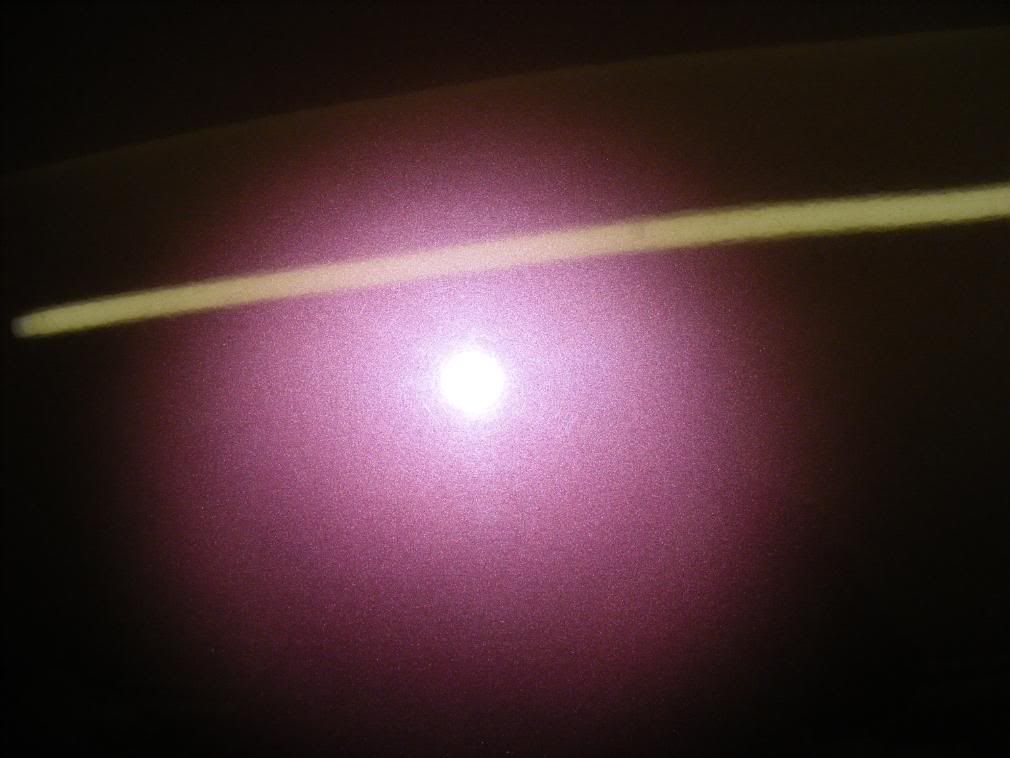
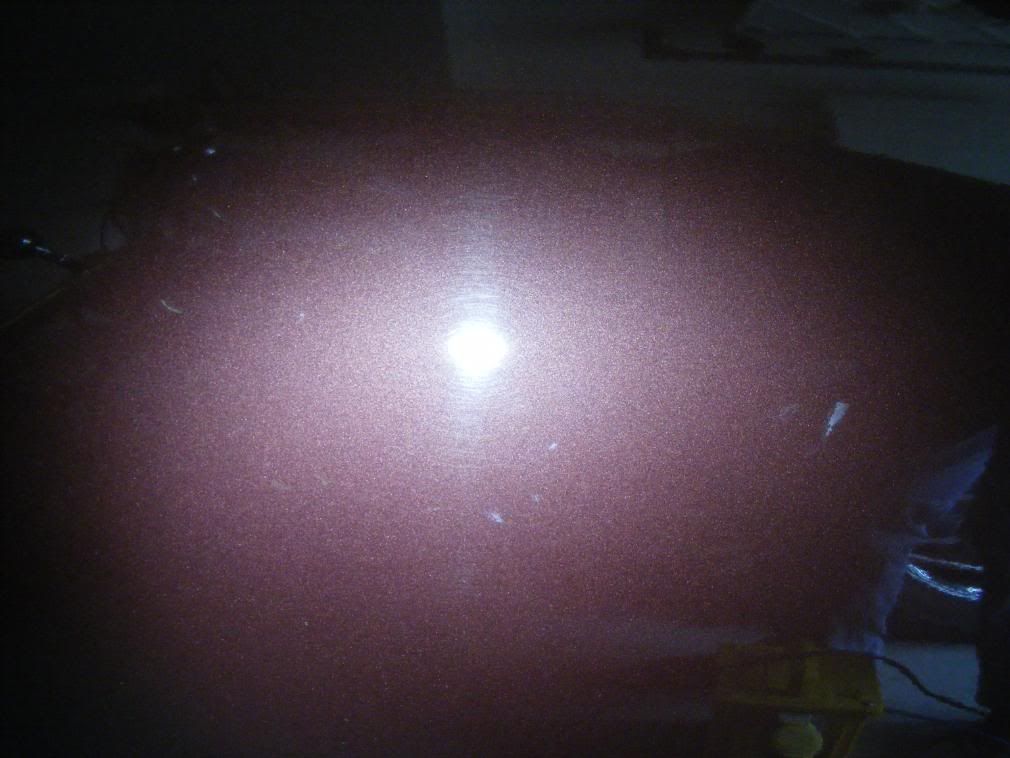
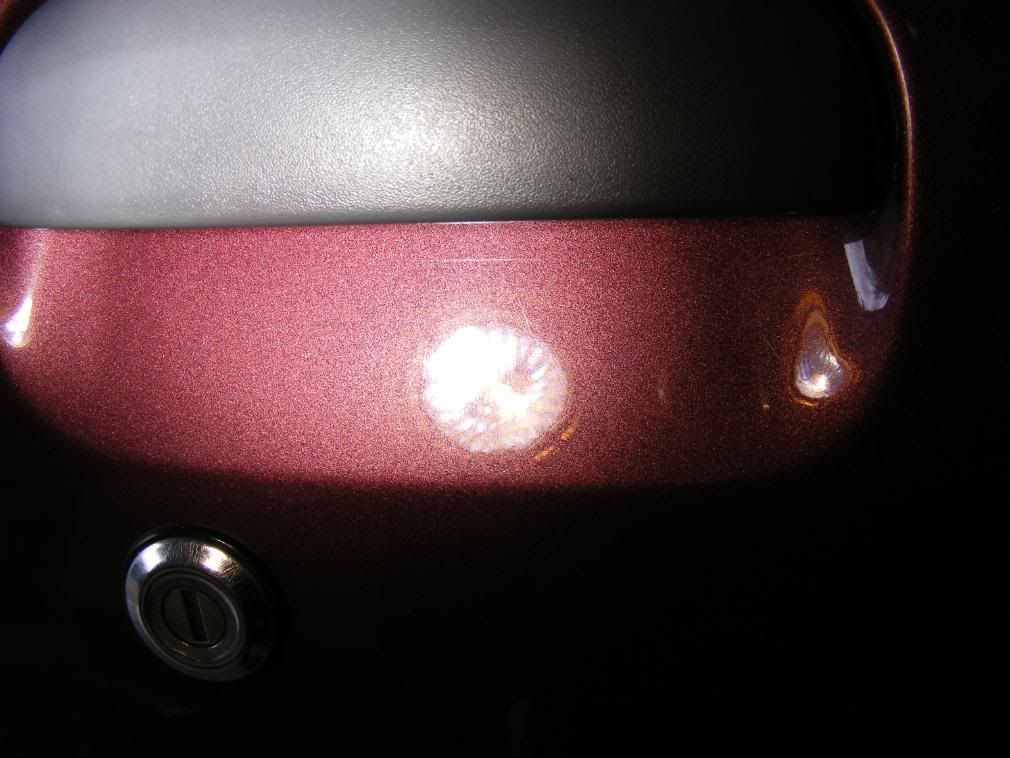
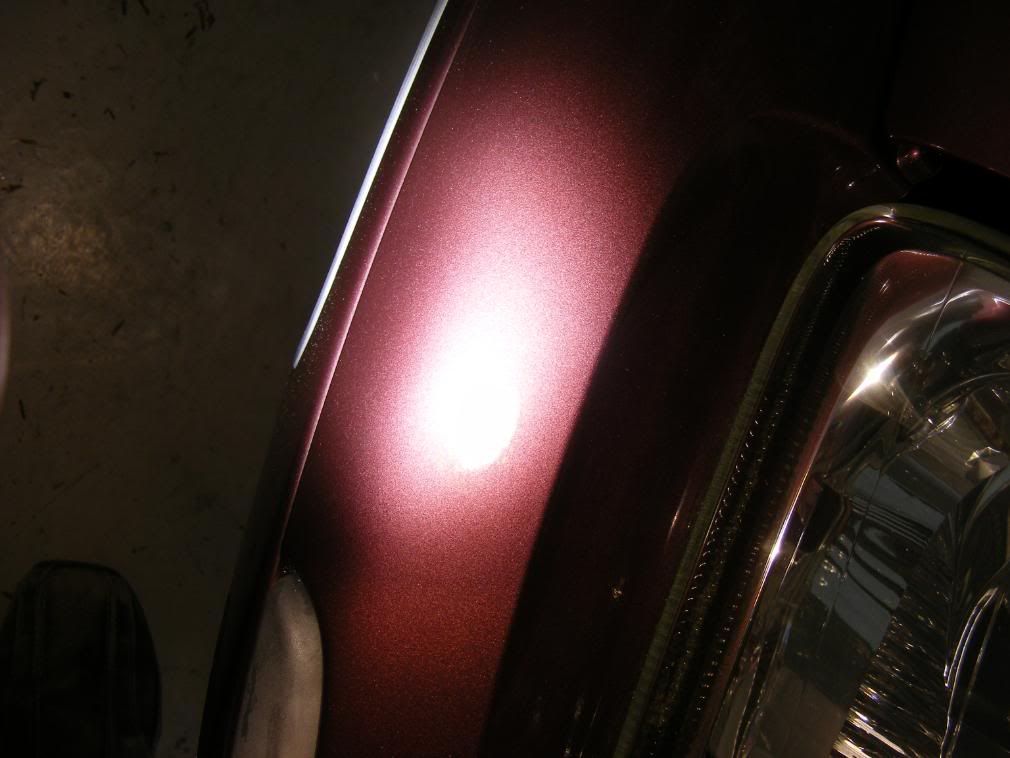
Under the sun gun:
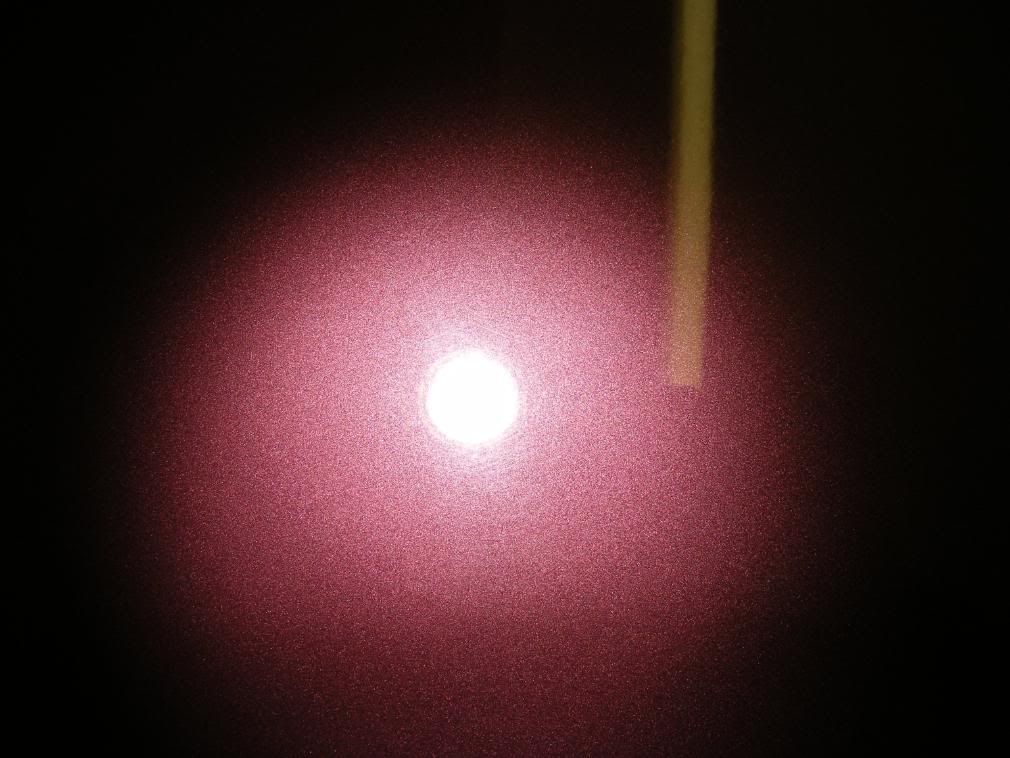
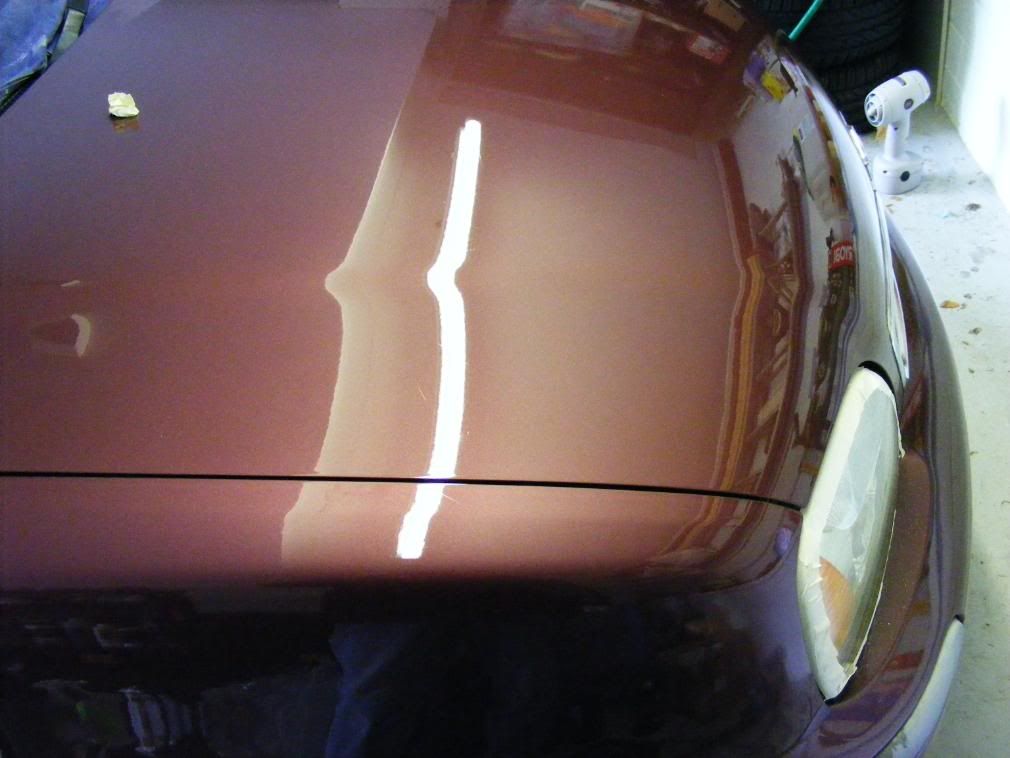
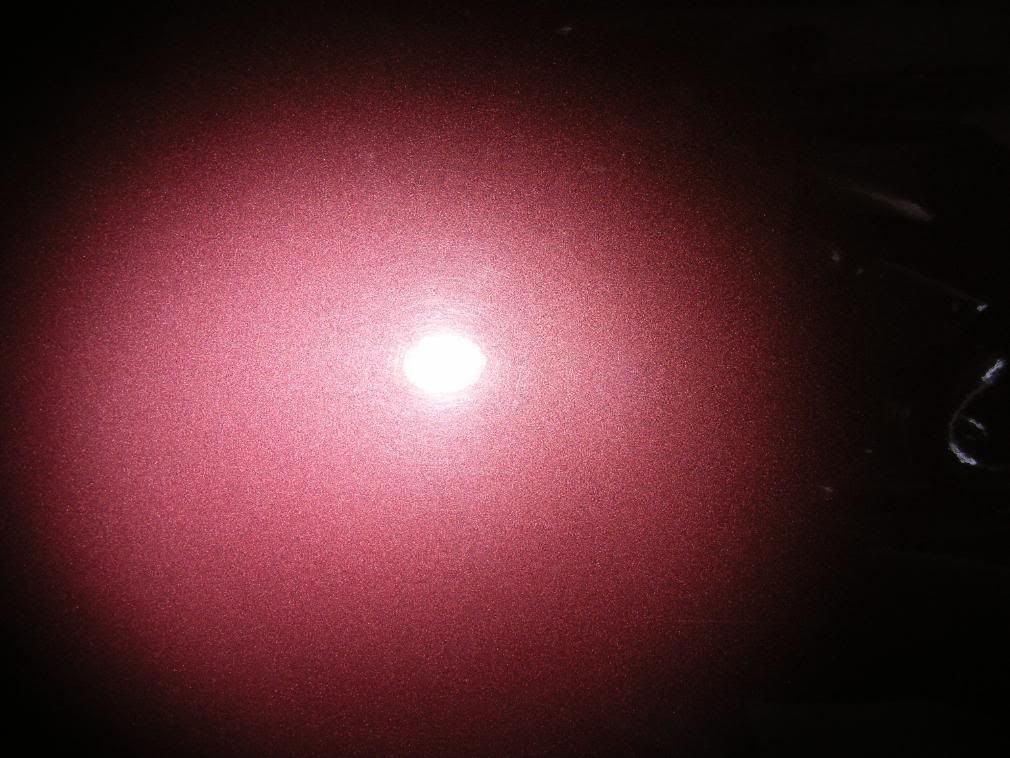
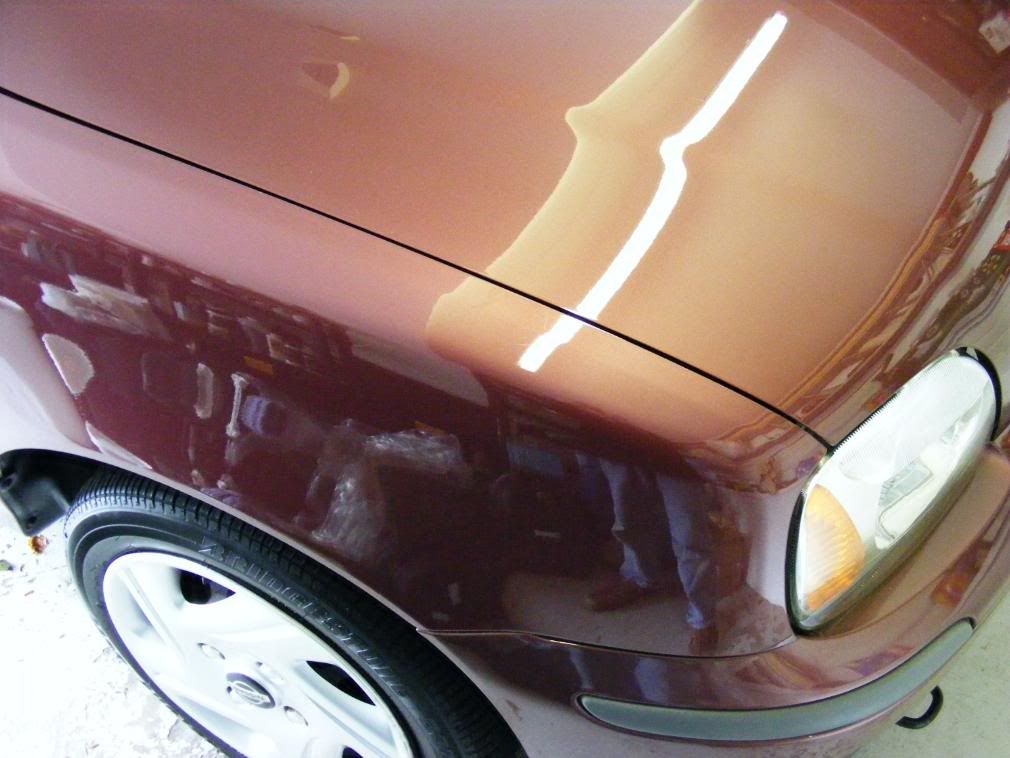
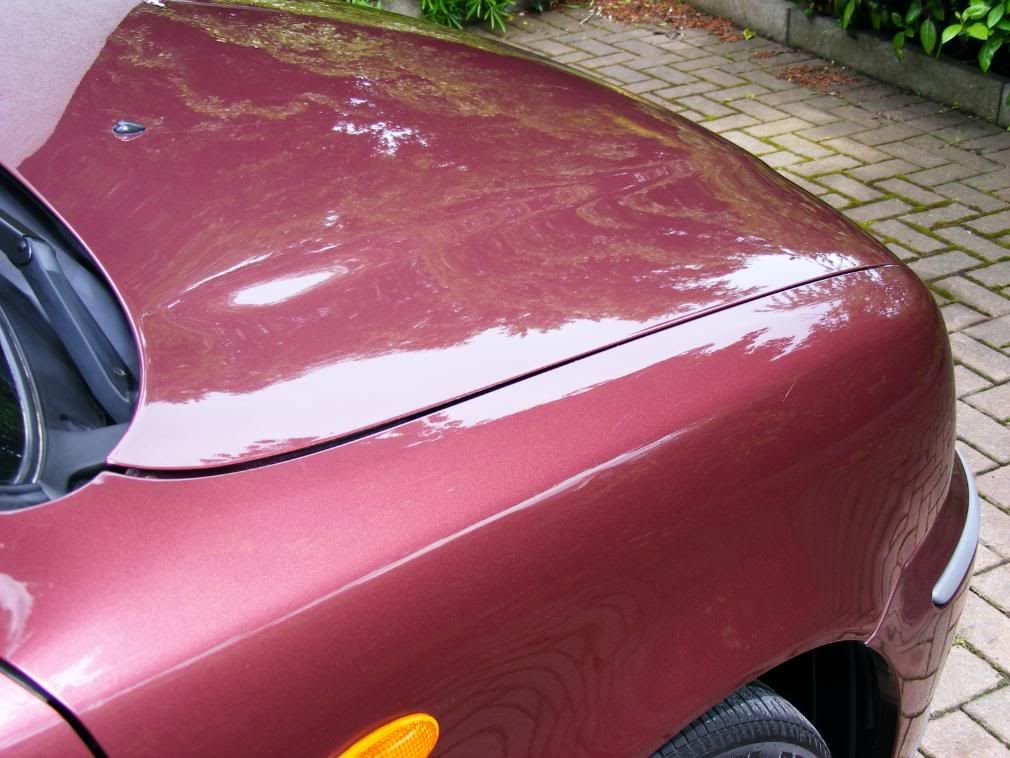
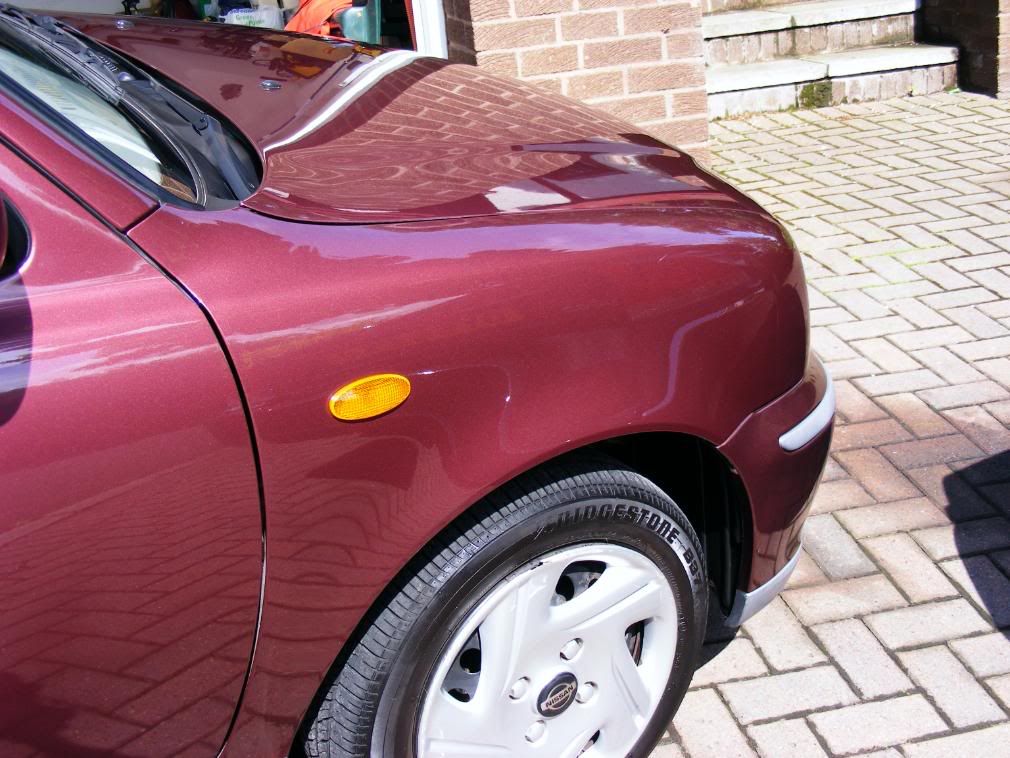
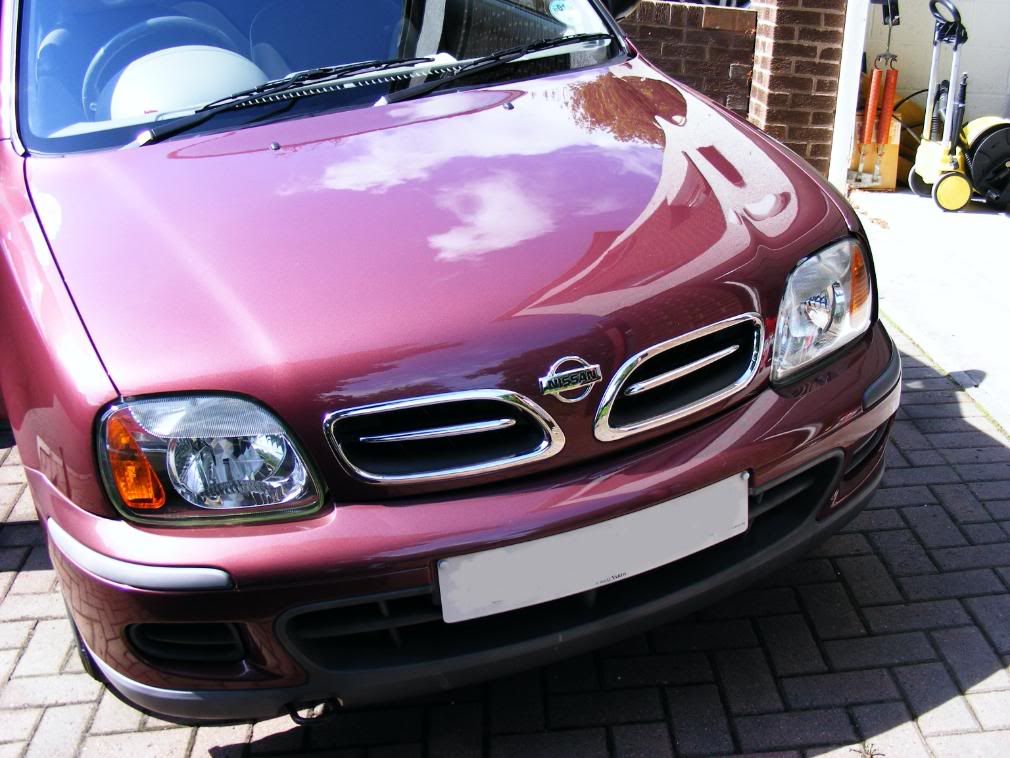
A test spot with Menzerna PO106FF Final Finish revealed great correction of the general swirls and marring and made a notable improvement just under the garage lights to the test patch (front bonnet corner):
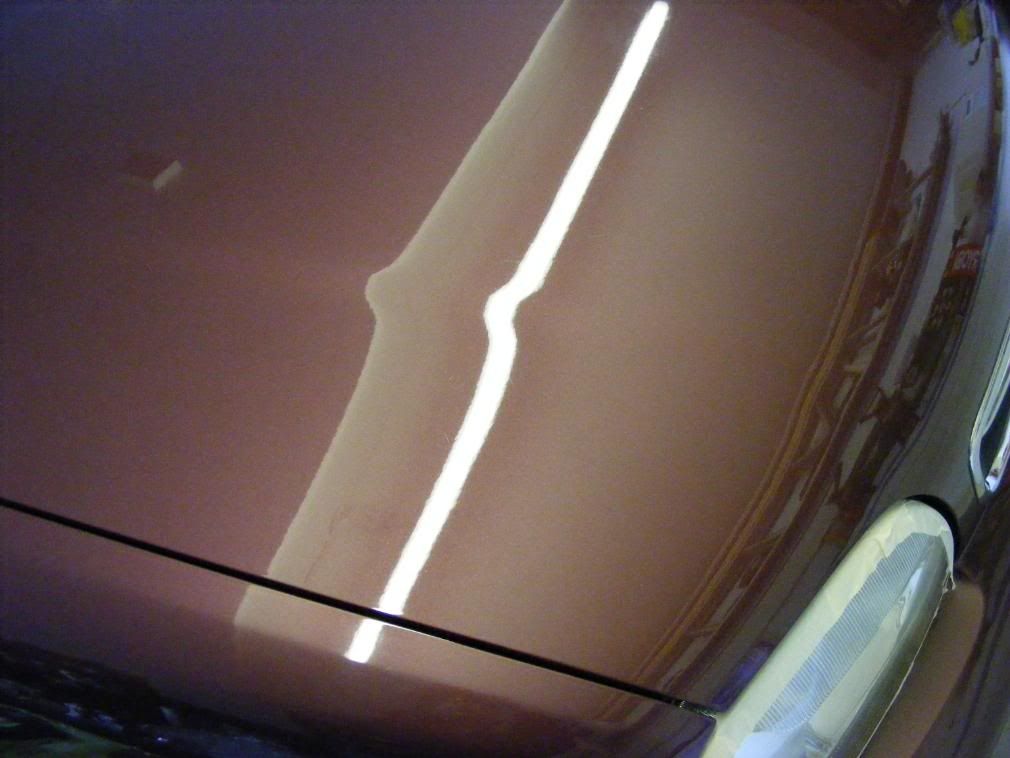
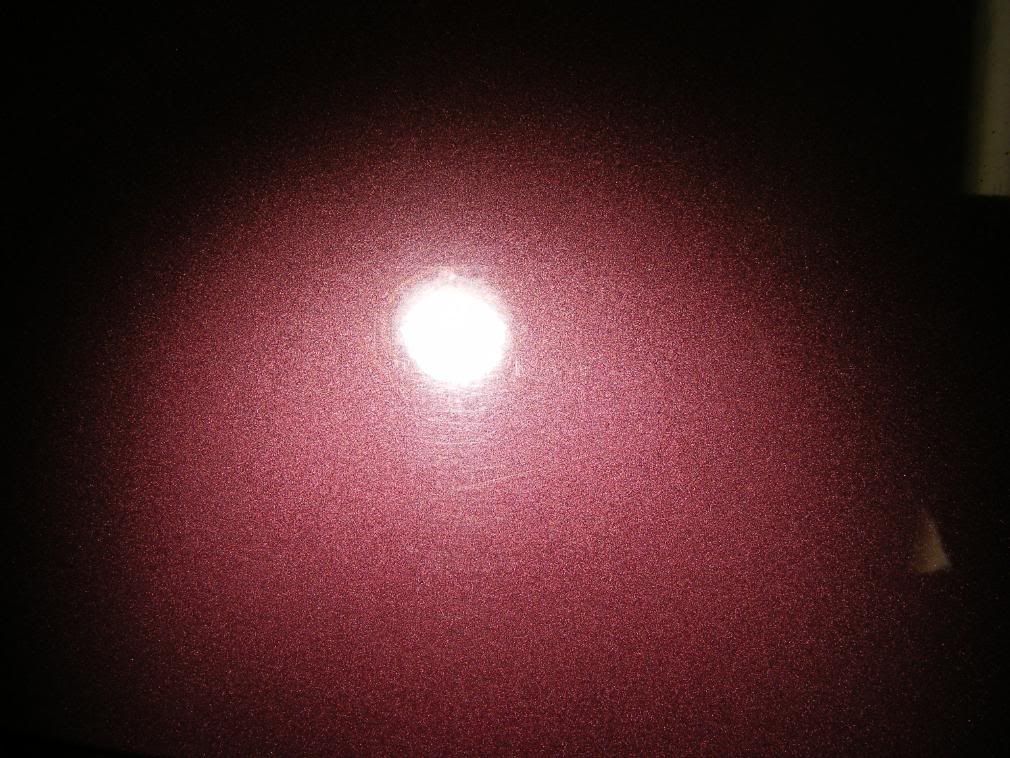
However looking closely under the Sun Gun, you could see with all the general swirls removed there was a lot of deeper marks in the paint and these needed some serious treatment to remove...
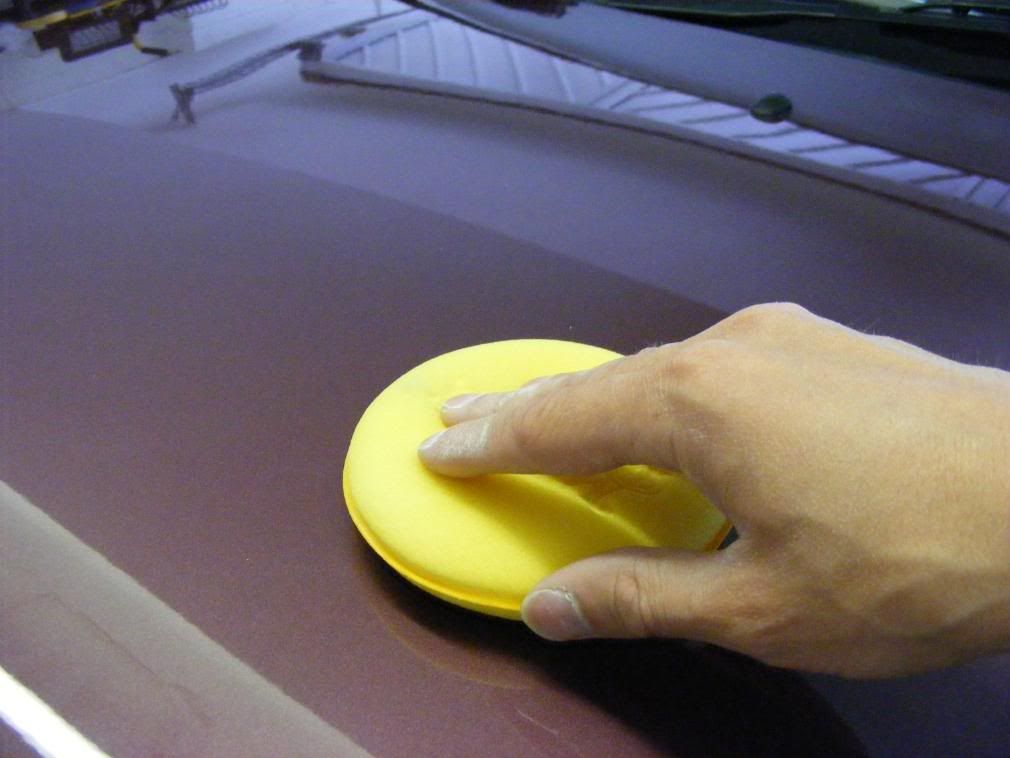
I finally decided on 3M Fast Cut Plus for correction, using a Meguiars W7006 burgandy cutting pad applied as follows:
No attempts made here to finish down, simply using the aggressive compound to remove the marring.
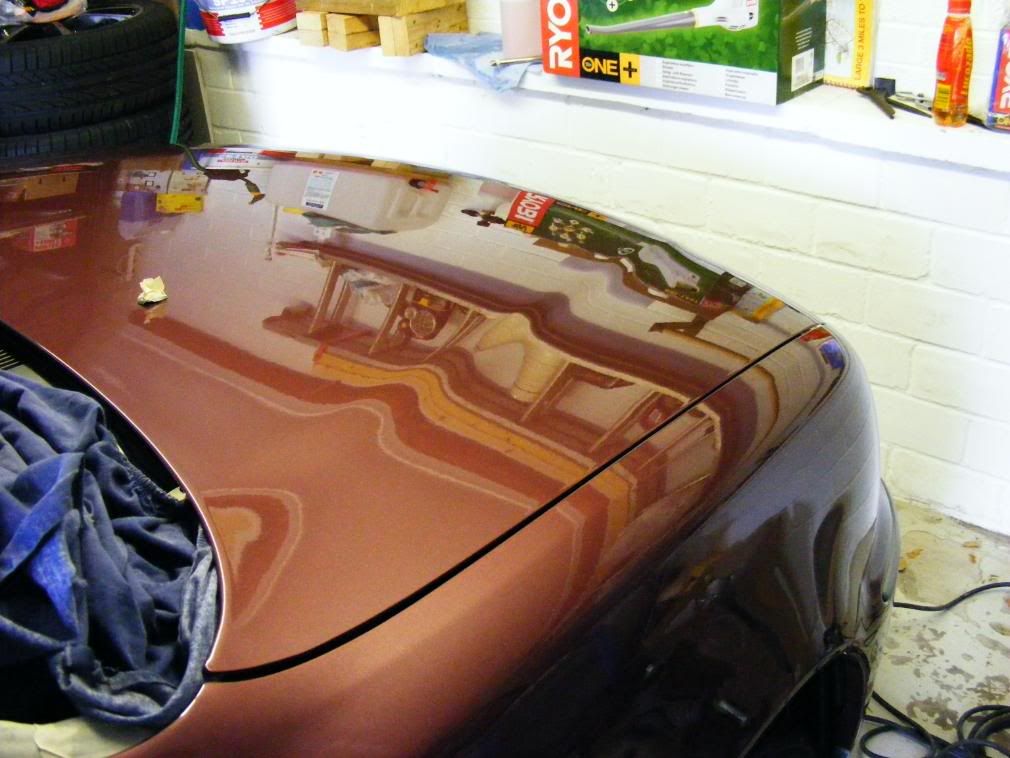
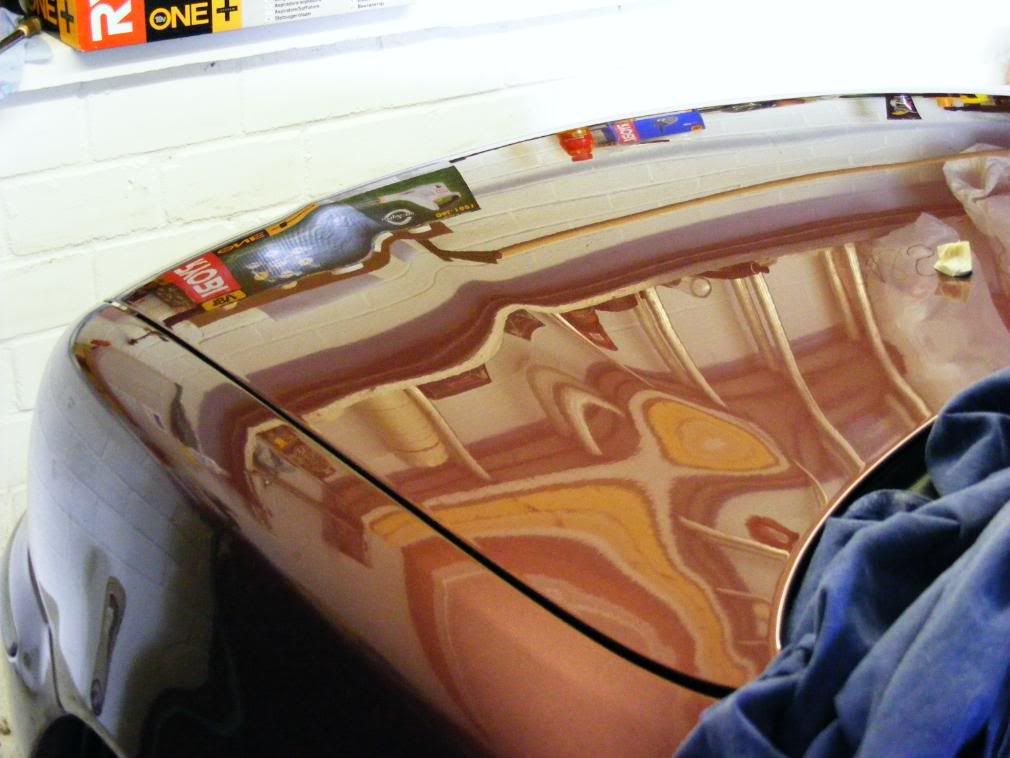
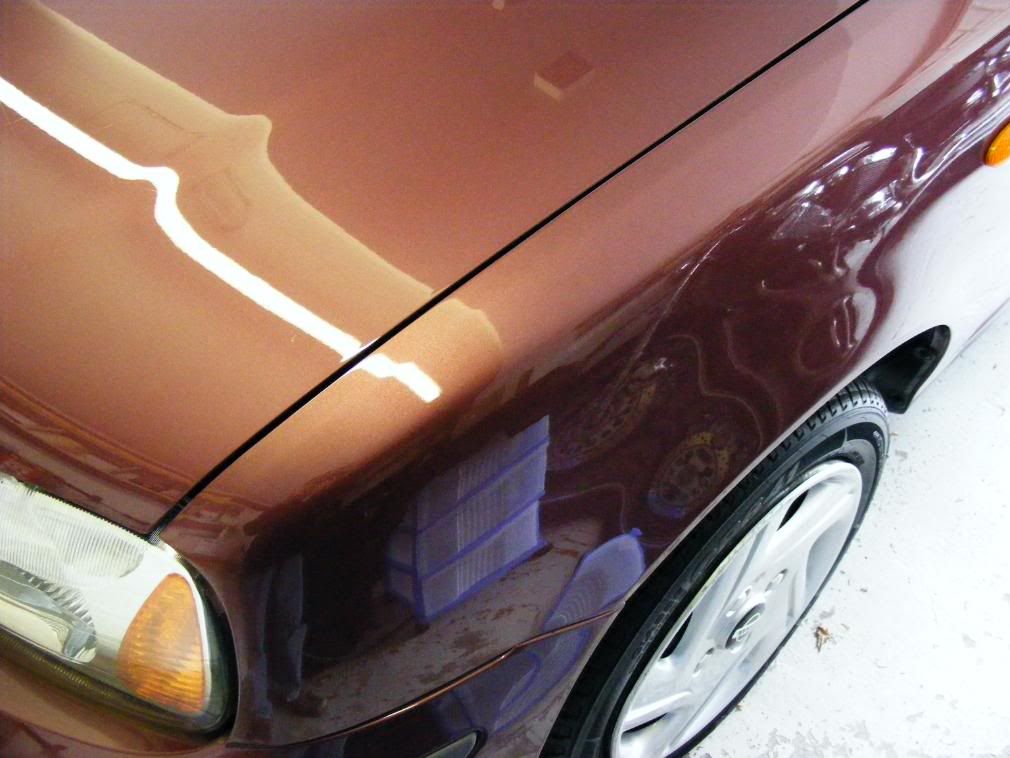
A dedicated finishing polish was then used to refine the finish and burnish it to a high gloss: Menzerna PO85RD applied using a Meguiars W9006 tan finishing pad as follows:
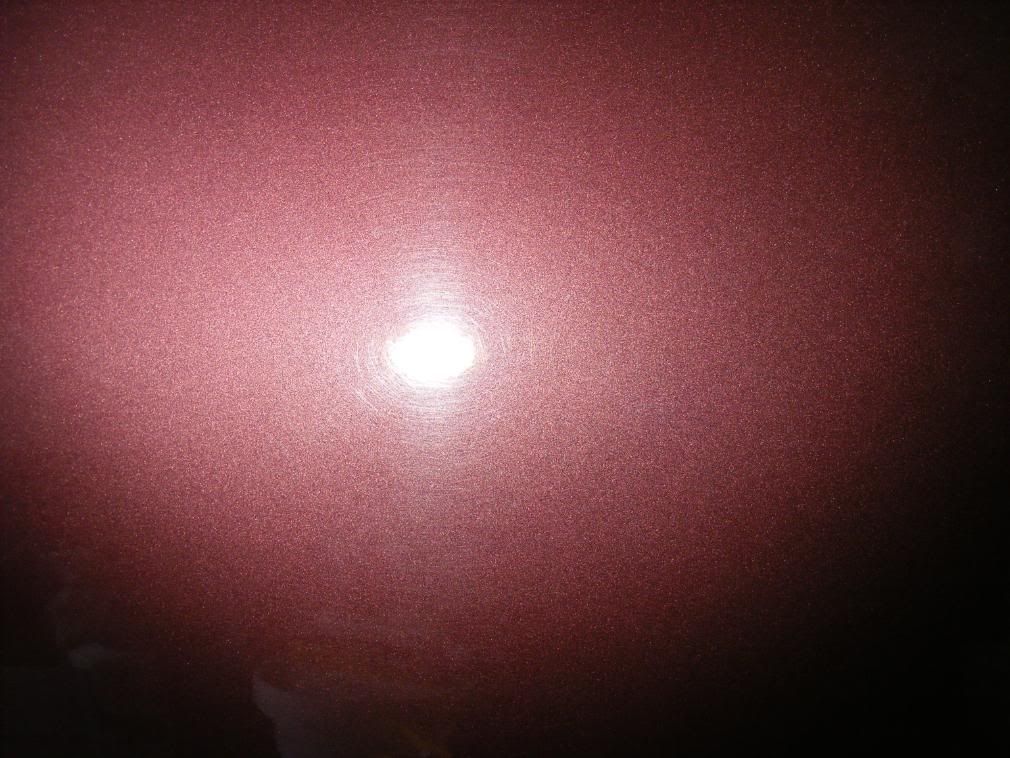
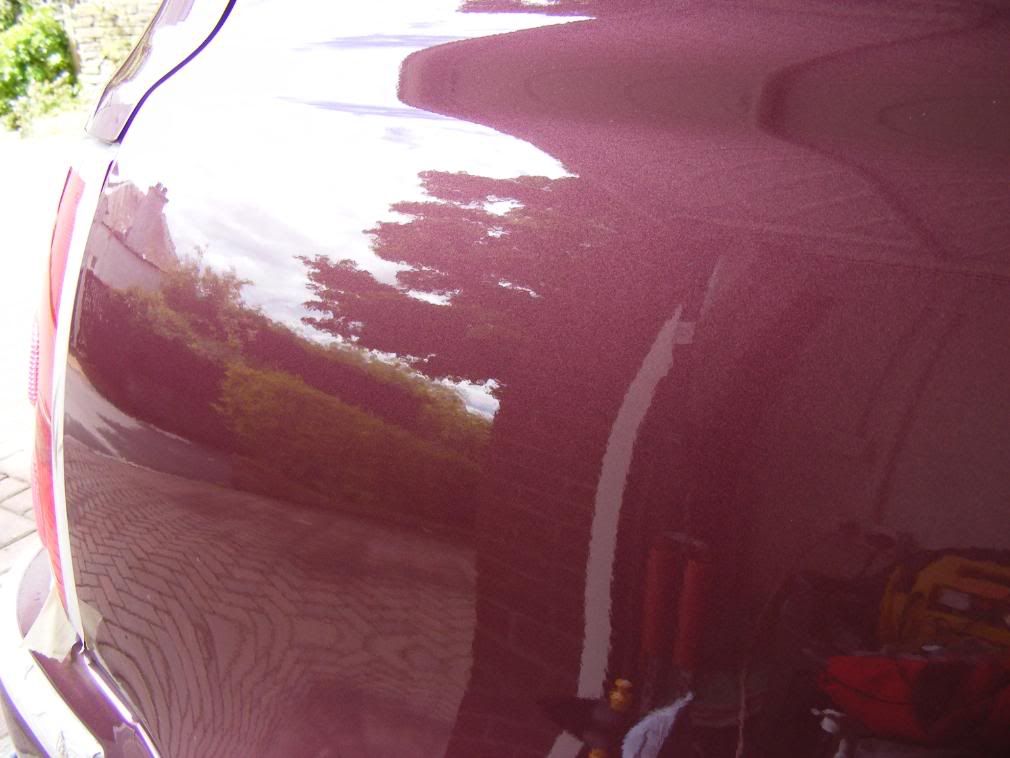
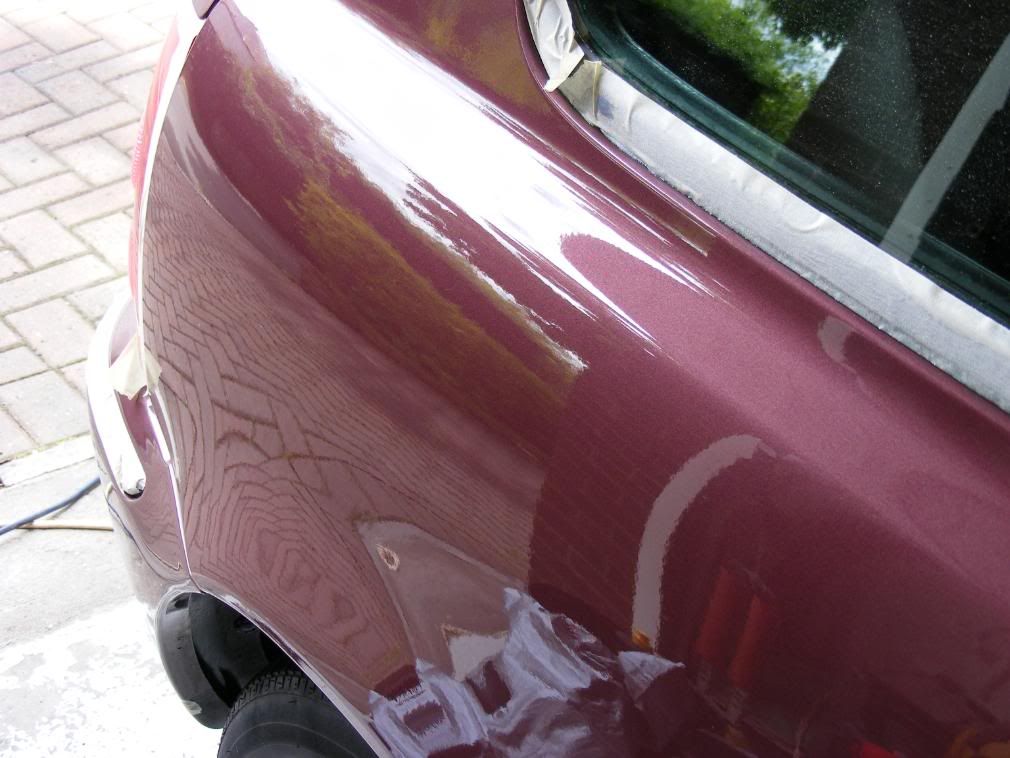
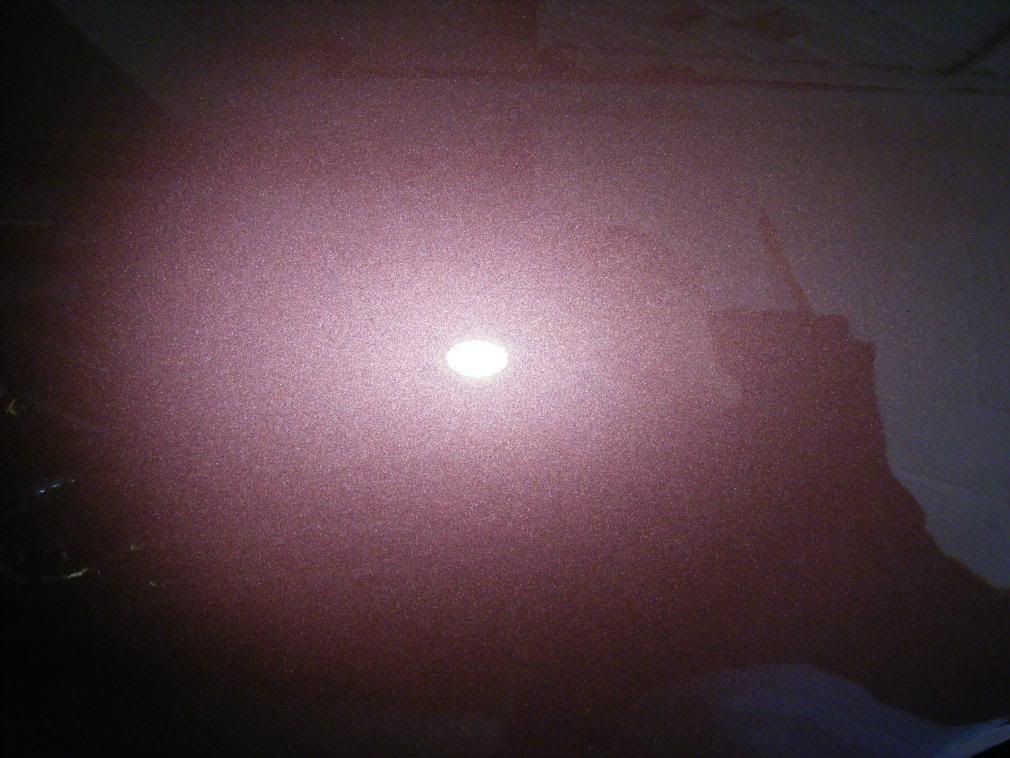
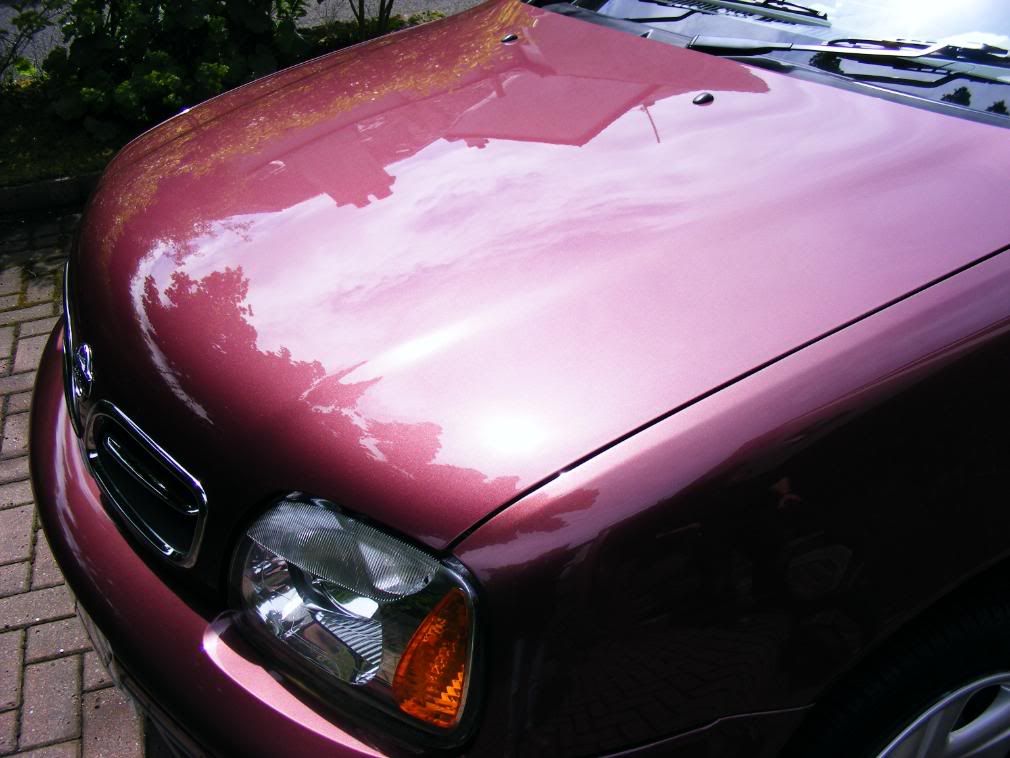
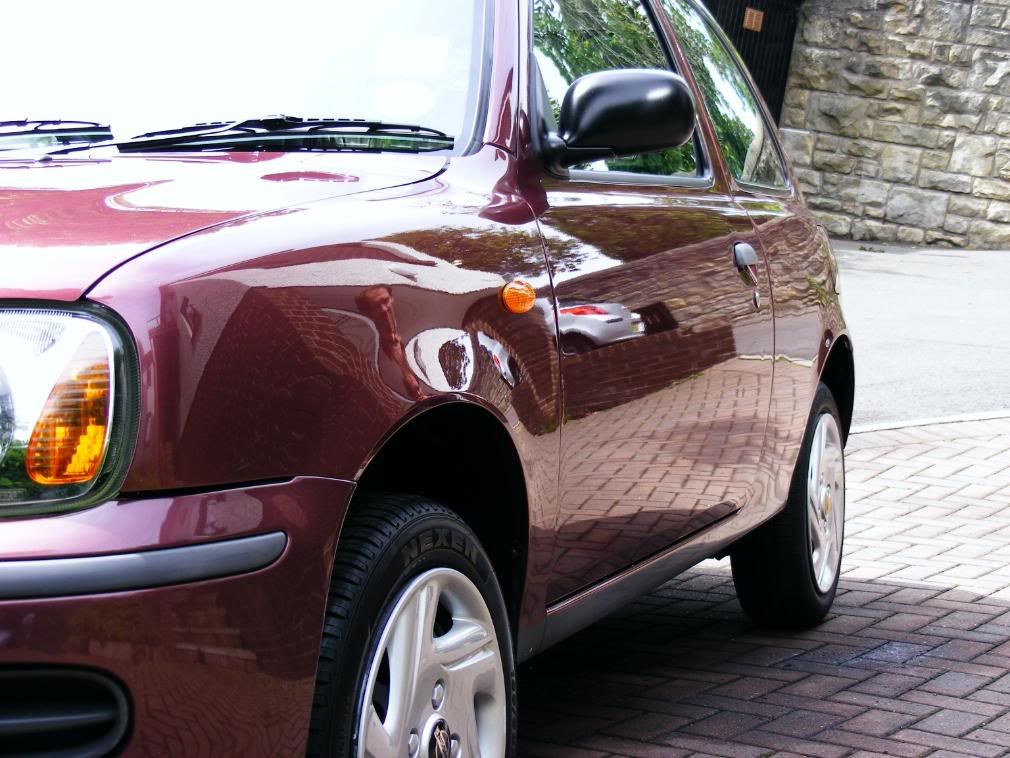
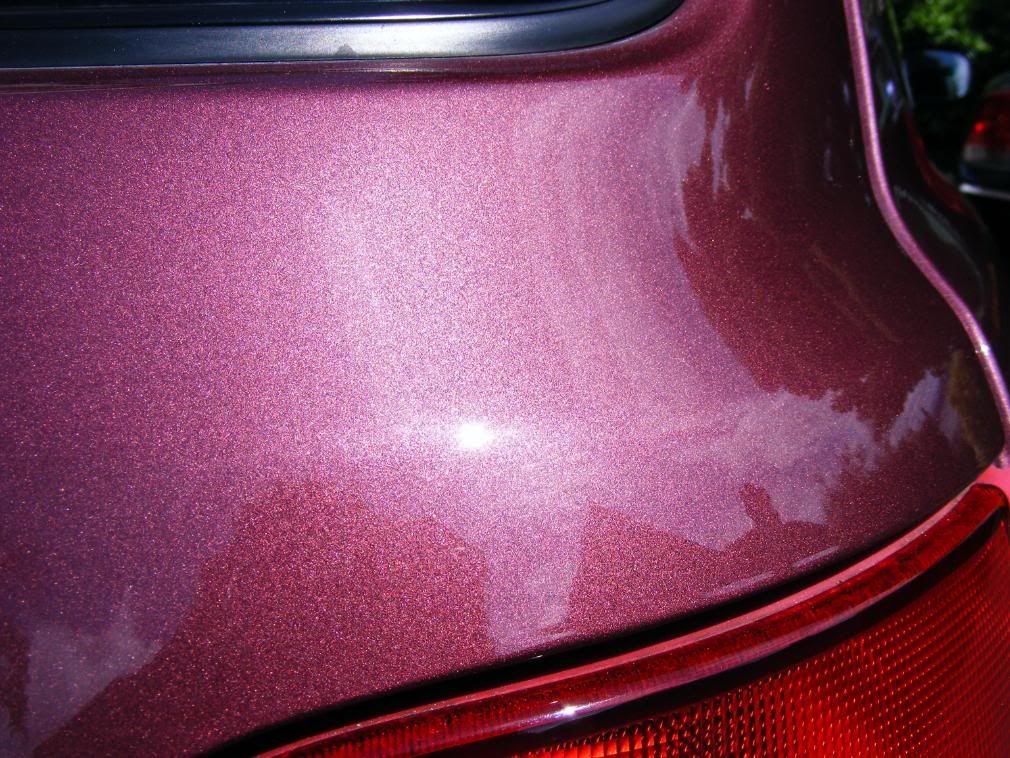
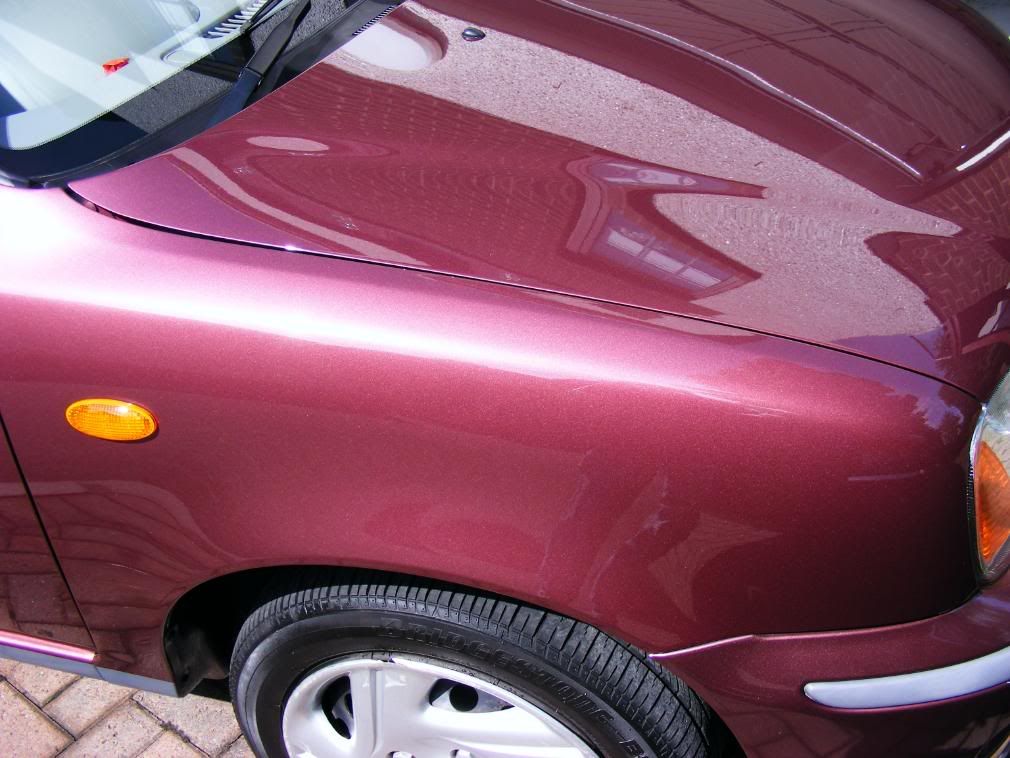
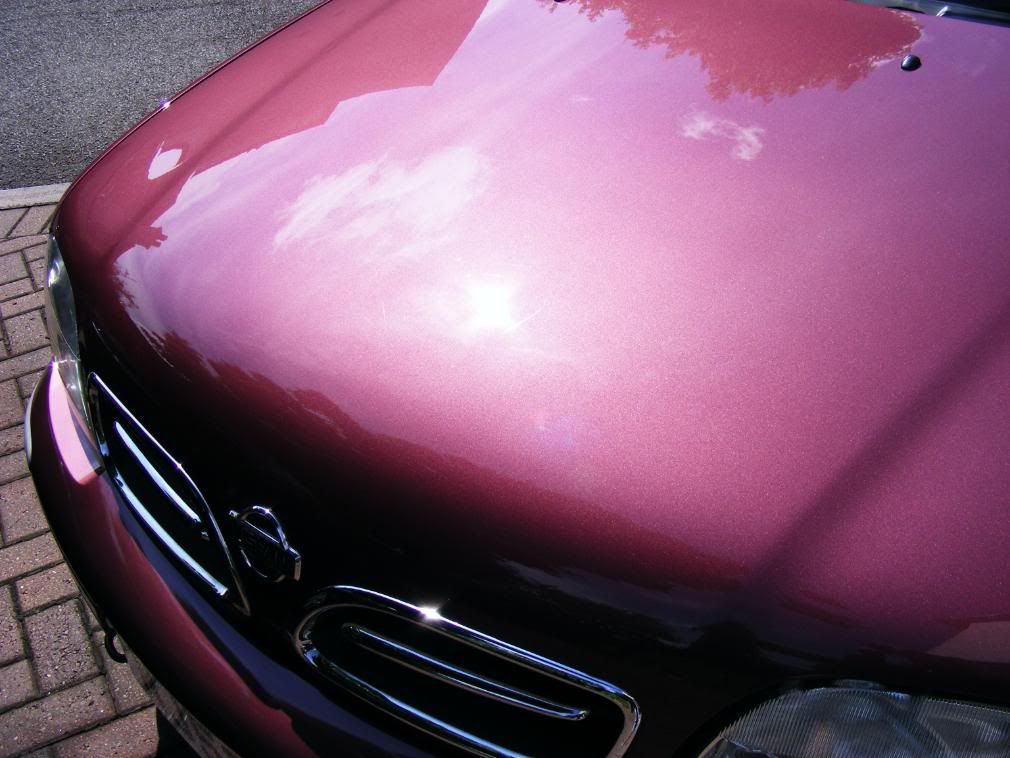
The results of this process on the bonnet and front wings:
This car is owned by a colleague's girlfriend, its her first car and after it being parked in a train station car park, it picked up quite a few deep scratches, we think from people resting bags on it .... Anyway, I said I'd sort out the marks as best I could and tidy the whole car up so it was looking nice - all cars can be detailed to look their best after all, regardless of what they are! :thumb: And I personally quite like the old model Micra Plus - this was an opportunity to dry Duragloss products out on a full car, after they have been impressing me on test panels of late.
So - on with the detail!
We started around 930am and Bryan wasted no time in getting the car washed:
Some tar spots were hit with Tardis...
Although a couple of particularly stubborn ones wouldn't shift with repeat applcations, but Sonus Grey clay and plenty of time soon saw to them
The entire car was clayed with Sonus Grey, and it certainly needed it as a lot of contamination was pulled from the rough feeling paint.After a clay, the car was already looking better:
So it was rolled into the garage to look at the finish and see the scratches up close, here are a few of them:
The finish too was looking a little worse for wear under the garage lights, in need of a good freshening up:
Under the sun gun:
A test spot with Menzerna PO106FF Final Finish revealed great correction of the general swirls and marring and made a notable improvement just under the garage lights to the test patch (front bonnet corner):
However looking closely under the Sun Gun, you could see with all the general swirls removed there was a lot of deeper marks in the paint and these needed some serious treatment to remove...
I finally decided on 3M Fast Cut Plus for correction, using a Meguiars W7006 burgandy cutting pad applied as follows:
- Spread at 600rpm, 1 pass
- Worked at 1200rpm, 2 or 3 passes
- Worked at 1500rpm, 6 or 7 passes until marks removed
No attempts made here to finish down, simply using the aggressive compound to remove the marring.
A dedicated finishing polish was then used to refine the finish and burnish it to a high gloss: Menzerna PO85RD applied using a Meguiars W9006 tan finishing pad as follows:
- Spread at 600rpm, 1 pass
- Begin working at 900rpm, 2 passes
- Work at 1200rpm, 4 or 5 passes
- Work at 1500rpm, 7 or 8 passes until residue clear
- Refine at 1200rpm, 2 or 3 passes
- Burnish at 900rpm, 2 or 3 passes
The results of this process on the bonnet and front wings:


")