Joshs2013MSAltimaSL
Wax-a-holic
Hey guys!
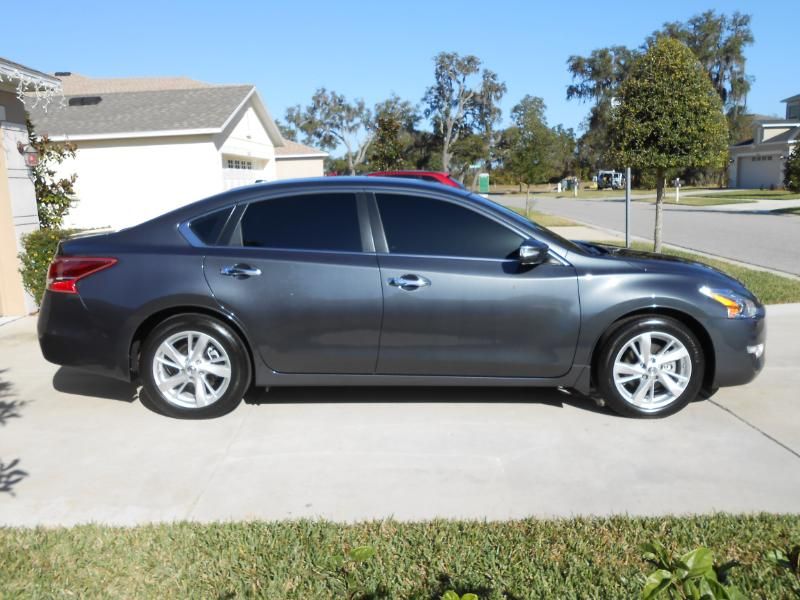
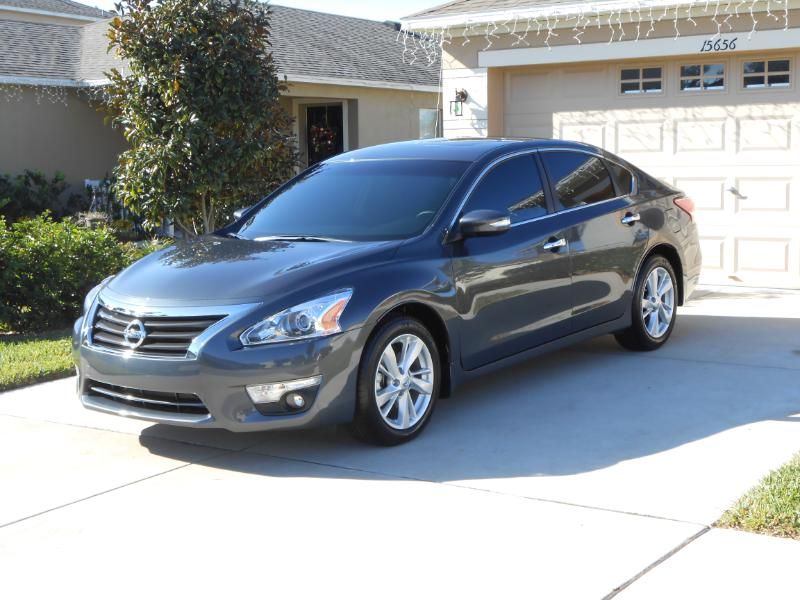
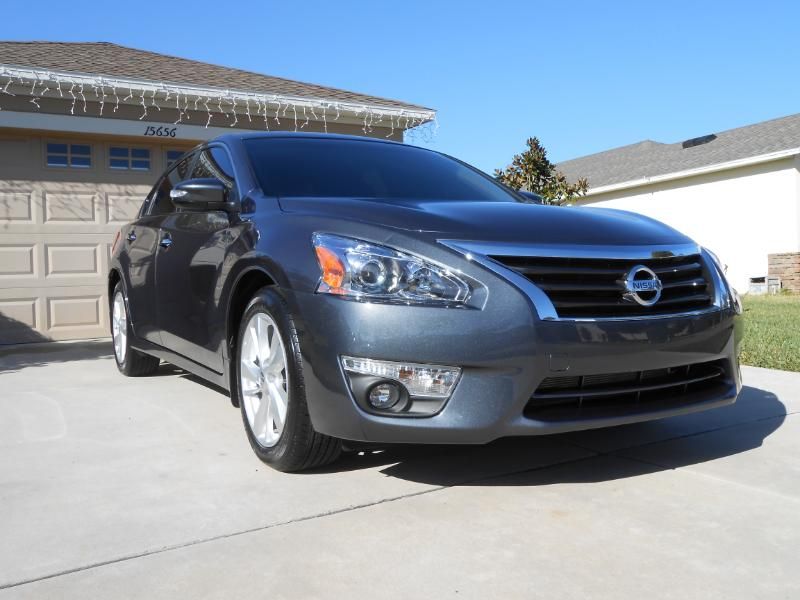
I recently traded in my 370 for a “family car” because my wife and I are expecting. A few weeks ago we picked up a 2013 Nissan Altima 2.5 SL. The dealer did their version of a “dealer prep” when we got it, which we all know isn’t all that good. The first weekend I had it, I ended up washing it myself and giving it a coat of Fuzion just for protection until I could give it a proper detail. This proper detail started Friday morning at 9am, and ended at 5:30pm, and was completely finished on Saturday night. The only big thing I had left to finish on Saturday was to give it a good IPA wipe down and apply wax. Unfortunately, the wax I ordered earlier in the week (Rubbish Boy’s Original Edition), hadn’t come in yet. I was hoping it would come in on Friday or Saturday so I could try it out. Unfortunately it did not arrive, so I went with Dodo Juice Supernatural as the LSP.
So anyways…on with the details of the detail lol. I decided on a two step approach; I wasn’t going after complete perfection, but wanted to clean up a few blemishes here and there and add some gloss.
Products Used:
-Meg's Gold Class shampoo
-Meg's white clay with ONR as lube
-M105 via white LC CCS pad (some spots required an orange pad)
-M205 via blue LC CCS pad
-Dewalt Rotary
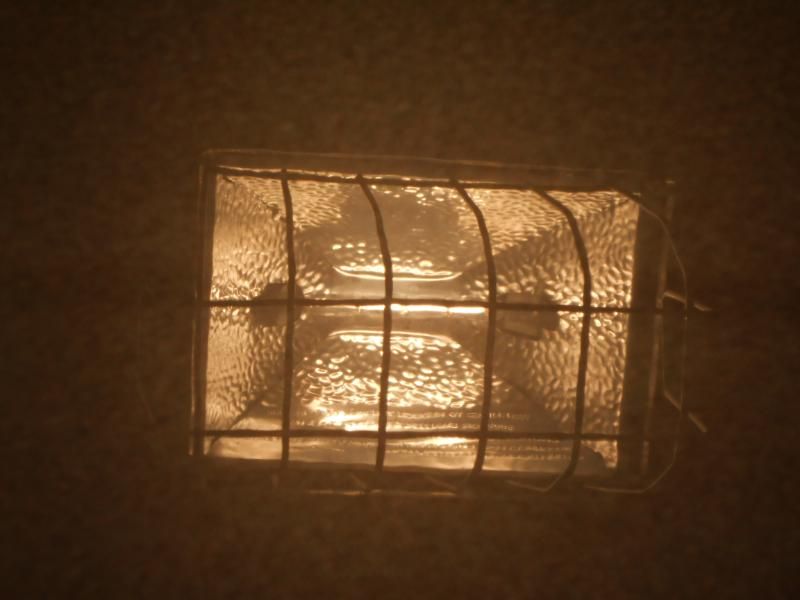
-PC 7424XP to polish head and tail lights
-IPA wipe downs
-Dodo Juice Supernatural
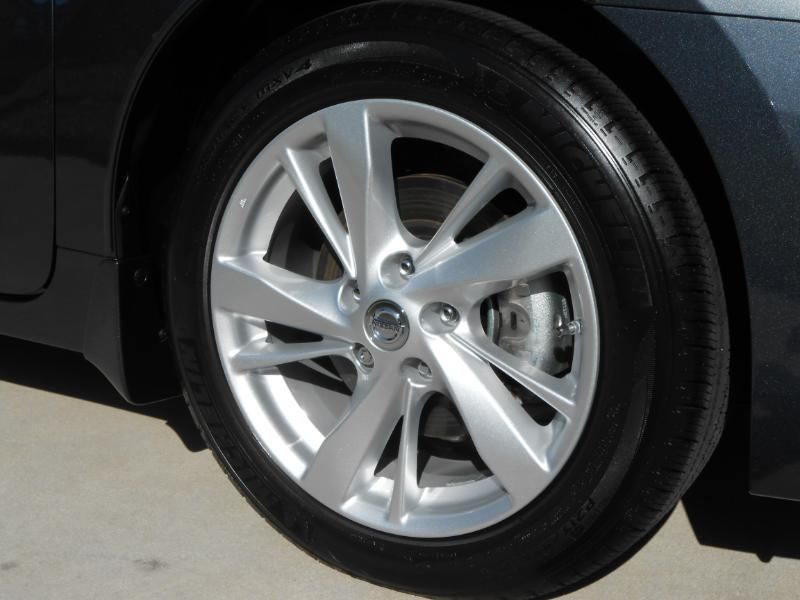
-Optimum Opti-Bond to dress the tires
-Rain X applied to all windows
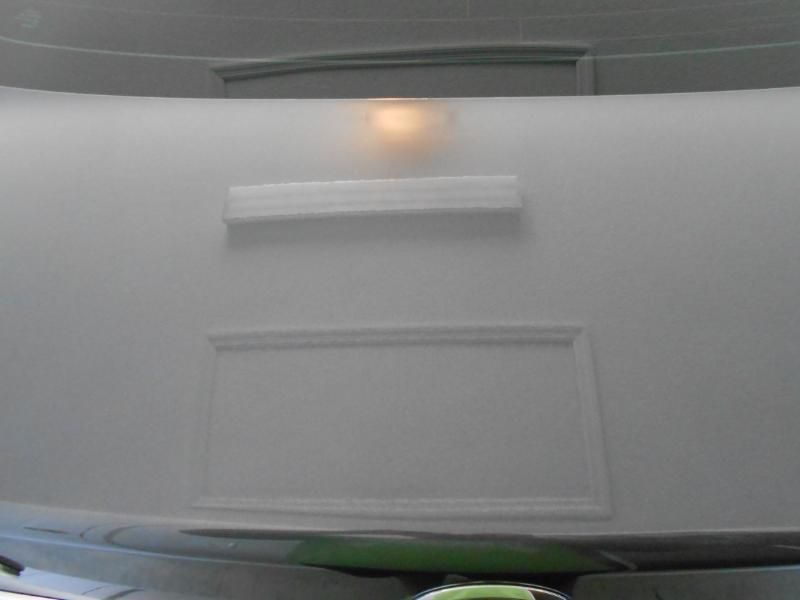
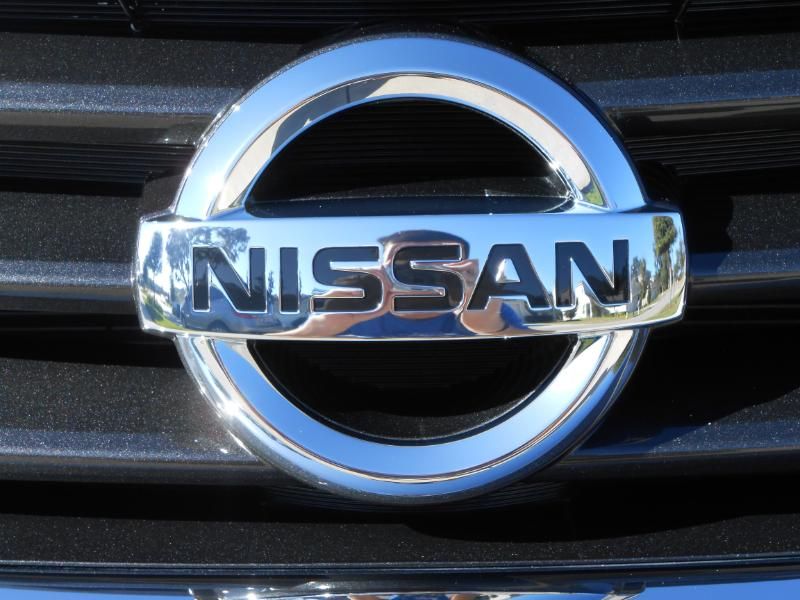
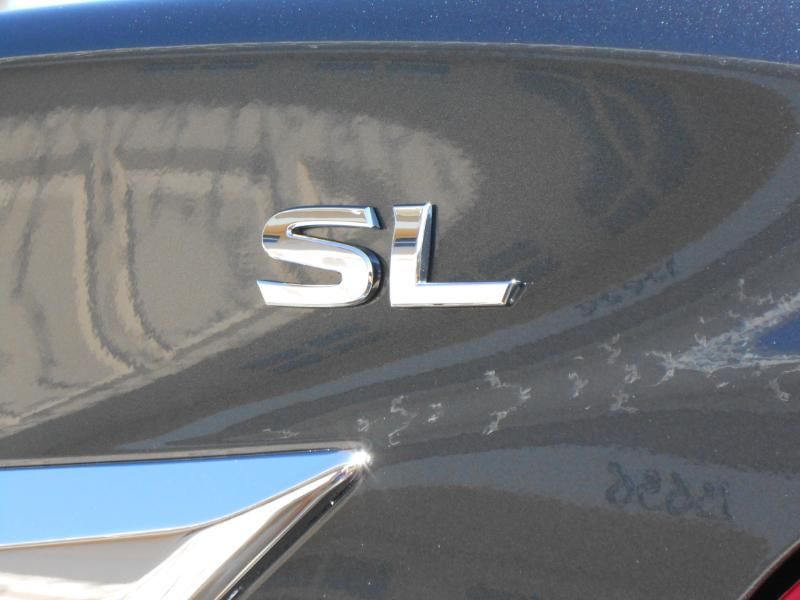
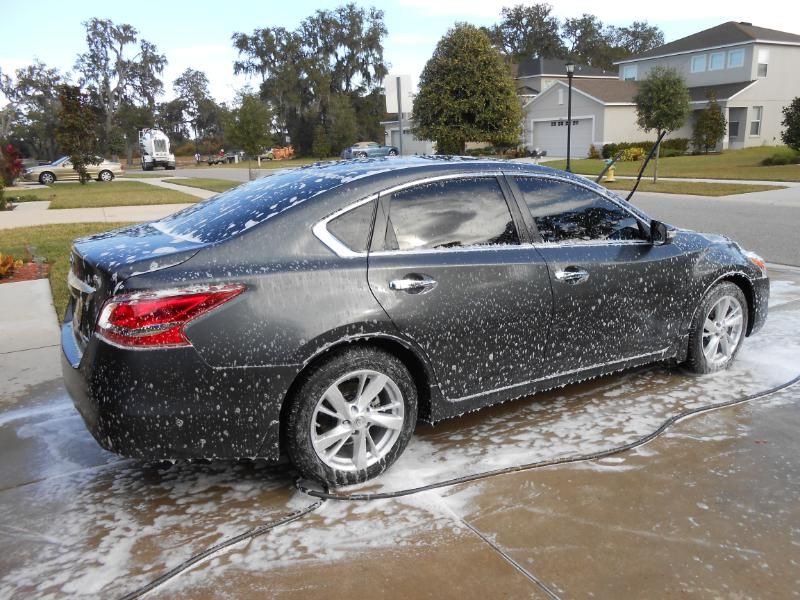
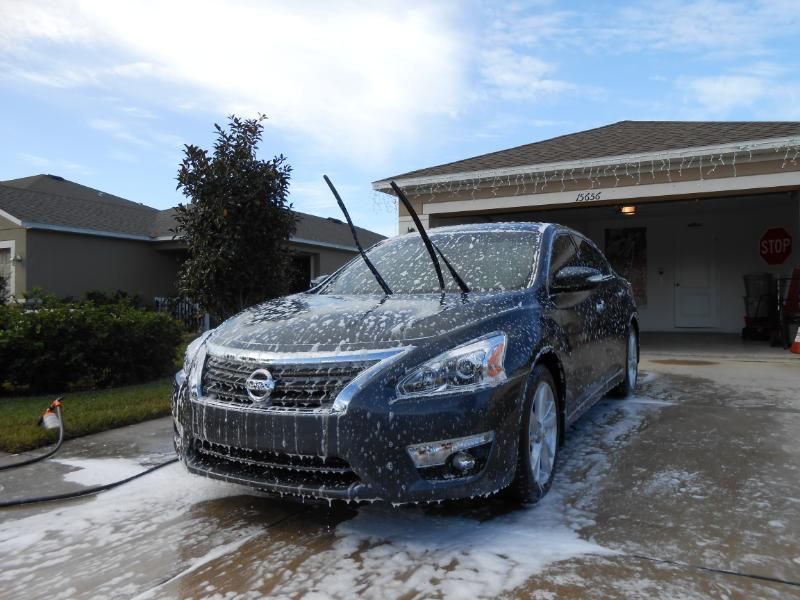
Sorry I don’t have any before shots of the car; it wasn’t all that dirty. I started first with a good foaming mixture of Zep Citrus (thanks Richy!) and Dawn. While that sat on the car, I cleaned up the badges:
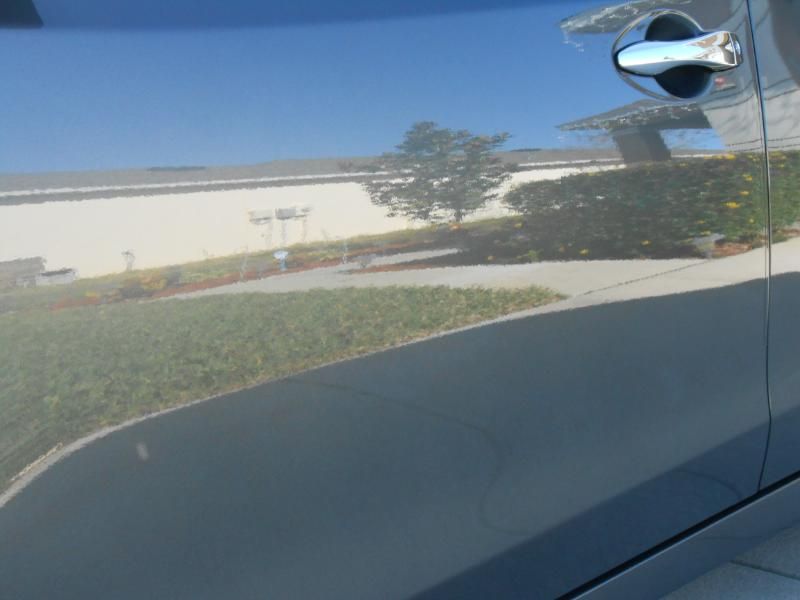
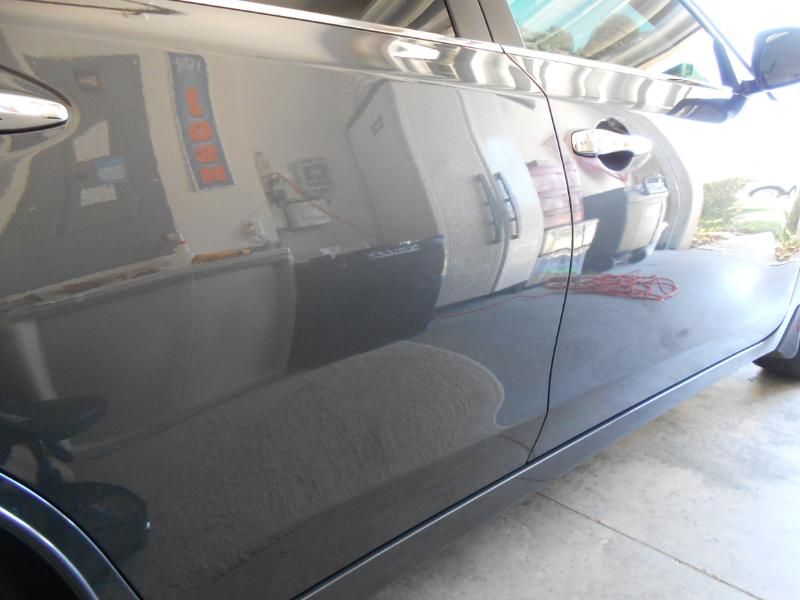
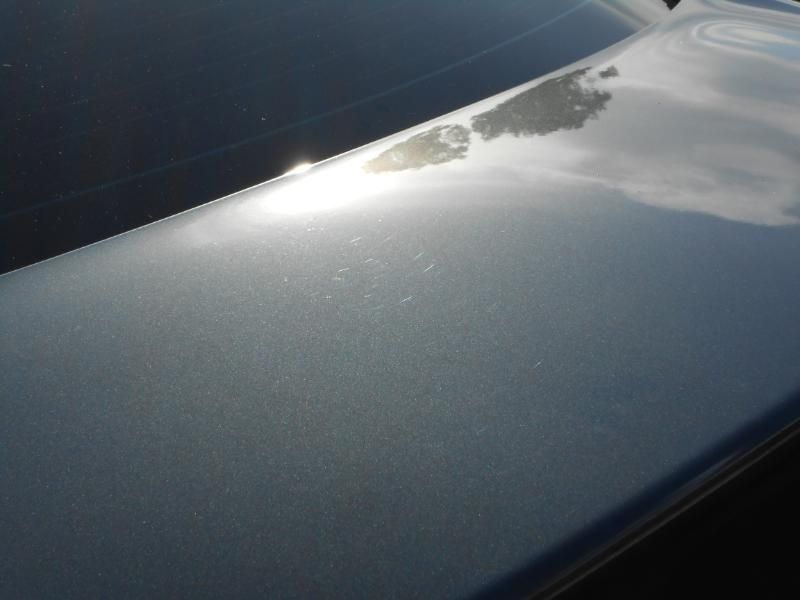
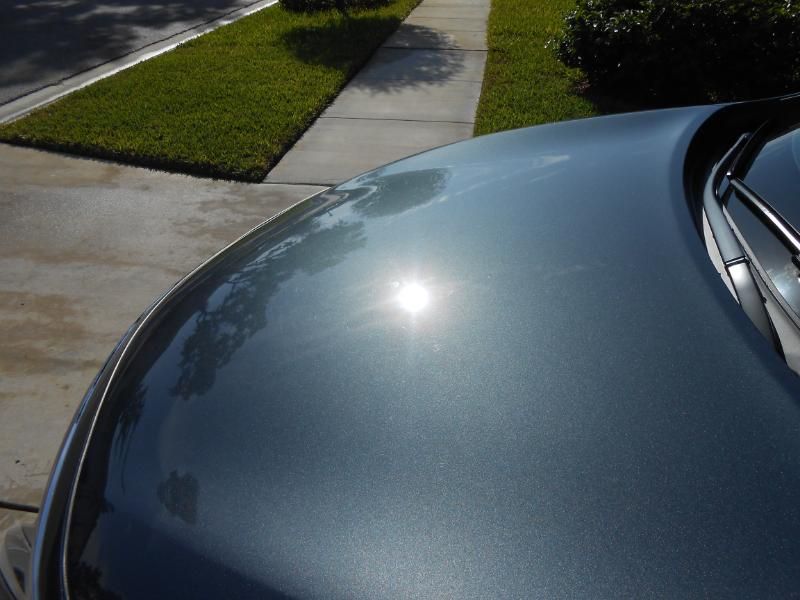
After that, I hand washed the car with Meg’s Gold Class soap and a grout sponge. After the wash, I air dried the car and clayed using Meg’s white clay and ONR as lube. After I clayed, I pulled the car out in the sun to capture the condition of the paint. As you can see, it’s not in horrible condition, but could definitely use a good polish:
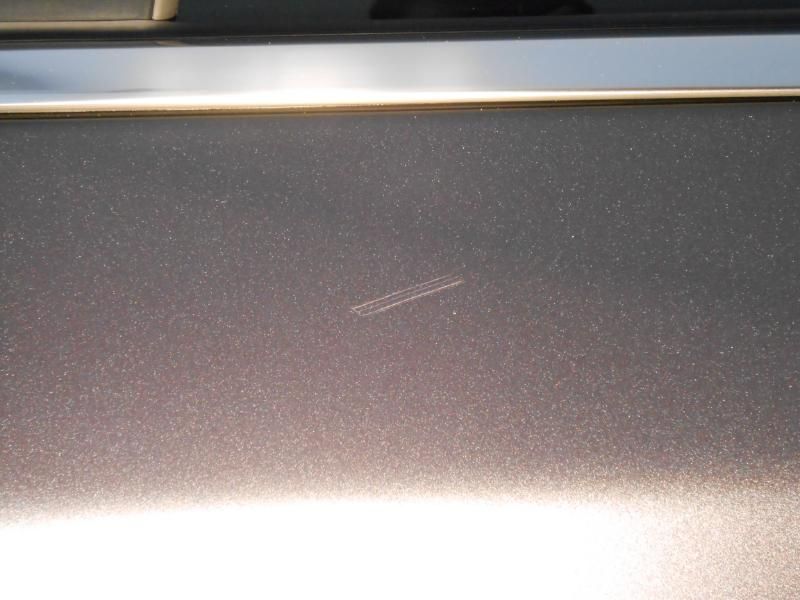
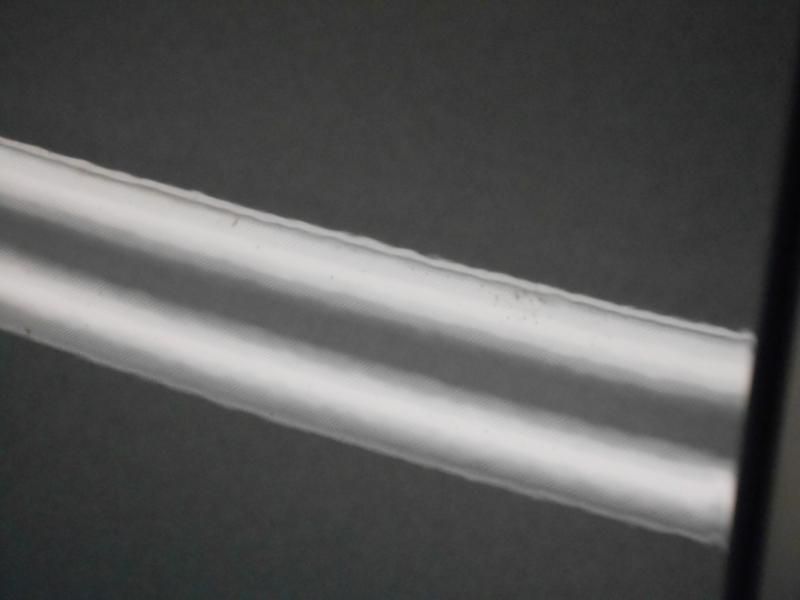
As you can see, I didn’t need to be too aggressive. The first step consisted of M105 via a white LC CCS pad and Dewalt rotary. I hit most sections a couple times to get the finish I was looking for. This turned out to be a really great combo. It had decent correction abilities, and finished down without a ton a holograms or marring. On a couple spots, I had to use an orange LC CCS pad because the scratches were a bit deeper and needed something more aggressive. Where do scratches come from on a brand new car you ask? Well, first, they probably came from the brush they used to clean my car with lol; second, they probably came from the tool the “detailer” used to remove the pin stripe that was on the car. Here’s one of the scratches I was able to capture where the pin stripe was:

This is after hitting it a couple times with M105 and an orange pad:
There were a few other spots similar to that that I was able to either buff out completely, or at least make it look less noticeable. I was surprised to find out that a decent number of them caught my fingernail. Because of that, I knew I wouldn’t be able to buff it out completely and didn't want to risk the integrity of the clear coat this early in the life of the car.
This is after the full correction stage:
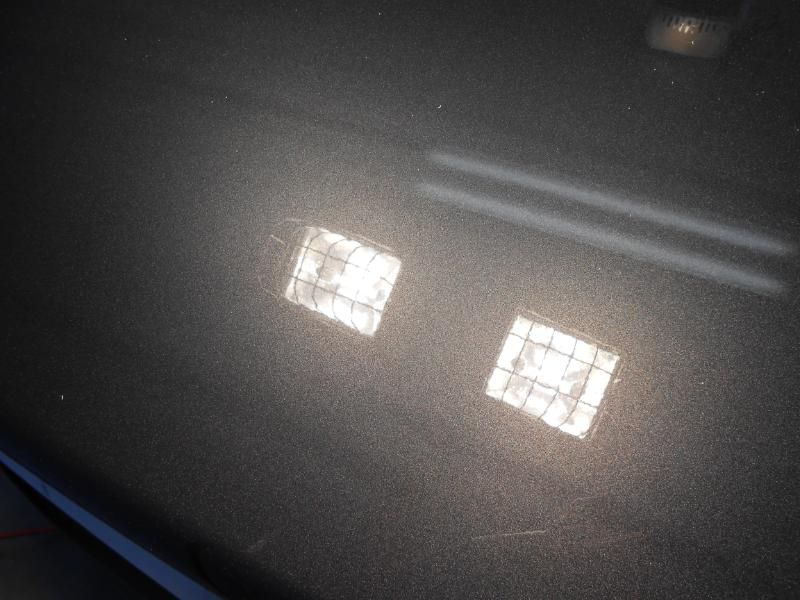
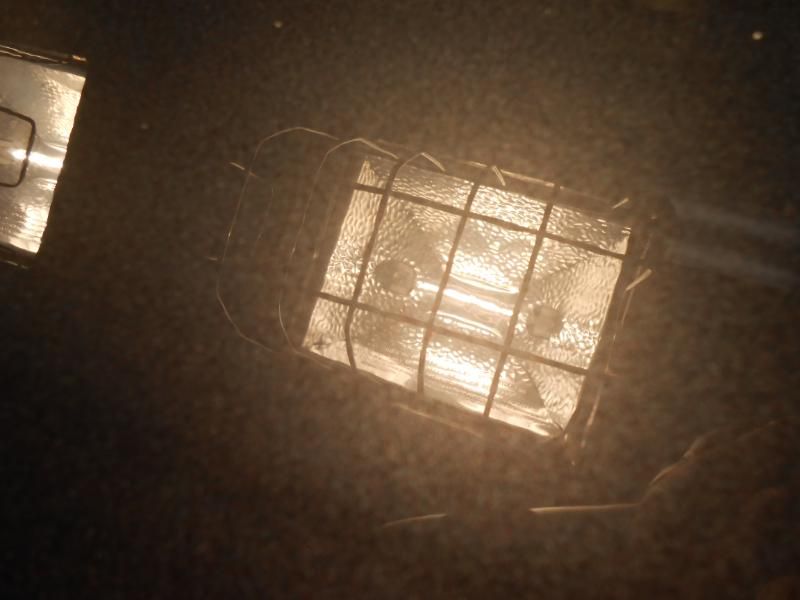
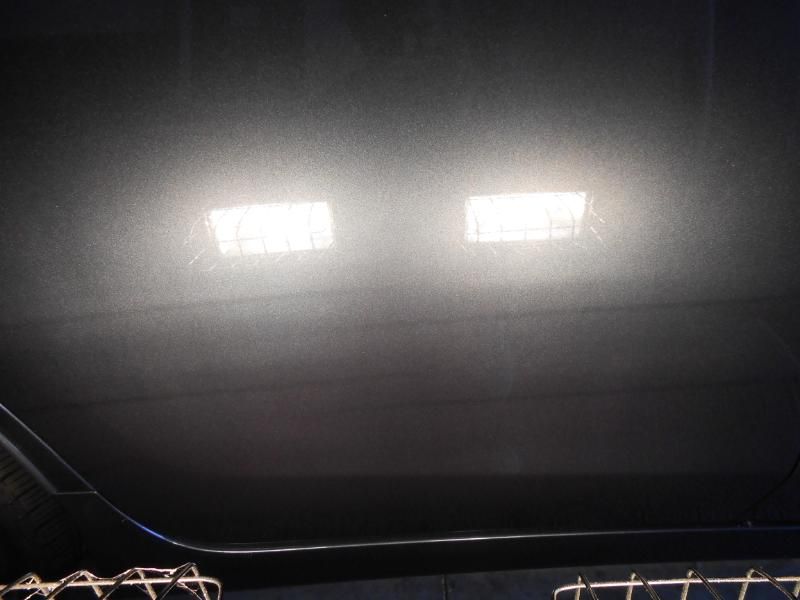

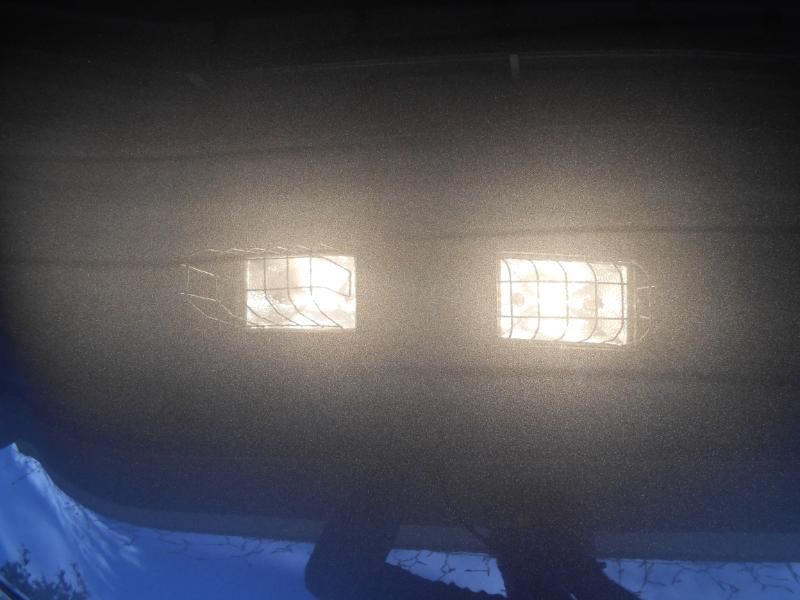
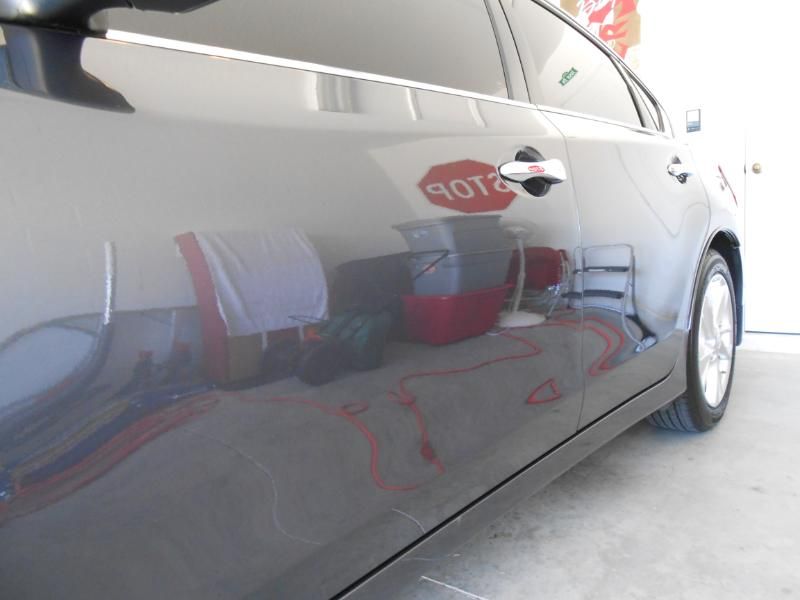
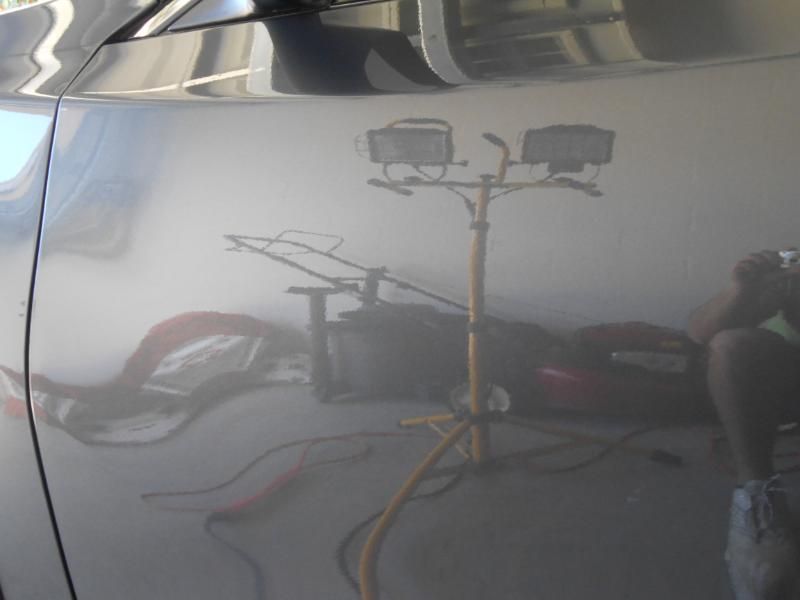
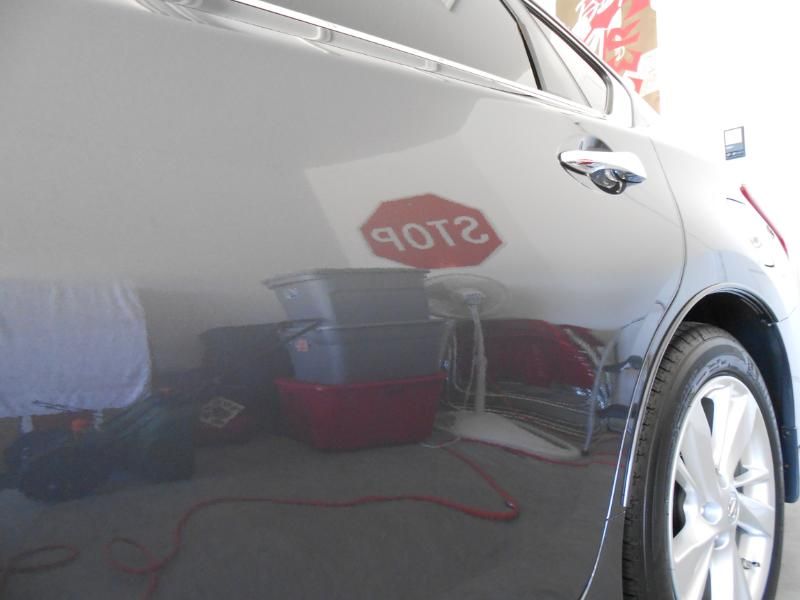
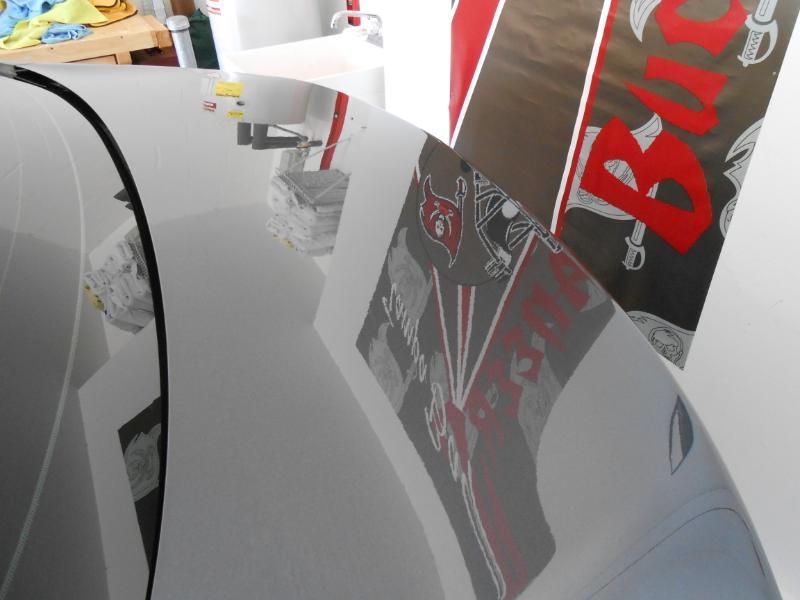
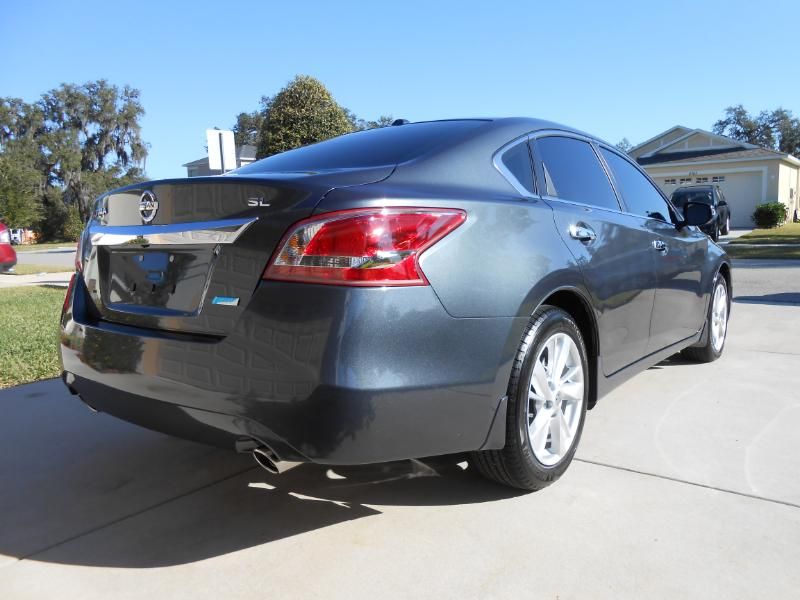
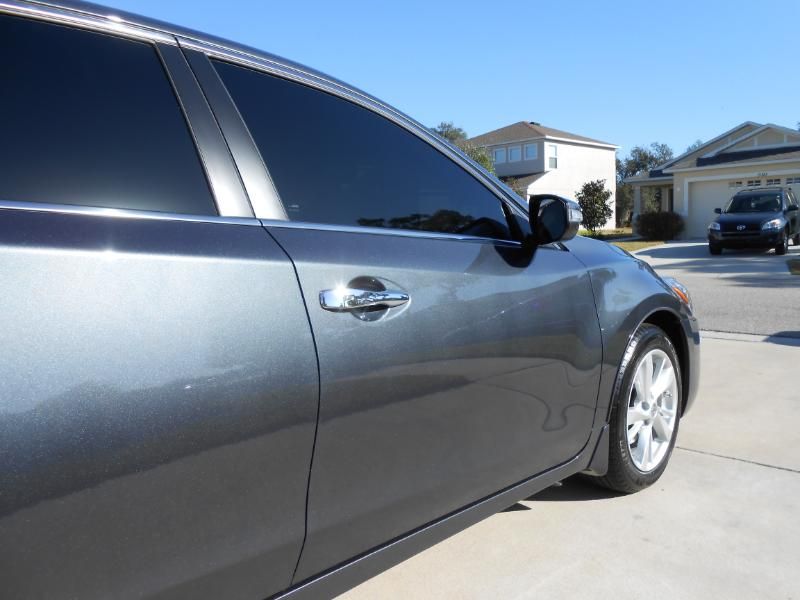
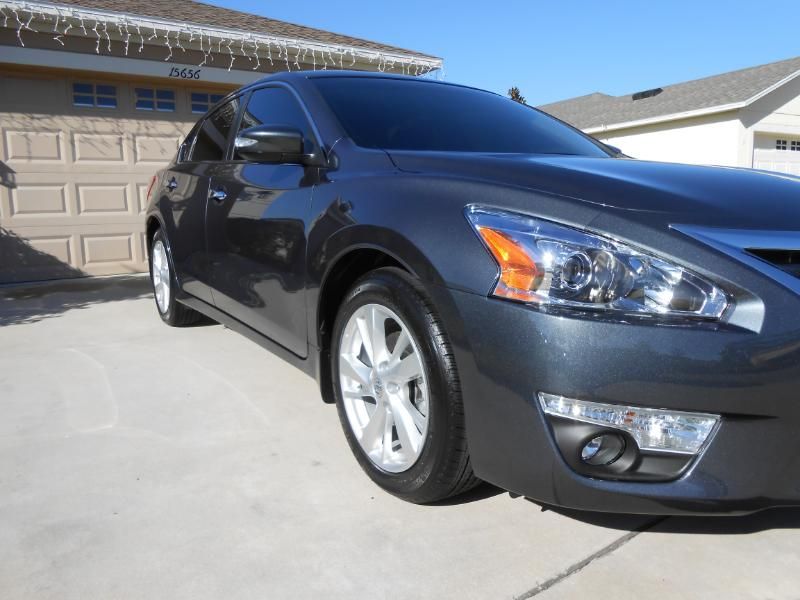
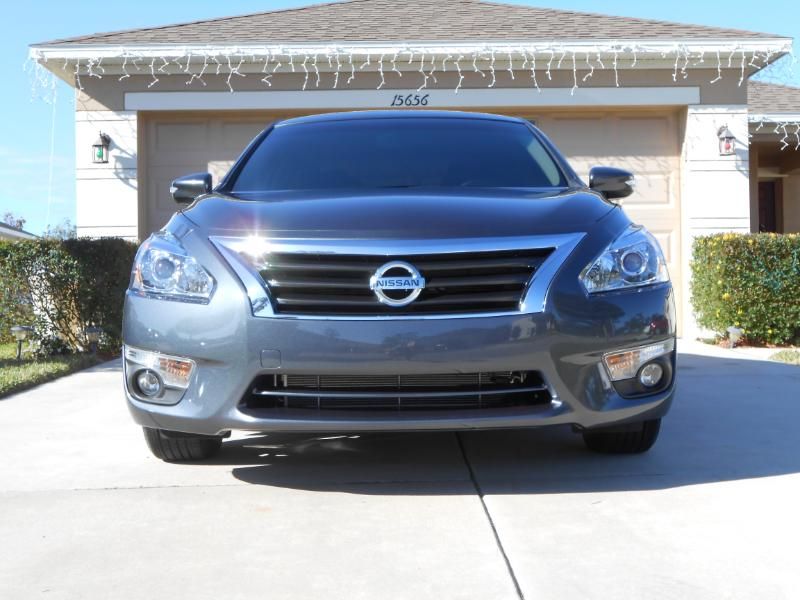
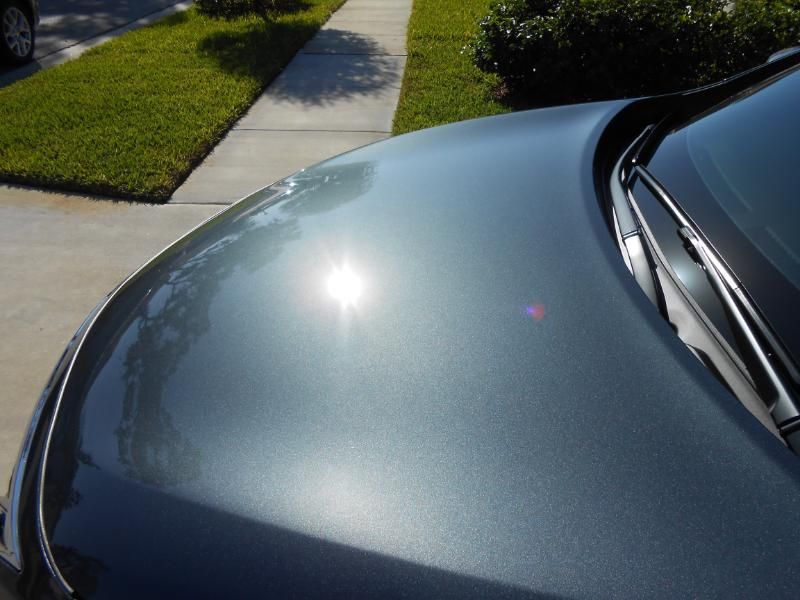
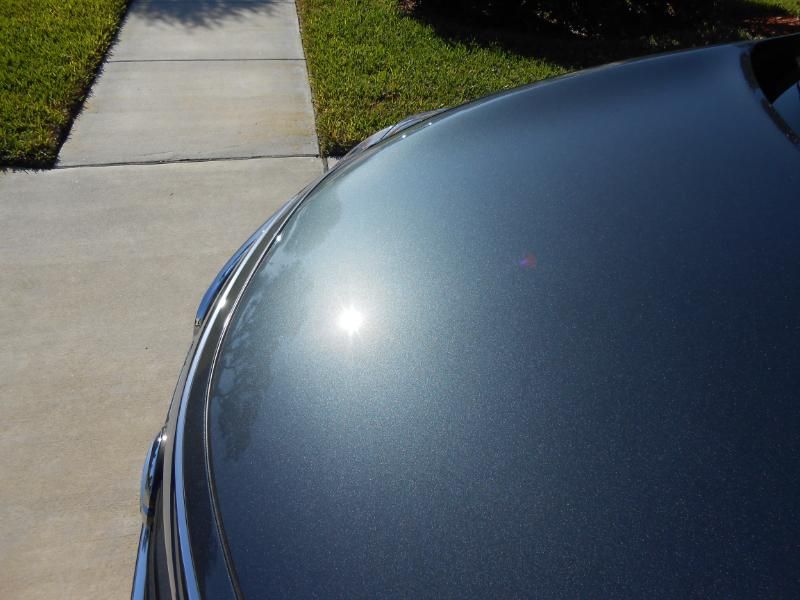
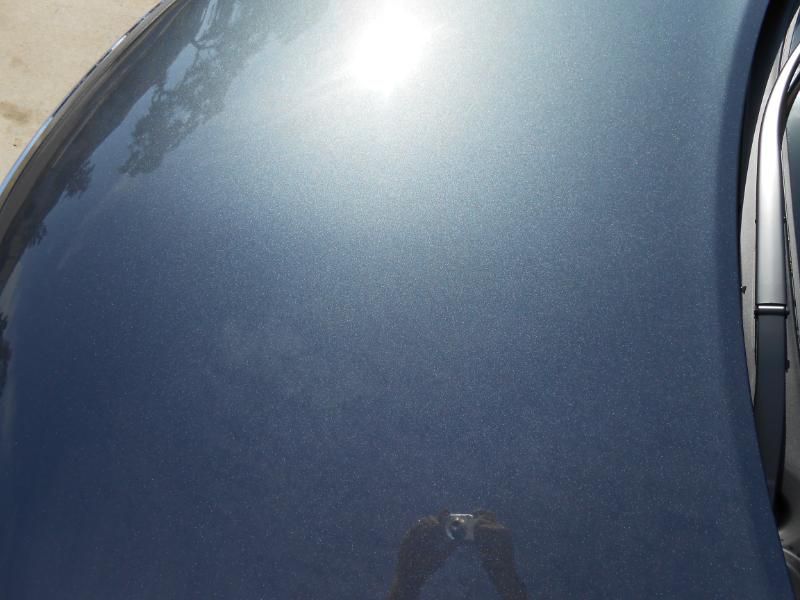
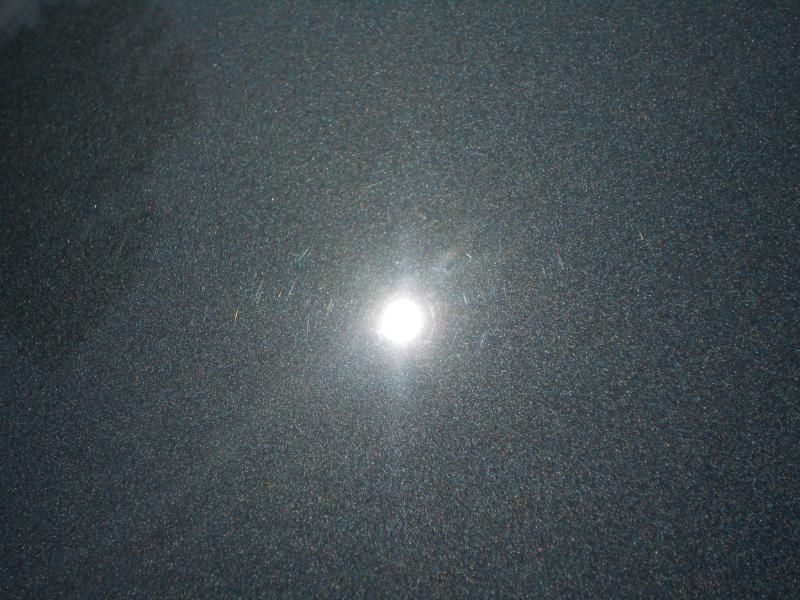
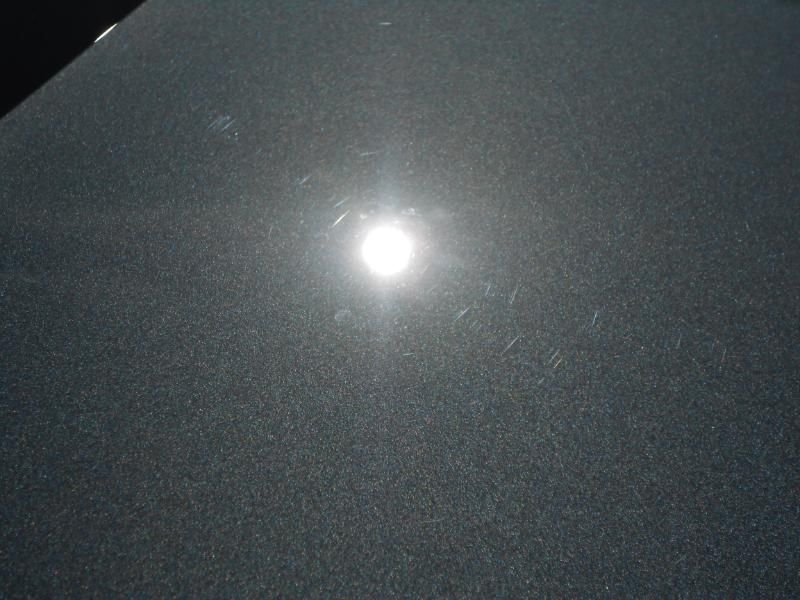
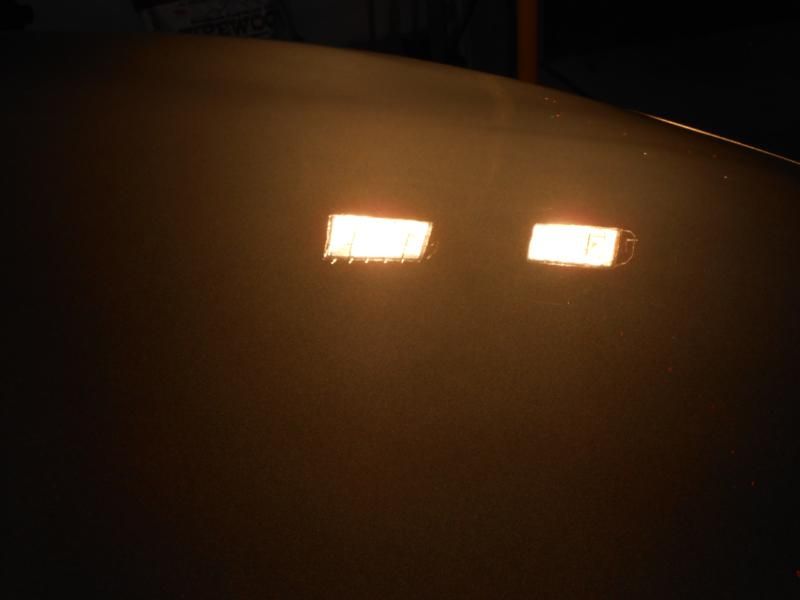
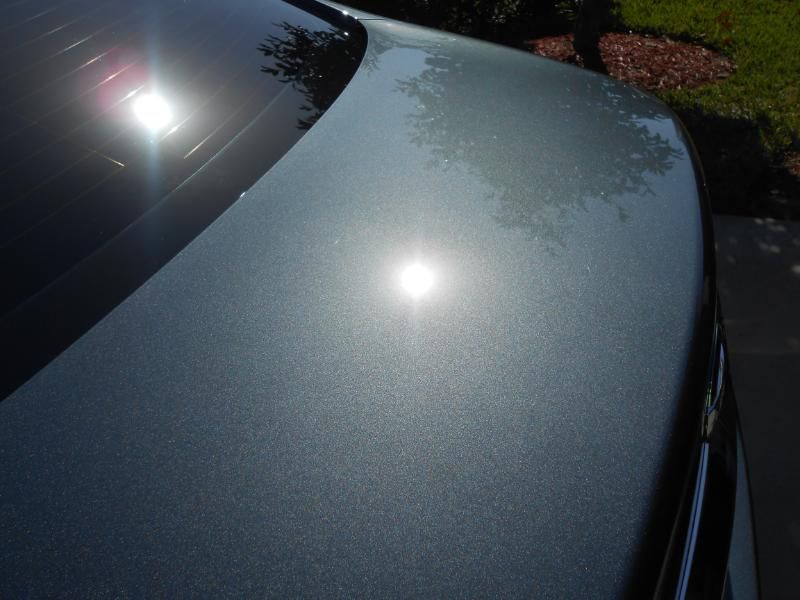
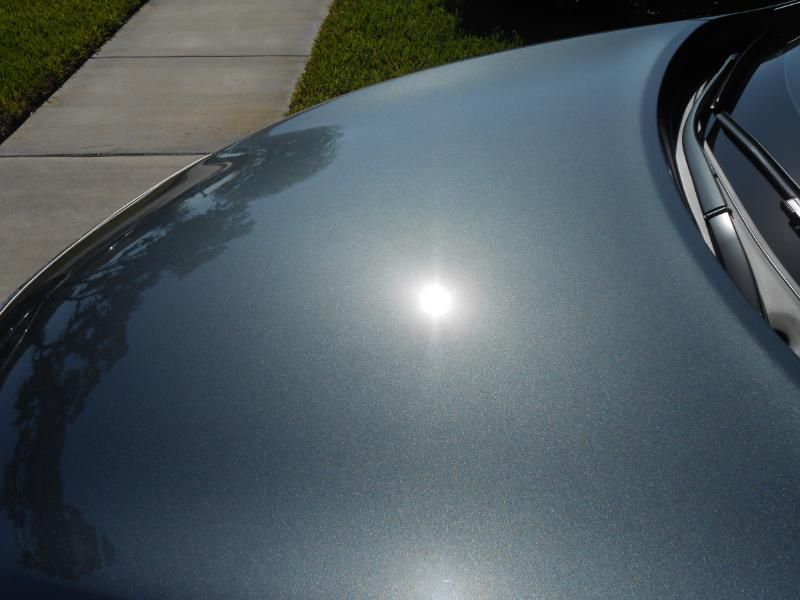
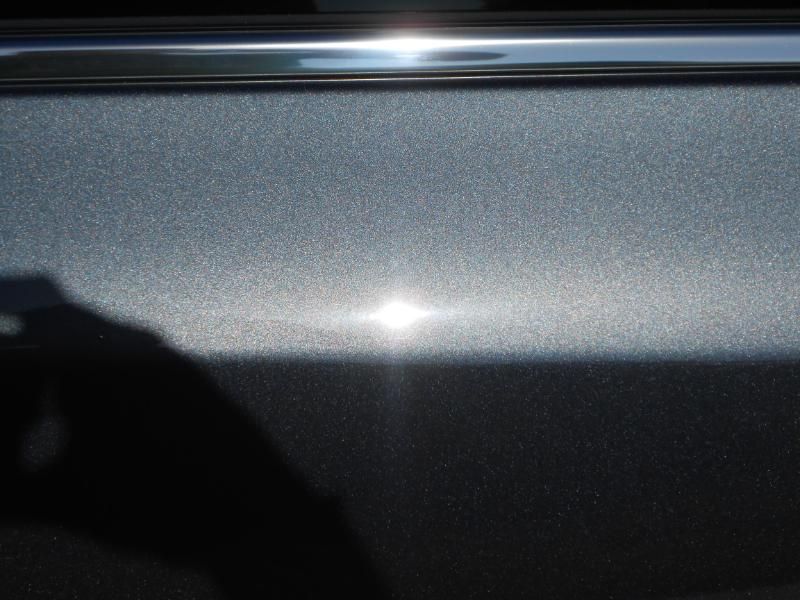
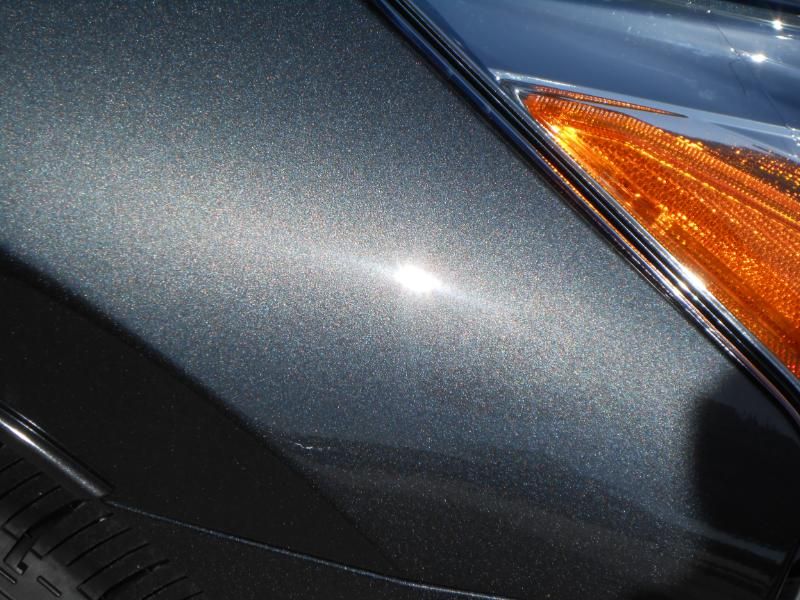
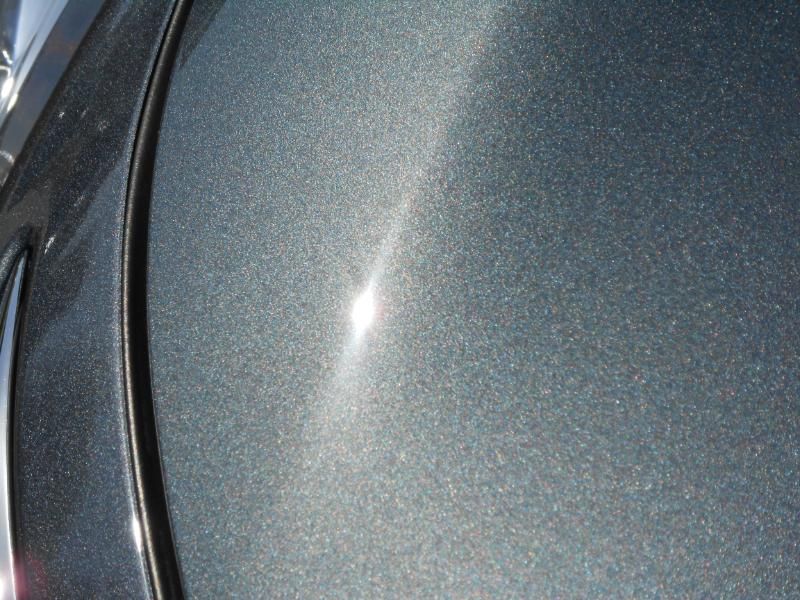
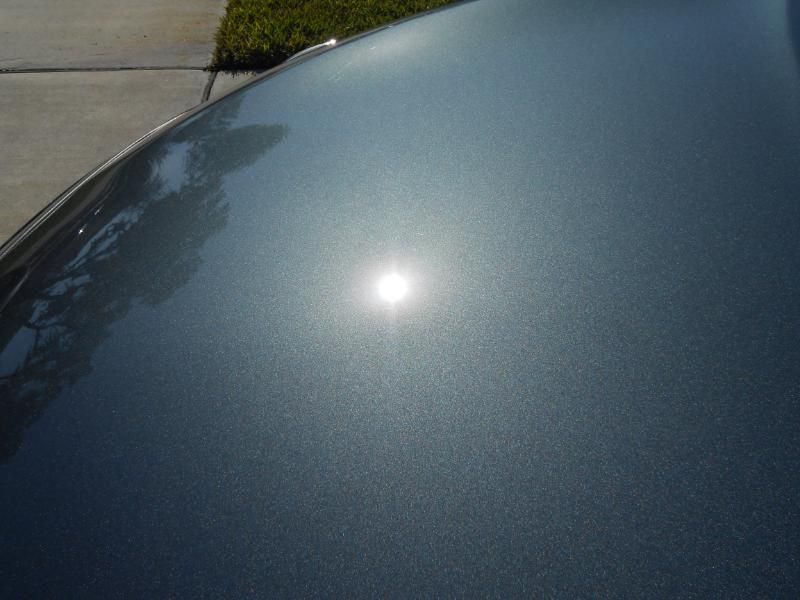
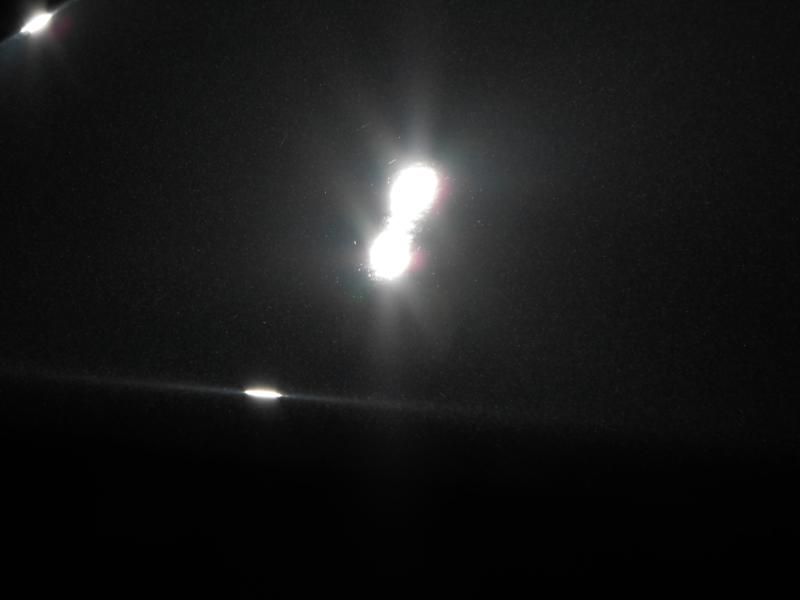
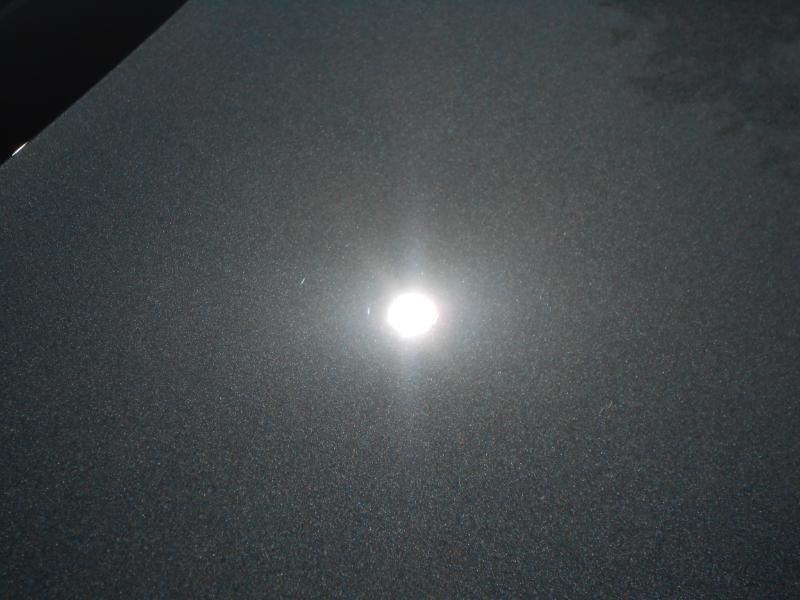
I finished up with M205 and a blue LC CCS pad via the rotary to really bring out the gloss and make the metallic flake pop. Here are a few photos of the results using various light sources. This is prior to an IPA wipe down by the way. By this point, I had been at it for about 8 straight hours and my wife wanted to go eat lol:
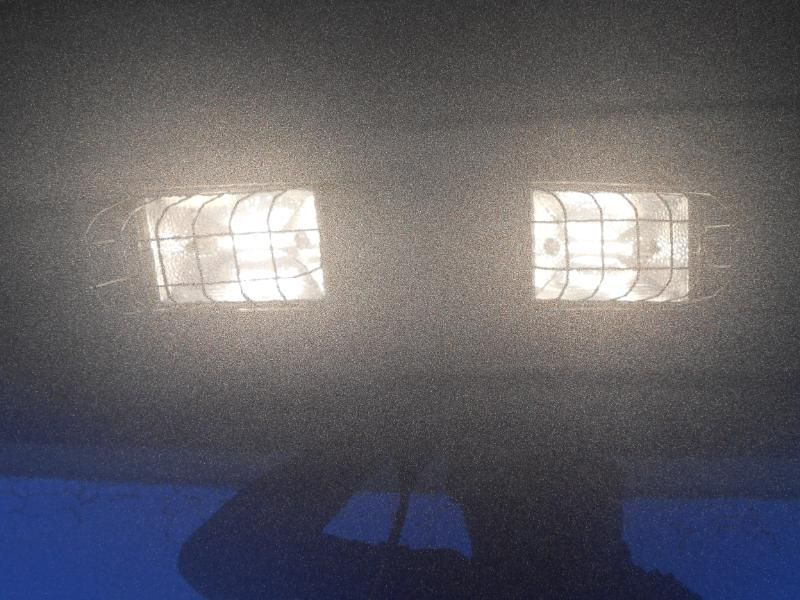
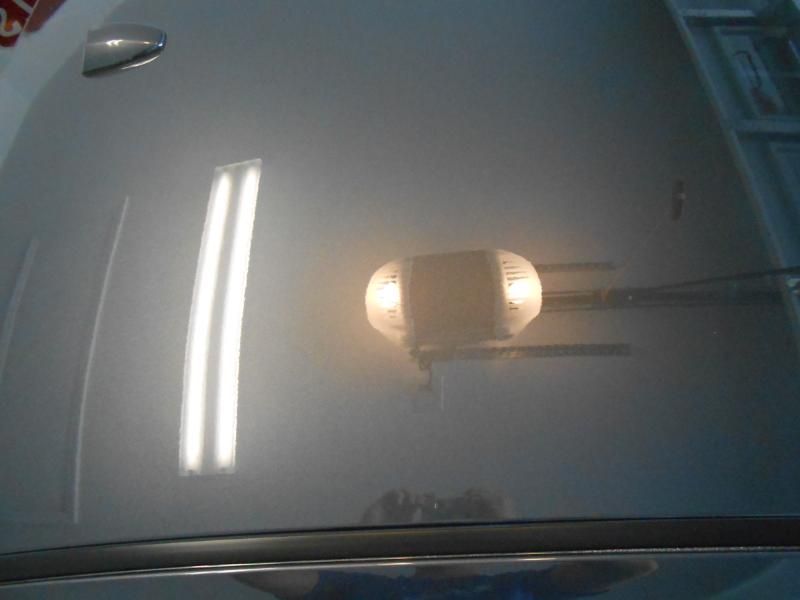
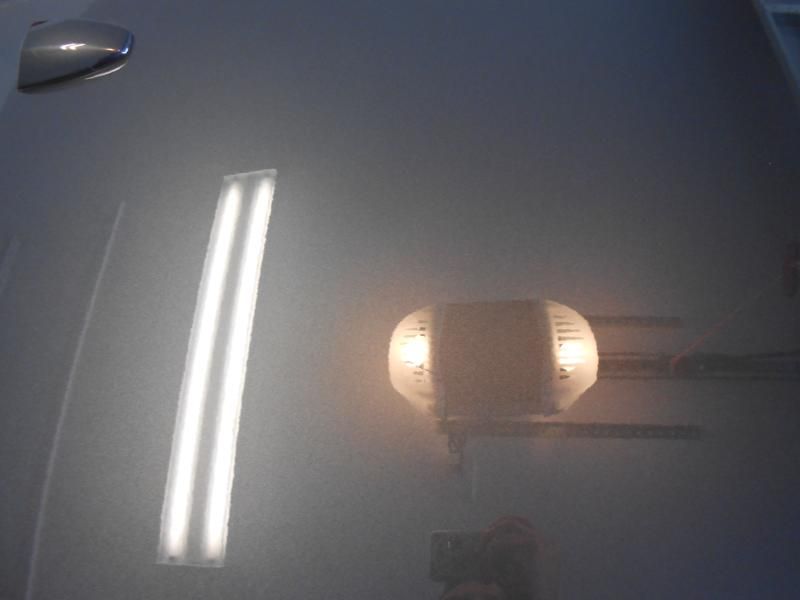
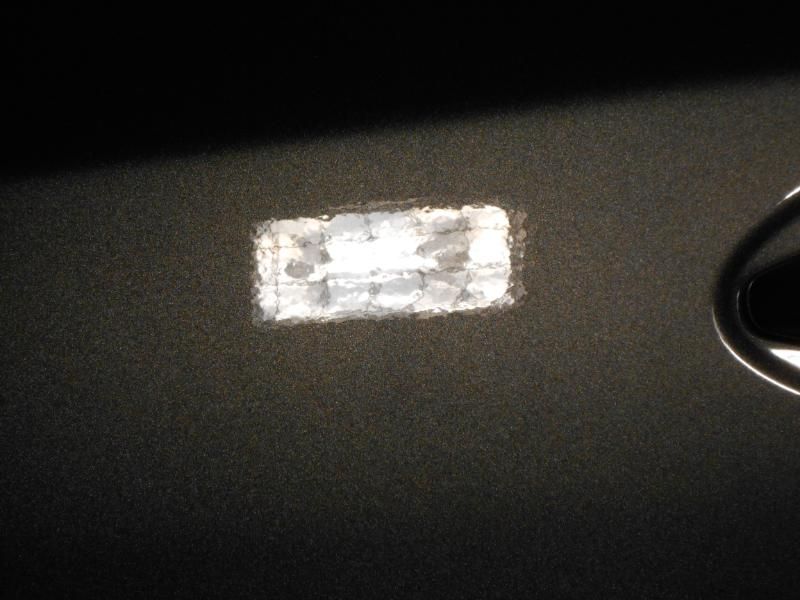
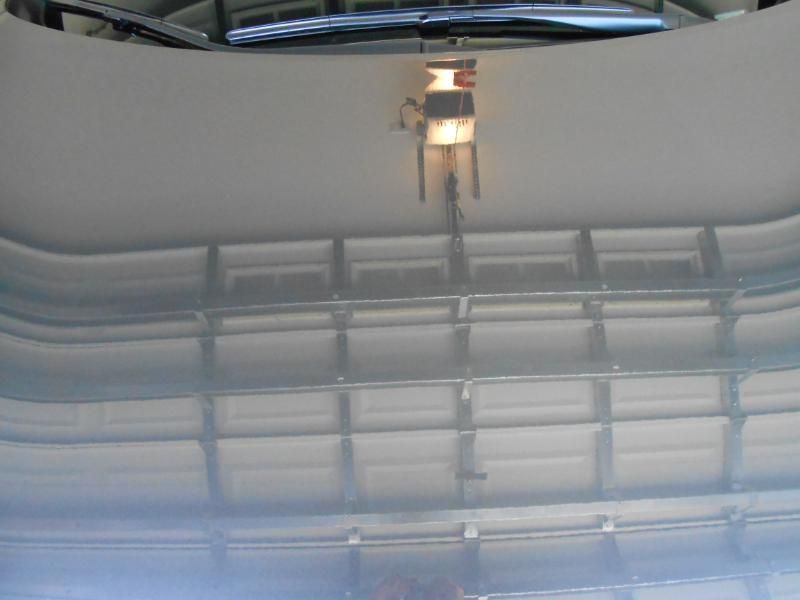
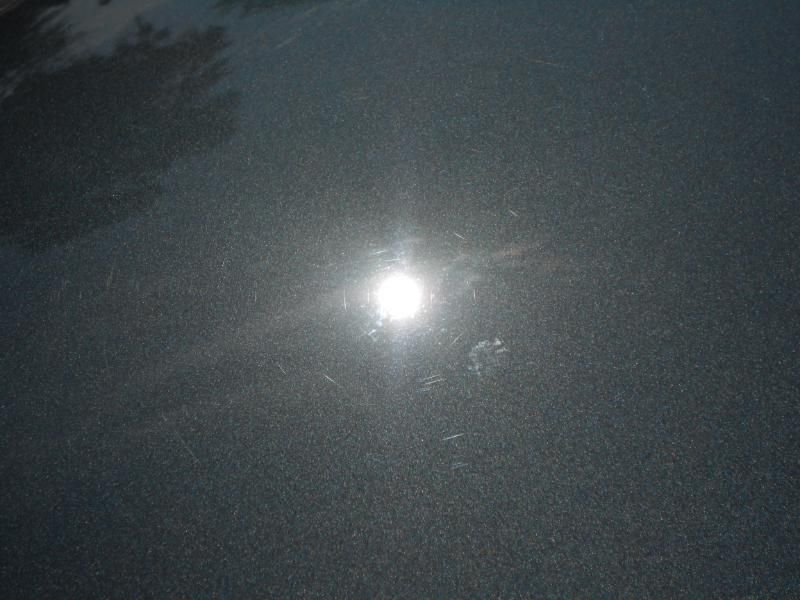
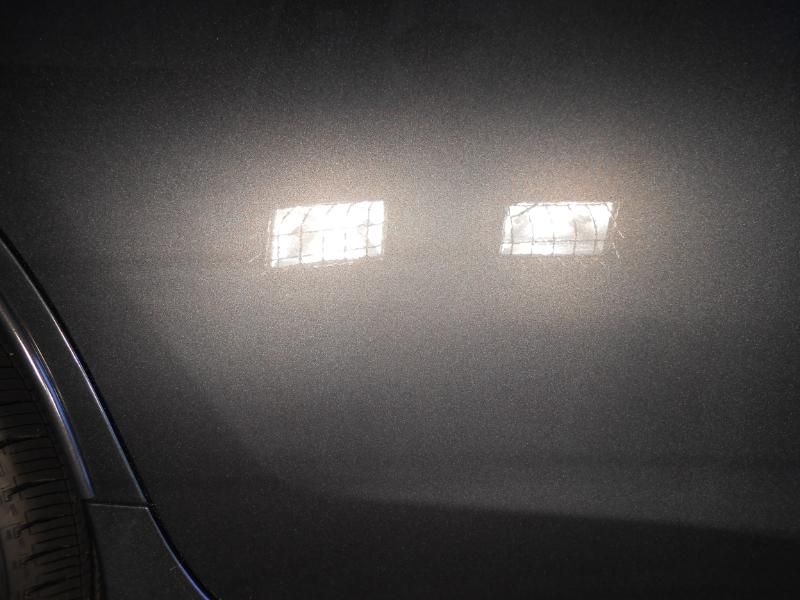
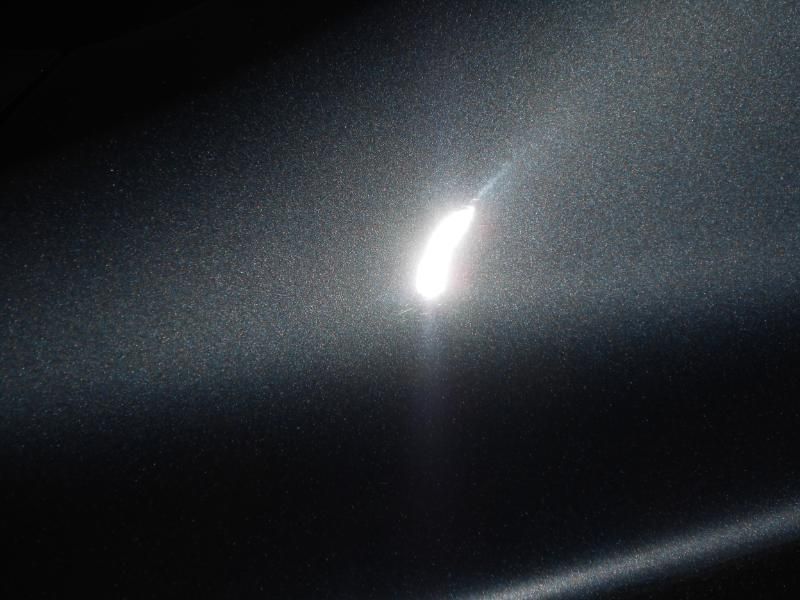
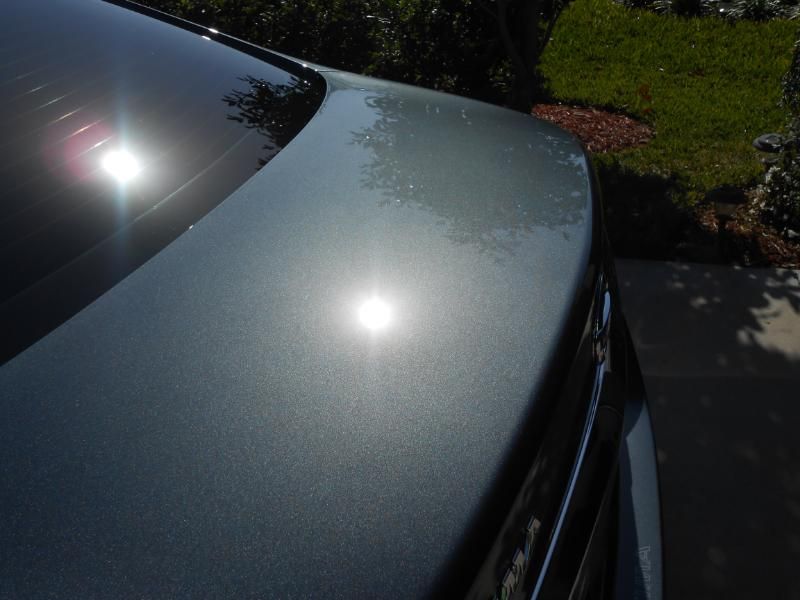
These few were taken after the sun went down and after the second foam wash. This wash consisted of a Dawn and Zep Citrus mixture to remove the excess polishing oils:
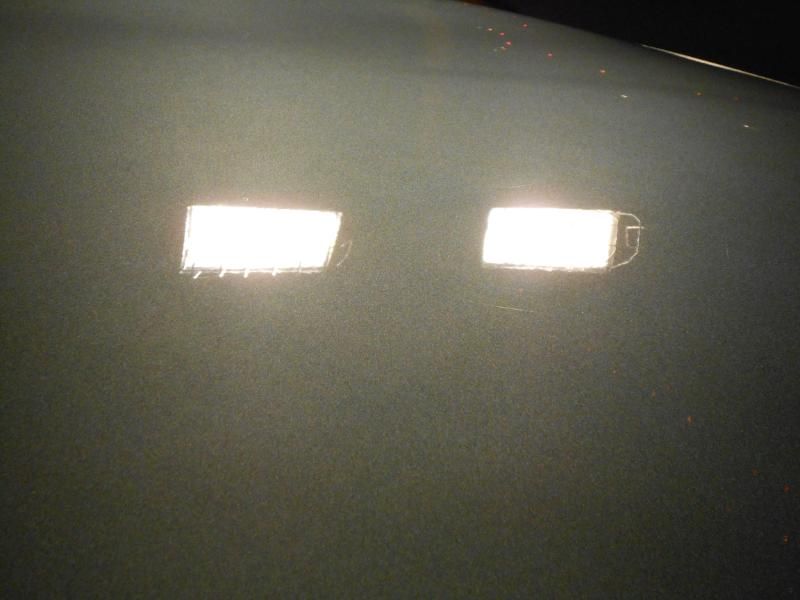
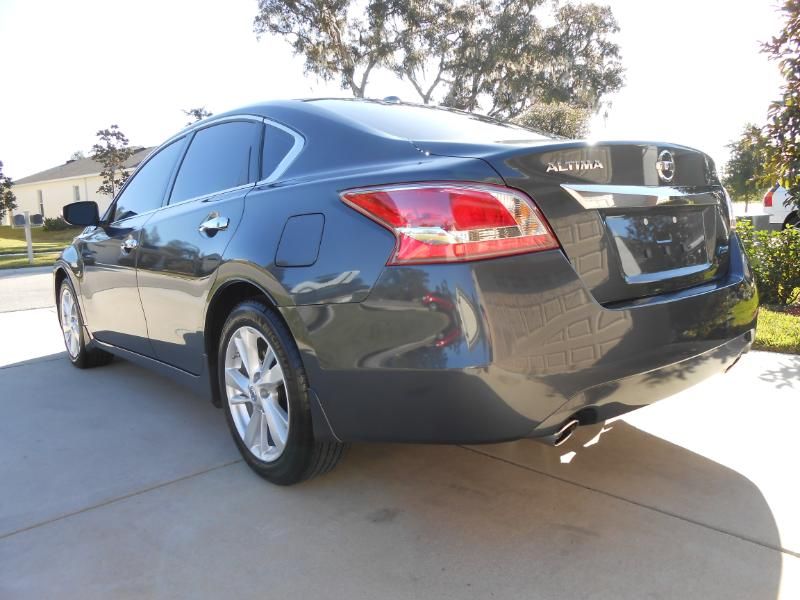
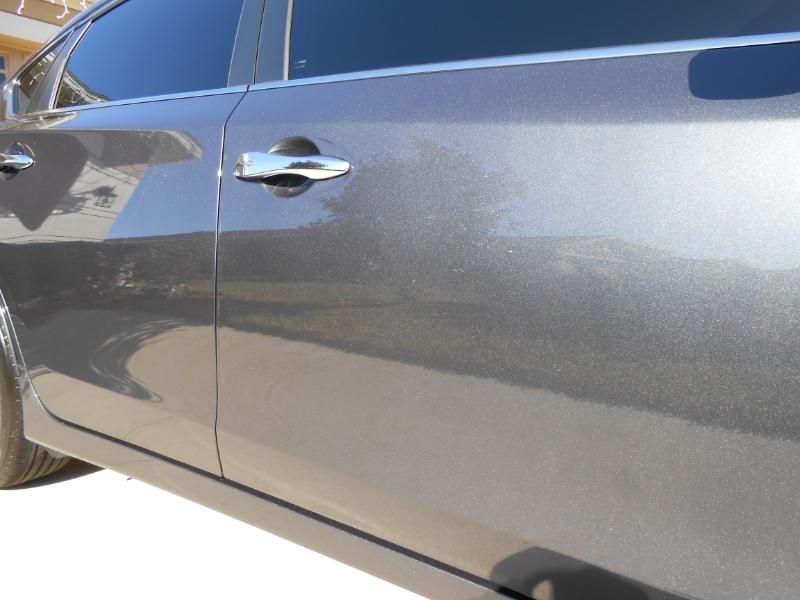
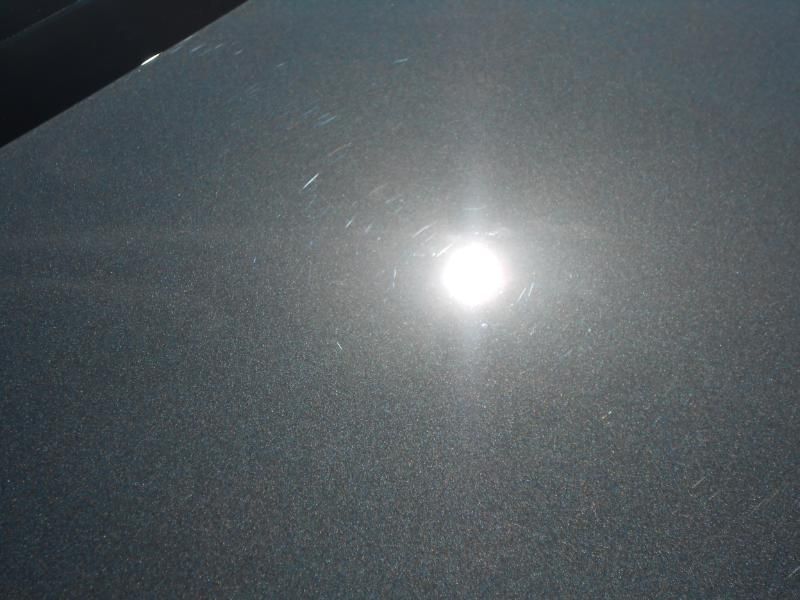
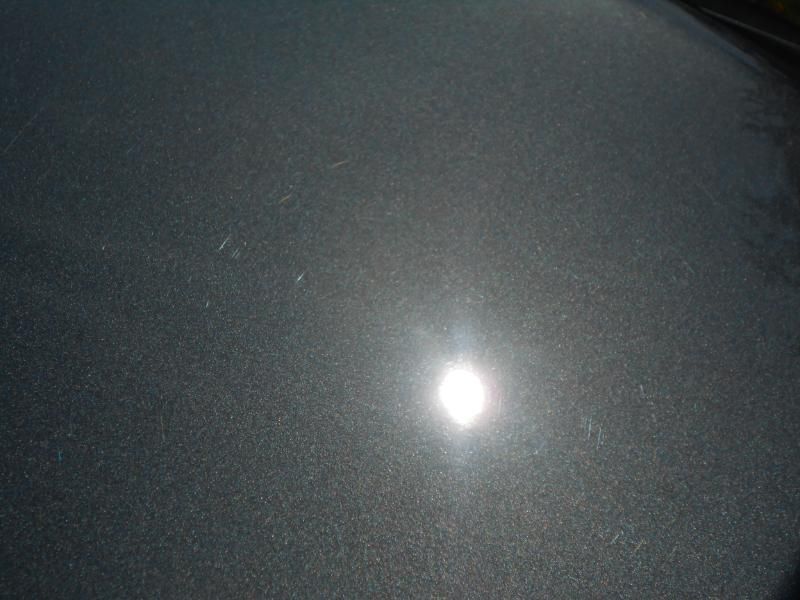
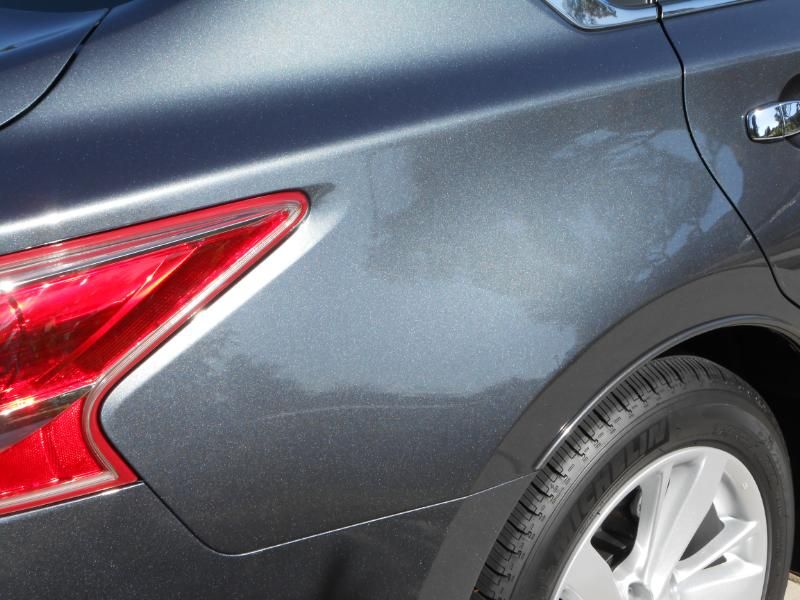
As you can see…not 100% perfect, but definitely a solid improvement and I’d say around 90% blemish free.
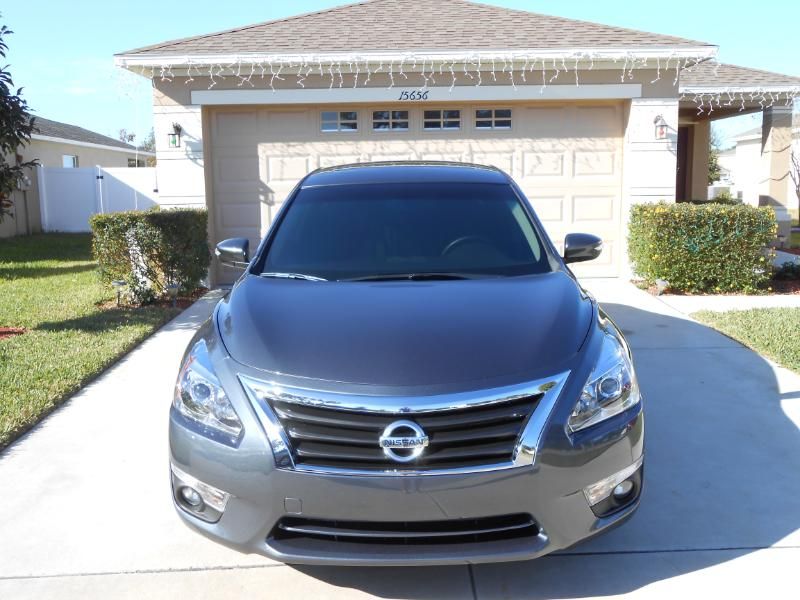
So Saturday went by and by 6pm and still no wax, I decided to go out and apply a coat of Dodo Juice Supernatural.
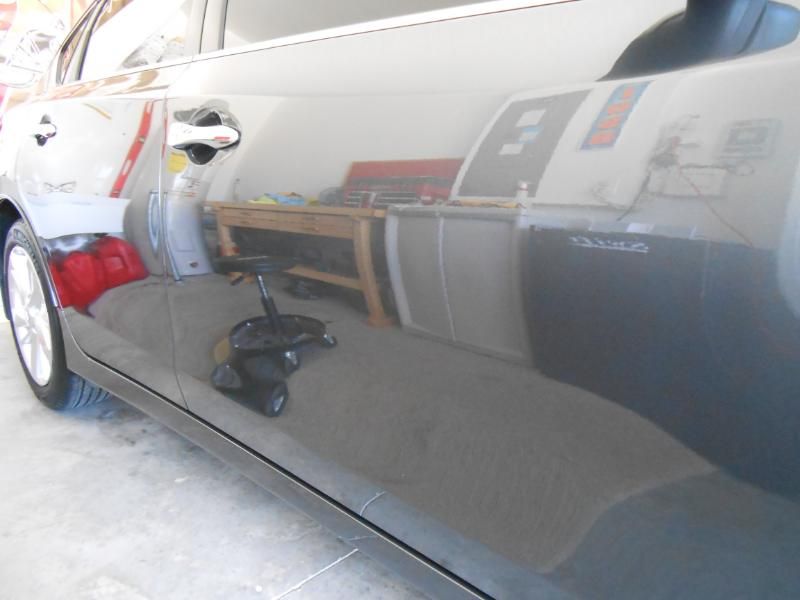
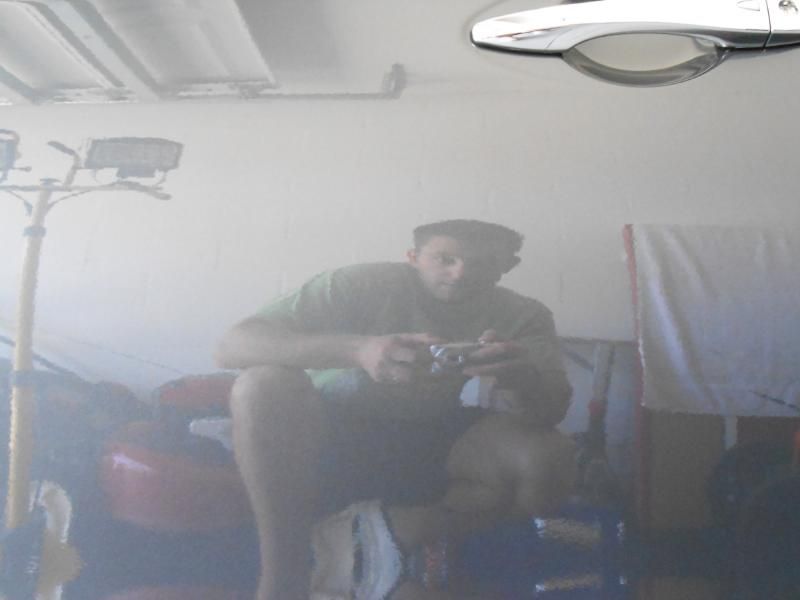
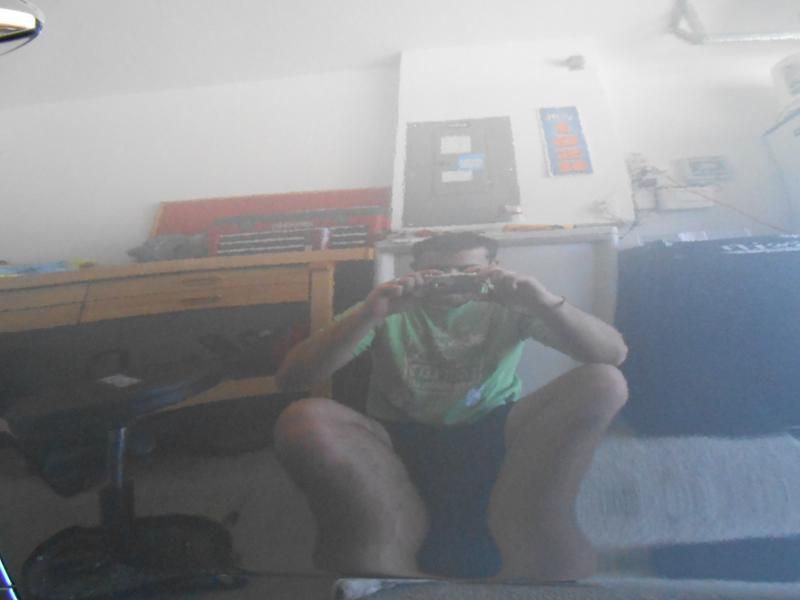
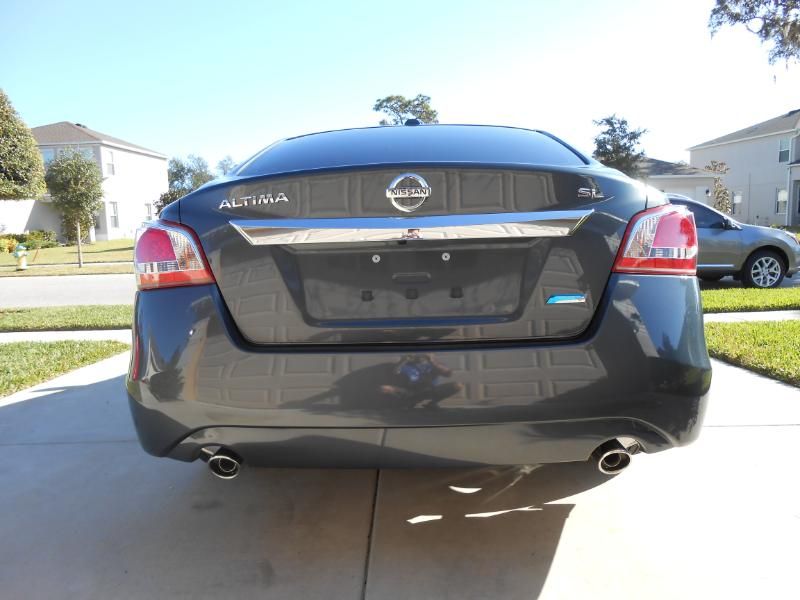
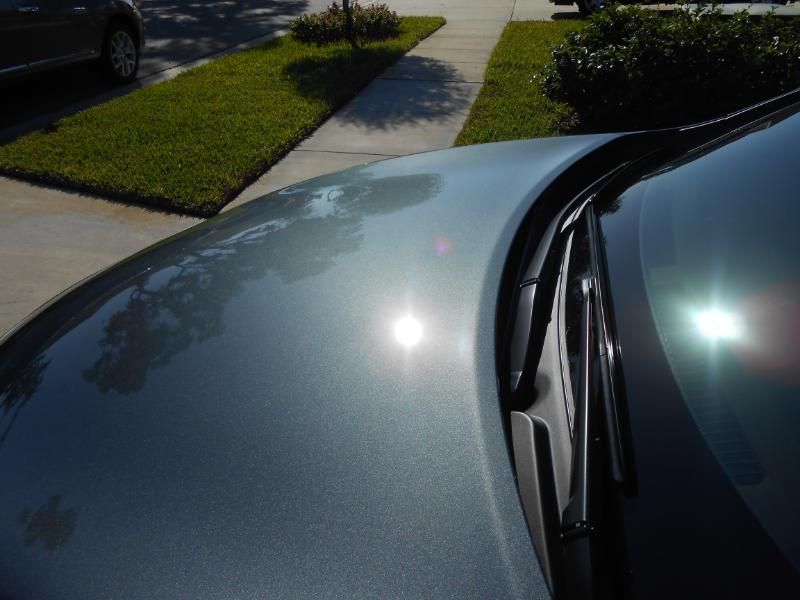
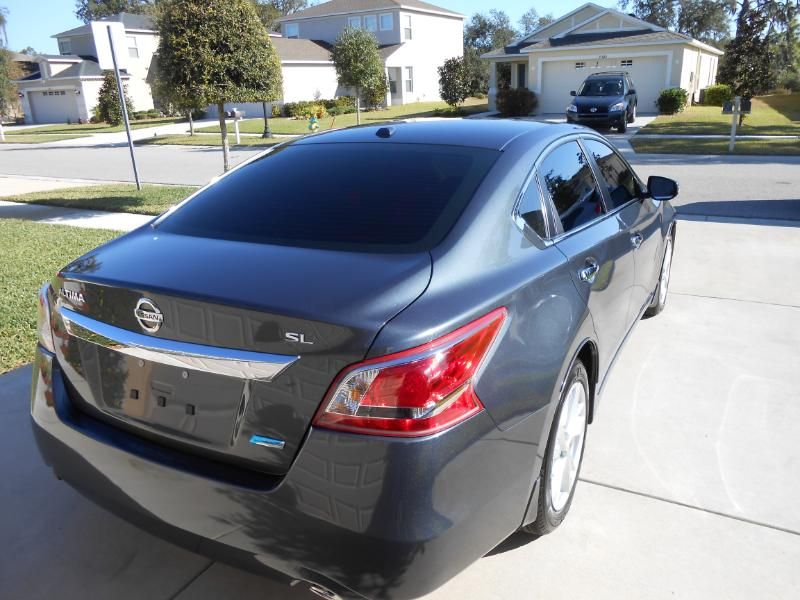
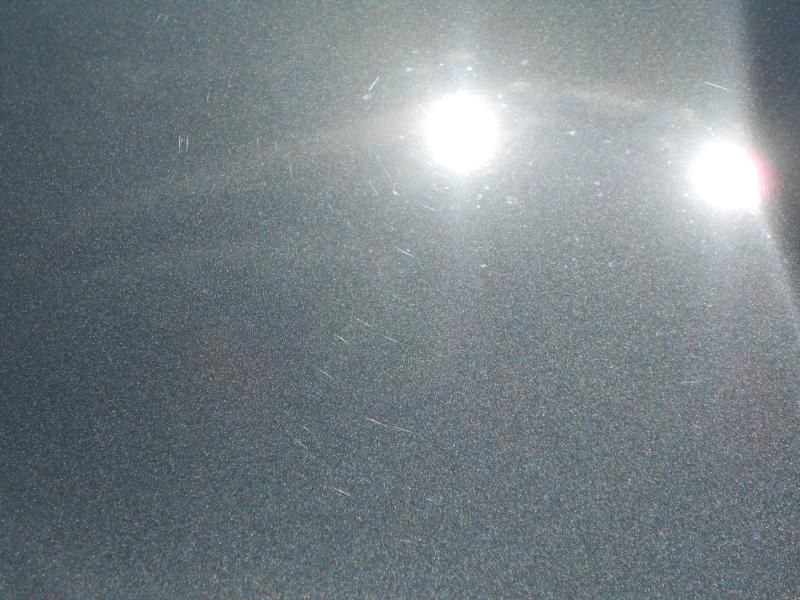
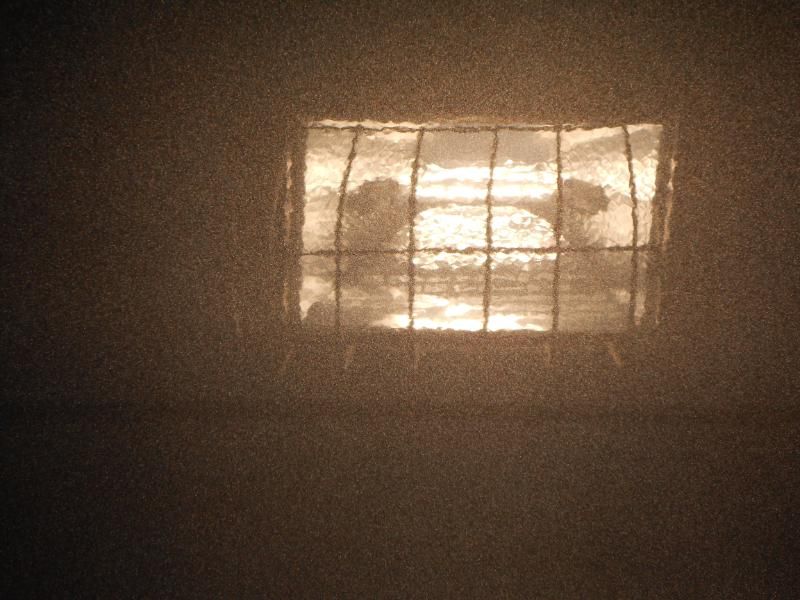
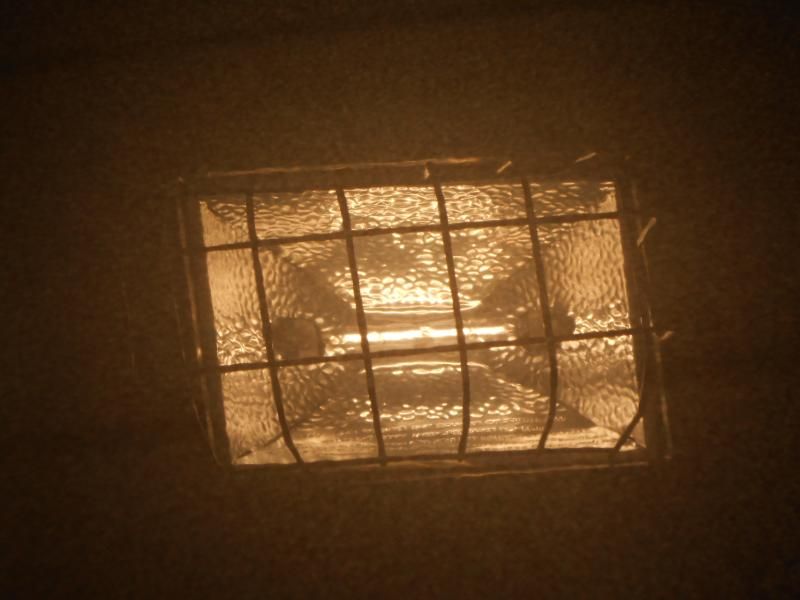
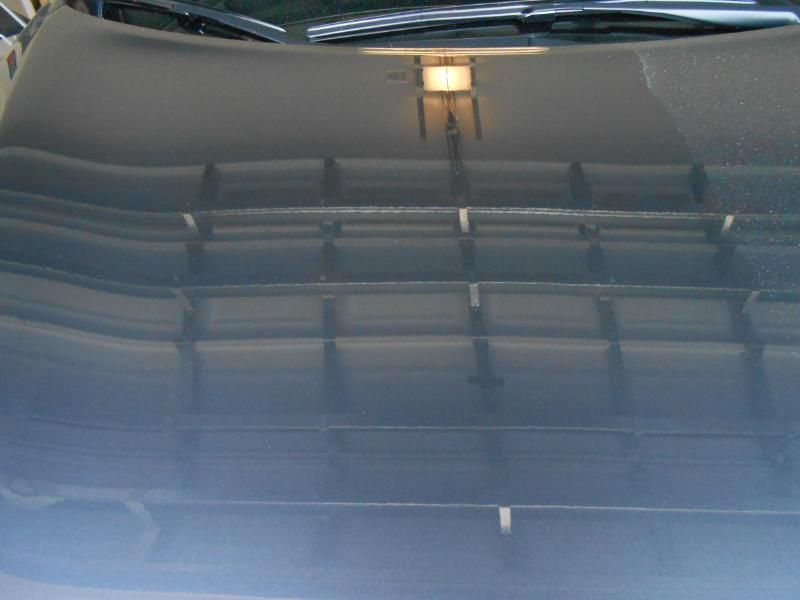
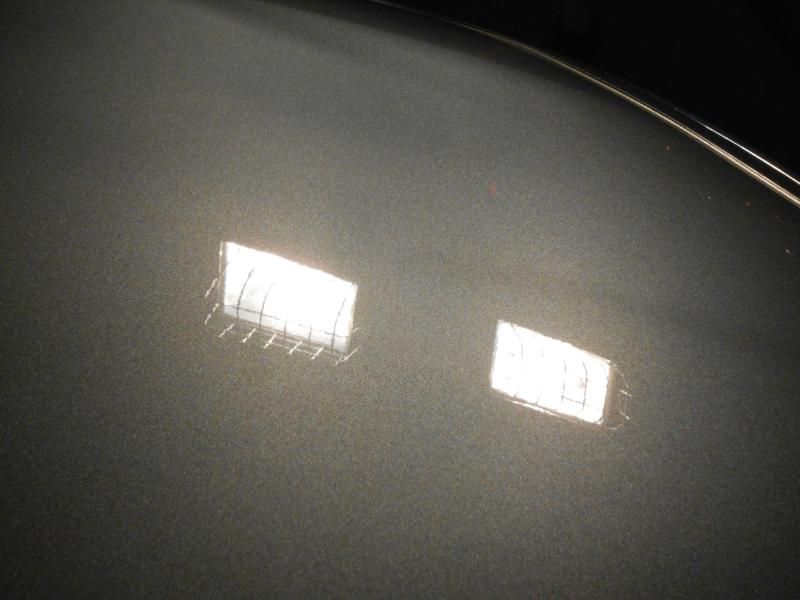
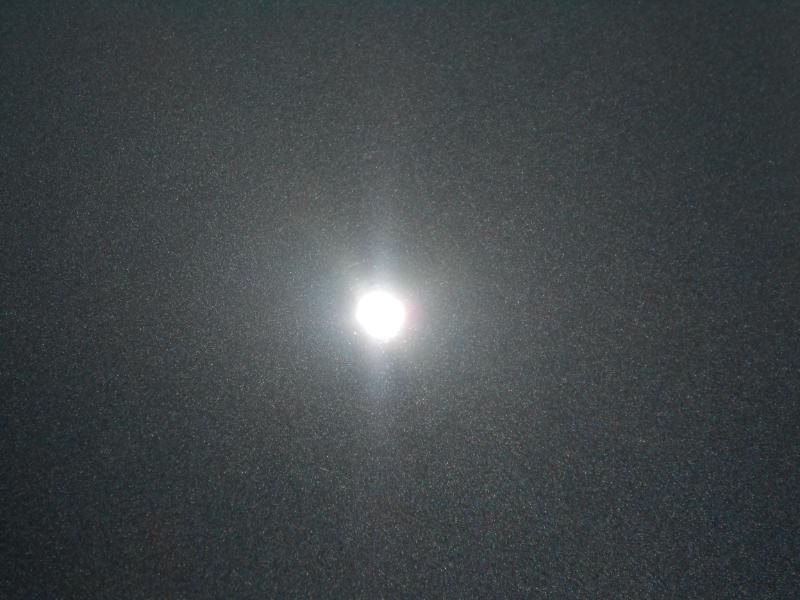
These are post two IPA wipe downs, but no LSP yet:
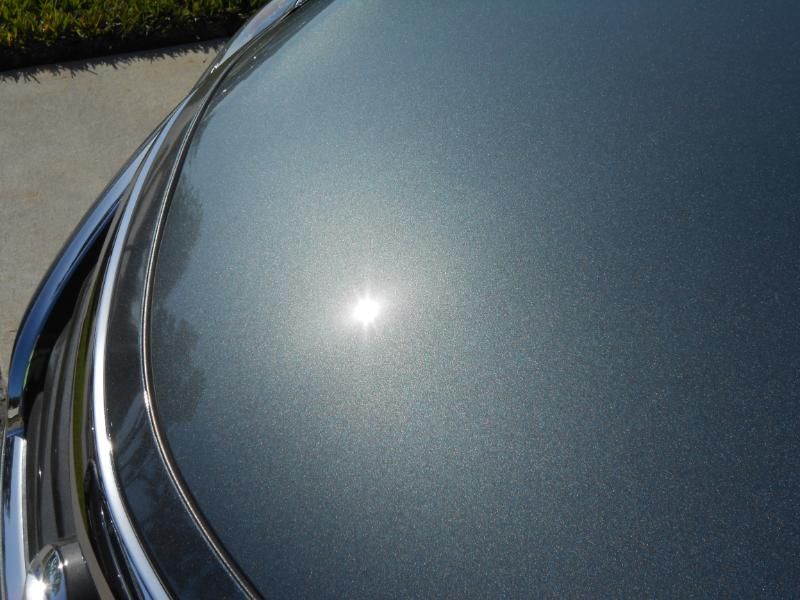
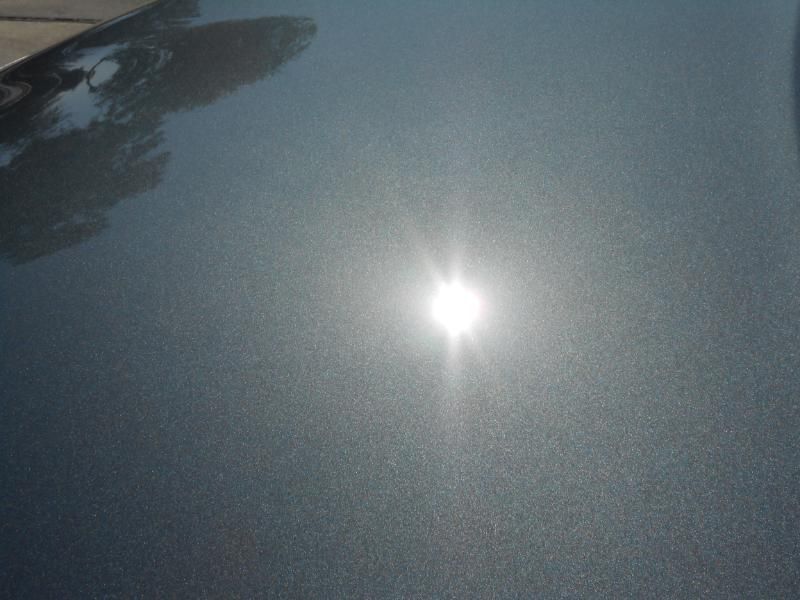
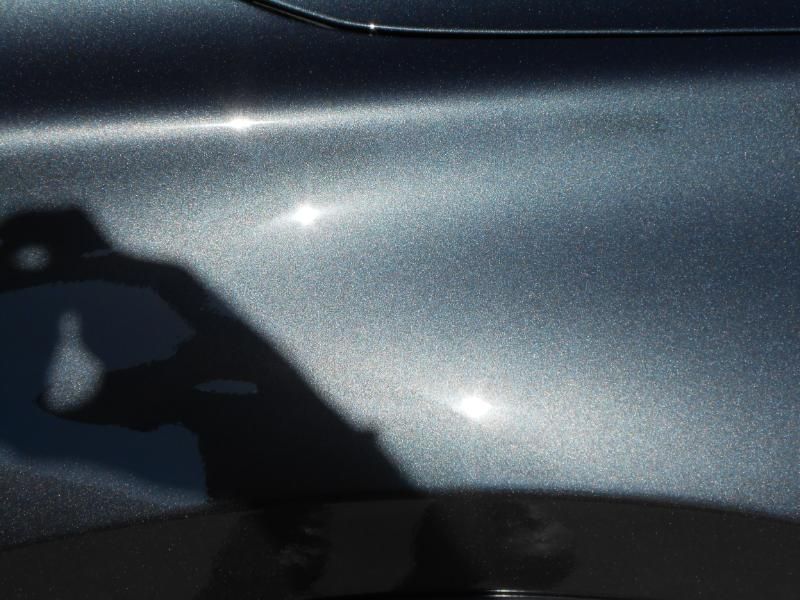
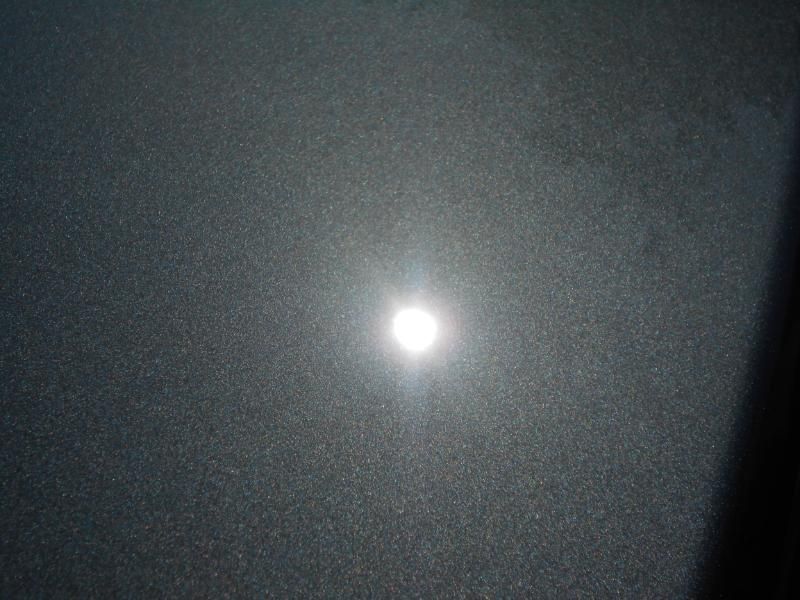
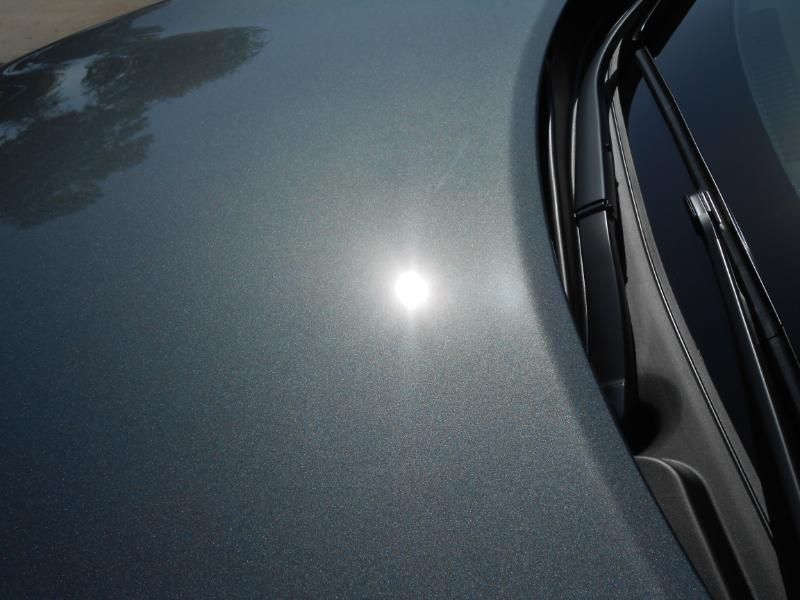
That isn't a scratch...it's the roof line of my neighbor's house lol:
I recently traded in my 370 for a “family car” because my wife and I are expecting. A few weeks ago we picked up a 2013 Nissan Altima 2.5 SL. The dealer did their version of a “dealer prep” when we got it, which we all know isn’t all that good. The first weekend I had it, I ended up washing it myself and giving it a coat of Fuzion just for protection until I could give it a proper detail. This proper detail started Friday morning at 9am, and ended at 5:30pm, and was completely finished on Saturday night. The only big thing I had left to finish on Saturday was to give it a good IPA wipe down and apply wax. Unfortunately, the wax I ordered earlier in the week (Rubbish Boy’s Original Edition), hadn’t come in yet. I was hoping it would come in on Friday or Saturday so I could try it out. Unfortunately it did not arrive, so I went with Dodo Juice Supernatural as the LSP.
So anyways…on with the details of the detail lol. I decided on a two step approach; I wasn’t going after complete perfection, but wanted to clean up a few blemishes here and there and add some gloss.
Products Used:
-Meg's Gold Class shampoo
-Meg's white clay with ONR as lube
-M105 via white LC CCS pad (some spots required an orange pad)
-M205 via blue LC CCS pad
-Dewalt Rotary
-PC 7424XP to polish head and tail lights
-IPA wipe downs
-Dodo Juice Supernatural
-Optimum Opti-Bond to dress the tires
-Rain X applied to all windows
Sorry I don’t have any before shots of the car; it wasn’t all that dirty. I started first with a good foaming mixture of Zep Citrus (thanks Richy!) and Dawn. While that sat on the car, I cleaned up the badges:
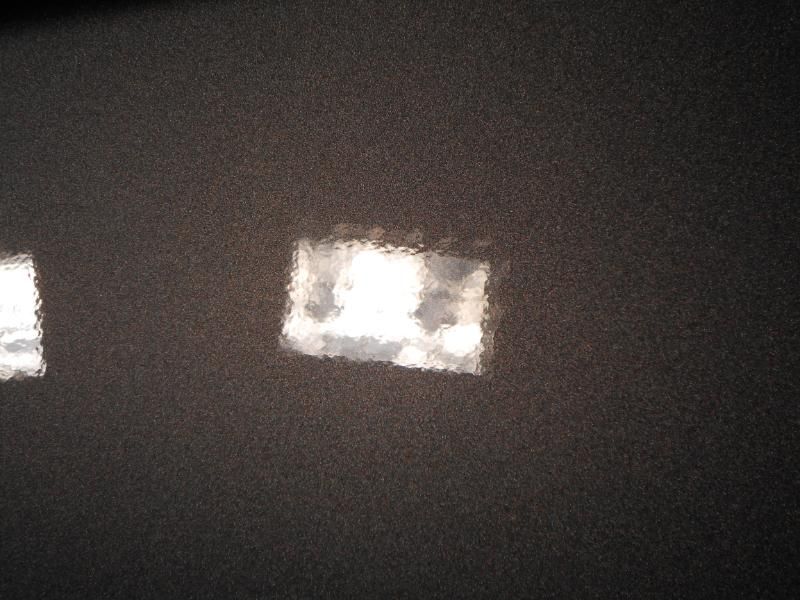
After that, I hand washed the car with Meg’s Gold Class soap and a grout sponge. After the wash, I air dried the car and clayed using Meg’s white clay and ONR as lube. After I clayed, I pulled the car out in the sun to capture the condition of the paint. As you can see, it’s not in horrible condition, but could definitely use a good polish:
As you can see, I didn’t need to be too aggressive. The first step consisted of M105 via a white LC CCS pad and Dewalt rotary. I hit most sections a couple times to get the finish I was looking for. This turned out to be a really great combo. It had decent correction abilities, and finished down without a ton a holograms or marring. On a couple spots, I had to use an orange LC CCS pad because the scratches were a bit deeper and needed something more aggressive. Where do scratches come from on a brand new car you ask? Well, first, they probably came from the brush they used to clean my car with lol; second, they probably came from the tool the “detailer” used to remove the pin stripe that was on the car. Here’s one of the scratches I was able to capture where the pin stripe was:
This is after hitting it a couple times with M105 and an orange pad:
There were a few other spots similar to that that I was able to either buff out completely, or at least make it look less noticeable. I was surprised to find out that a decent number of them caught my fingernail. Because of that, I knew I wouldn’t be able to buff it out completely and didn't want to risk the integrity of the clear coat this early in the life of the car.
This is after the full correction stage:
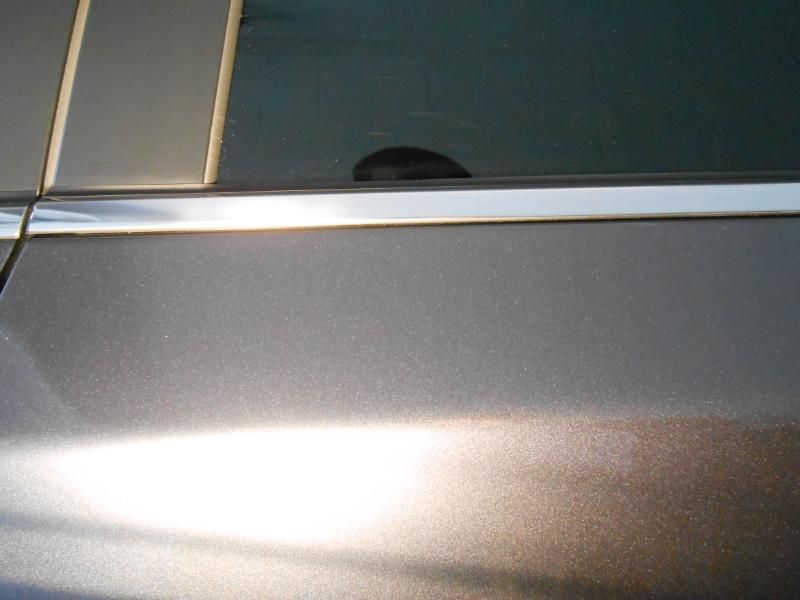
I finished up with M205 and a blue LC CCS pad via the rotary to really bring out the gloss and make the metallic flake pop. Here are a few photos of the results using various light sources. This is prior to an IPA wipe down by the way. By this point, I had been at it for about 8 straight hours and my wife wanted to go eat lol:
These few were taken after the sun went down and after the second foam wash. This wash consisted of a Dawn and Zep Citrus mixture to remove the excess polishing oils:
As you can see…not 100% perfect, but definitely a solid improvement and I’d say around 90% blemish free.
So Saturday went by and by 6pm and still no wax, I decided to go out and apply a coat of Dodo Juice Supernatural.
These are post two IPA wipe downs, but no LSP yet:
That isn't a scratch...it's the roof line of my neighbor's house lol: