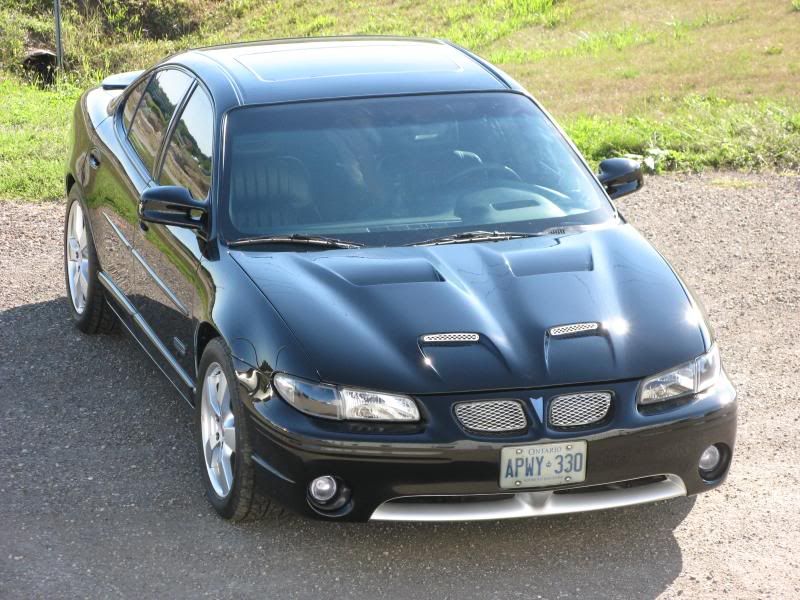
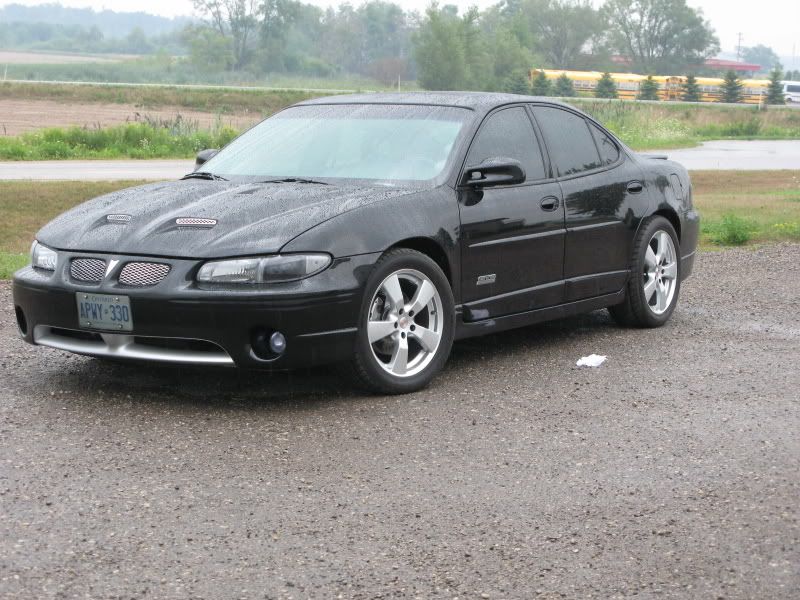
I am finally getting around to posting pics of some of the work I did over the winter/spring (and part of summer :lol") . I bought a used hood that had the corners damaged and set out to repair it with fiberglass. I had never done any kind of body work in my life, nor any fiberglassing.
. I bought a used hood that had the corners damaged and set out to repair it with fiberglass. I had never done any kind of body work in my life, nor any fiberglassing.
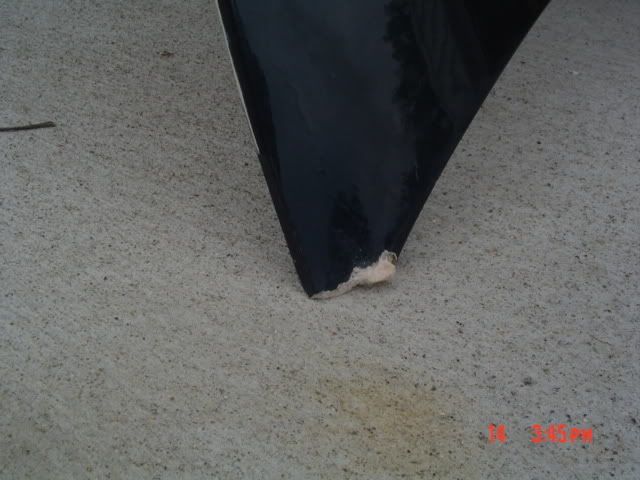
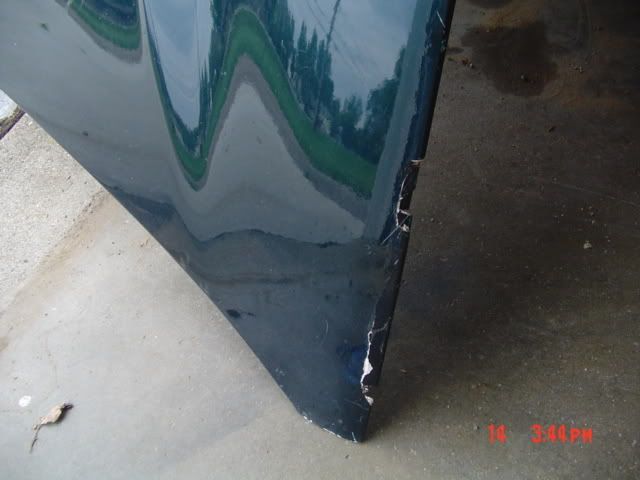
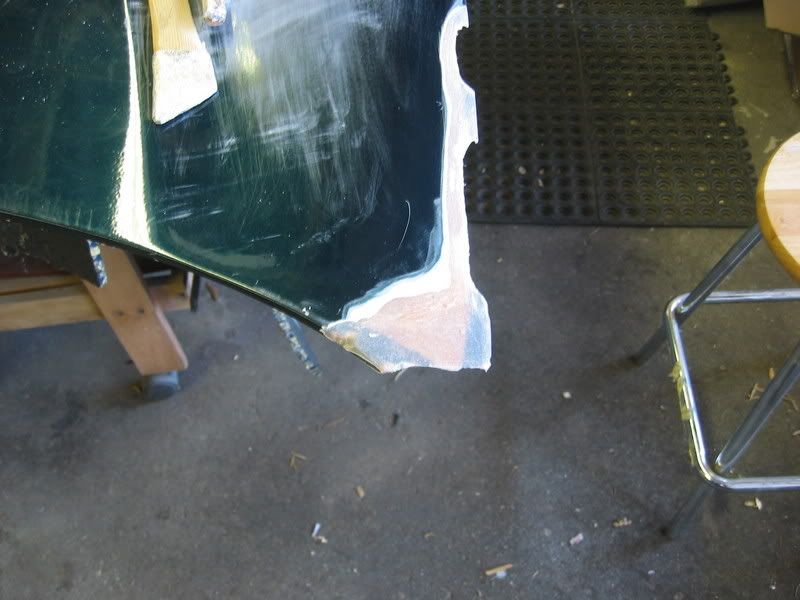
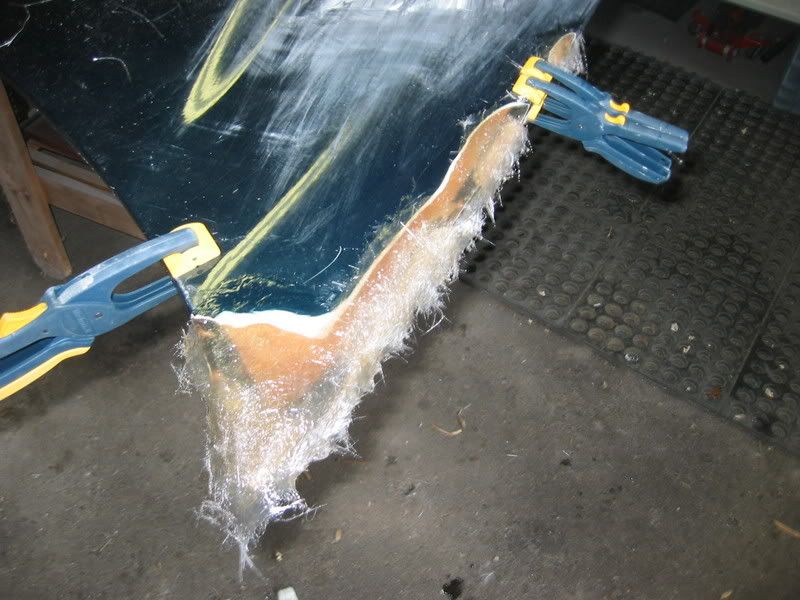
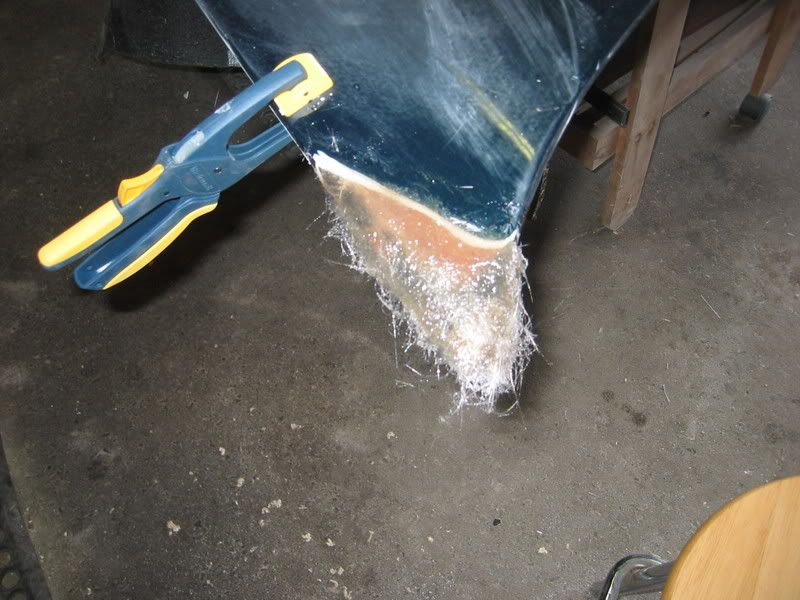
So I did a lot of research and set out by starting to make a mold for the fiberglass to rest on while it hardened. First, I had to grind off all the broken glass until I hit the good stuff, creating as much as a feather-edge as possible to create the largest possible surface for bonding.
Wood mold seen clamped on to create basic shape
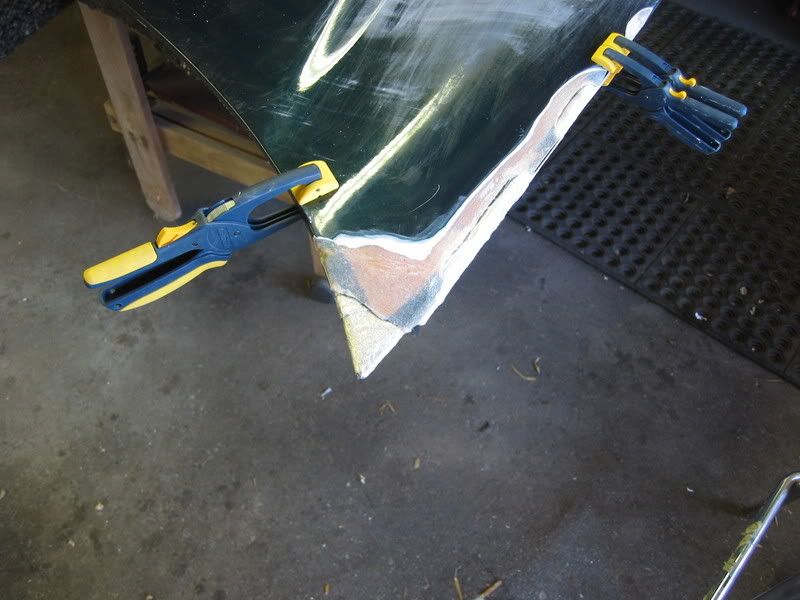
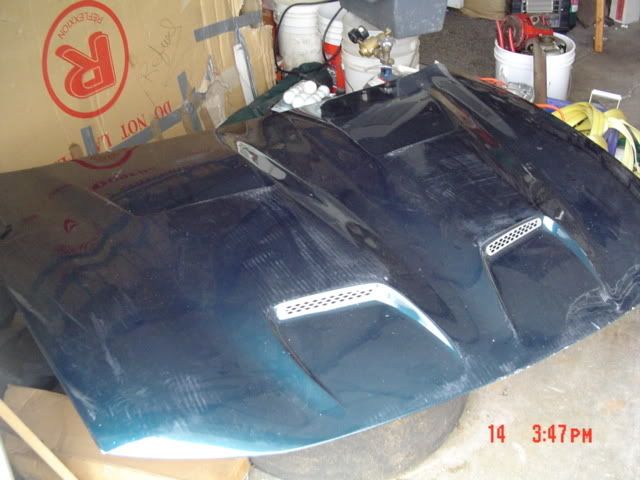
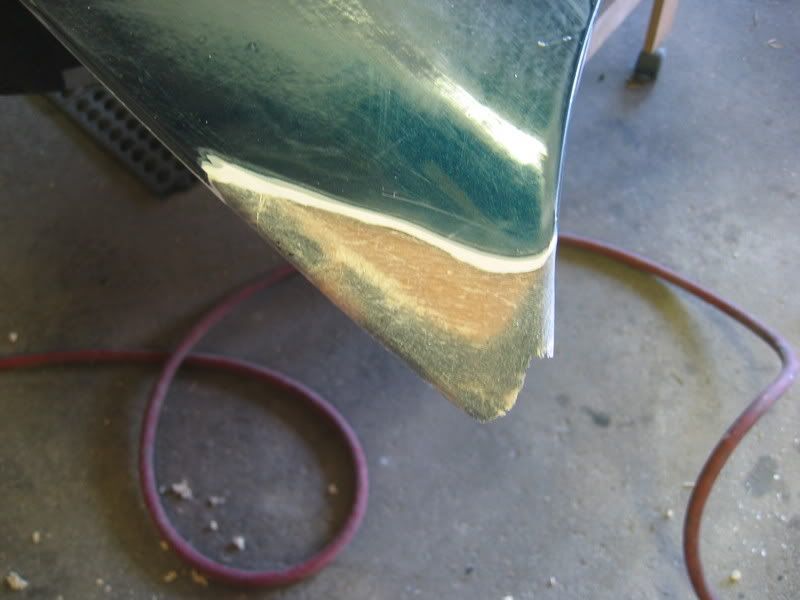
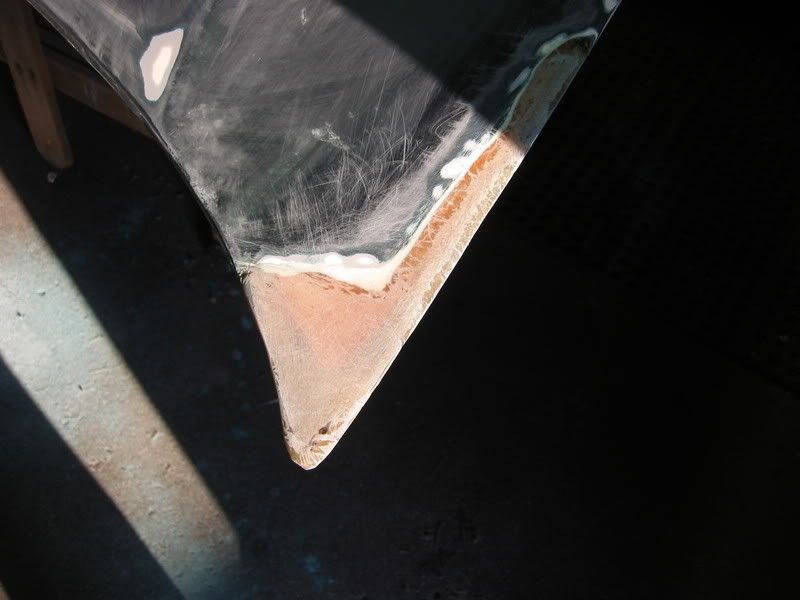
Then I laid 5 layers of mat to make the basic shape and let it set over night. Fiberglassing is actually pretty easy to do but is intimidating at first.
Then I ground down the access and kept refining the shape. I had to add some more fibreglass and got closer to the shape. I traced the ends of the stock hood onto a piece of cardboard and then used that as a template to make the basic shape. Then used a very thin layer of bondo to refine it.
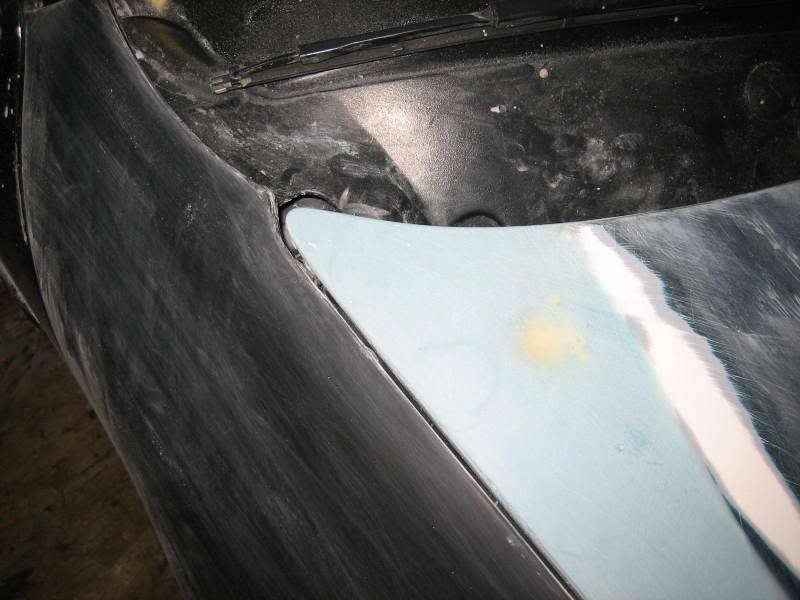
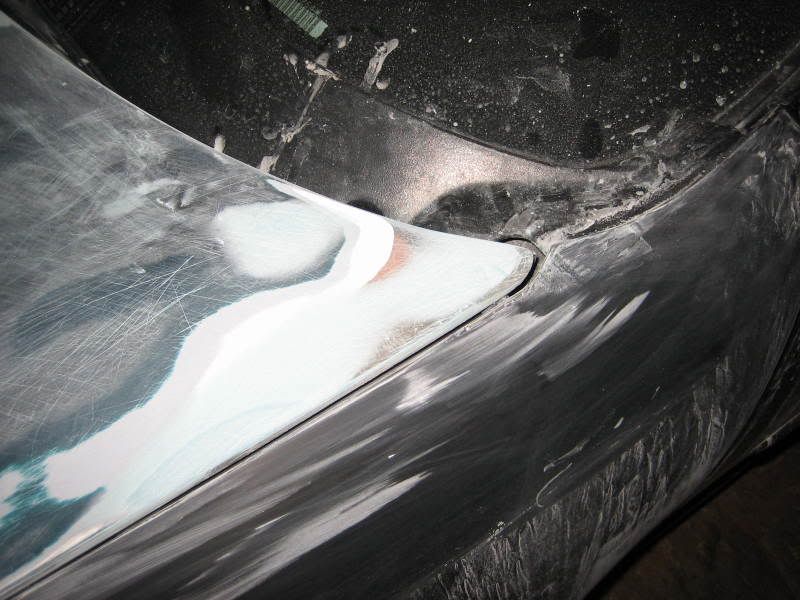
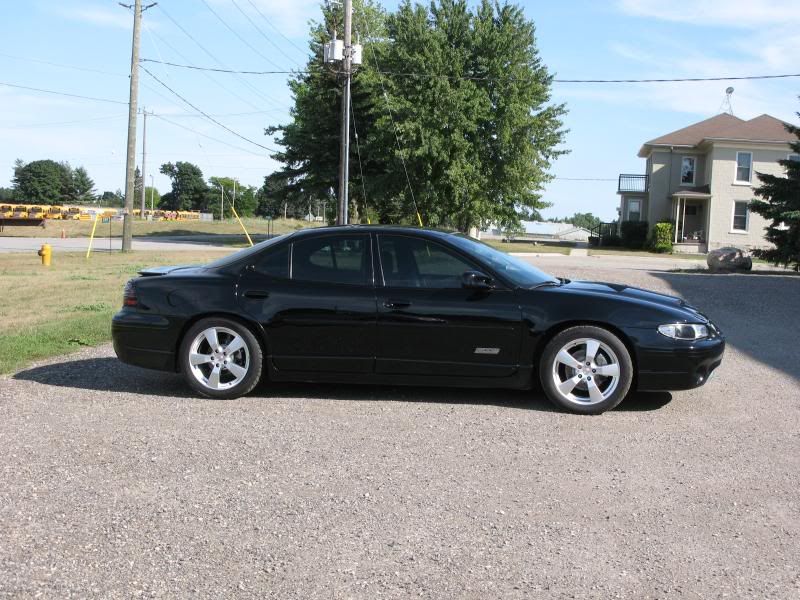
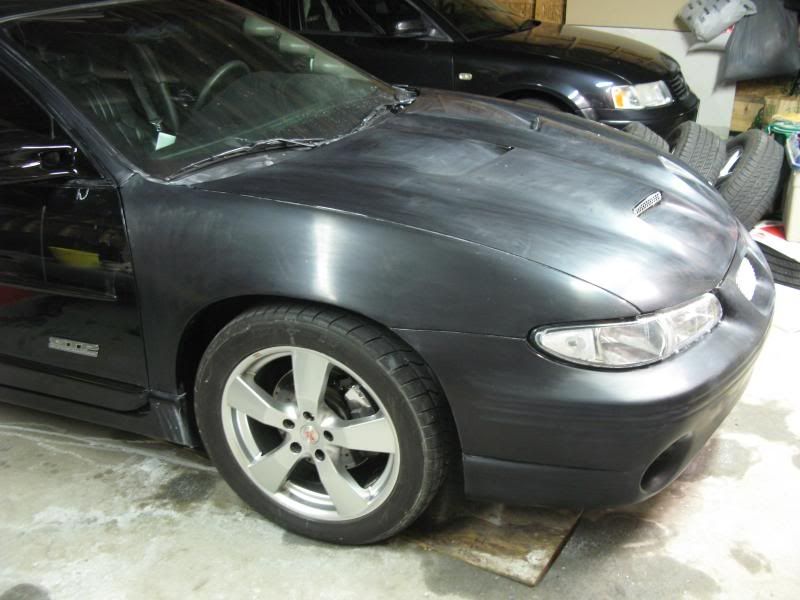
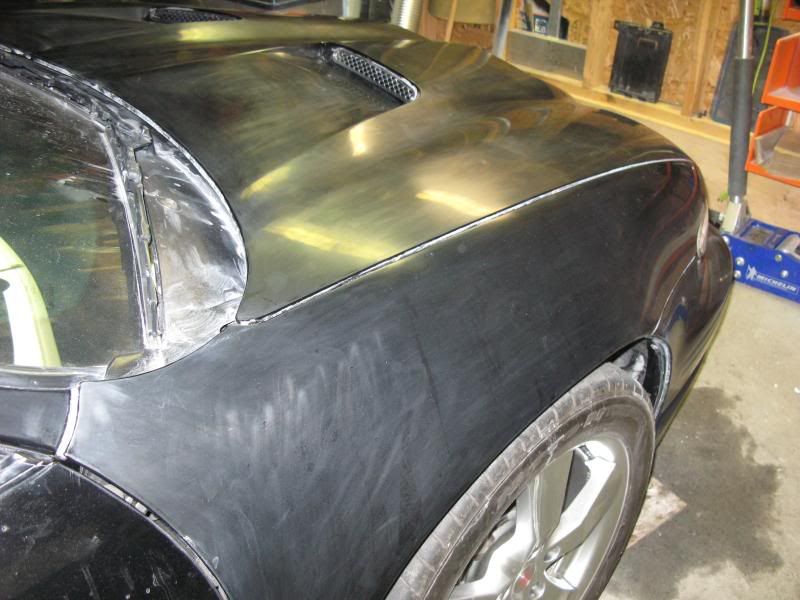
I mounted the hood and discovered that along the each side of the hood where it met the fender, the fender stuck up about 1/4" along the whole sides (no pics though). So I then used short-strand fiberglass bondo on both sides of the hood and block sanded it until the shape was perfect. I block sanded the rest of the hood to get out all the waves and imperfections made in molding process of the hood. I then block sanded the bumper and both fenders (fixed a few dents too).
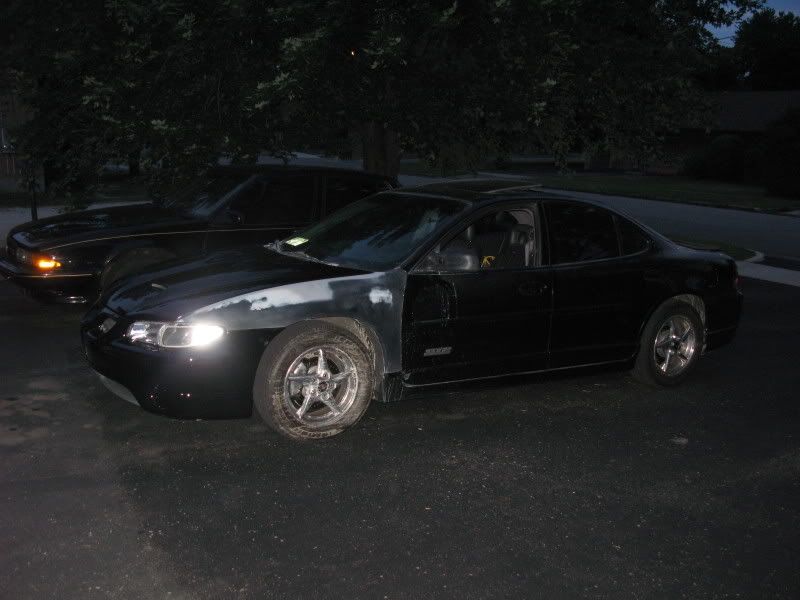
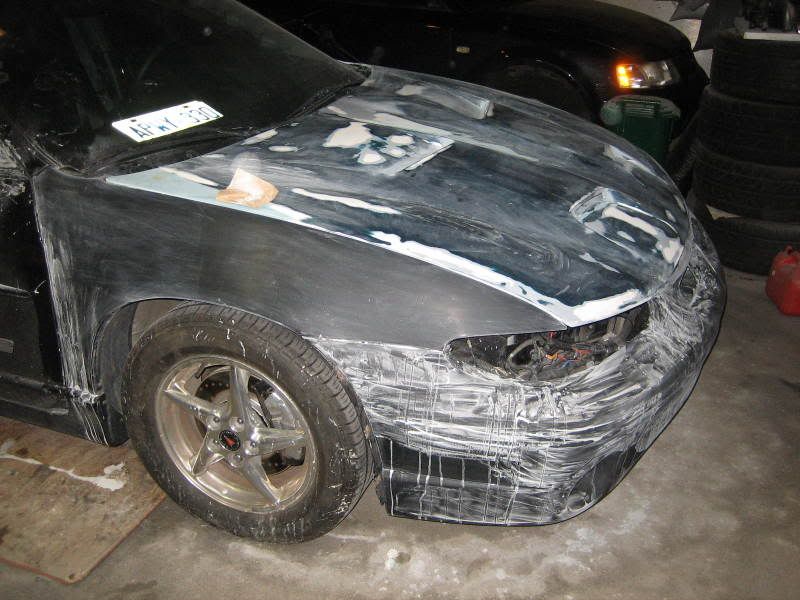
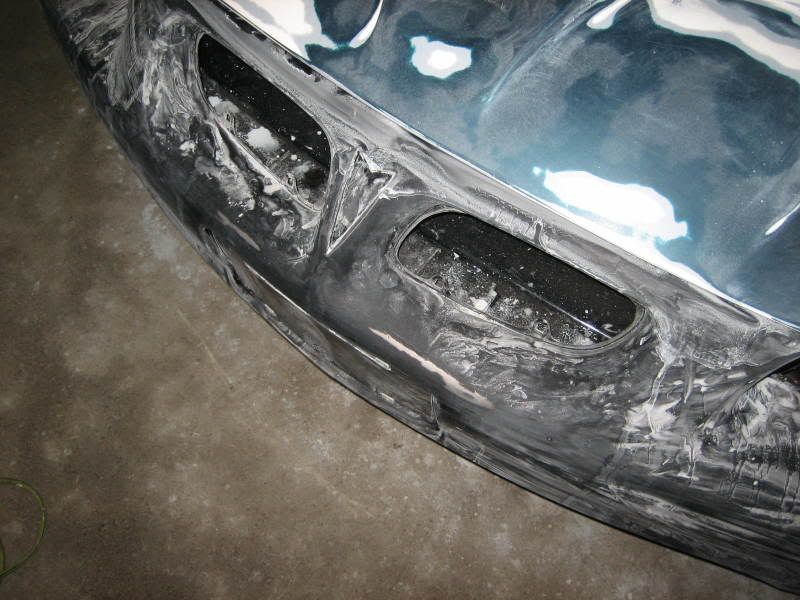
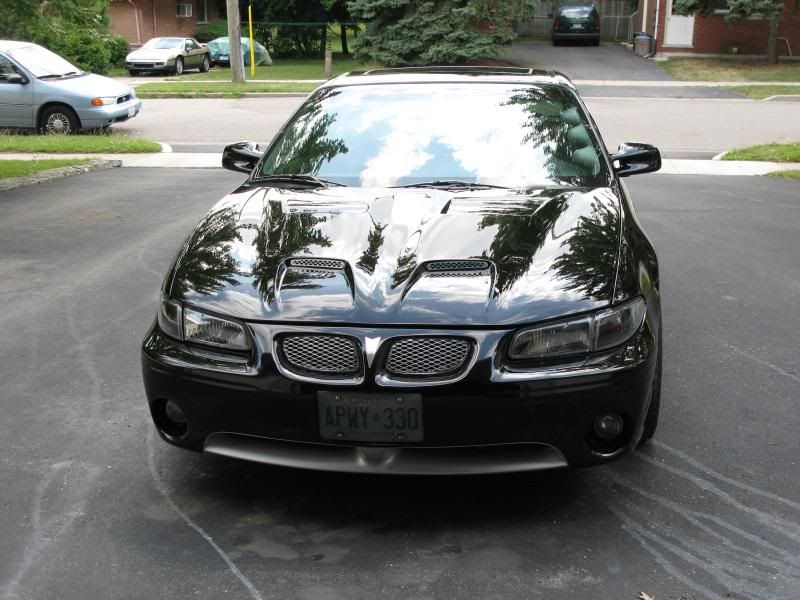
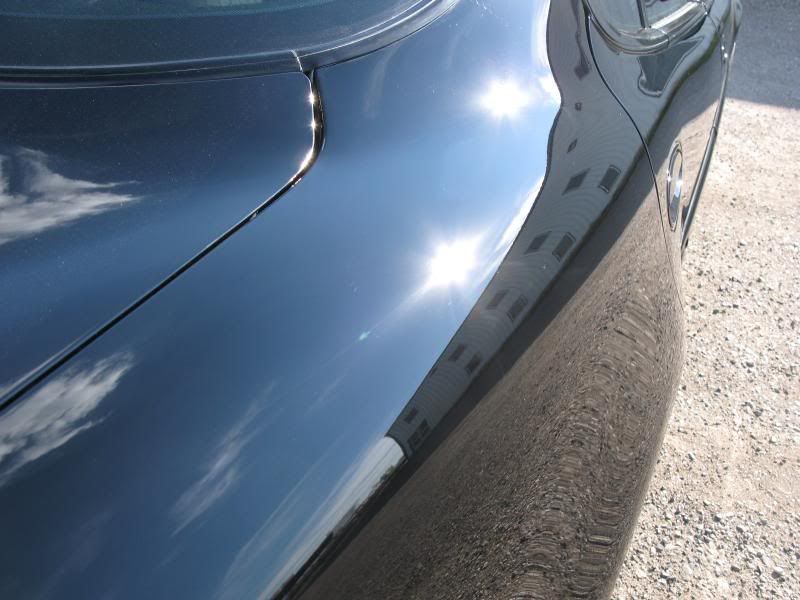
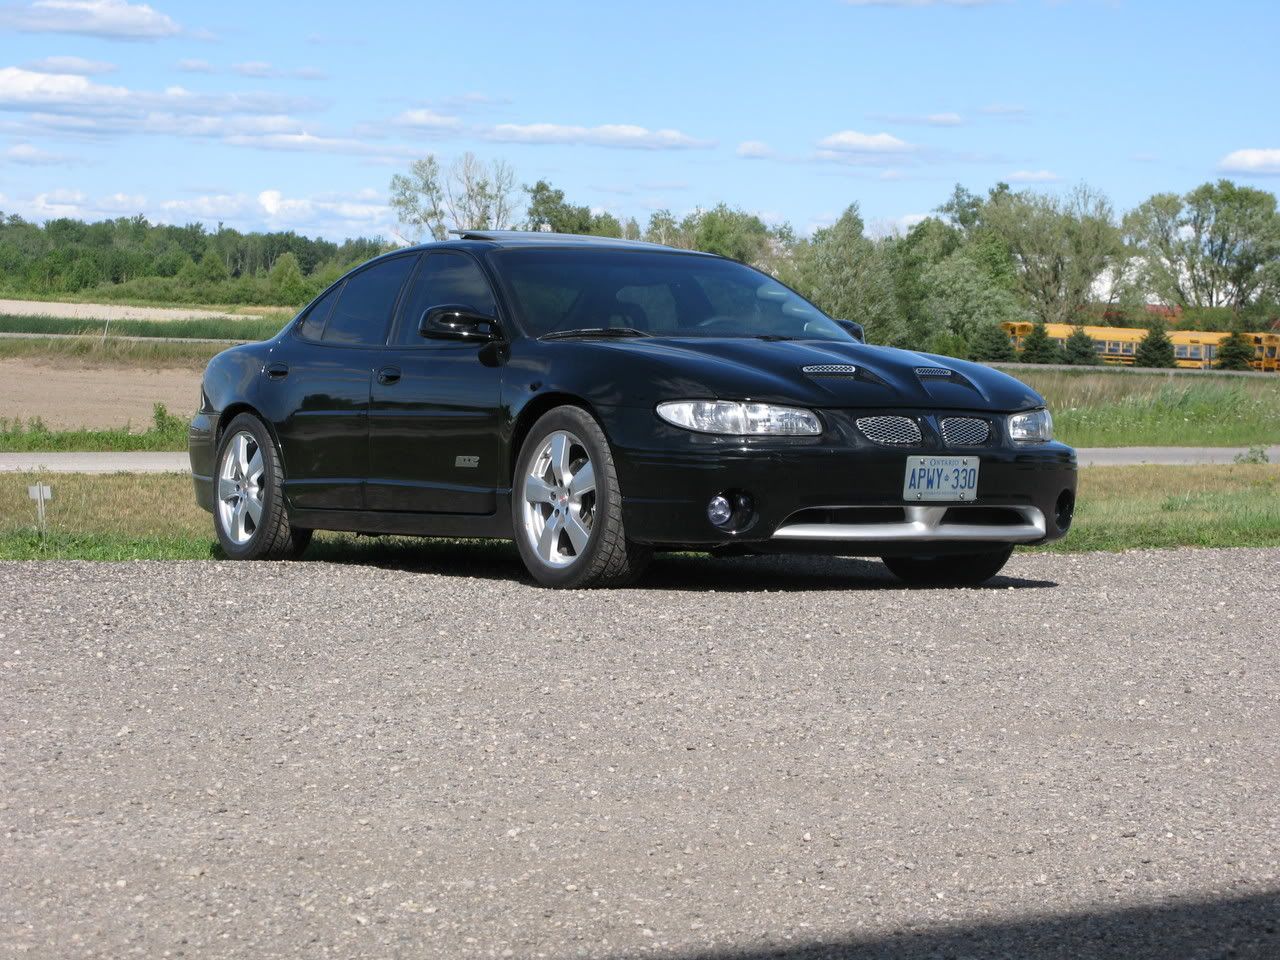
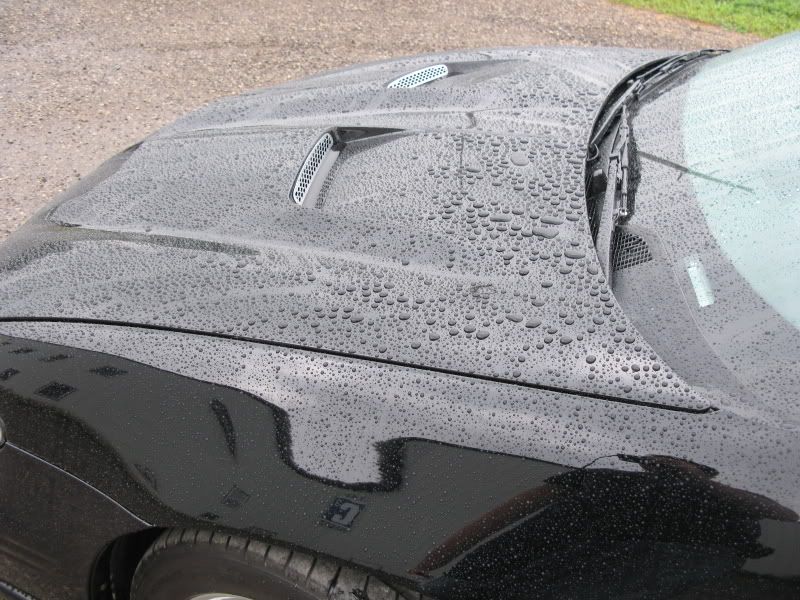
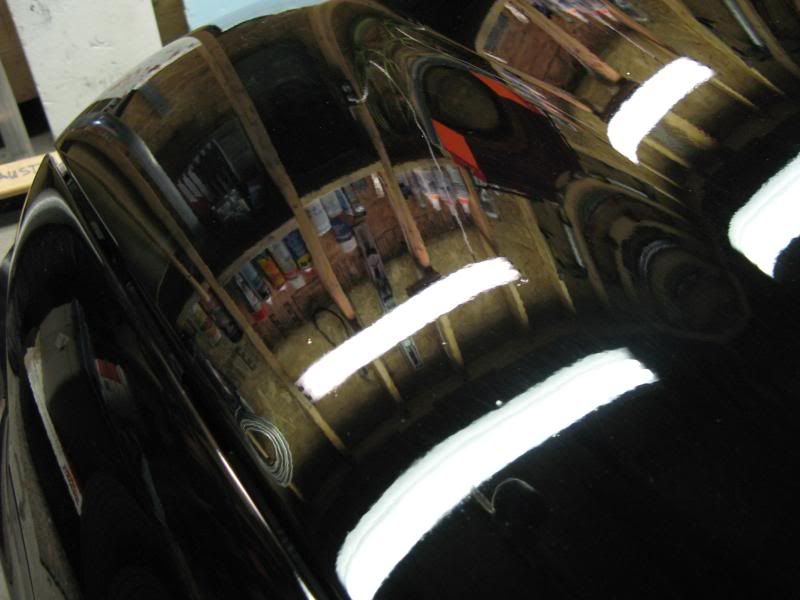
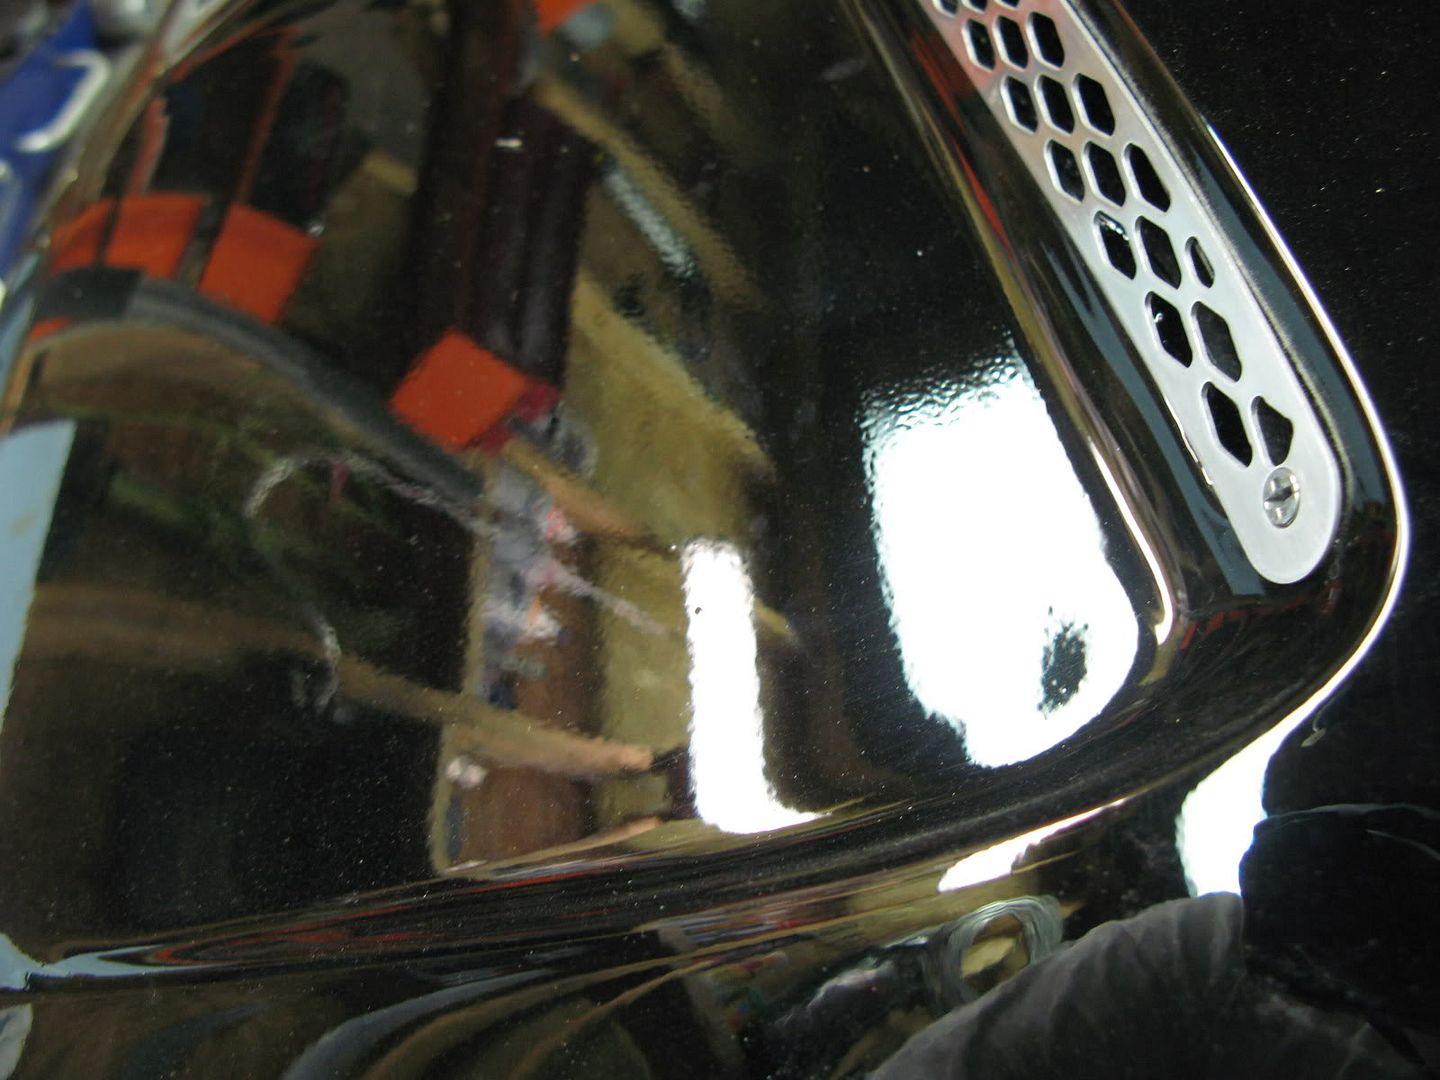
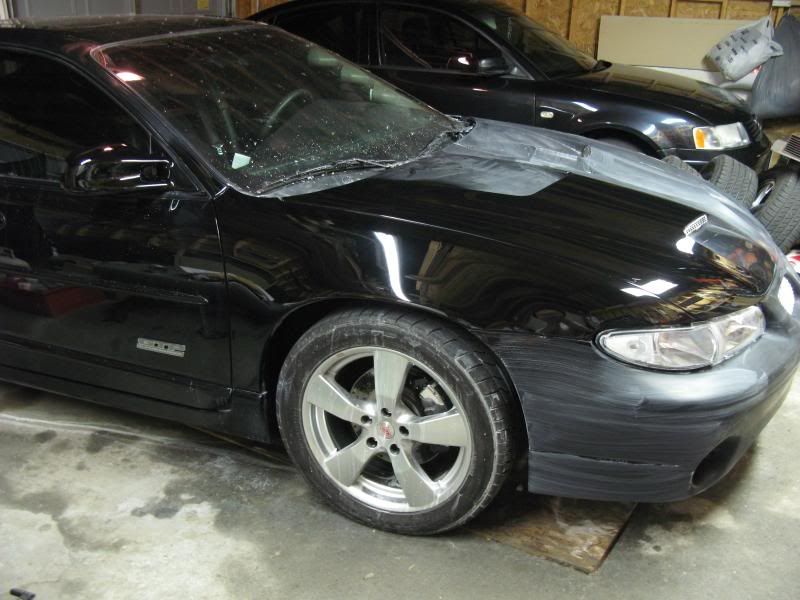
I then had the front end painted. Well after painting, there was a lot of orange peel and some runs, but I expected this because 4 heavy coats of clear were added on top of 2 layers of base. I couldn't stand the orange peel so I wet sanded the entire front end and then decided to wet sand the rest of the car. I started with 2000 grit first but then realized I should have started with 1500 grit to help speed up the process. Wet sanding took balls for the first time and I was also afraid of ruining the stock paint (because everyone says its thin) so I wasn't as aggressive on the back half of the car. Wet sanding took many hours and sore arms. After standing back and seeing the completely dull, I started to wondered what the hell I was thinking!
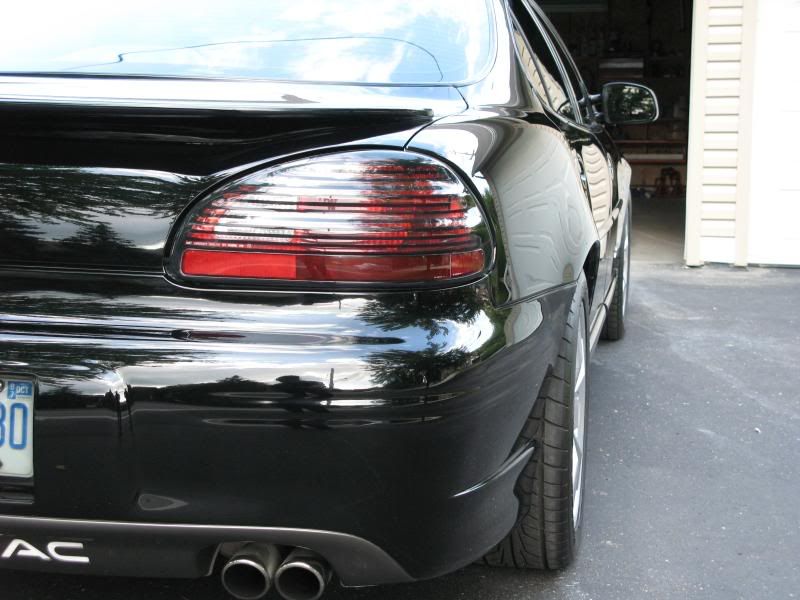
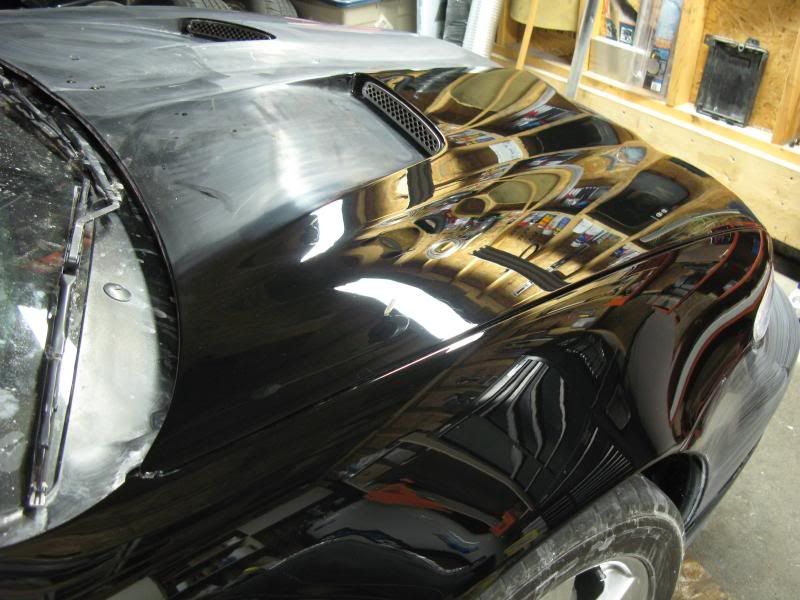
You can see the orange peel in the lights
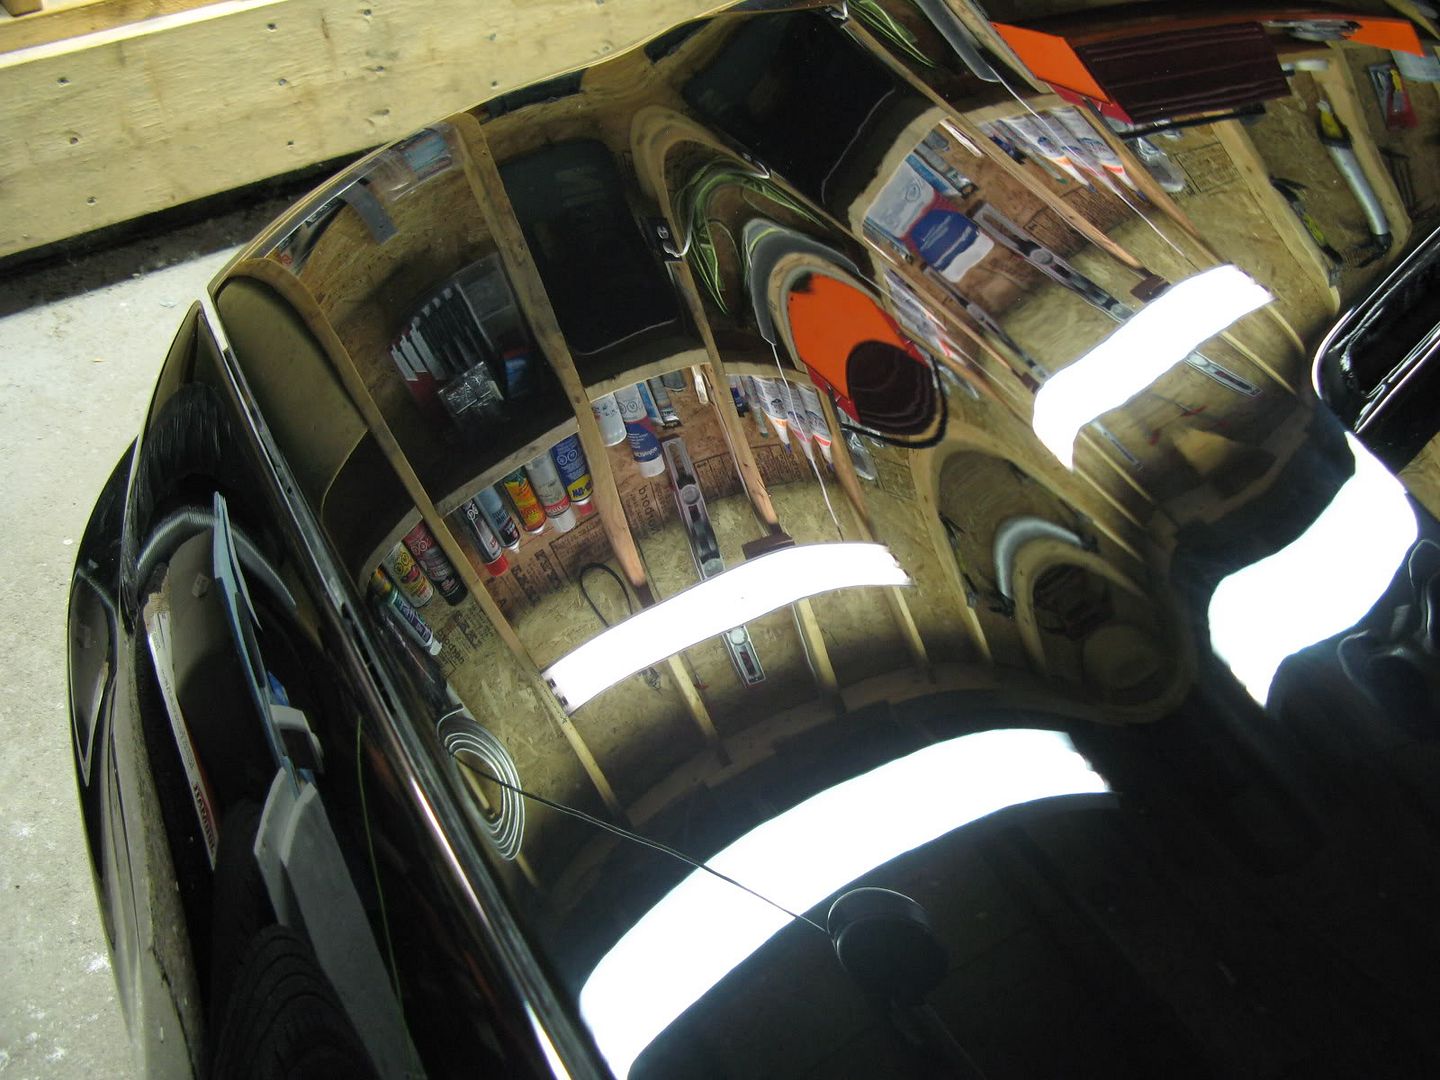
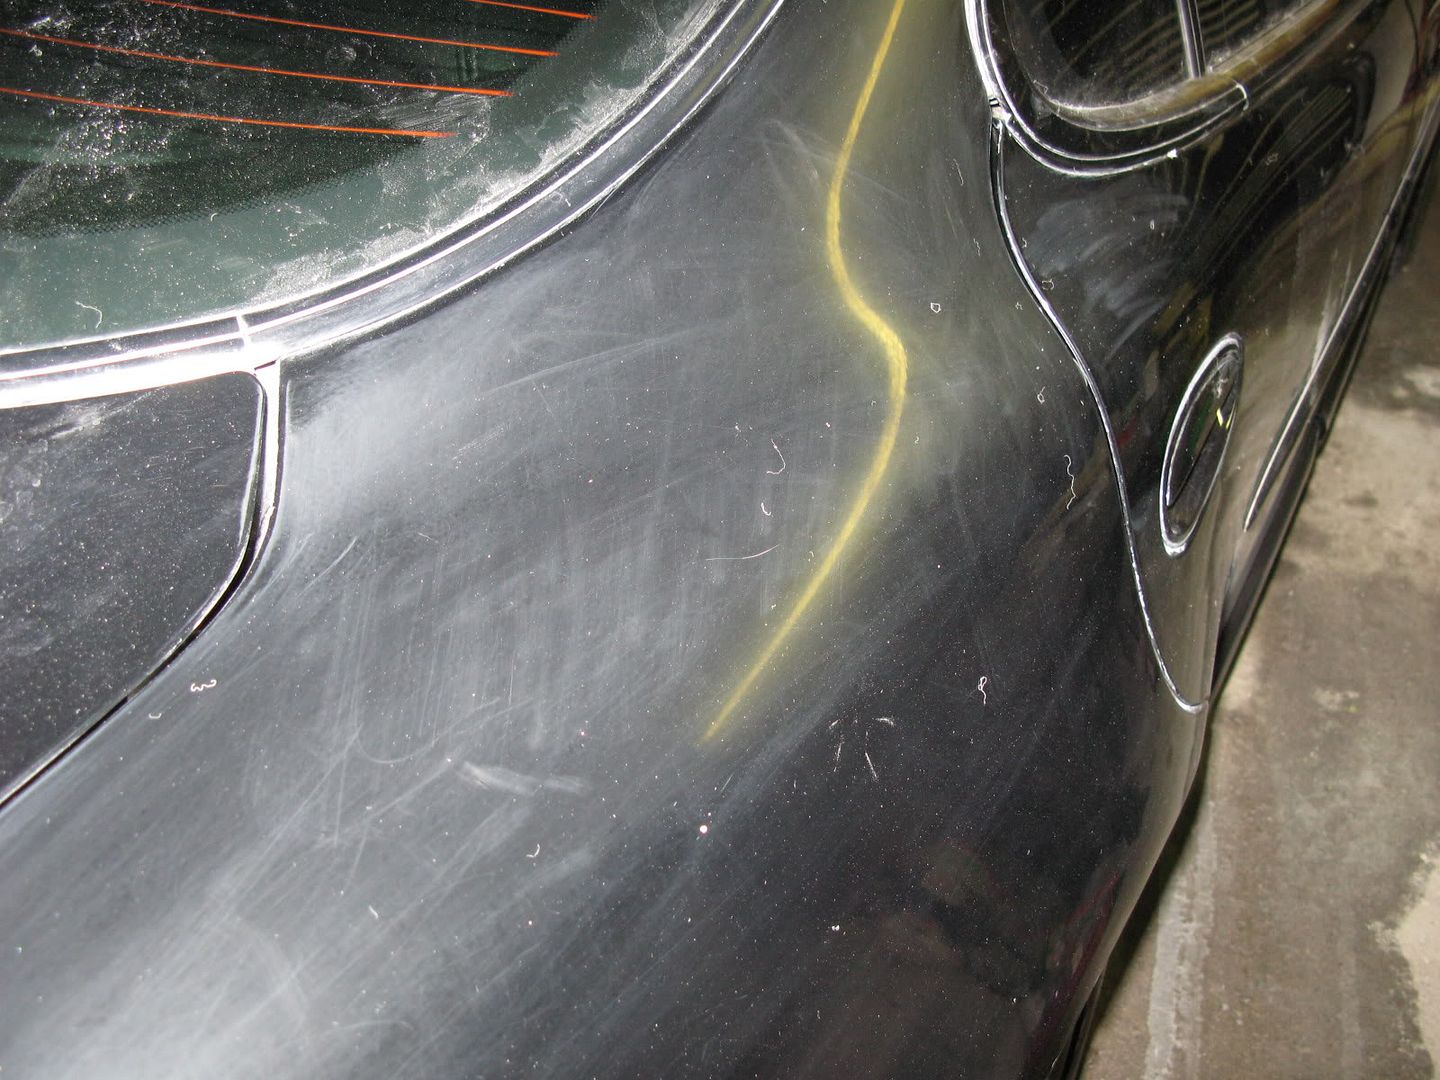
Wet sanded
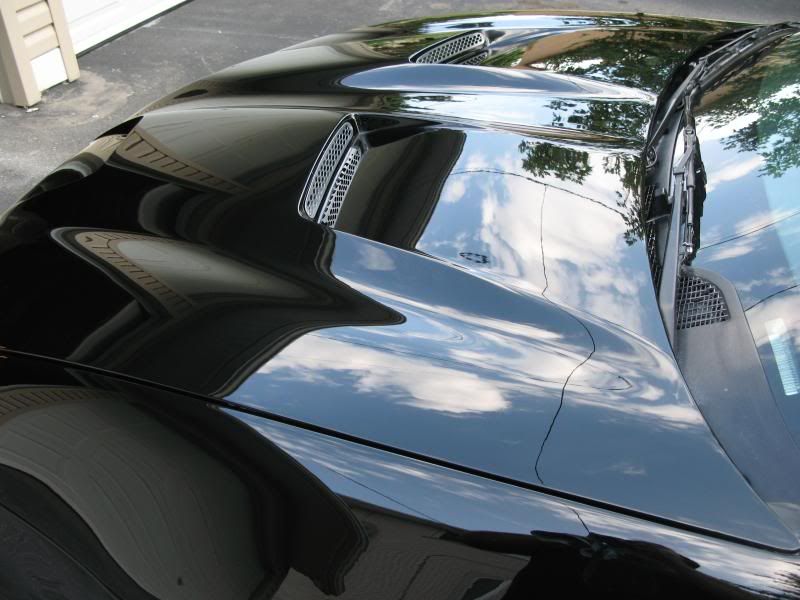
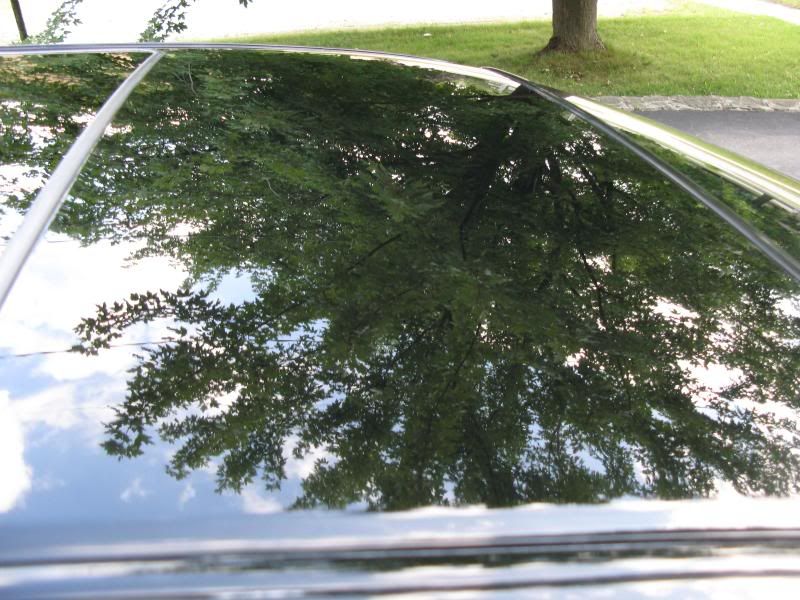
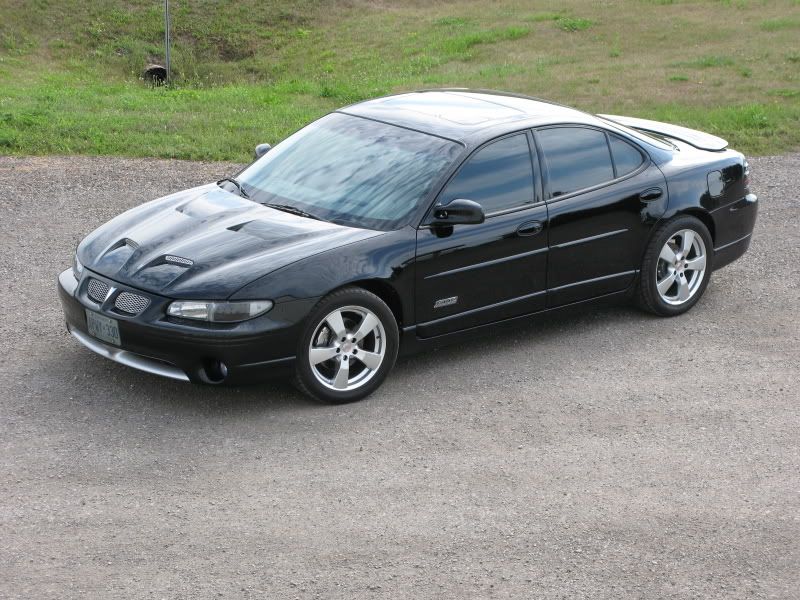
So I started polishing (another thing I had never done in my life). Polishing was a lot of trial and error at first to see what worked. I started out with a Porter Cable (Optimum Compound with an orange foam pad) and quickly realized that no matter what combination of polish or pad I used I was never going to get the 2000 grit sanding marks out with the PC. So I borrowed a Makita 7224 rotary (another first, and you read/hear about all the horror stories with rotaries) and started polishing with a wool pad and Optimum Compound. This started producing results. I then started mixing 50/50 with Optimum Polish which really finished nicely and saved a lot of time. I then switched to a Lake Country white pad and Optimum Polish with the rotary @ 1000-1200 rpm and the shine was starting to really come out. This was basically my last step.
. I bought a used hood that had the corners damaged and set out to repair it with fiberglass. I had never done any kind of body work in my life, nor any fiberglassing.
So I did a lot of research and set out by starting to make a mold for the fiberglass to rest on while it hardened. First, I had to grind off all the broken glass until I hit the good stuff, creating as much as a feather-edge as possible to create the largest possible surface for bonding.
Wood mold seen clamped on to create basic shape
Then I laid 5 layers of mat to make the basic shape and let it set over night. Fiberglassing is actually pretty easy to do but is intimidating at first.
Then I ground down the access and kept refining the shape. I had to add some more fibreglass and got closer to the shape. I traced the ends of the stock hood onto a piece of cardboard and then used that as a template to make the basic shape. Then used a very thin layer of bondo to refine it.
I mounted the hood and discovered that along the each side of the hood where it met the fender, the fender stuck up about 1/4" along the whole sides (no pics though). So I then used short-strand fiberglass bondo on both sides of the hood and block sanded it until the shape was perfect. I block sanded the rest of the hood to get out all the waves and imperfections made in molding process of the hood. I then block sanded the bumper and both fenders (fixed a few dents too).
I then had the front end painted. Well after painting, there was a lot of orange peel and some runs, but I expected this because 4 heavy coats of clear were added on top of 2 layers of base. I couldn't stand the orange peel so I wet sanded the entire front end and then decided to wet sand the rest of the car. I started with 2000 grit first but then realized I should have started with 1500 grit to help speed up the process. Wet sanding took balls for the first time and I was also afraid of ruining the stock paint (because everyone says its thin) so I wasn't as aggressive on the back half of the car. Wet sanding took many hours and sore arms. After standing back and seeing the completely dull, I started to wondered what the hell I was thinking!
You can see the orange peel in the lights
Wet sanded
So I started polishing (another thing I had never done in my life). Polishing was a lot of trial and error at first to see what worked. I started out with a Porter Cable (Optimum Compound with an orange foam pad) and quickly realized that no matter what combination of polish or pad I used I was never going to get the 2000 grit sanding marks out with the PC. So I borrowed a Makita 7224 rotary (another first, and you read/hear about all the horror stories with rotaries) and started polishing with a wool pad and Optimum Compound. This started producing results. I then started mixing 50/50 with Optimum Polish which really finished nicely and saved a lot of time. I then switched to a Lake Country white pad and Optimum Polish with the rotary @ 1000-1200 rpm and the shine was starting to really come out. This was basically my last step.