Flannigan
New member
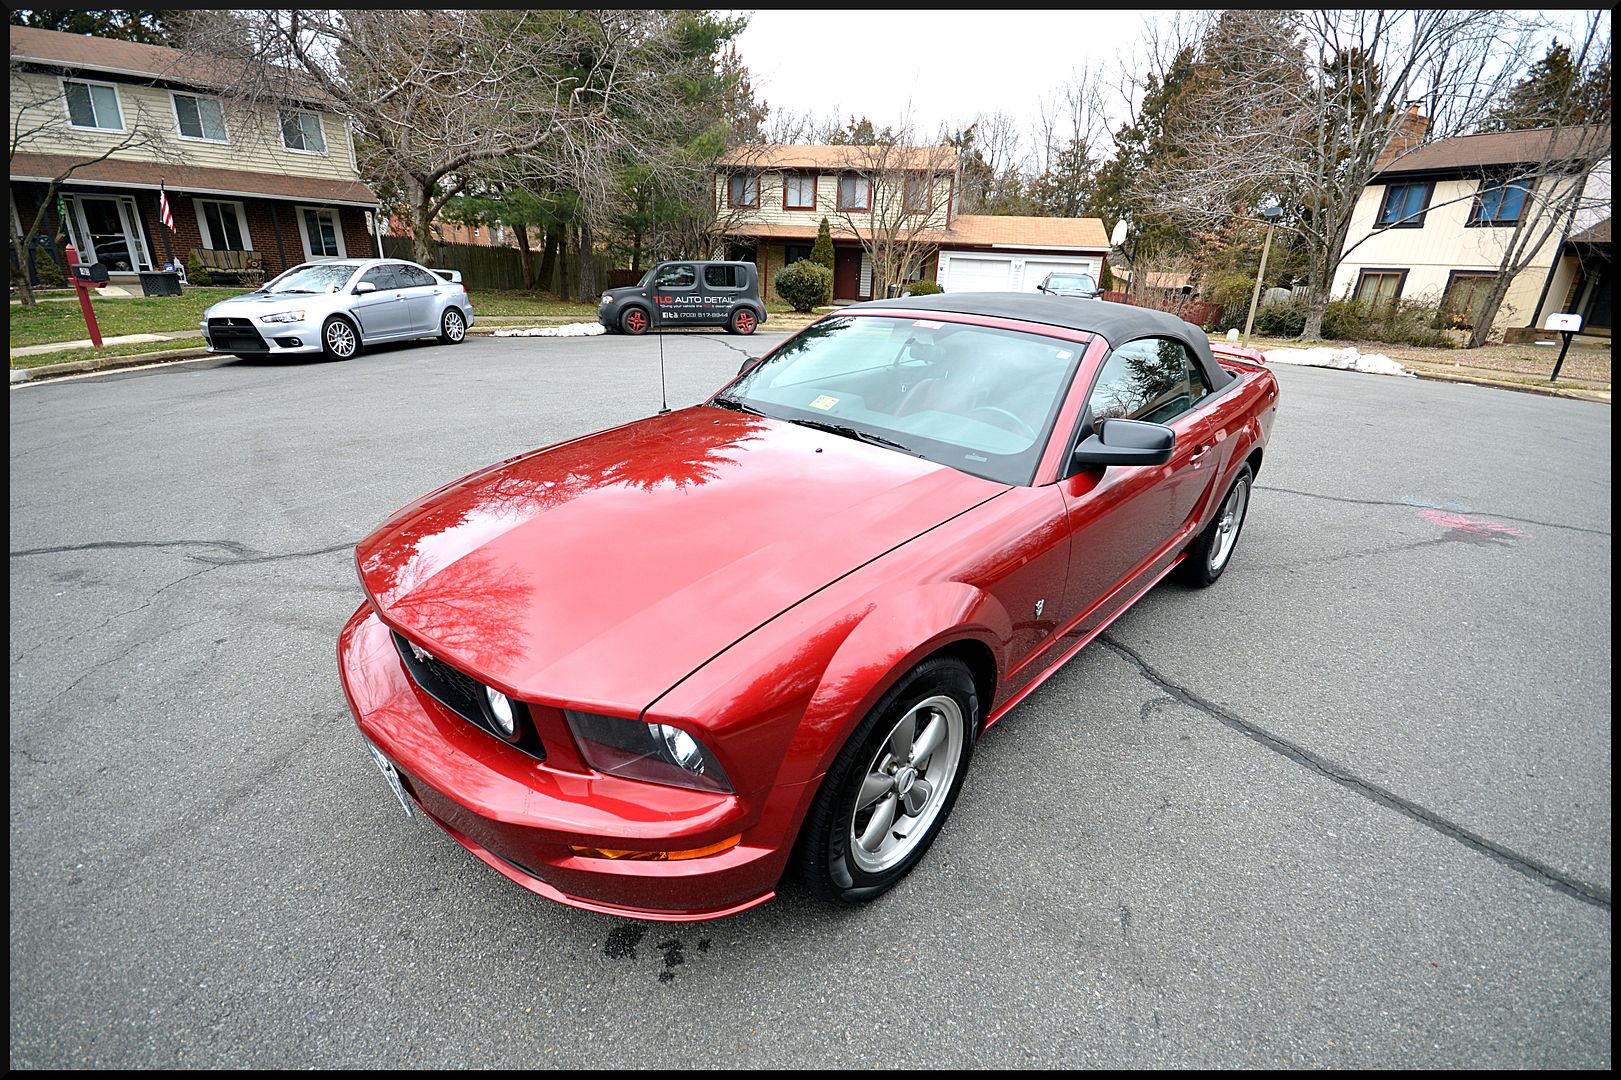
Had a relatively quick job today, a 2005 Mustang GT getting an exterior detail. I had a new foam lance to play with, along with some new wax from Corey, Bouncer's Capture the Rapture.
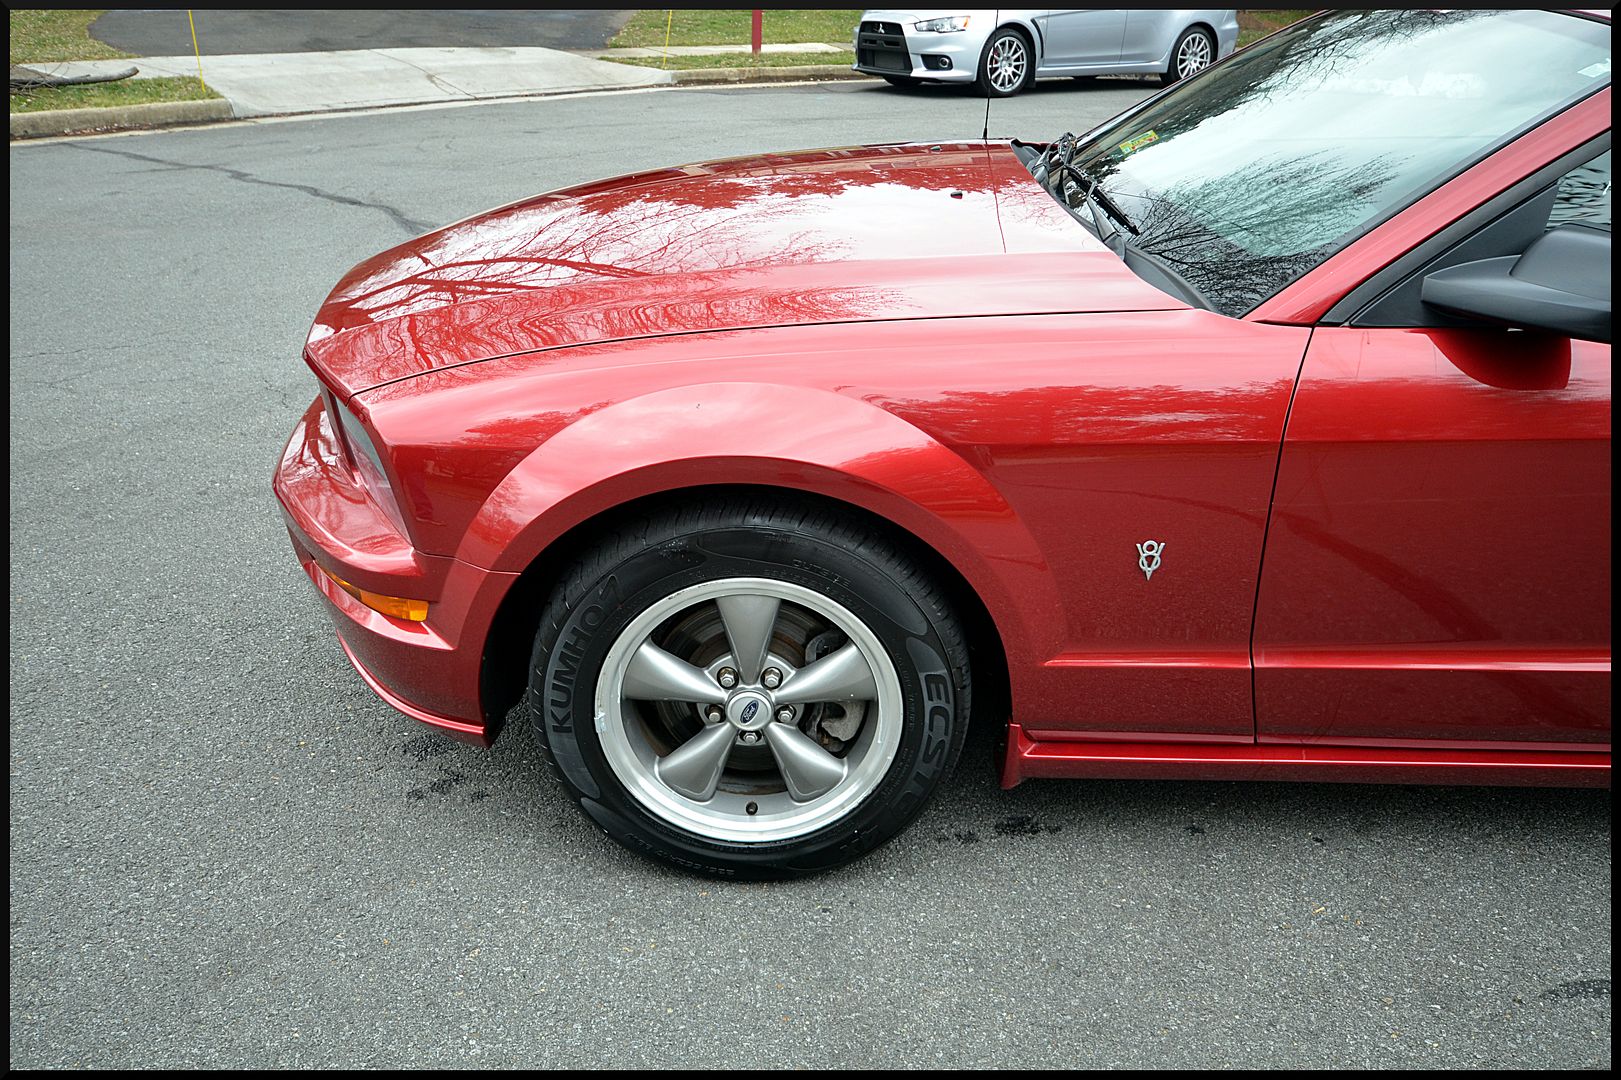
We started with the wheels, tires, and wheel wells. Nothing was terribly filthy, but it needed to be cleaned up.
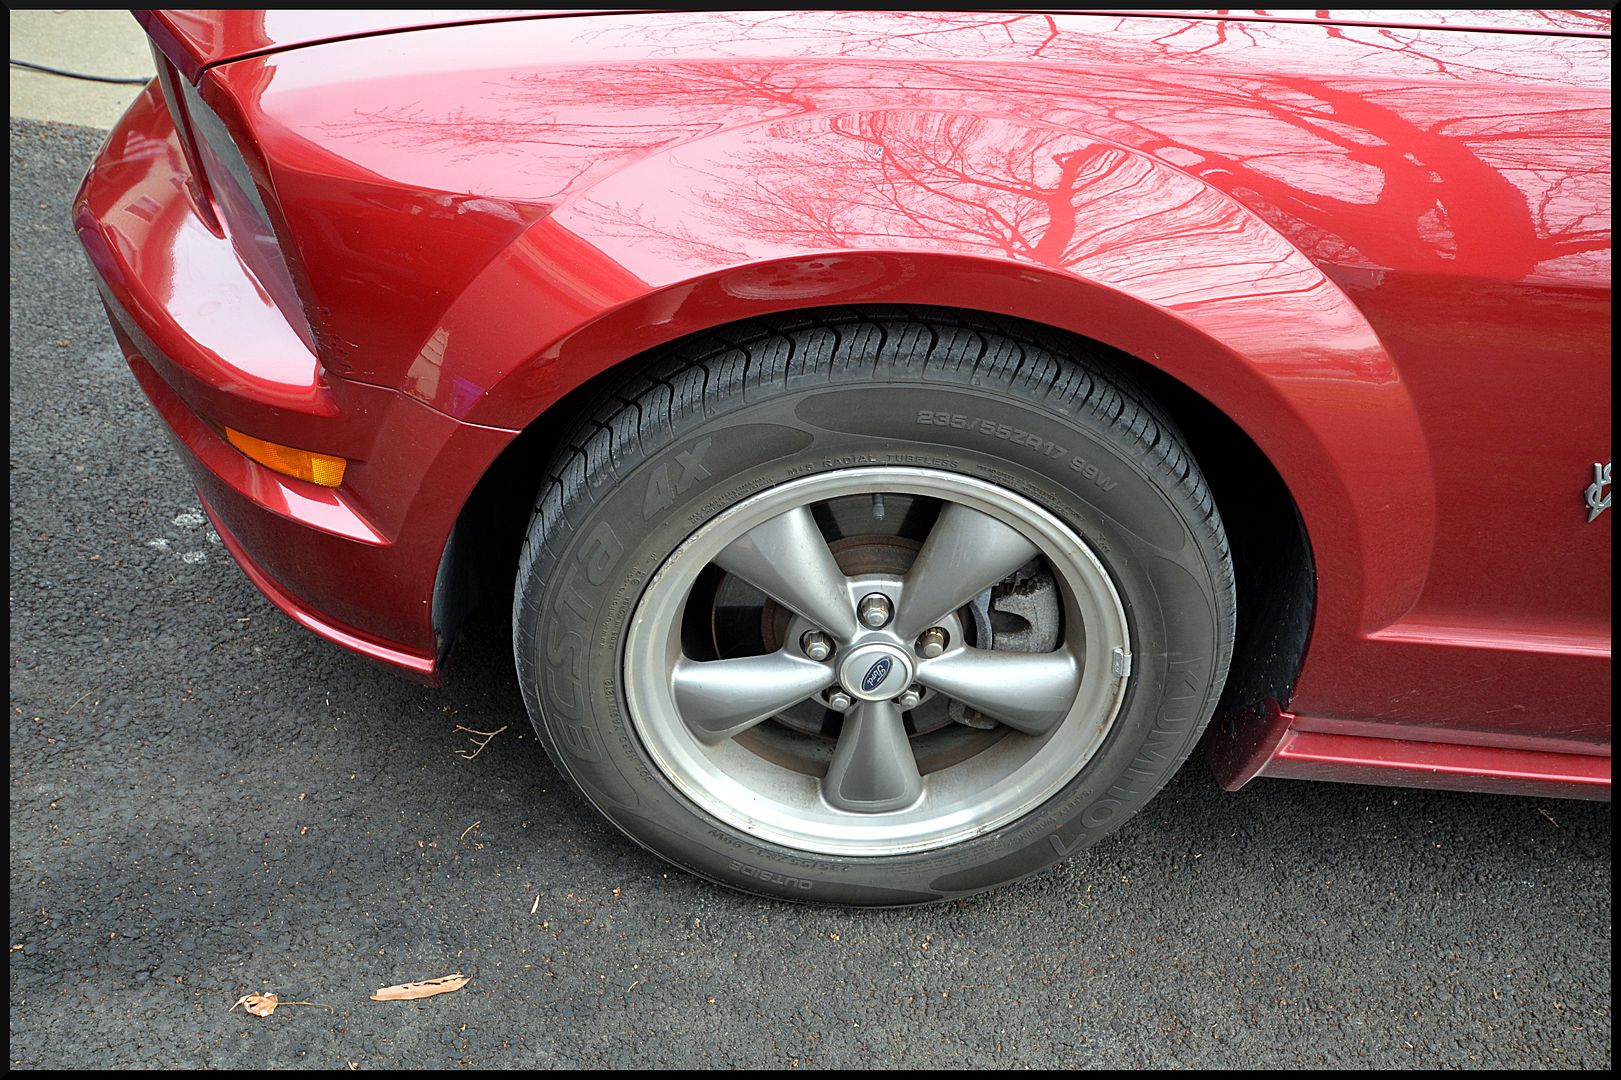
Iron X and several wheel woolies were used on the wheels, Blackfire APC and a stiff brush was used on the tires and wheel wells. The wheels were sealed with 4 Star Sealant, and the tires and wells were dressed with Meguiars Hyperdressing.
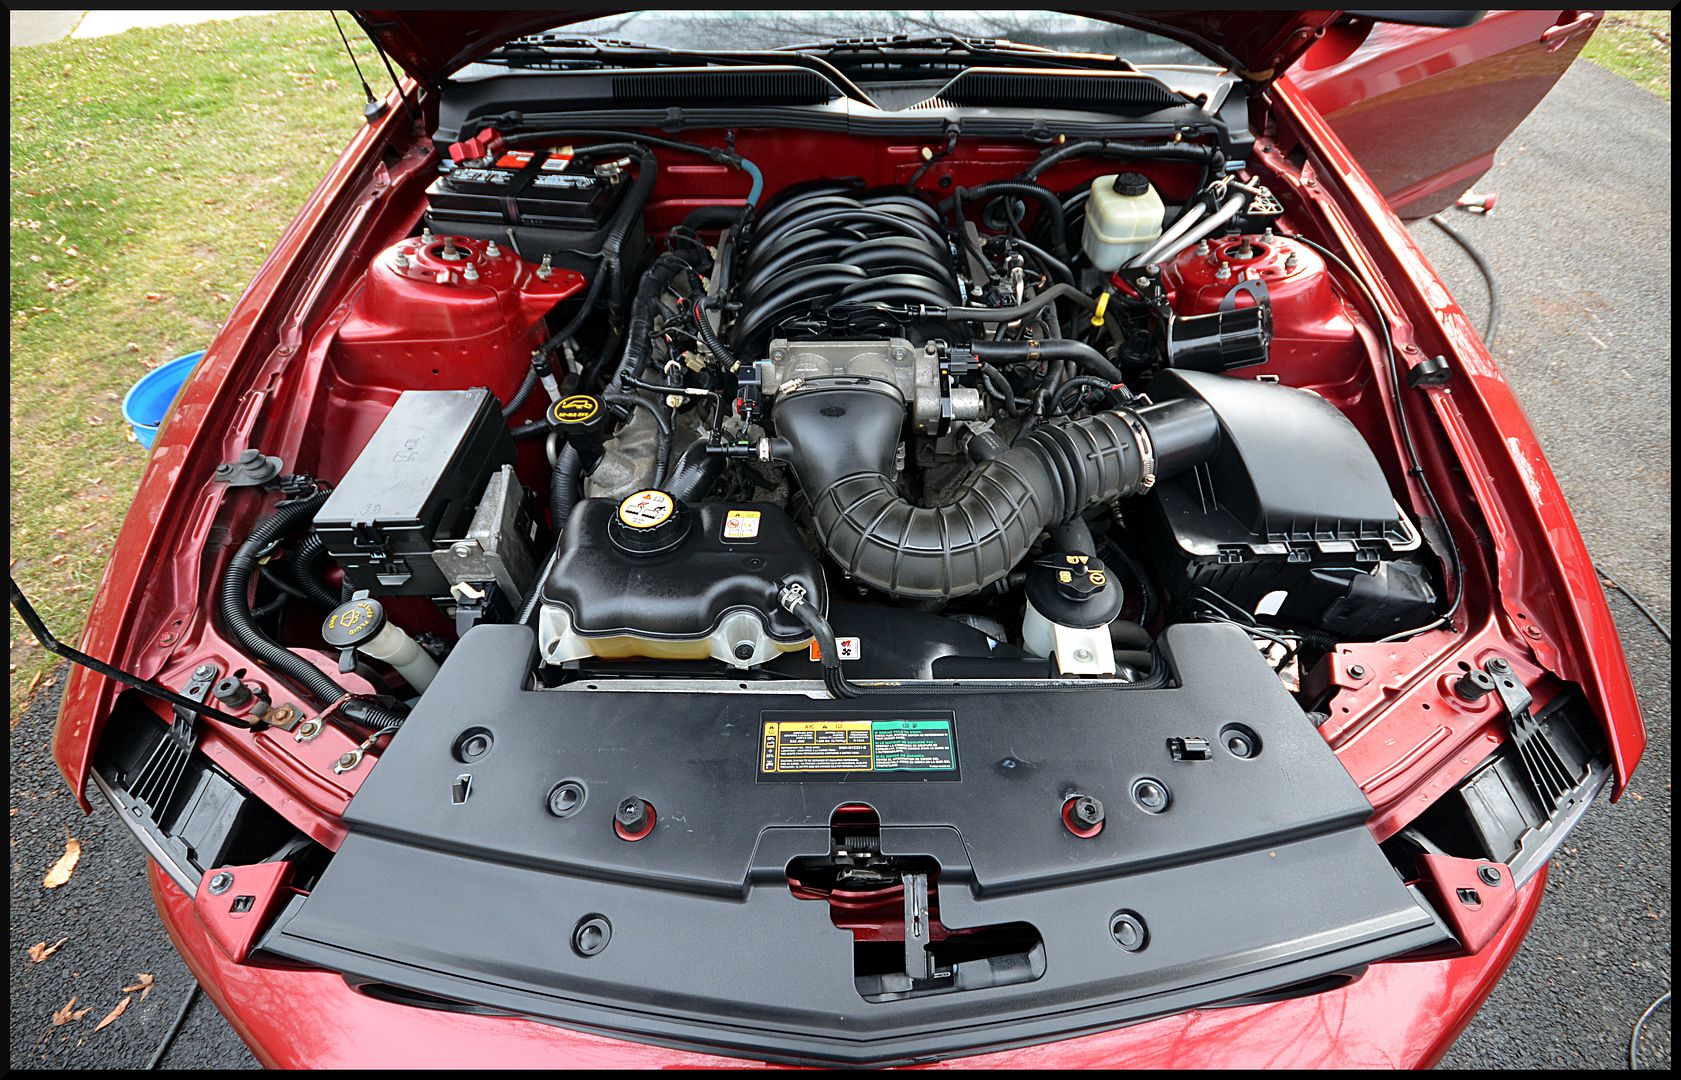
Next up was the engine bay. I doubt this has ever been detailed, so it required a bit of attention. It was first wet down, and then Blackfire APC was liberally used with multiple brushes to clean the plastic, painted, and metal components.

It was rinsed clean and then blown dry with the Maserblaster. Finally the bay was dressed with Sonus Motor and Trim Kote. The first coat was allowed to dry for 30 minutes, and then a second coat was applied, and was allowed to fully dry before the engine was started.
Next up was the rest of the exterior. It was pretty dirty, especially behind the wheel wells and on the rear of the vehicle
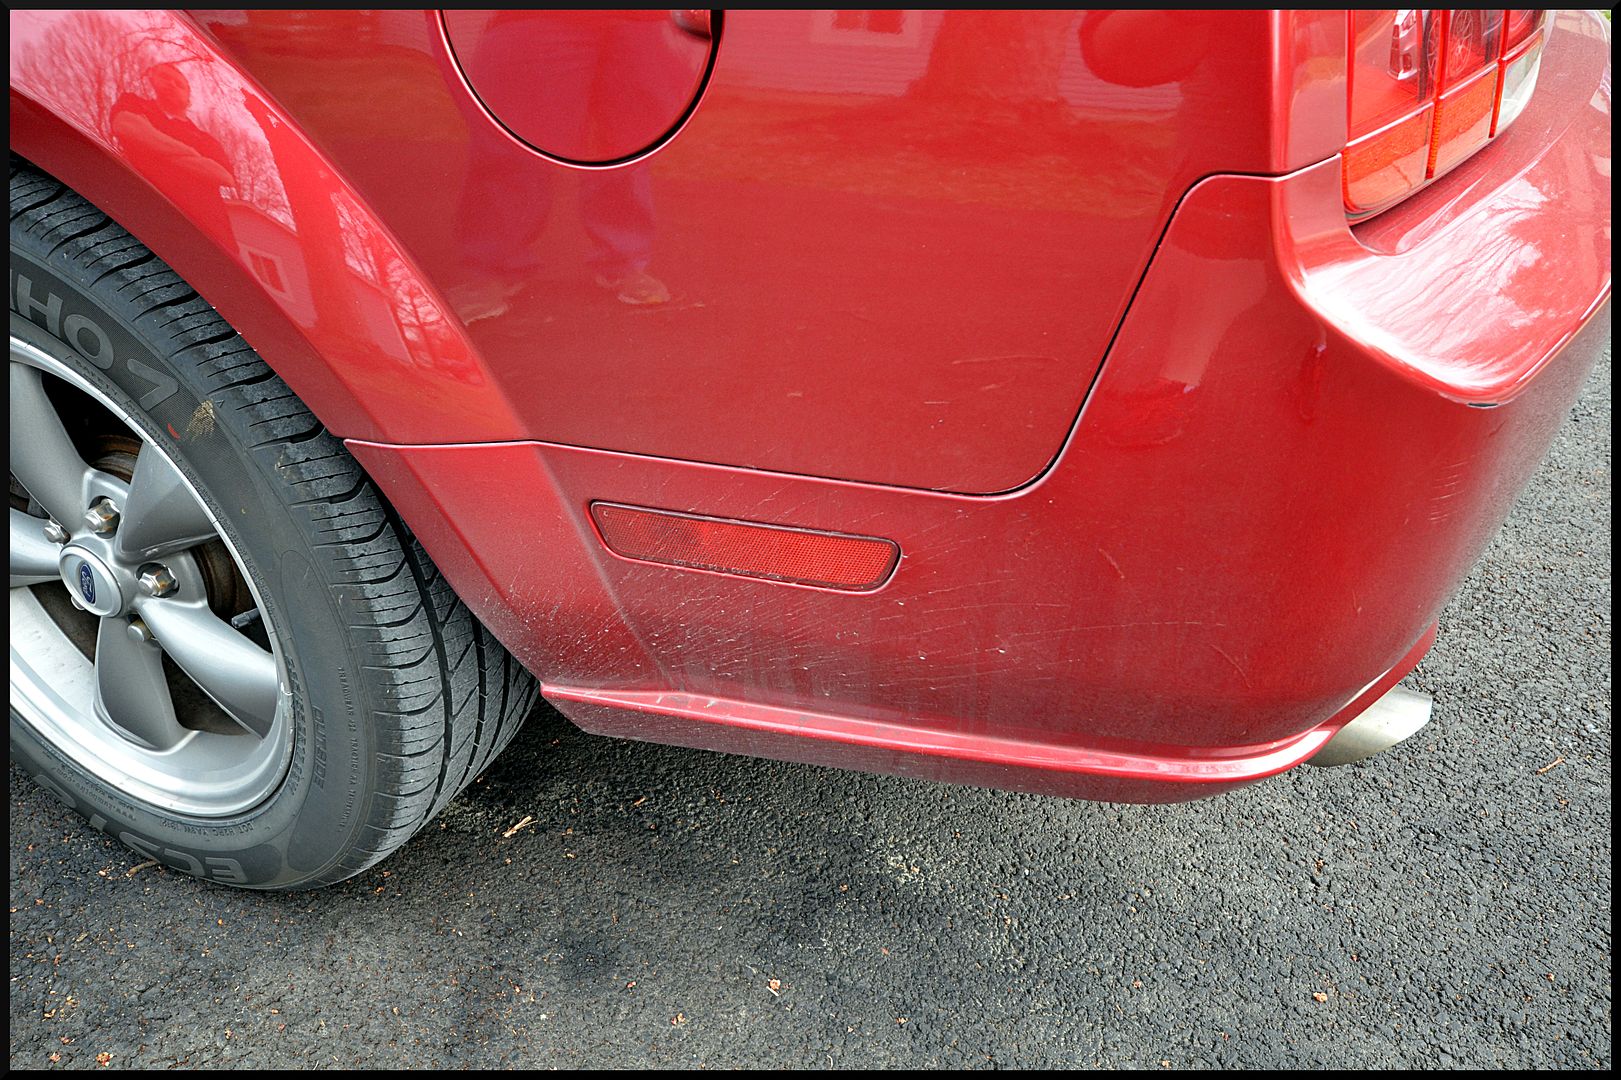
We started by foaming the vehicle with Meguiars Gold Class and APC. It was left to dwell while we agitated the trim, emblems, and body seams with a soft brush.
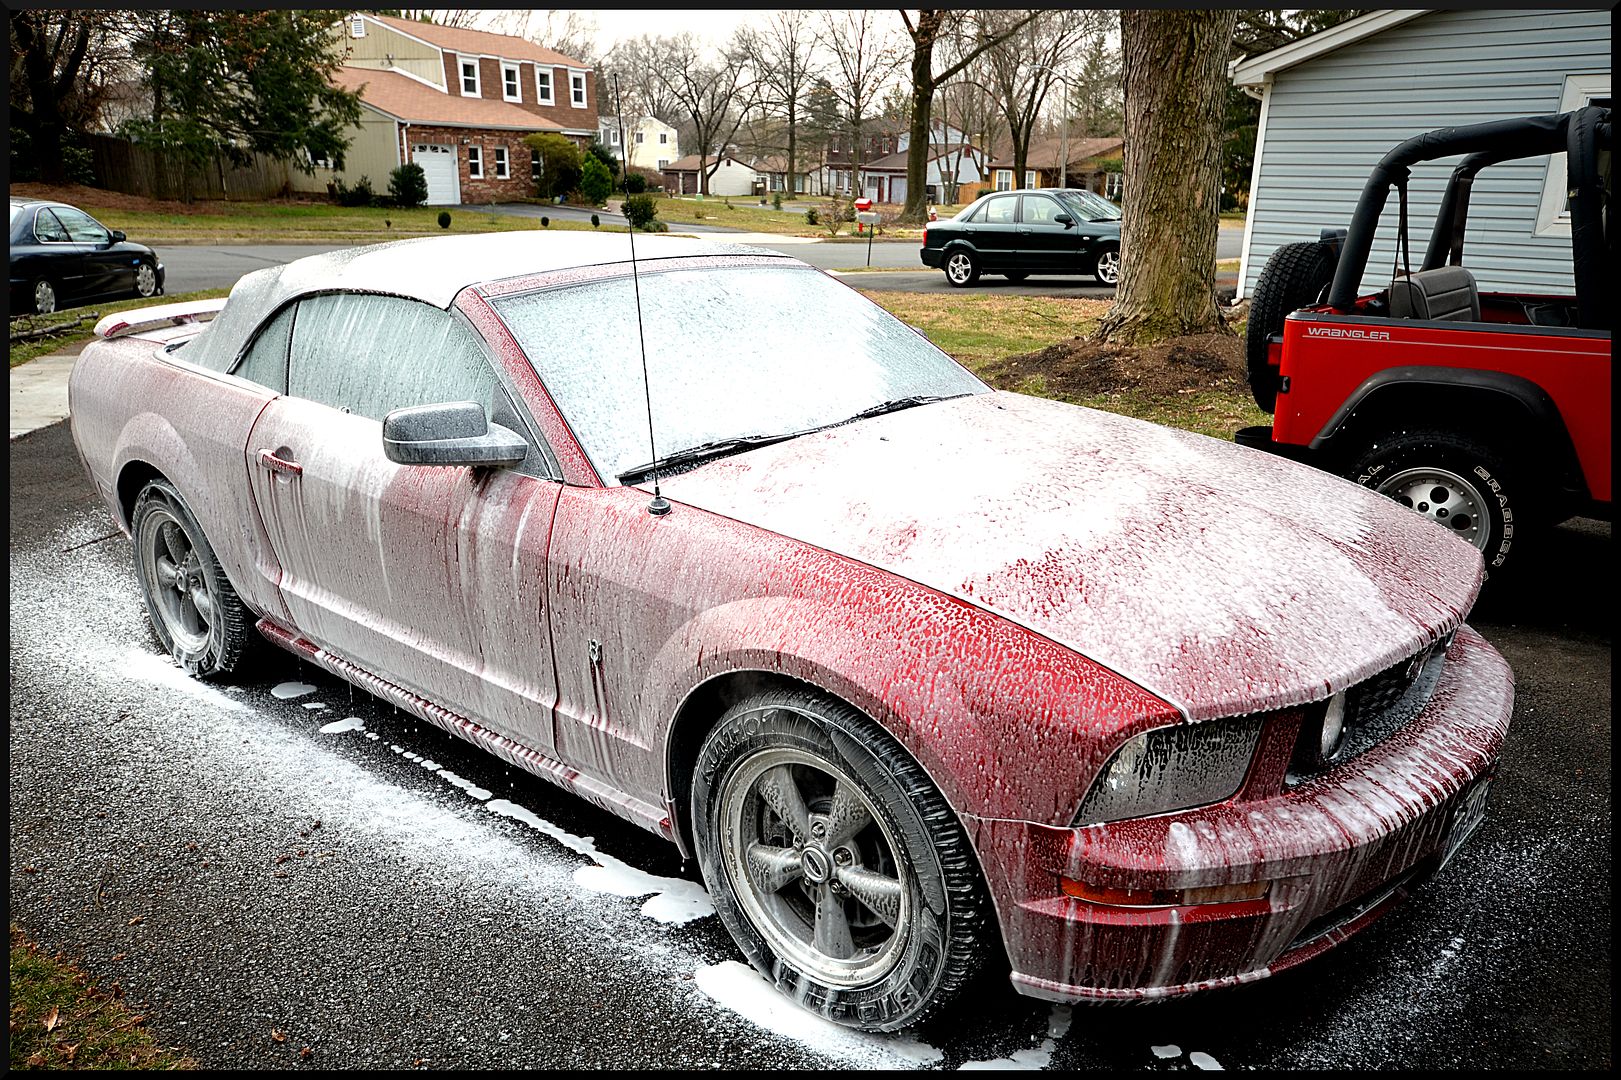
We then did a normal 2 bucket wash with Meguiars Gold Class, and then did a light claying of the paint with Riccardo clay.
This vehicle was not being corrected, so we moved to the LSP. To prepare the paint, we first went over all of the painted surfaces with P21S Paint Cleaner. For this vehicle we chose to try out the latest wax that we have received, it is Bouncer's Capture the Rapture, and we got it from our good buddy Corey.

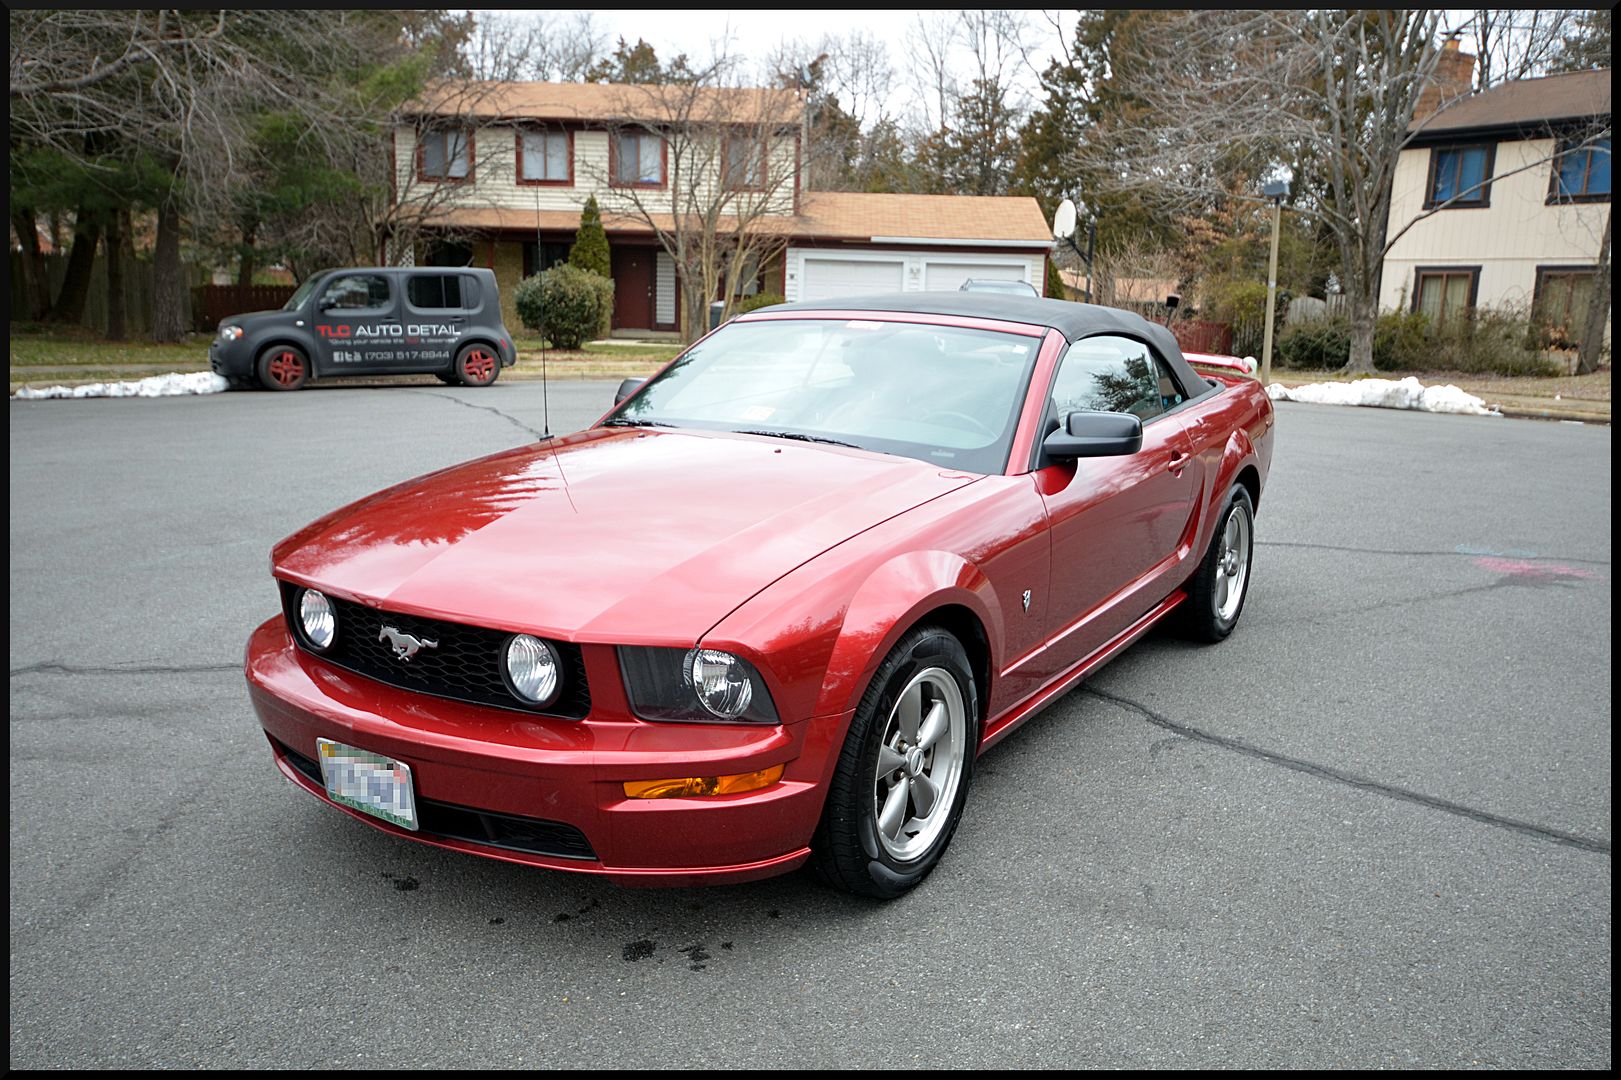
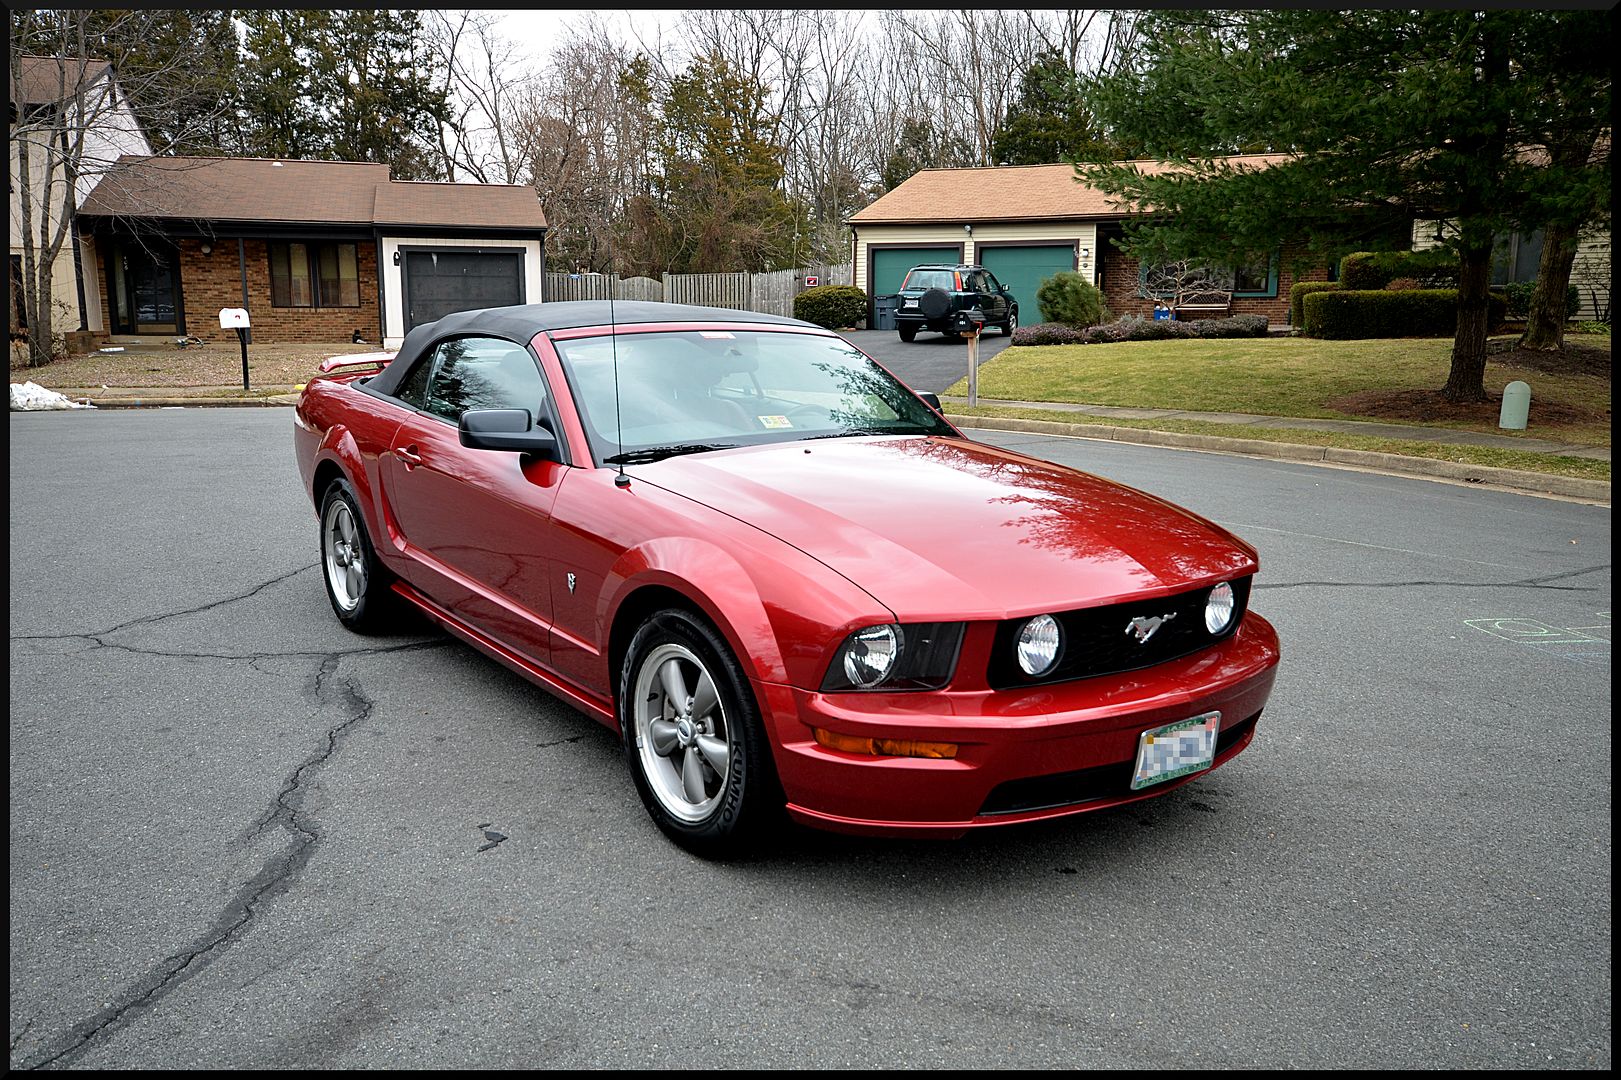
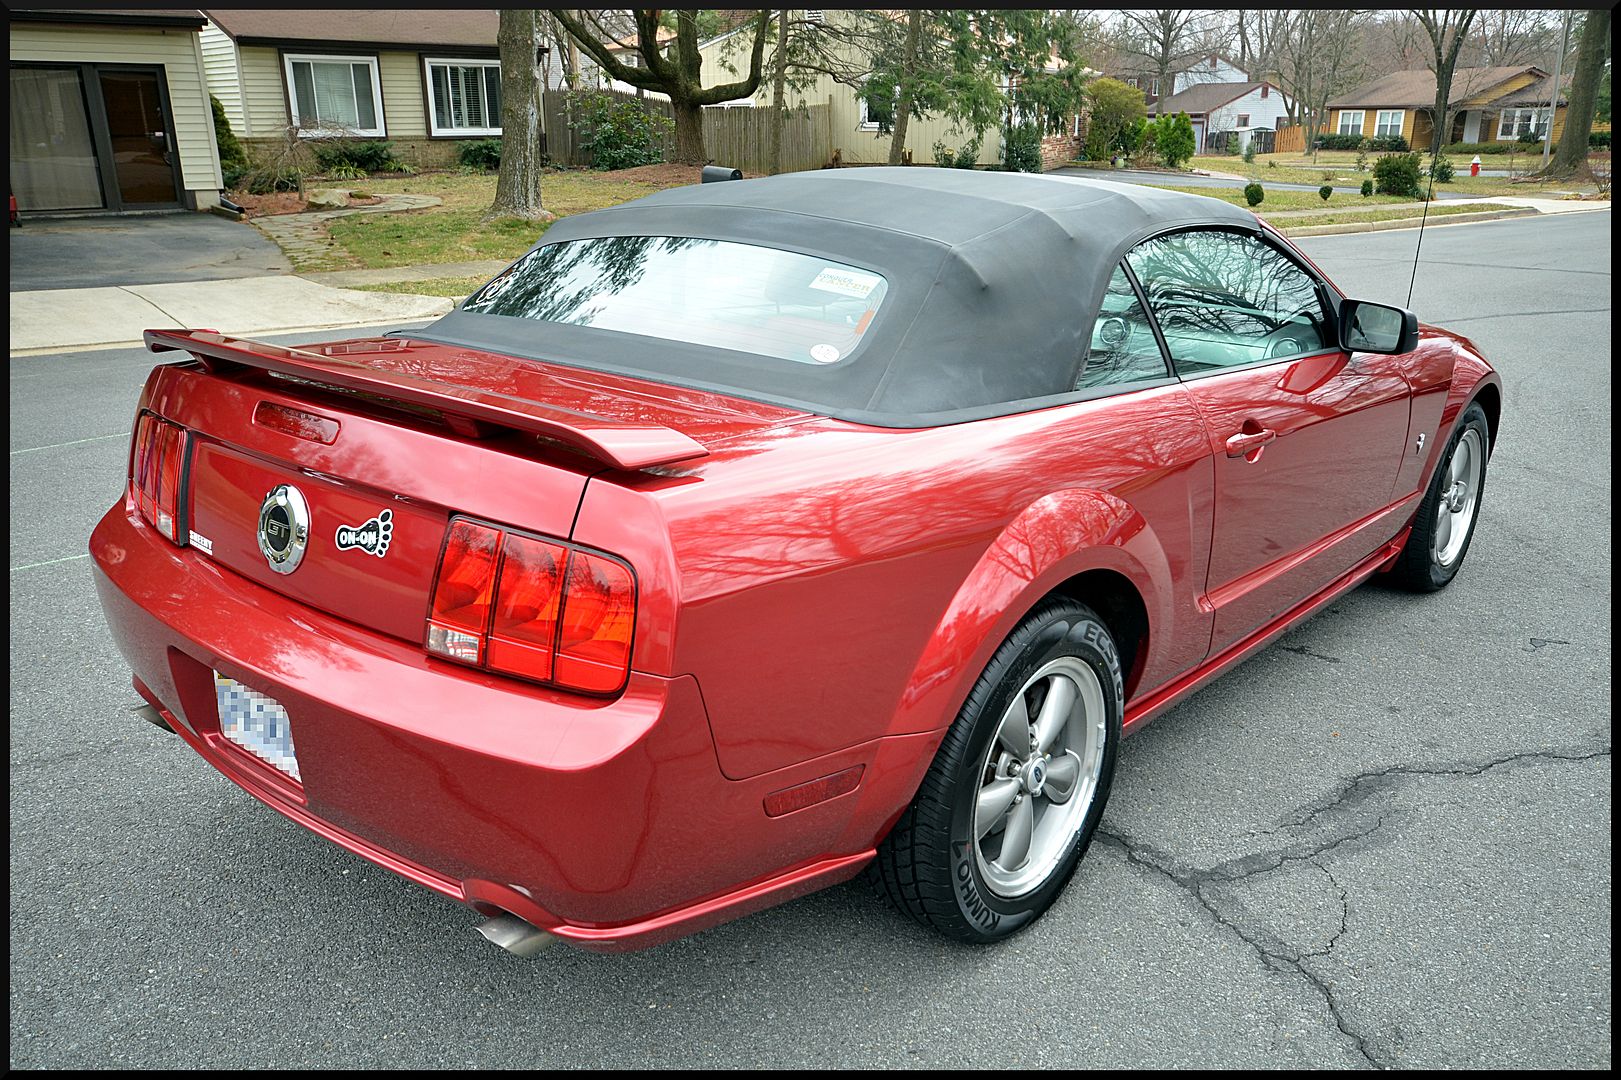
This wax was pretty easy to use. We applied it to either one large panel (hood/roof) or two smaller panels before we came back to remove it. It isn't WOWO, but it certainly doesn't need much time to haze. If left for too long or applied to thick, it can be a little difficult to remove. However, as long as you follow directions, it is great to work with. We ended up applying two layers to insure full coverage, and we were VERY happy with the results. Very deep and wet looking reflections, even on this paint that could have used a good polishing. Here is how the whole car turned out.
Thanks for taking the time to check out our write up, and we appreciate your feedback!
We started with the wheels, tires, and wheel wells. Nothing was terribly filthy, but it needed to be cleaned up.
Iron X and several wheel woolies were used on the wheels, Blackfire APC and a stiff brush was used on the tires and wheel wells. The wheels were sealed with 4 Star Sealant, and the tires and wells were dressed with Meguiars Hyperdressing.
Next up was the engine bay. I doubt this has ever been detailed, so it required a bit of attention. It was first wet down, and then Blackfire APC was liberally used with multiple brushes to clean the plastic, painted, and metal components.
It was rinsed clean and then blown dry with the Maserblaster. Finally the bay was dressed with Sonus Motor and Trim Kote. The first coat was allowed to dry for 30 minutes, and then a second coat was applied, and was allowed to fully dry before the engine was started.
Next up was the rest of the exterior. It was pretty dirty, especially behind the wheel wells and on the rear of the vehicle
We started by foaming the vehicle with Meguiars Gold Class and APC. It was left to dwell while we agitated the trim, emblems, and body seams with a soft brush.
We then did a normal 2 bucket wash with Meguiars Gold Class, and then did a light claying of the paint with Riccardo clay.
This vehicle was not being corrected, so we moved to the LSP. To prepare the paint, we first went over all of the painted surfaces with P21S Paint Cleaner. For this vehicle we chose to try out the latest wax that we have received, it is Bouncer's Capture the Rapture, and we got it from our good buddy Corey.
This wax was pretty easy to use. We applied it to either one large panel (hood/roof) or two smaller panels before we came back to remove it. It isn't WOWO, but it certainly doesn't need much time to haze. If left for too long or applied to thick, it can be a little difficult to remove. However, as long as you follow directions, it is great to work with. We ended up applying two layers to insure full coverage, and we were VERY happy with the results. Very deep and wet looking reflections, even on this paint that could have used a good polishing. Here is how the whole car turned out.
Thanks for taking the time to check out our write up, and we appreciate your feedback!