Labster
New member
Another debt of gratitude is owed to Todd Cooperider for the referral on this job, thanks again Todd and thanks for the advice over the phone as well, it was much appreciated. The customer contacted me regarding fixing some damage that had been done on the door from something that leaked on it while in their parking garage. I'm still not sure what caused the damage but it was some sort of acid. Unfortunately, the owner decided to try and get the offending substance off with what I'm guessing was a scouring pad or scotbrite pad because the scratches that were caused were very deep both on the door and on the trunk.
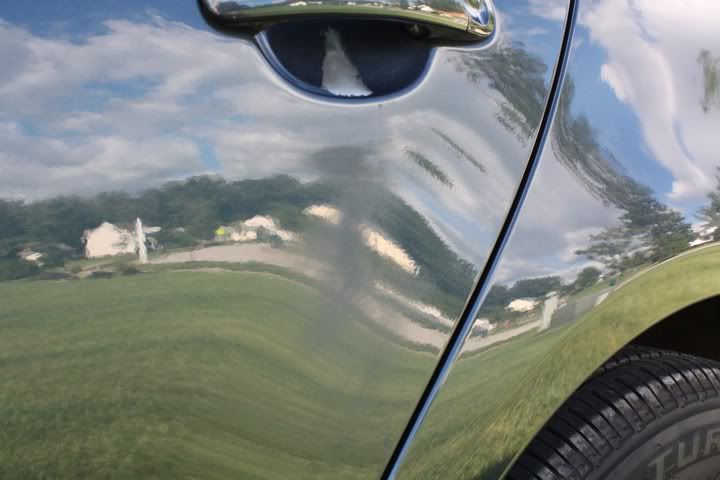
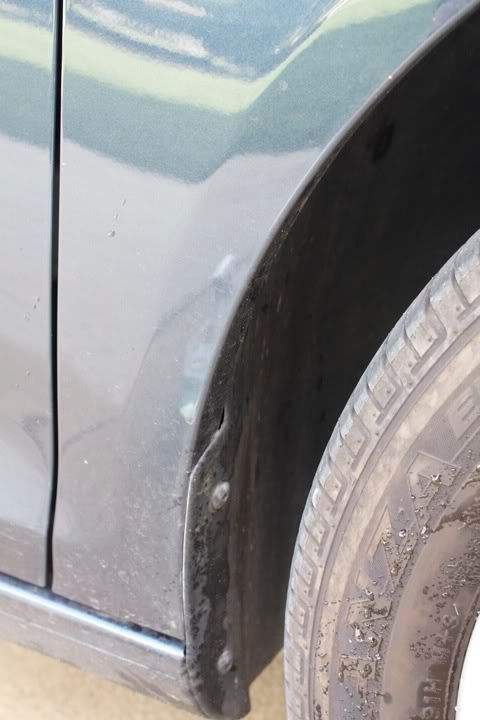
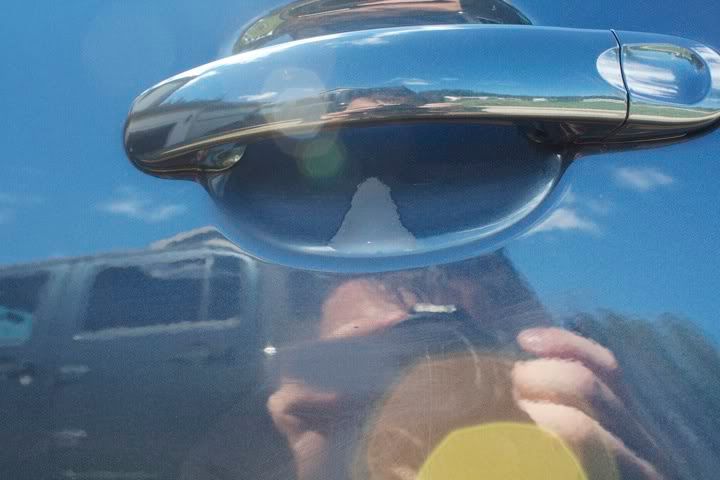
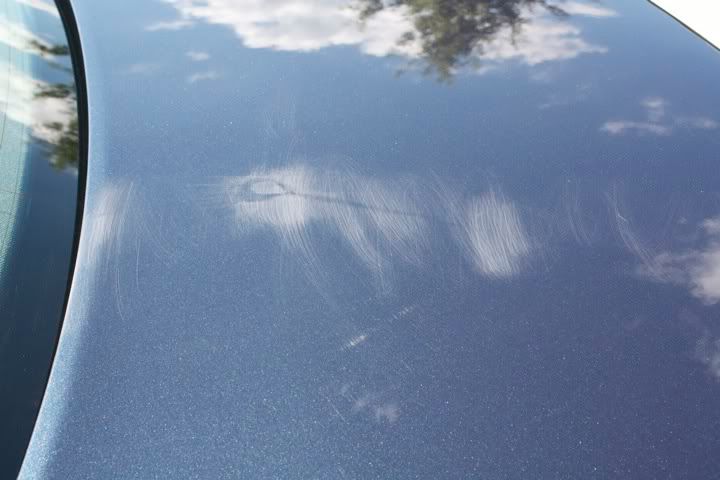
Rear Drivers Side door, notice how rough it looks?
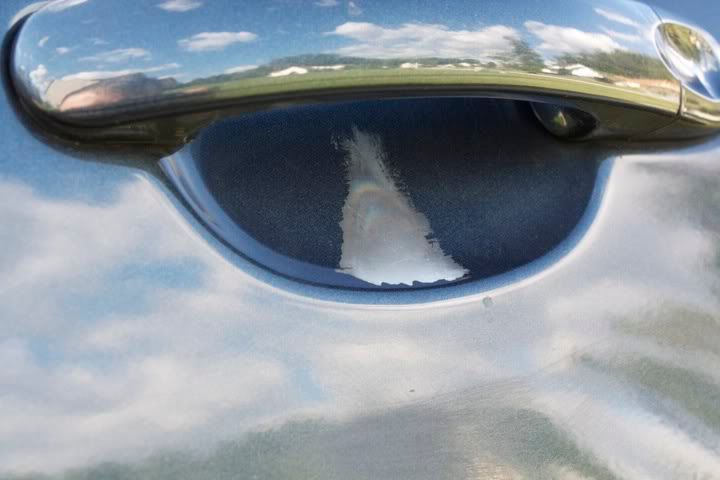
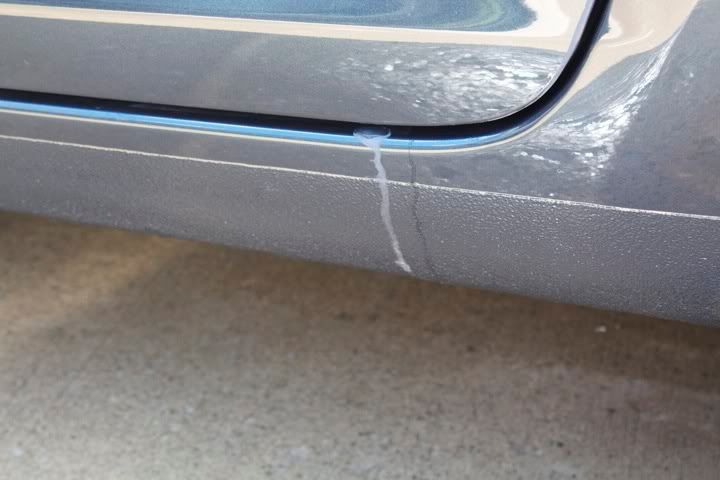
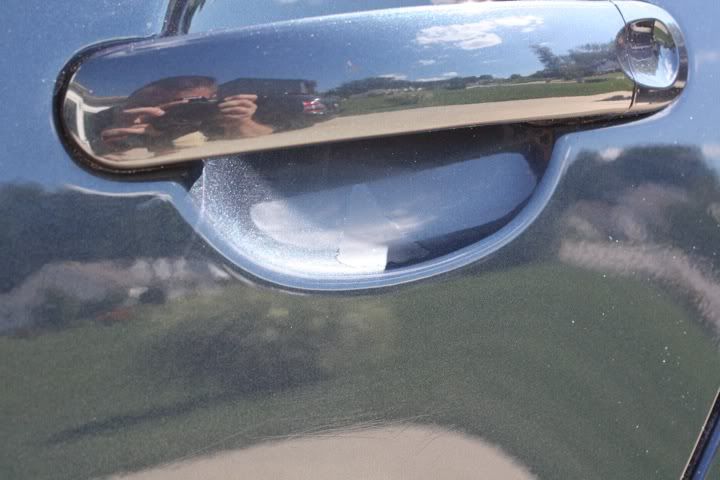
Mystery substance pooled under the door handle, paint is gone!
This is gonne be a lot of work!
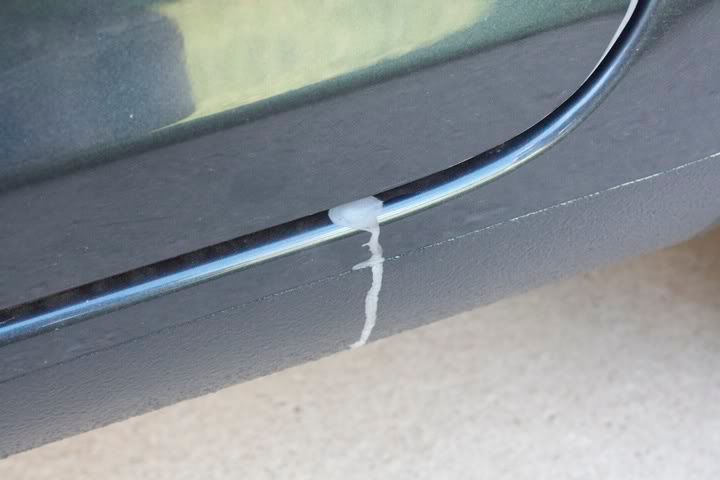
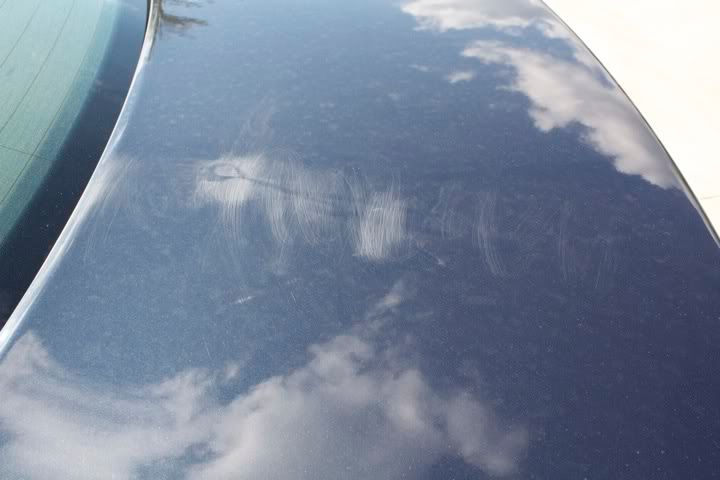
More scotchbrite action...

The rest of the car needed a little TLC as well but the owner didn't want a full correction because they're shipping it to Bulgaria in 3 weeks but a good cleaning was in order non the less.
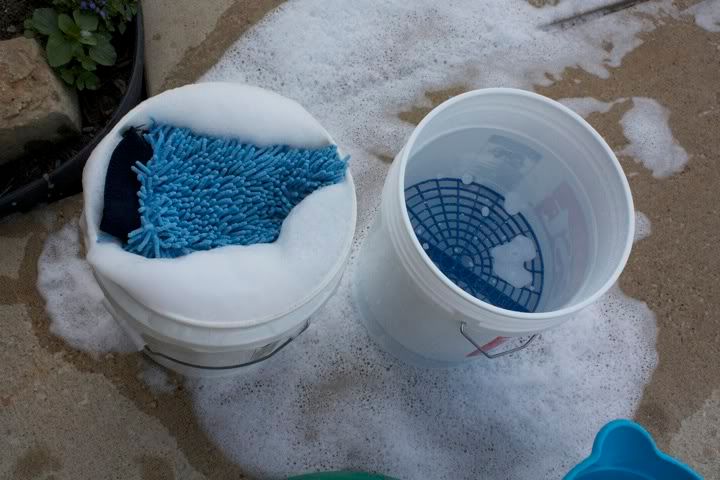
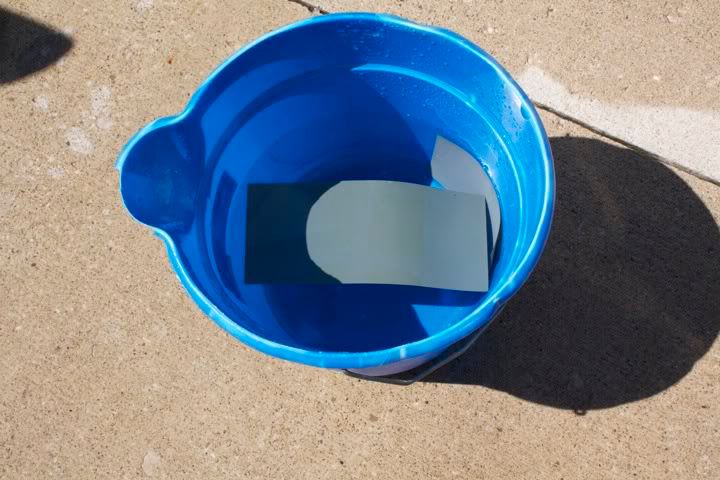
A nice wash mix all set using the staple of Grit Guards and Chemicals Guys Citrus Wash and Clear
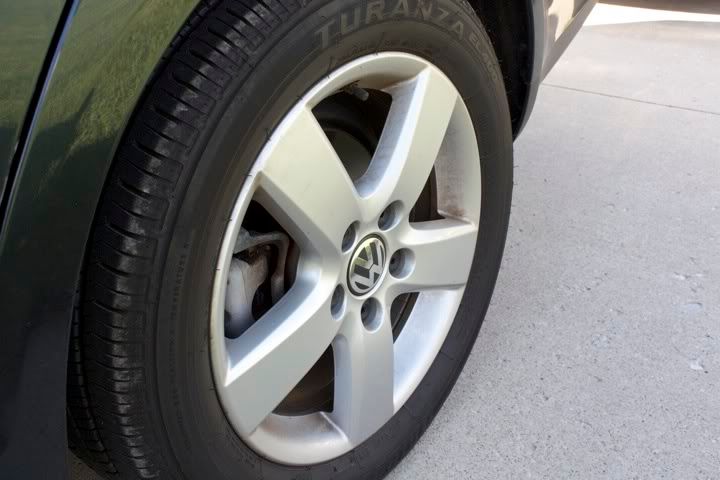
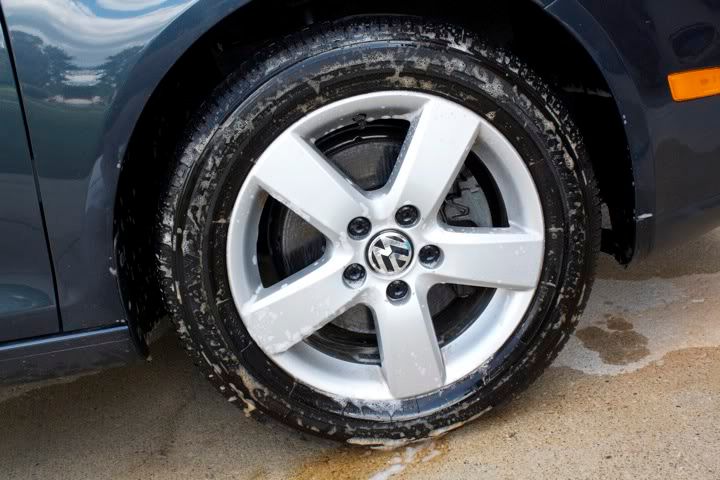
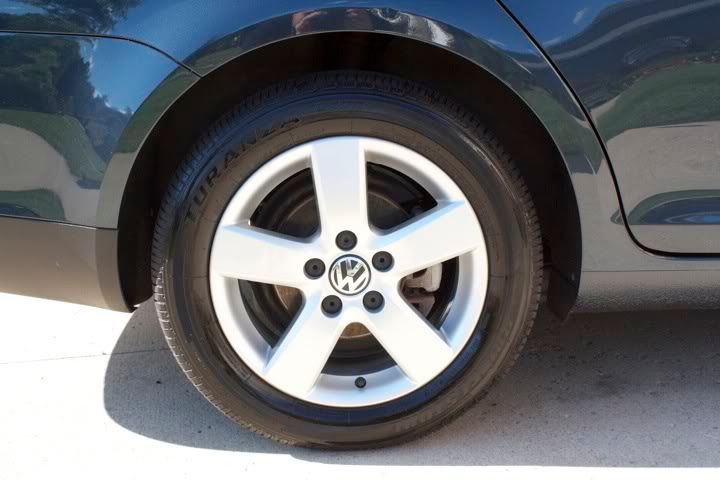
The wheels, wells and tires weren't in bad shape so I opted to use Meguiars APC at 4:1
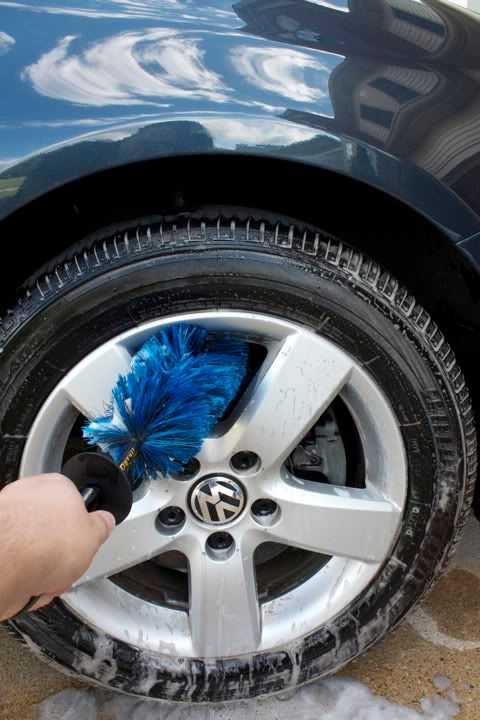
My trusty EZ Detail Brush makes this job quick and easy!
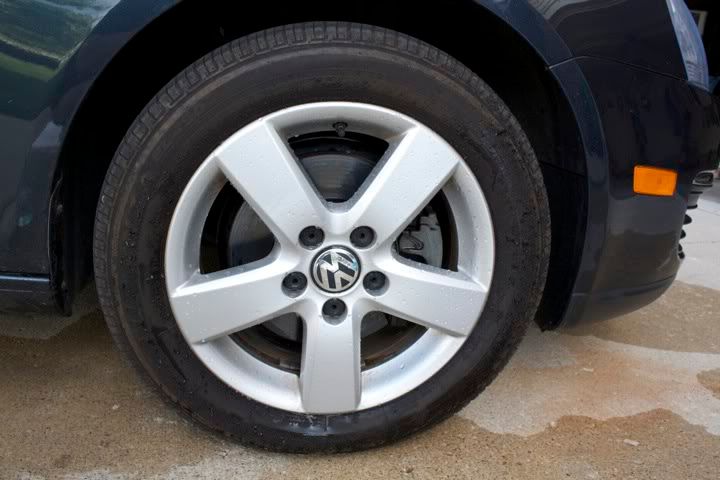
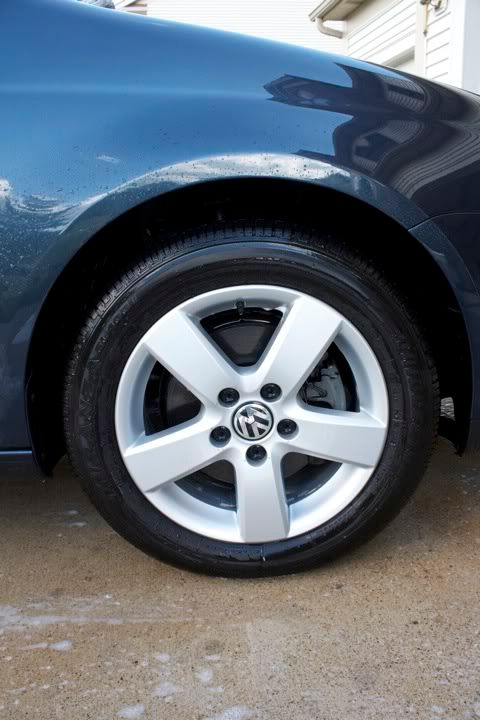
All clean!
Foamed up

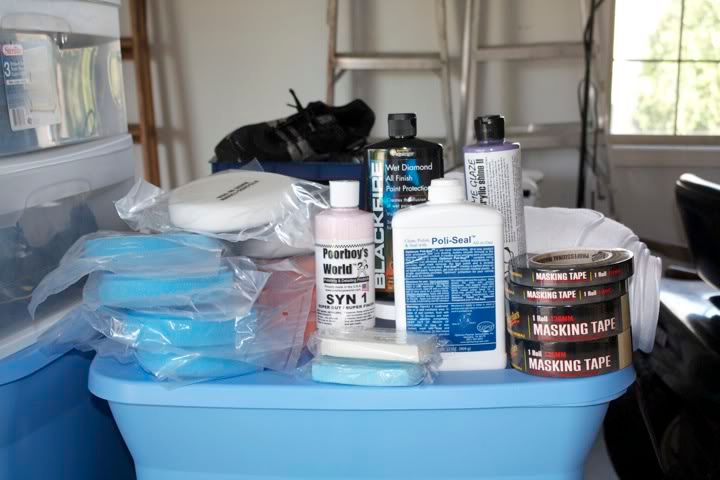
Fedex dropped off more goodies mid day! HECK YEAH!
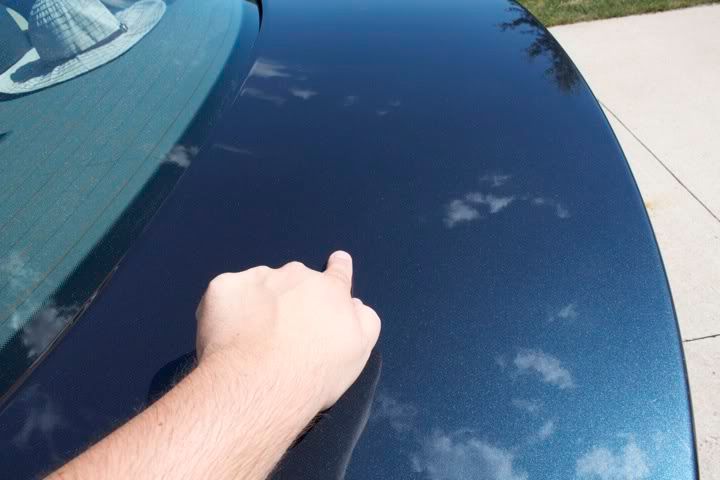
After washing the true condition is revealed
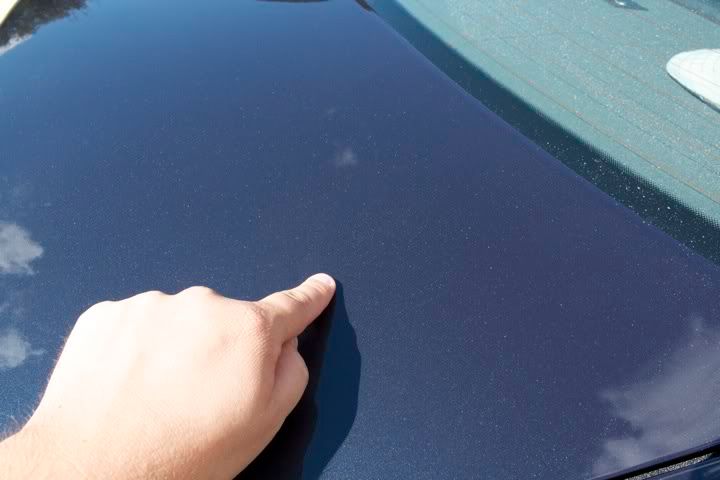
Solvents weren't touching whatever was on the paint and the scratches were too deep so I opted to go with a bit of wet sanding via Meguiars Unigrit 2000 grit paper followed by Meguiars Unigrit 3000 grit
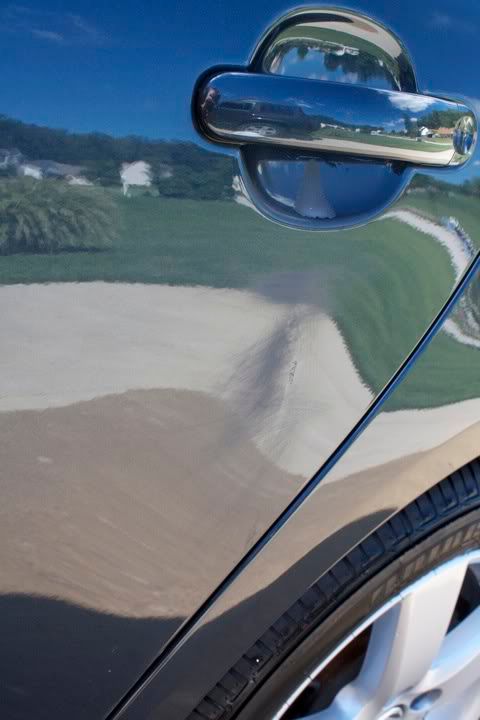
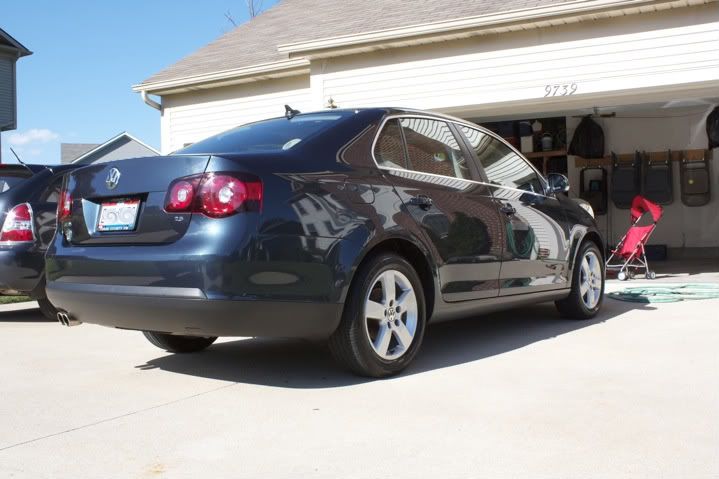
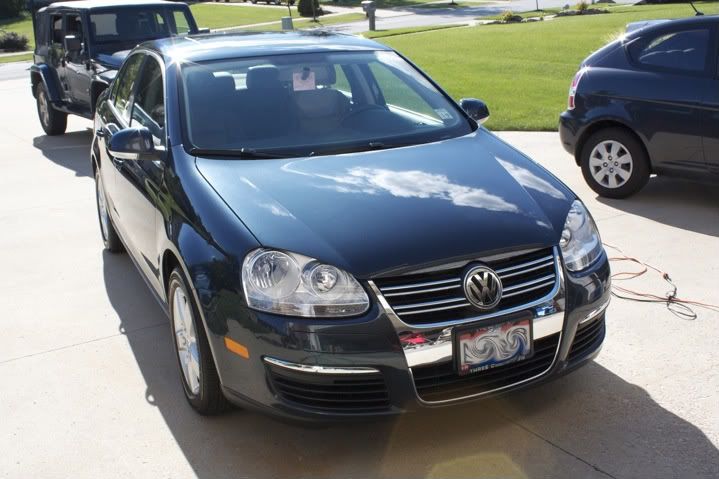
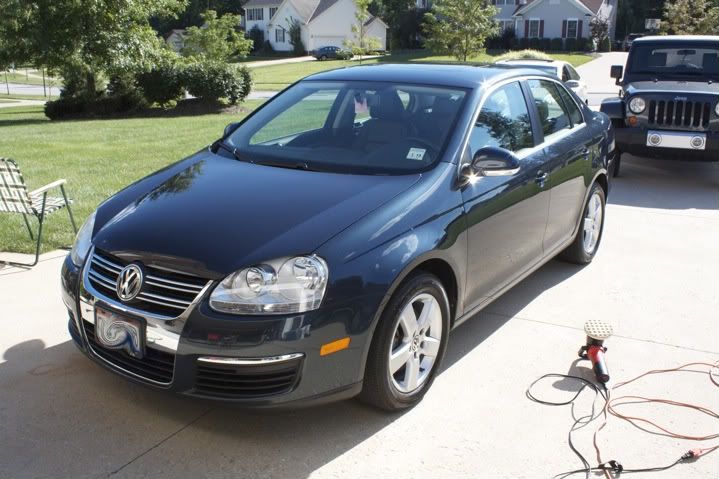
The afters, forgive the picture with the textured lower cladding. I decided that it was too much of a risk to sand it out and opted to try a Mr Clean Magic Eraser which faded it some but would not fully remove it, nor would mineral spirits. Decided to not mess with the integrity of the paint and sand down the texture after talking with Todd.
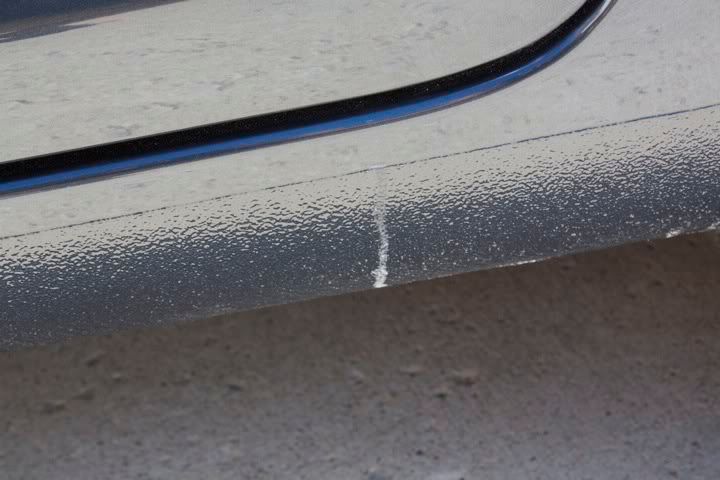
The scotchbrite pad left some deep RIDS that I was not comfortable enough being more aggressive with. The owners were still stoked at the level of correction that was achieved and in the end, that's all that matters.
Rear Drivers Side door, notice how rough it looks?
Mystery substance pooled under the door handle, paint is gone!
This is gonne be a lot of work!
More scotchbrite action...
The rest of the car needed a little TLC as well but the owner didn't want a full correction because they're shipping it to Bulgaria in 3 weeks but a good cleaning was in order non the less.
A nice wash mix all set using the staple of Grit Guards and Chemicals Guys Citrus Wash and Clear
The wheels, wells and tires weren't in bad shape so I opted to use Meguiars APC at 4:1
My trusty EZ Detail Brush makes this job quick and easy!
All clean!
Foamed up
Fedex dropped off more goodies mid day! HECK YEAH!
After washing the true condition is revealed
Solvents weren't touching whatever was on the paint and the scratches were too deep so I opted to go with a bit of wet sanding via Meguiars Unigrit 2000 grit paper followed by Meguiars Unigrit 3000 grit
The afters, forgive the picture with the textured lower cladding. I decided that it was too much of a risk to sand it out and opted to try a Mr Clean Magic Eraser which faded it some but would not fully remove it, nor would mineral spirits. Decided to not mess with the integrity of the paint and sand down the texture after talking with Todd.
The scotchbrite pad left some deep RIDS that I was not comfortable enough being more aggressive with. The owners were still stoked at the level of correction that was achieved and in the end, that's all that matters.