imported_Dave KG
New member
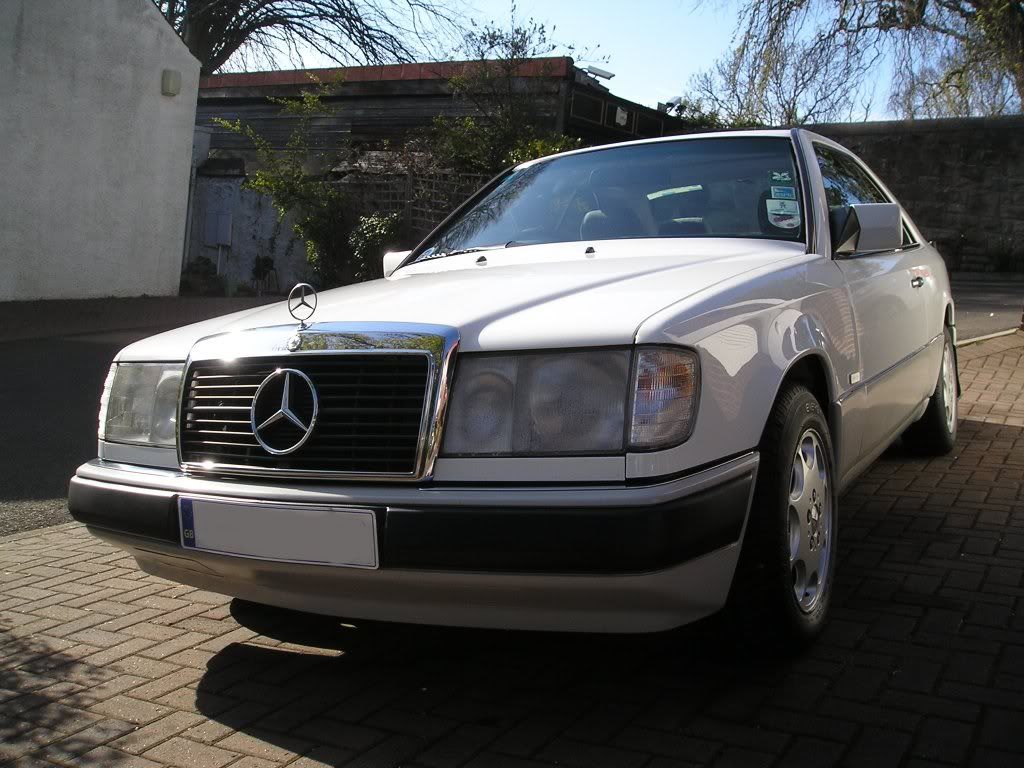
Today's detail for Bryan and I was to give this old girl of a car a good tidy up and restore the gloss to the finish. 1991, and near 140k miles, its not a new car but the aim was to get her looking as good as possible for the owner! ")
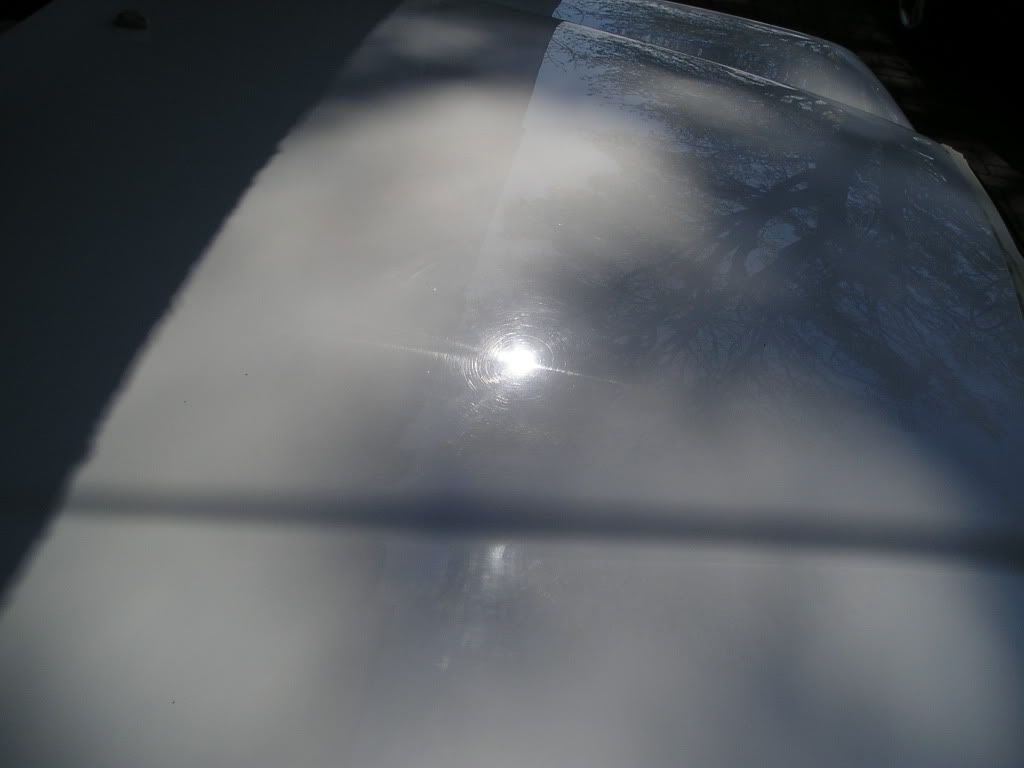
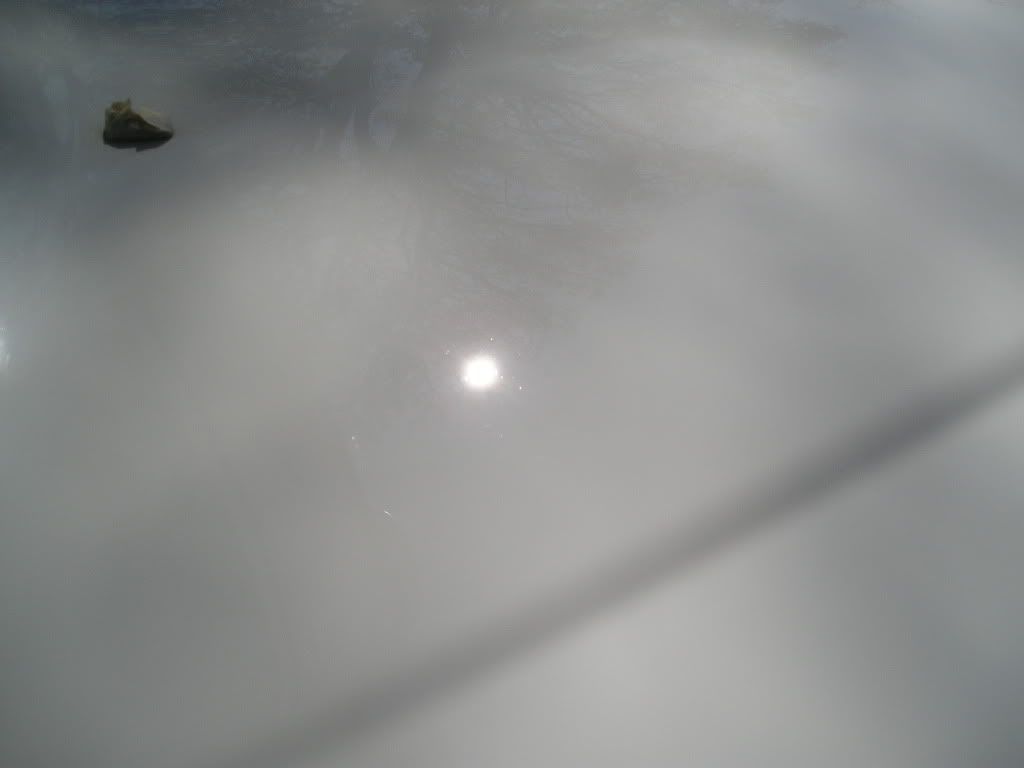
Bryan washed and clayed the car ready for machine polishing, the clay removing a lot of ingrained dirt and grime from the paint finish. Under the direct sunlight, we could see a typical example of the swirls in the finish:
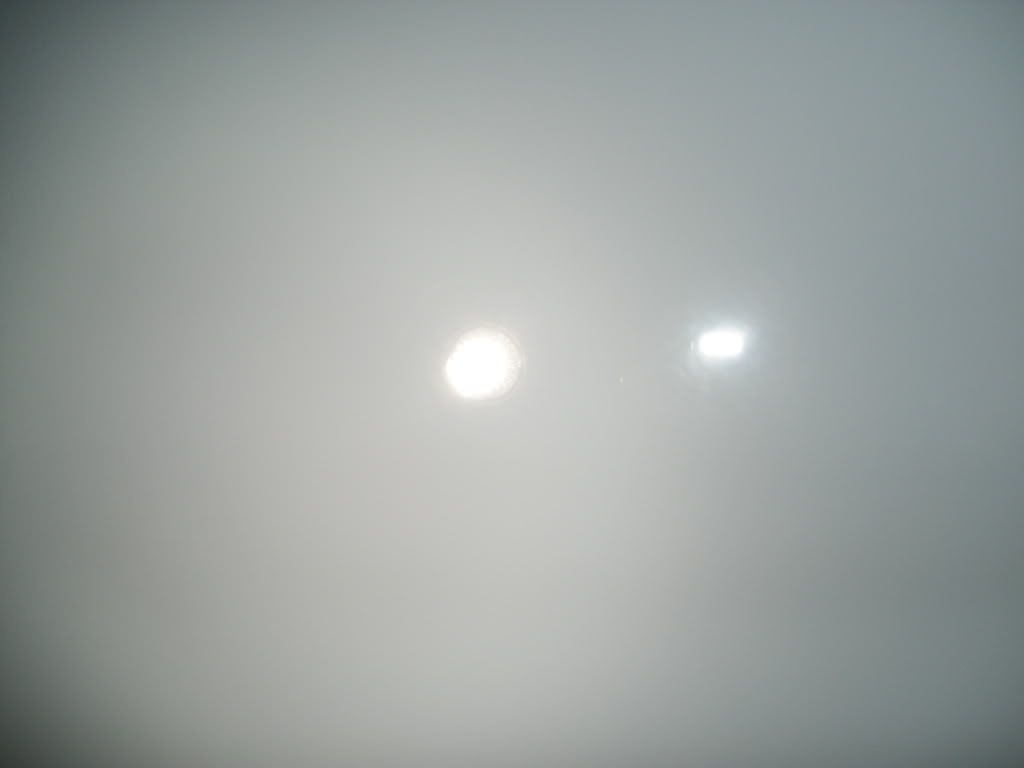
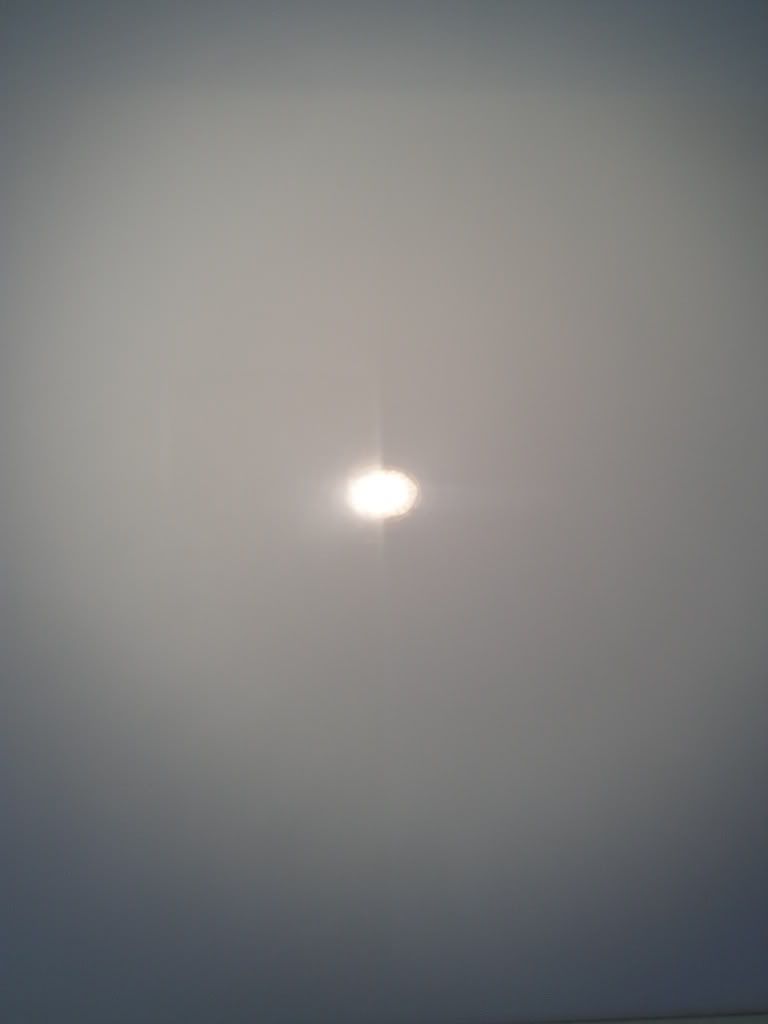
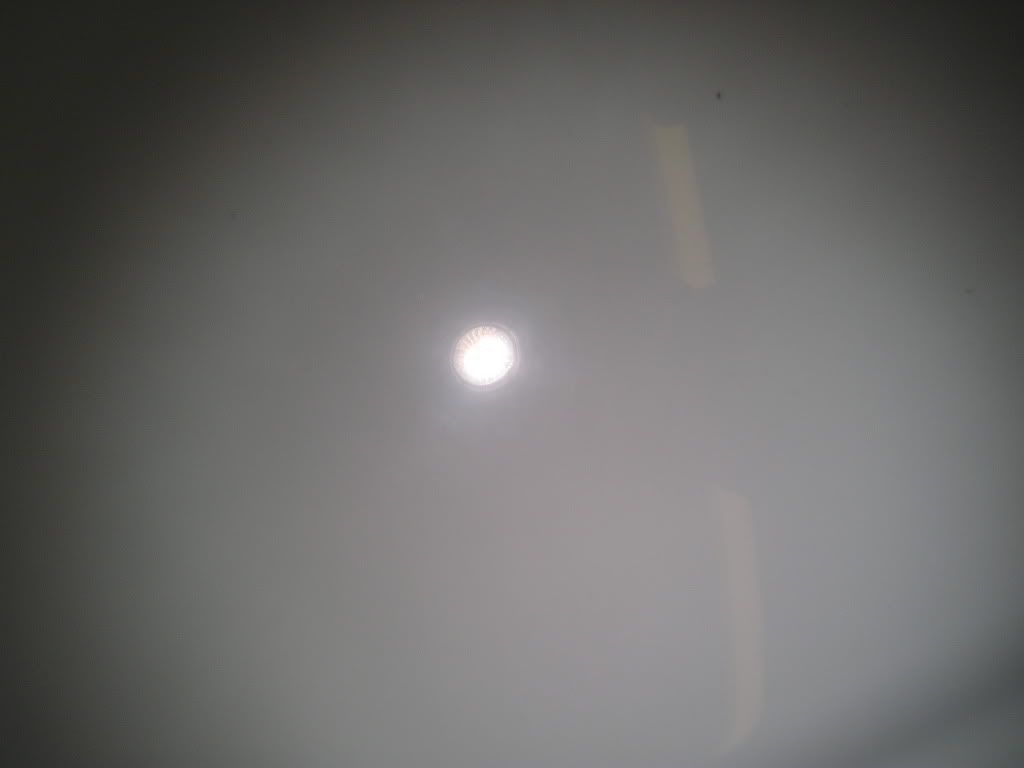
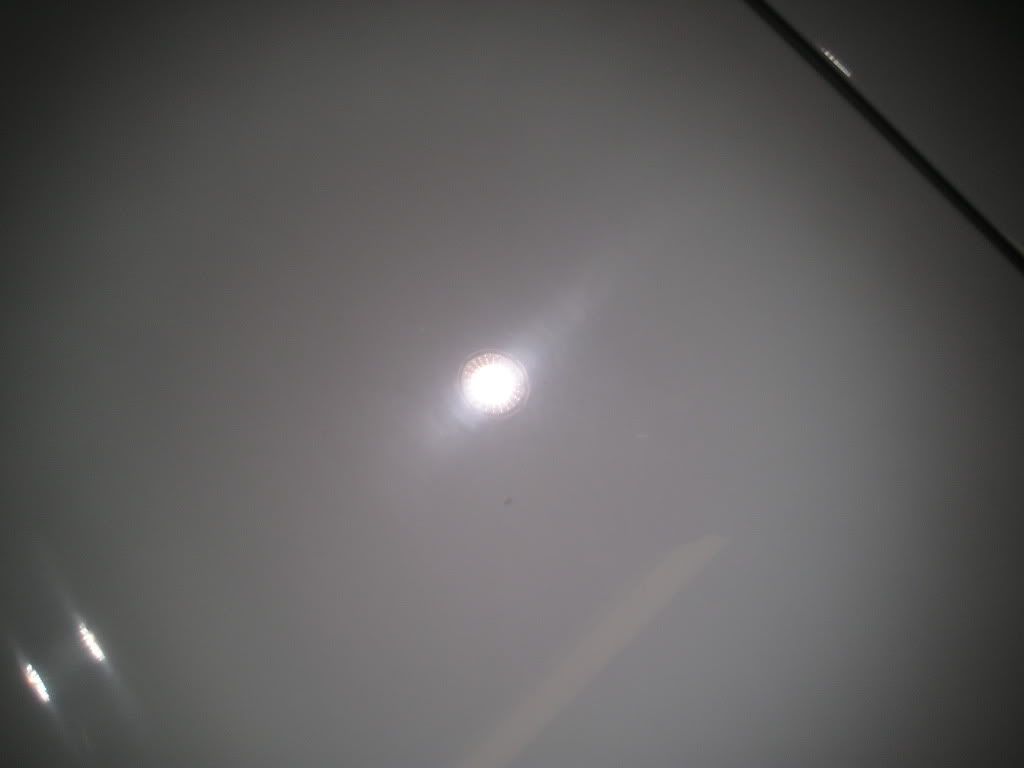
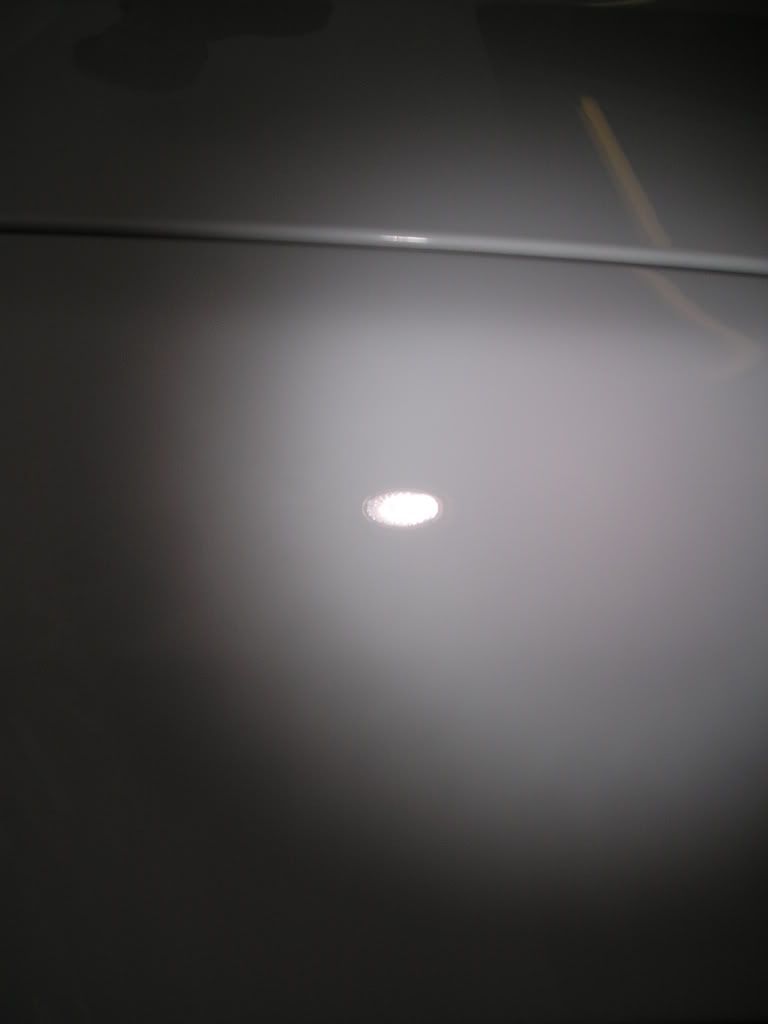
I started on the bootlid to ascertain a suitable combination of polish and pad for restoring the finish. Under the Sun Gun, it is hard to make out the swirls but the general flatness of the reflection of the light and hazing shows clearly the marring in the paint:
After trying a few combos from Meguiars, Menzerna, MarkV I settled on the following: MarkV Mystique on a LakeCountry Yellow Cutting pad to remove the defects and restore the finish, followed by Menzerna PO85RD Final Finish on a Meguiars W9006 Finishing Pad to enhance the gloss and remove any light marring inflcited from the heavy compounding stage. This pair of products are becoming a real favourite combo for me now.
Products applied as follows:
MarkV
Menzerna
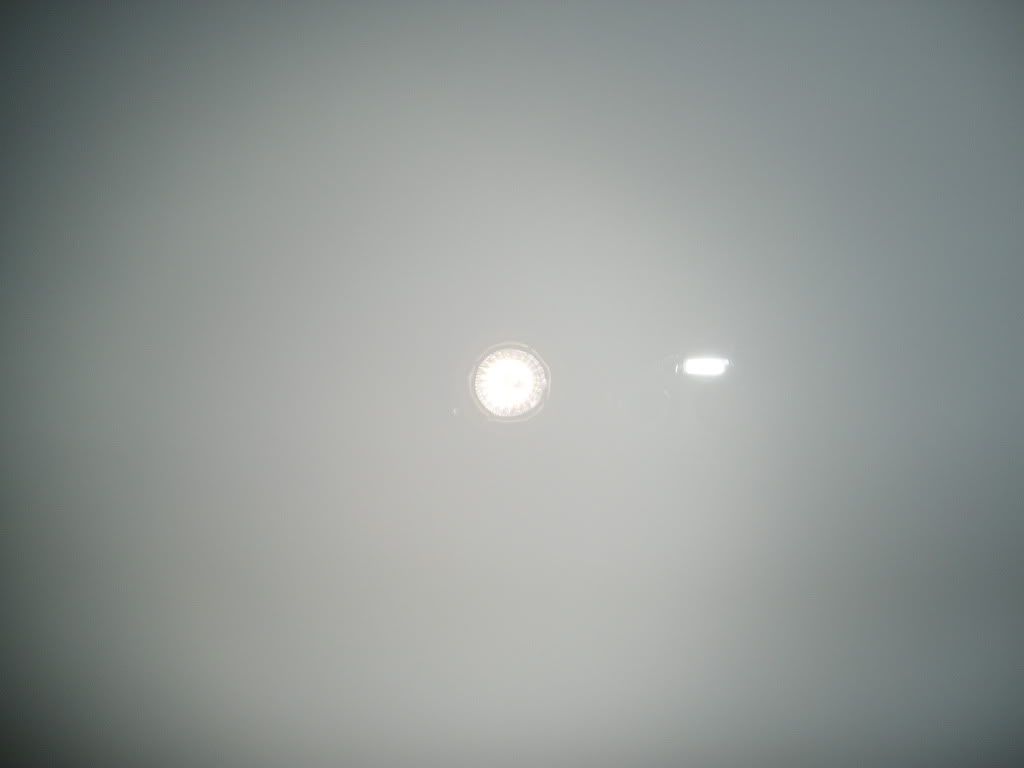
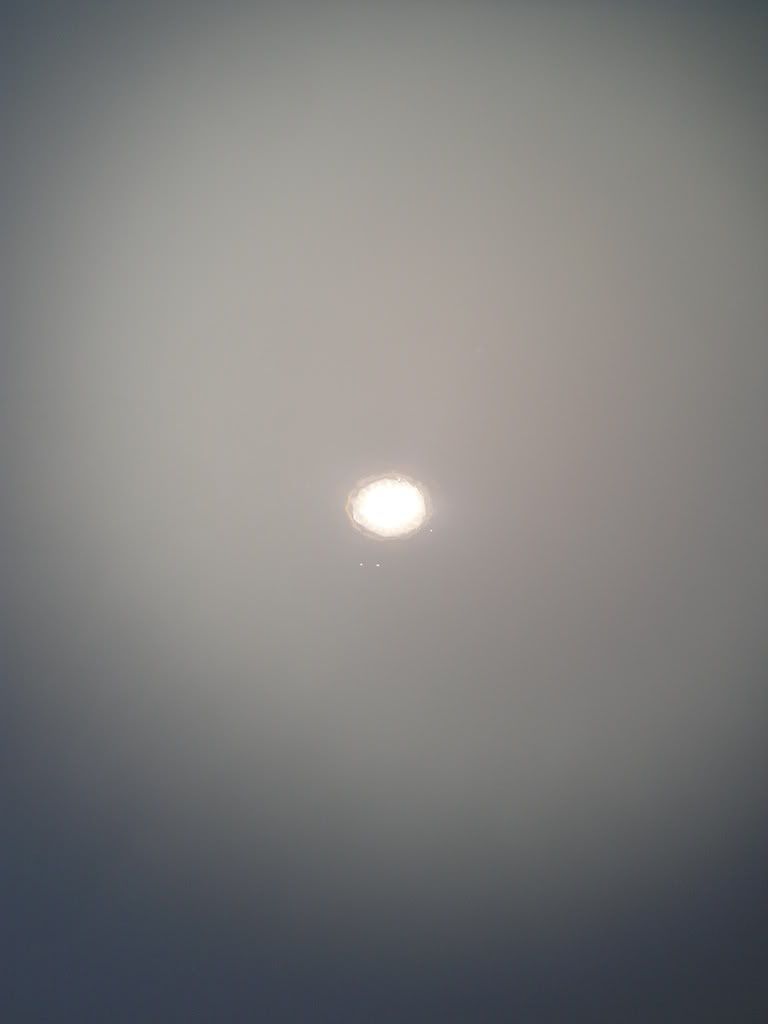
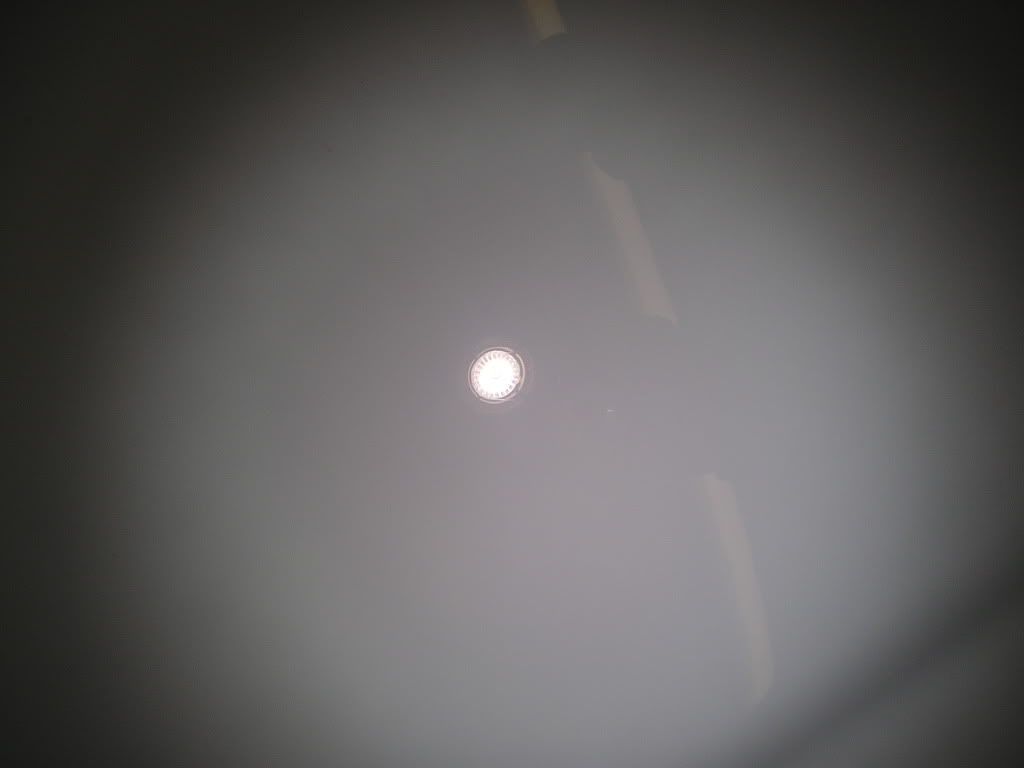
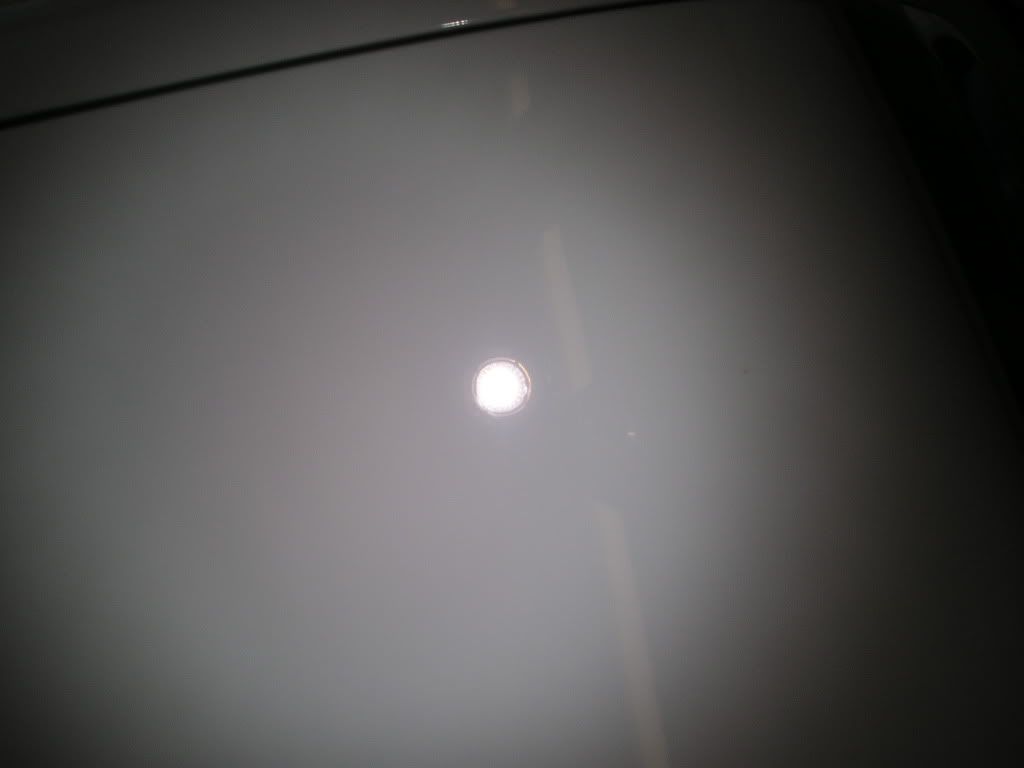
This gave the following result on the boot:
Parts of the car had clearly seen a respray:
Indeed, different resprays at different times (and of varying quality) meant that this car would require a lot of different treatments - the two products above used exclusively, but sometimes more than one hit of MarkV was requied, while on the front wings (paint only 4 weeks old, and a superb paint job too) only Final Finish was required.
An example of rather poorer finishing was on the rear 3/4:
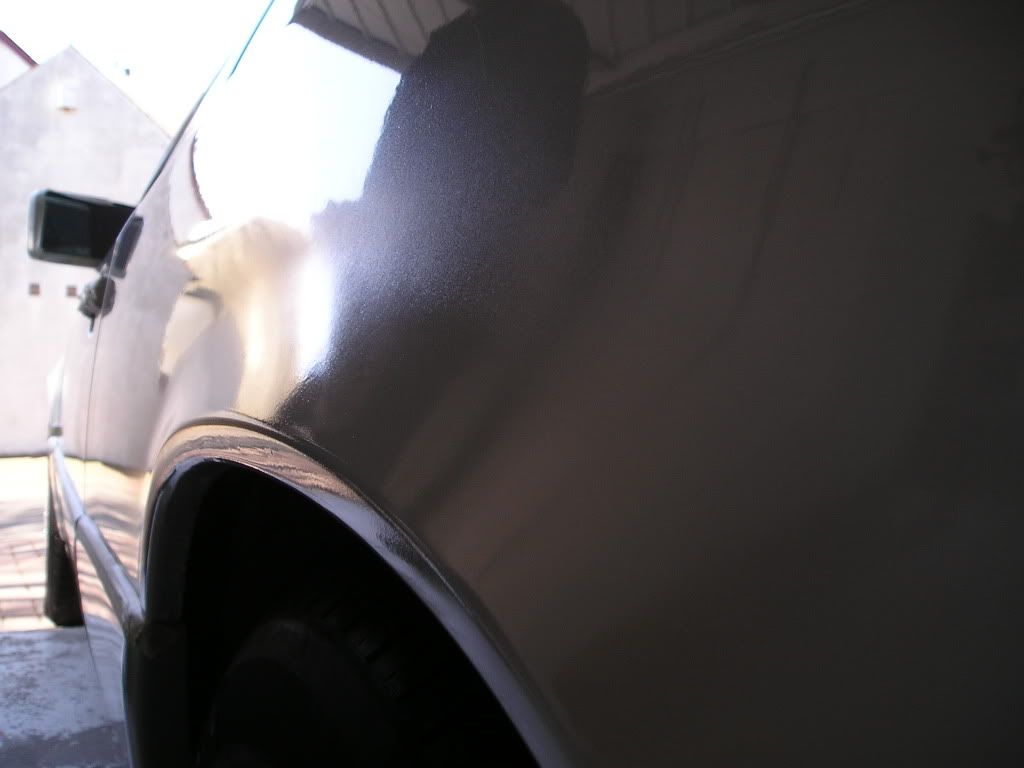
Two hits of Mystique as above certainly improved matters but did not fully remove the overspray like hazing:
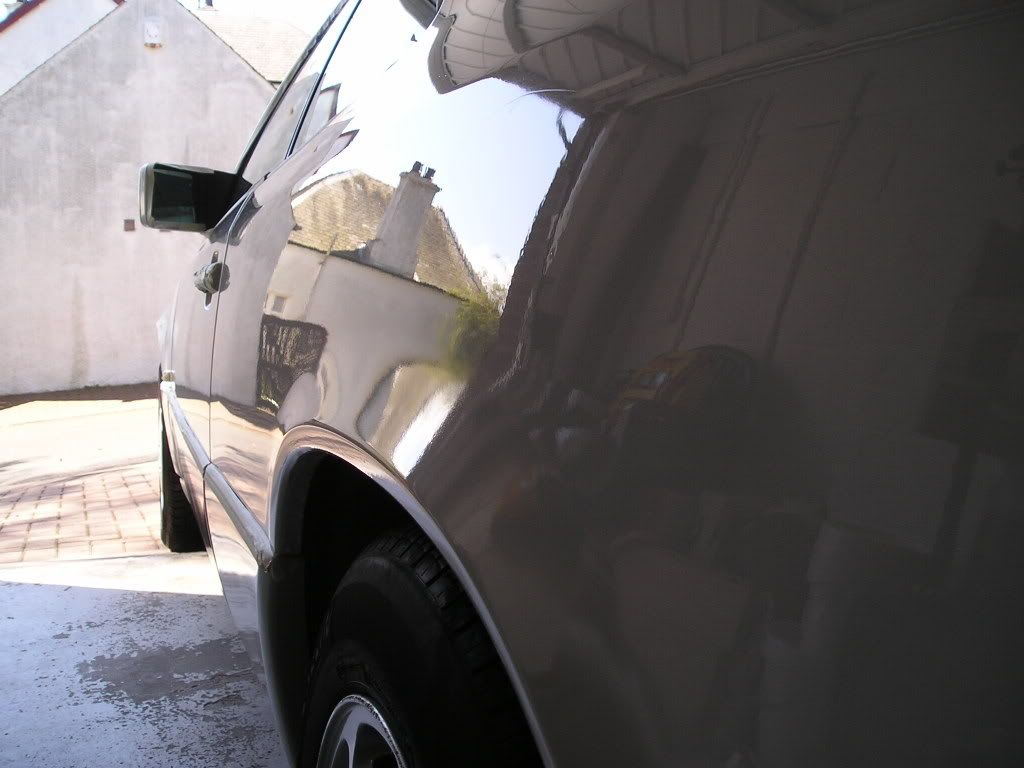
Further investigation revealed that it was actually the white paint underneath which was speckled - you could see it as if they had not sprayed enough paint on the region, and then they simply lacquered straight over the top of this. Nothing that could be done to fix this, and this also affected the colout on this region as it was slightly duller due to the colout layer not being complete, but rather speckled. Under the lacquer meant we could not do anything for it ... A respray on this specific region would certainly help.
Onwards though, and a 50/50 on the passenger door (correction stage only, no finishing):
Fully corrected:
Nicely restoring the finish and removing the dullness and haziness.
On the bonnet (one region of original paint), only one hit of Mystique with quite few passes was required as the paint seemed pretty soft. The swirls under the lights before:
And after correction and finishing stage:
And in the sunlight:
Nice improvement on before.
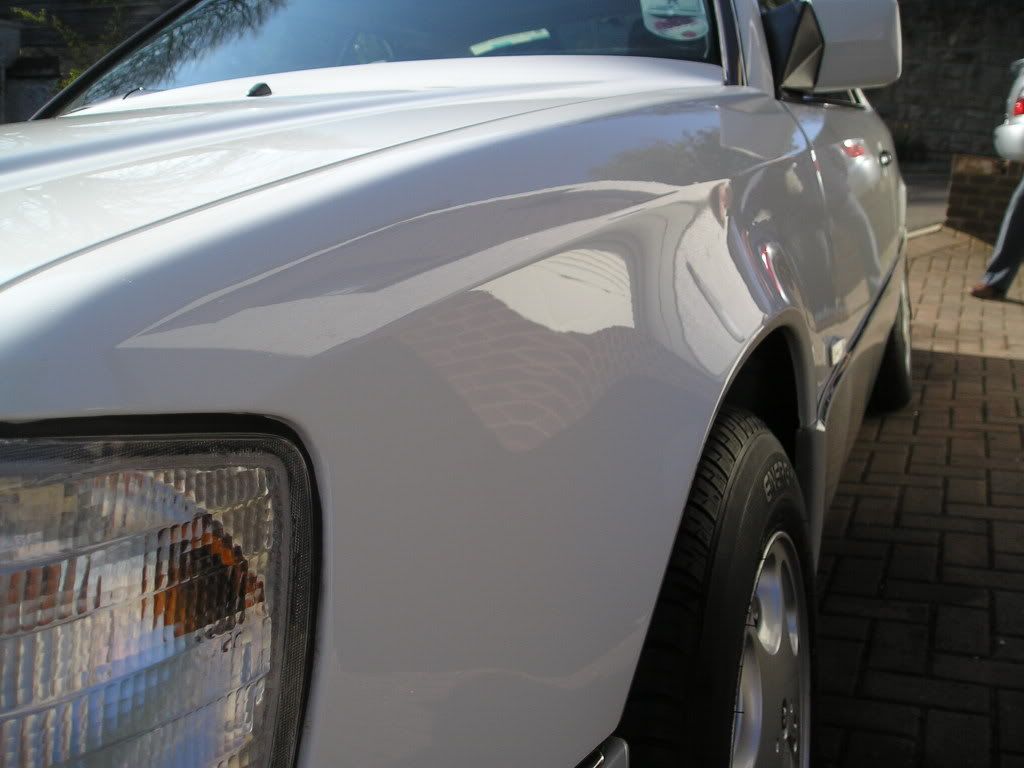
Front wings only required Final Finish to achieve the following result:
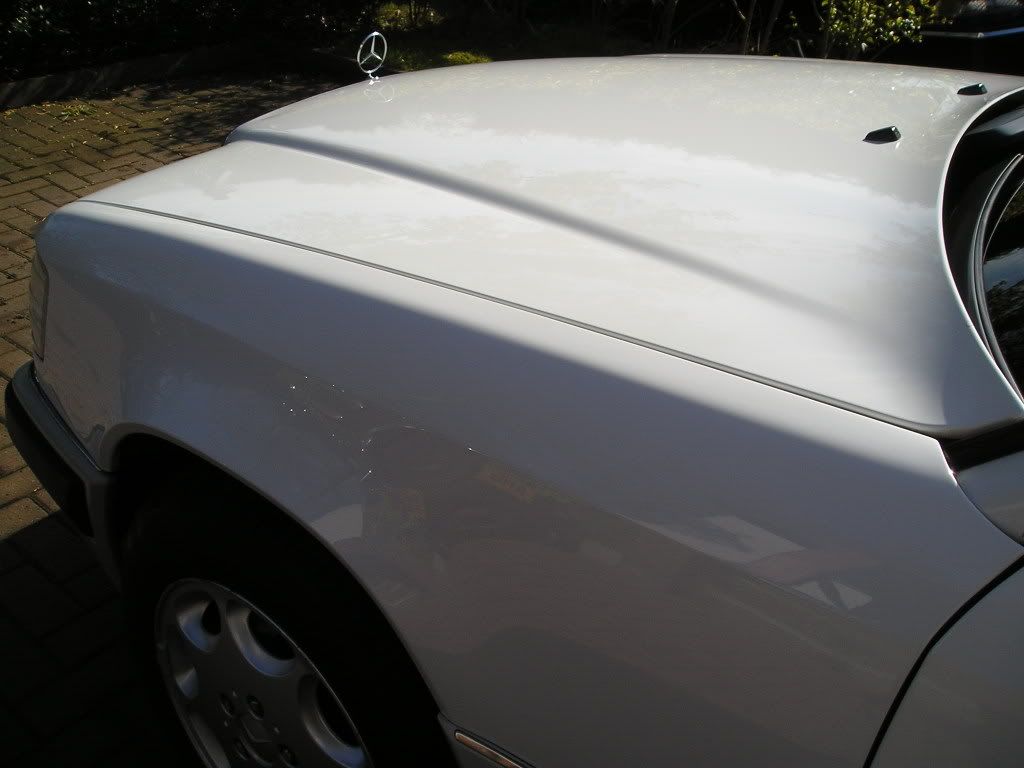
Now, before the LSP was put on, a post-polishing pic to show the finish achieved by polishing stages alone:

LSP of choice was ***** Destiny, preceeded by Clearkote Yellow Cream Wax. The CK added a nice wettness to the white and set the paint up nicely for the Destiny. Bryan applied and removed both of these products with ease.
The light greay panels below the styling line were meant to be matt finish according to the owner - they were lightly polished using ScratchX by hand as this removed the marks, and left the original finish.
After shots - thankfully, especially for a white car, we got some great sun for the afters:
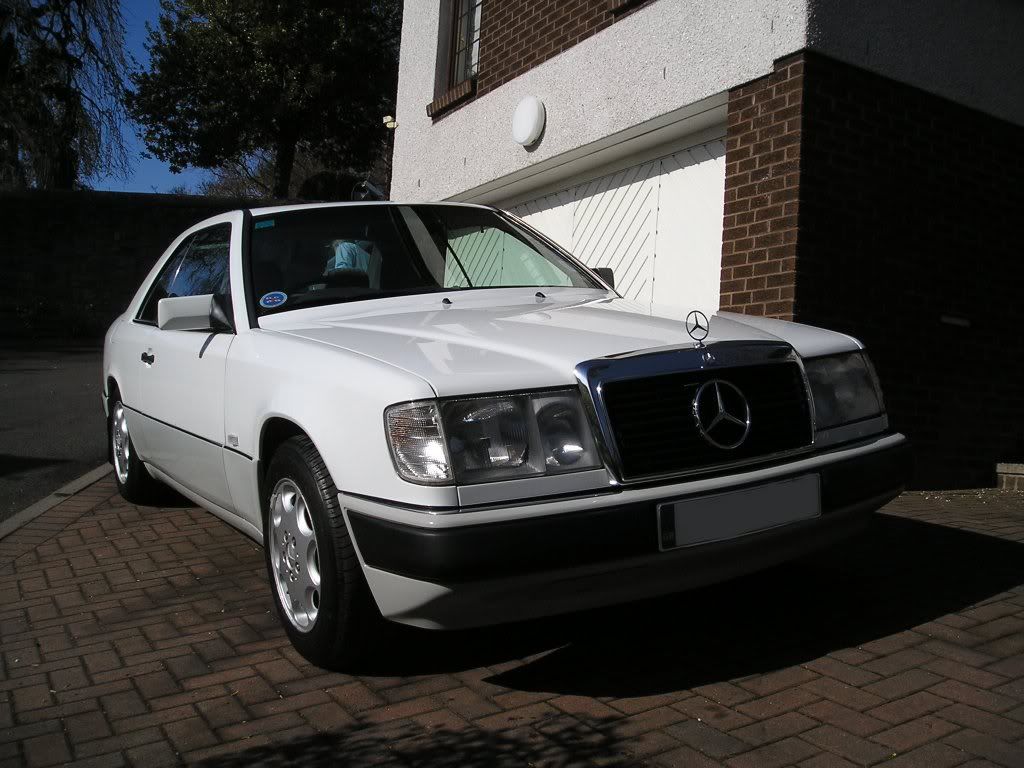
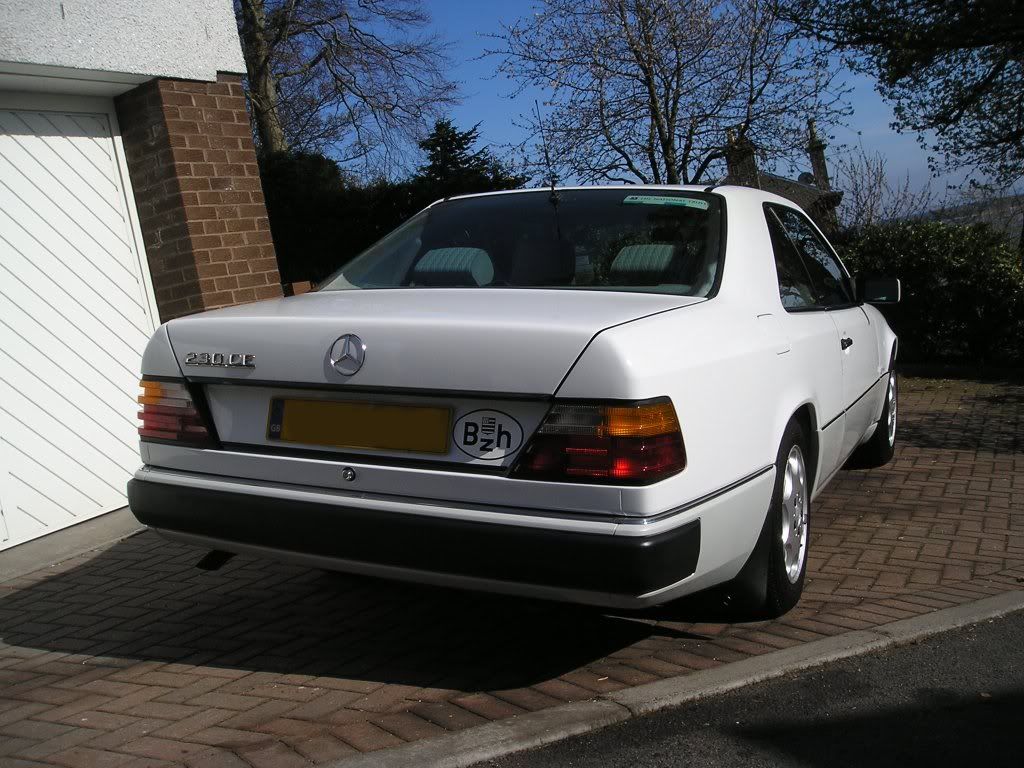

Not bad for an old girl.
Bryan washed and clayed the car ready for machine polishing, the clay removing a lot of ingrained dirt and grime from the paint finish. Under the direct sunlight, we could see a typical example of the swirls in the finish:
I started on the bootlid to ascertain a suitable combination of polish and pad for restoring the finish. Under the Sun Gun, it is hard to make out the swirls but the general flatness of the reflection of the light and hazing shows clearly the marring in the paint:
After trying a few combos from Meguiars, Menzerna, MarkV I settled on the following: MarkV Mystique on a LakeCountry Yellow Cutting pad to remove the defects and restore the finish, followed by Menzerna PO85RD Final Finish on a Meguiars W9006 Finishing Pad to enhance the gloss and remove any light marring inflcited from the heavy compounding stage. This pair of products are becoming a real favourite combo for me now
.Products applied as follows:
MarkV
- Spread at 600rpm, 1 pass
- Begin working at 1200rpm, 2 passes
- Work at 1500rpm, roughly 5 passes
- Work at 1800rpm until defects removed, around 5 - 10 passes depending on area
Menzerna
- Spread at 600rpm, 1 pass
- Begine work at 900rpm, 2 passes
- Continue working at 1200rpm, 2 passes
- Work fully at 1500rpm, around 7 - 10 passes
- Refine at 1200rpm, 2 passes
- Burnish at 900rpm, 2 - 3 passes
This gave the following result on the boot:
Parts of the car had clearly seen a respray:
Indeed, different resprays at different times (and of varying quality) meant that this car would require a lot of different treatments - the two products above used exclusively, but sometimes more than one hit of MarkV was requied, while on the front wings (paint only 4 weeks old, and a superb paint job too) only Final Finish was required.
An example of rather poorer finishing was on the rear 3/4:
Two hits of Mystique as above certainly improved matters but did not fully remove the overspray like hazing:
Further investigation revealed that it was actually the white paint underneath which was speckled - you could see it as if they had not sprayed enough paint on the region, and then they simply lacquered straight over the top of this. Nothing that could be done to fix this, and this also affected the colout on this region as it was slightly duller due to the colout layer not being complete, but rather speckled. Under the lacquer meant we could not do anything for it
... A respray on this specific region would certainly help.Onwards though, and a 50/50 on the passenger door (correction stage only, no finishing):
Fully corrected:
Nicely restoring the finish and removing the dullness and haziness.
On the bonnet (one region of original paint), only one hit of Mystique with quite few passes was required as the paint seemed pretty soft. The swirls under the lights before:
And after correction and finishing stage:
And in the sunlight:
Nice improvement on before.
Front wings only required Final Finish to achieve the following result:
Now, before the LSP was put on, a post-polishing pic to show the finish achieved by polishing stages alone:
LSP of choice was ***** Destiny, preceeded by Clearkote Yellow Cream Wax. The CK added a nice wettness to the white and set the paint up nicely for the Destiny. Bryan applied and removed both of these products with ease.
The light greay panels below the styling line were meant to be matt finish according to the owner - they were lightly polished using ScratchX by hand as this removed the marks, and left the original finish.
After shots - thankfully, especially for a white car, we got some great sun for the afters:
Not bad for an old girl.