Maserati GranTurismo S MC Sport Line Correction + OptiGuard by Tru Shine Detailing

Tru_Shine

New member


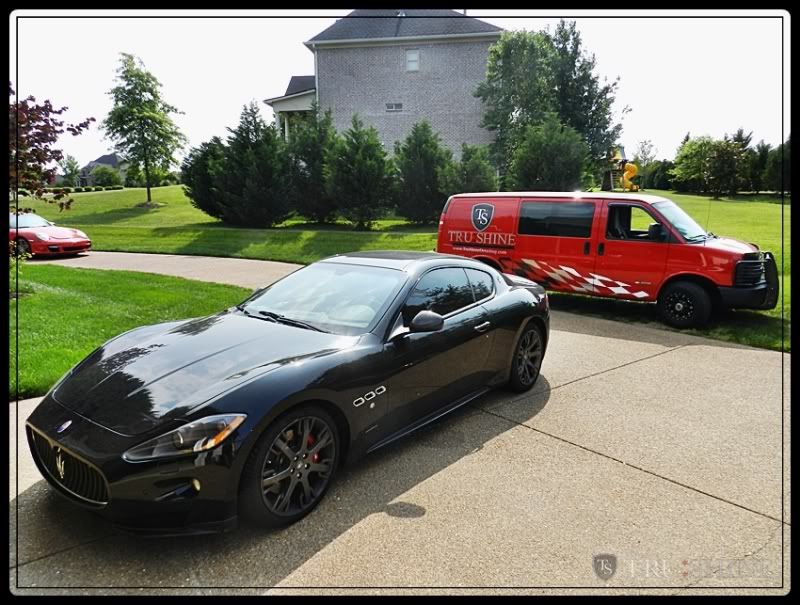
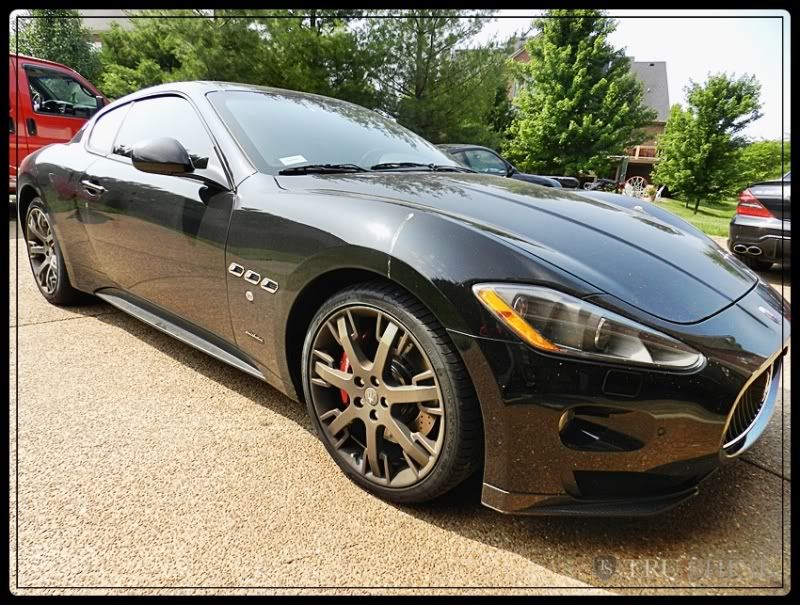
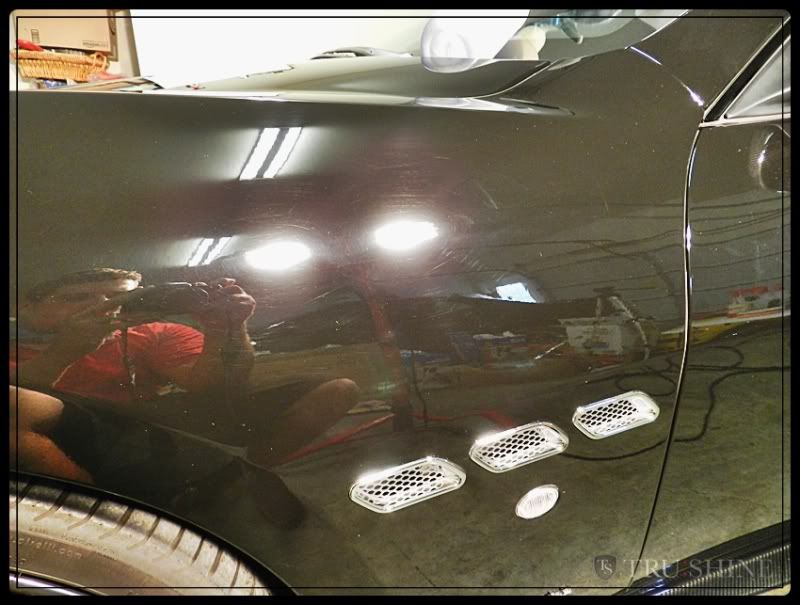
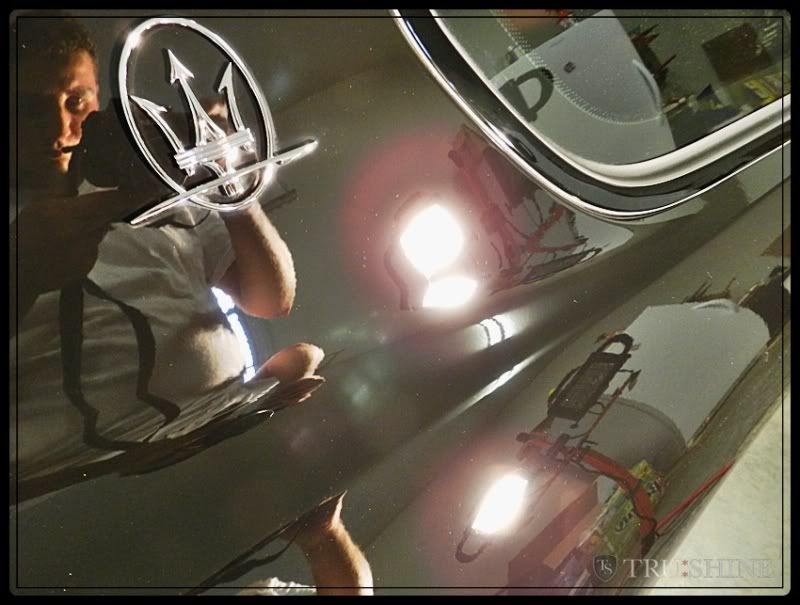
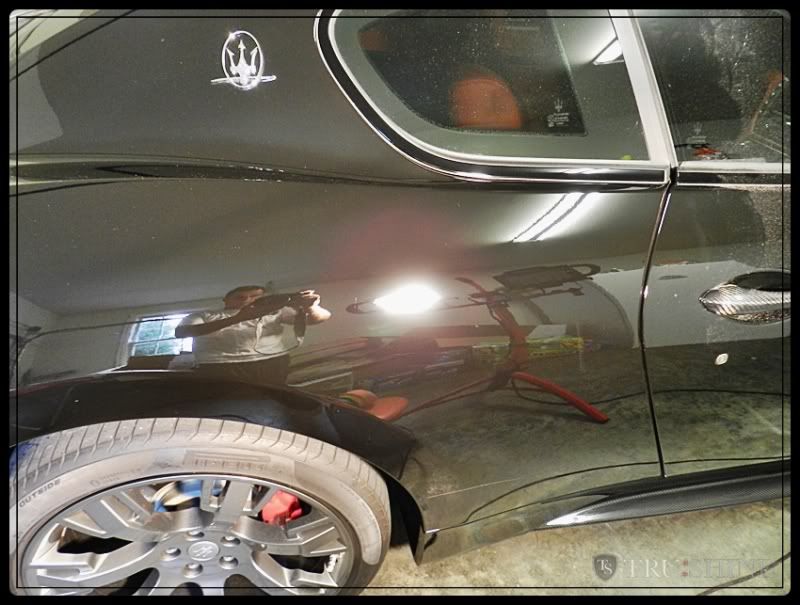
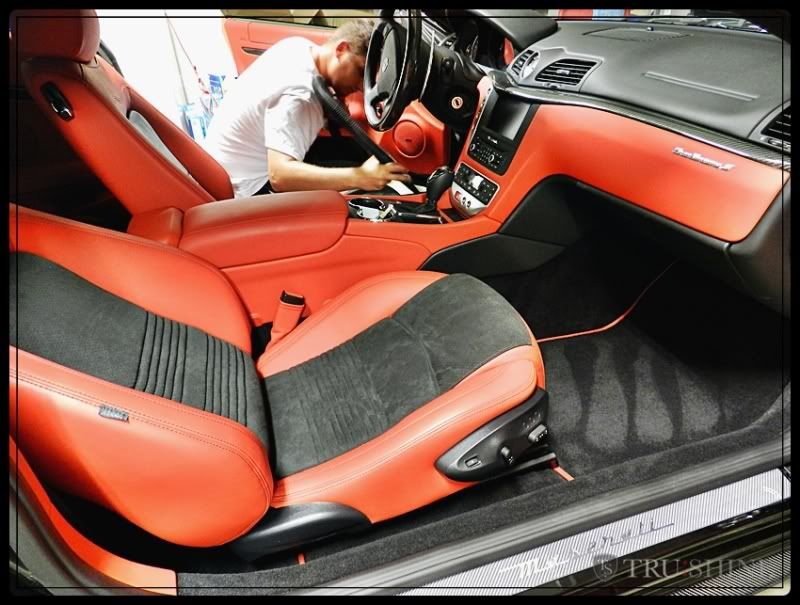
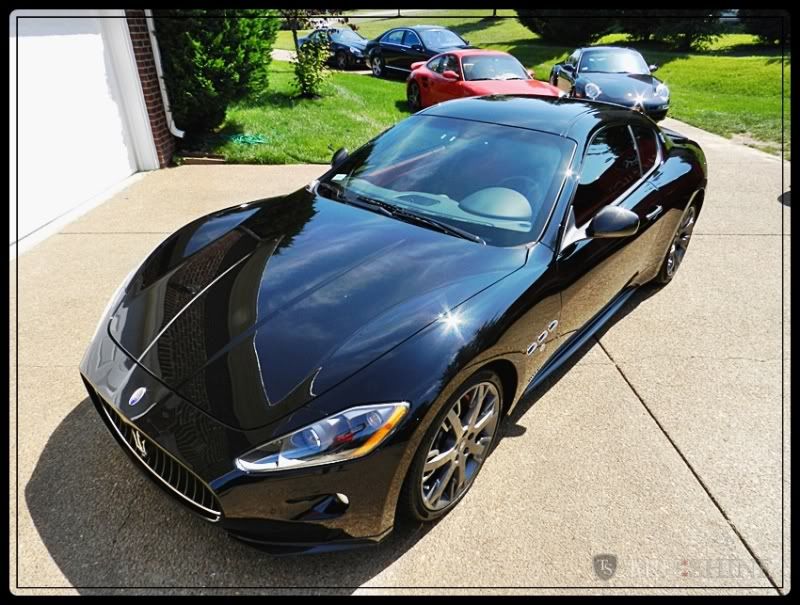
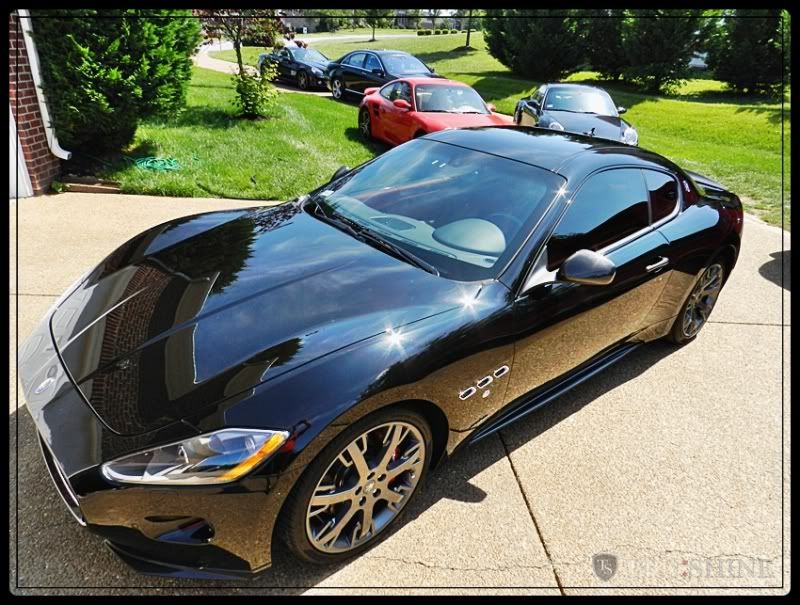
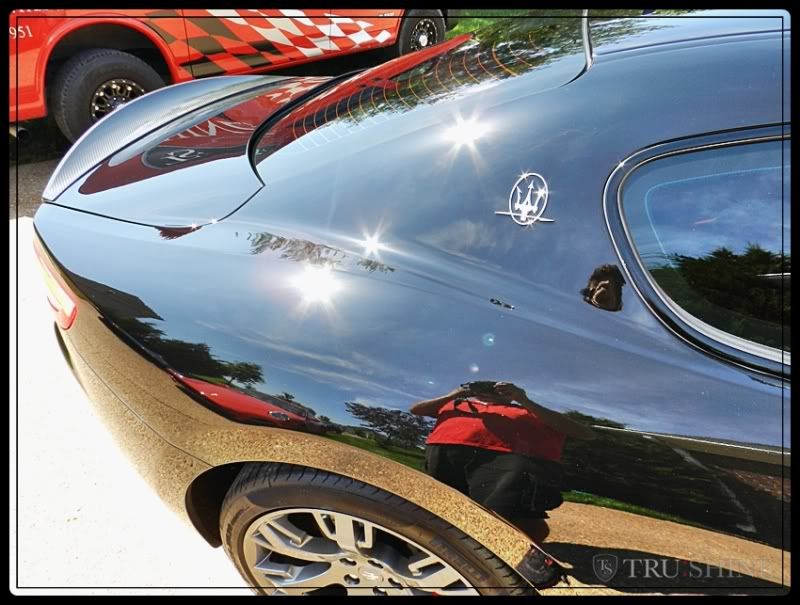
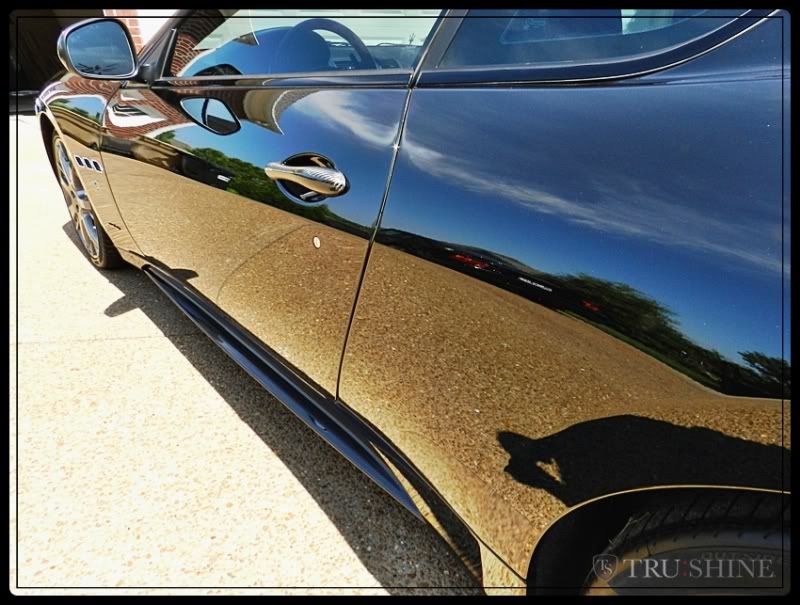
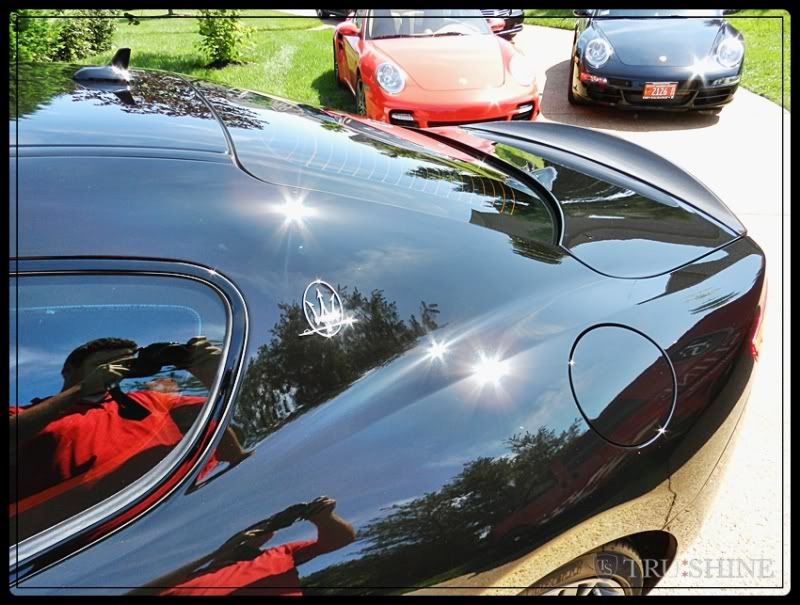
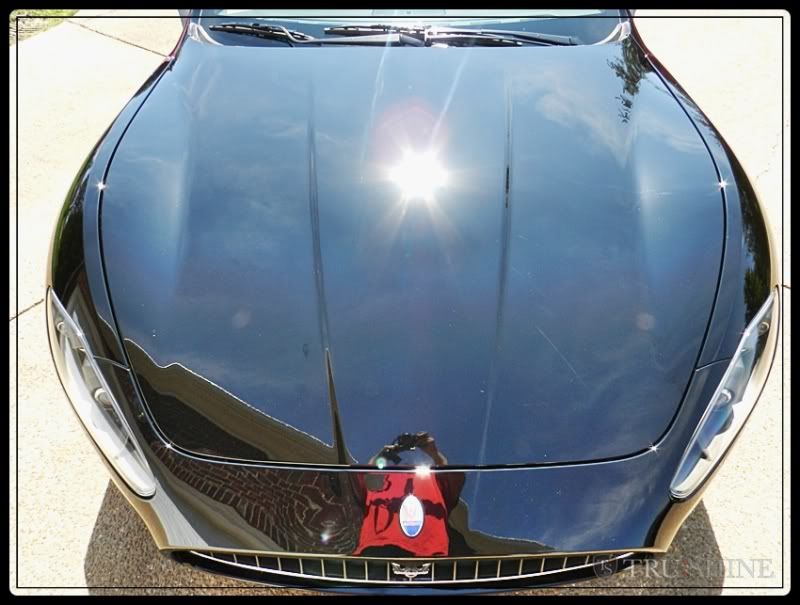
This is a Maserati GranTurismo S... but not just any GranTurismo S..... This is an MC Sport Line.


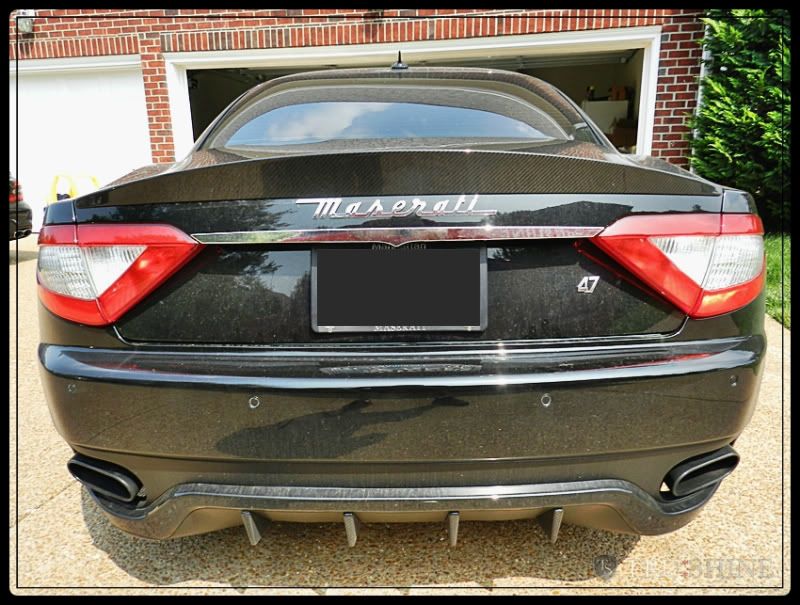
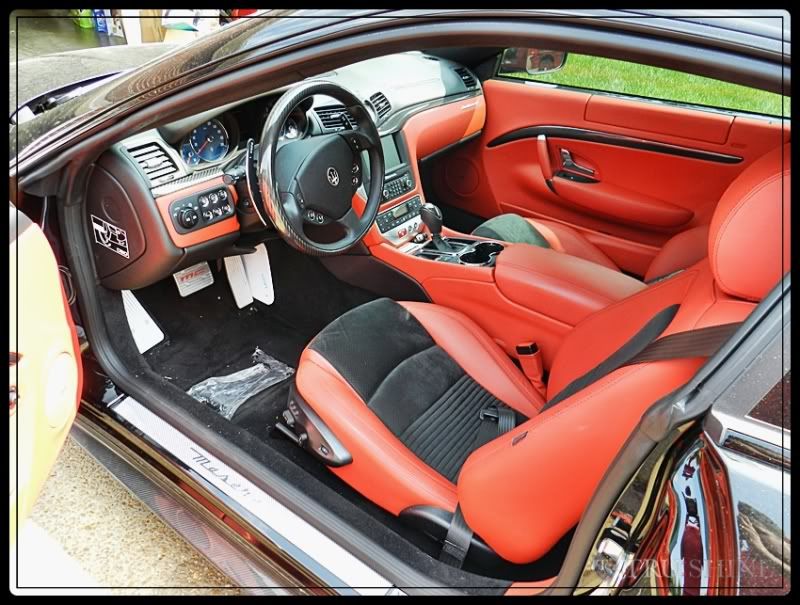
With a Ferrari Engineered 4.7L V8 pushing out 434hp and 360tq this "MC Sport Line" version means that it comes with Carbon Fiber exterior accessories such as front and rear carbon-fibre spoilers, carbon fibre mirror housings and door handles, 20 inch wheel rims, carbon fibre interior, steering wheel rim, paddle shifters, instrument panel, dashboard, door panels. but it's not all just cosmetic upgrades. It is also upgraded with stiffer springs, shock absorbers and anti-roll bars with custom Maserati Stability Programme software and is 10 mm lower height than GranTurismo S.


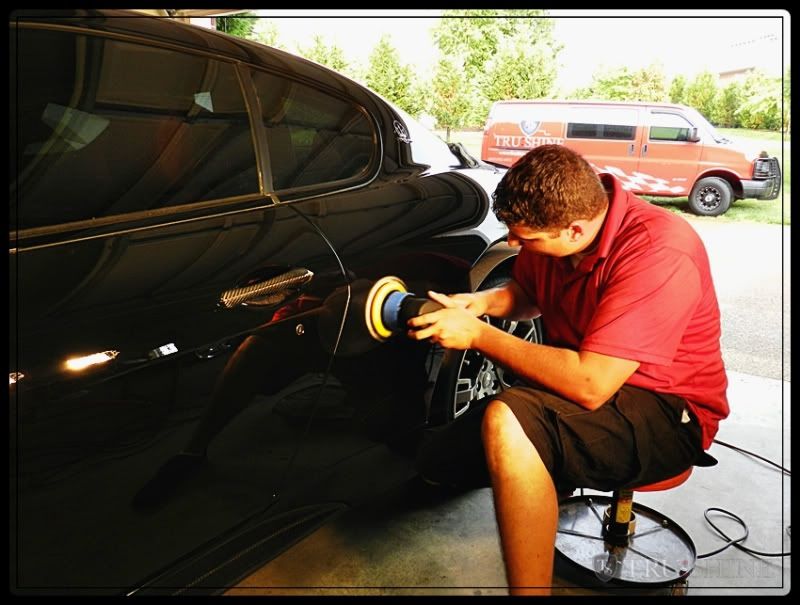
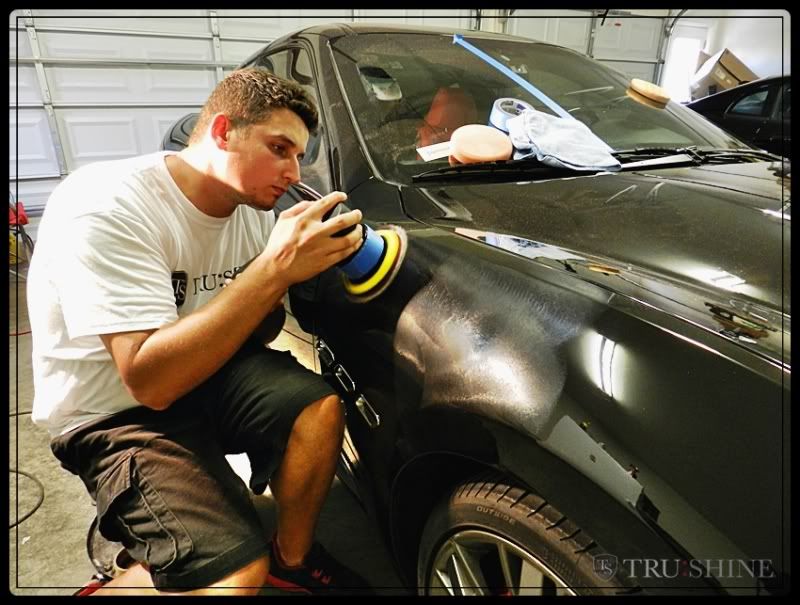
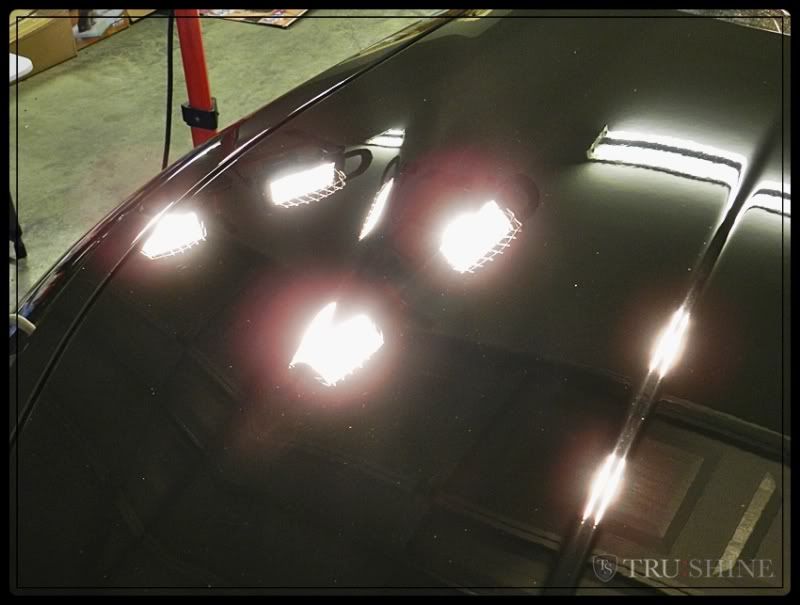
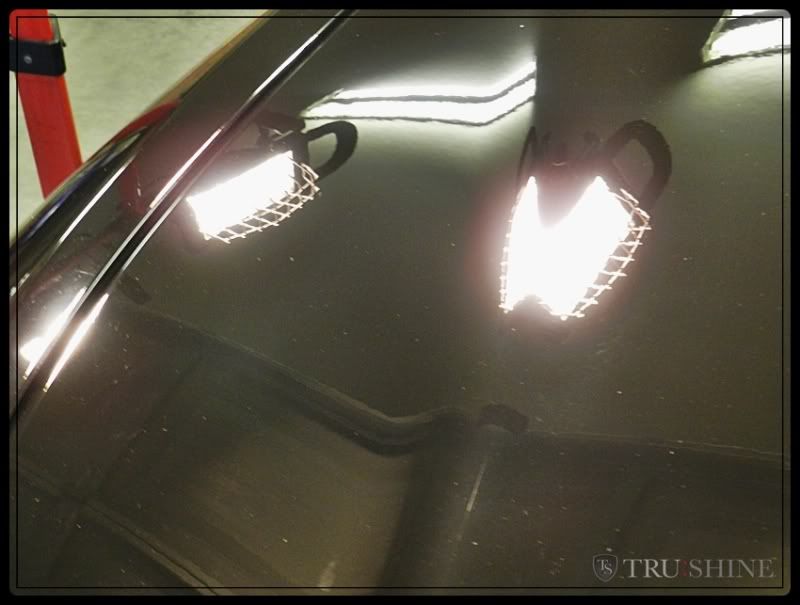
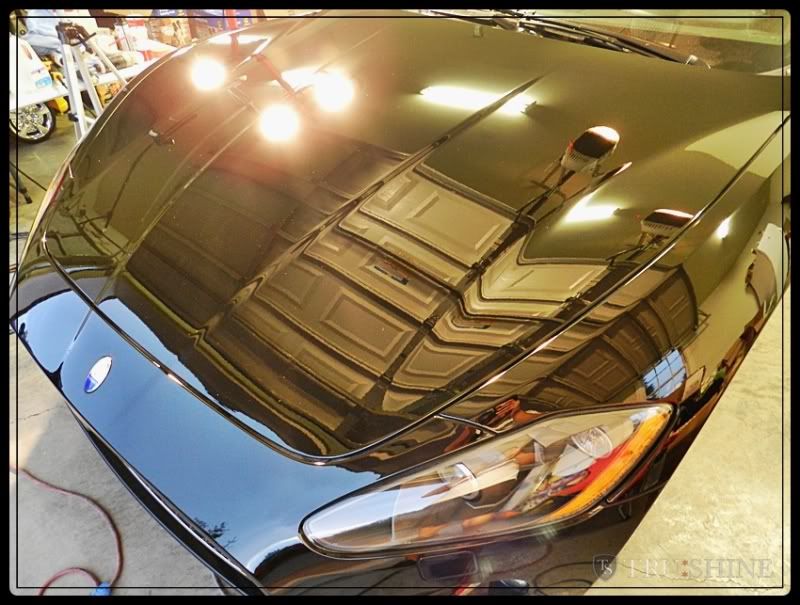
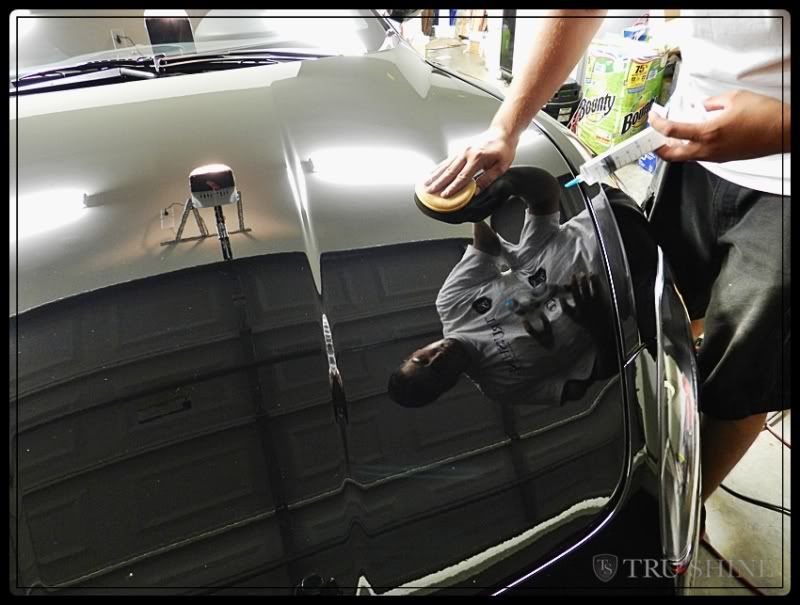
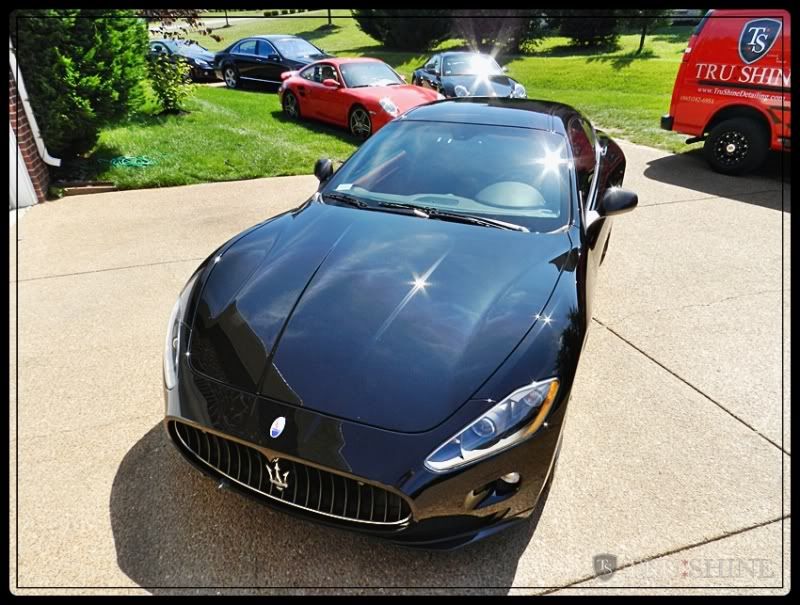
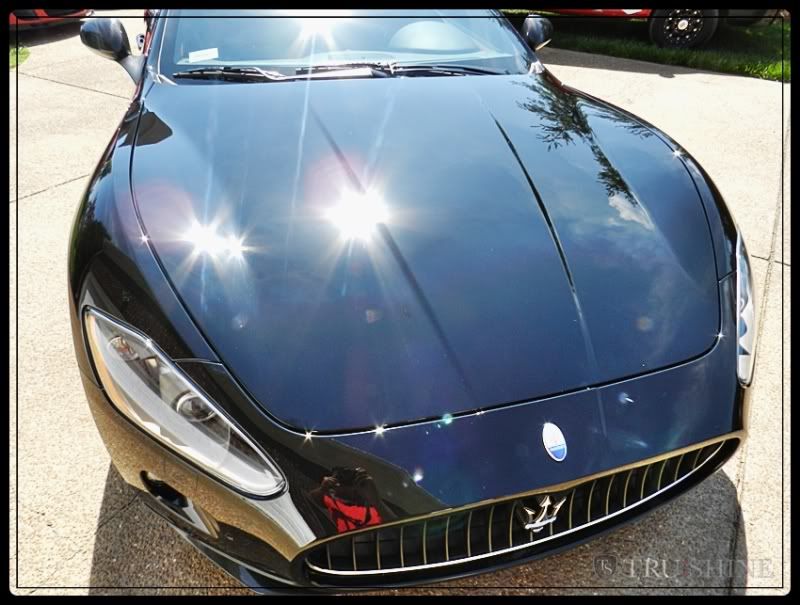
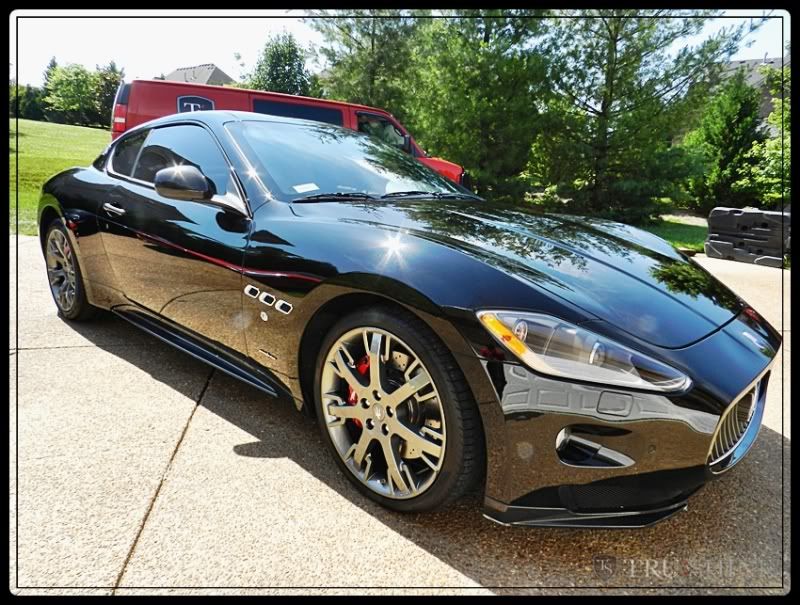
This car received a Full exterior Correction plus Opti-Guard, a Semi-permanent coating that keeps your paint free of bug damage, acid rain etching, and bird poop etching. along with all of this amazing traits, it will also never fade or oxidize, so you never have to wax your vehicle again. This is an amazing long lasting protectant for your paint lasting years and years not weeks or months.


Lets get the write up going.


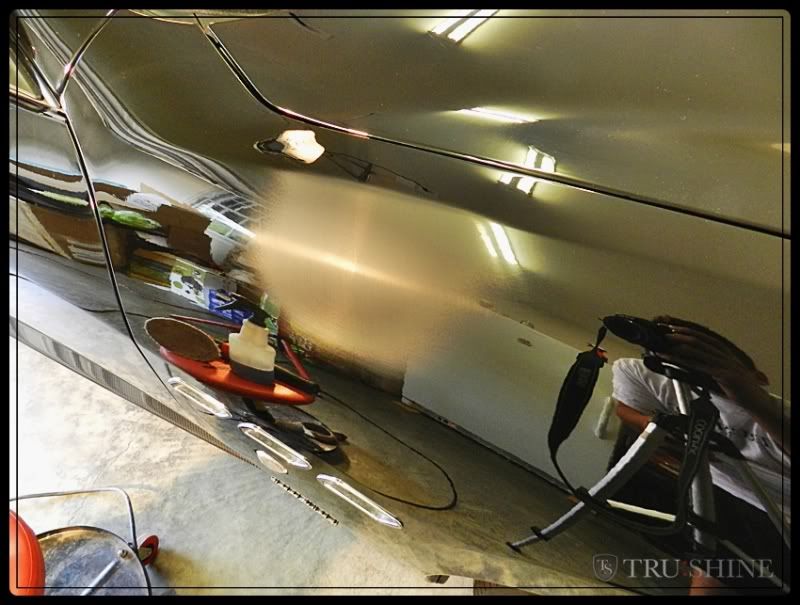
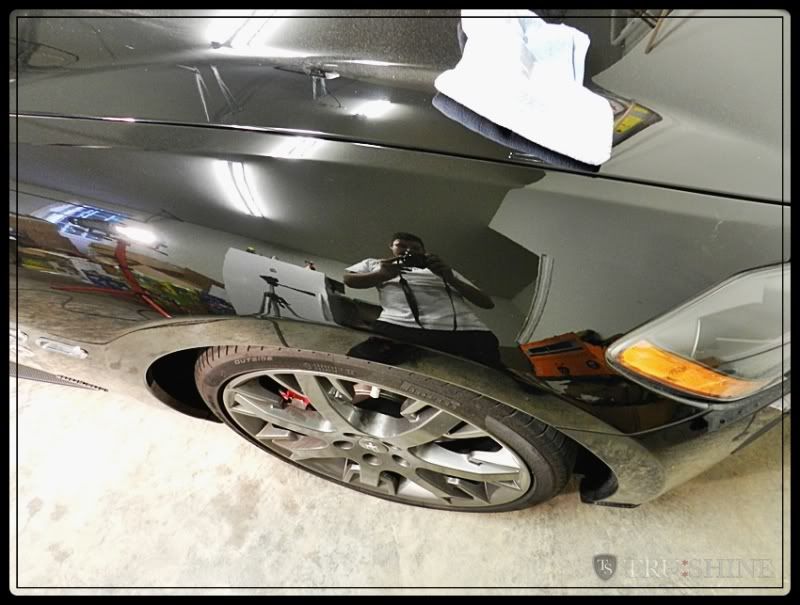
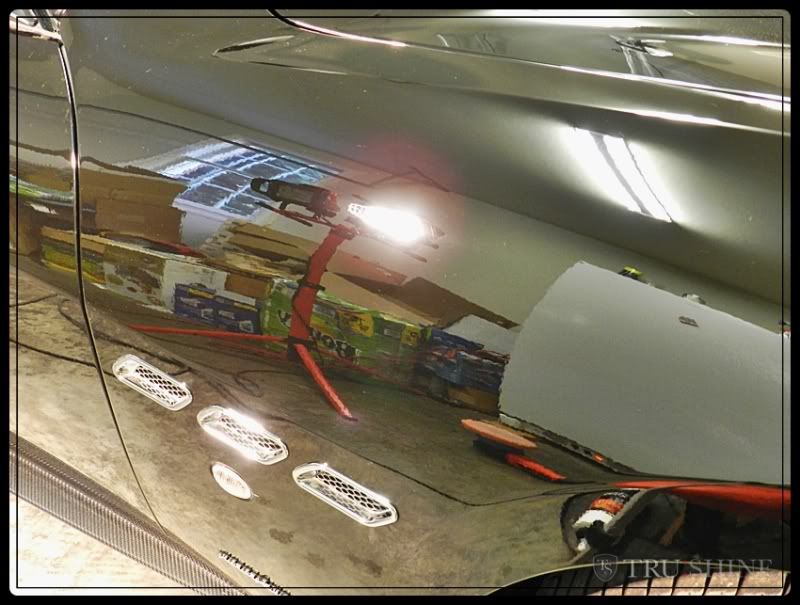
here are some pictures of when I arrived.


55ba6787.jpg


957e7e5e.jpg


ba90df2e.jpg


69262fb9.jpg


ff11b74d.jpg


c991b966.jpg


dee297db.jpg


Untitled-1.jpg


3f7d7338.jpg


947b1cc2.jpg


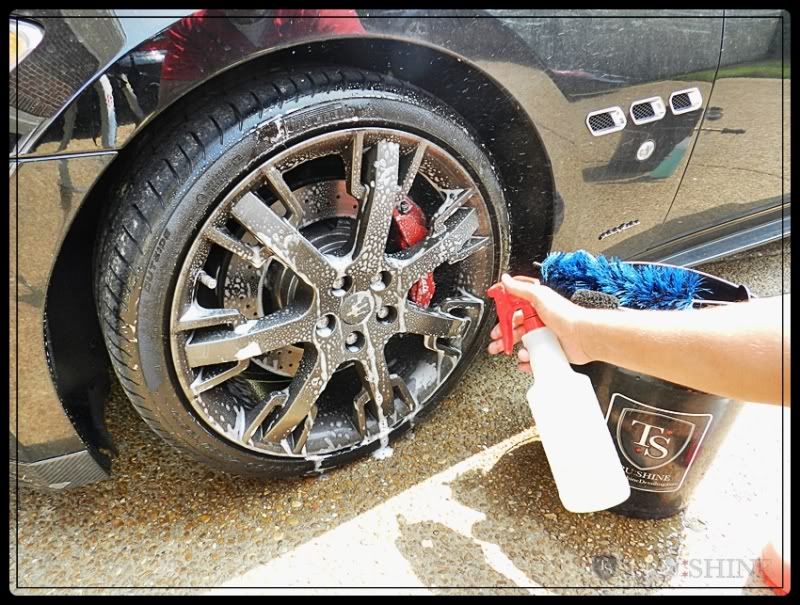
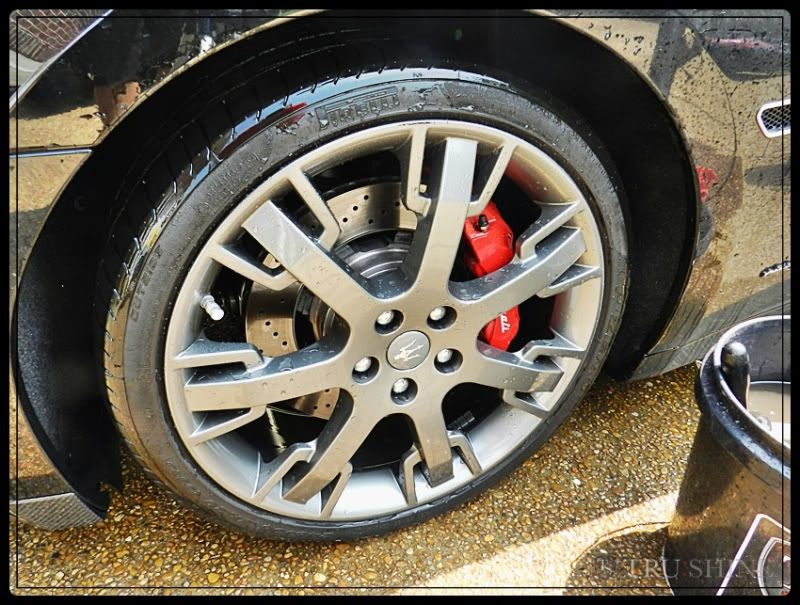
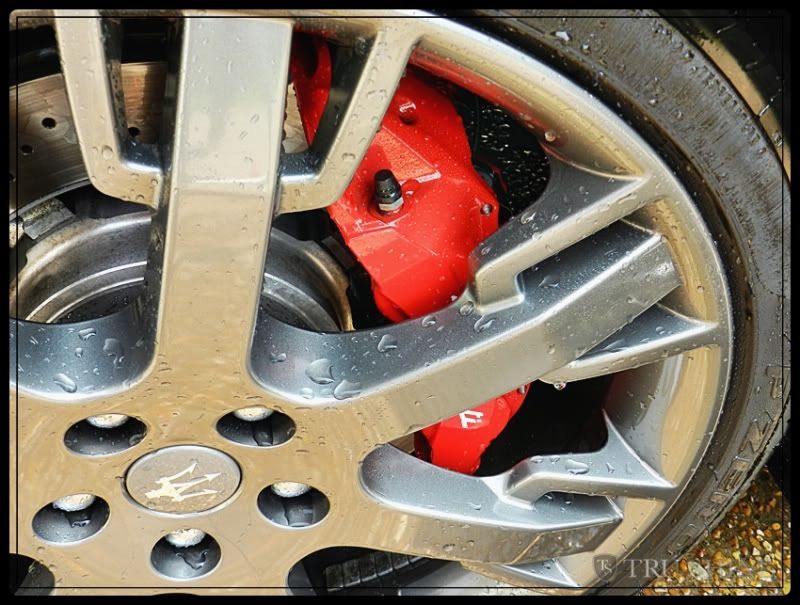
Lets start with the wheels


f8b6bb92.jpg


0d000276.jpg


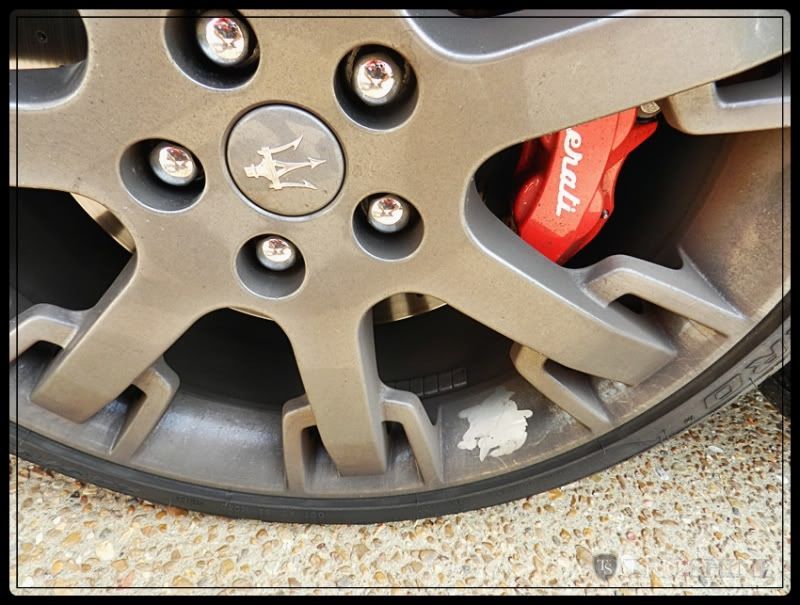
Brushes used, Ez detail wheel brush, 2" Wheel Woolie, misc wheel brush

ce448166.jpg


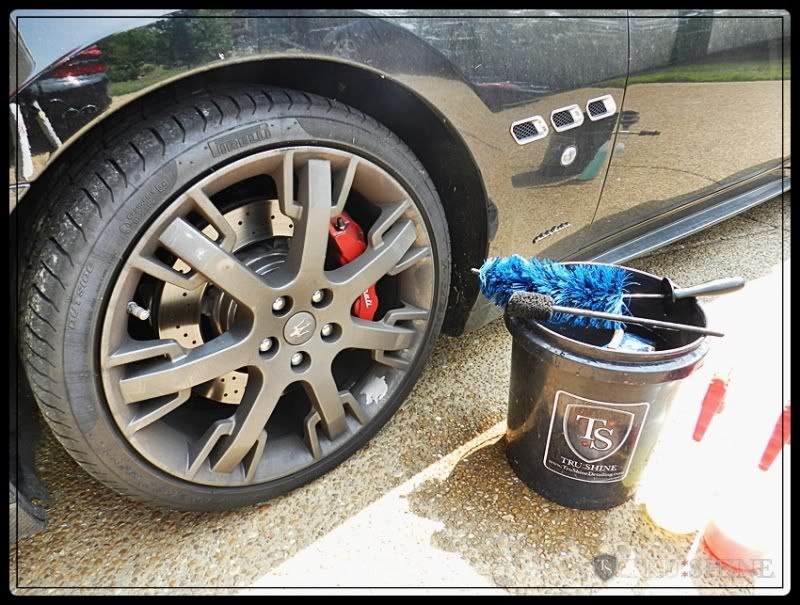
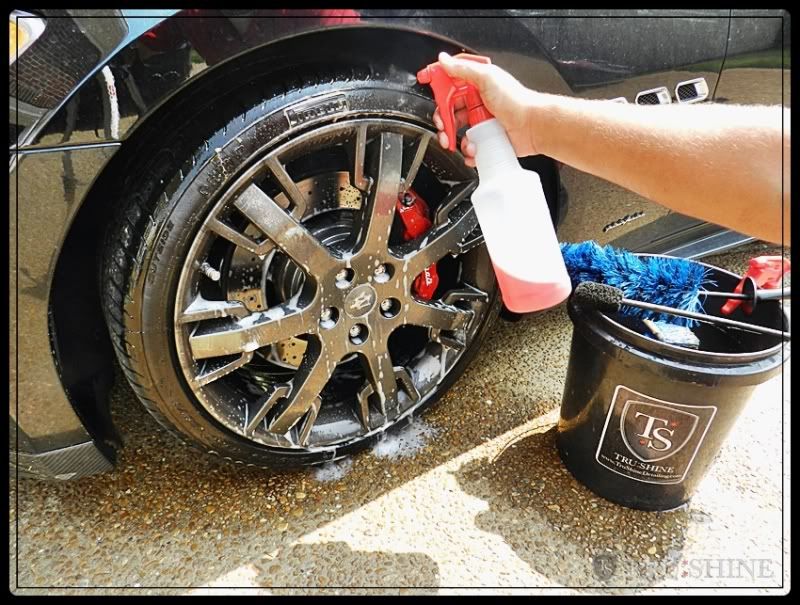
My choice of wheel cleaner was P21s wheel Gel, a pH balanced wheel cleaner diluted 50/50 and left to dwell for a couple of minutes. this is a great safe wheel cleaner that can be used on all types of wheels.


b5f502c9.jpg


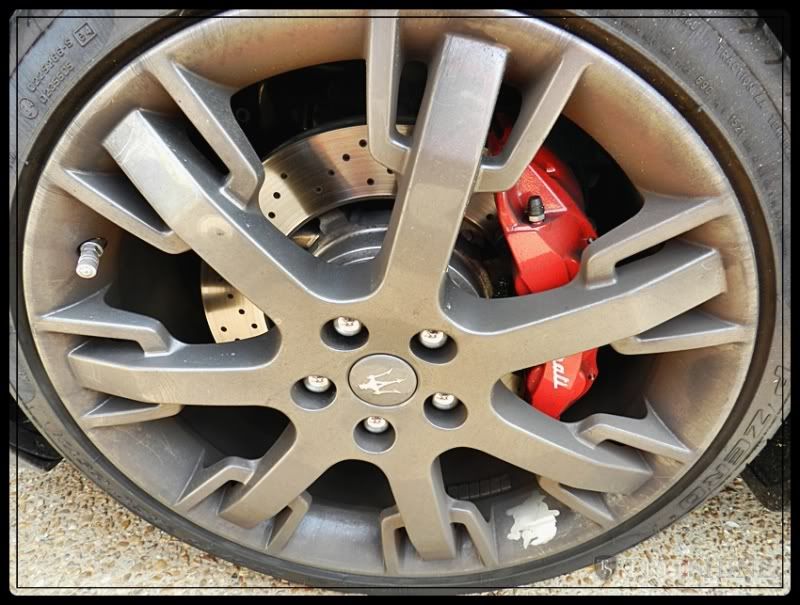
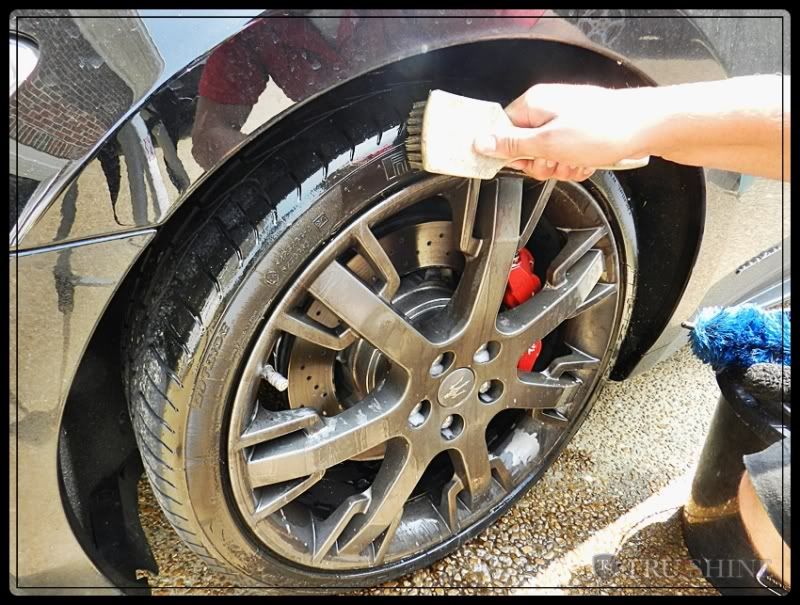
Then Megs super degreaser for the tires.


d579c2b6.jpg


Tires are scrubbed to remove old tire shine
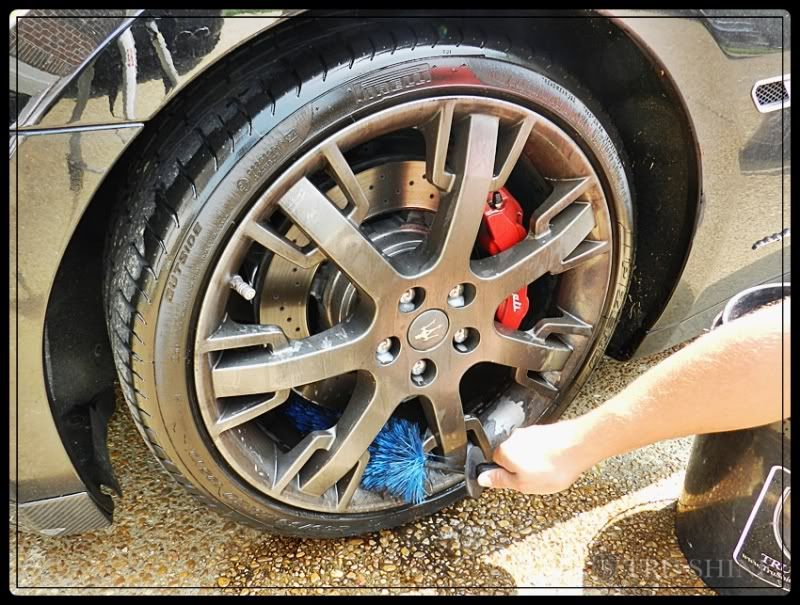


82b45c21.jpg


84634c40.jpg


all cleaned up


f8d8f5f5.jpg


805673ef.jpg


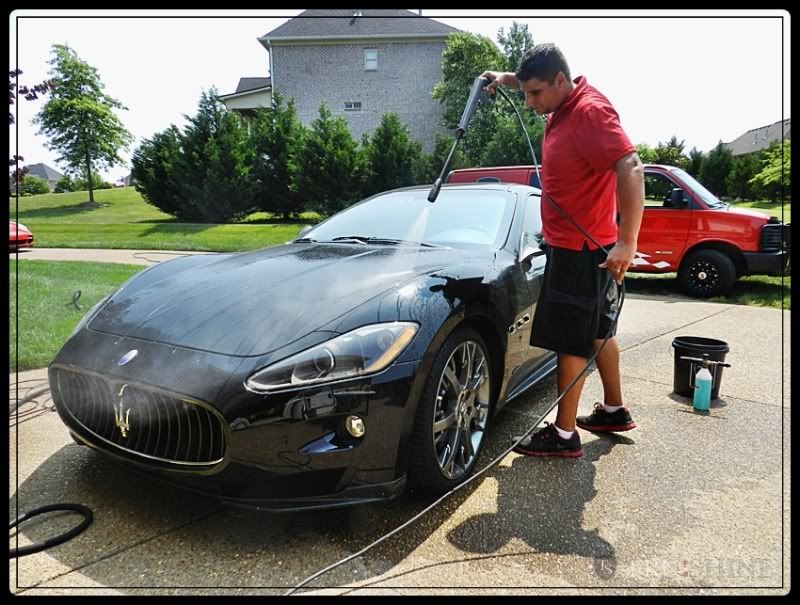
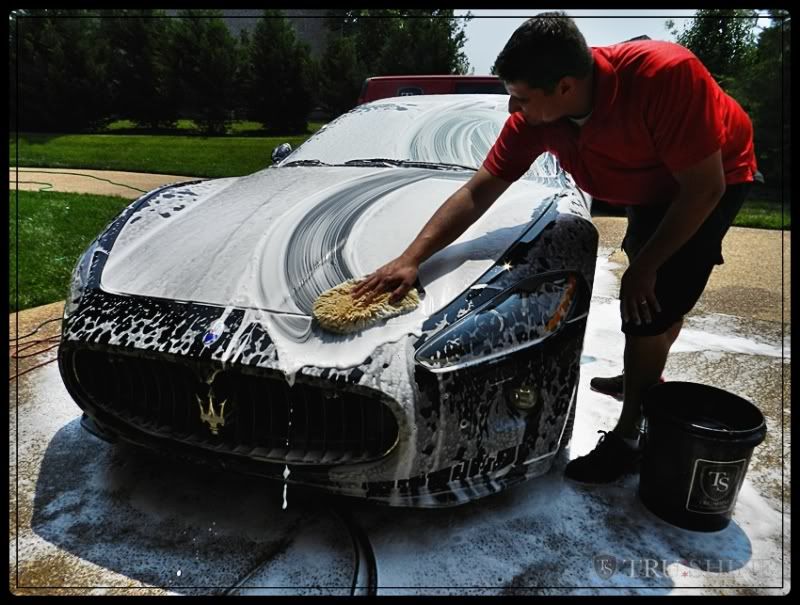
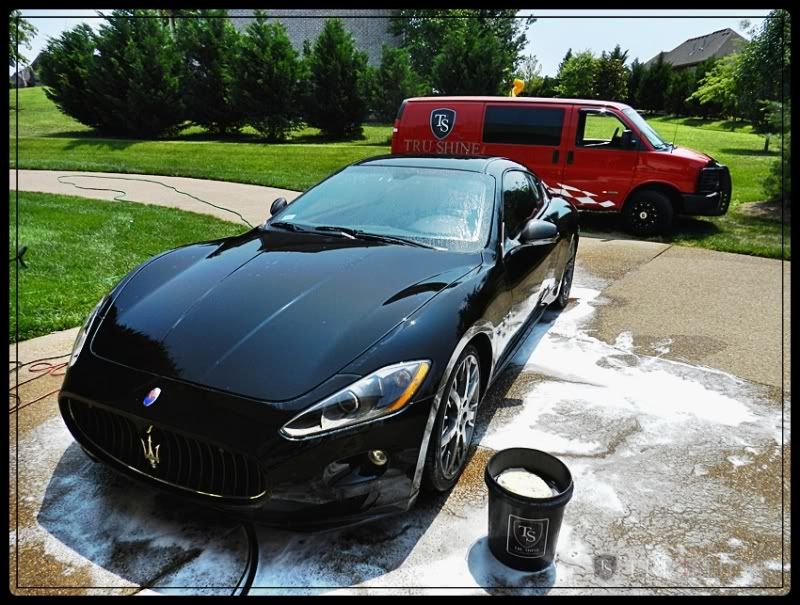
Next is the washing and decontamination process.


First I always pre-rinse the surface dislodging and heavy and loose debris.


05af5cc7.jpg


Then I coat the entire car with a thick foam. The foam bath helps give the dirt a suspension and lubricates the surface to optimize safety and prevent marring.


f25c5f0a.jpg


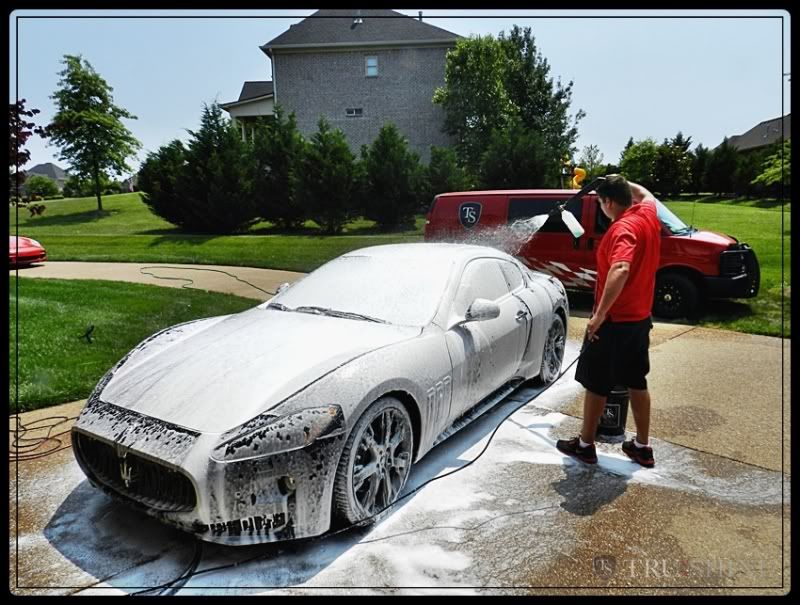
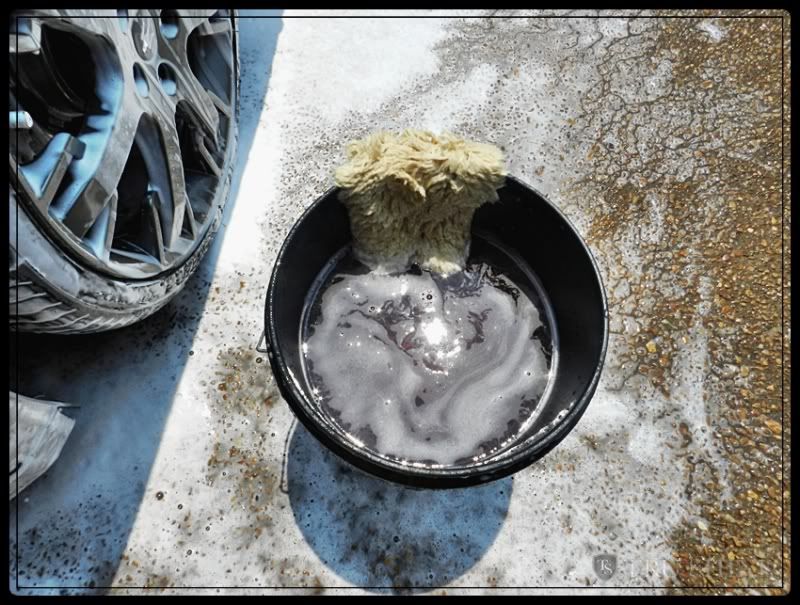
Another tool every detailer enthusiast needs in their arsenal is a good wash mitt, bucket and Grit Guard.


75f60c3a.jpg


971adeea.jpg


f0bdfcea.jpg


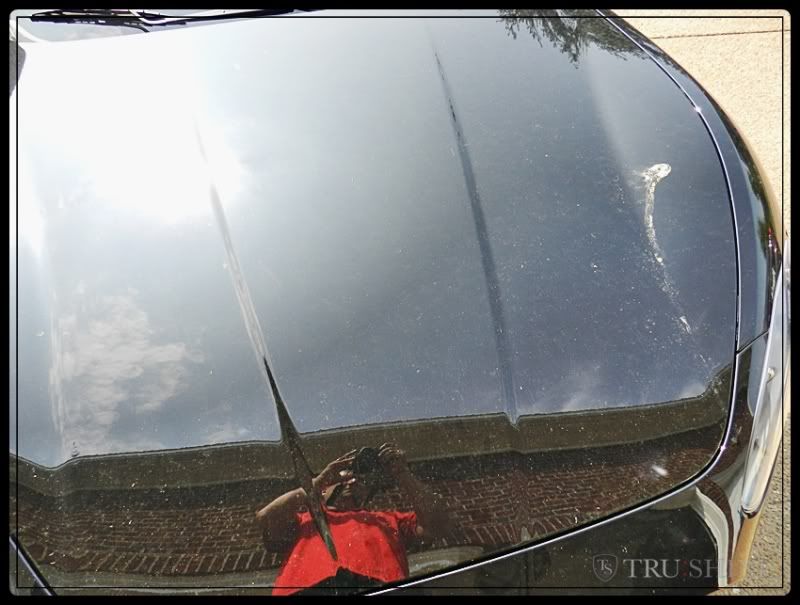
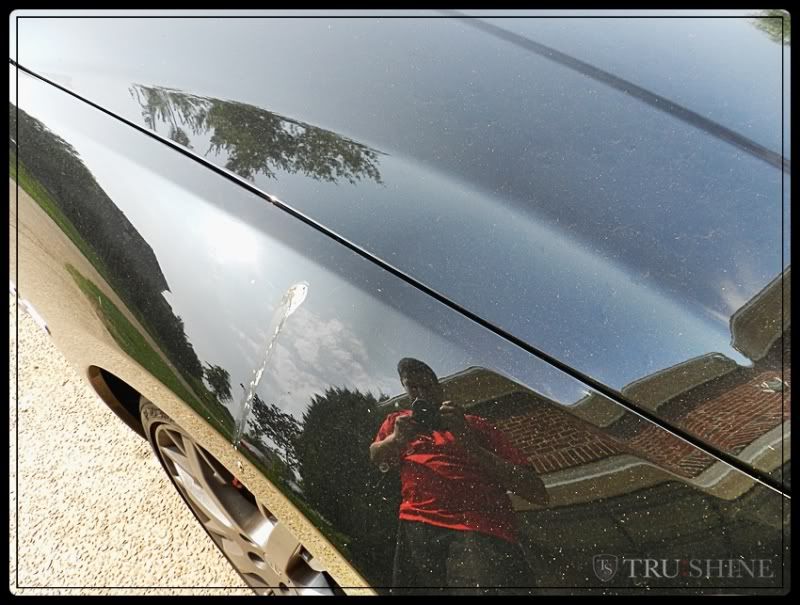
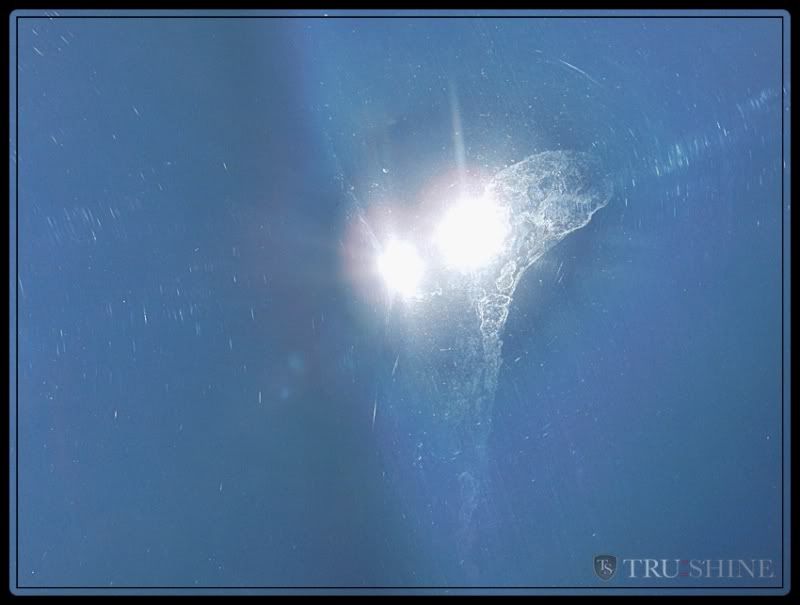
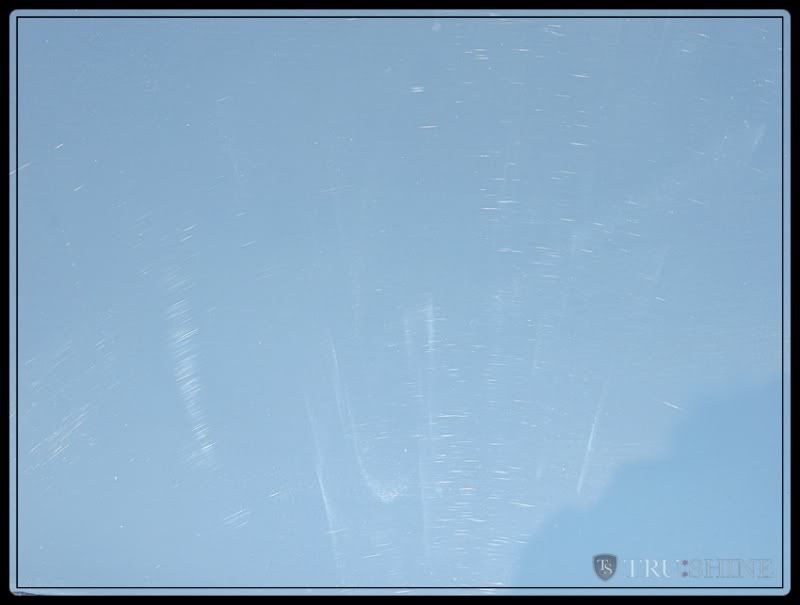
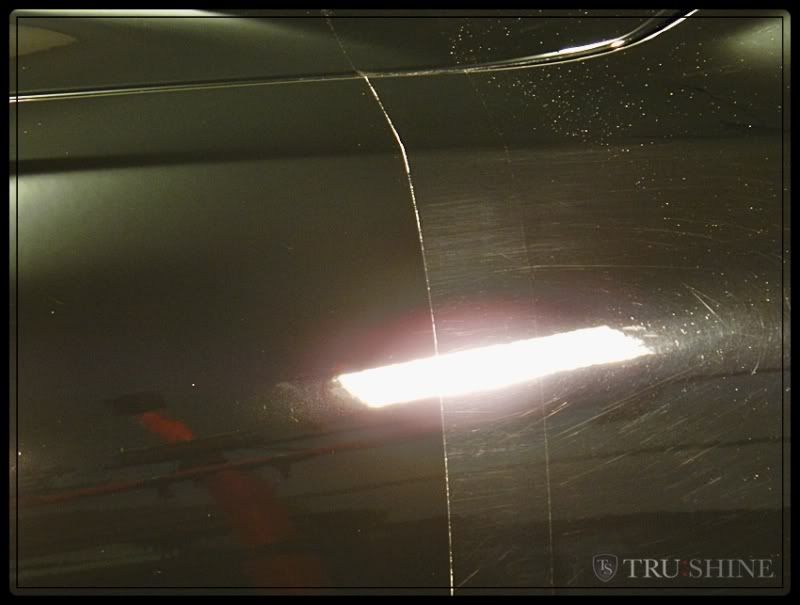
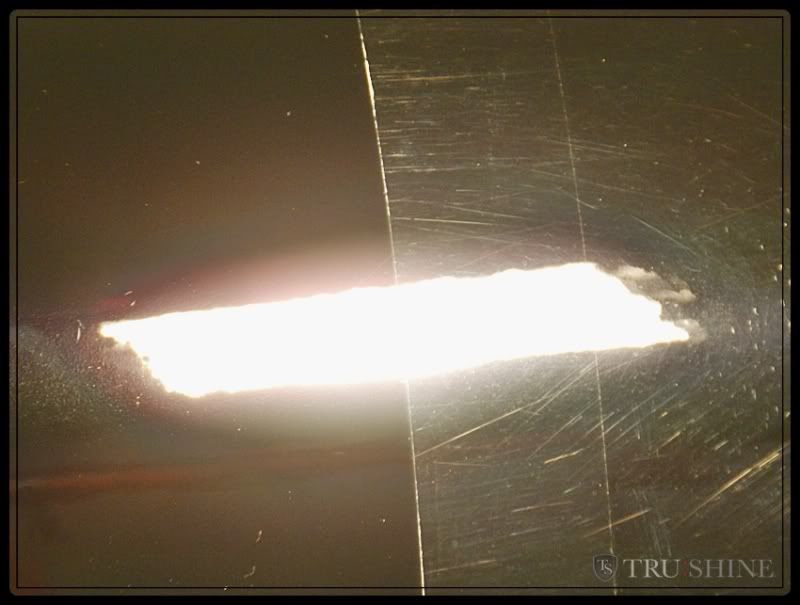
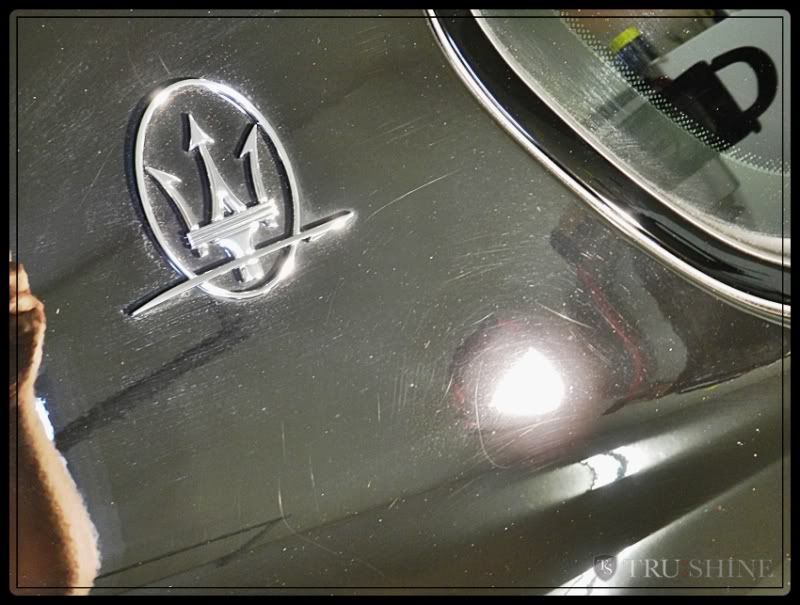
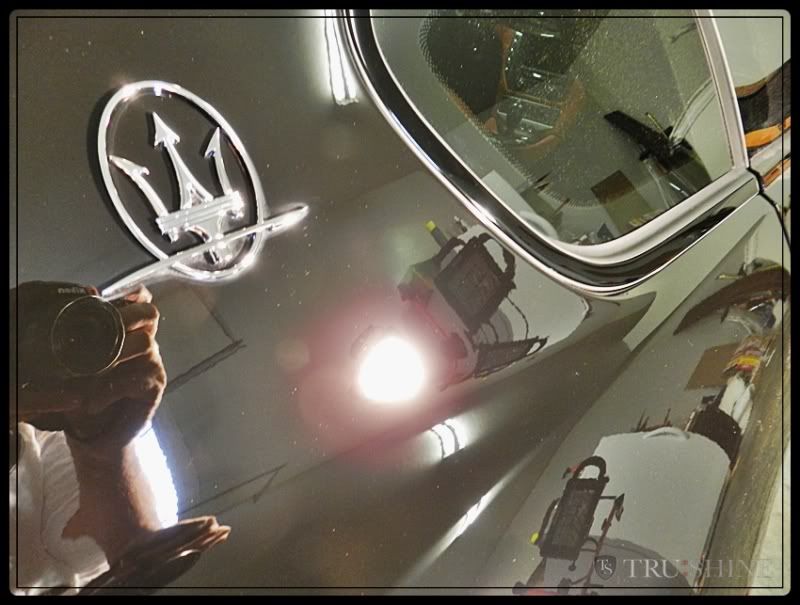
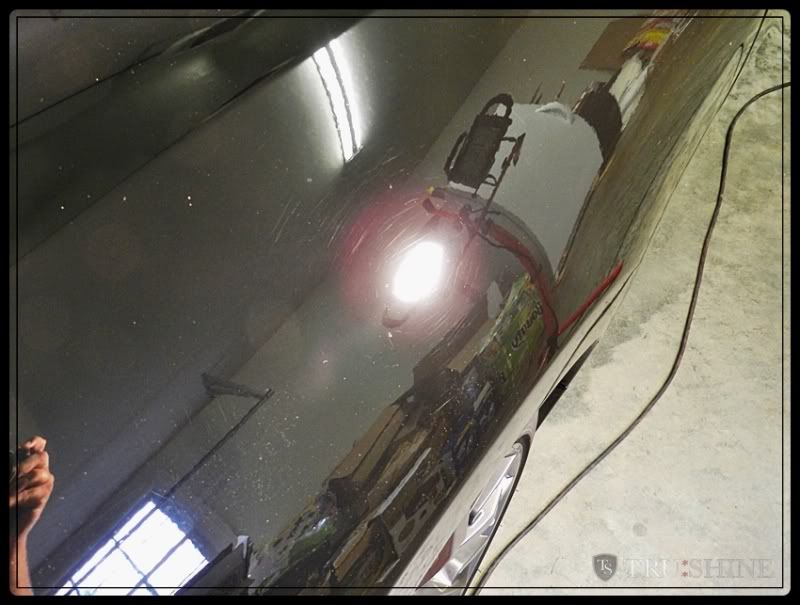
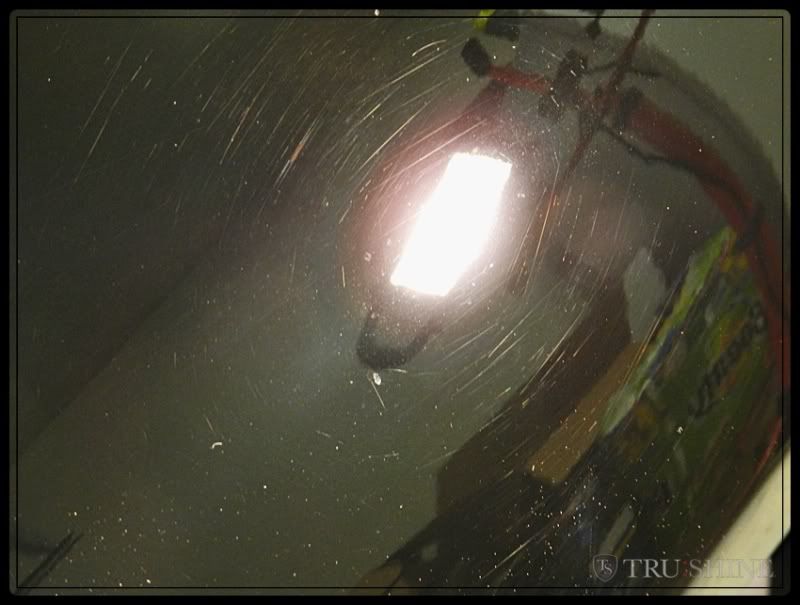
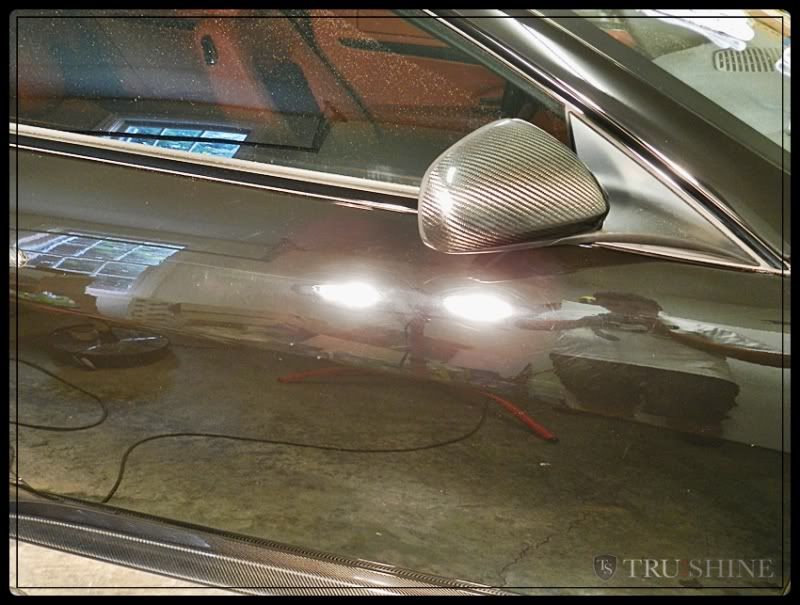
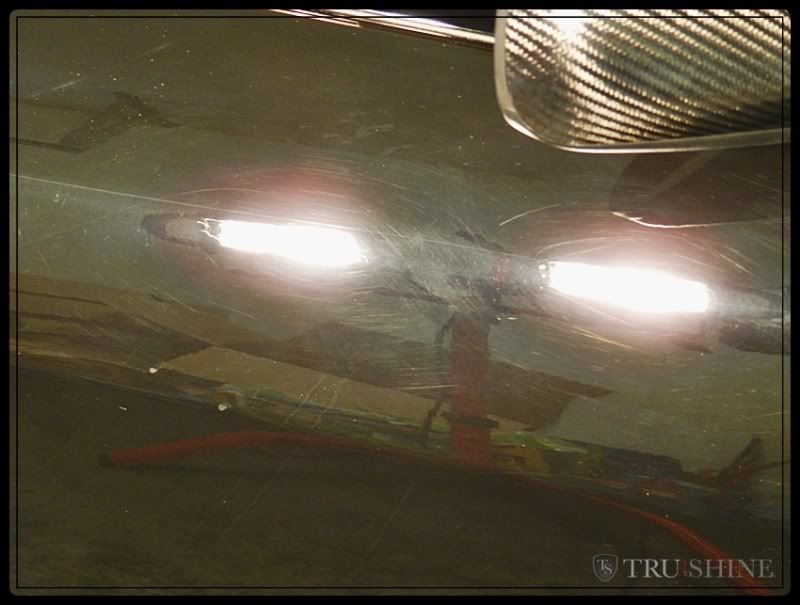
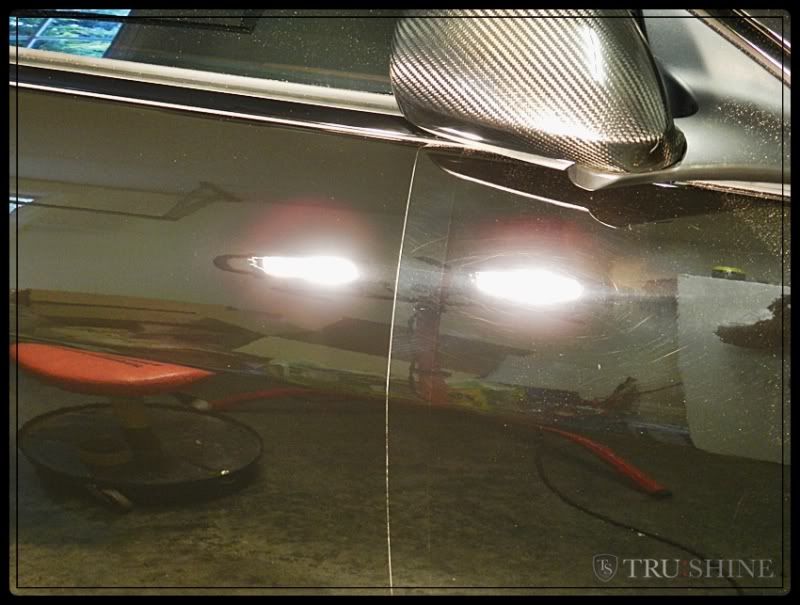
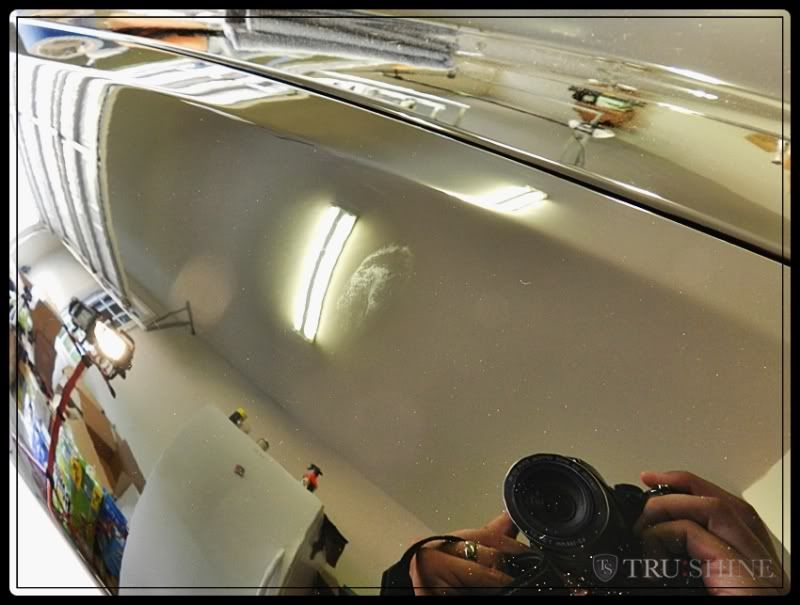
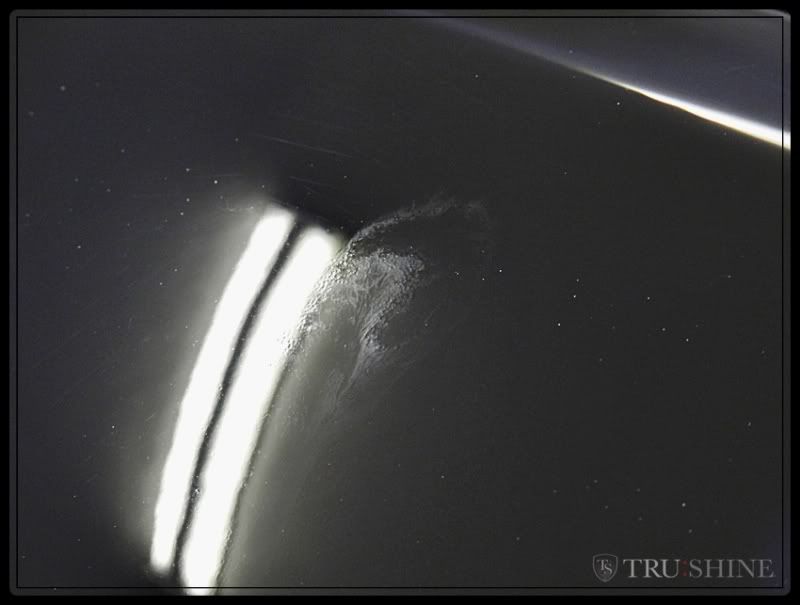
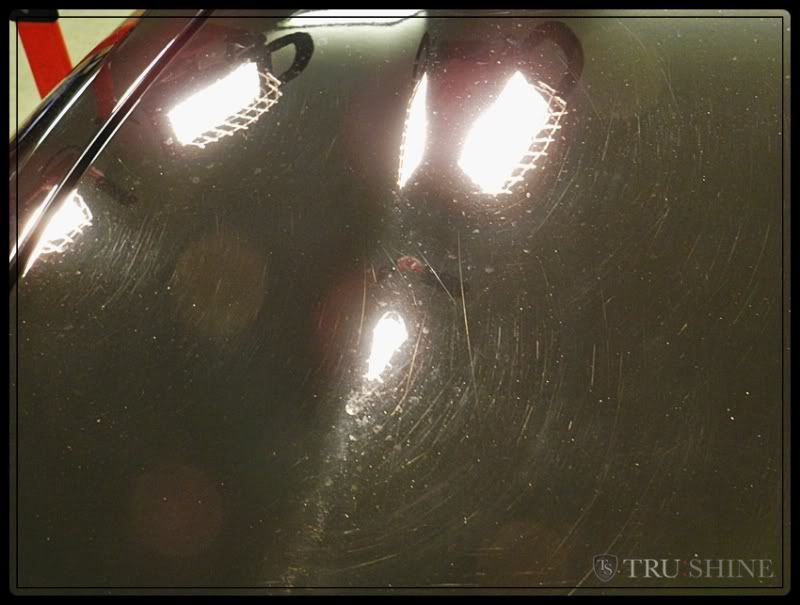
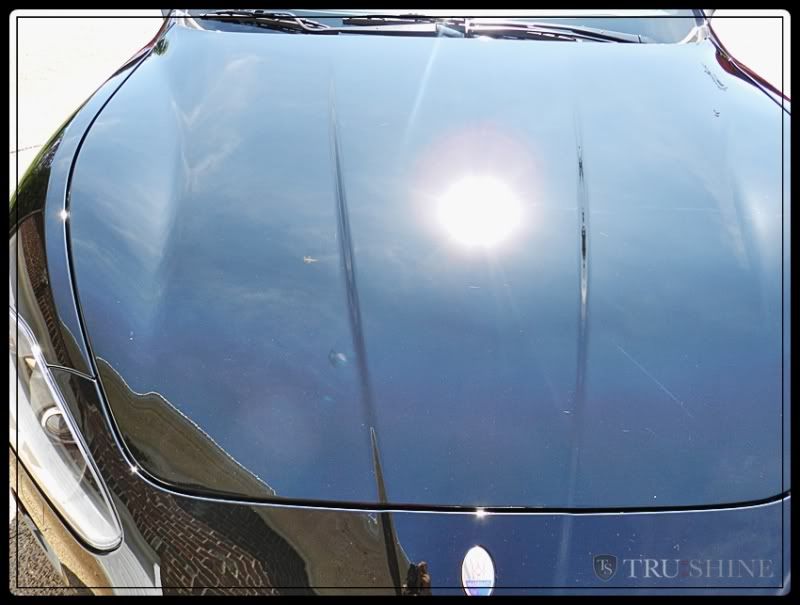
Lets examine the paint, especially where the bird poop was sitting.


8f735119.jpg


d0c17f37.jpg


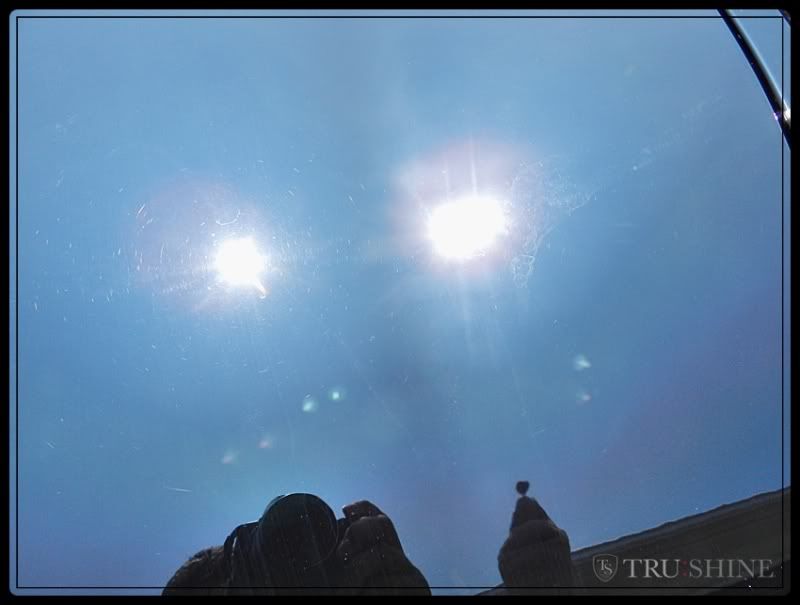
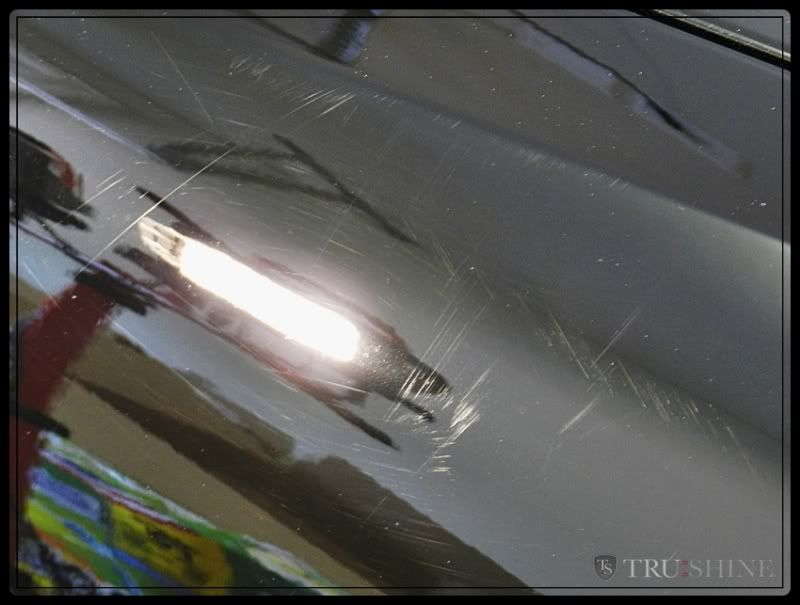
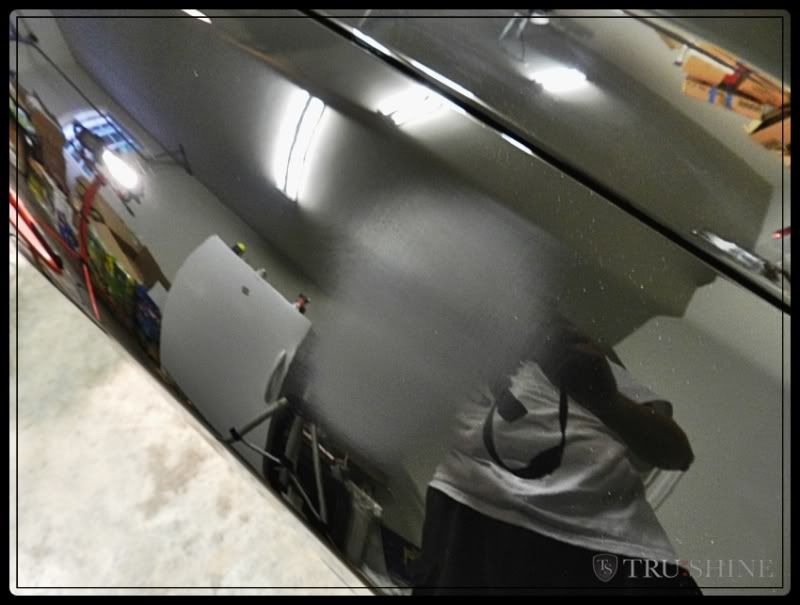
This is the bird etching, the acid's in the bird poop actually etch the surface of the clear coat. If this was left for a long time, it would eventually be irreparable and eat it's way down through the clear coat.


bef29950.jpg


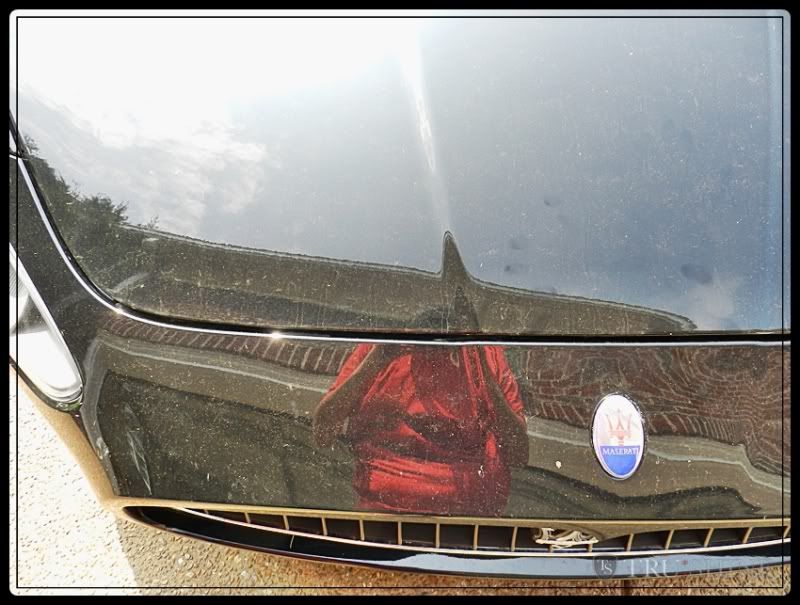
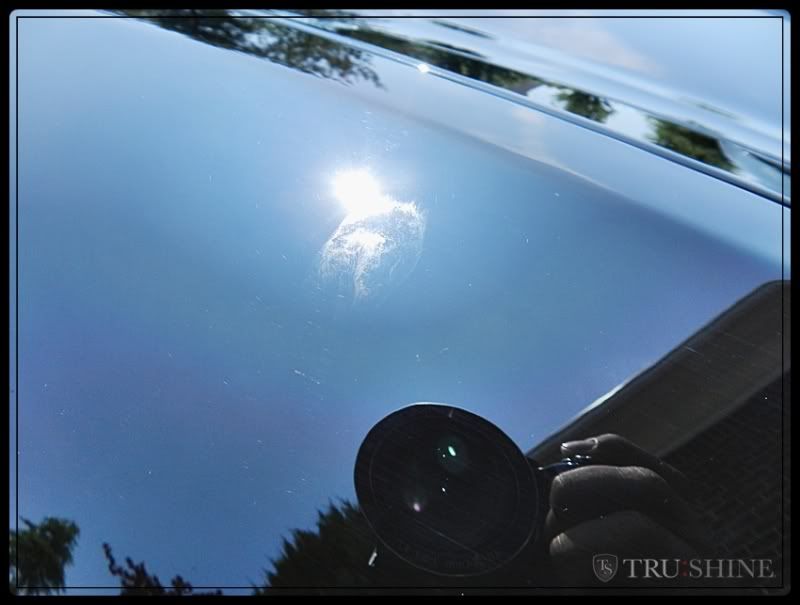
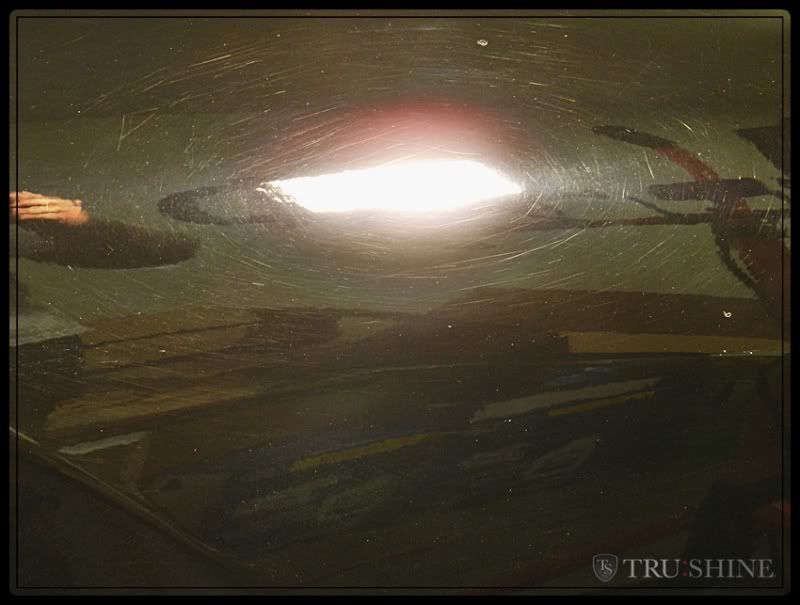
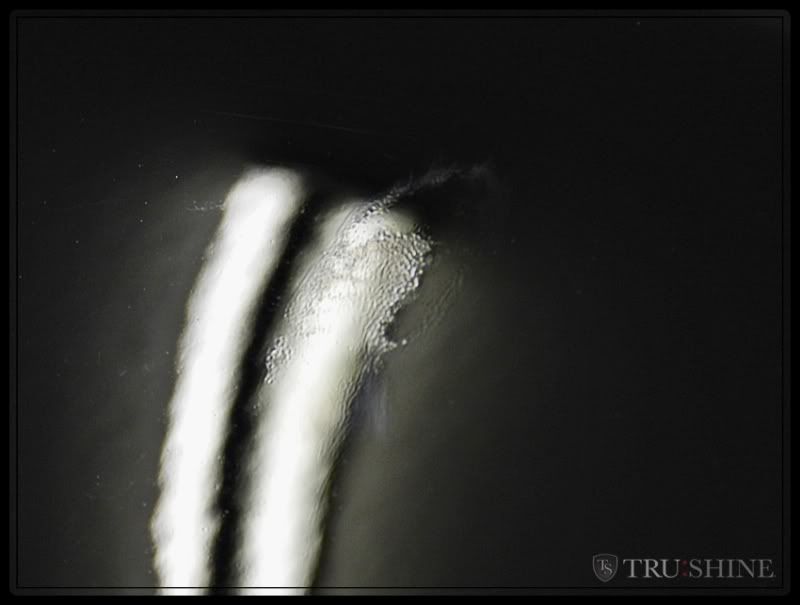
Here is the other bird etching on the pass fender.


7a313f0d.jpg


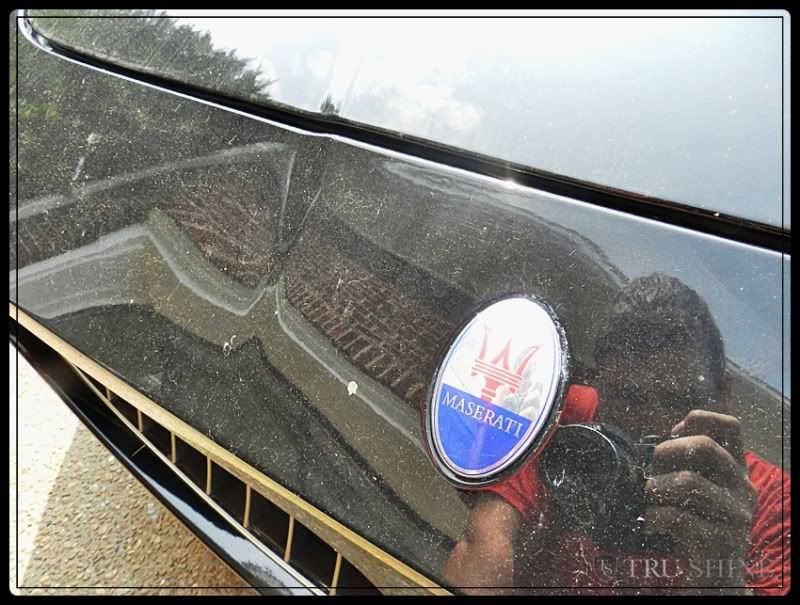
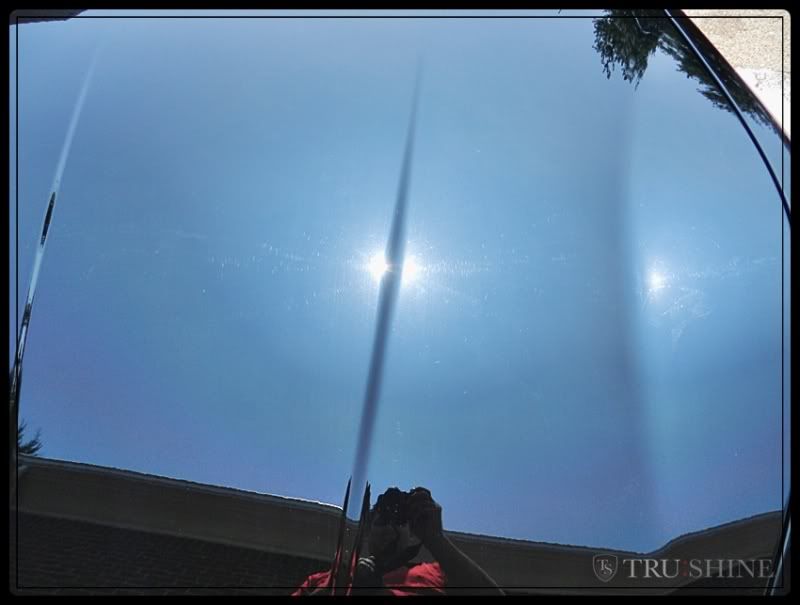
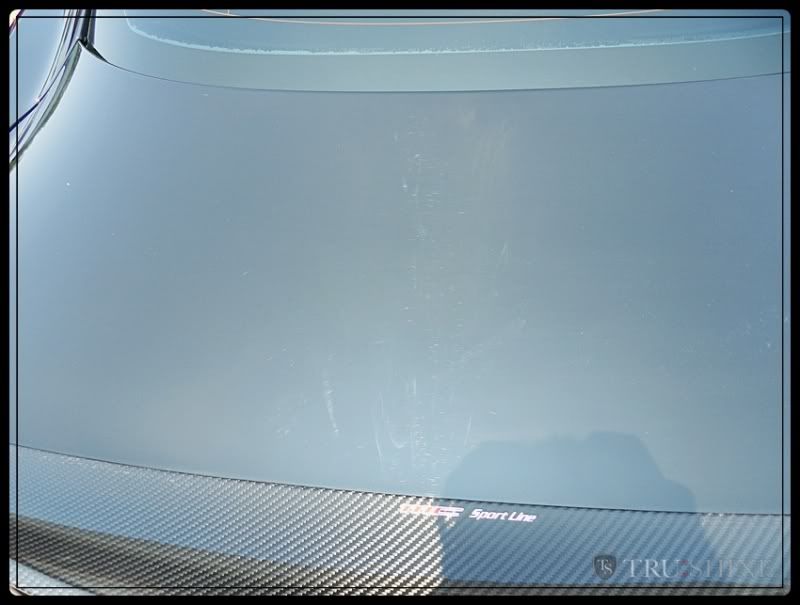
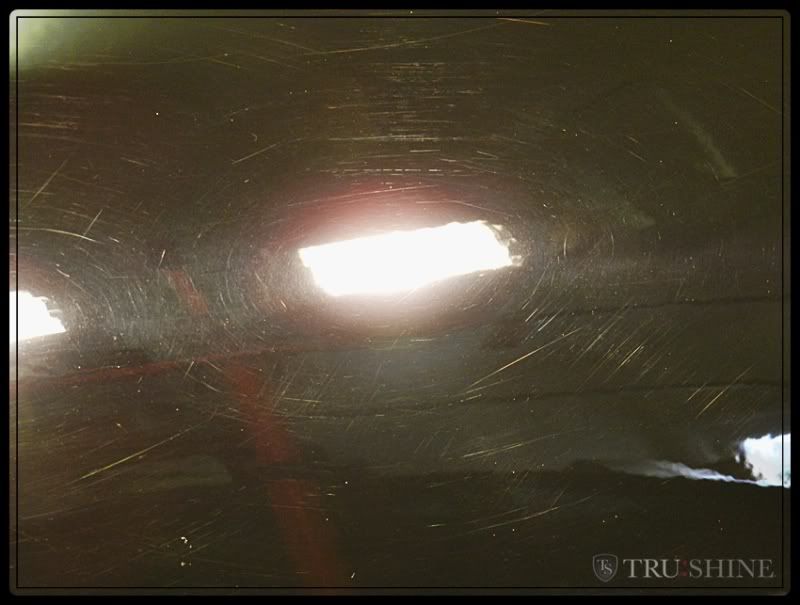
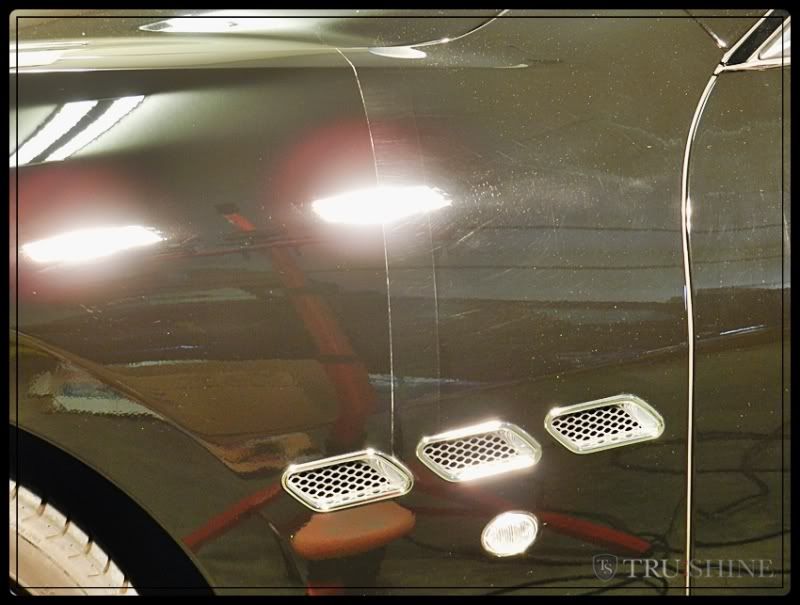
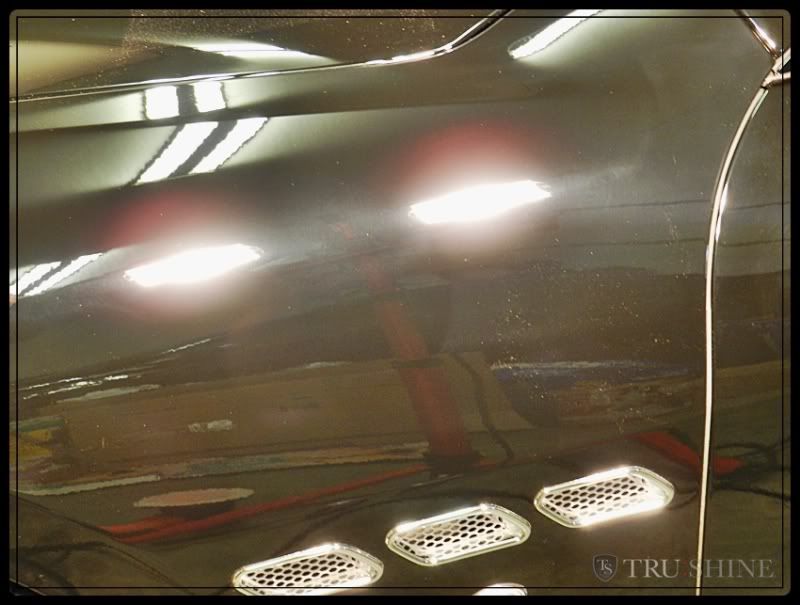
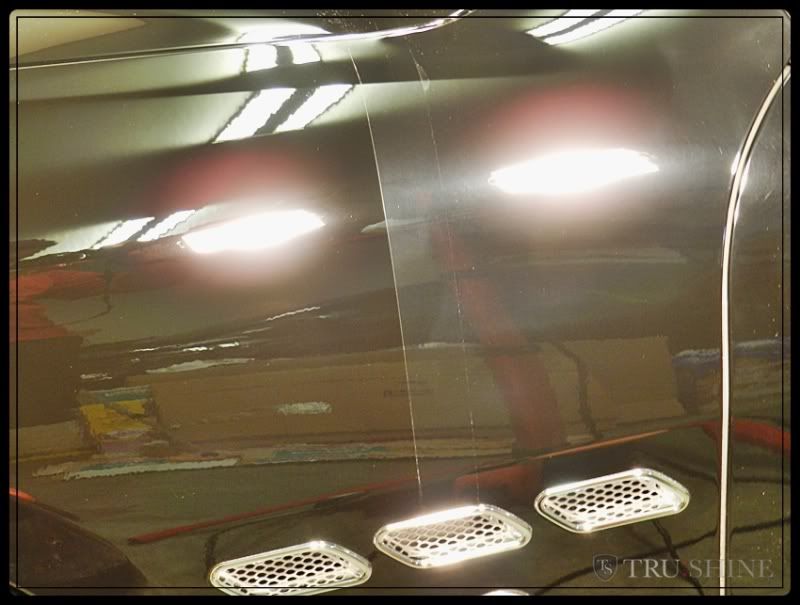
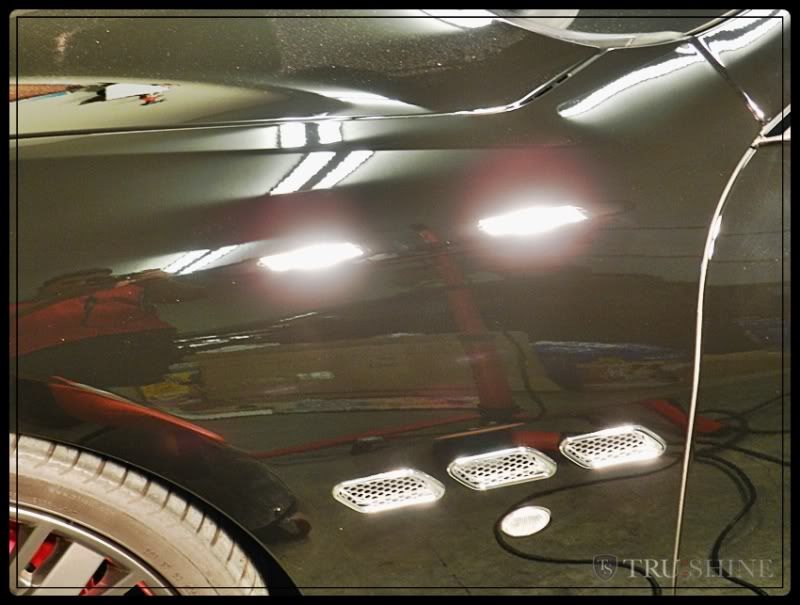
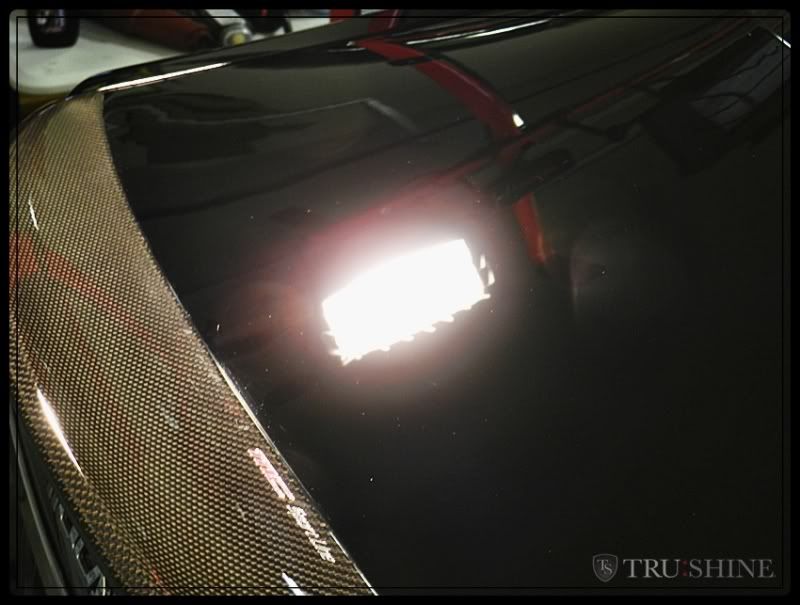
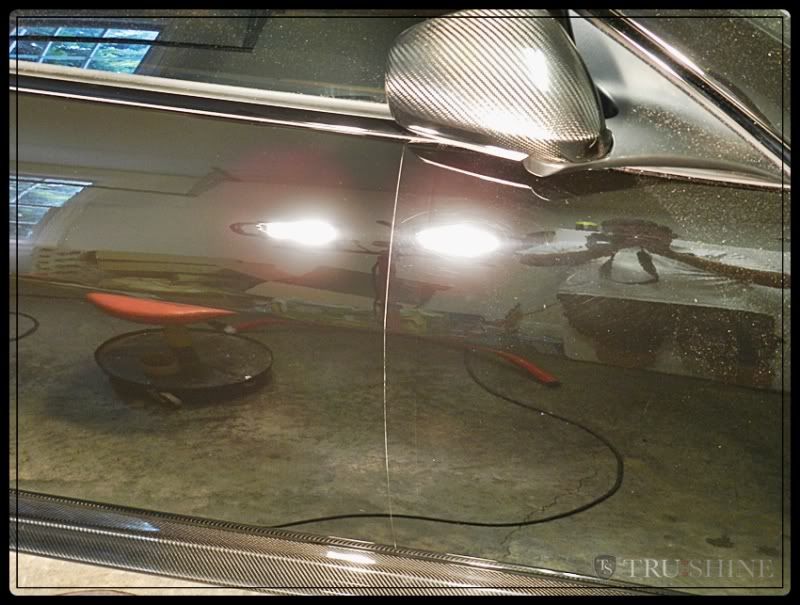
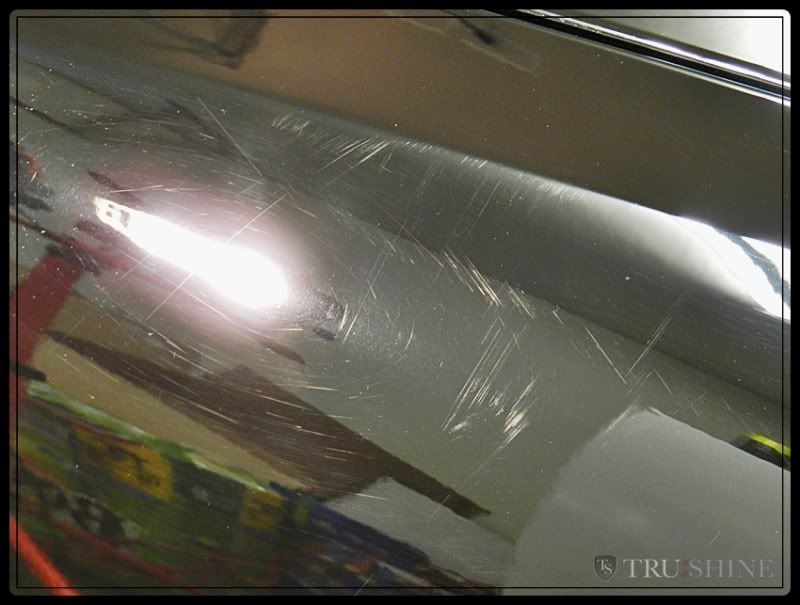
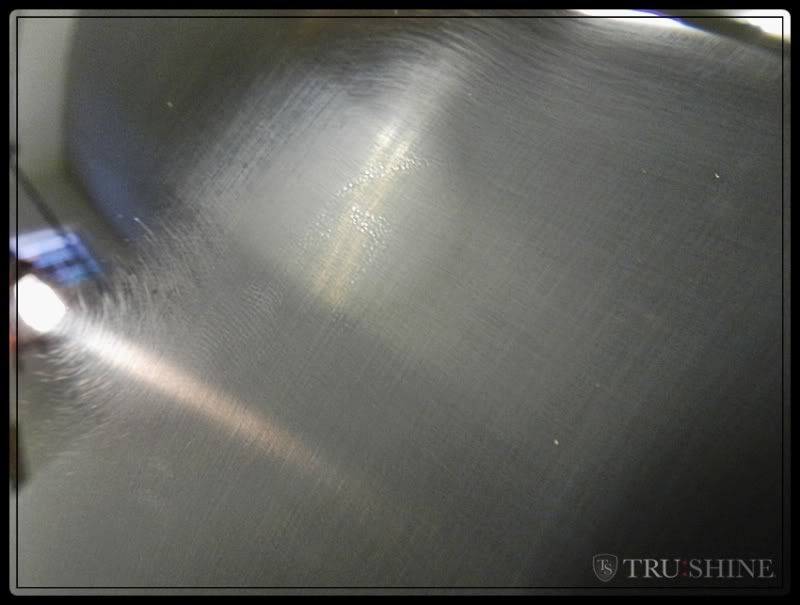
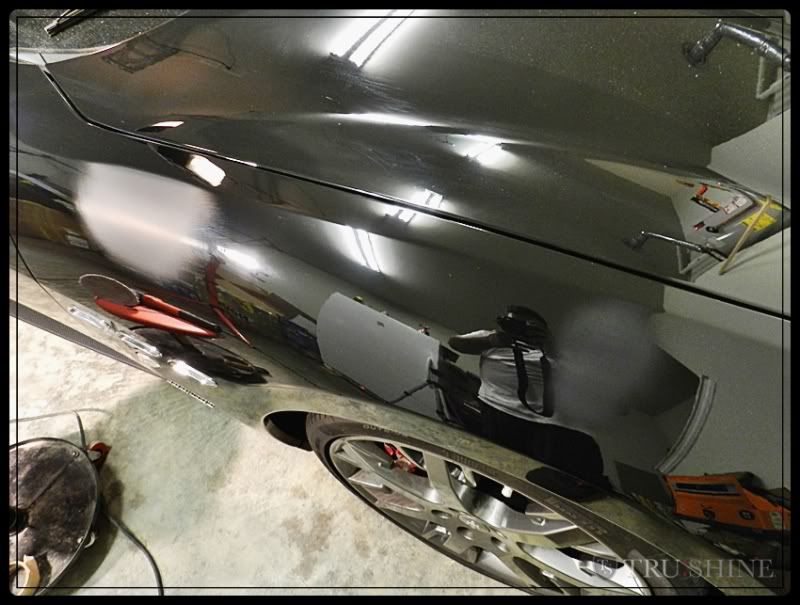
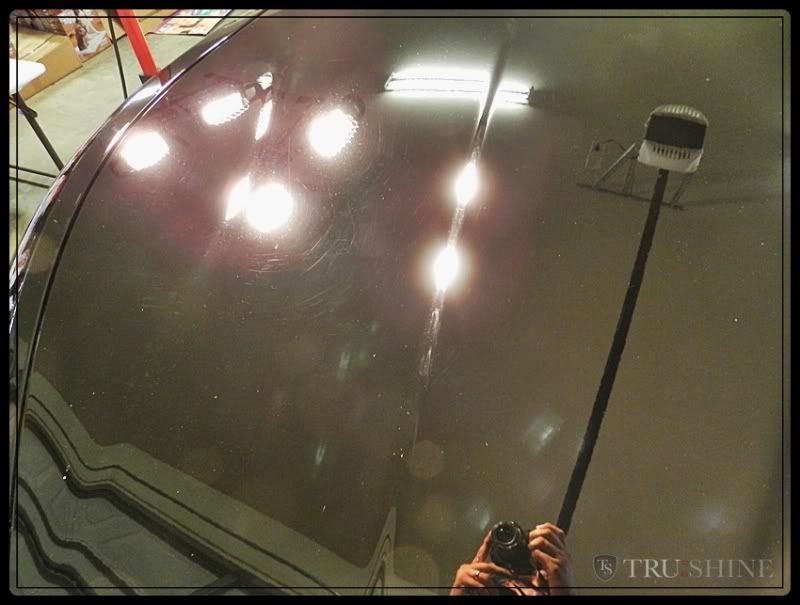
A few holograms on the boot lid


0a19c151.jpg


9912c4f7.jpg


Next the car was brought in, dried off, and clayed to prep the surface for correction.


here is what the paint looks like under the halogen lights.


777a4529.jpg


890cfc08.jpg


And here is the difference after a proper polish using Megs 105/ MF cutting disc finished out with Scholl Concepts S30+ on Scholl's orange polish pad.


7eade2c1.jpg


3d3bfd2c.jpg


06bed7b8.jpg


42f12de2.jpg


Here is an example of how hazy the surface is after m105 on the MF cutting disc.

On the left was polished, on the right is the haze


79f1f1bc.jpg


66a57936.jpg


631e19e0.jpg


Making my way down the driver side with my trusty Griot's 6" and Megs MF cutting disc.


7644d19b.jpg


Scholl's S2 Orange for deeper defects and Scholl's S30+ for finishing up.


435c76e9.jpg


87359ec4.jpg


d269f75e.jpg


66901e3d.jpg


2c5021ee.jpg


16aaa1fe.jpg


b4f78eee.jpg


56202f24.jpg


acfb06e0.jpg


9445defc.jpg


9772beca.jpg


4ceeb303.jpg


553e7fd1.jpg


0c087607.jpg


3850051a.jpg


487a9974.jpg


2d081f72.jpg


Here are those deeper scratches on the pass fender that were shown at the beginning.


92045b38.jpg


84d2bc4b.jpg


And the bird etching


abd608cc.jpg


acdcd9ee.jpg


a1f6b573.jpg


To help remove these marks, I used Abralon 2500 grit sanding disc by hand.


3878c4ab.jpg


38a5d9a6.jpg


07b4ca08.jpg


70f5d7ed.jpg


24638863.jpg


a302149b.jpg


d9fa2263.jpg


8f239884.jpg


dc46188e.jpg


0bf3144b.jpg


8f11da80.jpg


bd223dc3.jpg


7a78f778.jpg


598c38bb.jpg


After the paint was finished, I gave the interior a quick vac and wipe down.


b589e225.jpg


For the Last step Protection (LSP) I used Optimum Opti-Guard


1554715a.jpg


42195005.jpg


And Now for the Final Sun Shots!


d2e61b46.jpg


15f87944.jpg


9db39c50.jpg


7fde5da6.jpg


2082bf6f.jpg


f1005731.jpg


484ee416.jpg


897f0a6d.jpg


c94a229f.jpg


76189f51.jpg


f1005731.jpg


It's like they are all in line waiting for the same treatment?! :)

My wife's boss just picked up the exact same car(model, color, etc). It's exhaust note is impressive.
 
DeanSweet said:
It's like they are all in line waiting for the same treatment?! :)


.... they were..... it was a long week and I only finished 3 of them. :D going back very soon to finish up.
 
Fantastic write up as always Eric!


MirandaDetailin said:
AWESOME WORK! What did you use to polish within the emblem?


x2, I have always wondered how you guys eliminate the defects in and around the emblems.
 
Great work on the correction, but can we talk about the way that car sounds?! :drool::drool:


Seriously one of the best sounding factory cars I've ever heard.
 
Great job Eric! That was one beat exotic. As others have said, it's good to see you posting again. Keep 'em coming!
 
Back
Top