Navigation
Install the app
How to install the app on iOS
Follow along with the video below to see how to install our site as a web app on your home screen.
Note: This feature may not be available in some browsers.
More options
Style variation
You are using an out of date browser. It may not display this or other websites correctly.
You should upgrade or use an alternative browser.
You should upgrade or use an alternative browser.
Luminous Auto Detailing: Chrysler 300C Full Interior/Exterior Detail
- Thread starter someidiot
- Start date
imported_DJ Mayo
New member
Awesome job, Jack. Excellent turnaround.
Fellow Autopians,
I would like to share my most recent detail with everybody. I am very pleased with the results, and it was great practice. I wouldn't have been able to do it without the wealth of knowledge I've gained from all of the true professionals on this board, and for that I am grateful! I would also like to share my process and results in high detail, in hope that this thread will be helpful to detailers in need of information in the future.
The car received a full interior vacuum with carpet scrub, leatherique treatment, plastic/vinyl wipedown, and full exterior 1-step paint correction.
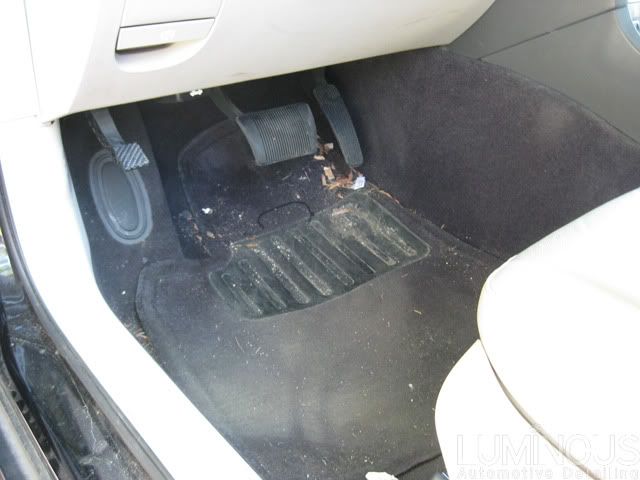
The car came to me very dirty, which got me excited for the potential turnaround :up.

I started with the interior. The carpets were pulled out and the bottom carpets were vigorously dry brushed with a mothers upholstery brush to loosen up all the dirt followed by a thorough vacuum with the wet/dry (Thanks to David Fermani's thread on interior cleaning for the reference). The leather seats were also vacuumed. The carpets were moderately sprayed with a 5:1 diluted bottle of Megs APC, let dwell, then brushed with the PC upholstery brush attachment on speed 5 (the bottom carpets were brushed with the mothers hand brush used above). Finally, they were blotted with a towel, dry vacuumed again, blotted with another towel, and were let out to completely dry.
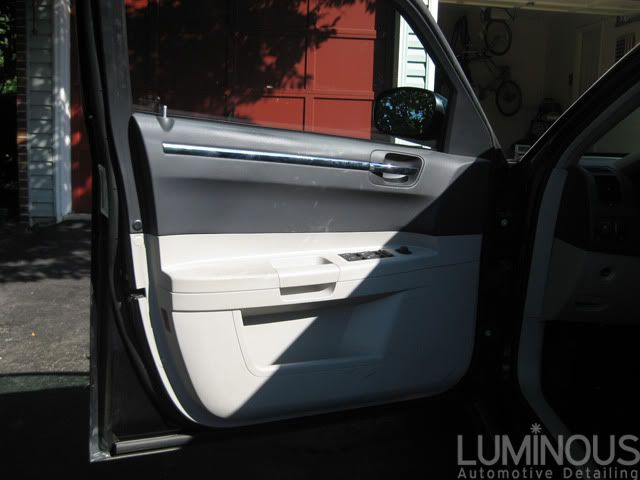
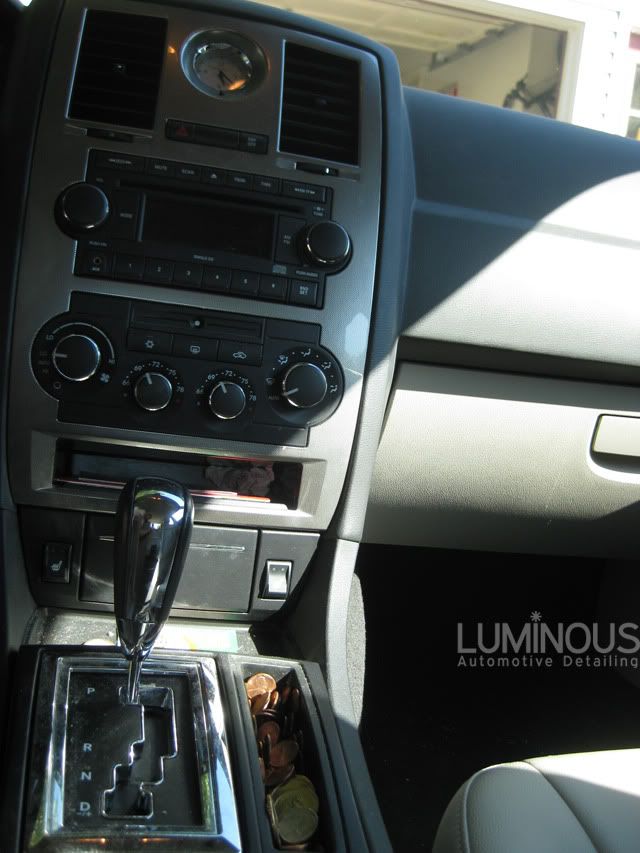
I then moved on to the dash and various other plastic pieces including the trim pieces around the seats, vents below the seats, etc. I used the same 5:1 APC spray bottle on all plastic and Einszett Cockpit on the dash. The vents and crevices were also brushed to remove loose dirt. The armrests and doors were cleaned with a microfiber sponge and APC. Finally, the windows were cleaned with Adams Window Cleaner (from DD).
After the interior cleaned was done I placed the pulled carpets back in place, and pulled the car in for Leatherique's Rejuvinator Oil. By this time it was about 10:00PM, and in NOVA it was about 68*F. So before applying the oil, I came onto autopia to see the best way to do this without lots of heat in the car. I stumbled upon dsms' thread where he used a heat gun periodically to open the pores of the leather (Thank you sir!). The seats were heated with a hair dryer, and then I applied about 1.5oz per seat, which looking back isn't enough. I failed to take into account how much gets absorbed, but next time I'll know better") . After it was applied I called it a night.
. After it was applied I called it a night.
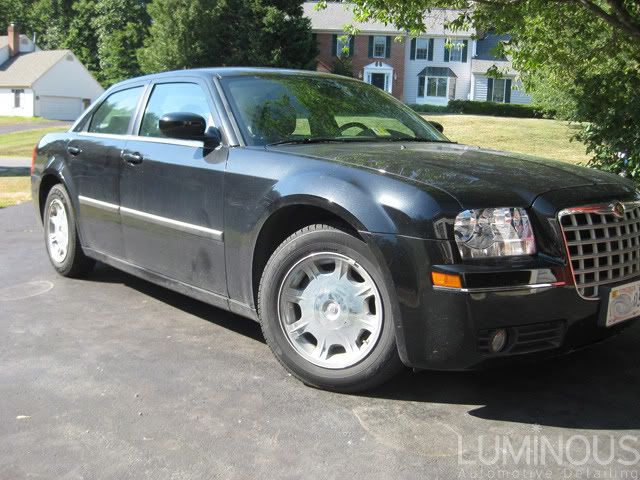
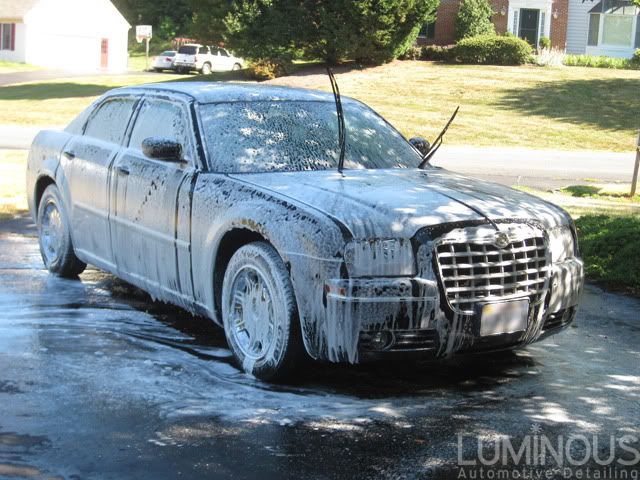
The next morning the exterior work started. Delivered condition:
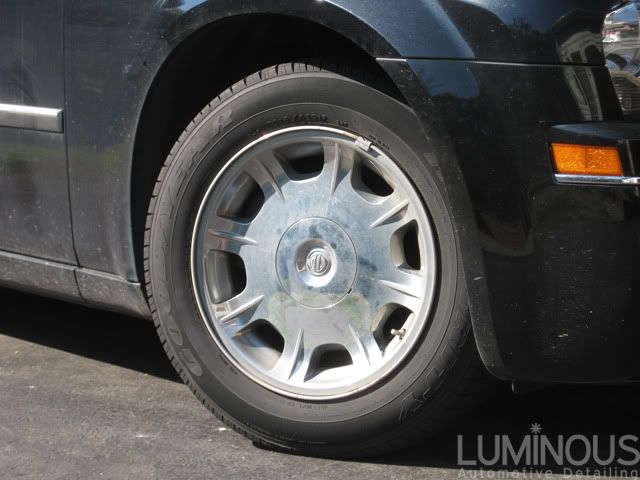
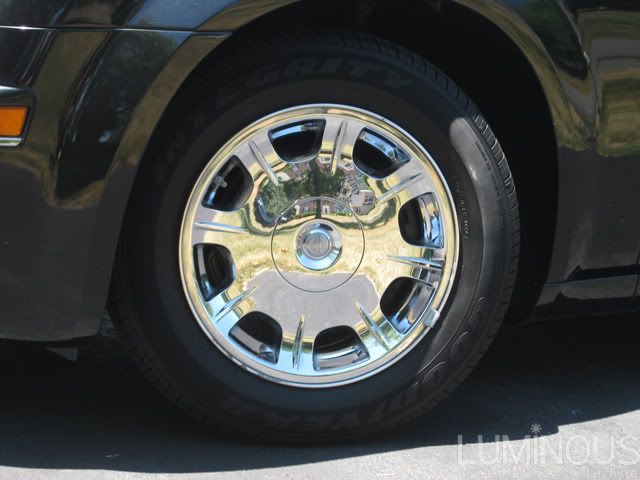
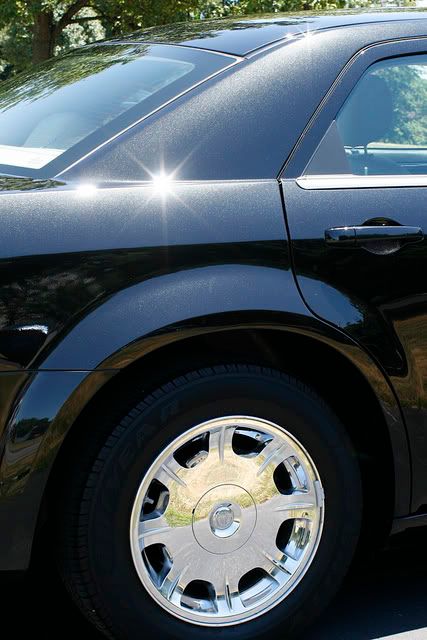
The prep process went as followed. I started on the wheels, tires, and wheel wells. I used a 5gal bucket with grit guard, Daytona brush, uber spoke brush, mothers brushes, and a lug brush. The bucket was filled with CG citrus wash and I used P21S wheel gel on the wheel and Optimum Power Clean on the tires and wheel wells. Every wheel also received a polish with P21S polishing soap, followed by a rinse.
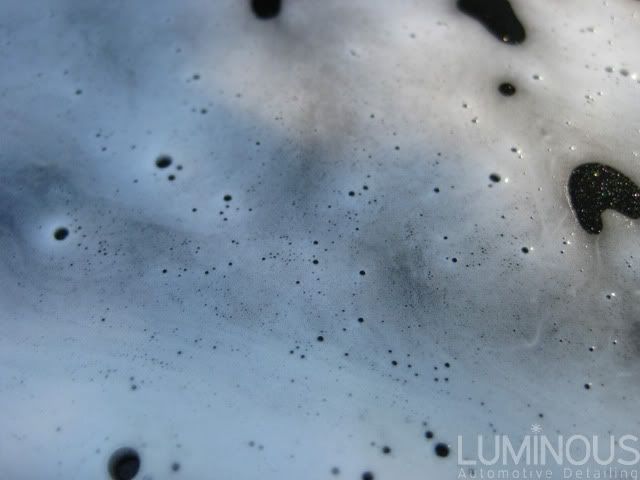
When the wheels were done I moved onto the first wash. The car was foamed with 3oz CG CWG and 1oz Power Clean, and then rinsed followed by a dawn wash.
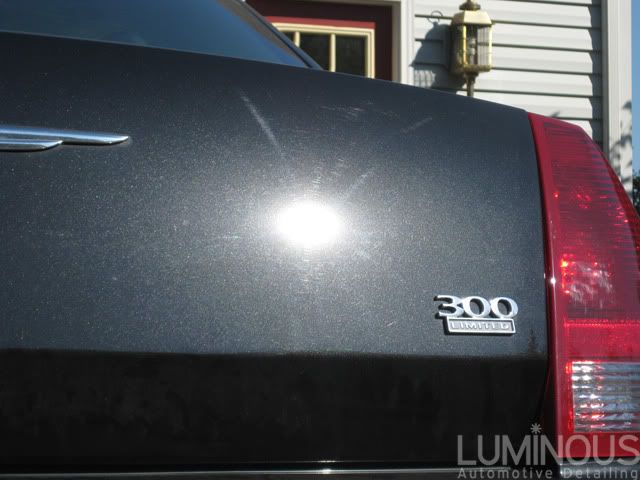
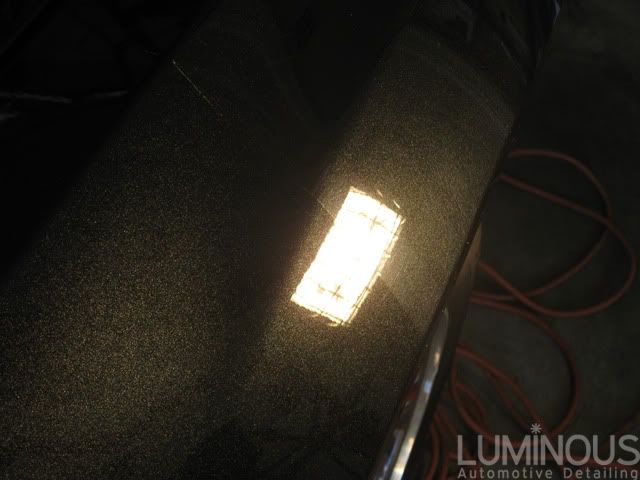
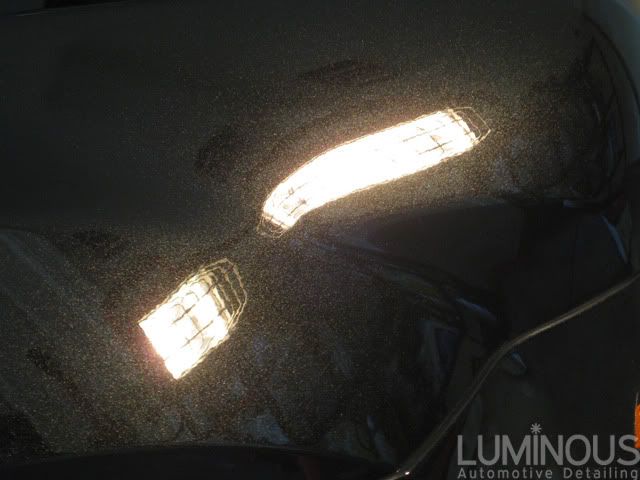
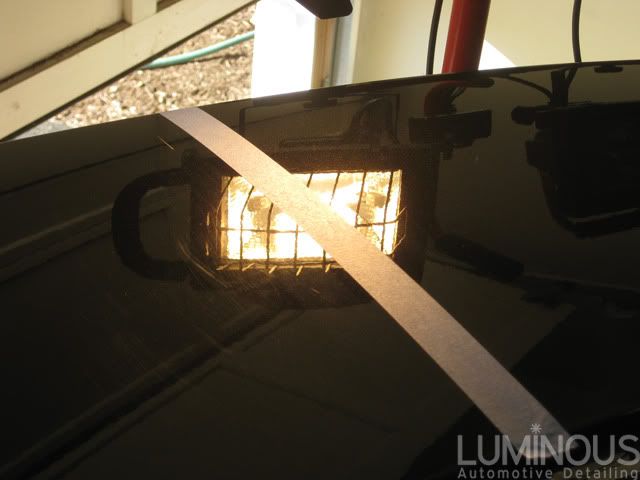
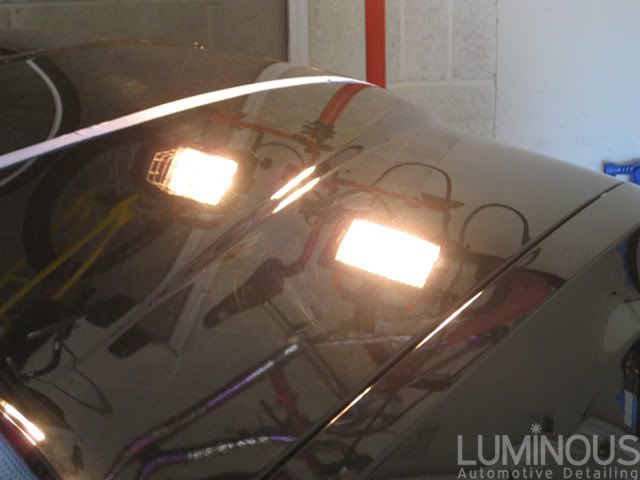
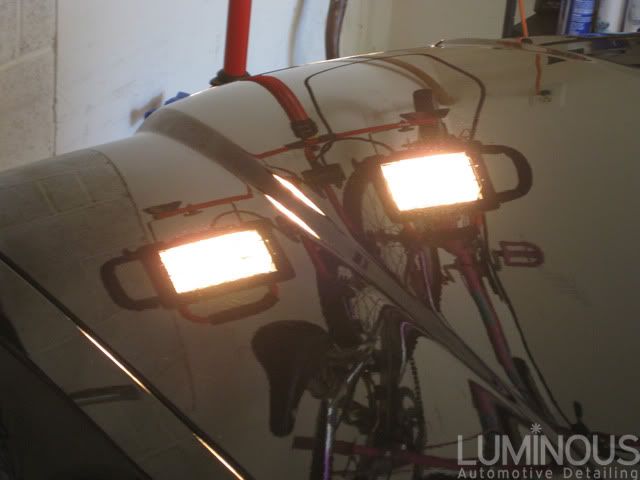
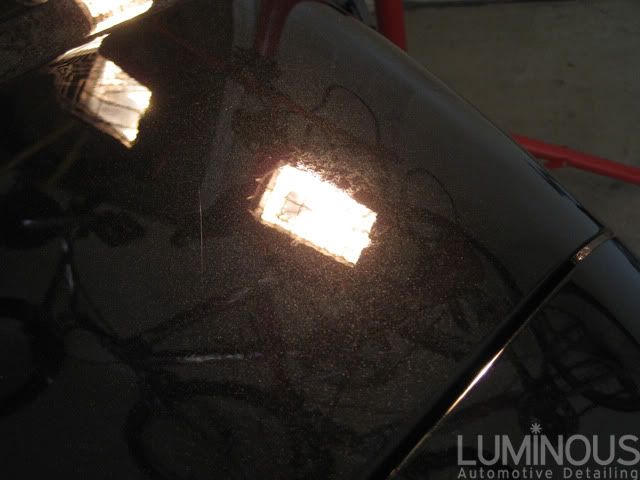
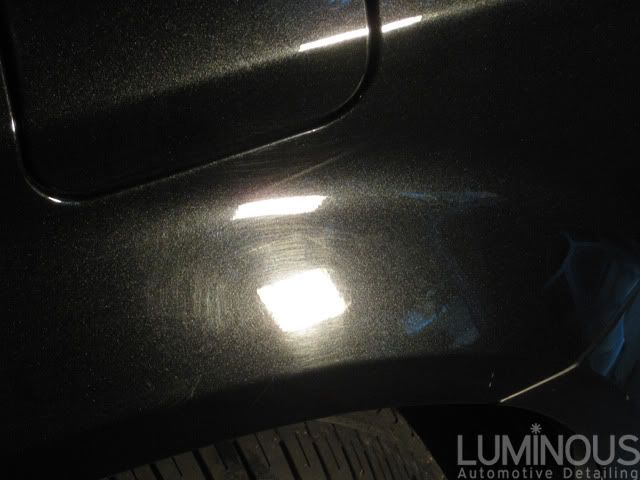
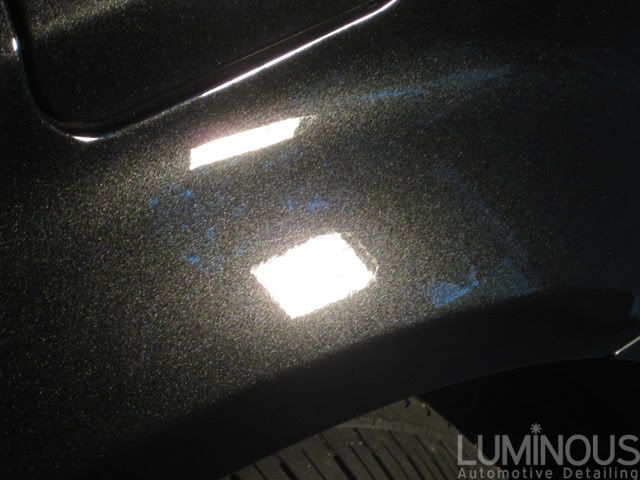
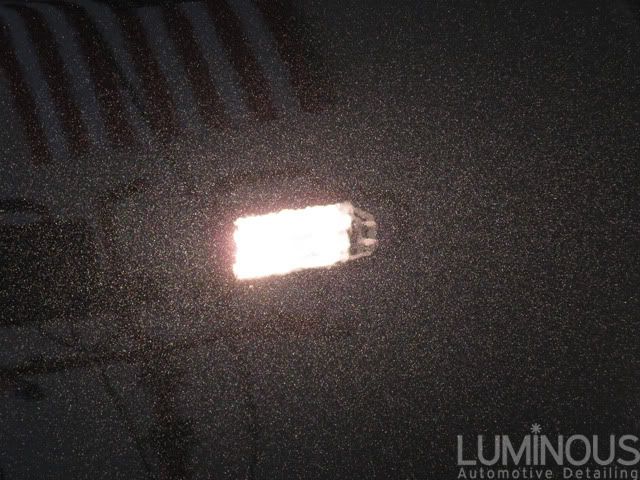
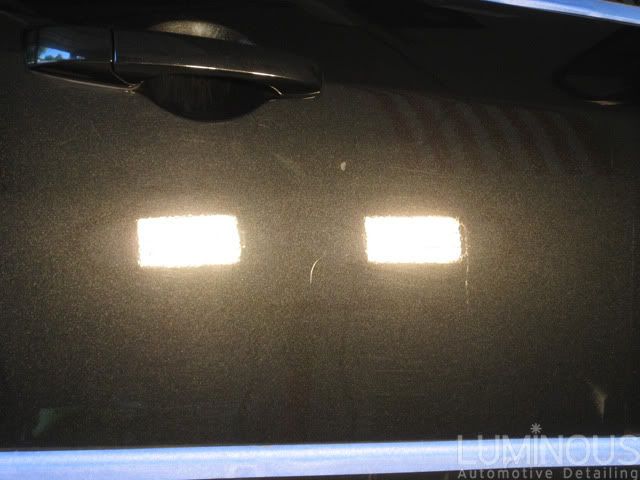
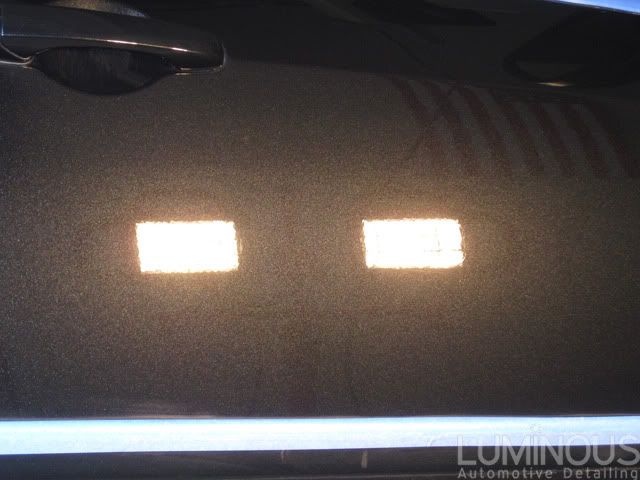
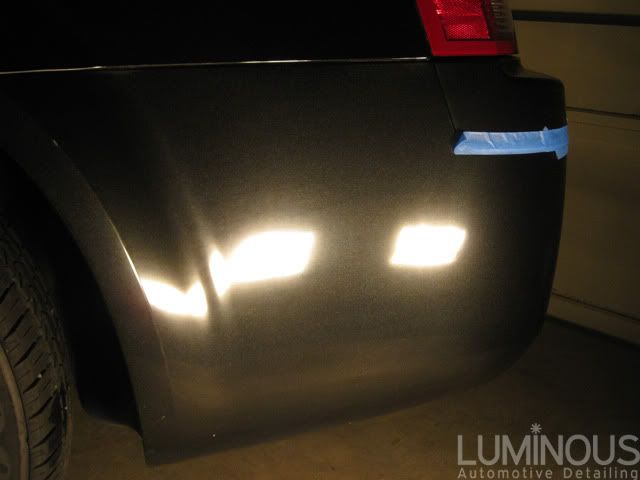
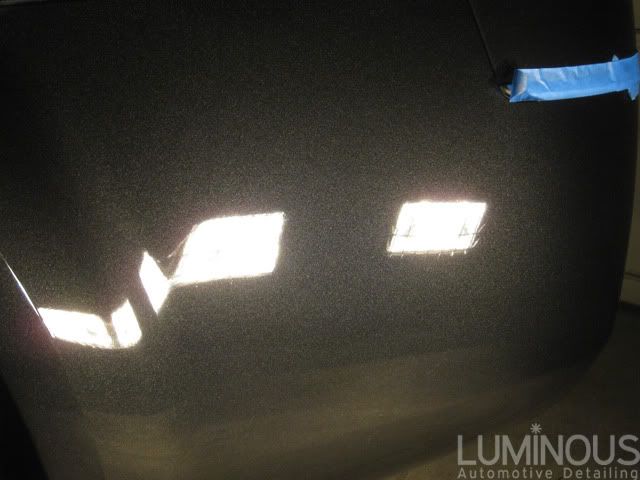
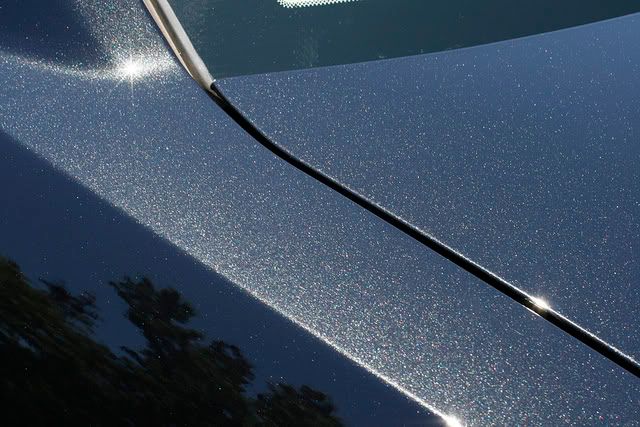
After the wash, the car was clayed with DI fine claybar and CG QD for lube. Another wash and IPA wipedown later, I was ready for paint correction. The winning combination was Menzerna Power Finish 203S with a Lake Country White or Tangerine Pad (used on heavier defected areas such as trunk, hood, and roof). My weapon of choice was a PC 7424XP. Paint correction shots:
Same panel, all done and farther up

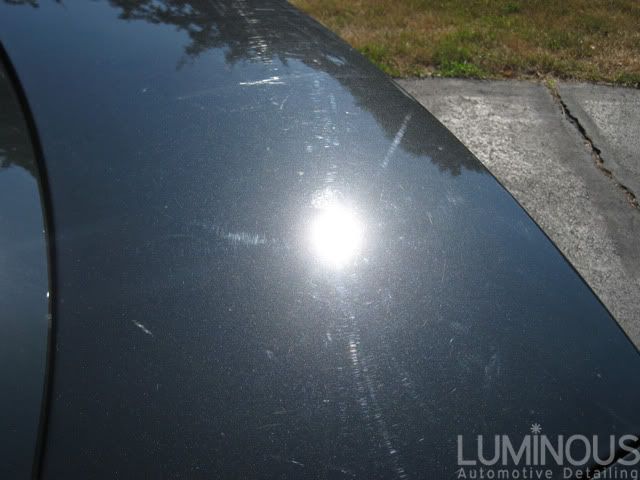
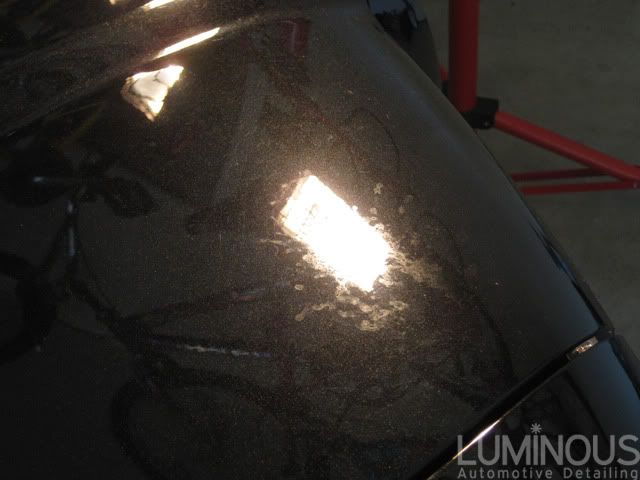
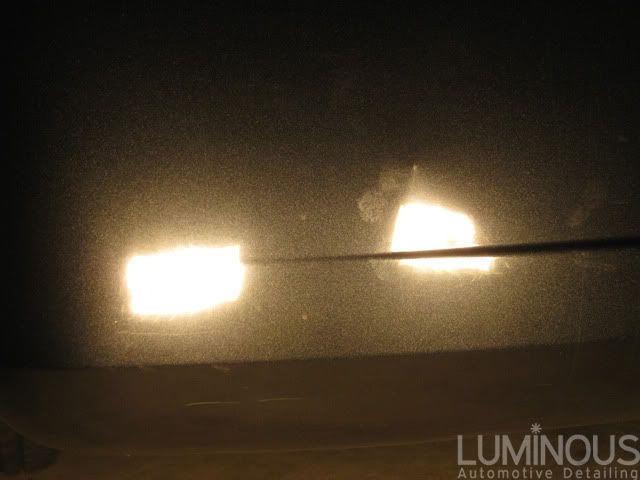
Hood before
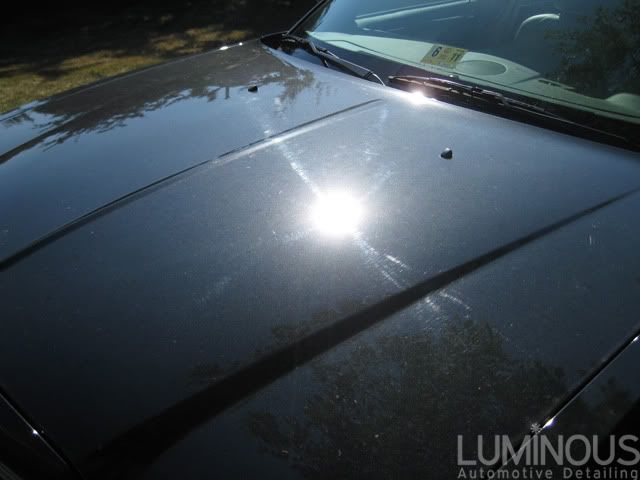
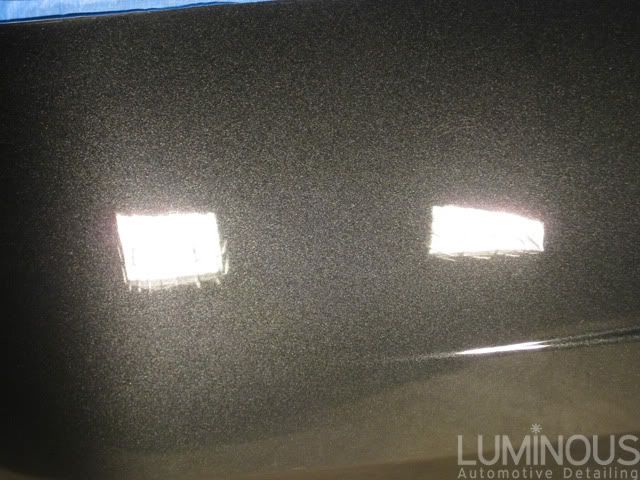
Hood after
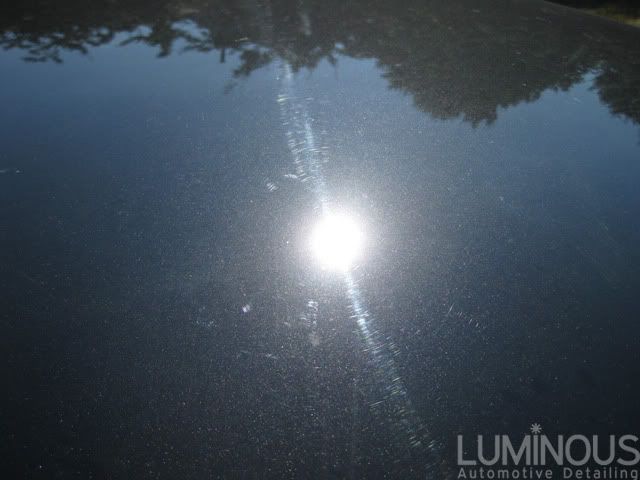
Hood etching before
Hood etching after (greatly reduced, but not completely gone)
I would like to share my most recent detail with everybody. I am very pleased with the results, and it was great practice. I wouldn't have been able to do it without the wealth of knowledge I've gained from all of the true professionals on this board, and for that I am grateful! I would also like to share my process and results in high detail, in hope that this thread will be helpful to detailers in need of information in the future.
The car received a full interior vacuum with carpet scrub, leatherique treatment, plastic/vinyl wipedown, and full exterior 1-step paint correction.
The car came to me very dirty, which got me excited for the potential turnaround :up.
I started with the interior. The carpets were pulled out and the bottom carpets were vigorously dry brushed with a mothers upholstery brush to loosen up all the dirt followed by a thorough vacuum with the wet/dry (Thanks to David Fermani's thread on interior cleaning for the reference). The leather seats were also vacuumed. The carpets were moderately sprayed with a 5:1 diluted bottle of Megs APC, let dwell, then brushed with the PC upholstery brush attachment on speed 5 (the bottom carpets were brushed with the mothers hand brush used above). Finally, they were blotted with a towel, dry vacuumed again, blotted with another towel, and were let out to completely dry.
I then moved on to the dash and various other plastic pieces including the trim pieces around the seats, vents below the seats, etc. I used the same 5:1 APC spray bottle on all plastic and Einszett Cockpit on the dash. The vents and crevices were also brushed to remove loose dirt. The armrests and doors were cleaned with a microfiber sponge and APC. Finally, the windows were cleaned with Adams Window Cleaner (from DD).
After the interior cleaned was done I placed the pulled carpets back in place, and pulled the car in for Leatherique's Rejuvinator Oil. By this time it was about 10:00PM, and in NOVA it was about 68*F. So before applying the oil, I came onto autopia to see the best way to do this without lots of heat in the car. I stumbled upon dsms' thread where he used a heat gun periodically to open the pores of the leather (Thank you sir!). The seats were heated with a hair dryer, and then I applied about 1.5oz per seat, which looking back isn't enough. I failed to take into account how much gets absorbed, but next time I'll know better
. After it was applied I called it a night. The next morning the exterior work started. Delivered condition:
The prep process went as followed. I started on the wheels, tires, and wheel wells. I used a 5gal bucket with grit guard, Daytona brush, uber spoke brush, mothers brushes, and a lug brush. The bucket was filled with CG citrus wash and I used P21S wheel gel on the wheel and Optimum Power Clean on the tires and wheel wells. Every wheel also received a polish with P21S polishing soap, followed by a rinse.
When the wheels were done I moved onto the first wash. The car was foamed with 3oz CG CWG and 1oz Power Clean, and then rinsed followed by a dawn wash.
After the wash, the car was clayed with DI fine claybar and CG QD for lube. Another wash and IPA wipedown later, I was ready for paint correction. The winning combination was Menzerna Power Finish 203S with a Lake Country White or Tangerine Pad (used on heavier defected areas such as trunk, hood, and roof). My weapon of choice was a PC 7424XP. Paint correction shots:
Same panel, all done and farther up
Hood before
Hood after
Hood etching before
Hood etching after (greatly reduced, but not completely gone)
I was shocked when I saw the rear bumper, it looked like it had been washed with a brillo pad.
before
after
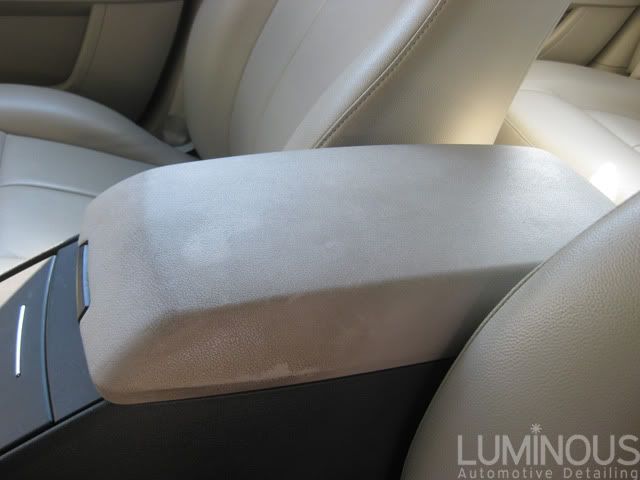
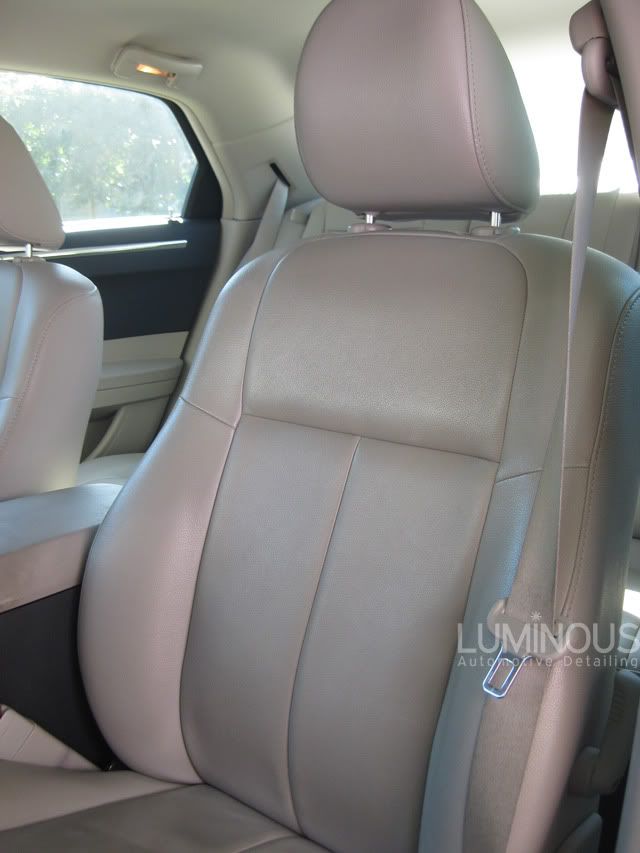
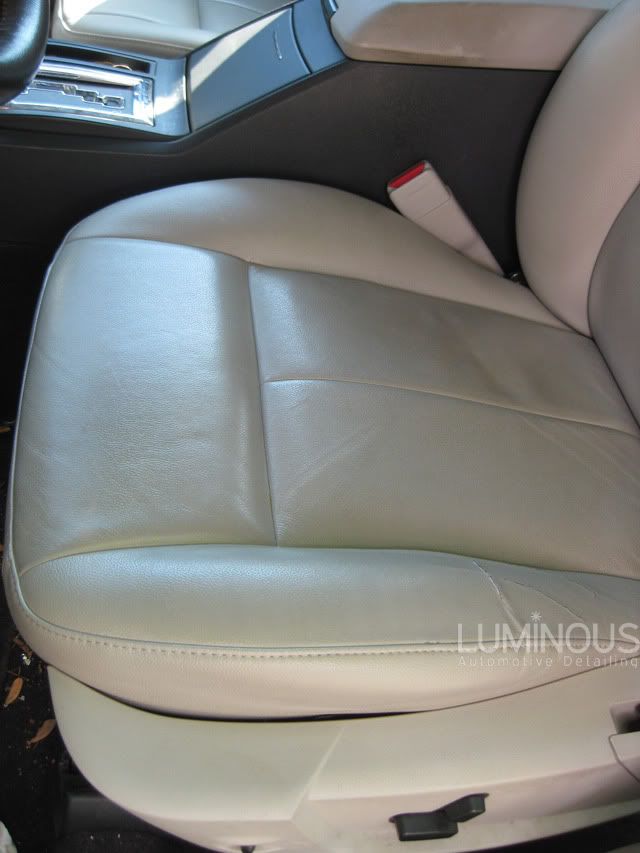
After paint correction was done I moved back to the interior to take care of the leather. Earlier in the day I had heated the seats with a hair dryer periodically, but the grime was pulled out from the car from being in my garage all day with 90* weather.
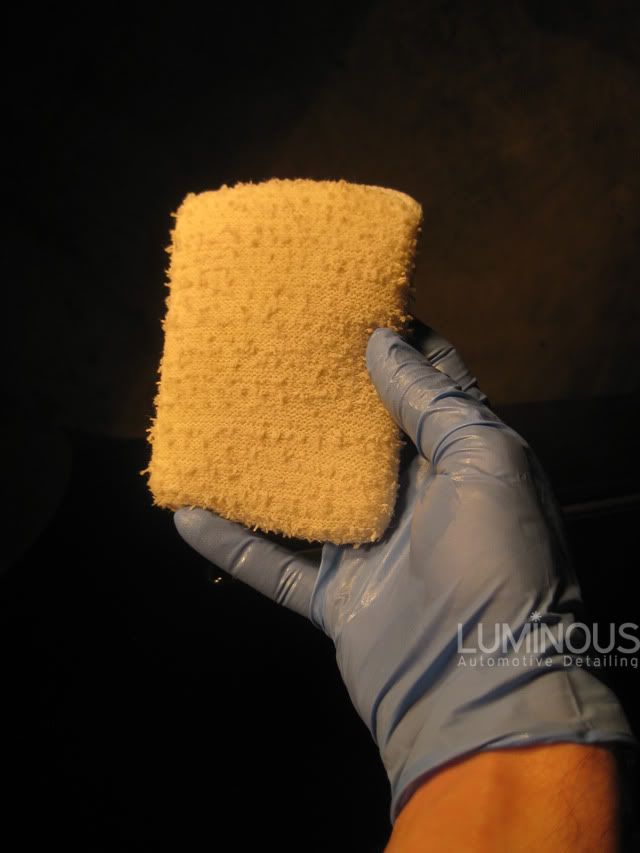
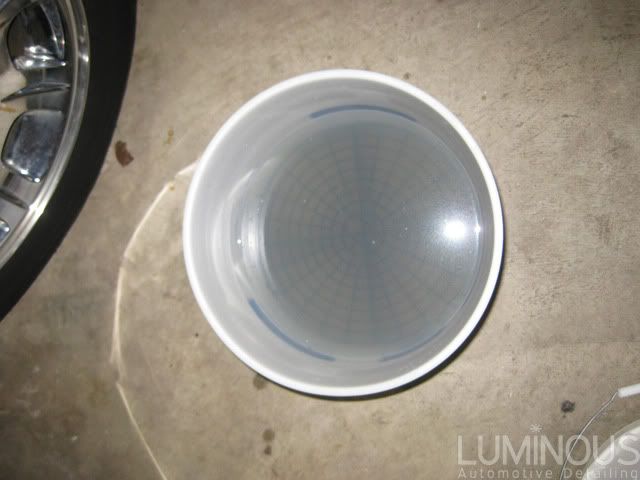
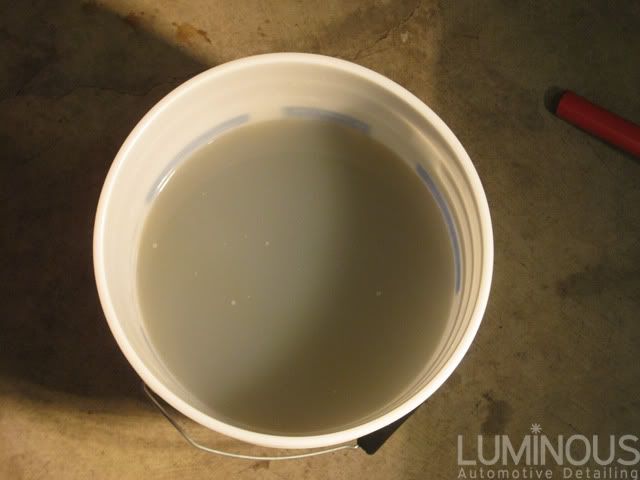
I proceeded to spray liberal amounts of Pristine Clean onto the seats, let dwell, scrub with a microfiber sponge, and then buff dry with a towel. After each pass with the sponge, I dipped it in my bucket of warm water and grit guard and rubbed it up against it to remove all the dirt accumulated.
Before PC
Agitated
Buffed off
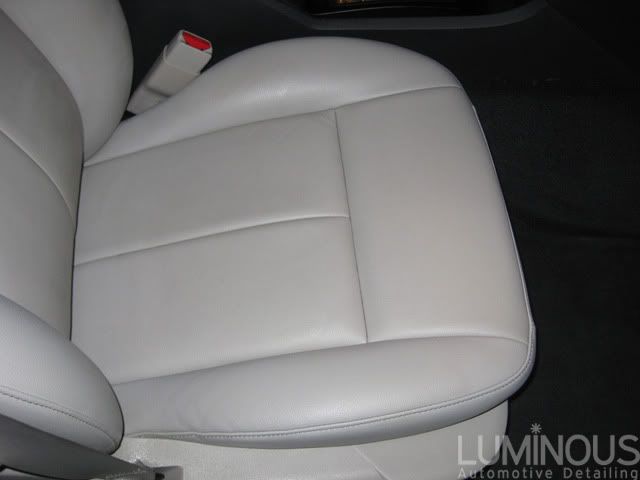
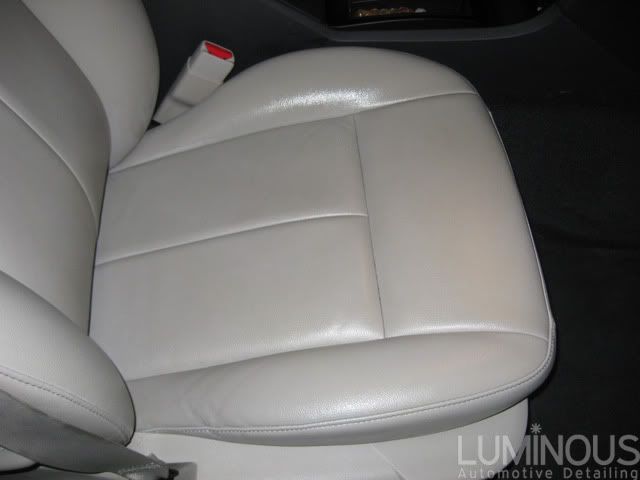
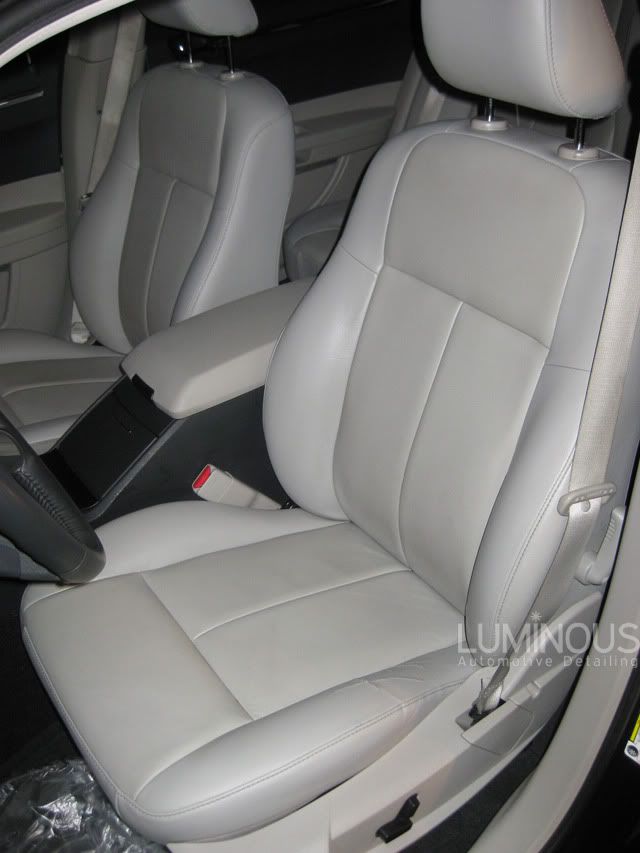
All done
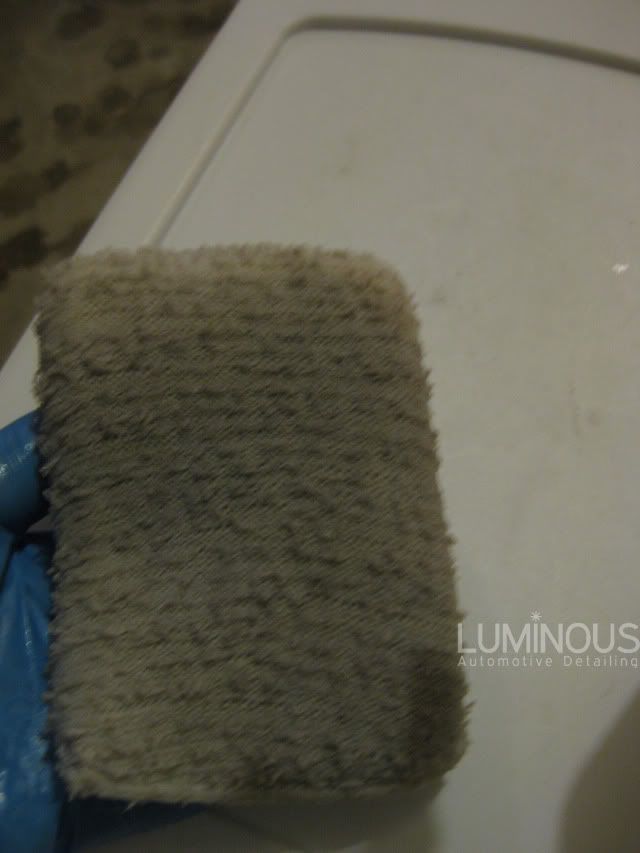
Grime pulled off of that one seat
The drivers seat was cleaned last.
Grime pulled off (This is a white sponge, I took this shot to see the contrast):
Done! (It's not dirt on the bottom, it's a shadow caused by wrinkles in the seat)
All the grime pulled off every seat (there's a grit guard down there too):
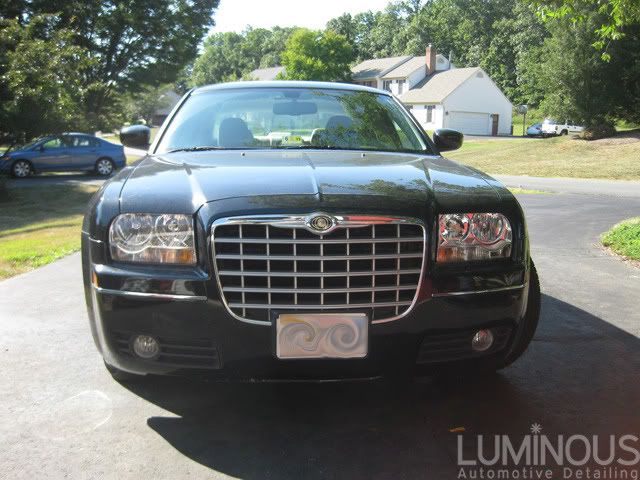
After I was done with the leather, I called it a night. Woke up the next morning, pulled it out, dawn washed it, pulled it in, IPA wipedown, Blackfire wet diamond via PC with a LC blue pad on speed 2. Tires and Trim were dressed with CG VRT, wheel wells got CG bare bones, wheels got CG metal wax, windows received CG water spot remover and Adams glass cleaner.
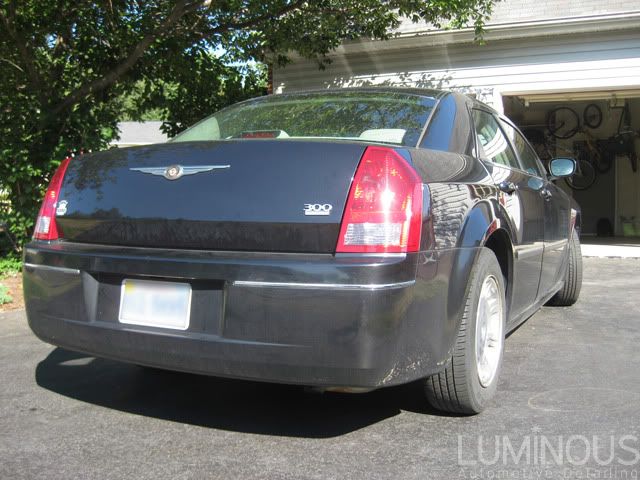
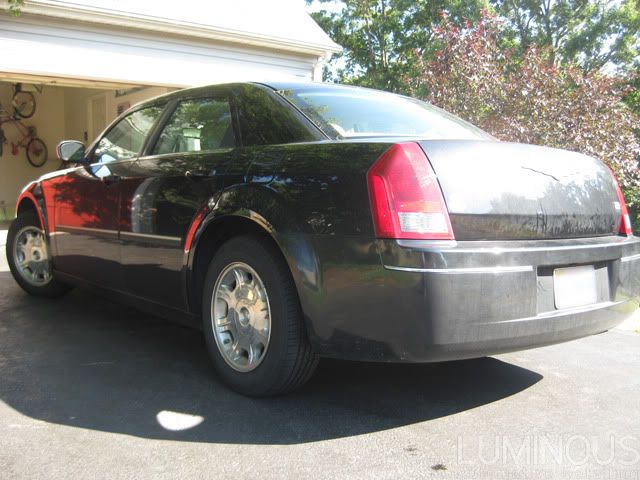
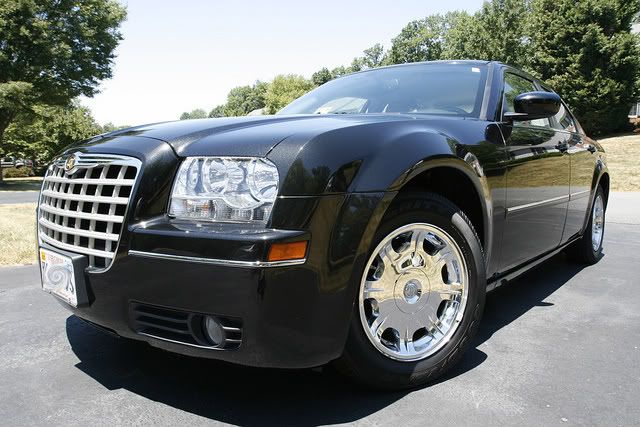
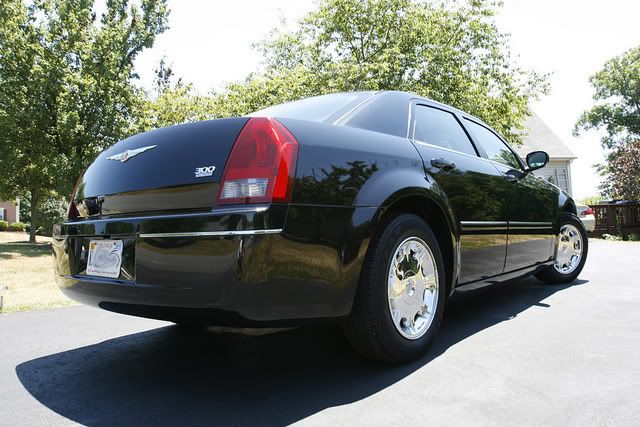
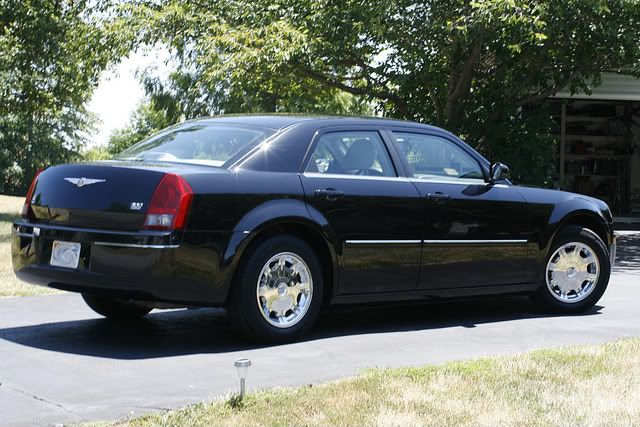
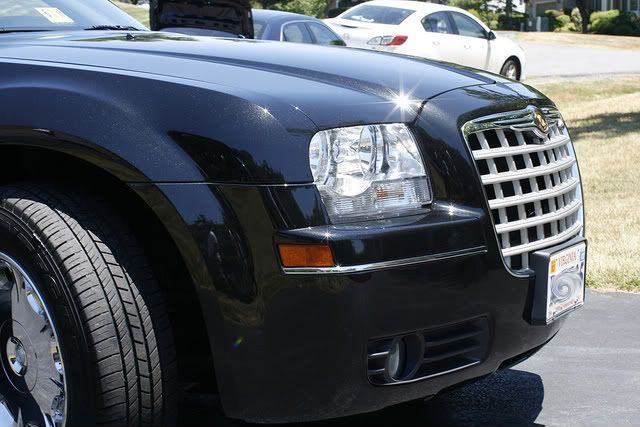
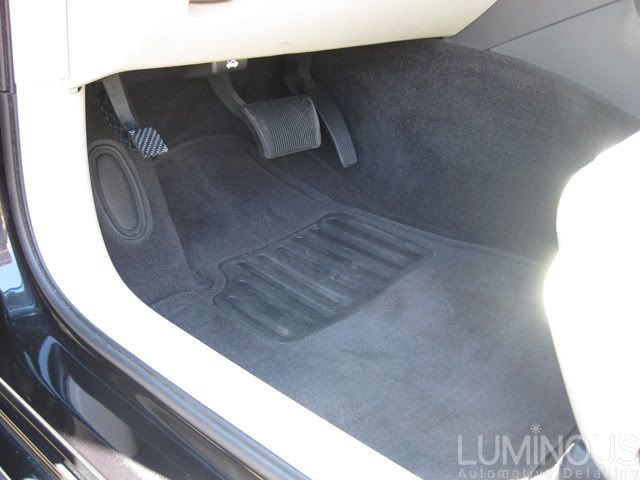
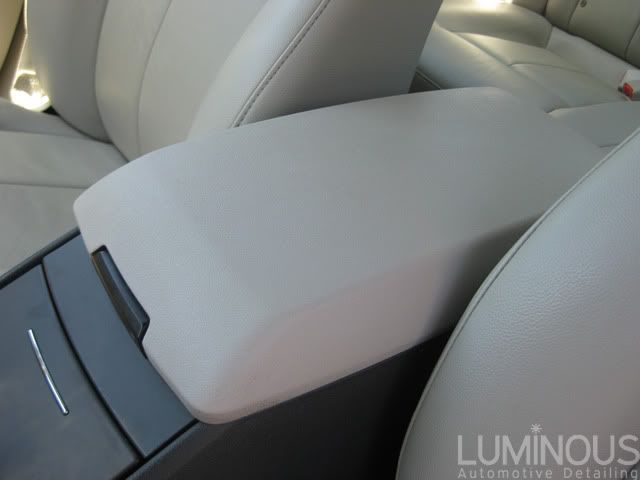
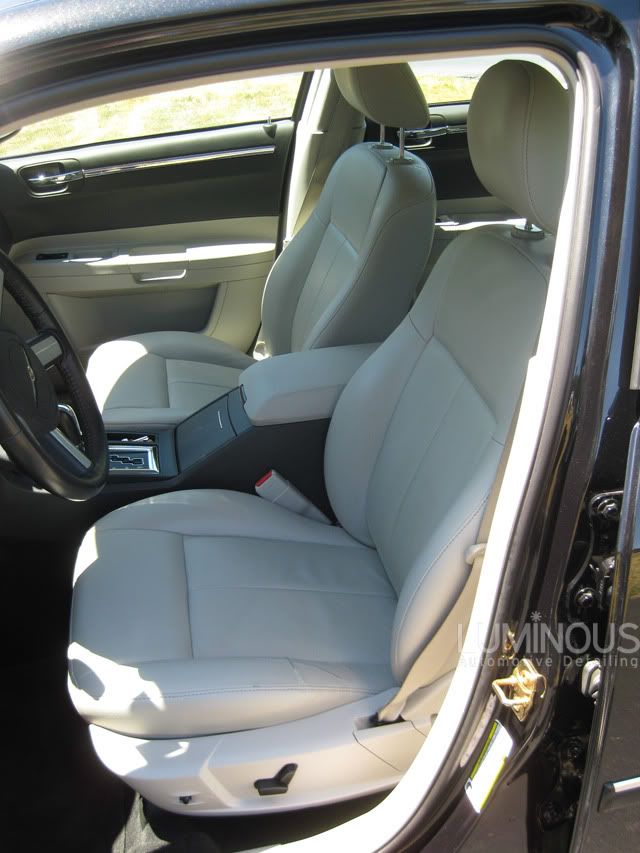
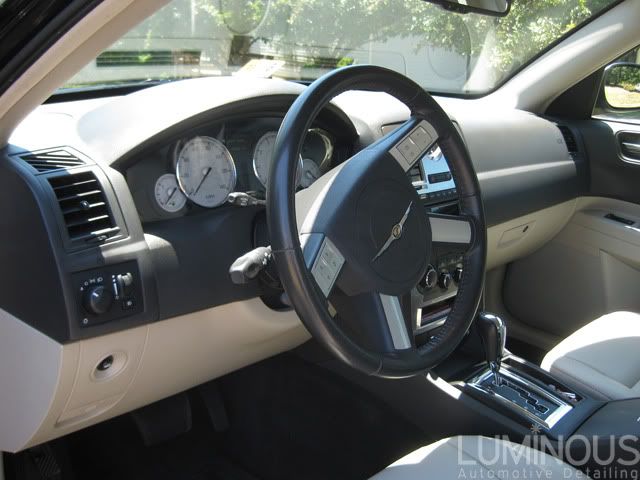
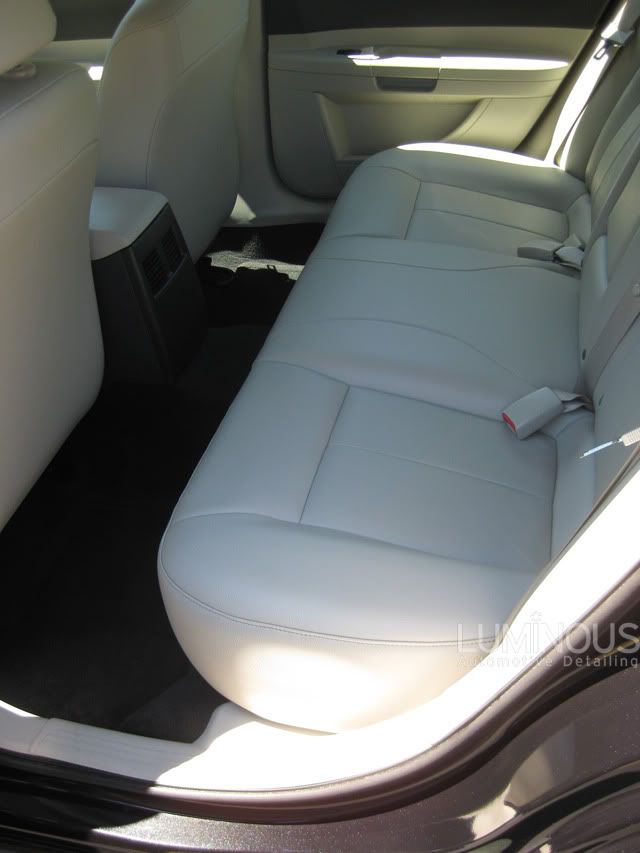
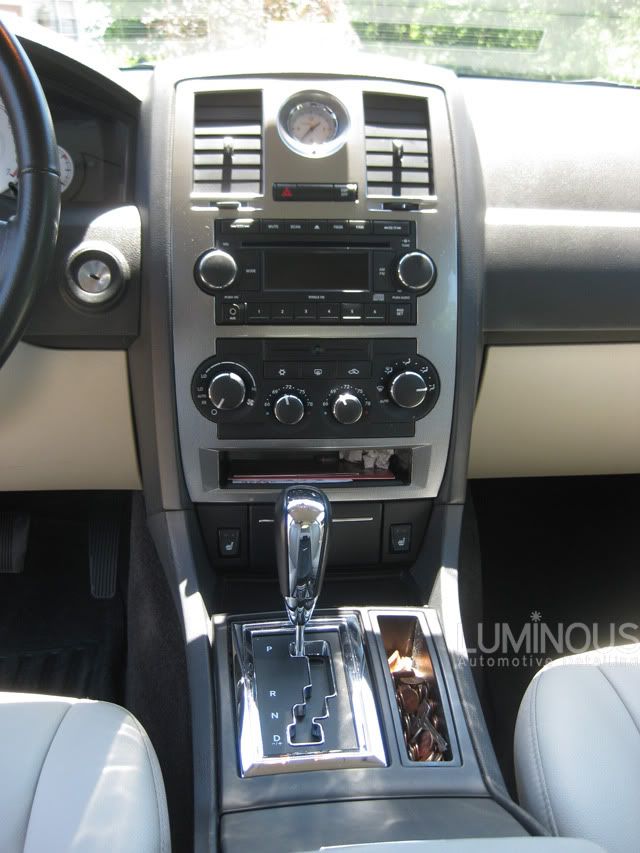
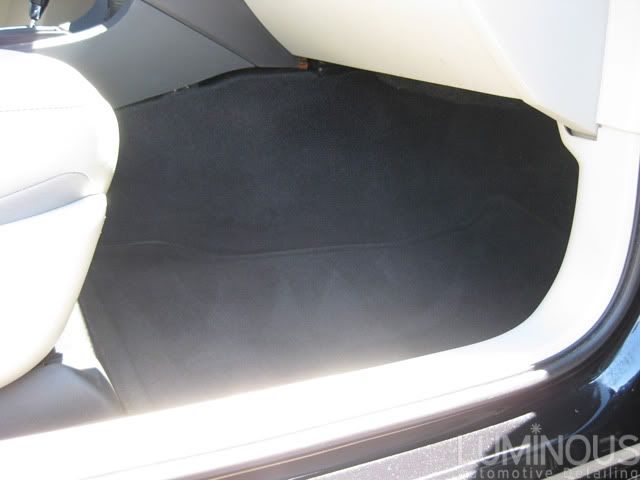
AFTERS
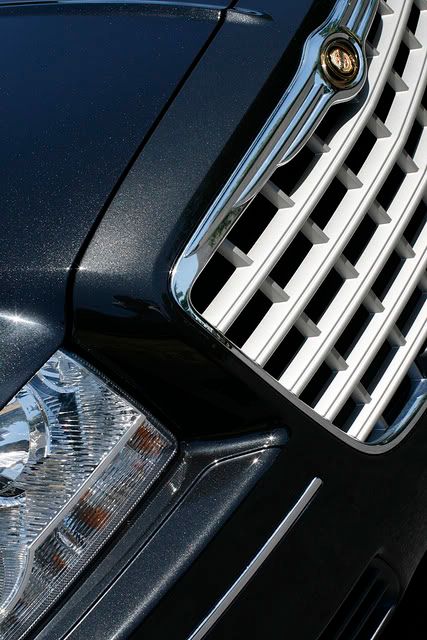
Exterior:
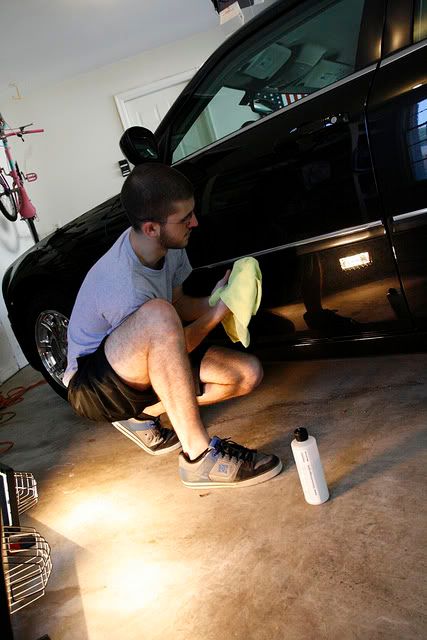
Action shot of me


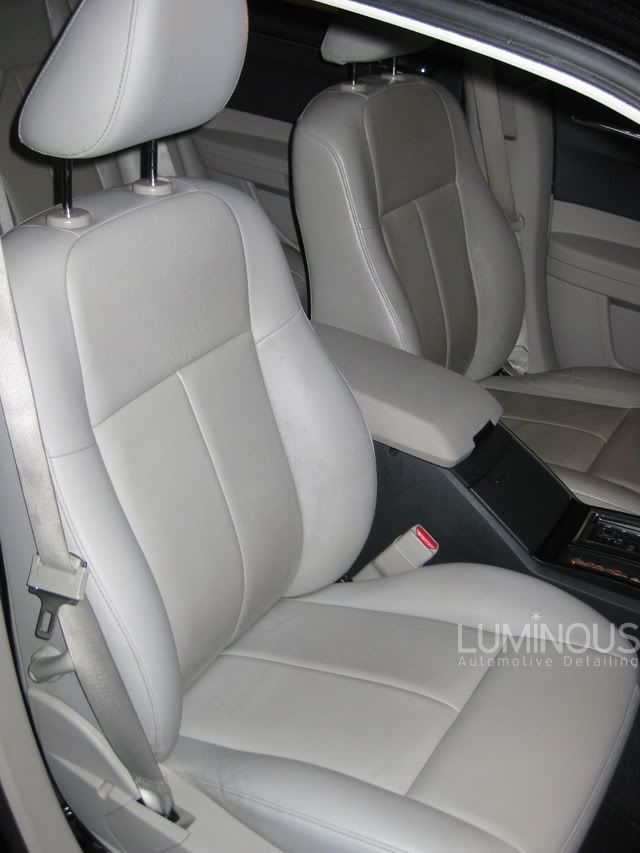
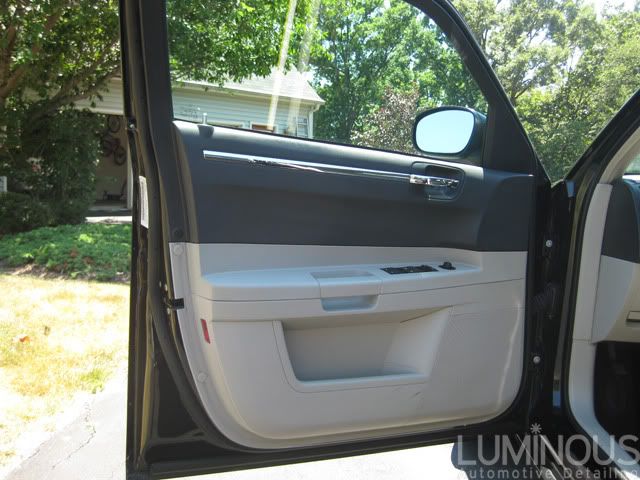
Interior:

I hope you guys enjoyed my write up, and I hope that it can be of some use to any detailer in need in the future.
~Jack
before
after
After paint correction was done I moved back to the interior to take care of the leather. Earlier in the day I had heated the seats with a hair dryer periodically, but the grime was pulled out from the car from being in my garage all day with 90* weather.
I proceeded to spray liberal amounts of Pristine Clean onto the seats, let dwell, scrub with a microfiber sponge, and then buff dry with a towel. After each pass with the sponge, I dipped it in my bucket of warm water and grit guard and rubbed it up against it to remove all the dirt accumulated.
Before PC
Agitated
Buffed off
All done
Grime pulled off of that one seat
The drivers seat was cleaned last.
Grime pulled off (This is a white sponge, I took this shot to see the contrast):
Done! (It's not dirt on the bottom, it's a shadow caused by wrinkles in the seat)
All the grime pulled off every seat (there's a grit guard down there too):
After I was done with the leather, I called it a night. Woke up the next morning, pulled it out, dawn washed it, pulled it in, IPA wipedown, Blackfire wet diamond via PC with a LC blue pad on speed 2. Tires and Trim were dressed with CG VRT, wheel wells got CG bare bones, wheels got CG metal wax, windows received CG water spot remover and Adams glass cleaner.
AFTERS
Exterior:
Action shot of me
Interior:
I hope you guys enjoyed my write up, and I hope that it can be of some use to any detailer in need in the future.
~Jack
Tru_Shine
New member
WOW!!!! great job!!! that paint is poppin
Tru_Shine said:WOW!!!! great job!!! that paint is poppin
Thanks Eric! This was my first paint correction with metallic paint, it looked insane in full sunlight.
Got_Leather said:Awesome job, Jack. Excellent turnaround.
Thank you DJ!
someidiot said:I bet they're really pleased with that. You did a nice job
Yes he was pretty surprised his paint was metallic, and his friends didn't realize he had chrome wheels either :chuckle: Thanks!
The Wraith
New member
Excellent work! Makes we wanna do mine right now!