imported_Dave KG
New member
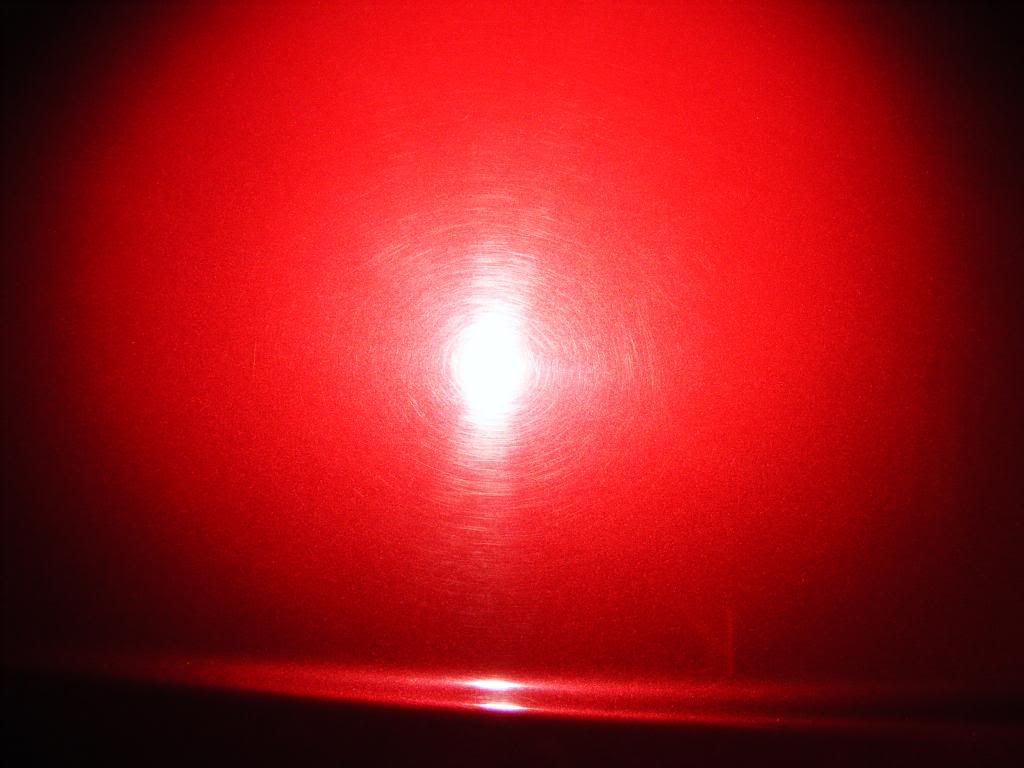
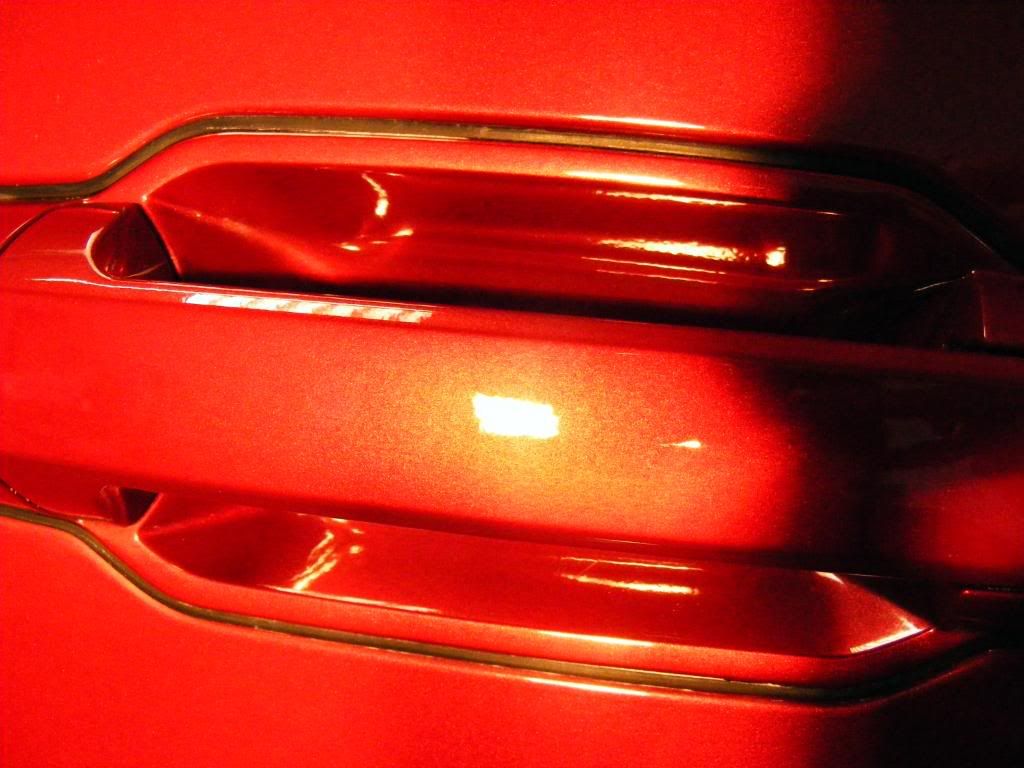
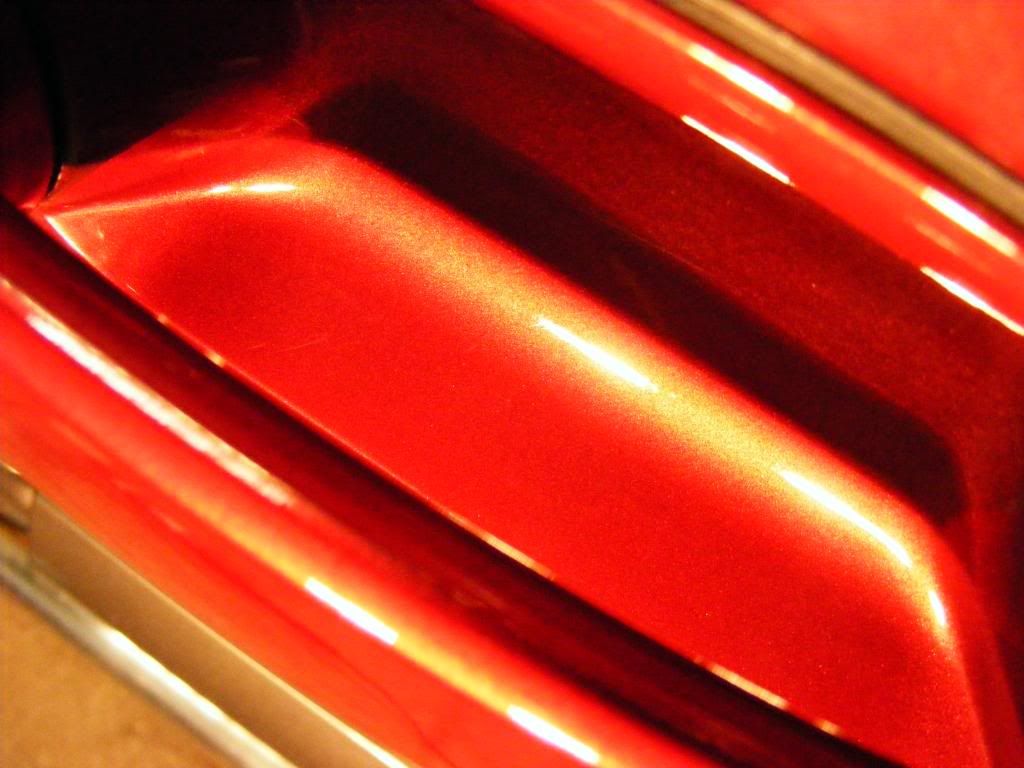
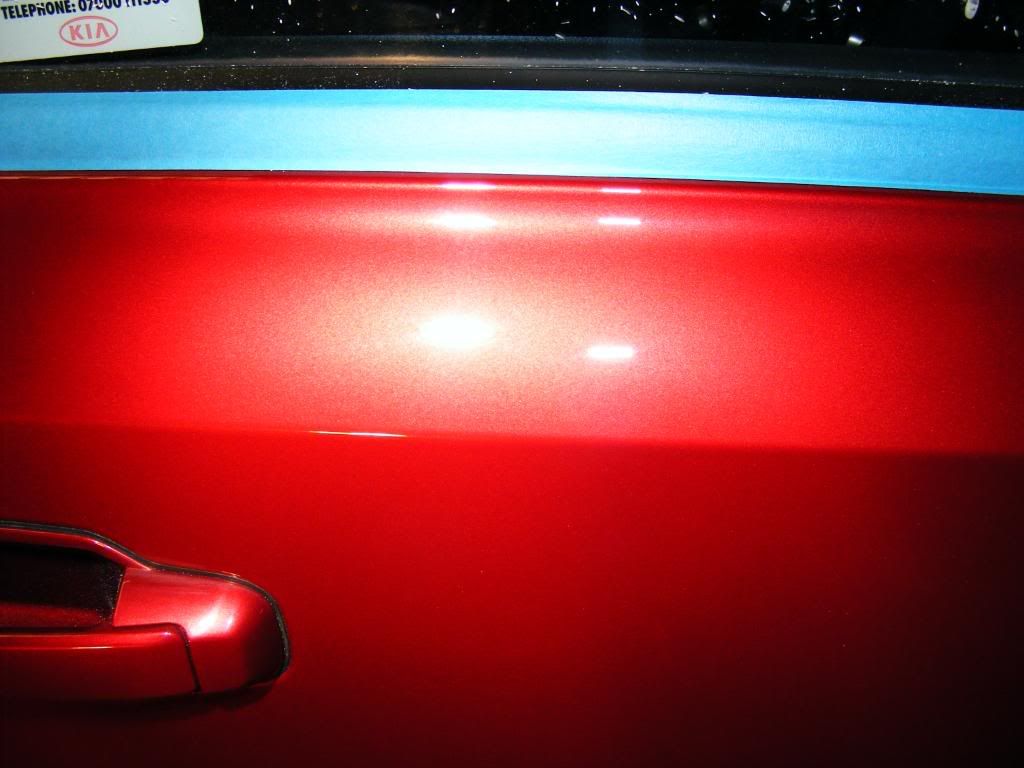
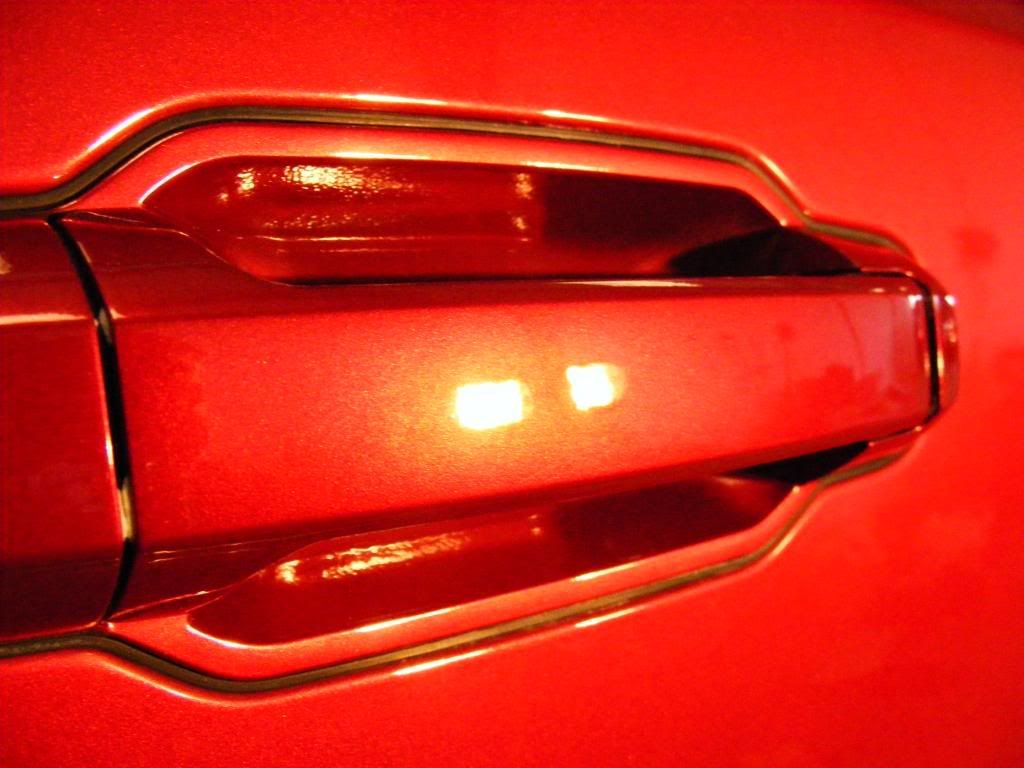
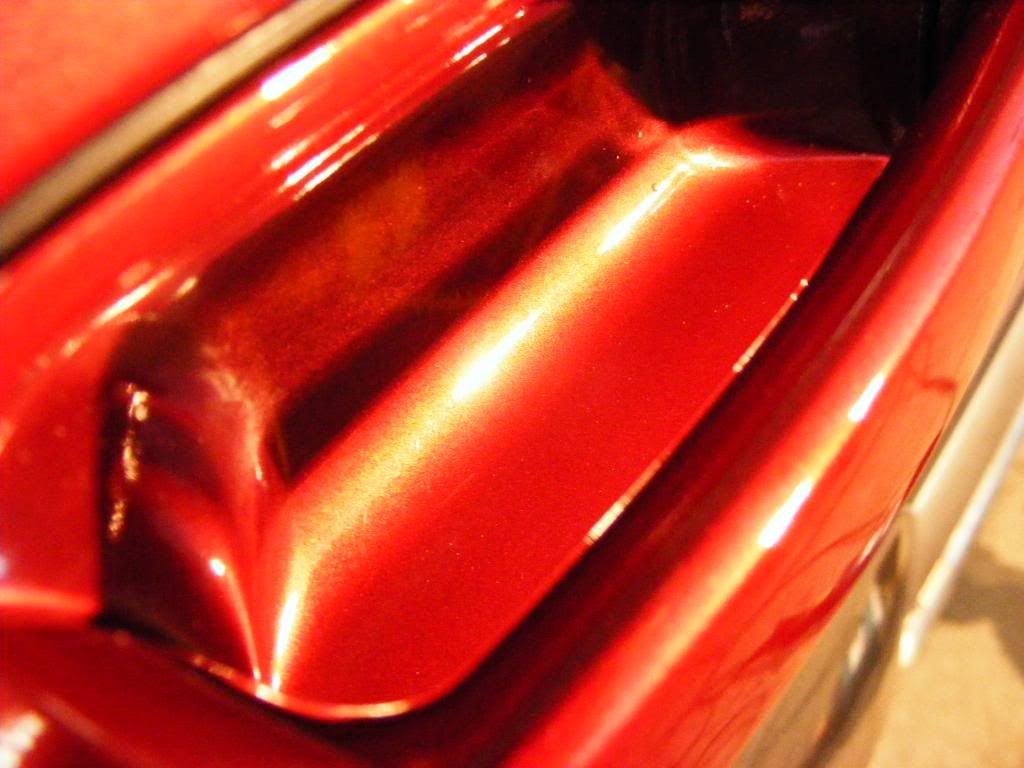
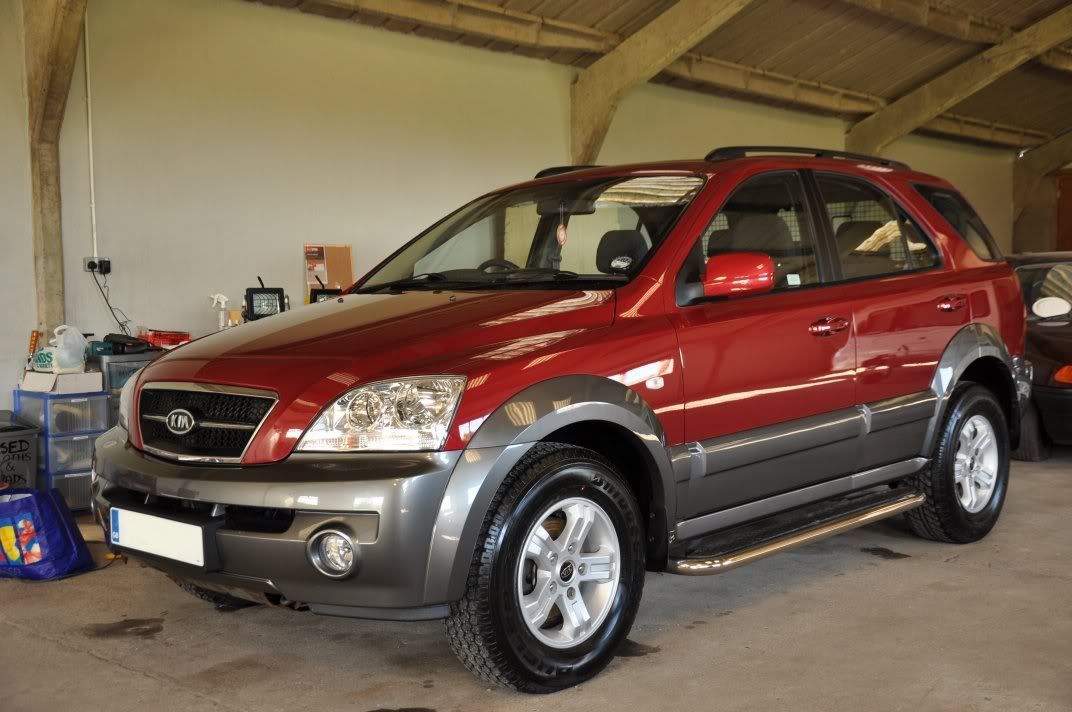
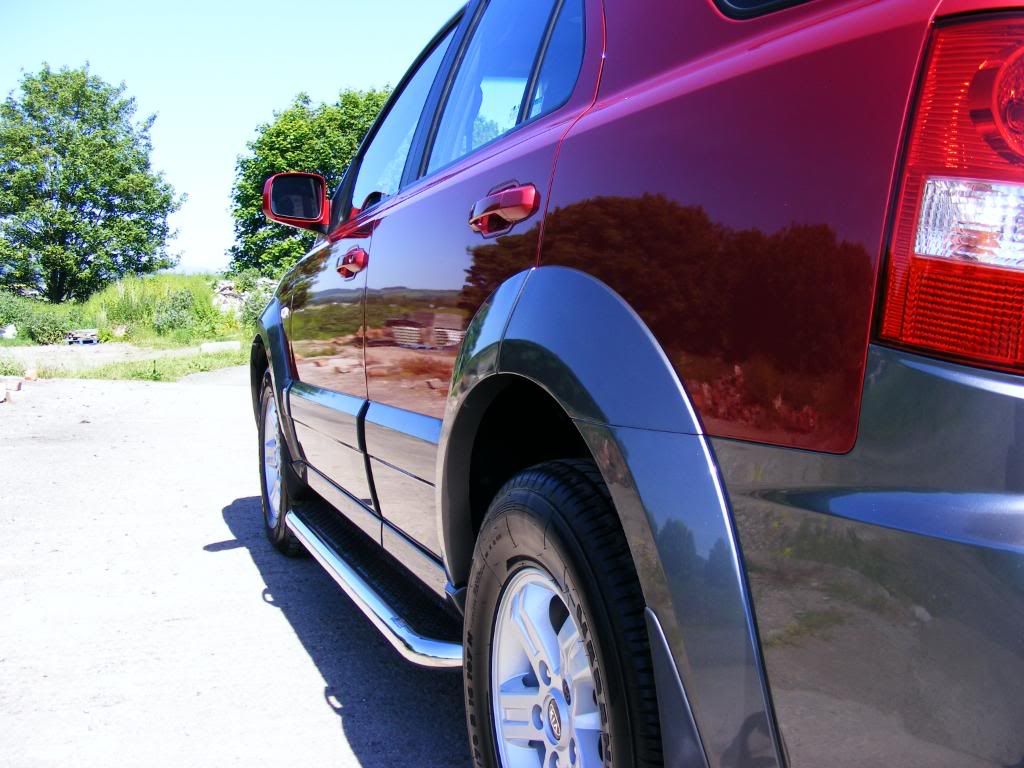
The car arrived looking very clean, but rather dull...
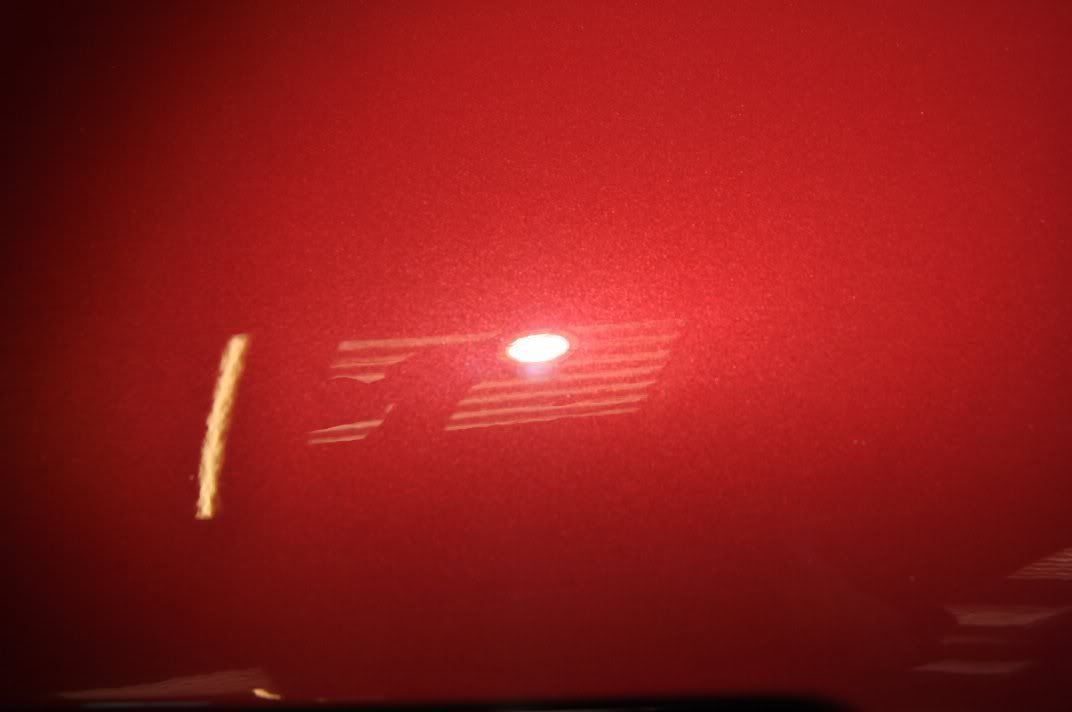
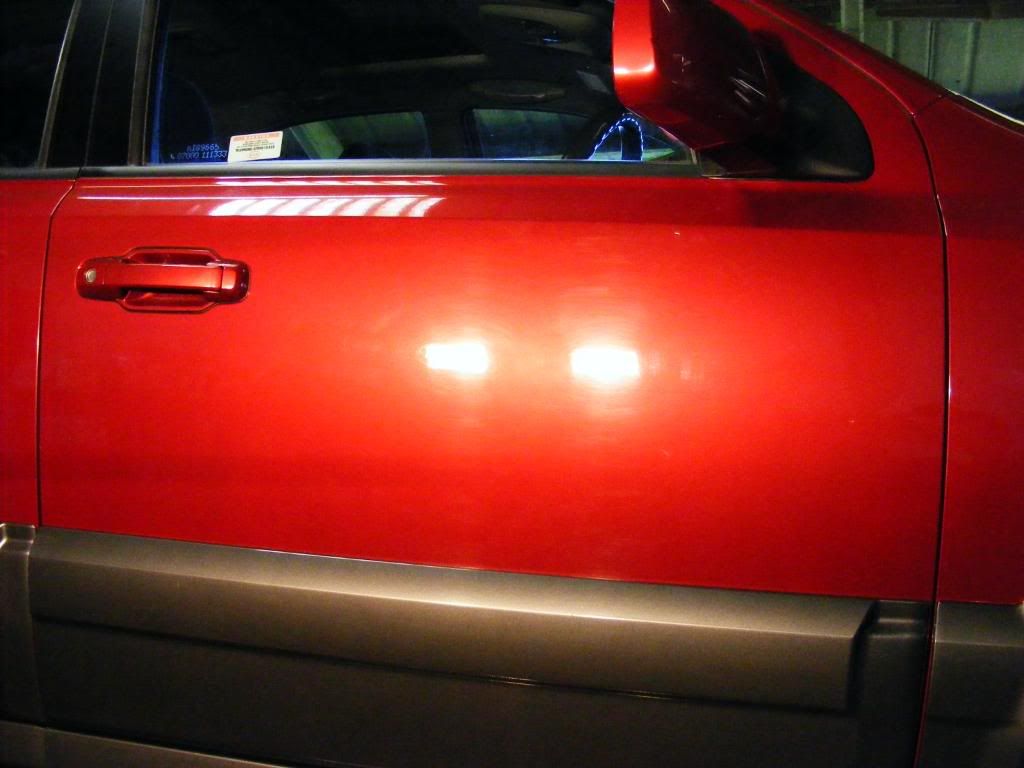
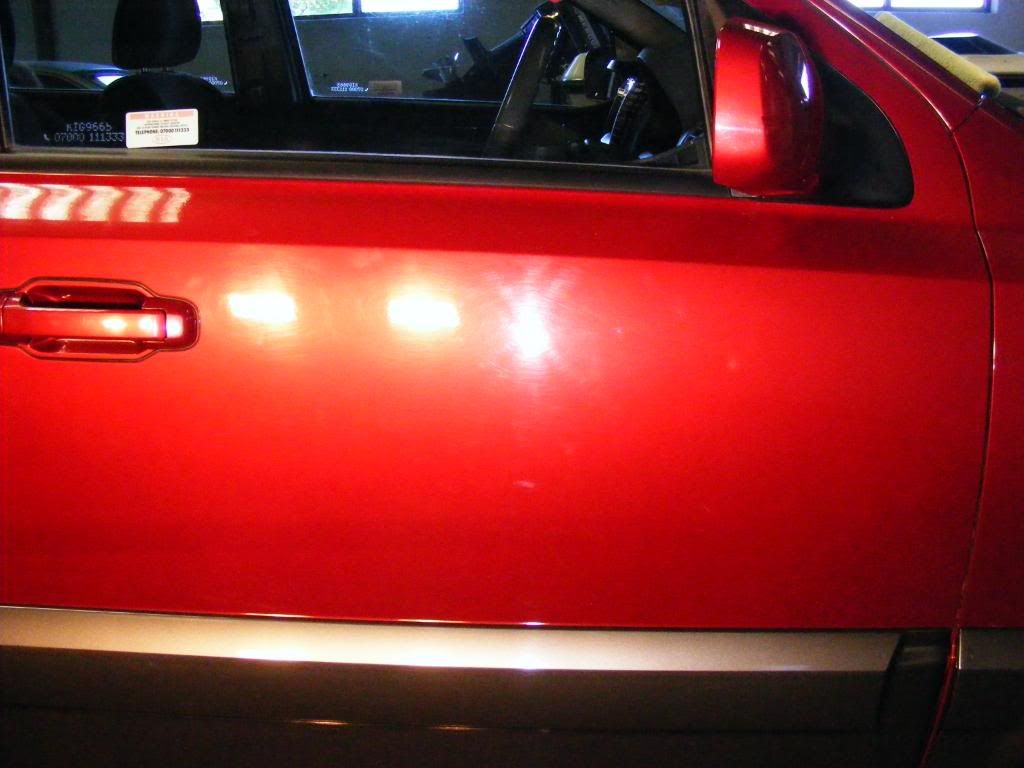
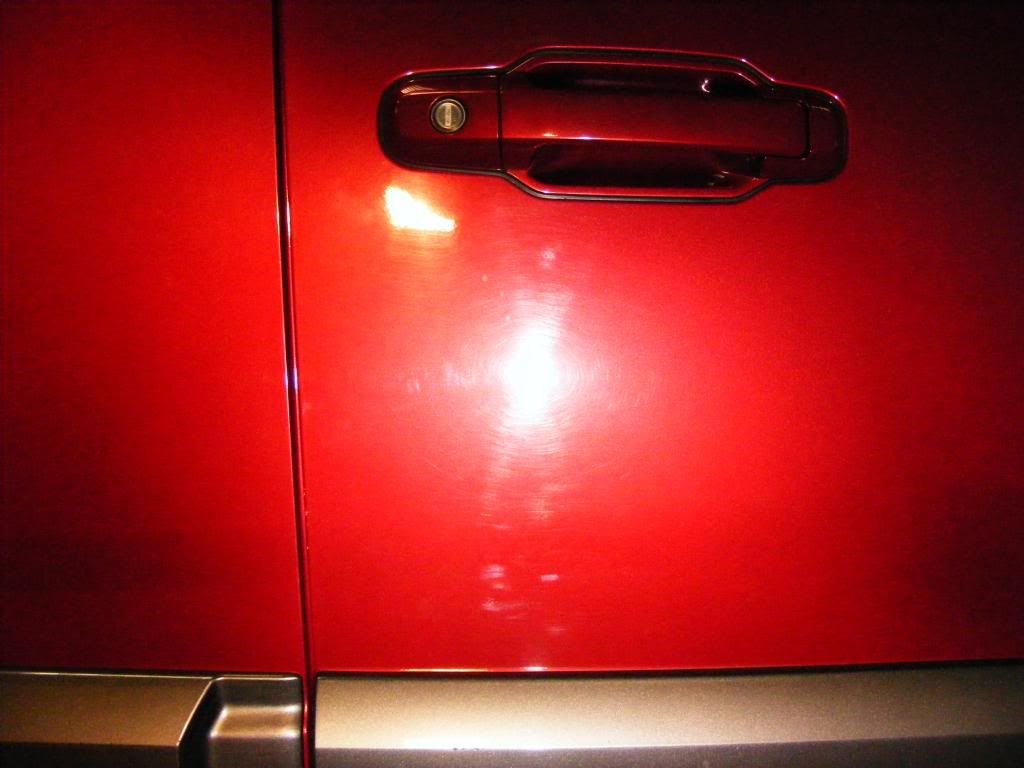
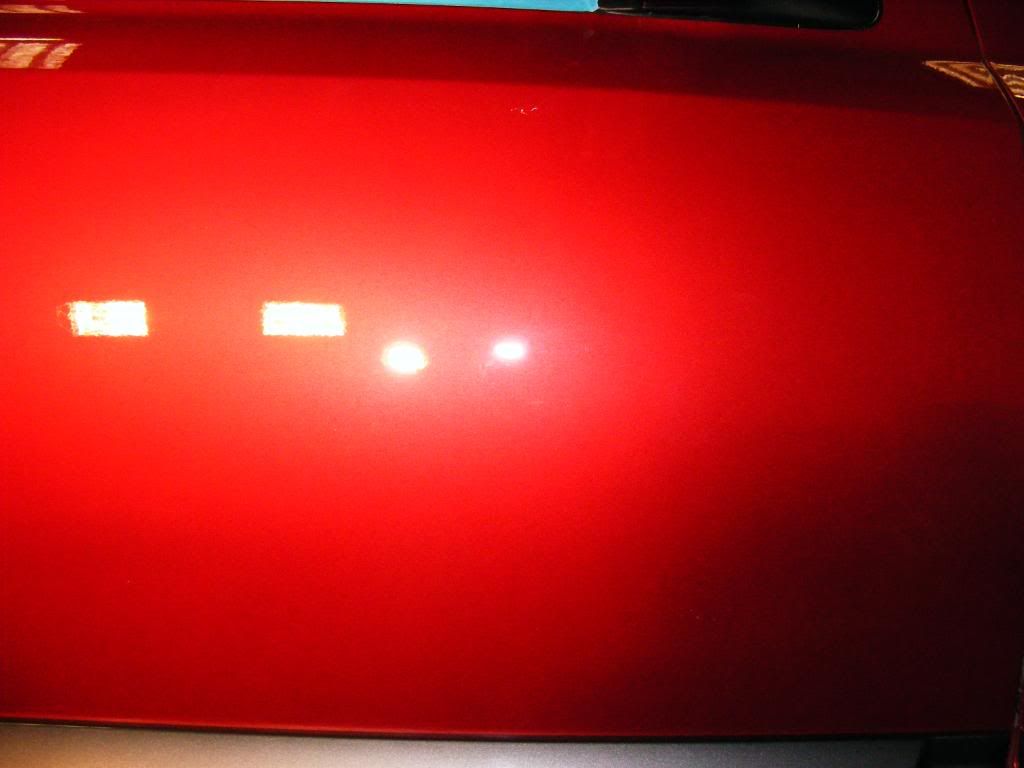
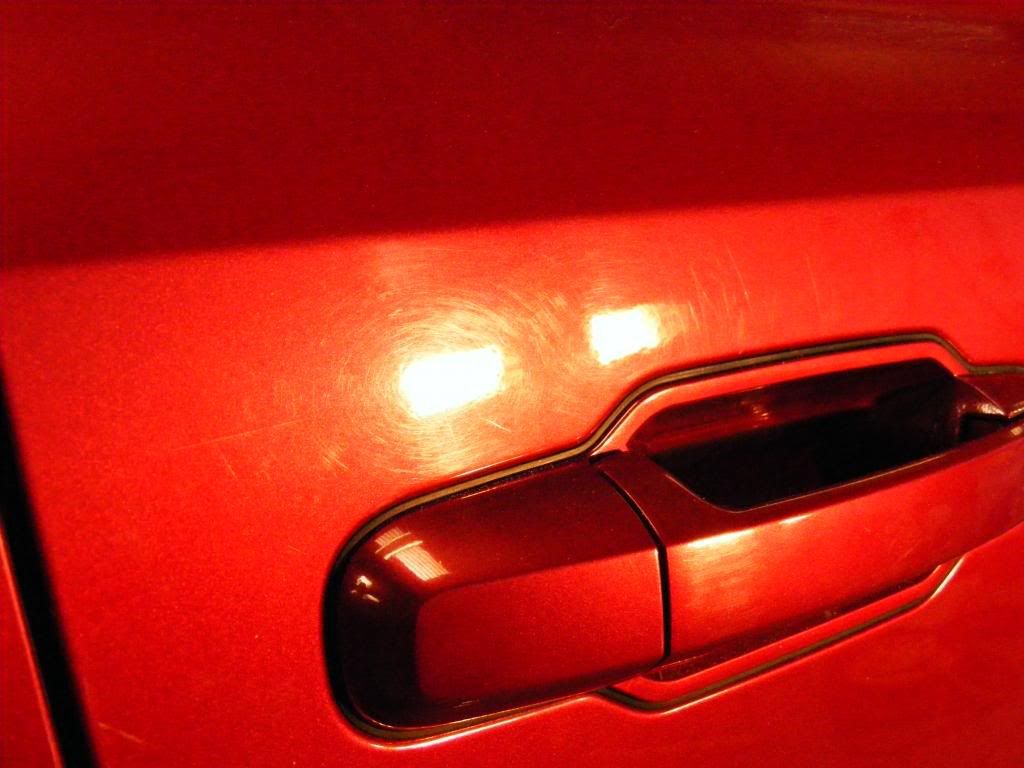
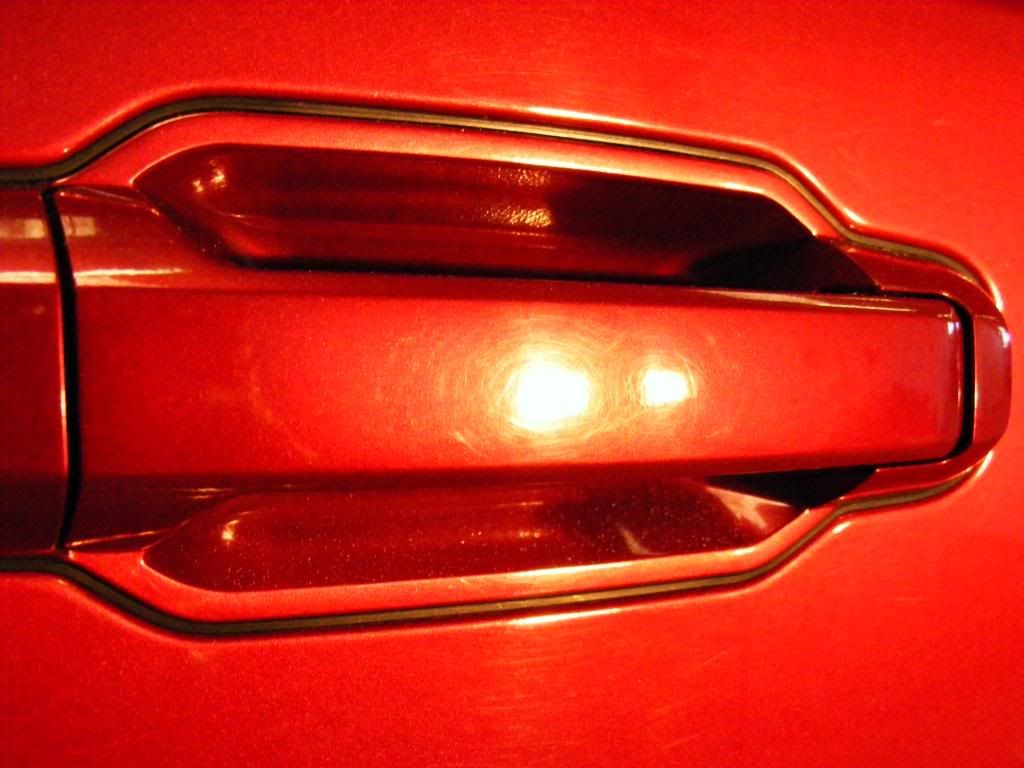
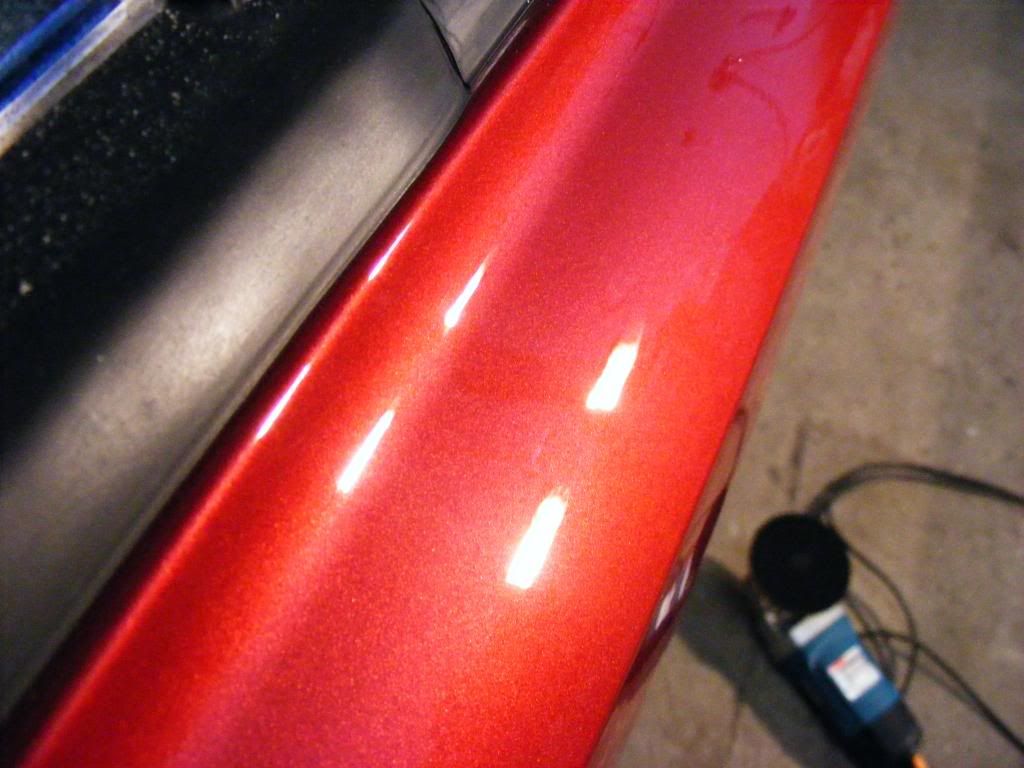
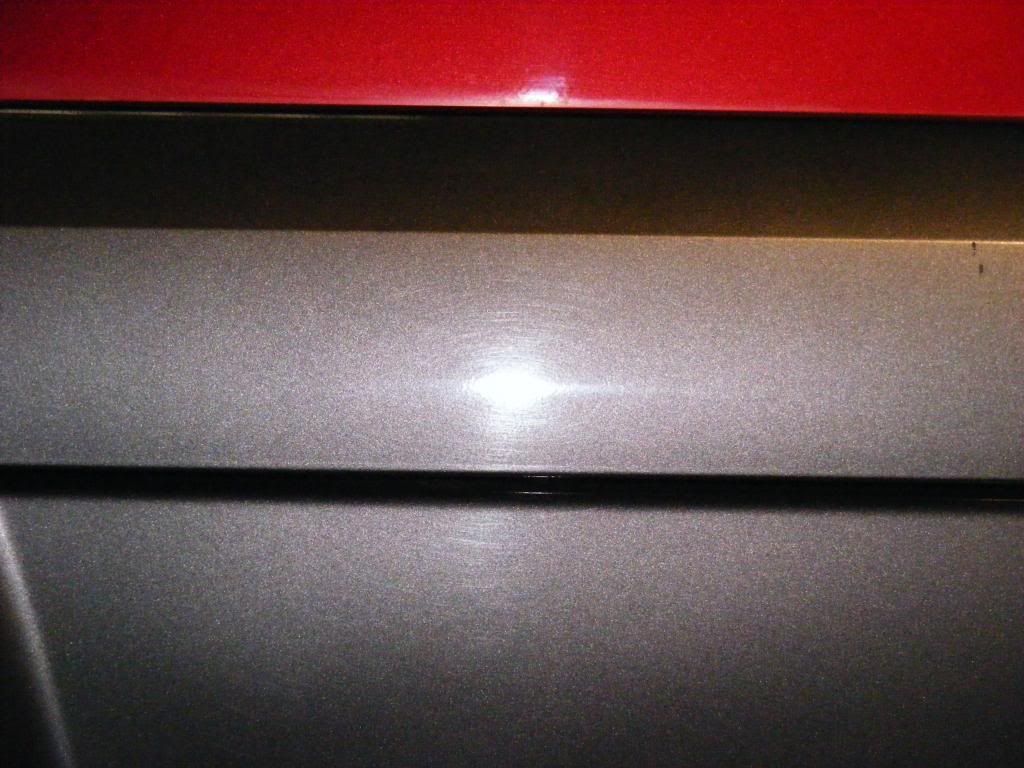
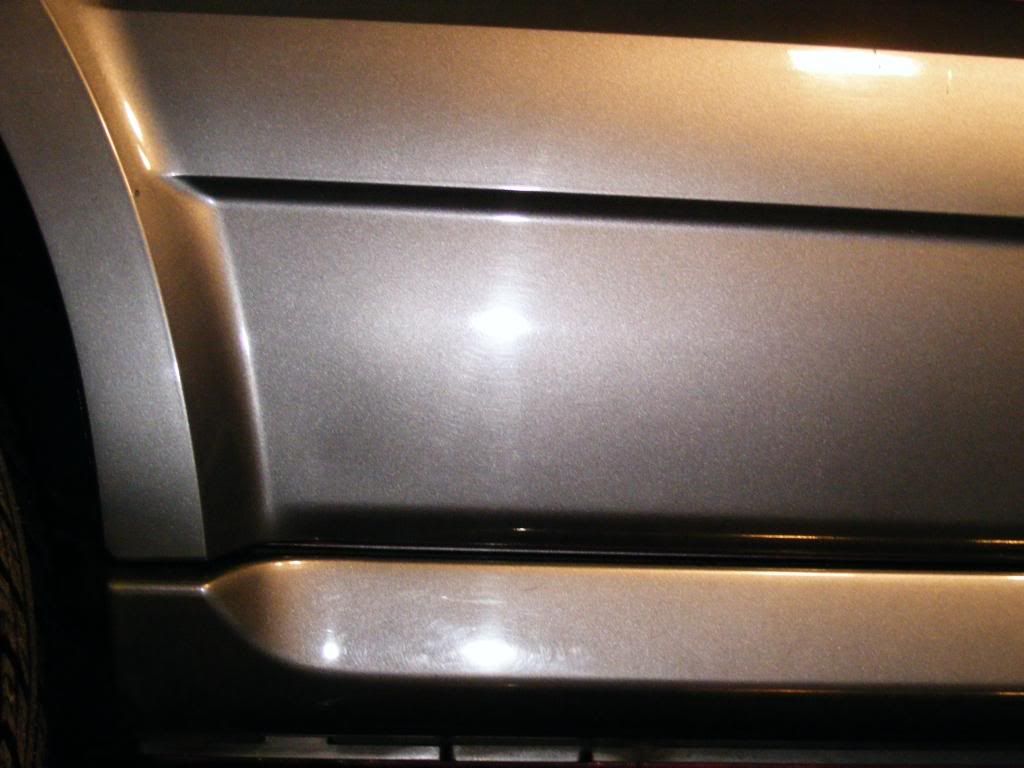
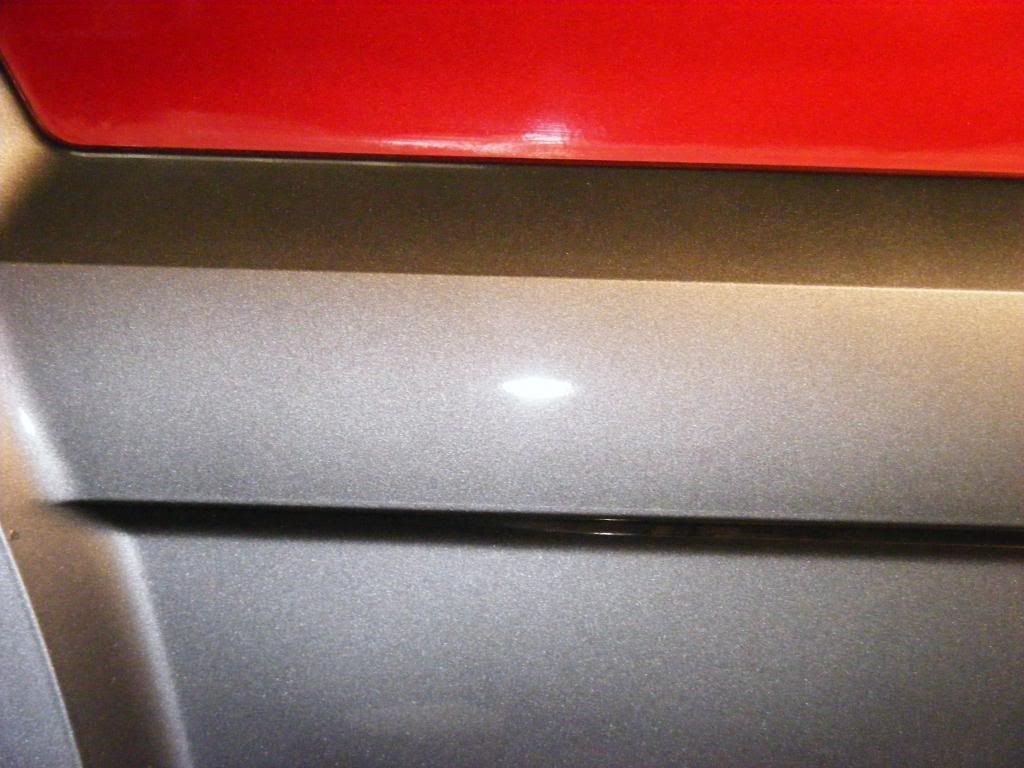
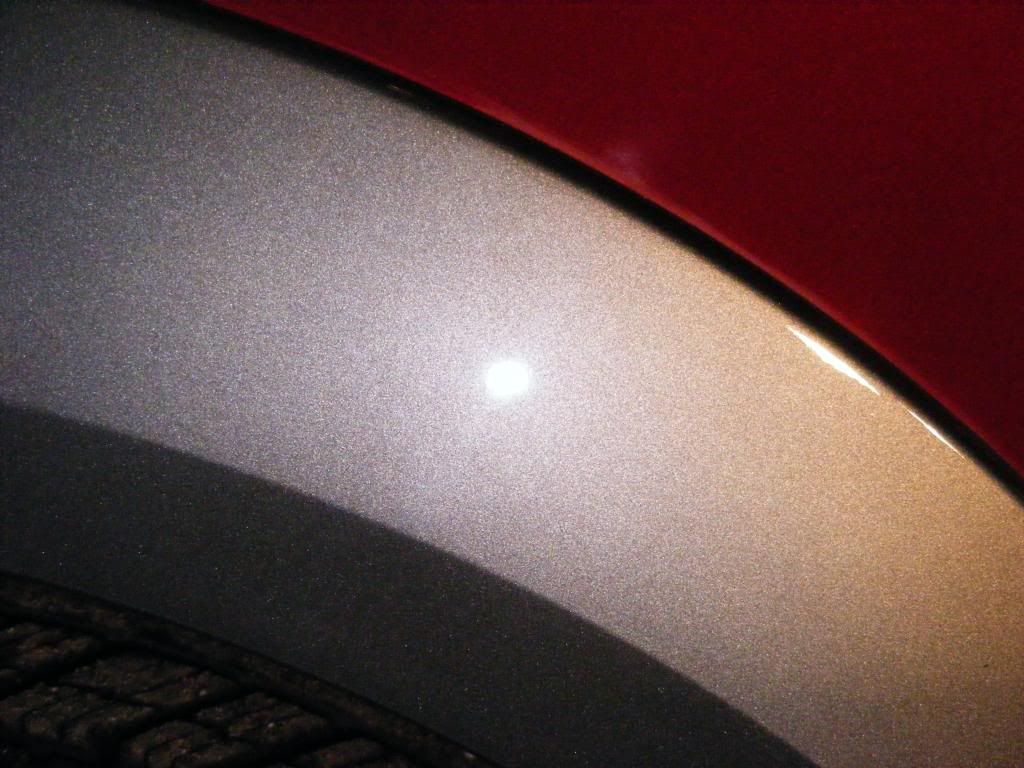
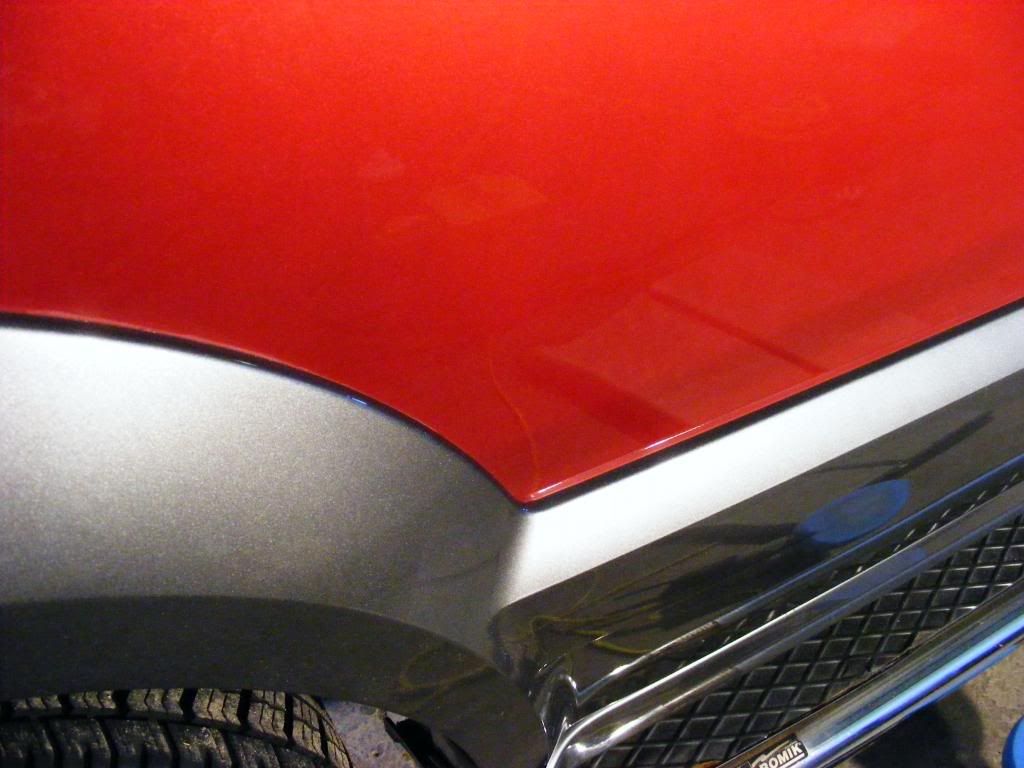
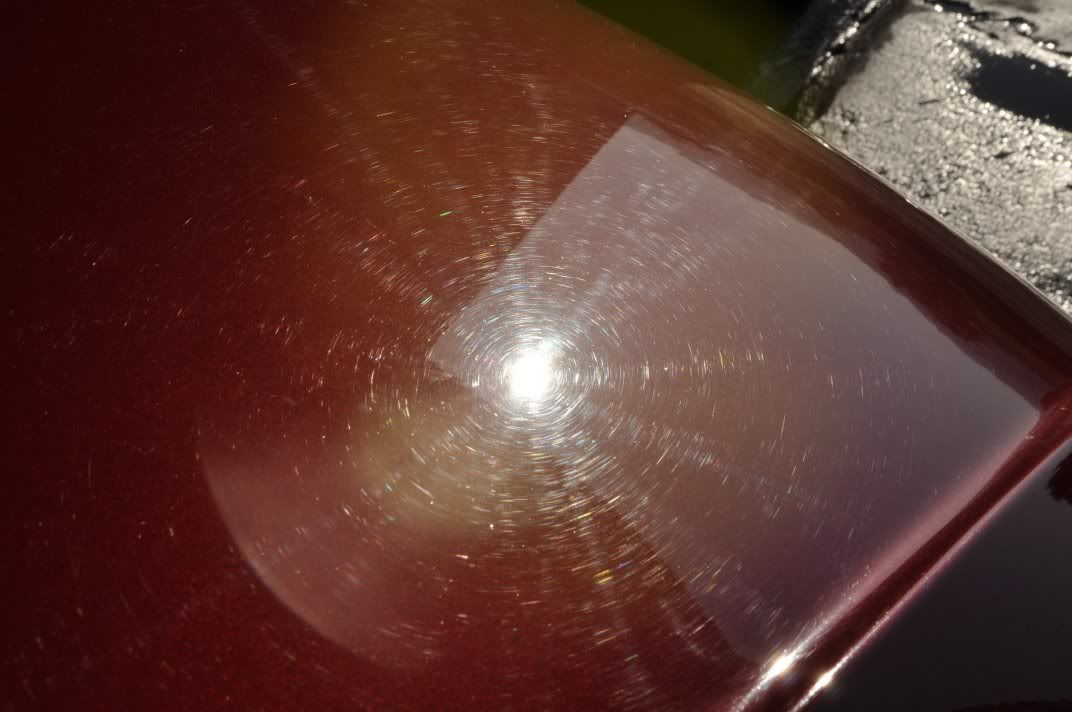
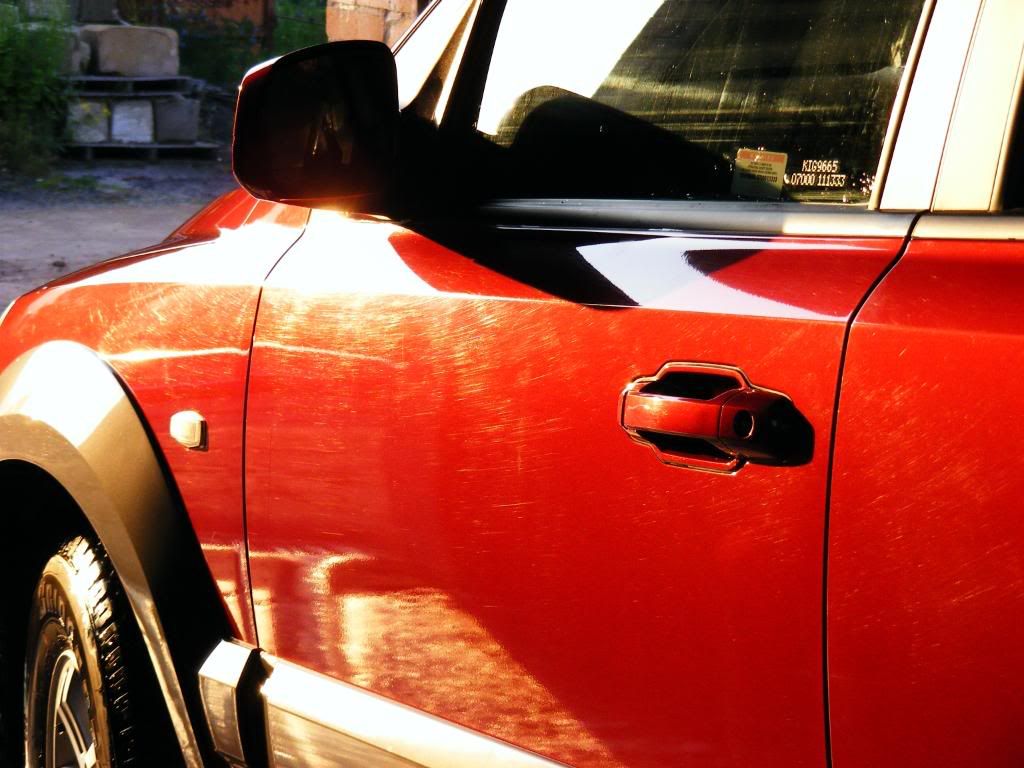
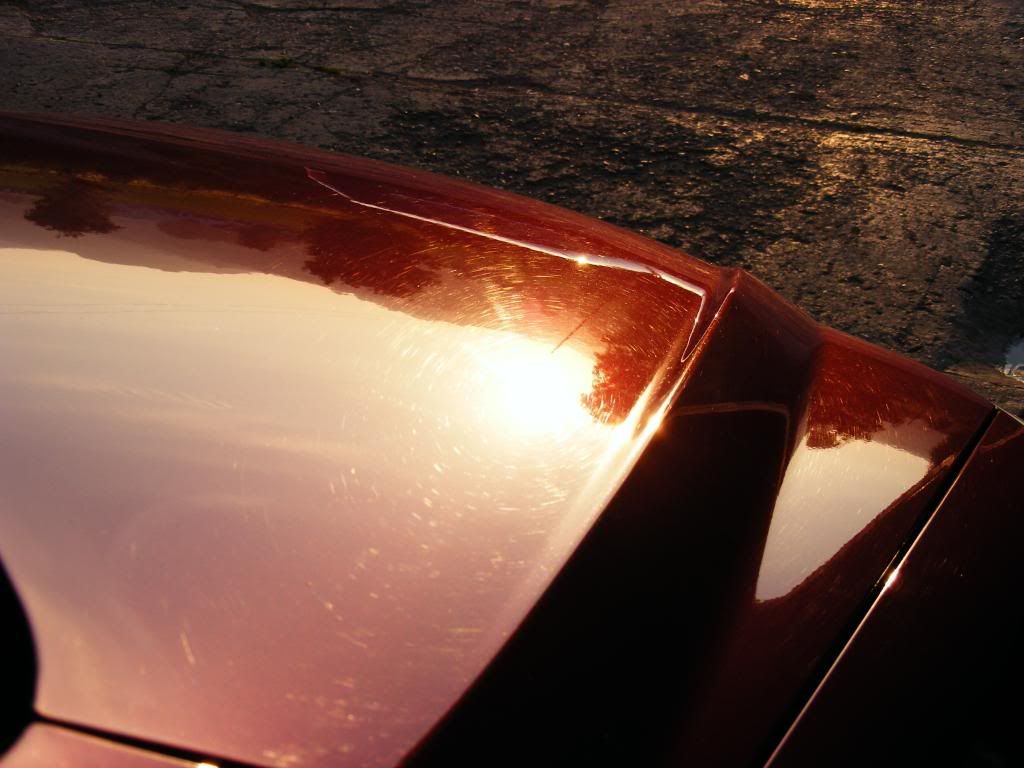
Closer inspection in the sun revealed why - swirls!
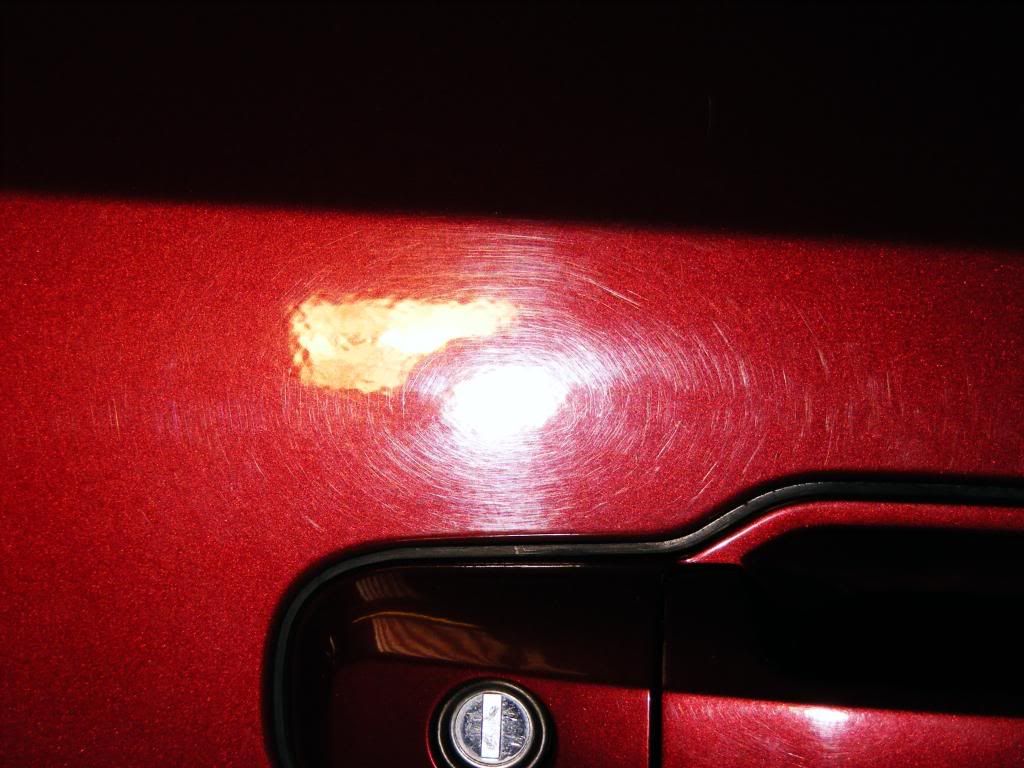
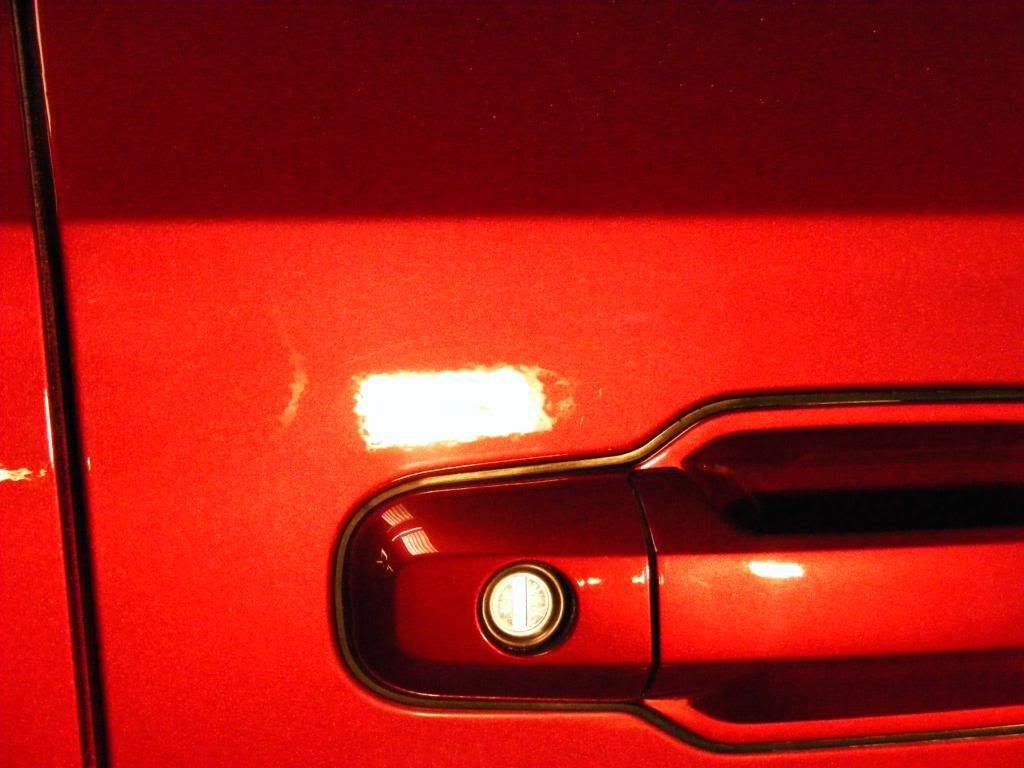
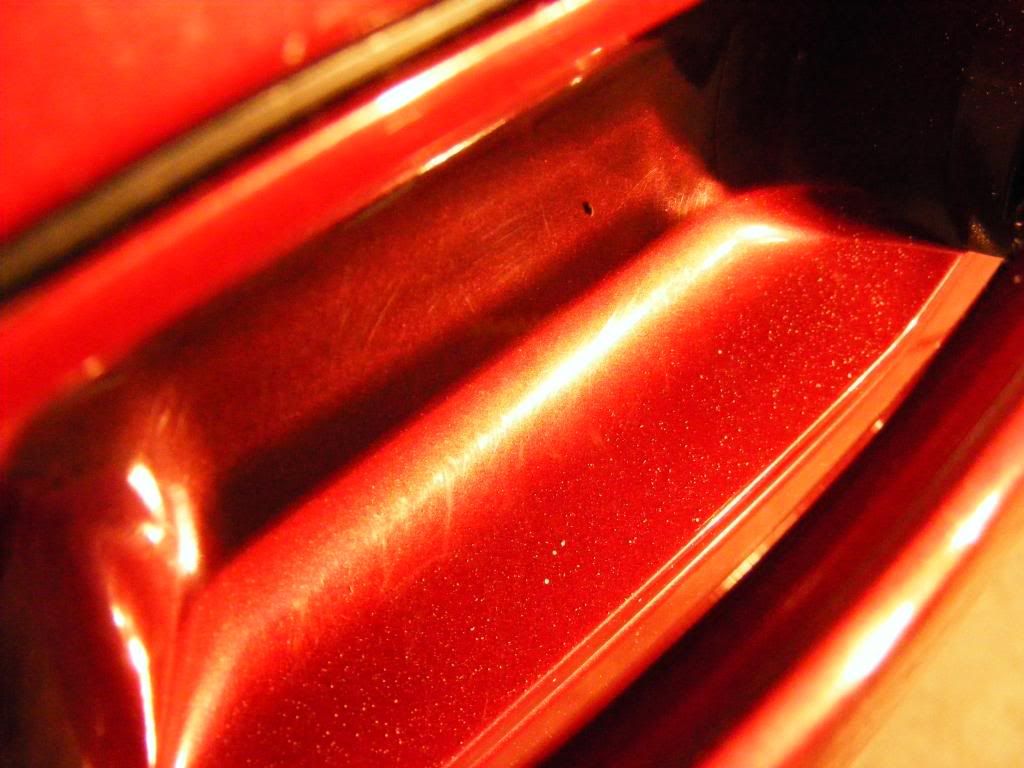
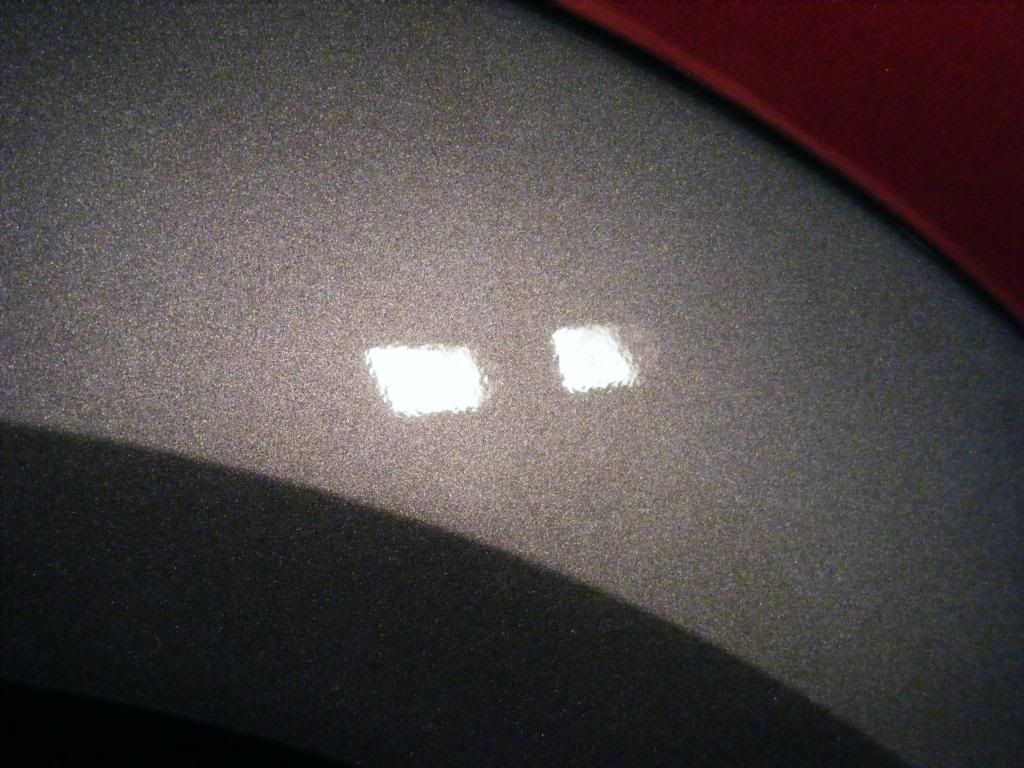
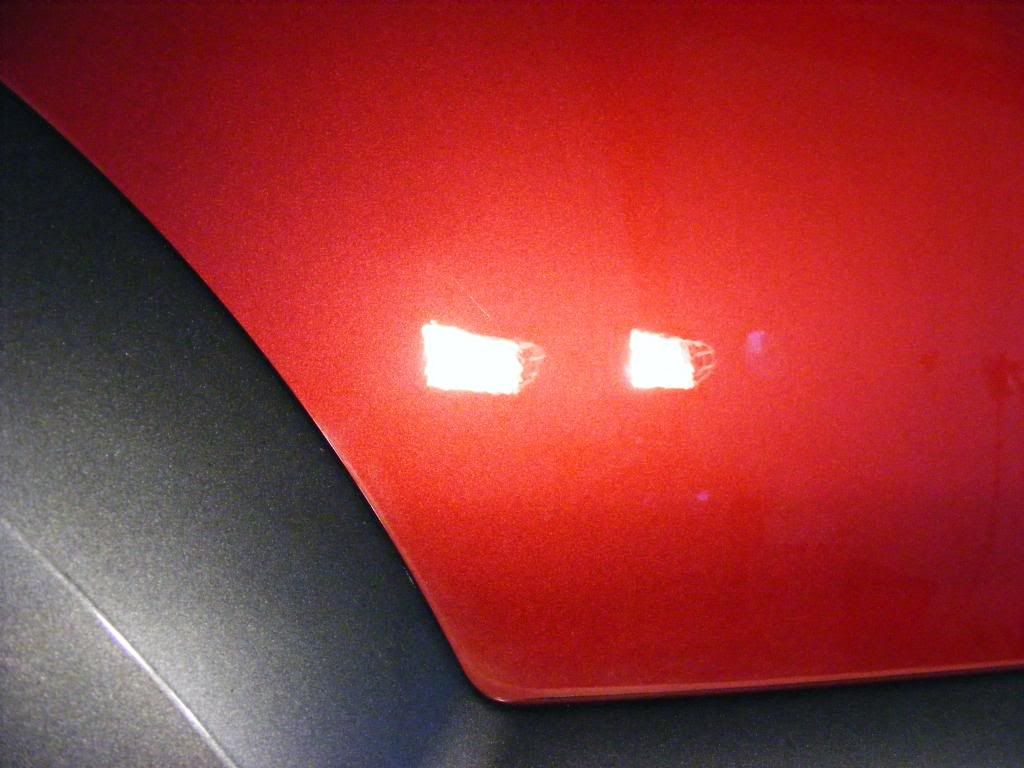
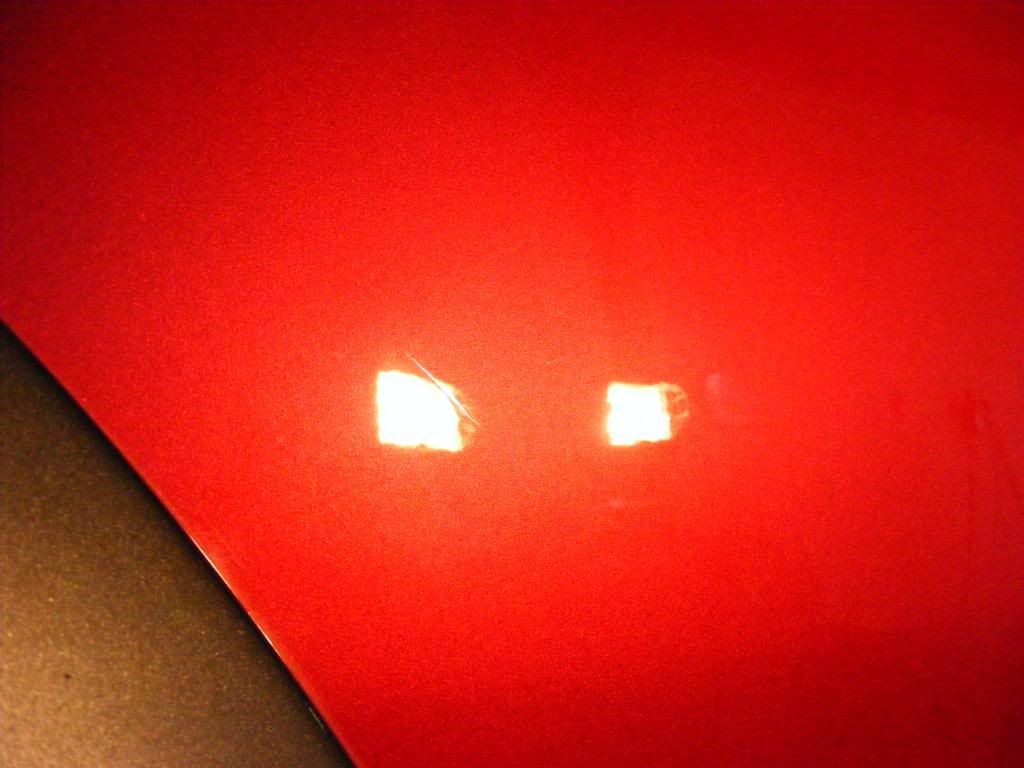
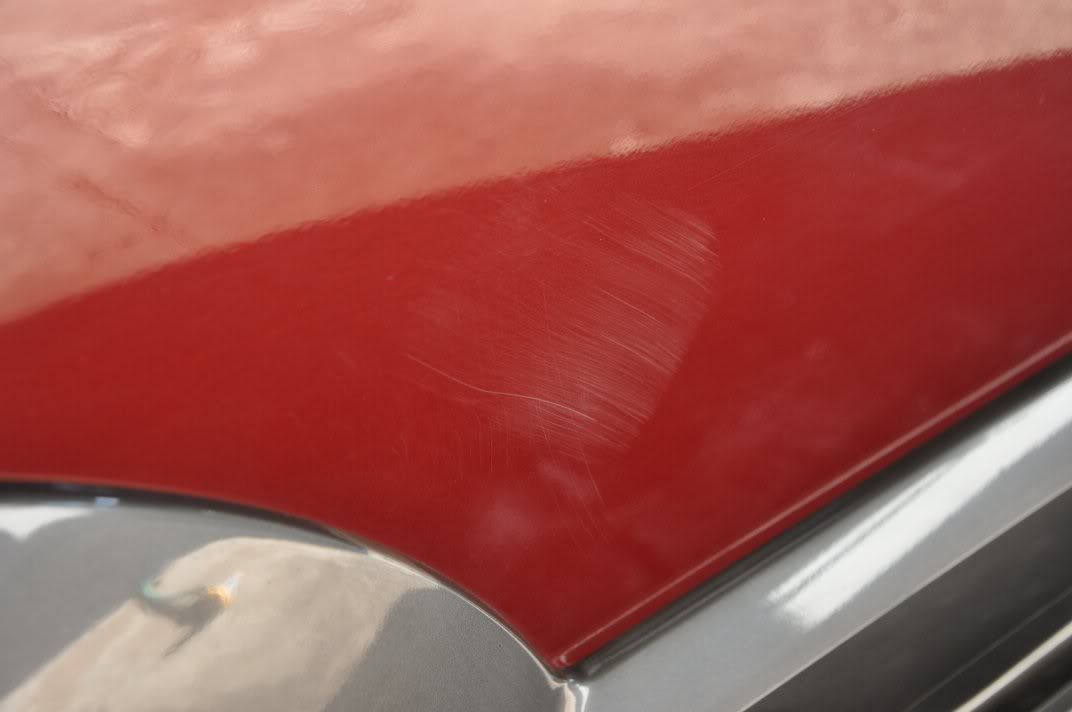
Some minor regions of damage that would require attention too, hit by a football...
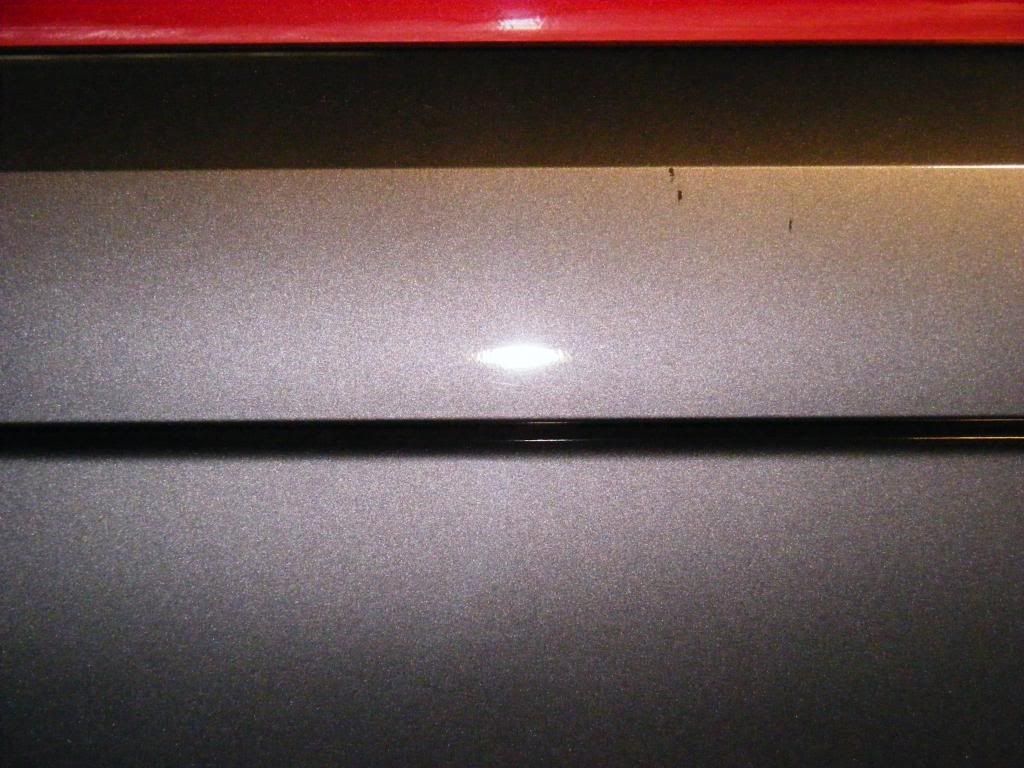
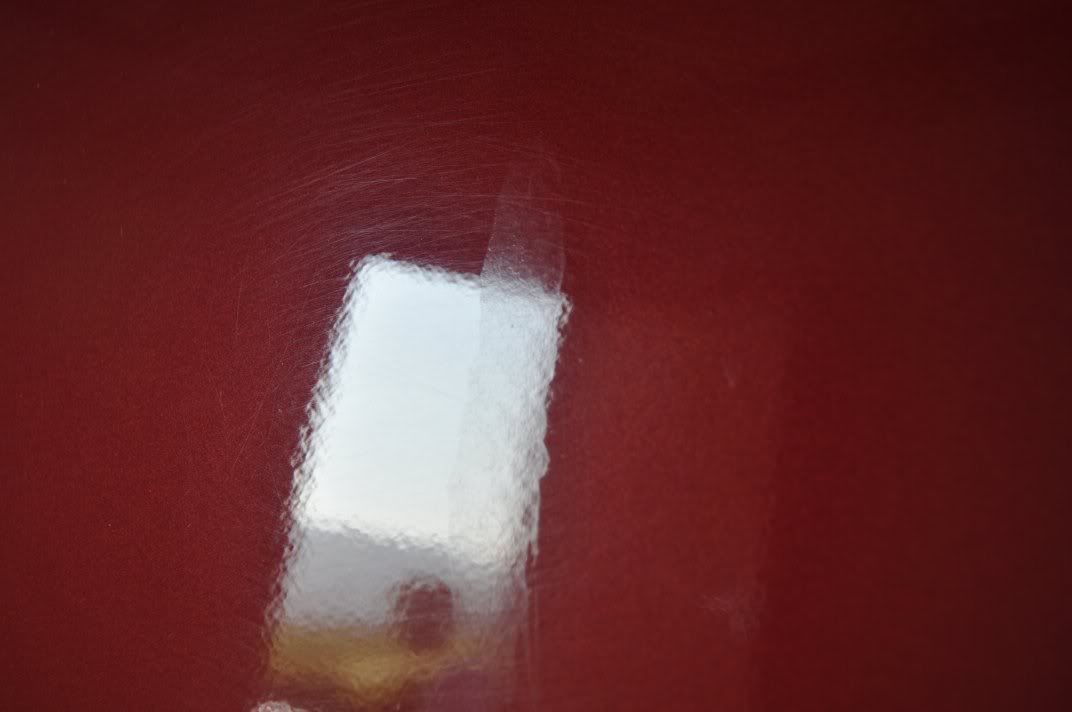
and bird etching...
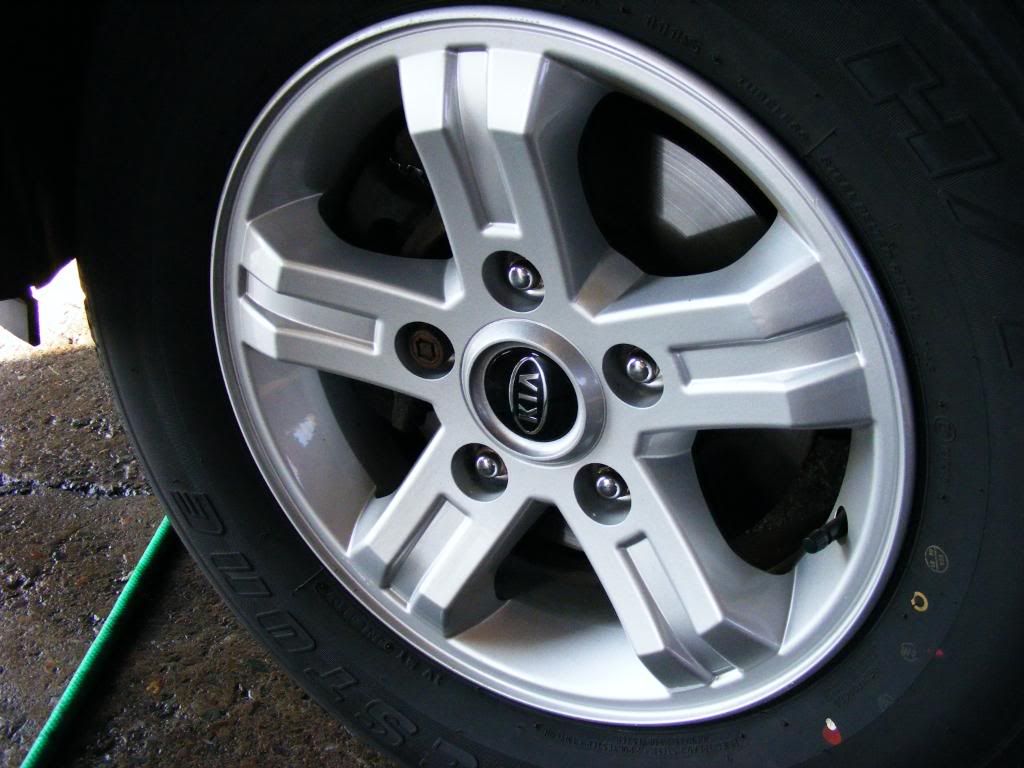
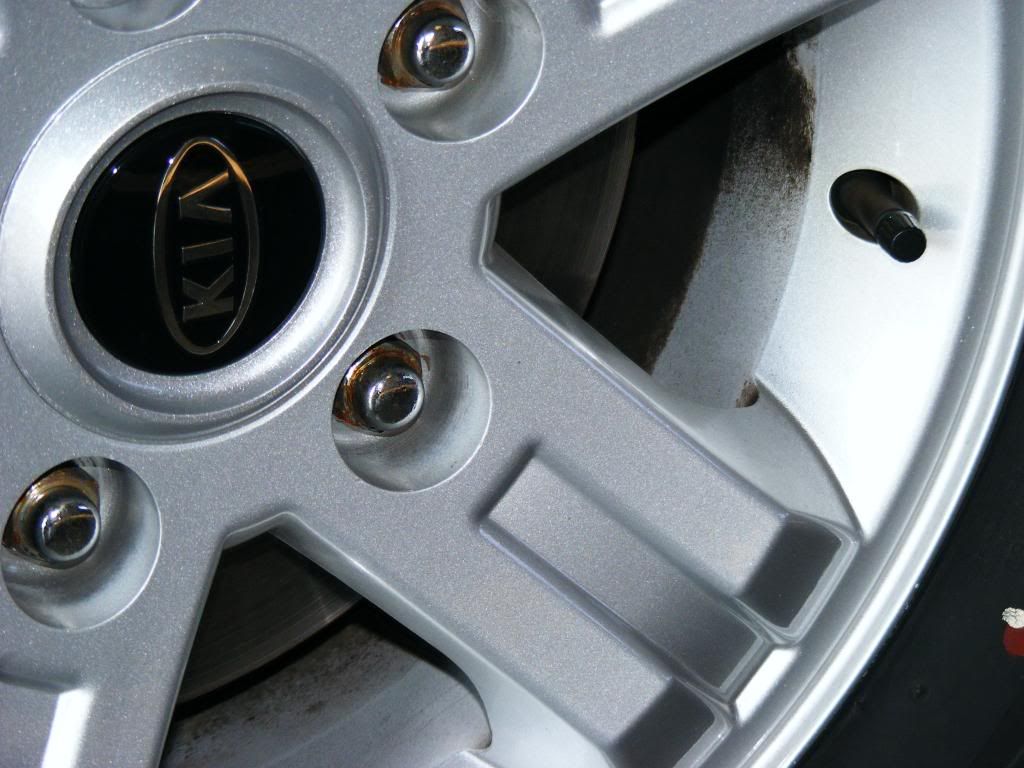
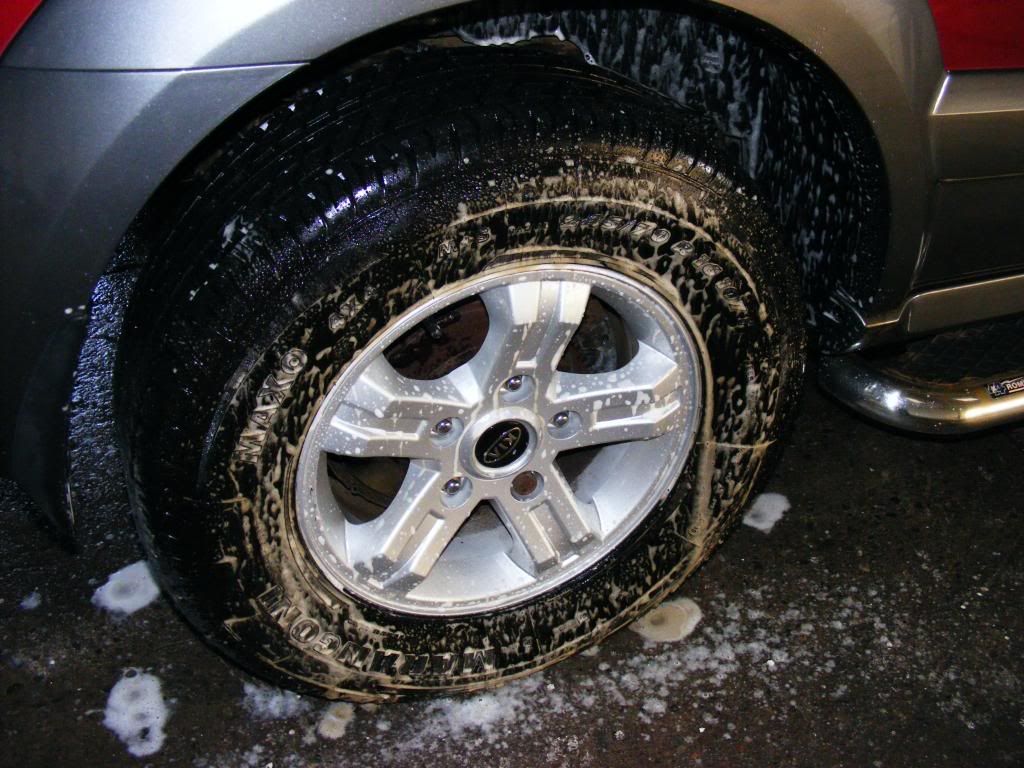
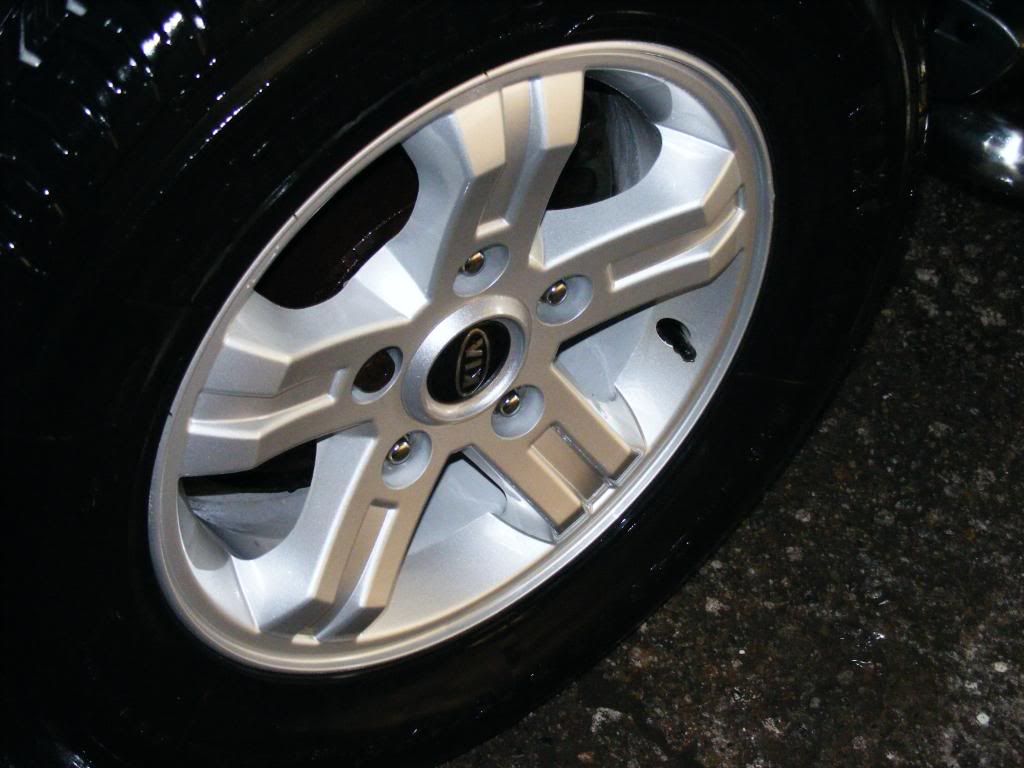
First off though it was the wheels and arches, which before again looked fairly clean...
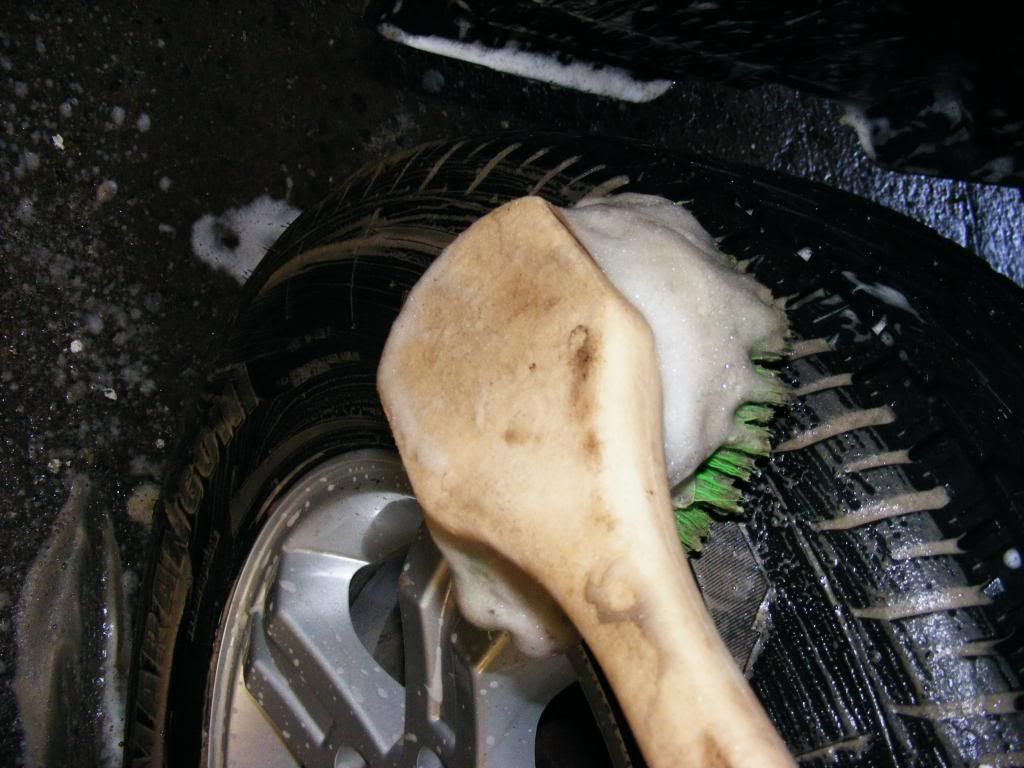
Wheels cleaned with Bilberry, tyres with and arches with APC. Vikan brushes used to ensure the insides of the wheels clean also...
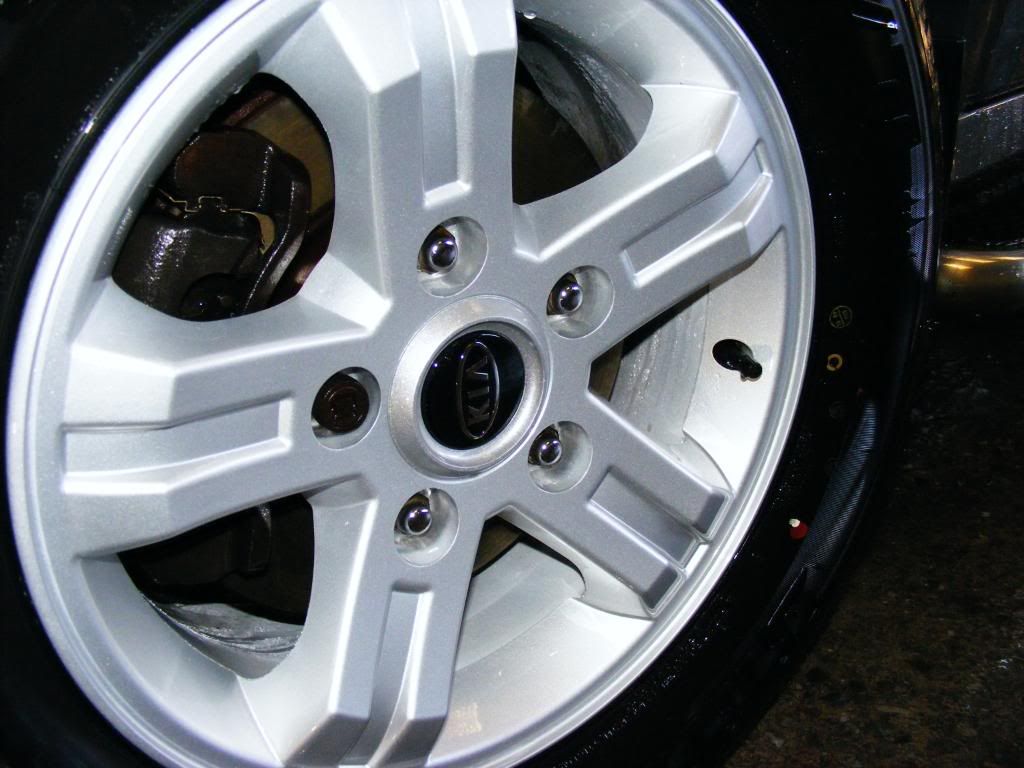
Another wheel and arch before...
Tyres cleaned with Meguiars APC, sprayed on and agitated with a brush...
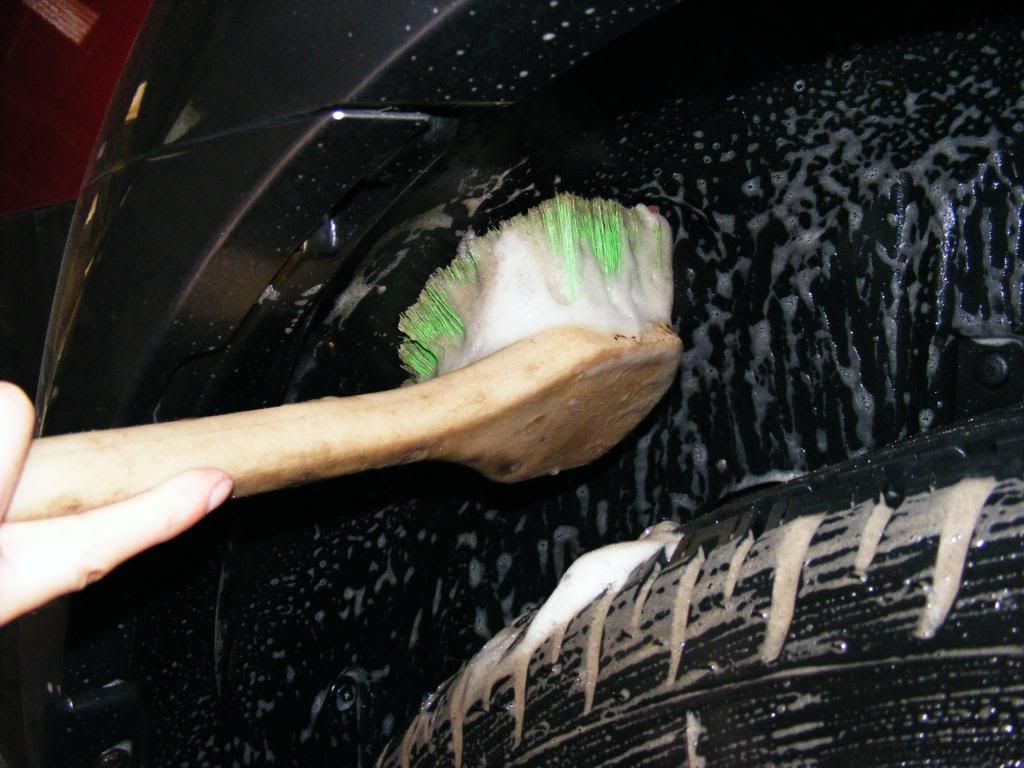
Arches the same...
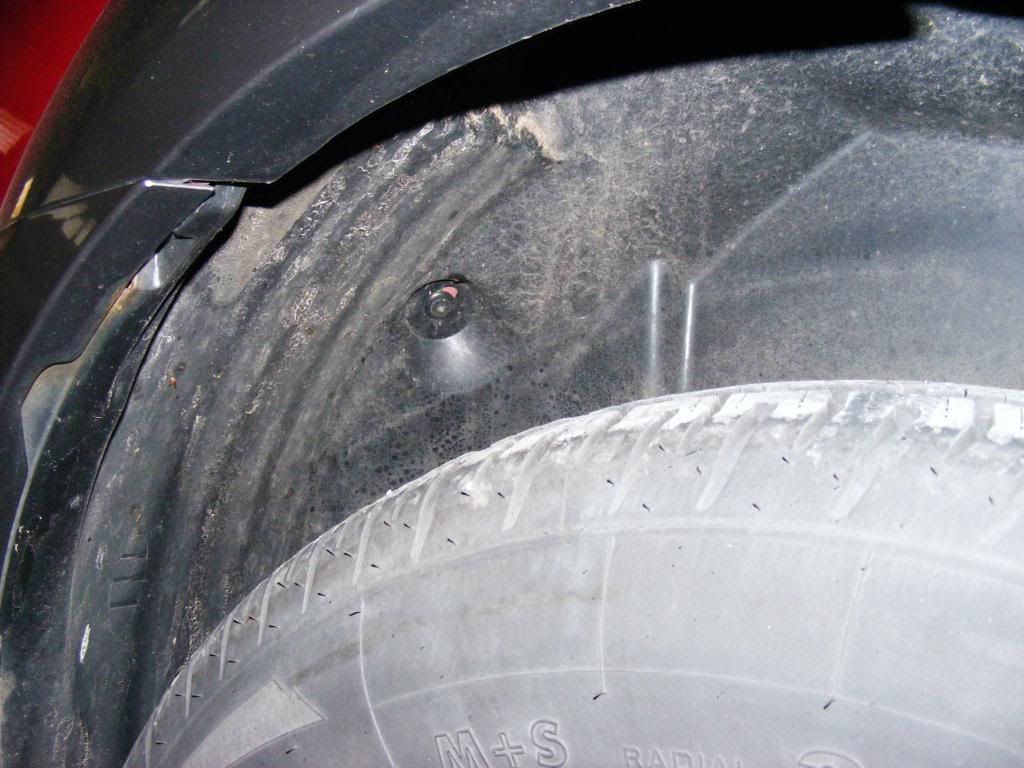
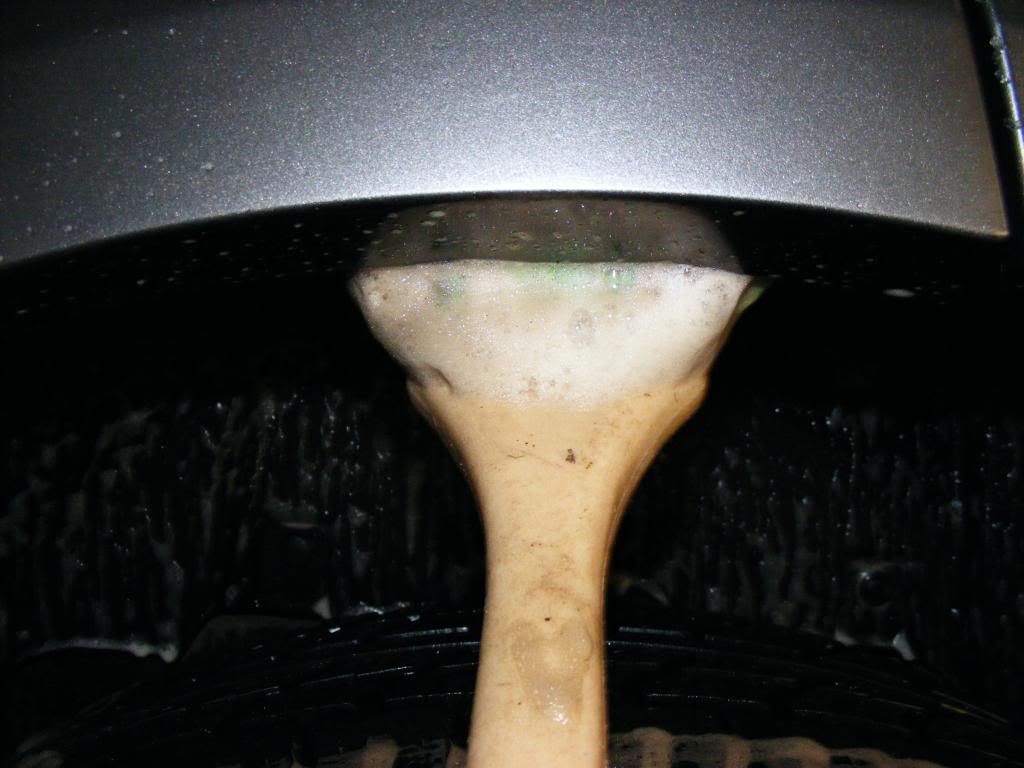
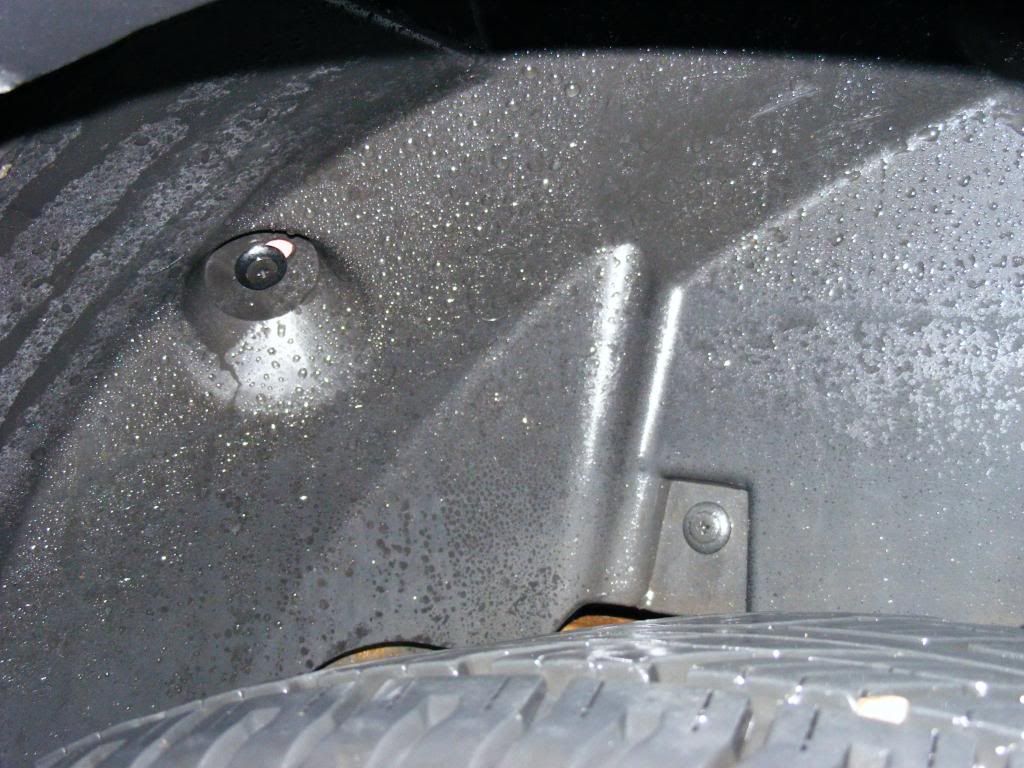
Ensuring the inside lip of the arch clean as well, and free of mud...
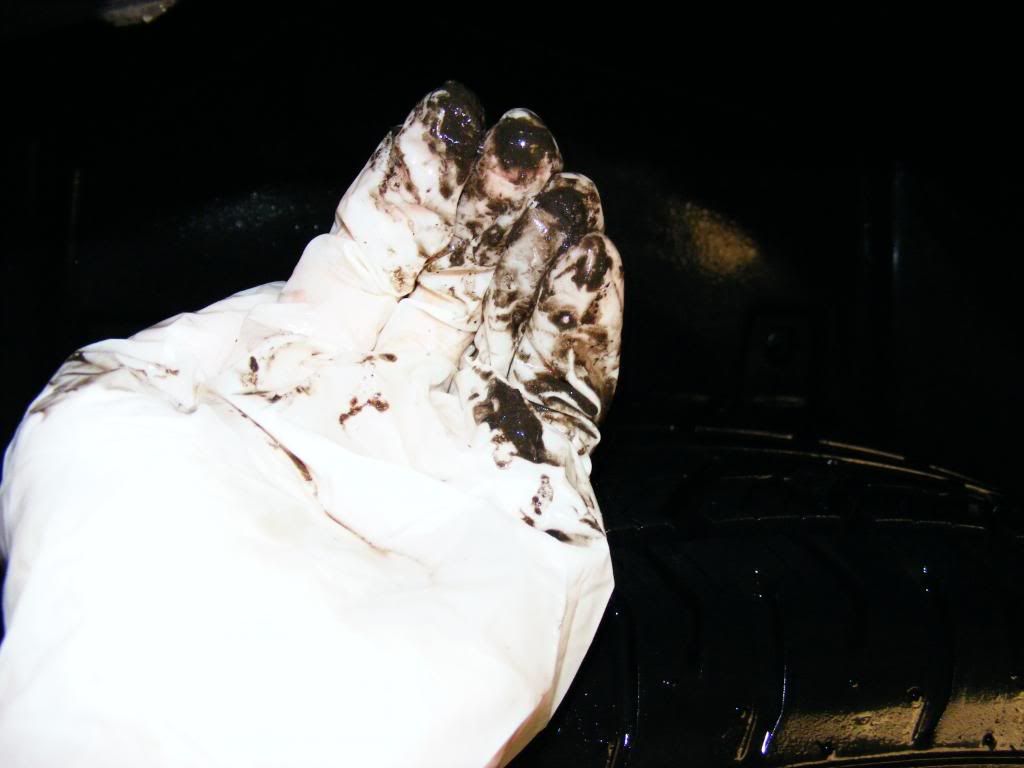
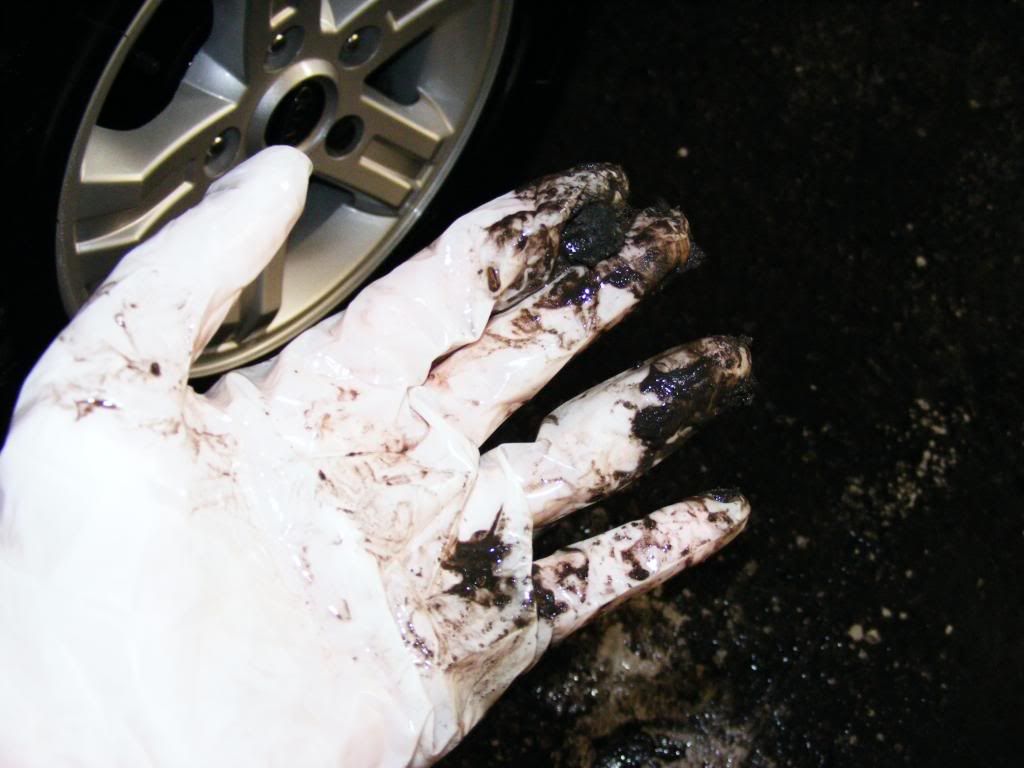
I use my hands (with gloves!) to feel round the inside lip of this wheel arch, dislodging trapped dirt and ensuring a completely clean wheel arch...

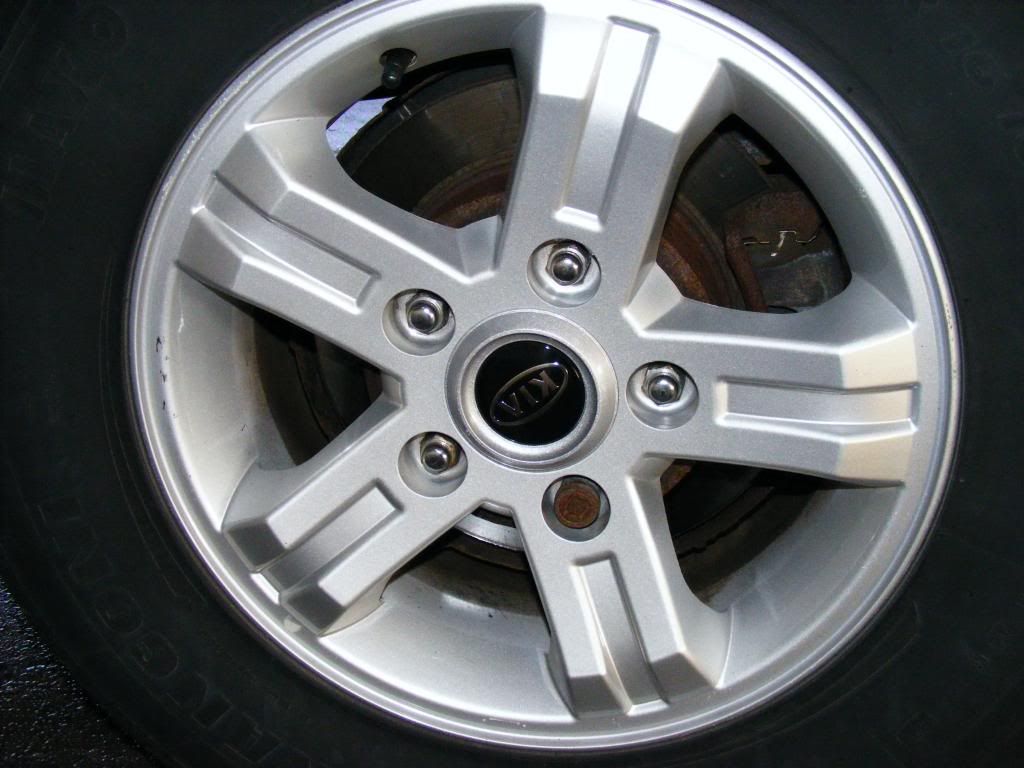
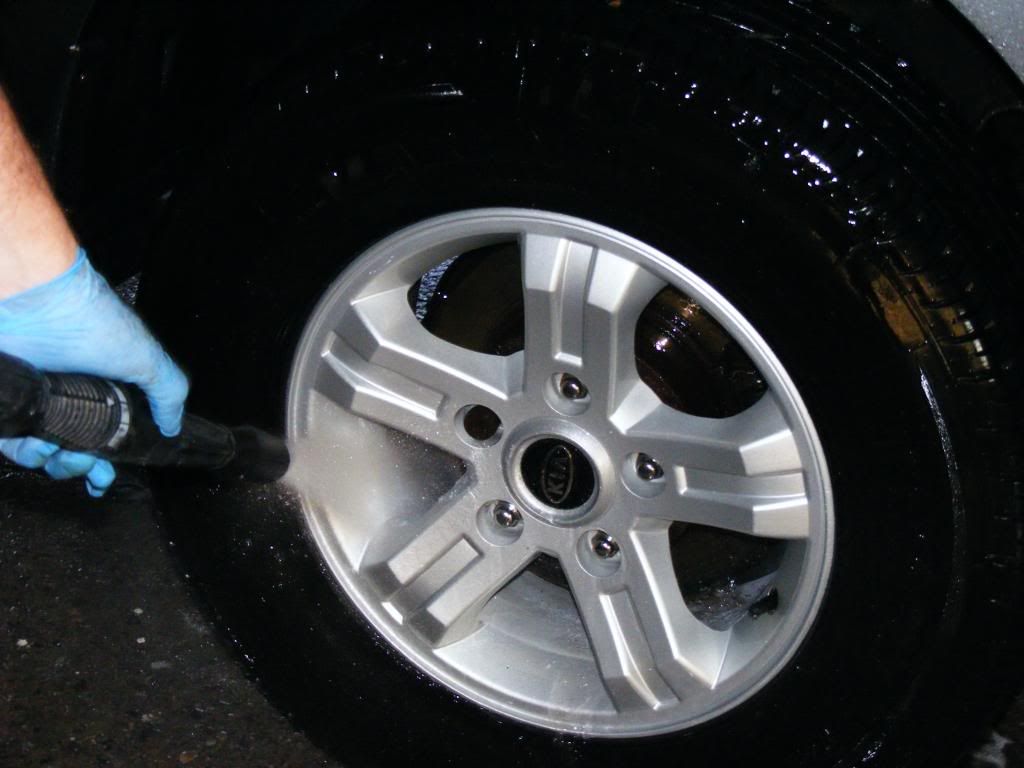
Rinsing off...
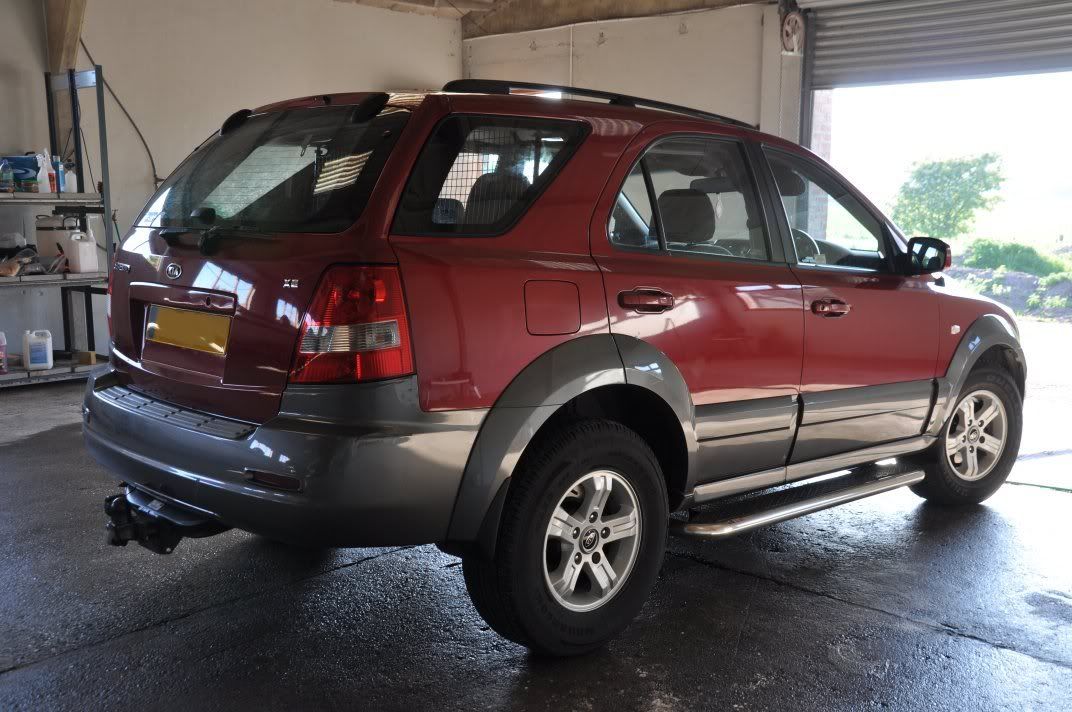
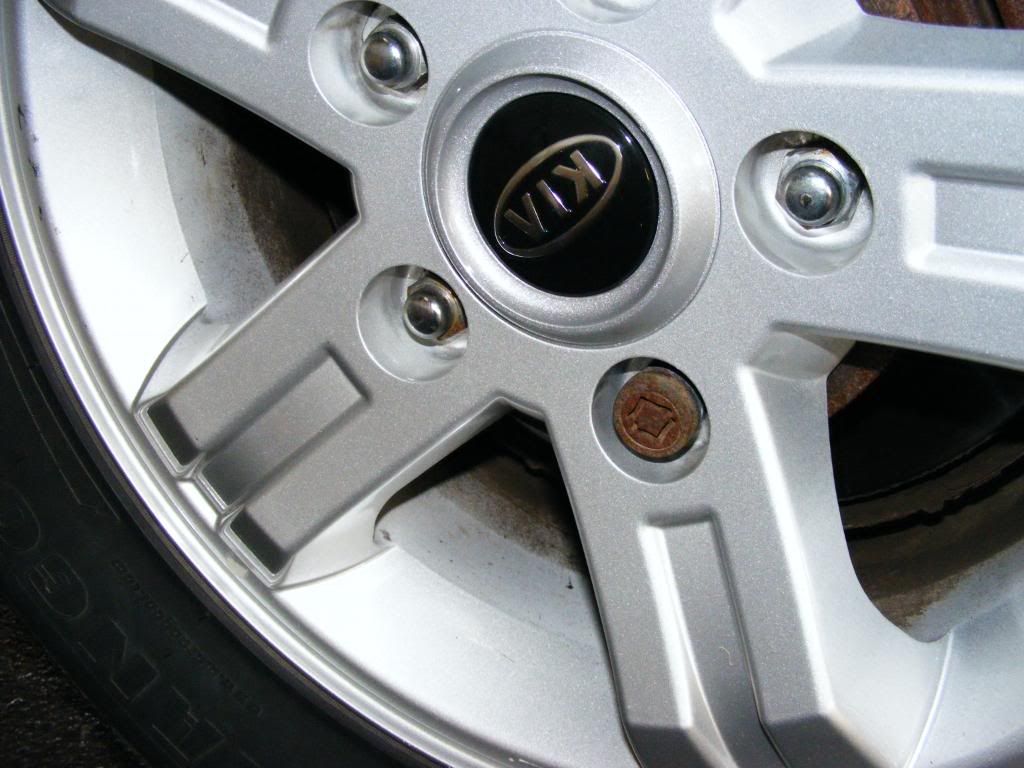
The results, clean and ready for dressing")
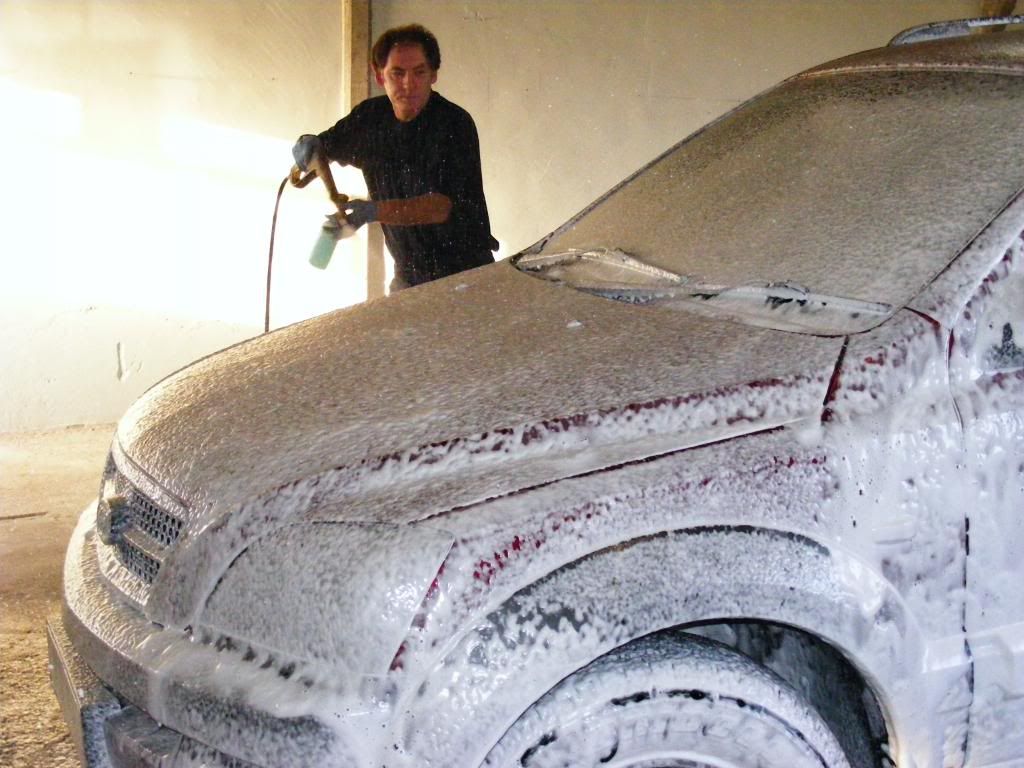
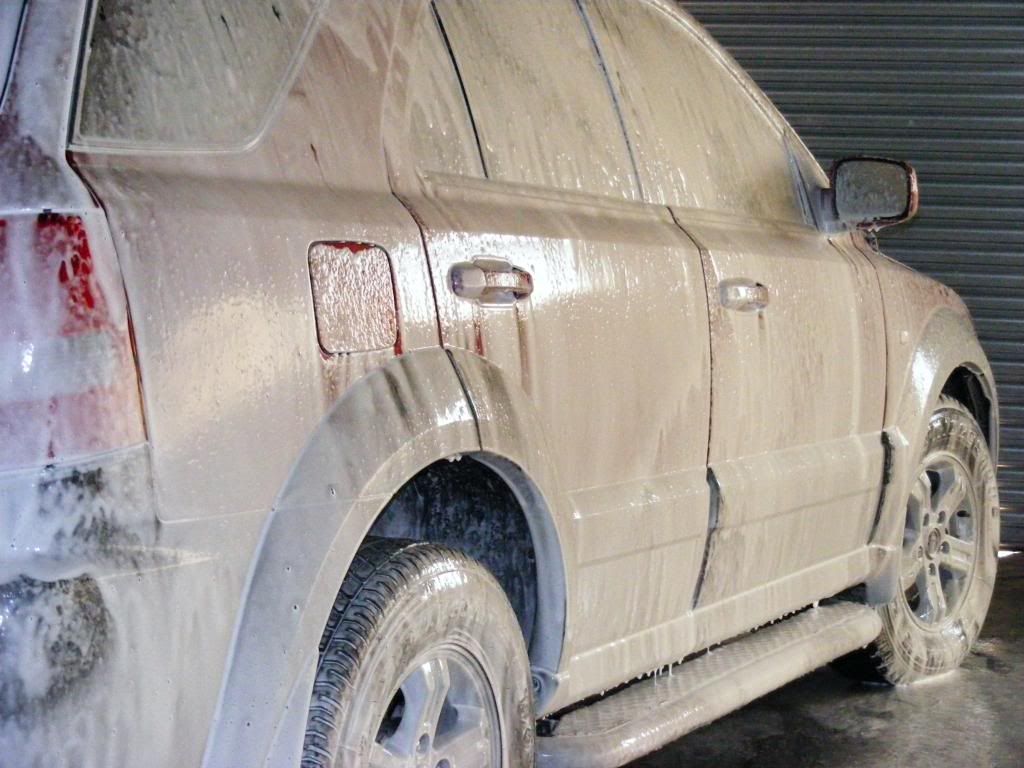
The car was then foamed using Meguiars Shampoo Plus through the foam lance (I rarely botther with specialist snow foams, finding shampoos are just as effective):
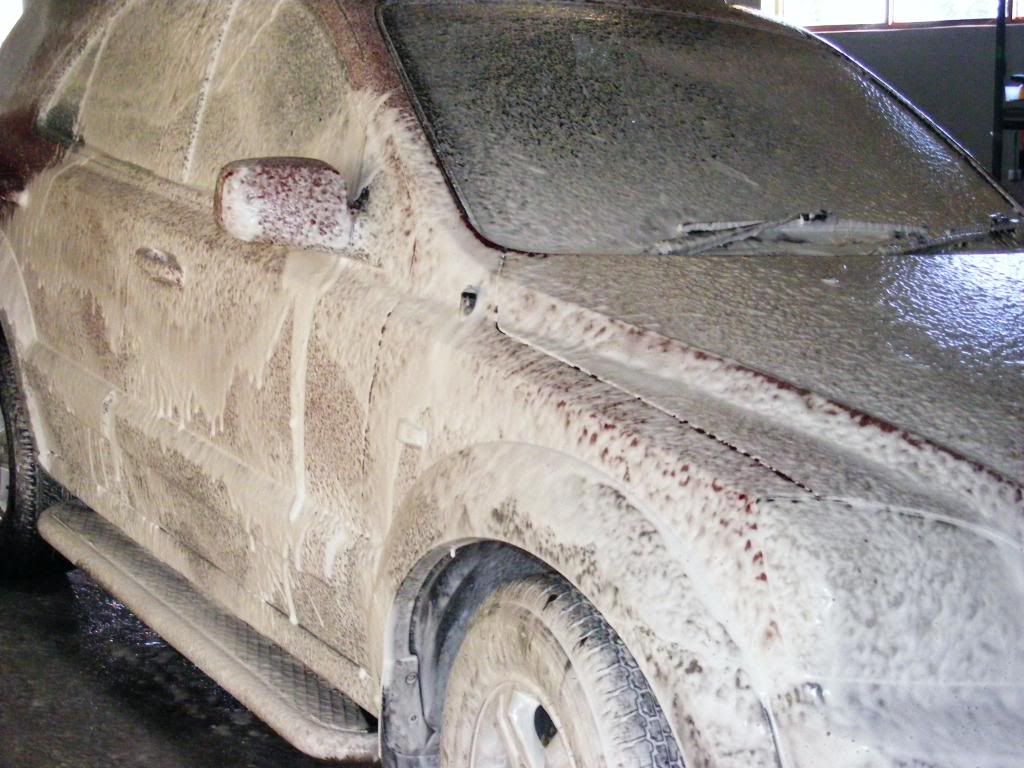
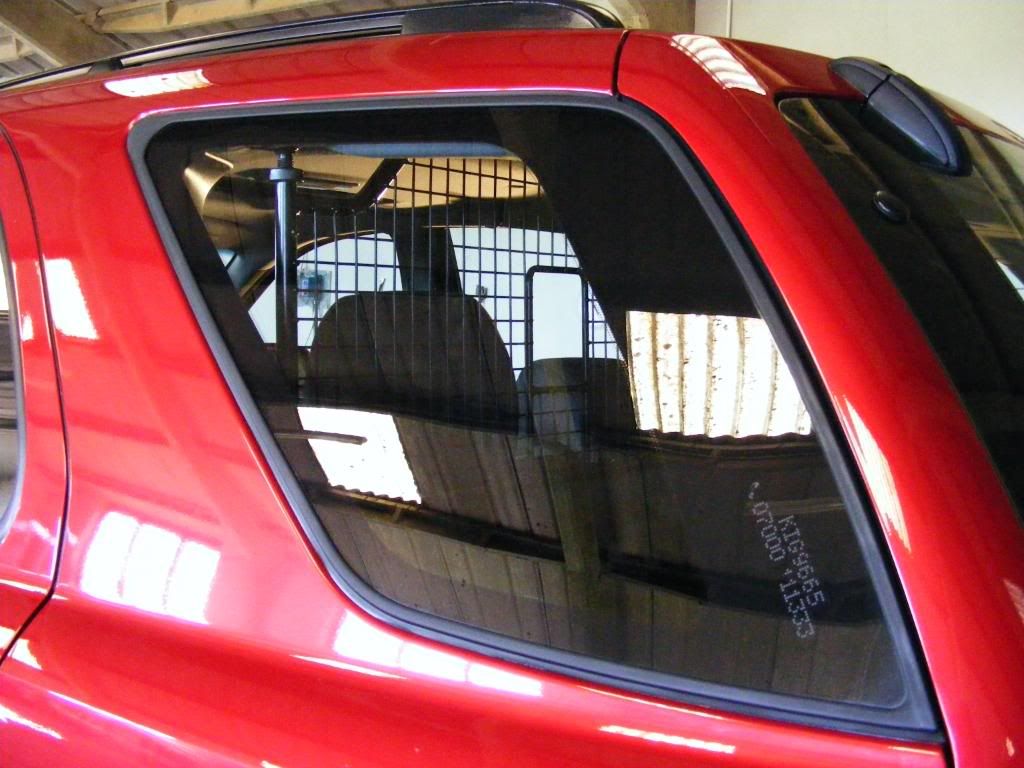
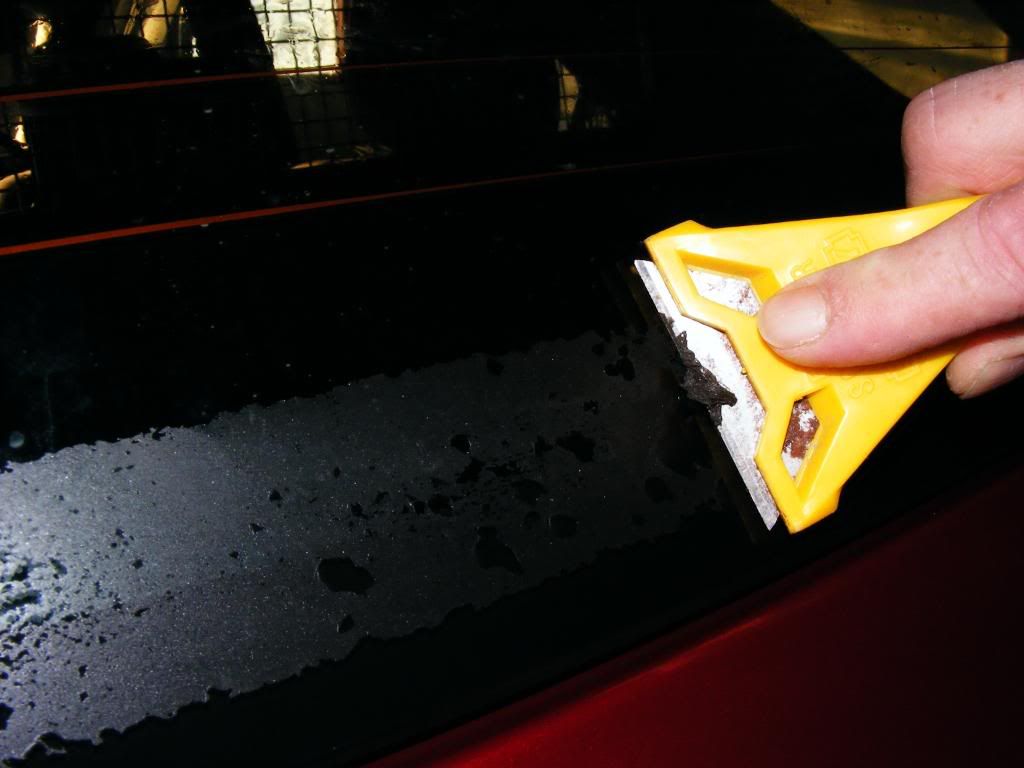
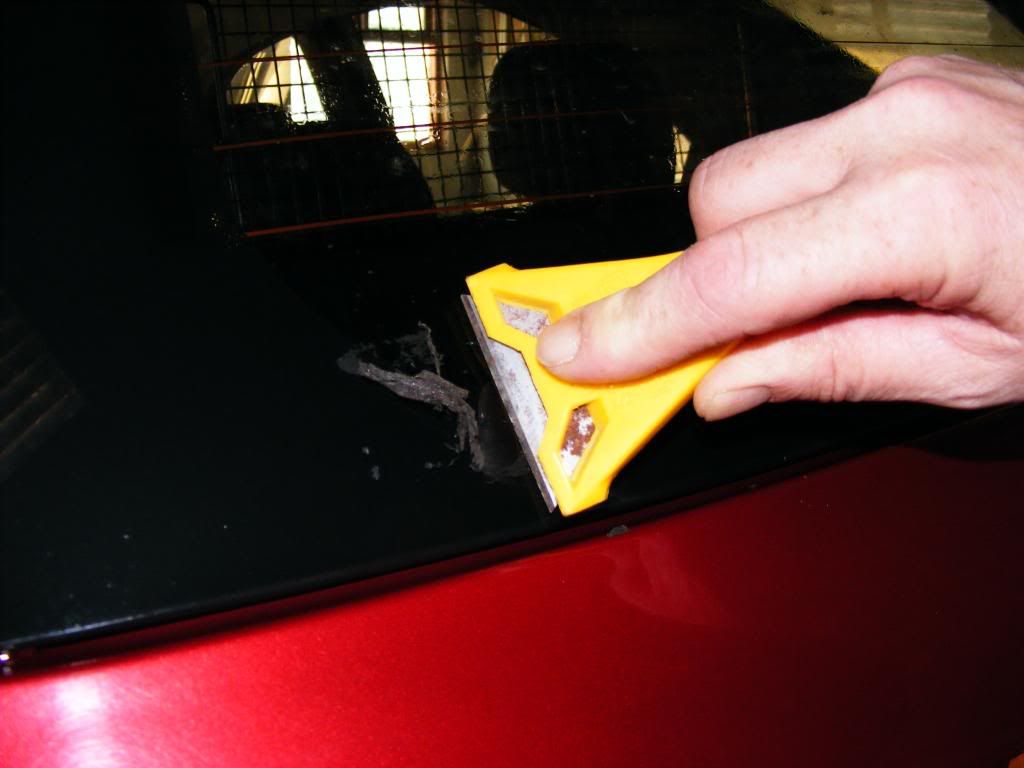
Rinsed, two bucket wash, rinsed and ready for claying. While I started claying, Bryan set about removing a glue residue from the rear windscreen with a blade..
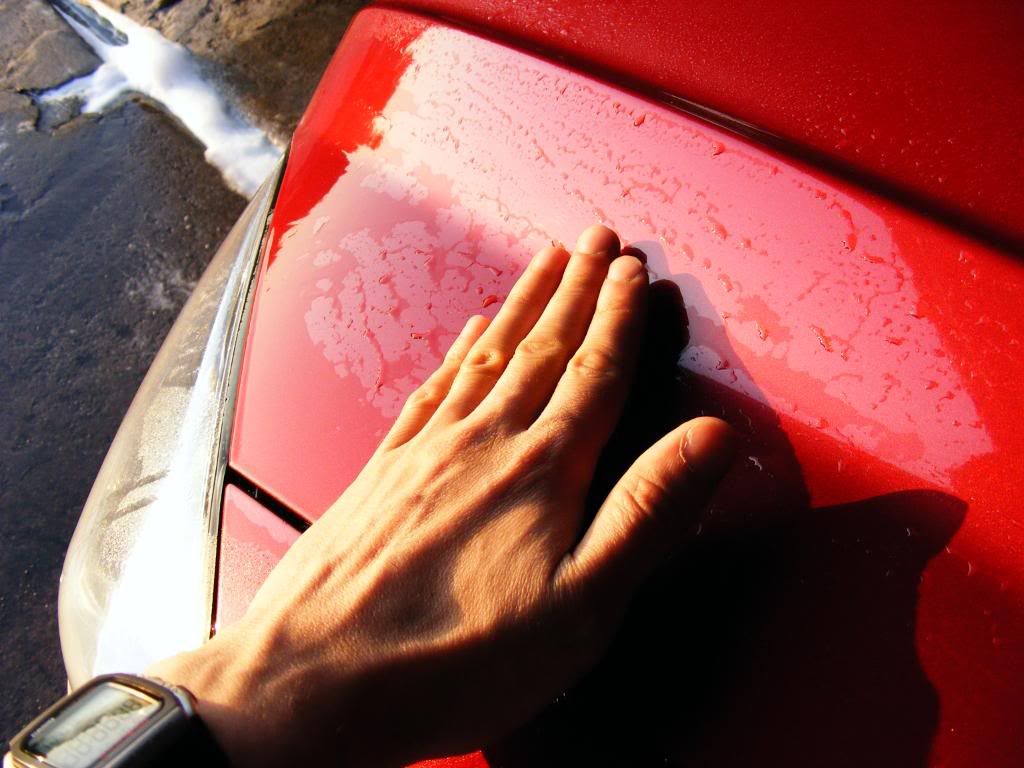
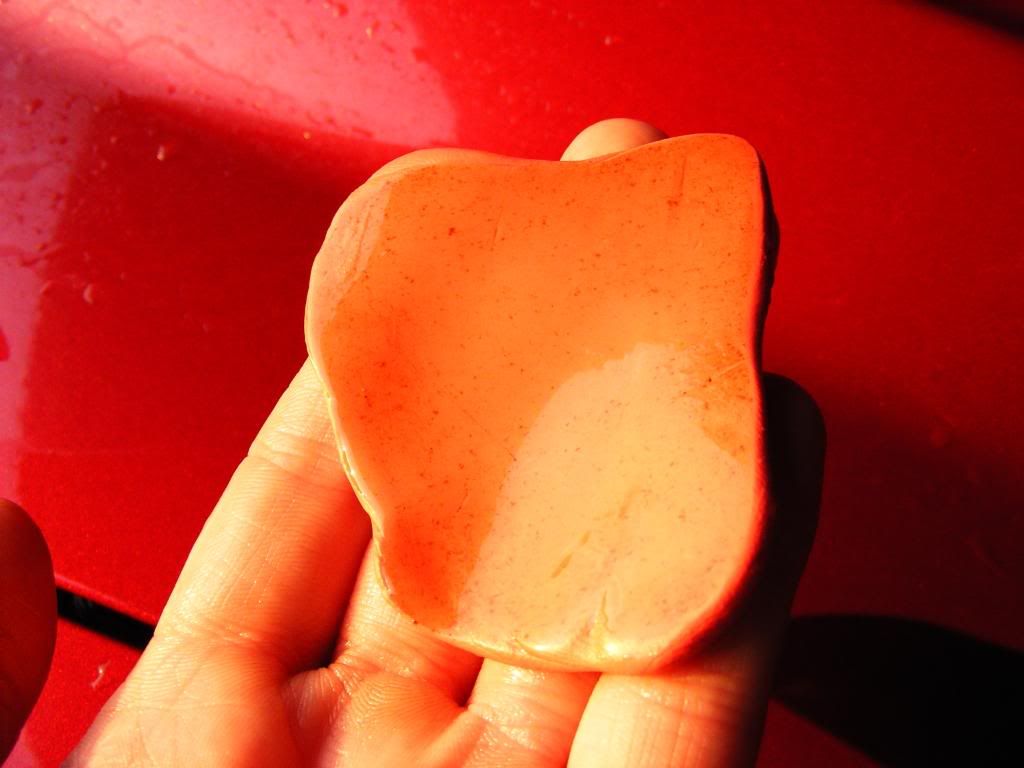
Claying, the car felt like sandpaper. Zaino Z18 clay used, wiped gently until it ran smooth...
and you can see just a small section of the bonnet already pulling up a lot of grime...
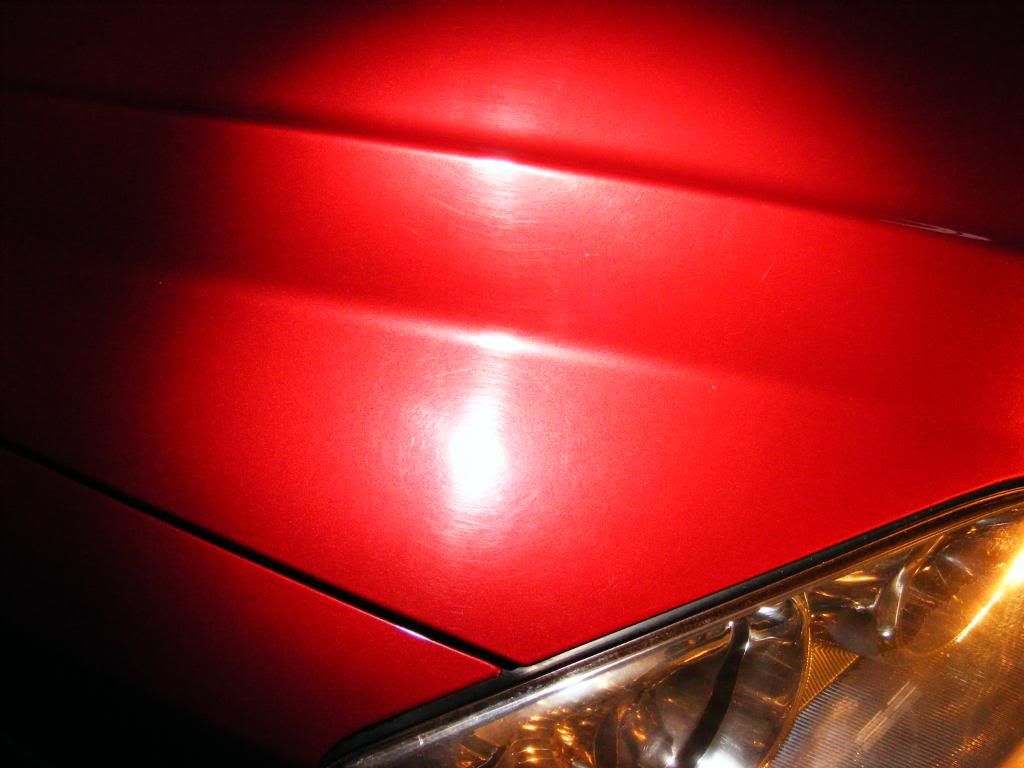
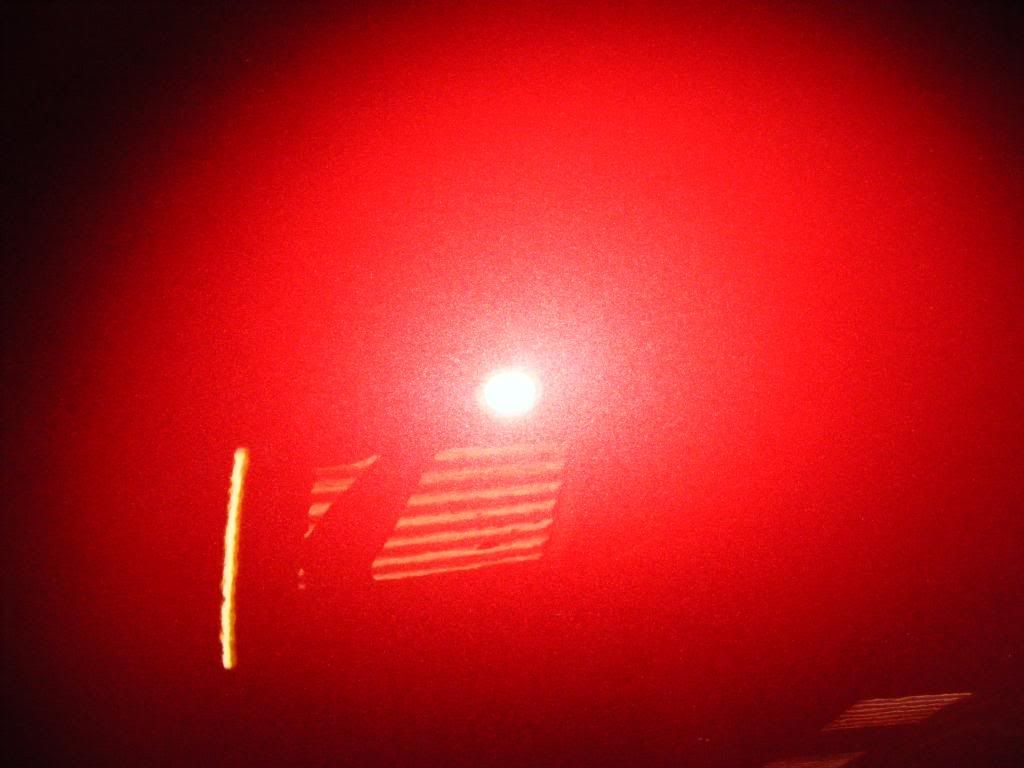
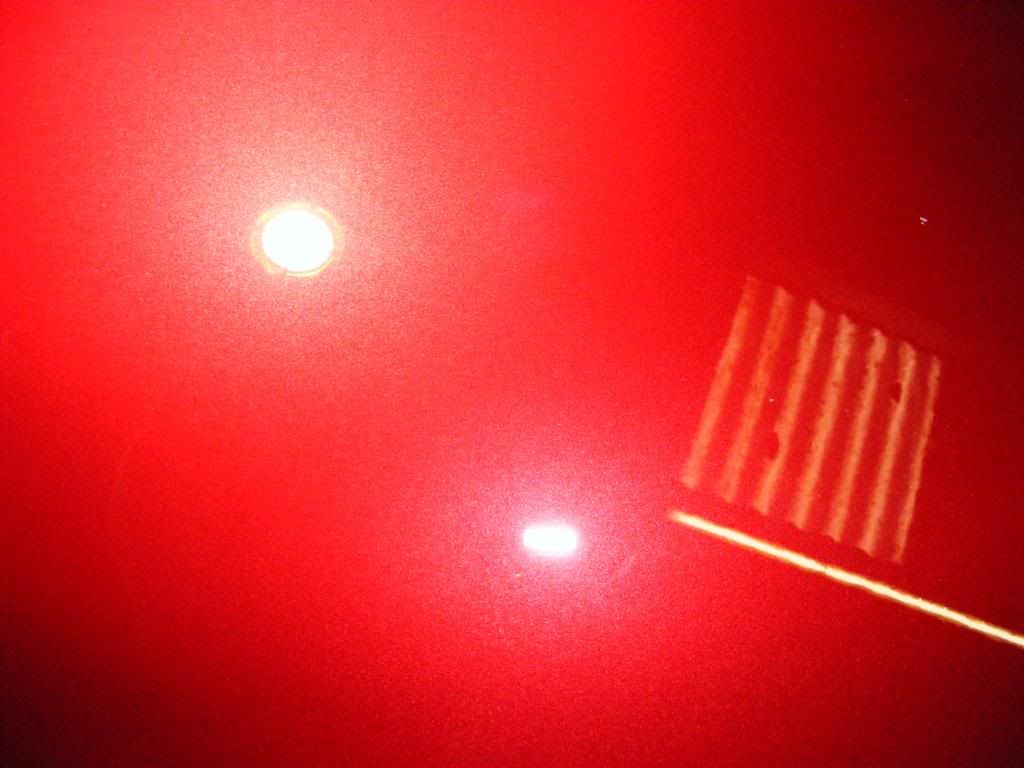
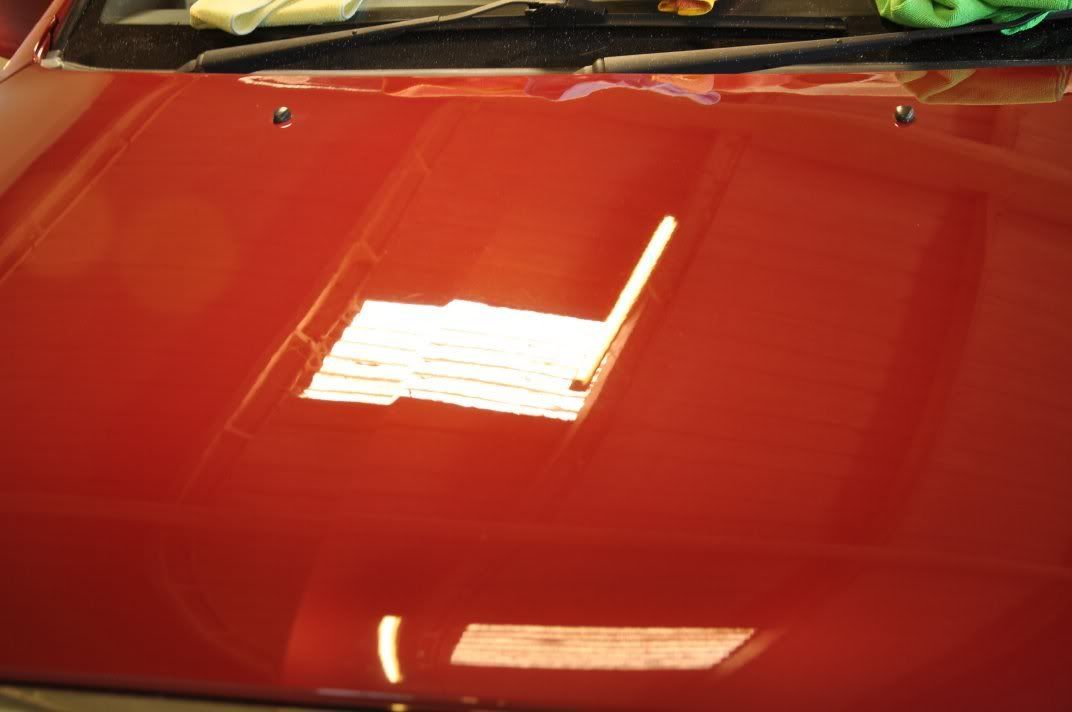
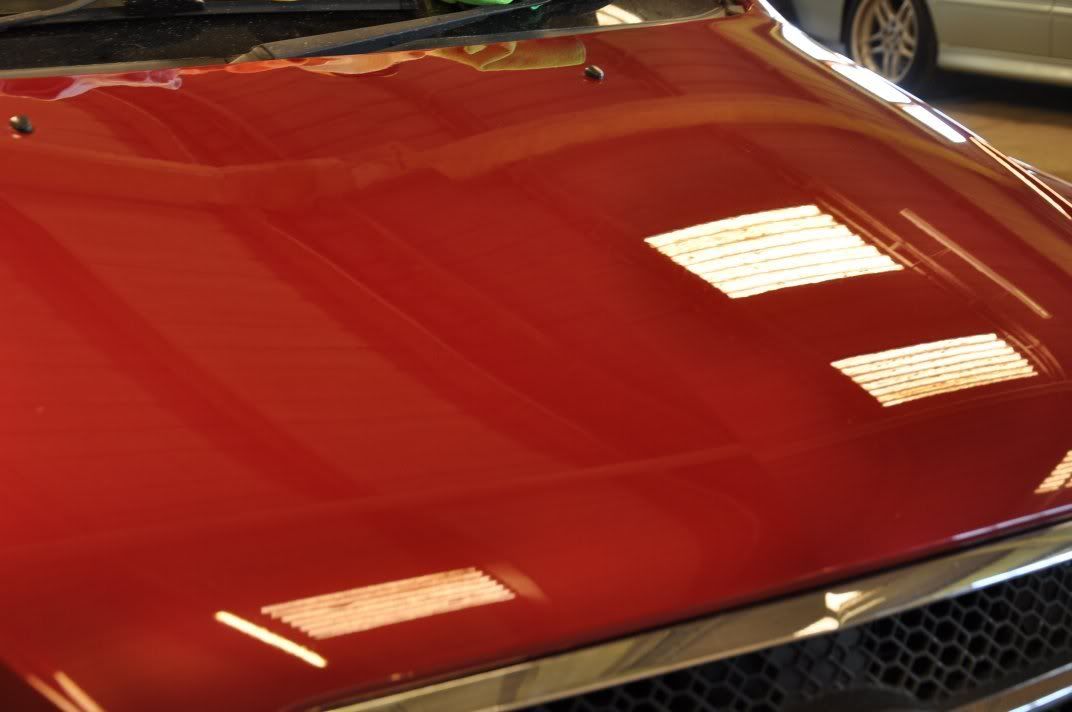
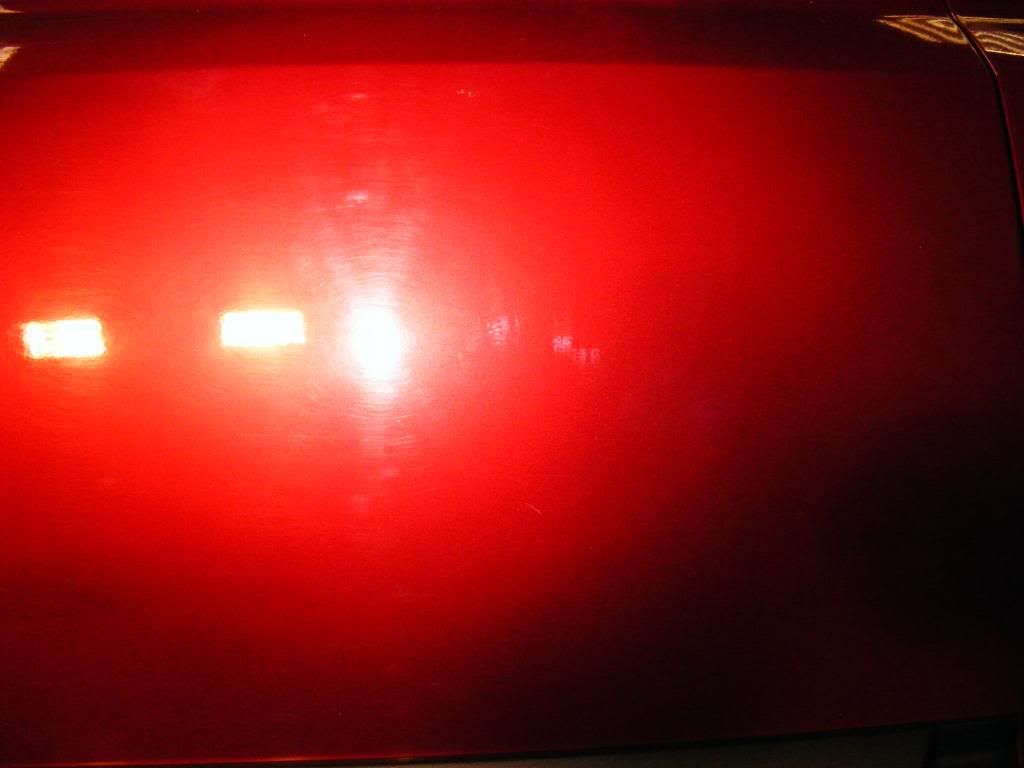
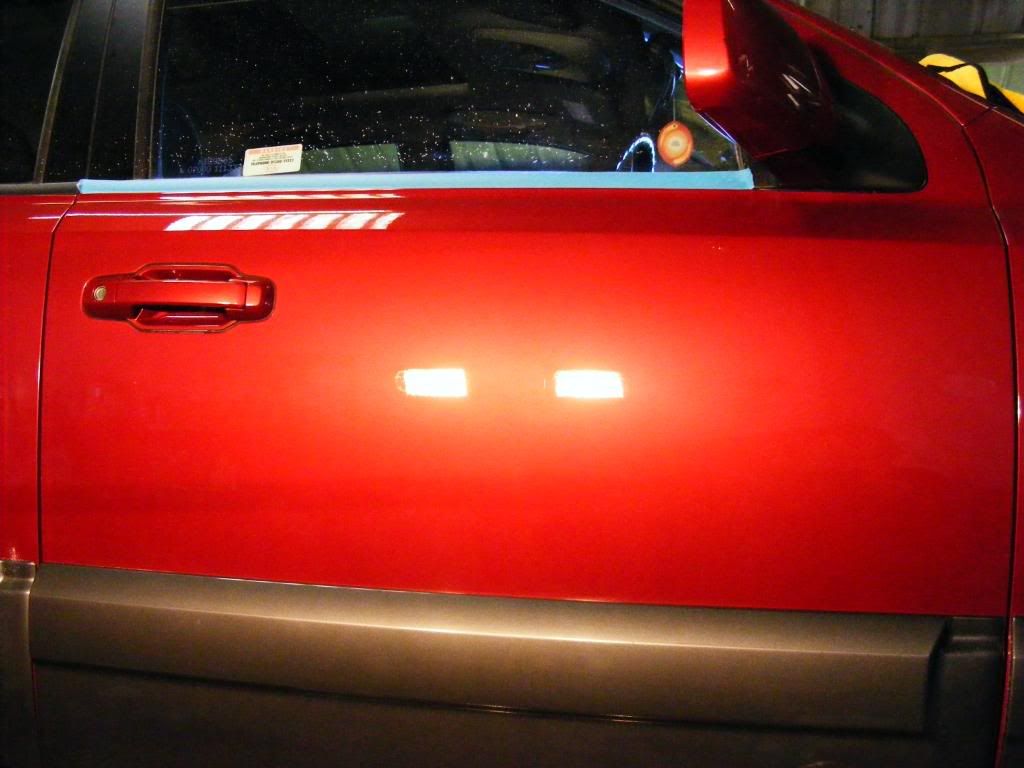
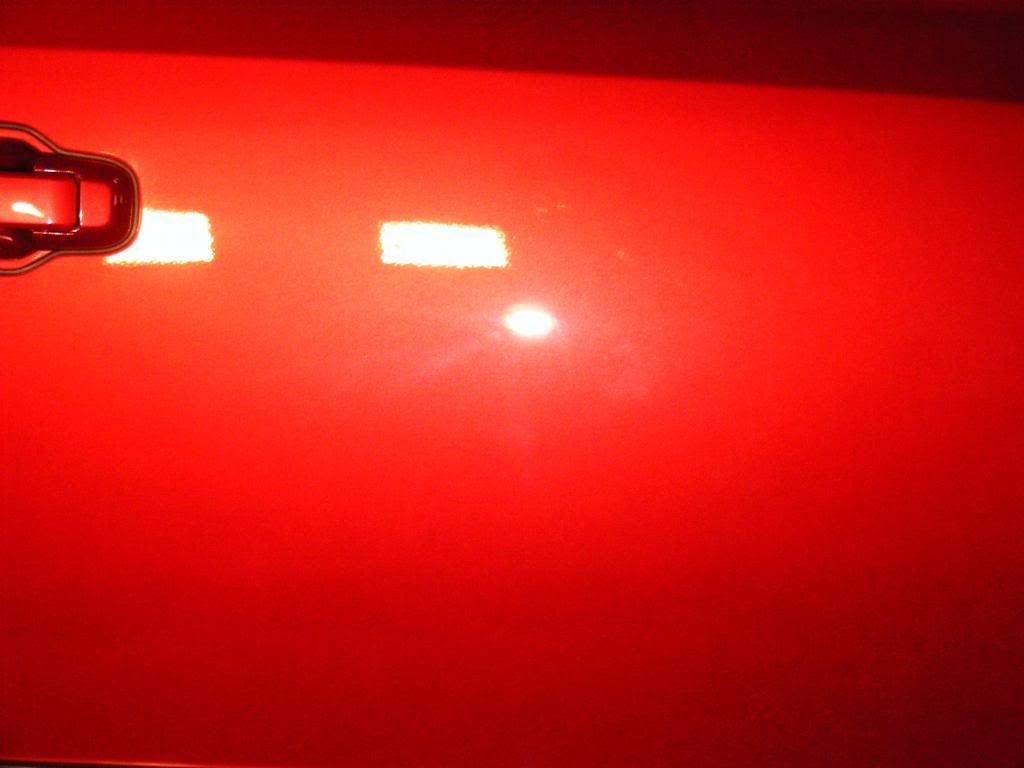
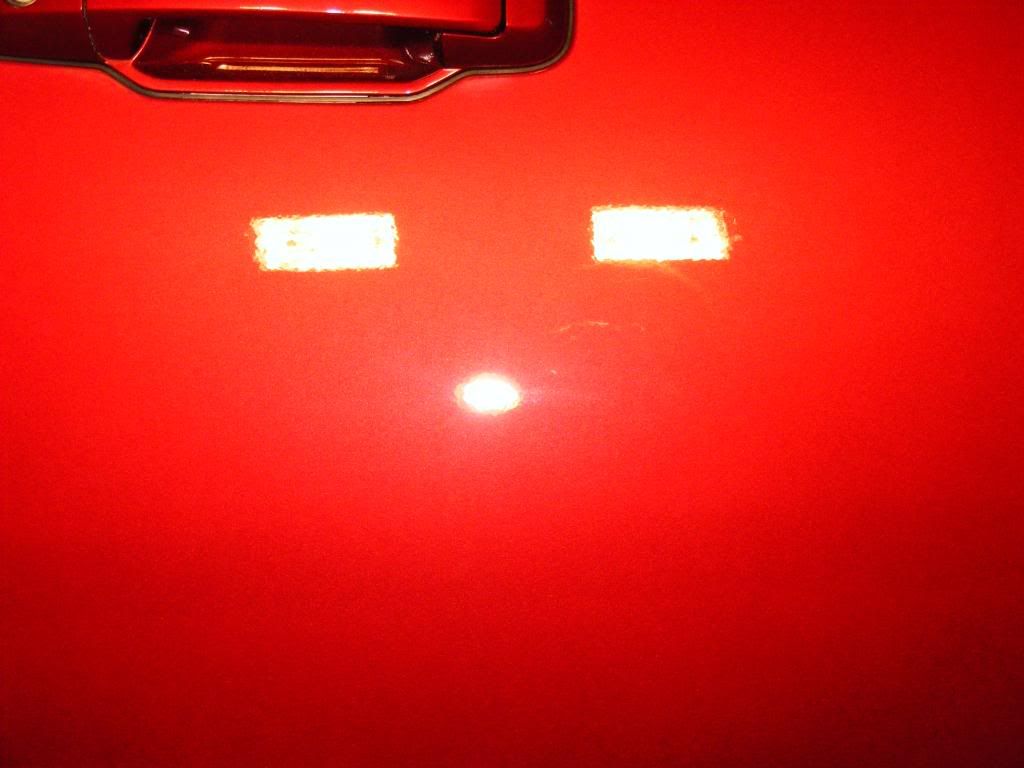
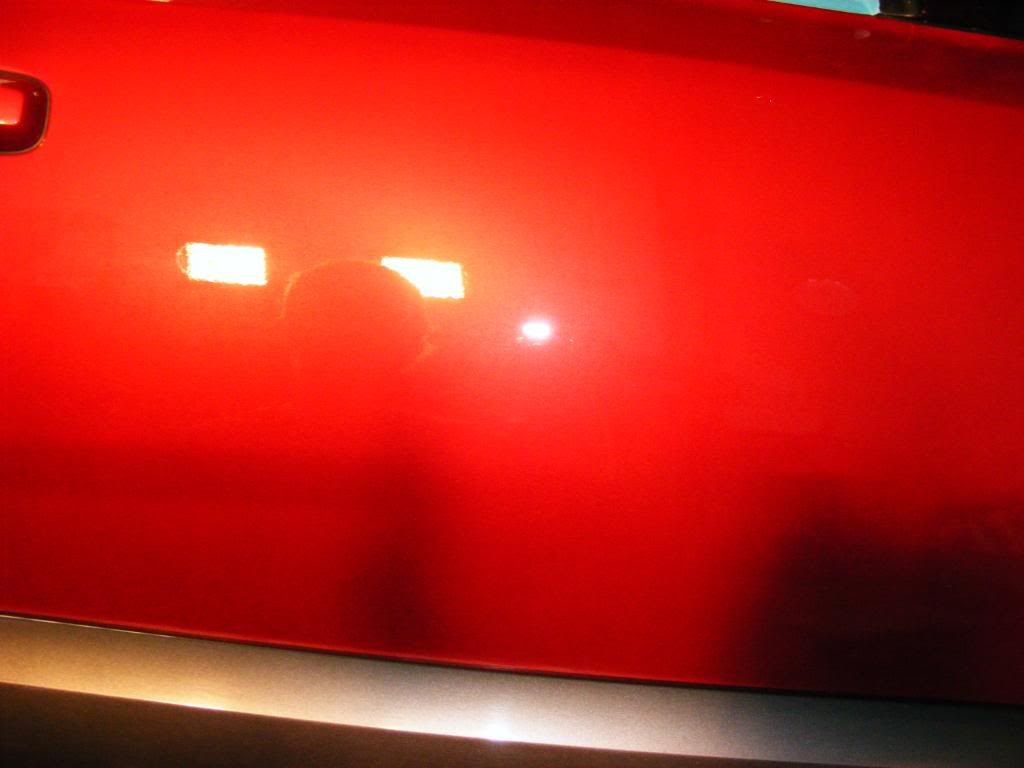
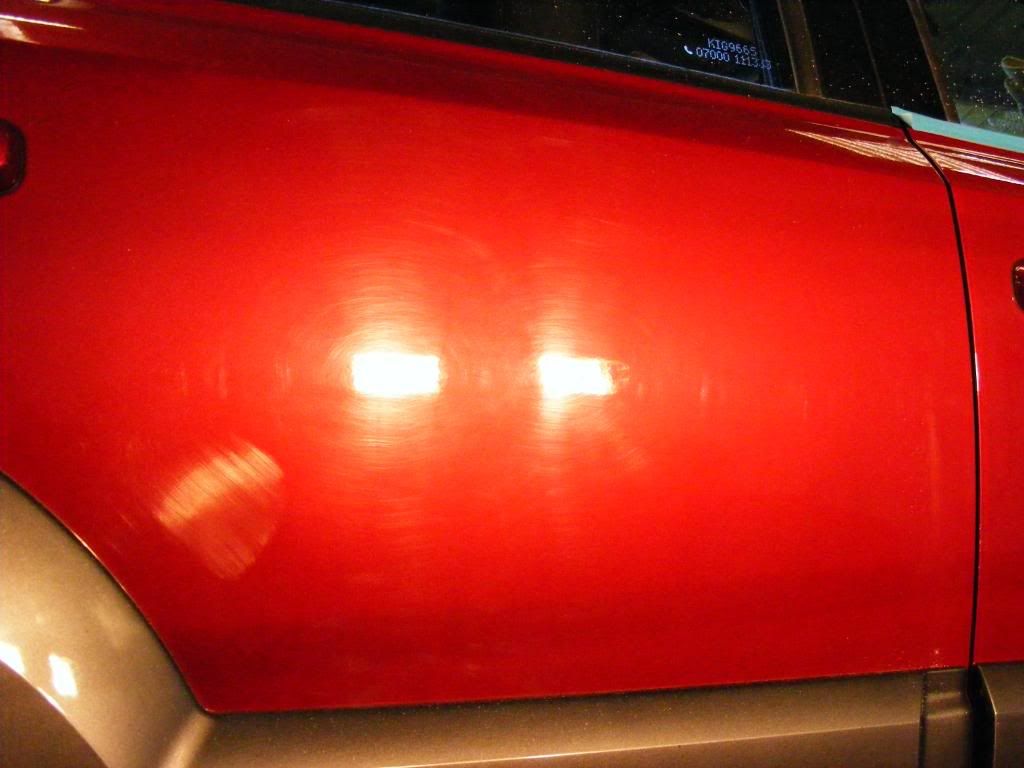
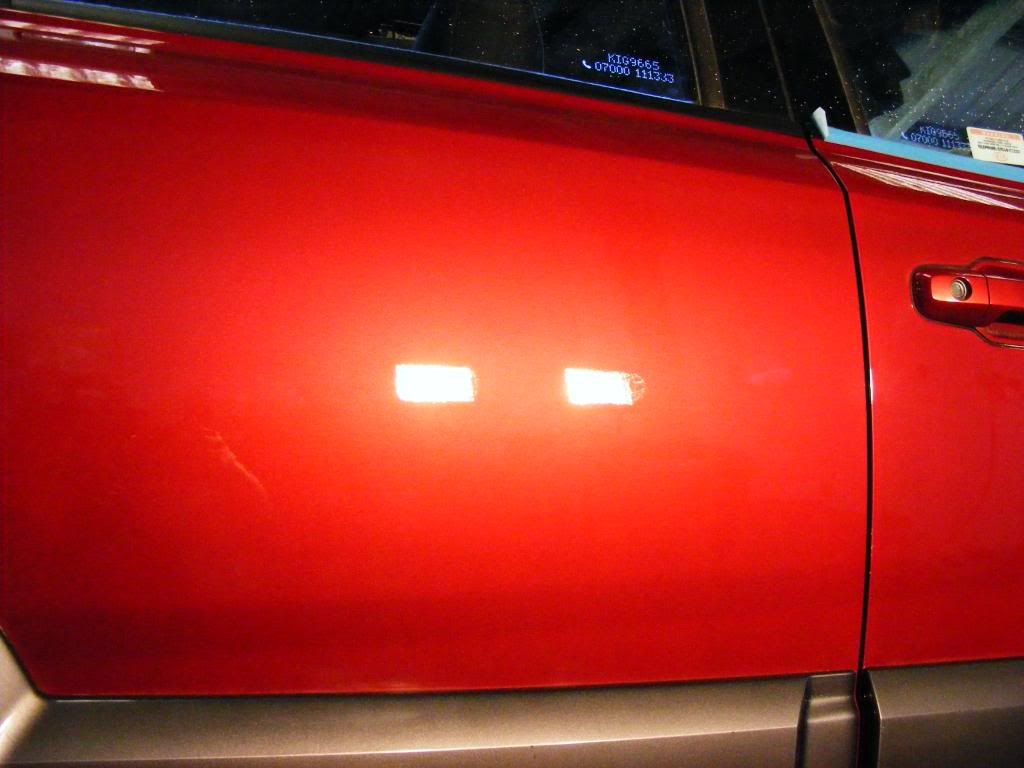
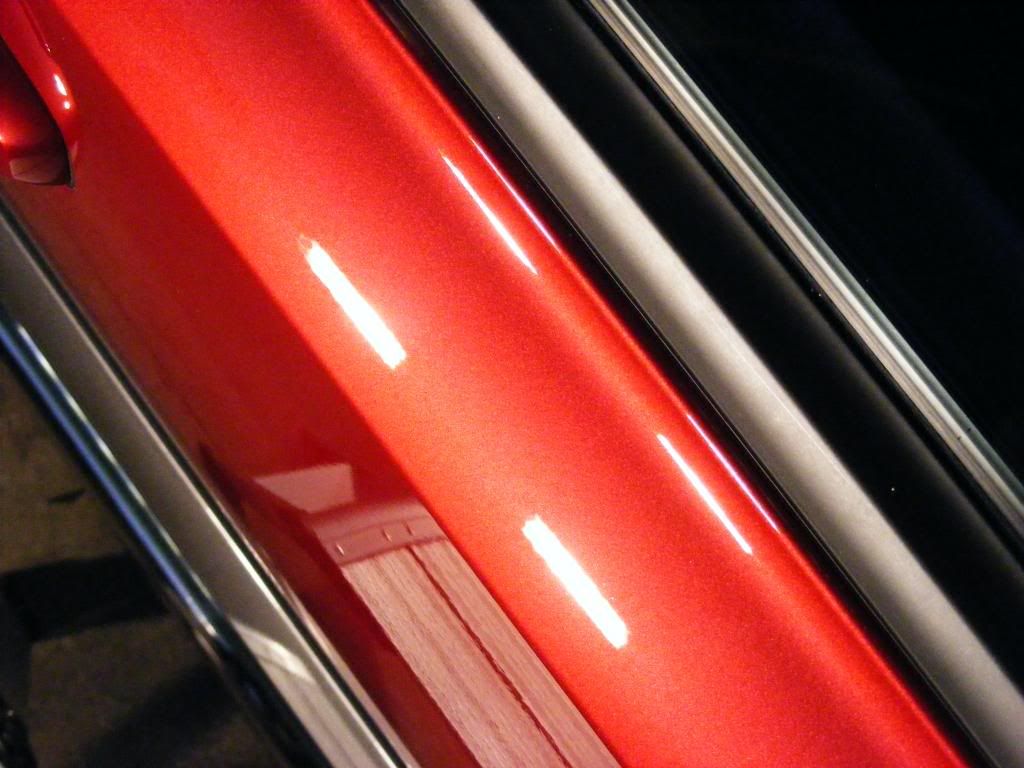
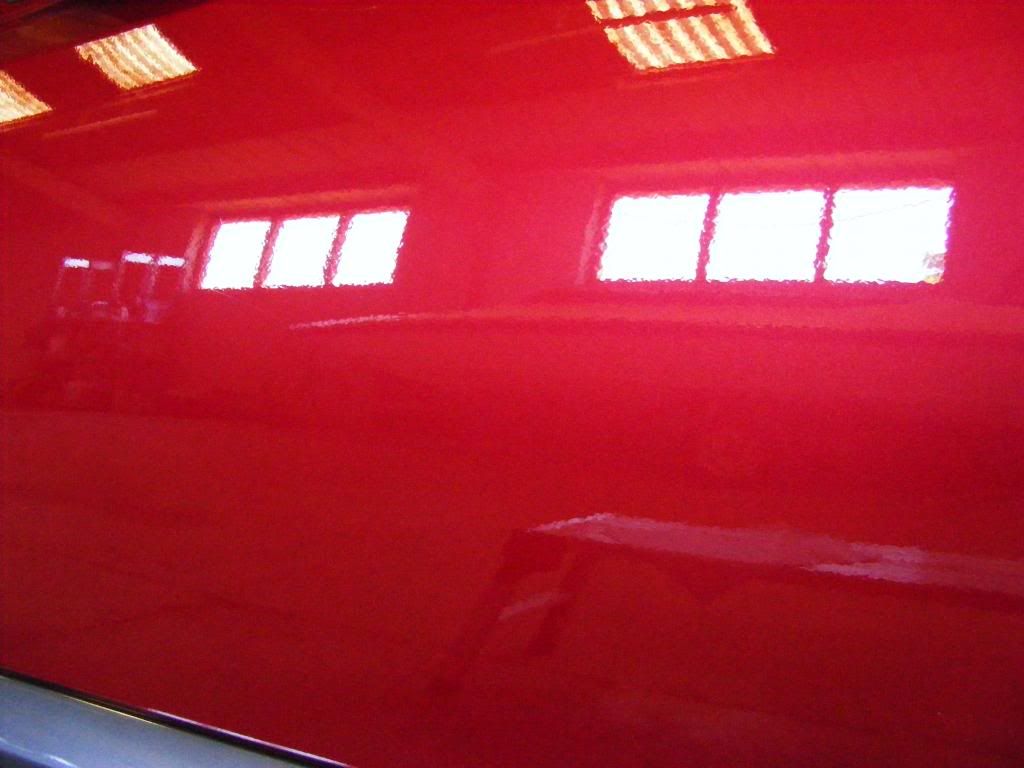
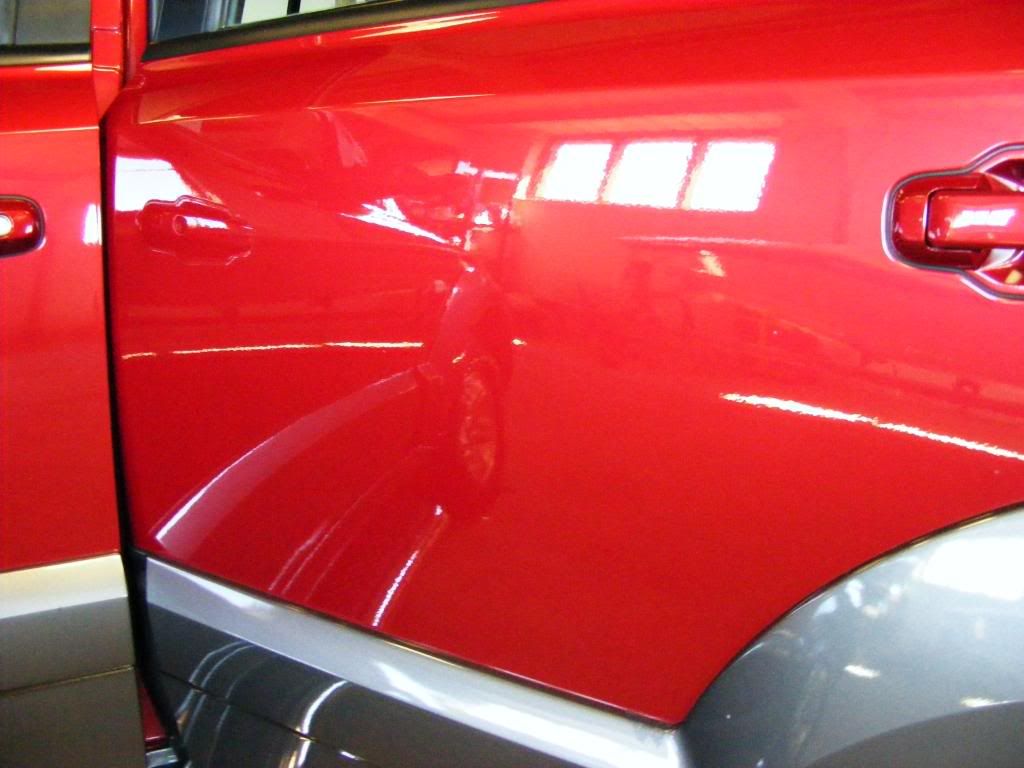
In the setting sun, the swirls were very apparent:
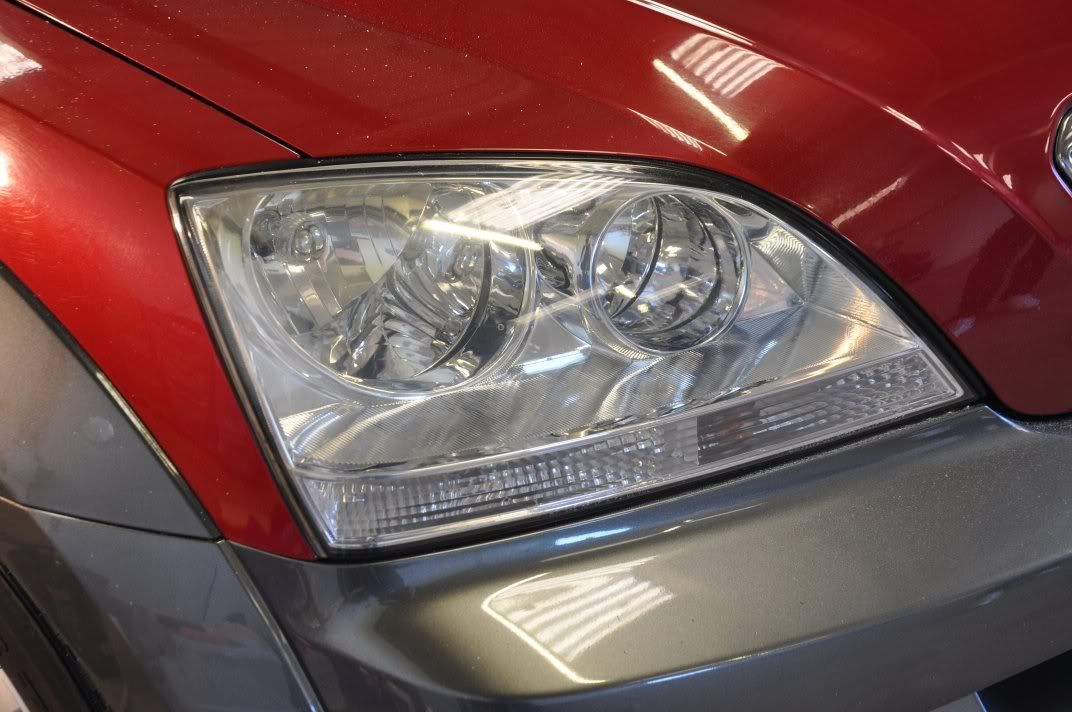
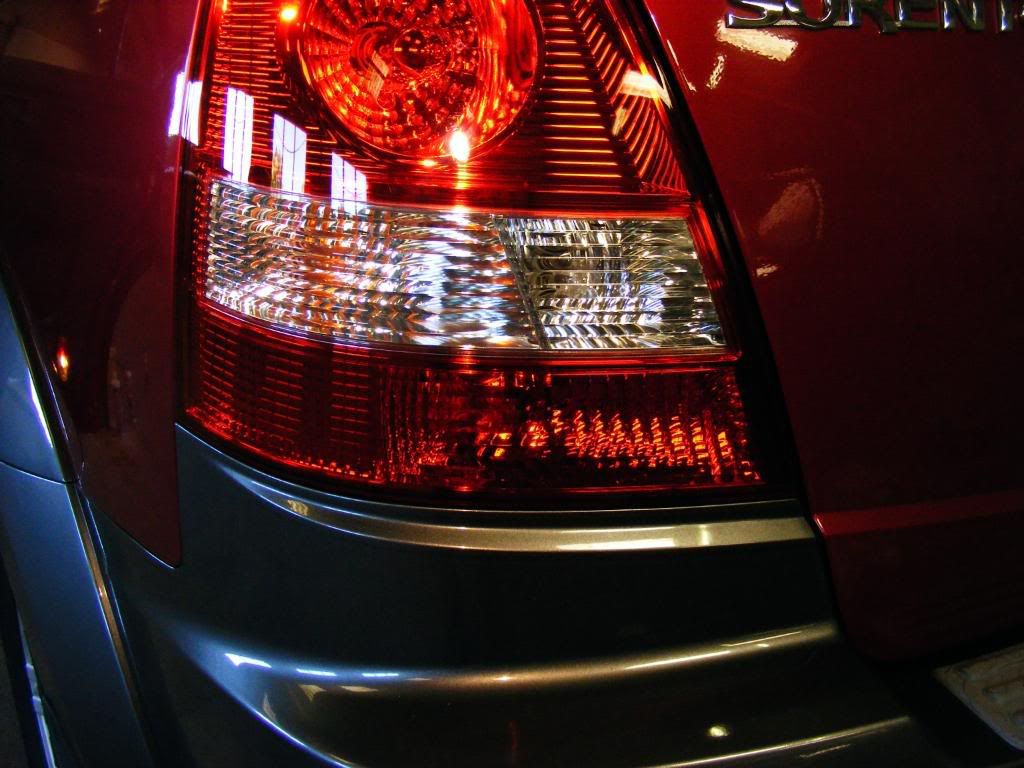
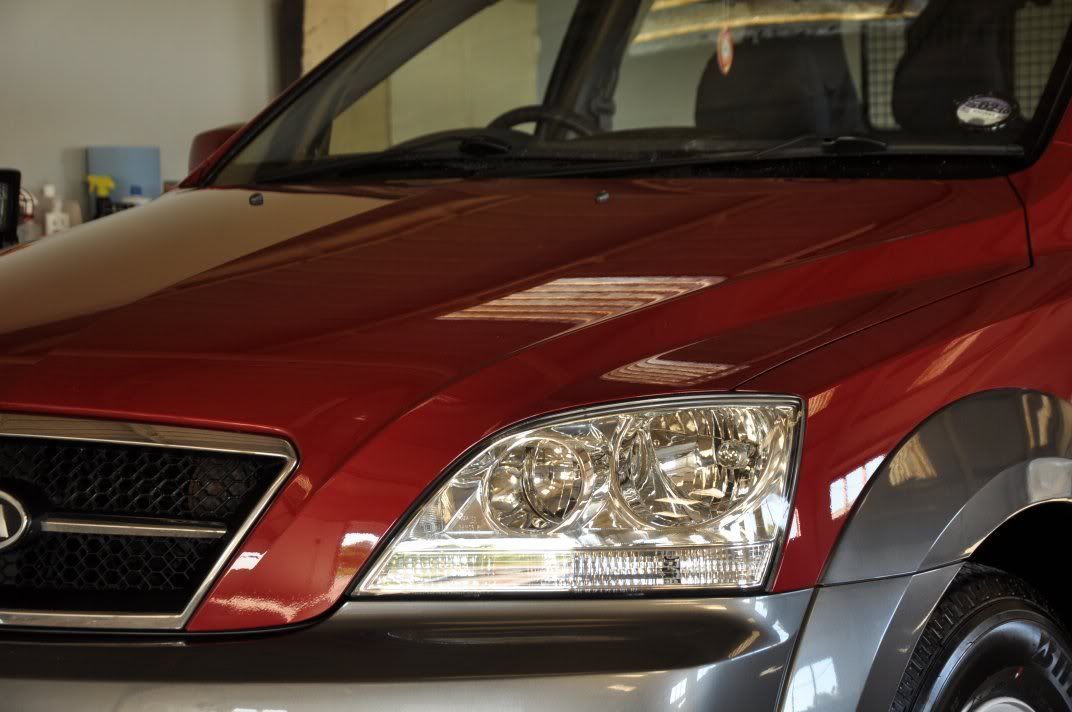
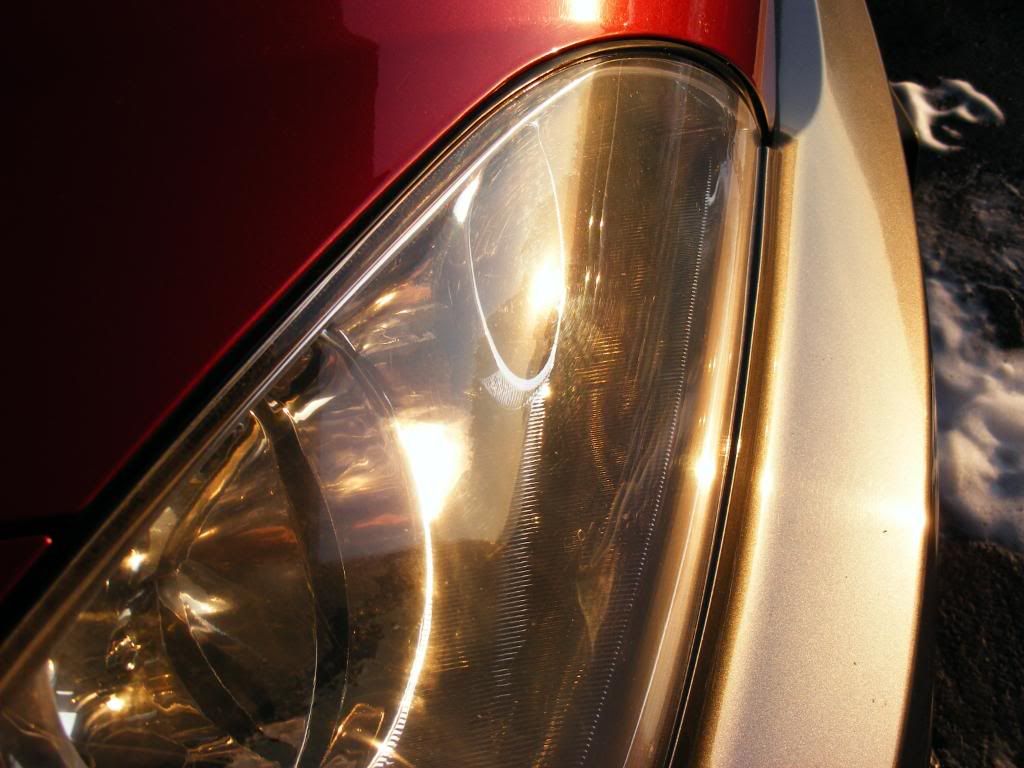
Dull headlights, too...
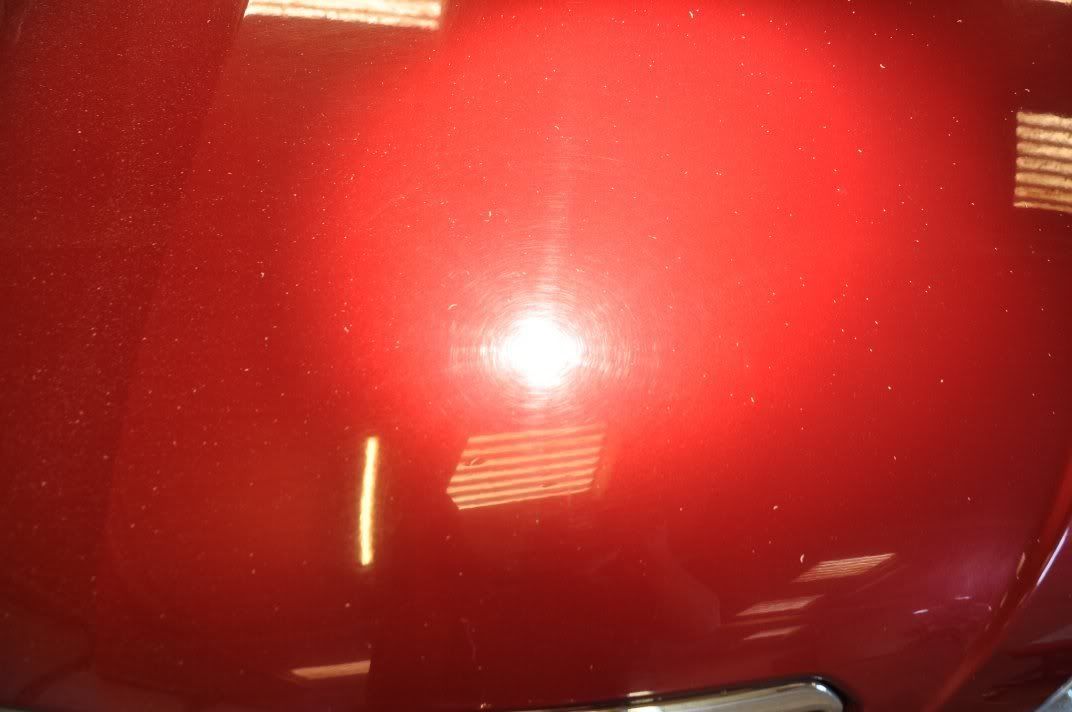
Closer inspection in the sun revealed why - swirls!
Some minor regions of damage that would require attention too, hit by a football...
and bird etching...
First off though it was the wheels and arches, which before again looked fairly clean...
Wheels cleaned with Bilberry, tyres with and arches with APC. Vikan brushes used to ensure the insides of the wheels clean also...
Another wheel and arch before...
Tyres cleaned with Meguiars APC, sprayed on and agitated with a brush...
Arches the same...
Ensuring the inside lip of the arch clean as well, and free of mud...
I use my hands (with gloves!) to feel round the inside lip of this wheel arch, dislodging trapped dirt and ensuring a completely clean wheel arch...
Rinsing off...
The results, clean and ready for dressing
The car was then foamed using Meguiars Shampoo Plus through the foam lance (I rarely botther with specialist snow foams, finding shampoos are just as effective
):
Rinsed, two bucket wash, rinsed and ready for claying. While I started claying, Bryan set about removing a glue residue from the rear windscreen with a blade..
Claying, the car felt like sandpaper. Zaino Z18 clay used, wiped gently until it ran smooth...
and you can see just a small section of the bonnet already pulling up a lot of grime...
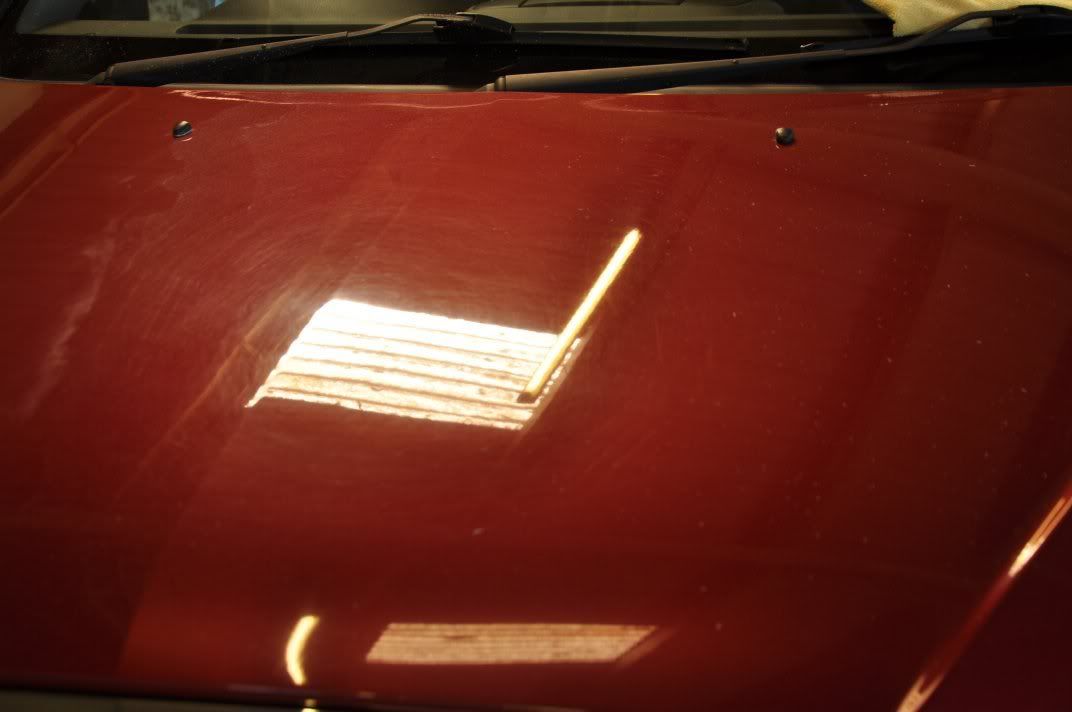
In the setting sun, the swirls were very apparent:
Dull headlights, too...