4830Deuce
Burn Then Buff!
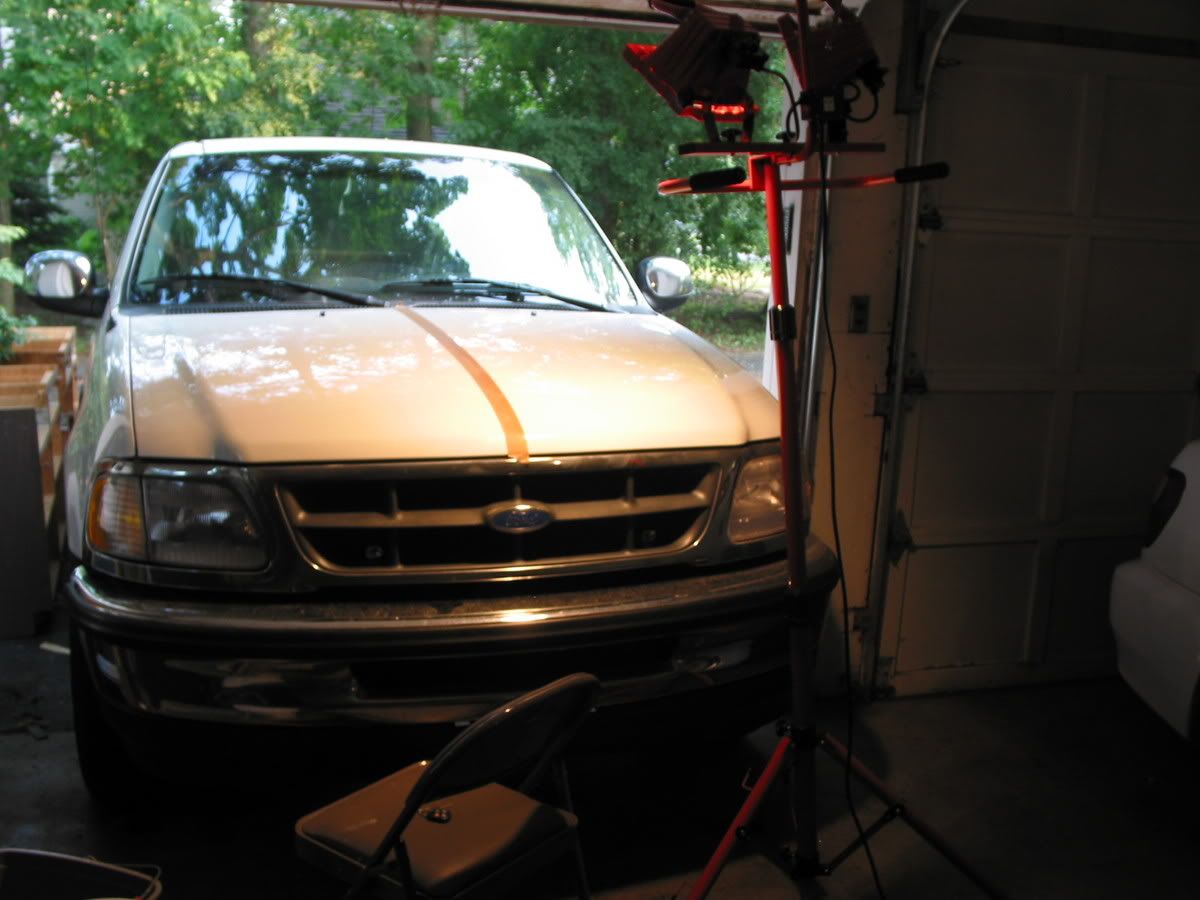
For the past month or so since I have joined Autopia I have noticed many people starting threads on the topic of removing swirl marks. I thought I would do I nice write up of how to permanently remove bad swirling w/o the use of any fillers. At the same time I would love to prove the nay sayers wrong who say there is no way to remove swirls for good w/o using fillers. This process was done on a 1997 Ford F 150...There were many baked on contaminants and such that needed to be removed prior to removing the swirls.
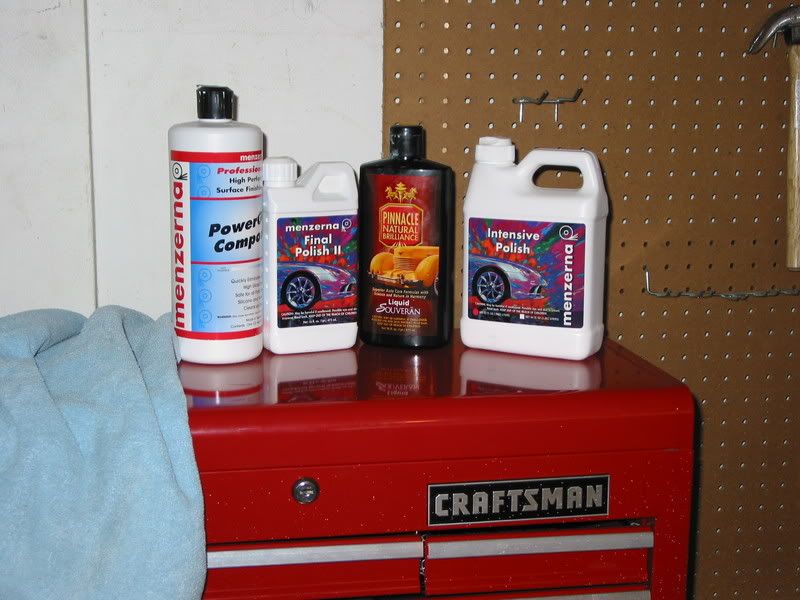
Products used:
Dawn Soap
Meg’s Claybar
Menzerna Powergloss
Menzerna Intensive Polish
Menzerna Final Polish II
Liquid Souveran wax (Filler but its just for protecting the paint)
2 yellow Compounding Pads
1 White Polishing Pads
Porter Cable DA Polisher
Step 1:
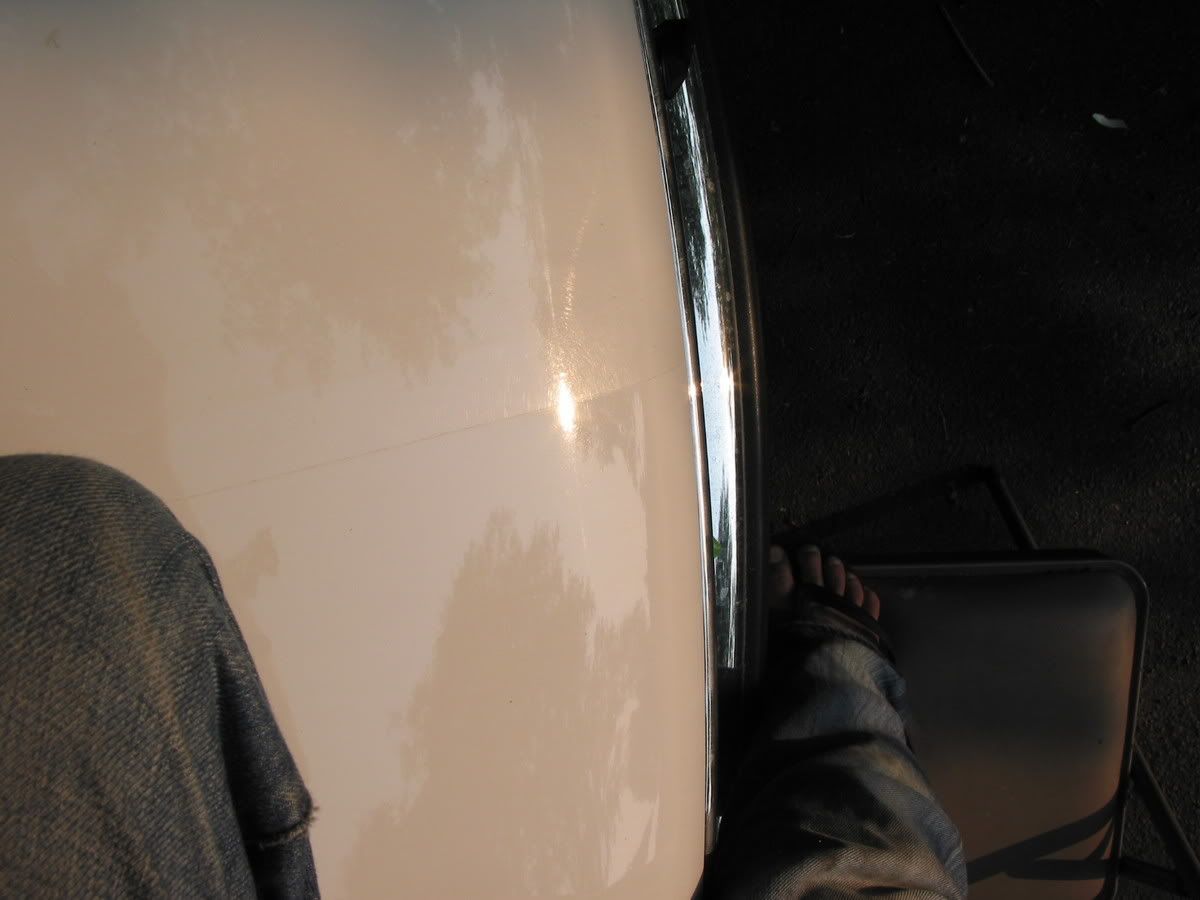
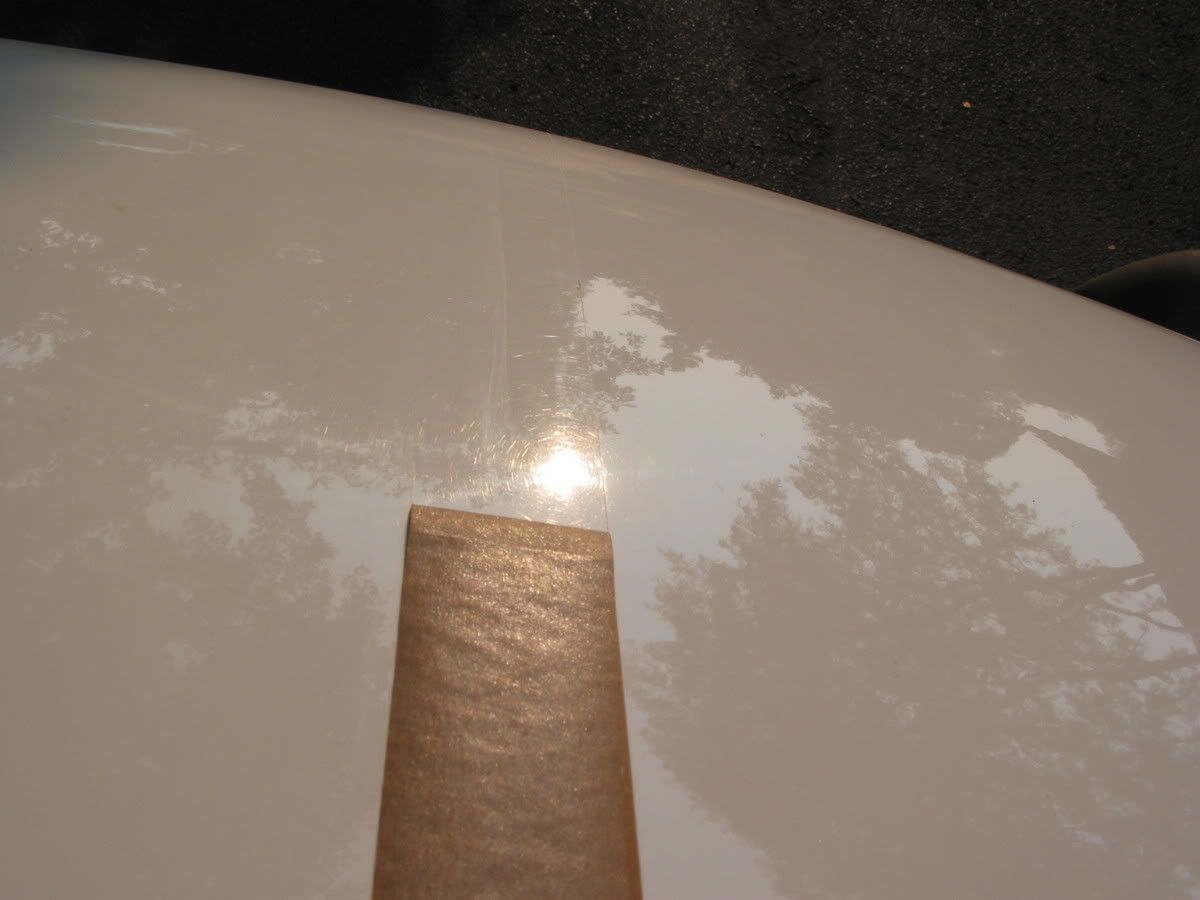
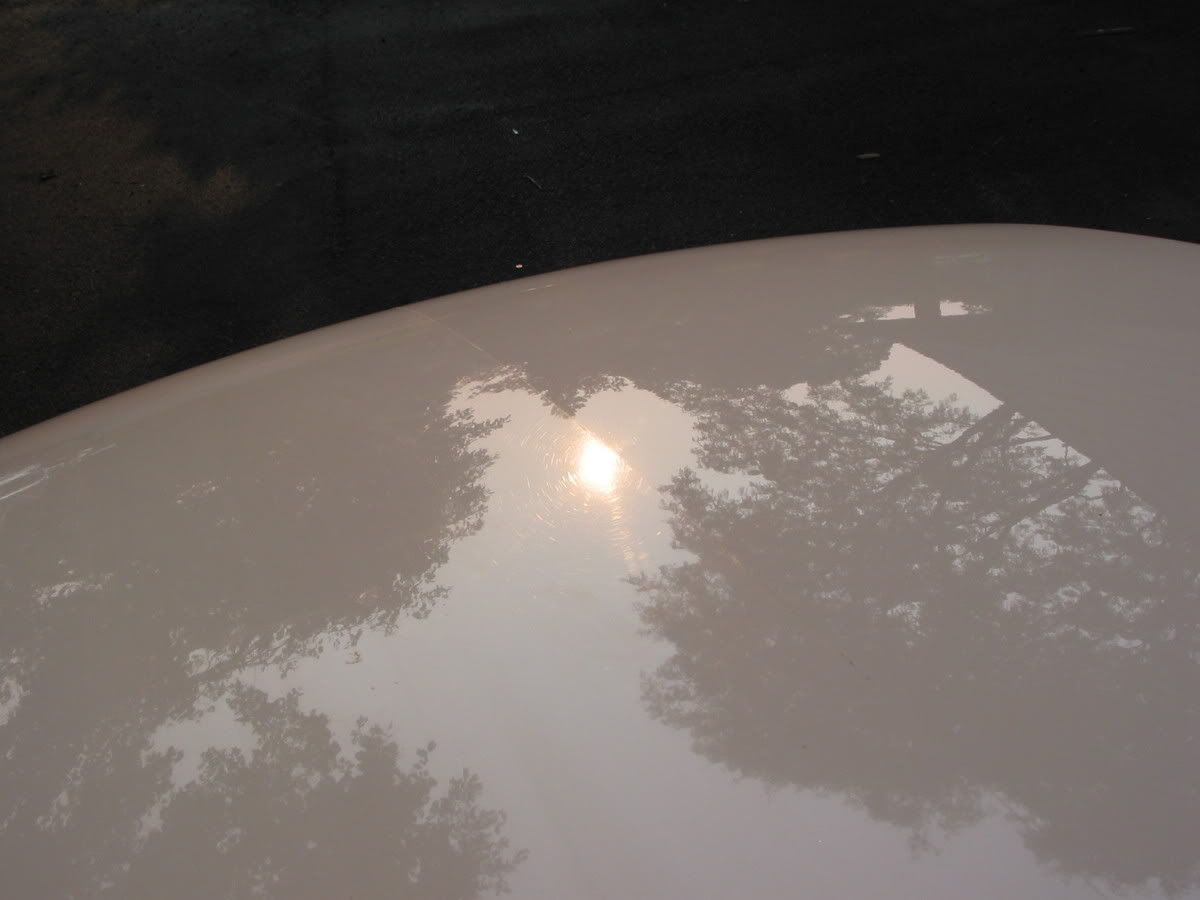
Washed car w/ dawn dish soap to get all baked on contaminants off the surface of the paint. After the wash the hood looked like so:

This picture gives you an idea of how terrible the swirls I was working with here. The sight of these might discourage one to tackle such a project…but believe me the results are worth it!
Step 2: Meguiar’s Claybar
Used Meguiar’s Claybar to take off all contaminants that dawn could not.
Step 3:
After claying paint in such bad shape it is ALWAYS a good idea to wash the car again…In this case I used Meg’s NXT car wash. This is not the time to cut corners
Step 4: Menzerna Powergloss
Many say that Powergloss can not be broken down with a PC but I beg to differ. I used Powergloss with a yellow compounding pad. REMEMBER: work in 2x2 foot areas, this is to make sure you have covered and buffed every inch of what your are working on. Take this step slow it will take time for the PC to break the Powergloss down. I first applied the Powergloss to the hood of the truck then spread it around the area with the PC off. Once this is done I started to work it in keeping the speed between 2-2.5. Once it is spread and looks even I turned the PC up to 4.5-5 this further breaks down the Powergloss and lets it do its magic. After working the with the Powergloss for multiple passes on 5 I turned the speed up to 6 for one to two final passes.
Step 5: Menzerna Intensive Polish
This step is optional in my opinion a few swirls still remained after the application of PG so I deiced to go with a less abrasive compound so I went with IP. Once again I went with a yellow compounding pad for this application. I worked the IP in the same way that I did with the PG, progressing the speed as the product started to break down. Remember work 2x2 foot area’s.
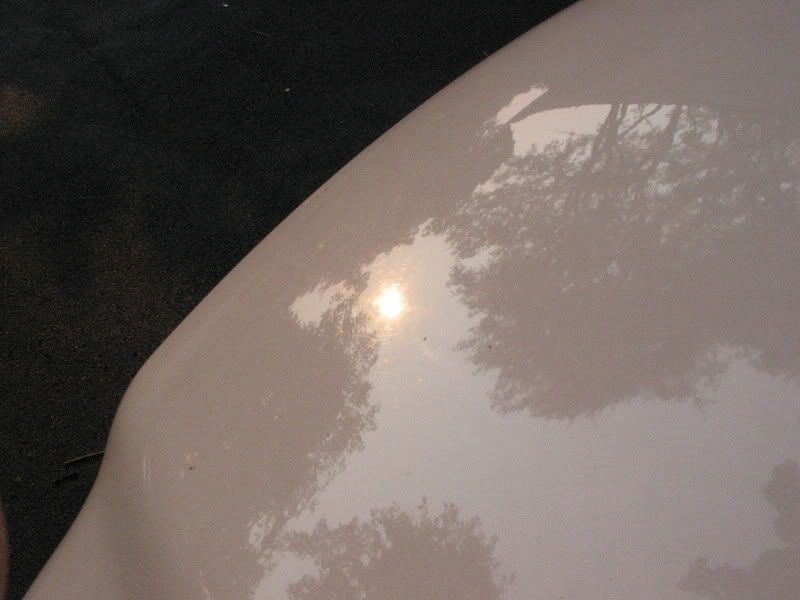
As you can see there are no longer any swirls after the application of IP.
Step 6: Menzerna Final Polish II
This step is too remove any compound haze that was caused to during the compounding process. This will leave your paint looking its best, before you seal it in with the Liquid Souveran Wax. I used a white polishing pad for this application.
Step 7: Liquid Souveran Wax
This is the only step in this process that has any type of “filler� that will “cover up� minor defects such as small scratches that could not be removed by the compounds that were used to remove the swirl marks. Remember this step should not be used to cover up remaining swirls, they should be completely removed before this step. This steps purpose is only to protect the paint once the swirls have been removed.
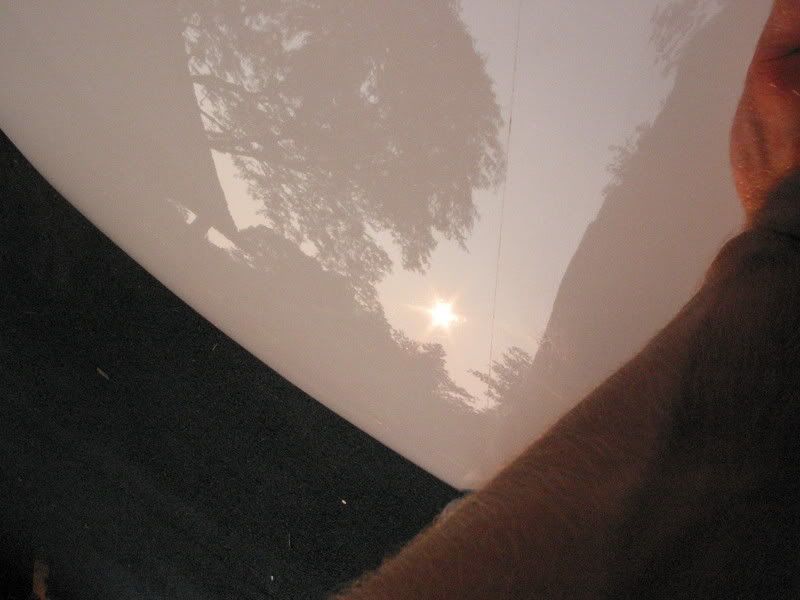
Final Product:
Bad Side:
Good Side:
EDIT:
WARNING! New swirls will appear after time...It is nearly Impossible to prevent new swirls from forming...With proper care and washing swirls can be kept to a minimum...
Products used:
Dawn Soap
Meg’s Claybar
Menzerna Powergloss
Menzerna Intensive Polish
Menzerna Final Polish II
Liquid Souveran wax (Filler but its just for protecting the paint)
2 yellow Compounding Pads
1 White Polishing Pads
Porter Cable DA Polisher
Step 1:
Washed car w/ dawn dish soap to get all baked on contaminants off the surface of the paint. After the wash the hood looked like so:
This picture gives you an idea of how terrible the swirls I was working with here. The sight of these might discourage one to tackle such a project…but believe me the results are worth it!
Step 2: Meguiar’s Claybar
Used Meguiar’s Claybar to take off all contaminants that dawn could not.
Step 3:
After claying paint in such bad shape it is ALWAYS a good idea to wash the car again…In this case I used Meg’s NXT car wash. This is not the time to cut corners
Step 4: Menzerna Powergloss
Many say that Powergloss can not be broken down with a PC but I beg to differ. I used Powergloss with a yellow compounding pad. REMEMBER: work in 2x2 foot areas, this is to make sure you have covered and buffed every inch of what your are working on. Take this step slow it will take time for the PC to break the Powergloss down. I first applied the Powergloss to the hood of the truck then spread it around the area with the PC off. Once this is done I started to work it in keeping the speed between 2-2.5. Once it is spread and looks even I turned the PC up to 4.5-5 this further breaks down the Powergloss and lets it do its magic. After working the with the Powergloss for multiple passes on 5 I turned the speed up to 6 for one to two final passes.
Step 5: Menzerna Intensive Polish
This step is optional in my opinion a few swirls still remained after the application of PG so I deiced to go with a less abrasive compound so I went with IP. Once again I went with a yellow compounding pad for this application. I worked the IP in the same way that I did with the PG, progressing the speed as the product started to break down. Remember work 2x2 foot area’s.
As you can see there are no longer any swirls after the application of IP.
Step 6: Menzerna Final Polish II
This step is too remove any compound haze that was caused to during the compounding process. This will leave your paint looking its best, before you seal it in with the Liquid Souveran Wax. I used a white polishing pad for this application.
Step 7: Liquid Souveran Wax
This is the only step in this process that has any type of “filler� that will “cover up� minor defects such as small scratches that could not be removed by the compounds that were used to remove the swirl marks. Remember this step should not be used to cover up remaining swirls, they should be completely removed before this step. This steps purpose is only to protect the paint once the swirls have been removed.
Final Product:
Bad Side:
Good Side:
EDIT:
WARNING! New swirls will appear after time...It is nearly Impossible to prevent new swirls from forming...With proper care and washing swirls can be kept to a minimum...
