imported_Dave KG
New member
A thread created for DW as part of me revamping my guides over there, thought it may be interesting to folk here too... ")
So, you've got all the gear, you know how to handle the machine polisher - but how do you choose what pad and polish combination to use to achieve correction on your paint finish? This thread tackles that very question. It is not brand specific, so the basics here apply to all polish ranges.
When choosing polishes and pads to buy, when starting out I tend to recommend working in 3s - you need:
and likewise in the pads:
With this simple set up, you have the flexibility to tackle a wide variety of paint defects, either by DA or rotary (rotary polisher used as example here). To assess what the paint needs, choose a test section which represents to paintwork on the car as a whole, or a large area of the car (some cars may need more than one test section!). Always start with a light abrasive combo first, and work up assess what the paintwork really needs as this video explains:
1 Choosing a Pad and Polish Combination - YouTube
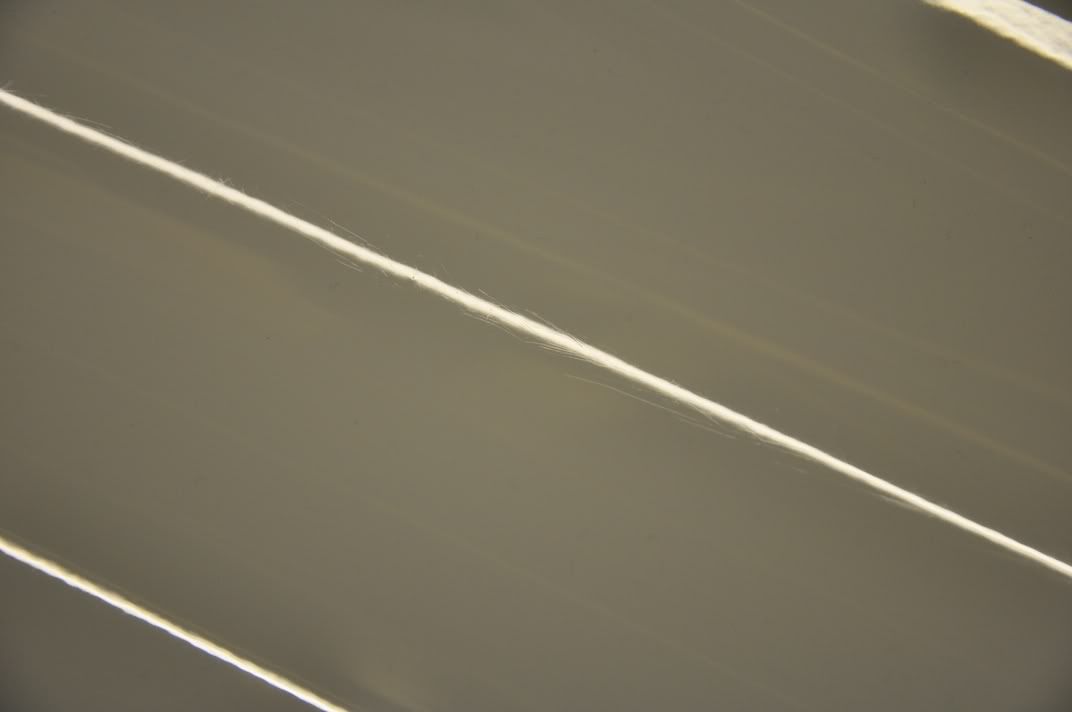
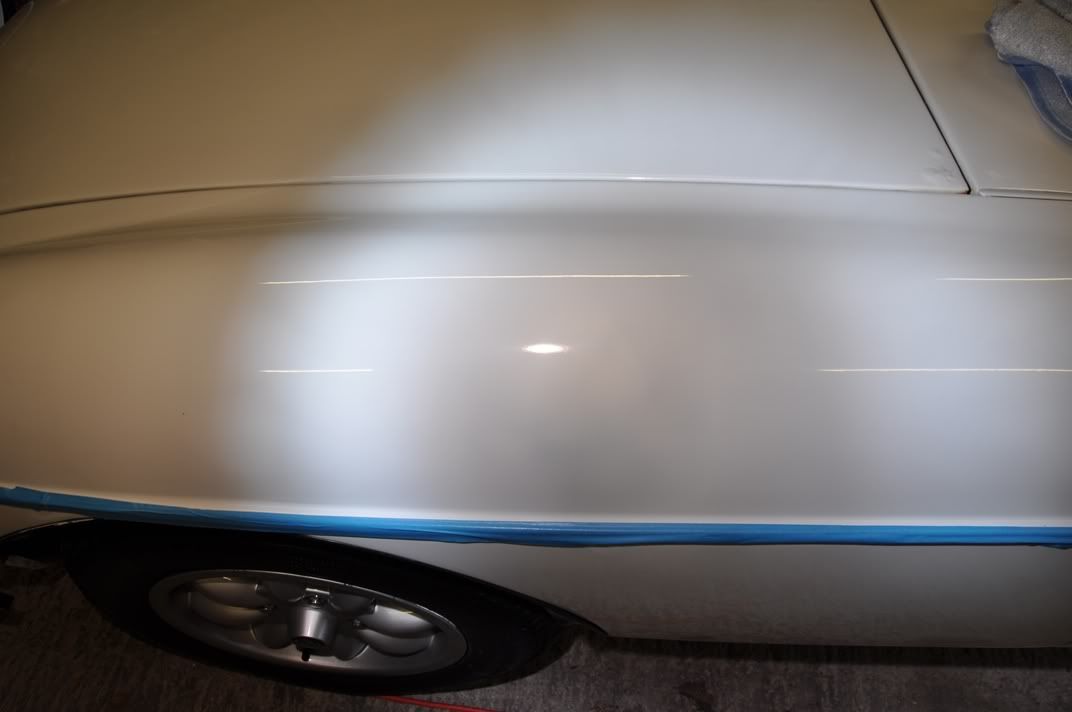
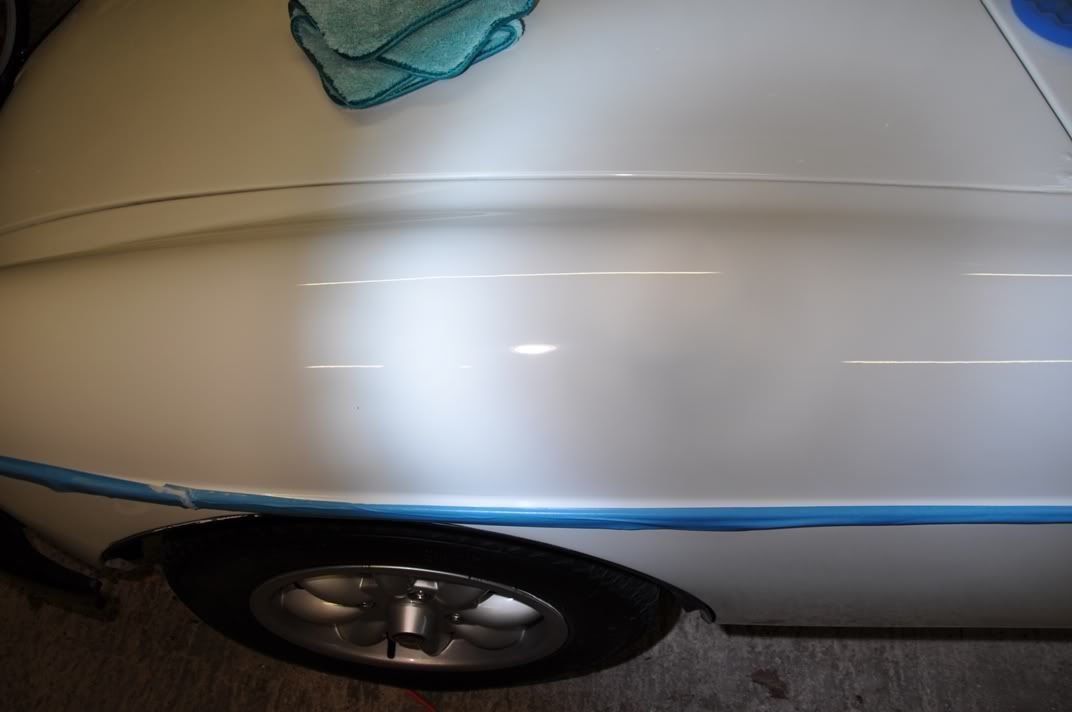
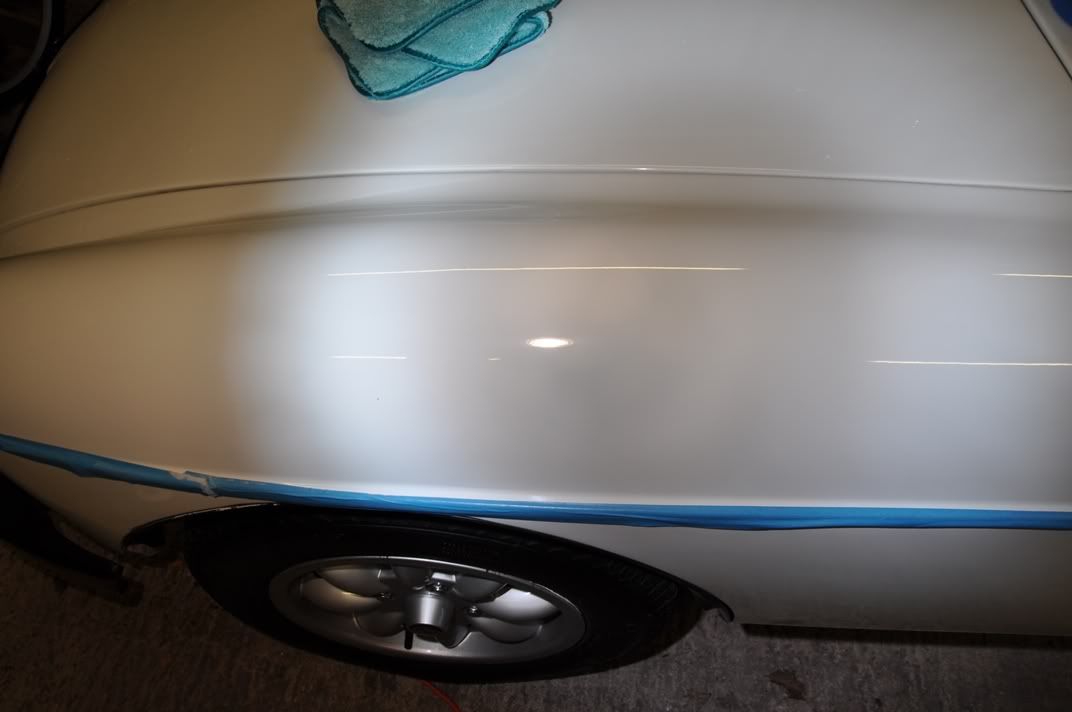
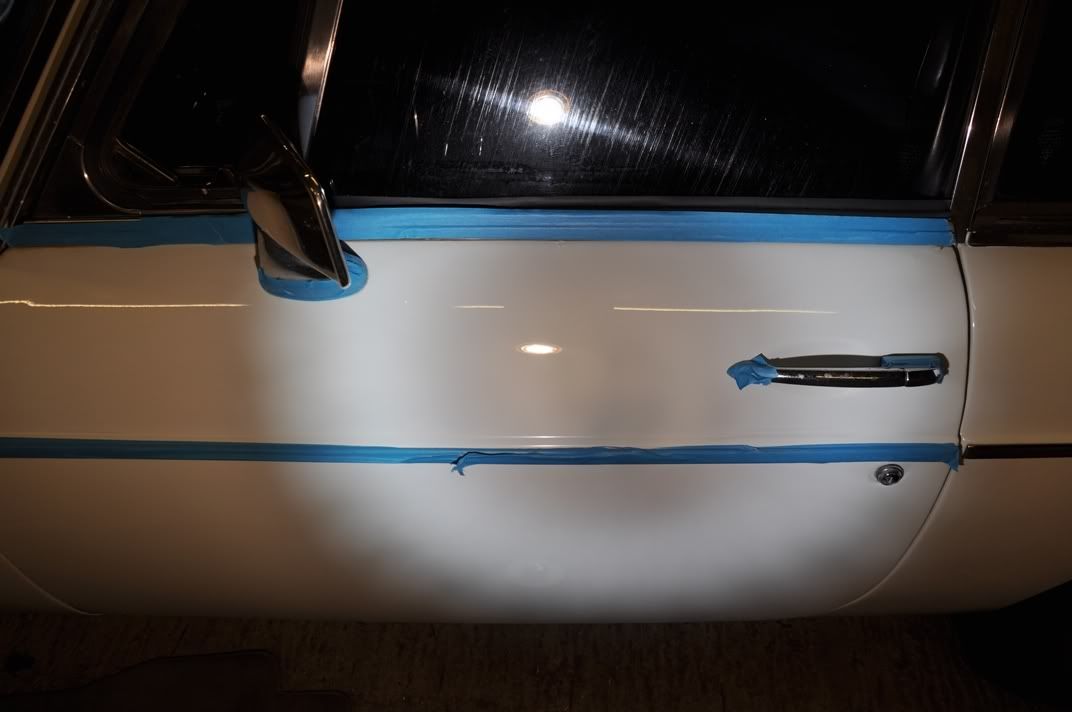
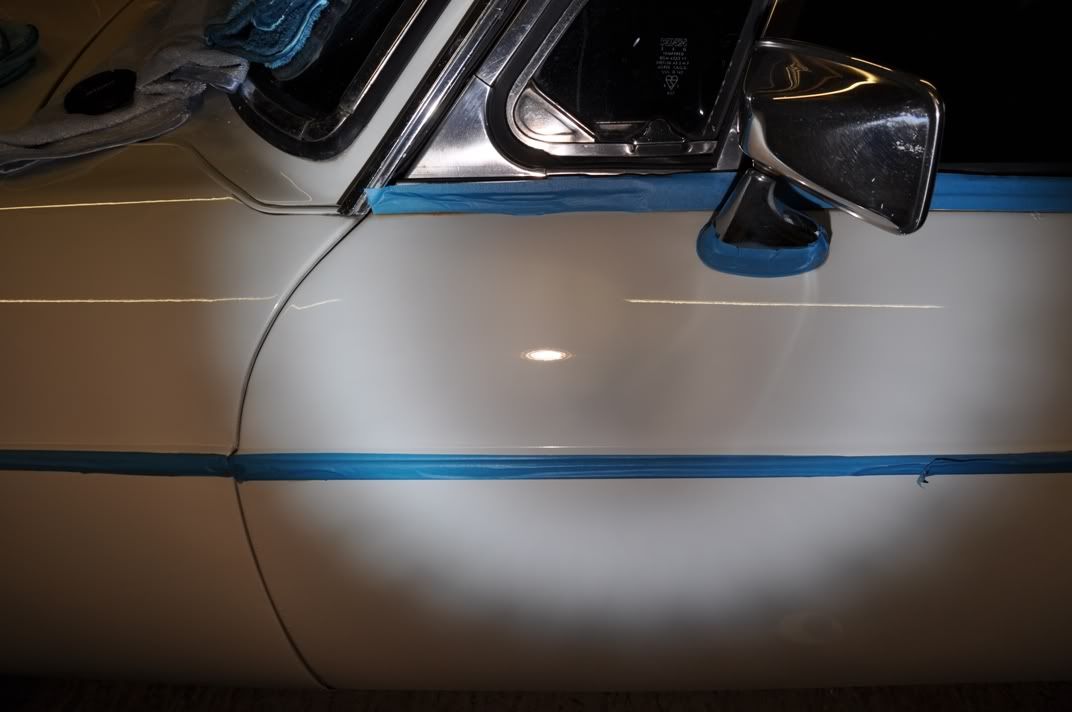
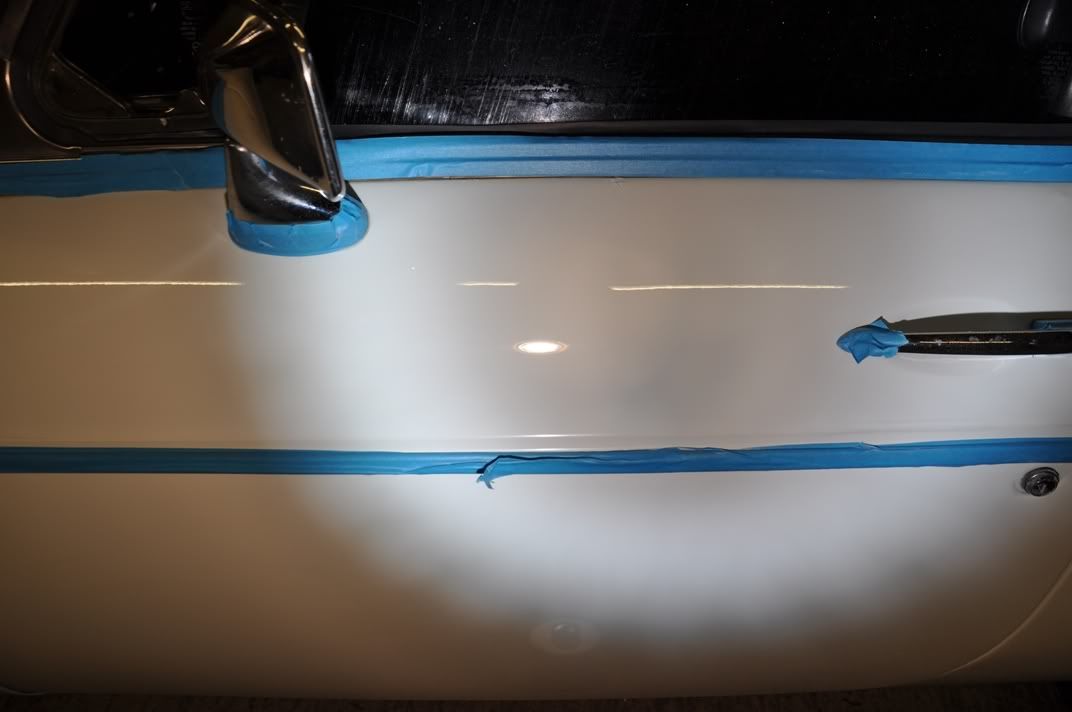
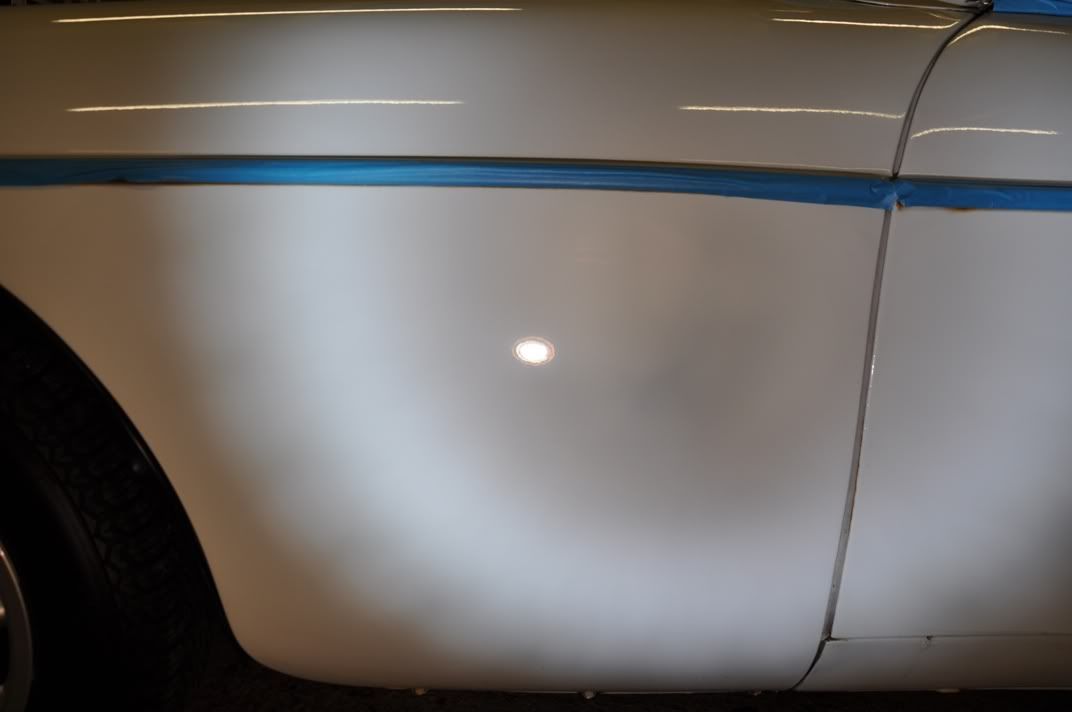
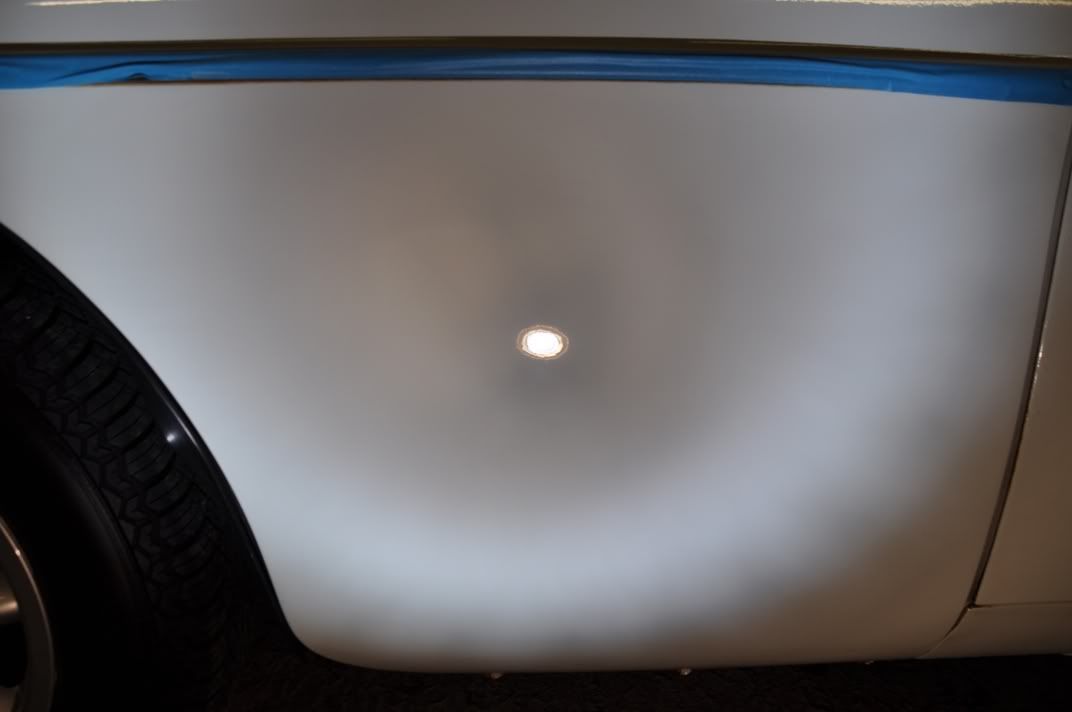
So, for this example, choosing the wing top as a test section, which has holograms and some deeper RDS in the finish:
which represents other regions on the car such as the lower wing...


and the top of the door...


So, first of all, choose a very fine finishing combination to assess the paintwork - a finishing polish on a finishing pad:
2 Menzerna Final Finish on 3M Finishing Pad Zenith Point - YouTube
This is a typical Zenith point method, used to refine the finish as well as get any correction from the polish that it has to offer. Once the set is complete, the finish should then be assessed using all available light sources:
3 Assessing the Paint Post Polishing with Final Finish - YouTube
4 Deeper Marks Remaining Post Final Finish - YouTube
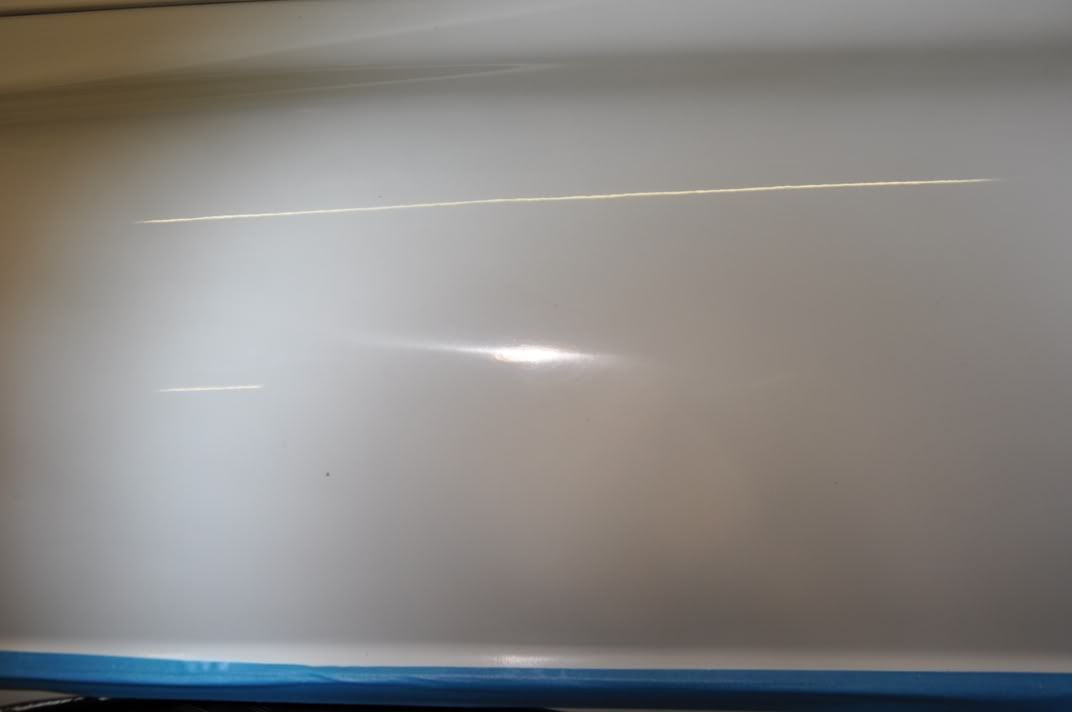
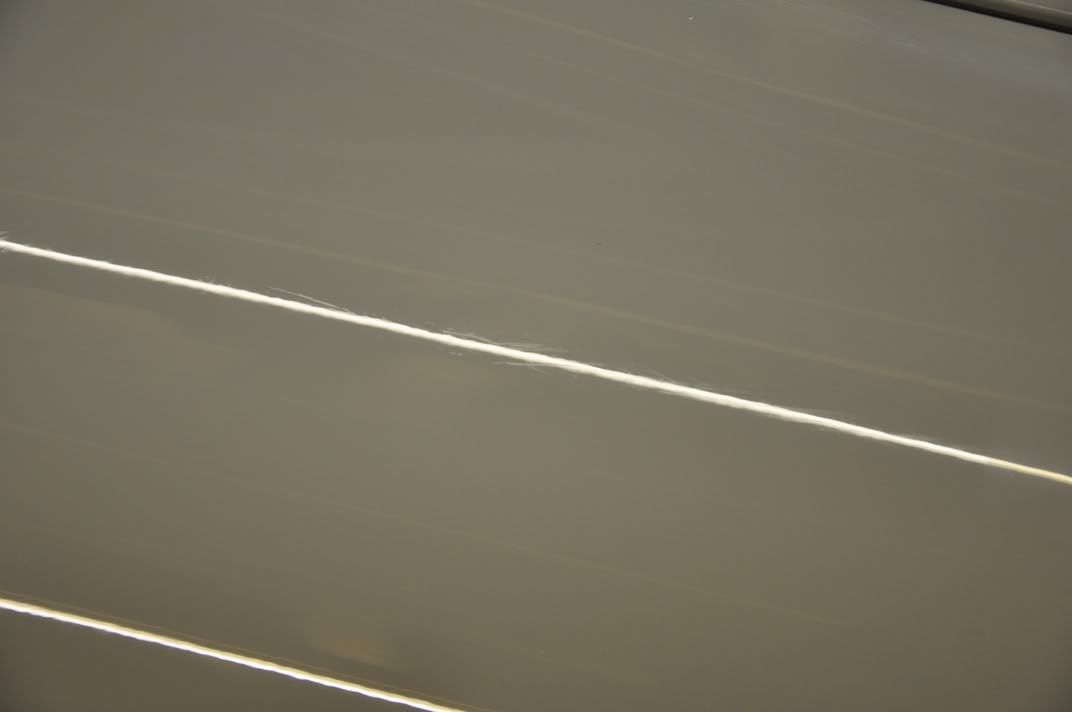
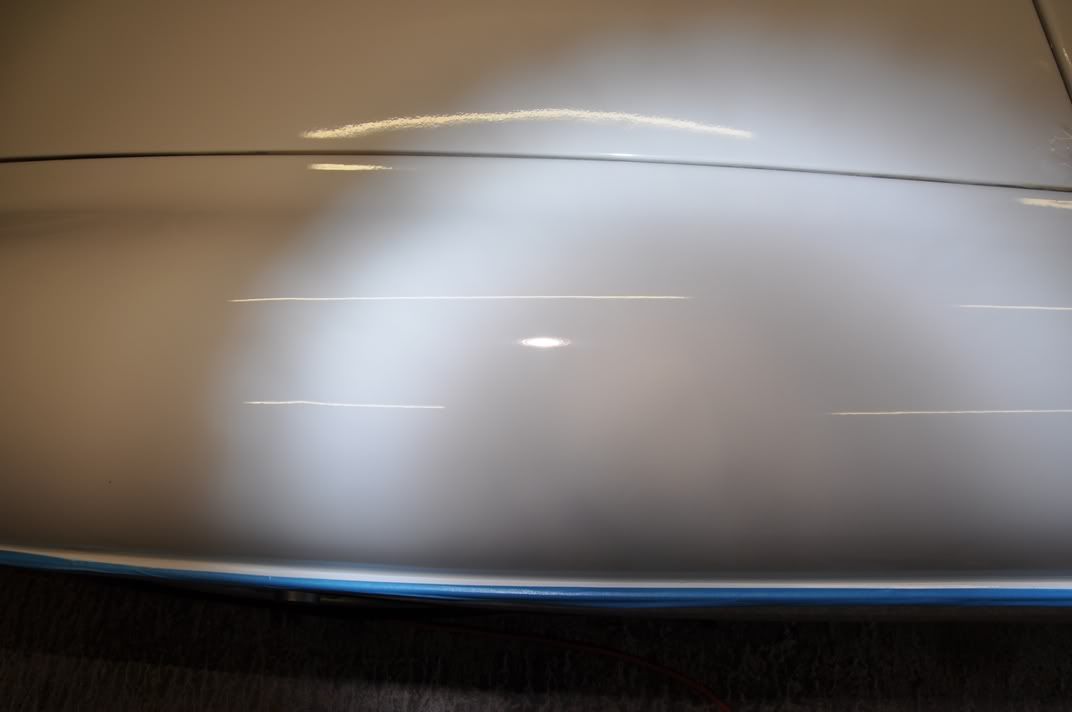
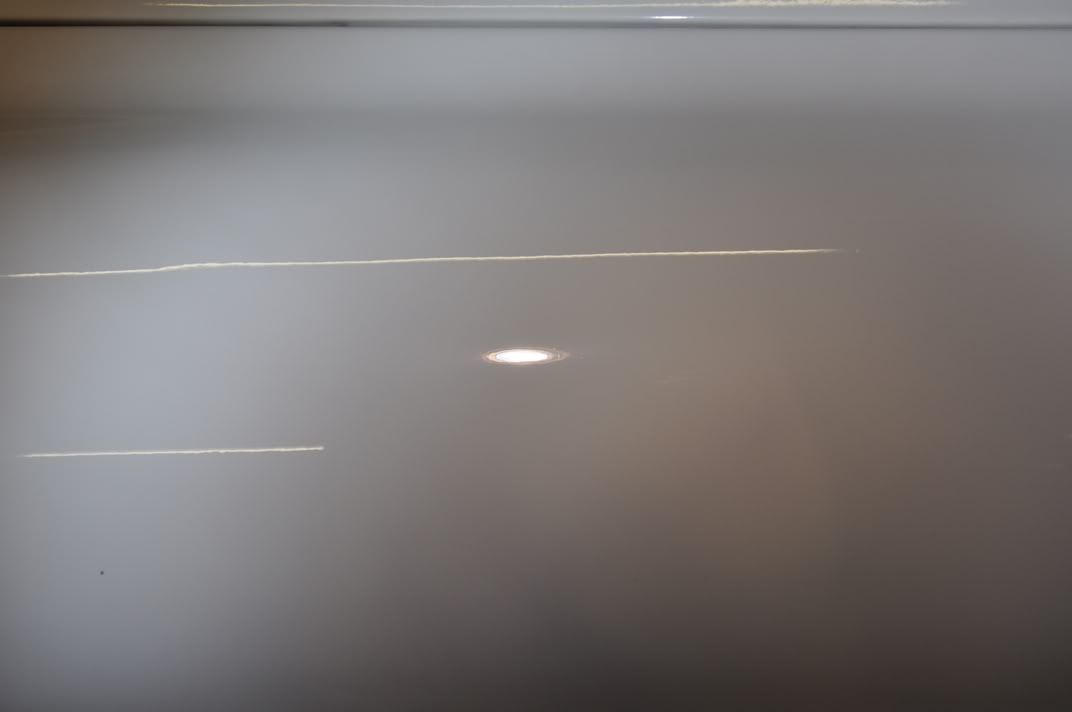
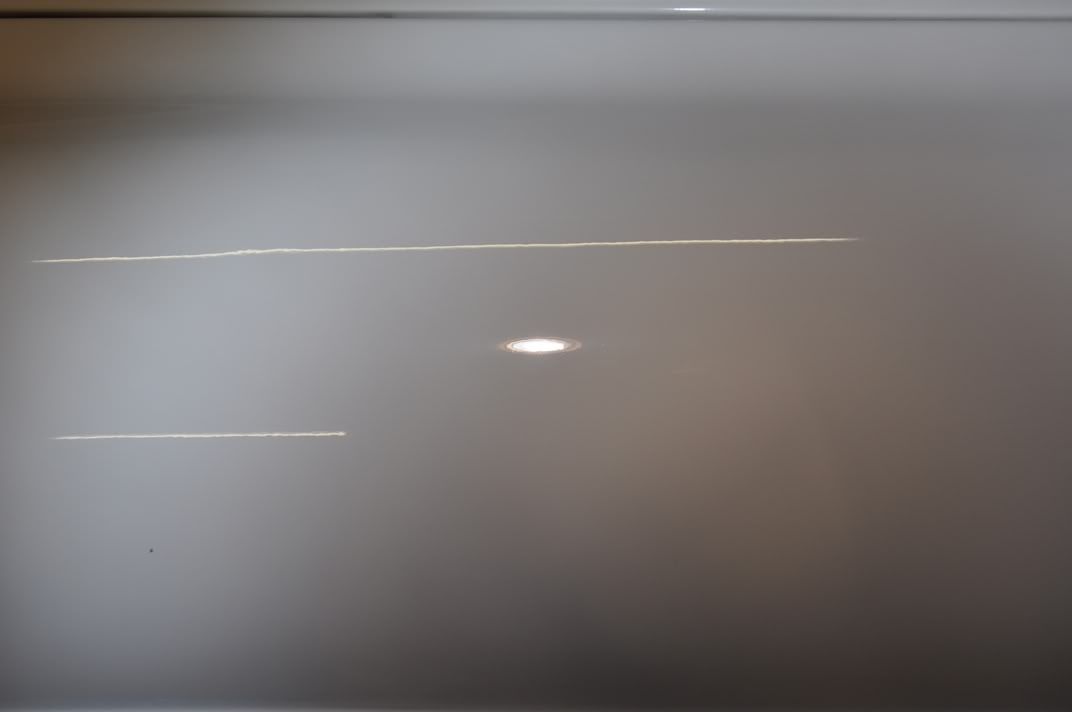
The videos demonstrate what is also shown in the pictures below - notable enhancement of the finish with removal of pretty much all of the hologramming but not removal of the deeper RDS:

So, at this stage, to improve the level of correction of the deeper RDS, if the paint thickness allows then it is necessary to step up to the next level of aggression - using Final Finish, but this time on a polishing pad:
5 Menzerna Final Finish on CYC Polishing Pad Zenith Point - YouTube
This has delivered a subtle improvement to the deeper marks...
6 Deeper Marks Remaining Post Final Finish on Polishing Pad - YouTube
despite an improvement in the clarity of the finish...
7 Assessing the Paint Post Final Finish on Polishing Pad - YouTube
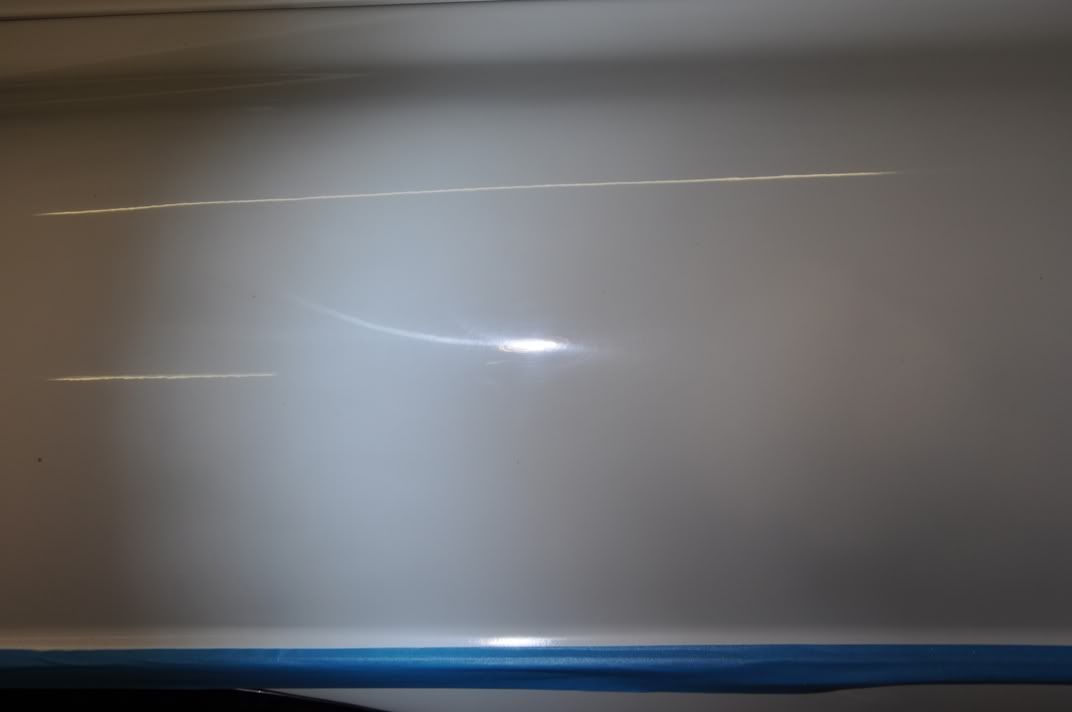
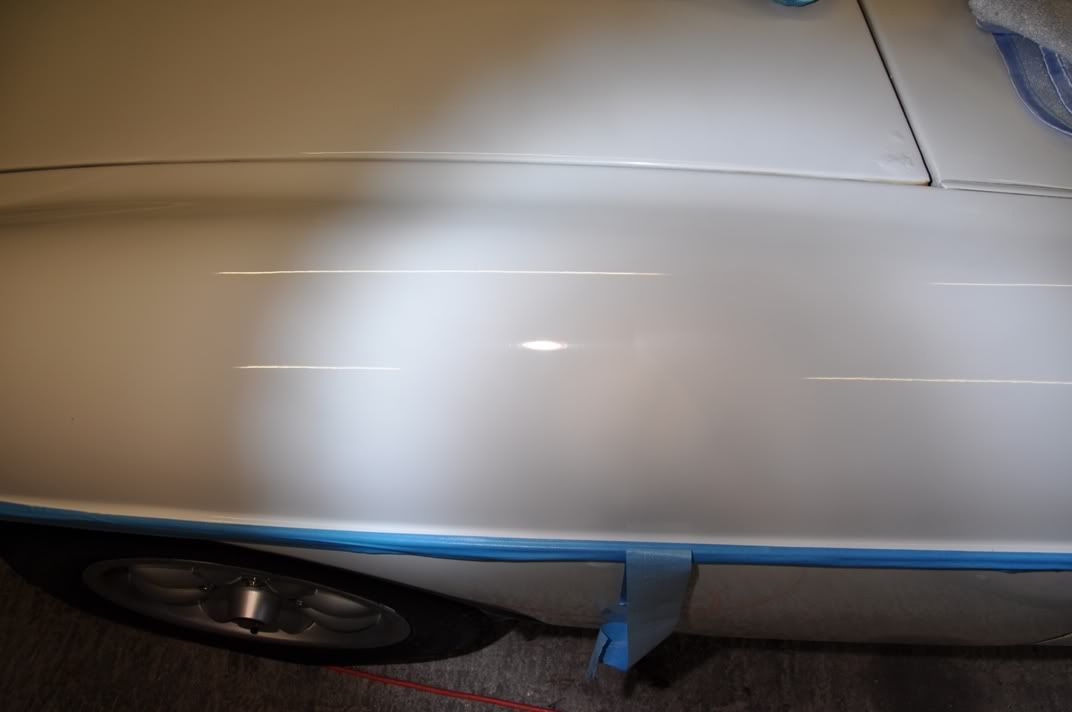
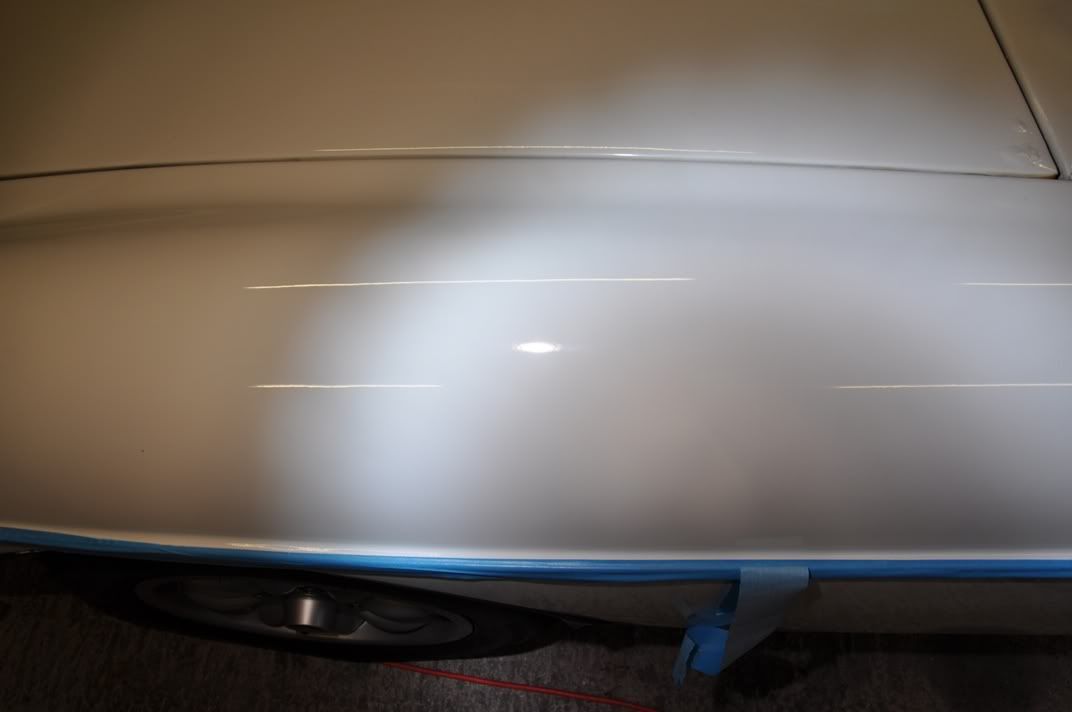
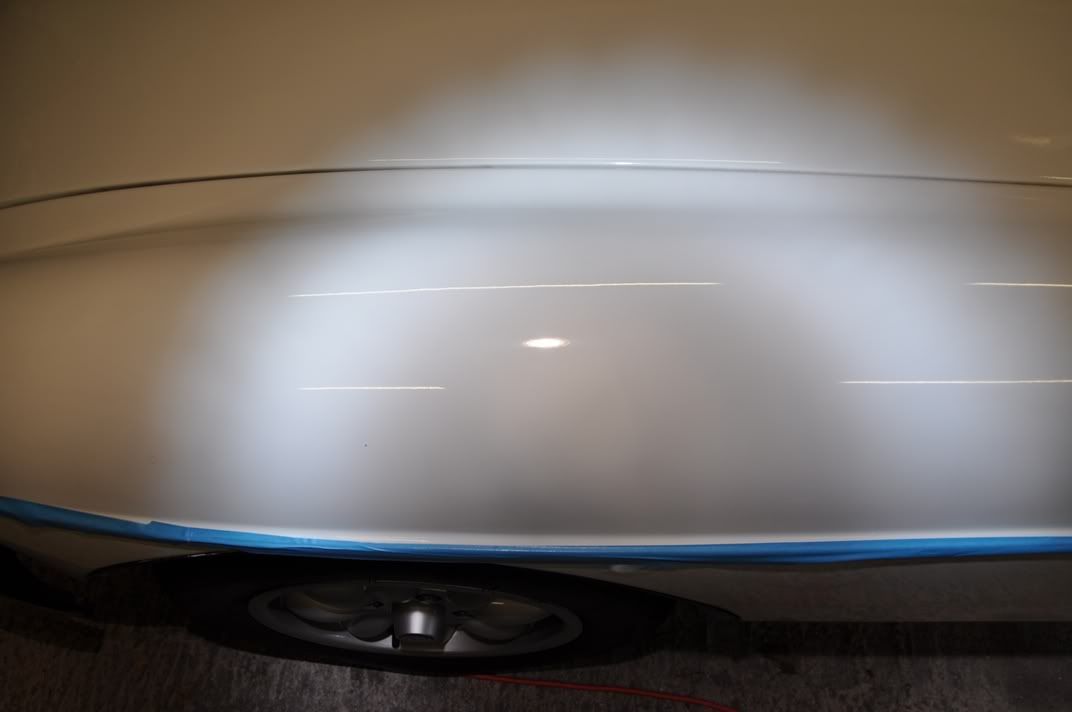
And having a look at this in pictures, we can see the holograms have been removed and a significant improvement has been delivered to the finish but the deeper marks still remain:

So, for further improvement, paint thickness allowing it is time to step up to a more aggressive combo again. This time, we step up the polish and use Menzerna Intensive Polish on a polishing pad:
8 Menzerna Intensive Polish on CYC Polishing Pad - YouTube
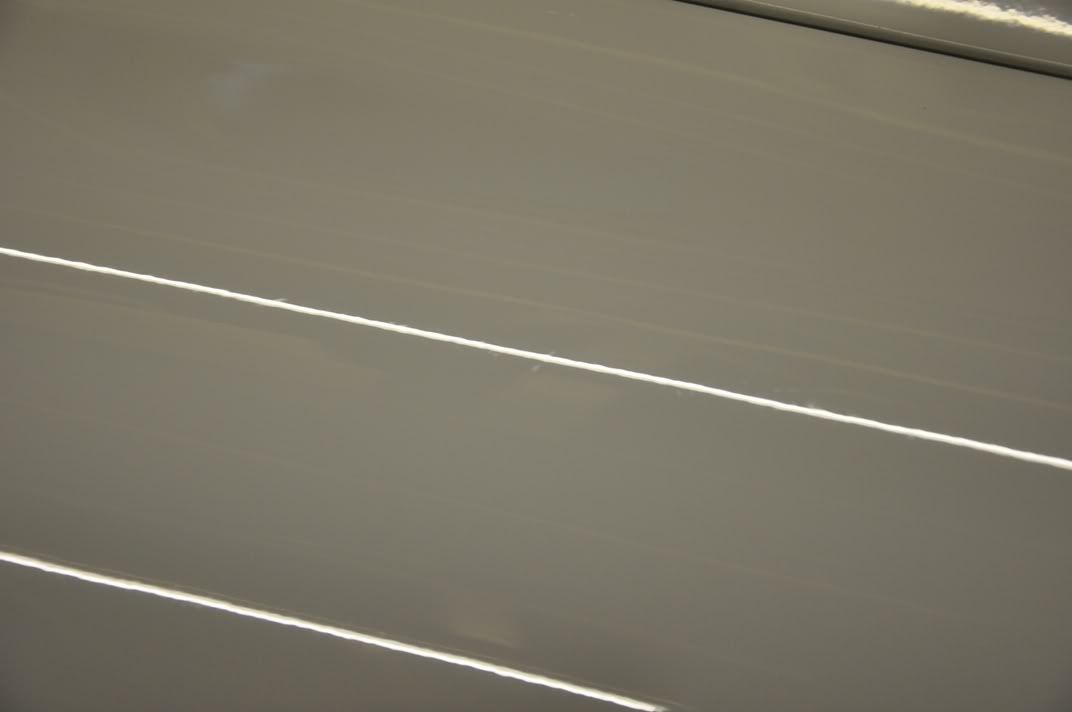
We are continually stepping up in pursuit of discovering the least aggressive combo that deliver the results. Analysing the finish we can see that under the strip lights, the deeper marks have been knocked back but there is still a band of them along the upper region of the wing...
9 Assessing the Paint Post Intensive Polish - YouTube

With regions of the test set at a satisfactory level of correction, Intensive Polish on a polishing pad is the chosen correction combo, and spot correction using Intensive Polish on a 3" cutting pad is used for the bands of deeper marks...
10 Menzerna Intensive Polish on 3M Cutting Pad - YouTube
and assessing the finish, we can now see the notable improvement the spot correction delivers where it is required...
11 Assessing the Paint Post IP on Cutting Pad - YouTube
So, this is not the required combination for the paint which has been found: Intensive Polish on a polishing pad, with a cutting pad used where required for spot correction. No need to use a compound, and this has been found by feeling the way in and carefully assessing what the paint finish needs.
Following correction with Intensive Polish, the wing region is assessed:
12 Assessing the Paint Post Correction with Intensive Polish - YouTube
13 Paint Finish after Intensive Polish Under the Sun Gun - YouTube


A good looking finish thus far, but for that little bit extra, a long Zenith Point set with Menzerna Final Finish on a finishing pad was carried out to enhance the clarity and gloss of the finish:
14 Refining the Paint With Menzerna Final Finish Typical Zenith Point Finishing Set - YouTube
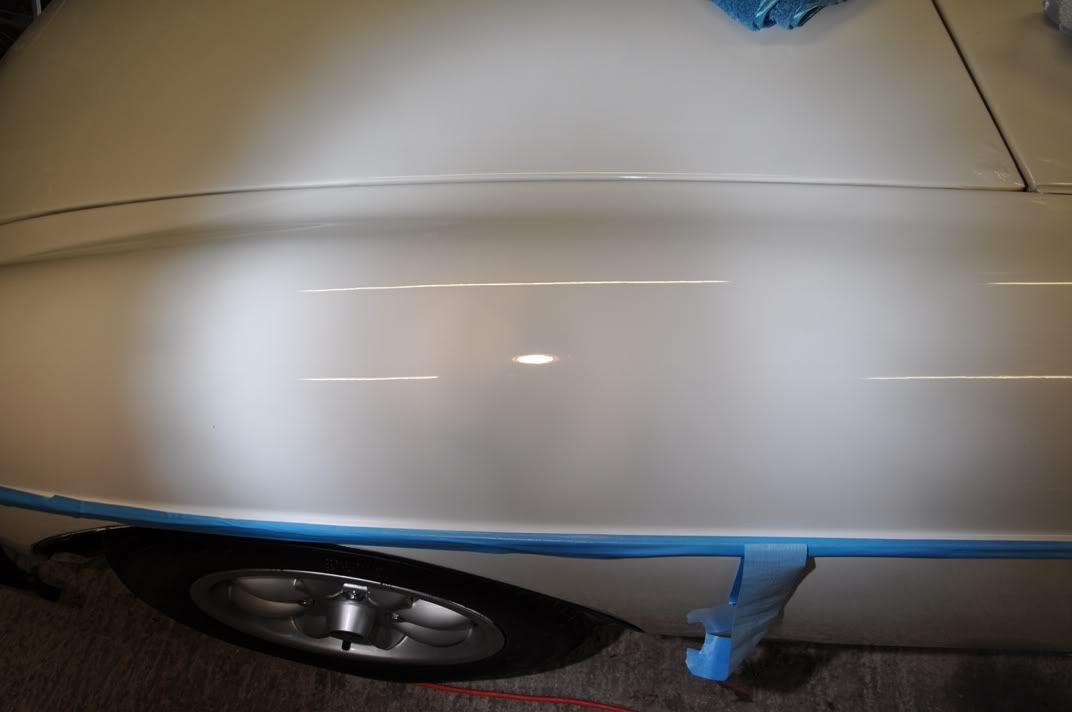
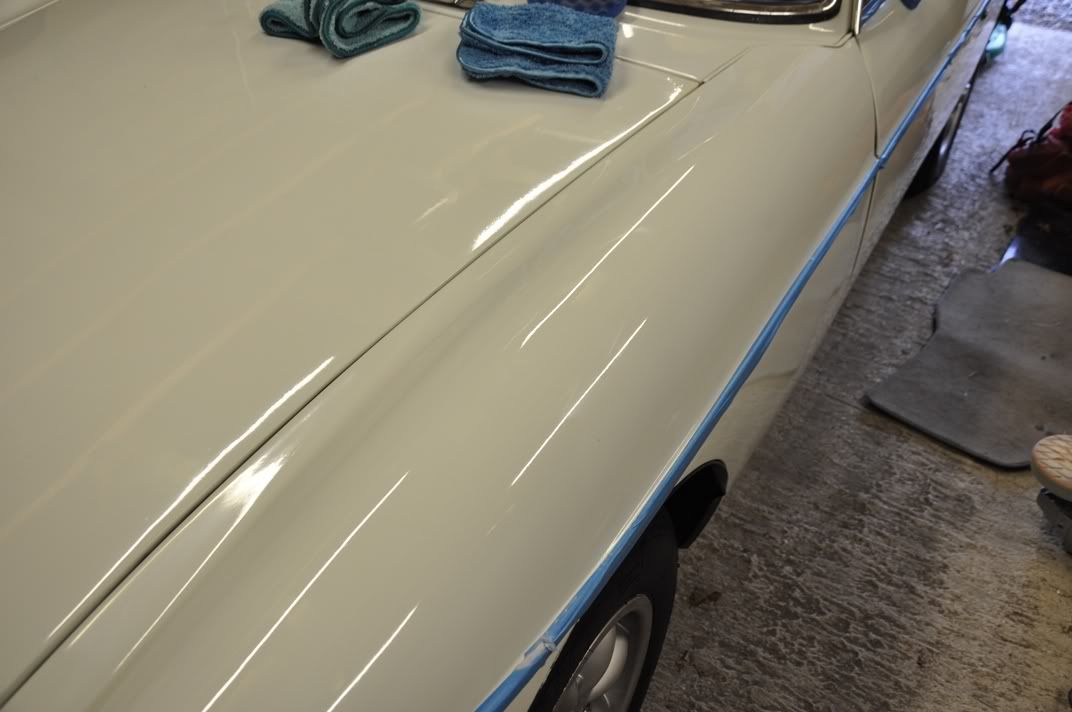
This technique was now applied to the rest of the equivalent panels, in the case of this example, the lower wing and the door top which are shown at the top of this thread, the results achieved with this technique are shown below:

I hope this thread goes some way to explaining the methods I use to choose a pad and polish combination for a car's paintwork... I never guess based on the badge, and always test the lightest combo first and see what it achieves and step up slowly on the test region to see what the lightest aggression combo that will deliver the results is. This way, you do not waste paint unnecessarily as part of the correction and refining, instead giving the car only what is required to achieve the desired result. :thumb:
So, you've got all the gear, you know how to handle the machine polisher - but how do you choose what pad and polish combination to use to achieve correction on your paint finish? This thread tackles that very question. It is not brand specific, so the basics here apply to all polish ranges.
When choosing polishes and pads to buy, when starting out I tend to recommend working in 3s - you need:
- Finishing Polish for refining and light correction.
- Workhorse polish for general correction work
- Cutting Compound for severe defects, used as a last resort only.
and likewise in the pads:
- Finishing pad for use with finishing polishes for refining the finish
- Polishing pad for workhorse work - giving a little more cut to finishing polishes or for general correction duties with a workhorse polish
- Cutting pad for use with a workhorse polish to give more bite, or with a cutting compound for severe defects
With this simple set up, you have the flexibility to tackle a wide variety of paint defects, either by DA or rotary (rotary polisher used as example here). To assess what the paint needs, choose a test section which represents to paintwork on the car as a whole, or a large area of the car (some cars may need more than one test section!). Always start with a light abrasive combo first, and work up assess what the paintwork really needs as this video explains:
1 Choosing a Pad and Polish Combination - YouTube
So, for this example, choosing the wing top as a test section, which has holograms and some deeper RDS in the finish:
which represents other regions on the car such as the lower wing...
and the top of the door...
So, first of all, choose a very fine finishing combination to assess the paintwork - a finishing polish on a finishing pad:
2 Menzerna Final Finish on 3M Finishing Pad Zenith Point - YouTube
This is a typical Zenith point method, used to refine the finish as well as get any correction from the polish that it has to offer. Once the set is complete, the finish should then be assessed using all available light sources:
3 Assessing the Paint Post Polishing with Final Finish - YouTube
4 Deeper Marks Remaining Post Final Finish - YouTube
The videos demonstrate what is also shown in the pictures below - notable enhancement of the finish with removal of pretty much all of the hologramming but not removal of the deeper RDS:
So, at this stage, to improve the level of correction of the deeper RDS, if the paint thickness allows then it is necessary to step up to the next level of aggression - using Final Finish, but this time on a polishing pad:
5 Menzerna Final Finish on CYC Polishing Pad Zenith Point - YouTube
This has delivered a subtle improvement to the deeper marks...
6 Deeper Marks Remaining Post Final Finish on Polishing Pad - YouTube
despite an improvement in the clarity of the finish...
7 Assessing the Paint Post Final Finish on Polishing Pad - YouTube
And having a look at this in pictures, we can see the holograms have been removed and a significant improvement has been delivered to the finish but the deeper marks still remain:
So, for further improvement, paint thickness allowing it is time to step up to a more aggressive combo again. This time, we step up the polish and use Menzerna Intensive Polish on a polishing pad:
8 Menzerna Intensive Polish on CYC Polishing Pad - YouTube
We are continually stepping up in pursuit of discovering the least aggressive combo that deliver the results. Analysing the finish we can see that under the strip lights, the deeper marks have been knocked back but there is still a band of them along the upper region of the wing...
9 Assessing the Paint Post Intensive Polish - YouTube
With regions of the test set at a satisfactory level of correction, Intensive Polish on a polishing pad is the chosen correction combo, and spot correction using Intensive Polish on a 3" cutting pad is used for the bands of deeper marks...
10 Menzerna Intensive Polish on 3M Cutting Pad - YouTube
and assessing the finish, we can now see the notable improvement the spot correction delivers where it is required...
11 Assessing the Paint Post IP on Cutting Pad - YouTube
So, this is not the required combination for the paint which has been found: Intensive Polish on a polishing pad, with a cutting pad used where required for spot correction. No need to use a compound, and this has been found by feeling the way in and carefully assessing what the paint finish needs.
Following correction with Intensive Polish, the wing region is assessed:
12 Assessing the Paint Post Correction with Intensive Polish - YouTube
13 Paint Finish after Intensive Polish Under the Sun Gun - YouTube
A good looking finish thus far, but for that little bit extra, a long Zenith Point set with Menzerna Final Finish on a finishing pad was carried out to enhance the clarity and gloss of the finish:
14 Refining the Paint With Menzerna Final Finish Typical Zenith Point Finishing Set - YouTube
This technique was now applied to the rest of the equivalent panels, in the case of this example, the lower wing and the door top which are shown at the top of this thread, the results achieved with this technique are shown below:
I hope this thread goes some way to explaining the methods I use to choose a pad and polish combination for a car's paintwork... I never guess based on the badge, and always test the lightest combo first and see what it achieves and step up slowly on the test region to see what the lightest aggression combo that will deliver the results is. This way, you do not waste paint unnecessarily as part of the correction and refining, instead giving the car only what is required to achieve the desired result. :thumb: