RaskyR1
Rasky's Auto Detailing
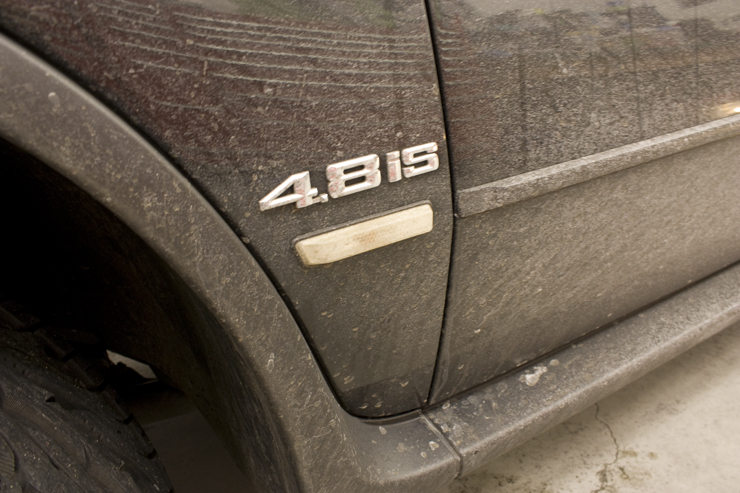
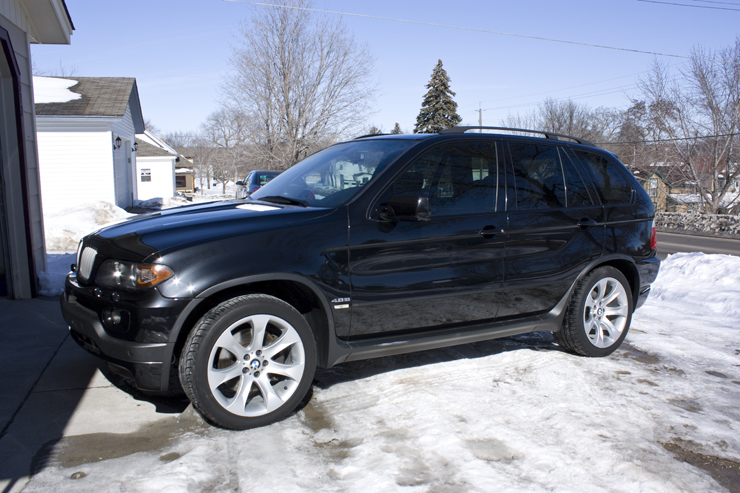
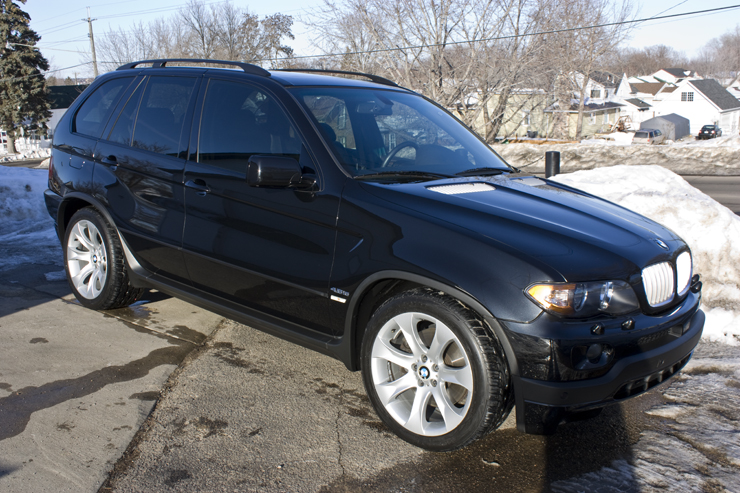
The owner of this stunning vehicle recently purchased it out of state having only seen it in photographs. The seller listed that it had been "professionally detailed".....well, we all know what that means half the time! 
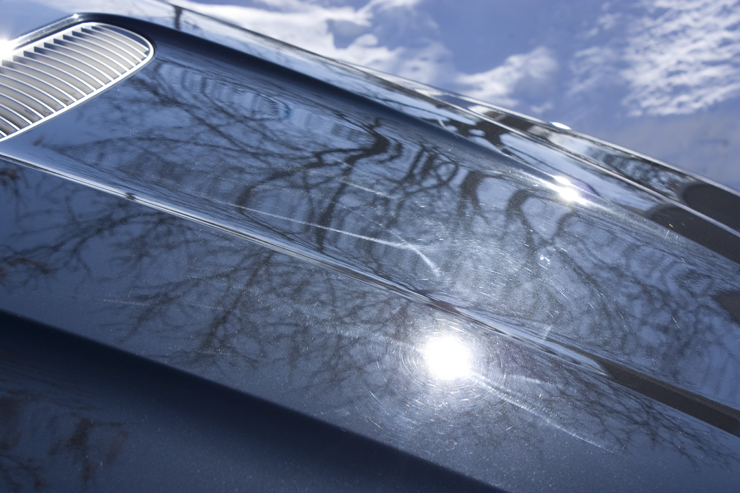
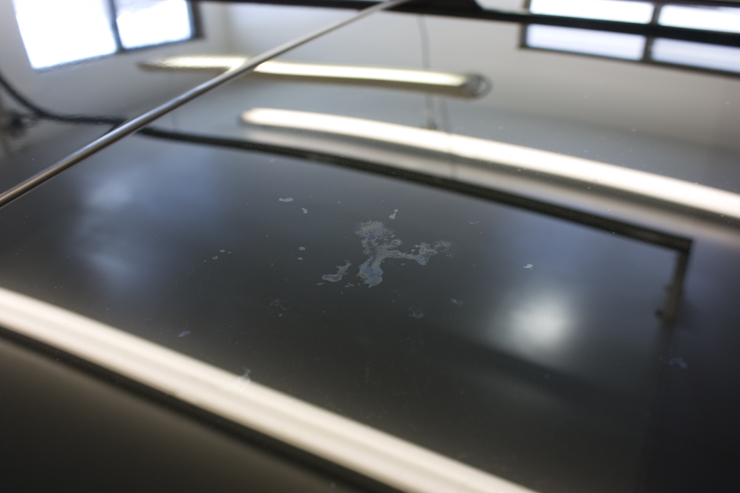
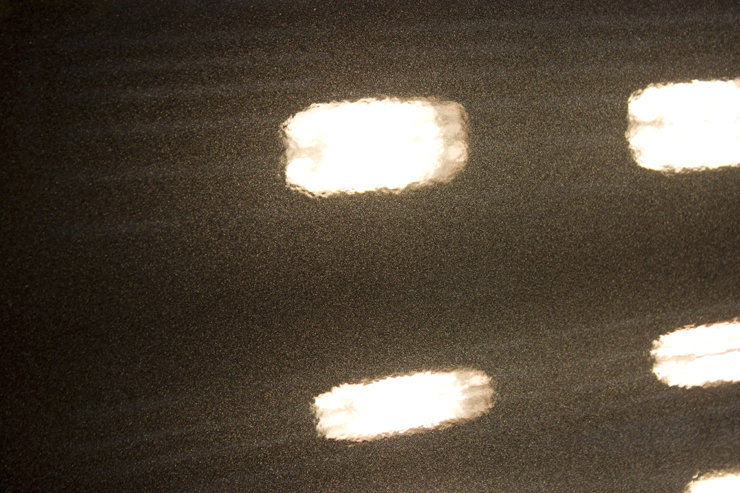
Here is the photo the current owner sent me once he got back in town and got it all cleaned up. :wow:
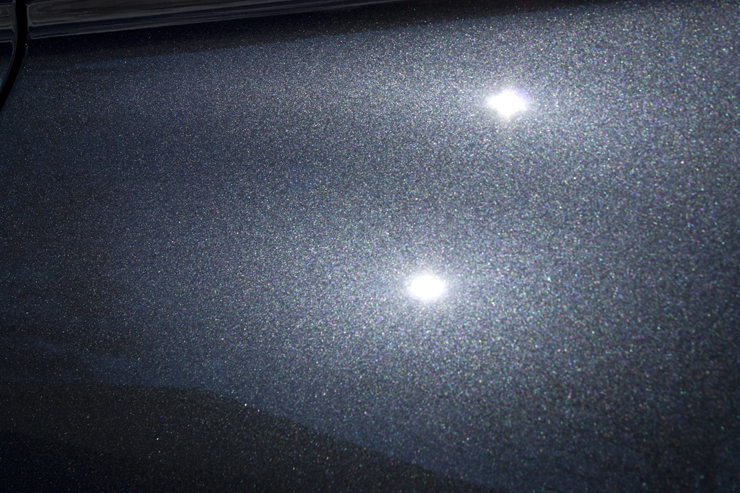
As you can see they did a poor job at detailing and a great job at creating some holograms, but they really weren't near as bad as some of the cars I've seen posted on these forums.
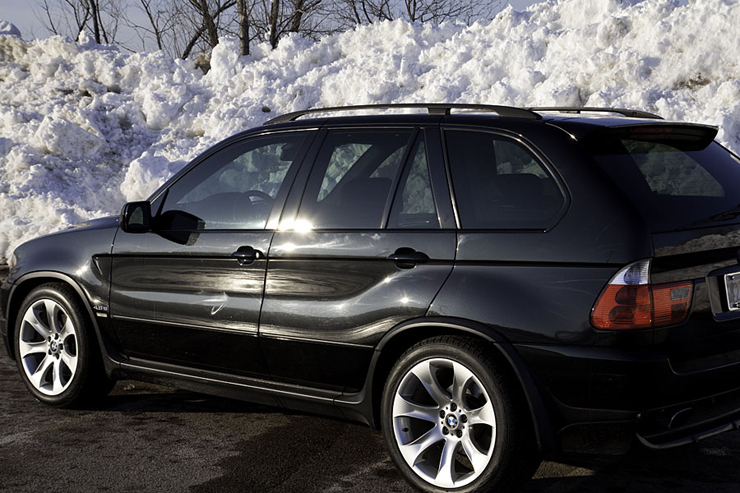
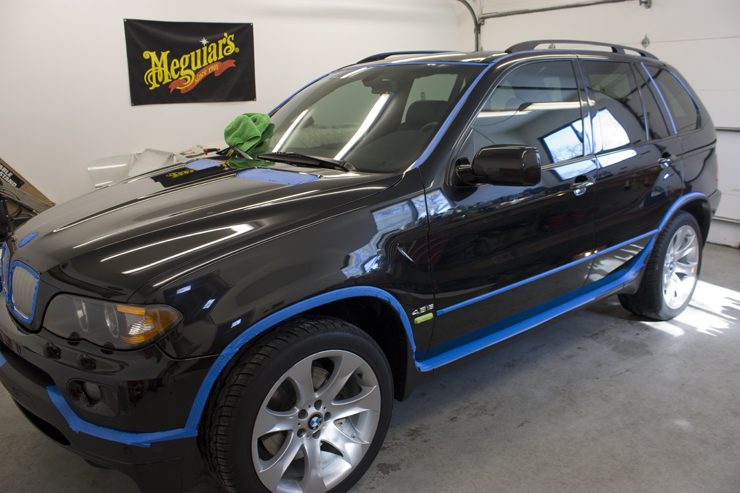
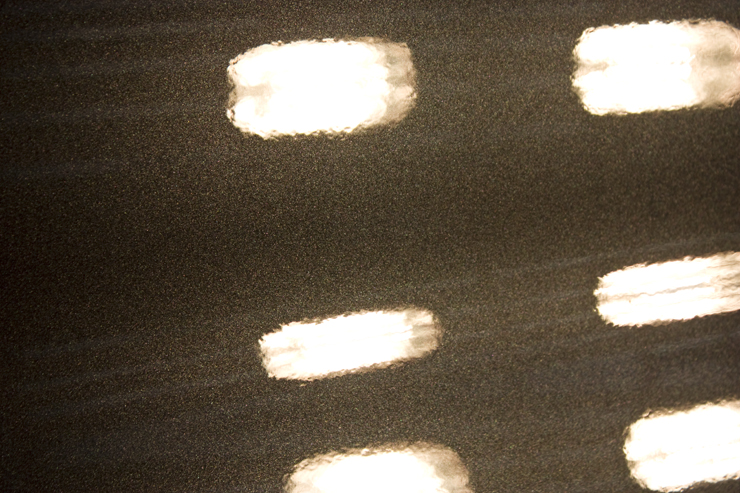
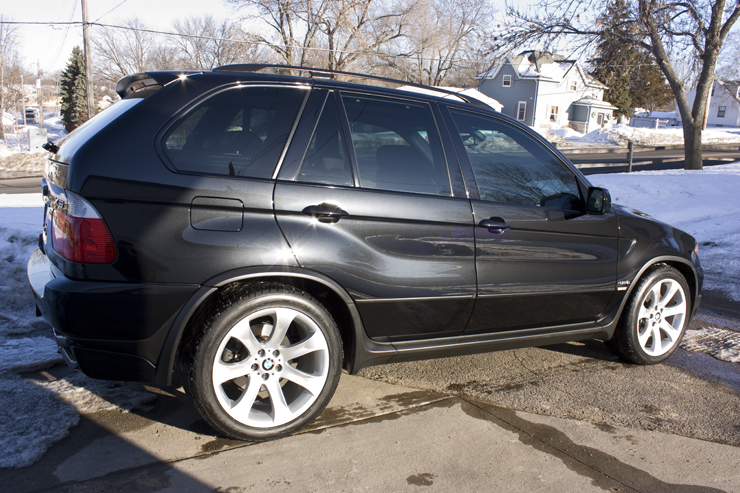
Here is the car the night she arrived....I love MN winters!


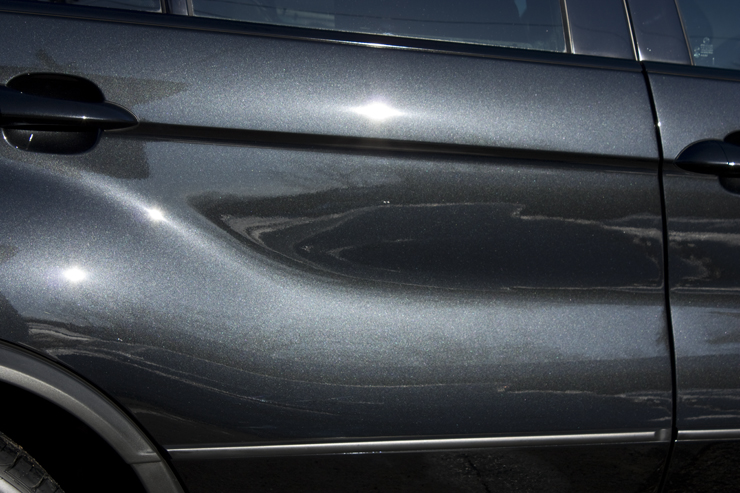
After a thorough wash using CG Citrus wash N' Clear I pulled the car out in the sun to try and capture some good pics of the holograms. I had a hard time capturing the true condition but between these pics and the one the owner took you should have a good idea of how bad they were.
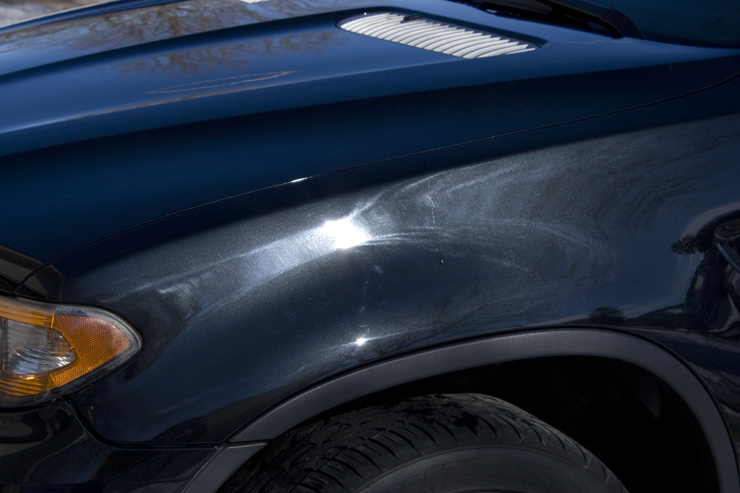
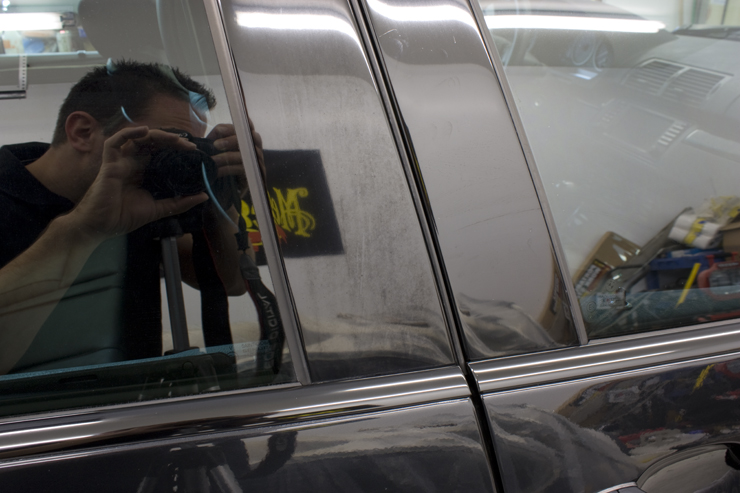
After claying the car with Meguiar's aggressive clay and ONR as lube I went around and captured some pics of a few concern areas.
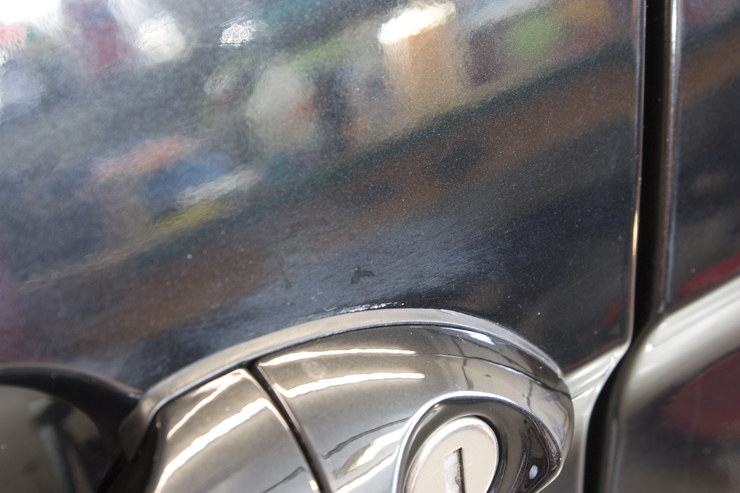
Small spot above the drivers door handle
TOGW could be found in several locations
Deep scratch which didn't fully remove but it was almost unnoticeable when I was all done.
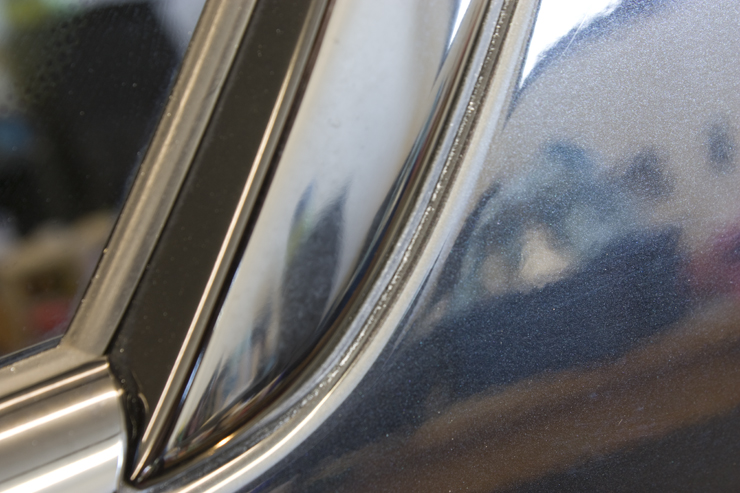
Staining on some of the trim
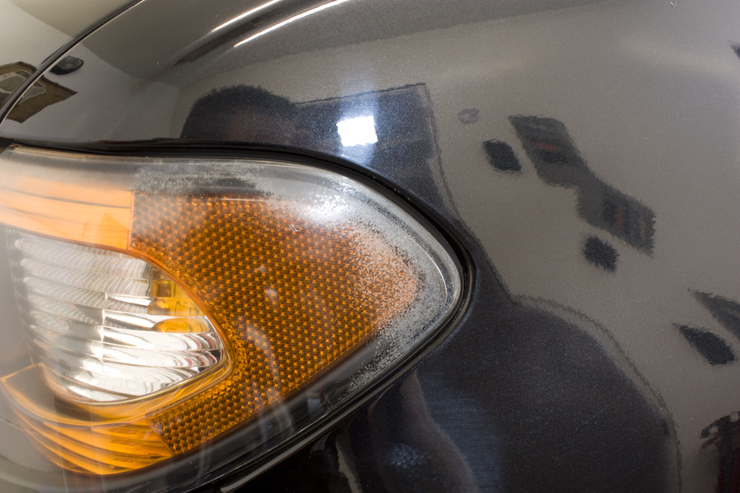
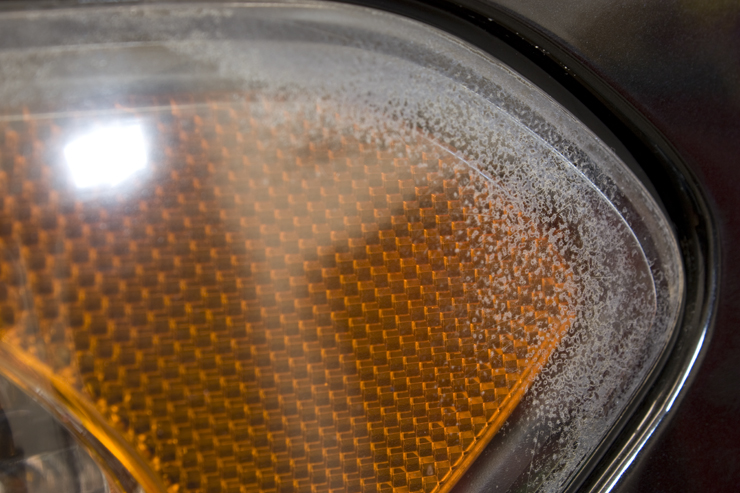
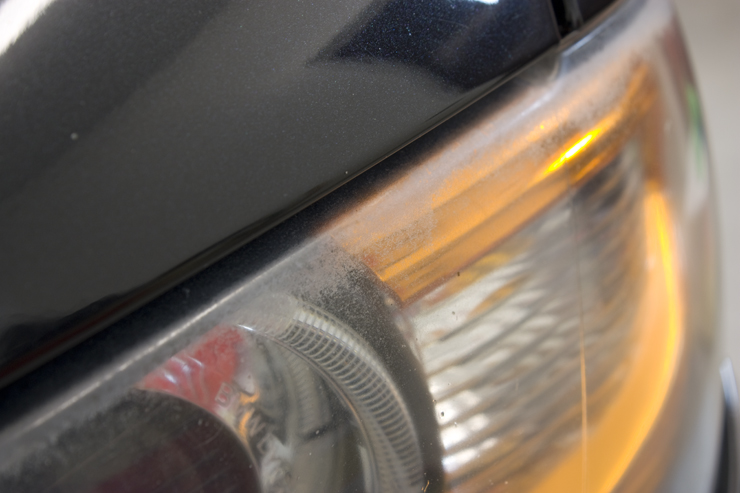
The UV coating was starting to fail on the drivers side lamp. I sanded it down with some 2000 grit paper and then polished it out with M105/M205 which did a great job and It came out really well.
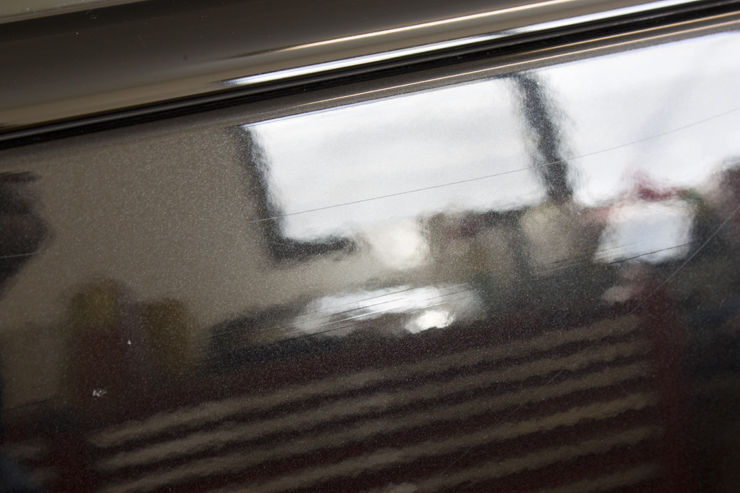
There was several weird water stains on the roof, both glass and paint which removed easily with some M95 and and Orange LC pad on the PCXP.

Because of the severe holograms on the vehicle I wanted to be sure and check all the panels for paint thickness. Most the readings were in the 130 range with no areas of major concern.

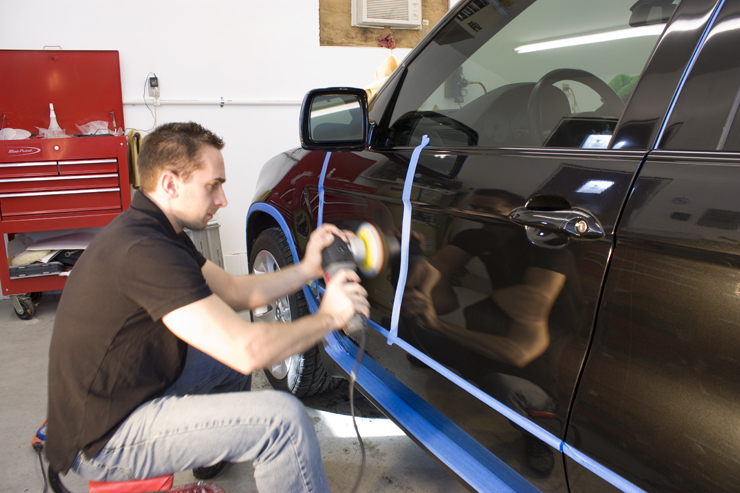
All taped up and ready to go.
My ugly mug doing a test spot with M105 and a orange LC 5.5" pad.
My test spot confirmed both good and bad. The good was that M105 on the PC did an excellent job of removing the holograms and it finished down great.
Here is the panel after M105 and an IPA wipedown
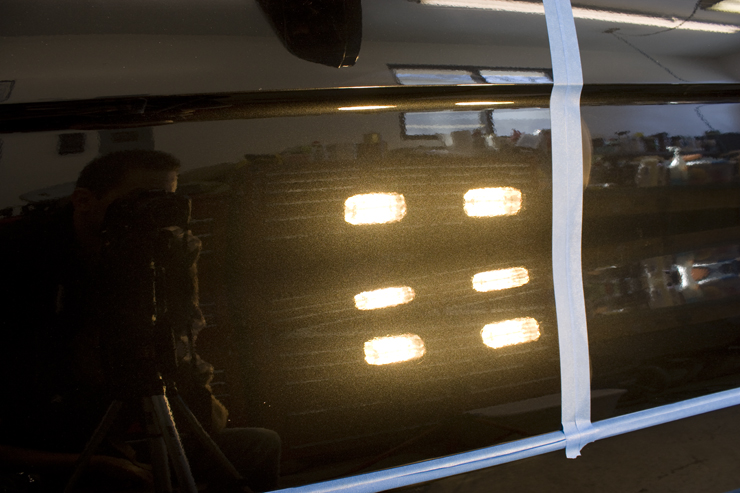
And here was the same section after M205 on the PC with a black LC pad and an IPA wipedown
Now for the bad news...once I removed all the holograms I started seeing all the deeper scratches that were previously hidden by all those fine micro scratches. Unfortunately M105 on the PC and orange LC pad were not going to cut it at removing these deeper scratches and I had to call up the owner and let him know we needed to do a 3 step correction.
My actual correction process was as follows:
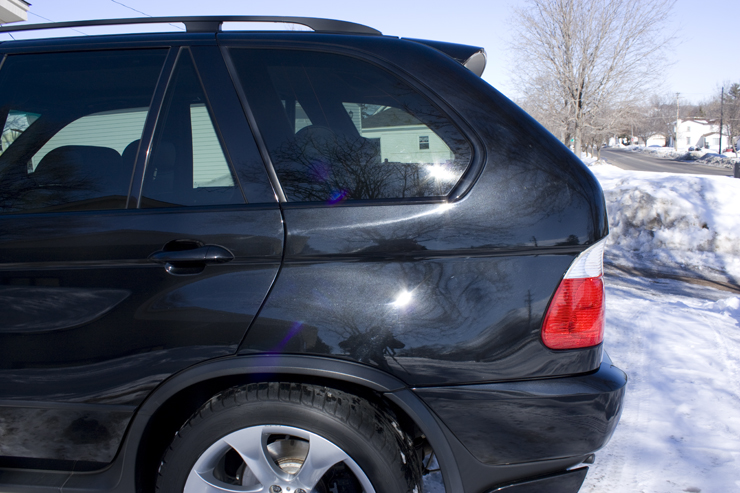
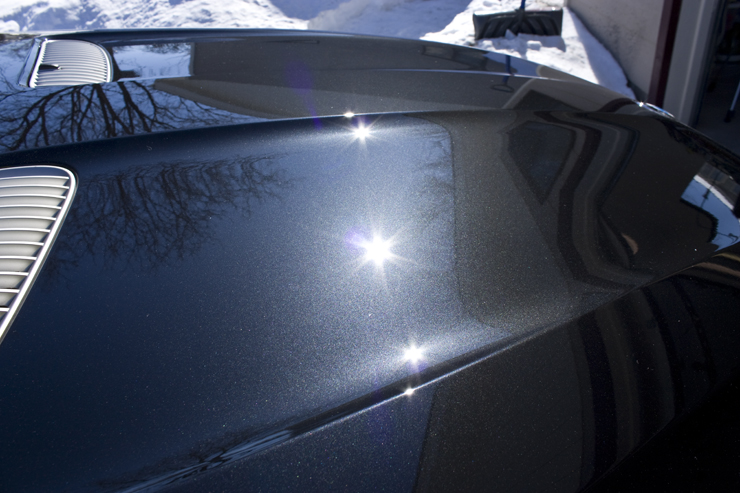
Some sun shots after the correction, no LSP here yet. I actually ran down and rewashed the car too since it was covered in buffing dust from the first two correction steps.
Love the flake in this paint!
After I got it all washed I went over the paint with some CG EZ-Cream Glaze....this was my first time trying this stuff and it seemed to work very well. Thanks DJ!
-LSP was Opti-Seal and I later followed that up with some Optimum Car Wax
-Tires and wheel wells were dressed with Meguiars Hyper Dressing at 3:1
-Trim was done using Poor Boys Trim Restorer
-Exhaust tips/chrome were cleaned with Optimum Metal Polish and #0000 steel wool
-Exterior glass was cleaned with Meguiars D120
-All jambs wiped clean with Meguiars Last Touch
I was running late on this one as a result of the added correction step and the owner was waiting for a while as I finished things up. Because of this I forgot to take some after pics like the headlight and water spots. I will add them later as the owner offed to take them for me. :2thumbs:
Here is the photo the current owner sent me once he got back in town and got it all cleaned up. :wow:
As you can see they did a poor job at detailing and a great job at creating some holograms, but they really weren't near as bad as some of the cars I've seen posted on these forums.
Here is the car the night she arrived....I love MN winters!
After a thorough wash using CG Citrus wash N' Clear I pulled the car out in the sun to try and capture some good pics of the holograms. I had a hard time capturing the true condition but between these pics and the one the owner took you should have a good idea of how bad they were.
After claying the car with Meguiar's aggressive clay and ONR as lube I went around and captured some pics of a few concern areas.
Small spot above the drivers door handle
TOGW could be found in several locations
Deep scratch which didn't fully remove but it was almost unnoticeable when I was all done.
Staining on some of the trim
The UV coating was starting to fail on the drivers side lamp. I sanded it down with some 2000 grit paper and then polished it out with M105/M205 which did a great job and It came out really well.
There was several weird water stains on the roof, both glass and paint which removed easily with some M95 and and Orange LC pad on the PCXP.
Because of the severe holograms on the vehicle I wanted to be sure and check all the panels for paint thickness. Most the readings were in the 130 range with no areas of major concern.
All taped up and ready to go.
My ugly mug doing a test spot with M105 and a orange LC 5.5" pad.
My test spot confirmed both good and bad. The good was that M105 on the PC did an excellent job of removing the holograms and it finished down great.
Here is the panel after M105 and an IPA wipedown
And here was the same section after M205 on the PC with a black LC pad and an IPA wipedown
Now for the bad news...once I removed all the holograms I started seeing all the deeper scratches that were previously hidden by all those fine micro scratches. Unfortunately M105 on the PC and orange LC pad were not going to cut it at removing these deeper scratches and I had to call up the owner and let him know we needed to do a 3 step correction.
My actual correction process was as follows:
- Meguiars M105 with the rotary equipped with a Purple Foamed Wool LC pad
- Meguiars M105 with the PCXP equipped with a orange LC foam pad
- Meguiars M205 with the PCXP equipped with a black LC foam pad
Some sun shots after the correction, no LSP here yet. I actually ran down and rewashed the car too since it was covered in buffing dust from the first two correction steps.
Love the flake in this paint!
After I got it all washed I went over the paint with some CG EZ-Cream Glaze....this was my first time trying this stuff and it seemed to work very well. Thanks DJ!
-LSP was Opti-Seal and I later followed that up with some Optimum Car Wax
-Tires and wheel wells were dressed with Meguiars Hyper Dressing at 3:1
-Trim was done using Poor Boys Trim Restorer
-Exhaust tips/chrome were cleaned with Optimum Metal Polish and #0000 steel wool
-Exterior glass was cleaned with Meguiars D120
-All jambs wiped clean with Meguiars Last Touch
I was running late on this one as a result of the added correction step and the owner was waiting for a while as I finished things up. Because of this I forgot to take some after pics like the headlight and water spots. I will add them later as the owner offed to take them for me. :2thumbs:
")
")


