Gleaming Kleen: BMW 325

Hi,

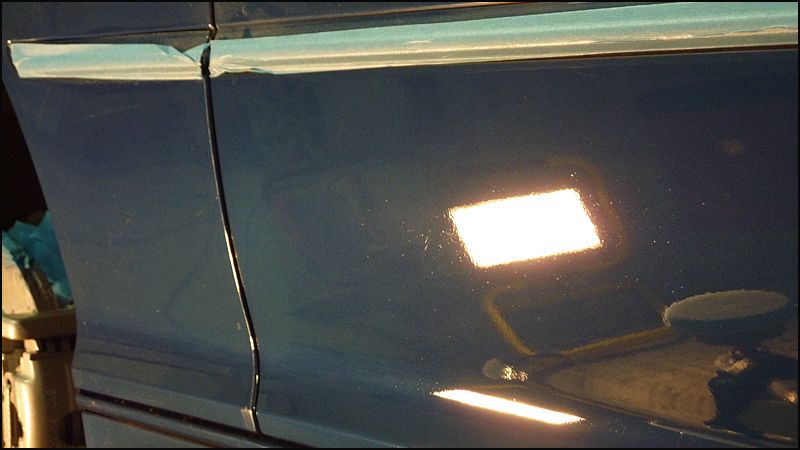
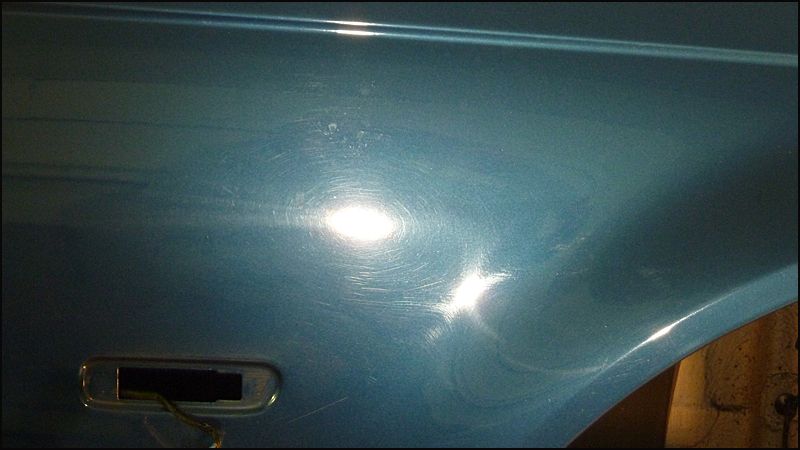
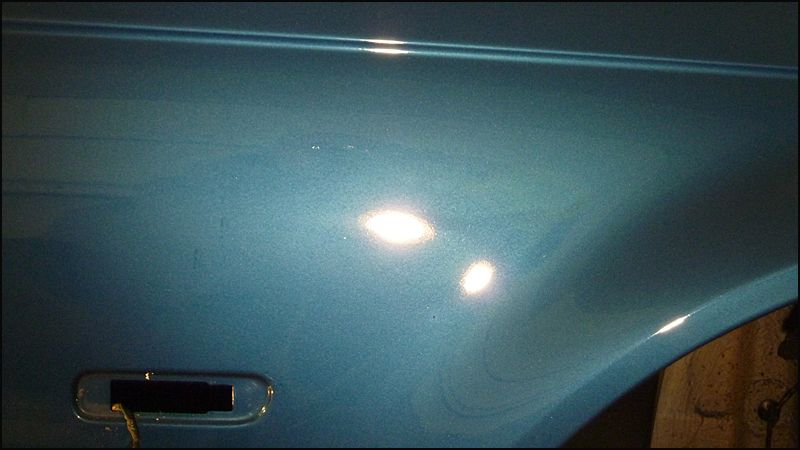
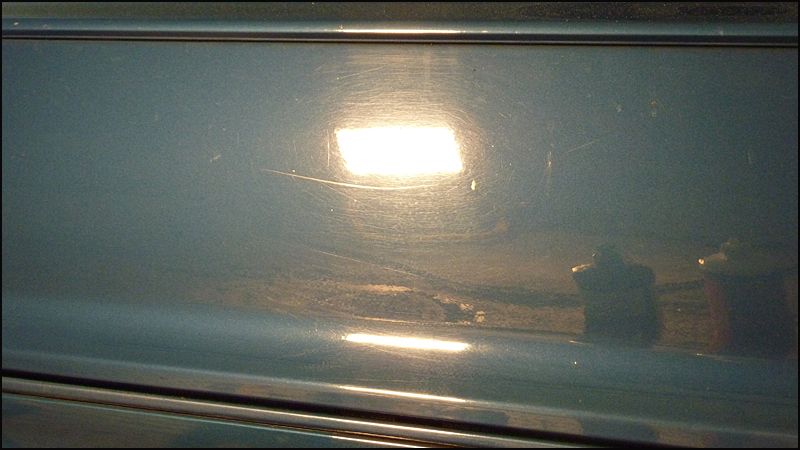
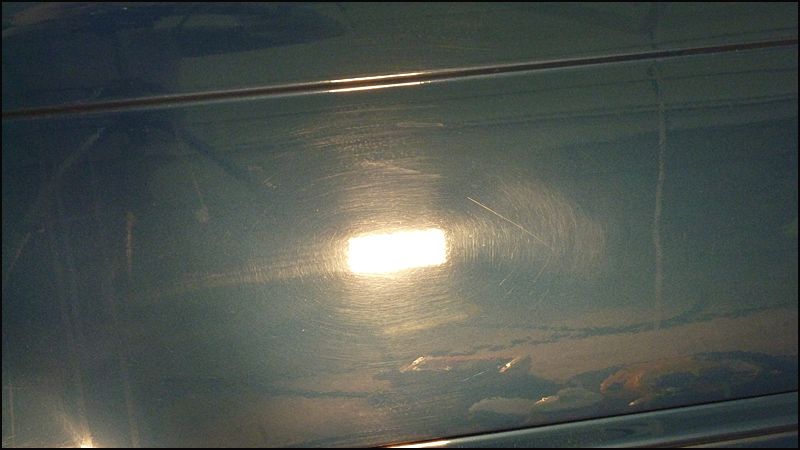
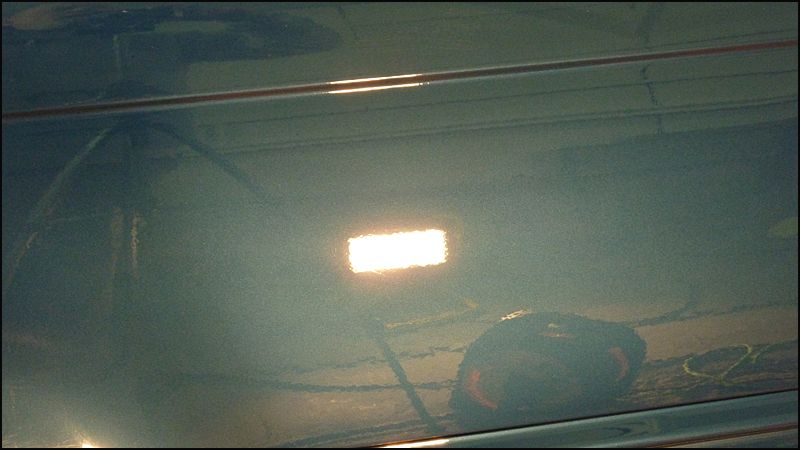
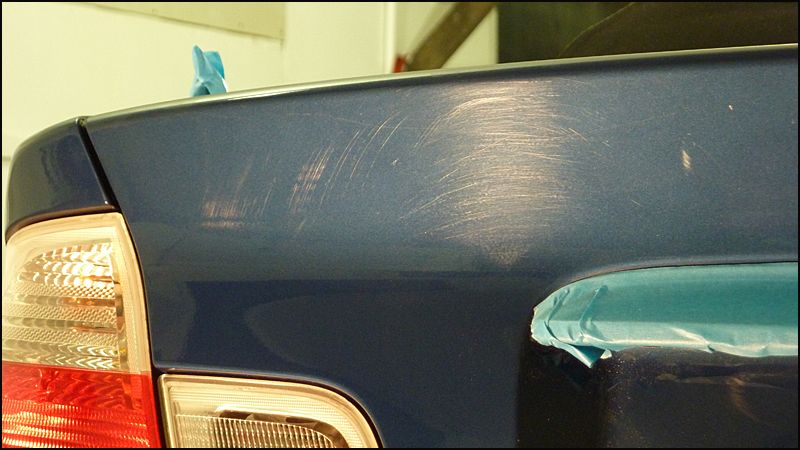
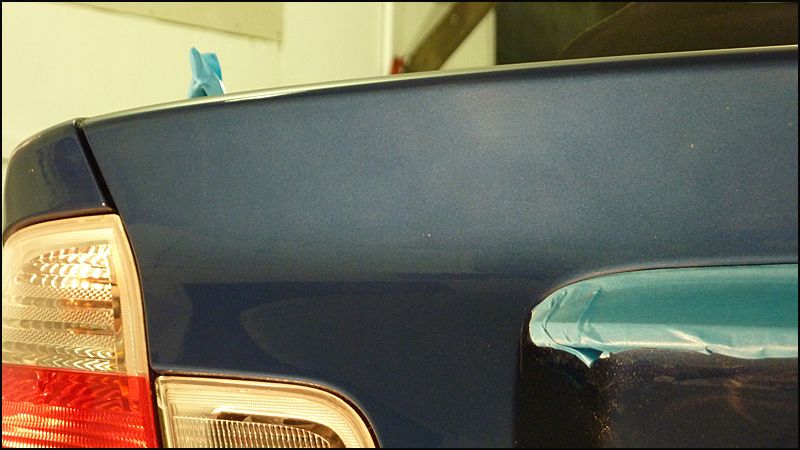
I just got my Porter Cable kit and used it today but i am not sure about washing the foam pads off. Is it ok to use dish soap or is there a better way to clean them. I have tried hot water but there is still some polish and wax in the two when i push on them and the dark ring part on the polish pad hasn't washed out. So what should i do?
 
Chris,


Yes, I recommend rinsing your pads with a little dish soap and water. Do not put them in the washer. It will distroy them.


If you plan to use the same product a lot (such as a wax), it is recommend that you do not wash the pads. Instead, you should put the pad in a marked ziplock baggie to keep it from drying.


db
 
Yeah i'll go do that now then. I plan on using the same wax w/ the wax pad and different types of polish w/ the polish pad. I just read some helpful info on the detailing forum that says the same. I have the foam pad cleaning spur from CMA do i use it to clean just the wax pad? or is it good for both pads? thanks again for your help.
 
Hi All, thanks for checking out another write up from Gleaming Kleen:thumb:

No pics of the wash stages but here is a few of the photos showing the condition of the car before it was washed and decontaminated.
P1150018.jpg


P1150021.jpg


P1150022.jpg


P1150027.jpg


P1150028.jpg


P1150030.jpg


P1150031.jpg


Door jambs cleaned up
P1150024.jpg
-
P1150025.jpg


All wheels were removed to be fully refurbished as they were all badly kerbed. With the wheels off and car on axle stands I thoroughly cleaned the arches using Bilt Hamber Surfex and Tardis
P1150036.jpg


P1150038.jpg


P1150039.jpg


P1150041.jpg


P1150043.jpg


Wheel hubs and brake calipers were not looking to good so these were rubbed down and given a few coats of primer, paint and laquer. Wheel bolts were also freshened up.
P1150047.jpg


P1150044.jpg


P1150046.jpg


How it all looks with the refurbished wheels back on (wheels were sealed with Nanolex before refitting)
P1150048.jpg


The wing mirrors on the car had been repainted poorly at some point so these were taken to get repainted properly (Thanks Wayne:thumb:)
P1150146.jpg


P1150147.jpg


I also got Wayne to repair the leather bolster. This is a service I offer myself but too save a bit of time it made sense to get him to do whilst he had the car.
P1150148.jpg
-
P1150149.jpg


The interior leather was in need of a good deep clean. A 50/50 showing the difference made.
P1150187.jpg


Moving on to the paint - I used Menz 302 and a LC Cutting pad (where needed I stepped up to 3M FCP) for the bulk of the correction work.
P1150049.jpg


P1150050.jpg


P1150052.jpg


P1150053.jpg


P1150054.jpg


P1150055.jpg


P1150070.jpg


P1150071.jpg


P1150072.jpg


P1150074.jpg


P1150075.jpg


P1150076.jpg


P1150080.jpg


P1150081.jpg


P1150084.jpg


P1150086.jpg


P1150087.jpg


P1150090.jpg


P1150091.jpg


P1150093.jpg


P1150100.jpg


P1150112.jpg


P1150113.jpg


P1150120.jpg


P1150121.jpg
 
P1150127.jpg


P1150129.jpg


Once all the heavy compounding was complete I refined the paint with Megs 205 and a old style Meg Finishing pad which left me with the following results.
P1150190.jpg


P1150245.jpg


P1150194.jpg


P1150202.jpg


P1150210.jpg


P1150215.jpg


P1150222.jpg


P1150225.jpg


With all the machine polishing stages out of the way I then applied/removed swissvax Cleaner Fluid and a coat of Swissvax Divine was applied. I then went about dressing the tyres, polishing exhaust, cleaning windows etc etc

Grills removed and given a good clean with Jeffs Prime Strong
P1150238.jpg


P1150243.jpg


Engine bay dressed with 303
P1150276.jpg


And the end result after 35 hours of work
P1150248.jpg


P1150258.jpg


P1150270.jpg


P1150271.jpg


P1150292.jpg


P1150296.jpg


P1150309.jpg


P1150311.jpg


P1150312.jpg


*********************************
Few other BMW's from the last month or two. Not enough pics to do a proper write up on them

All were booked in for a Enhancement Details

M3 CSL finished with Werkstat Acrylic
47d8f8dc.jpg


7a9bbaf9.jpg


0c4243ac.jpg


5aef0d78.jpg


10419656.jpg


M3 finished with Werkstat Acrylic
9c3f6700.jpg


4054ff17.jpg


9395df28.jpg


Z4M finished with Blackfire Wet Diamond Sealant
19fb4a5a.jpg


caeb3b81.jpg


8cf51550.jpg


898cc421.jpg


f0d7e830.jpg

Thanks for reading guys:thumb:
 
Jay,
That is what I call a TRANSFORMATION!!!
Outstanding work, and the 35 hours put into it, was time well spent!!:thumbup::thumbup:
 
Back
Top