2006 Foose Mustang Show Prepped by Todd Cooperider of Esoteric Auto Detail
Introduction:
A current client of mine contacted me in the spring to tell me about the new toy he was getting...a 2006 Foose Mustang. He said that it was in relatively good shape, but said that I spoiled him last year with the major paint restoration I did on his black C4 Corvette, and now he knows the real difference between a “good� finish, and one that I could create. He wanted to bring the Foose to a whole new level, so we planned for a major paint correction on it at the beginning of the summer.
I knew that there was a local car show being held about the same time here in Columbus that was being presented by another local detailer / friend of mine in conjunction with an Ohio Mustang club, so planning the detail for the Foose to be entered into the show made perfect sense. I figured that I would give it my all so he could roll into the show make a great impression. I would have the car for about 2 ½ days, so I would have plenty of time to get it looking great.
Since the Foose is at least mostly custom painted (if not completely), I knew that it wasn't going to correct like typical Ford paint. If you're going to work on a vehicle that has at least partial paintwork done on it, you should be prepared for the paint to act differently than the factory paint. The Foose held true to this general rule, and the paint was quite a challenge to work with in comparison to factory Ford paint.
Evaluation:
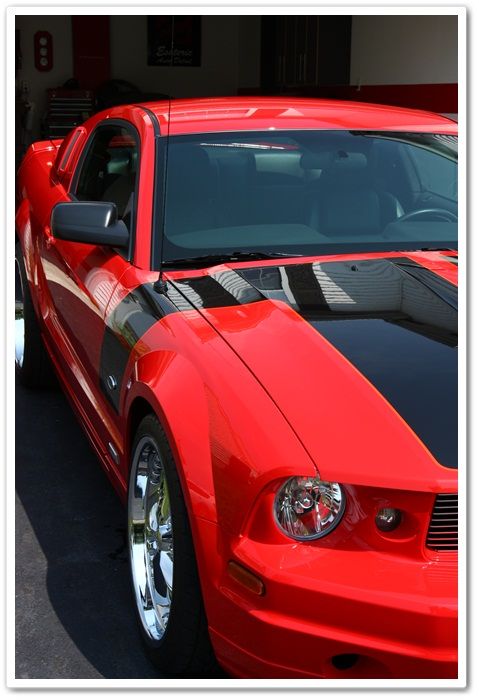
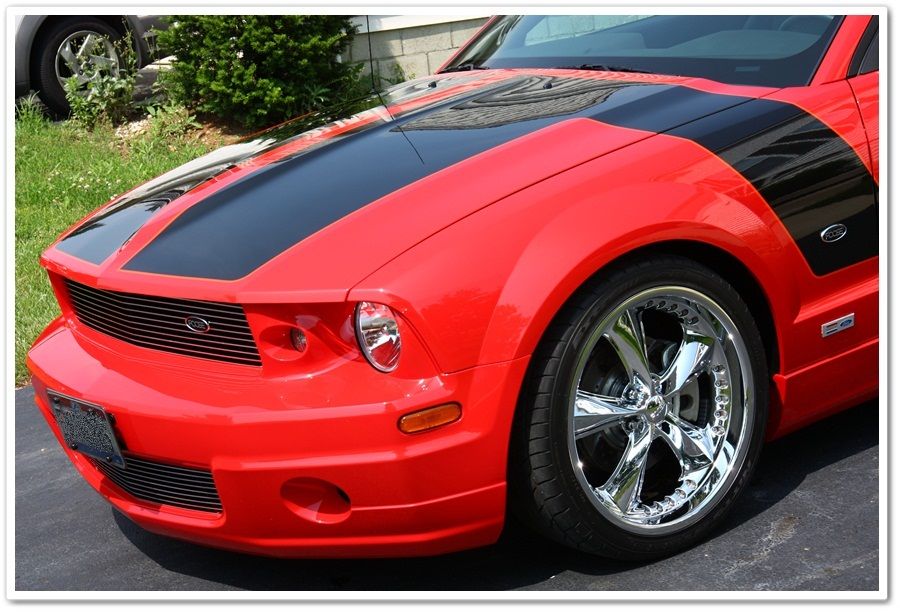
In the sunshine the Foose didn't look too bad for a car that was almost 4 years old. It had a fair share of swirls, but not severe looking by any means. The finish had a good gloss to it with the exception of the black metallic stripes on the hood...you could tell that there was a bit of haziness to it. I expected that at some point a buffer had been taken to it by somebody unskilled at the art, which caused the lack of proper gloss.
Once I pulled the car inside and started a closer inspection with a combination of halogens, T-5 fluorescents, and my Brinkmann I quickly found the paint to be in much worse condition than even the sun had revealed. There were deep scratches on many parts of the car, and in the custom painting process they failed to finish it down properly...sanding pigtails, haze, and deep wool marks were left all over the car. Even with a special car like this, you're typically not going to find a finish that is as good as it should be.
Process:
After I prepped the car for polishing (full wash & clay), I prepared a medium-cut combination for my initial test section to see what the paint was going to be like. A green (light cutting) Lake Country pad was combined with Menzerna Power Finish and the Makita rotary. I worked on the driver's side door, did my first pass, and when I wiped it down I was shocked at the results...absolutely nothing! Not even removal of light swirls. This is just what I didn't want to see...granite-like clear coat. Not only was a quick job right out of the question at this point, but I might even be doing a 3-step on this beast. After a series of tests I ended up using PFW and M105 on the Makita, but even after several passes in some sections it just wasn't getting rid of the deeper imperfections that I found specifically on the vertical surfaces. I had pre-measured all of the panels with my DeFelsko paint thickness gauge (very inconsistent yet thick measurements as to be expected from custom paint) and knew that I had plenty to work with, but wetsanding was not on the menu for this car.
I now knew what would be required to knock down the heavy stuff, and would later take the time to figure out what finishing process would be required.
As I moved on to the next panel however, I found the paint to still be hard, but not nearly as hard as the door panel(s). Whew. For this I found the combination of M105 and an Orange pad to do the trick just fine. These areas would also be much easier to finish down.
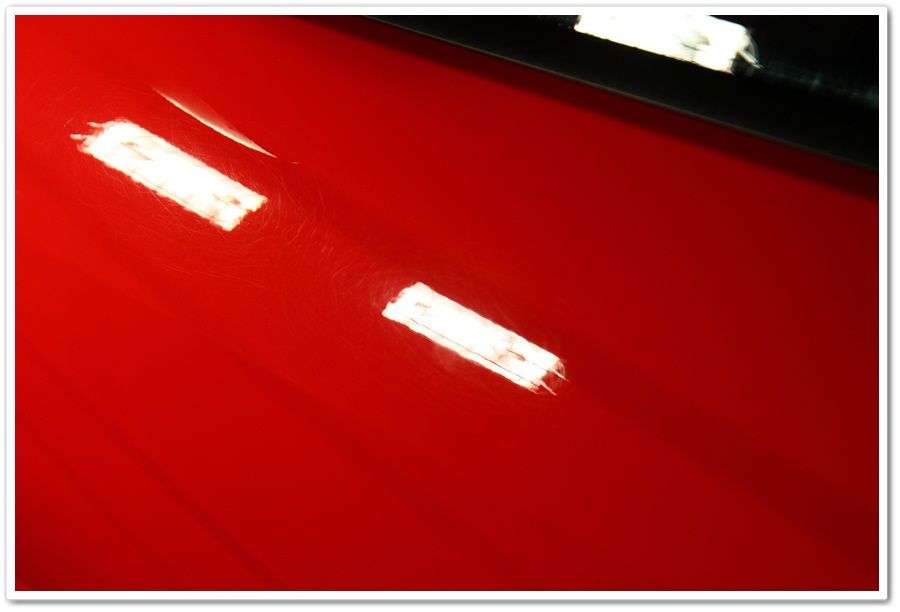
After doing a few test photos, I found that capturing the defects on this bright red paint was proving to be just as challenging as the correction itself, so I didn't spend much time taking before or process photos (sorry). Here is a photo from the door panel, but the camera was only capturing about 30% of the true condition of the paint.
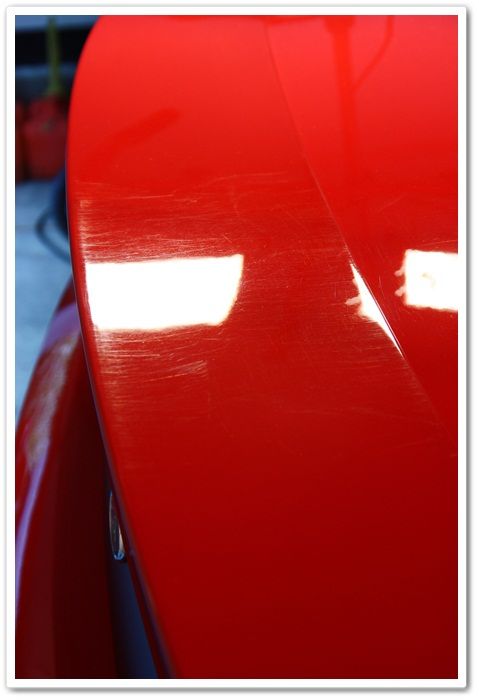
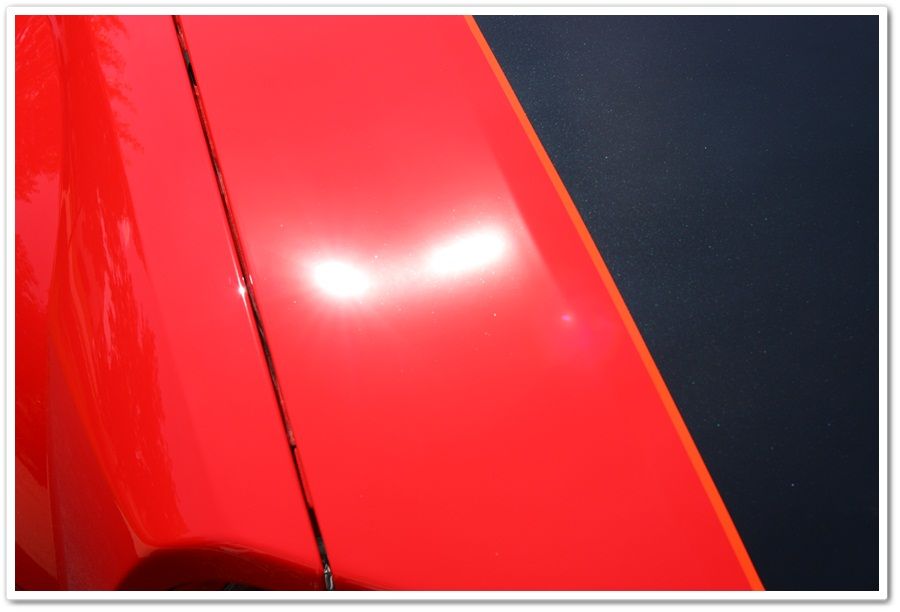
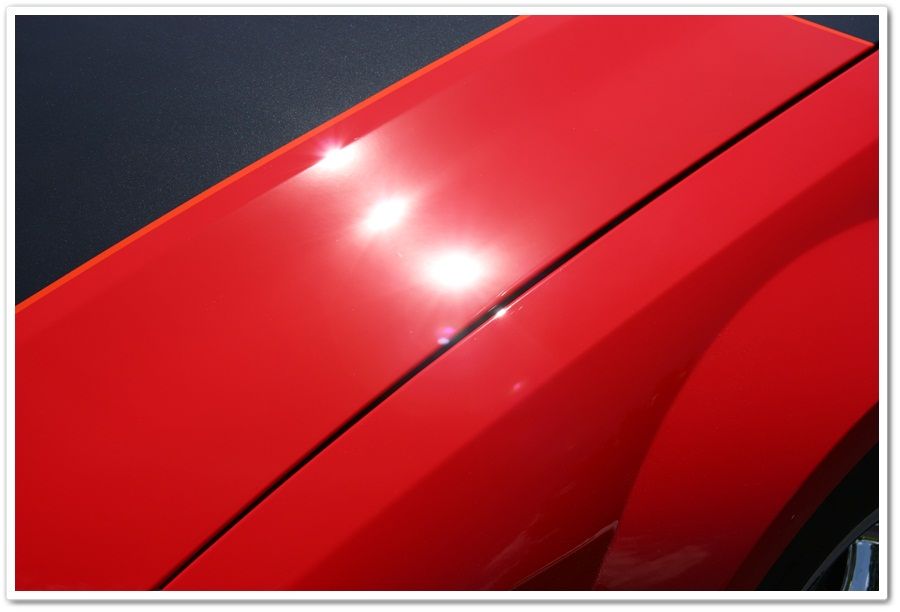
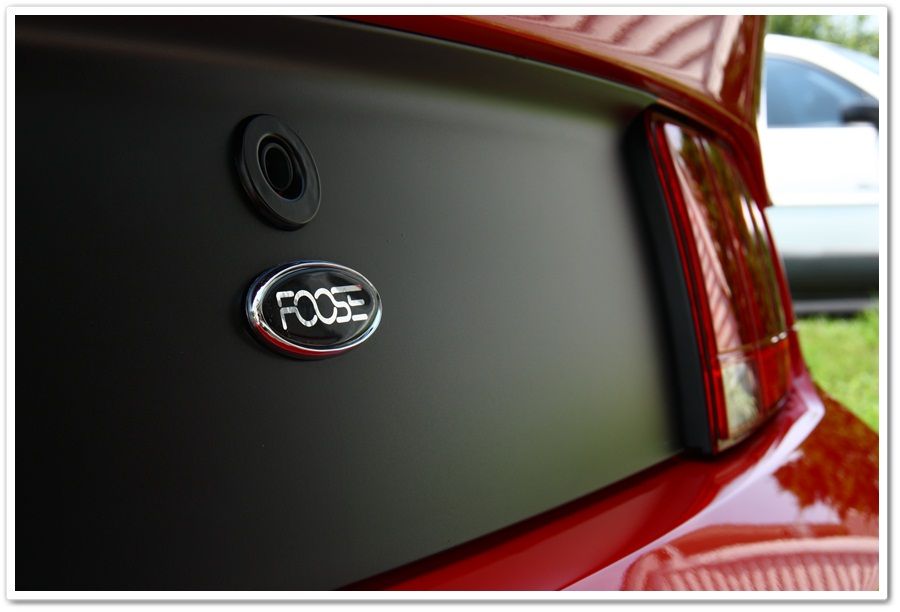
In this photo, you can see the very deep and severe defects that I found on the rear spoiler and trunk lid. On these I did about 5 passes with PFW and M105 to get rid of roughly 90% of the defects.
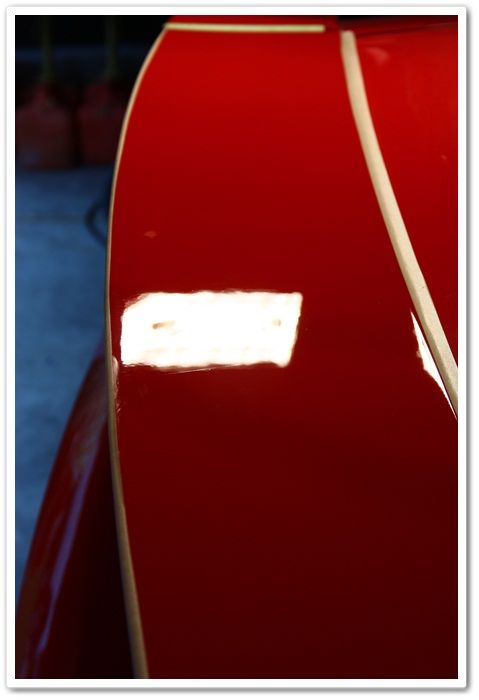
I came back and snapped a photo after the correction, but as you can see the lighting is a bit different (I normally try to get the exact same lighting and camera settings to make true comparisons, but didn't accomplish it on this particular one). You can still see that with the exception of the remnants of a very deep scratch or two, I was able to restore most of the paint.
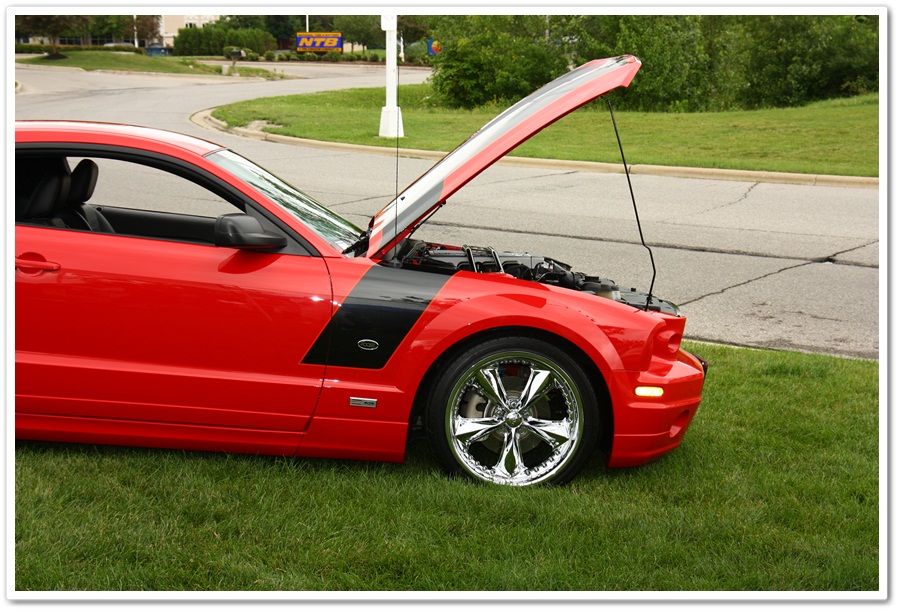
Now fast forwarding through the rest of the car, I made my way to the hood. I knew that I had a bit more work up here (as per usual), and that after finishing my compounding I would also test my follow up polishing steps to figure out what would work best on the rest of the car. The sun had come out by this time, so I could pull it out as needed to check my work.
The hood had the thickest paint readings of the entire car, and it also won the award for the most challenging area to figure out a process. I did no less than 8 compounding / polishing steps to get the level of correction that I was looking for and the level of finishing that I required. Normal steps up from compounding to medium-cut to finishing weren't working. I would compound, and then step up in level of refinement, pull it outside, only to find that it wasn't doing the job. This custom paint was testing my skills as well as my patience!
After many, many different combinations, and even switching on and off between the rotary and the PC, I thought I had the perfect combination figured out. I went back around the entire car with M105 and a white pad on very slow speeds with the Makita, and then finished that level down with M205 on a Tangerine pad on the PC. I pulled it back outside, and the entire looked spectacular except...the darn hood! It still required a little bit more refinement.
Despite the fact that I had tried Menzerna 106FA and a black pad on the Makita before (but in a different order), I went back to it with very slow passes...gradually going from 900 to 1200 to 1500 and very slowly worked my way back down through the RPM's.
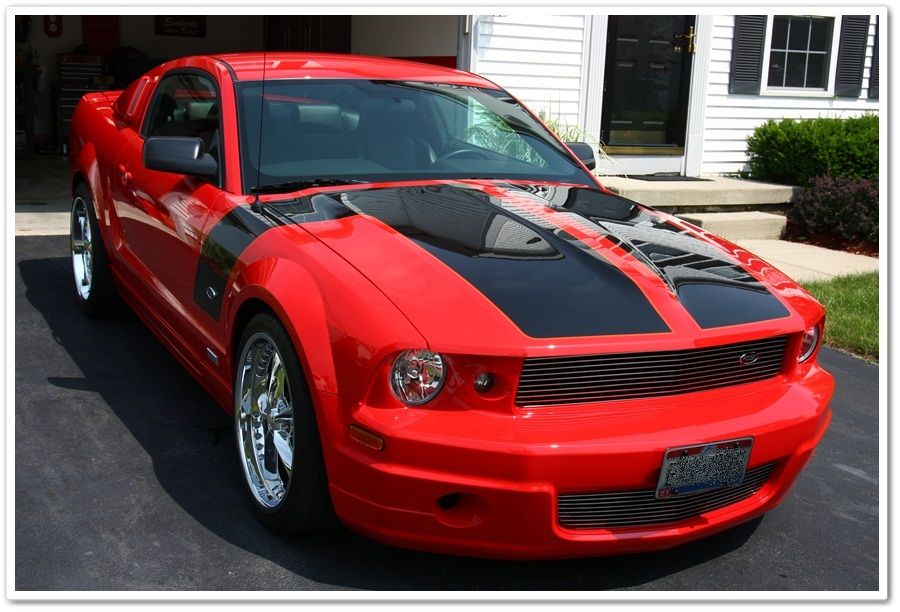
I pulled the car back outside, and...PERFECTION! There were no tracers remaining that had been plaguing me with all of the other steps, there was no haze, there were no hologram...only deep gloss.
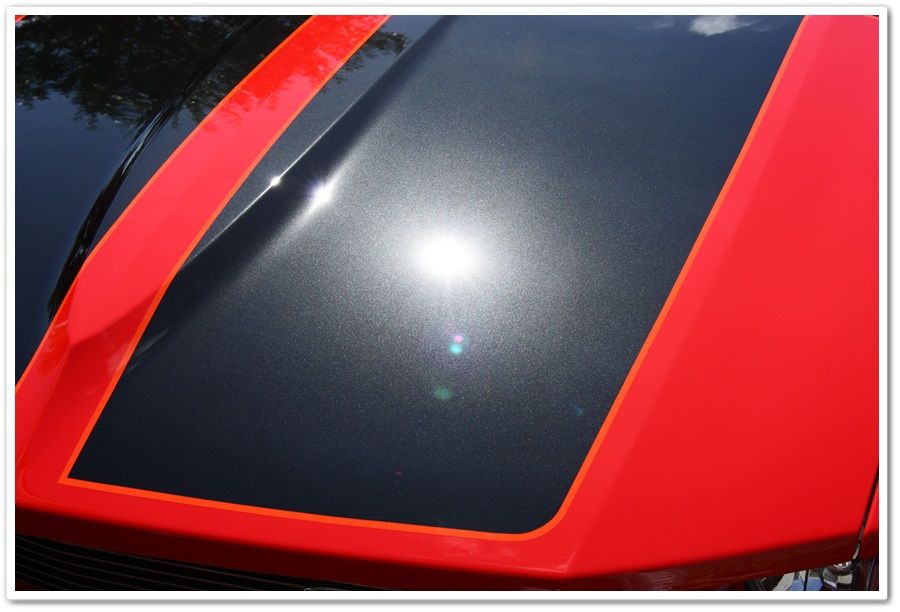
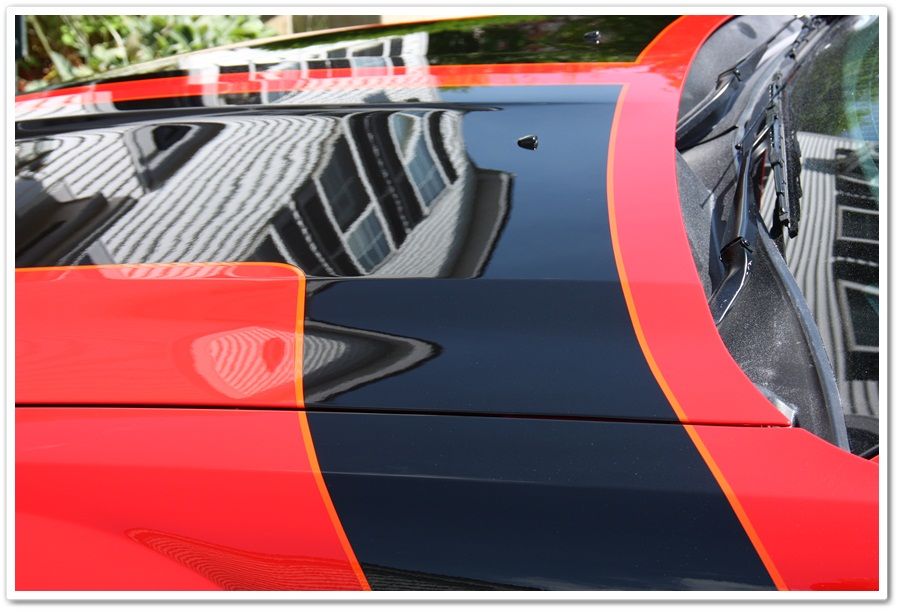
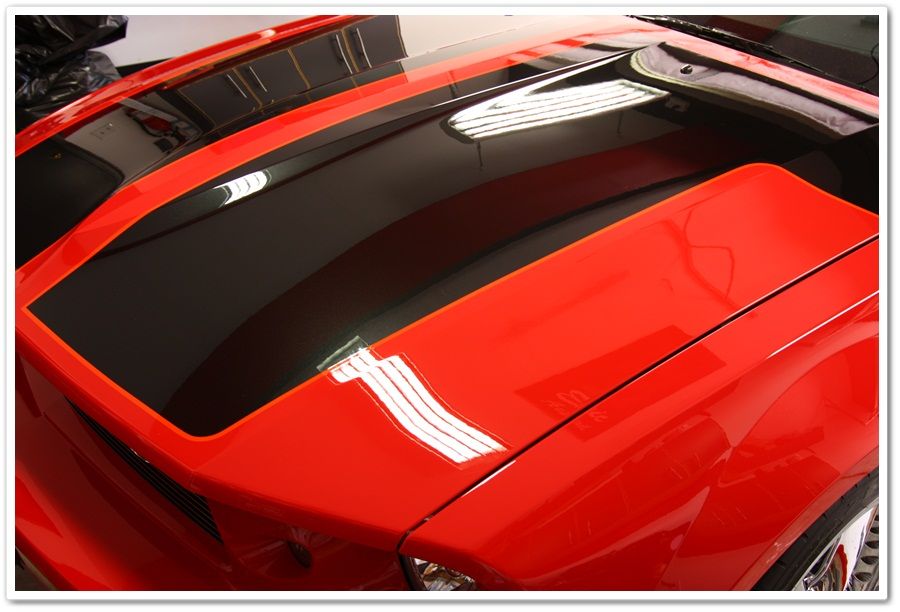
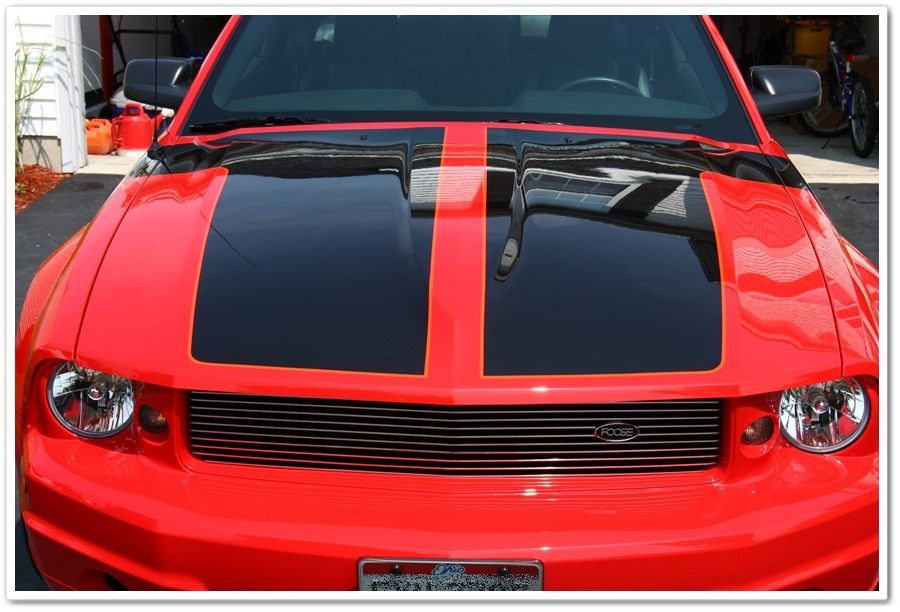
Here are a few photos of the hood immediately after polishing but before cleaning up or LSP application (you can still see all of the compounding dust near the wipers).
Now that I have all of my polishing complete, I completely re-washed the vehicle using a strong solution of Chemical Guys Citrus Wash to remove any and all polishing residue from the surface to ensure a good bond of my LSP's.
After the wash, I applied Chemical Guys EZ Creme Glaze with a black pad on the PC, and then topped it with Blackfire Wet Diamond paint sealant. If I would have had another day for the Blackfire to go through 24 hours worth of curing, I would have applied a coat of Chemical Guys E-Zyme Natura Paste Wax. I just did that same combination on a Rosso Corsa Ferrari 360 the prior weekend, and the finish was absolutely stunning!
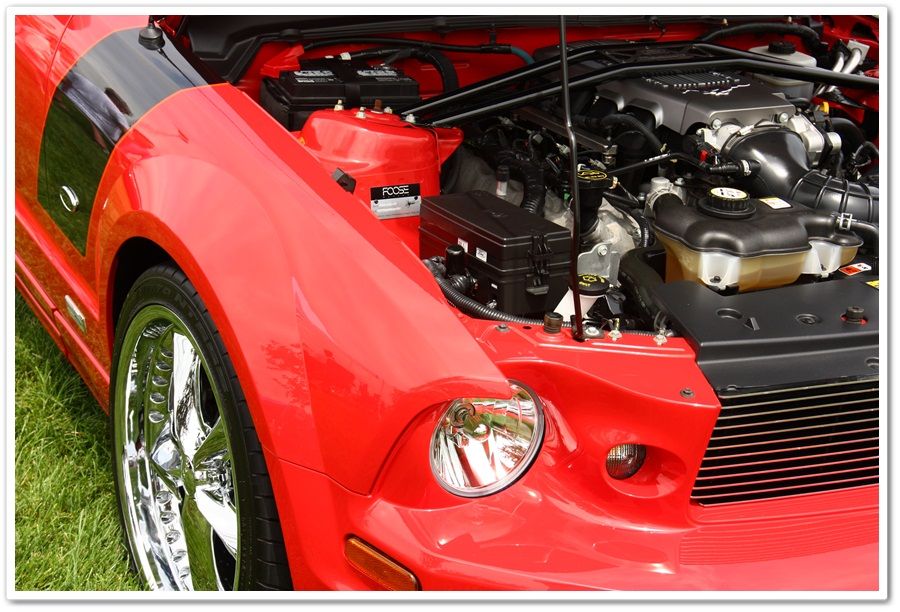
I fully detailed the engine bay, wheels, wheel wells, trunk, and interior as well in preparation for the show. In the end I had about 17 hours into the Foose Mustang.
Introduction:
A current client of mine contacted me in the spring to tell me about the new toy he was getting...a 2006 Foose Mustang. He said that it was in relatively good shape, but said that I spoiled him last year with the major paint restoration I did on his black C4 Corvette, and now he knows the real difference between a “good� finish, and one that I could create. He wanted to bring the Foose to a whole new level, so we planned for a major paint correction on it at the beginning of the summer.
I knew that there was a local car show being held about the same time here in Columbus that was being presented by another local detailer / friend of mine in conjunction with an Ohio Mustang club, so planning the detail for the Foose to be entered into the show made perfect sense. I figured that I would give it my all so he could roll into the show make a great impression. I would have the car for about 2 ½ days, so I would have plenty of time to get it looking great.
Since the Foose is at least mostly custom painted (if not completely), I knew that it wasn't going to correct like typical Ford paint. If you're going to work on a vehicle that has at least partial paintwork done on it, you should be prepared for the paint to act differently than the factory paint. The Foose held true to this general rule, and the paint was quite a challenge to work with in comparison to factory Ford paint.
Evaluation:
In the sunshine the Foose didn't look too bad for a car that was almost 4 years old. It had a fair share of swirls, but not severe looking by any means. The finish had a good gloss to it with the exception of the black metallic stripes on the hood...you could tell that there was a bit of haziness to it. I expected that at some point a buffer had been taken to it by somebody unskilled at the art, which caused the lack of proper gloss.
Once I pulled the car inside and started a closer inspection with a combination of halogens, T-5 fluorescents, and my Brinkmann I quickly found the paint to be in much worse condition than even the sun had revealed. There were deep scratches on many parts of the car, and in the custom painting process they failed to finish it down properly...sanding pigtails, haze, and deep wool marks were left all over the car. Even with a special car like this, you're typically not going to find a finish that is as good as it should be.
Process:
After I prepped the car for polishing (full wash & clay), I prepared a medium-cut combination for my initial test section to see what the paint was going to be like. A green (light cutting) Lake Country pad was combined with Menzerna Power Finish and the Makita rotary. I worked on the driver's side door, did my first pass, and when I wiped it down I was shocked at the results...absolutely nothing! Not even removal of light swirls. This is just what I didn't want to see...granite-like clear coat. Not only was a quick job right out of the question at this point, but I might even be doing a 3-step on this beast. After a series of tests I ended up using PFW and M105 on the Makita, but even after several passes in some sections it just wasn't getting rid of the deeper imperfections that I found specifically on the vertical surfaces. I had pre-measured all of the panels with my DeFelsko paint thickness gauge (very inconsistent yet thick measurements as to be expected from custom paint) and knew that I had plenty to work with, but wetsanding was not on the menu for this car.
I now knew what would be required to knock down the heavy stuff, and would later take the time to figure out what finishing process would be required.
As I moved on to the next panel however, I found the paint to still be hard, but not nearly as hard as the door panel(s). Whew. For this I found the combination of M105 and an Orange pad to do the trick just fine. These areas would also be much easier to finish down.
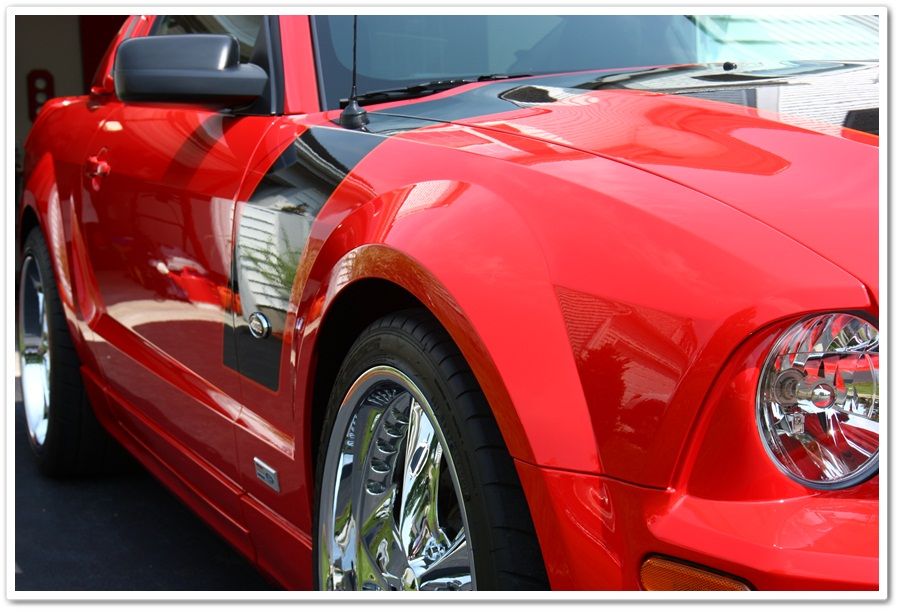
After doing a few test photos, I found that capturing the defects on this bright red paint was proving to be just as challenging as the correction itself, so I didn't spend much time taking before or process photos (sorry). Here is a photo from the door panel, but the camera was only capturing about 30% of the true condition of the paint.
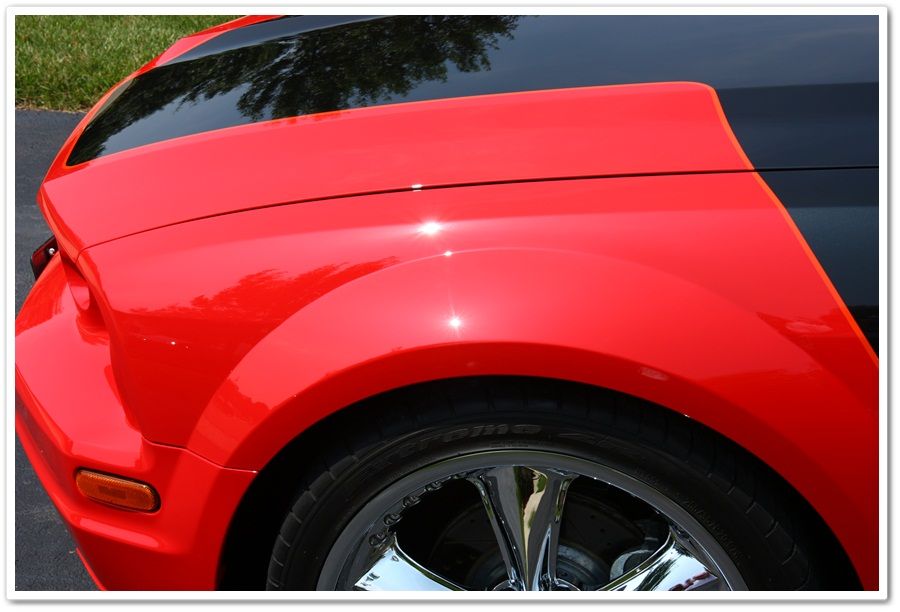
In this photo, you can see the very deep and severe defects that I found on the rear spoiler and trunk lid. On these I did about 5 passes with PFW and M105 to get rid of roughly 90% of the defects.
I came back and snapped a photo after the correction, but as you can see the lighting is a bit different (I normally try to get the exact same lighting and camera settings to make true comparisons, but didn't accomplish it on this particular one). You can still see that with the exception of the remnants of a very deep scratch or two, I was able to restore most of the paint.
Now fast forwarding through the rest of the car, I made my way to the hood. I knew that I had a bit more work up here (as per usual), and that after finishing my compounding I would also test my follow up polishing steps to figure out what would work best on the rest of the car. The sun had come out by this time, so I could pull it out as needed to check my work.
The hood had the thickest paint readings of the entire car, and it also won the award for the most challenging area to figure out a process. I did no less than 8 compounding / polishing steps to get the level of correction that I was looking for and the level of finishing that I required. Normal steps up from compounding to medium-cut to finishing weren't working. I would compound, and then step up in level of refinement, pull it outside, only to find that it wasn't doing the job. This custom paint was testing my skills as well as my patience!
After many, many different combinations, and even switching on and off between the rotary and the PC, I thought I had the perfect combination figured out. I went back around the entire car with M105 and a white pad on very slow speeds with the Makita, and then finished that level down with M205 on a Tangerine pad on the PC. I pulled it back outside, and the entire looked spectacular except...the darn hood! It still required a little bit more refinement.
Despite the fact that I had tried Menzerna 106FA and a black pad on the Makita before (but in a different order), I went back to it with very slow passes...gradually going from 900 to 1200 to 1500 and very slowly worked my way back down through the RPM's.
I pulled the car back outside, and...PERFECTION! There were no tracers remaining that had been plaguing me with all of the other steps, there was no haze, there were no hologram...only deep gloss.
Here are a few photos of the hood immediately after polishing but before cleaning up or LSP application (you can still see all of the compounding dust near the wipers).
Now that I have all of my polishing complete, I completely re-washed the vehicle using a strong solution of Chemical Guys Citrus Wash to remove any and all polishing residue from the surface to ensure a good bond of my LSP's.
After the wash, I applied Chemical Guys EZ Creme Glaze with a black pad on the PC, and then topped it with Blackfire Wet Diamond paint sealant. If I would have had another day for the Blackfire to go through 24 hours worth of curing, I would have applied a coat of Chemical Guys E-Zyme Natura Paste Wax. I just did that same combination on a Rosso Corsa Ferrari 360 the prior weekend, and the finish was absolutely stunning!
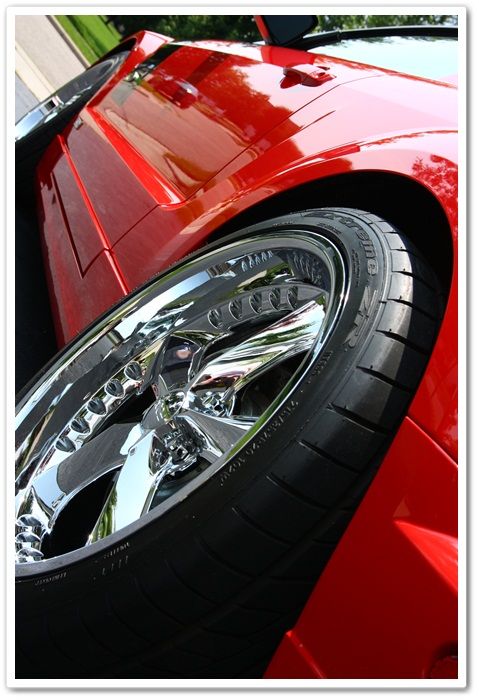
I fully detailed the engine bay, wheels, wheel wells, trunk, and interior as well in preparation for the show. In the end I had about 17 hours into the Foose Mustang.


") Wonderful stuff - thanks for sharing this!
Wonderful stuff - thanks for sharing this!