theeloved1
New member
I've been wanting to debadge/mold by Tahoe for some time, but have put it off due to the cleaning that had to be done afterwards to get rid of whats left of the 3M double sided tape. Finally got around to it, which means I finally got around to my first carcare that was more than wash/turle wax...I've been lurking around here for a couple months and have learned alot.
Here's what I did:
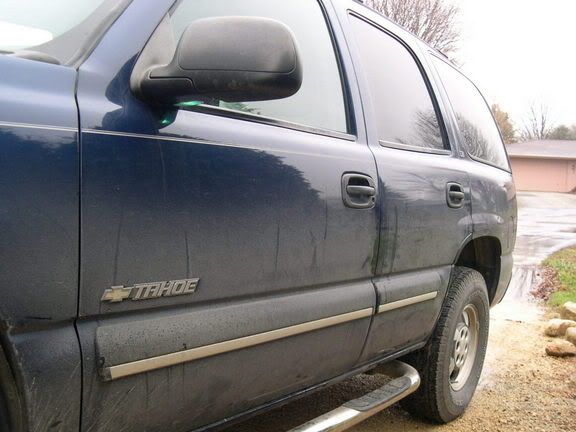
Debadged/molded
NXT wash
Meguiar's clay bar
NXT wash
3M Fine Cut rubbing compound - yellow pad on speed 4
3M Swirl Remover for dark cars - white pad speed 4
3M Glaze - white pad speed 4
NXT wax applied with gray pad speed 4 and buffed by hand with MF towels.
I also clayed the windows
Chrome polish on the bumpers/nerf bars
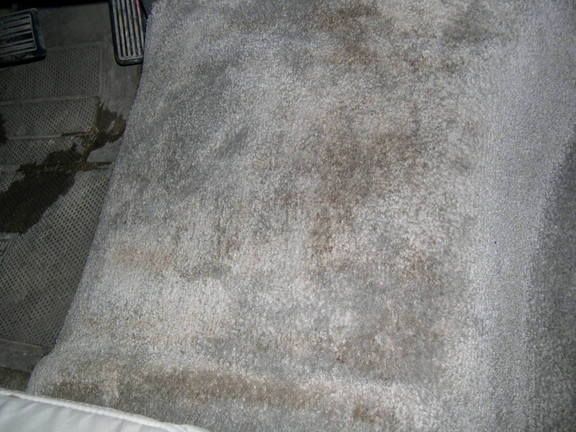
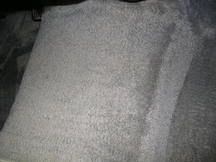
and uses GSR's interior method and then went back and did it again with a Bissel carpet shampooer...
This is my first time using any of these products including the PC...
Before:
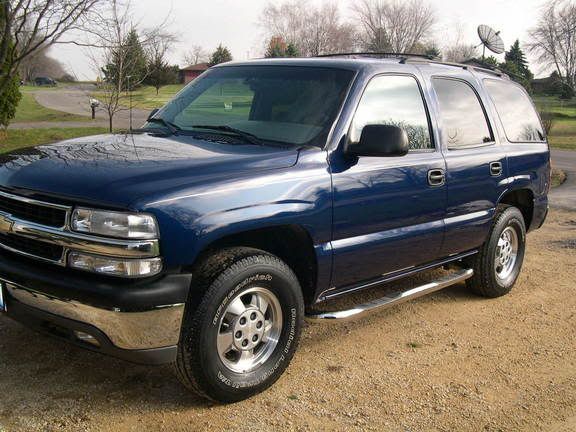
After:
quick before/after of the interior:
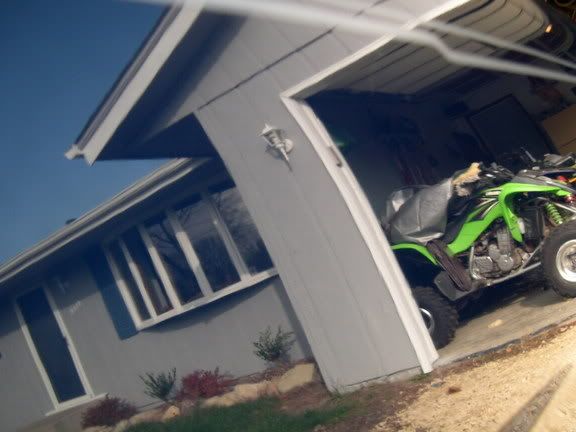
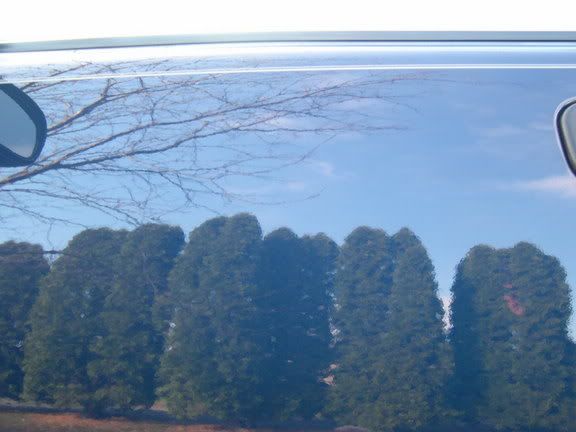
And a couple random reflection shots:
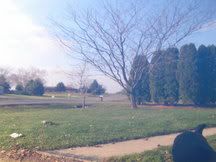
That house is probably 700 feet away, if not more....
Off the front quarter...note the pinstripe at the top
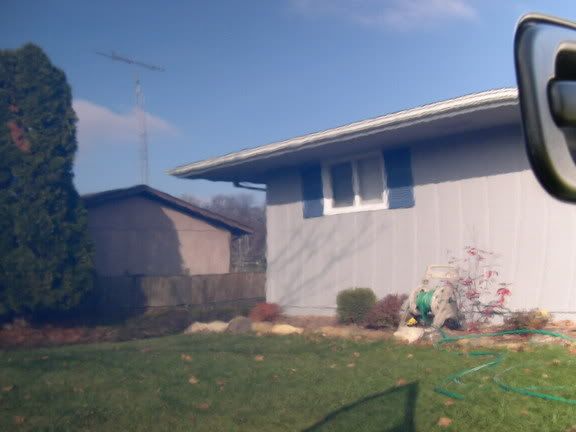
Had to do all this in my non-heated garage cuz its awfully cold in the Chicago area to be outside. And I haven't seen the sun in about a month so the pics aren't as "bright" as could be I suppose. None the less I'm extremely happy with my first "learning" job in proper car care...
Here's what I did:
Debadged/molded
NXT wash
Meguiar's clay bar
NXT wash
3M Fine Cut rubbing compound - yellow pad on speed 4
3M Swirl Remover for dark cars - white pad speed 4
3M Glaze - white pad speed 4
NXT wax applied with gray pad speed 4 and buffed by hand with MF towels.
I also clayed the windows
Chrome polish on the bumpers/nerf bars
and uses GSR's interior method and then went back and did it again with a Bissel carpet shampooer...
This is my first time using any of these products including the PC...
Before:
After:
quick before/after of the interior:
And a couple random reflection shots:
That house is probably 700 feet away, if not more....
Off the front quarter...note the pinstripe at the top
Had to do all this in my non-heated garage cuz its awfully cold in the Chicago area to be outside. And I haven't seen the sun in about a month so the pics aren't as "bright" as could be I suppose. None the less I'm extremely happy with my first "learning" job in proper car care...
") hairdryer, heated it up as I went. What I found works best (as everybody complains about blisters) was taking a leather work glove...NOT putting my fingers in it, but instead grabbing one of the fingers and "rubbing" the tape off from one end to the other. Didn't have a single tender spot on my fingers when I was done.:up I then used goof off(was nervous at first, but tested it and didn't hurt paint) and terry towel to get the residue off. Then buffed/polished to get the hazing/shadowing out that is left behind by the tape. There was no paint fade or anything, but wherever there was tape you could tell. BTW, the badges are taped on WAY better than the molding.
hairdryer, heated it up as I went. What I found works best (as everybody complains about blisters) was taking a leather work glove...NOT putting my fingers in it, but instead grabbing one of the fingers and "rubbing" the tape off from one end to the other. Didn't have a single tender spot on my fingers when I was done.:up I then used goof off(was nervous at first, but tested it and didn't hurt paint) and terry towel to get the residue off. Then buffed/polished to get the hazing/shadowing out that is left behind by the tape. There was no paint fade or anything, but wherever there was tape you could tell. BTW, the badges are taped on WAY better than the molding.


")