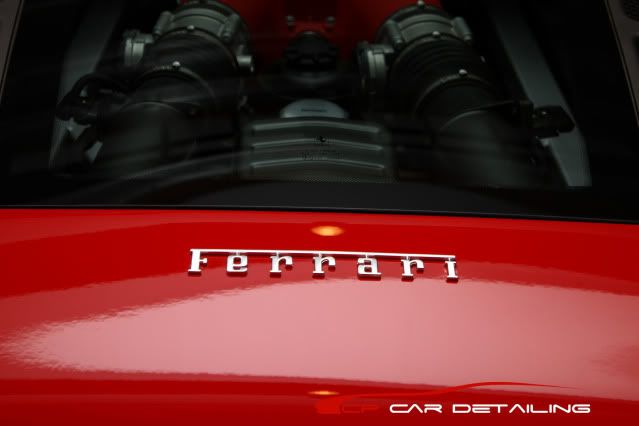
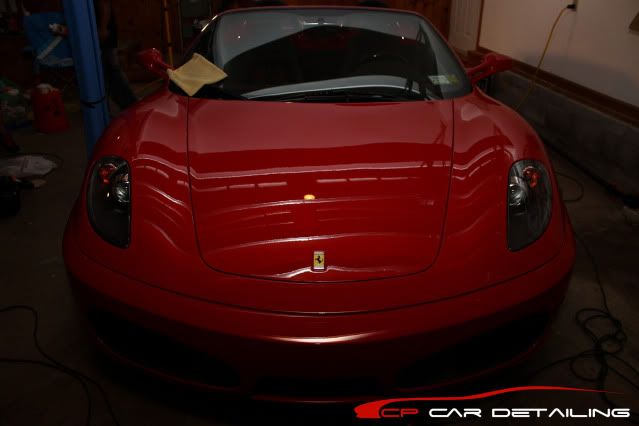
A few months ago we were commissioned to detail this beautiful Ferrari F430 Spider. My hectic work schedule had prevented me from posting much on the forum recently but I'd like to share with you all this beautiful automobile, the work we performed on the vehicle, and a few things we learned along the way, both from the detailer's side of things, and from a car enthusiasts perspective.
I knew this was going to be a big job, as the owner wanted show levels of perfection, and I wanted great photography to capture it all. So, I enlisted the help of one of my friends, Jonathan Schwadron who is a professional photographer to help with some photography while we work. He is a great resource for anybody else looking to get great looking photos for any occassion, and he know how to polish a car too! The better pictures were taken by him! For me this post is a celebration of cars and photography.
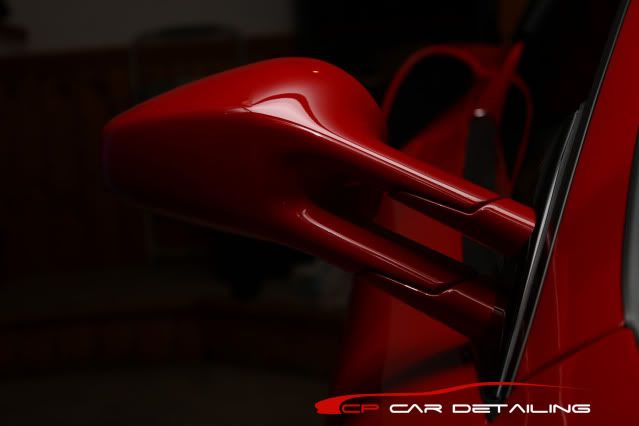
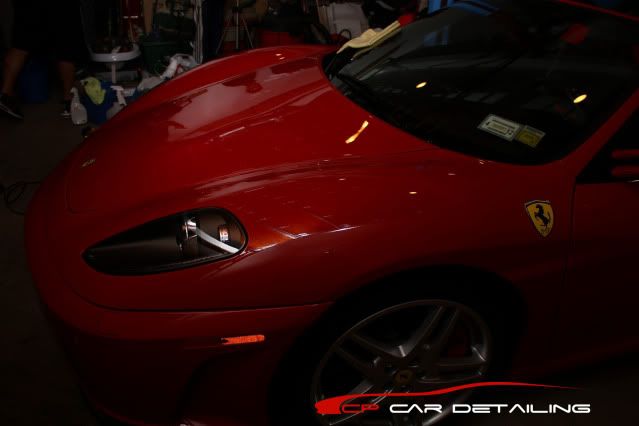
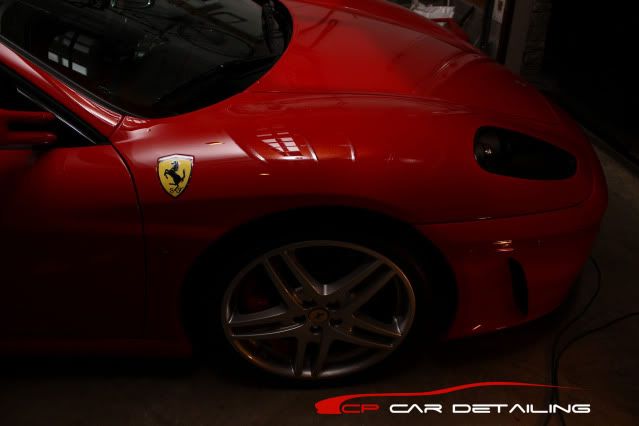
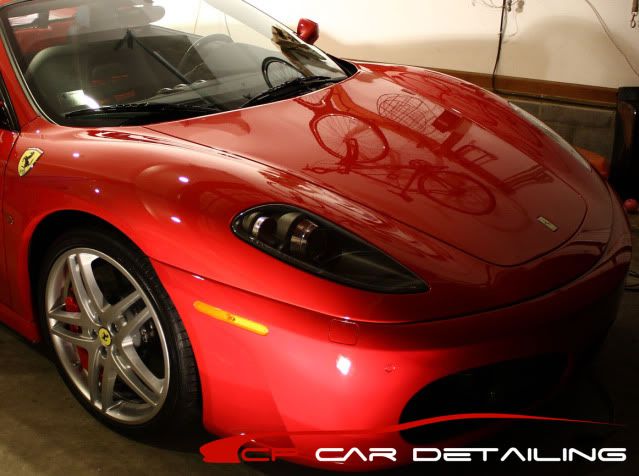
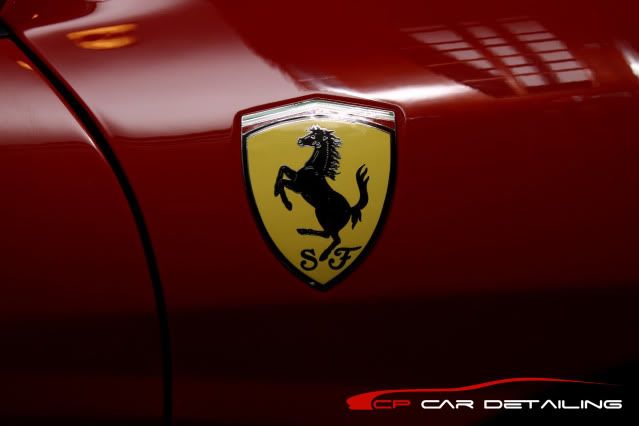
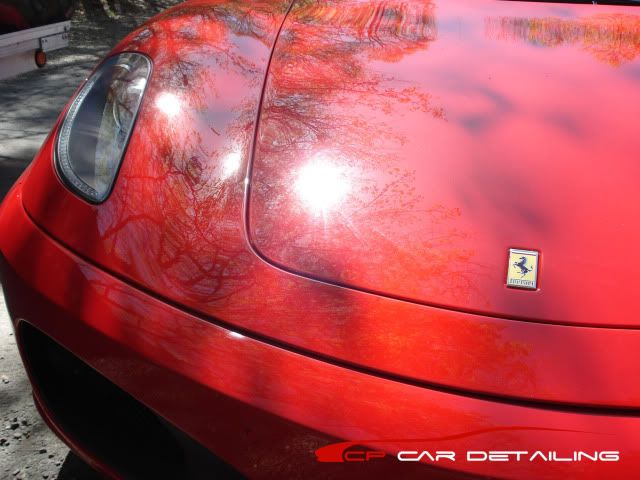
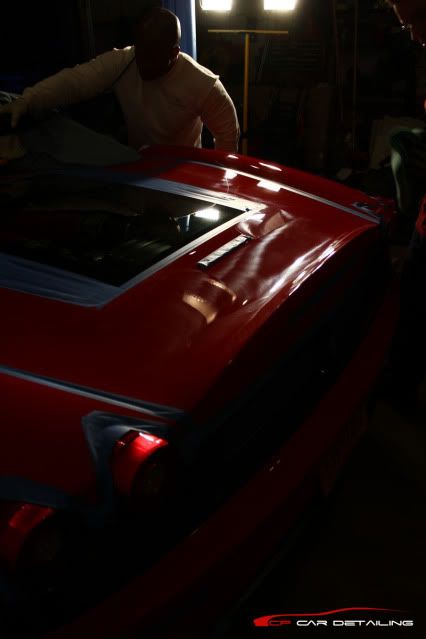
When we arrived we found the Ferrari F430 Spider in decent condition, except for the paint, which had slightly above average levels of swirling in the paint. Some pictures of the paint imperfections:


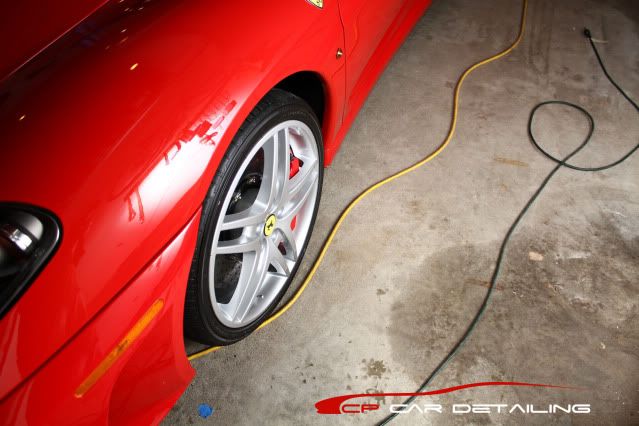
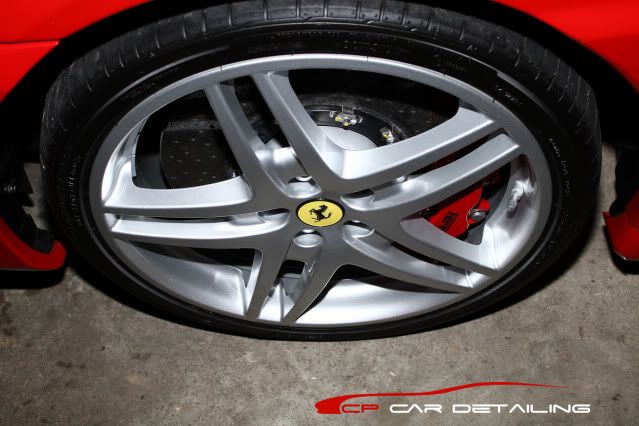
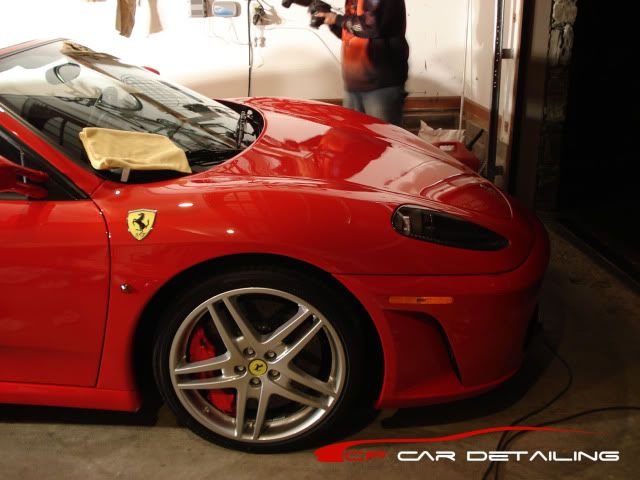
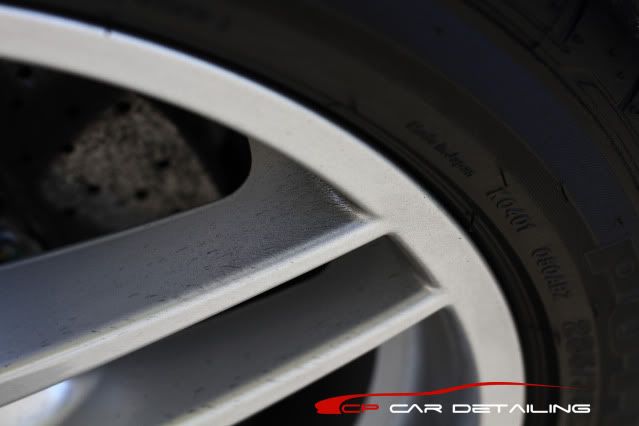
Amazingly, I was very surprised to see the wheels having minimal dusting. Being a supercar, I was thinking the wheels will be caked with a thick layer of brake dust. But I was wrong. The brakes discs were carbon ceramic, which contributed to minimal dusting. I thought that all Ferrari's, just like Porsche painted their calipers yellow if they had ceramic brake rotors, but I was wrong. The thickest of brake dust can be seen in this picture:
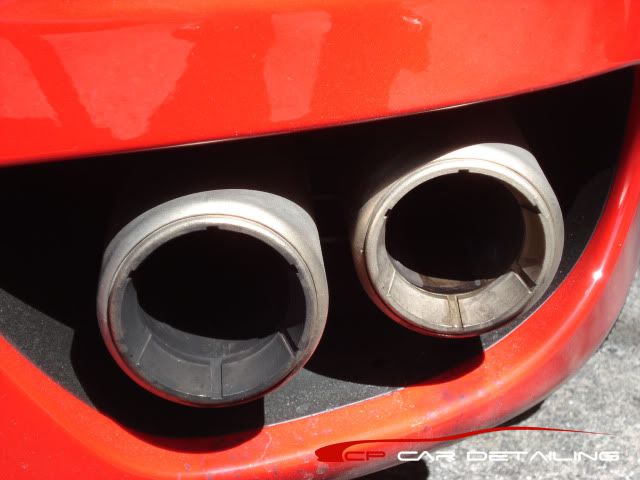
The exhaust tips were also caked with soot...the owner tells us that every time the vehicle starts up, black liquid shoots out the tips, immediately ruining clean exhaust tips each time. Moreover, this black liquid finds its way under the paint, as evidence by the photos below. Later in the evening, after many start ups of the car to move it around, we couldn't figure out why the exhaust tips kept getting dirty...it was the start-up. Anyone doing an F430 soon take note!
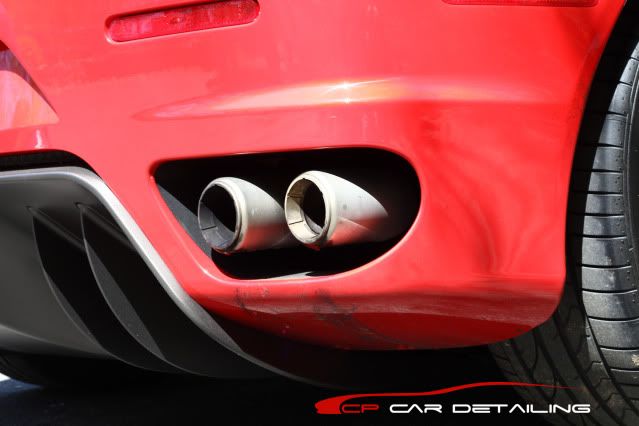

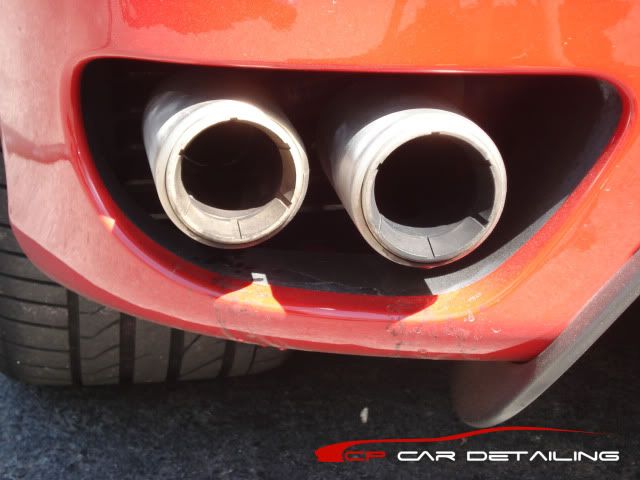
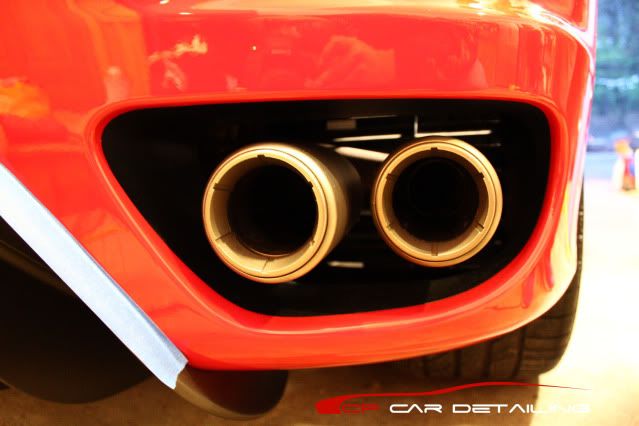
Pesky exhaust tips all cleaned-up:

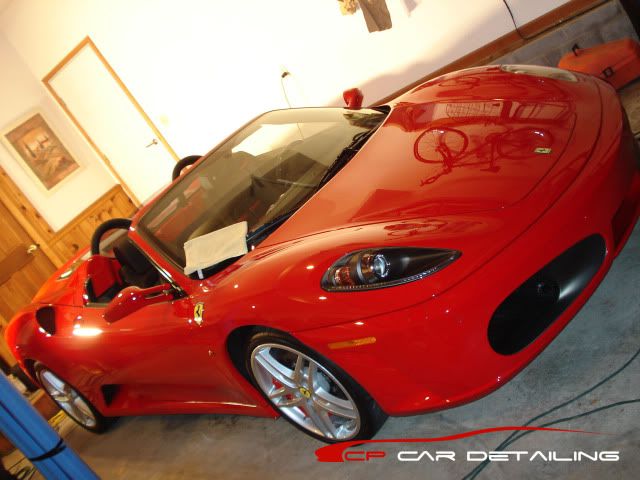
With all this taken into consideration, we went ahead and washed the vehicle, clayed the surface (which revealed minimal contamination throughout), and gently cleaned the wheels inside and out (with just our gold glass car wash soap to prevent damage to the $17,000 rotors).
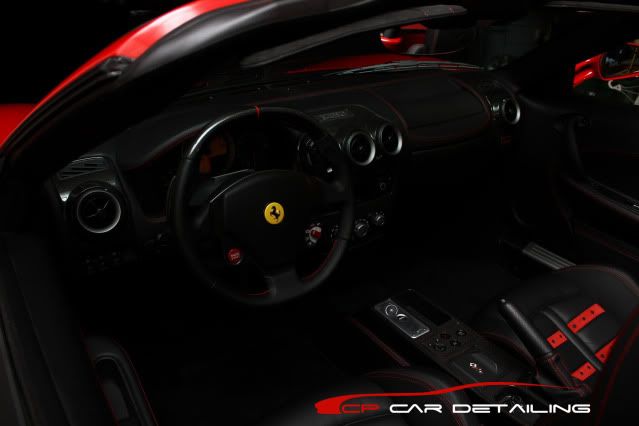
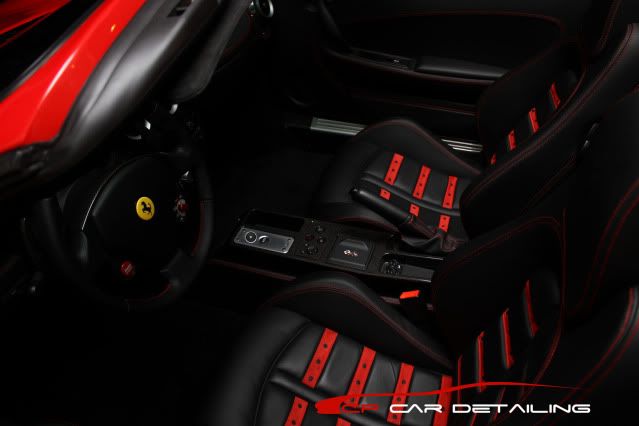
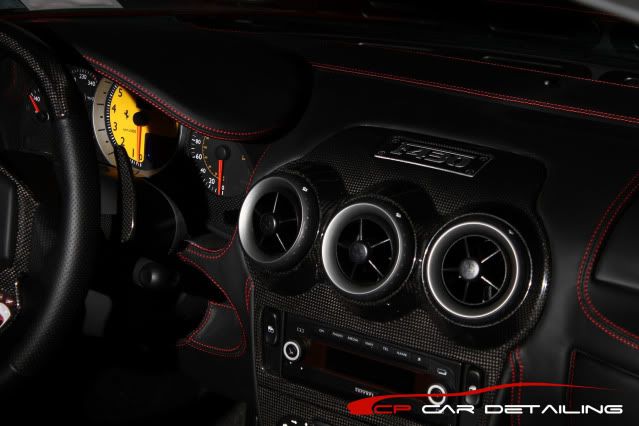
While I performed an alcohol wipedown on the exterior my partner started work on the interior, applying Autoglym leather conditioner to the plethora of beautiful italian leather. We were surprised to see how this leather material made it difficult to evenly spread the product, forcing us to use more product for even coverage compared to a more mainstream vehicle. Next time around I'm going to see if a leatherique treatment will make this process easier. After leather cleaning and conditioning, we applied Klasse AIO to all carbon fiber pieces to give them protection, shine and slickness. Finally, the interior was vacuumed.


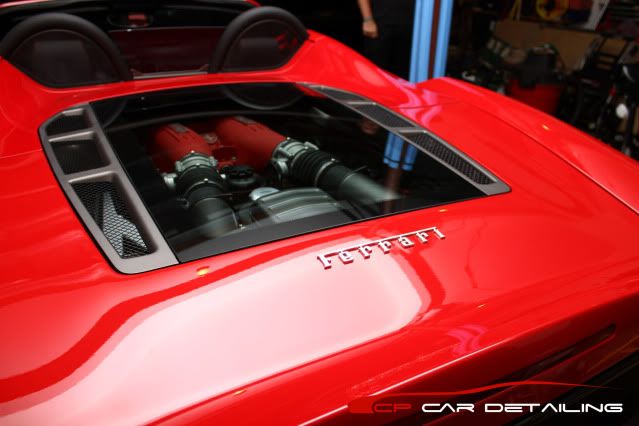
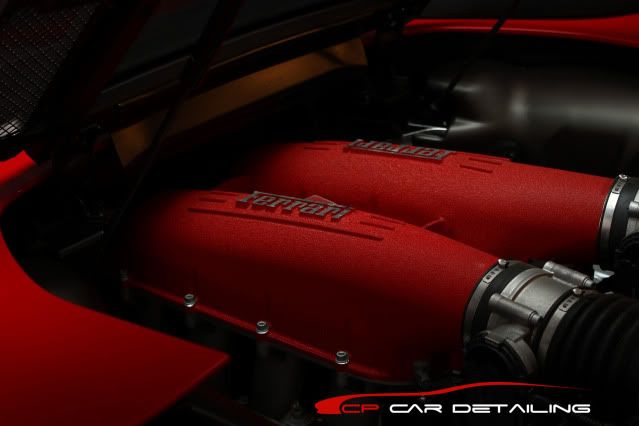
We couldn't resist tackling the engine bay, which required an easy wipedown, and a metal polishing process using various metal polishes such as brasso, nvr dull, and optimum to remove some of the waterspots:
Before:
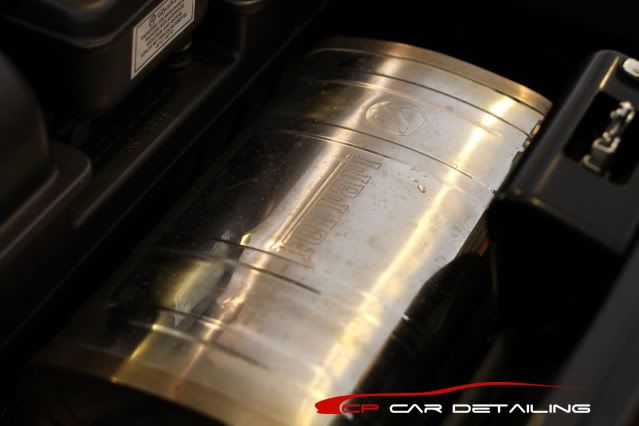
After:


During the above I started working on the polishing process. The paint was responding very well to a long work-in time of Menzerna Super Intensive Polish and an orange cutting pad, followed by 106ff on a polishing pad, so I went ahead with this process. I was pressed for time as it was getting very late, so all we could get were these:

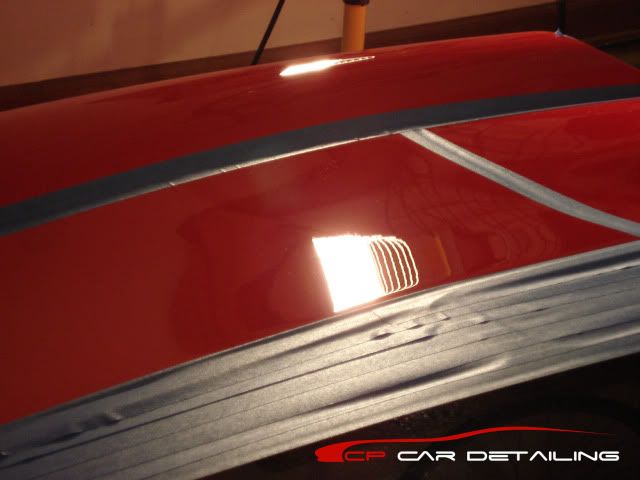

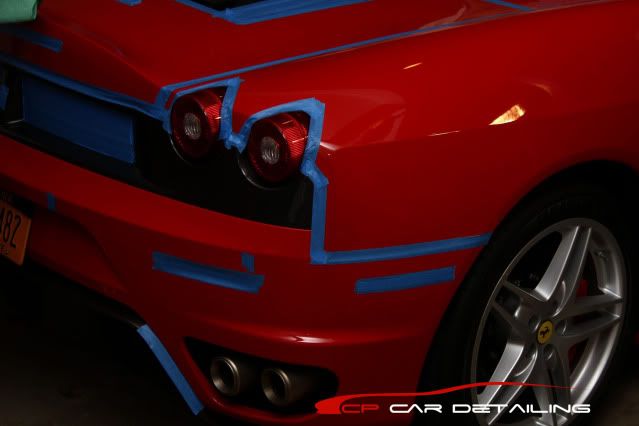
Check-out the tape job!
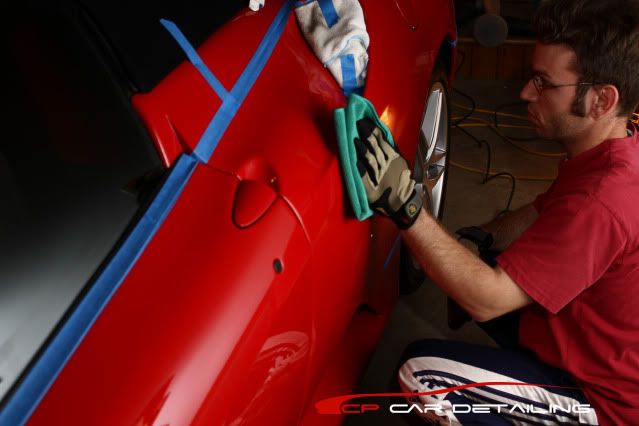
That's me, Ciro wiping off some polish residue!
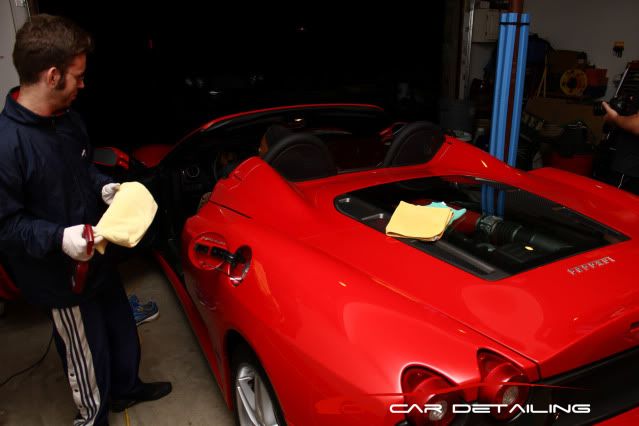
Finally, after an alcohol wipedown the Ferrari F430 was given an application of Poorboy's Natty's Paste wax, a favorite of mine at any price.
Me partner Christian and I performing final inspections
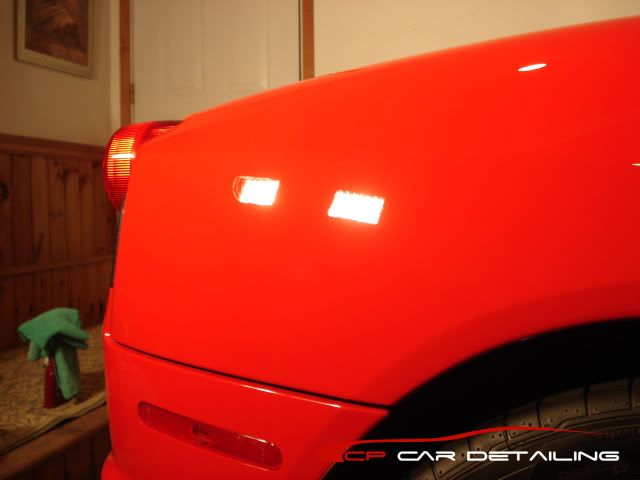
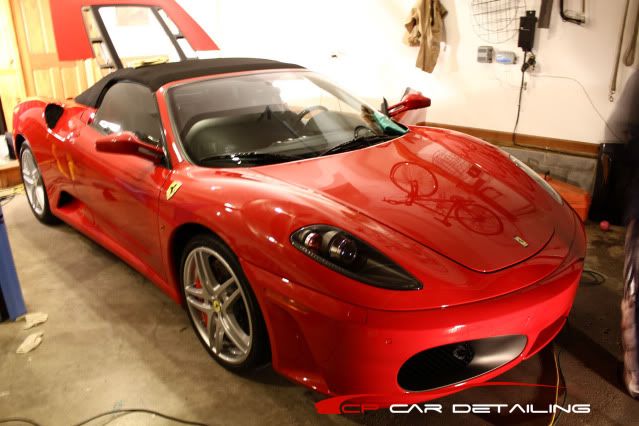
Almost done
I knew this was going to be a big job, as the owner wanted show levels of perfection, and I wanted great photography to capture it all. So, I enlisted the help of one of my friends, Jonathan Schwadron who is a professional photographer to help with some photography while we work. He is a great resource for anybody else looking to get great looking photos for any occassion, and he know how to polish a car too! The better pictures were taken by him! For me this post is a celebration of cars and photography.
When we arrived we found the Ferrari F430 Spider in decent condition, except for the paint, which had slightly above average levels of swirling in the paint. Some pictures of the paint imperfections:
Amazingly, I was very surprised to see the wheels having minimal dusting. Being a supercar, I was thinking the wheels will be caked with a thick layer of brake dust. But I was wrong. The brakes discs were carbon ceramic, which contributed to minimal dusting. I thought that all Ferrari's, just like Porsche painted their calipers yellow if they had ceramic brake rotors, but I was wrong. The thickest of brake dust can be seen in this picture:
The exhaust tips were also caked with soot...the owner tells us that every time the vehicle starts up, black liquid shoots out the tips, immediately ruining clean exhaust tips each time. Moreover, this black liquid finds its way under the paint, as evidence by the photos below. Later in the evening, after many start ups of the car to move it around, we couldn't figure out why the exhaust tips kept getting dirty...it was the start-up. Anyone doing an F430 soon take note!
Pesky exhaust tips all cleaned-up:
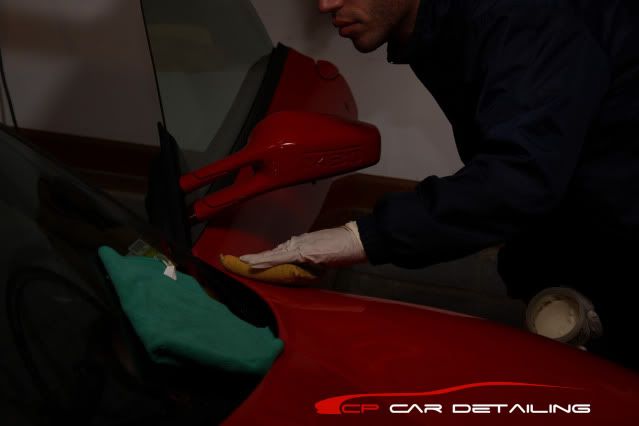
With all this taken into consideration, we went ahead and washed the vehicle, clayed the surface (which revealed minimal contamination throughout), and gently cleaned the wheels inside and out (with just our gold glass car wash soap to prevent damage to the $17,000 rotors).
While I performed an alcohol wipedown on the exterior my partner started work on the interior, applying Autoglym leather conditioner to the plethora of beautiful italian leather. We were surprised to see how this leather material made it difficult to evenly spread the product, forcing us to use more product for even coverage compared to a more mainstream vehicle. Next time around I'm going to see if a leatherique treatment will make this process easier. After leather cleaning and conditioning, we applied Klasse AIO to all carbon fiber pieces to give them protection, shine and slickness. Finally, the interior was vacuumed.
We couldn't resist tackling the engine bay, which required an easy wipedown, and a metal polishing process using various metal polishes such as brasso, nvr dull, and optimum to remove some of the waterspots:
Before:
After:
During the above I started working on the polishing process. The paint was responding very well to a long work-in time of Menzerna Super Intensive Polish and an orange cutting pad, followed by 106ff on a polishing pad, so I went ahead with this process. I was pressed for time as it was getting very late, so all we could get were these:
Check-out the tape job!
That's me, Ciro wiping off some polish residue!
Finally, after an alcohol wipedown the Ferrari F430 was given an application of Poorboy's Natty's Paste wax, a favorite of mine at any price.
Me partner Christian and I performing final inspections
Almost done