Ferrari F430 Scuderia By Tru Shine and Unique Mobile Detailing

Tru_Shine

New member


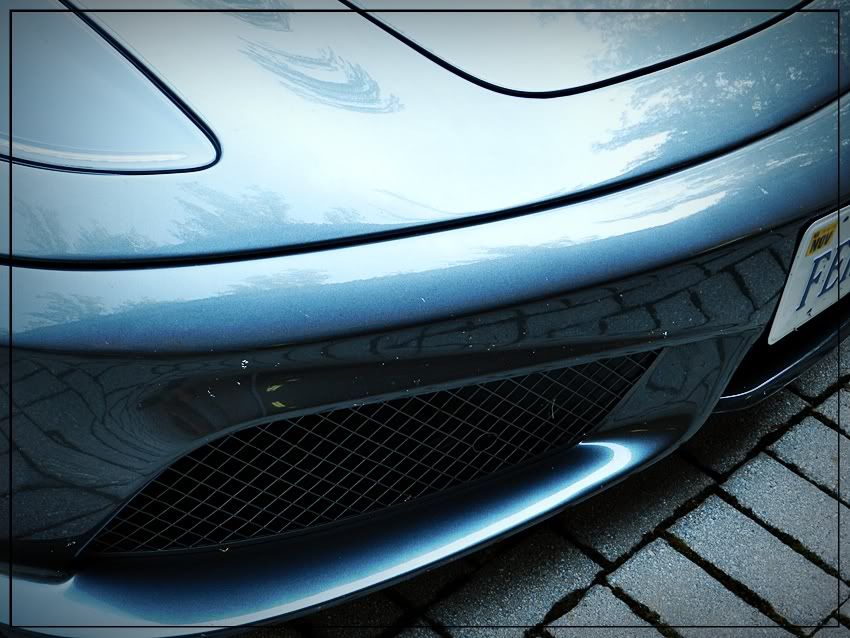
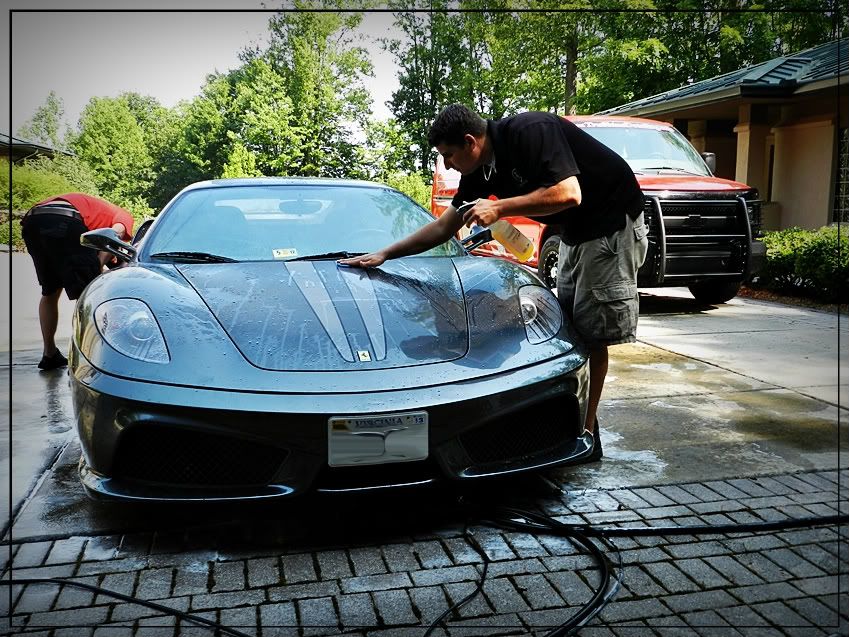
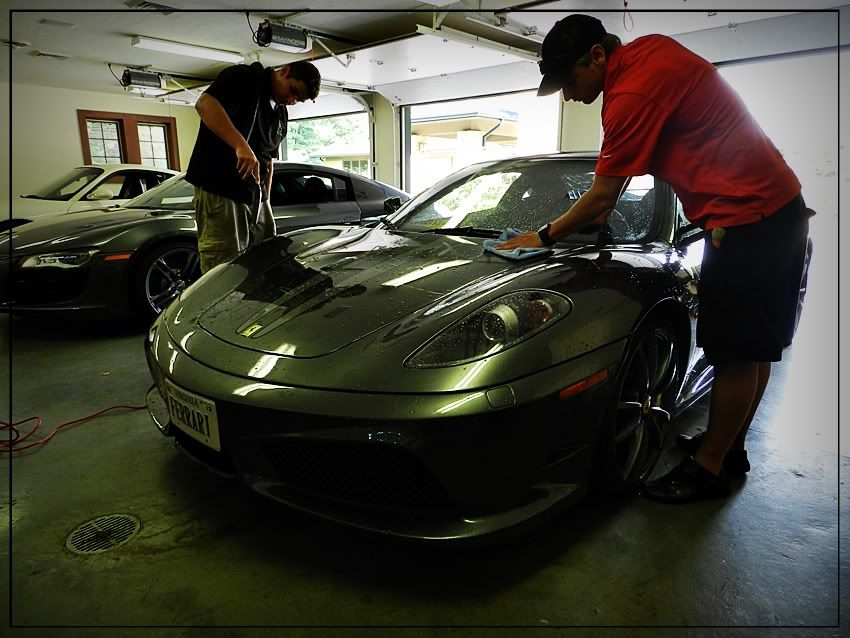
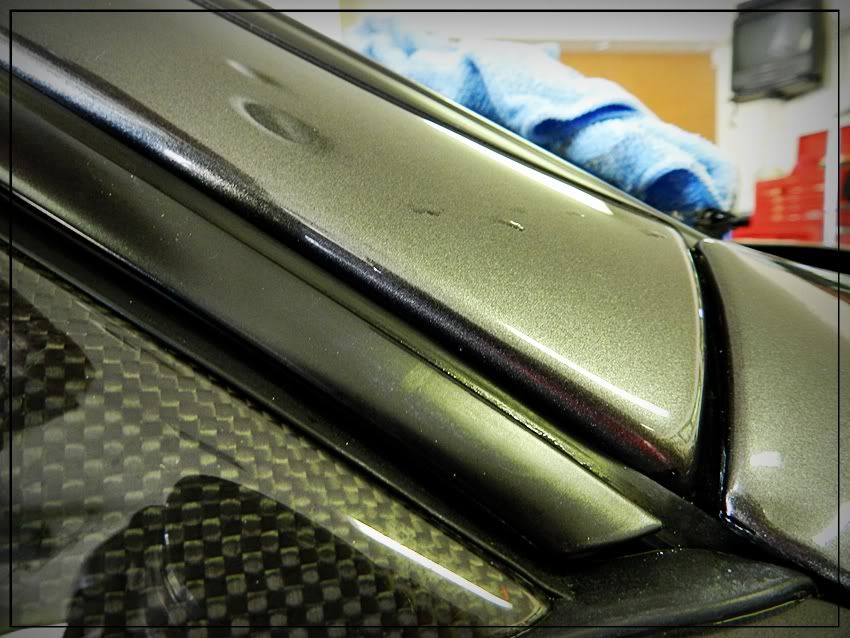
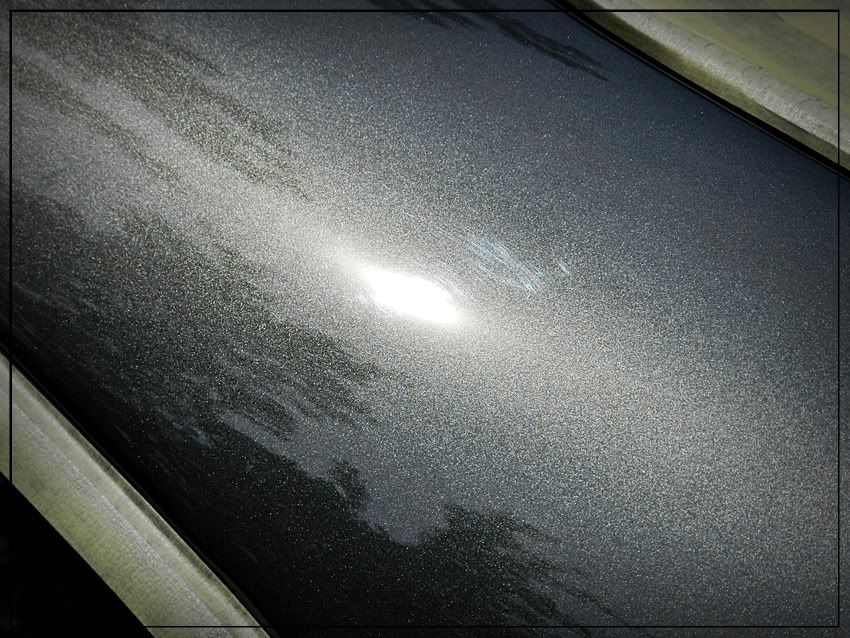
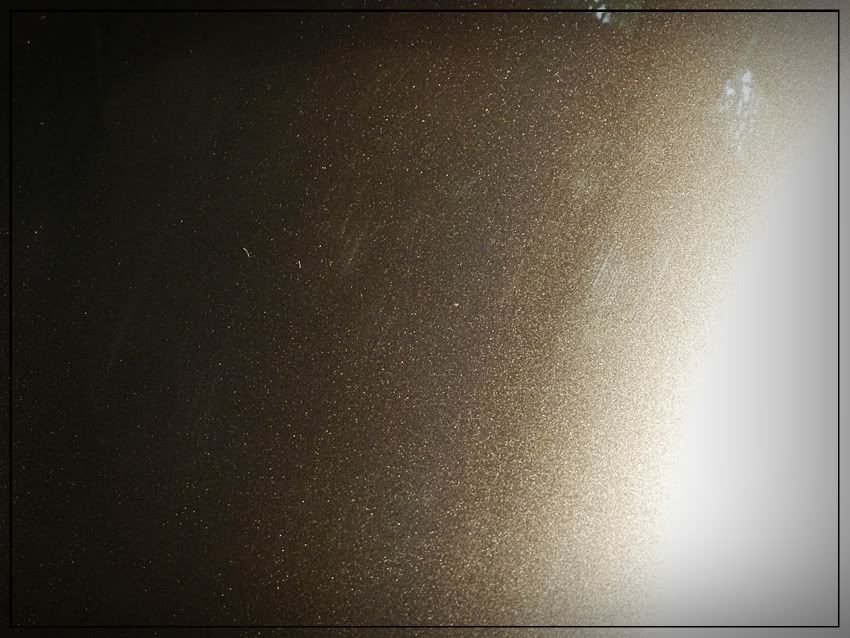
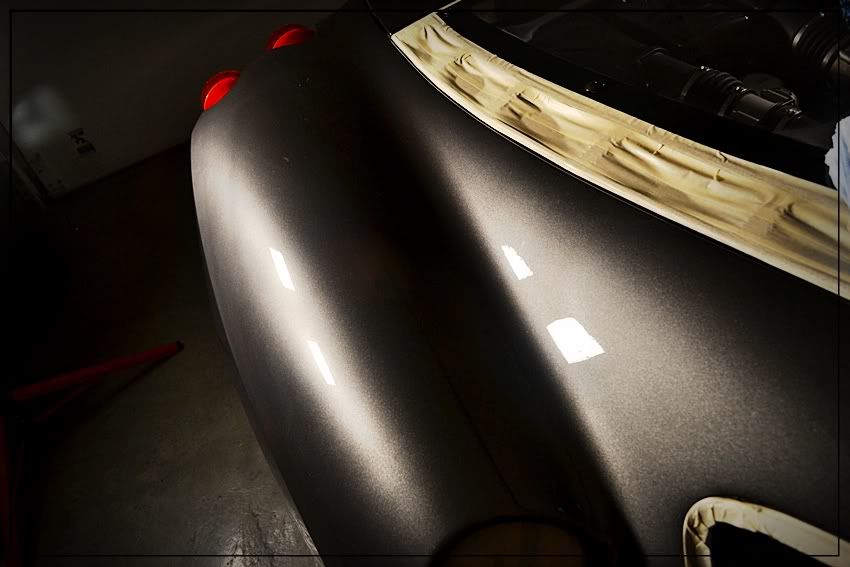
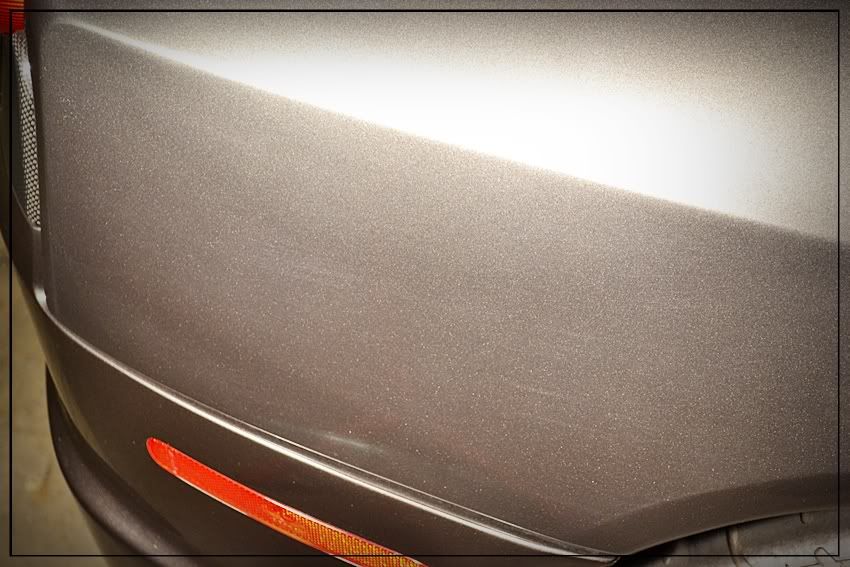
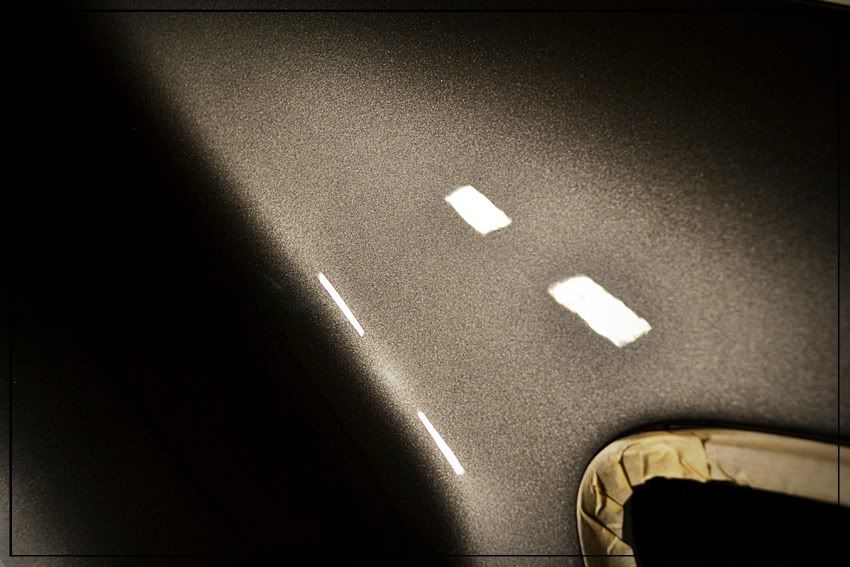
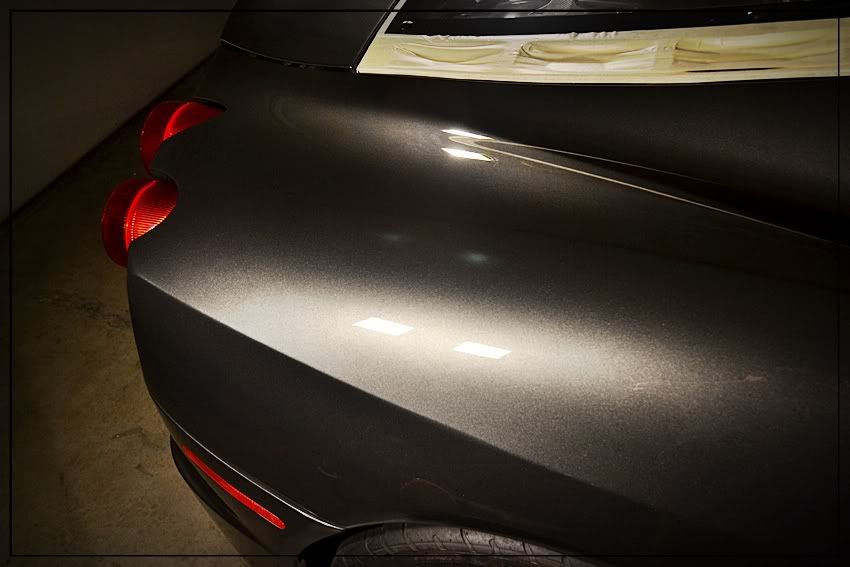
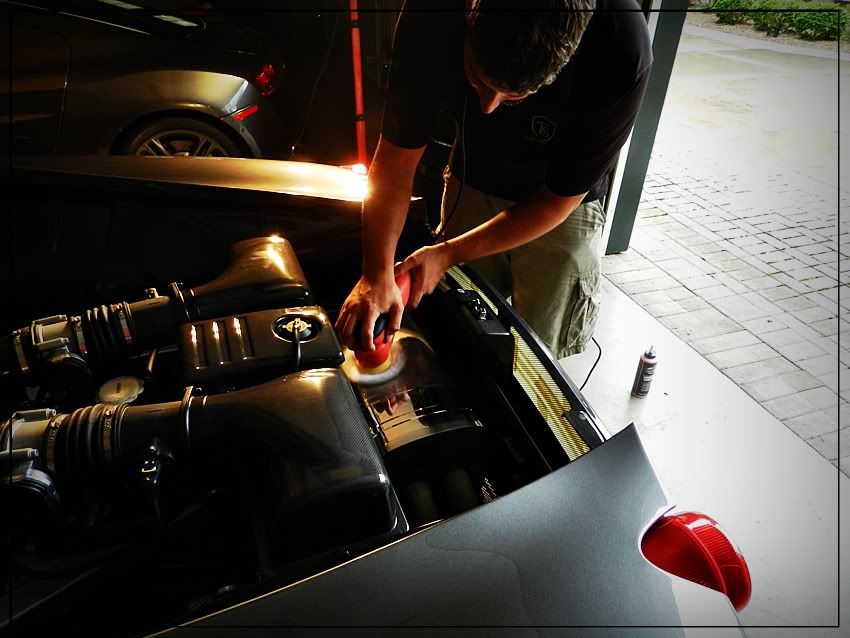
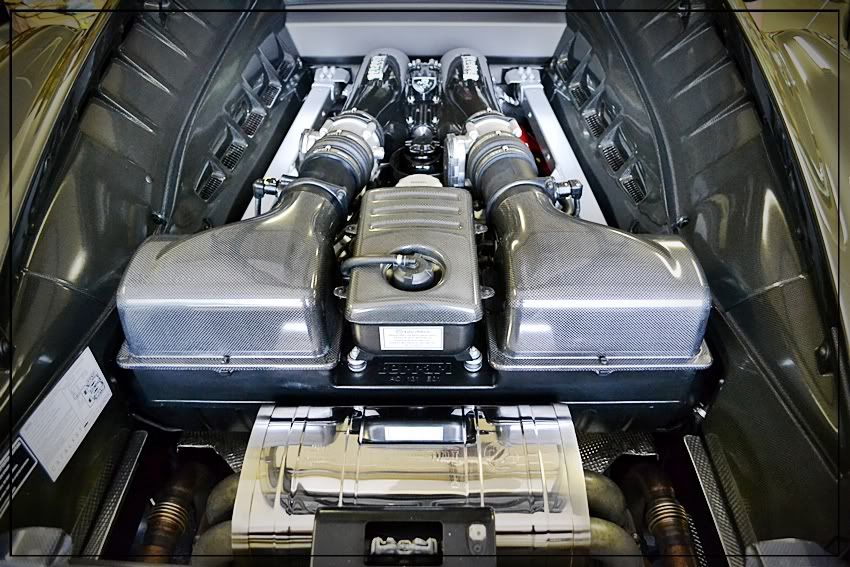
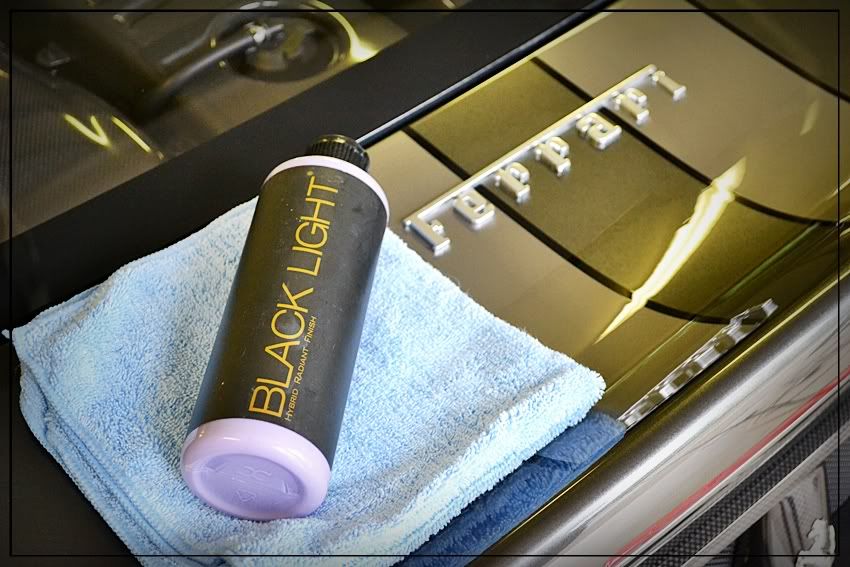
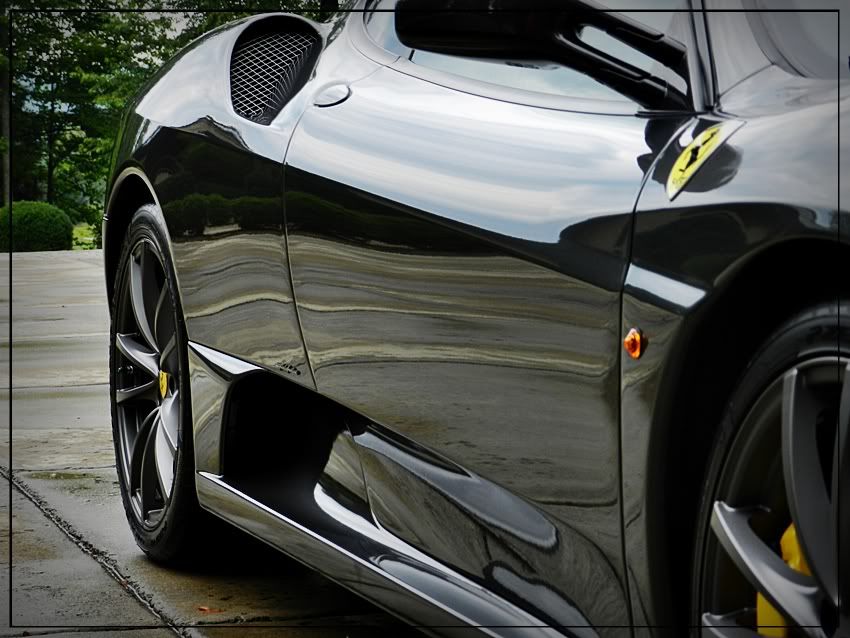
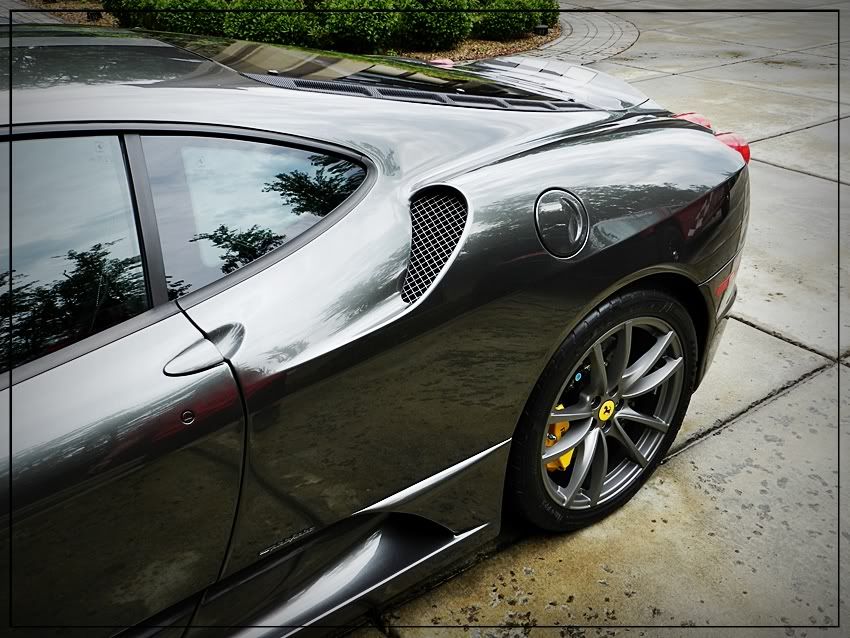
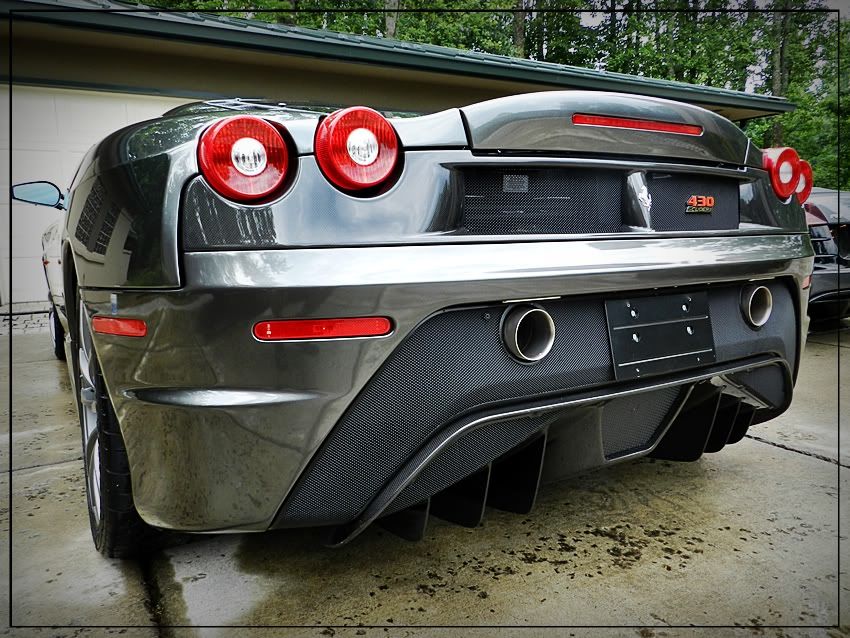
While I was up in Bristol, David of Unique Detailing and I had a chance to work on this beautiful Ferrari F430 Scuderia giving it a nice refinement detail. This Customer was referred to us from one of our other Ferrari clients. This car wasn't extremely scratched up, but it did have a lot of marring on the surface and needed a good polishing. Lets get this going and see how it turned out.


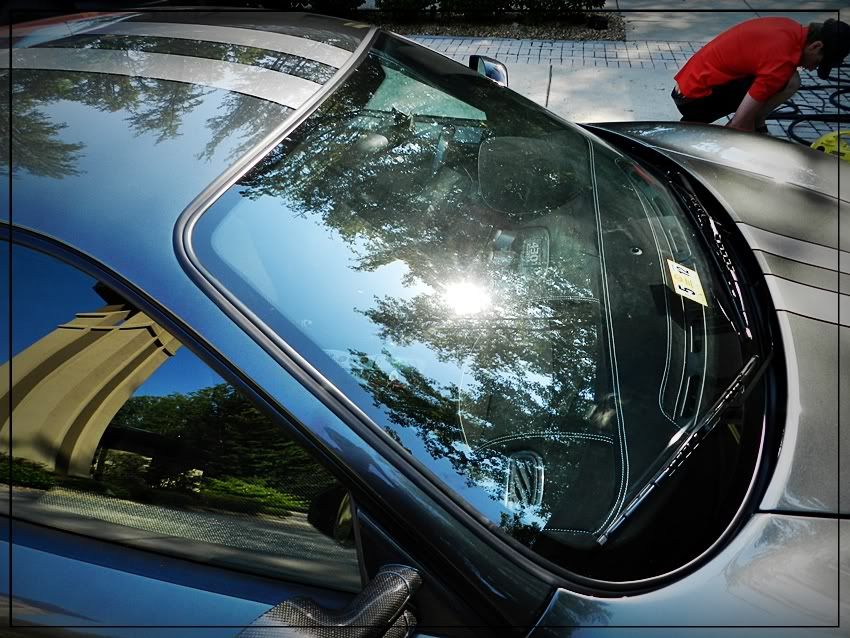
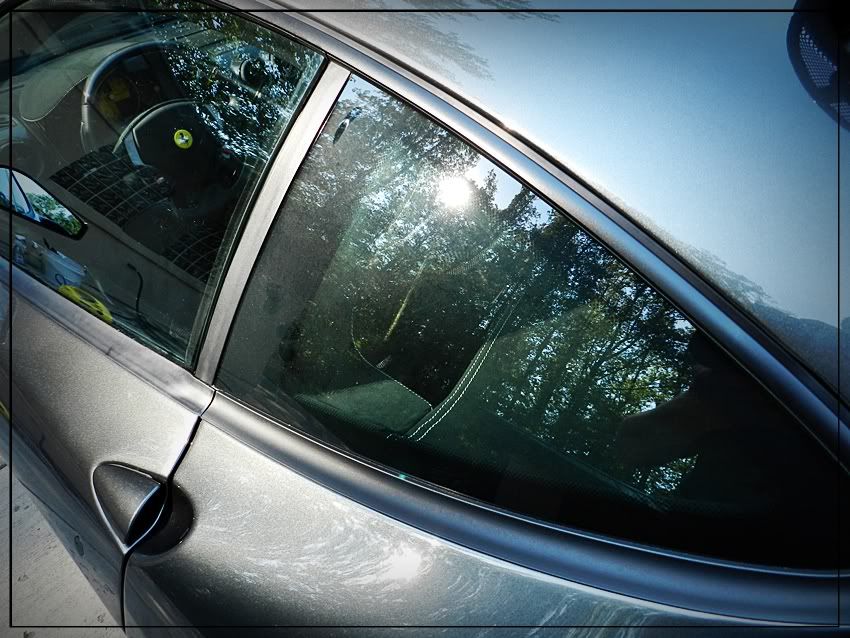
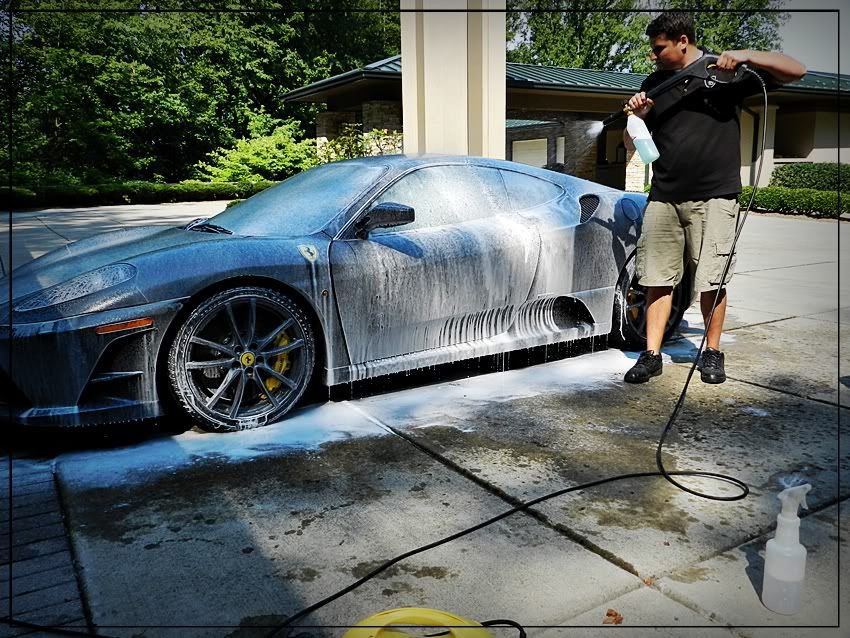
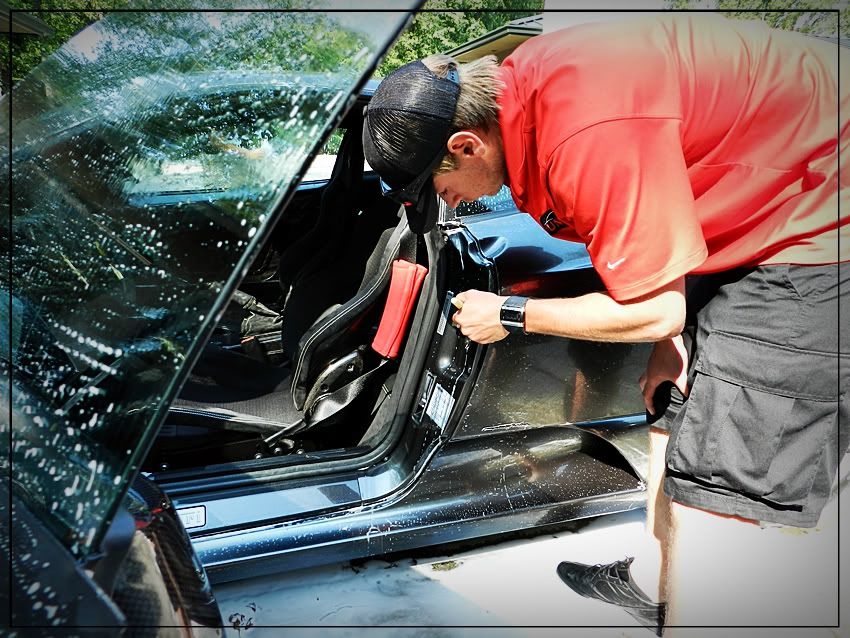
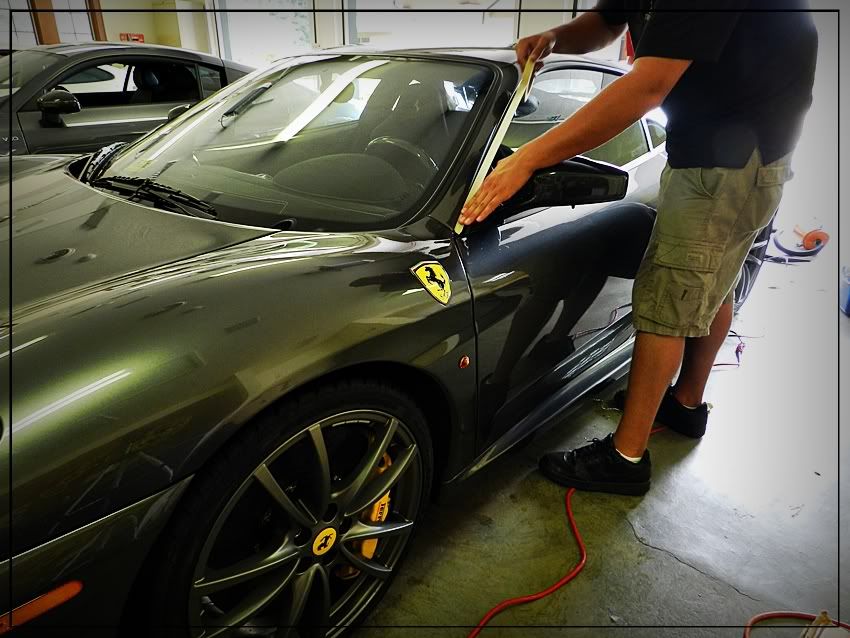
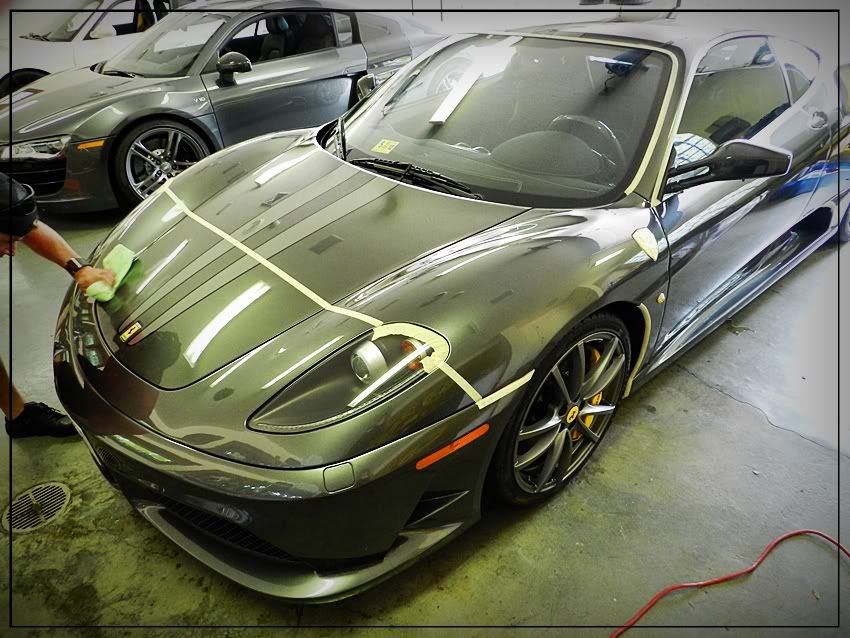
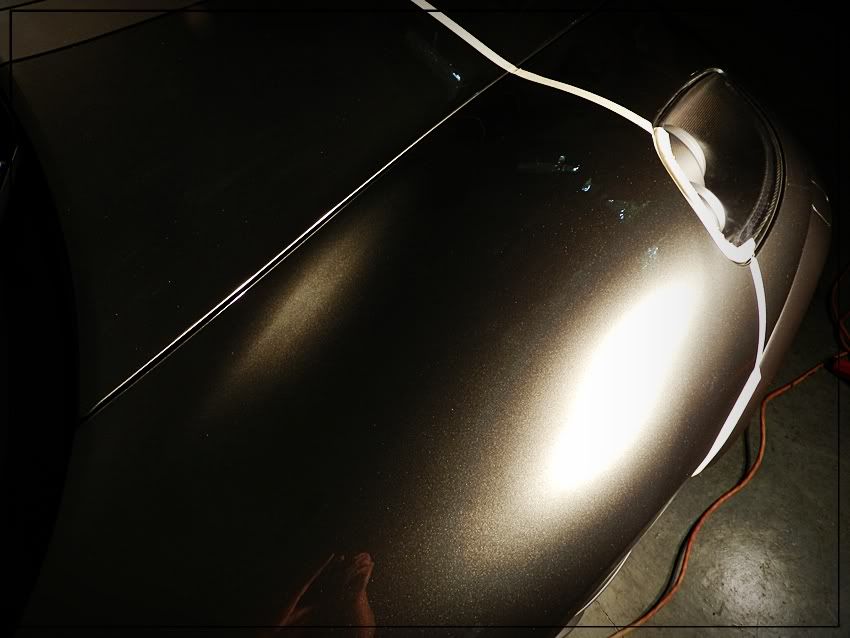
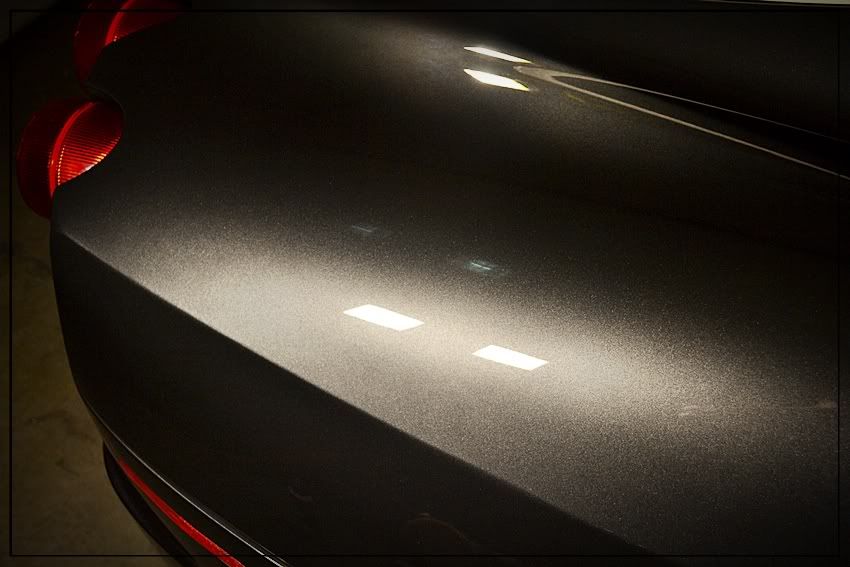
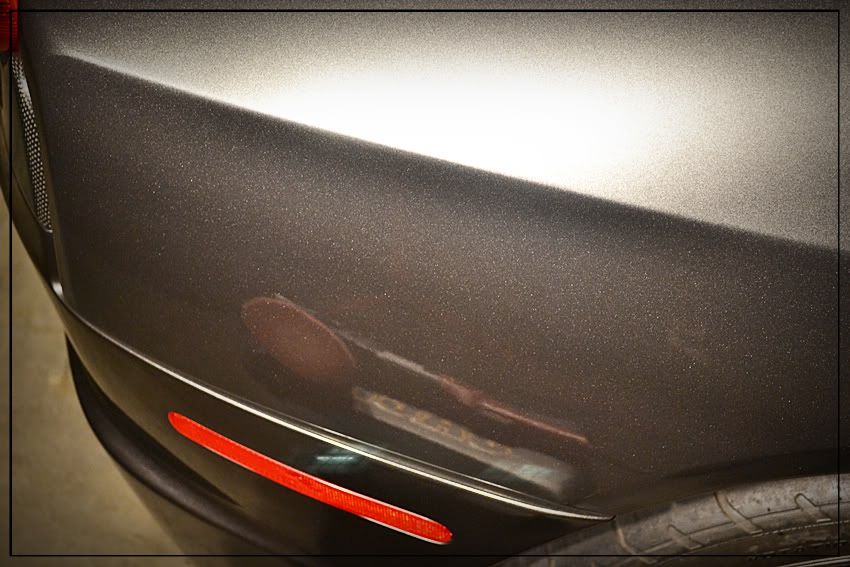
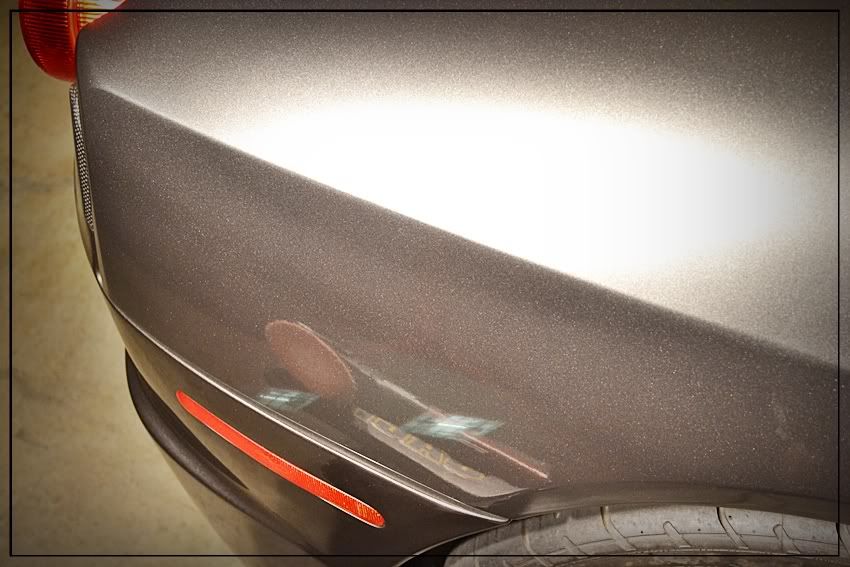
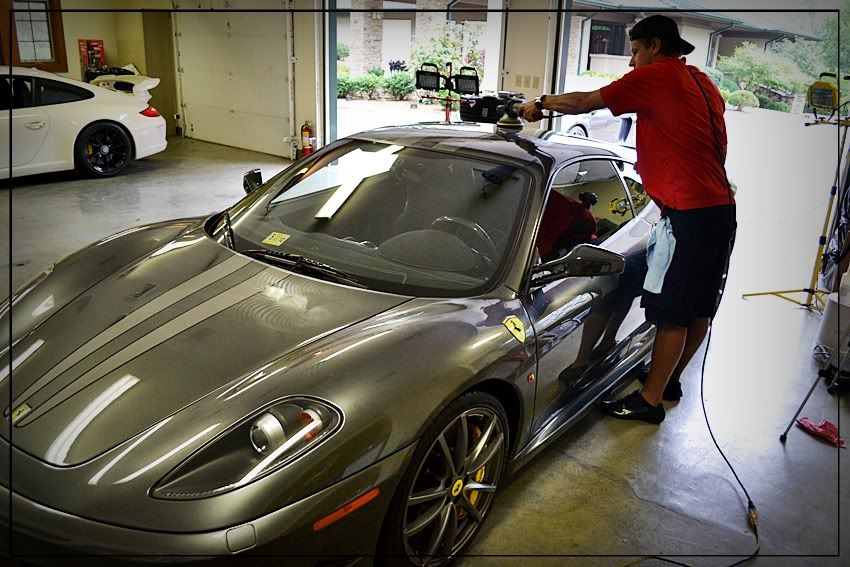
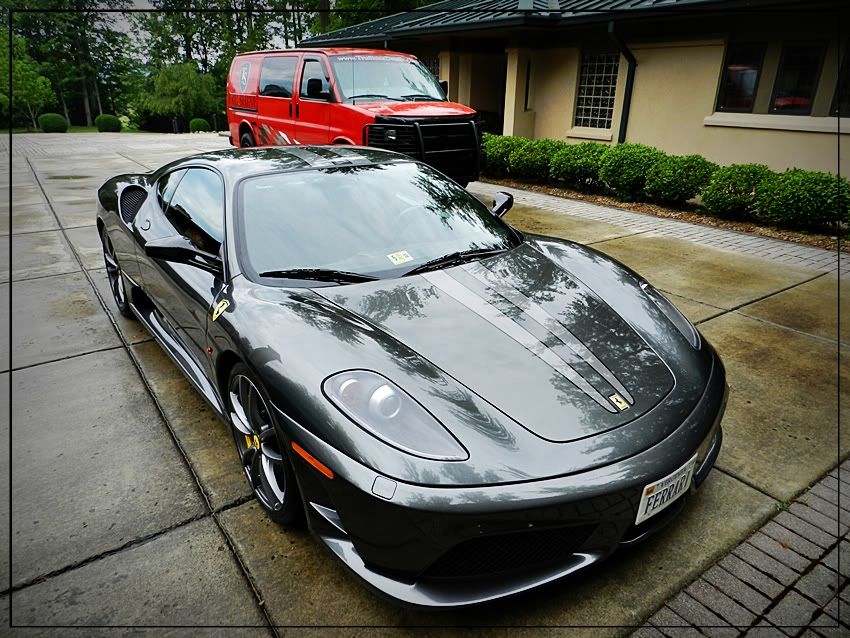
here is the state of the vehicle when we arrived


4d5634b6.jpg


6f8db23b.jpg


0b548c3e.jpg


78395e8a.jpg


a2c1d58c.jpg


ae9b5ec5.jpg


e3df3ce1.jpg


fef2da79.jpg


a016ea64.jpg


896ad617.jpg


252169f2.jpg


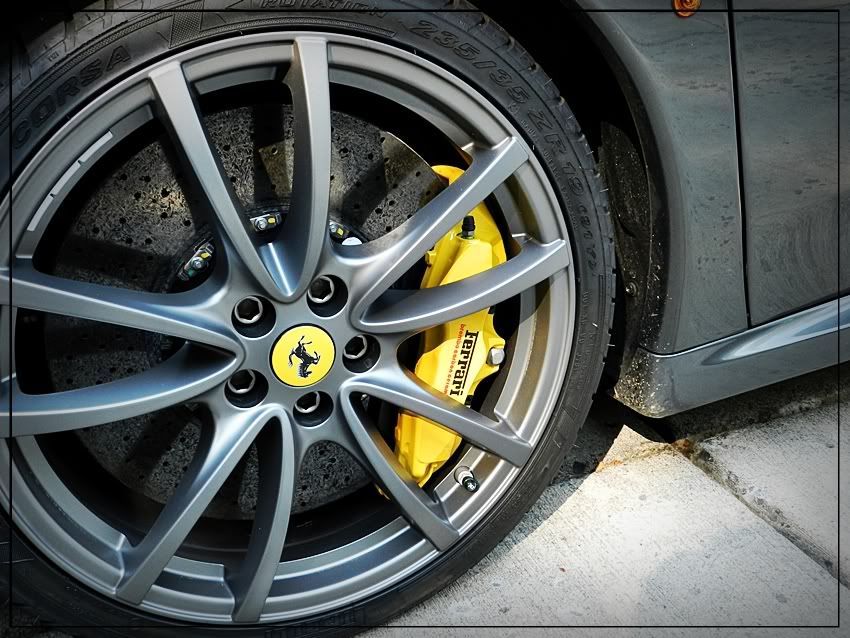
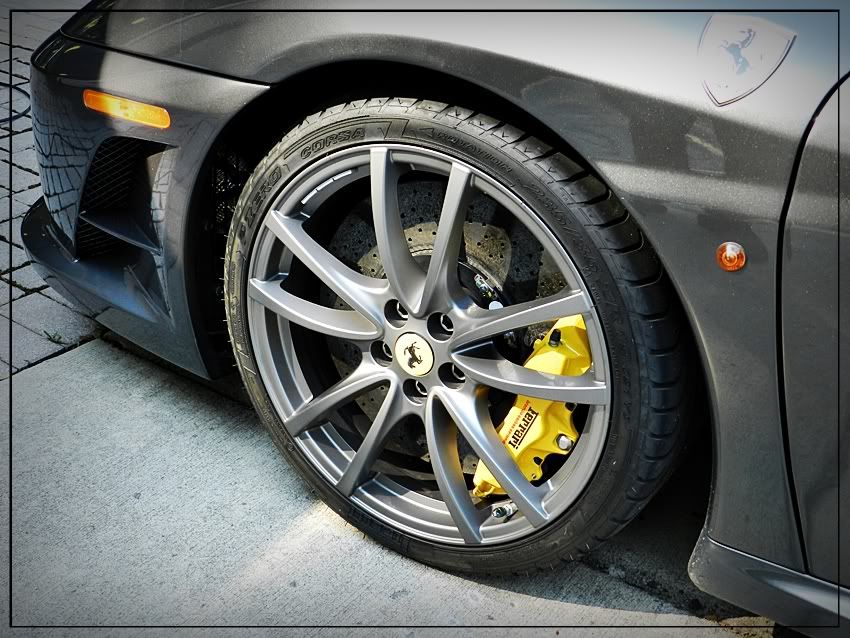
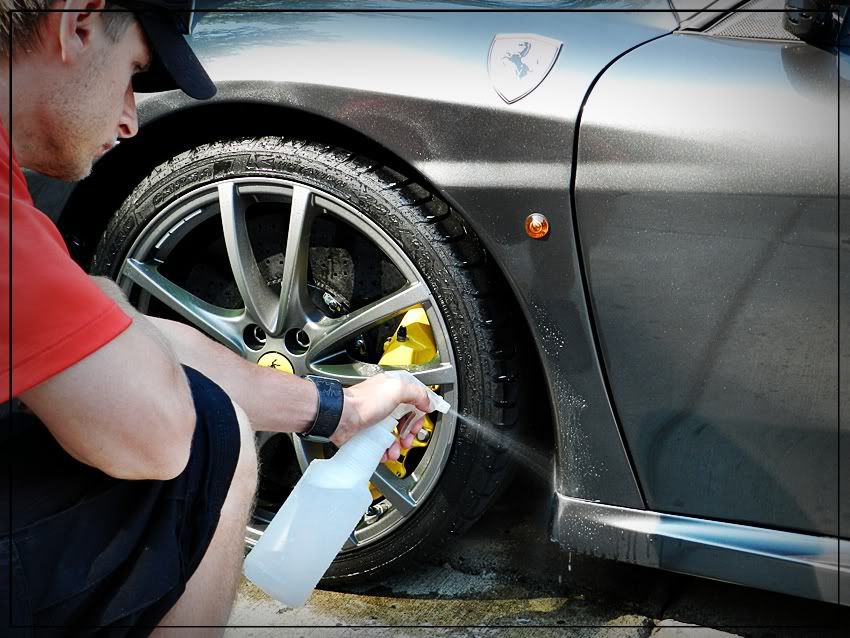
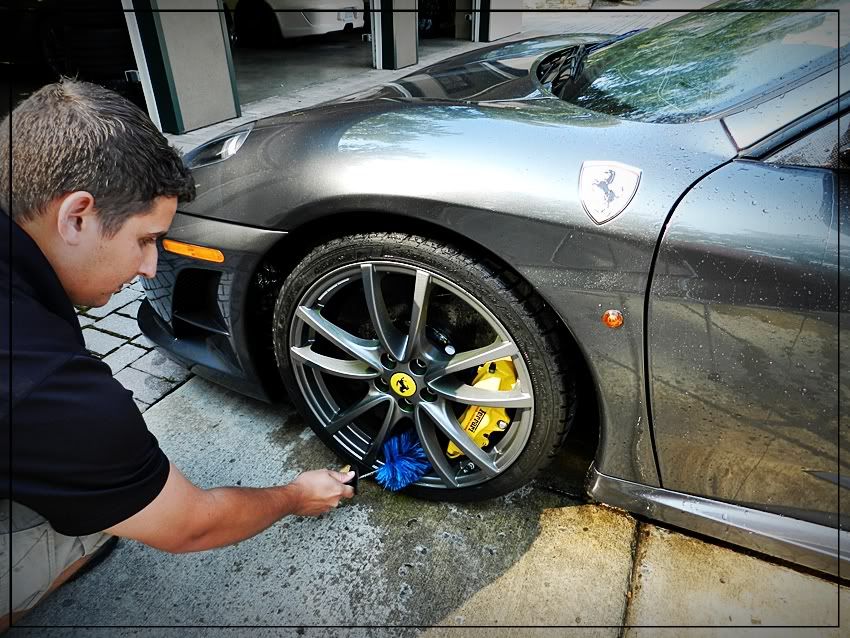
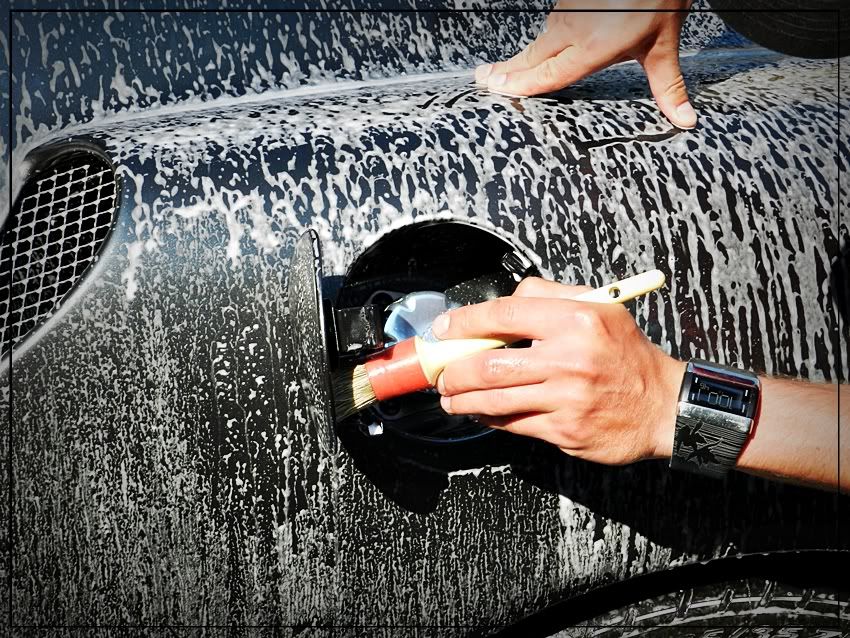
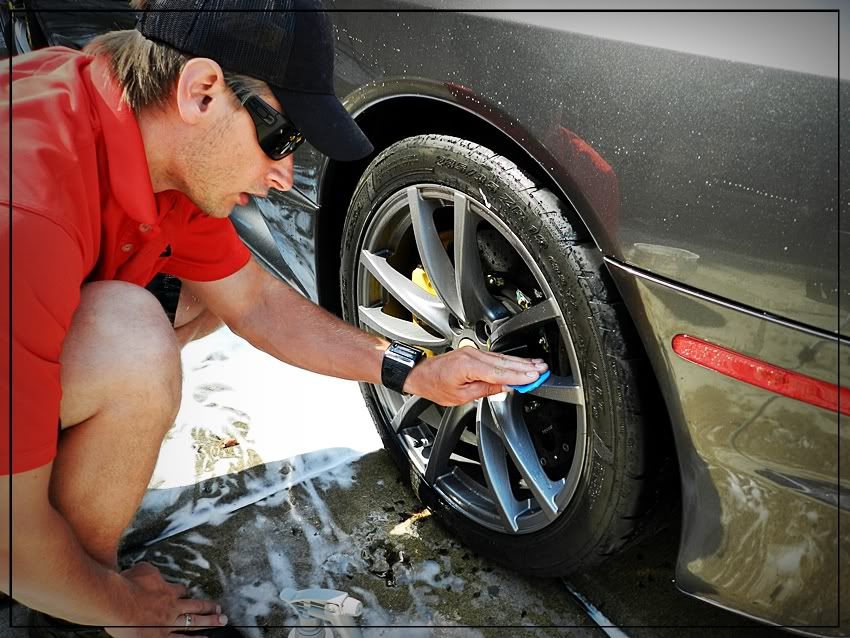
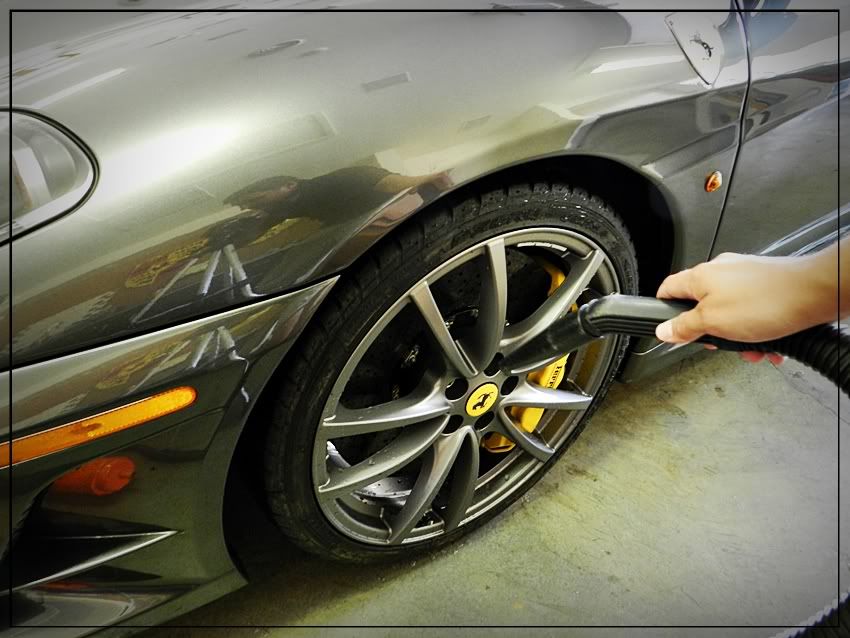
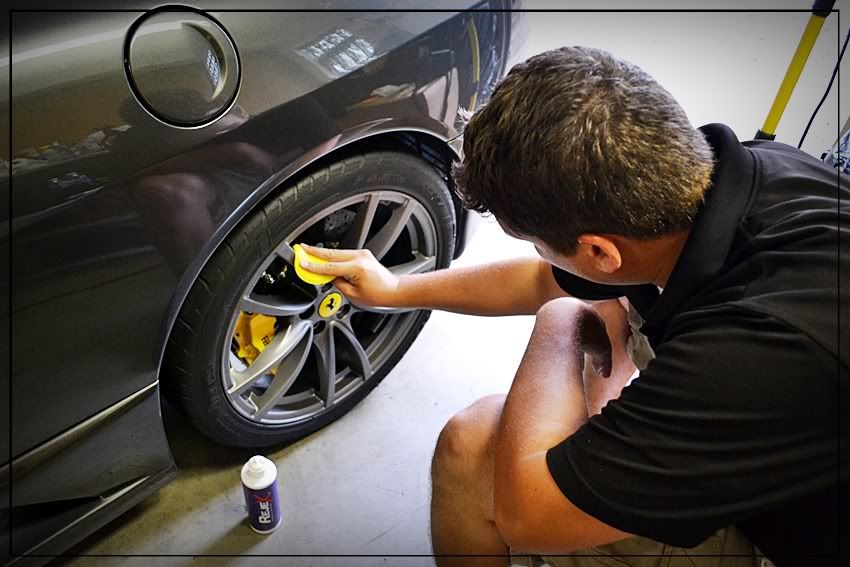
Starting with the wheels first


60073b66.jpg


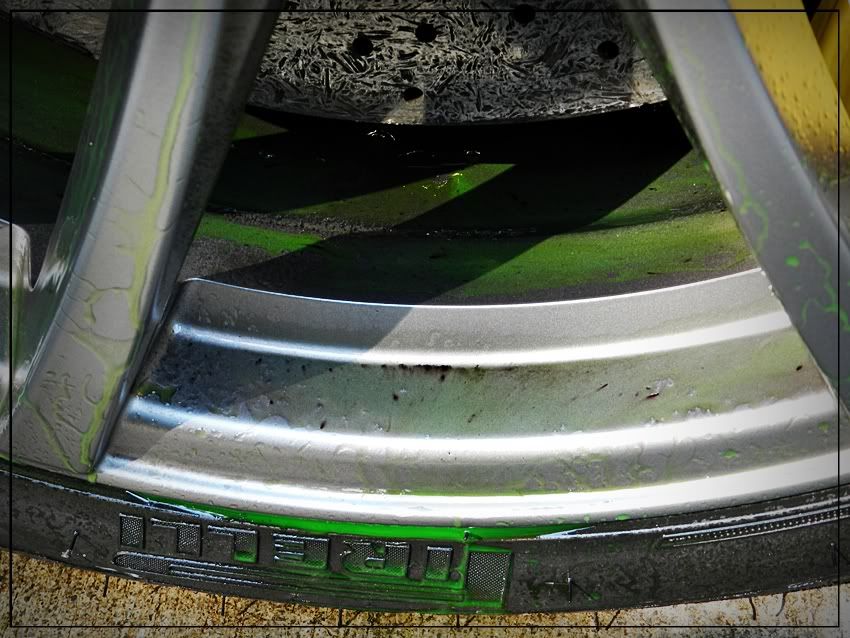
We used Sonax Full Effect wheel cleaner which is a pH balanced wheel cleaner safe for all types of wheels and brakes, and will turn a redish color to let you know when it is reacting with the iron particals.


51b34e08.jpg


ad60287b.jpg


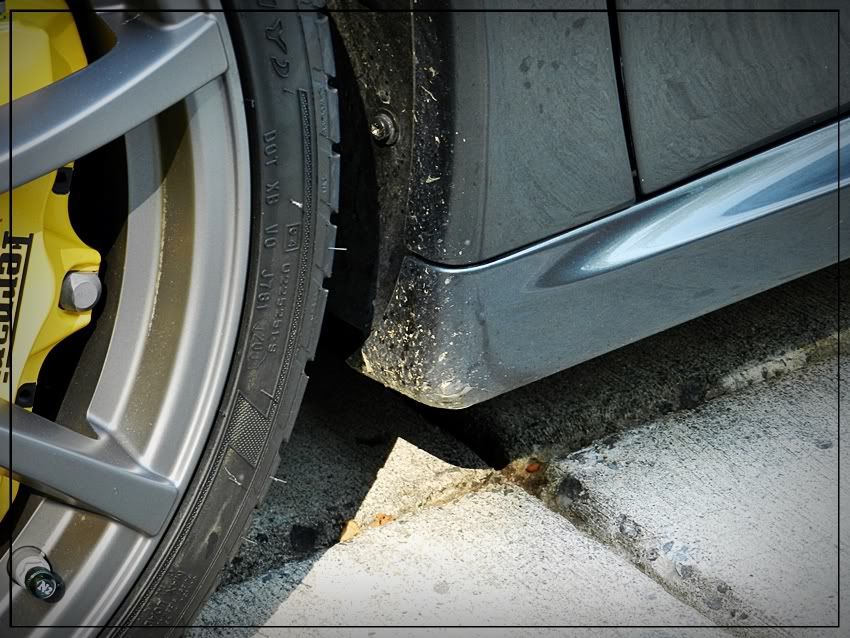
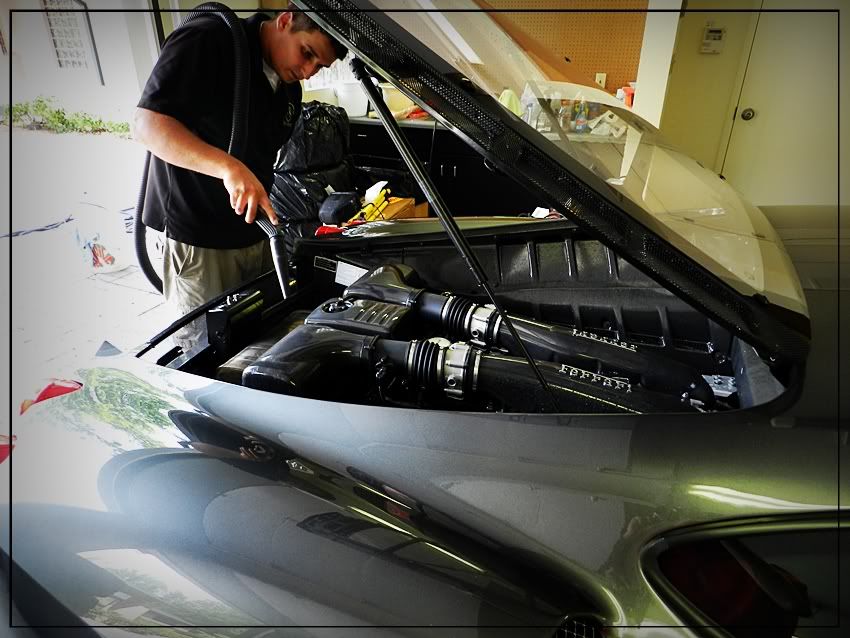
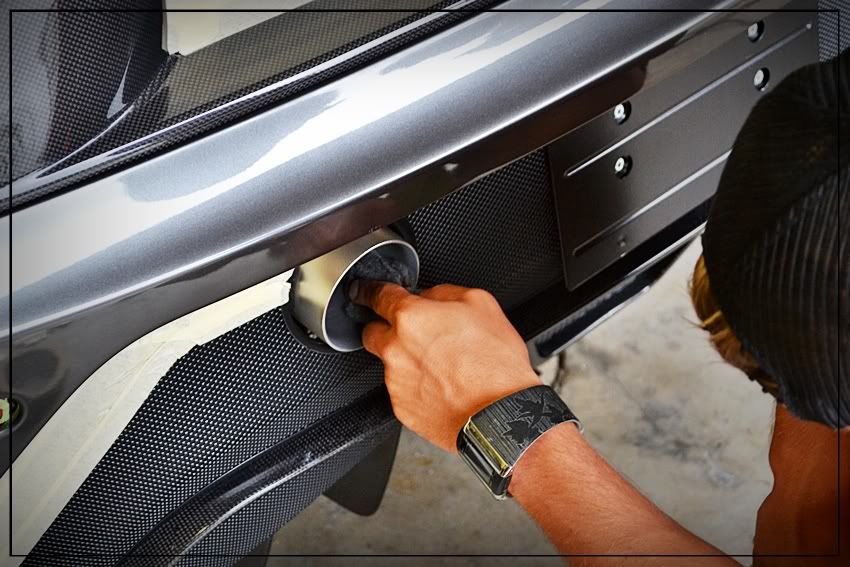
Then we used degreaser for the fender wells


80830489.jpg


803e8e98.jpg


c405bbfc.jpg


57b67926.jpg


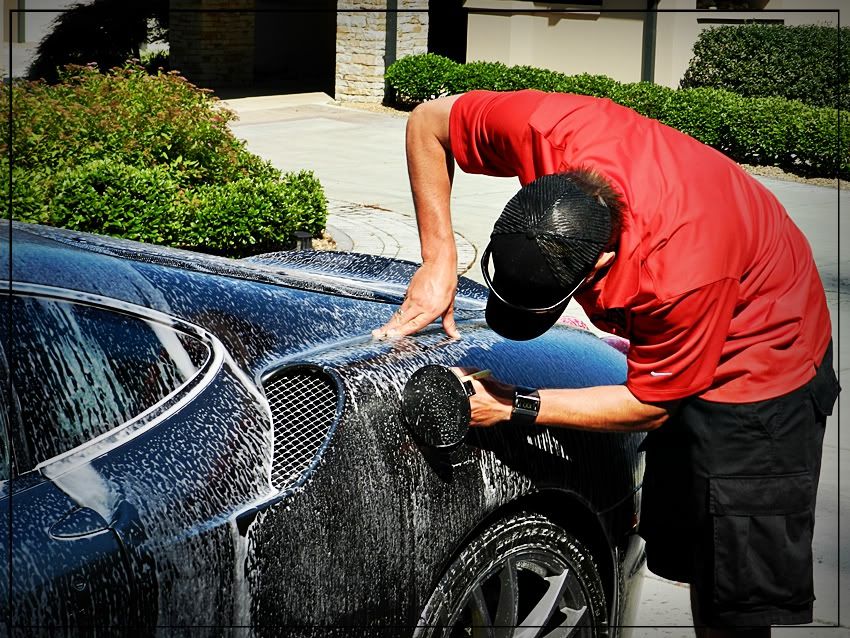
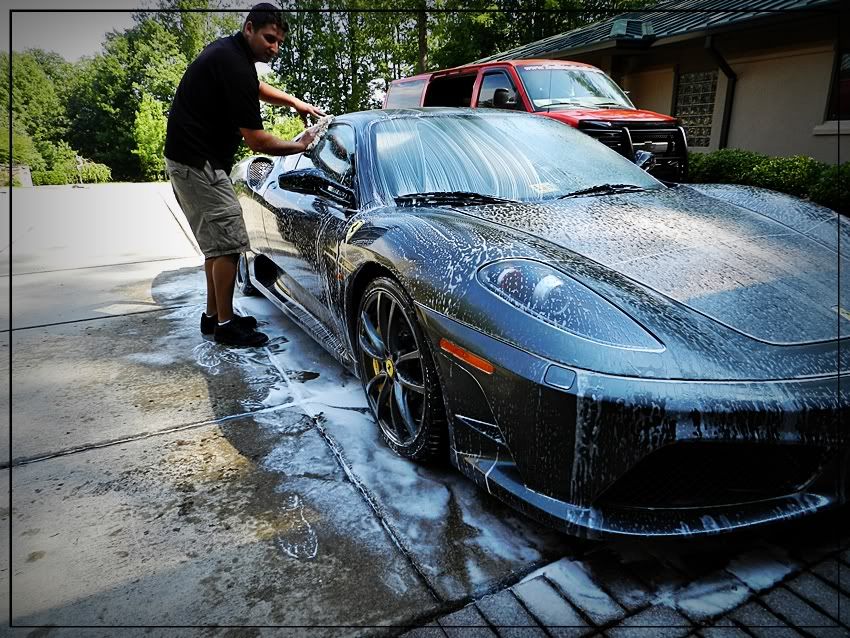
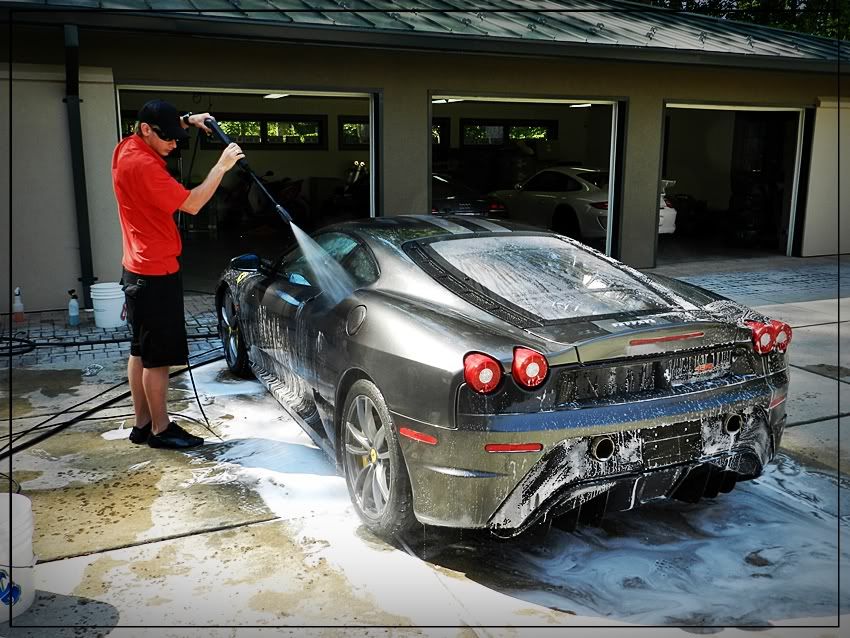
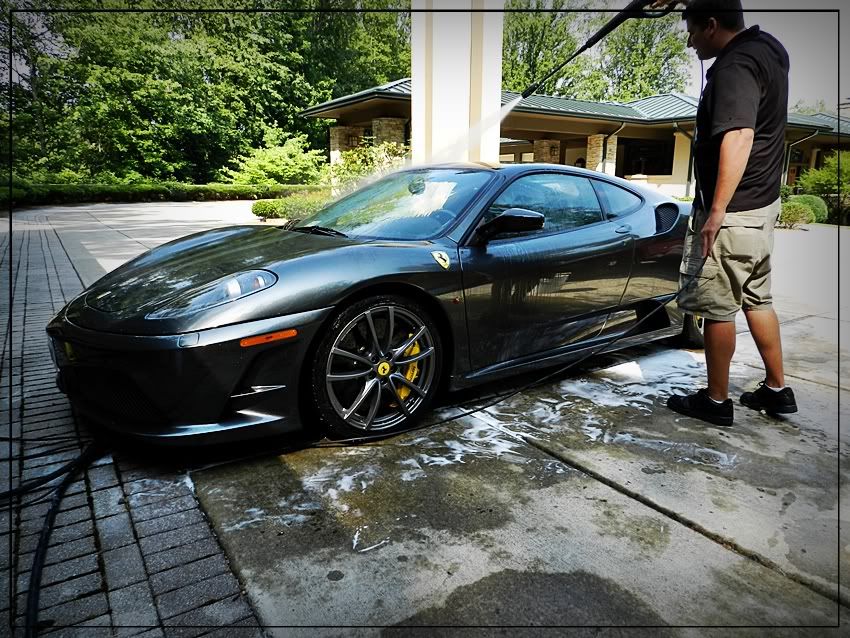
After cleaning the wheels, we moved on to the paint giving it a pre-rinse and a foam bath


40c8ea40.jpg


10c85988.jpg


90f427f3.jpg


95b6d997.jpg


46aa7ec4.jpg


75e07104.jpg


d4b7584d.jpg


8f9cca88.jpg


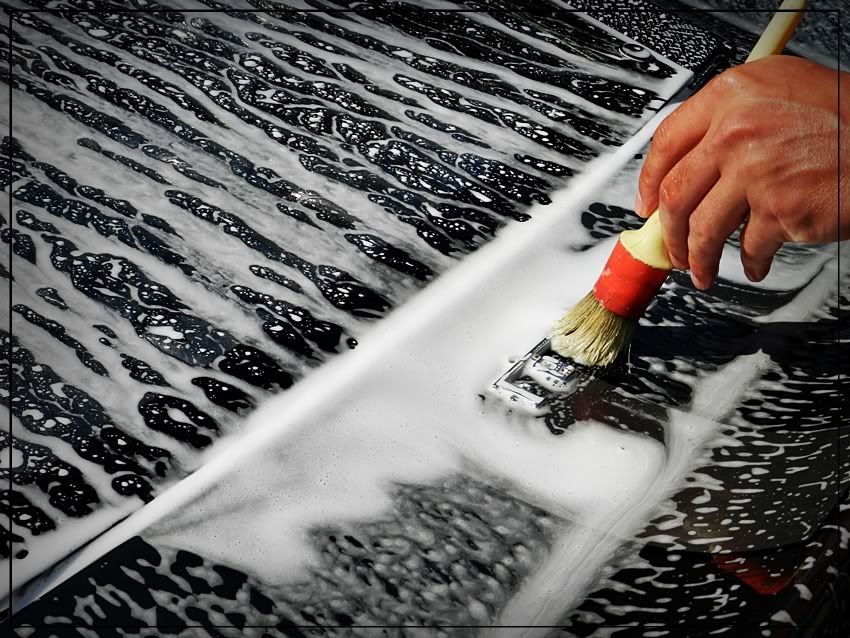
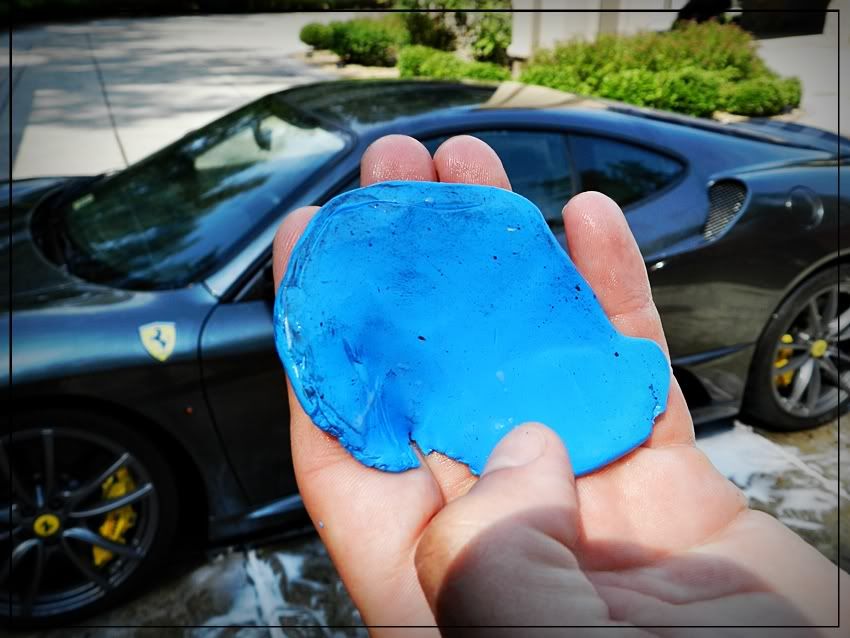
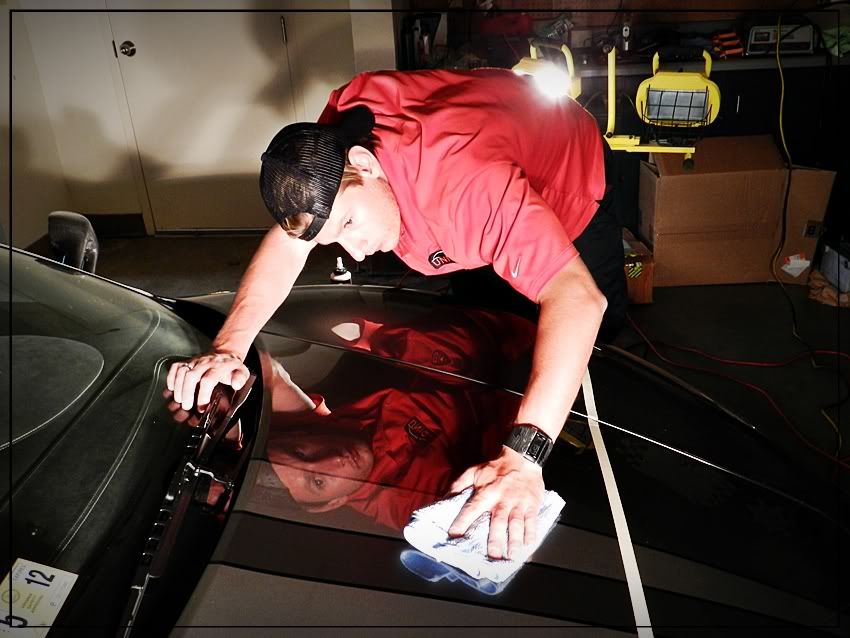
After washing the car, clayed the car using DodoJuice Born Slippery lube(Which I love!) and clay magic blue fine clay.


79e7a3a1.jpg


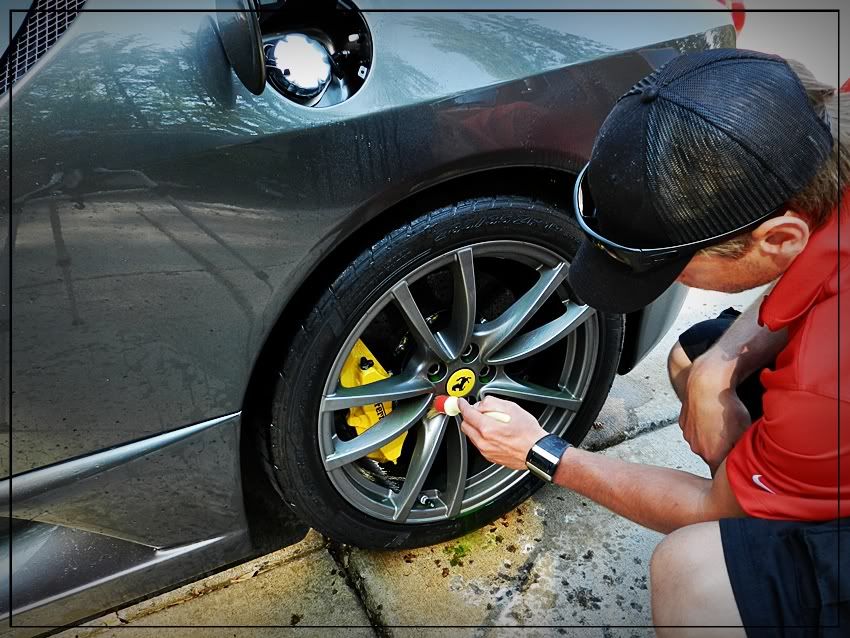
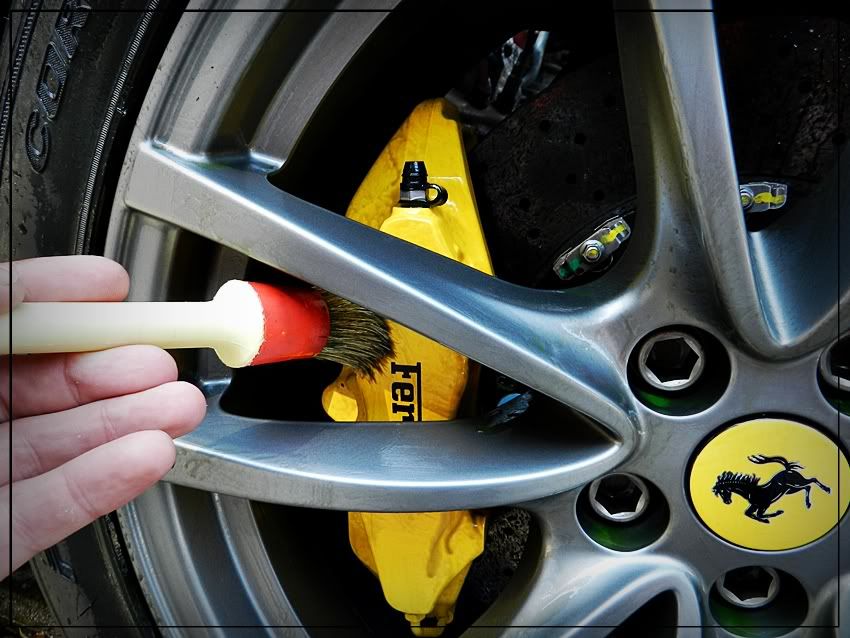
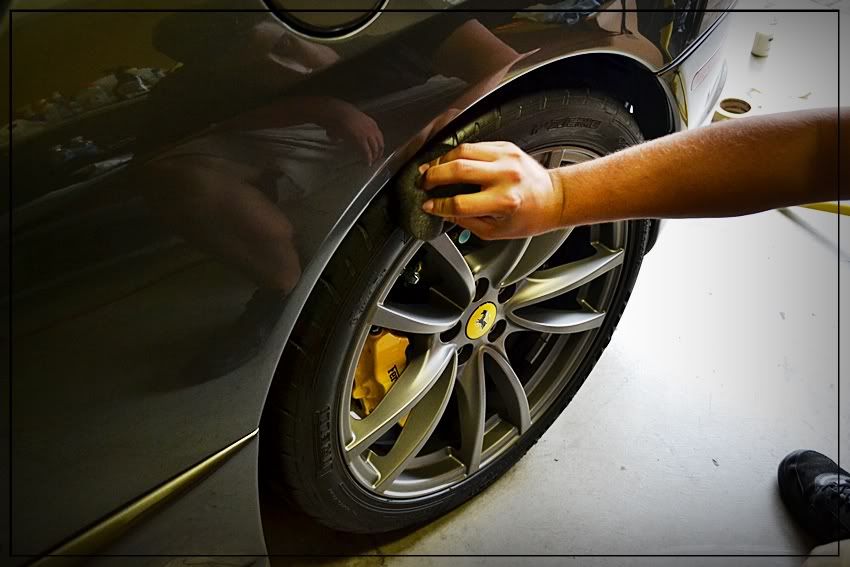
With a separate piece of clay, David clayed the wheels to remove some stuck on grime.


ac4cd673.jpg


12b8a85f.jpg


3dcd8ca6.jpg


7d68a06f.jpg


We then brought the car back inside to dry it, for this we used a Metro air blaster and Microfiber towels.


1bc2ce75.jpg


this really help get all of the water out of the tight areas


4a4c488e.jpg


9e4c08c5.jpg


we had noticed a few areas with compound build up, so we decided to remove it with a cuetip.


4444d5da.jpg


That's better!


74636a5b.jpg


and some around the rear break light


bc6655a3.jpg


d99f5d9a.jpg


Next we taped up all plastic trim and coverd the edge of the clear bra using Meguiars masking tape


0d74a88b.jpg


eb0112bf.jpg


18ee9bf4.jpg


We briefly pulled it outside to see some of the surface defects and most of the car was good except for the surface marring


d7706969.jpg


b2c77f95.jpg


then we pulled it in and began the correction.


978c0646.jpg


Our weapon of choice was the Meguiars Microfiber DA system with the D300 compound


with the halogen lights behind me, you can see the marring glaring back to the camera


86316bbe.jpg


a1b26c27.jpg


1798f84f.jpg


The machine that we both chose for this method was the Flex 3401 the the Microfiber DA cutting disc


22469089.jpg


03e70917.jpg


all polished out


329aee94.jpg


de61ab54.jpg


Making our way around the car each tackling one side of the car


66f40030.jpg


98353b10.jpg


look at that flake!


afdcbaaf.jpg


here is a before picture of the passenger side rear quarter panel which is hazy from all of the marring


ecc7314b.jpg


nice the light scratches


bec50a88.jpg


8d7679ac.jpg


After buffing and polishing


12fa8b35.jpg


c94f11d1.jpg


9fa4af31.jpg


no marring.... just crisp reflection


894862b5.jpg


b3c8168b.jpg


4b9c91b0.jpg


Next was the Ferrari Muffler, I noticed that the muffler was a yellowish dull color, and I knew the potential that it had.


84f73cf7.jpg


b8c5ab32.jpg


I taped off half of it and began to polish it out.


5bc02a05.jpg


here are a couple of 50/50 shots of the rear muffler showing how much Bling was brought out


3fcf2971.jpg


0eda7165.jpg


0995fd1b.jpg


I used the Griot's 3in orbital and a small wool pad w/ bushes aluminum polish


a24fd7f2.jpg


dc67b40e.jpg


3b07745e.jpg


442e52c7.jpg


While I was working on the engine compartment, David was polishing out the paint with Black LC and 205


d7d72db8.jpg


While I sealed the wheels with Rejex and Shined the tires with OPT opti-bond, David polished up the exhaust tips


3a024a85.jpg


aef0f23a.jpg


bf304e72.jpg


Now it was time to seal the paint, For this we used Chemical Guys new Blacklight Radiant Finish Sealant.


4169f91d.jpg


we applied the Black Light using a black LC pad on the Flex 3401


cac41308.jpg


After letting it cure it was them wipped off and this is what we were left with.


54e412d2.jpg


5e047d96.jpg


9246258c.jpg


481f1a32.jpg


82271053.jpg


7b9aa803.jpg


ec7f8af4.jpg


20207479.jpg


8a095b04.jpg


ae6c7ed2.jpg


Thanks for viewing and stay tuned for more!


-Eric Witt and David Purser


Back
Top