imported_Dave KG
New member
Todays detail for Bryan and I was a Ferrari F355 GTB, owned by Jim. Bryan had been delayed on his return from a trip to Irmscher in Germany so I headed up to Jim's early to get started, arriving just before 9am. A cup of coffee and a run through of the plan for the day and it was out to get started at the back of 9am. ")
A quick look around the car in the garage revealed it was in excellent condition and only moderate swirls on the car. It was driven out of the garage (the V8 sounds amazing) ready to be washed...
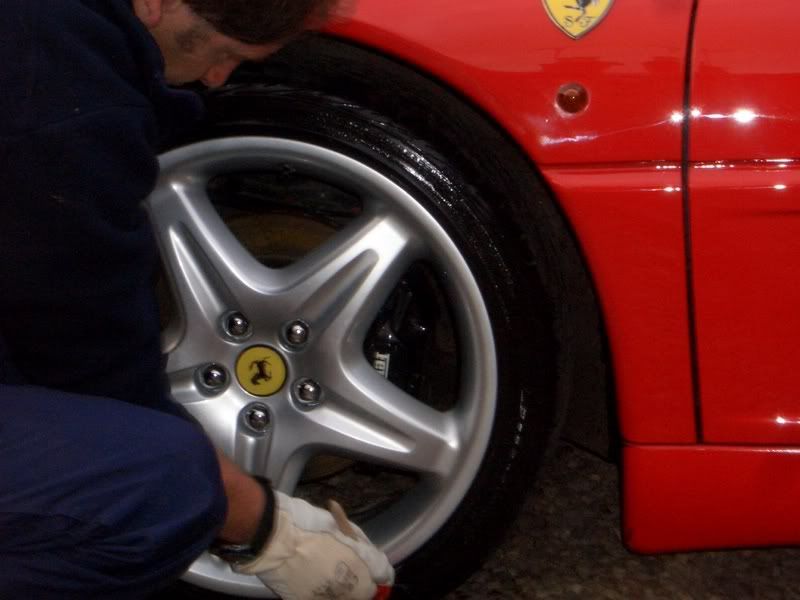
First off the wheels were washed with Meguiars #36 Wheel Cleaner and a Swissol Wheel Brush, then foamed along with the arches using Meguiars Hyper Wash. The wheels were later sealed with Smartwax Rim Wax and tyres treated with Swissvax Pneu. Arches were treated to Meguiars All Seasons Dressing.
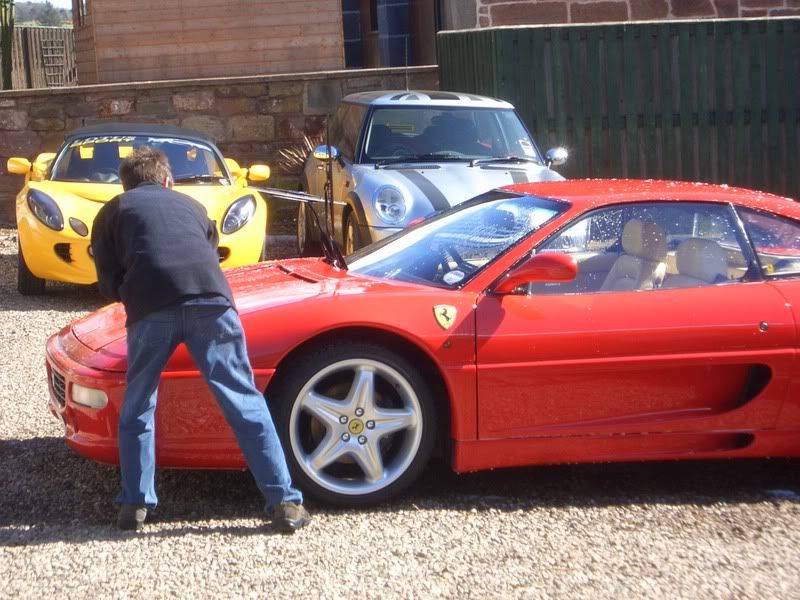
With the arches cleaned out, it was time to start on the bodywork which was first foamed using the Gilmour and Meguiars Hyper Wash, then rinsed and washed using the two bucket method and a lambswool mitt with Meguiars Shampoo Plus, rinsed and dried with Last Touch. The car was then rollowed back into the garage to be clayed with Sonus Ultrafine Green Clay.
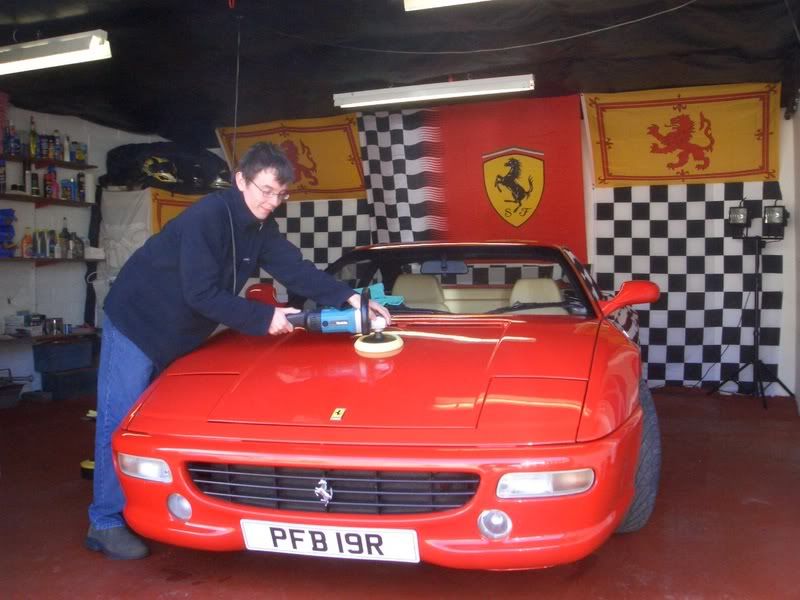
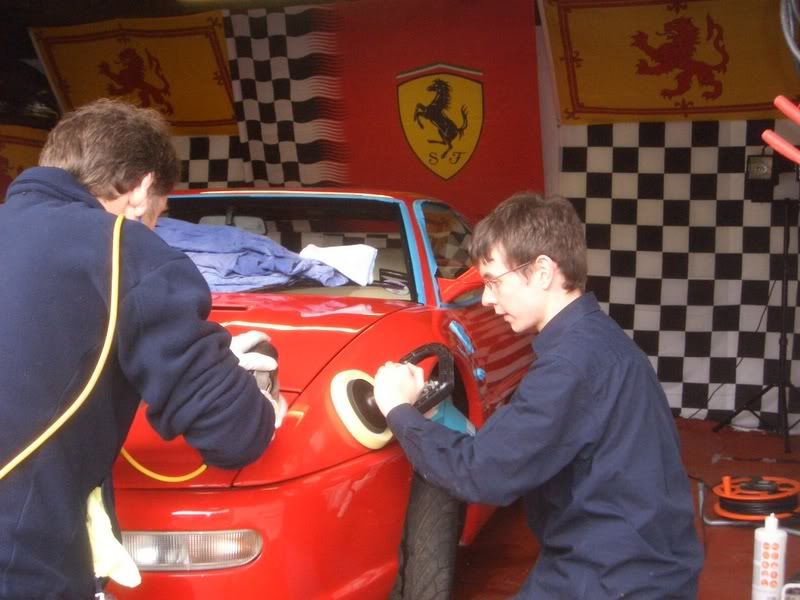
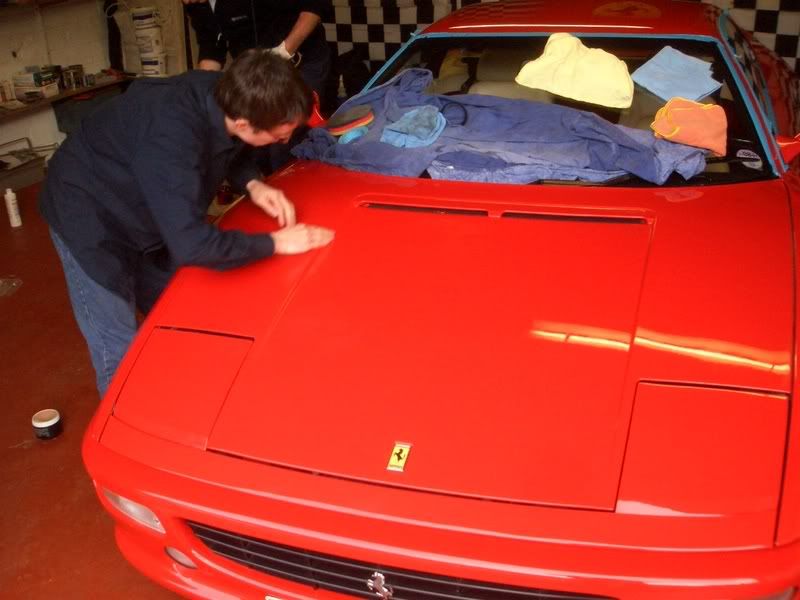
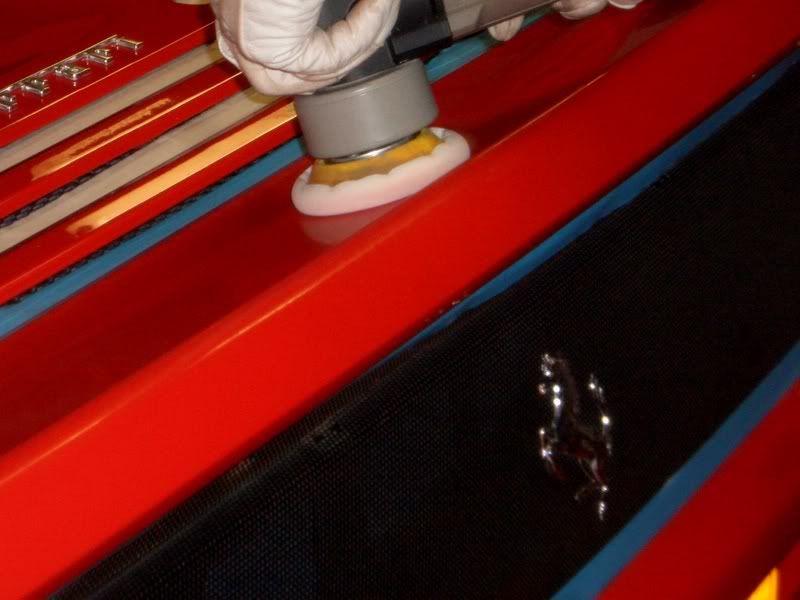
Once clayed, the car was ready for machine polishing. The 355 was the last car to be hand painted by Ferrari I believe, and this shows with thick paint readings (mostly >400um) across the car, plenty of paint considering the inside door reading was 140um, but much care was taken as areas had also bgeen resprayed in the past so paint may behanve differently. Starting with the bonnet which initally shows light to medium swirls...

Stepping up the pad and polish combo until suitable correction was established. This ended up being Menzerna PO85RD3.01 Intensive Polish on a Meguiars W8006 Polishing pad. Spread at 600rpm, two passes at 1200rpm, eight to twelve passes at 1500 - 1800rpm, two passes at 1200rpm, two passes at 900rpm did the trick:


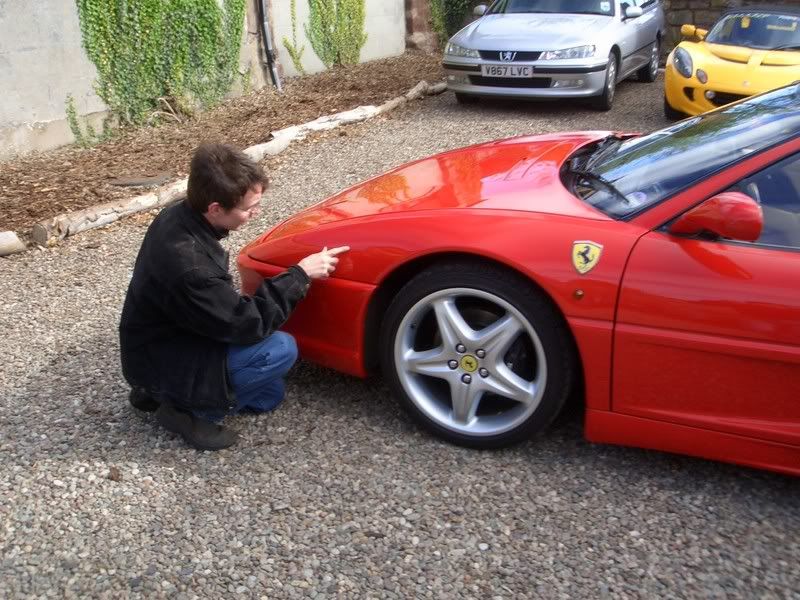
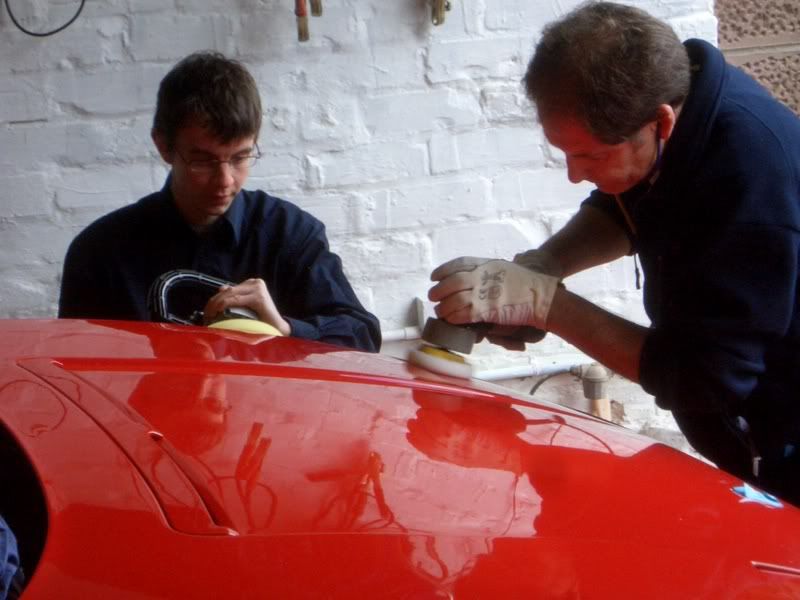
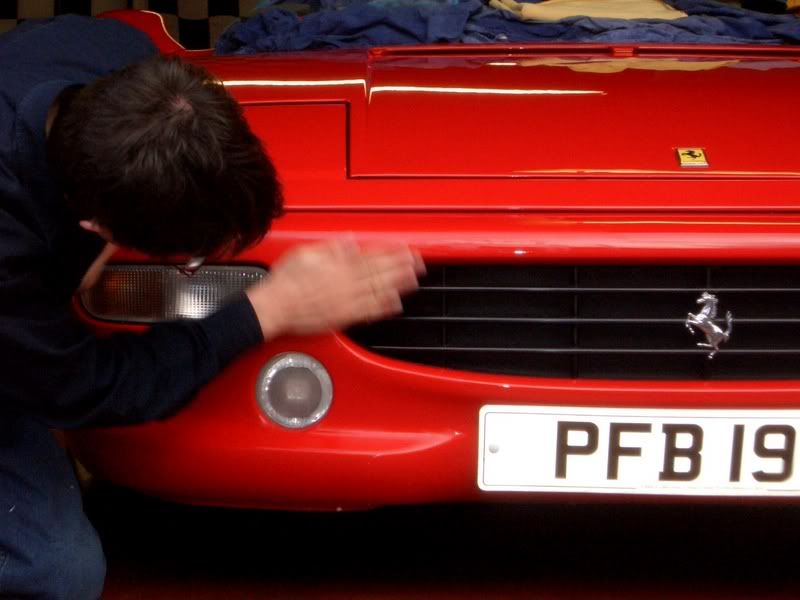
Onto the front wing and the swilrs were a little more severe...

Here, two hits of Intensive Polish was required to get hte finish fully defect free...

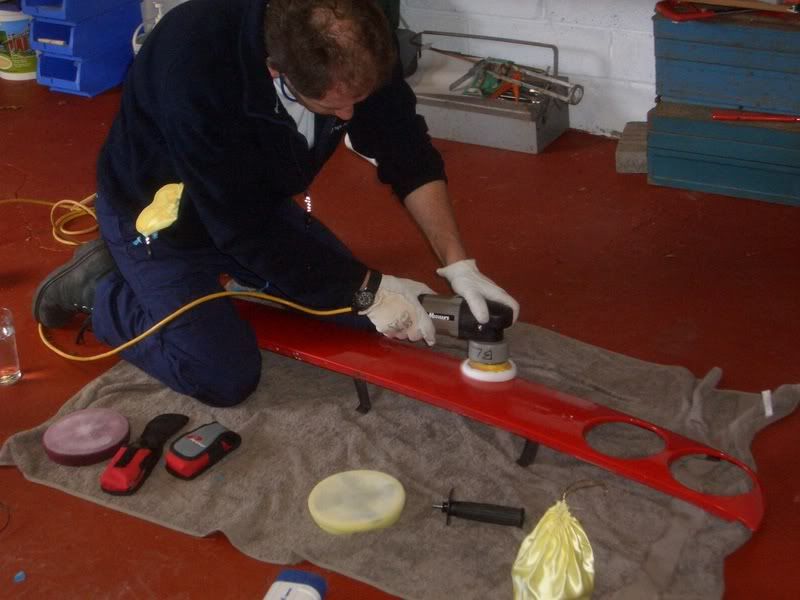
This method was used rounf the whole car, one or two sets depending on the severity of the marring existing. On some areas of deeper scratches, one or two sets of Menzerna Power Gloss was used to remove the deep marks where it was deemed safe to do so. PG was used as follows on a Meguiars W7006 cutting pad: Spread at 600rpm, two passes at 1200rpm, five passes at 1800rpm, spritz, repeat, spritz, repeat, finish with two passes at 900rpm. This brought the PG finish up LSP ready but it was followed withb Intensive Polish just to get a little more clarity.
A 50/50 shot during the polishing process - rear wing done, rear pillar not:

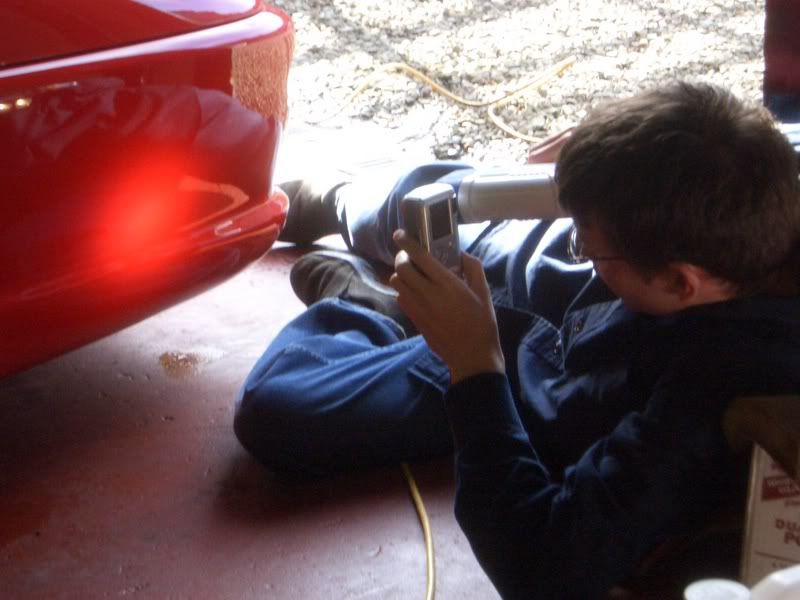
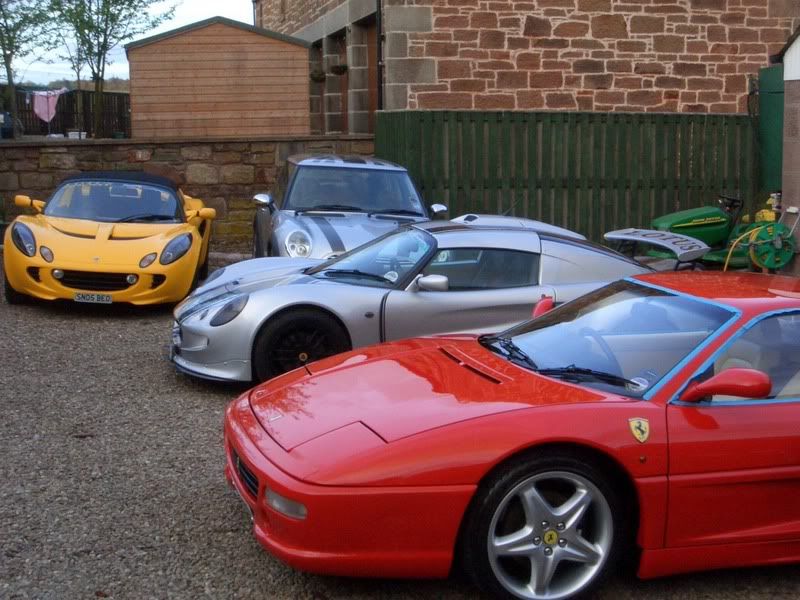
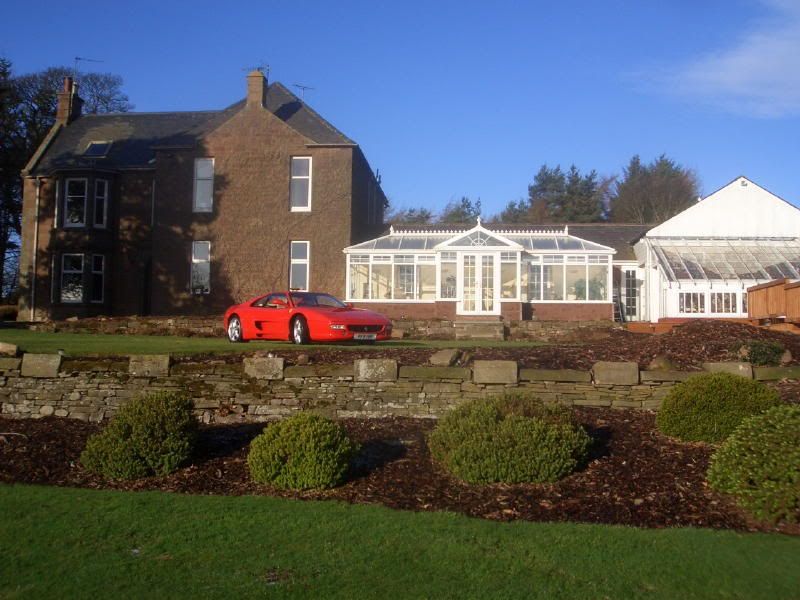
Bryan, meanwhile, was cutting in the many complex areas by PC using two or three sets of Intensive Polish on a Sonus SFX-2 spot pad to remove the marring. As time was ticking on, we decided to stop briefly after the front of the car was done to a finish to get some pics of the finish on natural light. After testing on a spare panel the colour of the car, the choice of LSP was chosen to be Swissvax Cleaner Fluid followed by Swissvax Best of Show wax for the wettness and depth is gave to the red. (This was compared against Zymol Ital and Victoria Concours). So, the CF was applied by hand to the car using the fionishing side of a Sonus German Applicator pad and the Best of Show wax applied directly by hand... The car was then rolled out for some natural light shots of the completed finish:


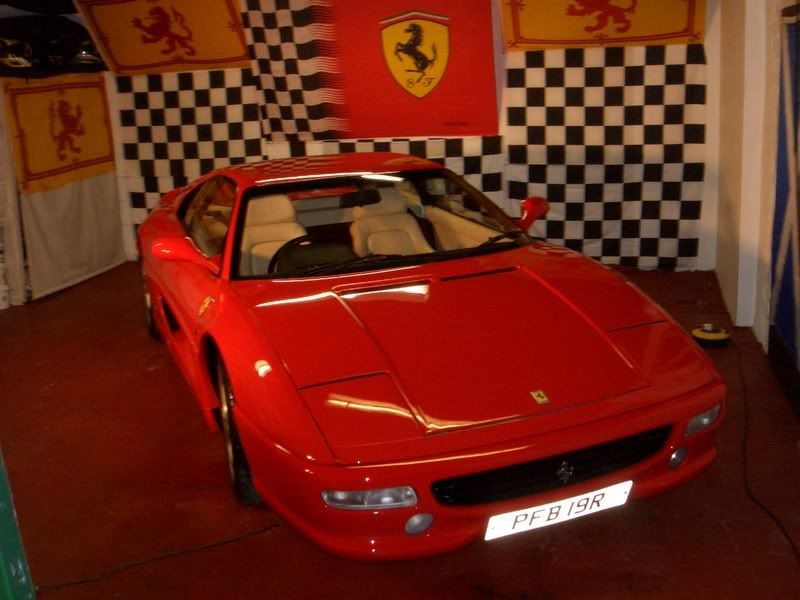
Then back into the garage to complete the detail. Plastics and rubbers were treated to Meguiars #38 Tyre and Trim Dressing Gel, glass was cleaned with Swissvax Cleaner Fluid. And then a final wipe down with Swissvax Quick Finish... Alas by the time the car was complete, it was 11pm! Machining took a very long time as we were keen to remove the deeper marring where it existed as the aint allowed us to do so. So, indoor garage shots only for completed pics I'm afriad...


Many thanks to Jim (and Wendy) for the great hospitality throughout the day - continuous stream of coffee and kit kats, pizza and cheese toasties! :thumb: Jim has taken several pics from the day - action shots of the detail, so we will see more pics from this detail soon.
A quick look around the car in the garage revealed it was in excellent condition and only moderate swirls on the car. It was driven out of the garage (the V8 sounds amazing) ready to be washed...
First off the wheels were washed with Meguiars #36 Wheel Cleaner and a Swissol Wheel Brush, then foamed along with the arches using Meguiars Hyper Wash. The wheels were later sealed with Smartwax Rim Wax and tyres treated with Swissvax Pneu. Arches were treated to Meguiars All Seasons Dressing.
With the arches cleaned out, it was time to start on the bodywork which was first foamed using the Gilmour and Meguiars Hyper Wash, then rinsed and washed using the two bucket method and a lambswool mitt with Meguiars Shampoo Plus, rinsed and dried with Last Touch. The car was then rollowed back into the garage to be clayed with Sonus Ultrafine Green Clay.
Once clayed, the car was ready for machine polishing. The 355 was the last car to be hand painted by Ferrari I believe, and this shows with thick paint readings (mostly >400um) across the car, plenty of paint considering the inside door reading was 140um, but much care was taken as areas had also bgeen resprayed in the past so paint may behanve differently. Starting with the bonnet which initally shows light to medium swirls...
Stepping up the pad and polish combo until suitable correction was established. This ended up being Menzerna PO85RD3.01 Intensive Polish on a Meguiars W8006 Polishing pad. Spread at 600rpm, two passes at 1200rpm, eight to twelve passes at 1500 - 1800rpm, two passes at 1200rpm, two passes at 900rpm did the trick:
Onto the front wing and the swilrs were a little more severe...
Here, two hits of Intensive Polish was required to get hte finish fully defect free...
This method was used rounf the whole car, one or two sets depending on the severity of the marring existing. On some areas of deeper scratches, one or two sets of Menzerna Power Gloss was used to remove the deep marks where it was deemed safe to do so. PG was used as follows on a Meguiars W7006 cutting pad: Spread at 600rpm, two passes at 1200rpm, five passes at 1800rpm, spritz, repeat, spritz, repeat, finish with two passes at 900rpm. This brought the PG finish up LSP ready but it was followed withb Intensive Polish just to get a little more clarity.
A 50/50 shot during the polishing process - rear wing done, rear pillar not:
Bryan, meanwhile, was cutting in the many complex areas by PC using two or three sets of Intensive Polish on a Sonus SFX-2 spot pad to remove the marring. As time was ticking on, we decided to stop briefly after the front of the car was done to a finish to get some pics of the finish on natural light. After testing on a spare panel the colour of the car, the choice of LSP was chosen to be Swissvax Cleaner Fluid followed by Swissvax Best of Show wax for the wettness and depth is gave to the red. (This was compared against Zymol Ital and Victoria Concours). So, the CF was applied by hand to the car using the fionishing side of a Sonus German Applicator pad and the Best of Show wax applied directly by hand... The car was then rolled out for some natural light shots of the completed finish:
Then back into the garage to complete the detail. Plastics and rubbers were treated to Meguiars #38 Tyre and Trim Dressing Gel, glass was cleaned with Swissvax Cleaner Fluid. And then a final wipe down with Swissvax Quick Finish... Alas by the time the car was complete, it was 11pm! Machining took a very long time as we were keen to remove the deeper marring where it existed as the aint allowed us to do so. So, indoor garage shots only for completed pics I'm afriad...
Many thanks to Jim (and Wendy) for the great hospitality throughout the day - continuous stream of coffee and kit kats, pizza and cheese toasties! :thumb: Jim has taken several pics from the day - action shots of the detail, so we will see more pics from this detail soon.